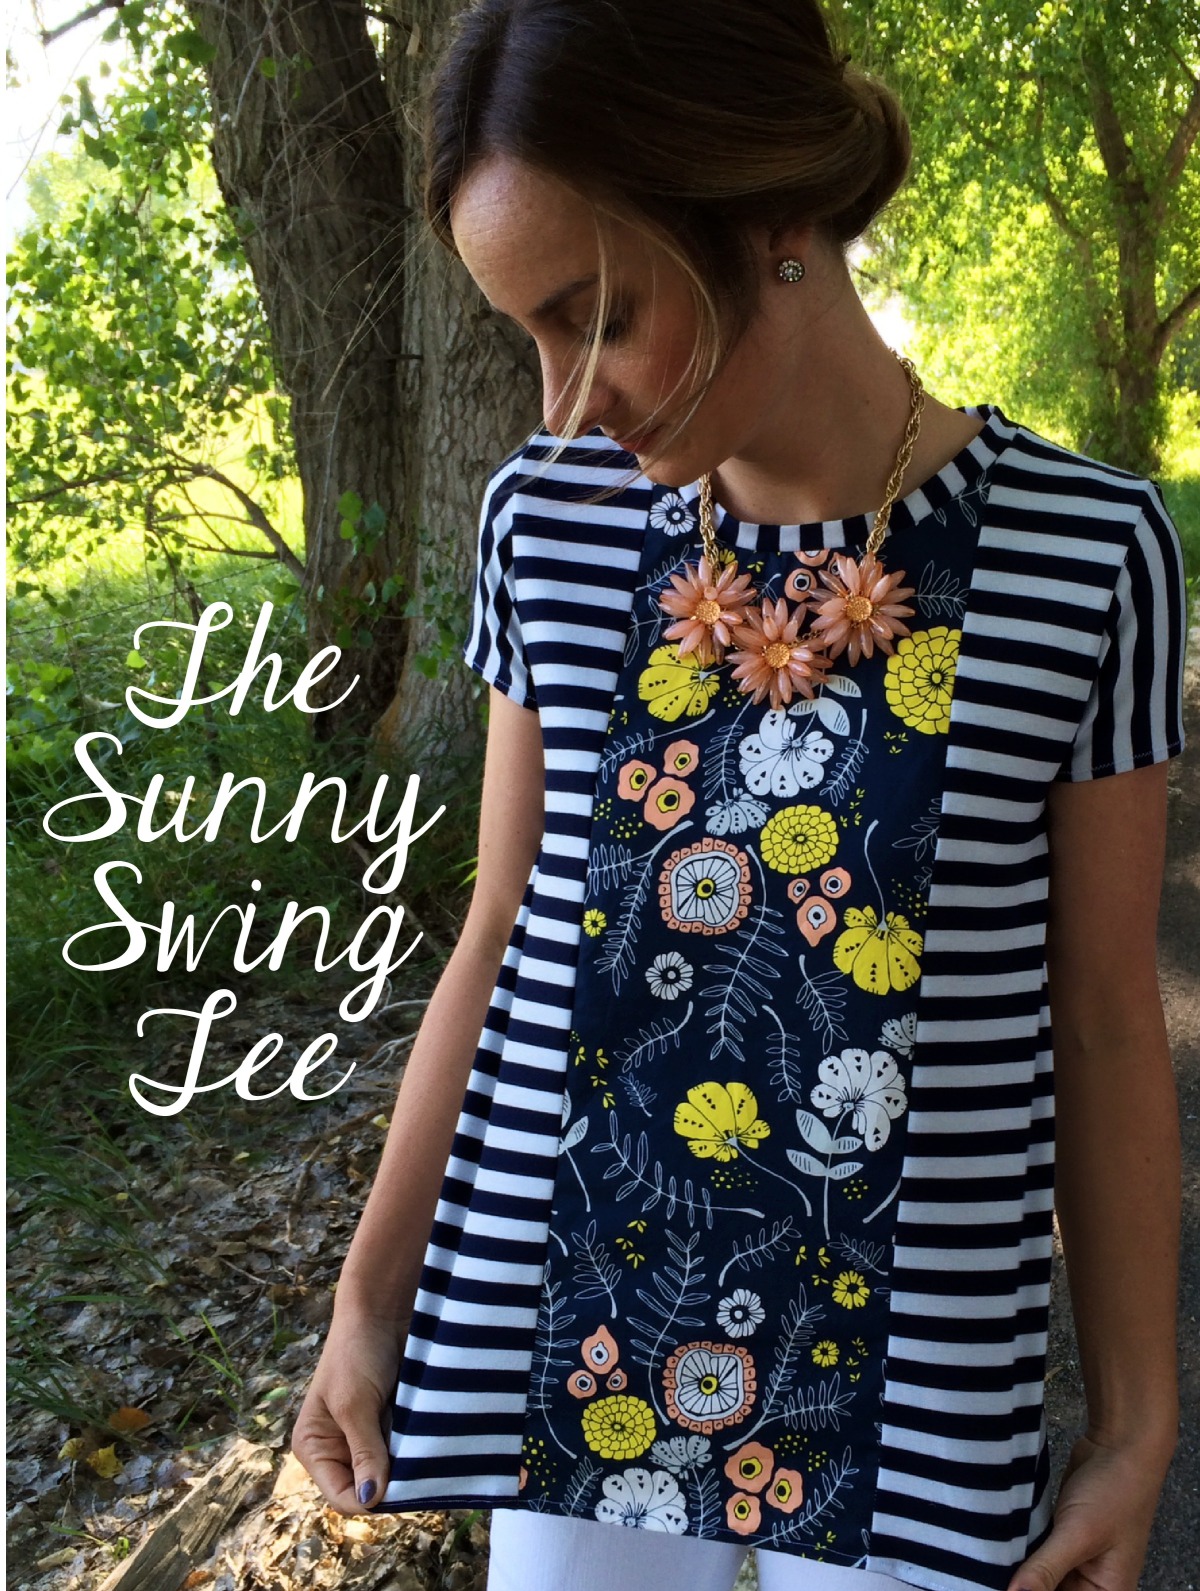
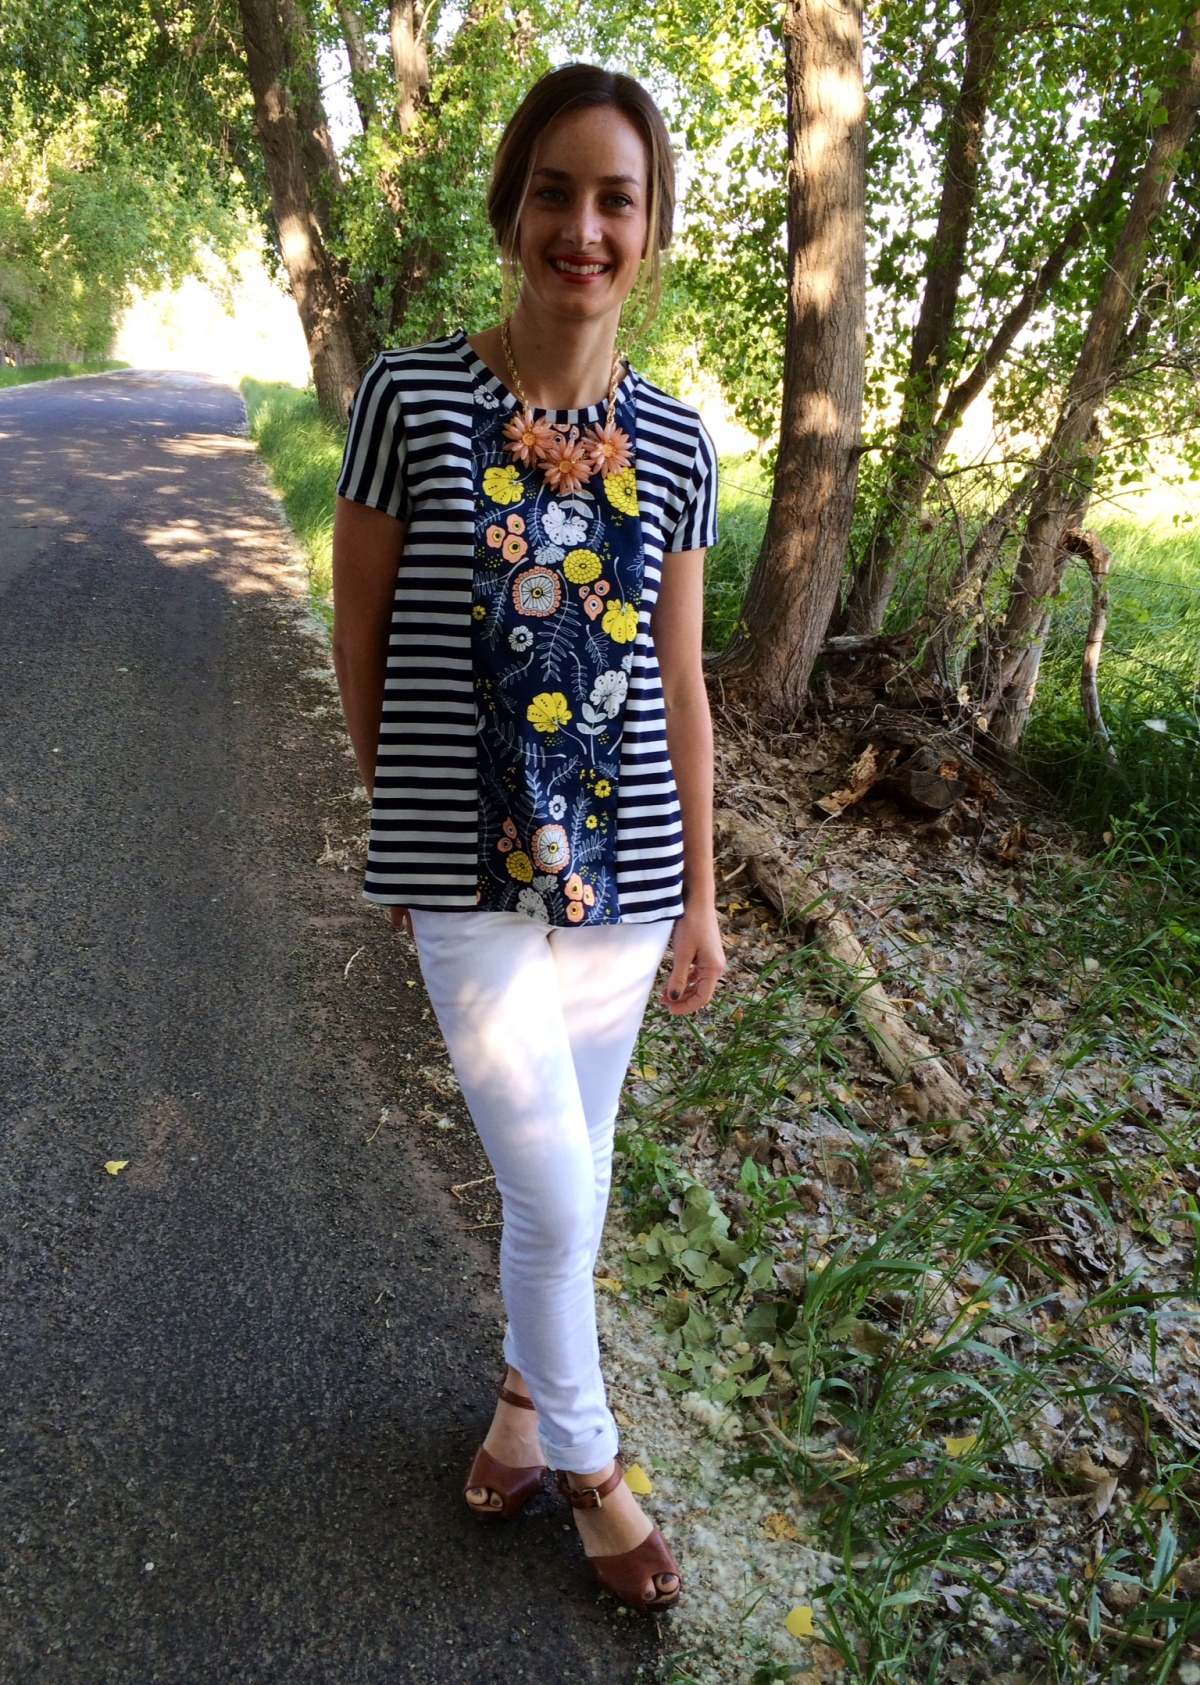
I am so thrilled with how this top turned out. The A-line shape is so flattering, and I’l take a stripe and floral combo any day. I am even more excited to share my original pattern with you!! The pattern is available as a free download, but it is currently only in a size small.
This tee is SO incredibly easy to make. Here’s how I made it:
First, you will need fabric.
The amount of fabric you need for the front center panel depends on the direction the pattern runs on your fabric; it will need to be at least 26″ long. I bought 3/4 of a yard for the length. The fabric I used is Meadow Vale Dark by Leah Duncan.
For the Rest of the top, pick a knit fabric that you like. I used a white and navy ponte de roma knit from Girl Charlee. (It is currently sold out, but you can easily find this stripe pattern elsewhere). You will need about 1 1/2 yards.
Step 1: Cut out your fabric!
Step 2: I used a 1/2″ seam allowance, ball point needle and zig zag stitch. Sew the front bodice together with the front center panel and two front side panel pieces. Right sides together.
Trim and iron your seams. When you’re finished it should look like this:
Step 3: Sew the front and back bodice pieces together at the shoulder seams. Right sides together. Trim and iron seams.
Step 4: Insert sleeves. Note the corners pictured below indicated by the yellow pins. This is where you will want to pin your sleeves at each end.
But first, we need to hem our sleeves.
Now pin your sleeve into place, make sure the center and outside edges are aligned first. It will look like this:
Sew. Once you are finished, it should look like this:
Step 5: Sew up the side seams. You’re going to sew from the bottom of the shirt to the underarm of the sleeve in one continuous seam.
Iron out your seams.
Step 6: Finish the neckline. First, fold your neckline facing in half and iron. Then pin the two ends together and sew.
Then pin your facing to the neckline, right sides together. Sew. Trim and iron. When you’re done, it will look like this:
Step 7: Hem the bottom of your shirt. You’re done!! I would love to see your Sunny Swing Tees!!
Please share using: #sunnyswingtee
The Sunny Swing Tee has been featured by Lindsey McLaughlin. Make sure to check out her awesome blog!


I can’t believe that so much talent can come from one family ! I have 3 seeing machines and don’t know how to use one. Id totally make this of I could.
LikeLike
Of course you can. Keep it very slow. Follow these directions and you can make your own top. Be sure you are usung the right size pattern.
LikeLike
Love this!!! You’re amazing. I seriously need to step up my sewing game 🙂
LikeLike
You are too nice, my mouth waters when I see all of your yummy treats– amazing talent!
LikeLike
Thank you so much for the pattern and tutorial. It was clear and easy to follow. I am committed to sewing all my clothes this year and your sunny swing t was my first pattern and a success!
Jen
LikeLike
Oh yay!! This makes me so happy!! I would love to see how it turned out! 🙂
LikeLike
So so pretty! The stripe and floral are perfect together. Good job! Thank you.
LikeLike
I love this Tee. I would love to purchase an XL or L if available. Please leg me know !!
LikeLike
so cute.
LikeLike
I would love this pattern in a size large, is it available yet?
LikeLike
I’m sorry, I haven’t gotten to it yet! I currently don’t have the time to make this pattern in other sizes, hopefully sometime in the near future! I’m sorry!
LikeLike
Such a cute top! Thanks so much for your generosity in sharing the pattern–can’t wait to make it!
LikeLike
very beautiful!!!! it is size small?
LikeLike
Yes! Size small.
LikeLike
Super cute! Thanks for your generous sharing-
LikeLike
How CUTE!
LikeLike
Cute! What type of fabric is the floral material?
LikeLike
It’s just a cotton! 🙂 Any woven fabric will do!
LikeLike
Does the pattern include a 1/2″ seam allowance or did you add a 1/2″ Sean allowance? Thank you!
LikeLike
A 1/2″ seam allowance is included on the pattern 😀
LikeLiked by 1 person
I was thinking about inserting a hidden zipper along the seam where the panel meets the sides to make this a ‘nursing’ shirt. I’ve never tried sewing a zipper into a knit. Is it hard?
LikeLike
I have never seen a zipper onto a knit either!! I bet it wouldn’t be too hard? I would YouTube it! I found this just taking two seconds to search: https://m.youtube.com/watch?v=yRxttOEA7V0
Hope this helps! 😀
LikeLiked by 1 person
I had the same thought, only using plastic KamSnaps, but not for nursing. I need it to open for radiation therapy to kill the breast cancer cells that may be lingering. They normally don’t allow you to be covered on top at all, but I intend to preserve as much modesty as I can! I just hope I can enlarge your wonderful pattern because it will involve standing, and I’m in a wheelchair for two more months after breaking my leg! I love this pattern, and I thank you gratefully for giving it away! We women do sometimes need to get help from others when real life gets ugly! Thanks, from another Bernina owner of 30 years.
LikeLike
Hi! Thanks so much for the pattern. I made it with a satin I found at the thrift store instead of a knit and did a slit in the back with a button loop so I could still get it on over my head 🙂 Hopefully this link works for a pic: https://goo.gl/photos/GLJkiwTDXMKv27M59
LikeLike
Love your variation so much! Thanks for sharing!!
LikeLike
What size would the small be, 6 to 8?
LikeLike
Its probably closer to a 2-4!
LikeLike
I noticed over the two years since the pattern was released, several comments are made for the larger sizes being added. Any plans to add them in the new year? I am just starting to learn grading, to get it from a size 2-4 to a busty 18-20 or XL/XXL, I am just trying to figure out.
Adding measurements to the tutorial would be really helpful.
Thanks for the share.
LikeLike
Hi Pamela! As of right now I do not have immediate plans to grade this pattern. I’m not very familiar with grading at the moment but it’s definitely something I want to learn more about! I apologize that I won’t have this available in the near future! Thanks for reaching out!
LikeLike
LOVE the pattern combo 😍 Beautiful t-shirt!!
LikeLike
Is this pattern going to be available in a size large eventually?
LikeLike
Hi Clarissa! I won’t be grading this pattern into larger sizes, I’m sorry for the inconvenience!
LikeLike
About to give it a bash
LikeLike
❤
LikeLike
Thanks for the great tutorial and pattern! Would it work for a woven instead of a knit?
LikeLike
Wow, very lovely. My dream is to know how to sew beautiful clothes like this. You’re good.great work. I wish i can sew like this.
LikeLike