
This post is sponsored by Baby Lock, but all opinions are my own.
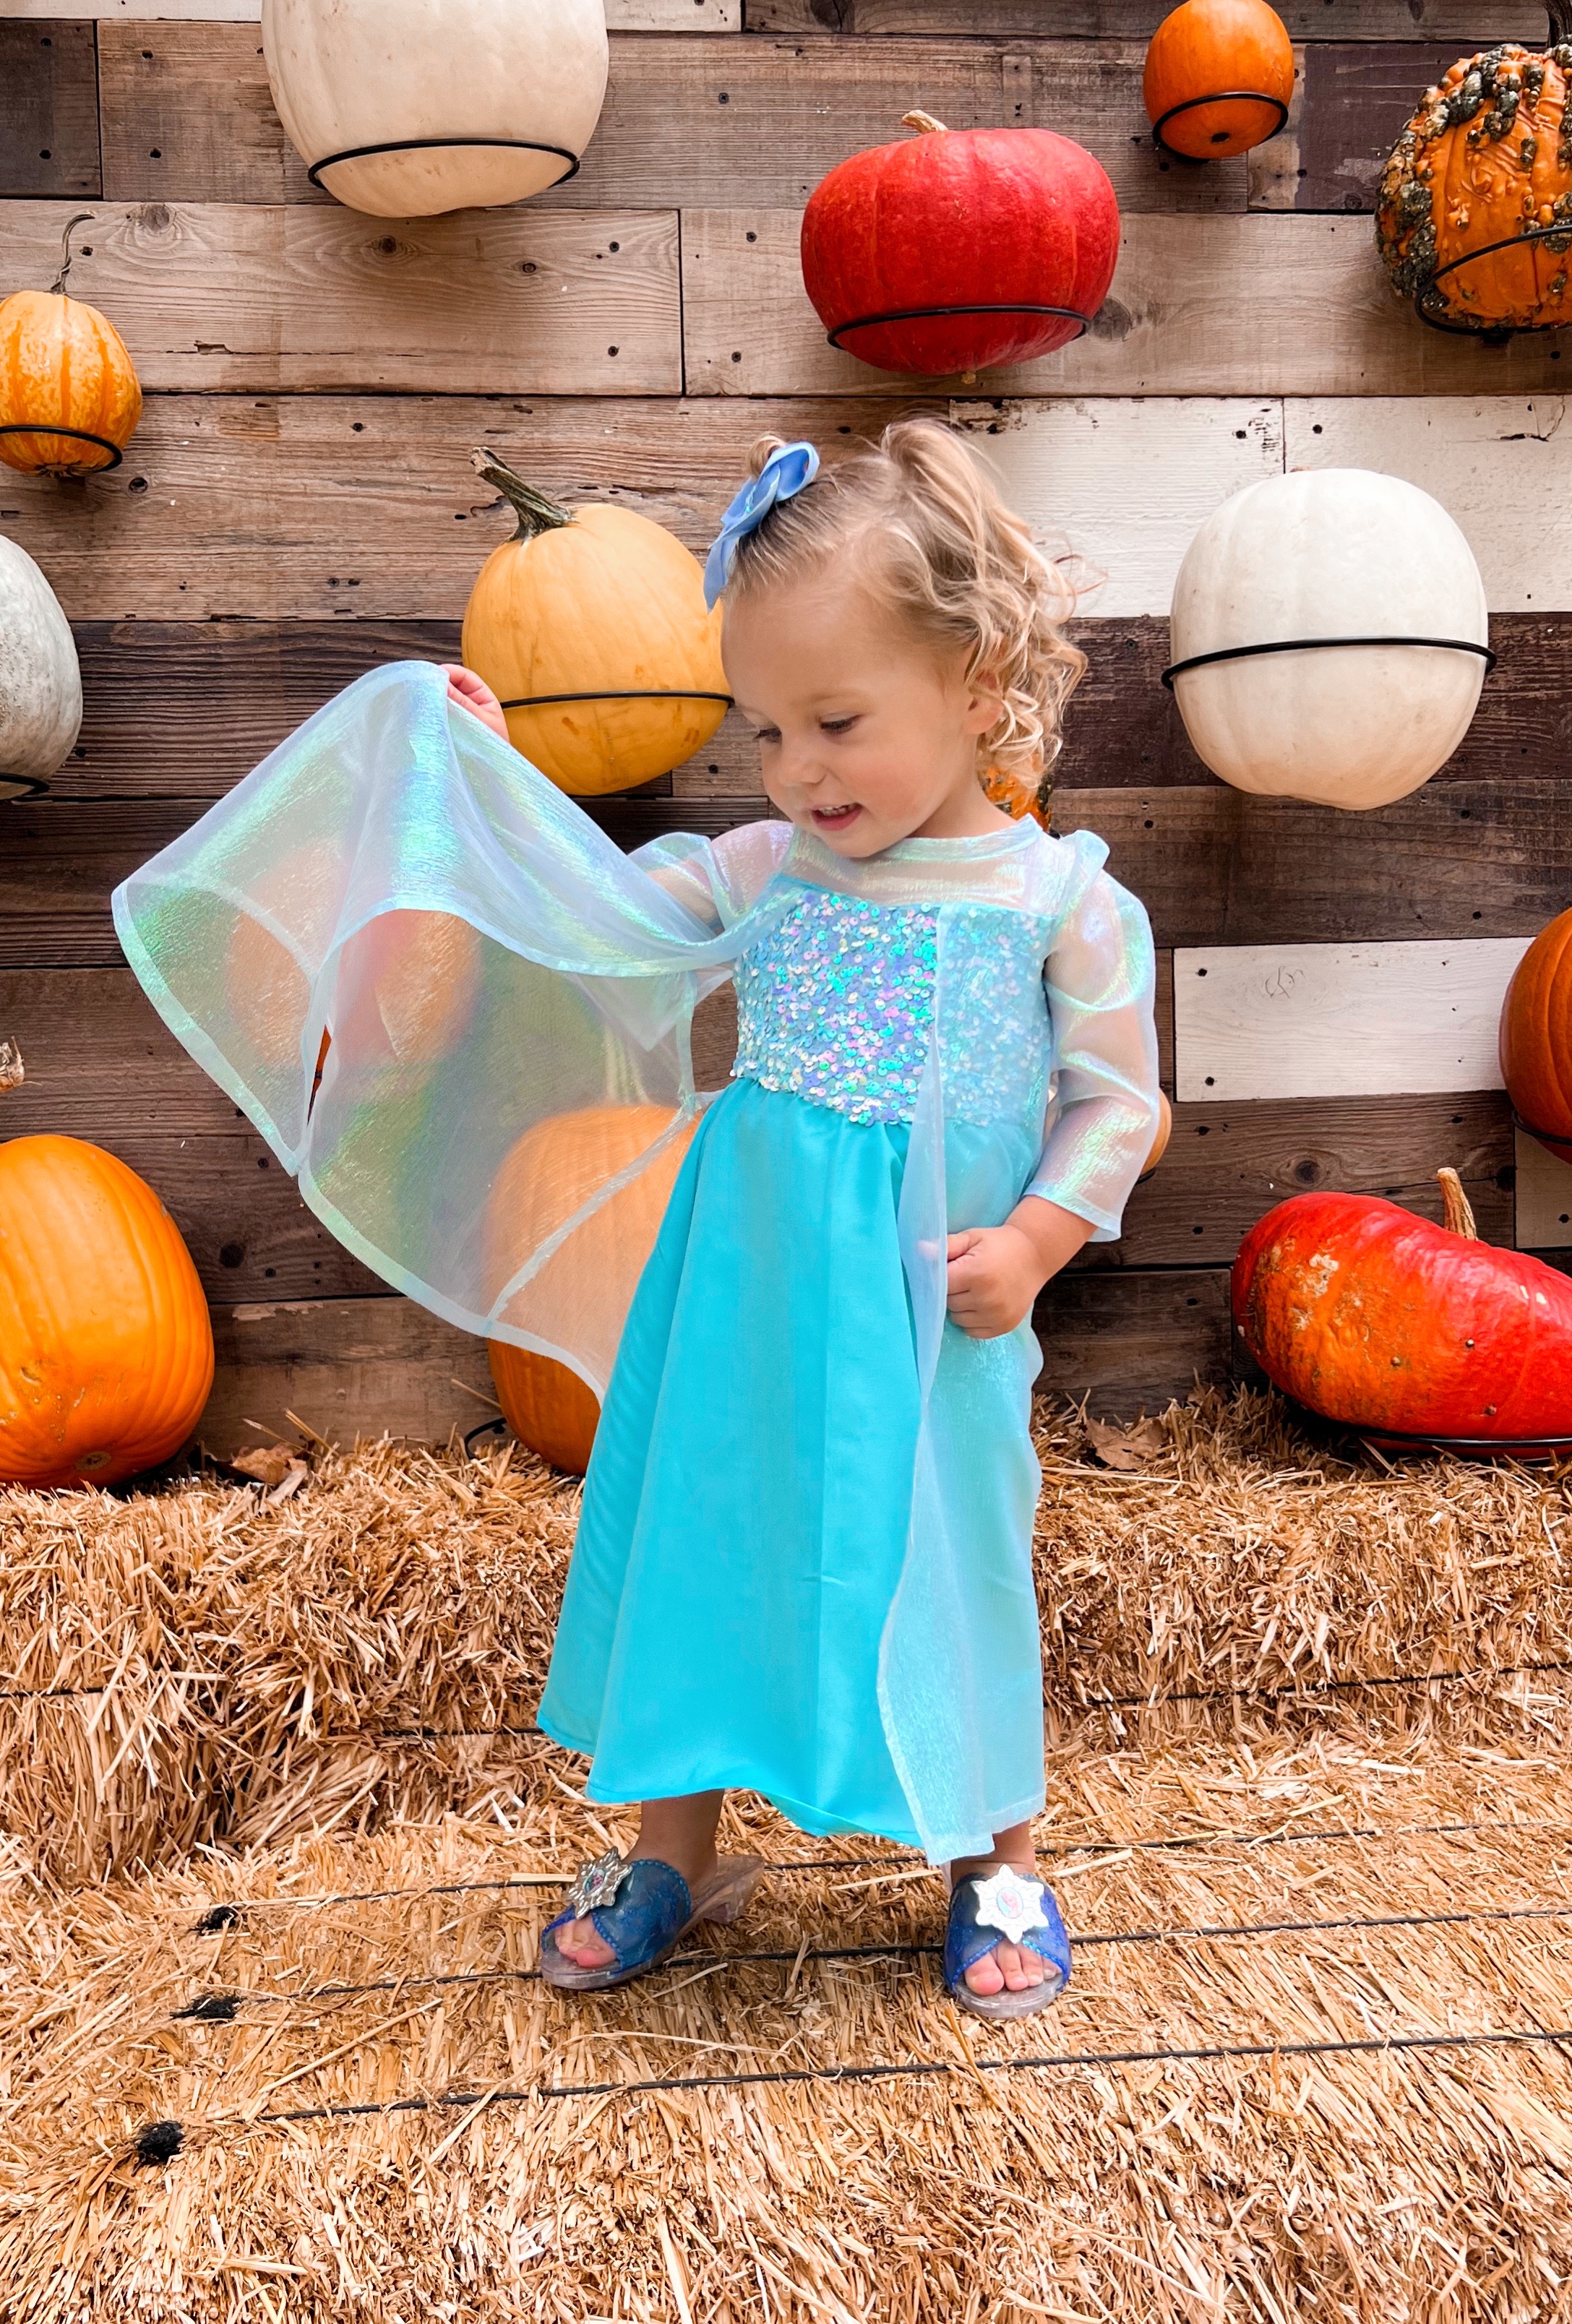
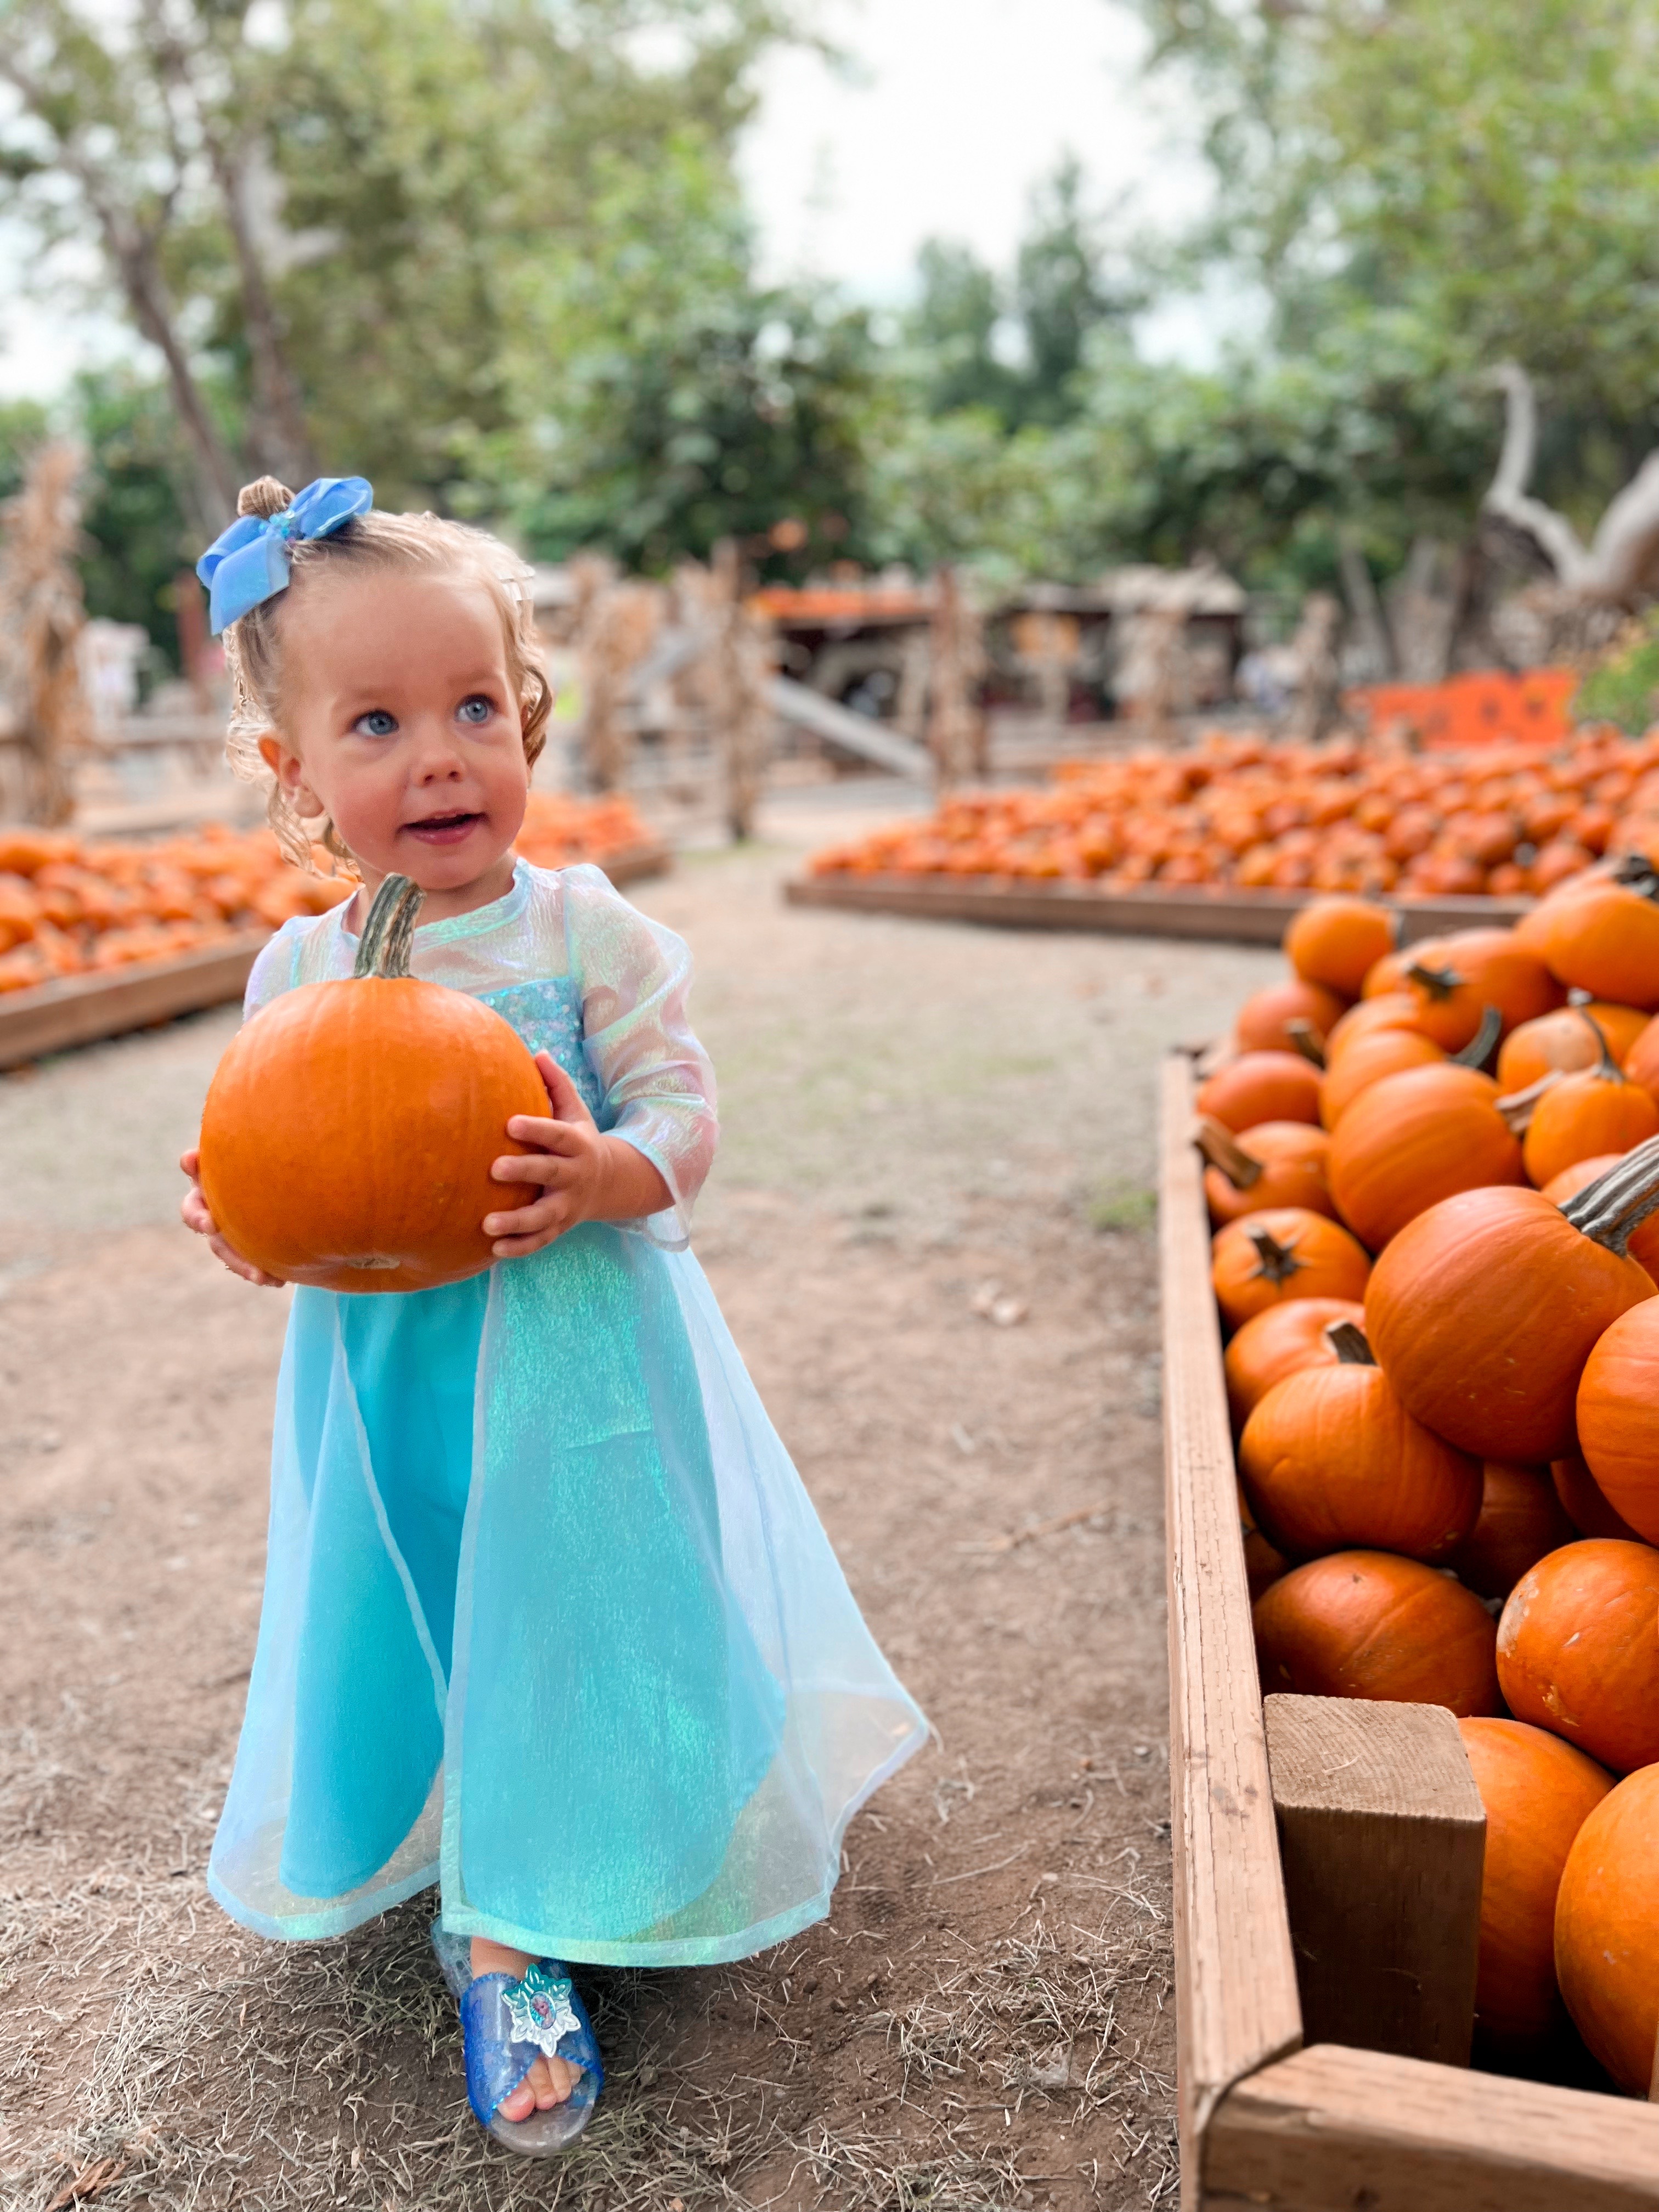
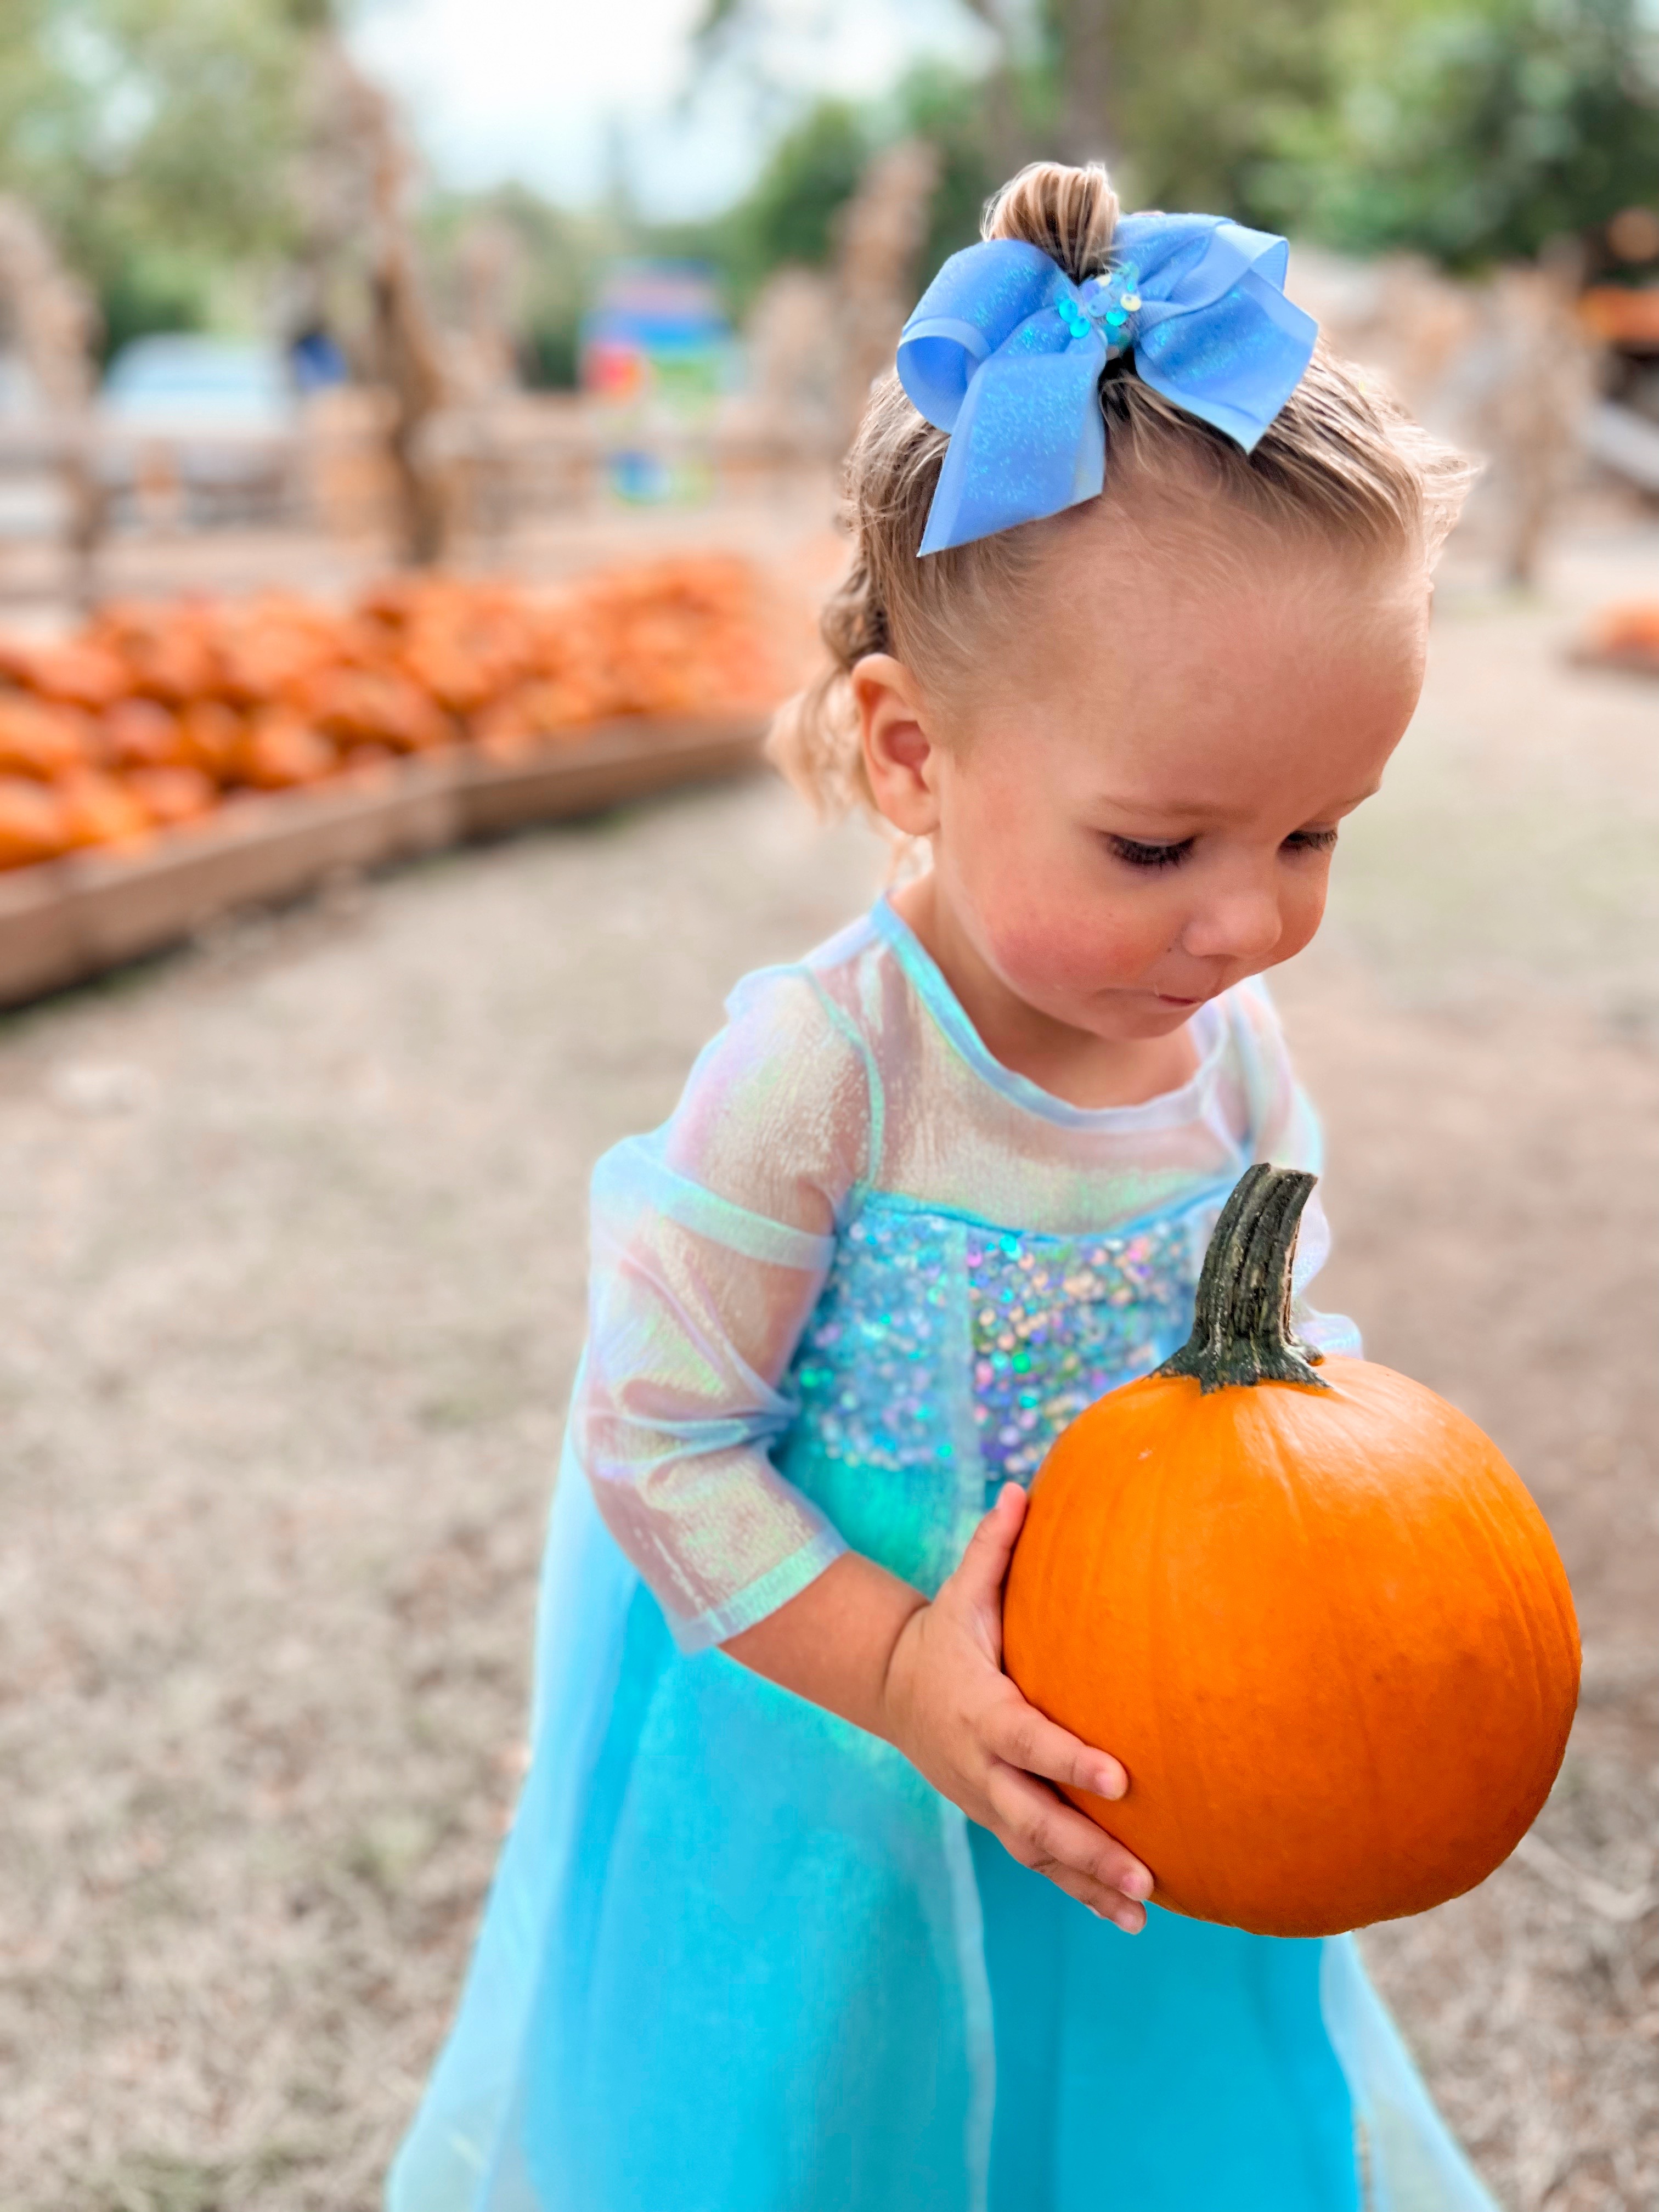
Happy Halloween sewing season! I don’t typically make my kids costumes every year, but I do have a secret passion for sewing princess dresses. I’ve made a few for my oldest daughter when she was a toddler and I’m thrilled to find myself here again with my youngest daughter. She is a HUGE Elsa fan, so I made this dress up for her.
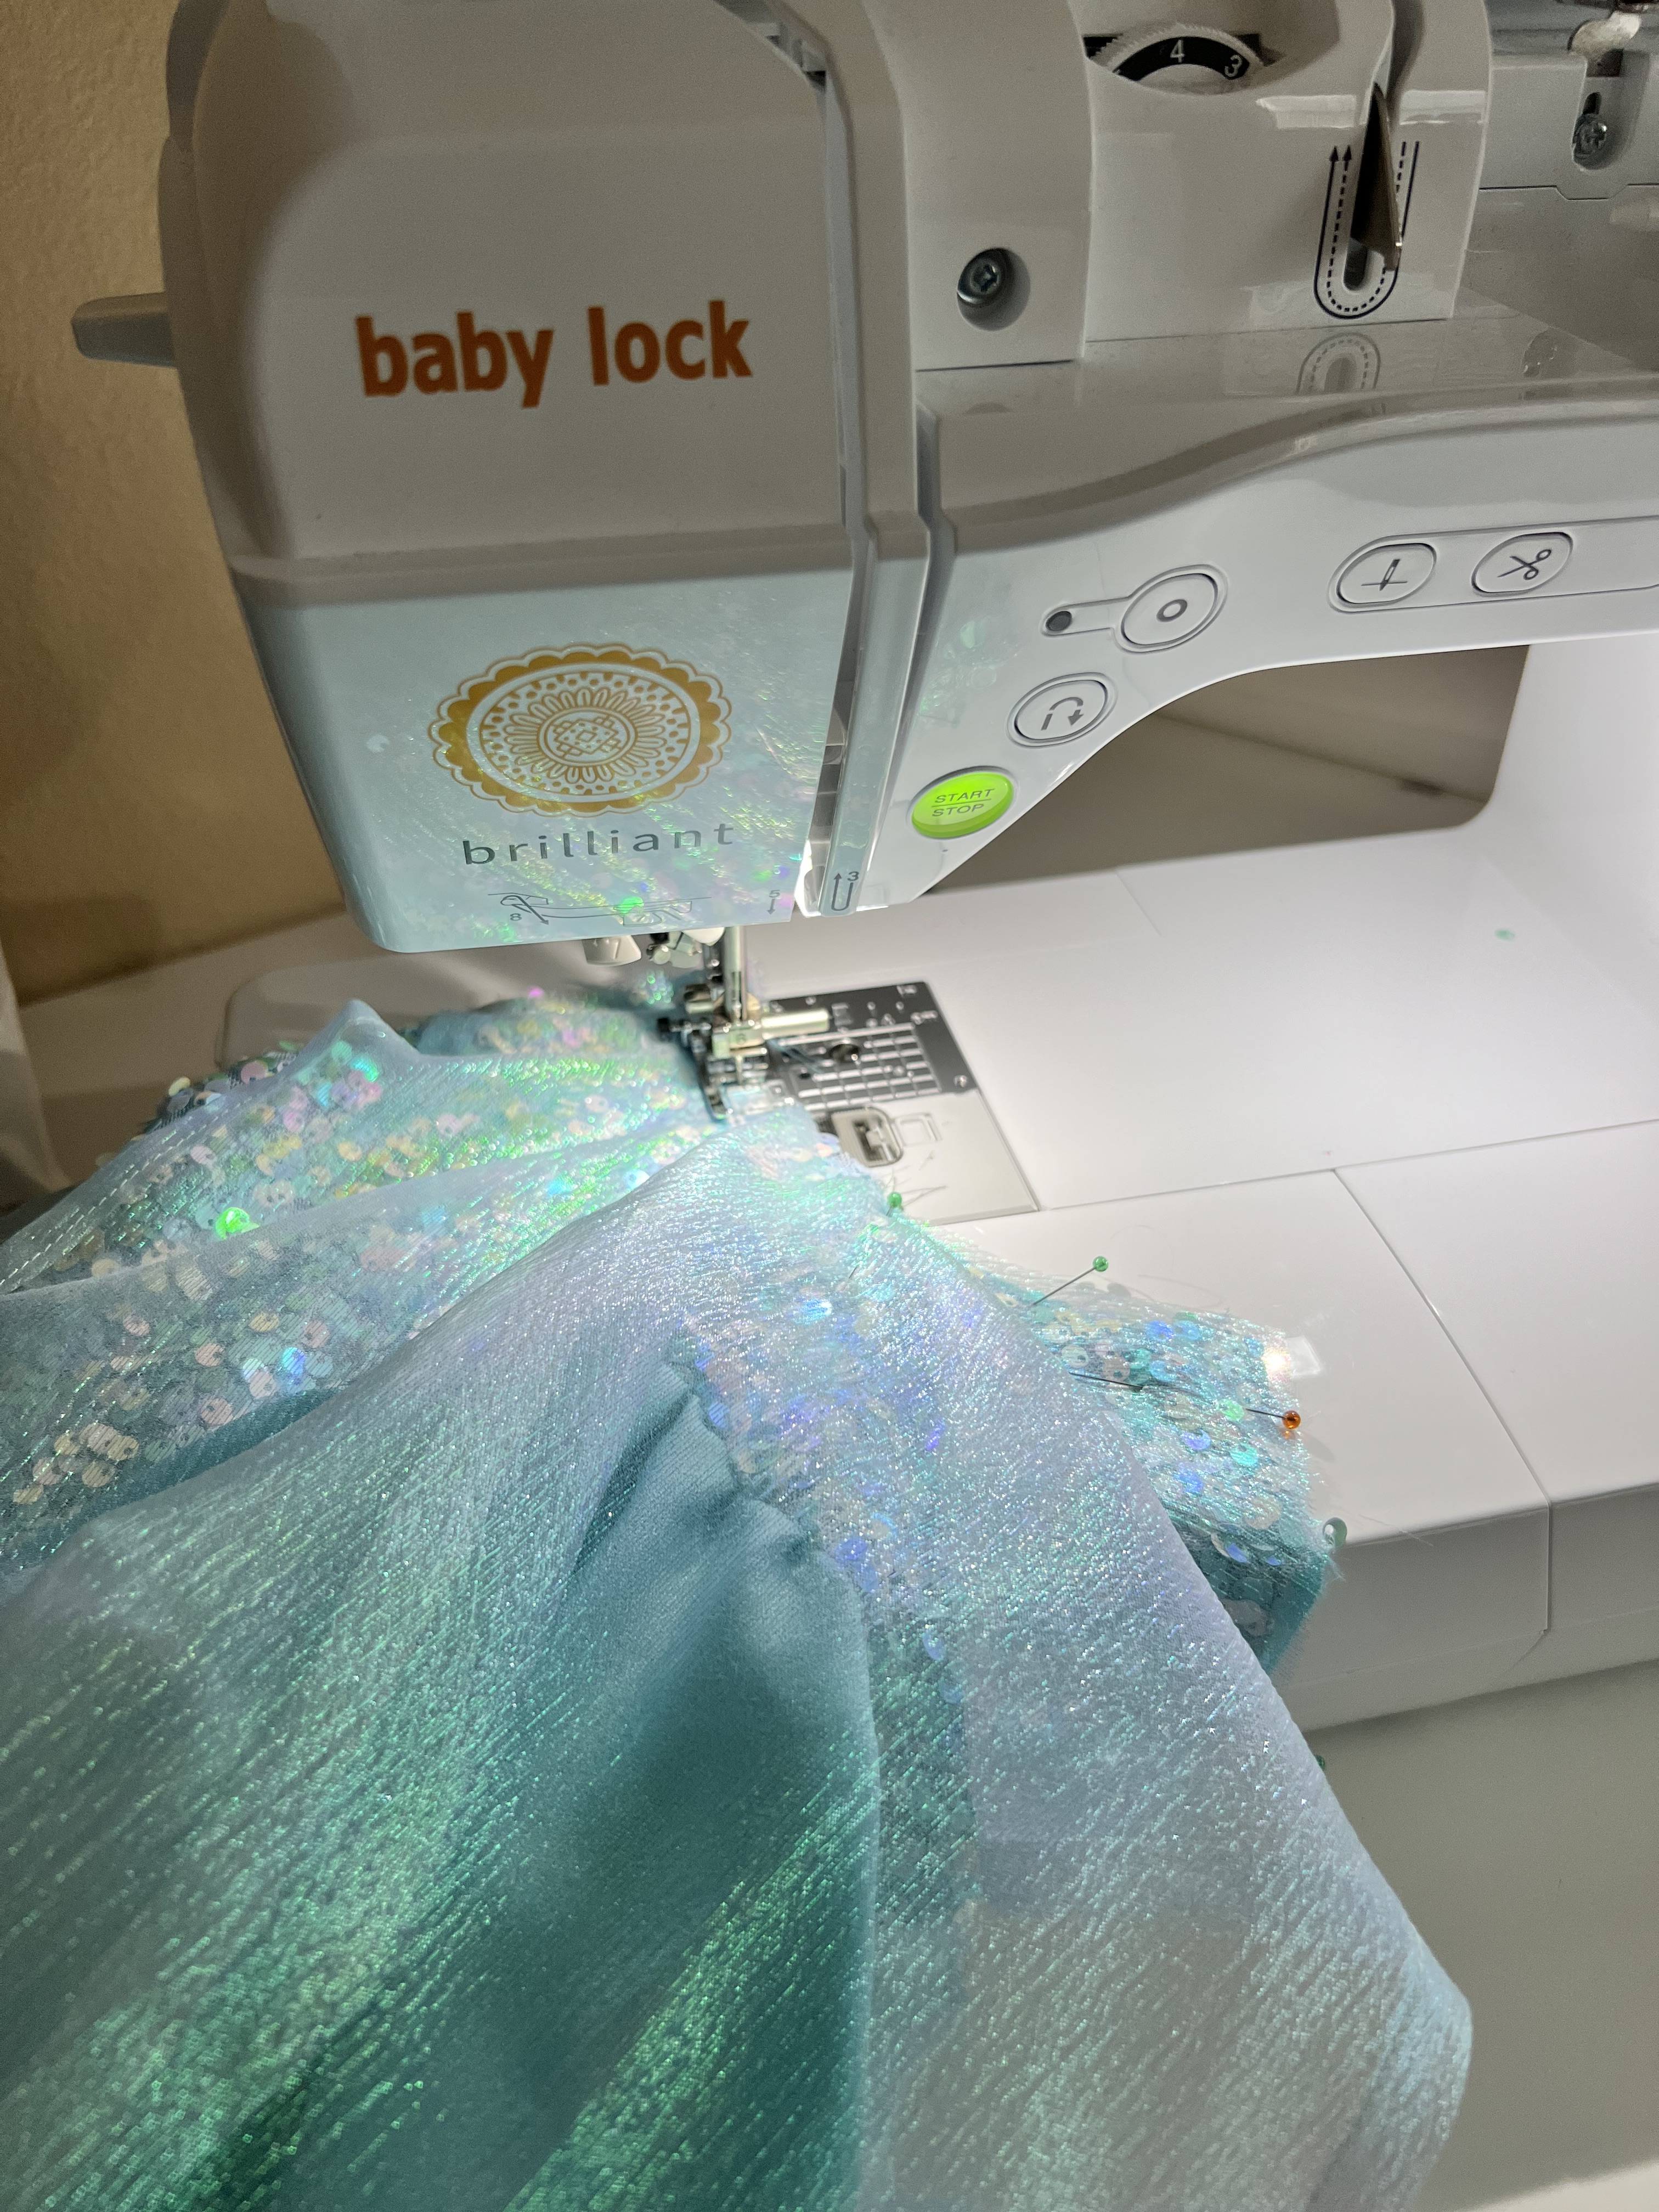
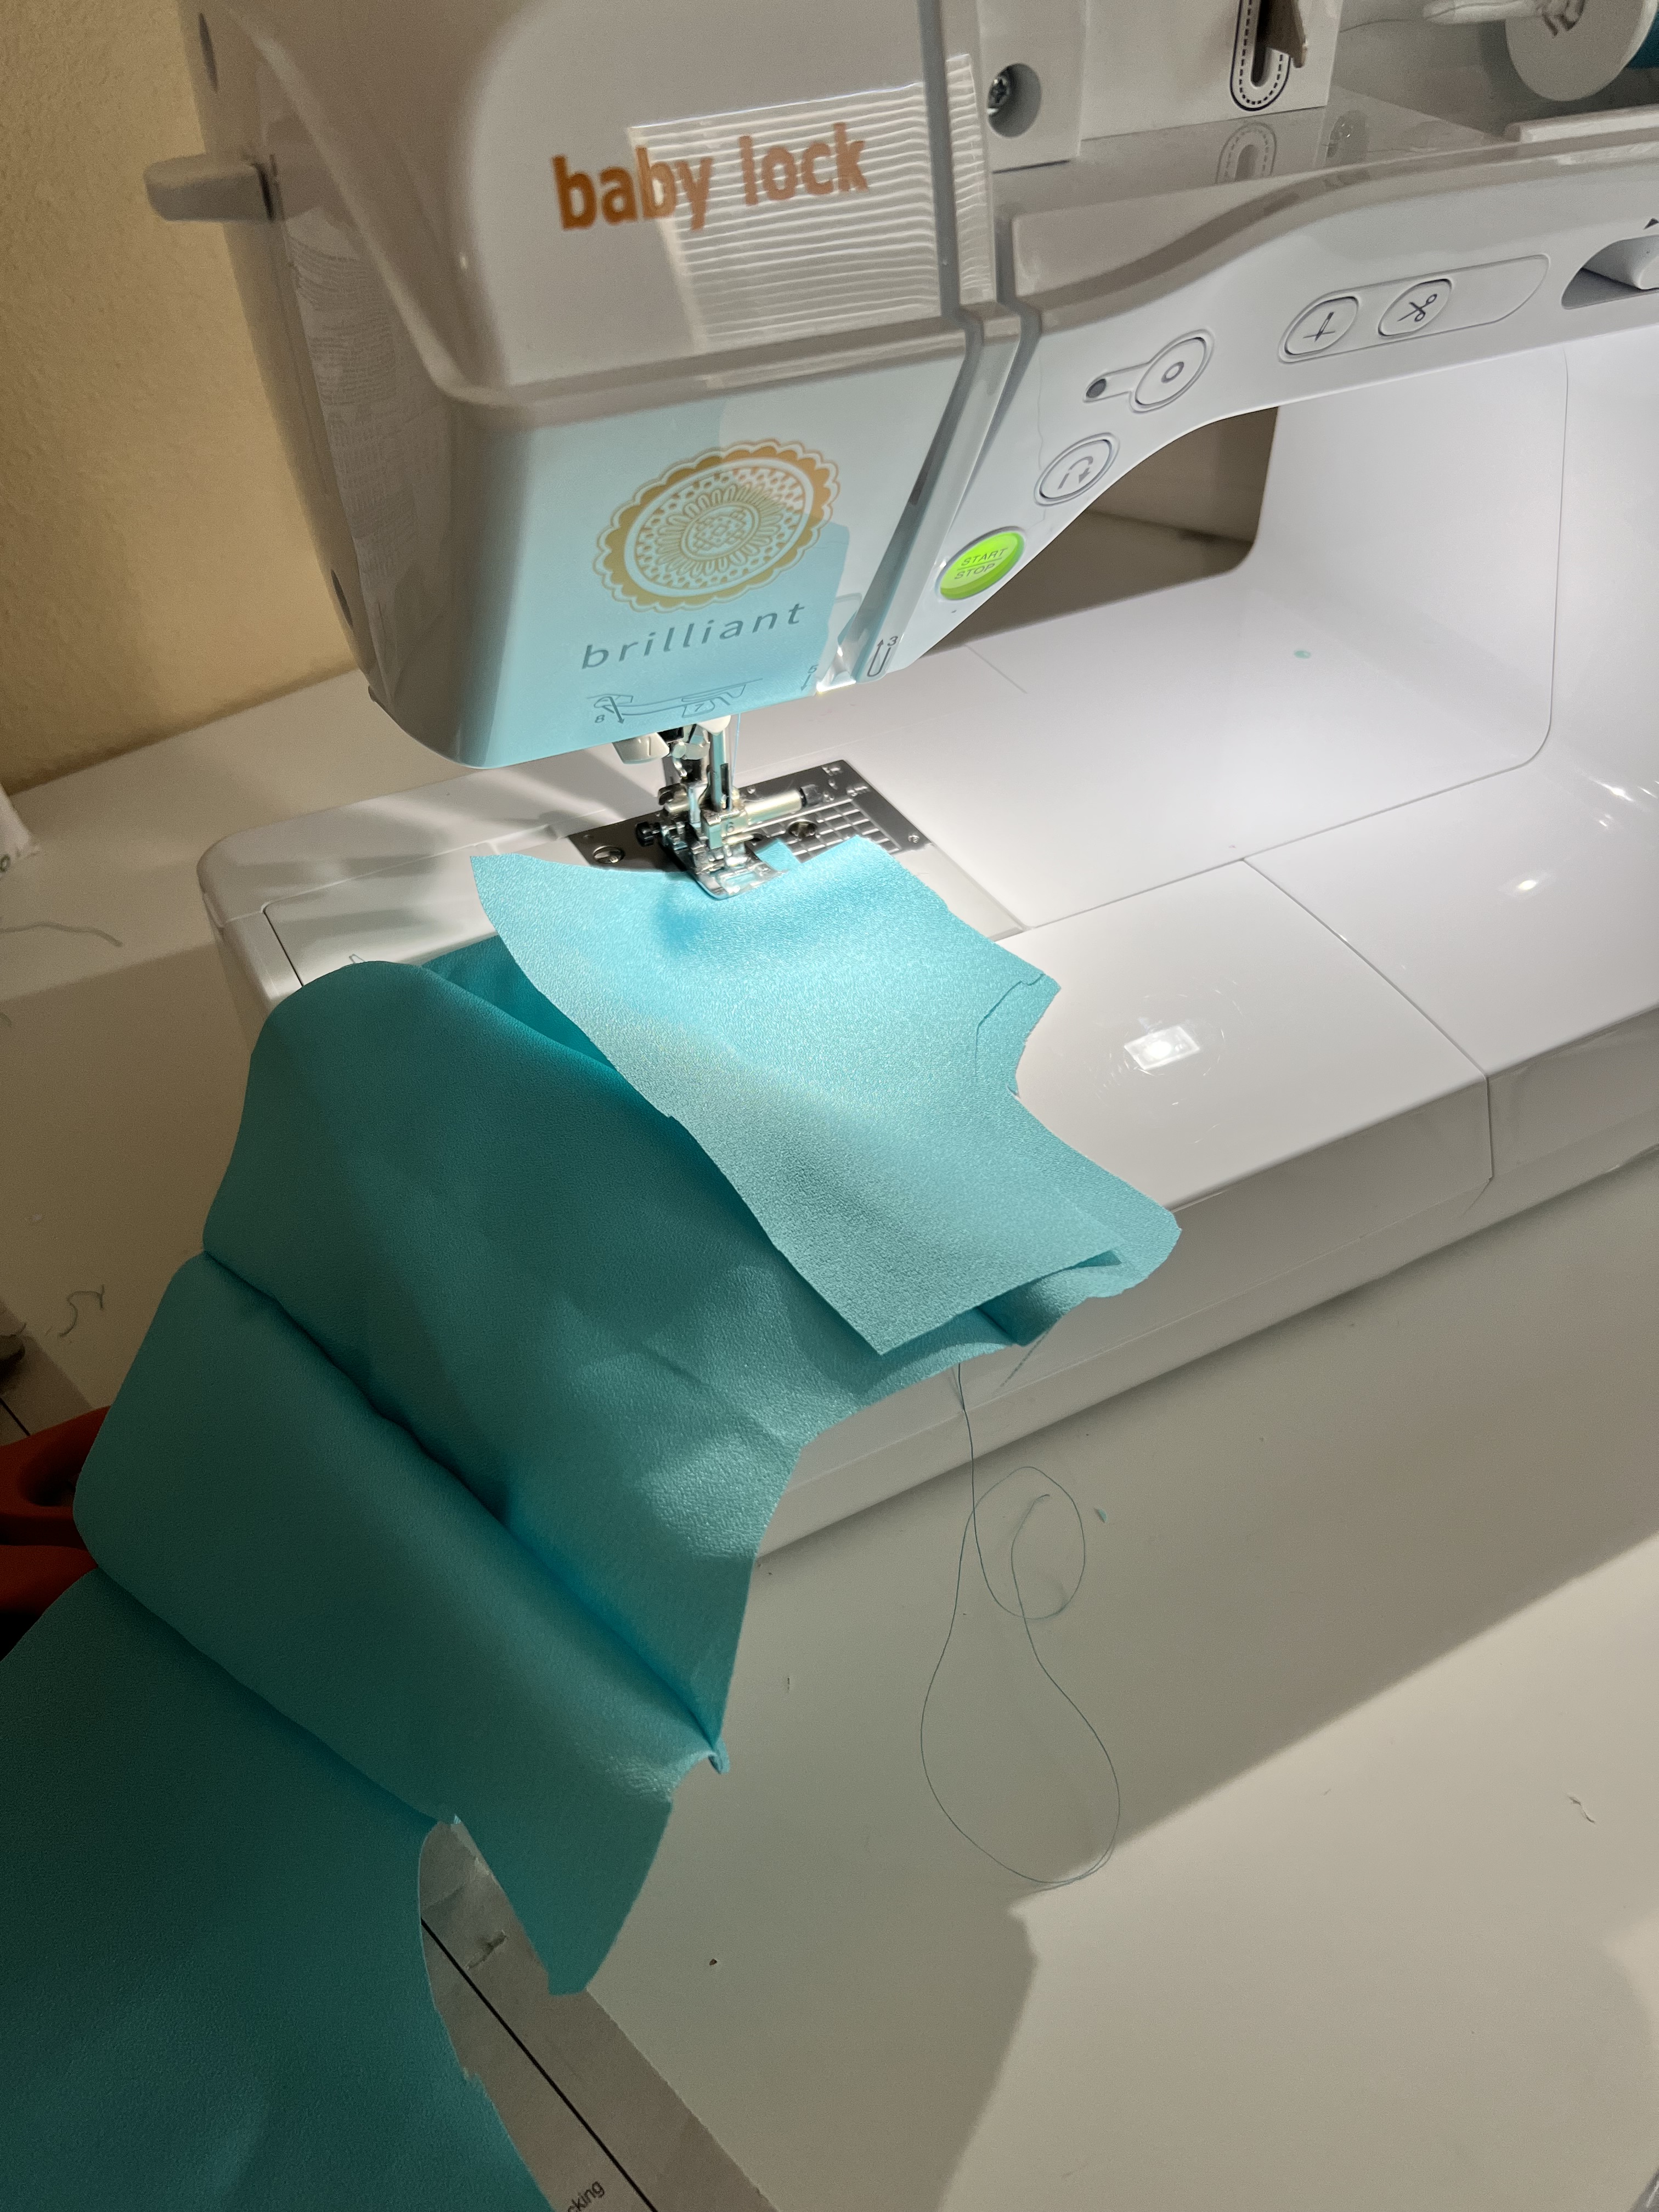
To create this dress, I used my Baby Lock Brilliant sewing machine, as well as my Baby Lock Celebrate serger. I have been sewing on these machines for two years now, and I am still so impressed with them. The quality is there with a more affordable price point. I really love my Baby Lock machines.
If you decide to use sequin fabric, here are a few tips:
-Do not prewash sequin fabric! Like, at all! Dry clean only.
-Use a press-cloth when ironing, and iron from the wrong side of the fabric. Sequins are made out of plastic and can melt under high heat.
– Cutting out sequin fabric can dull your scissors, so don’t use your most favorite pair! Also, don’t finish seams with a serger as the sequins will also dull your knife blade in the machine.
-Use a sharp fine needle, and have a few backups ready to go. I always tend to break a few when sewing with sequins.
-Be prepared to find sequins everywhere! Sequin projects tend to make a big mess.
I made this costume using McCall’s 7000 Elsa Ice Princess Costume pattern. It begins at a size 3/4, and my daughter just barely turned 2 years old, so I had some adjusting to do. I began by taking all of her measurements, and then taking all the bodice pattern pieces in to make them narrower and shorter to fit her little body. This took a little bit of time. I also read through the directions to make sure I understood how each piece would be attached and sewn to best alter them. I also shortened the sleeves, skirt and overlay pattern pieces.
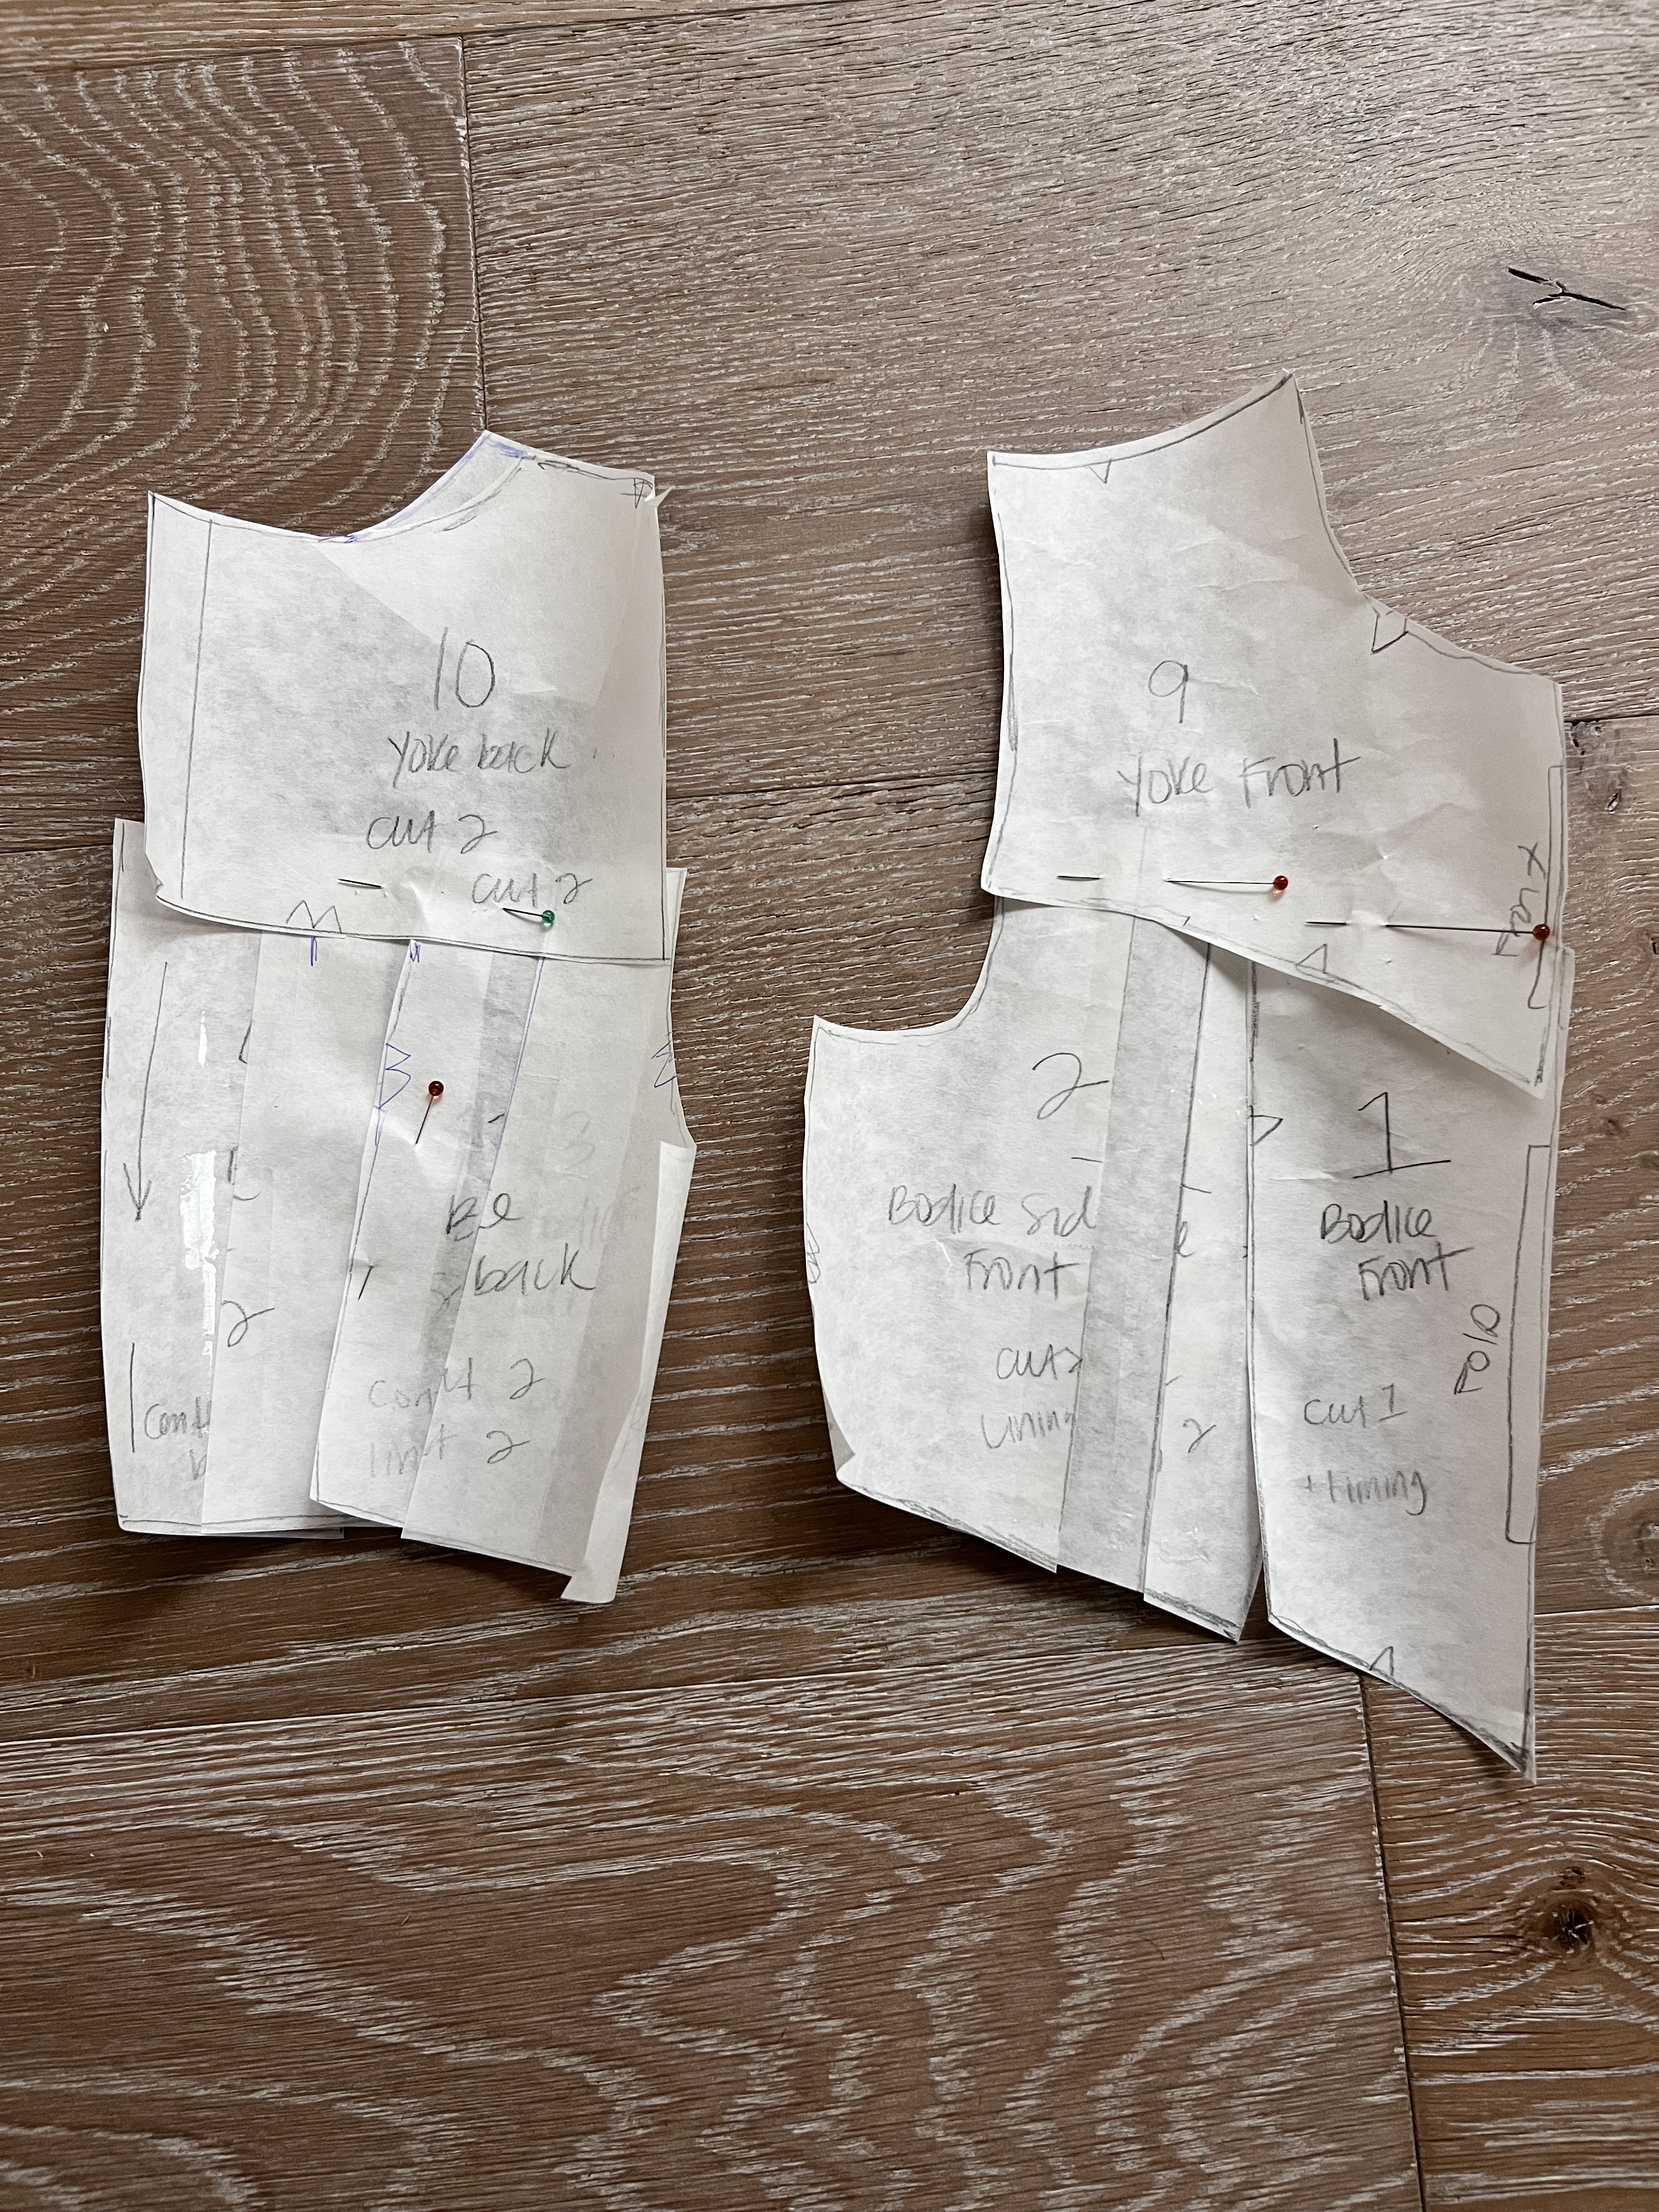
Once I had everything resized, I pinned the bodice pieces together and also “trued” the pieces to make sure everything fit and matched just right as shown above. Once all my pieces were correct, I cut everything out.
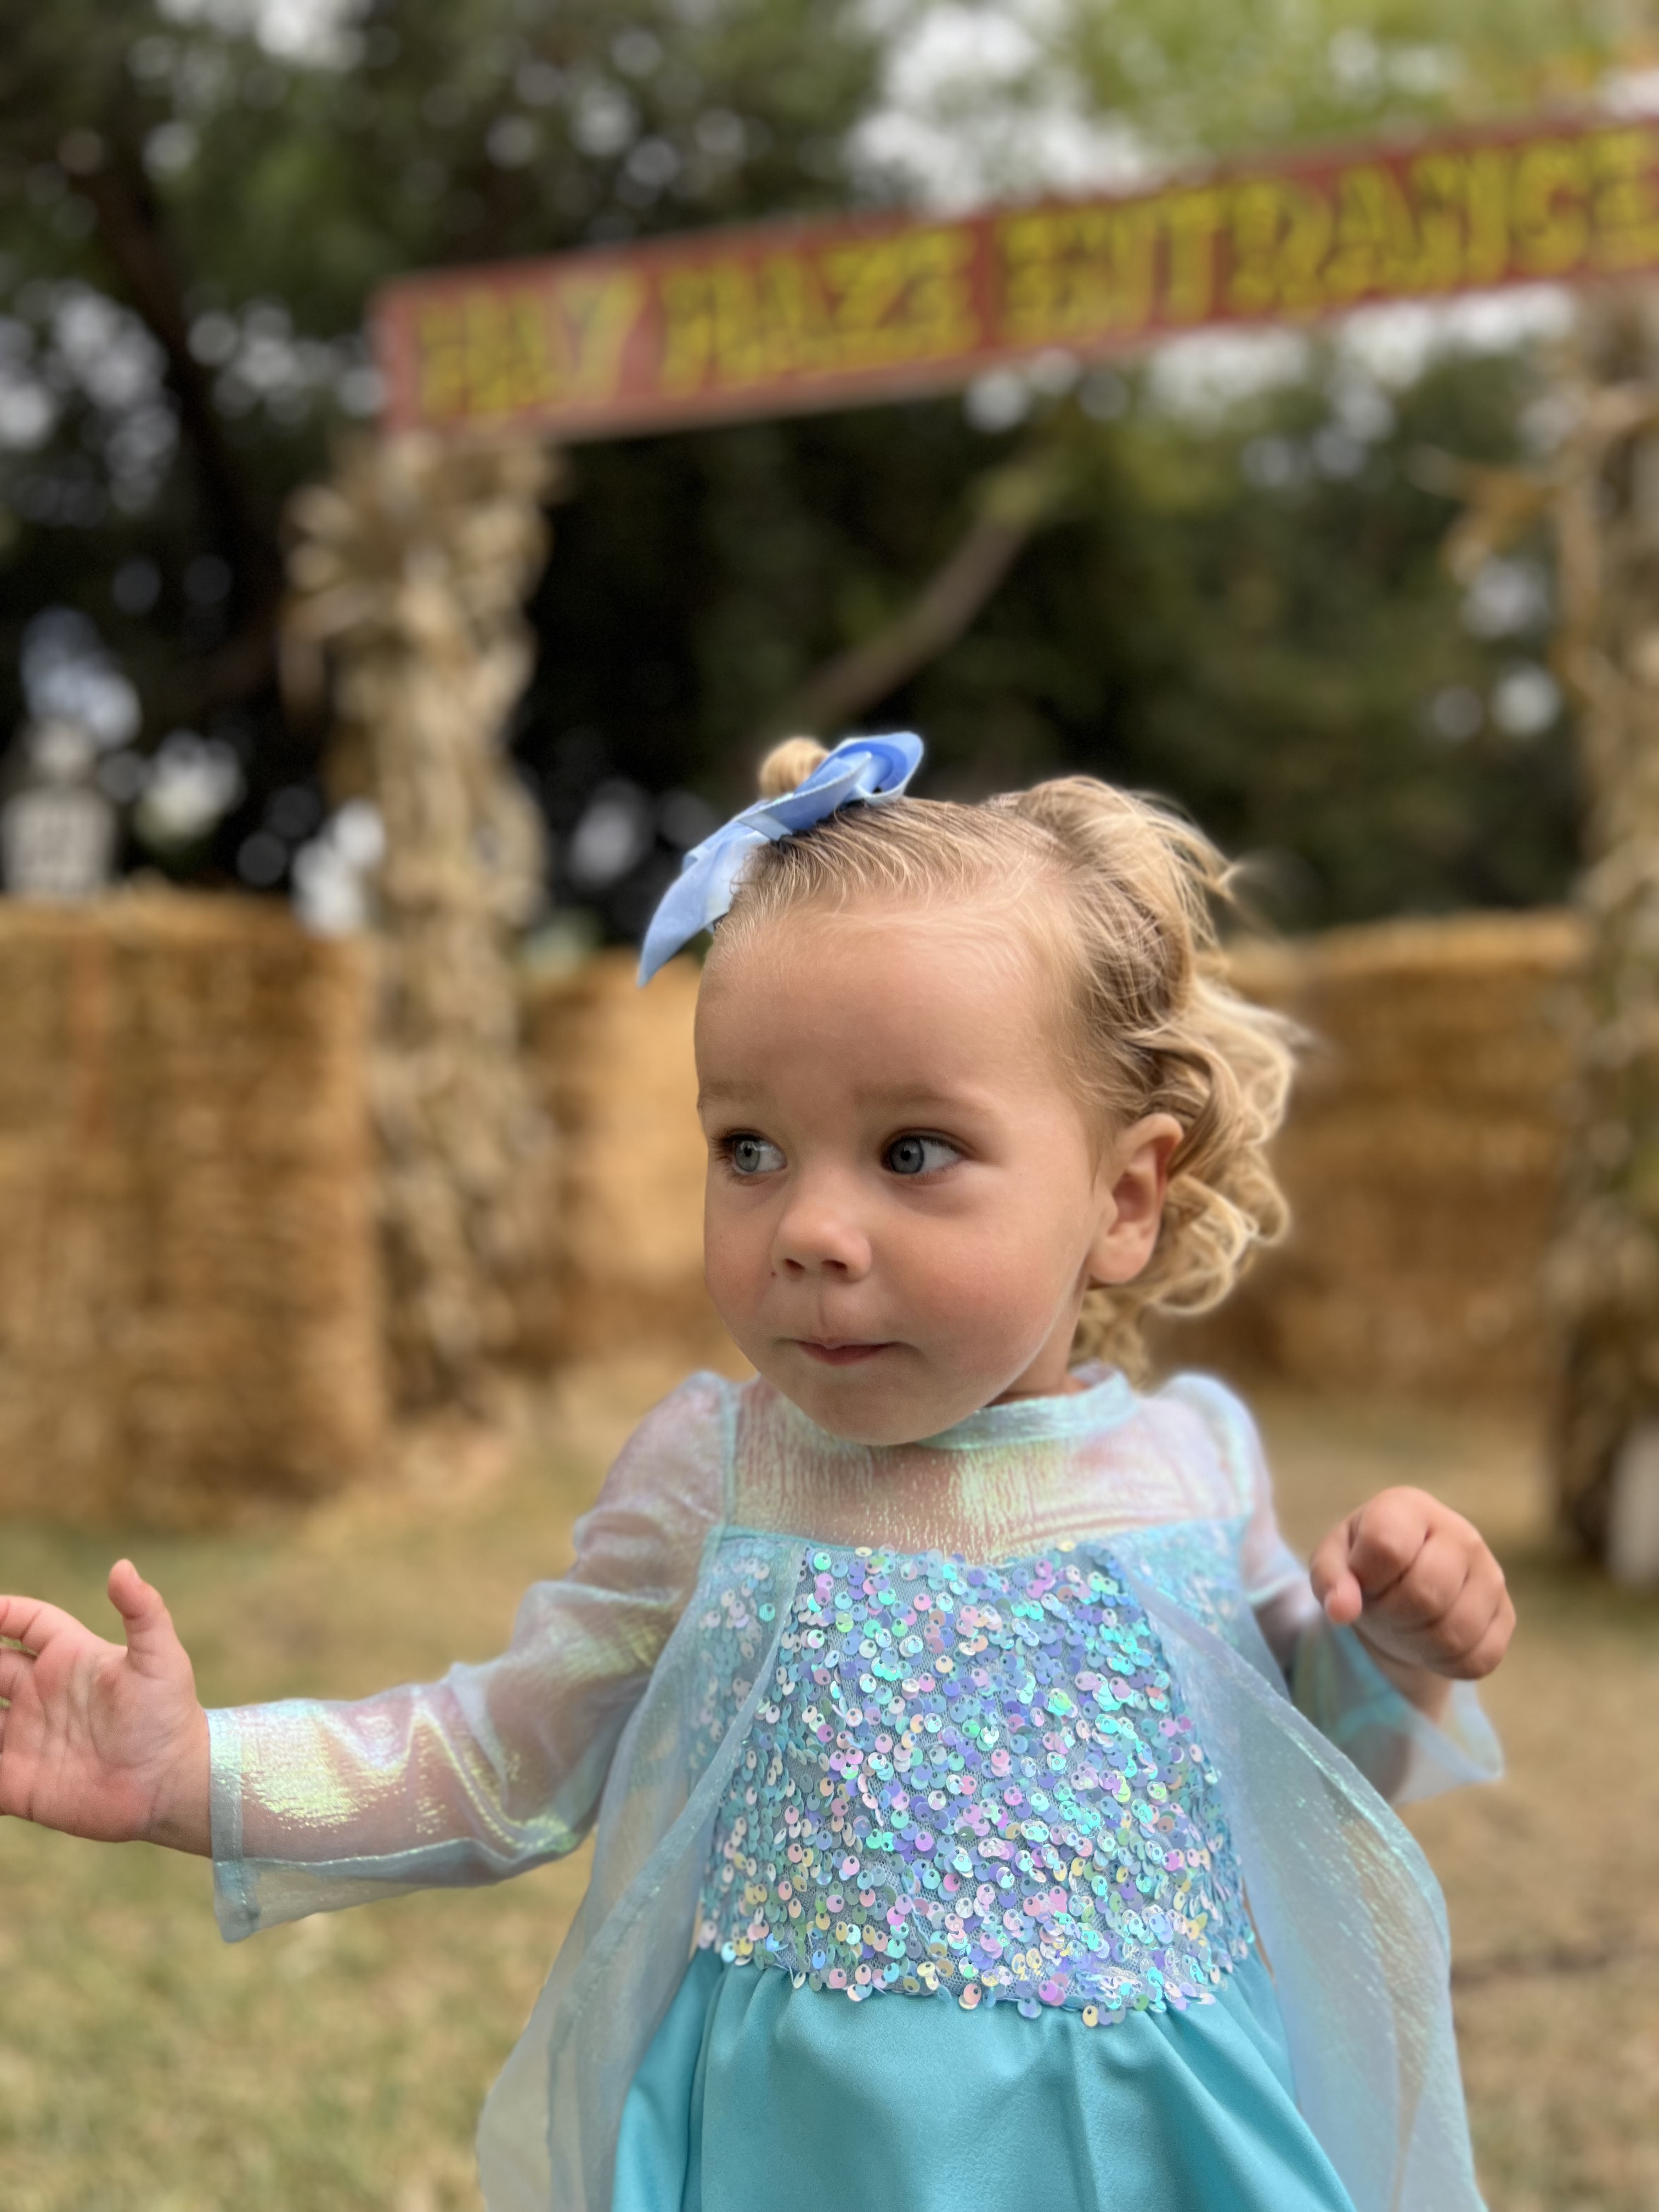
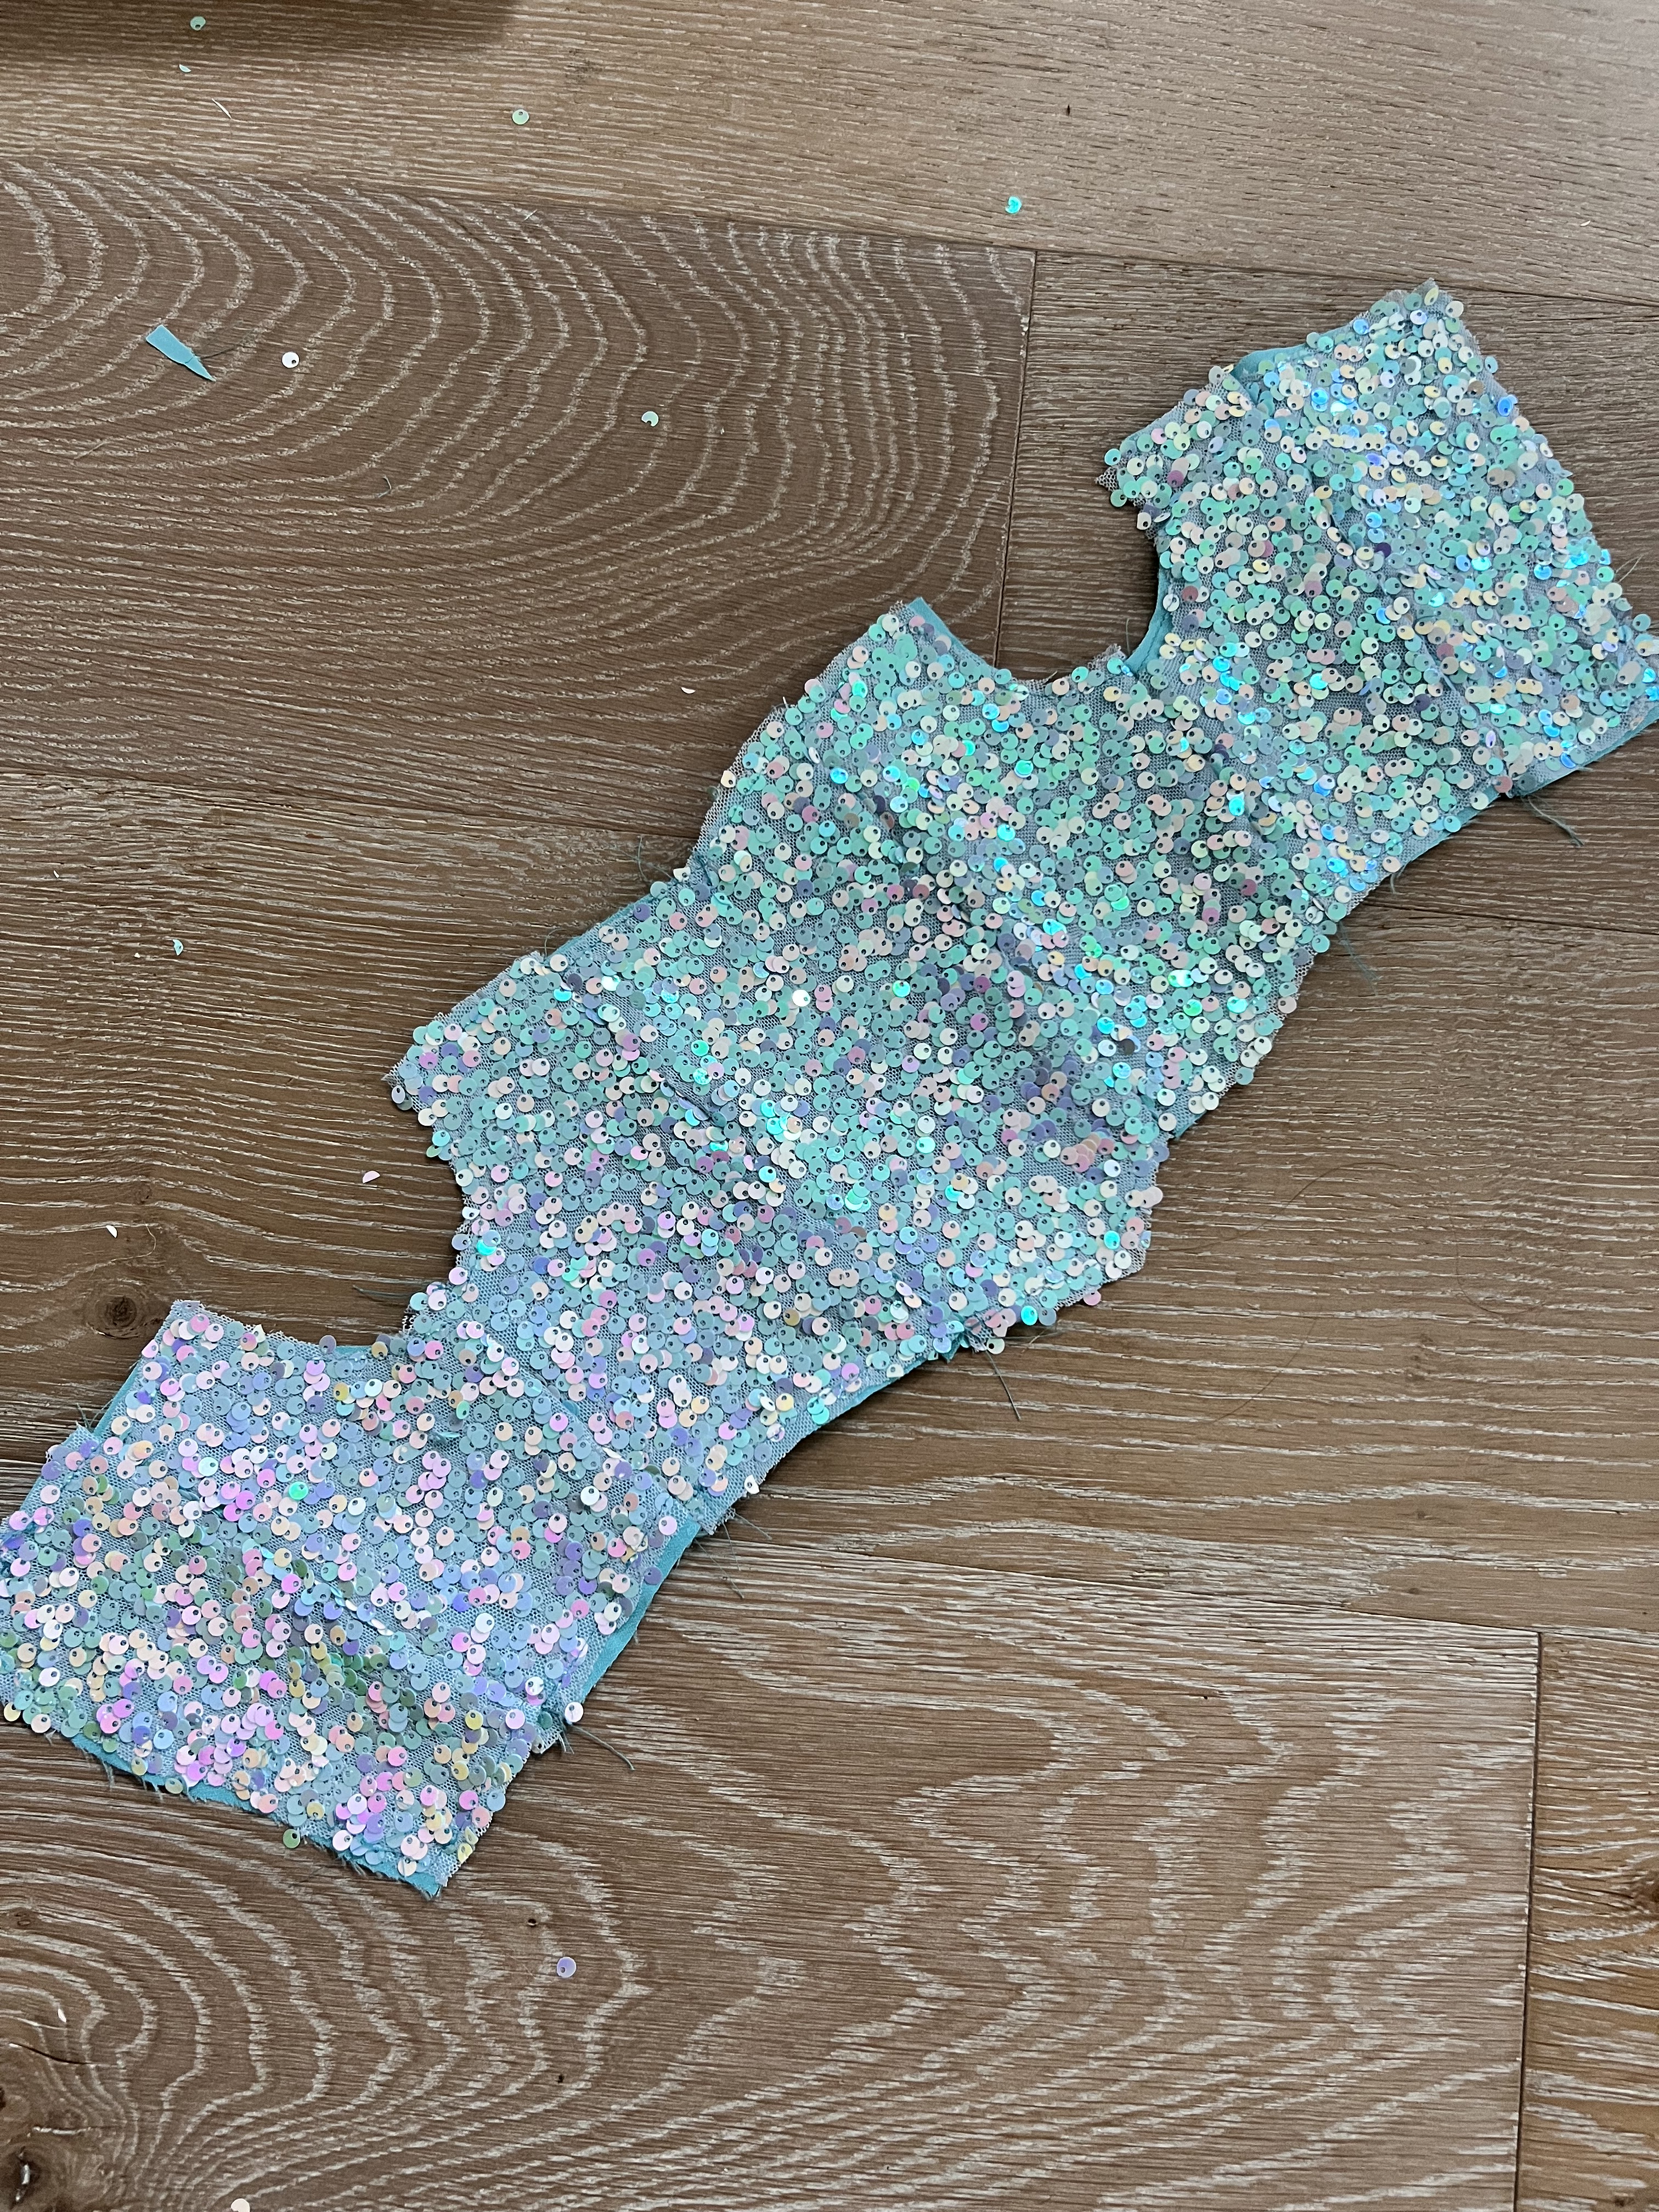
I used a really fun sequin fabric for the bodice, so I decided to not only line the bodice but also the sequin pieces. This provided more stability to the sequin fabric as it had some stretch to it. The pattern calls for one set of bodice lining pieces, but I cut two sets out.
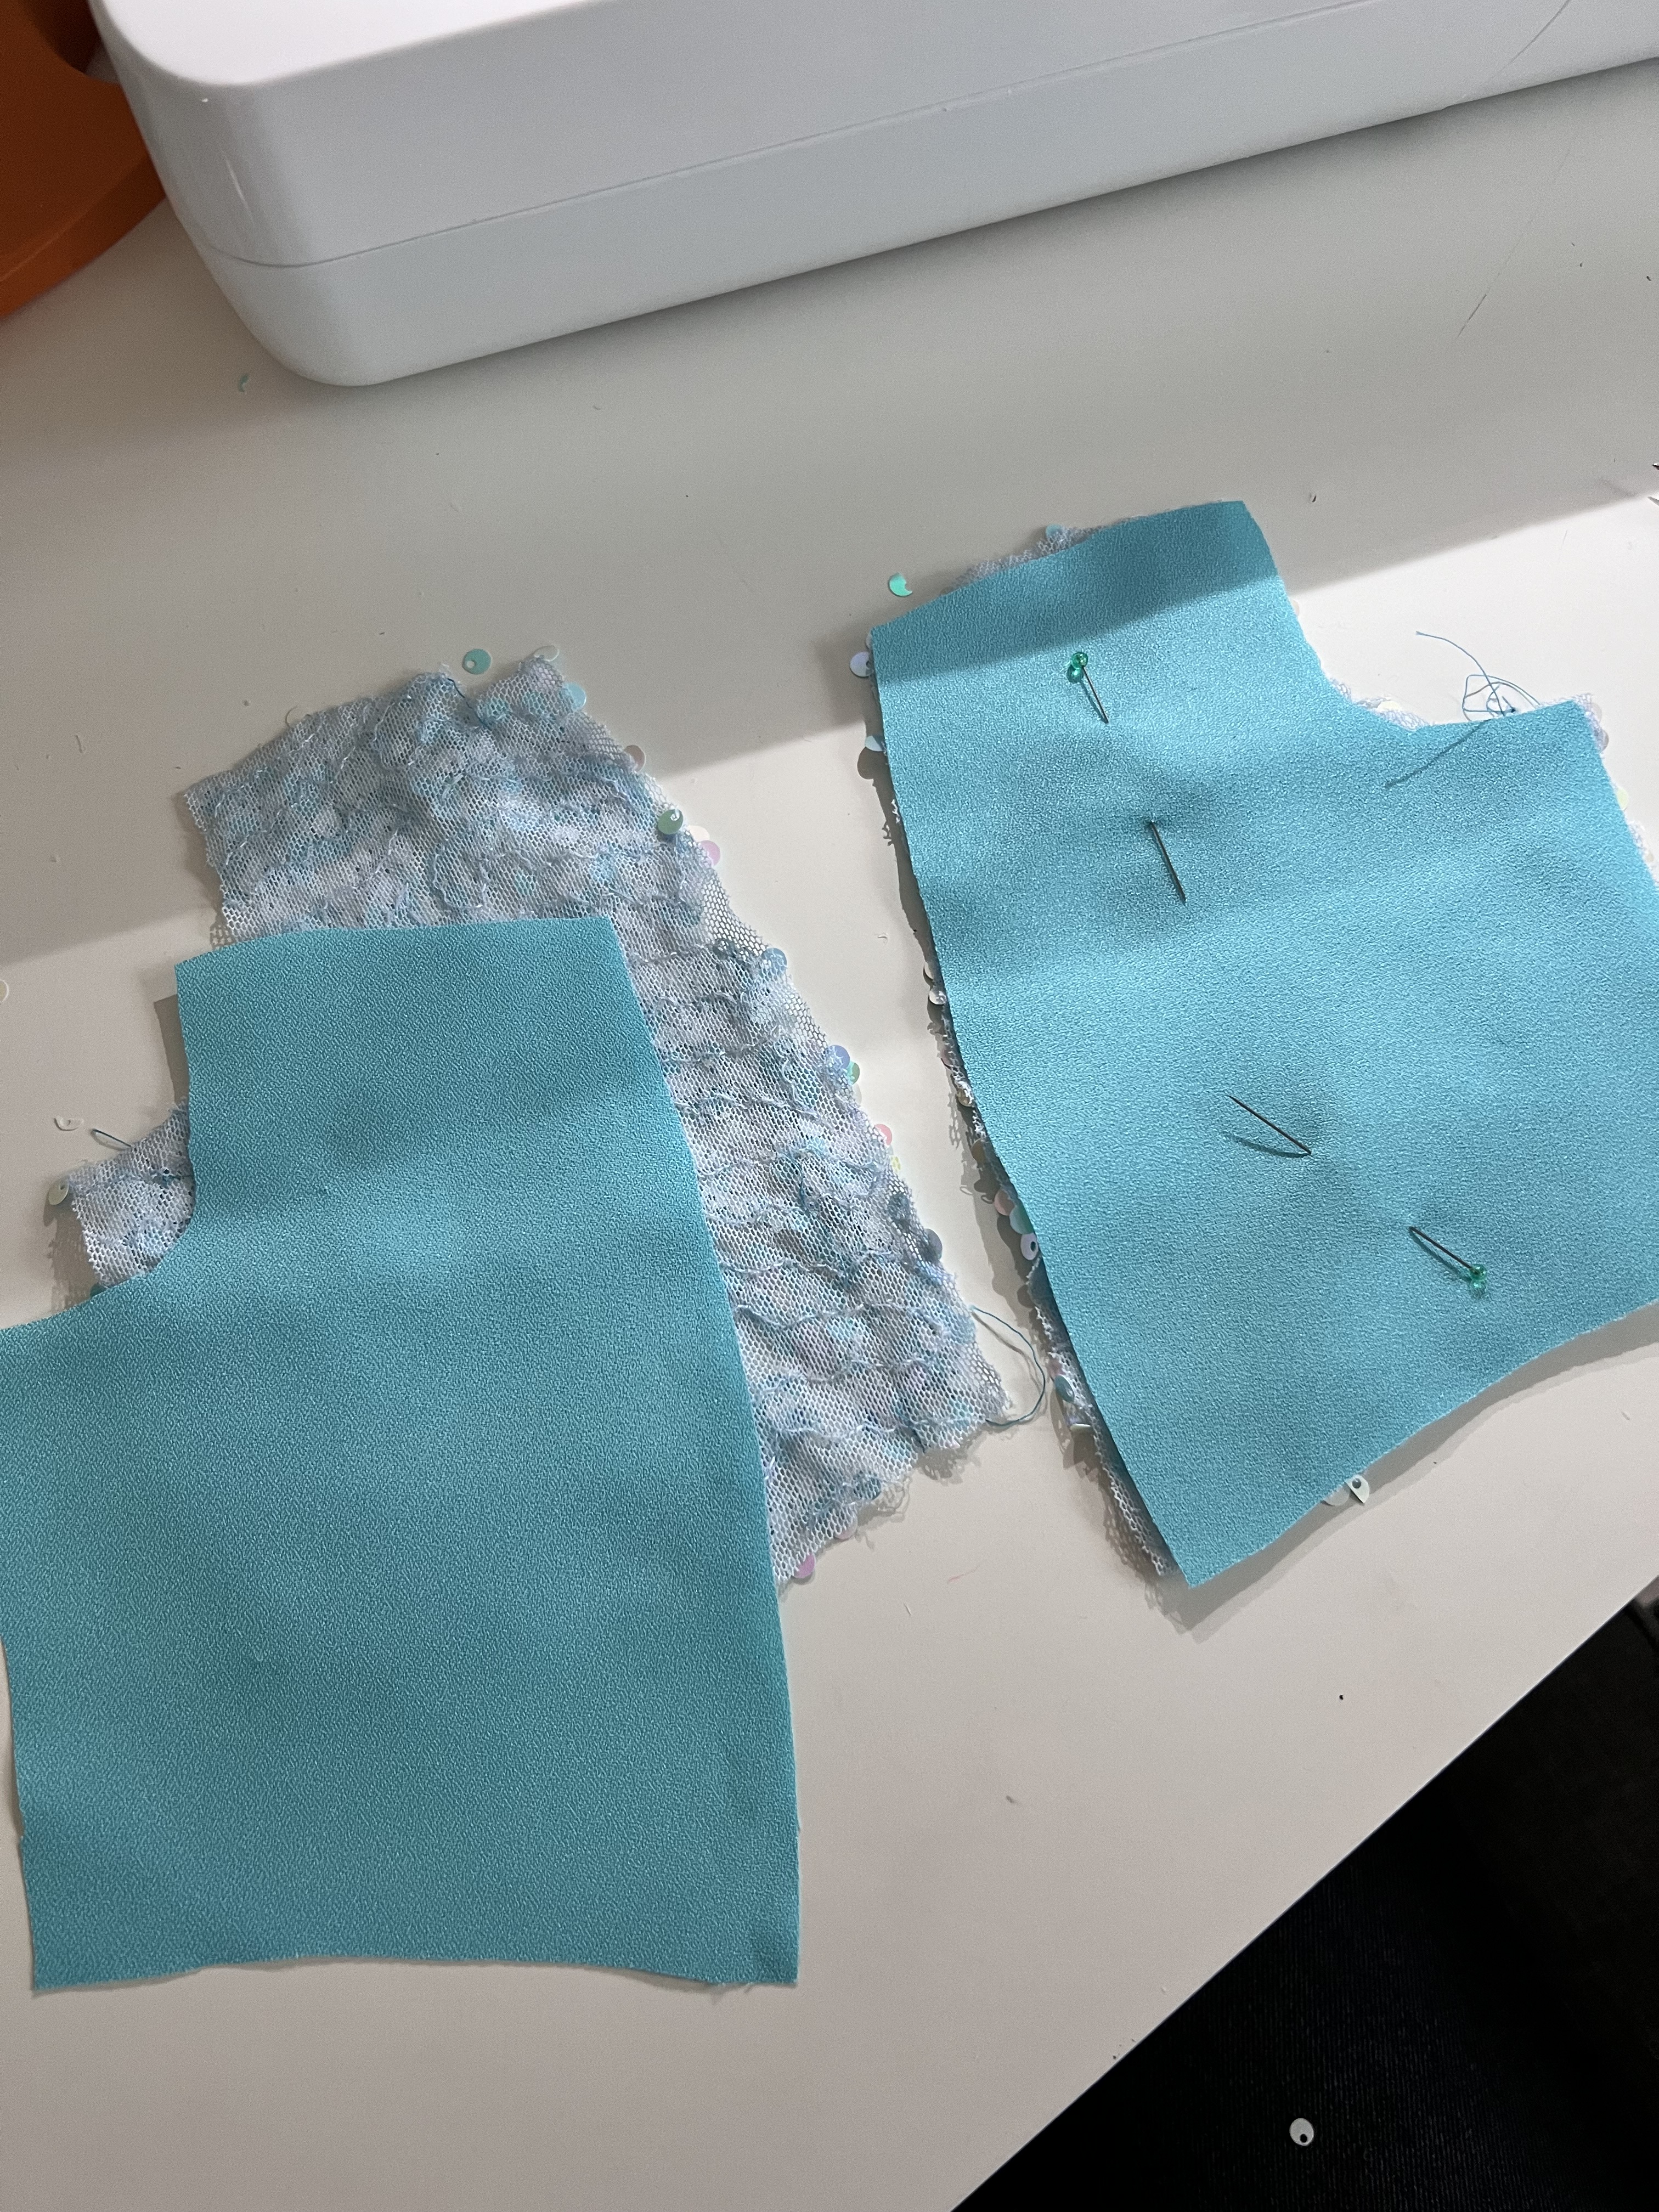
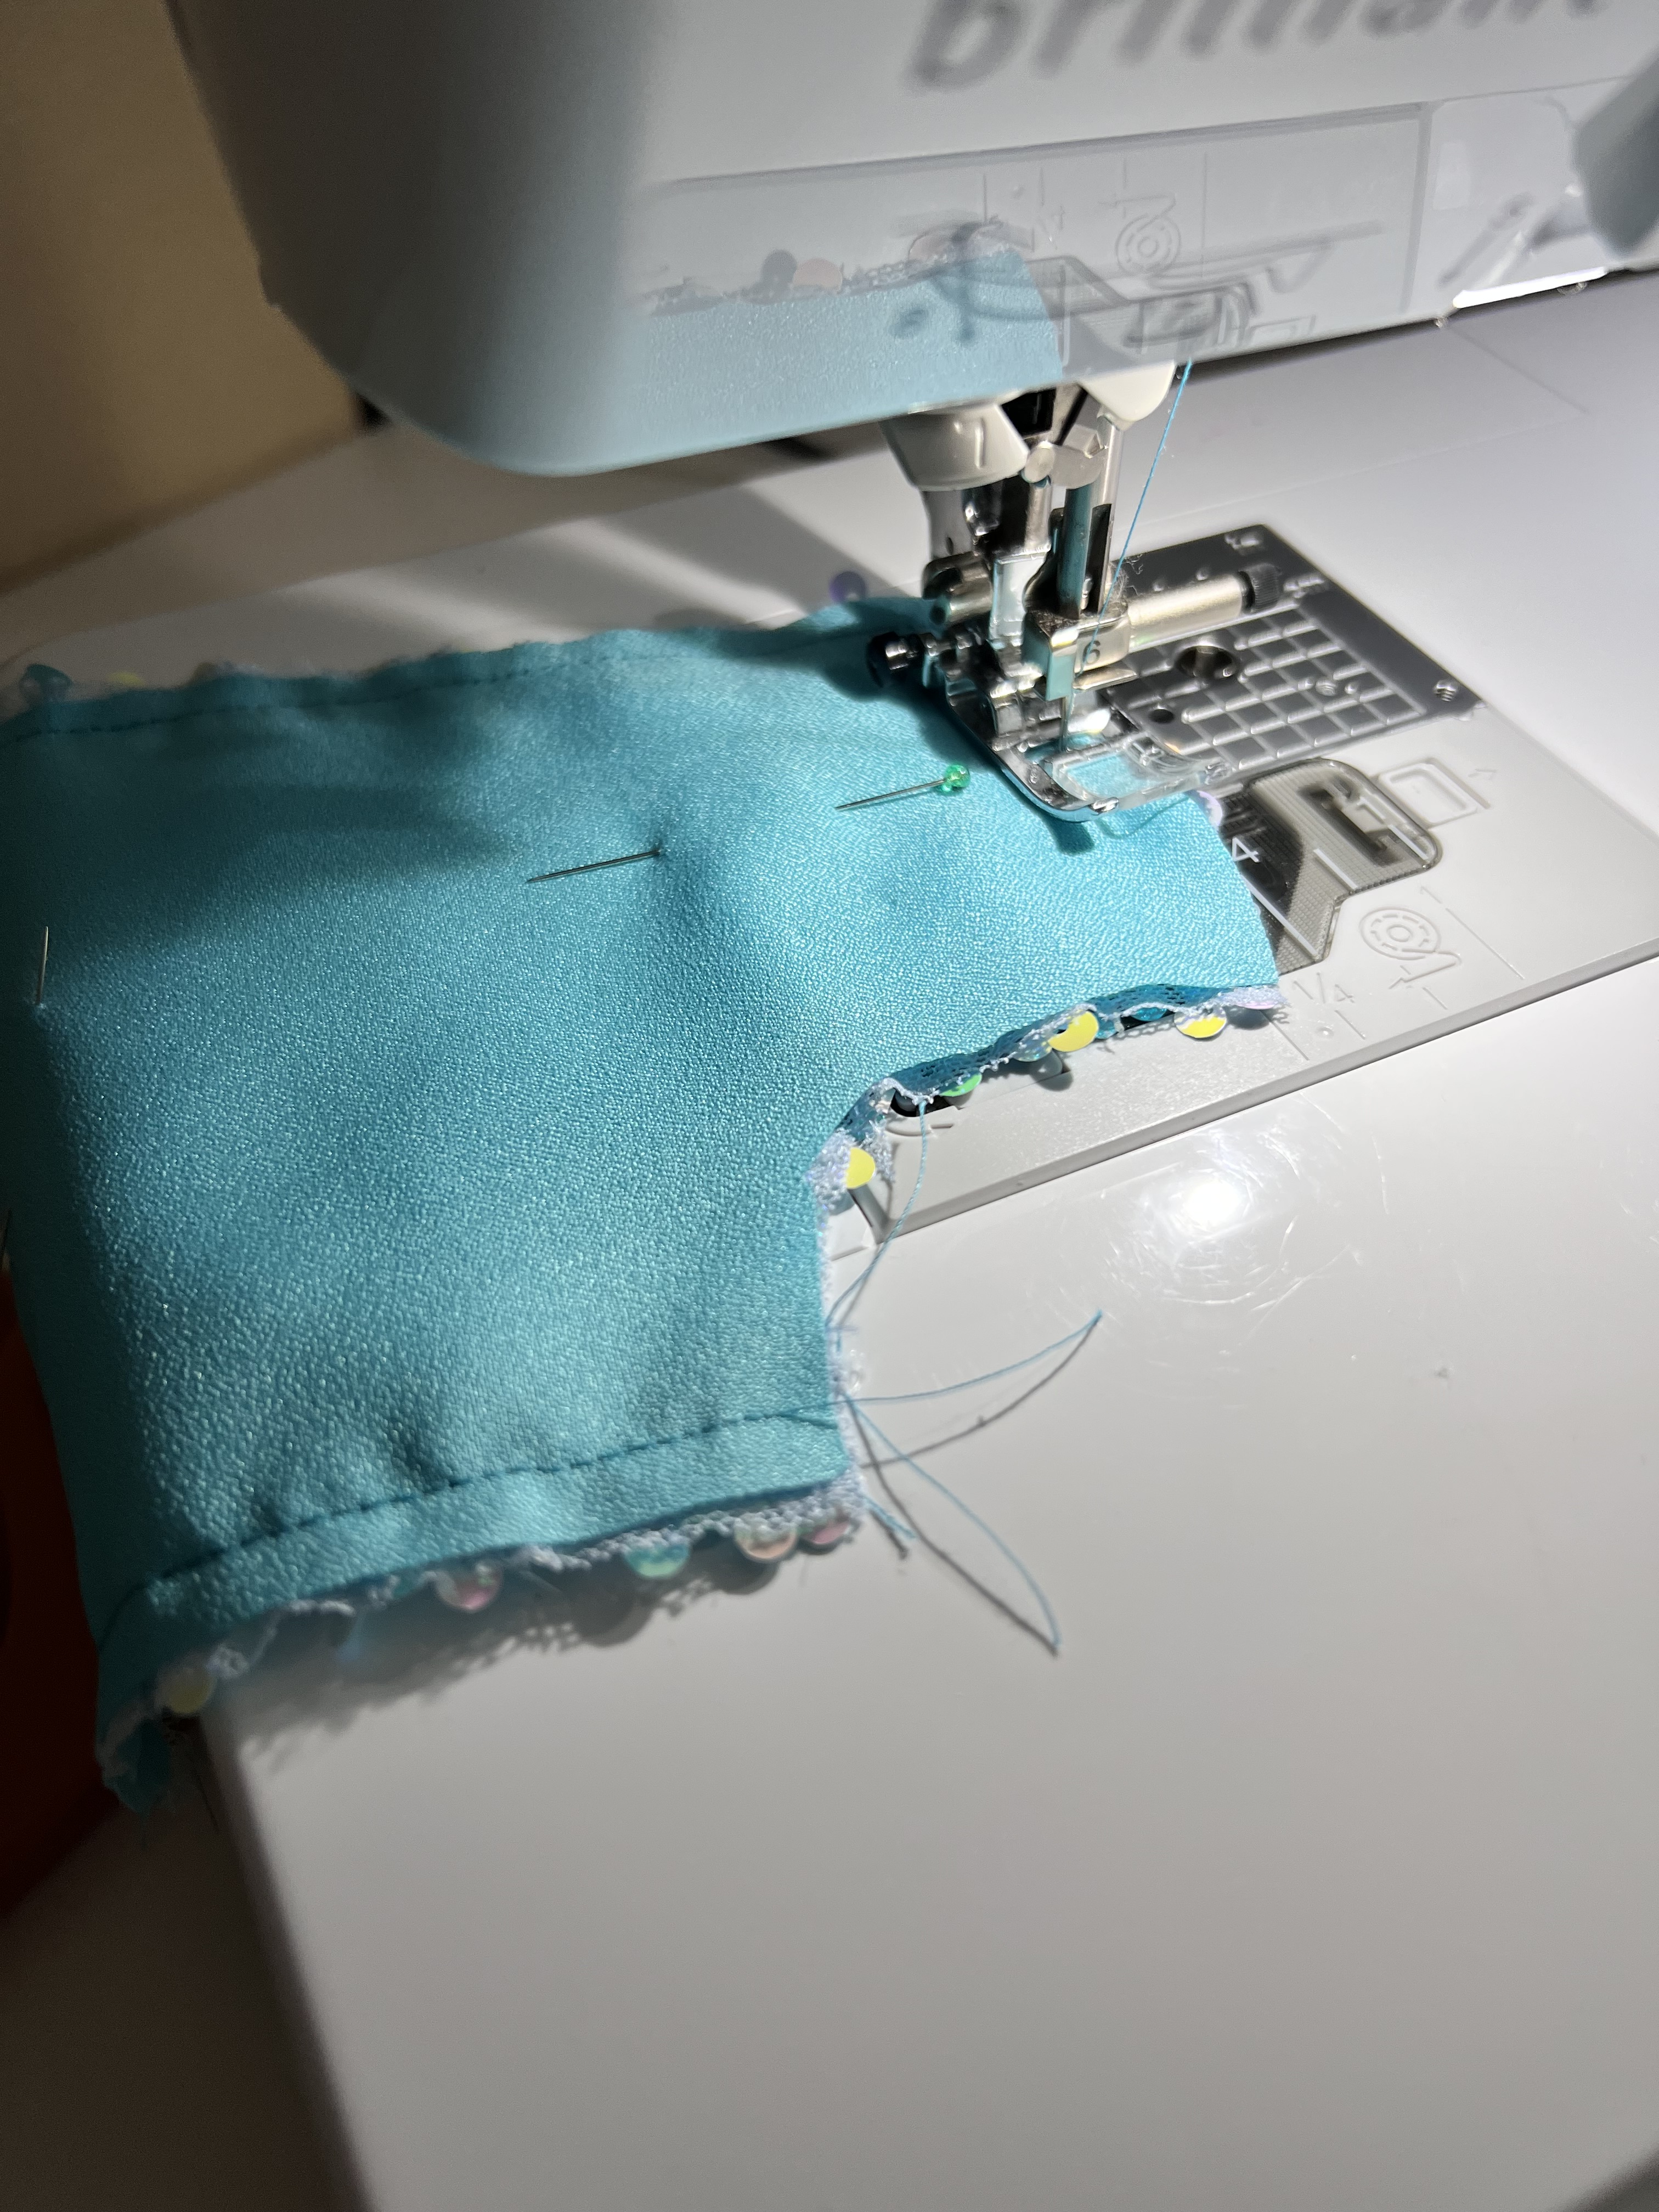
You can see here how I did this. I basted the first set of lining pieces to the sequin pieces individually first, and then I sewed the bodice together following the directions.
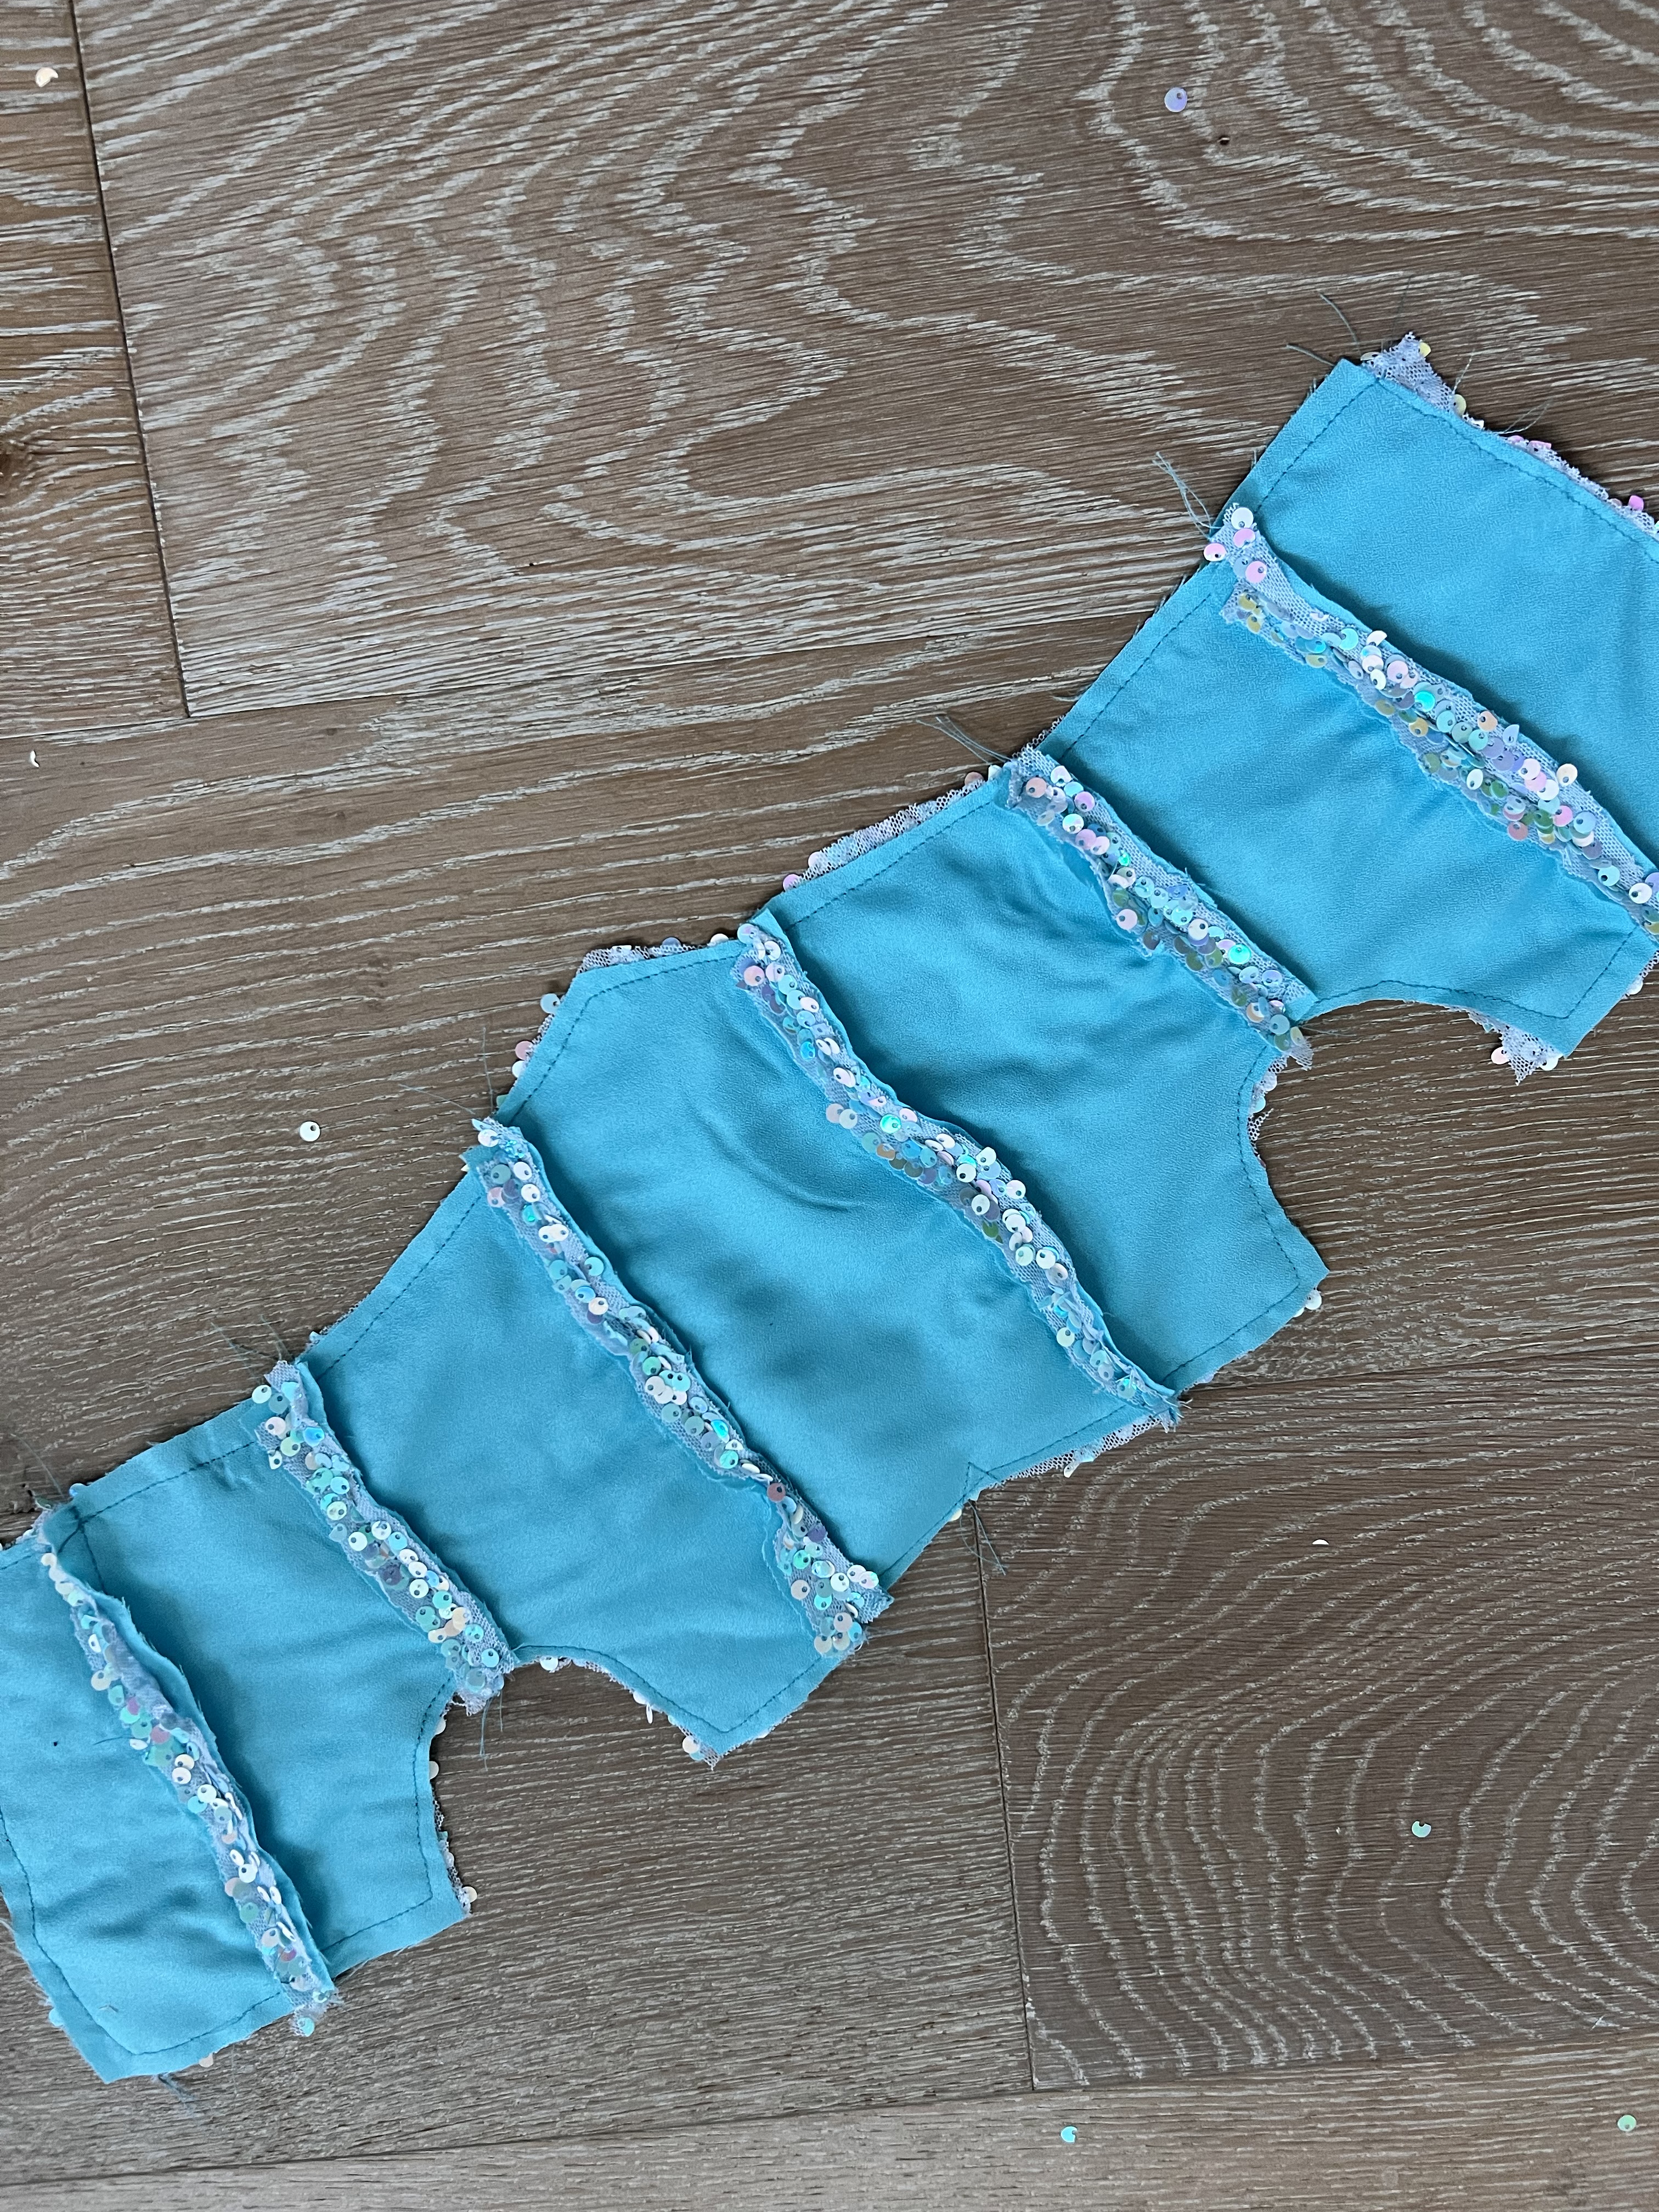
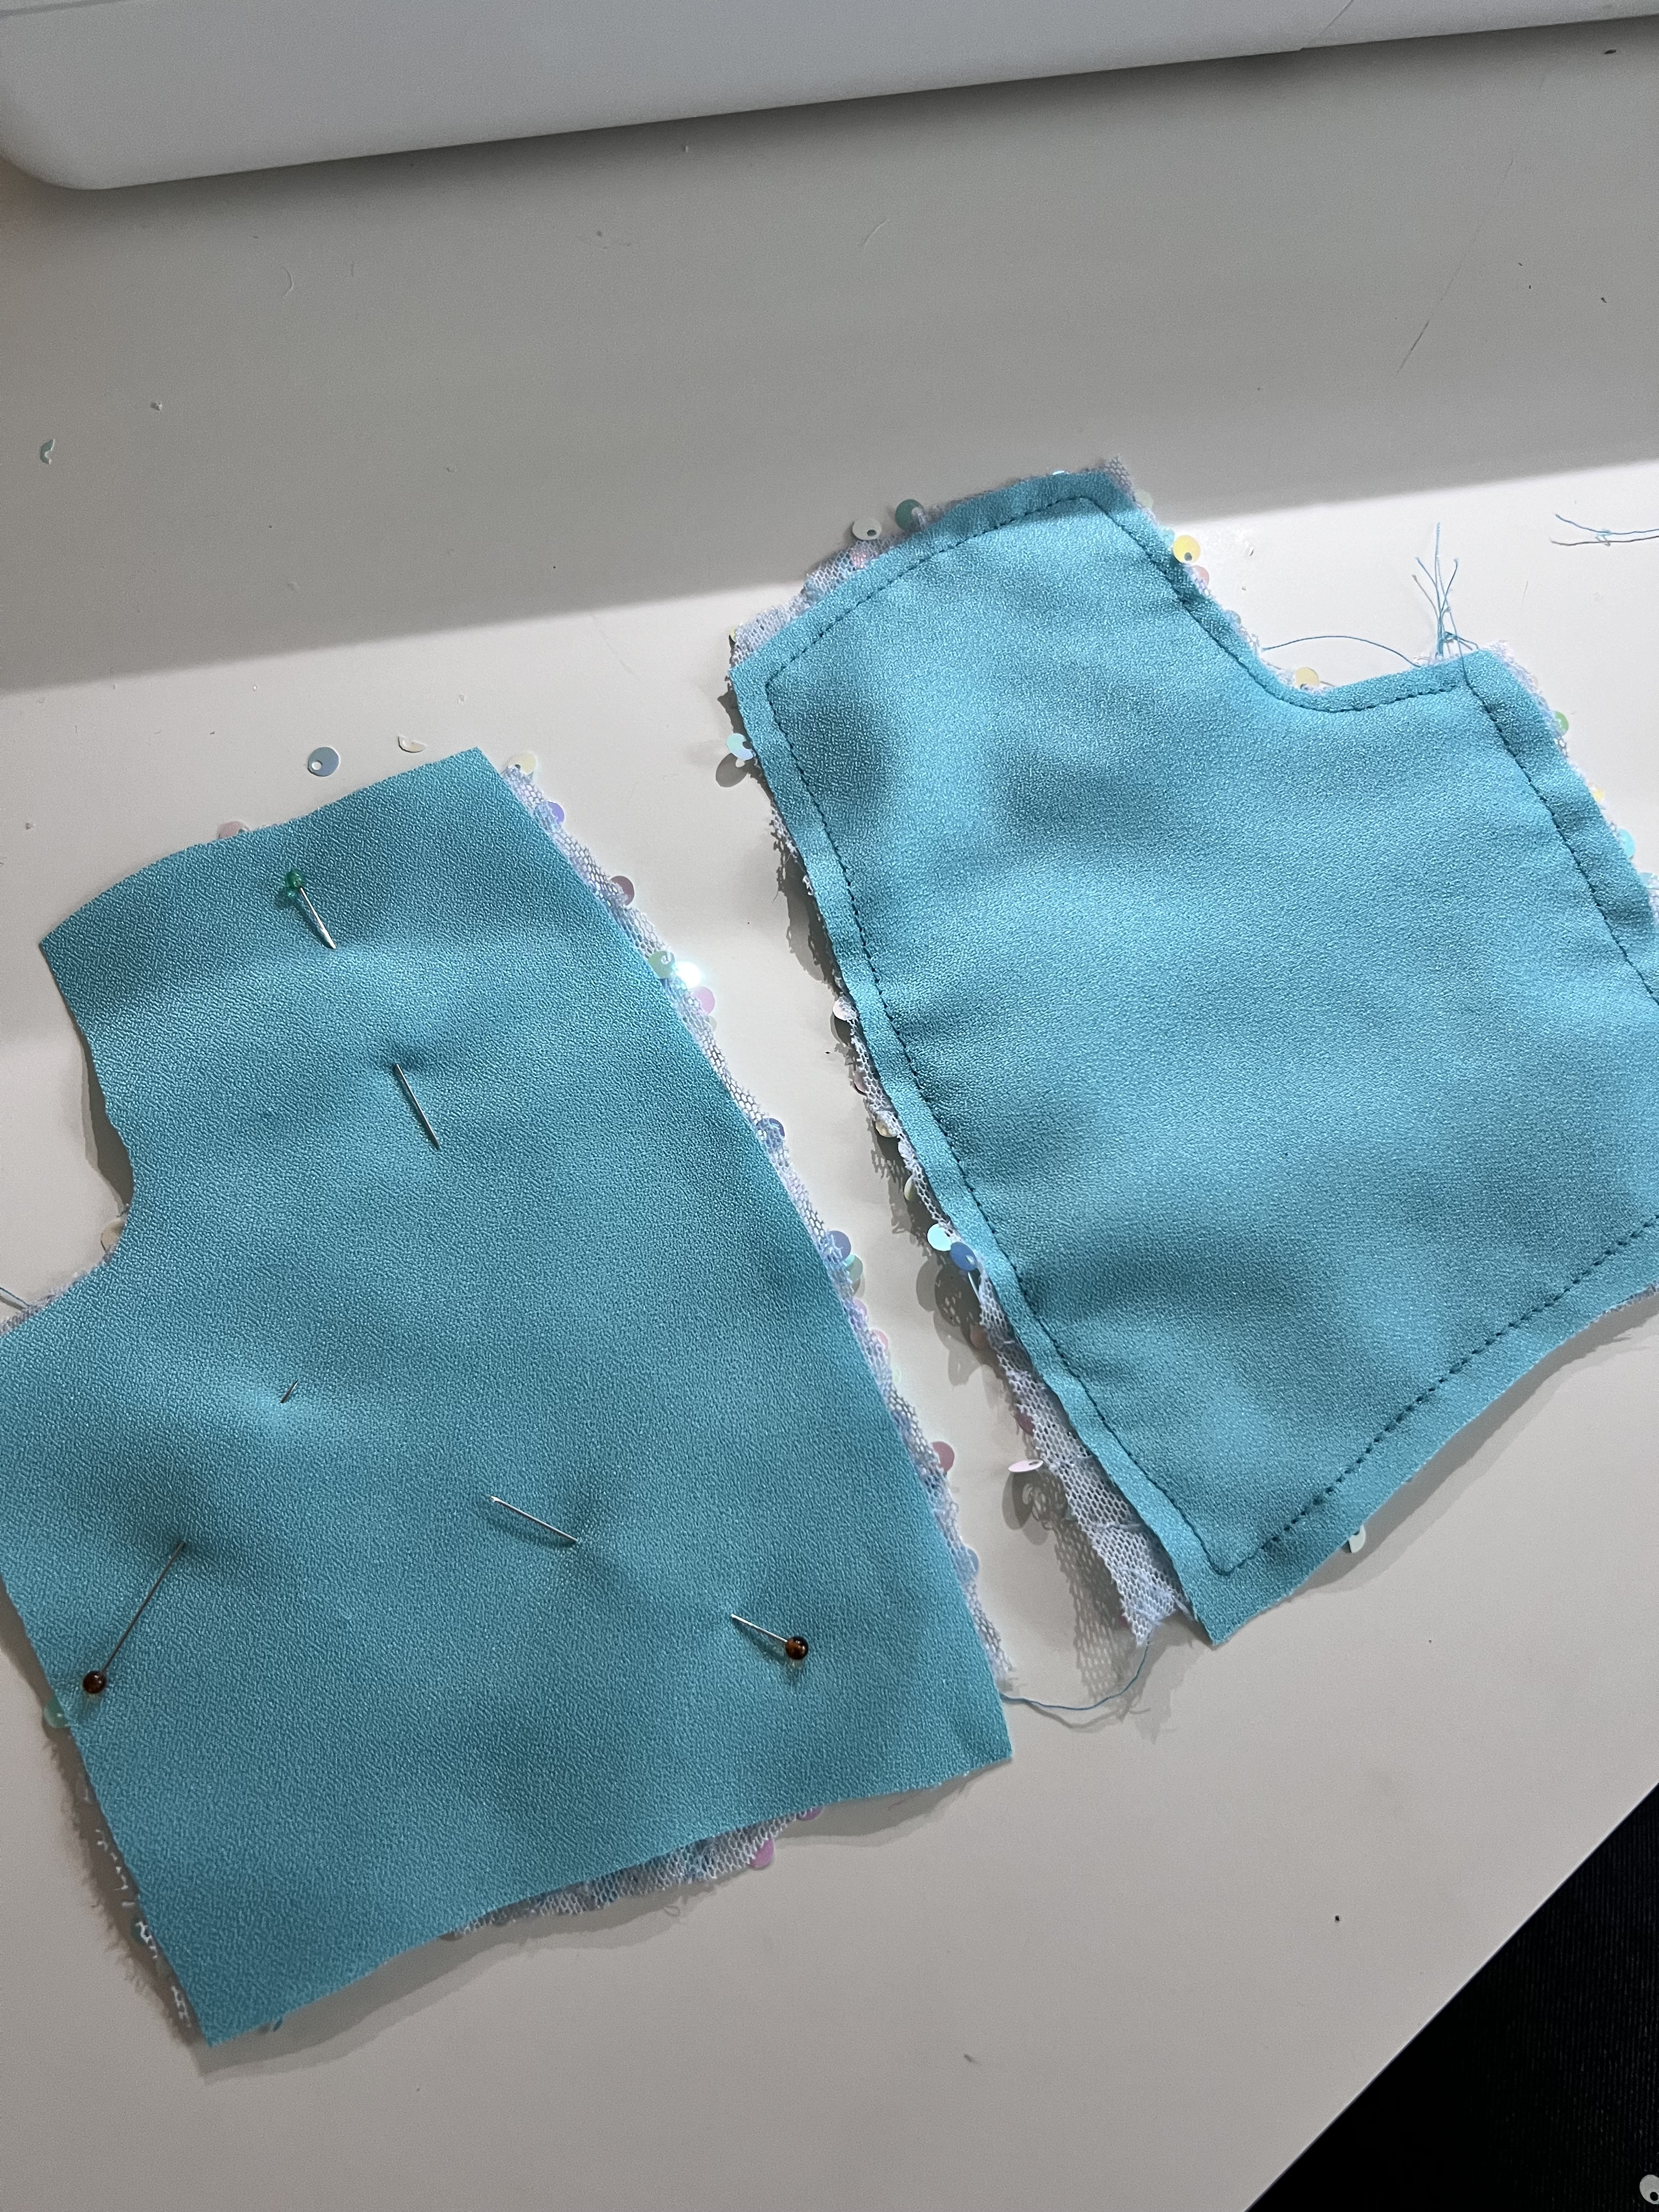
This is what my bodice looked like after the pieces were sewn together. From here you can follow the rest of the pattern directions exactly to finish your Elsa dress.
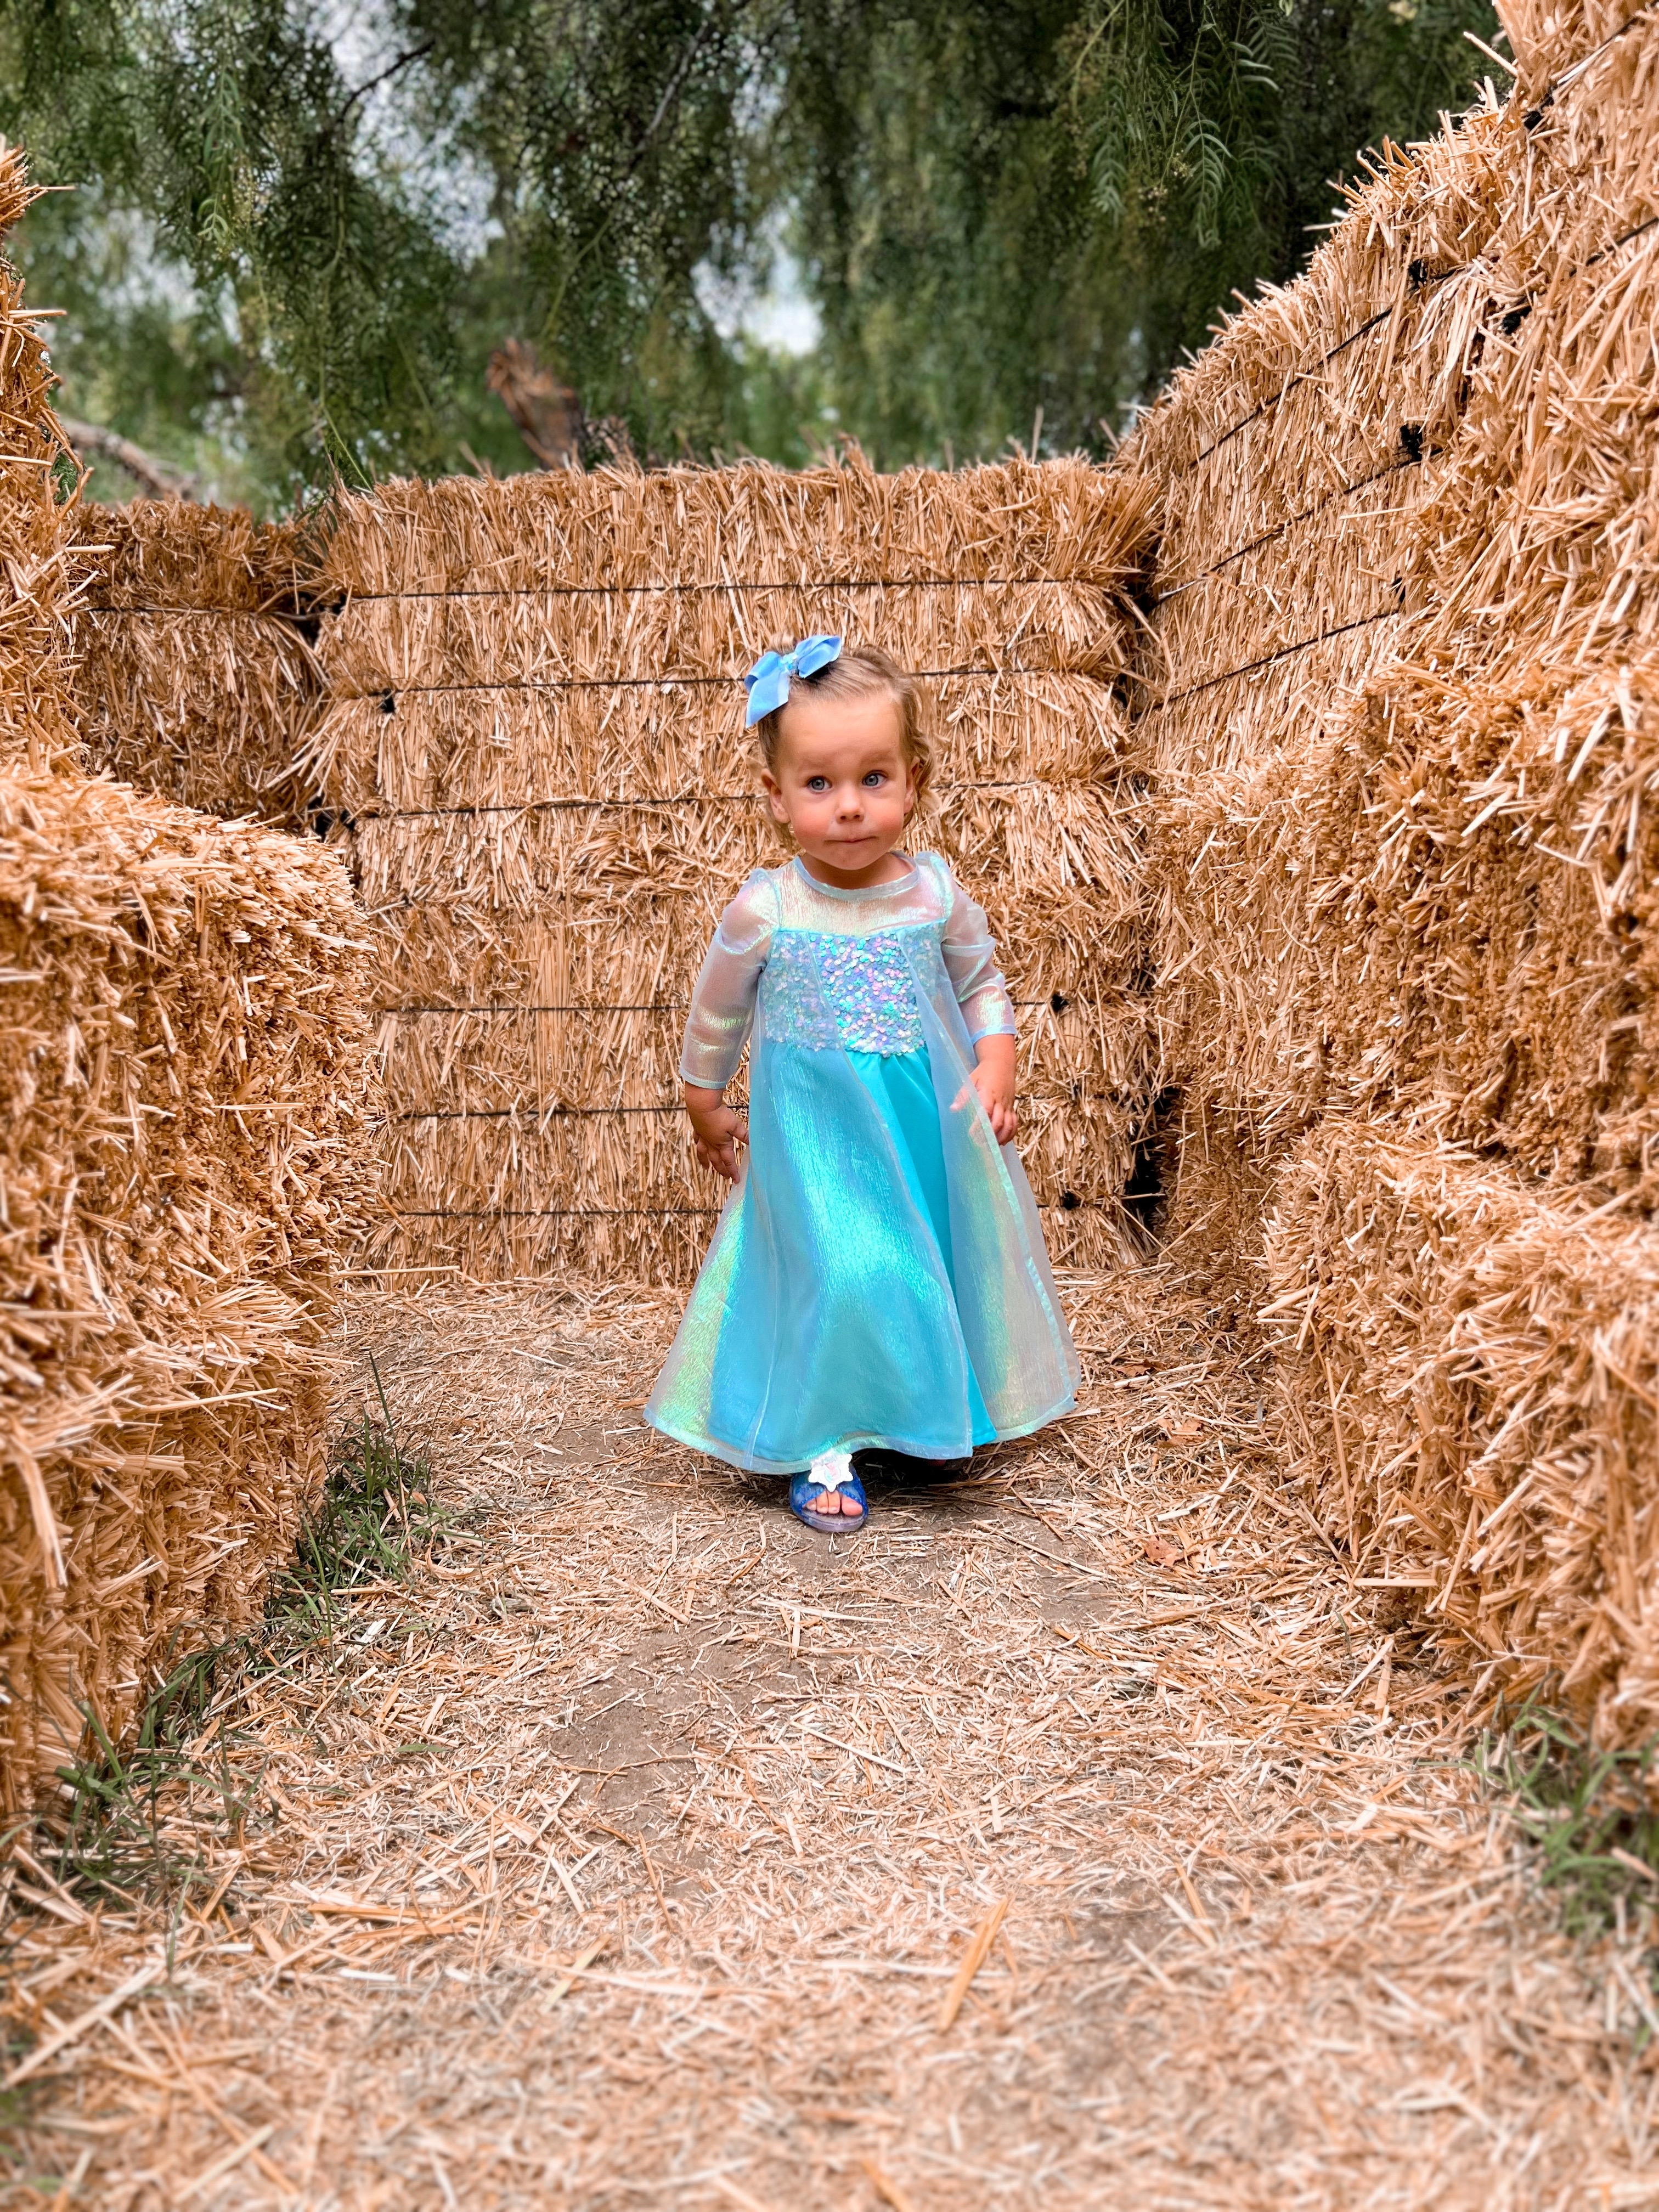
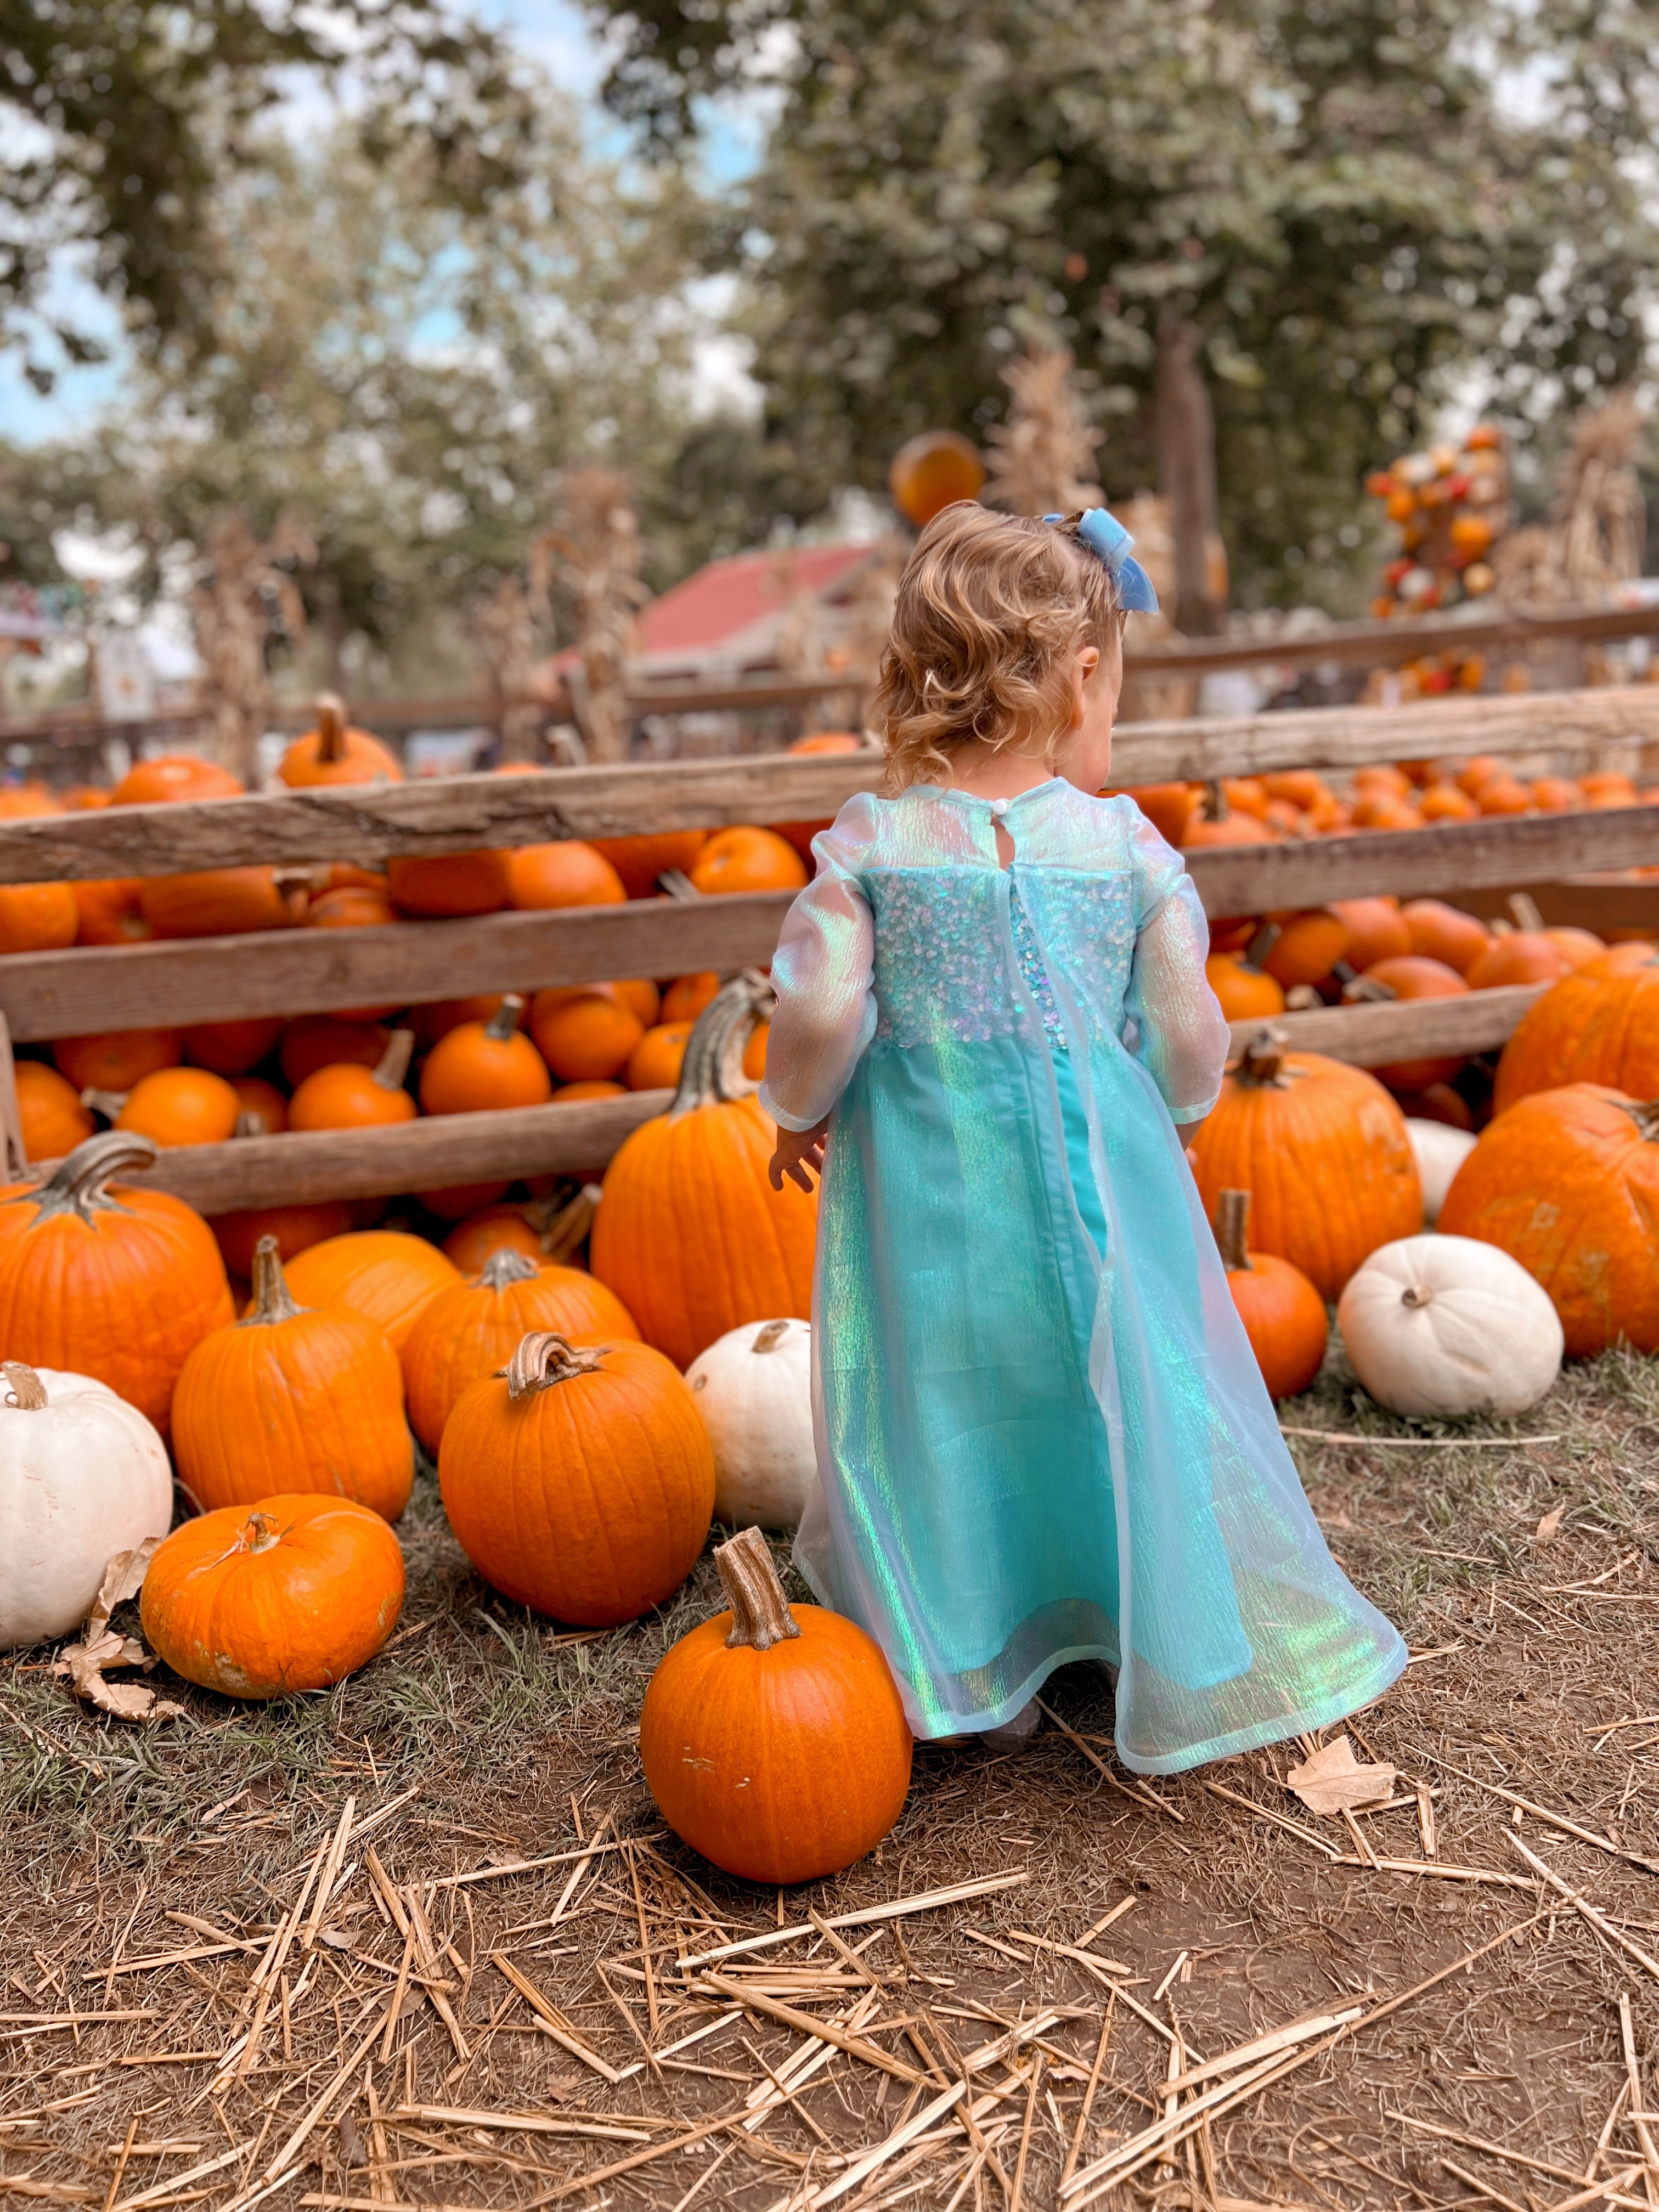
The fabric I chose is from two different stores. The sequins and outer shell iridescent fabric was found at Hobby Lobby, and the skirt/lining fabric was found at Joann’s. I love this slightly more turquoise version of Elsa. My daughter is thrilled with her cute costume, too. She can’t wait to go trick or treating. We had the Elsa shoes on hand already, and I found a blue bow we already owned and wrapped some of the extra sequin fabric over the middle to make it match perfectly.
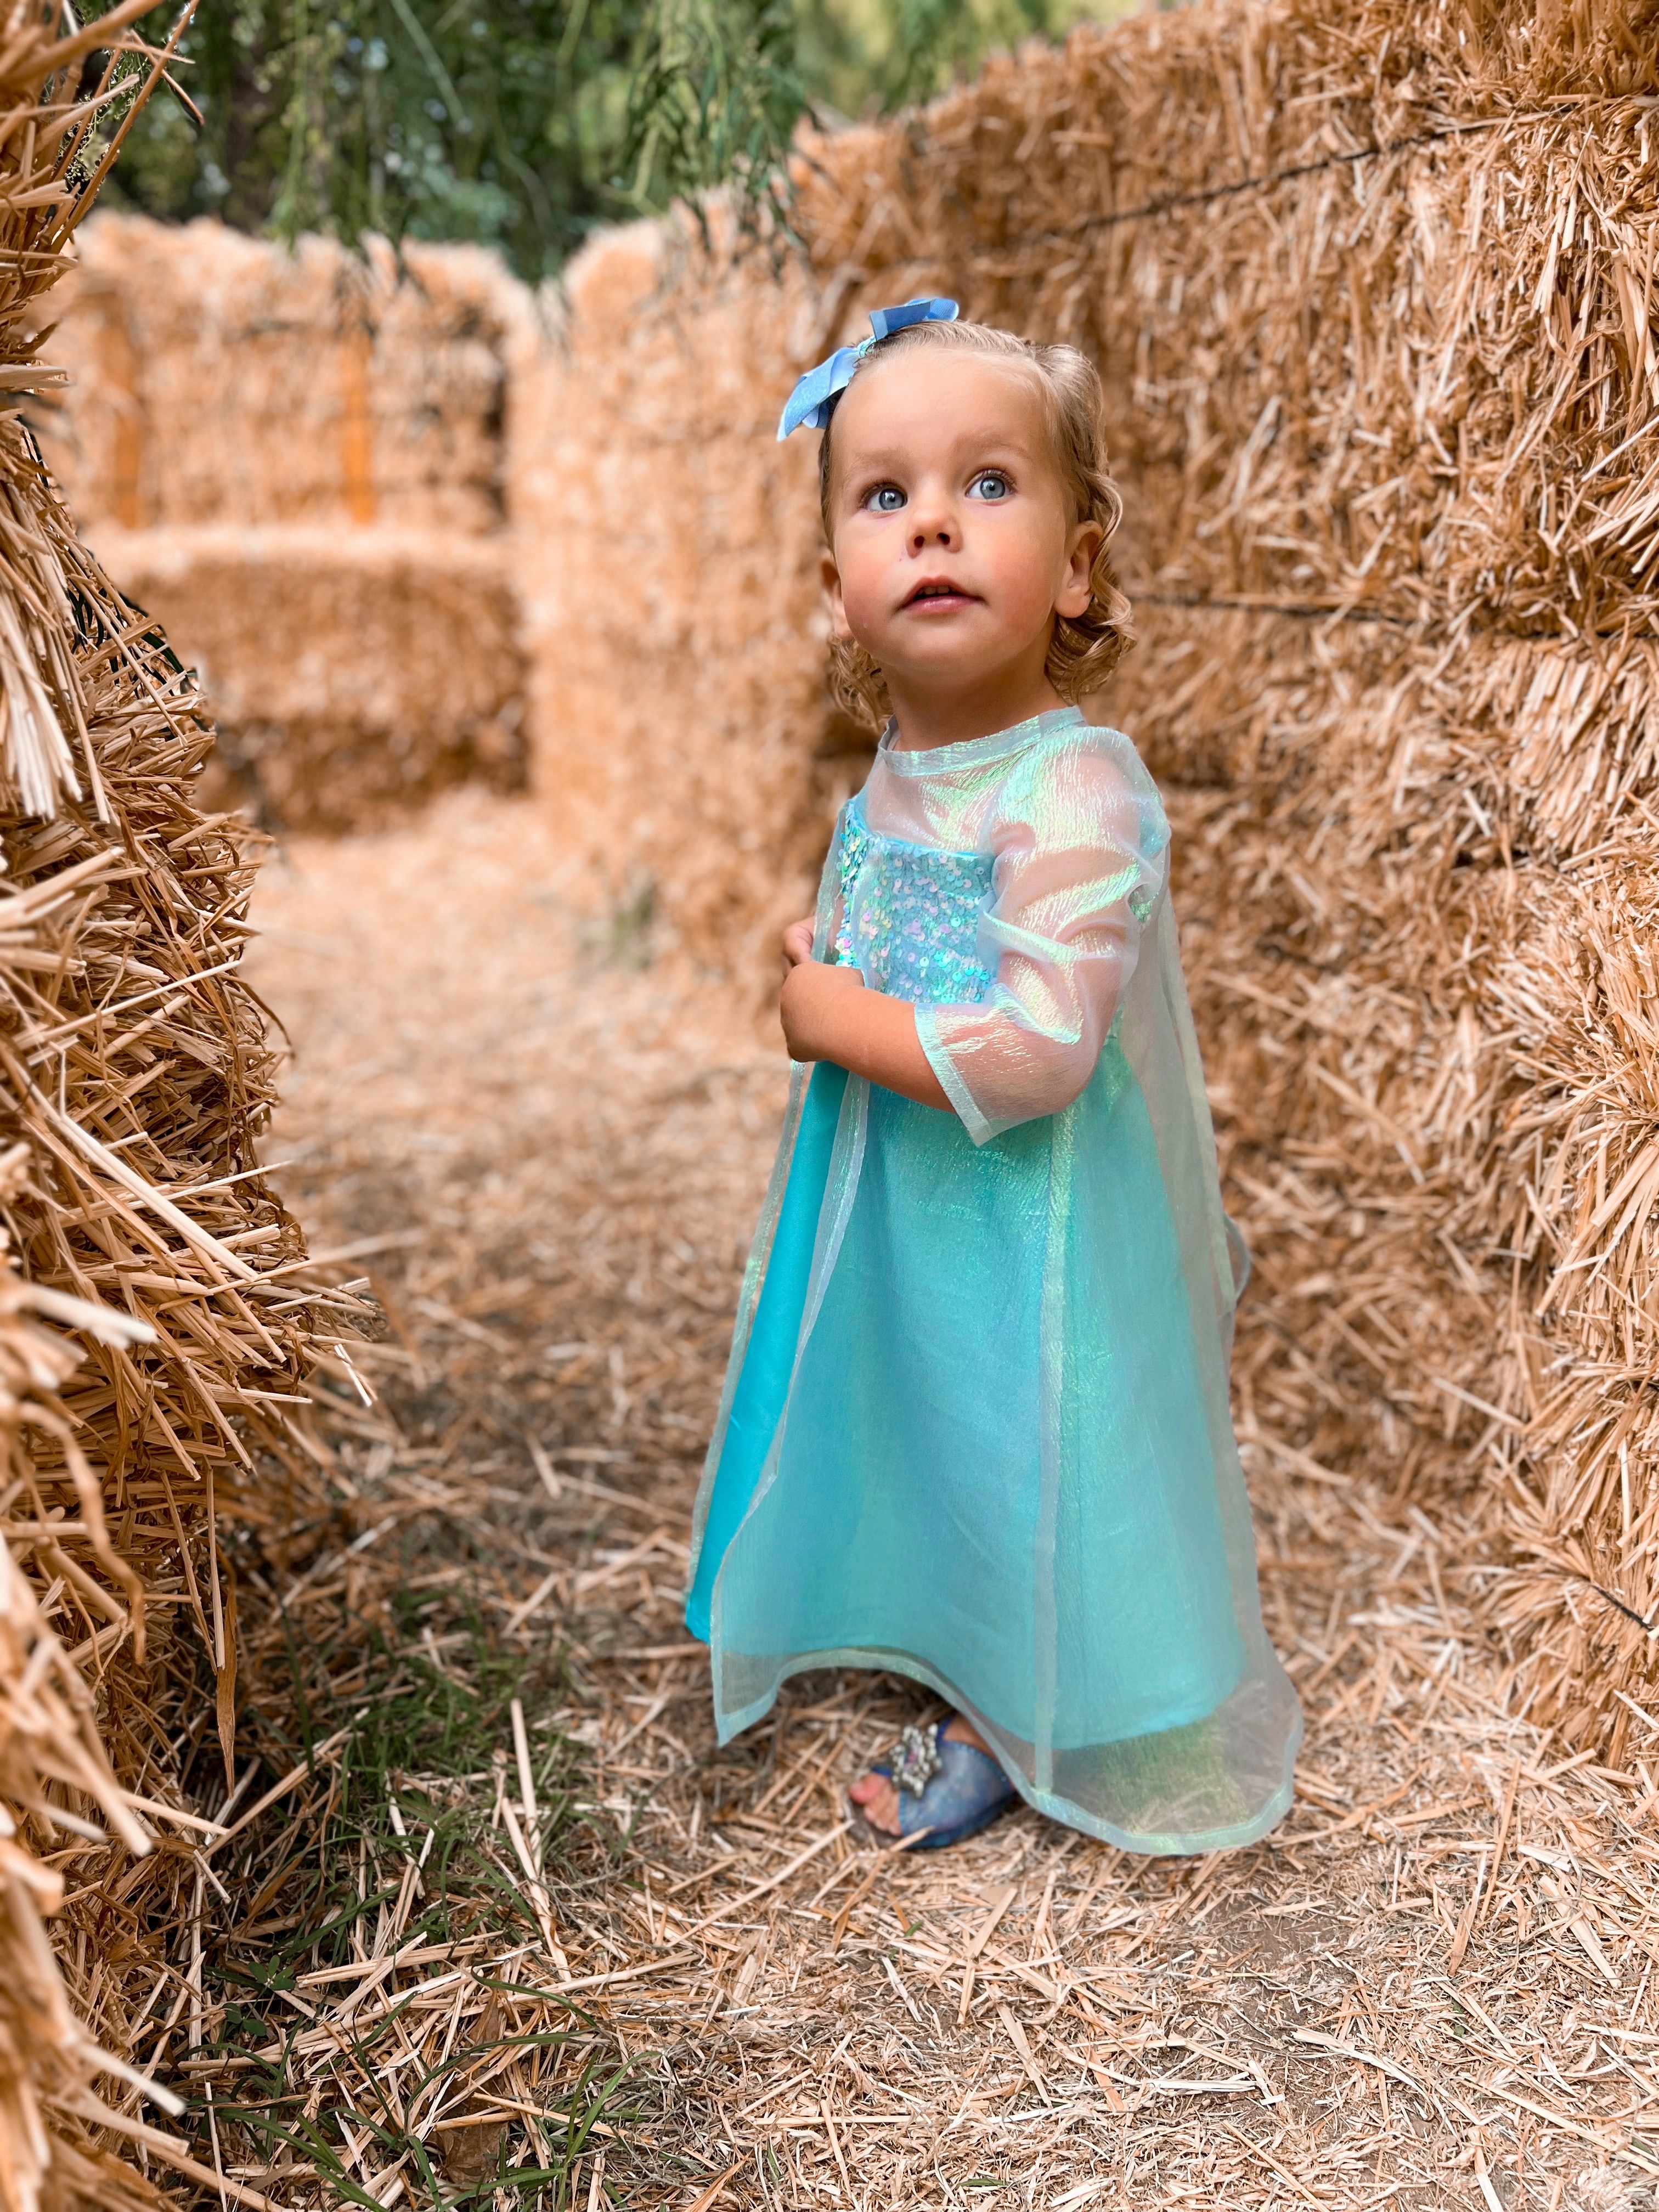
This was a really fun project to sew. I found it a little challenging just having to resize the pieces and figure out how they go together, and lots of toddler try ons getting the fit just right. The end result was worth it all, and only one broken needle (thank you sequins). Are you planning to make any Halloween costumes this year? Tell me in the comments!
Happy sewing!!


Leave a comment