
Hi everyone!
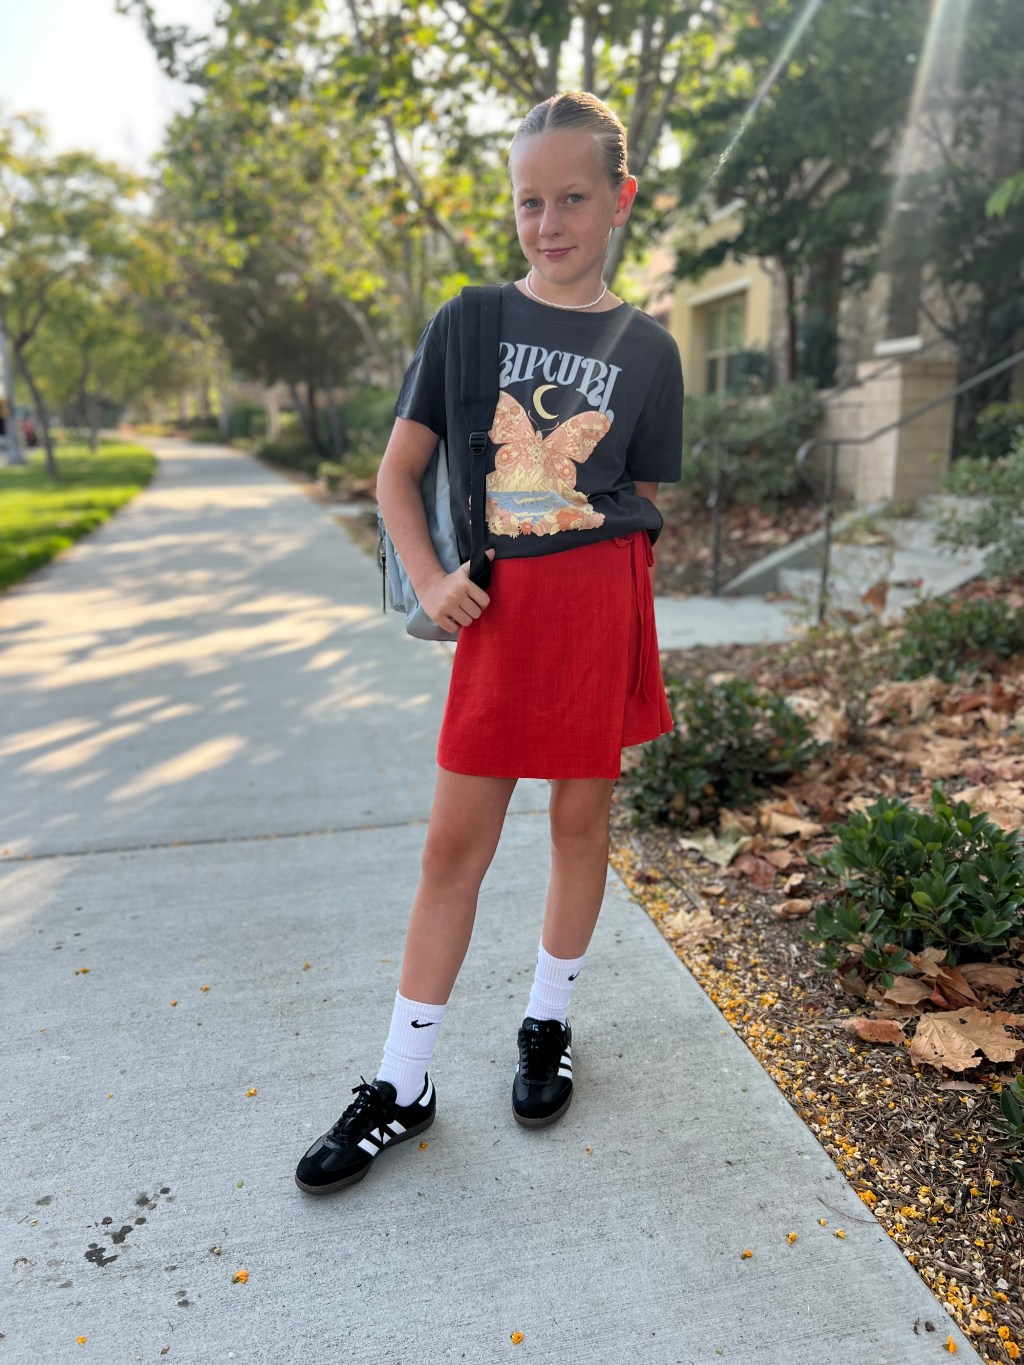
I’m back with another fun sewing tutorial for you with Baby Lock Sewing! My tween daughter has been loving sewing with me this summer, so we thought it would be fun to make something for her to wear back to school. She loved the idea of making a skort. We searched through the very few patterns offered for girls skorts, and couldn’t find exactly what we wanted.
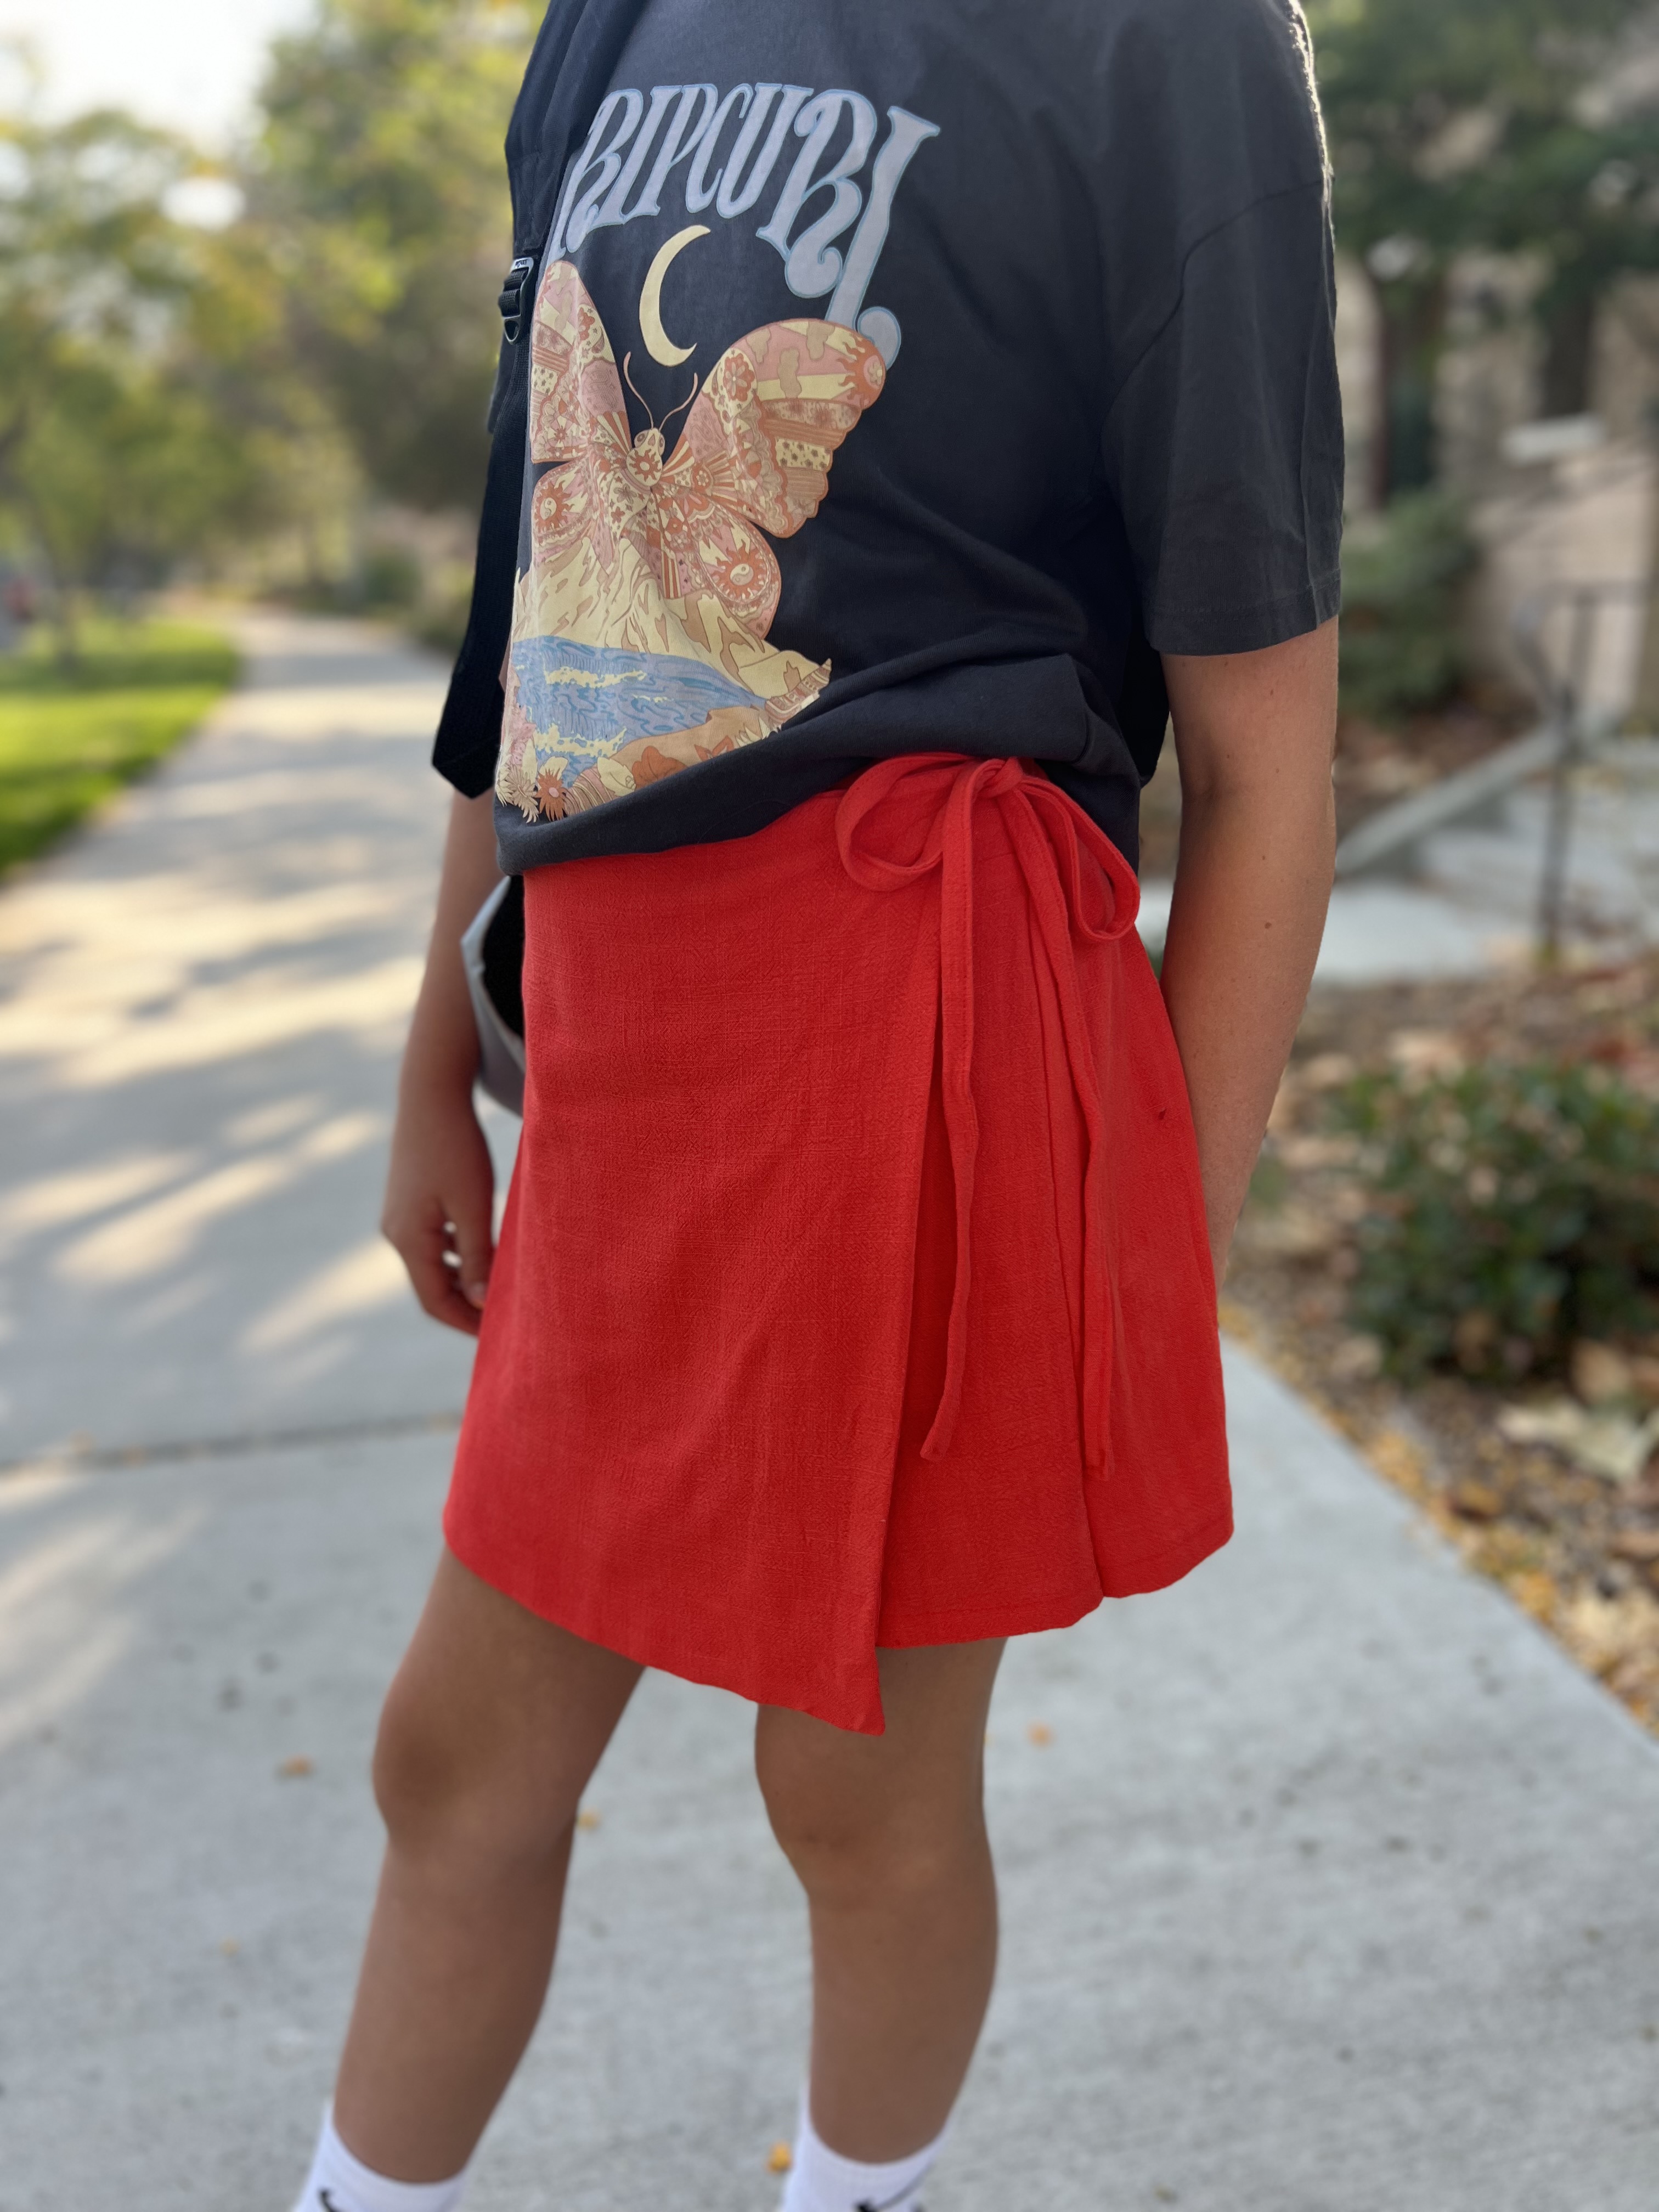
I realized we could just make our own and base it off a kids shorts pattern. We used the Paper Cut Pattern Kids Tula Pants pattern. The fabric is called Red Rush Viscose Linen from Matchy Matchy Sewing Club. We love how it turned out! It was a super quick sew, we made the whole thing in under two hours. (That’s with my daughter sewing some seams and documenting along the way for this post).
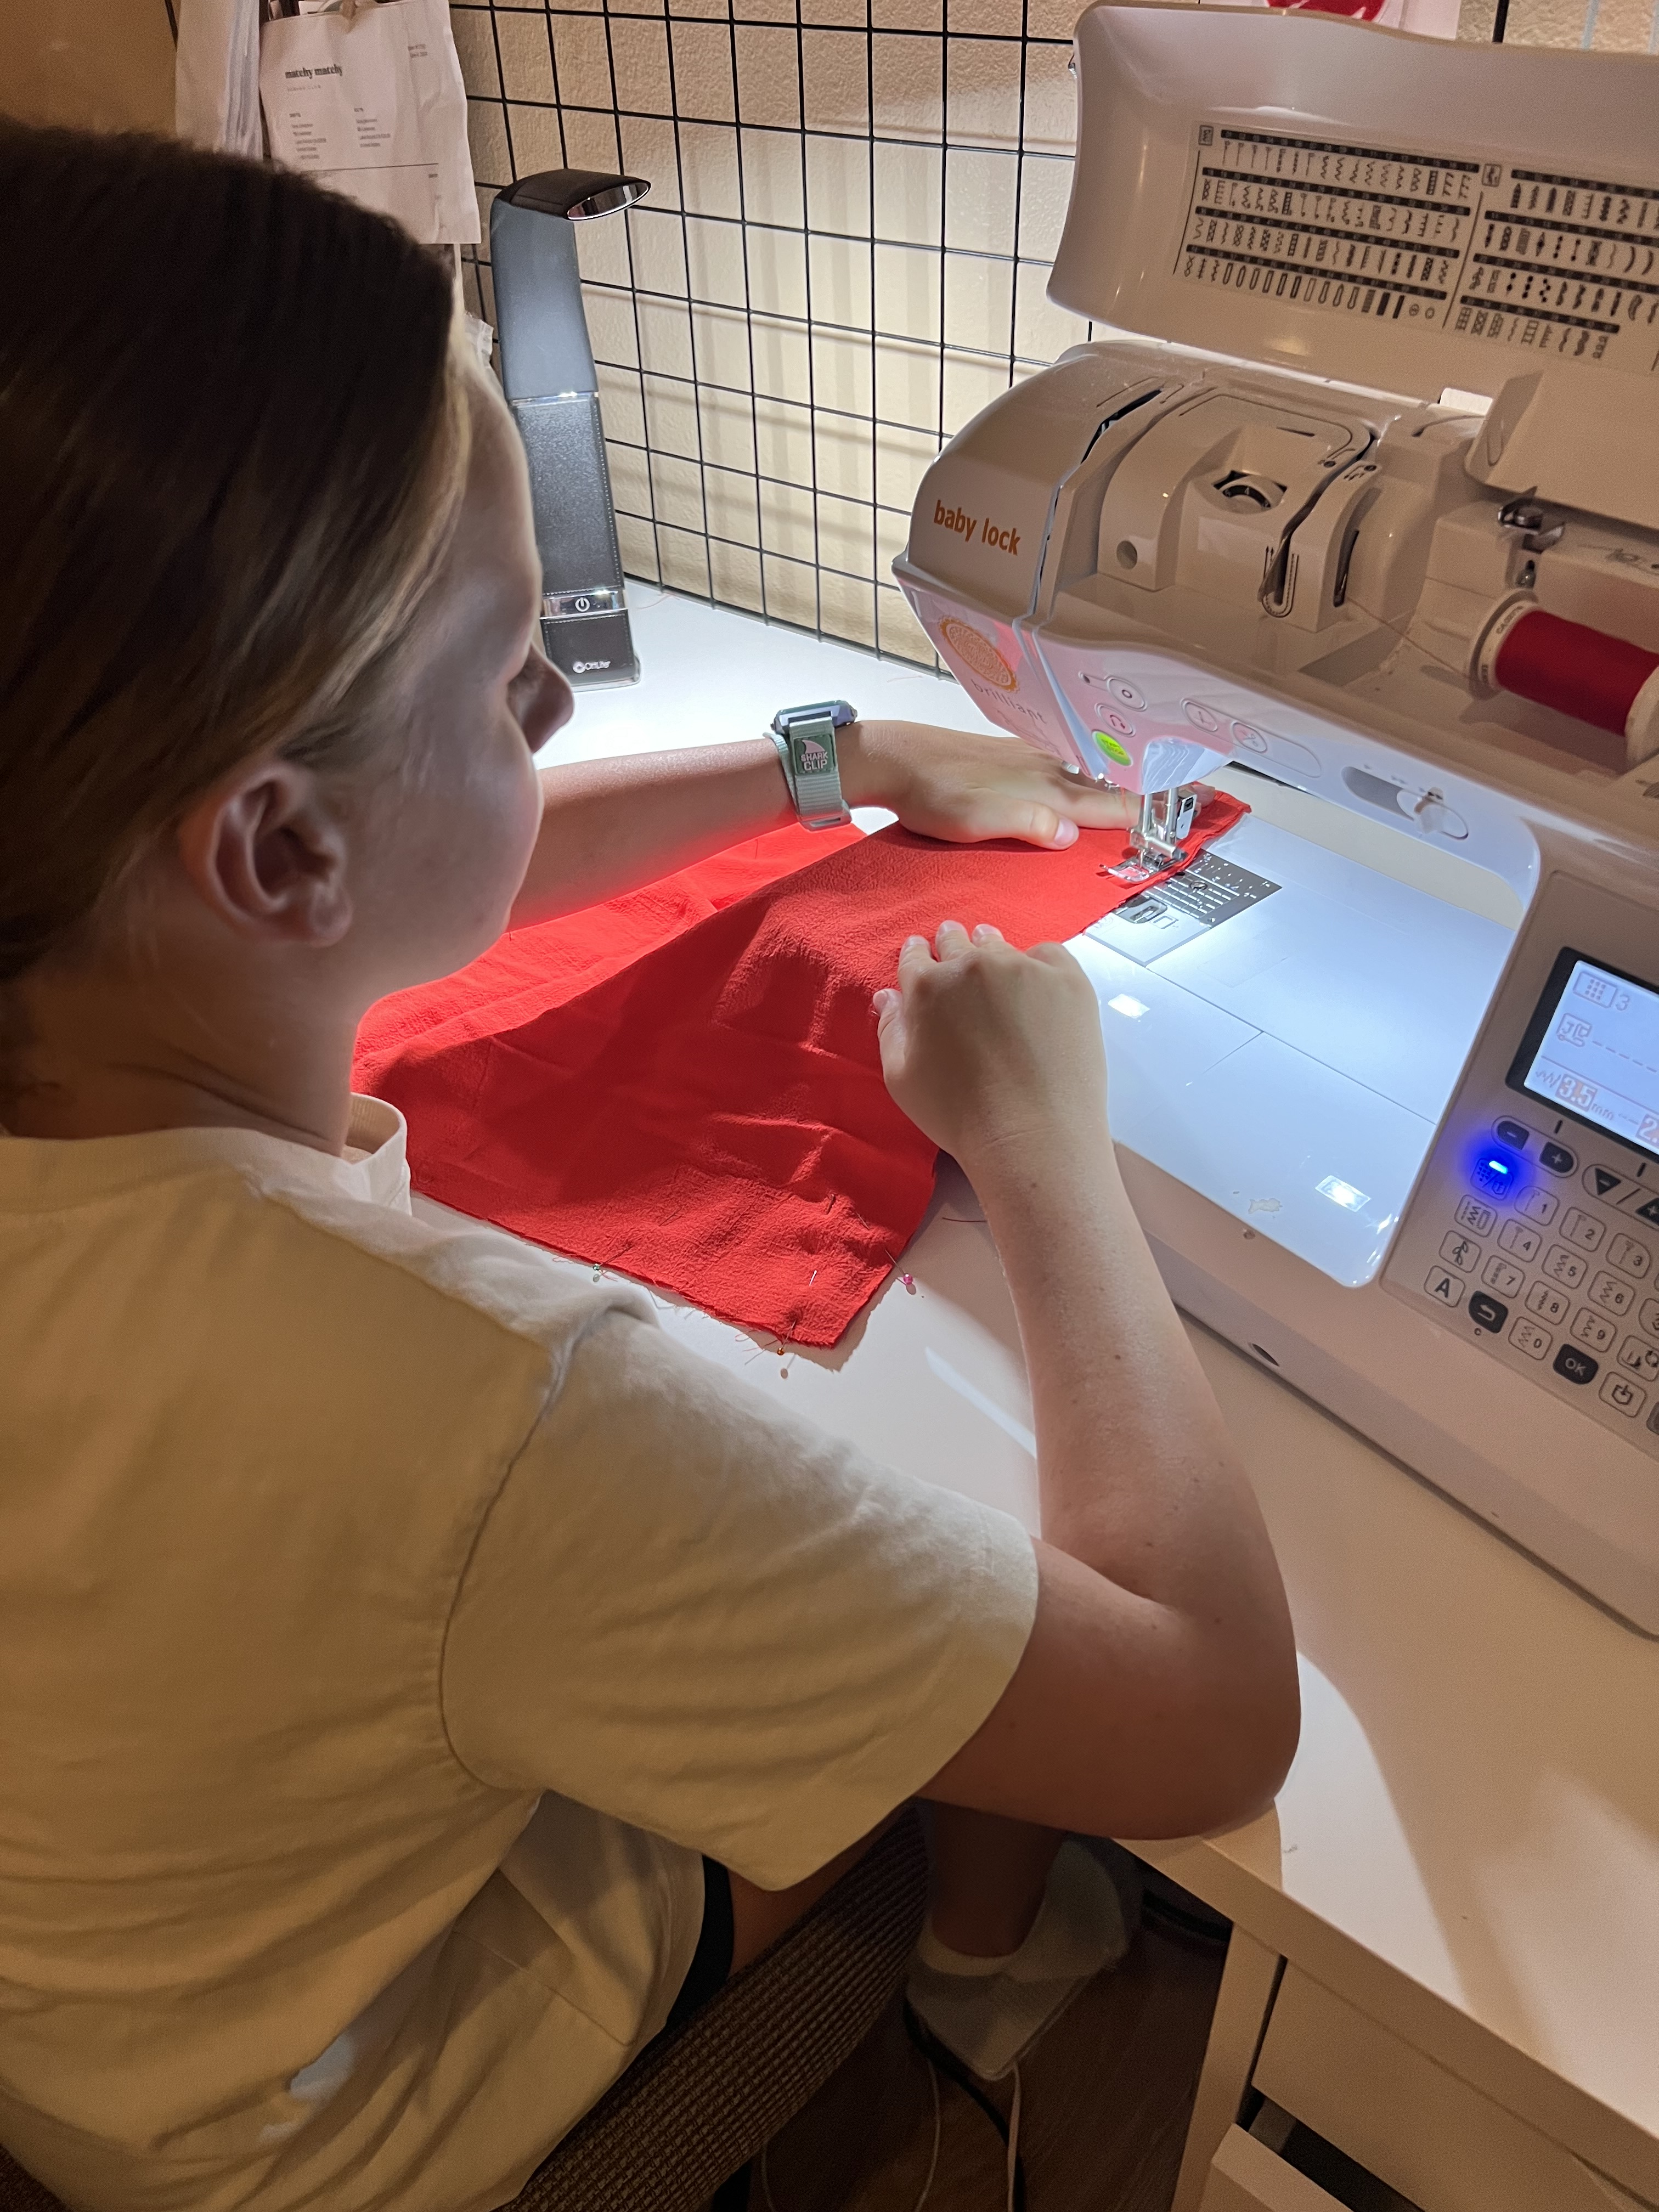
We also used my Baby Lock Brilliant sewing machine and Baby Lock Celebrate serger. Both machines have been so great. They are a good intermediate machine offering lots of amazing features but easy enough to use that they work great for kids too. You can find all of my baby lock sewing machines here.
Let’s jump into it!
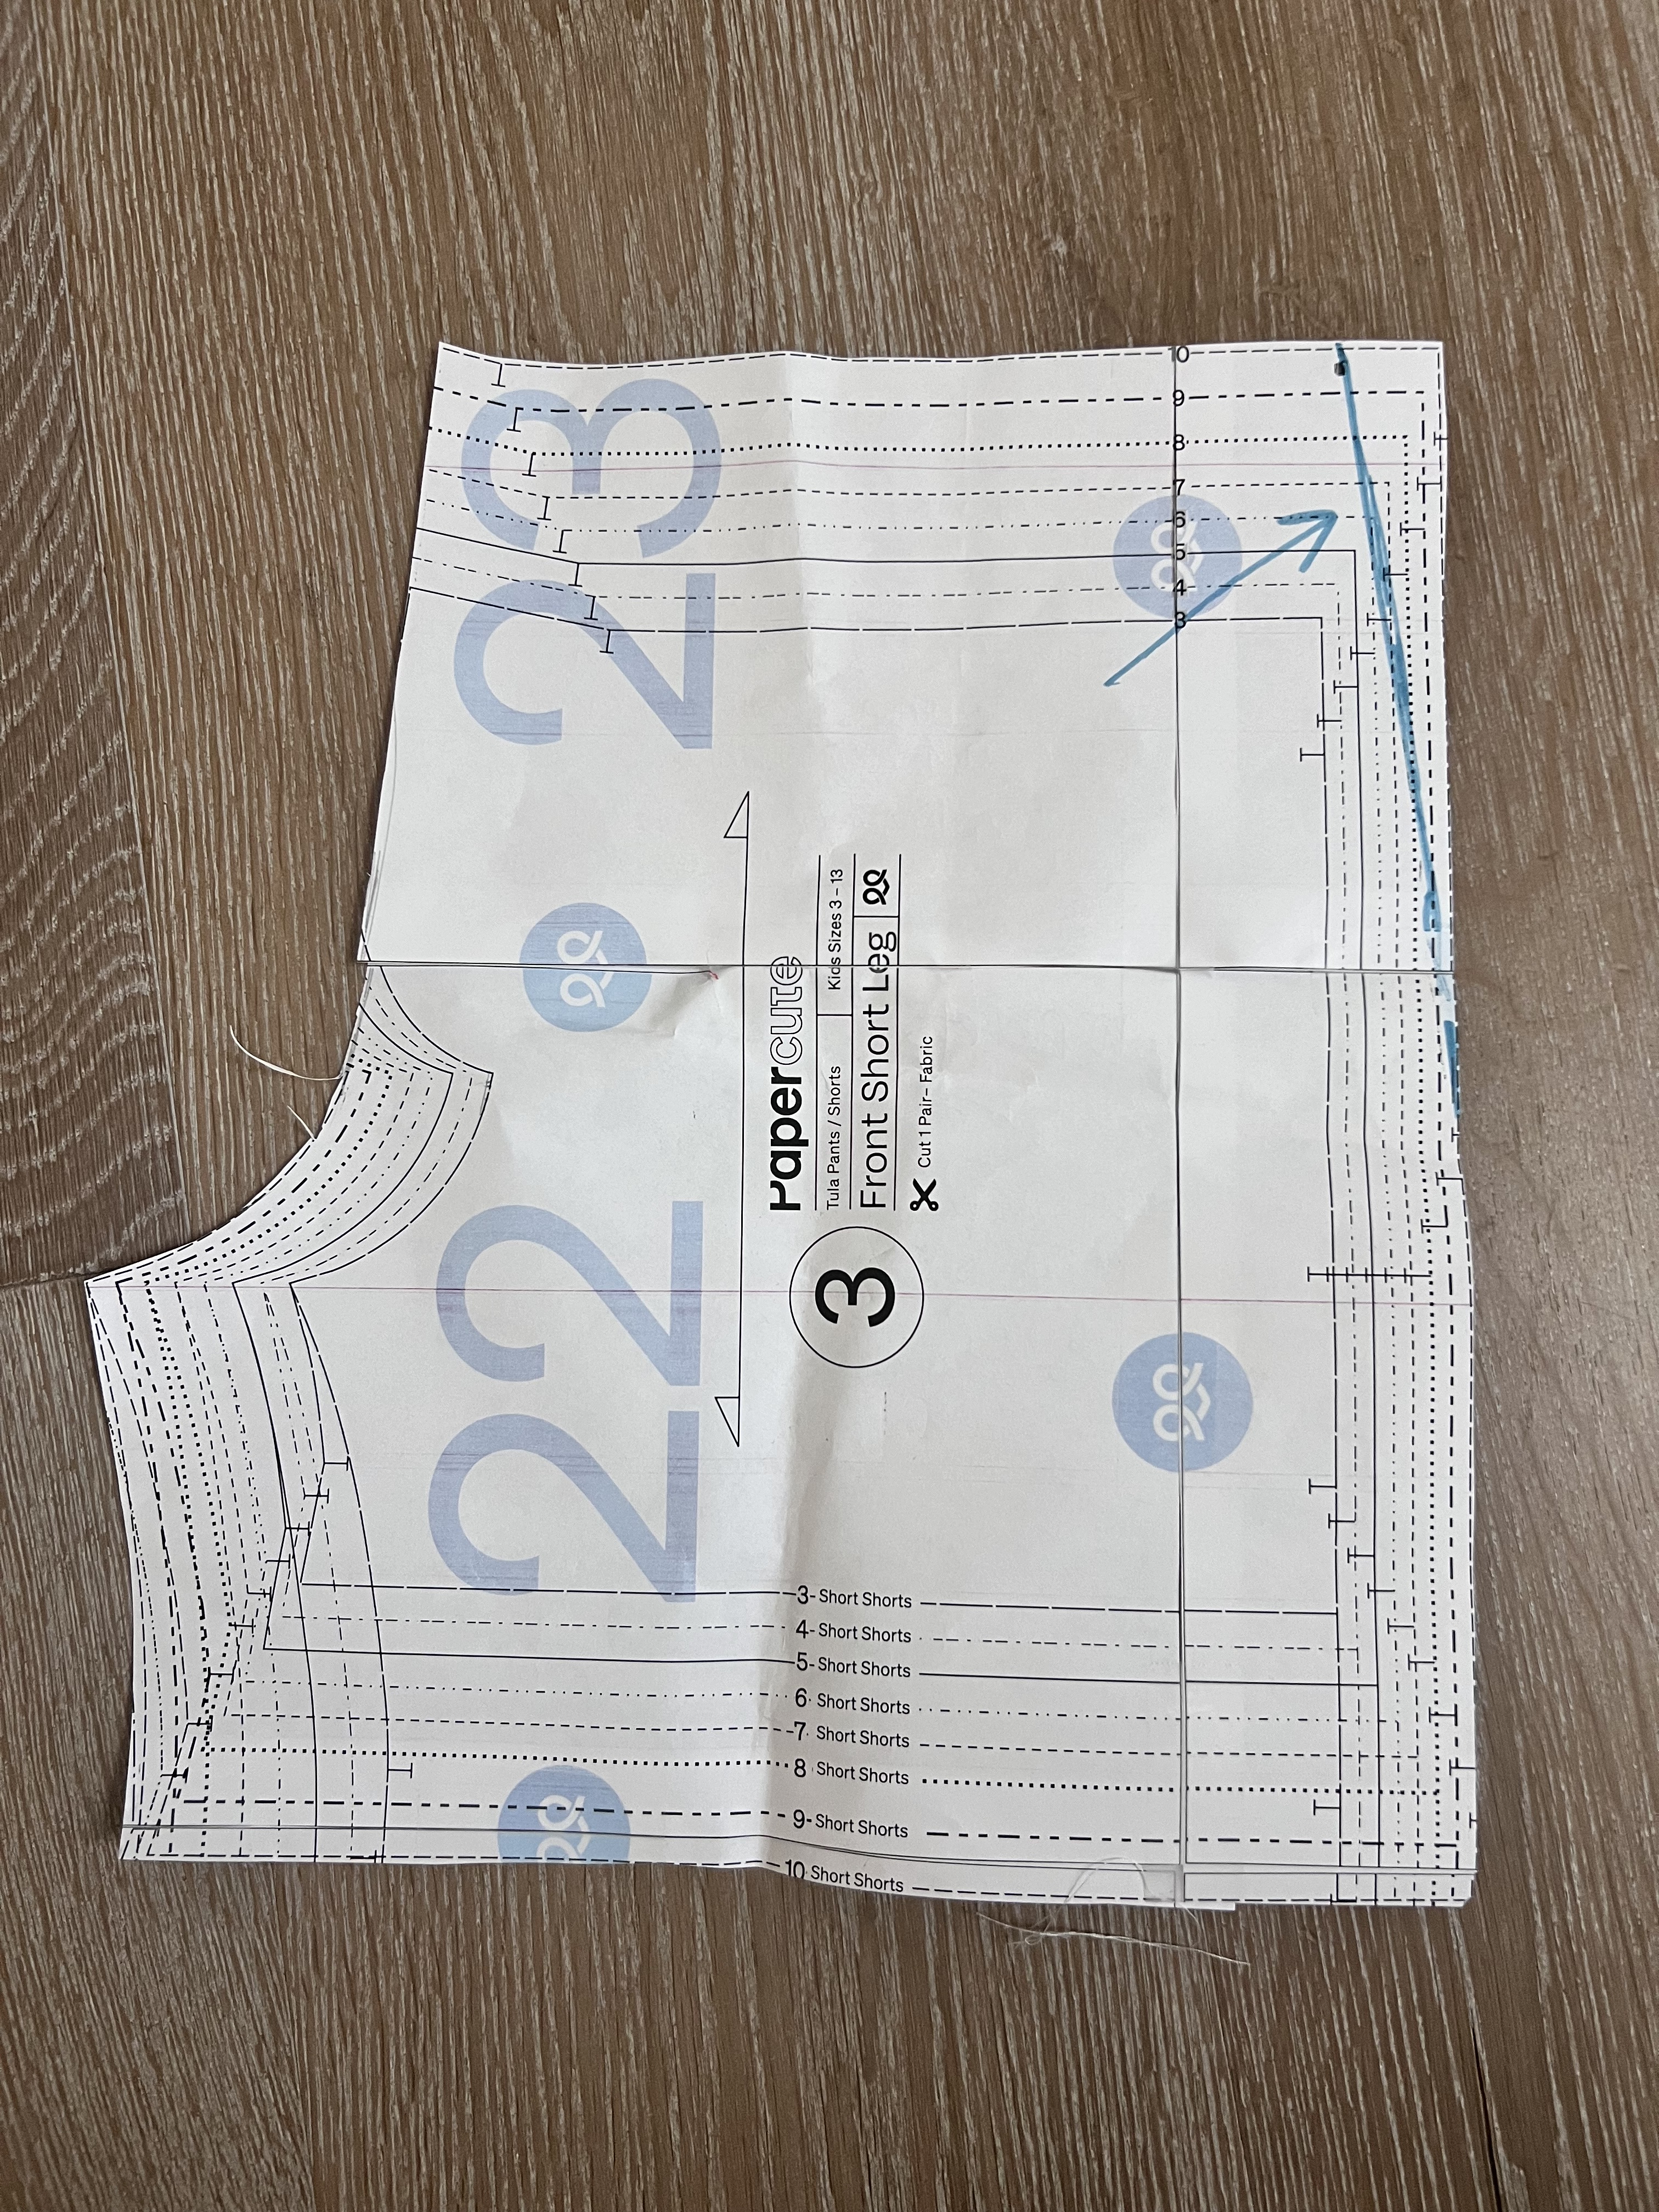
First, we need to make a few edits to our pattern pieces.
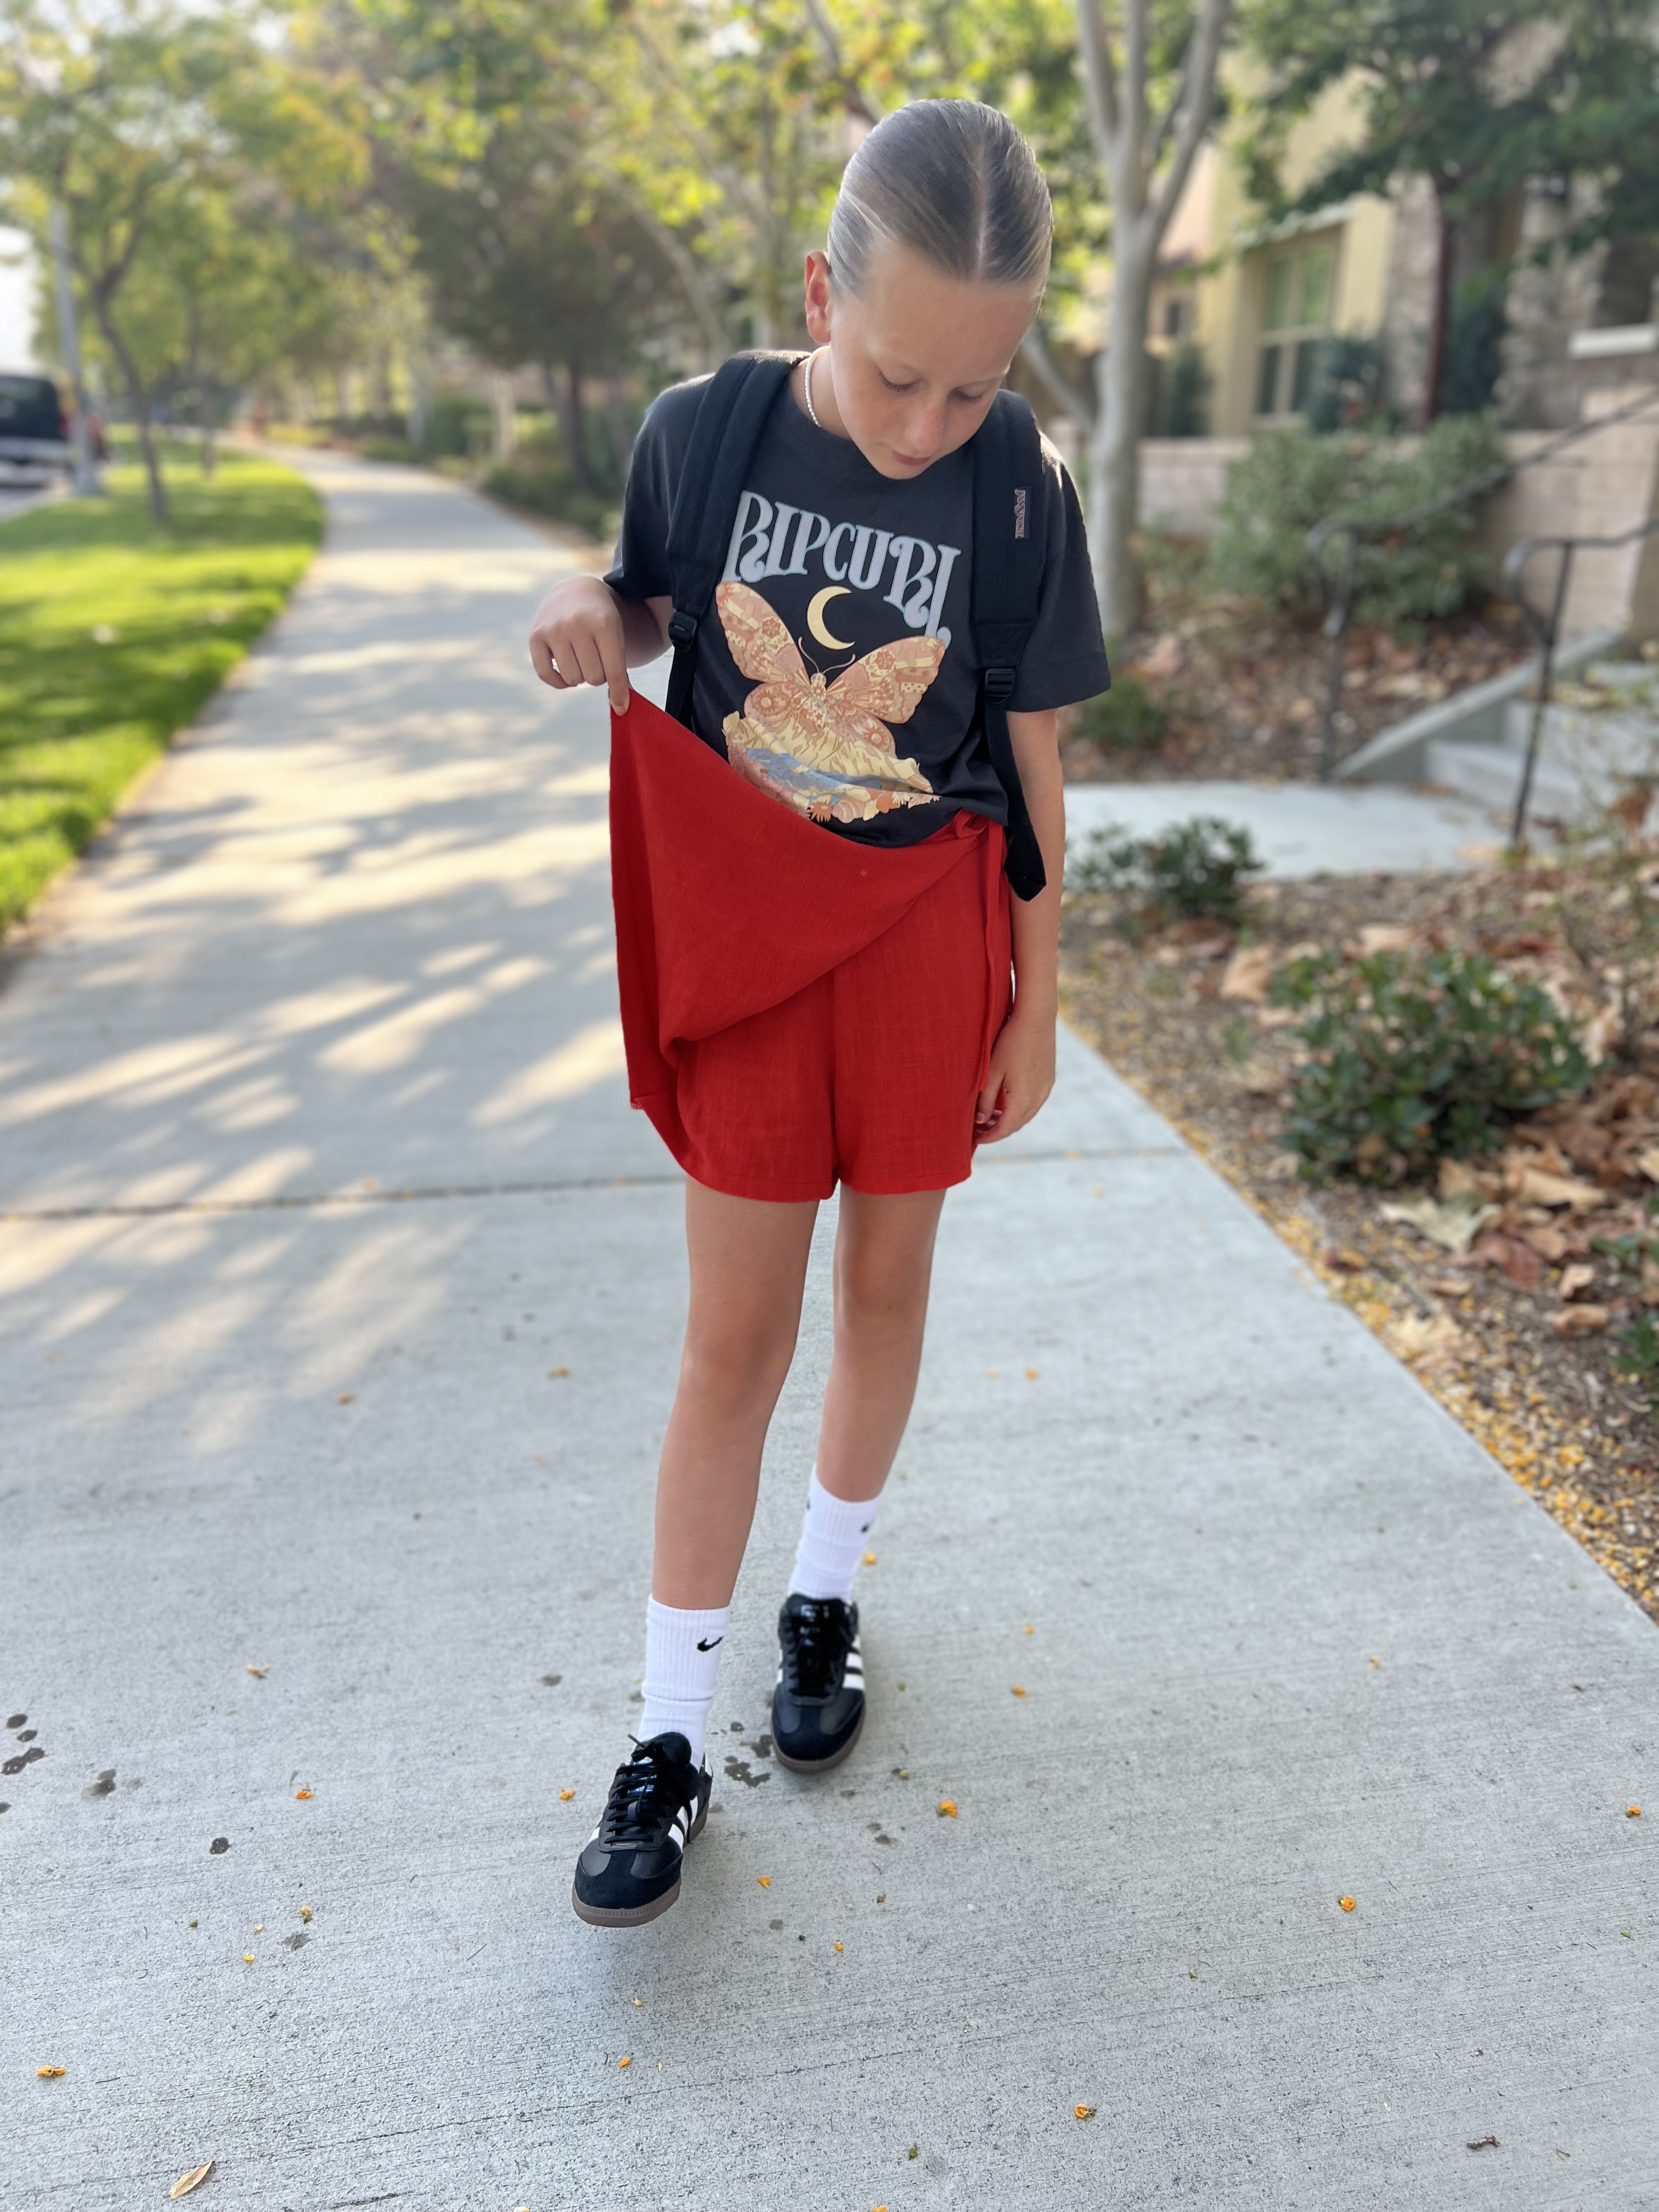
We are using a fully elasticated waist pattern and we will need to make the front of the pants more fitted without elastic so the skirt front will lay nice and flat. I decided to only add elastic to the back of the skort, and create a more fitted non-elasticated front waistband. To do this I measured my daughters waist and divided it by 2- 14.5″. We added 1″ to that measurement to add 1/2″ seam allowances. So now we have a measurement of 15.5″ Our pattern piece for the front shorts piece is half of the front, so divide 15.5 by 2= 7 3/5″. This is how wide my daughter’s front waist needs to be for the front of the skort.
Going back to the original front pattern piece, mark 7 3/4 across the width, and redraw the side seam from this measurement.
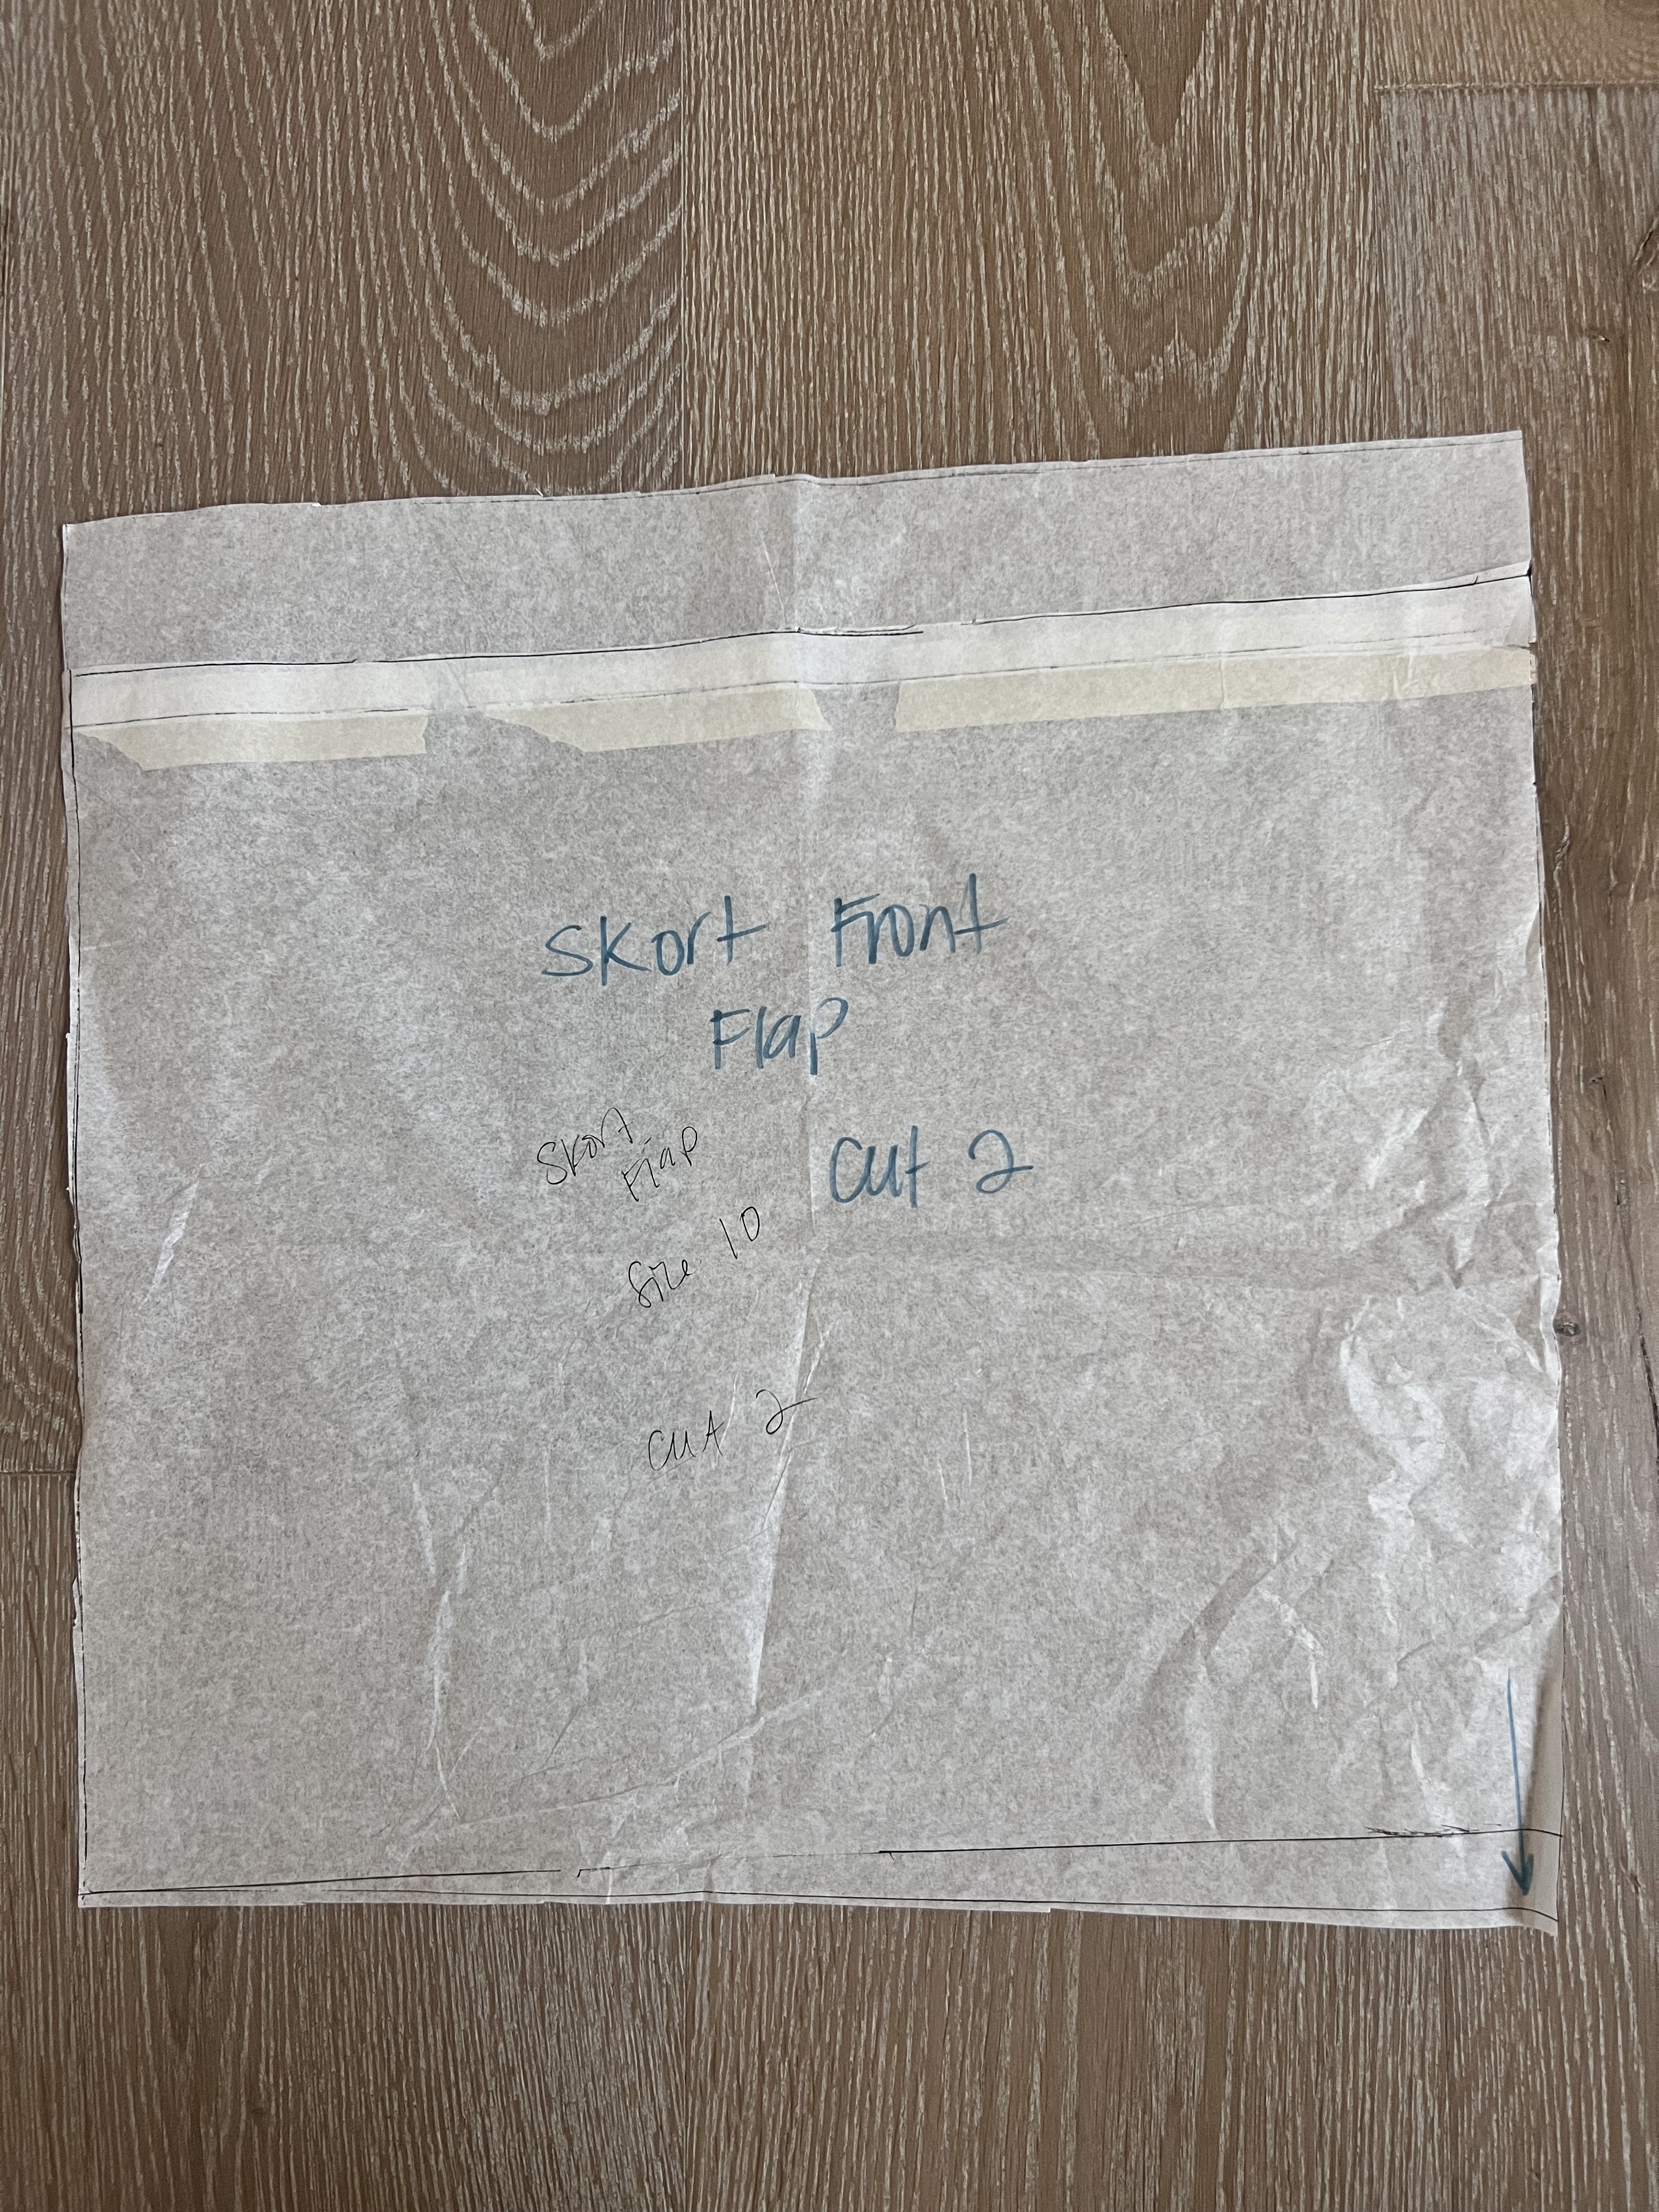
For the front skirt flap, we created the pattern to be 15″ wide x the same length of the shorts + the length of the new front waistband we created, minus the seam allowance. We added 3/4″ of length at the bottom right corner and we drew the bottom hemline from this mark so it would hang slightly longer on one front corner. You will cut out two of these, or one pair.
Please note you will not use a pocket pattern piece.
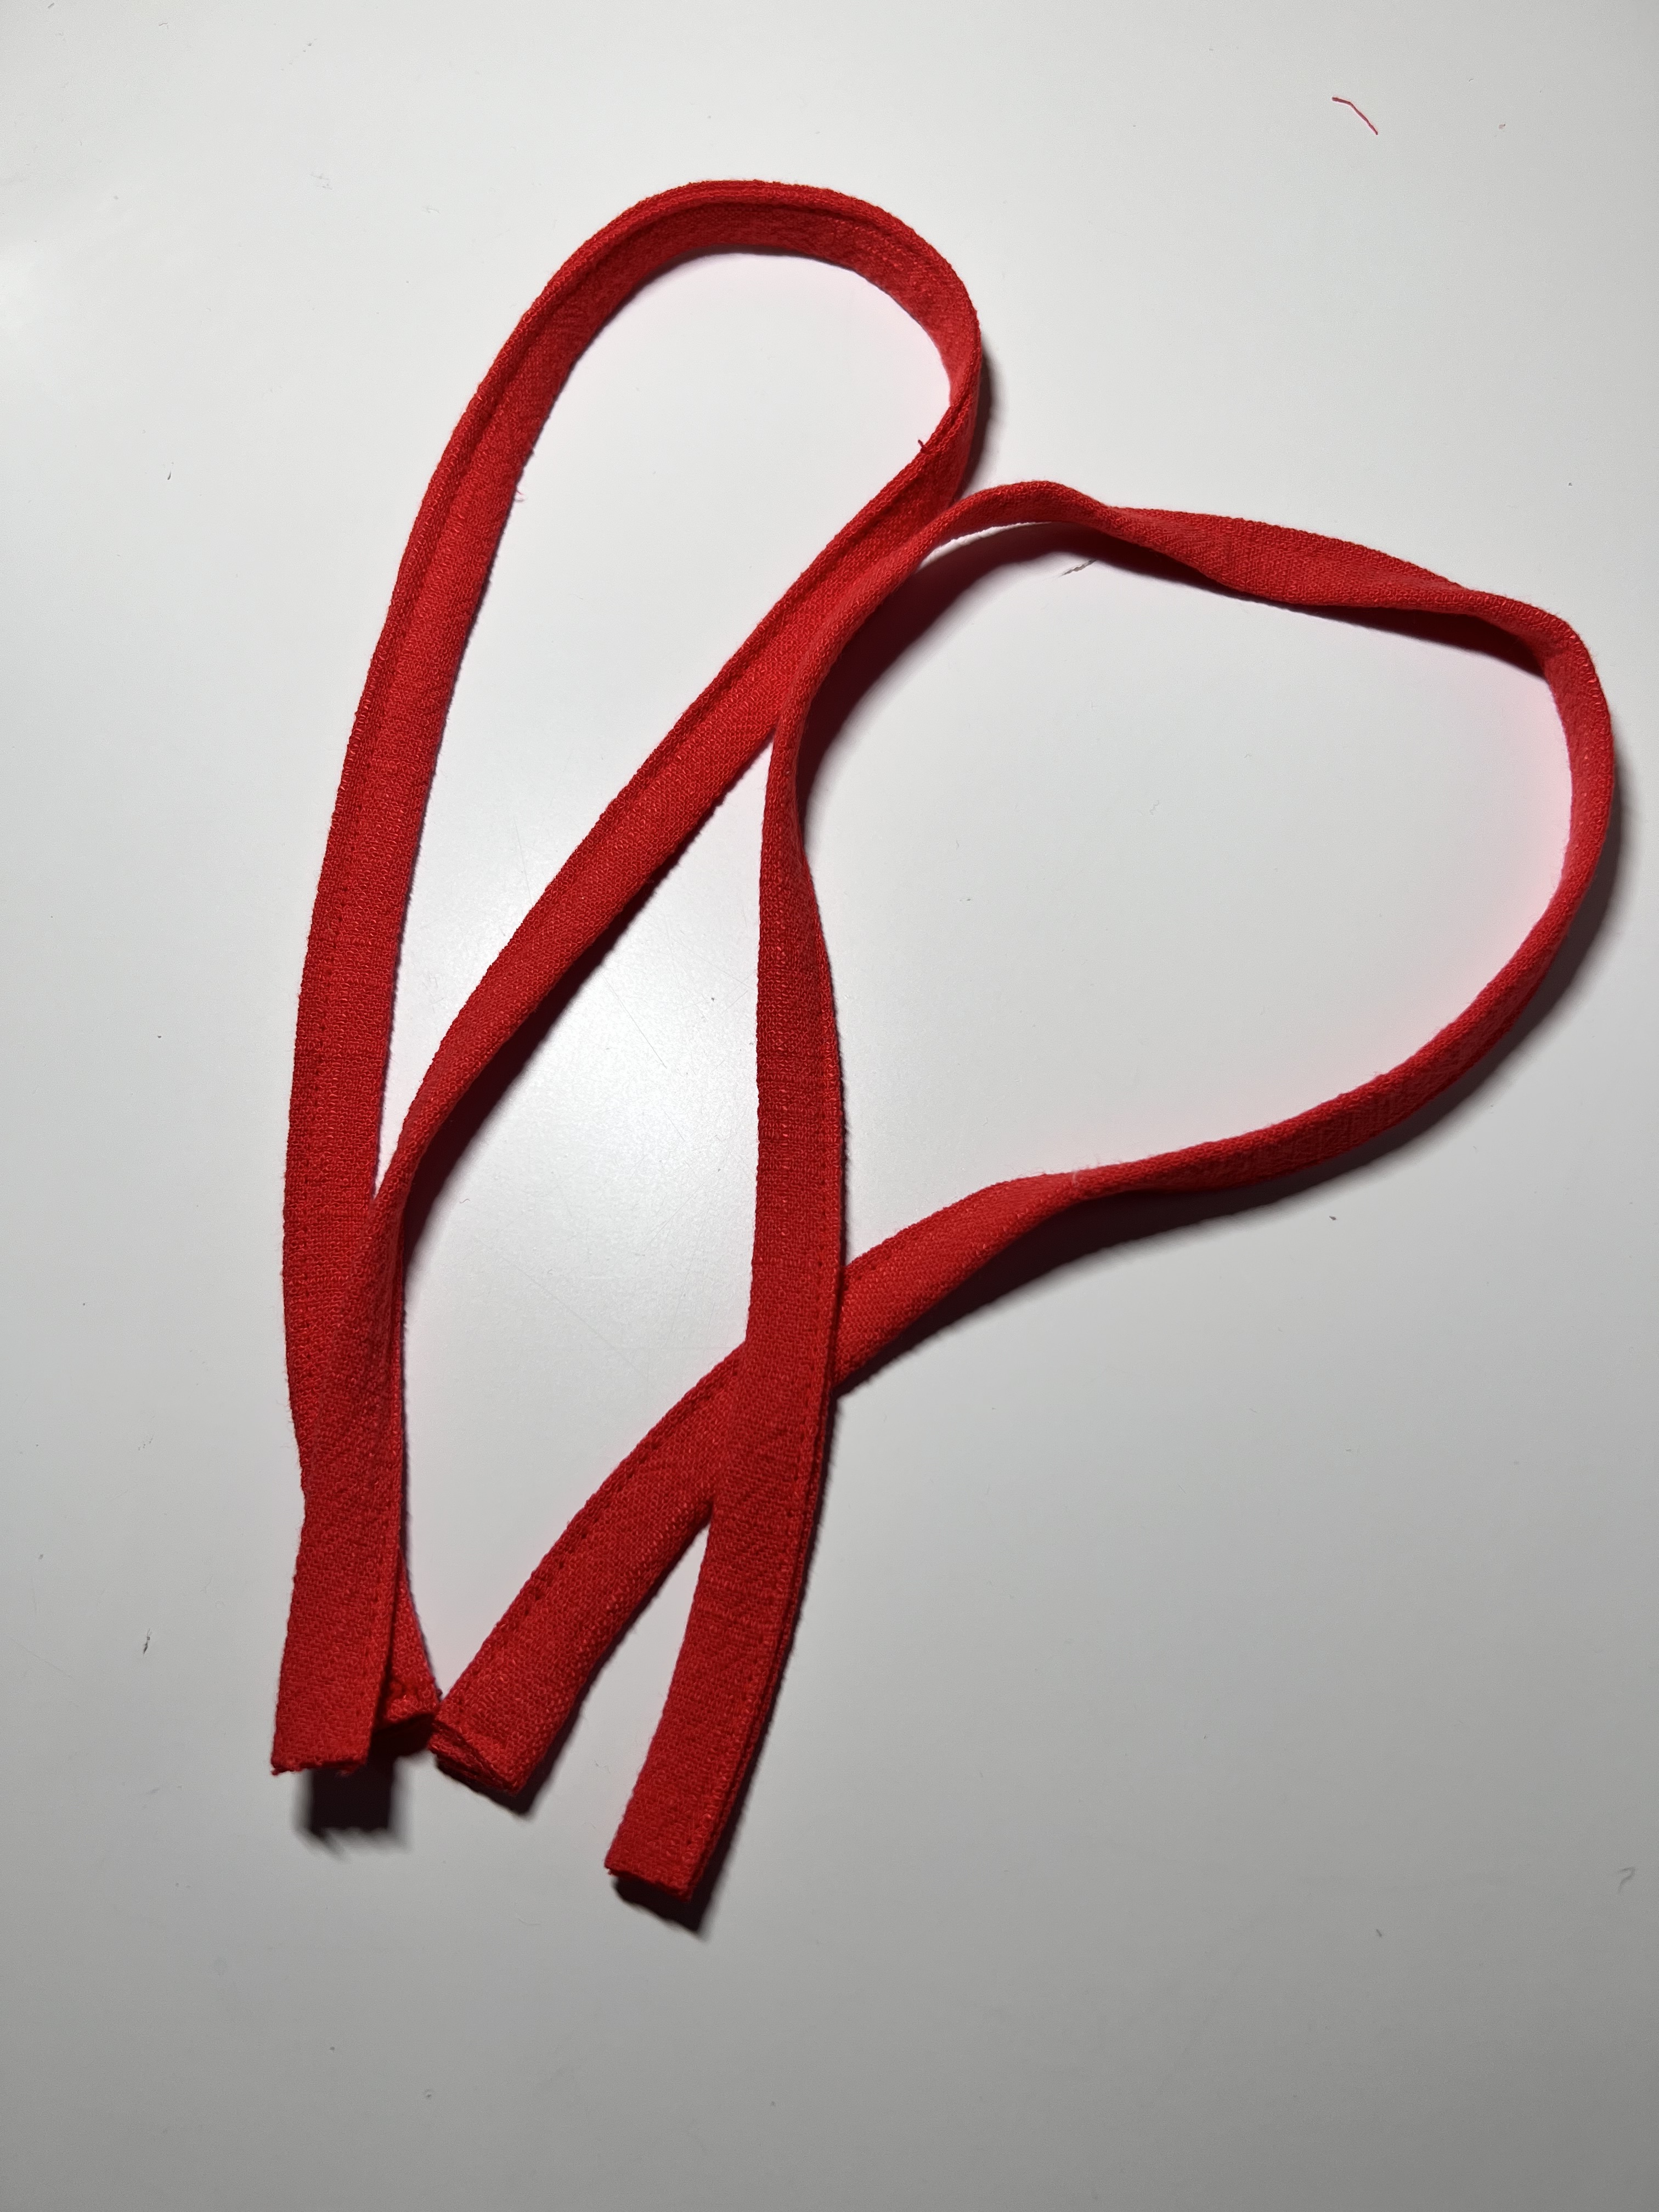
Cut two tie pieces, each 19.5″ x 1 1/2″
Instead of cutting my waistband piece on the fold, I cut two pieces and cut ONE piece shorter to 15.5″.
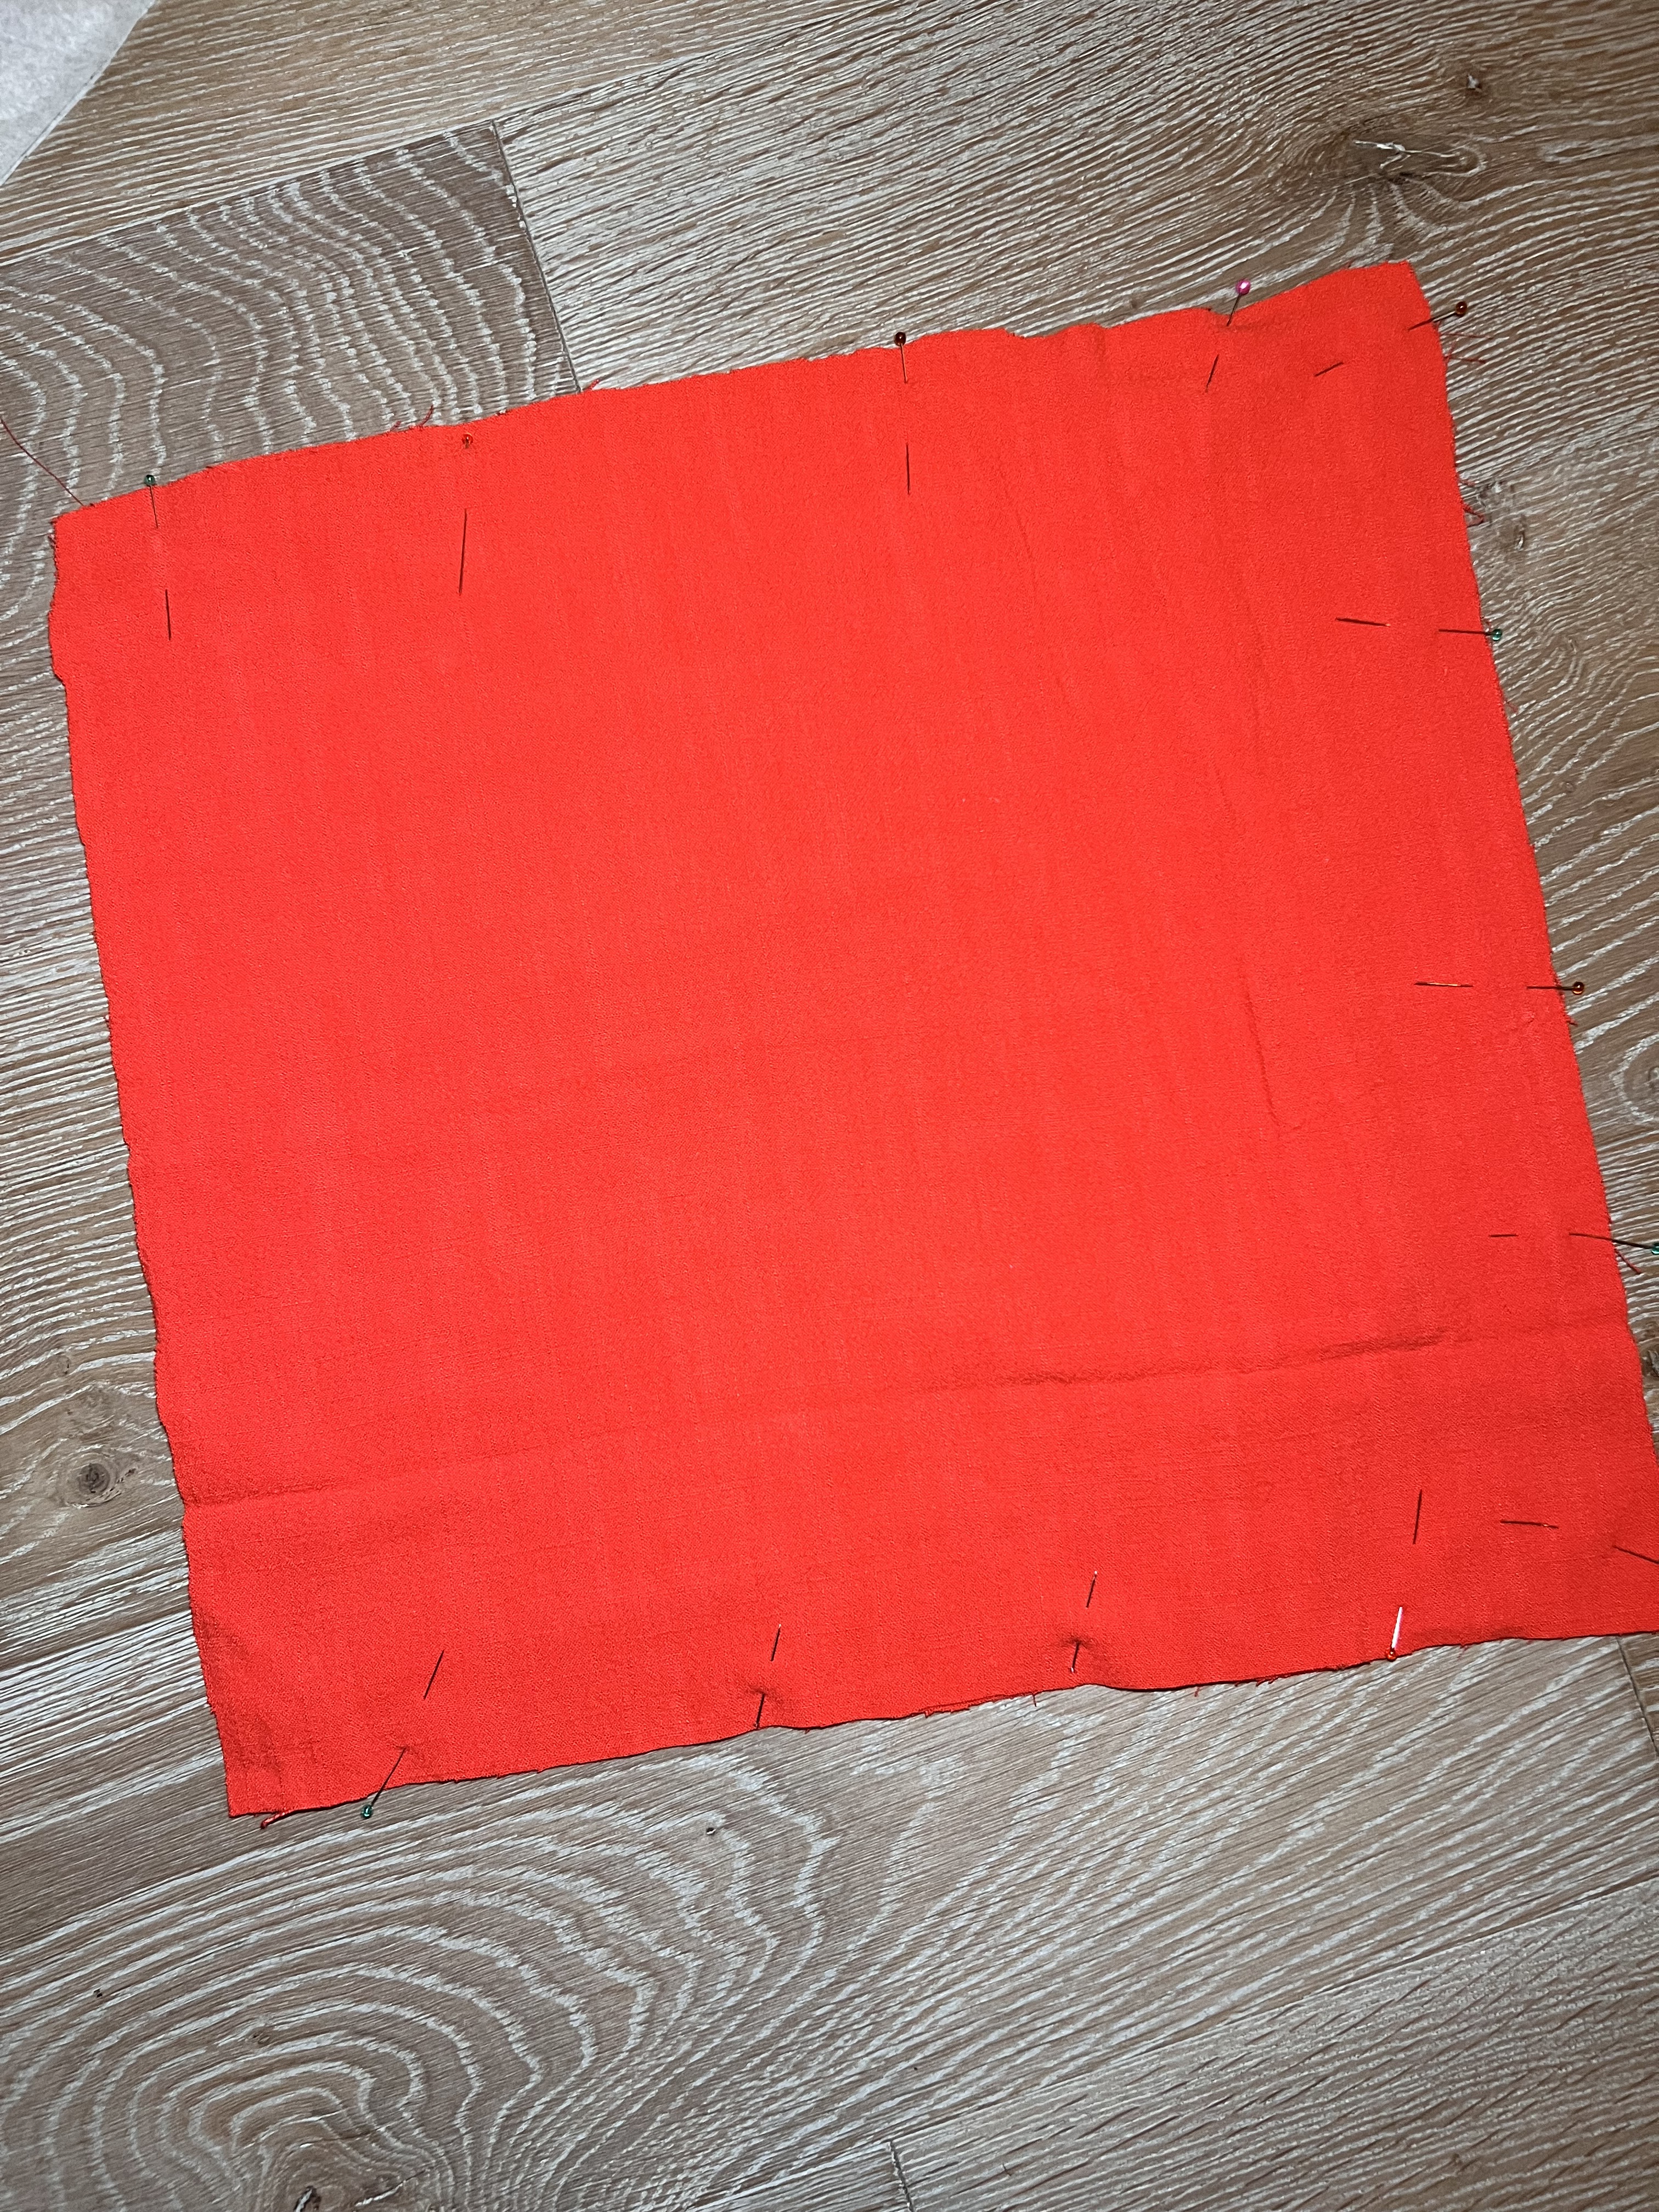
Now we’re ready to cut out our pattern pieces!
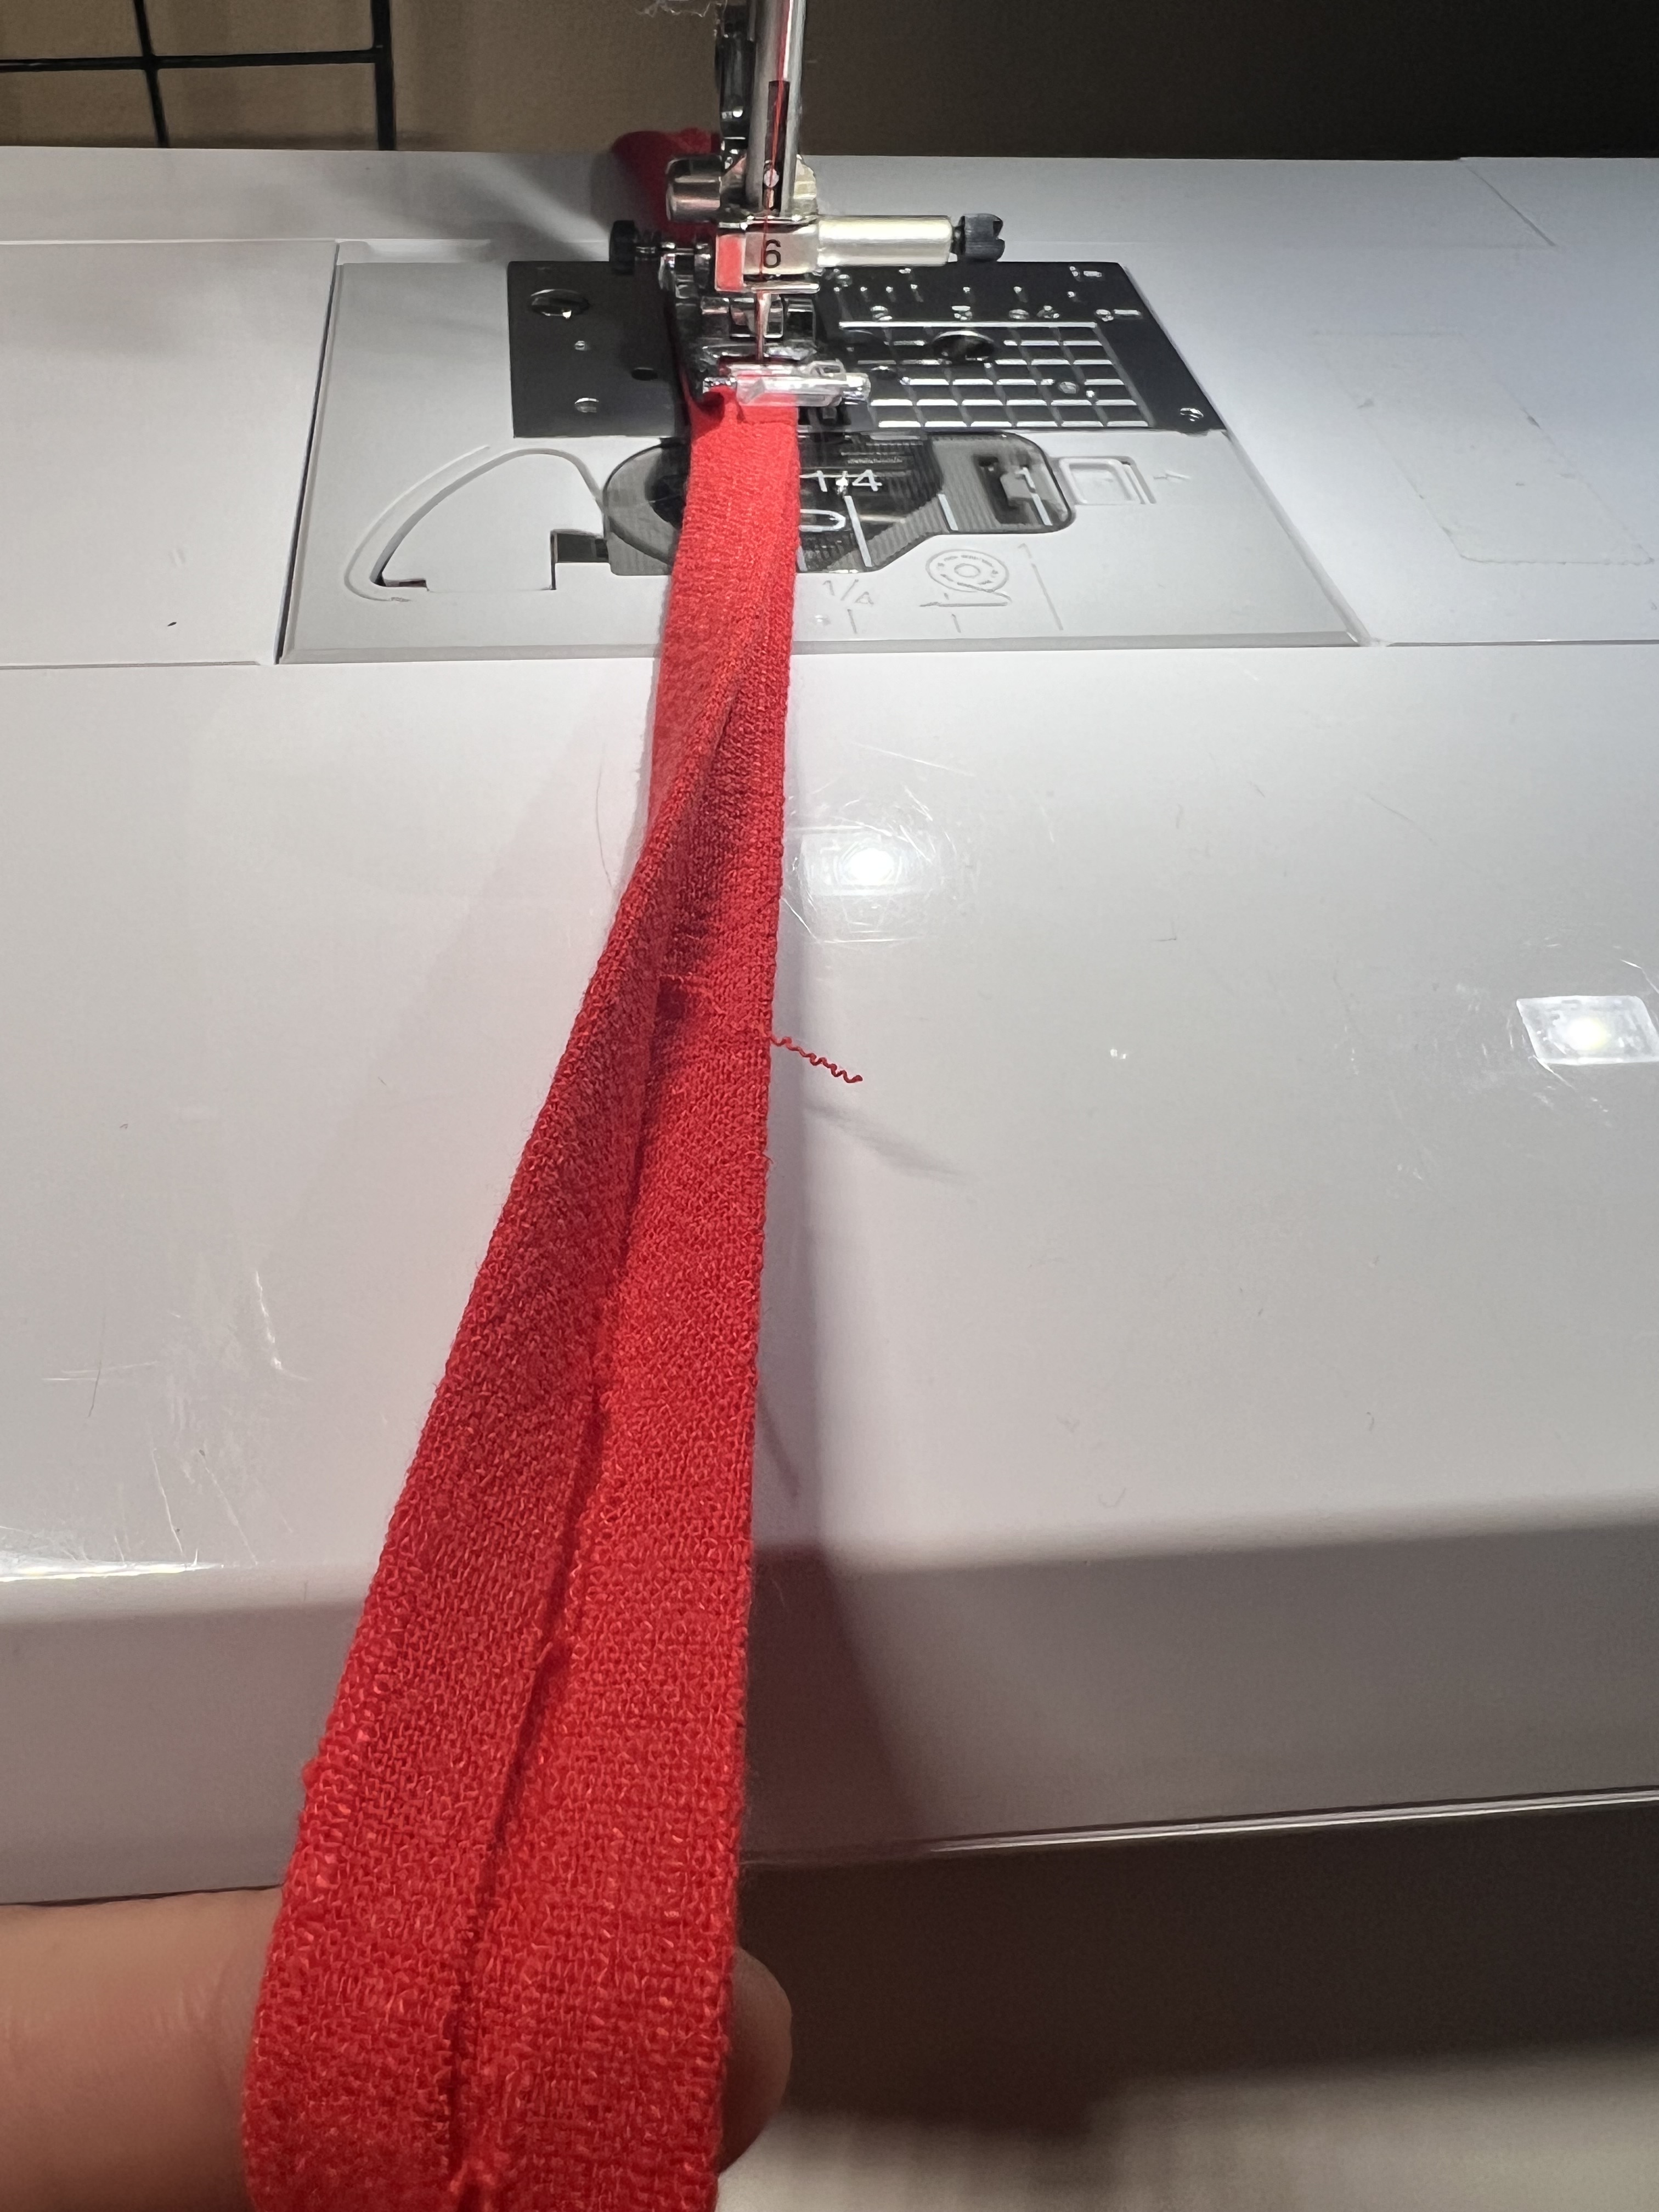
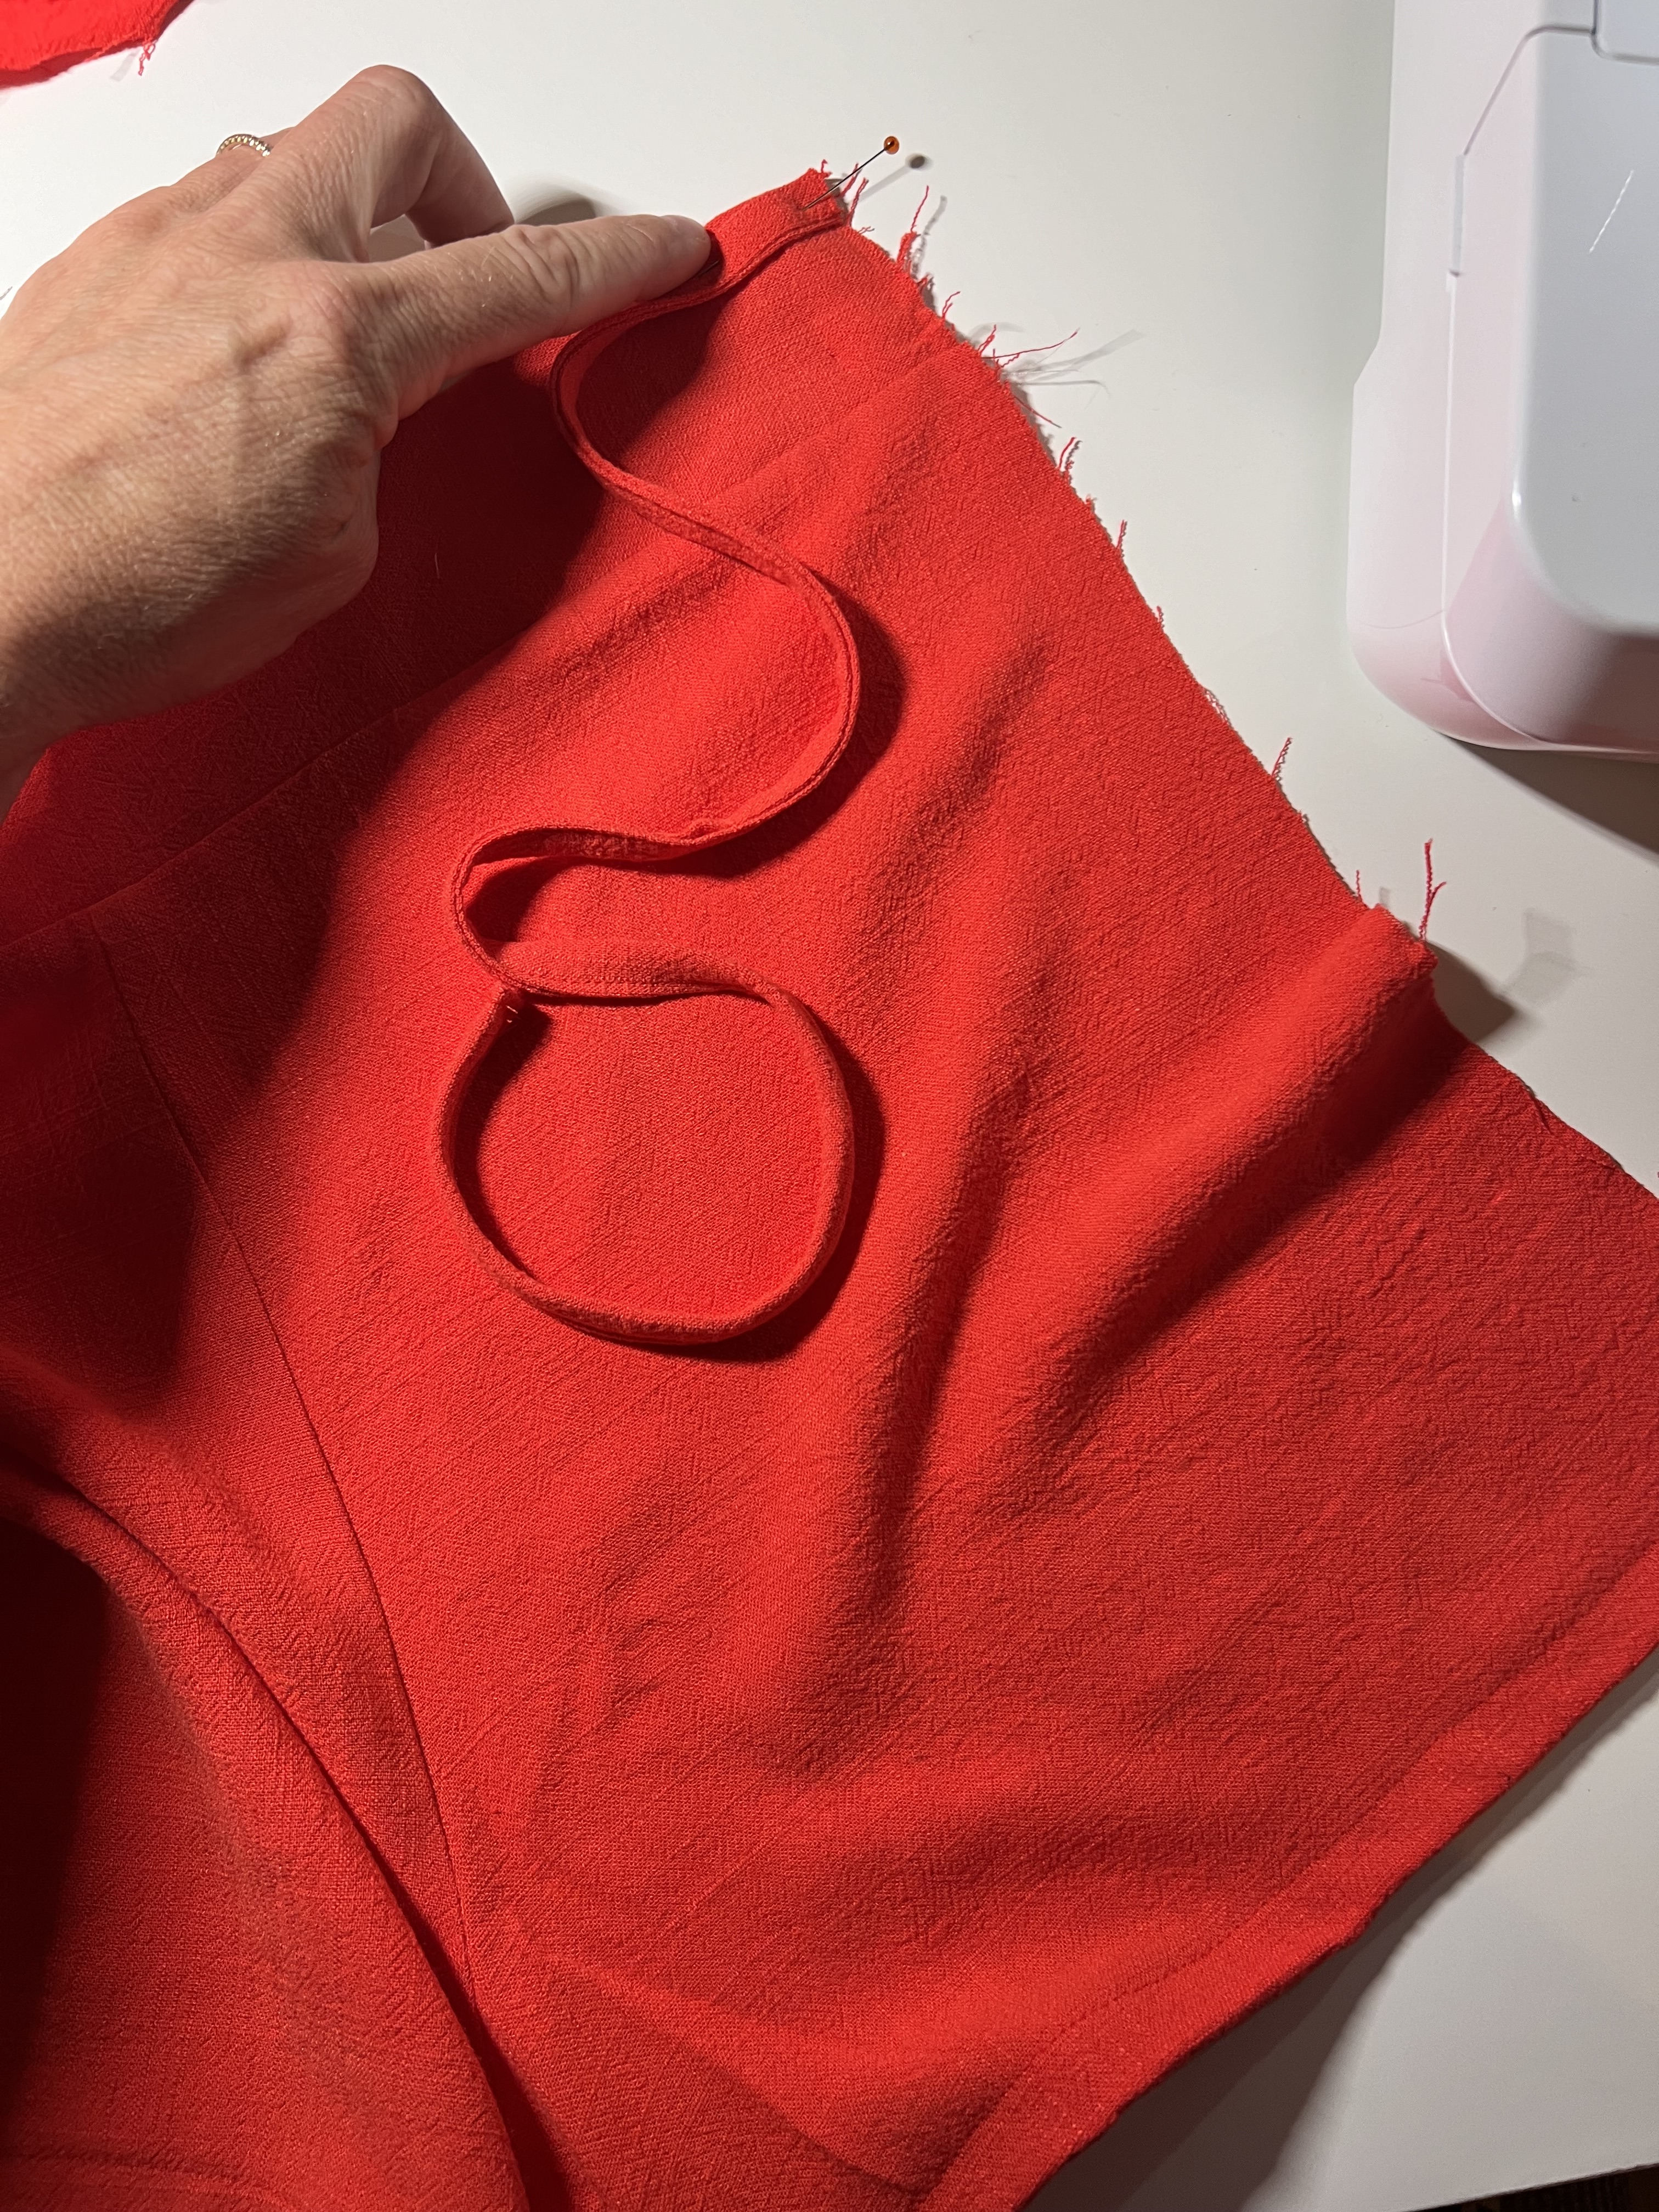
Step 1: Prep tie pieces. Fold tie in half wrong sides together. Unfold and fold raw edges in again at the crease we just made. Fold one long edge in by 1/2″. Fold tie together and edge stitch to finish.
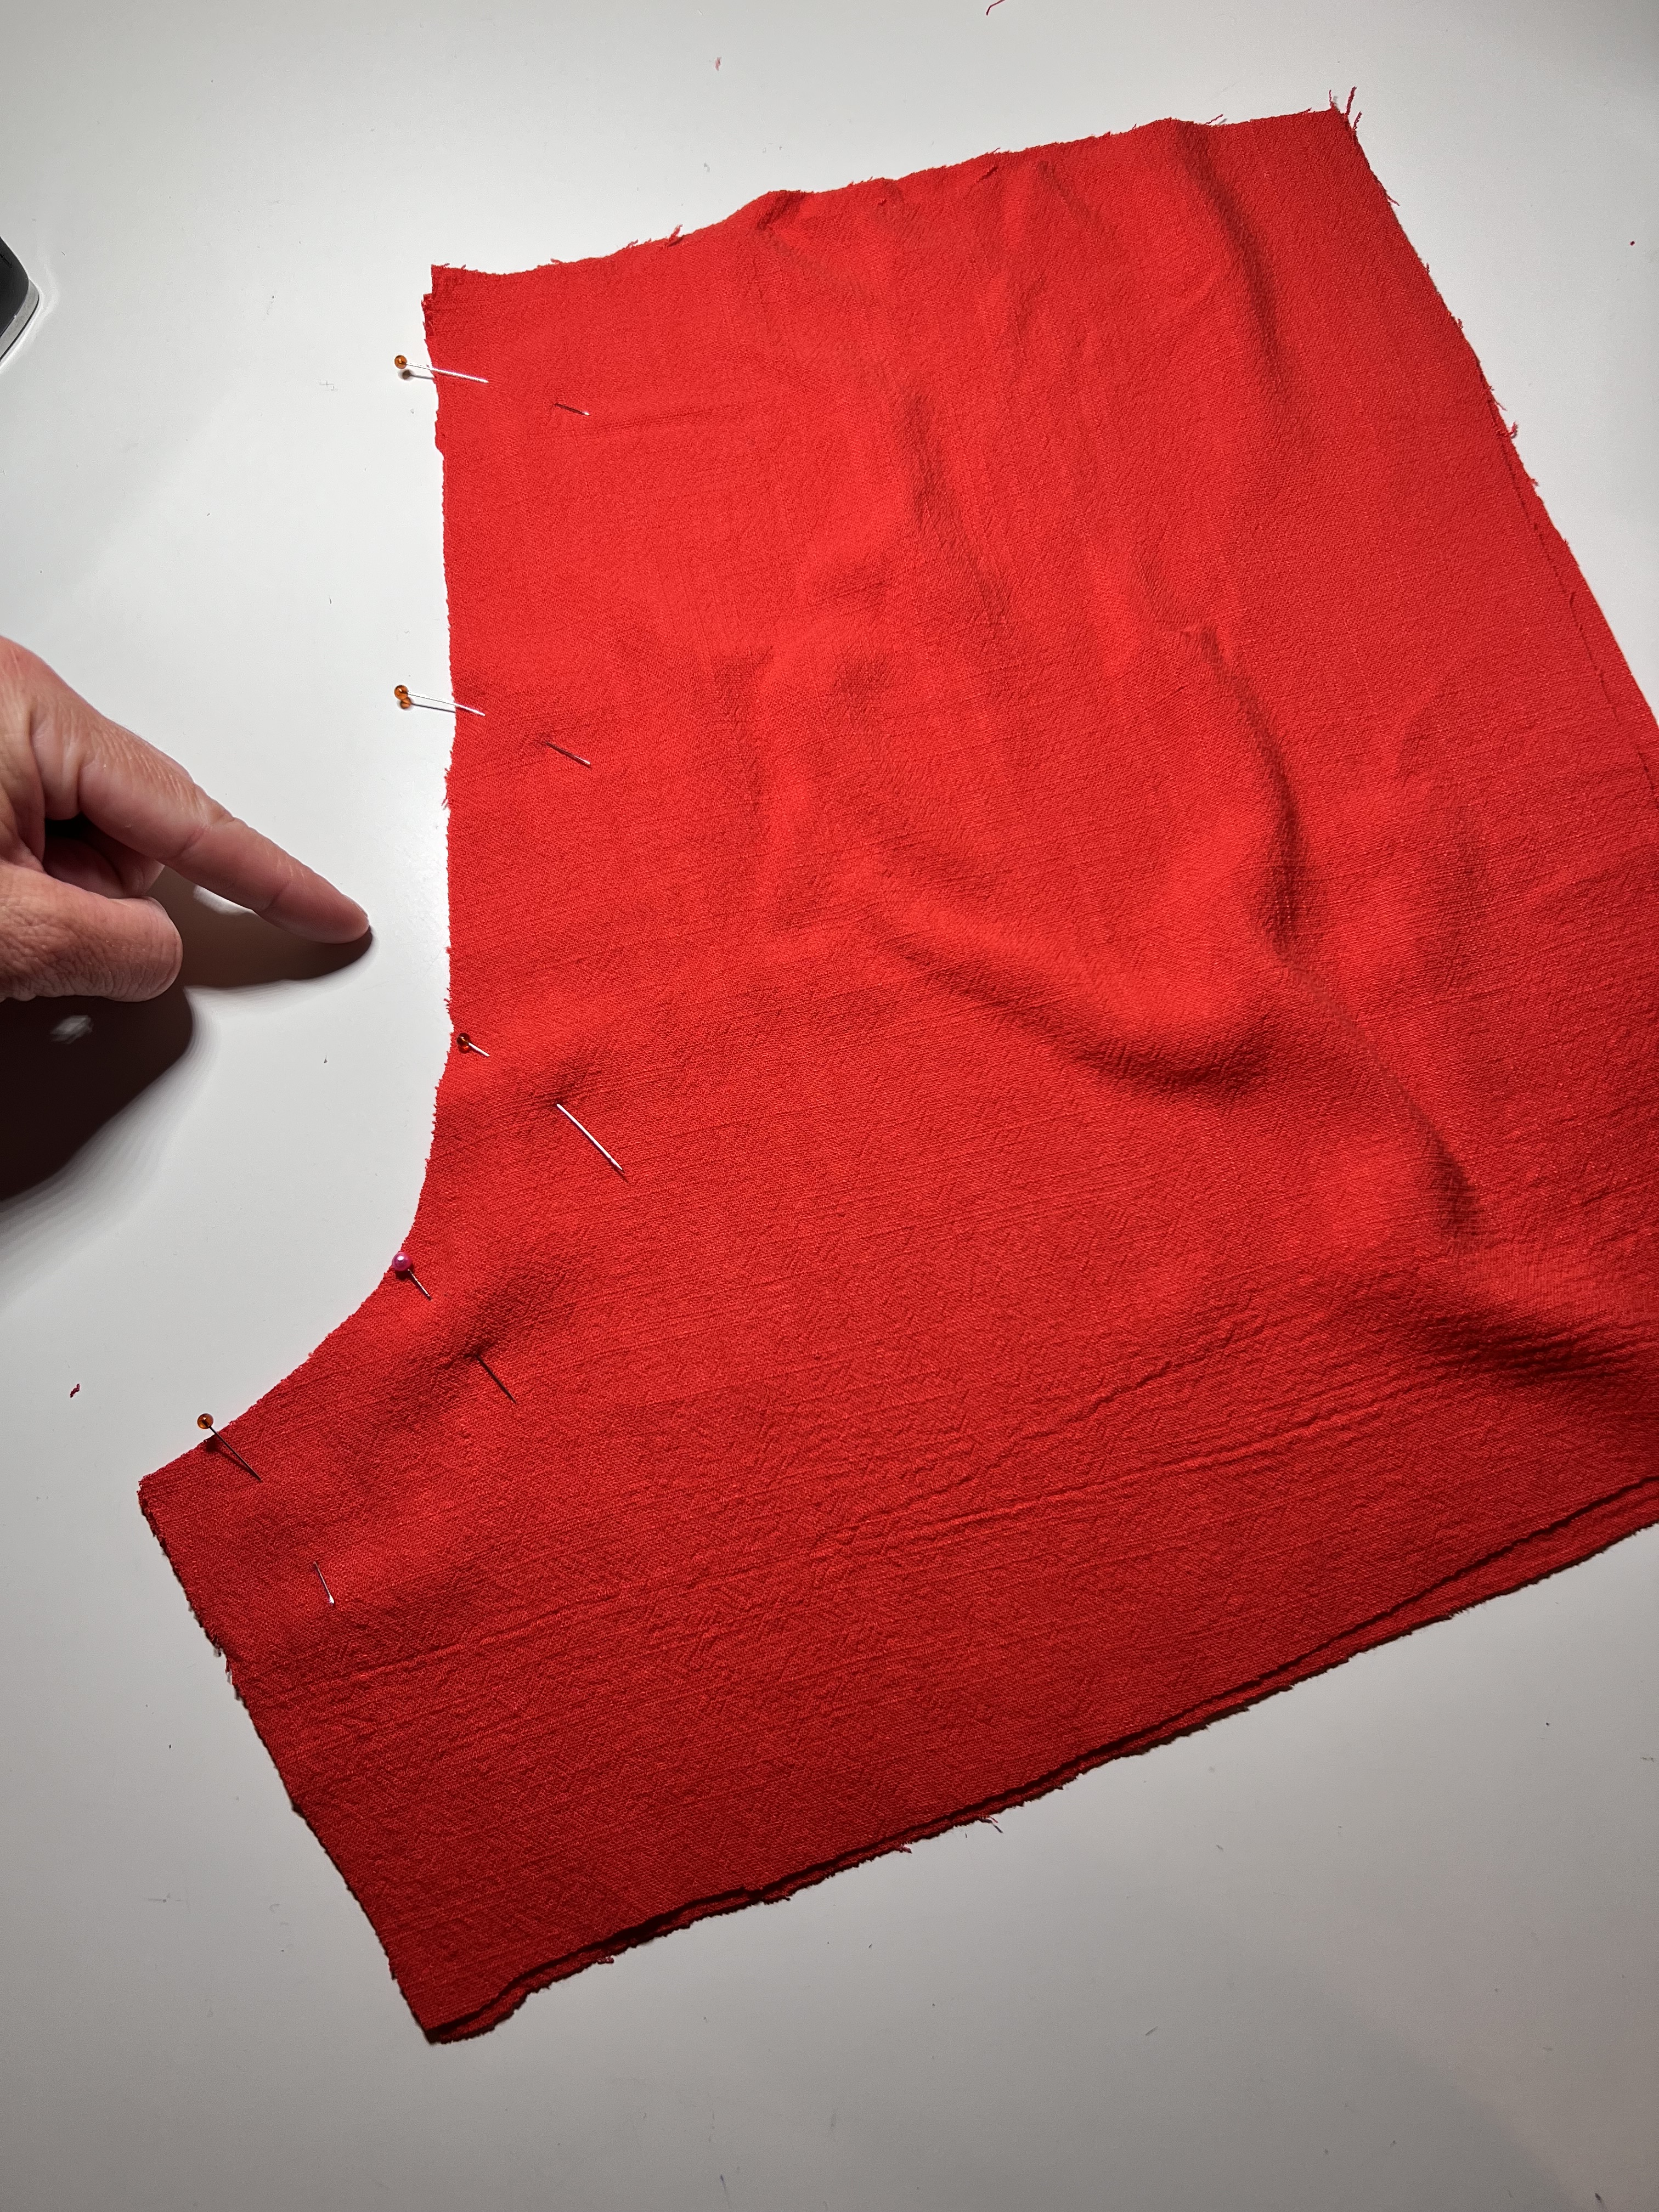
Step 2: Prepare the front skirt panel. First, pin one tie by the raw edge at the top right corner of one skort panel (looking at the skirt panel) 1/2″ down from the top edge. Baste in place.
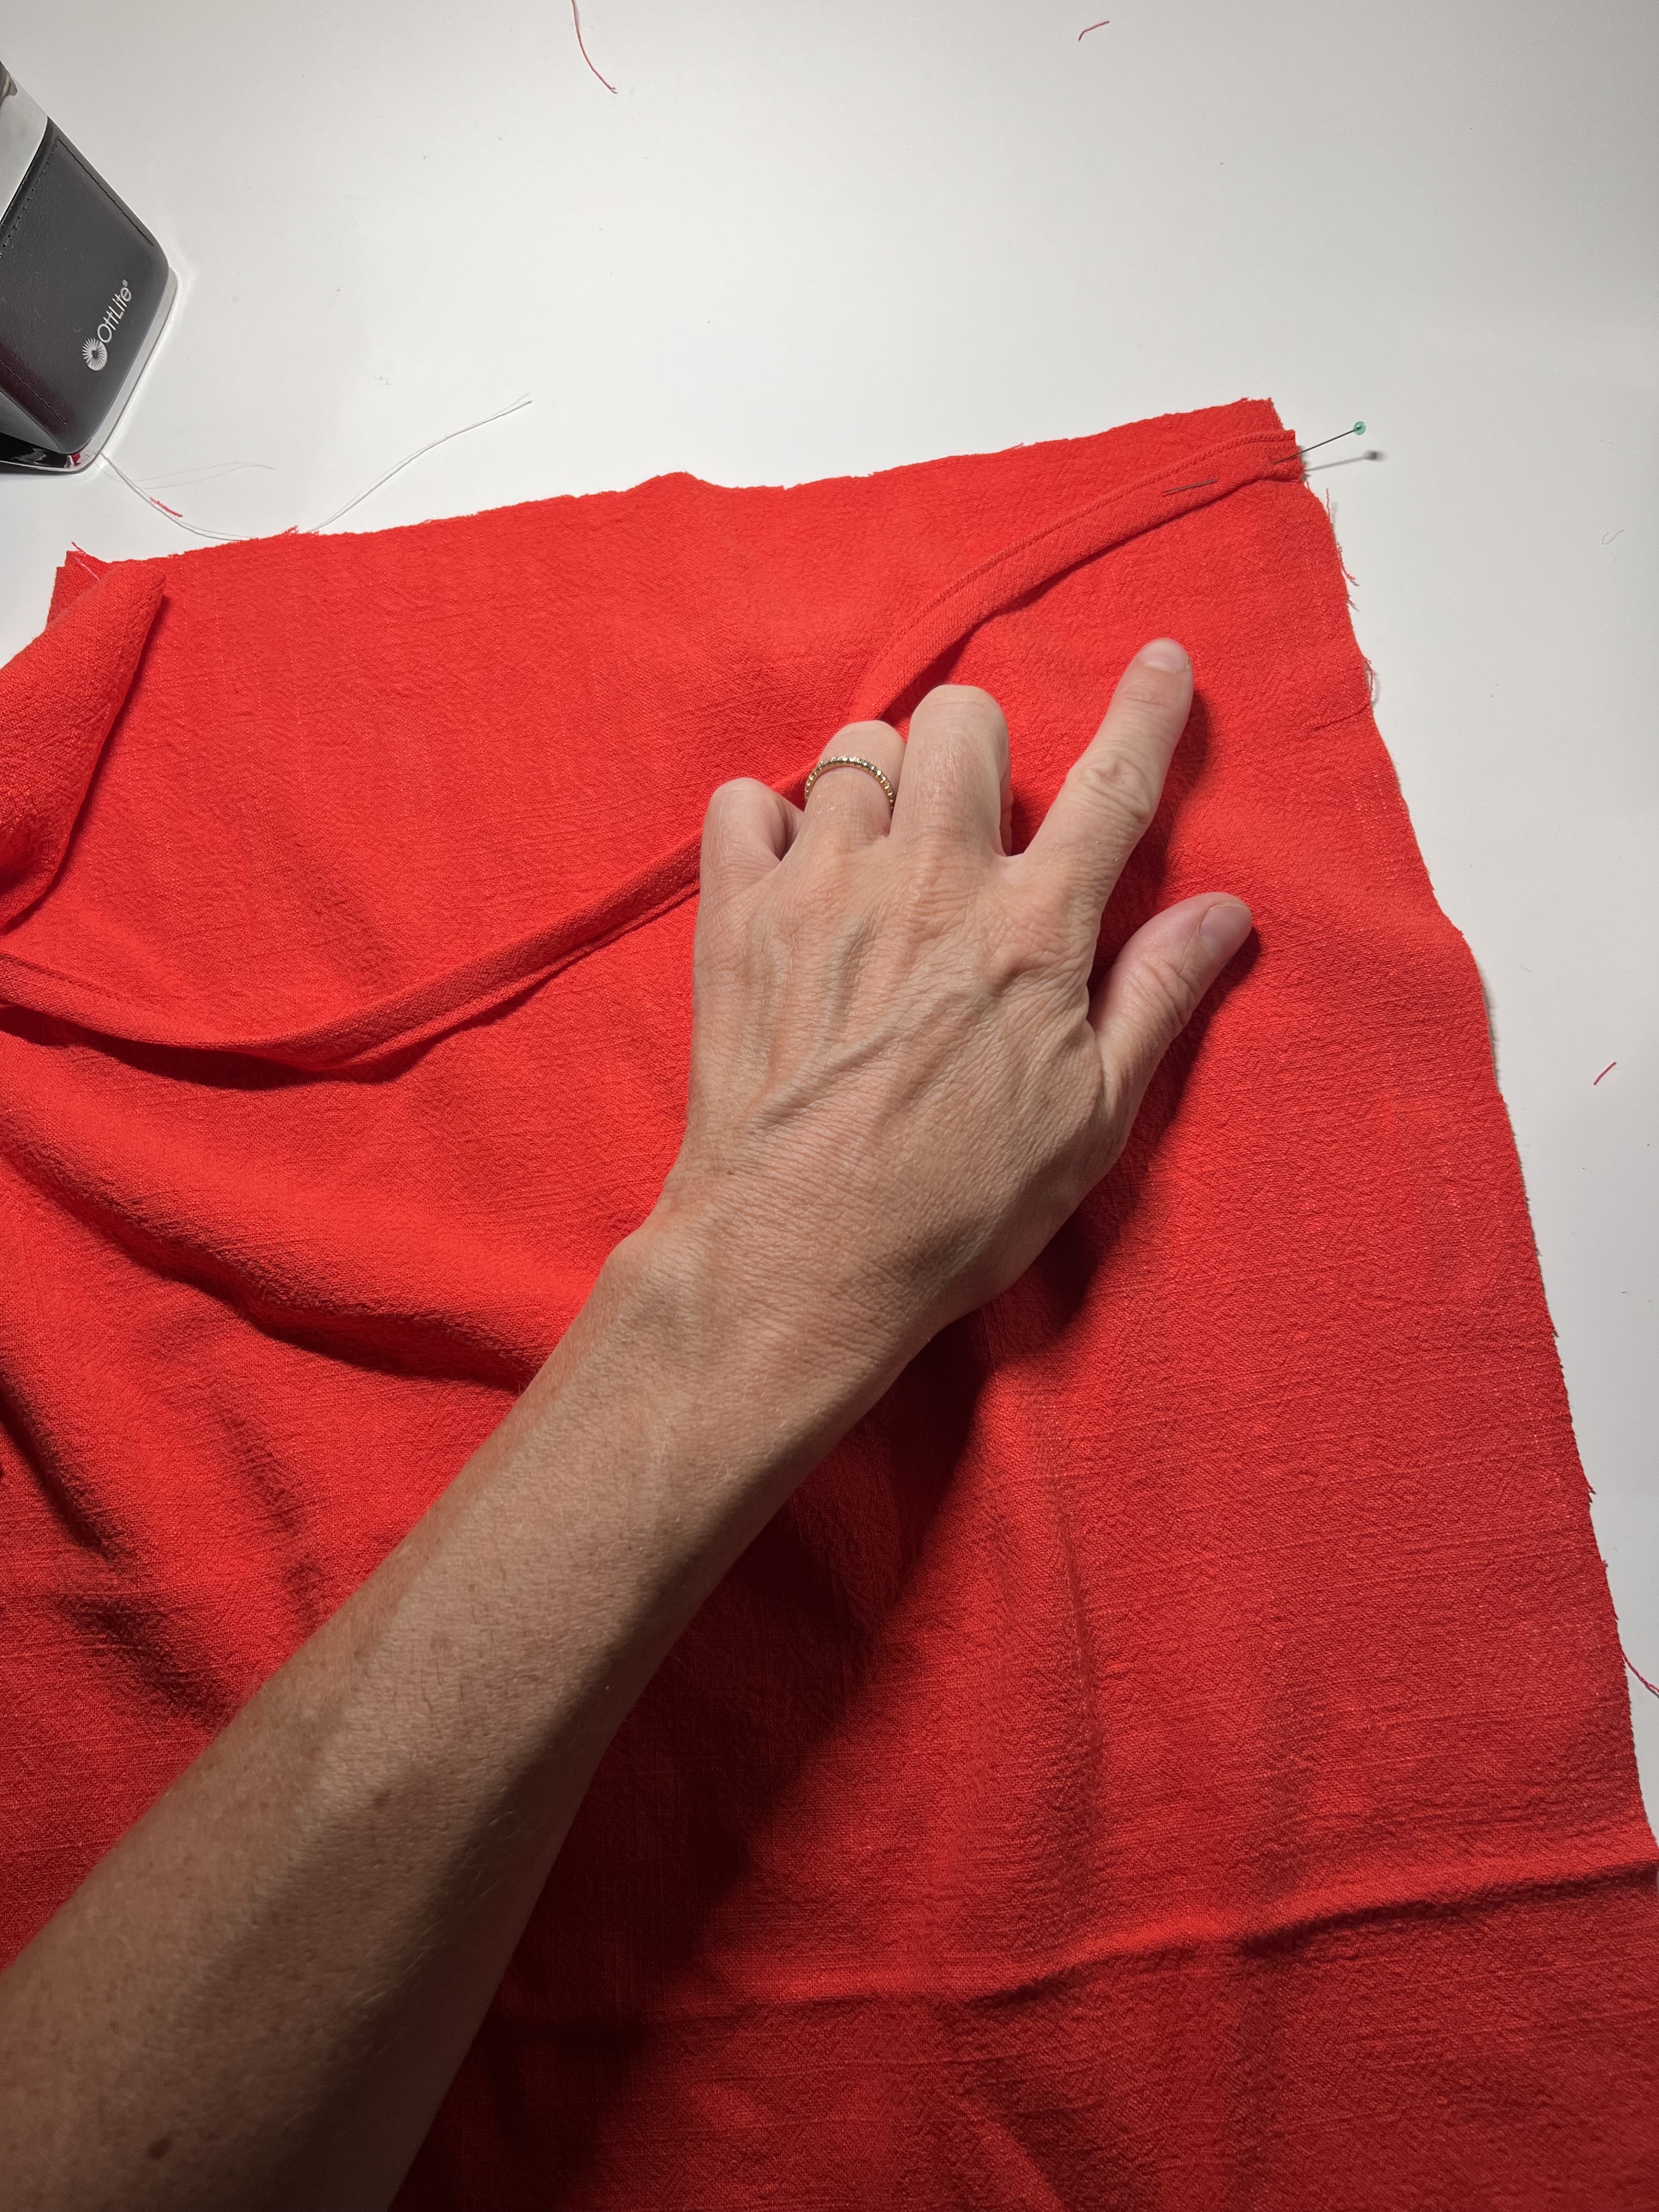
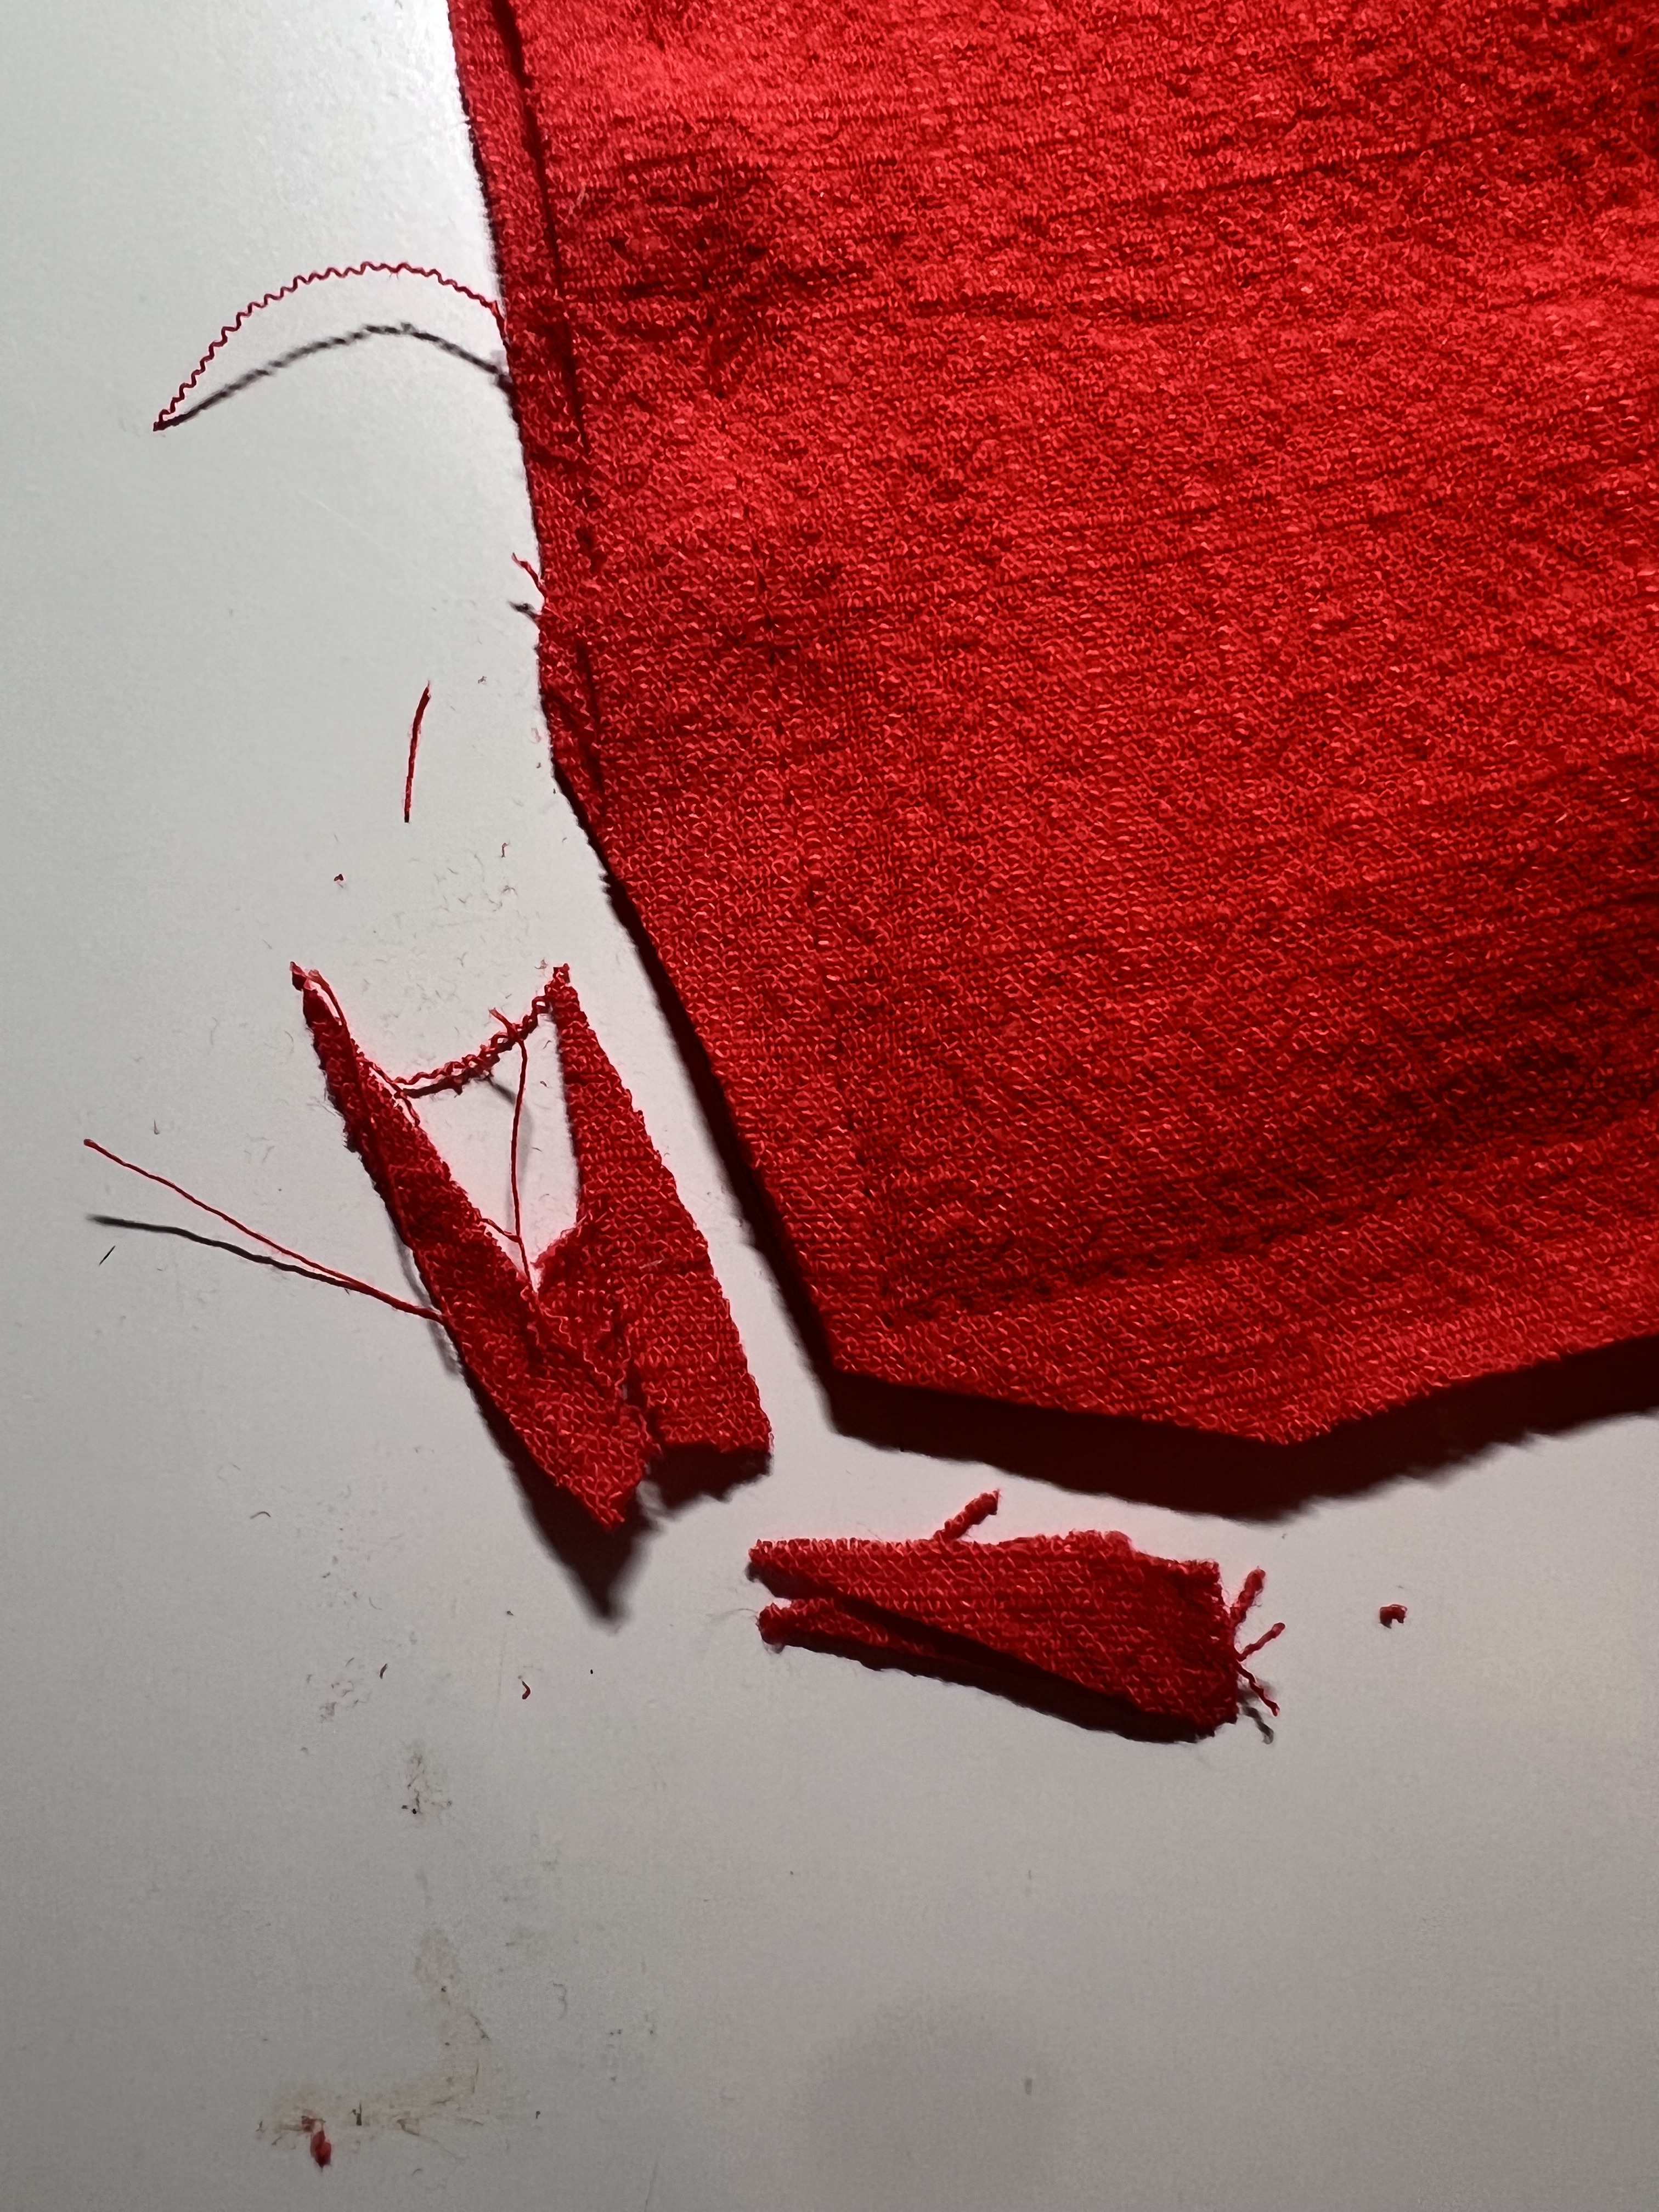
Step 3: Lay the other skirt panel on top, right sides together. Pin along three edges: the top edge, right side seam edge and bottom hemline edge. The left edge will not be sewn at this time. Sew around the three sides at 1/2″, pivoting around corners. Trim the corners and flip right side out. Press well.
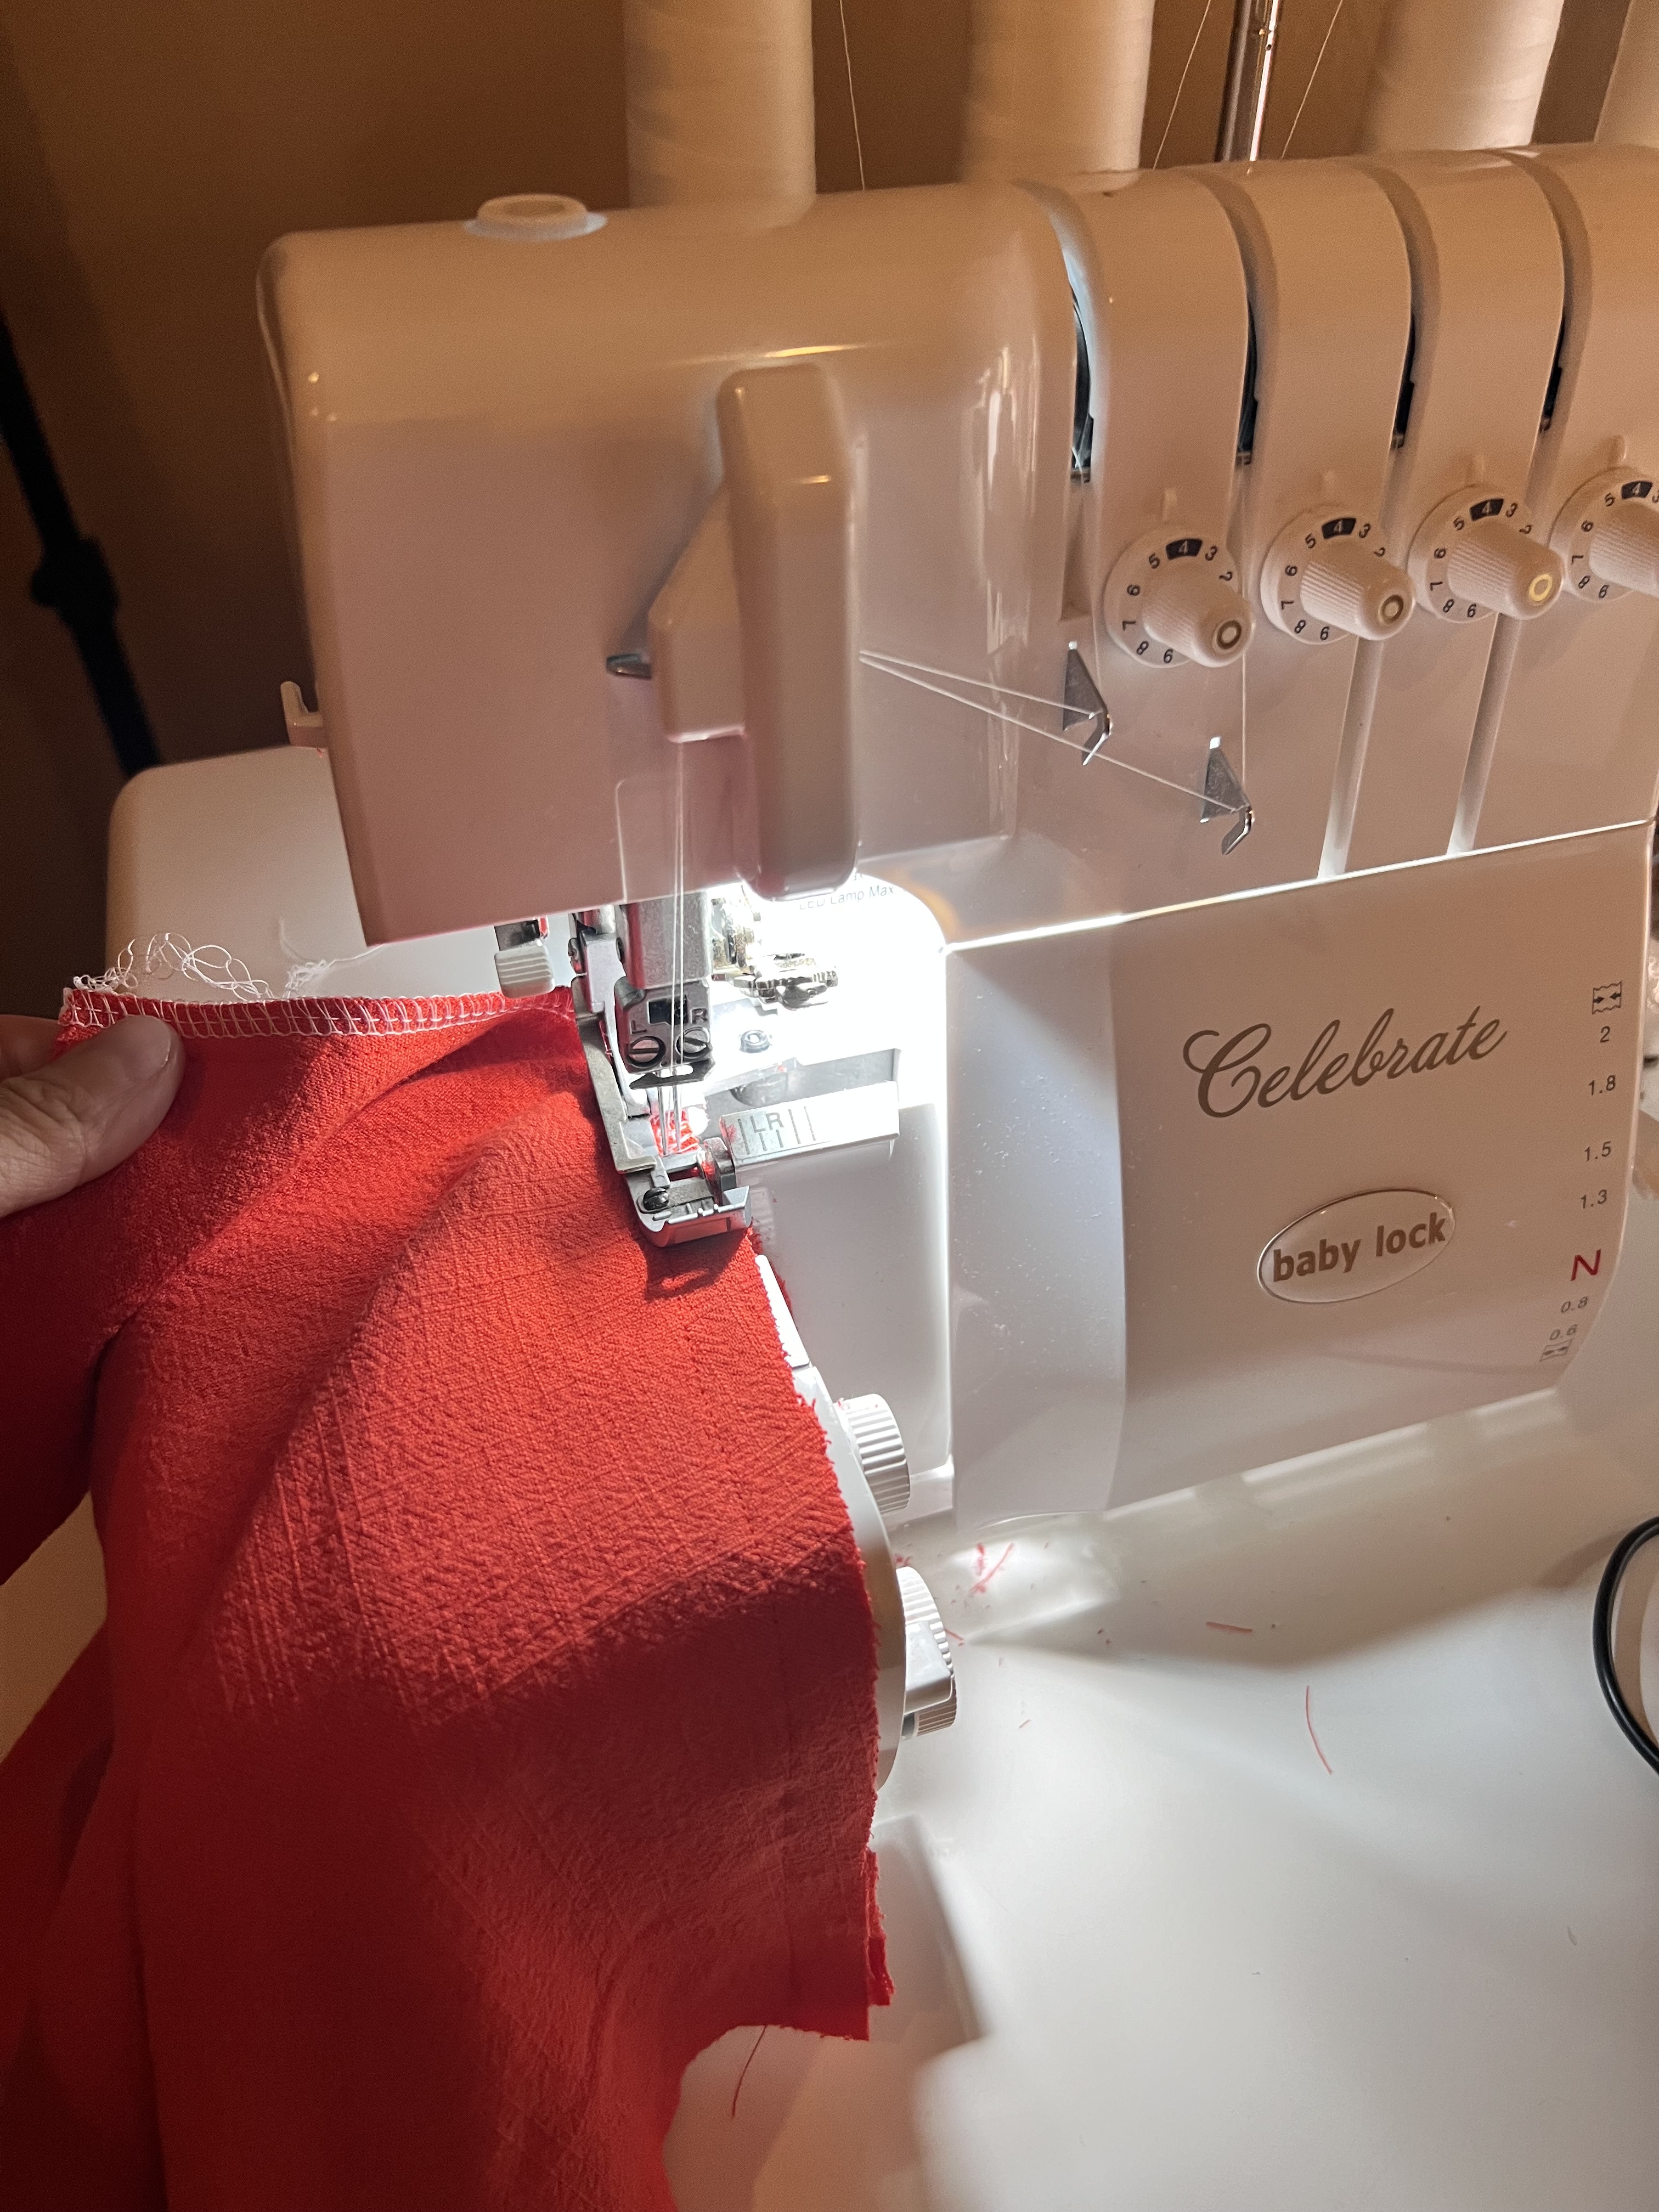
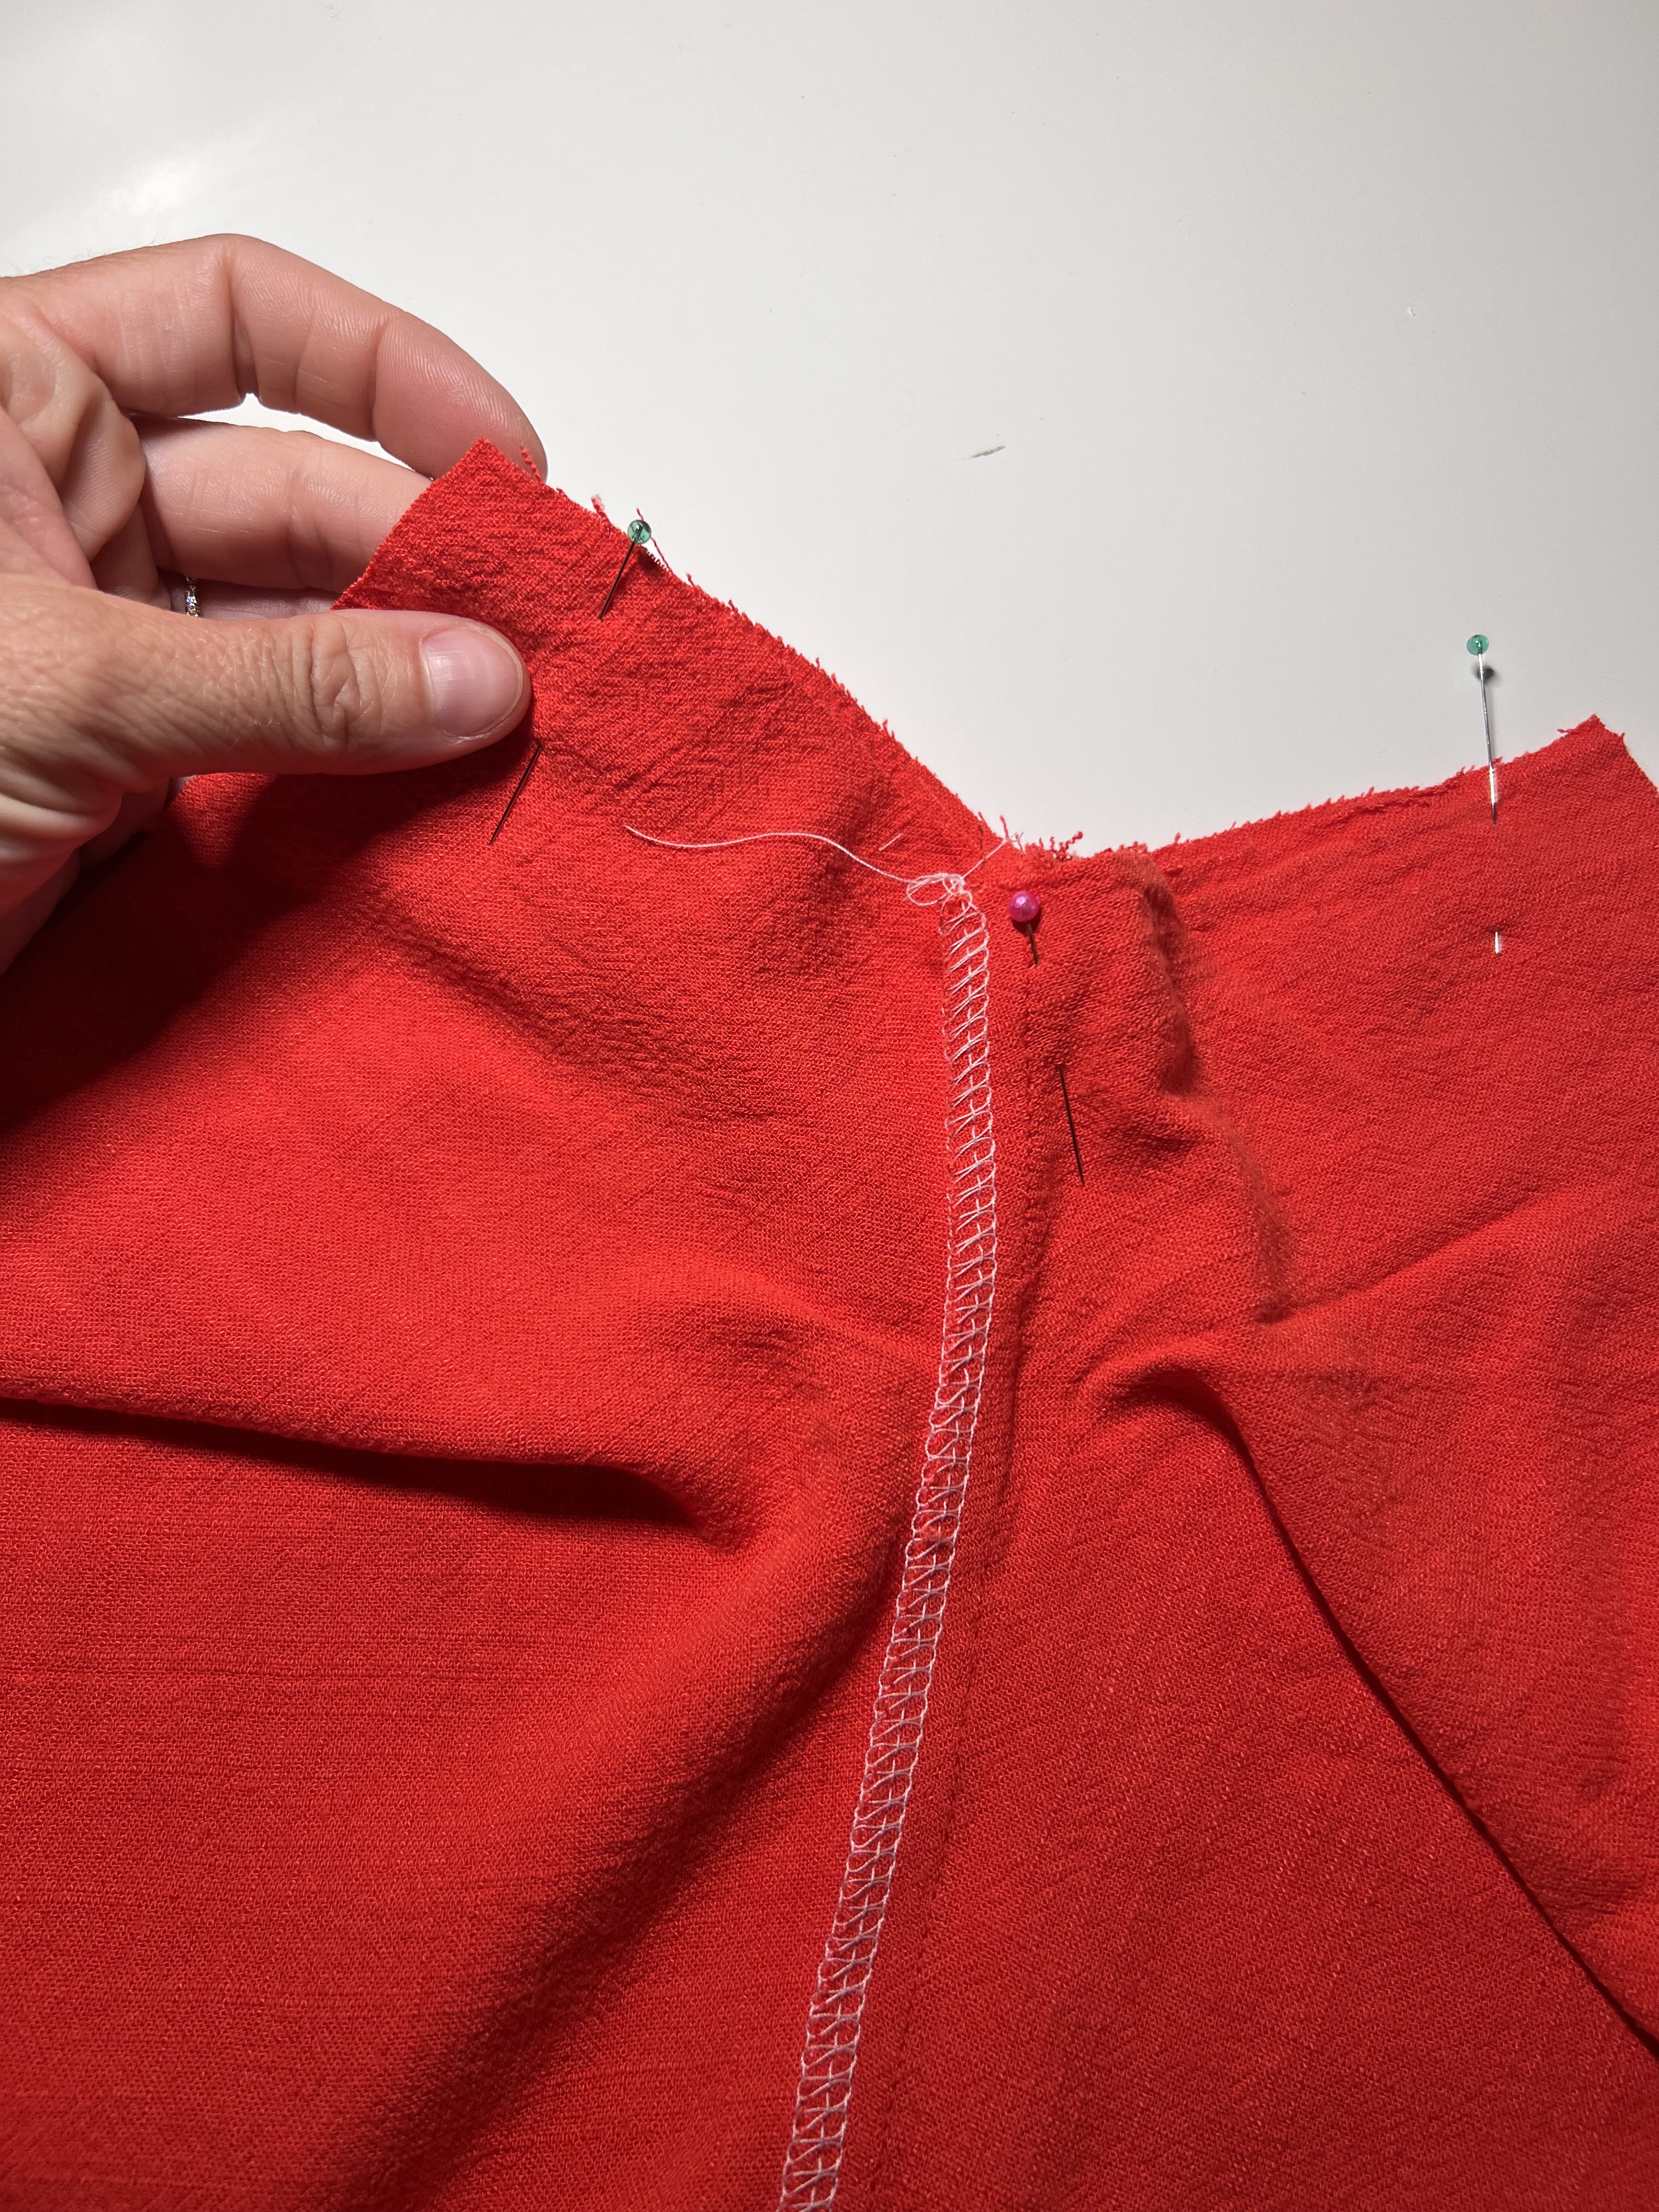
Step 4: Now we will begin the shorts construction. We will skip the pocket construction steps. First, sew front and back crotch seams right sides together. Finish seams.
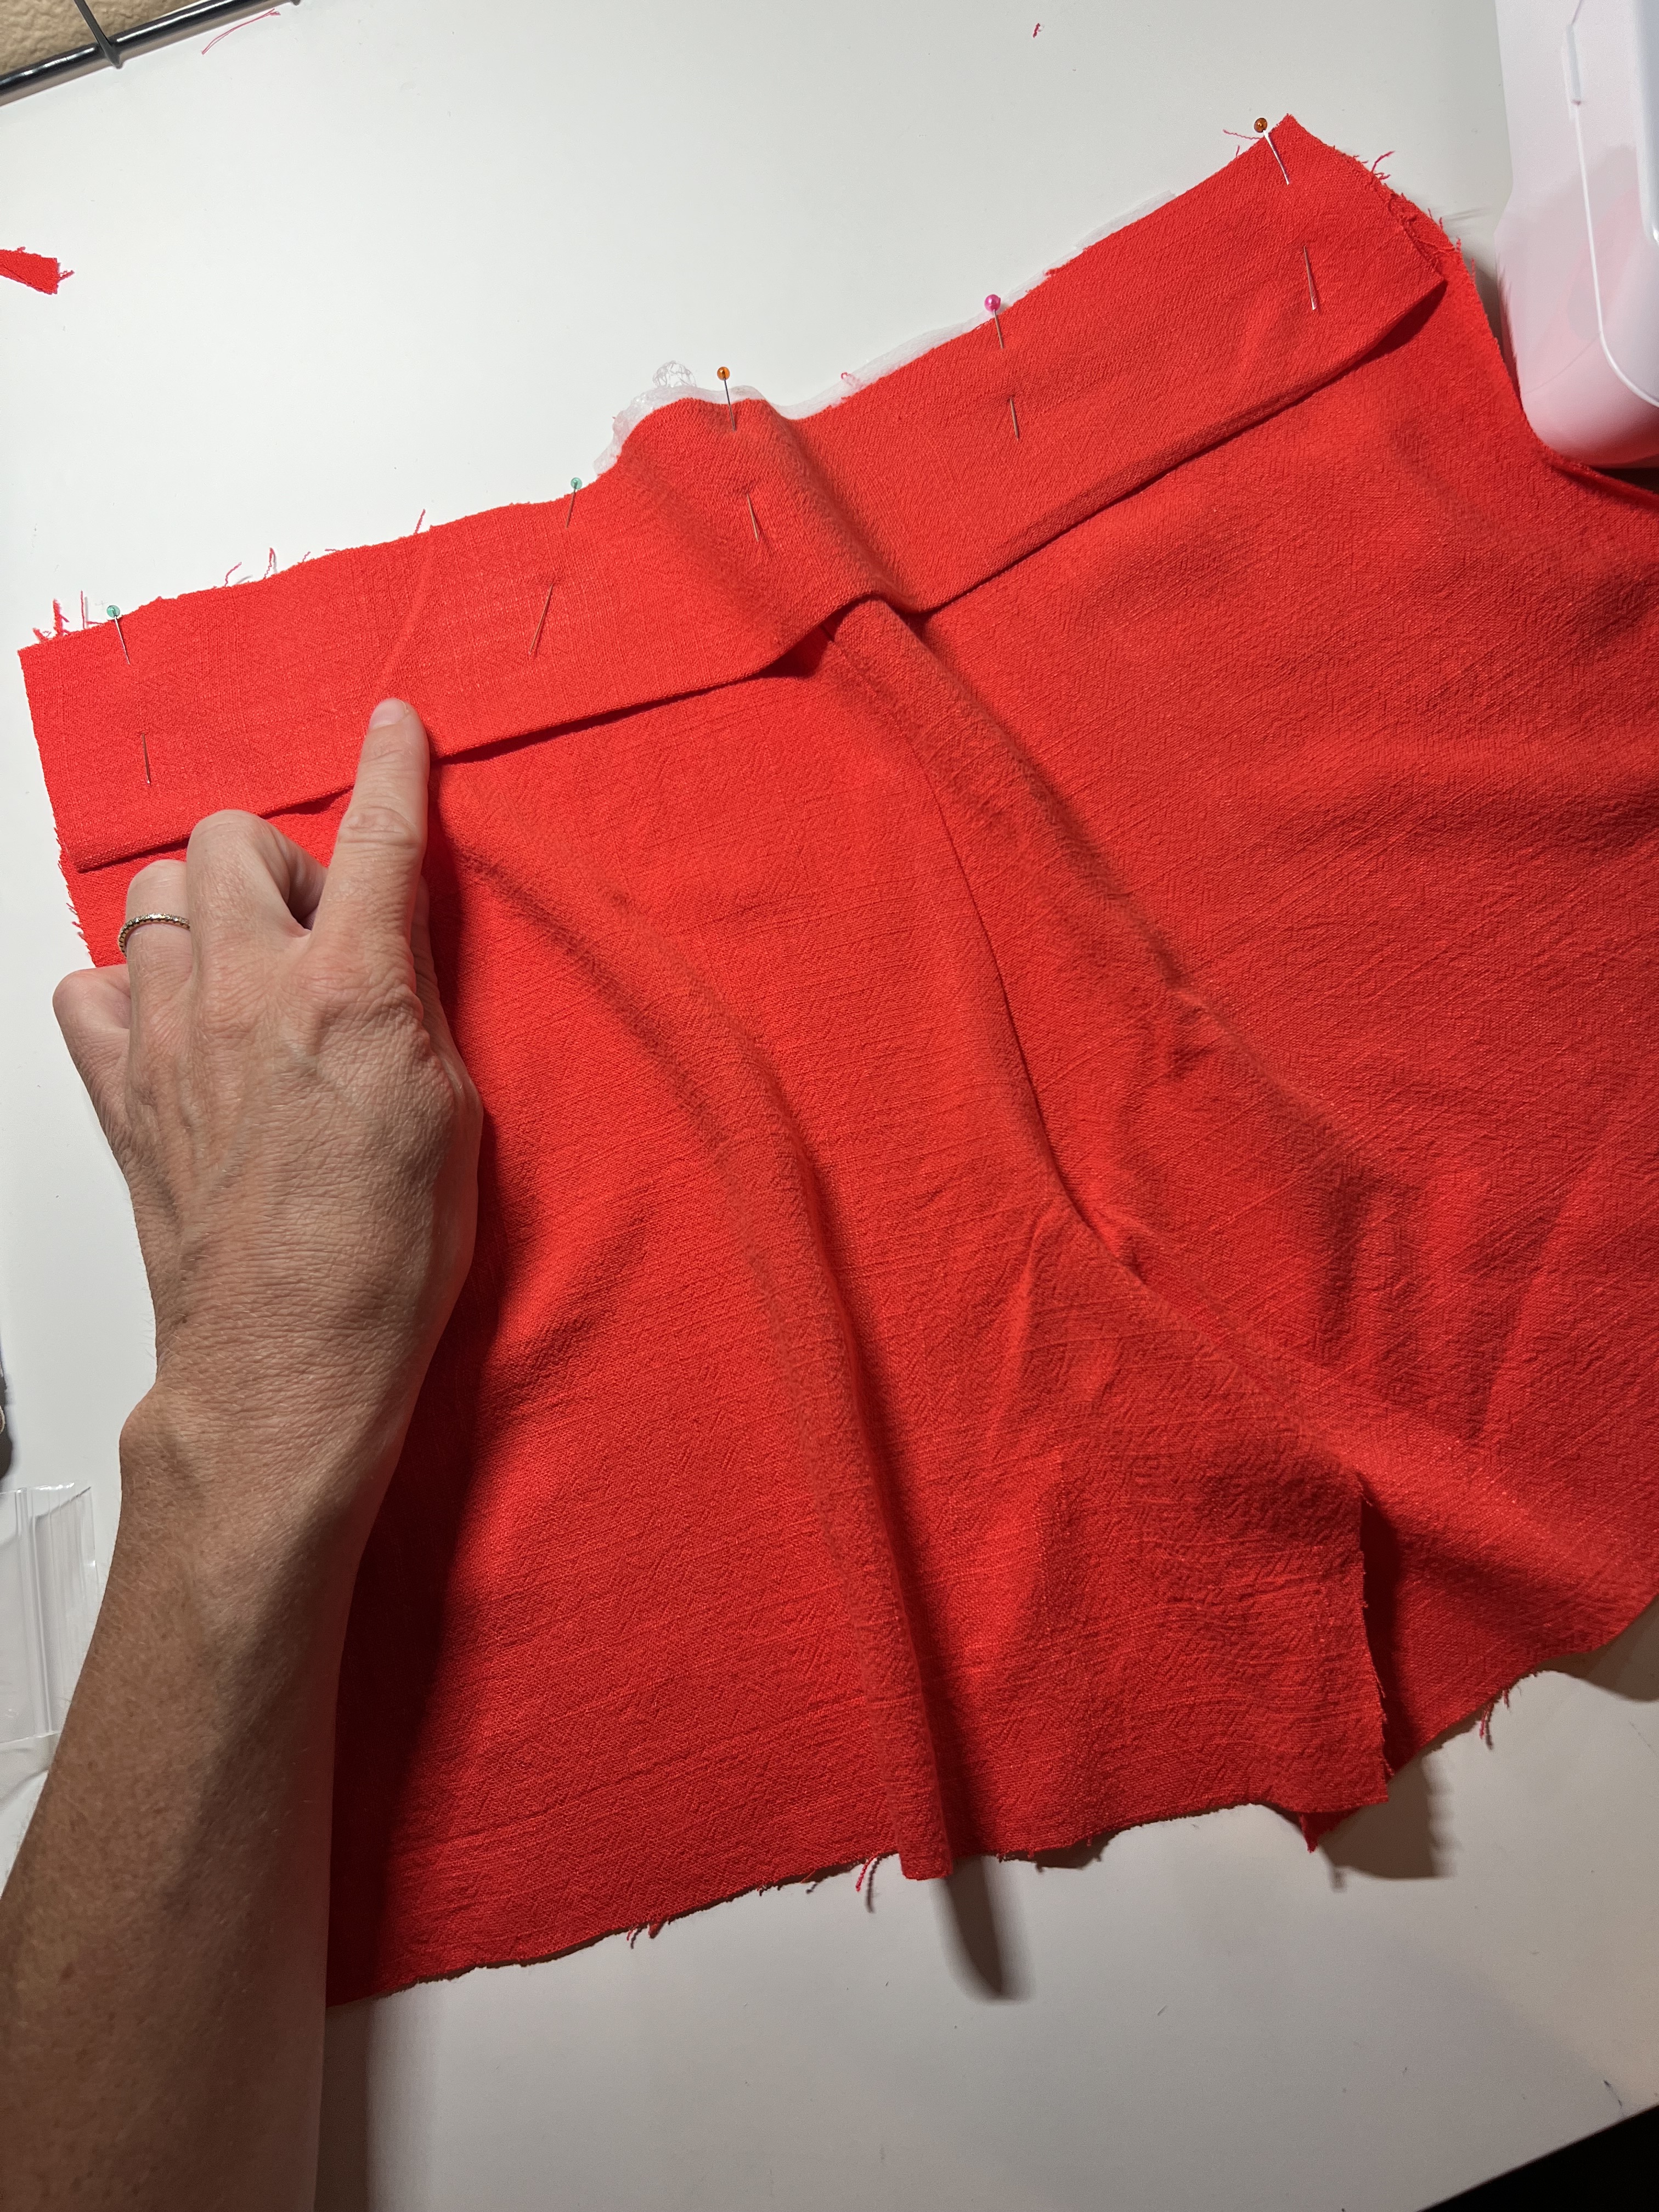
Step 5: Now we will attach the waistband pieces. First, make sure to interface your waistband pieces. For the front shorter waistband piece, press the waistband wrong sides together. Pin along the top of the front shorts. Sew at 1/2″ and finish. Press well. Repeat for the back of the shorts and longer waistband piece.
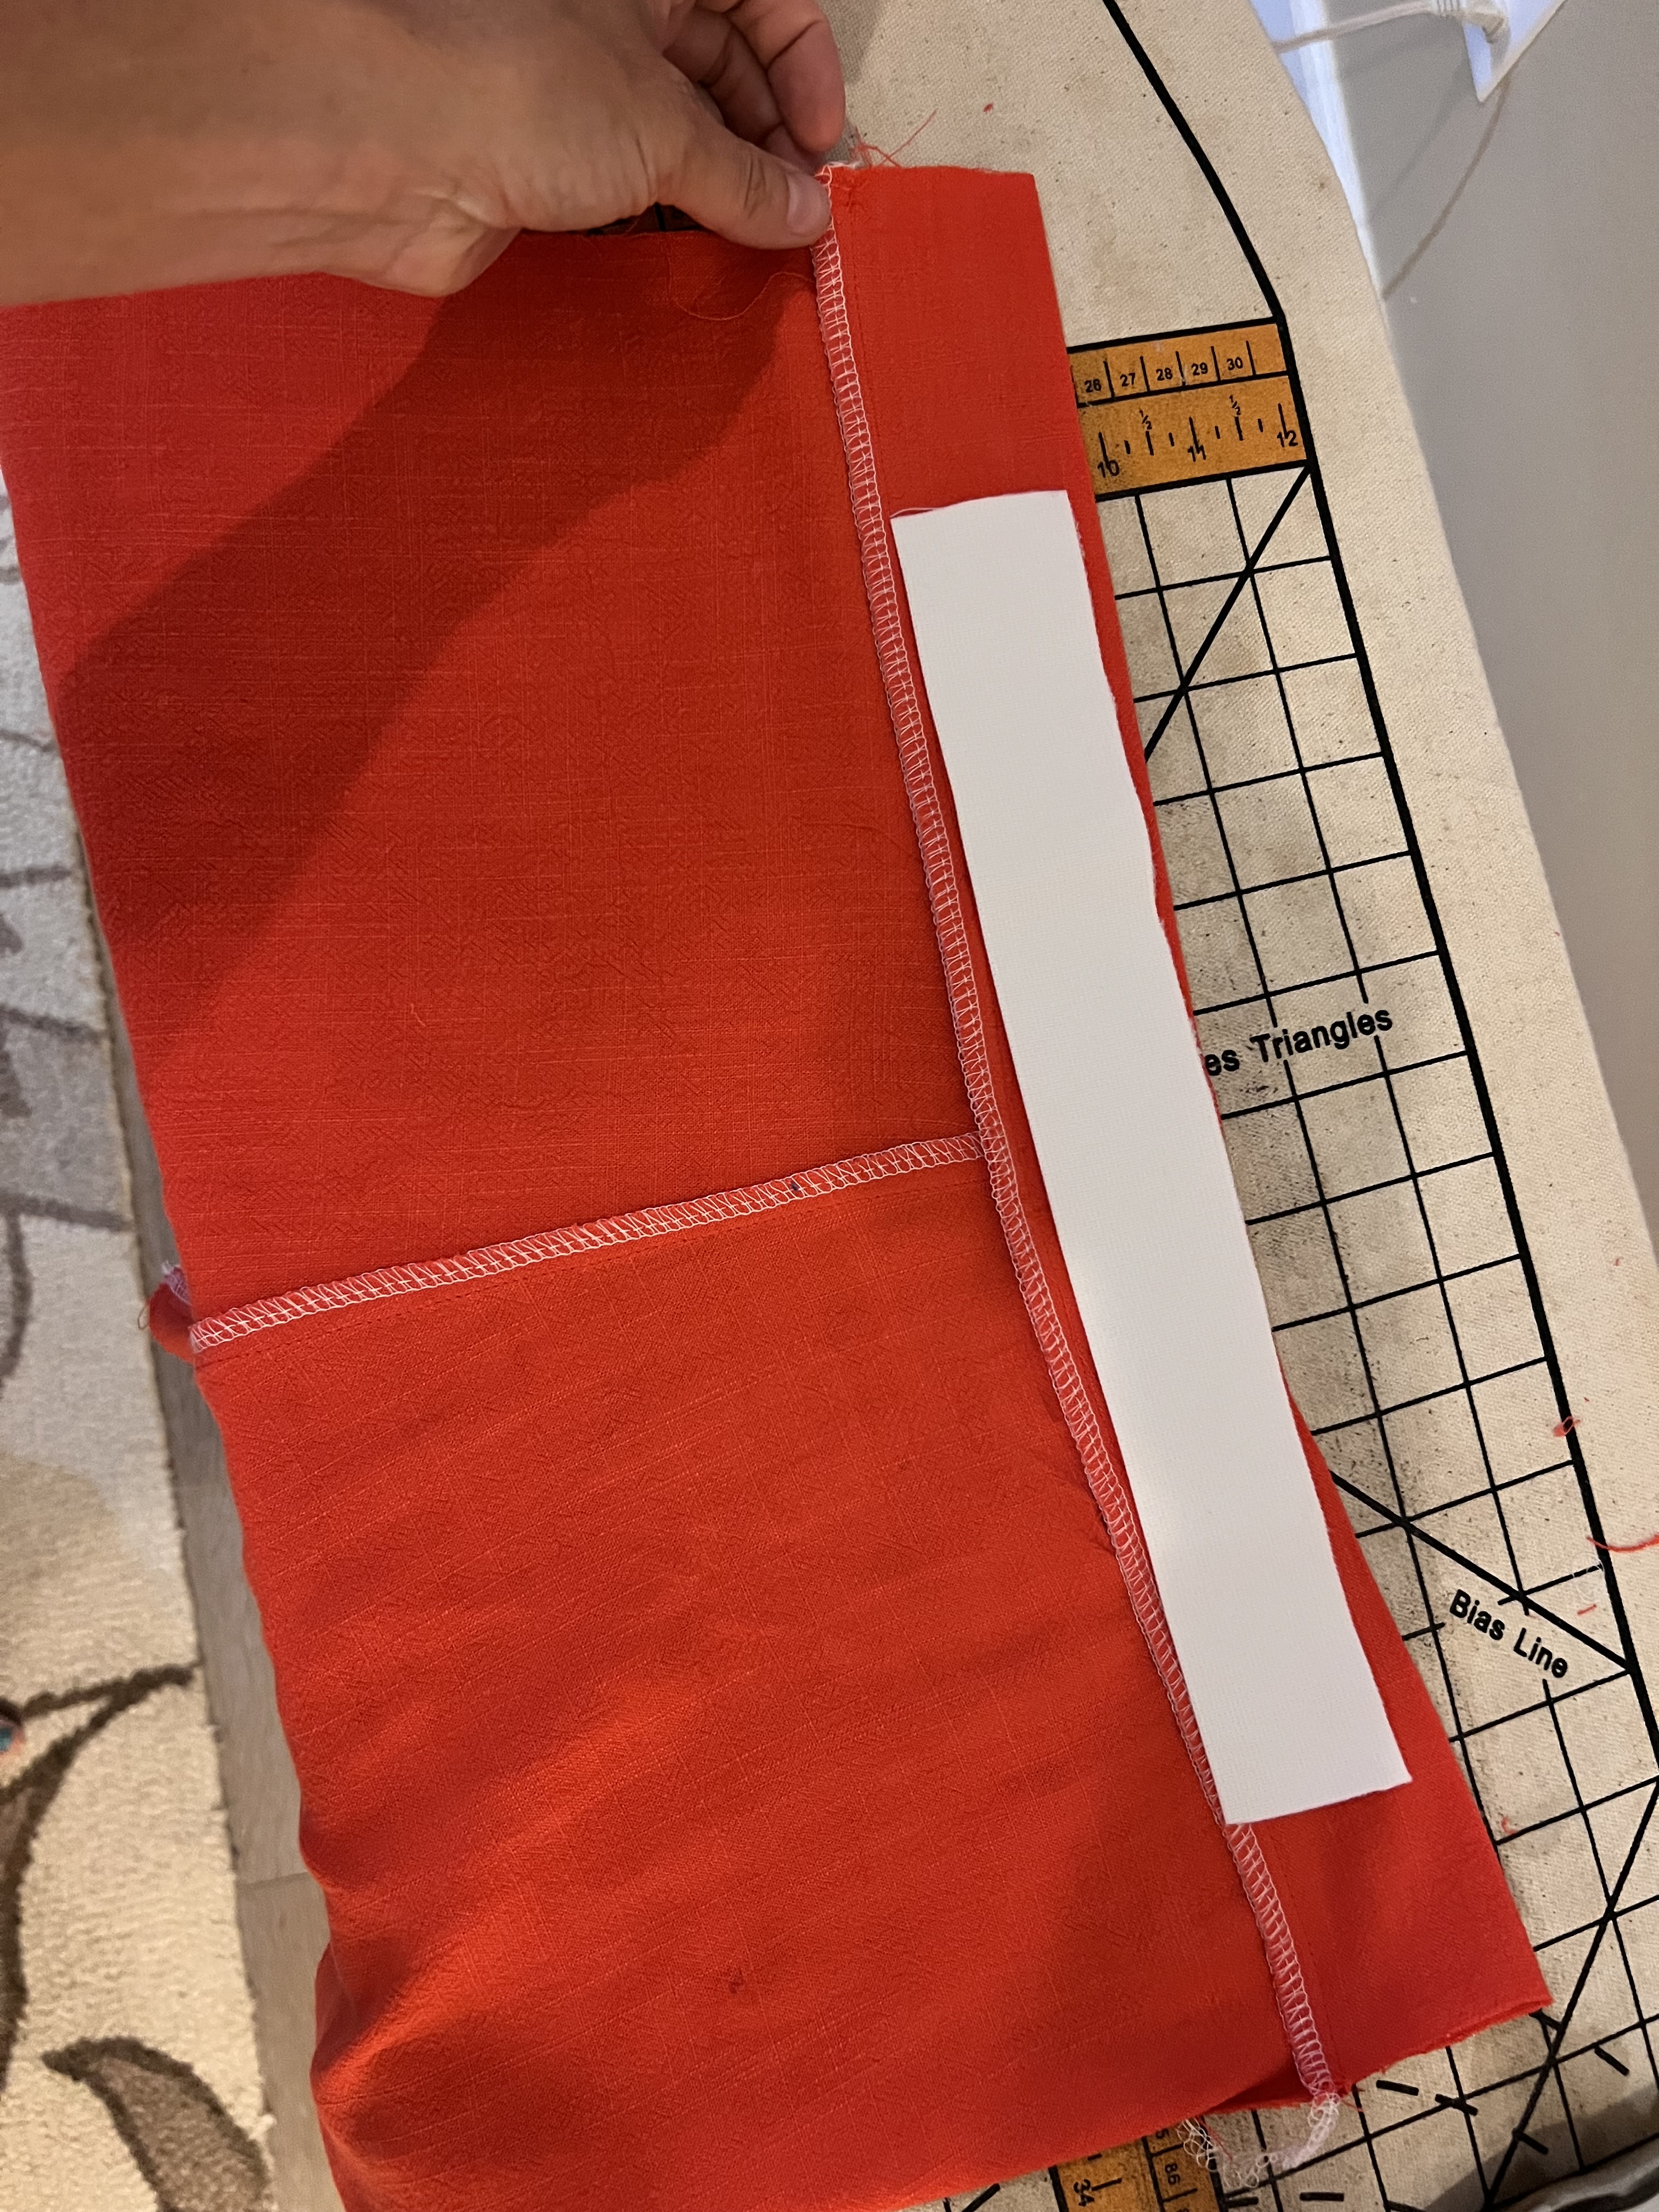
Step 6: Cut a piece of elastic that fits just within your waist band that is comfortably fitted to the back natural waist. I just held the elastic up to my daughters back waist. You can see it’s not as long as the actual waistband.
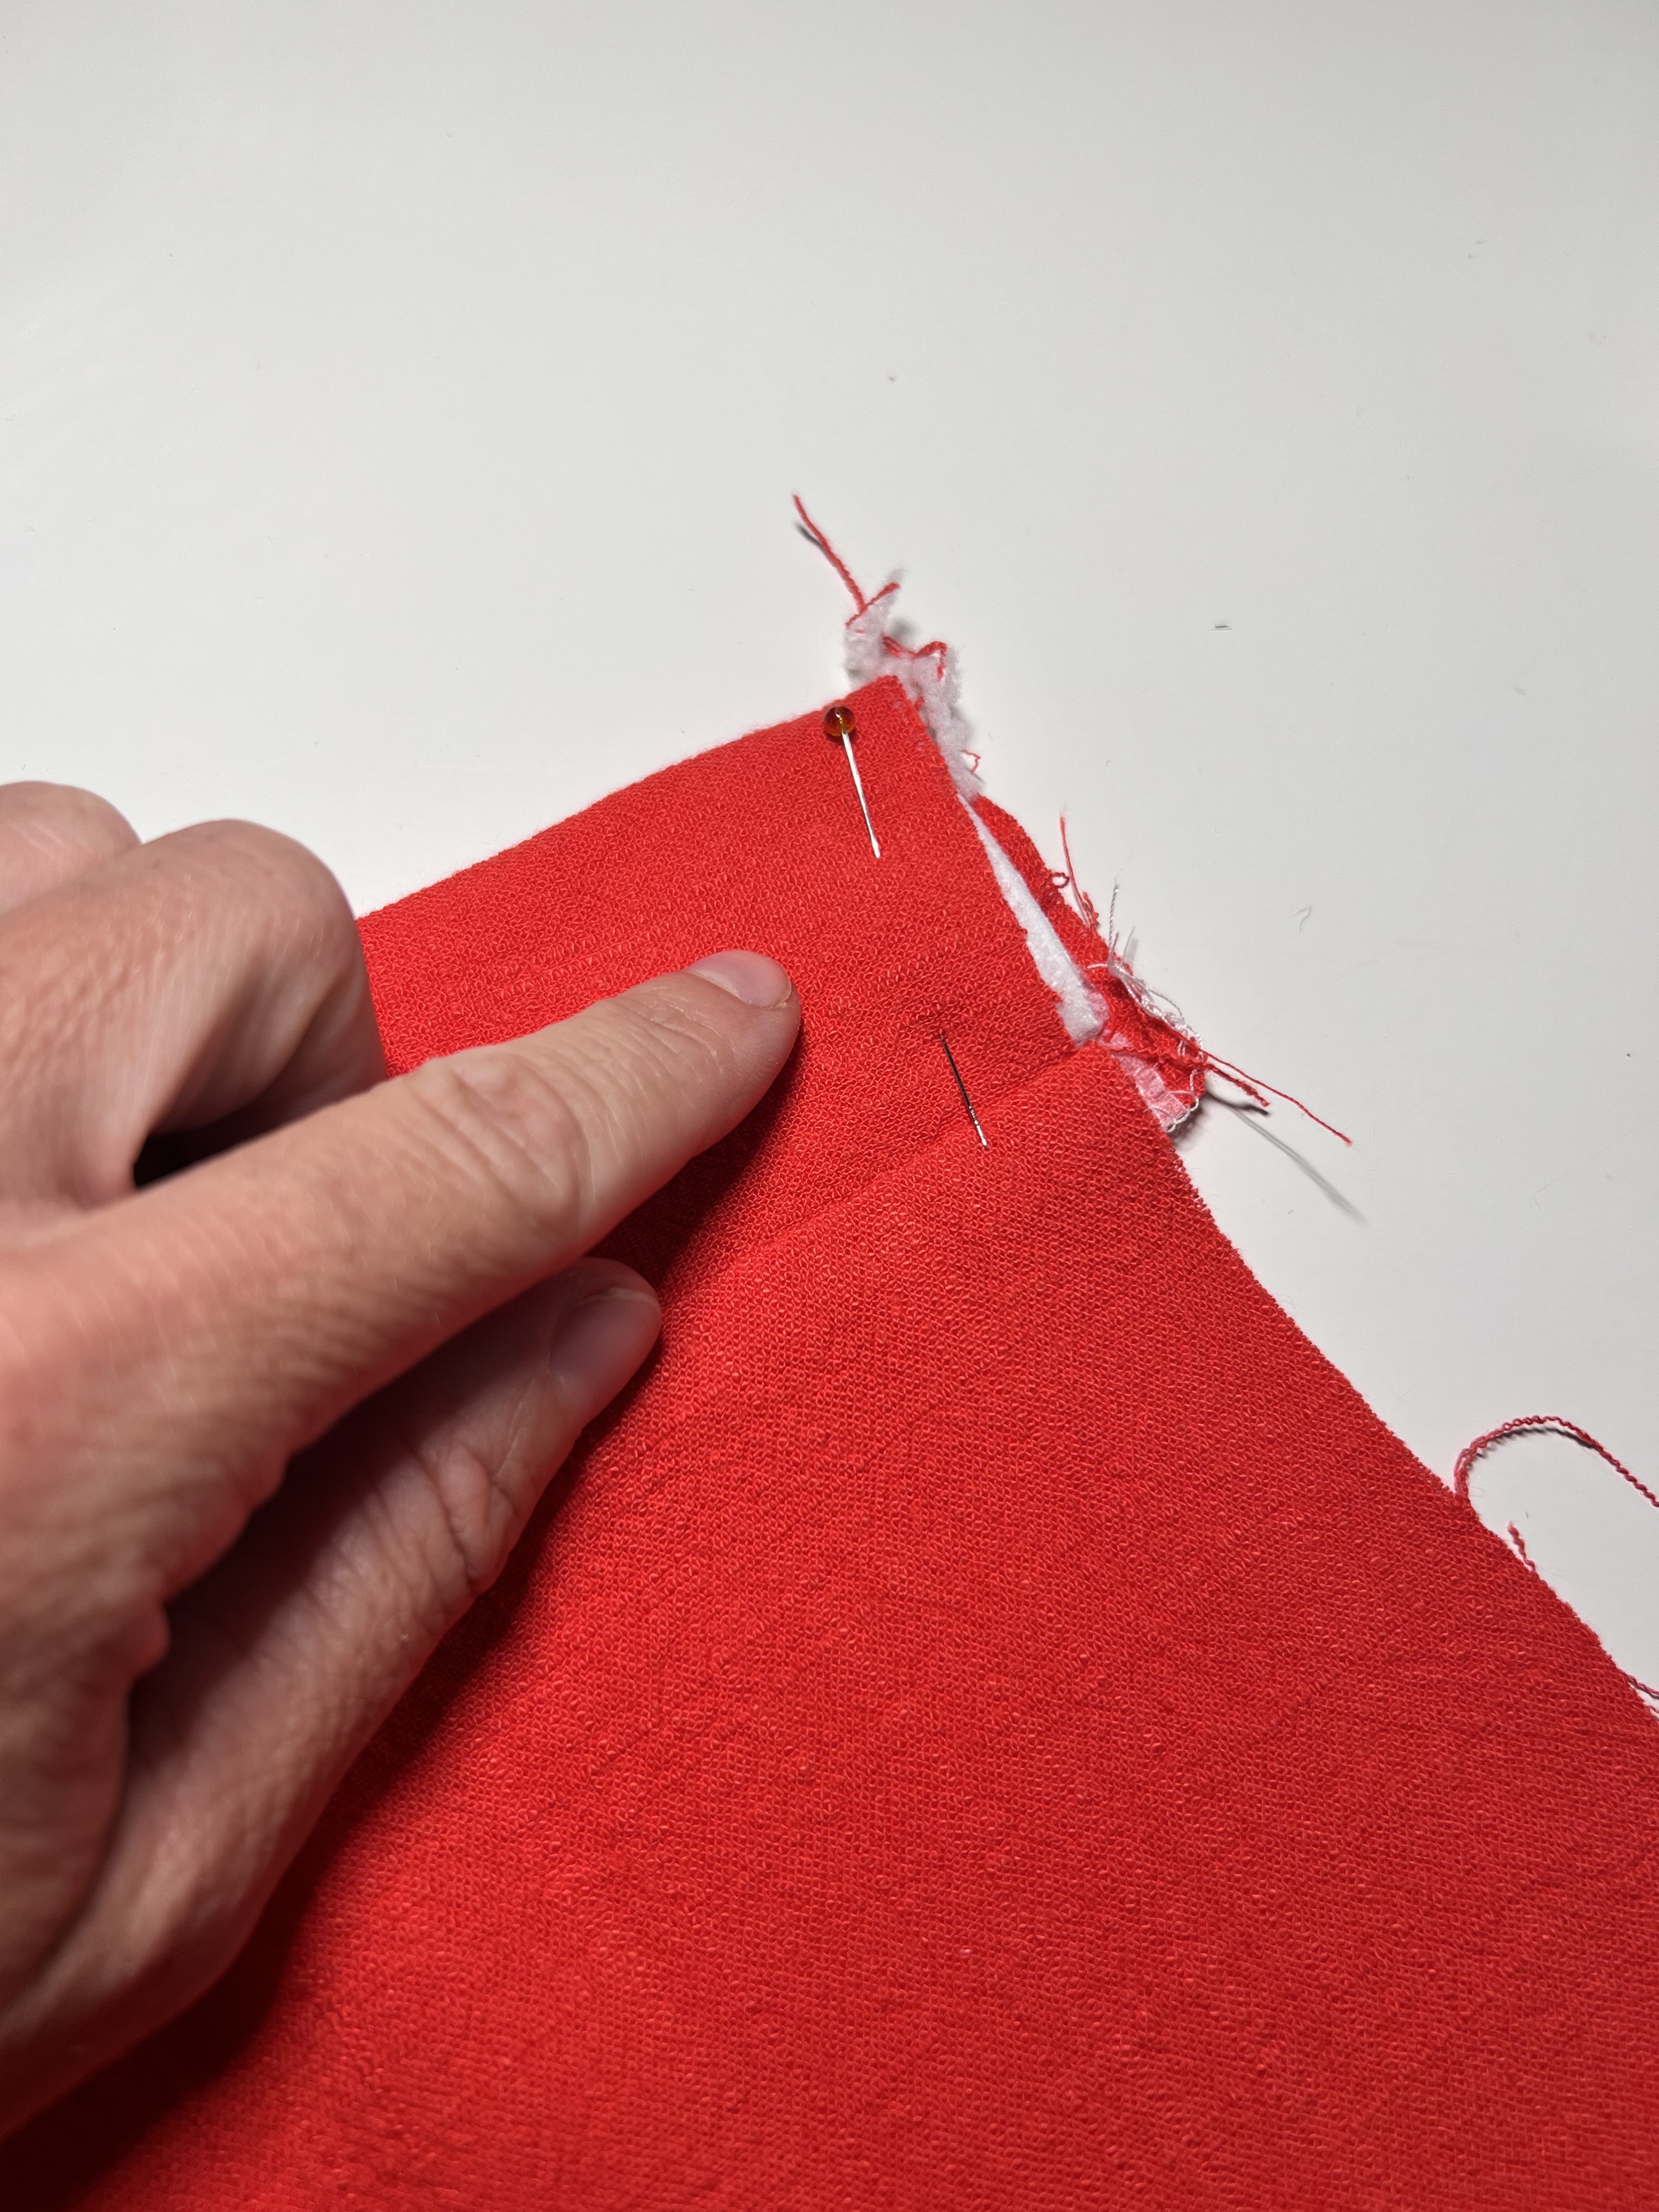
Step 7: Pin a safety pin to one edge of the elastic. Gently insert the elastic into the back waistband. Make sure to pin the edges of the elastic to the waistband edges so you don’t lose them in the waistband. Sew 1/4″ along the raw-edges of the waistband to secure elastic.
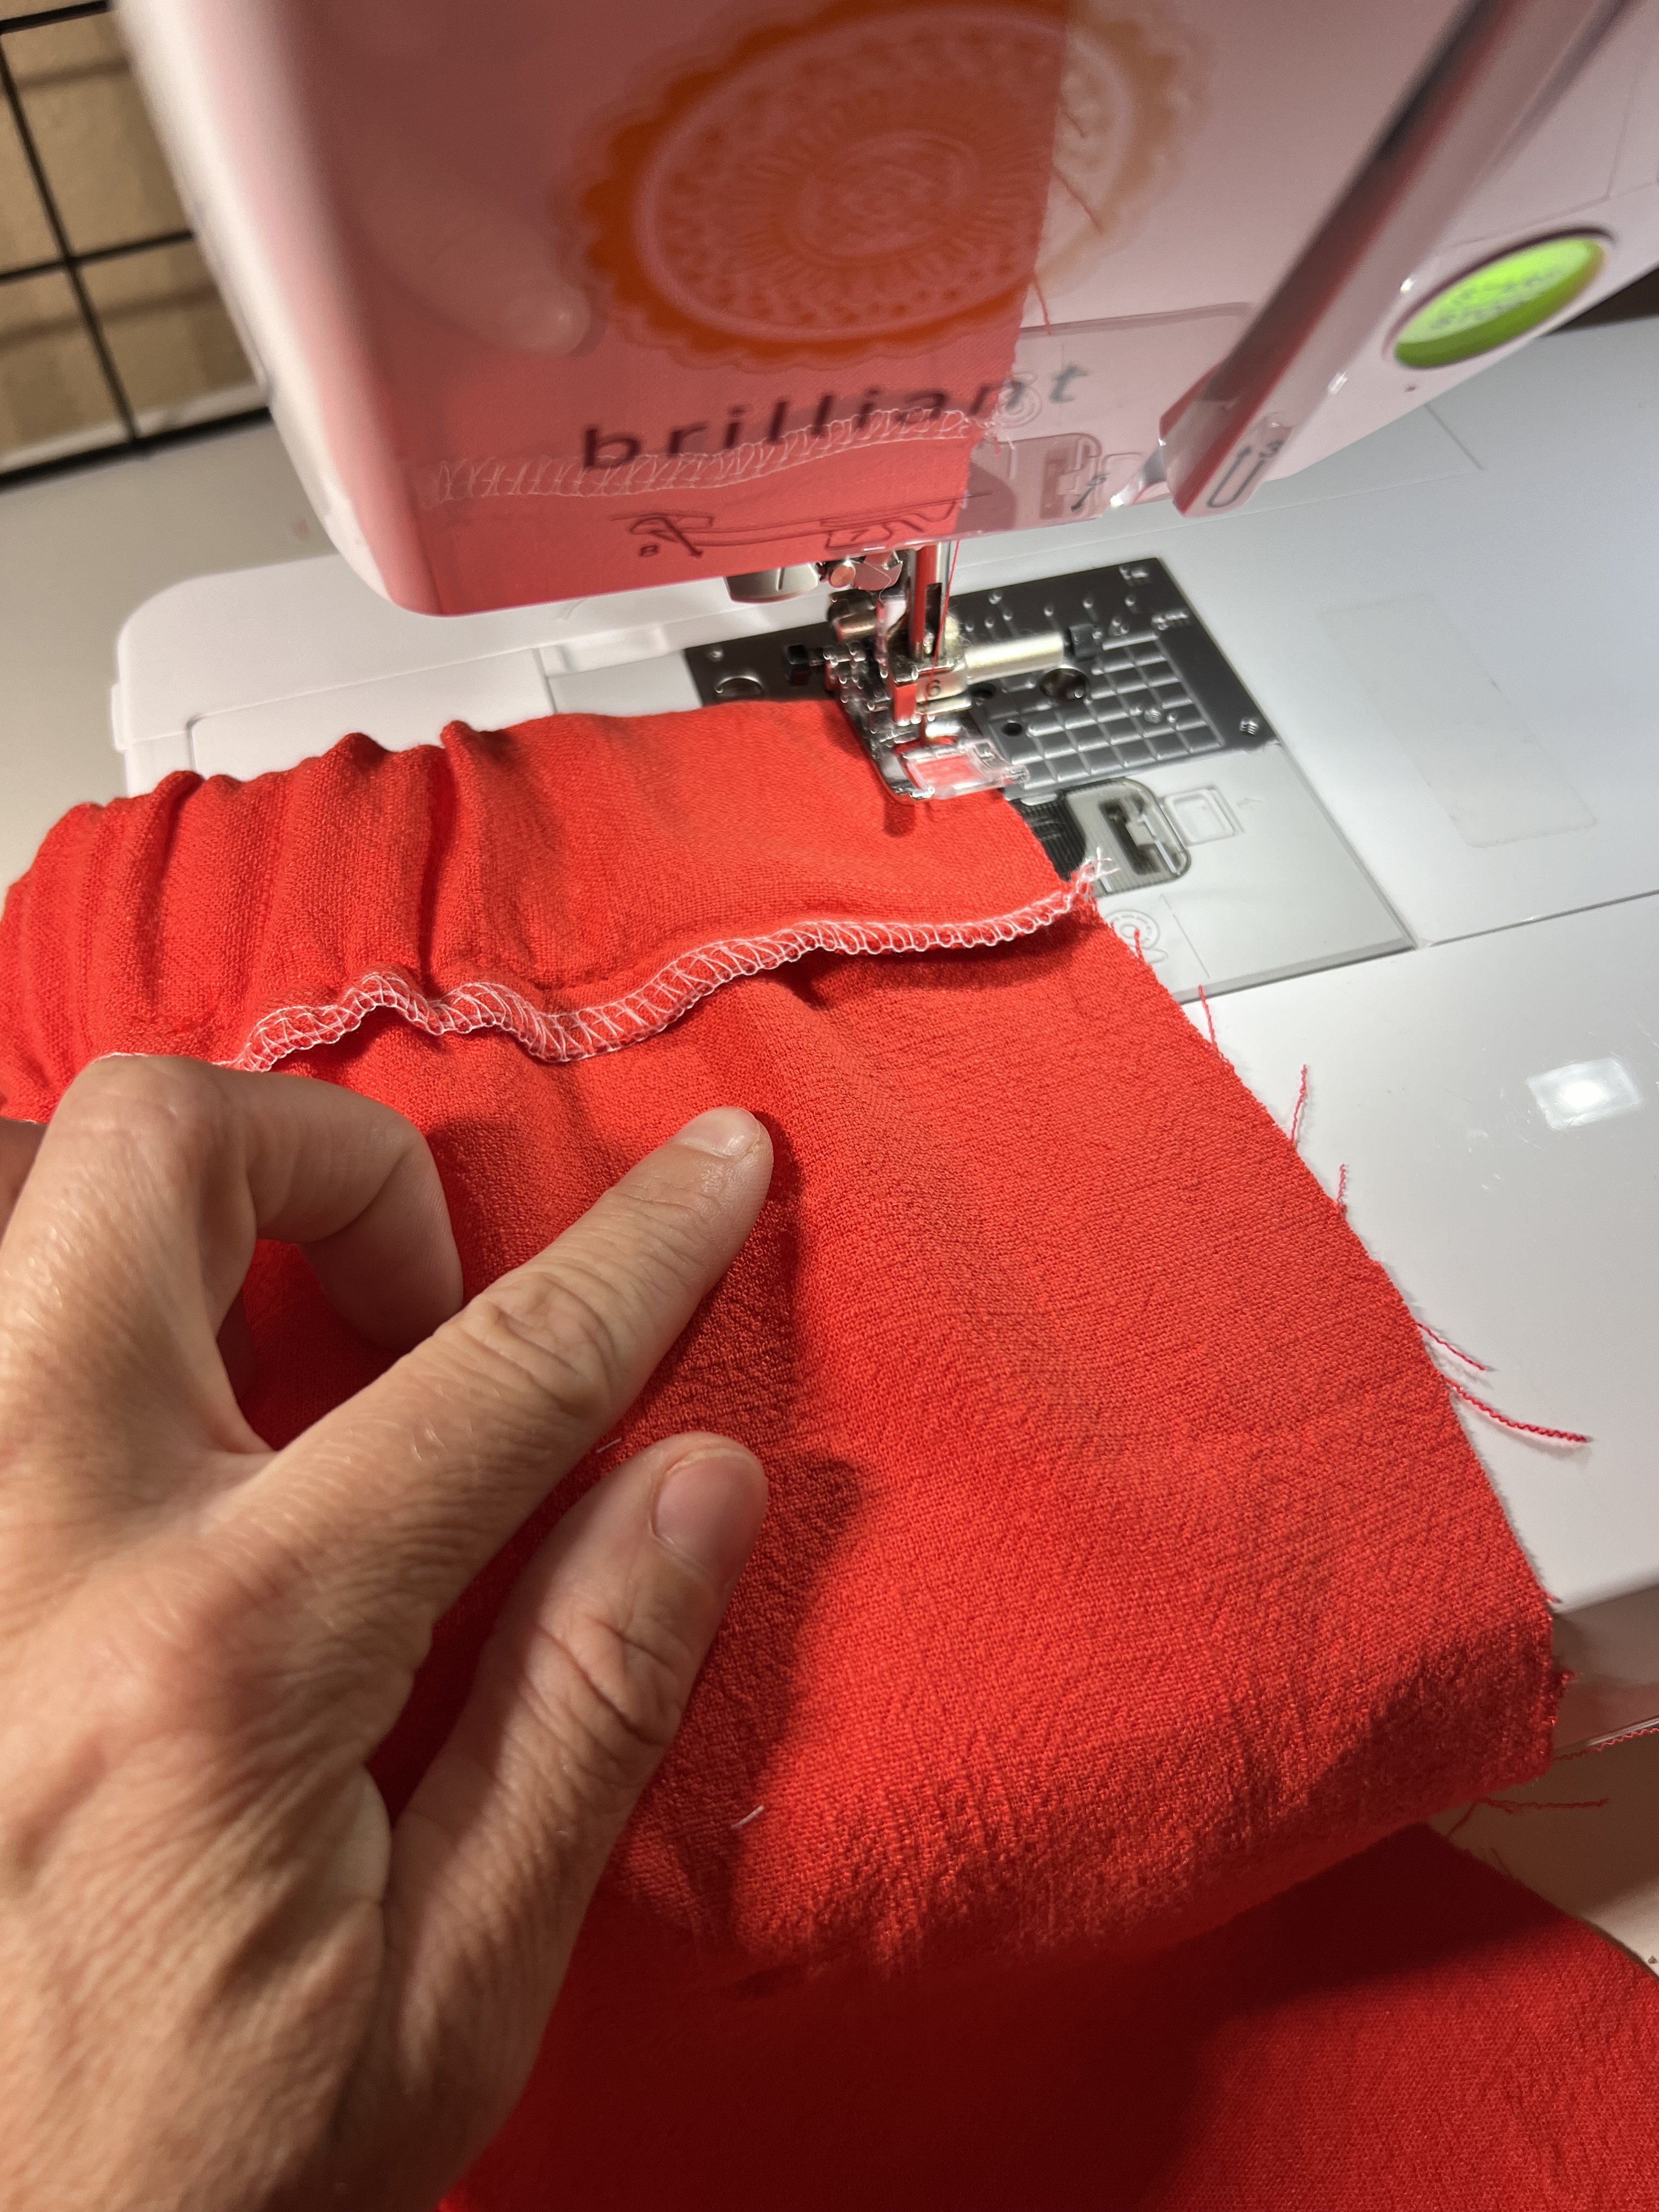
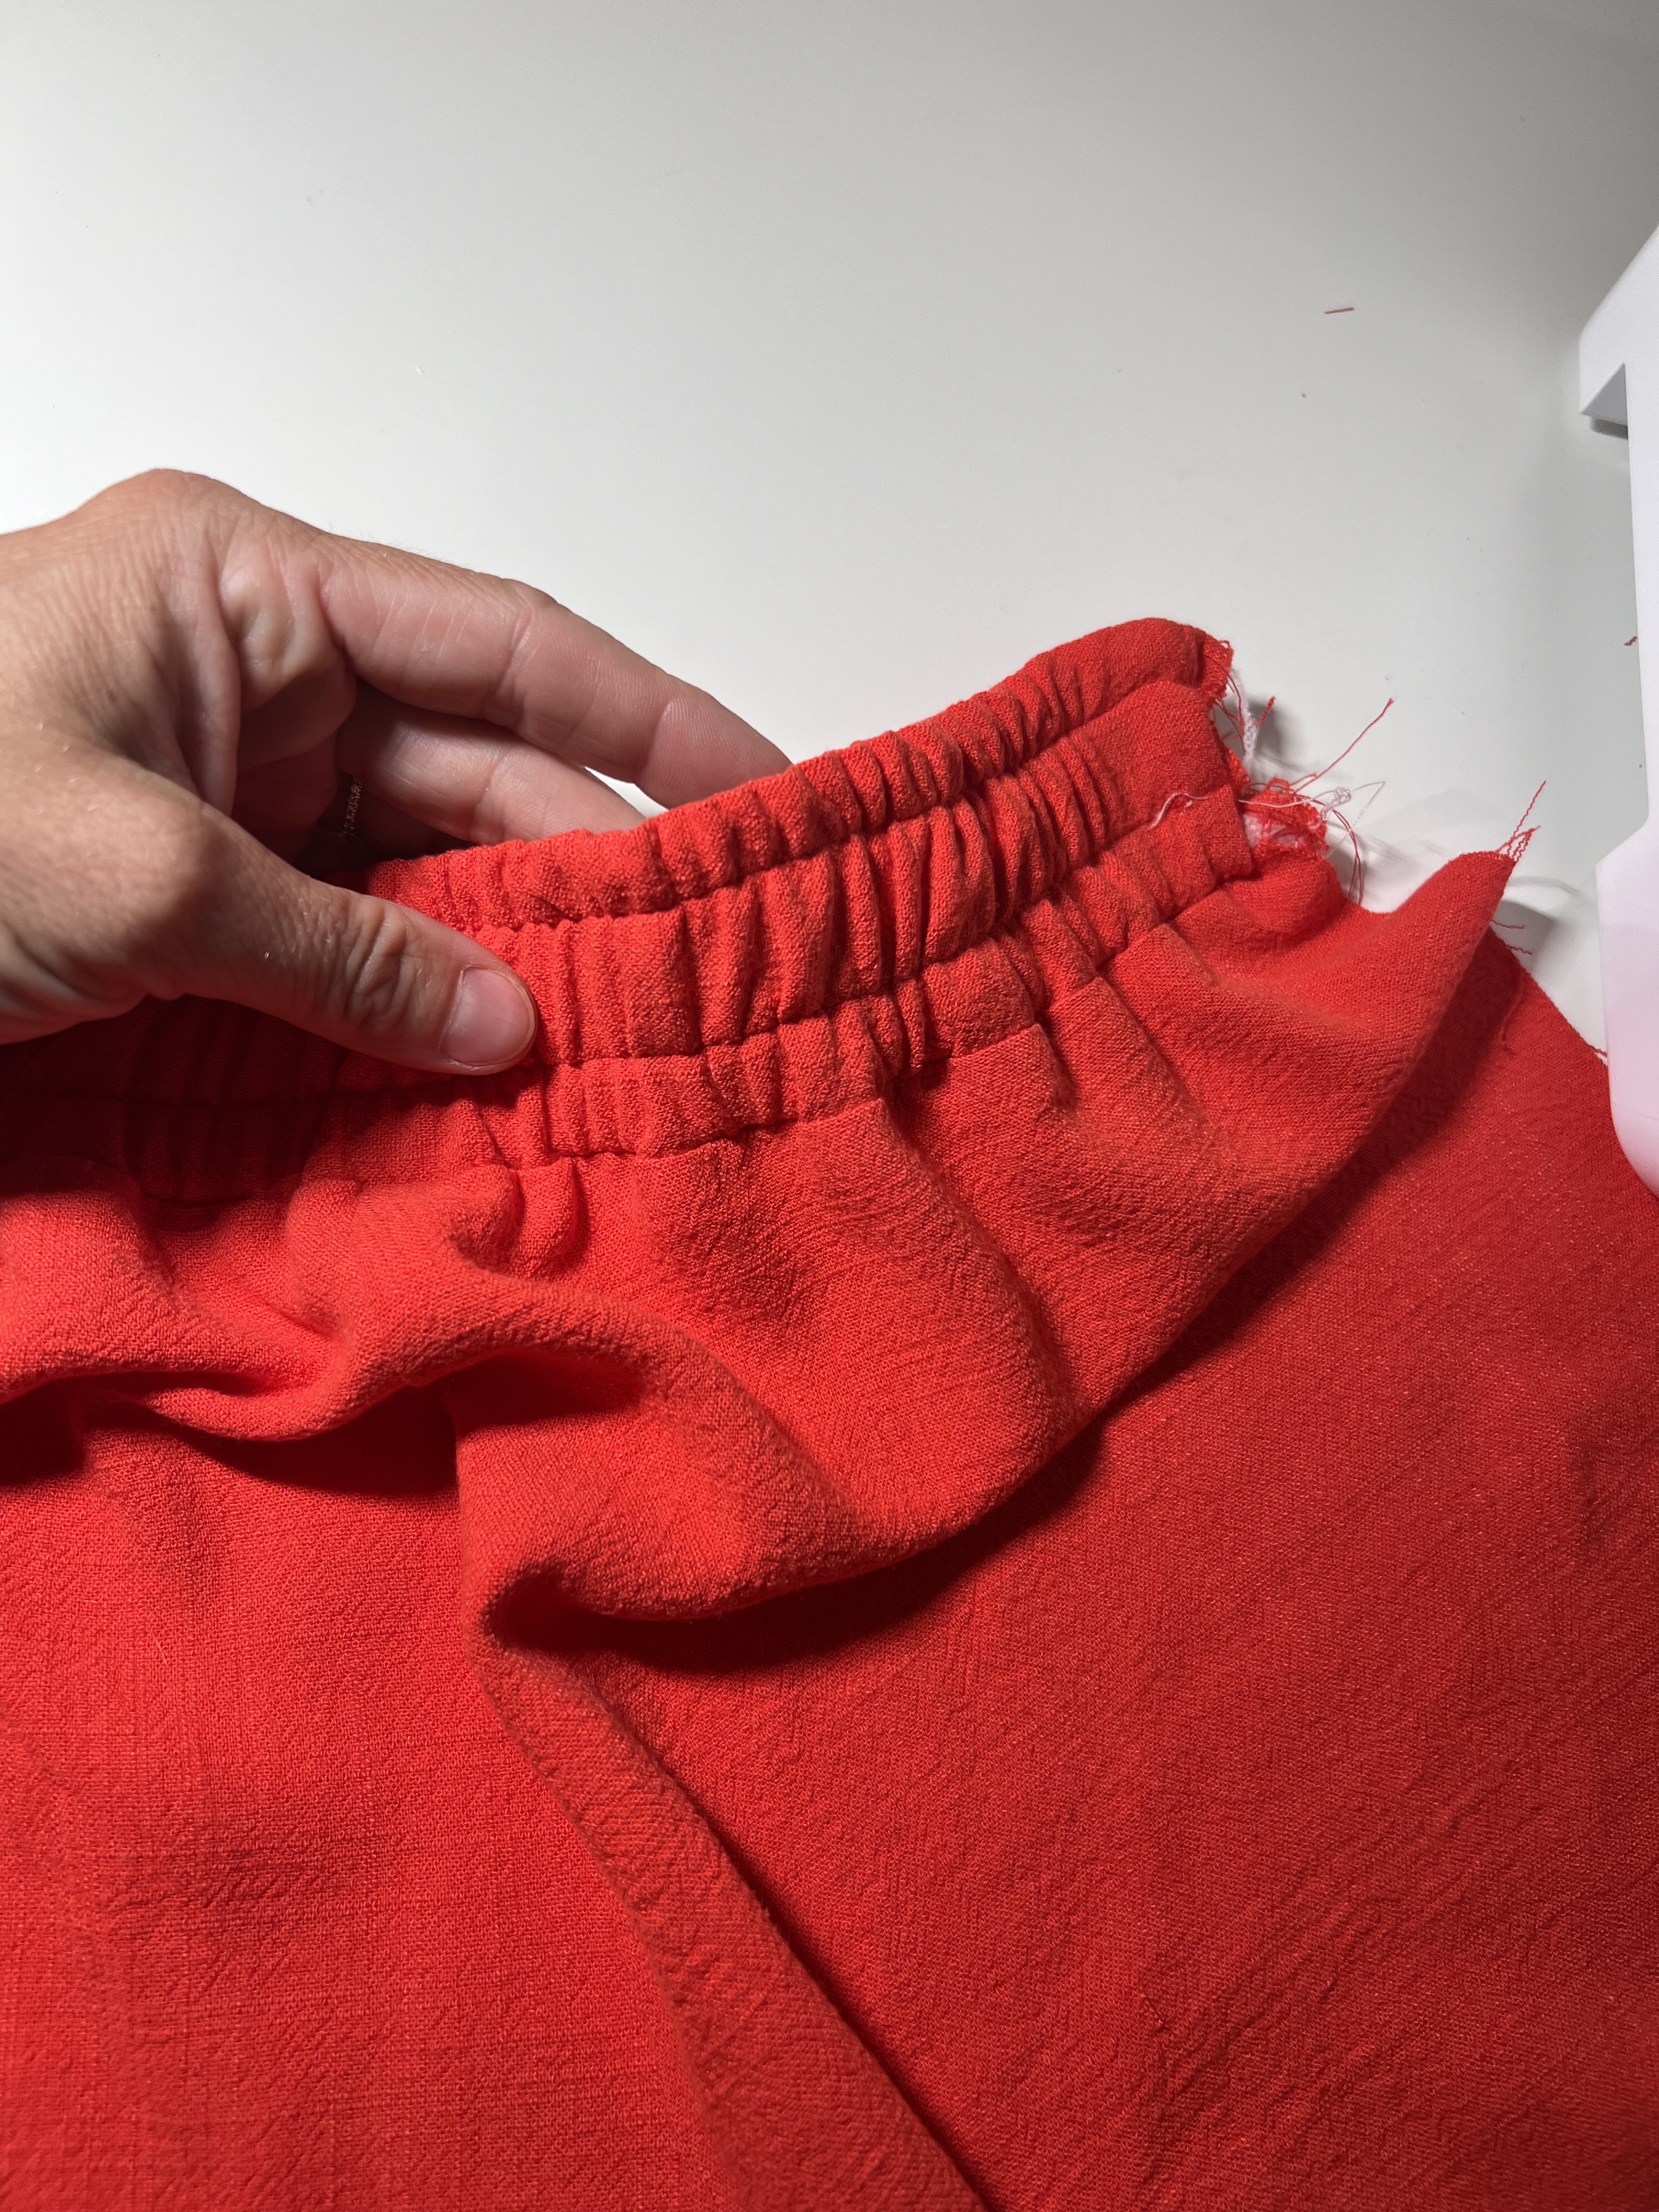
Step 8: Sew 2 two equal lines through the middle of the waistband to hold the elastic in place. I also like the finished look this steps add. Gently pull the waistband flat while sewing.

Step 9: Pin and sew the crotch seam right sides together at 1/2″, finish and press.
Step 10: Hem the shorts. Fold up 1/4″ and another 3/4″. Pin in place, and edge-stitch to finish. Press.
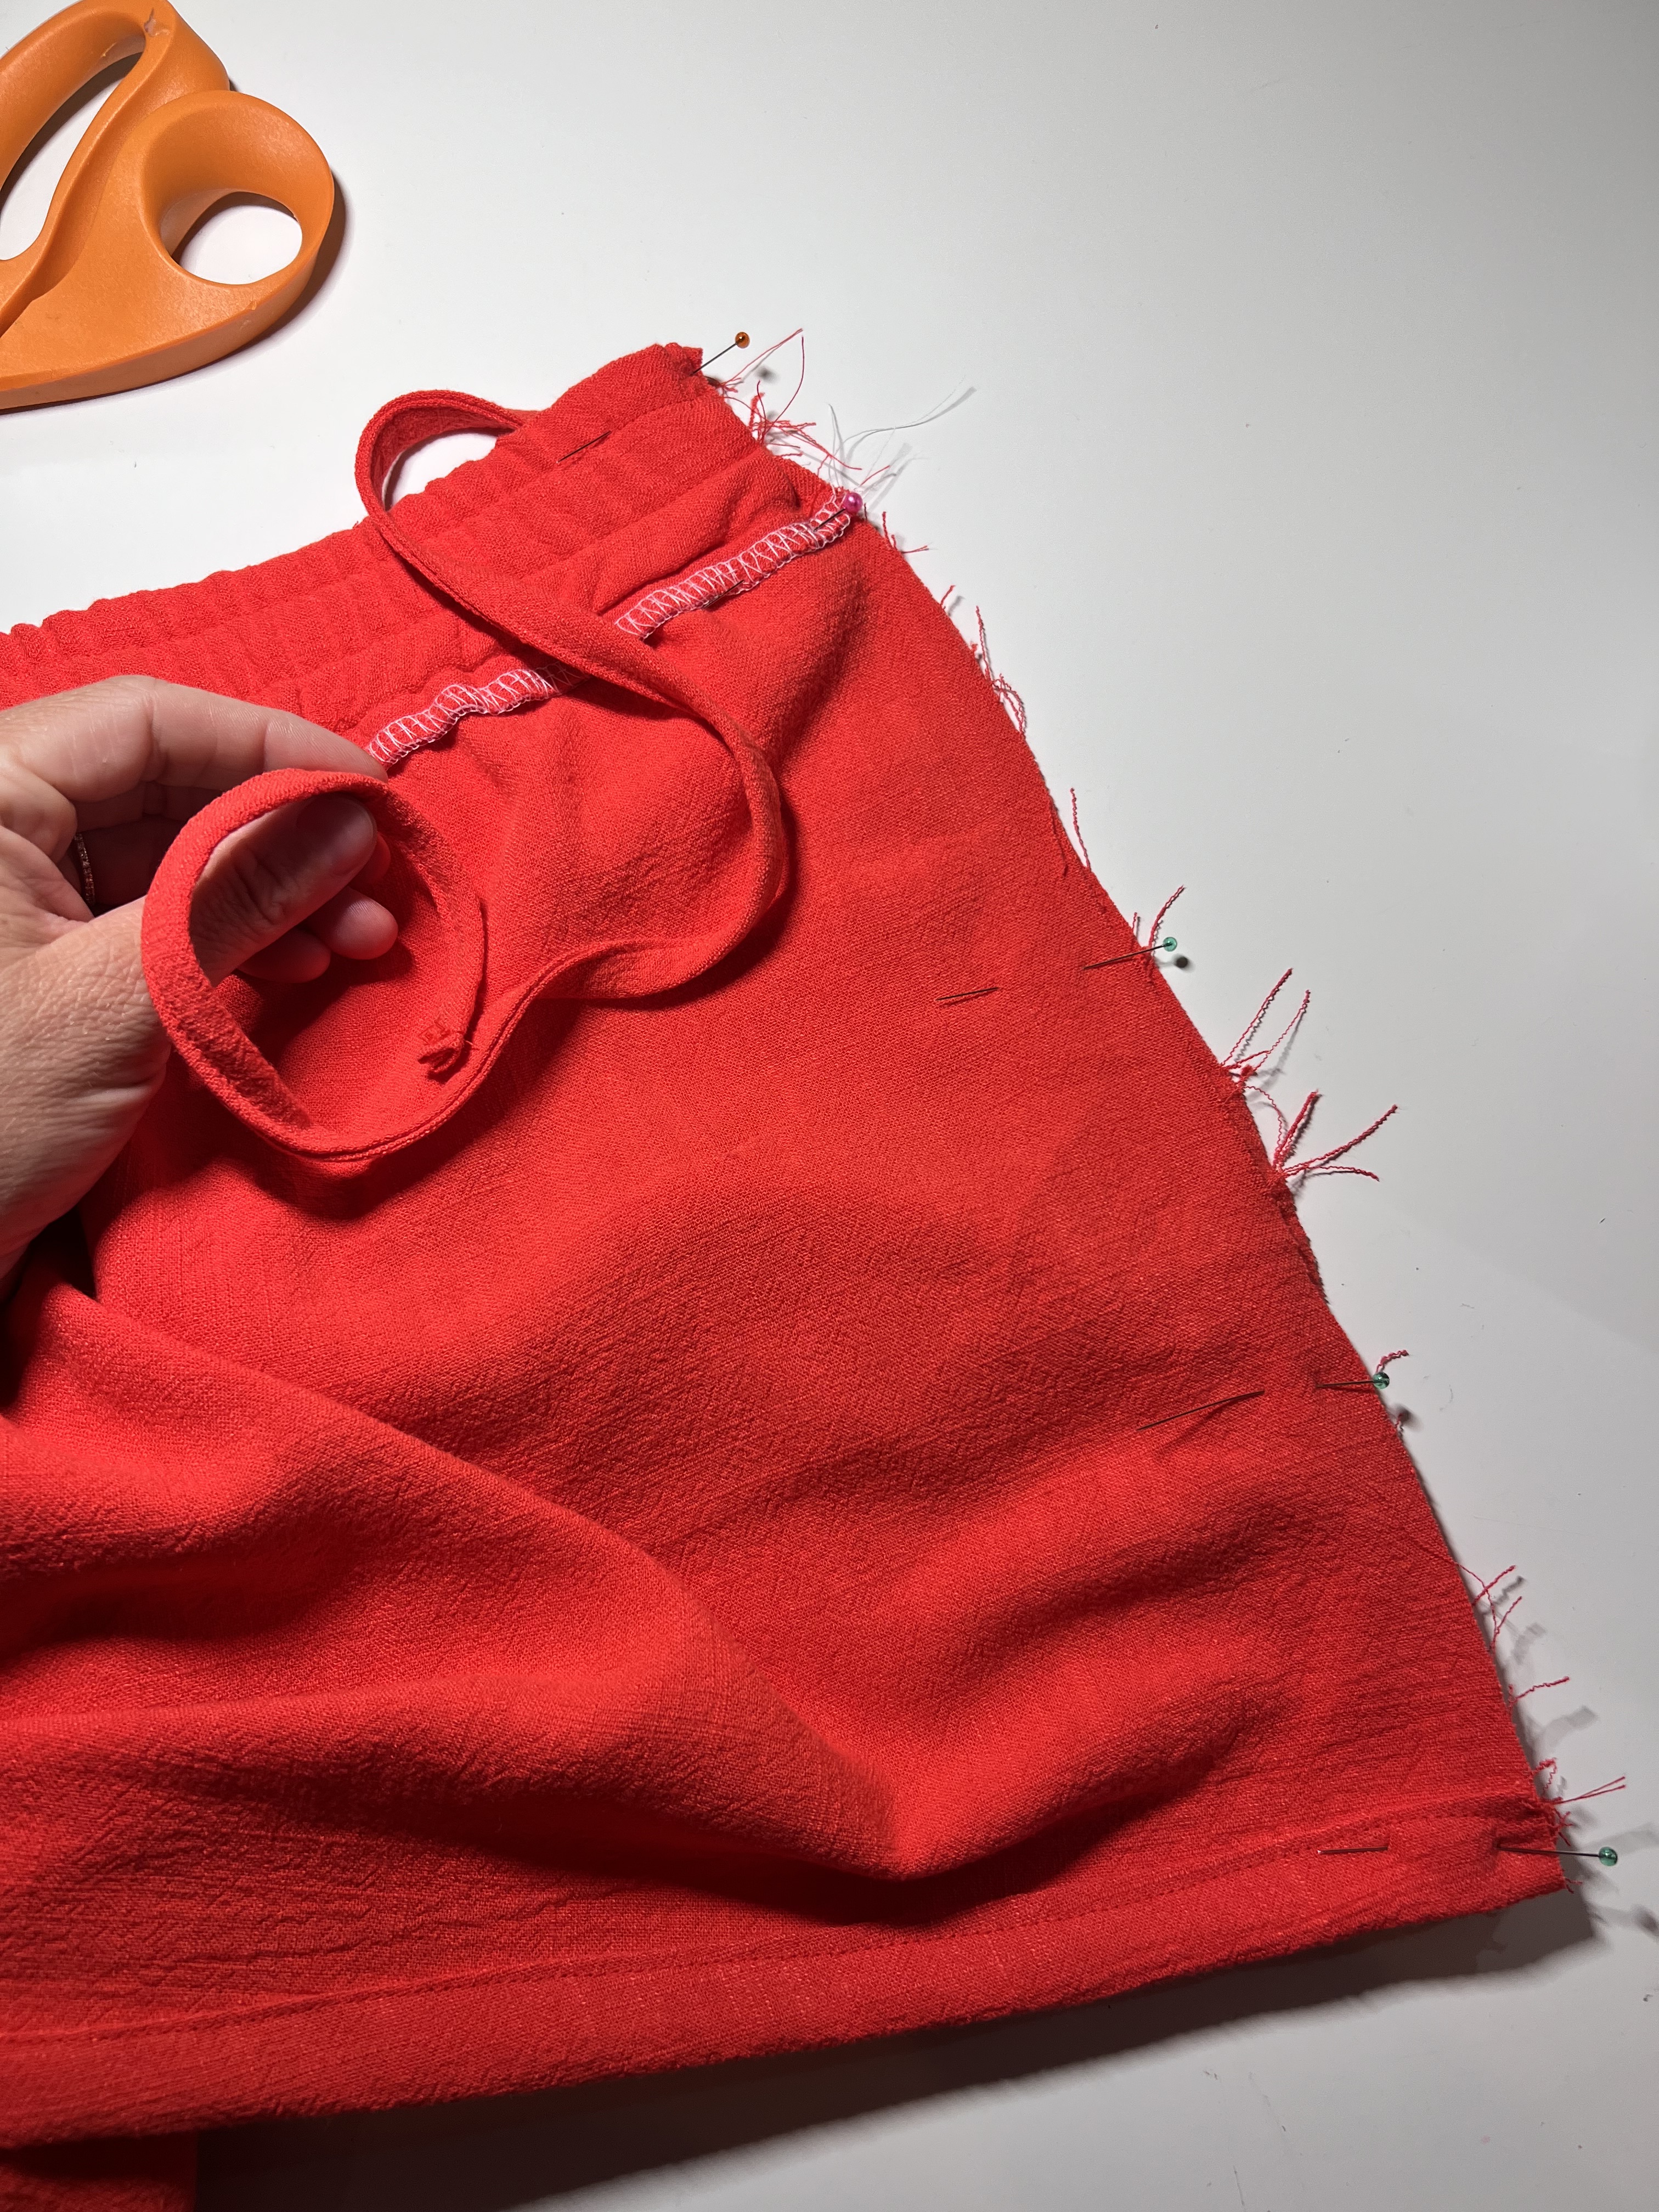
Step 11: Pin the tie raw edge to the top edge of the front waistband. Baste in place.
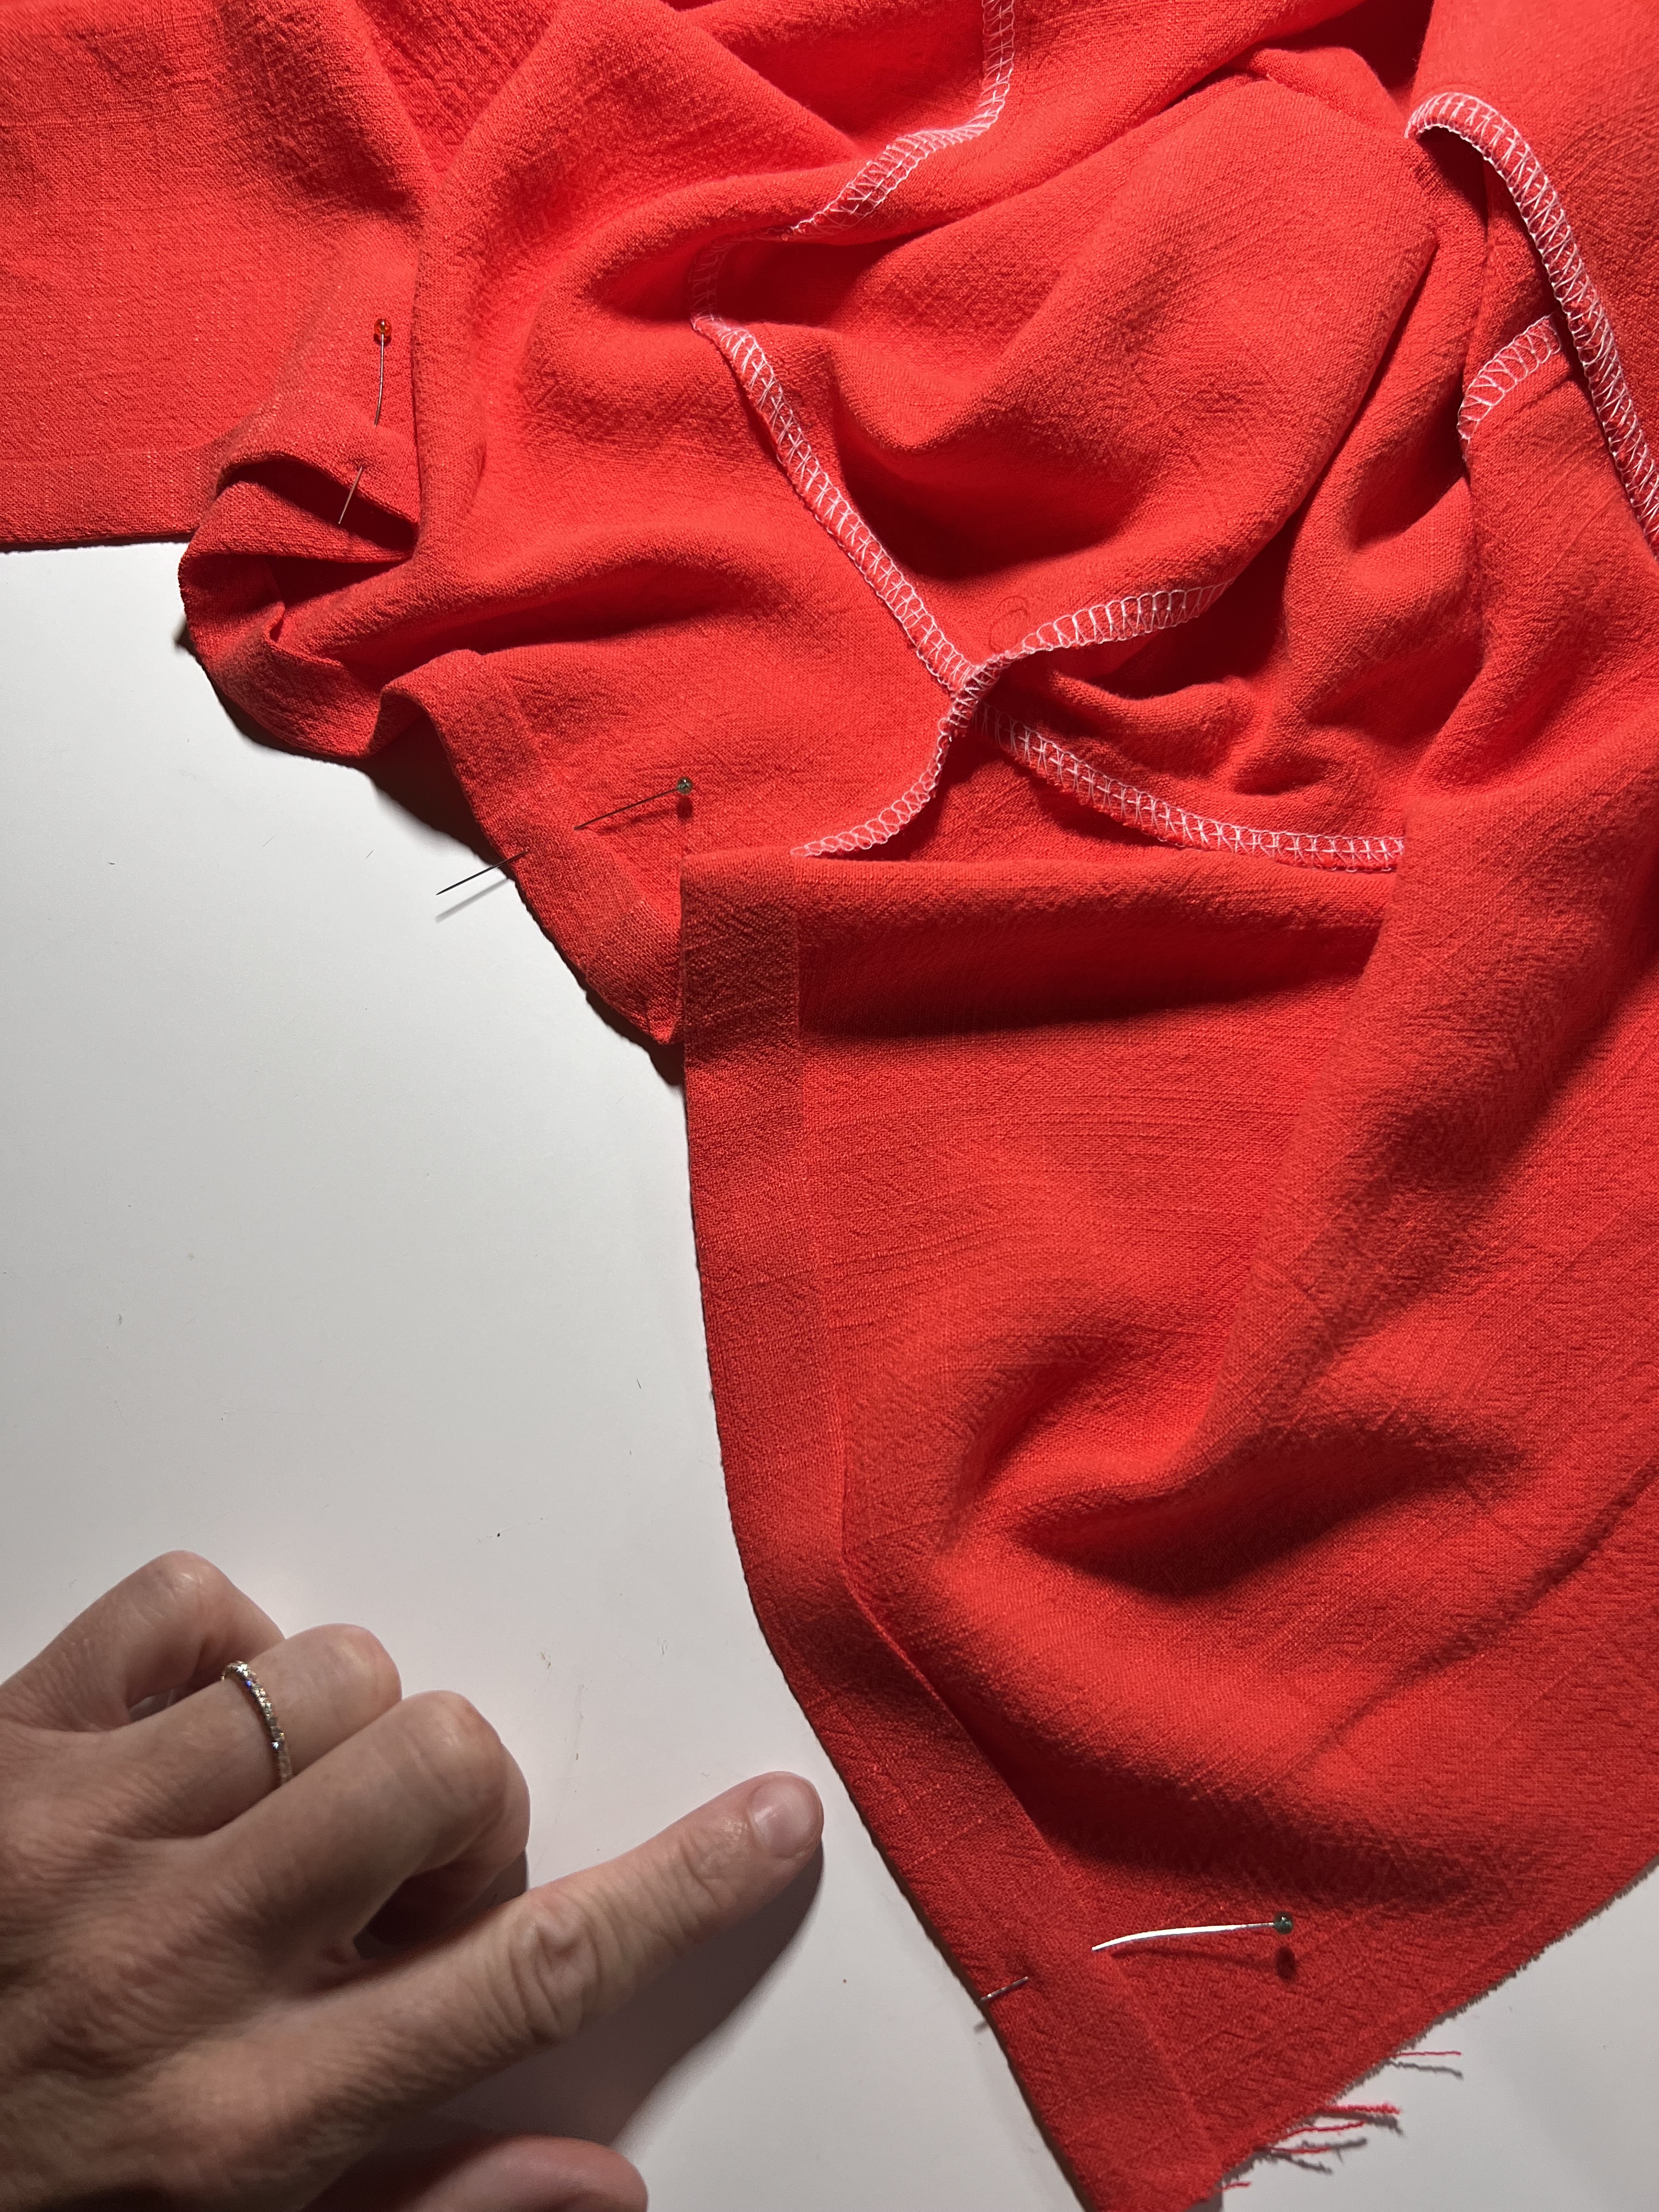
Step 12: Lay shorts front right sides up. Place skirt panel right sides up on top of the shorts front. Lay shorts back right sides together to skirt panel. Sew 1/2″, and finish. Press well.
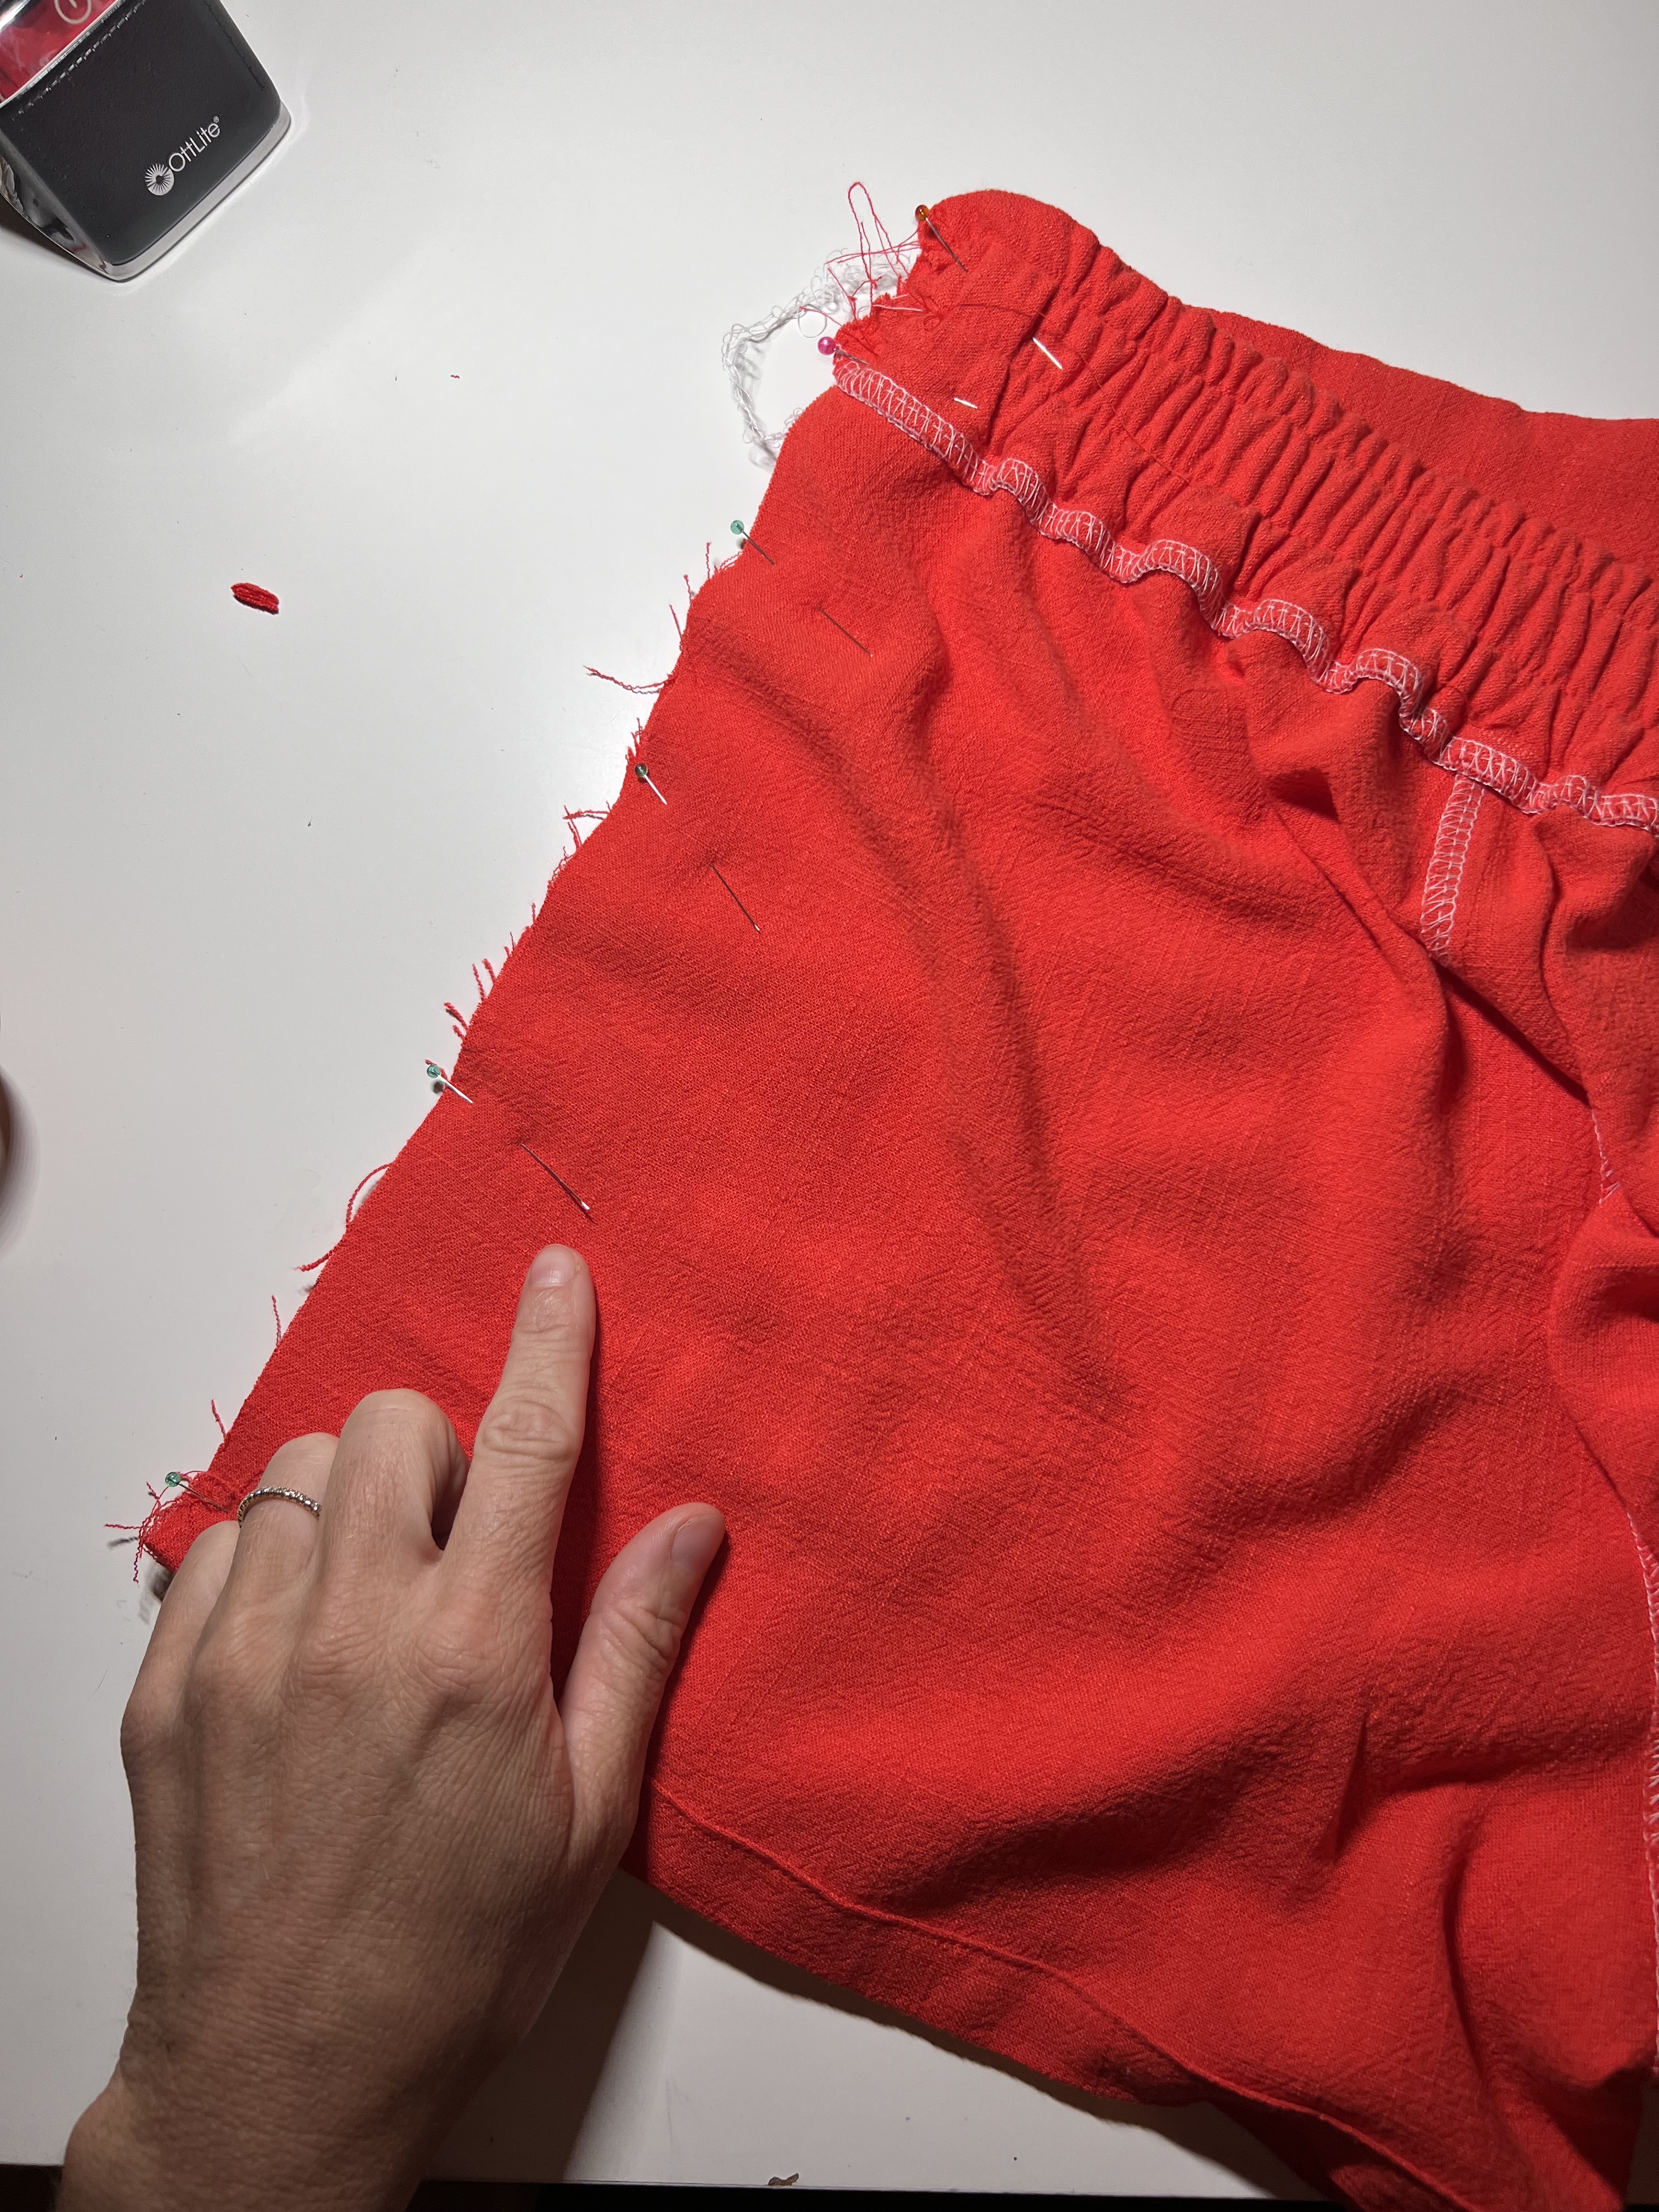
Step 13: Now sew the other side seam. Make sure to pull the skort front panel out of the way, it will not be sewn to this side seam. make sure the tie is also out of the way. Finish and press.

All finished!
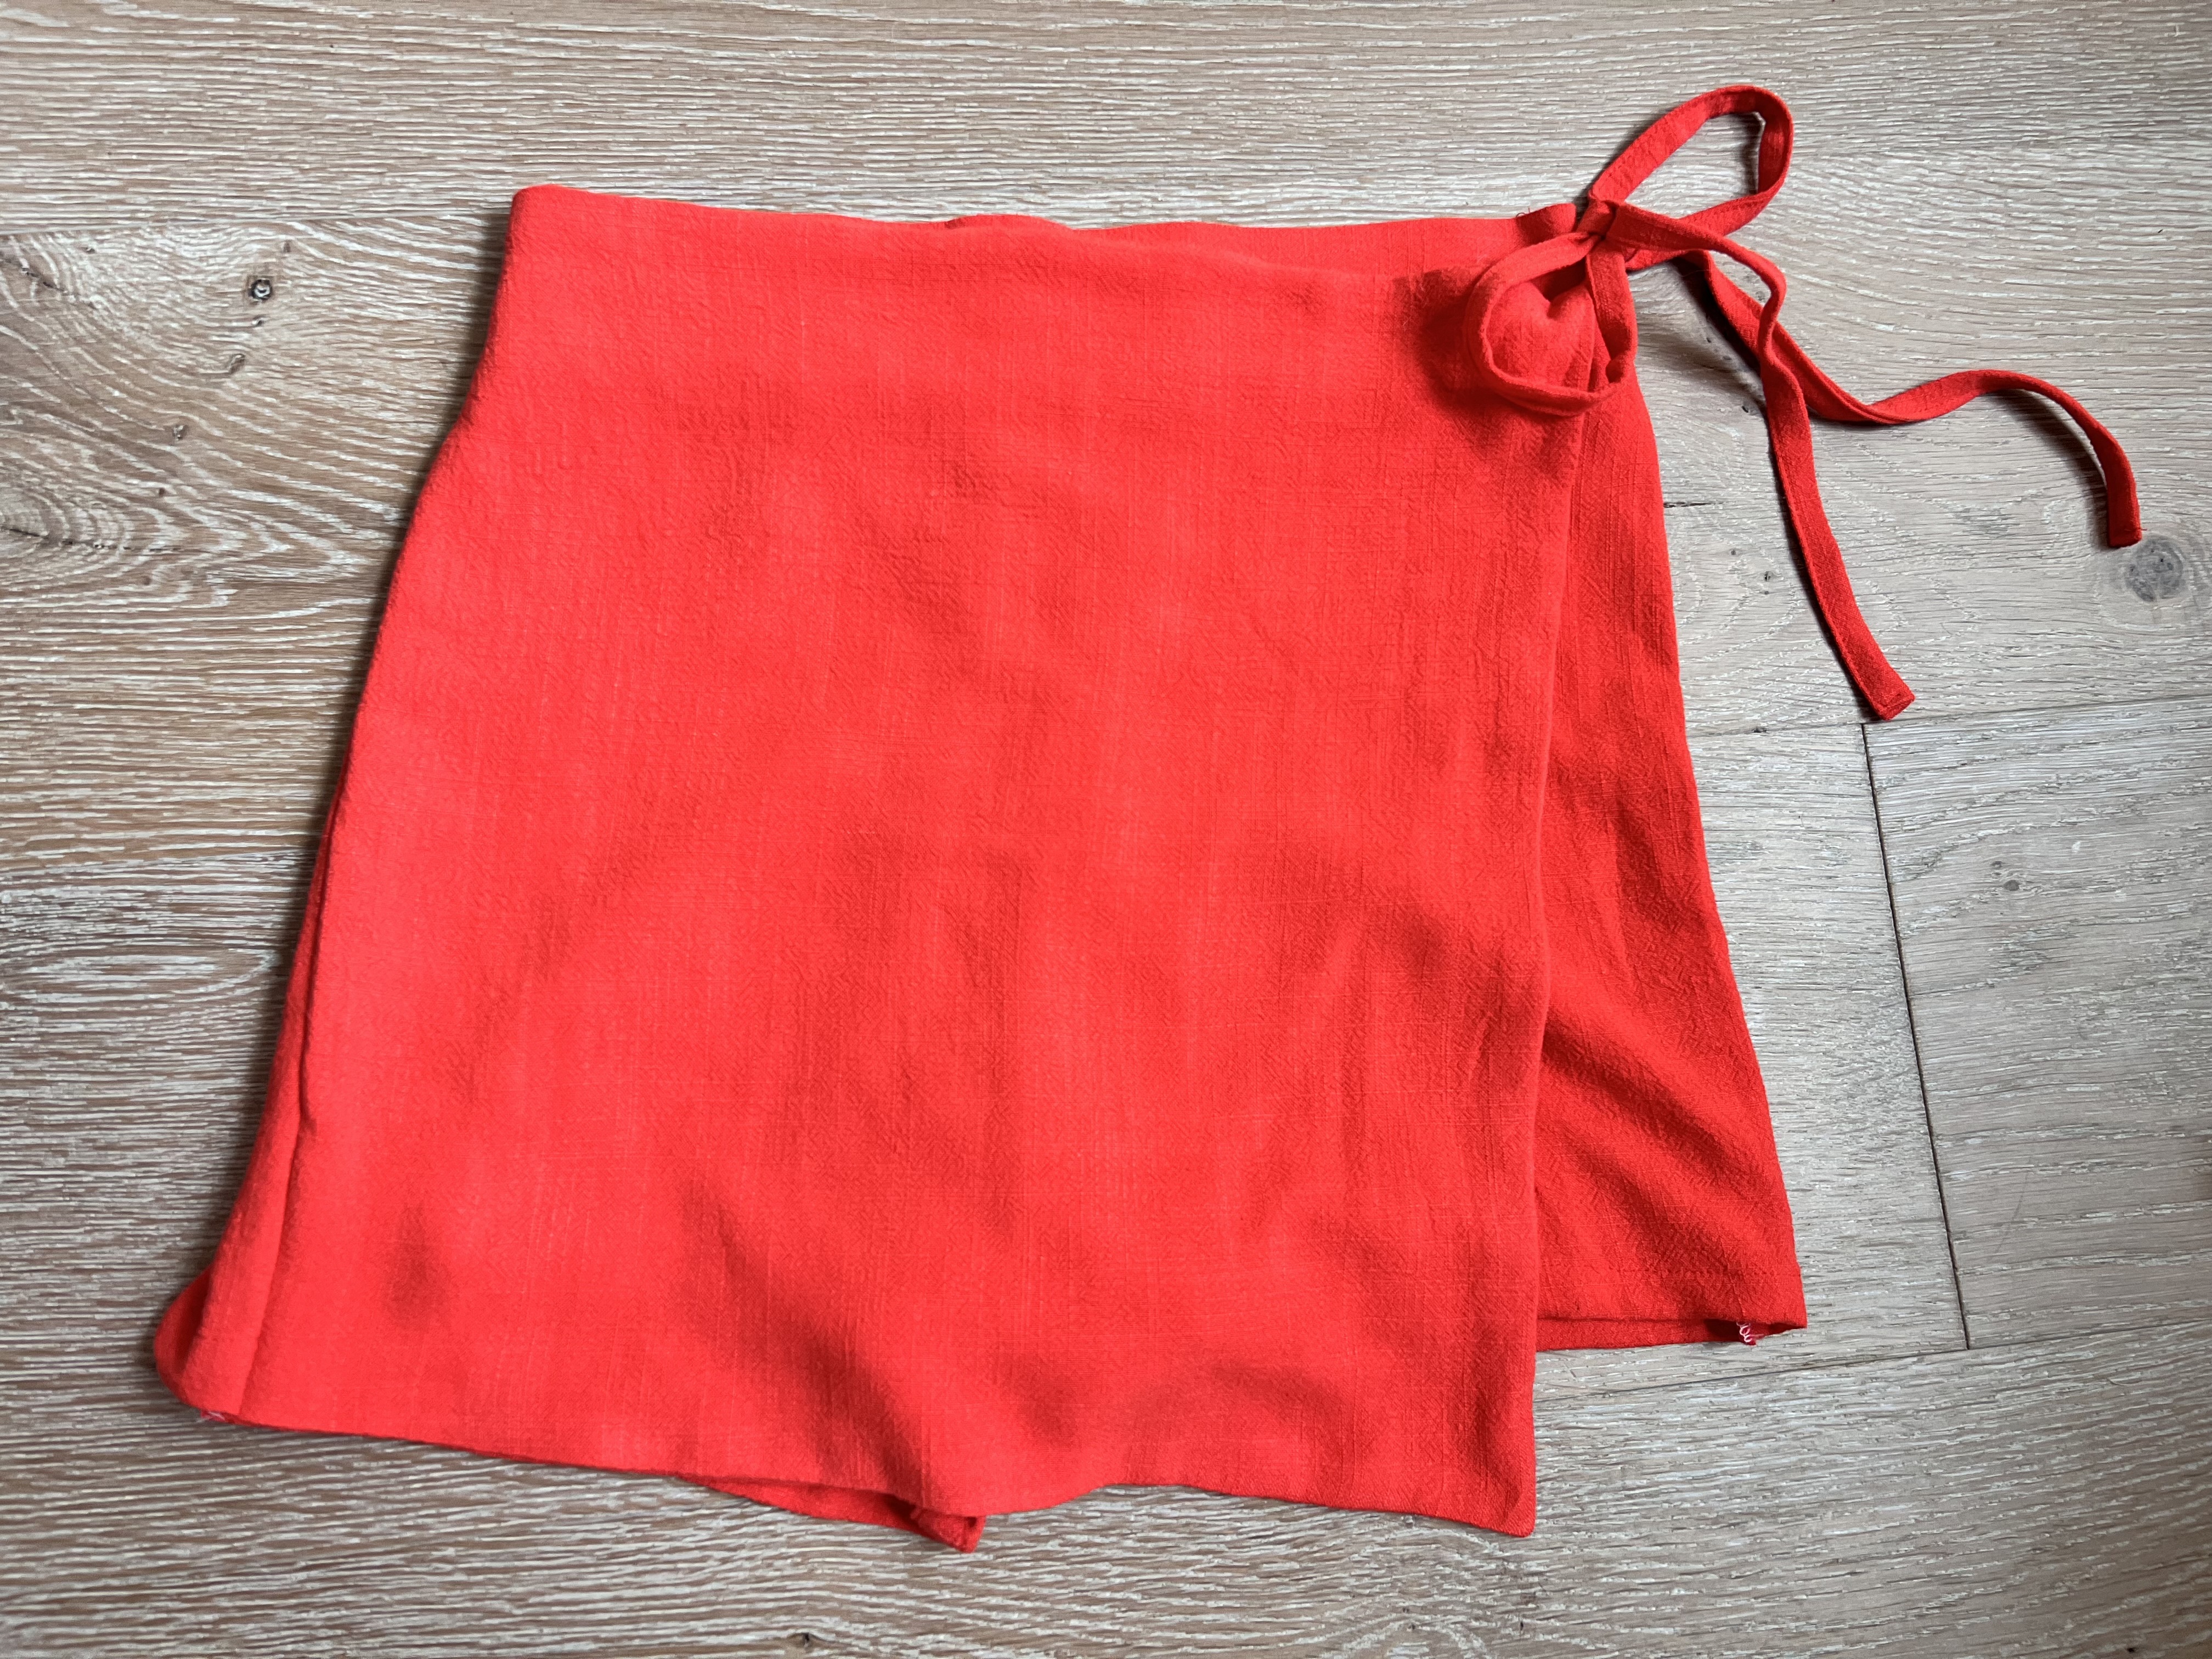
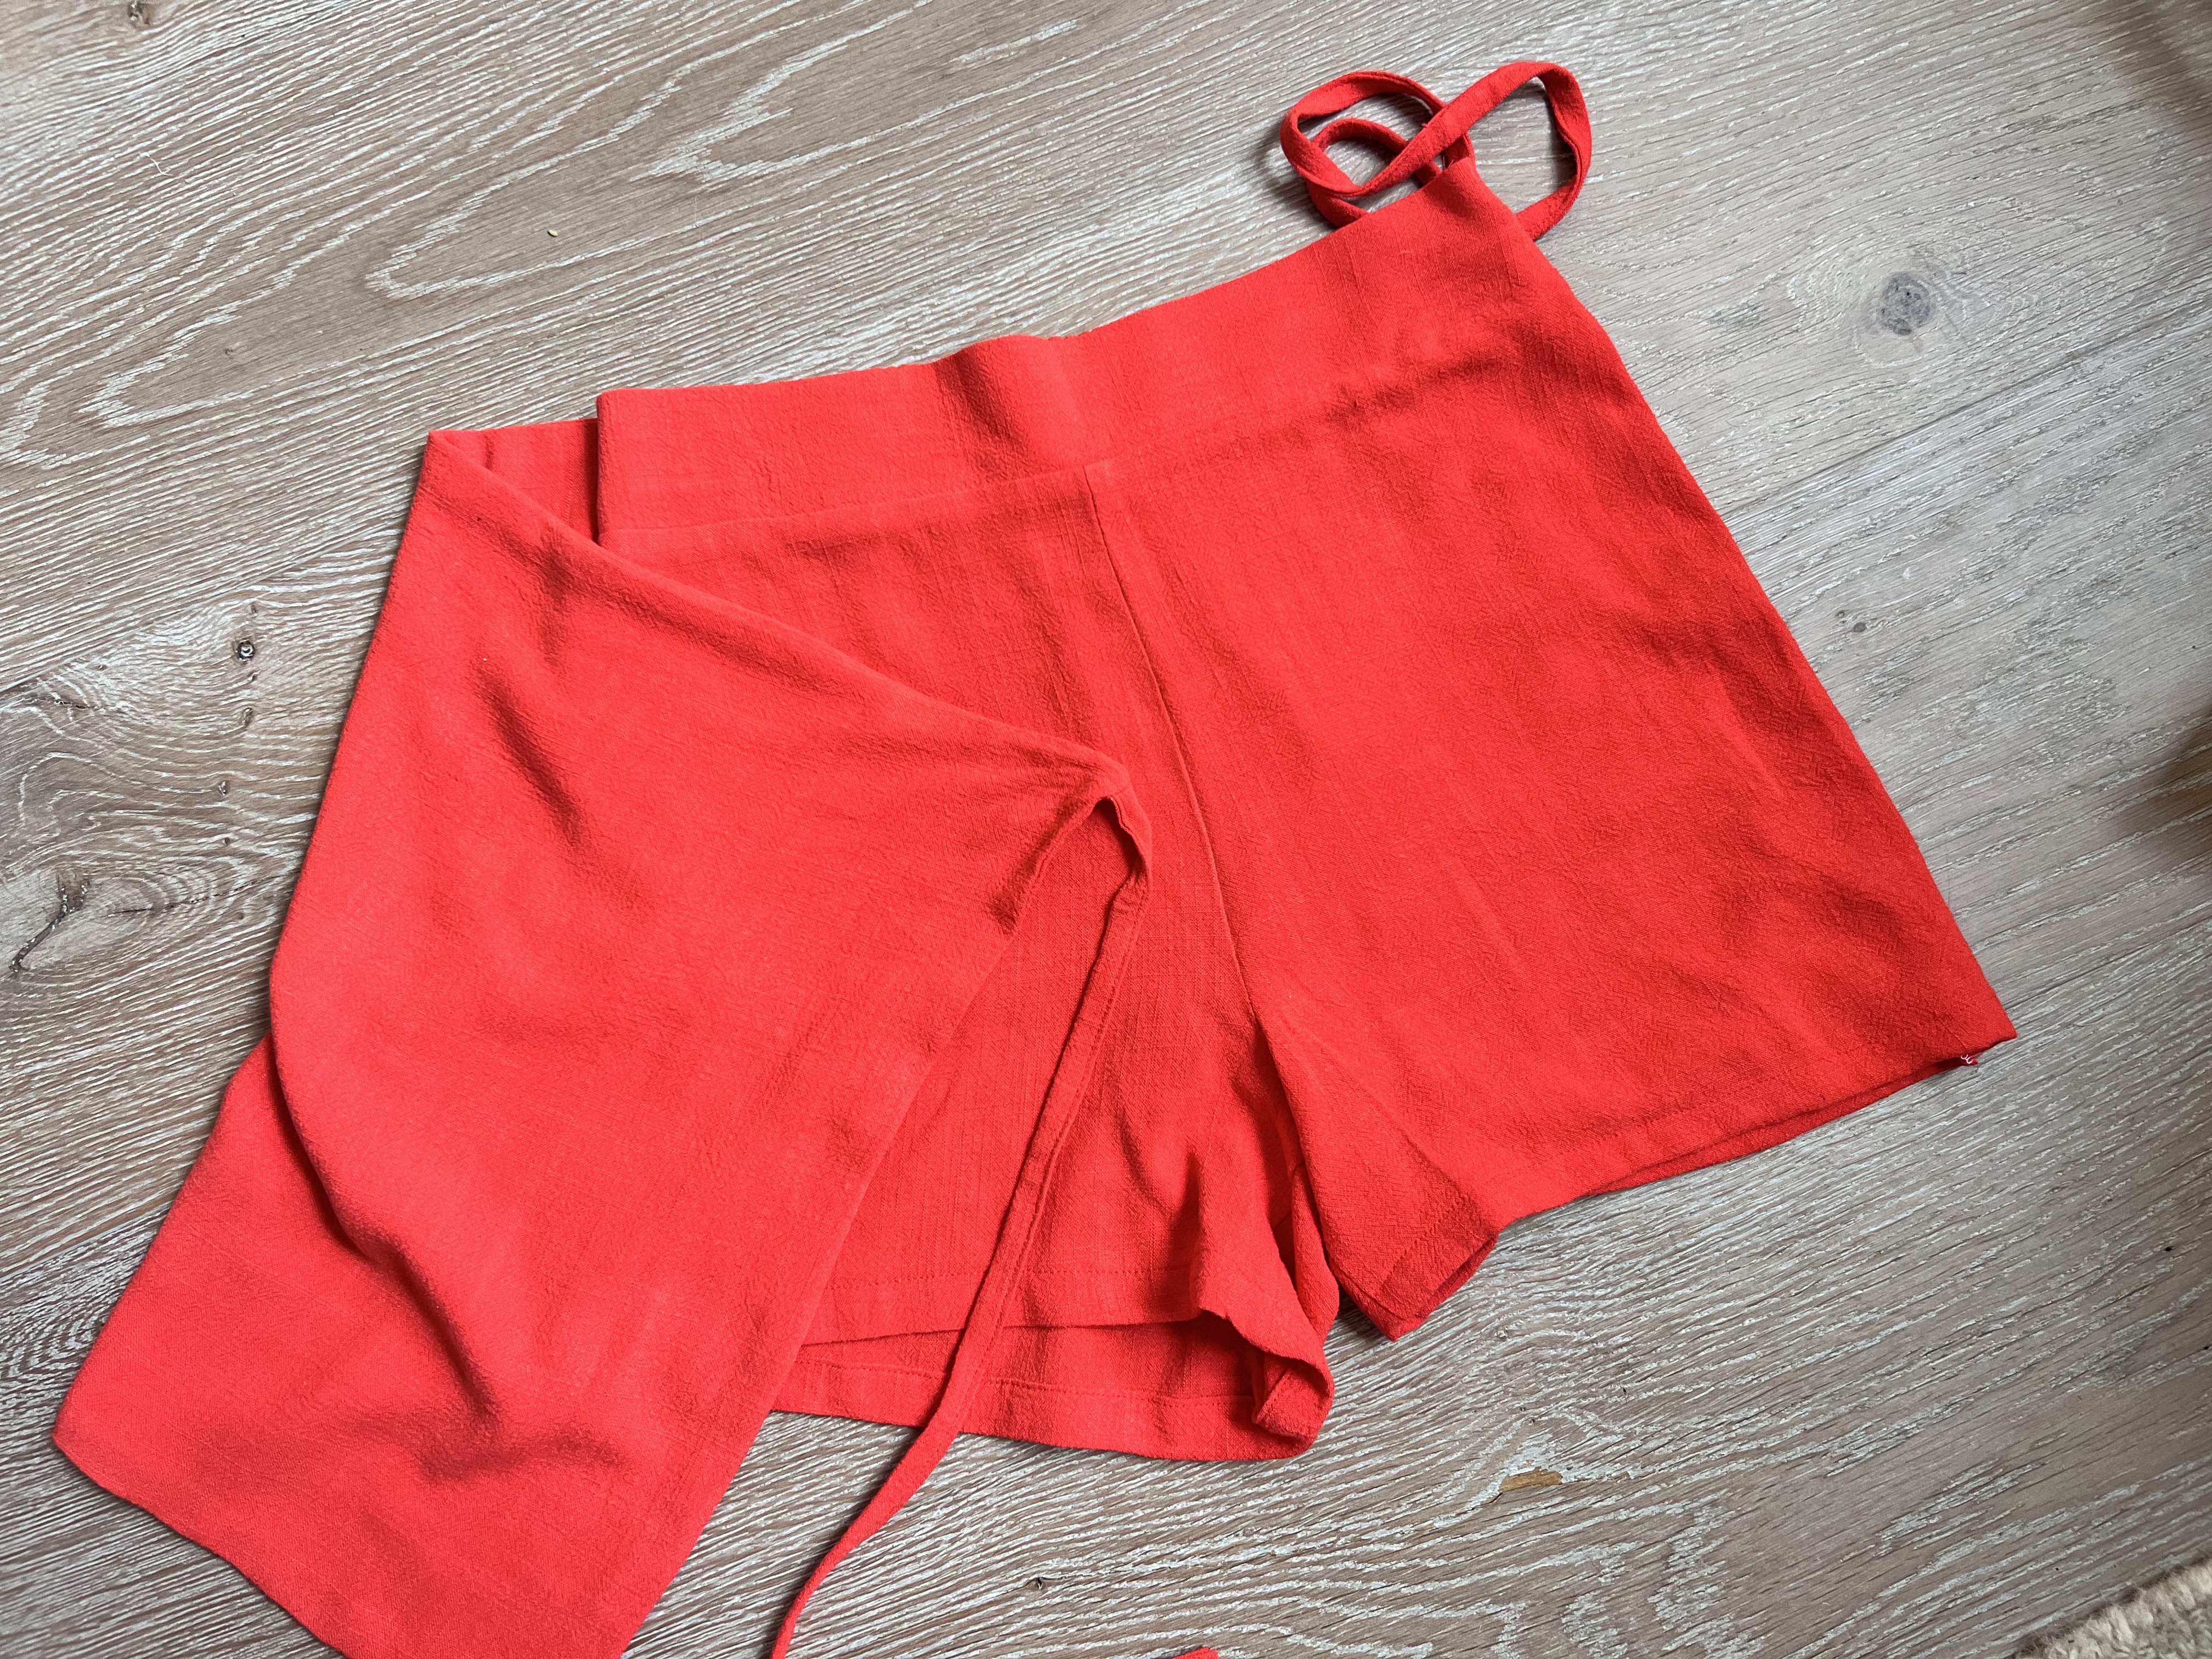
This method would also work for an adult skort using any elastic waist pants pattern. It turned out so cute!! M daughter is so excited to wear it back to school. Happy sewing!


Leave a comment