


This post is sponsored by Baby Lock, but all opinions are my own.
I recently saw one of my favorite street style influencers donning the cutest bandana skirt. I’ve been having a lot of fun sewing tote bags with my $0.99 Hobby Lobby bandanas lately, and have had my eye out for a fun bandana clothing project. This skirt inspo was just the thing I needed.
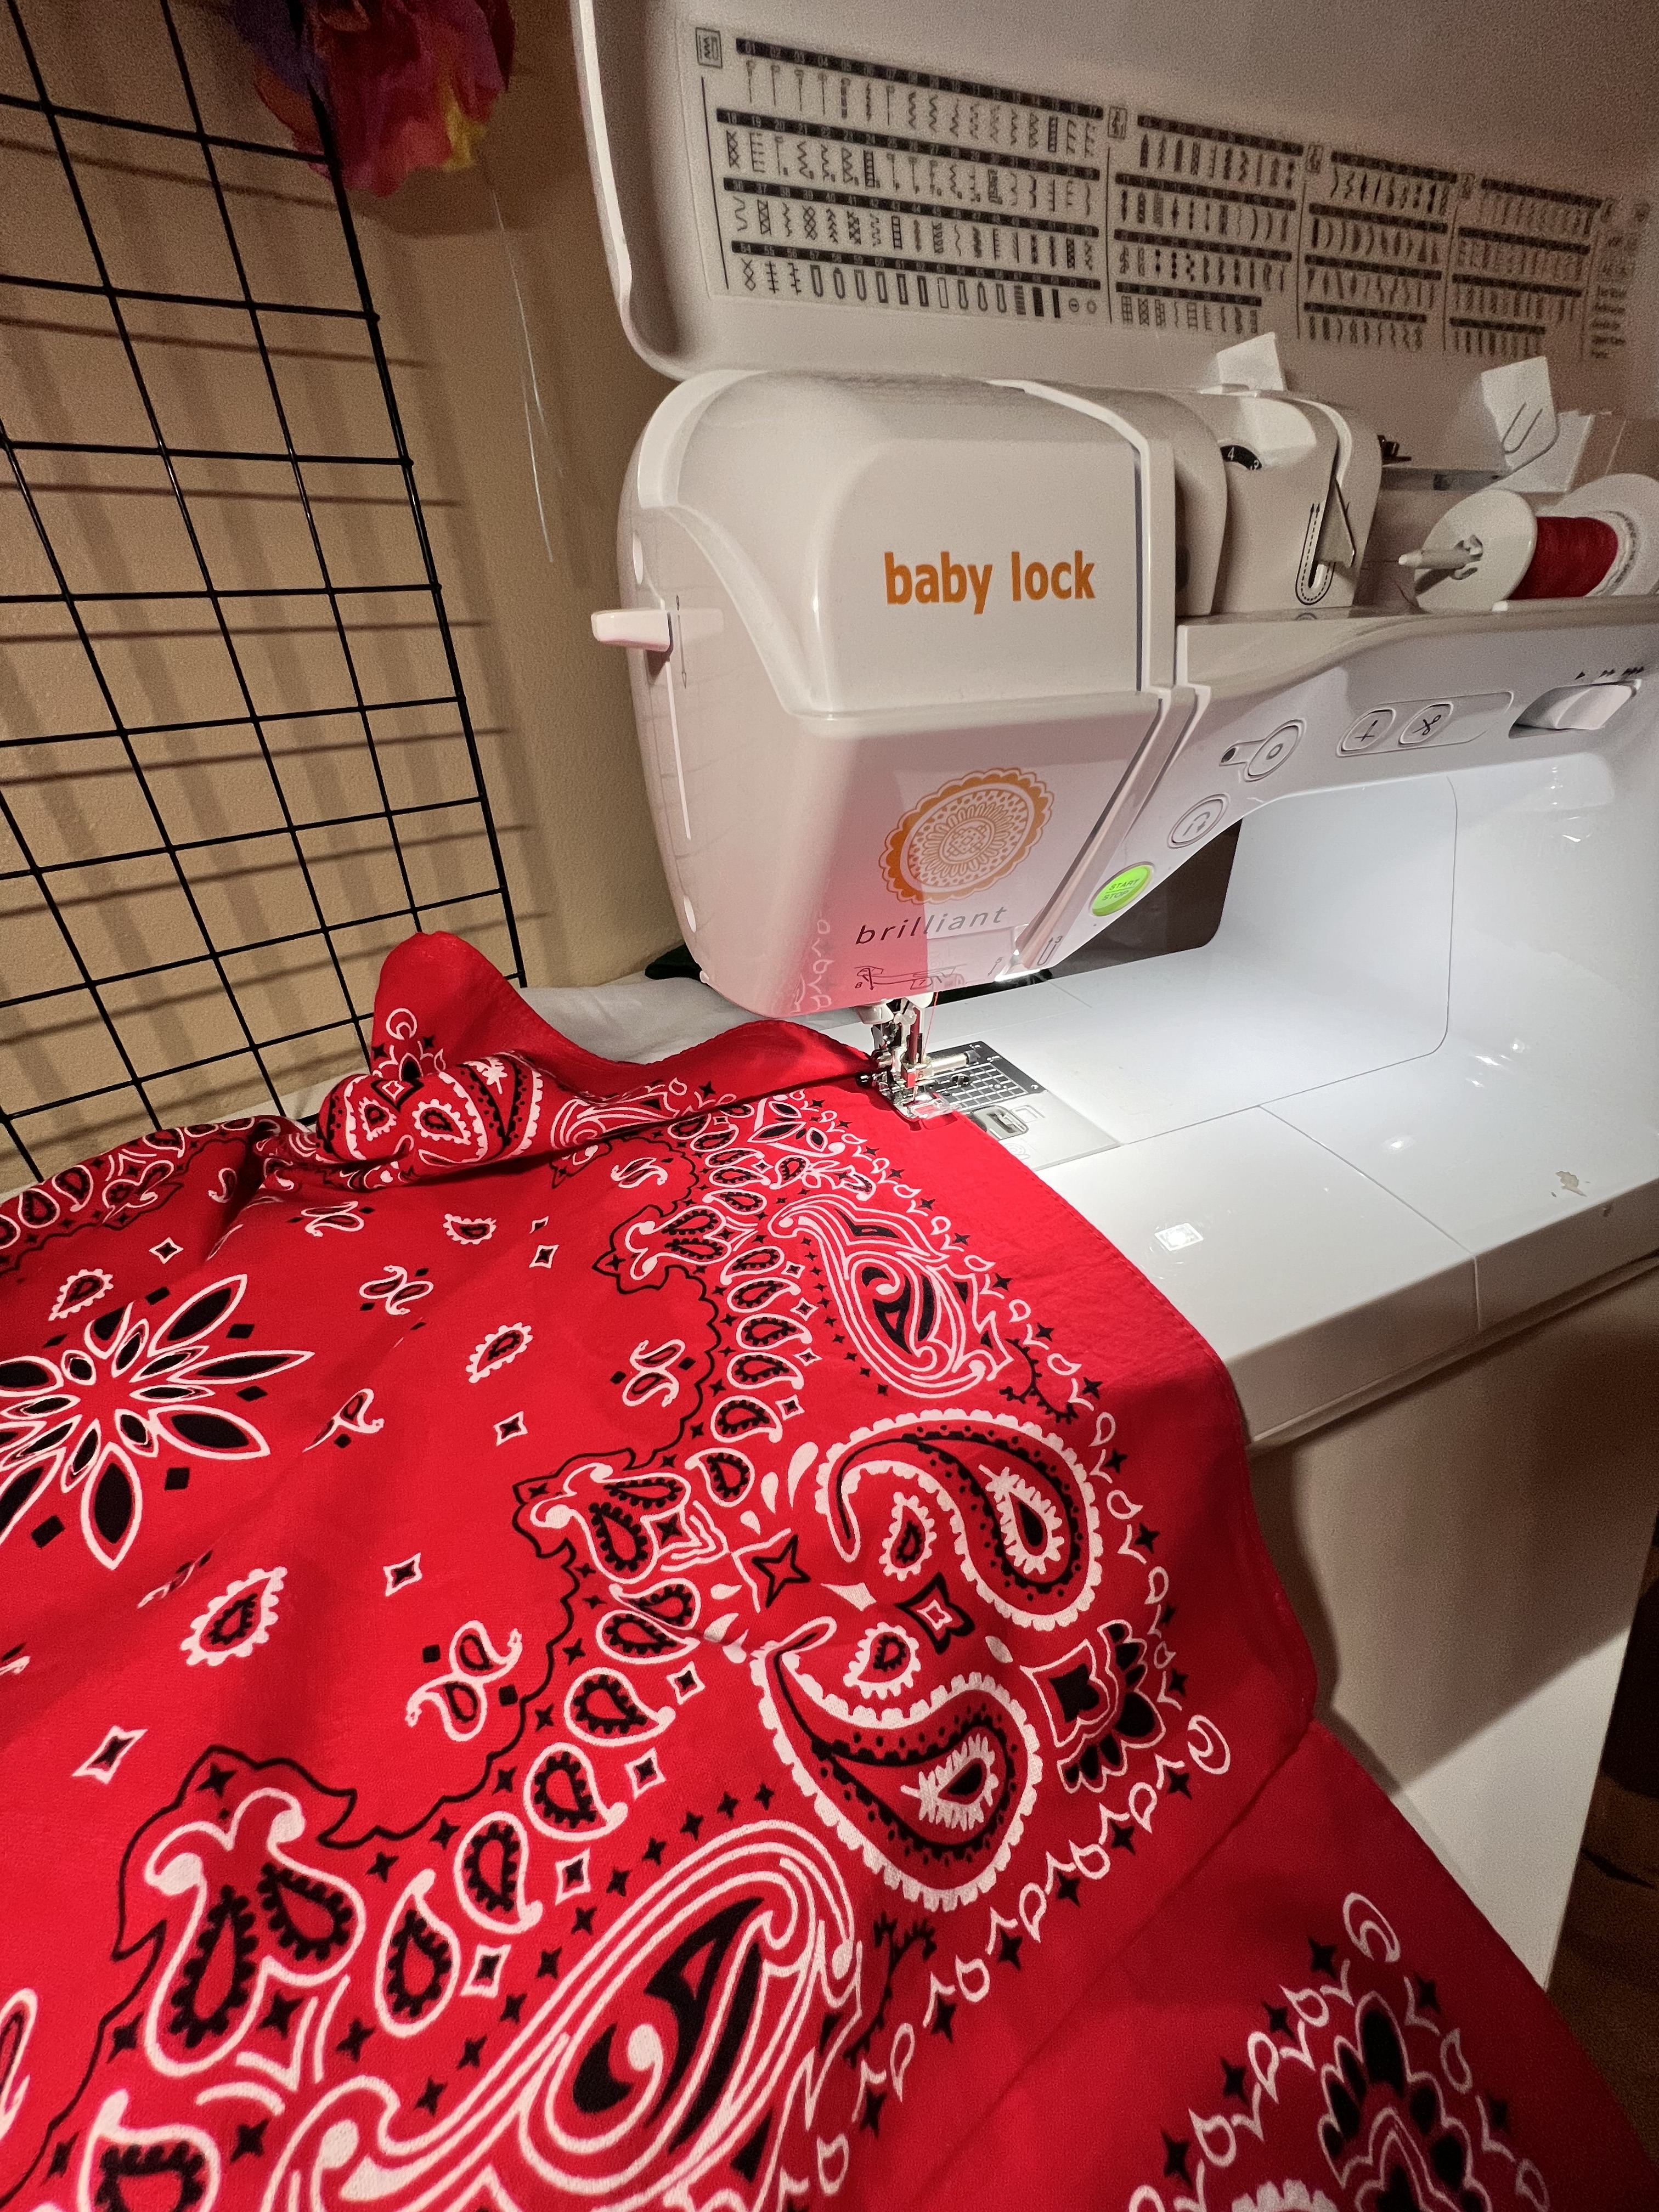
I love the patch work look, midi length and gathered elastic waistband. I’m all for the coastal cowgirl vibes and I’m so excited to wear my new skirt around. This project is super quick, and one size fits all. The hardest part being choosing what color bandana to use! My sister loved it so much that she wanted to make one too. When my other sister got word, she wanted one as well. Using my Baby Lock Brilliant and Baby Lock Celebrate sewing machines, I’ve sewn two skirts this week, and hoping I have the energy to squeeze out one more.
Let’s jump into the tutorial!
How to Make a Bandana Skirt
Supplies:
- 9 bandanas (I got mine at Hobby Lobby for $0.99 each)
- Matching thread
- 1 1/2″ elastic
- Interfacing
- Safety pin
- Sewing machine ( I used my Baby Lock machines)
Sewing Instructions:
Step 1: First we are going to prewash our bandanas, trim off any tags and press them flat. Once the bandanas have been prepped, we will create our skirt tiers.
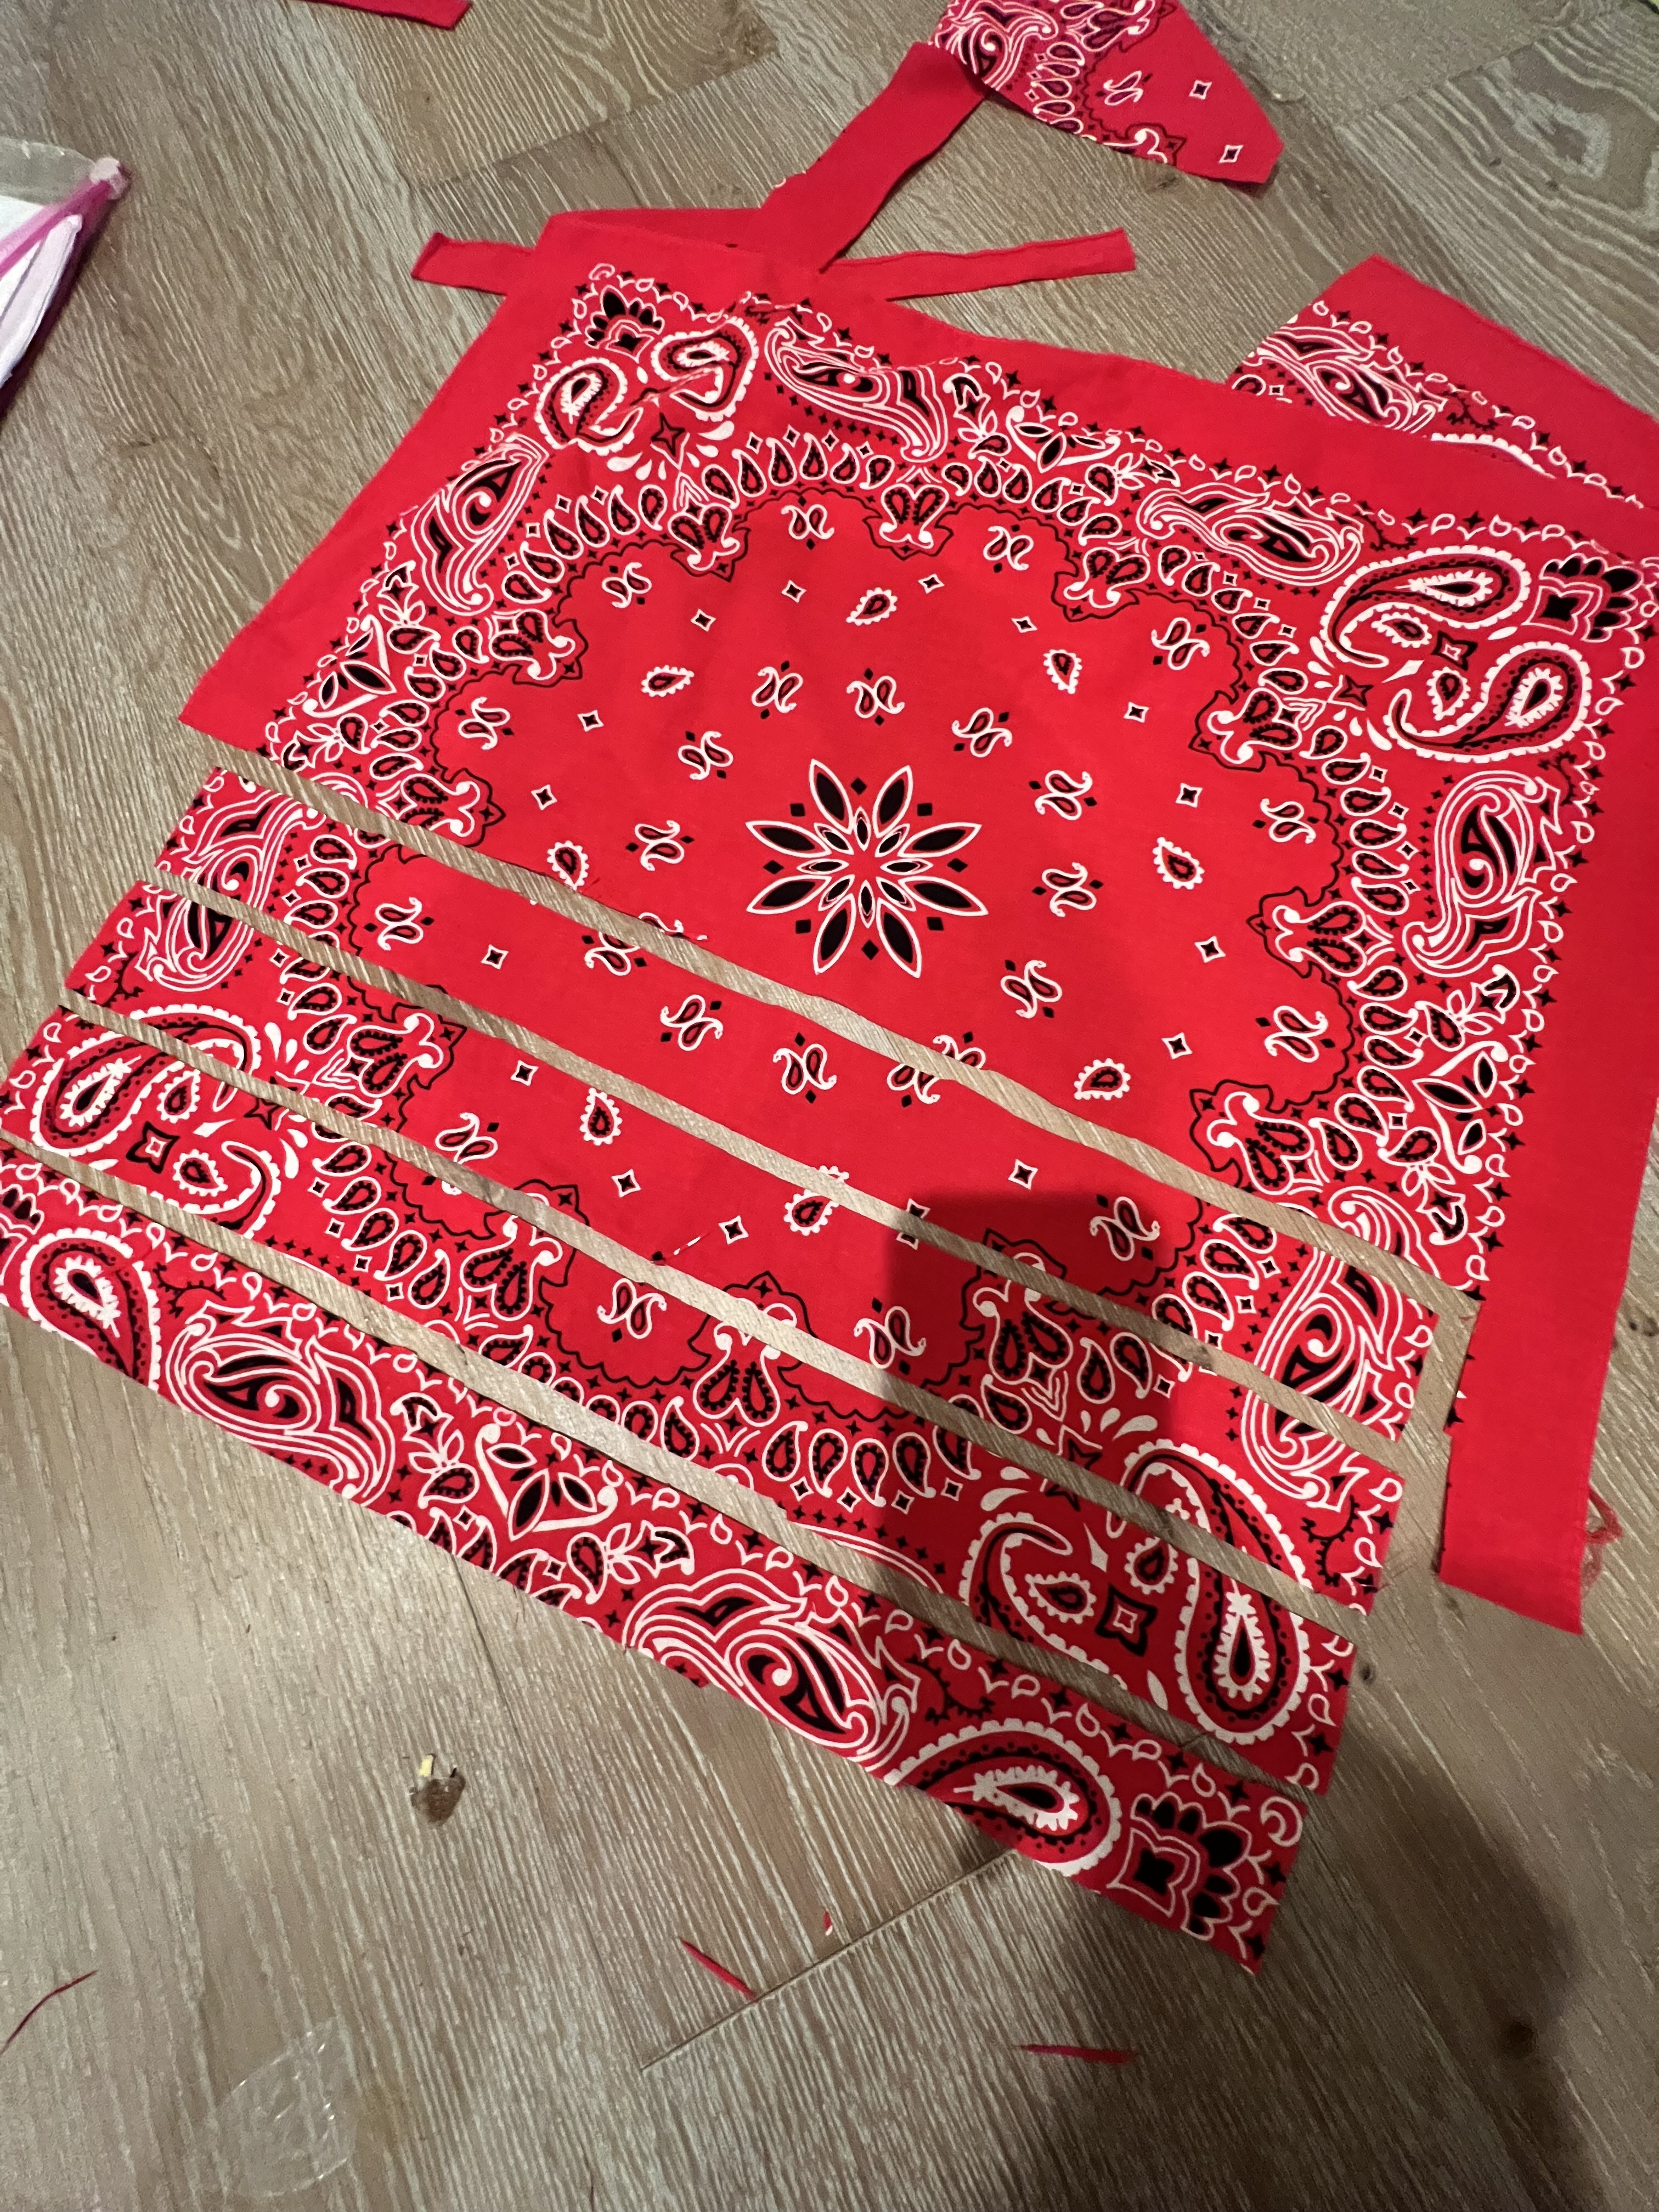
First, sew three bandanas right sides together along the side seams using a 3/4″ seam allowance, creating a big loop. You can choose any side edge because the bandana has 4 equal sides, just choose any two sides and sew them together, repeat until you have 3 bandanas sewn together creating a loop. This will be our top skirt tier.


Step 2:
We are going to repeat step one, but this time we are going to make a loop of 4 bandanas sewn right sides together along the side seams. This will be our bottom skirt tier.
Step 3:
Using a serger or zig zag stitch, finish all of the seam allowances. Give everything a good press.

Step 4:
Using the 4 bandana skirt tier, sew 2 rows of basting stitches along one top edge of the loop at 1/4″ and 1/2″, making sure to leave long thread tails in order to gather the seam in the next step and do not connect the the sewing lines- leave about 1/2″ between them. Set your stitch length to 4.0 mm.

Step 5:
Along the top of the 3 piece bandana tier, I trimmed off about 2 1/2″. This was a style preference for me. I also needed to take off some length so this was another way to do that. The skirt that inspired mine also has similar style lines. This new cut line will be the top of the skirt that the waist band will be connected to.


Step 6:
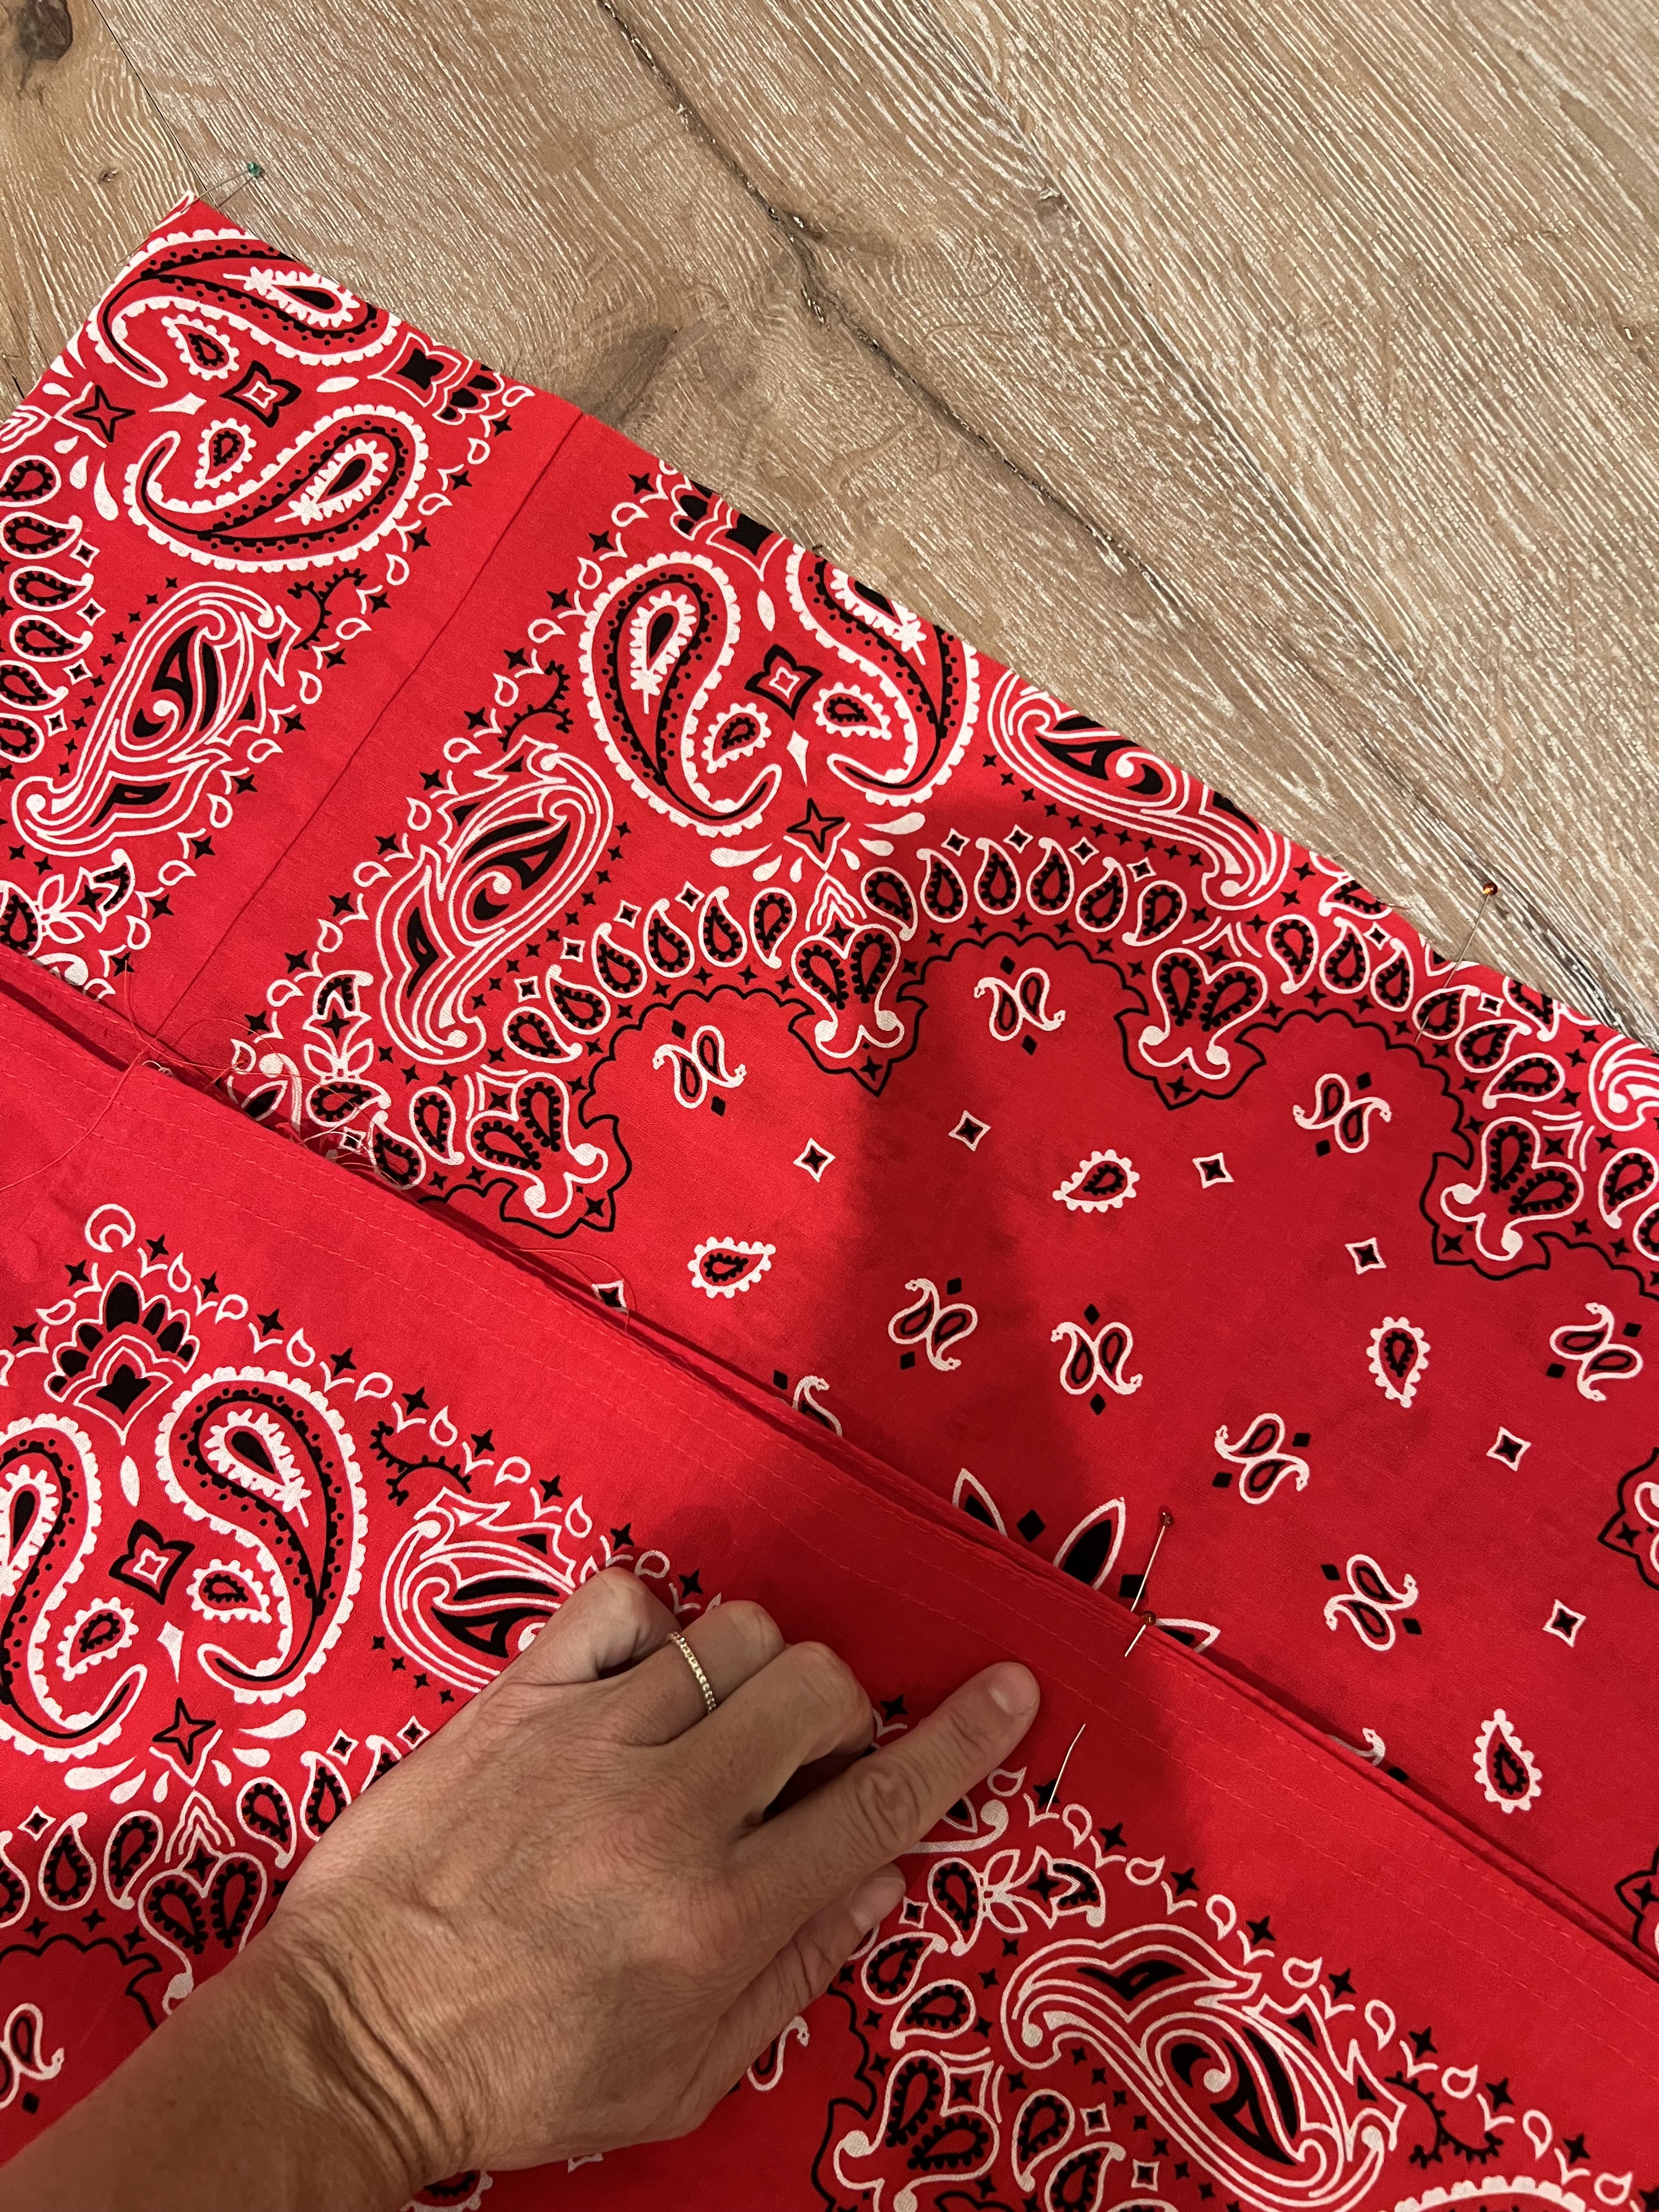
This is the trickiest part of the whole skirt. Prepare you tier pieces for gathering. First mark the center front, back and sides of each tier with pins. This is very important and will save you some time. Besides the top tier back seam, there is no indication of where the skirt front, and sides are exactly, so this will help you keep things straight while pinning the two pieces together.
For my skirt, I wanted the front panel of a bandana to be the center front for both tiers. So my center front and side seams looked like this when laid out:

From here I marked my center fronts, sides and center back using pins on both tiers.
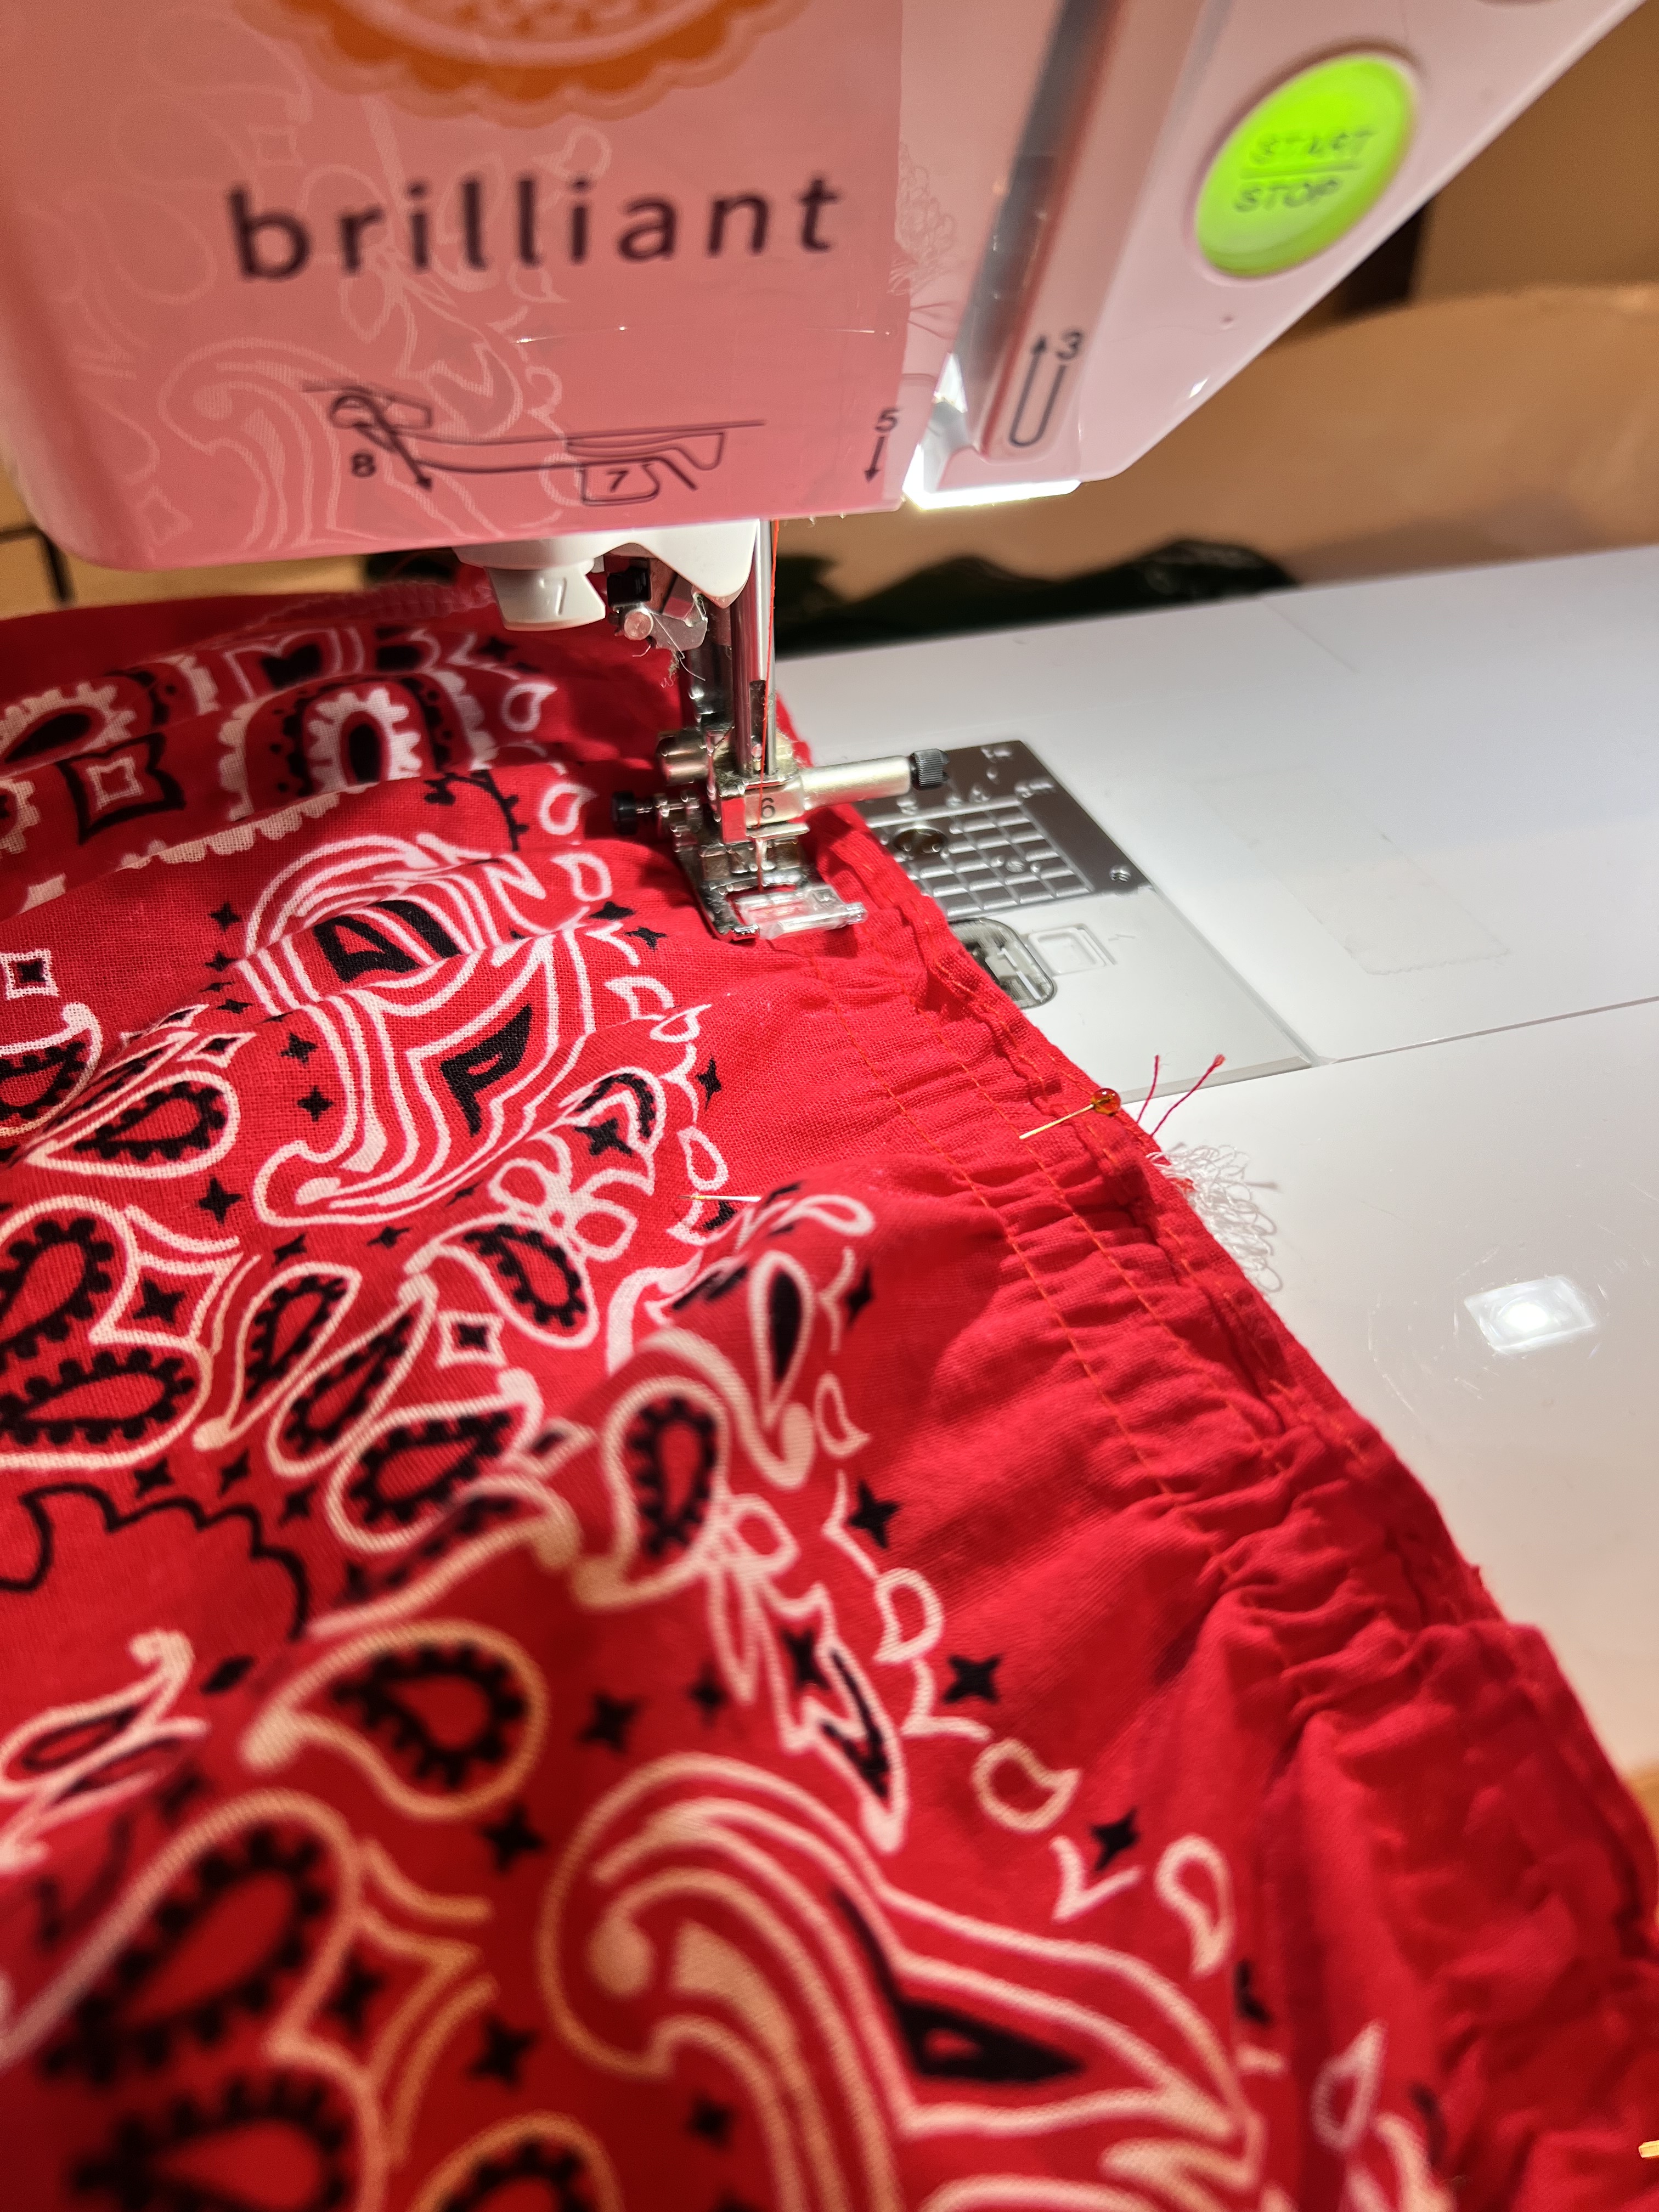
Step 7:
Gently pin and match these 4 pinned sections right sides together. This will ensure even gathers. Gently tug on the basted threads around the bottom skirt tier and evenly gather the bottom tier to fit to the top tier. Pin in place as you go. Sew at 1/2″ seam allowance, remove any basting threads that show on the front side of the skirt. Finish as desired and press seam allowance up.


Step 8:
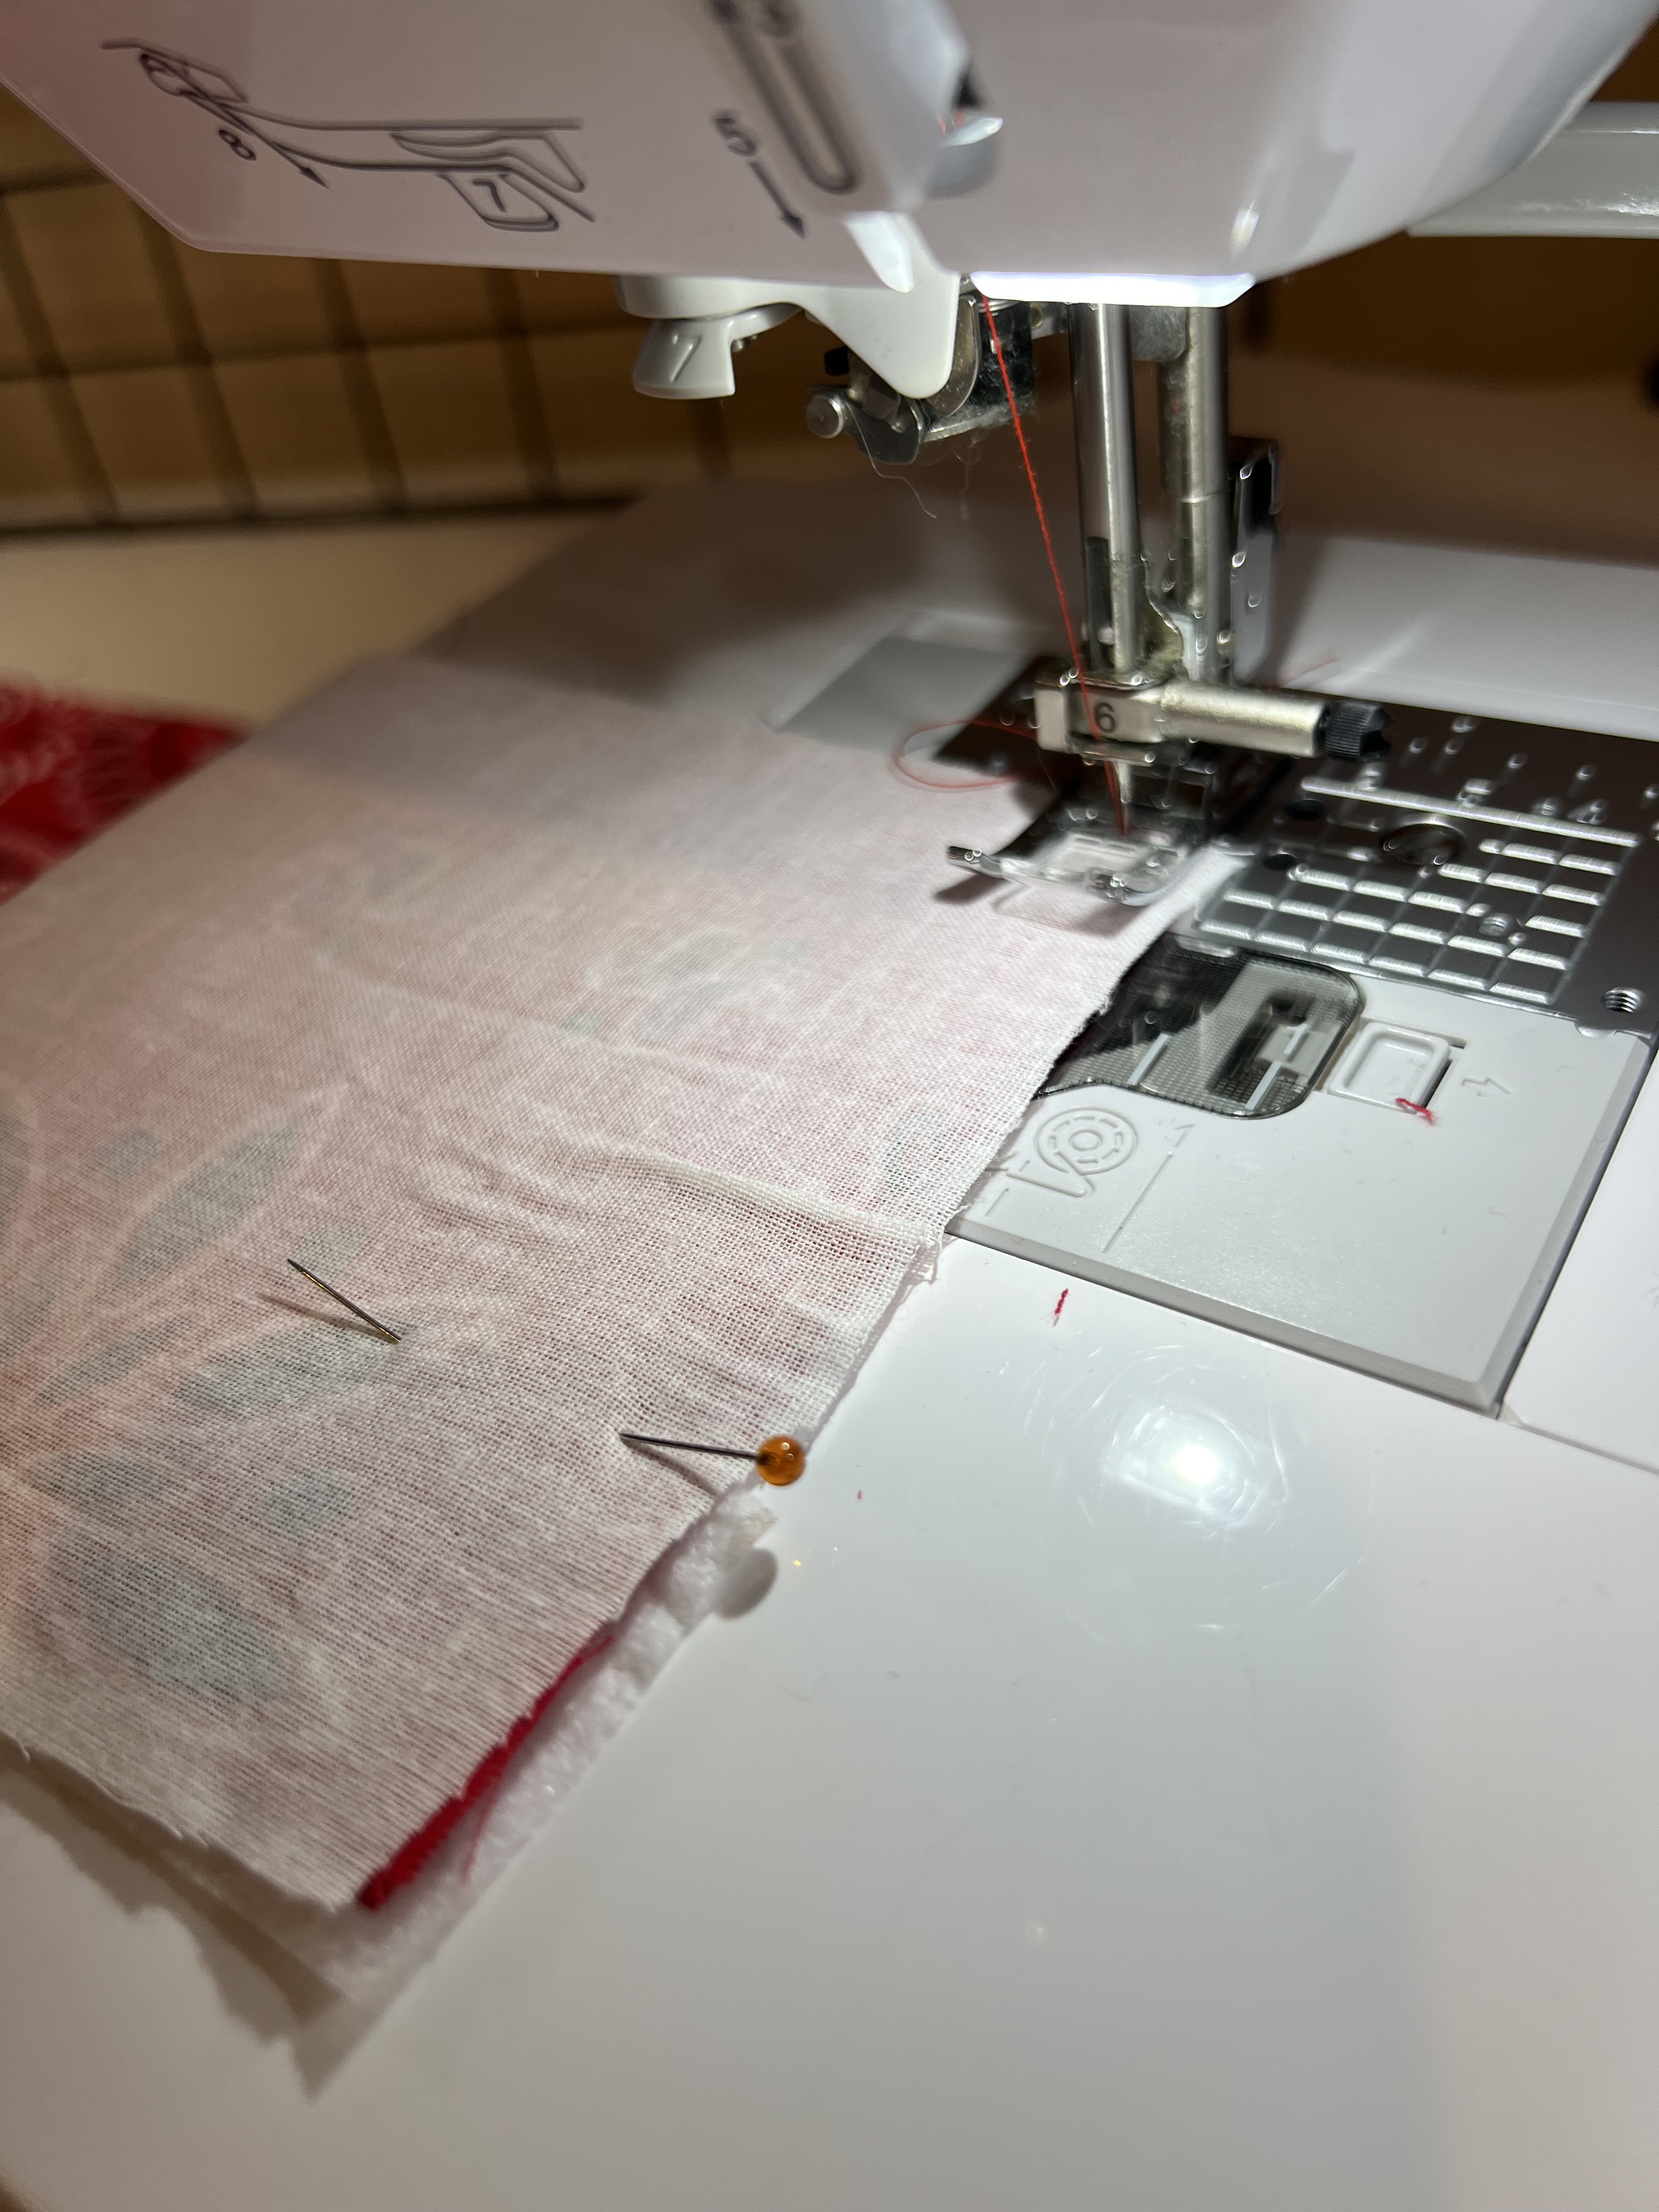
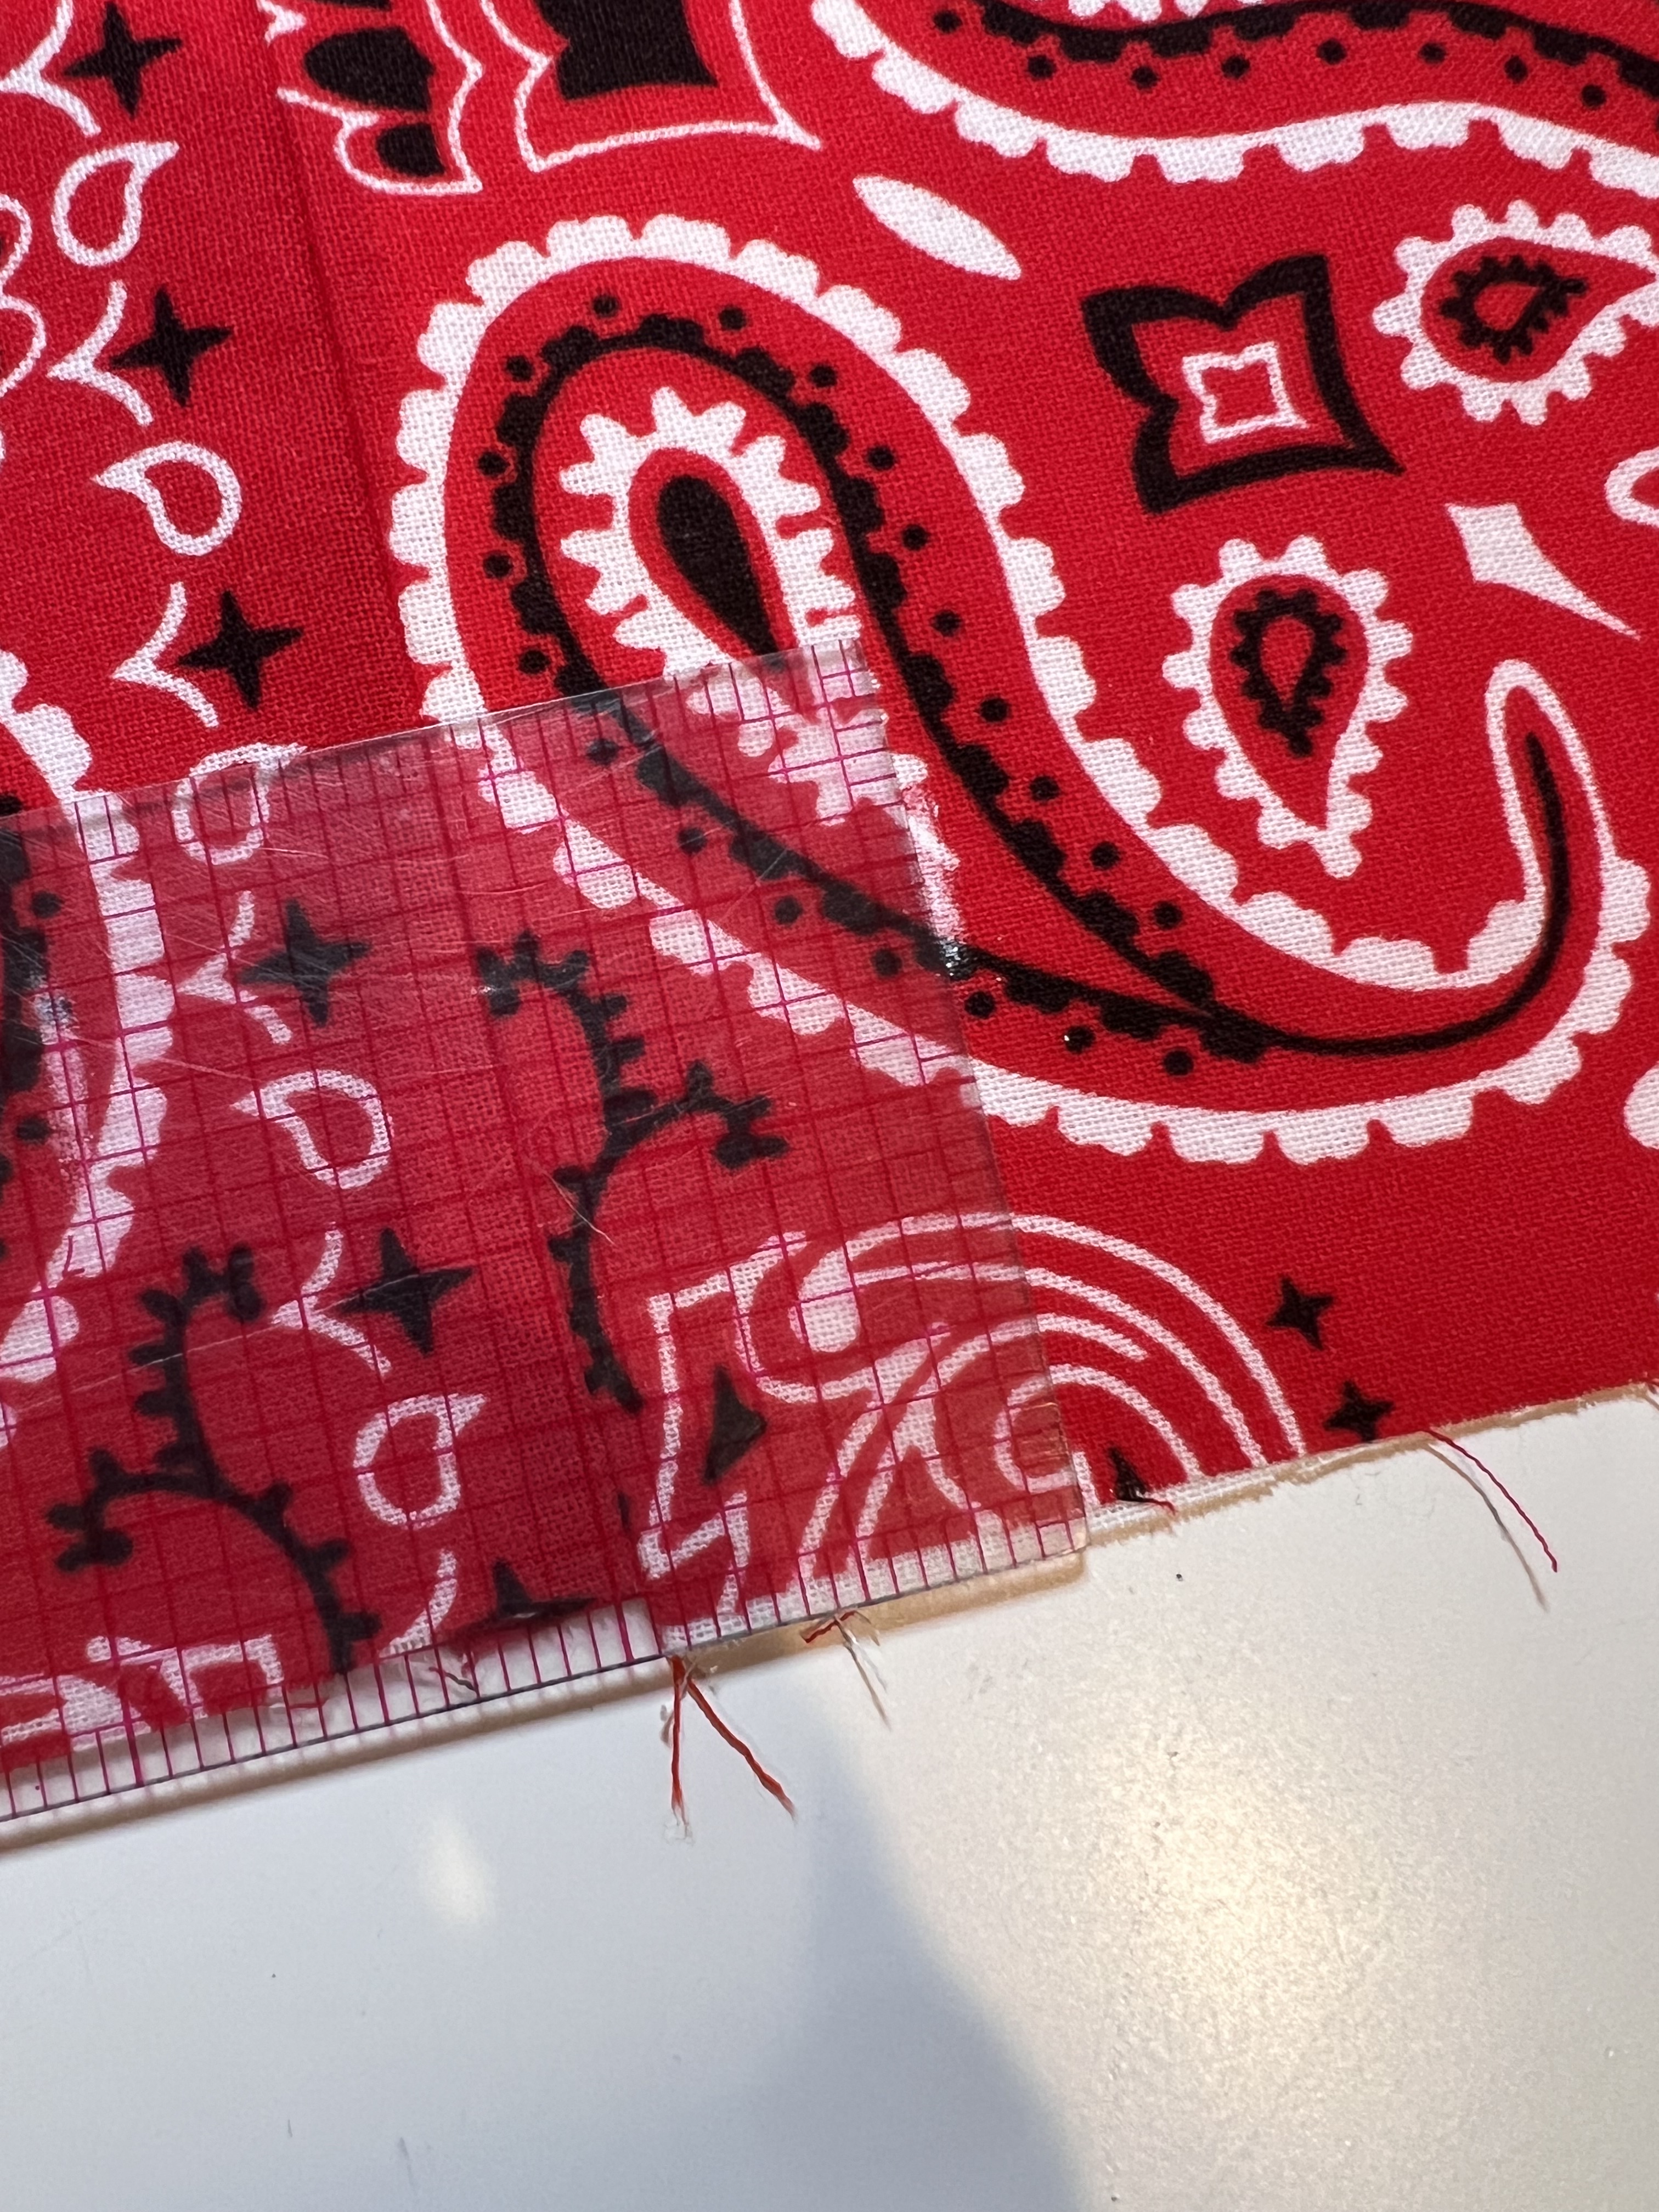
Now we need to prepare the waistband piece. My waistband pattern piece ended up measuring 4 1/2″ tall x 29″ long. Measure the top on your skirt and add 1″ for seam allowance- this is how long the pattern piece needs to be. Mine ended up being about 29″. You will need to cut two of these pieces, but you will notice the bandana isn’t big enough to do so. I ended up cutting out 4 separate pieces that I then pieced together. You can do this in three pieces too if you wish- just make sure they equal the top length of your skirt tier. (+ seam allowance).

After I cut out my waistband pieces, I attached interfacing to the wrong side of the pieces.

Next, sew the right sides of the waistband pieces together using 1/2″ seam allowance, creating a loop. Press seams open.


Now we need to add the button holes. Pick a seam that will act as the front center of the waistband, it doesn’t matter which one. Grab a ruler and some chalk to mark your two button holes 1″ from seam line on each side, 1 1/4″ from the bottom edge. Each button hole will be 1/2″ long. Using a button hole foot, sew buttonholes. Using a seam ripper, open up button holes.


Step 8:
Now we are ready to attach the waistband. First, press the waistband loop in half wrong sides together.

Find the center front of the skirt, and line up the center front of the waistband (where the buttonholes are), right sides together. Continue pinning the rest of the waistband around the top edge of the skirt. Sew in place using a 5/8″ seam allowance. (To be safe, hold up the elastic piece and make sure it will fit within the casing you are about to create, mine ended up working with a 5/8″ seam allowance.). Sew the waistband to the skirt, leaving a 2″ opening to insert the elastic.

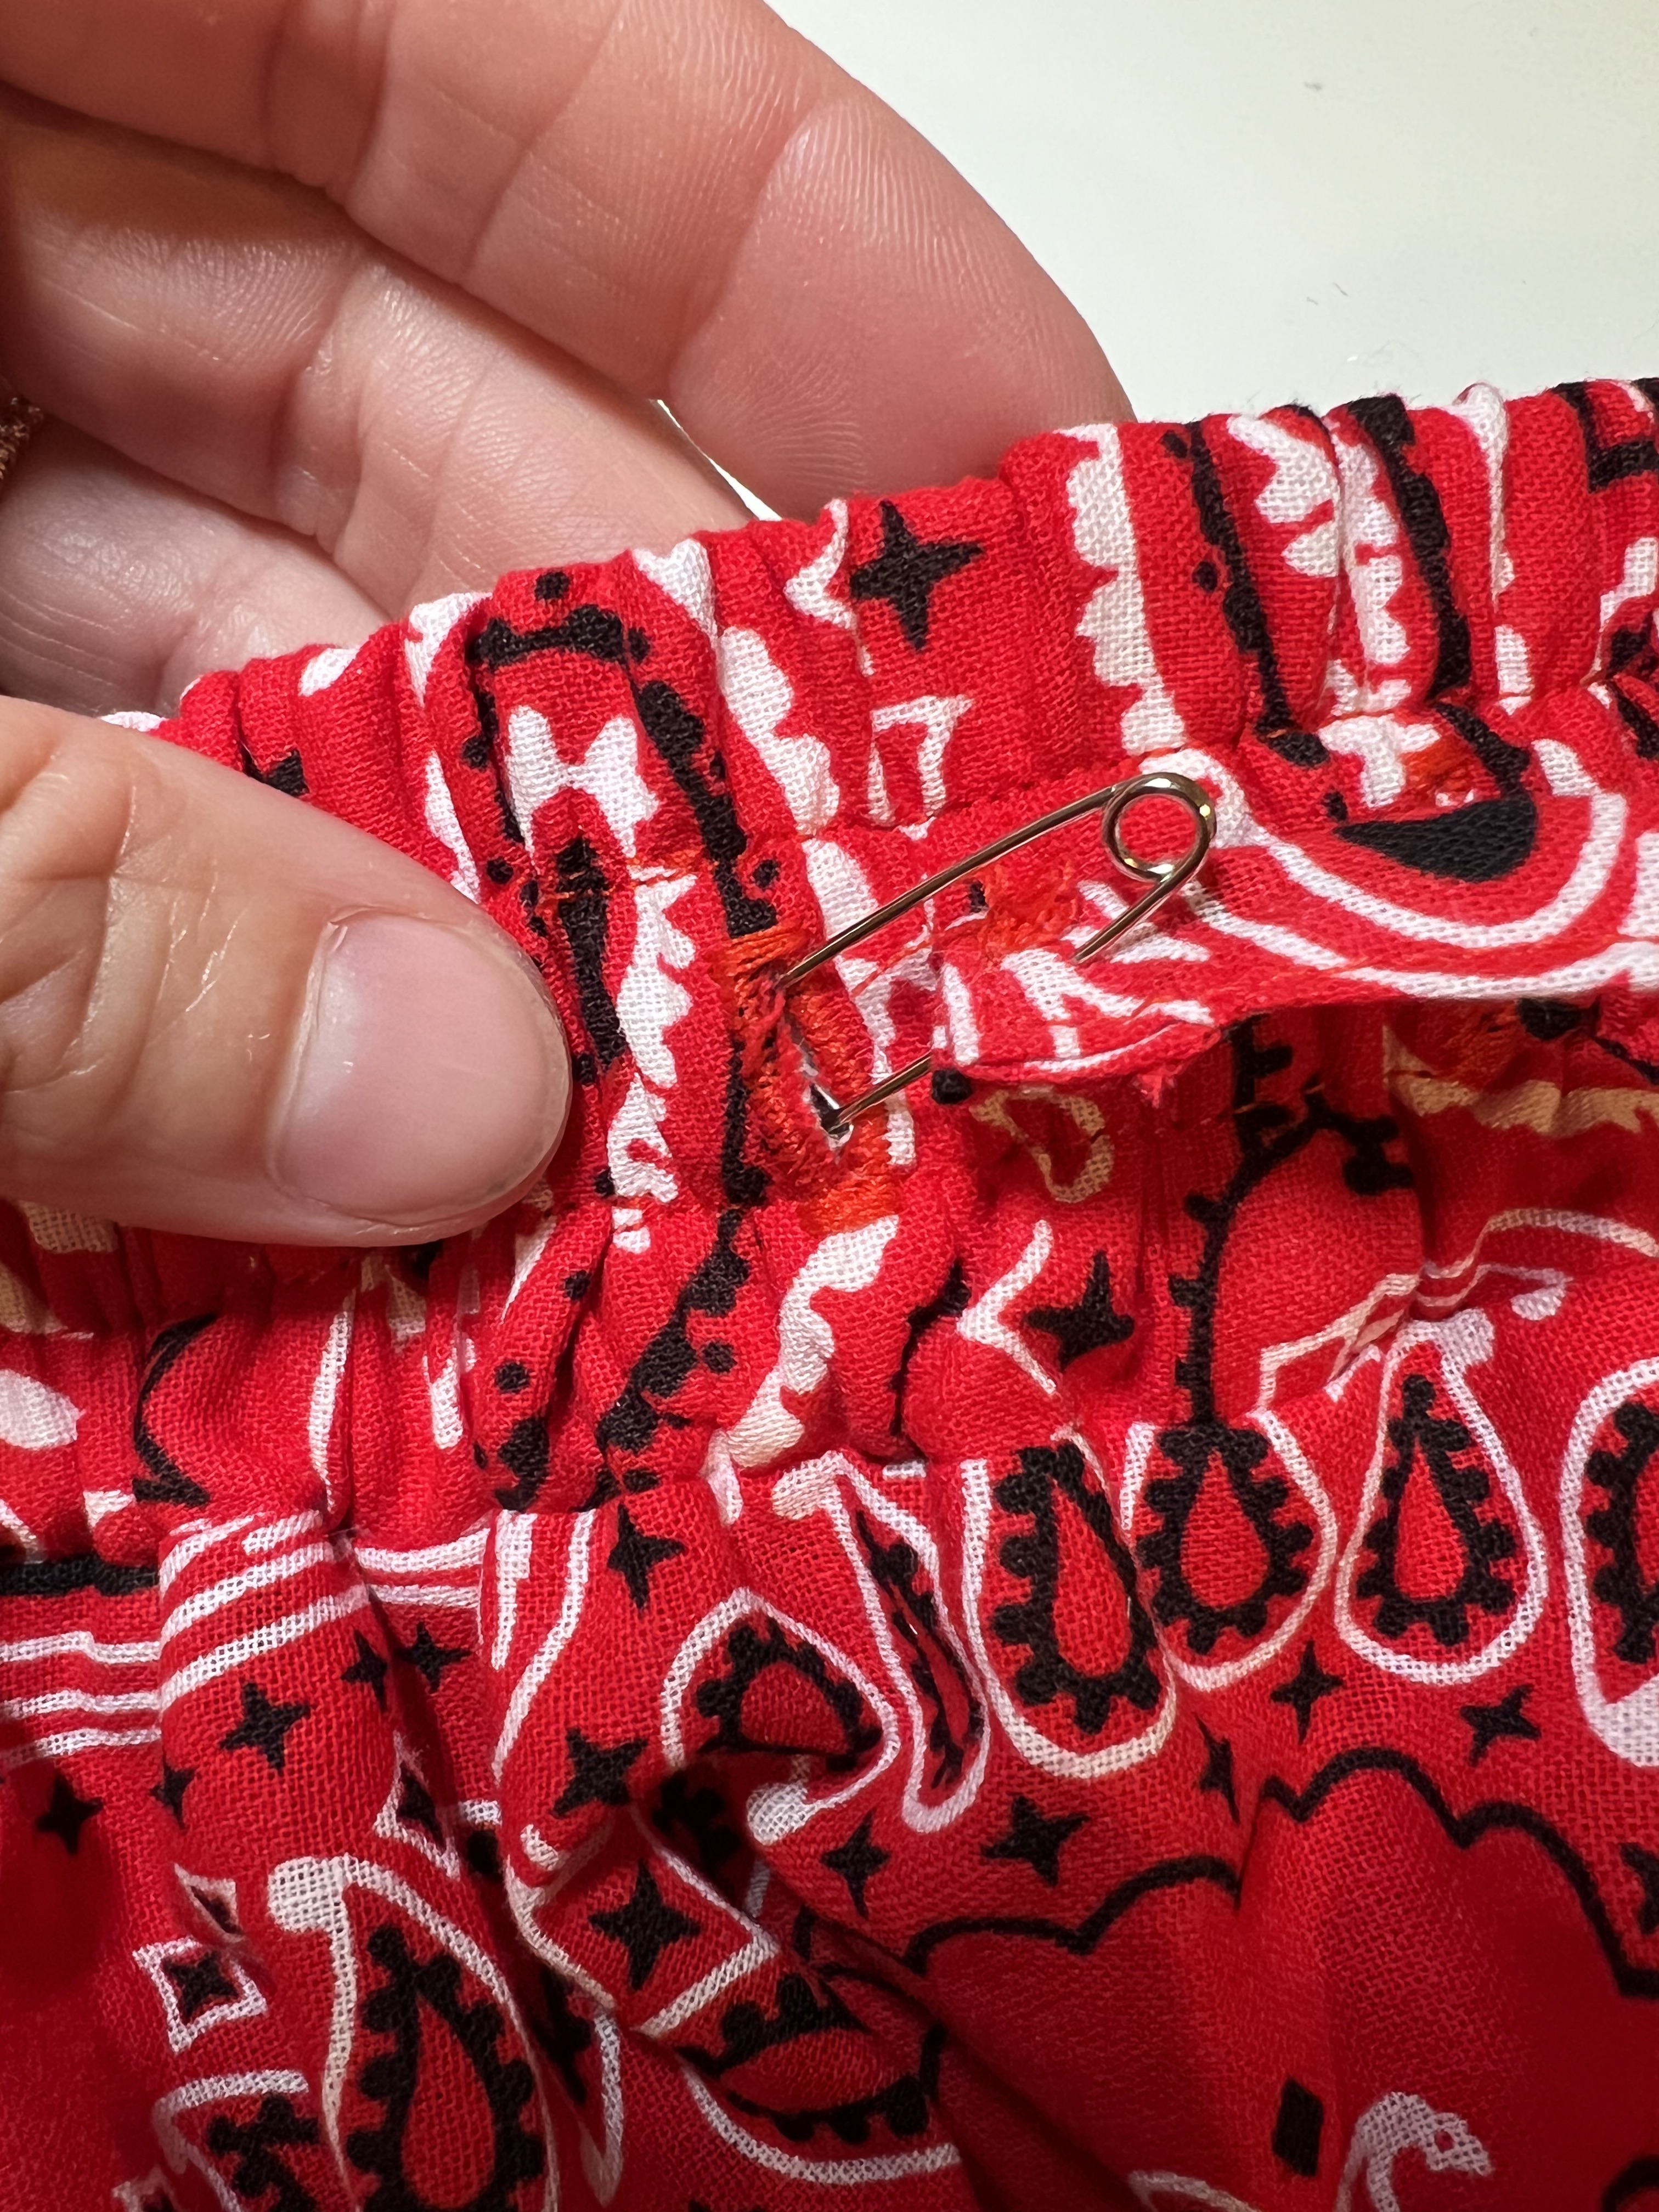
Step 9:
Measure the elastic piece around your natural waist, adding a little extra for a seam allowance. You want it to be comfortable but fitted. Cut to size. Pin a safety pin to the elastic piece, and gently insert the elastic until it comes back out on the other side of the opening. Pull the free elastic edges away from the casing a bit, and sew them together to enclose the elastic edges. Tuck the edges into the casing, and close the 2″ opening along the waistband seam. Finish the waistband seam as desired.


Step 10:
I like to add a few lines a stitching around my elastic waistband to keep the elastic from twisting later on. It also gives the waistband a professional looking finish. Gently pulling the waistband as straight/flat as you can, sew one row of stitches 1/2″ from the top edge of the waistband. Repeat and sew another row 1/2″ from the bottom of the waistband.


Step 11:
Now, let’s create the waist tie. I cute four pieces that measured the width of the bandana design x 1 1/2″.
Sew the edges together at 1/2″ seam allowance to create a long strip.


Now, press the strip in half, and open it back up again.

Now, press the edges in to the fold line we just created.
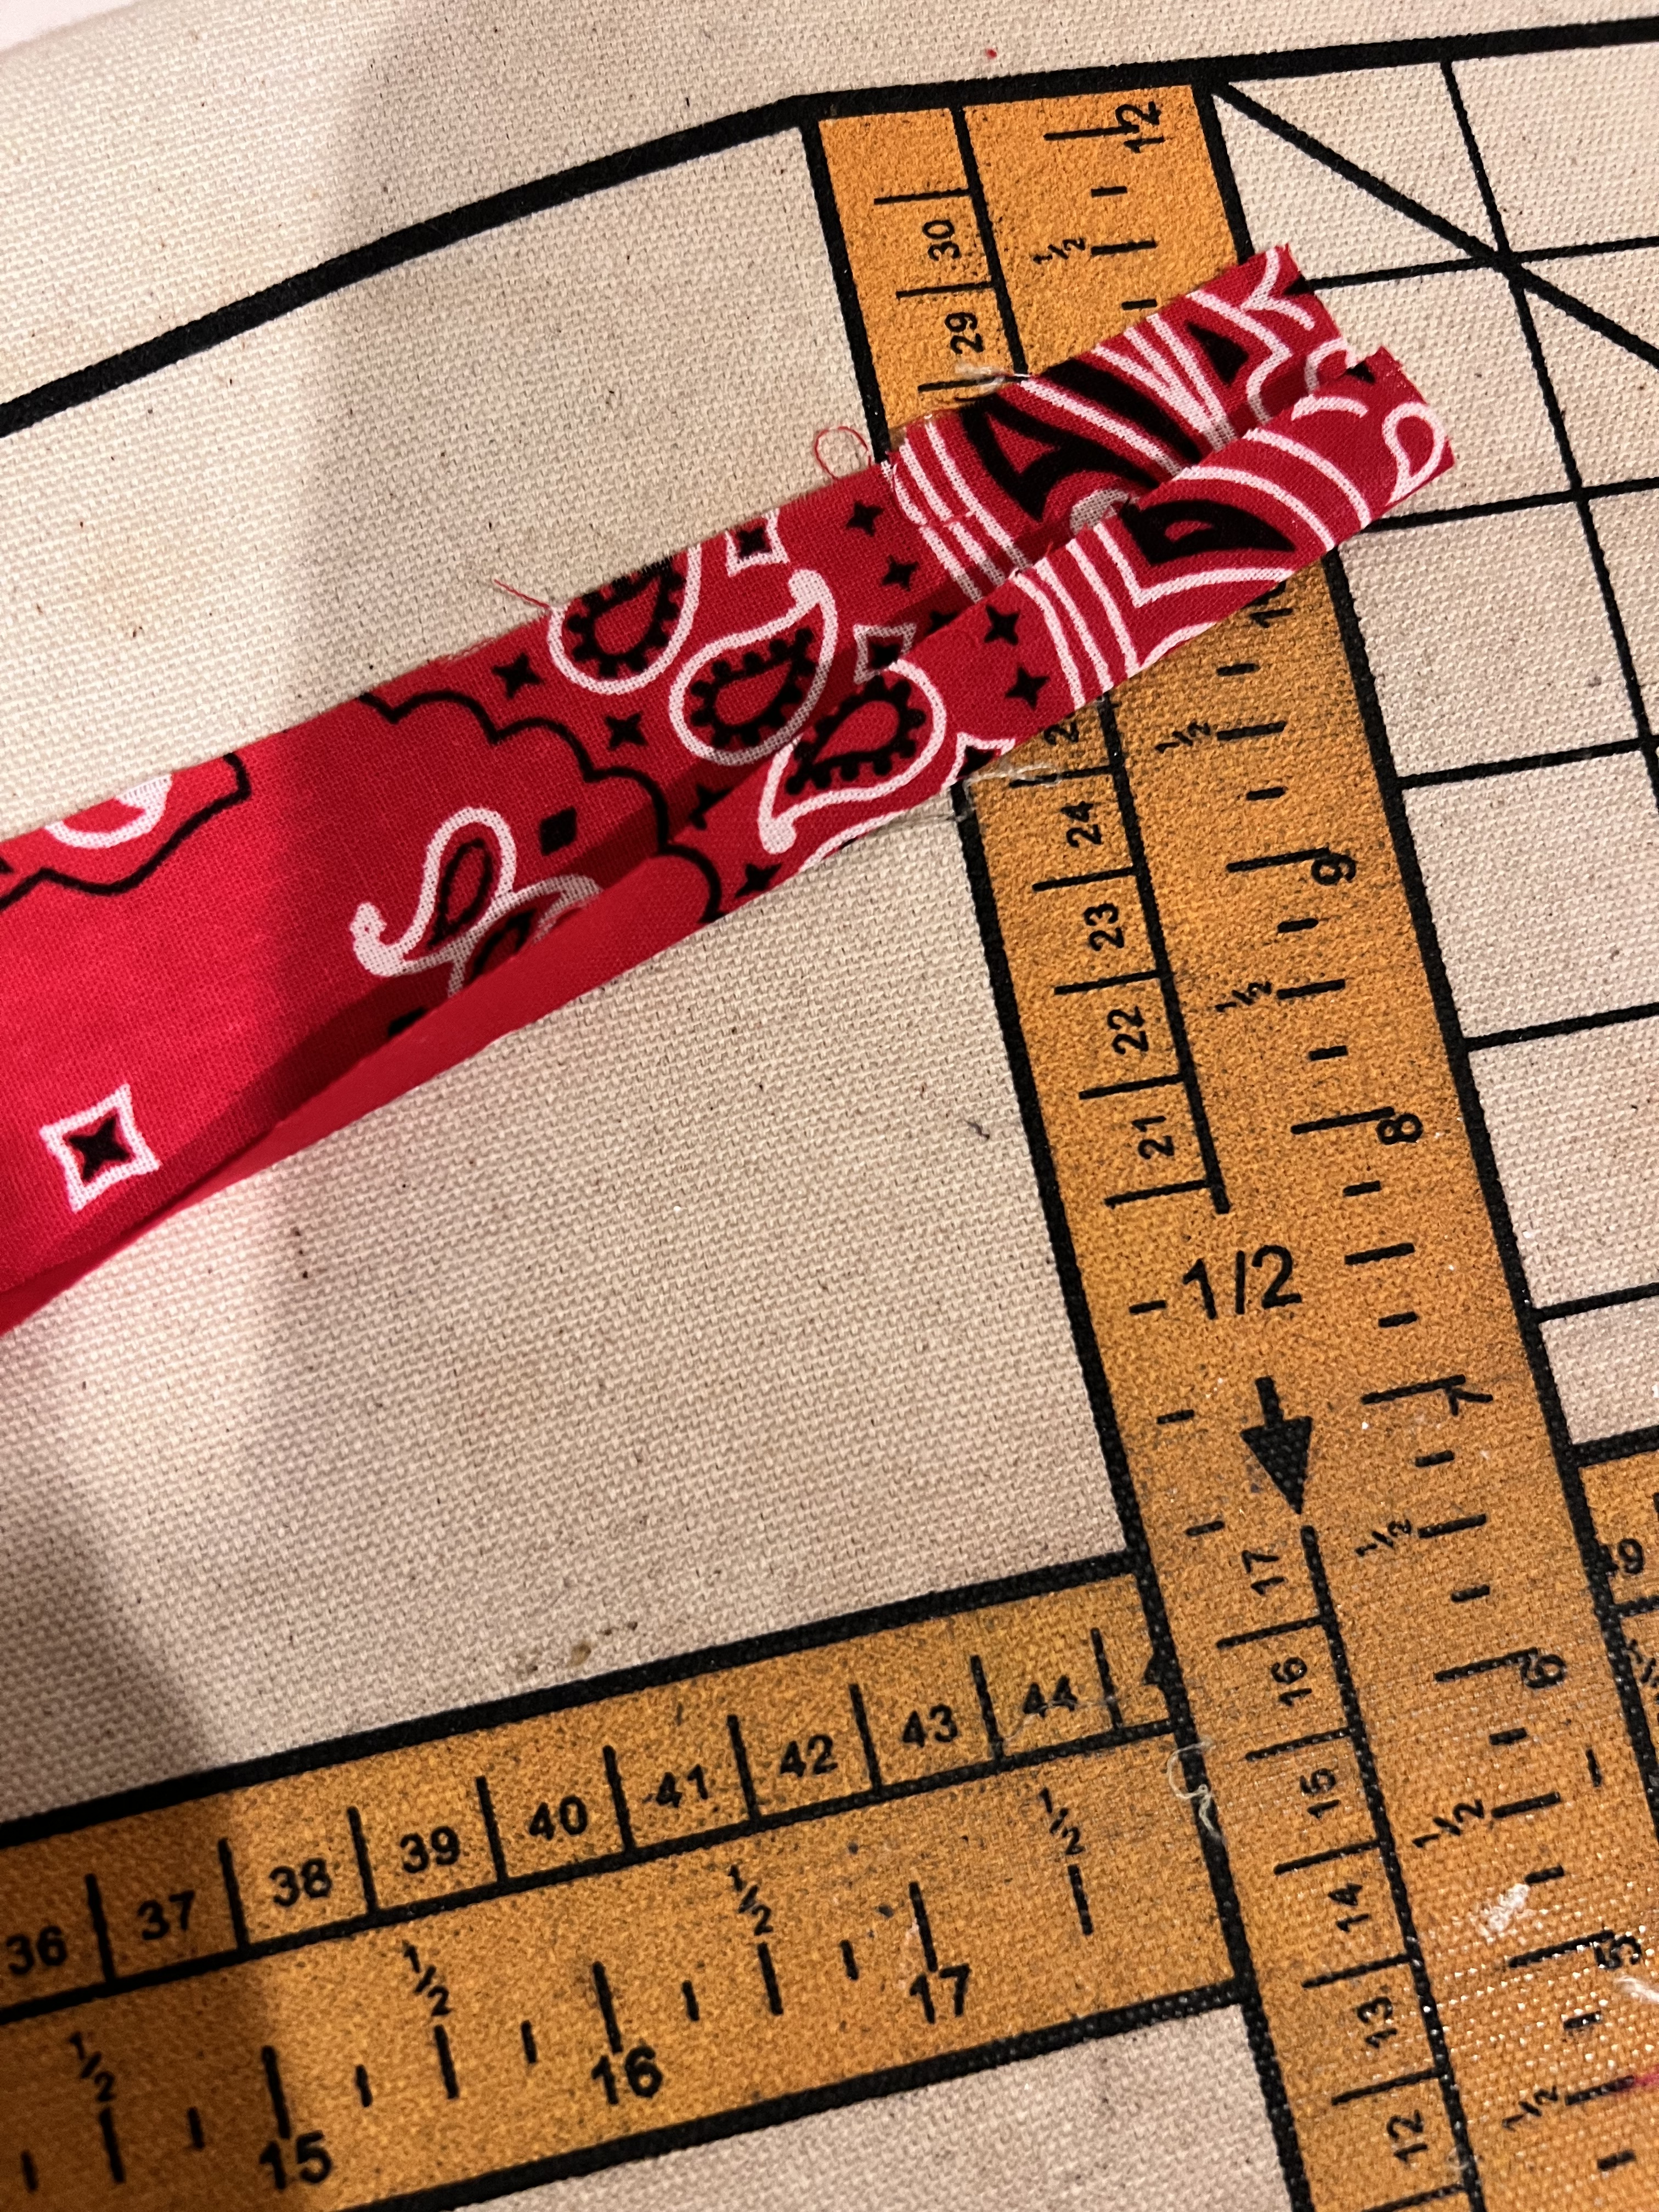
Fold each end of the strip in at 1/2″.

Fold the strip in half once again.

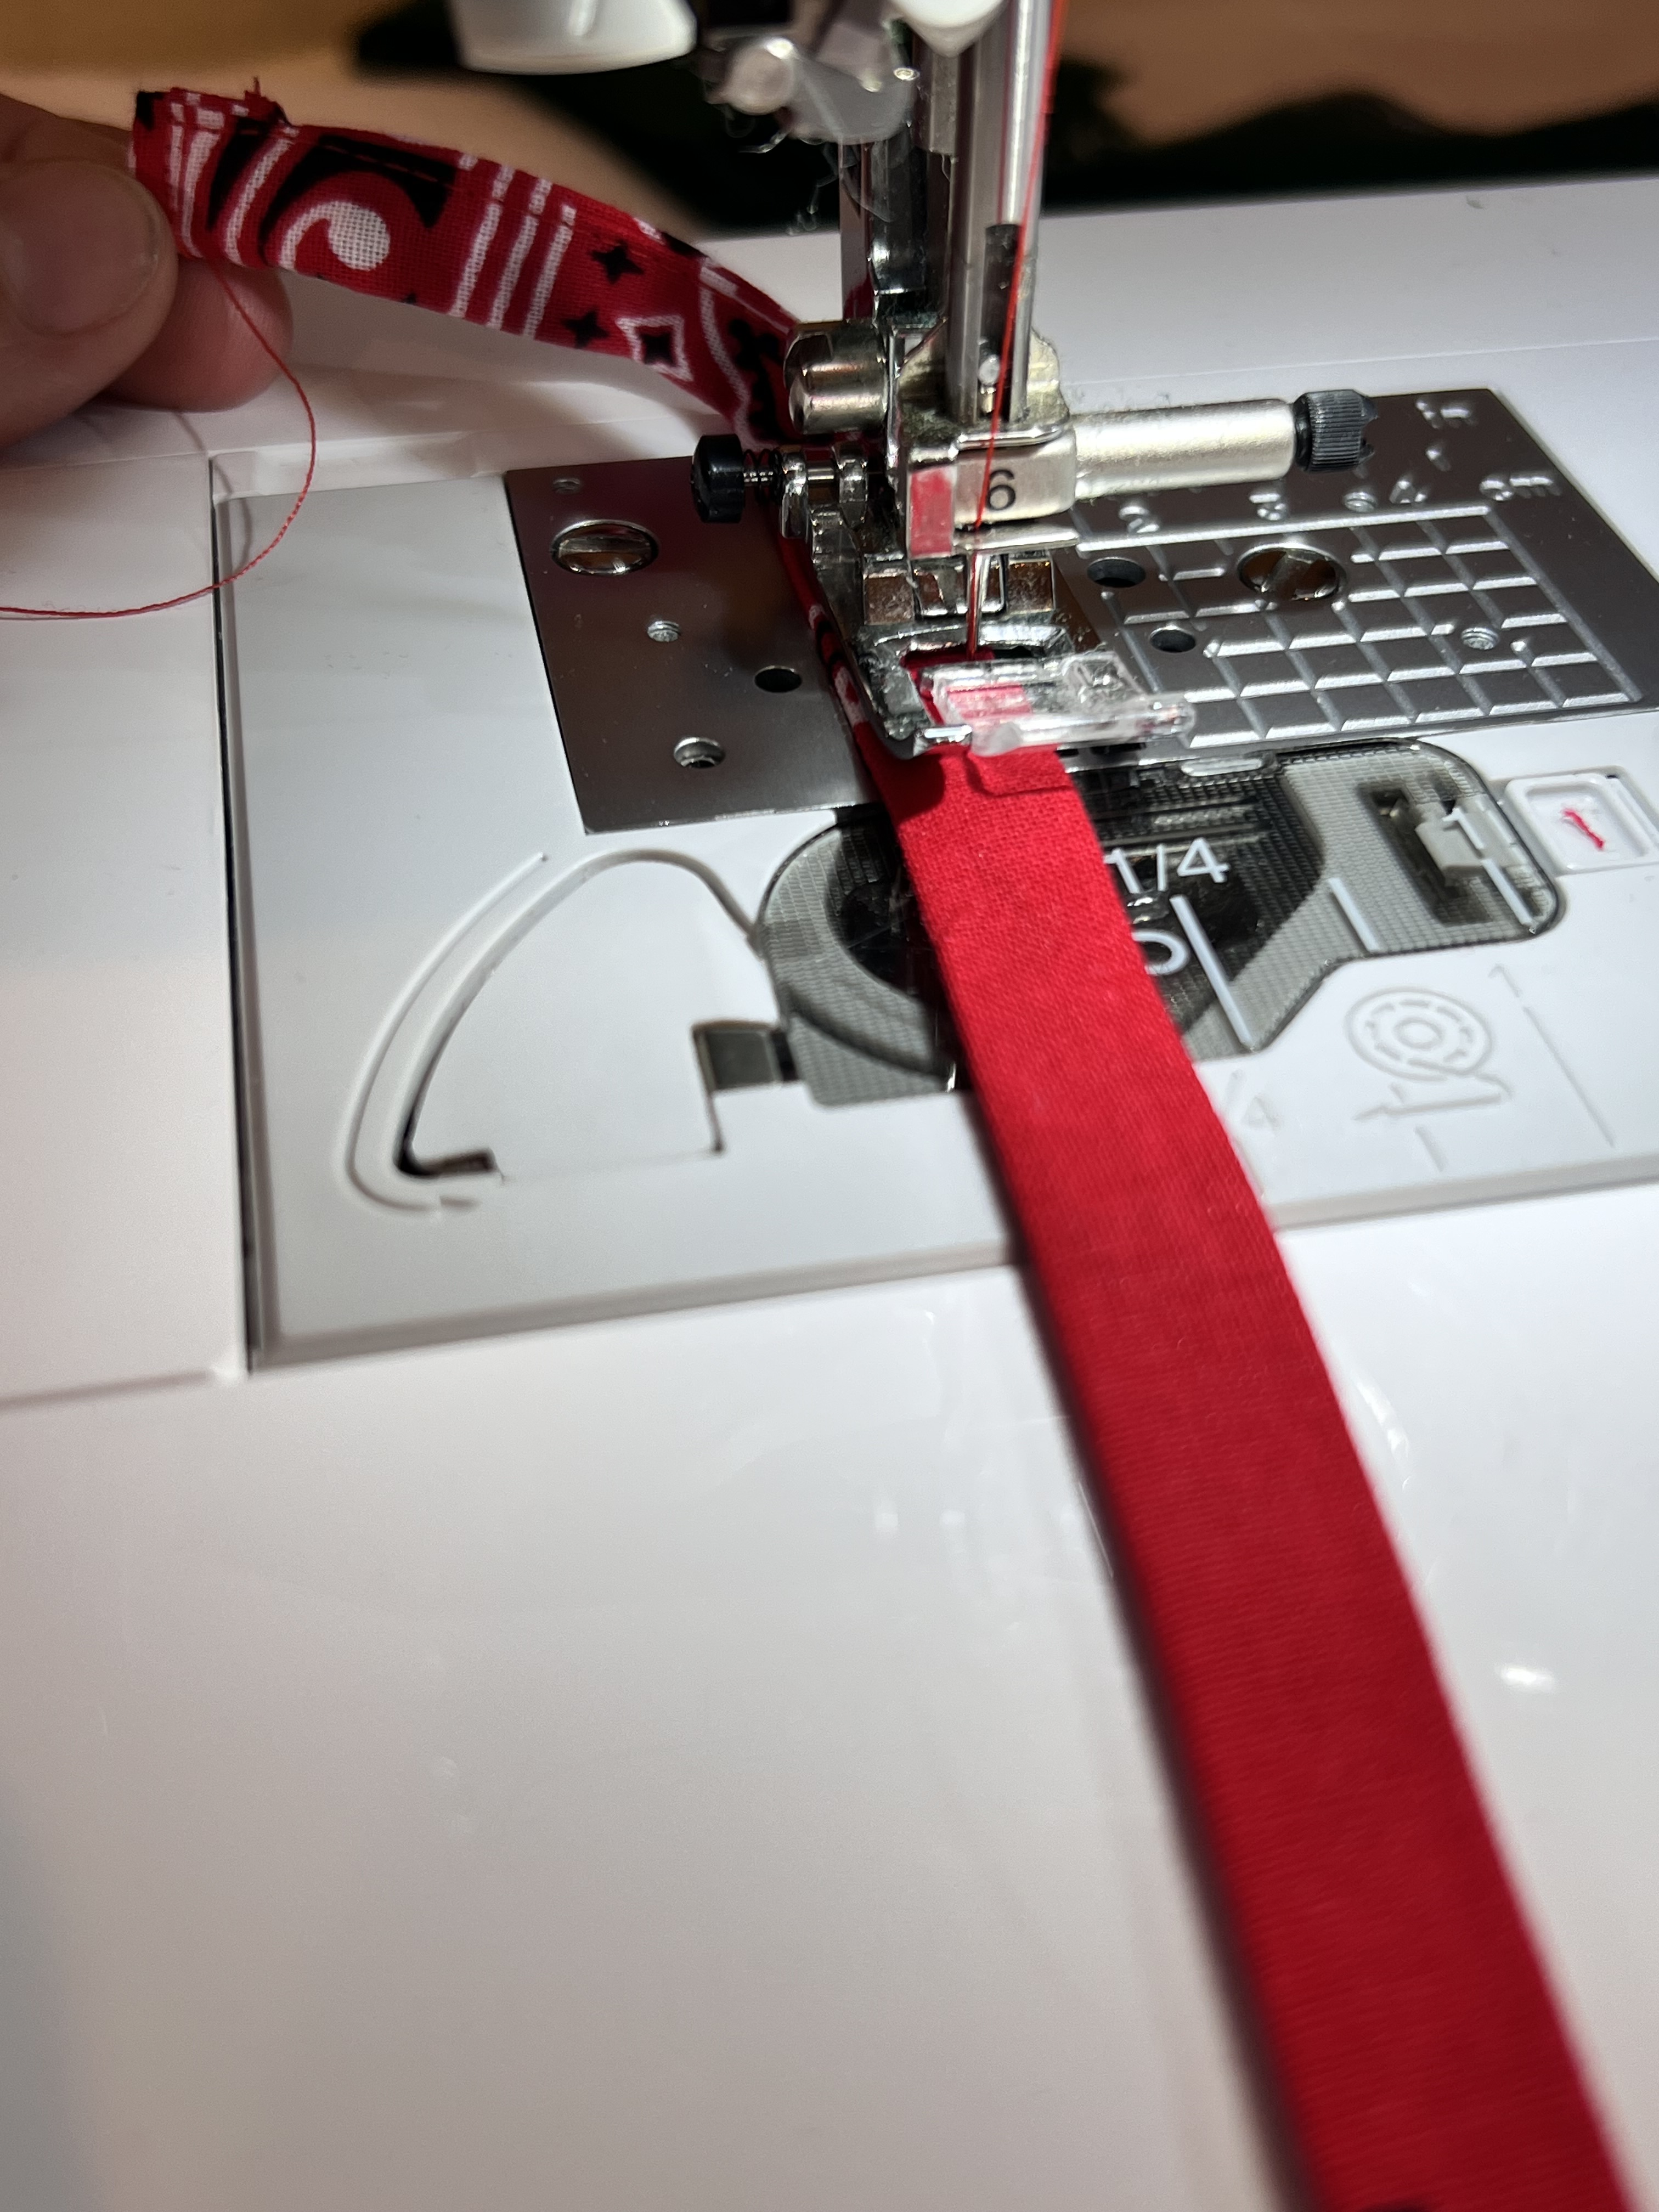
Edge stitch to finish, pivoting around the edges.
Grab your safety pin, and pin it to one edge of the waist tie. Just like with the elastic, gently insert the waist tie through the one button hole opening. I like to finish my waist tie with a little knot on the ends. Just a personal preference, this also helps keep the tie from getting lost inside the casing when going through the wash.


Now all that is left to do is hem the bottom! First, press the hem up 1/2″, and again at 2-2 1/2″ depending on your height and personal preference. Sew along the right side of the skirt along the edge of the fold to finish. *You can also leave the hem as is if you prefer and use the already finished edge of the bandanas as your hem. I personally needed to shorten mine and I like the weight a hemline adds to the skirt to keep it laying nicely, but both are great options!


You did it! I hope you love your skirt as much as we do! This would be really cute sewn in silk bandanas too.. the options are endless. I would love to see your finished bandana skirt- tag or message me on instagram @thesaraproject_. Happy sewing!


Leave a comment