


This post is sponsored by Baby Lock sewing.
Halloween 2024 is nearly here, and we’re ready! My daughter is really into princess Belle right now, so we made her a handmade provincial town dress. She already has a few of Belle’s yellow dress so we thought making Belle’s blue dress would be fun and different.
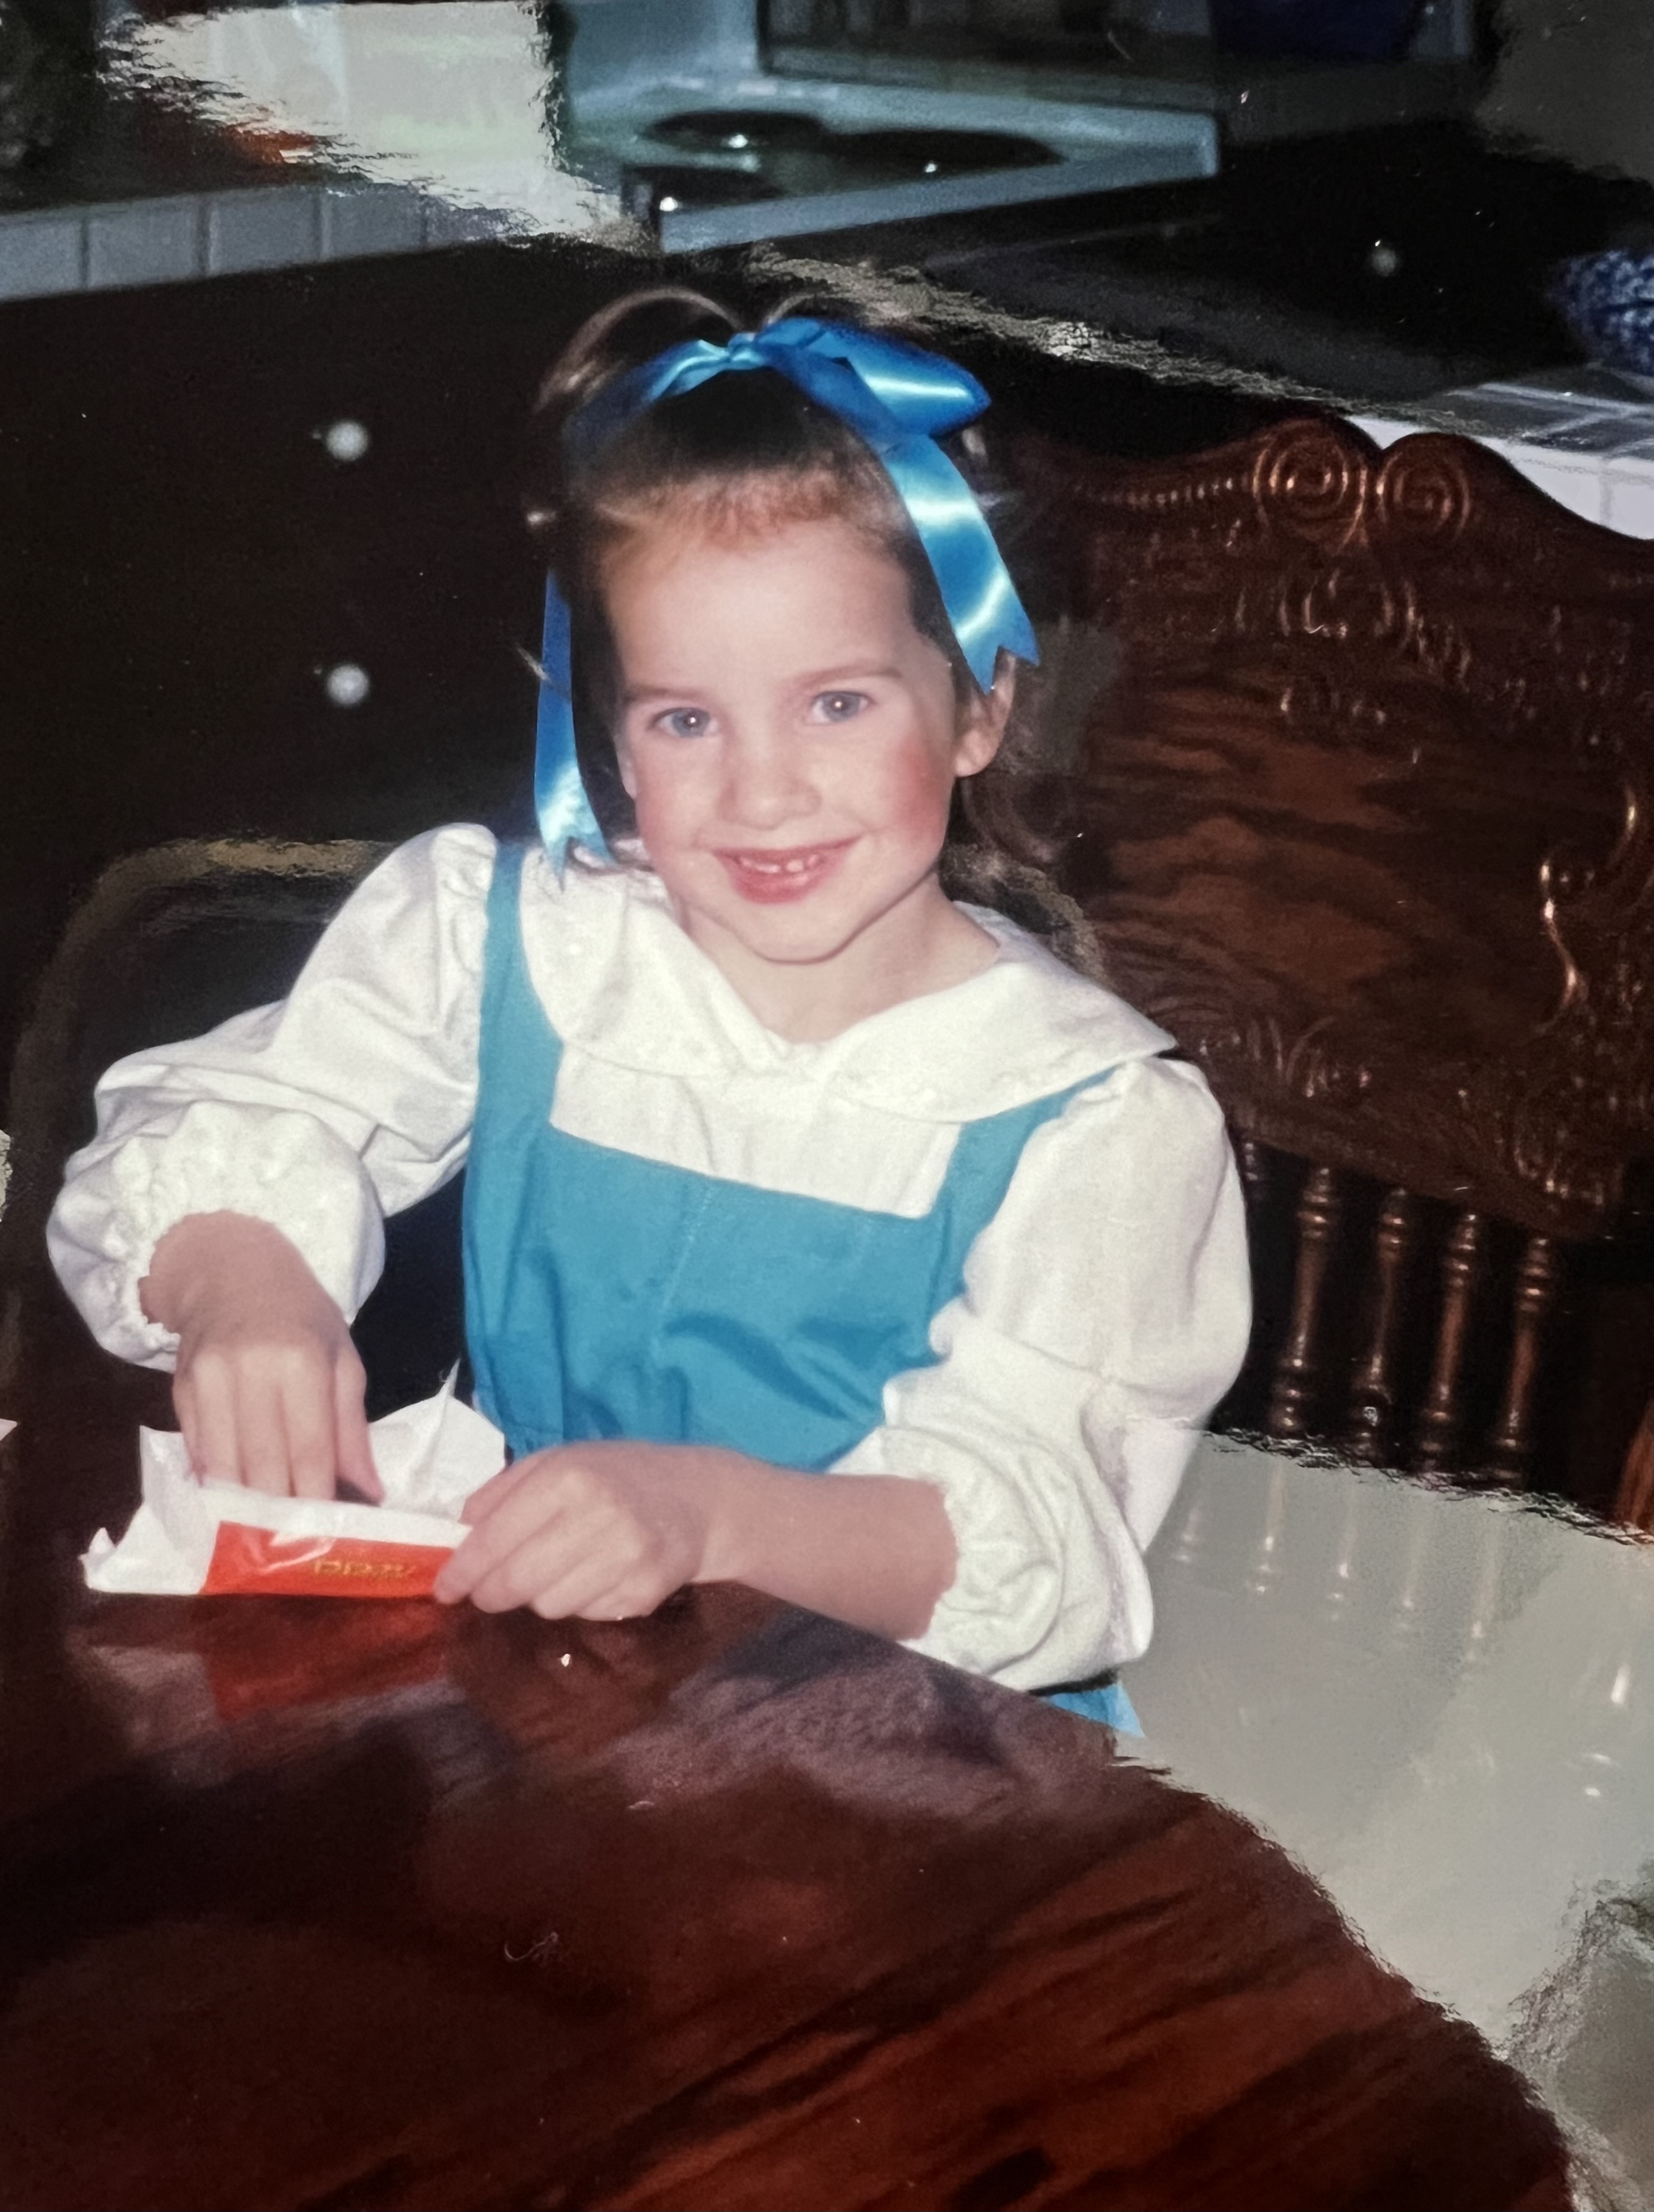
I was also Belle in her blue dress for Halloween when I was little so this felt very nostalgic for me. My mom also sewed it for me. I had to dig through a bunch of old photos at my parents house and found these. October 1992 4 year old Sara!

We had so much fun picking out the fabric together from our local Joann’s store. I couldn’t find a pre-made pattern for this particular dress so I did a little pattern search and found two patterns I could use to create this look. I self drafted the apron, and used a Youtube tutorial for her cute matching bow. I’m here to break it all down for you if anyone else is ever interested in creating a Provincial Belle costume too!
Let’s start with the top!
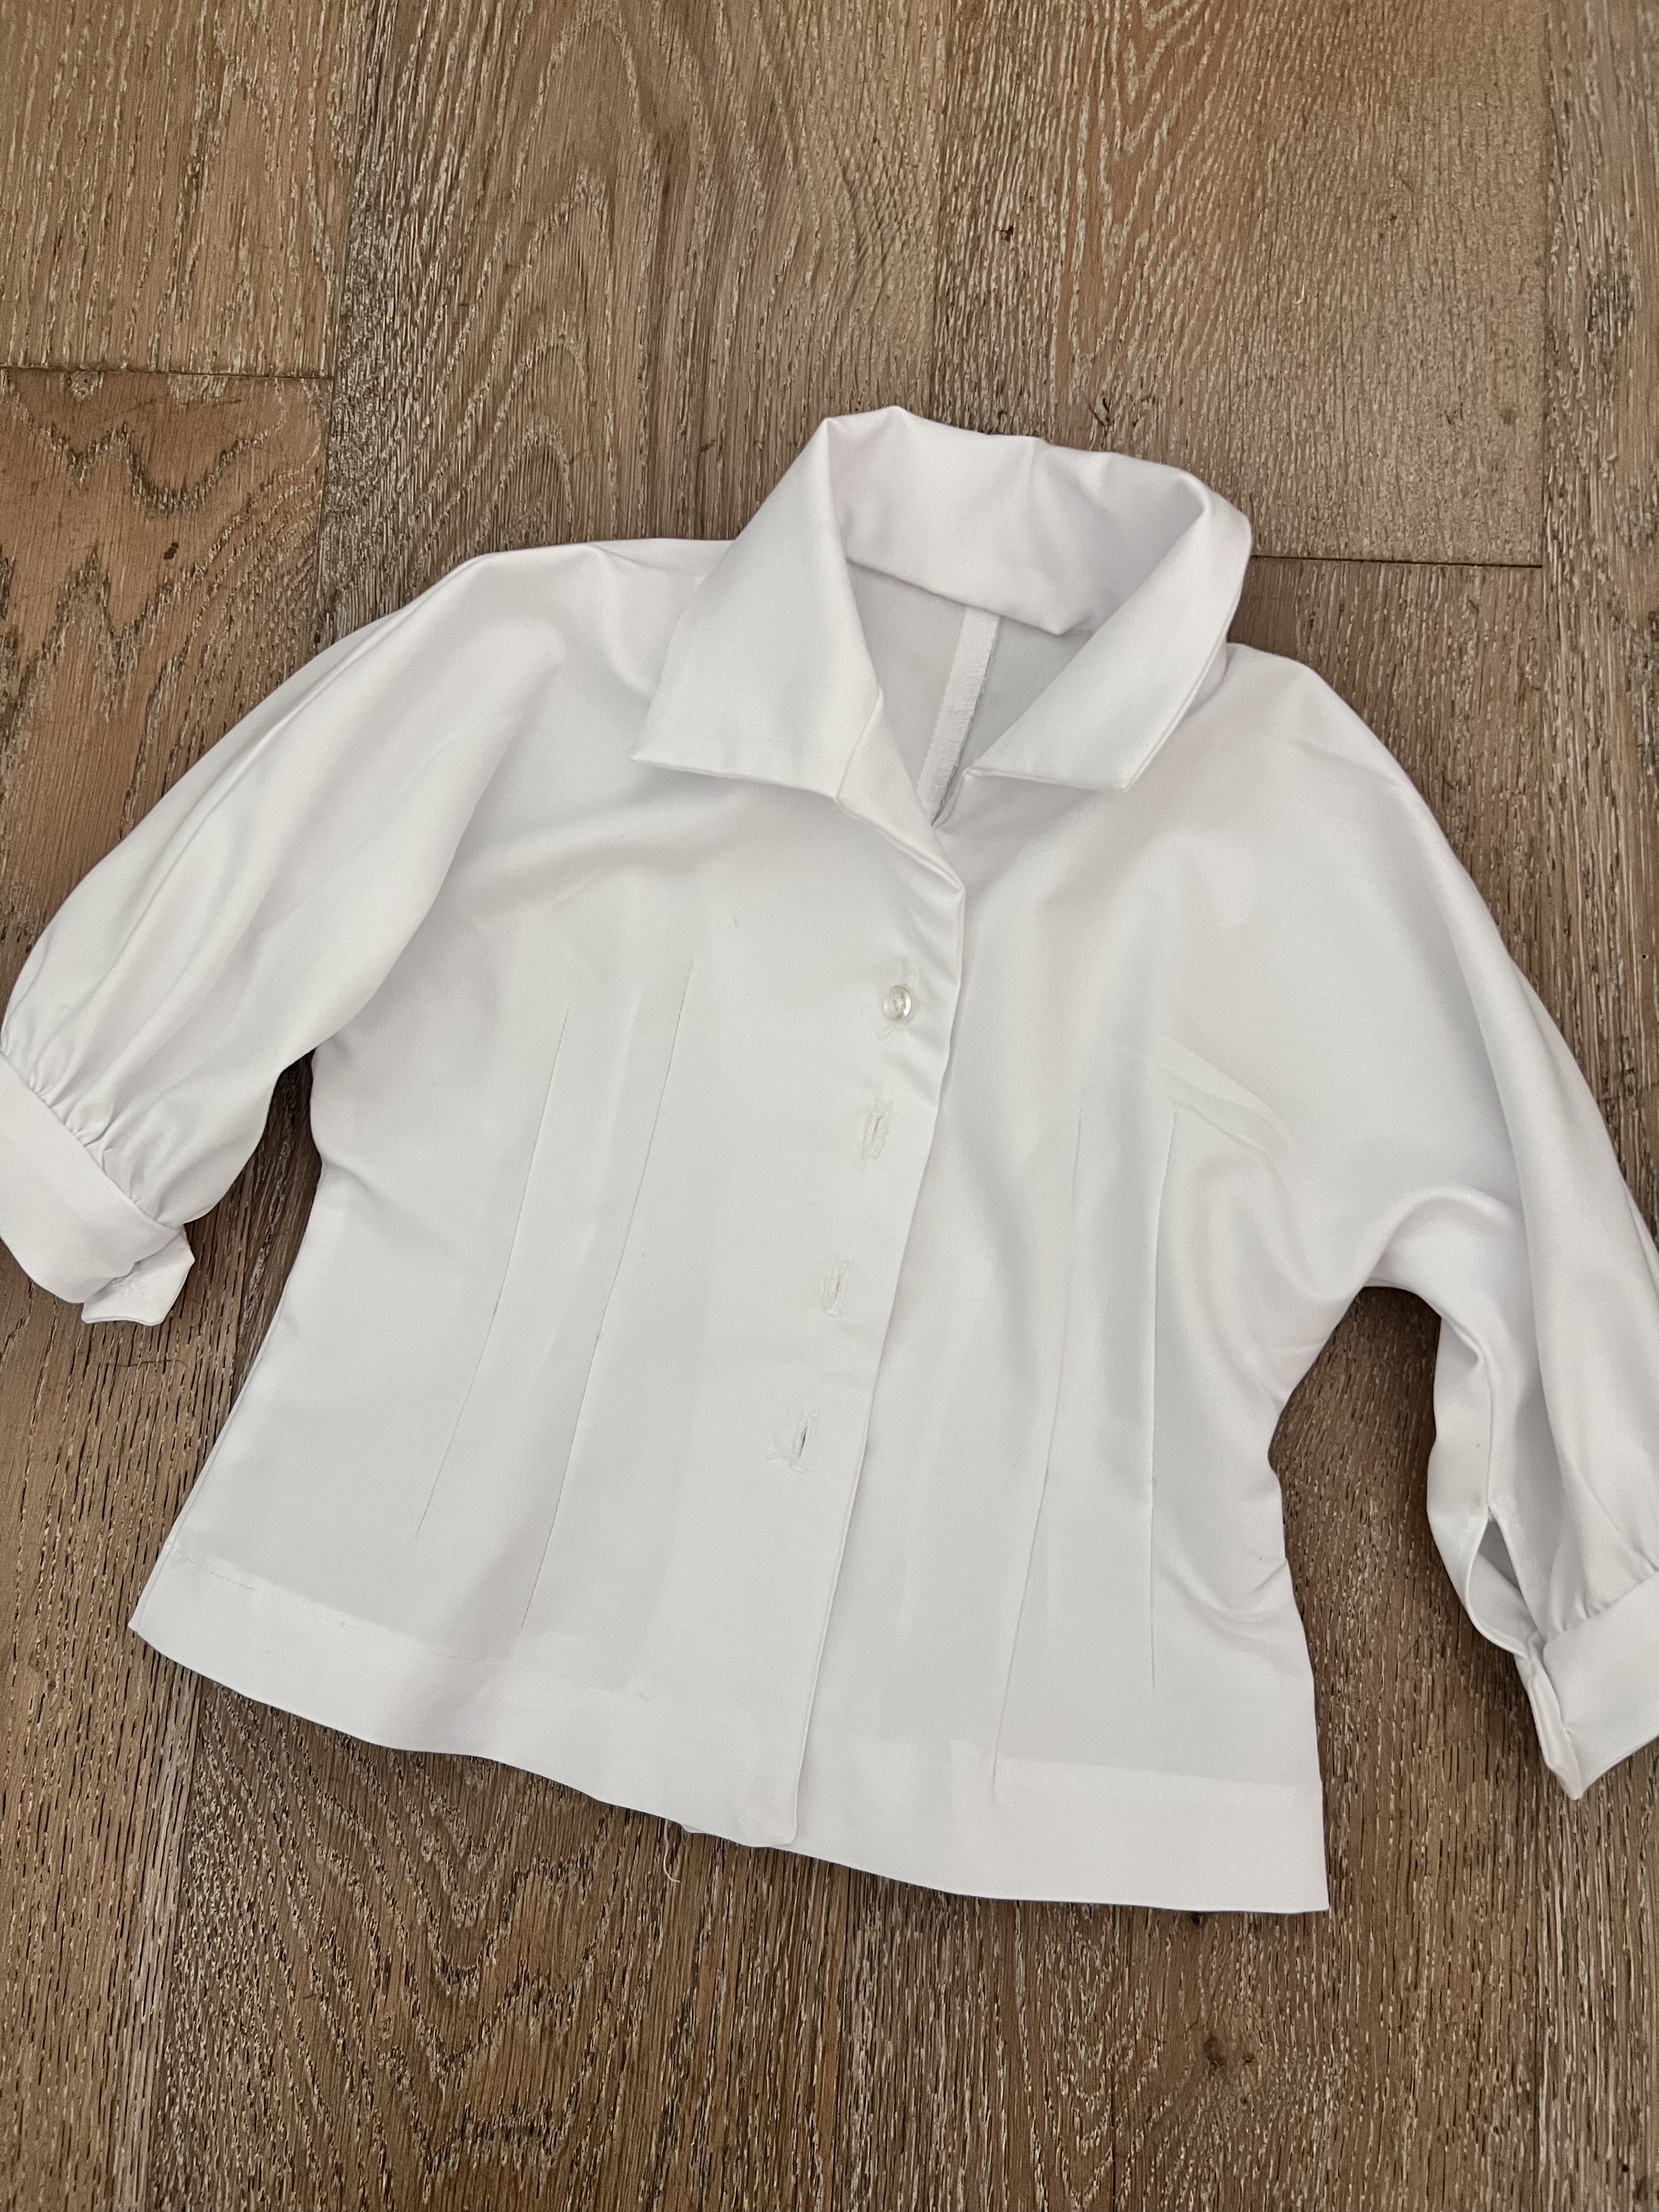
I came across McCall’s M7184 and I loved the vintage style collar, perfect for a Belle costume! I made a size 3-4. I copied the directions exactly. I think the dart details in the bodice are super cute- even though you can’t really see them with the dress on top of it. I had to shorten the sleeves a little bit but otherwise it fits my newly three year old really well with a little room to grow.

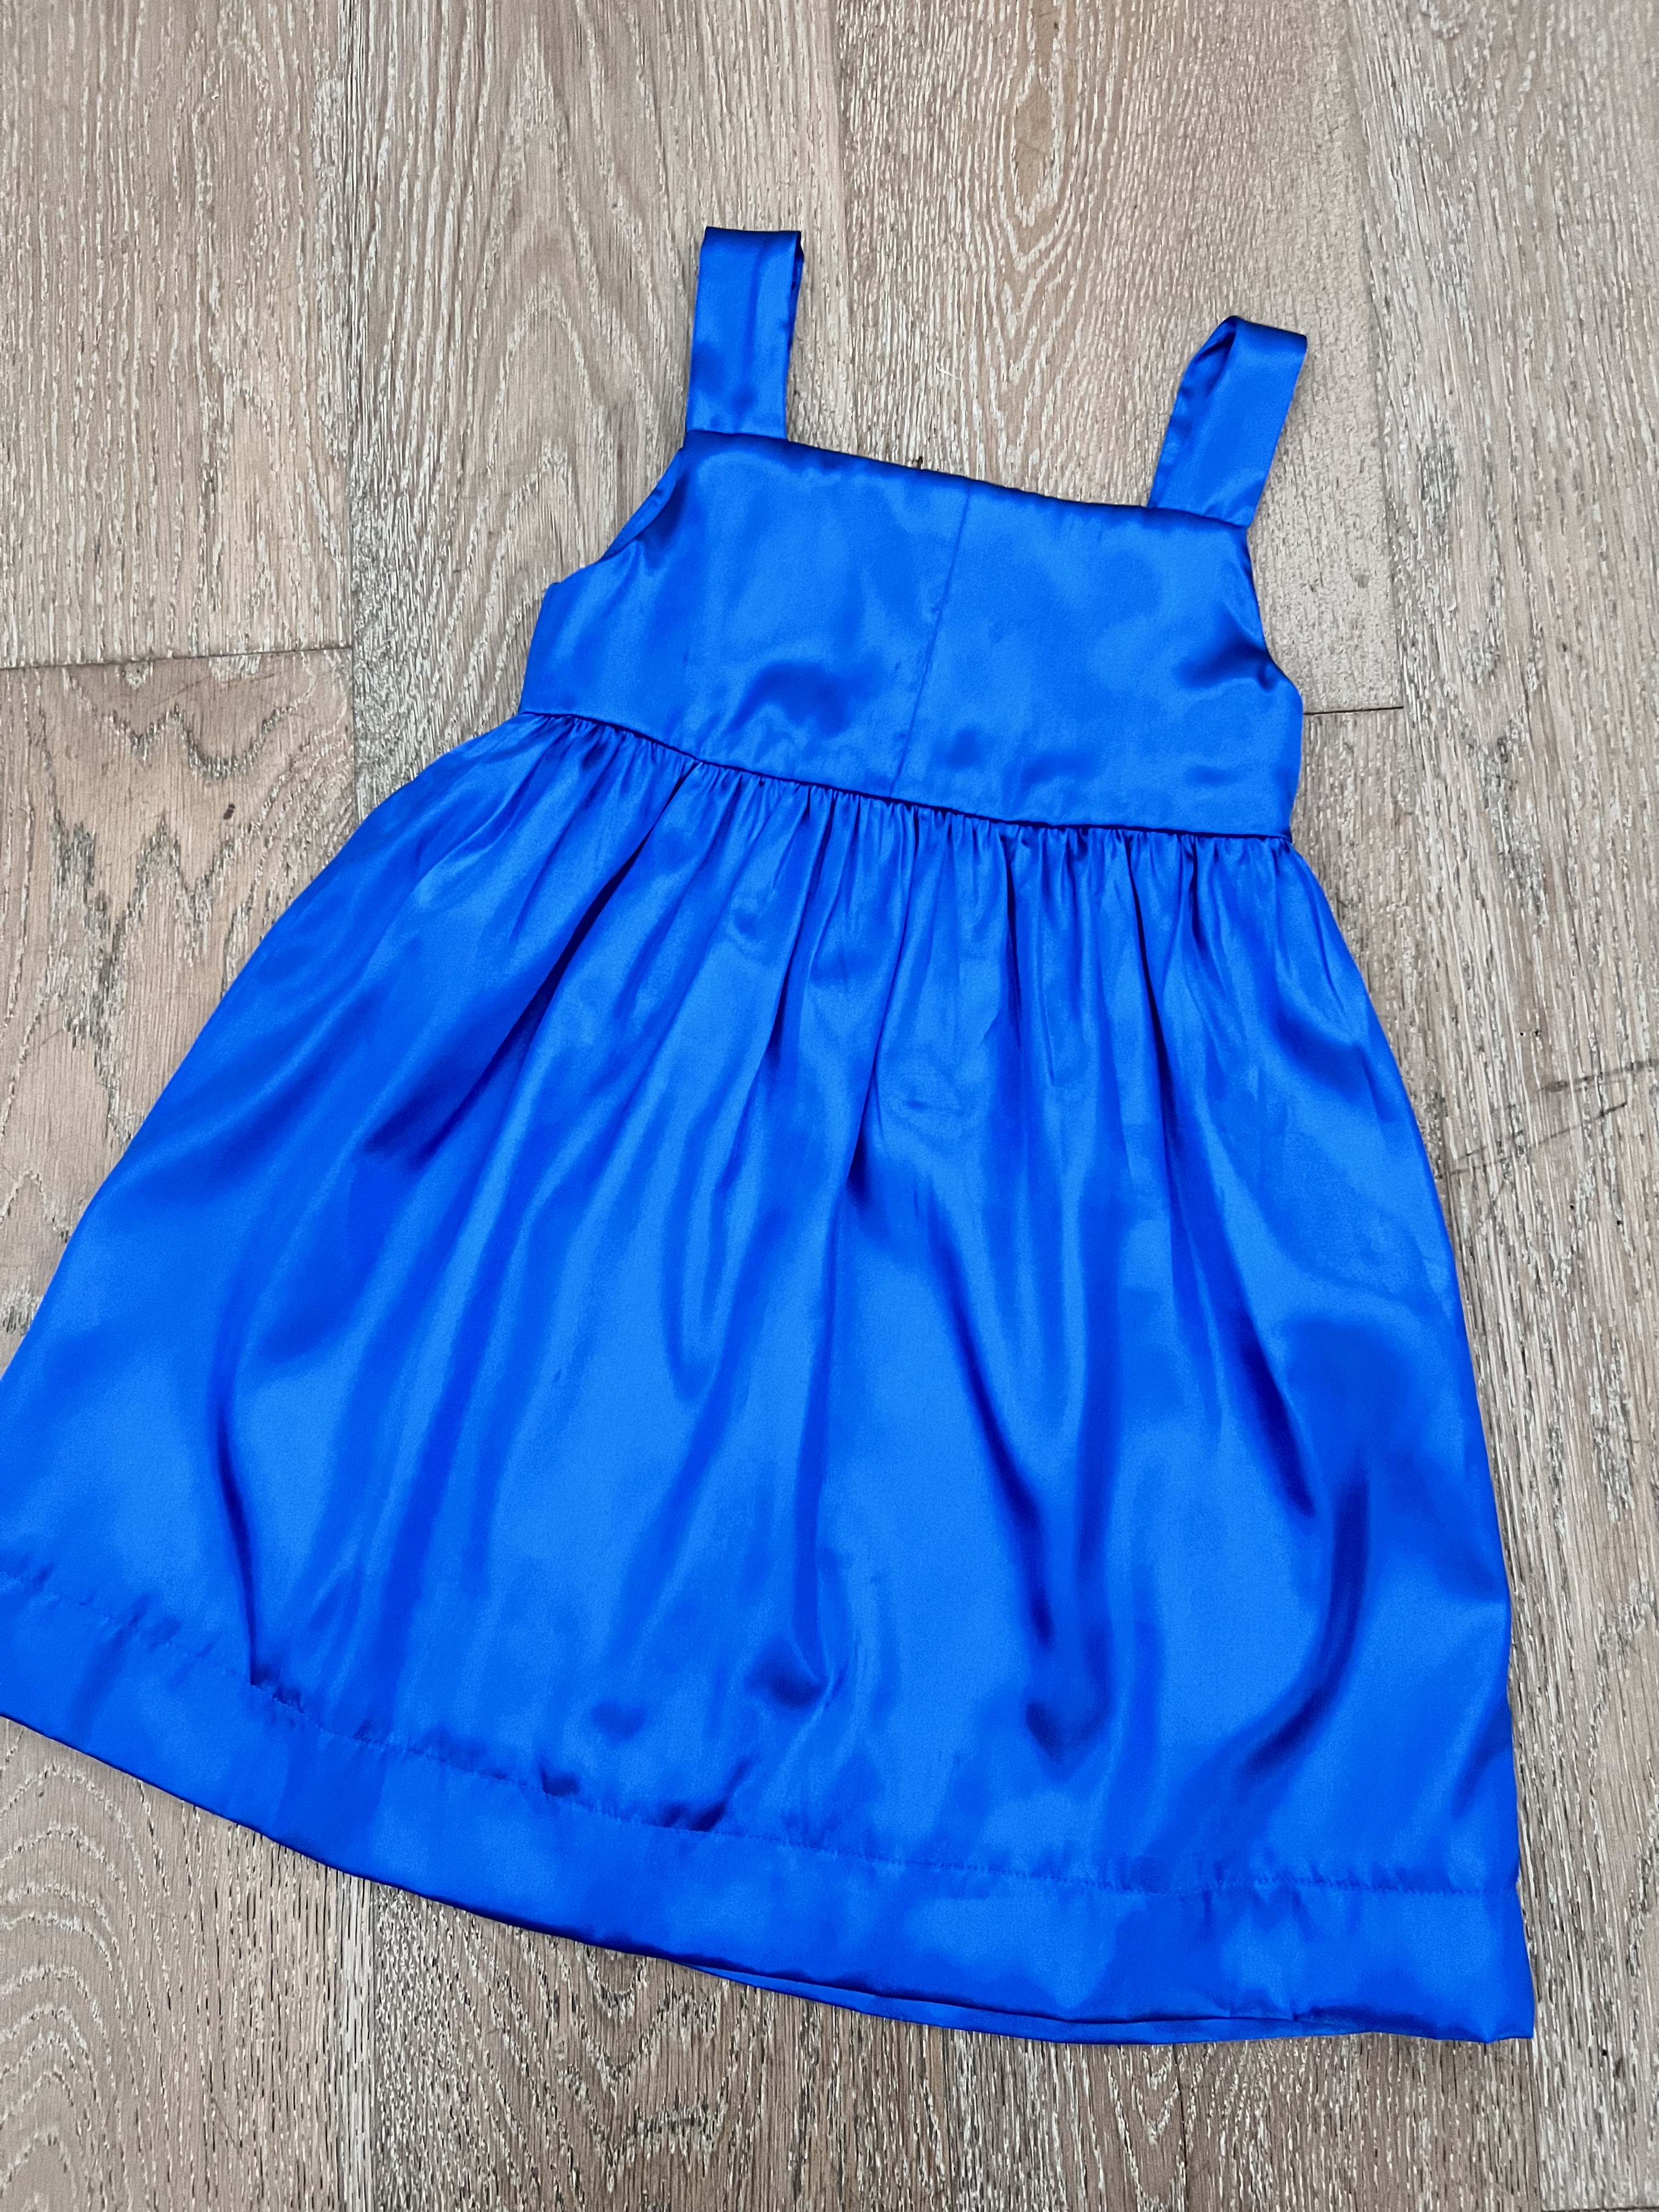
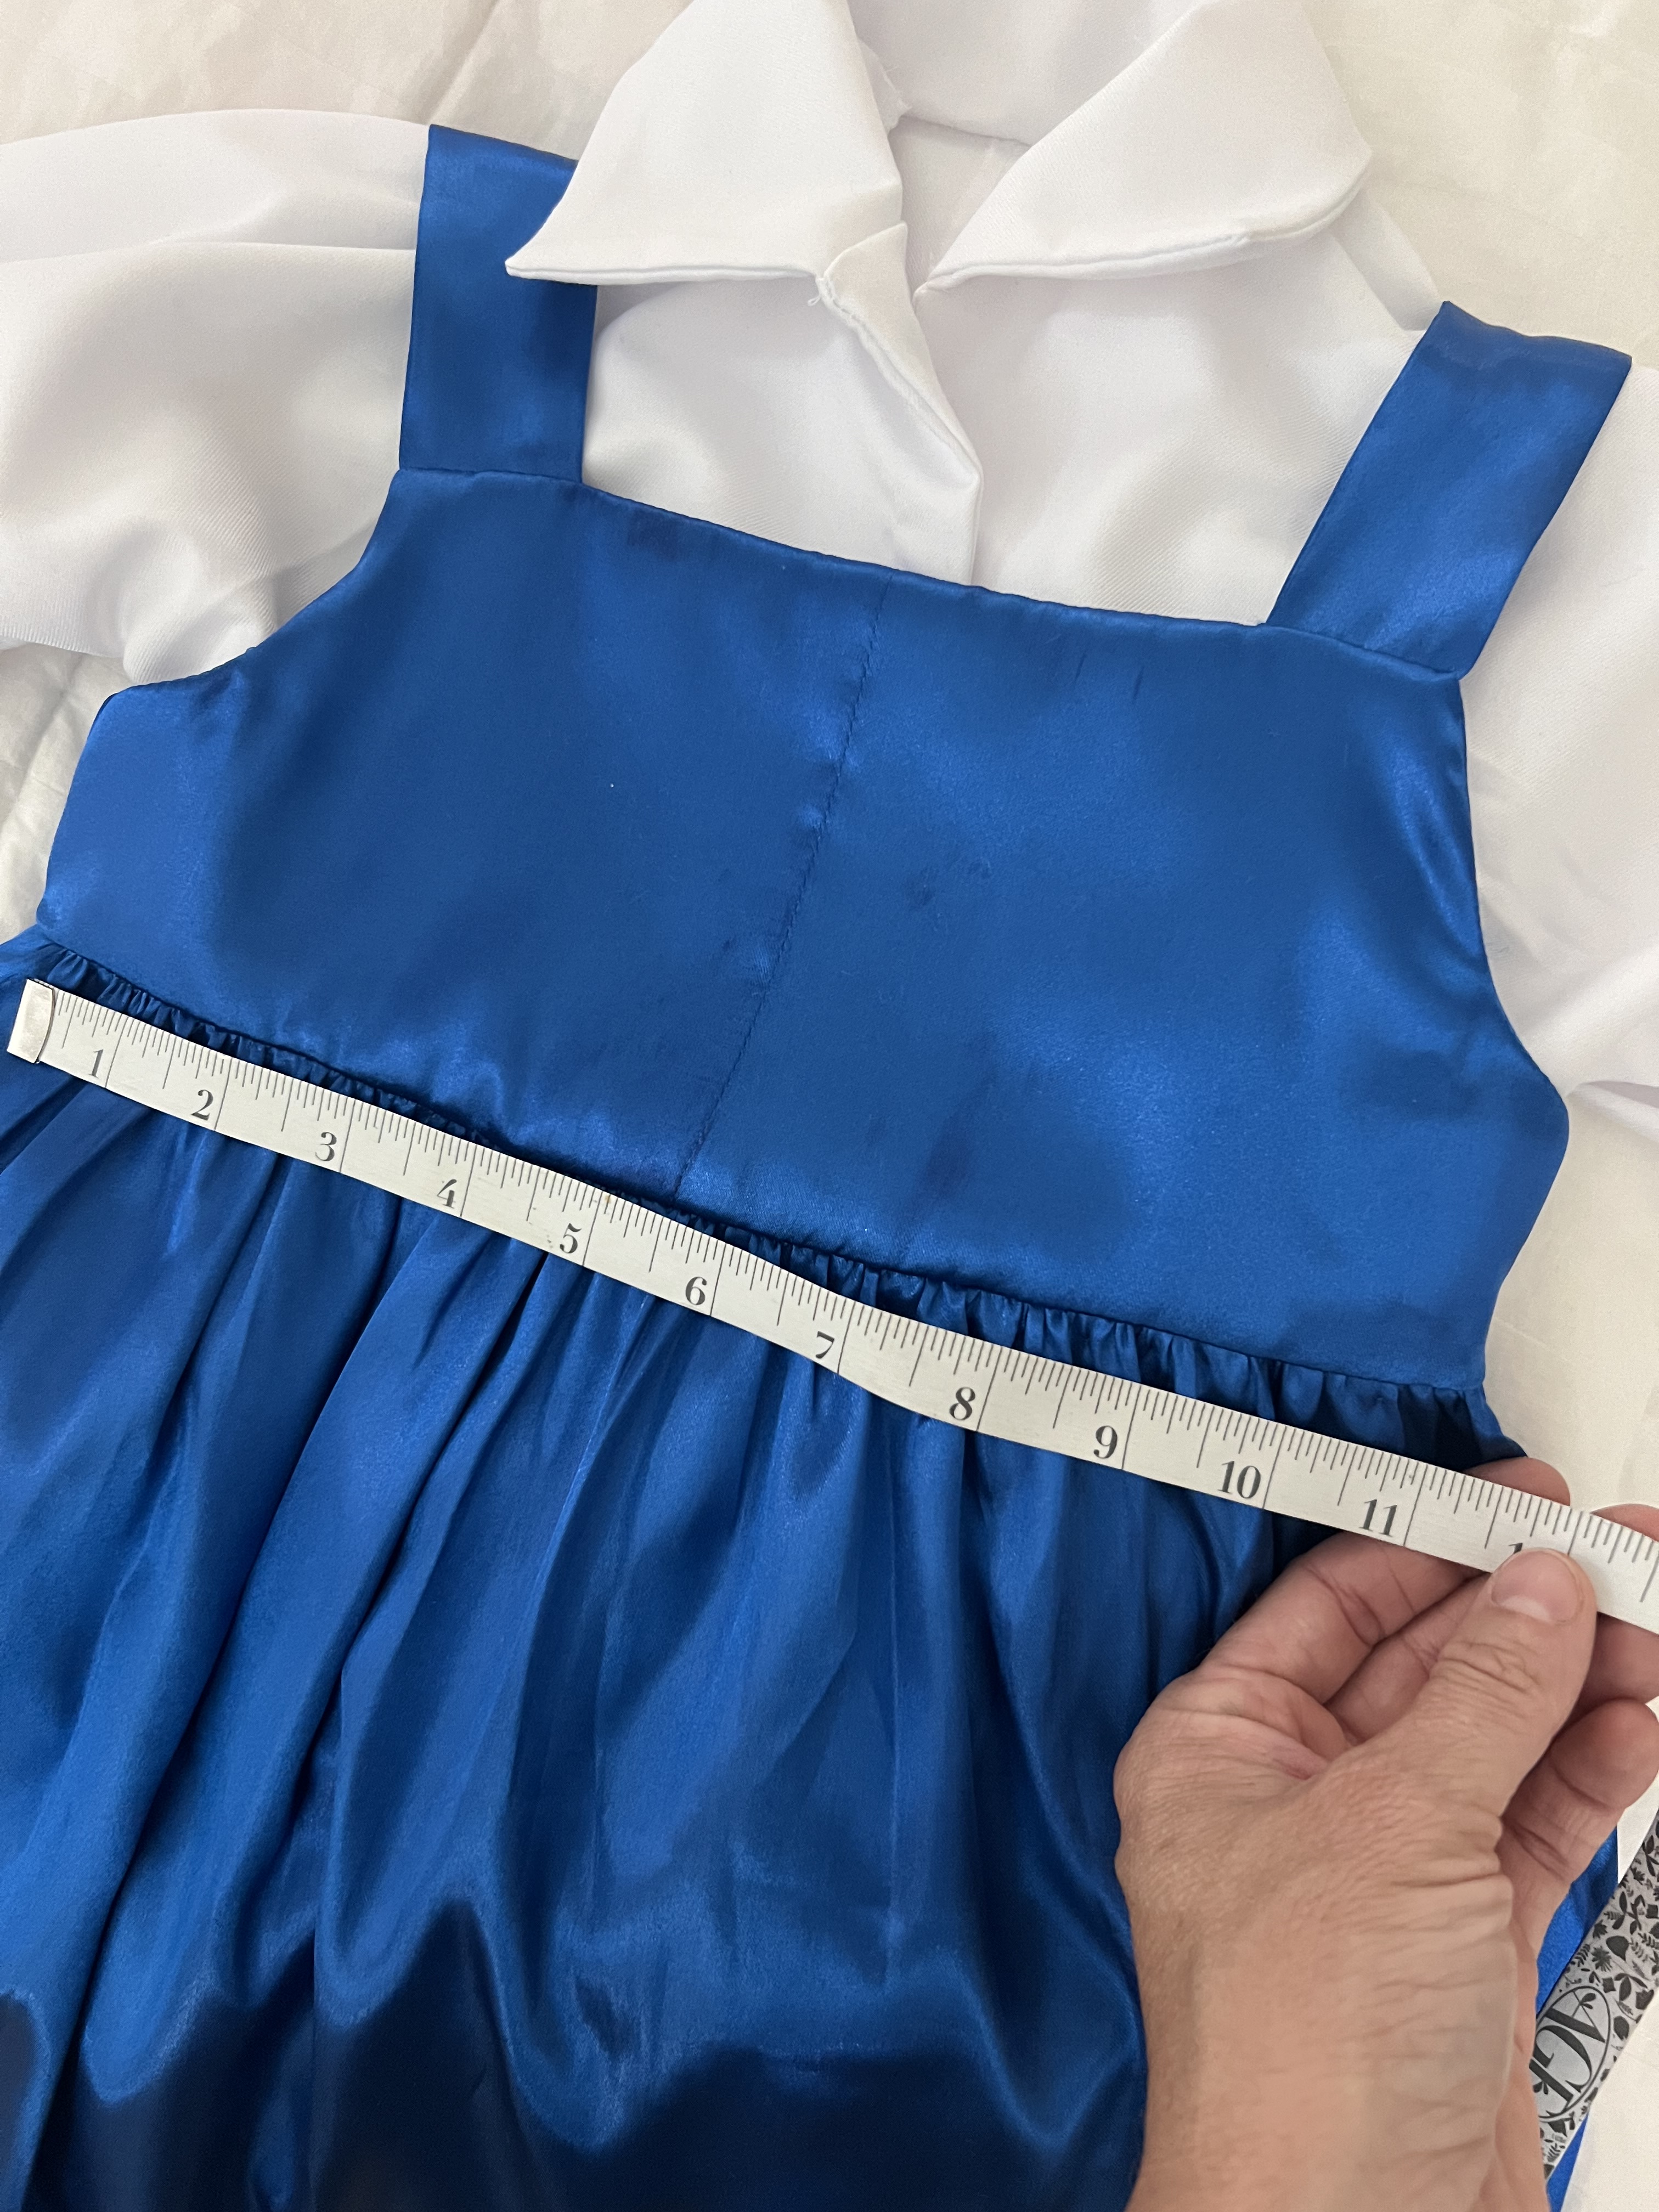
For the dress, I used New Look 6441. I was looking for a simple sundress I could use for the blue part of the costume. This pattern was super simple to put together. I used a satin blue fabric. I omitted all of the special details this pattern offers. I did lengthen the skirt so it would be a midi style dress like Belle’s.

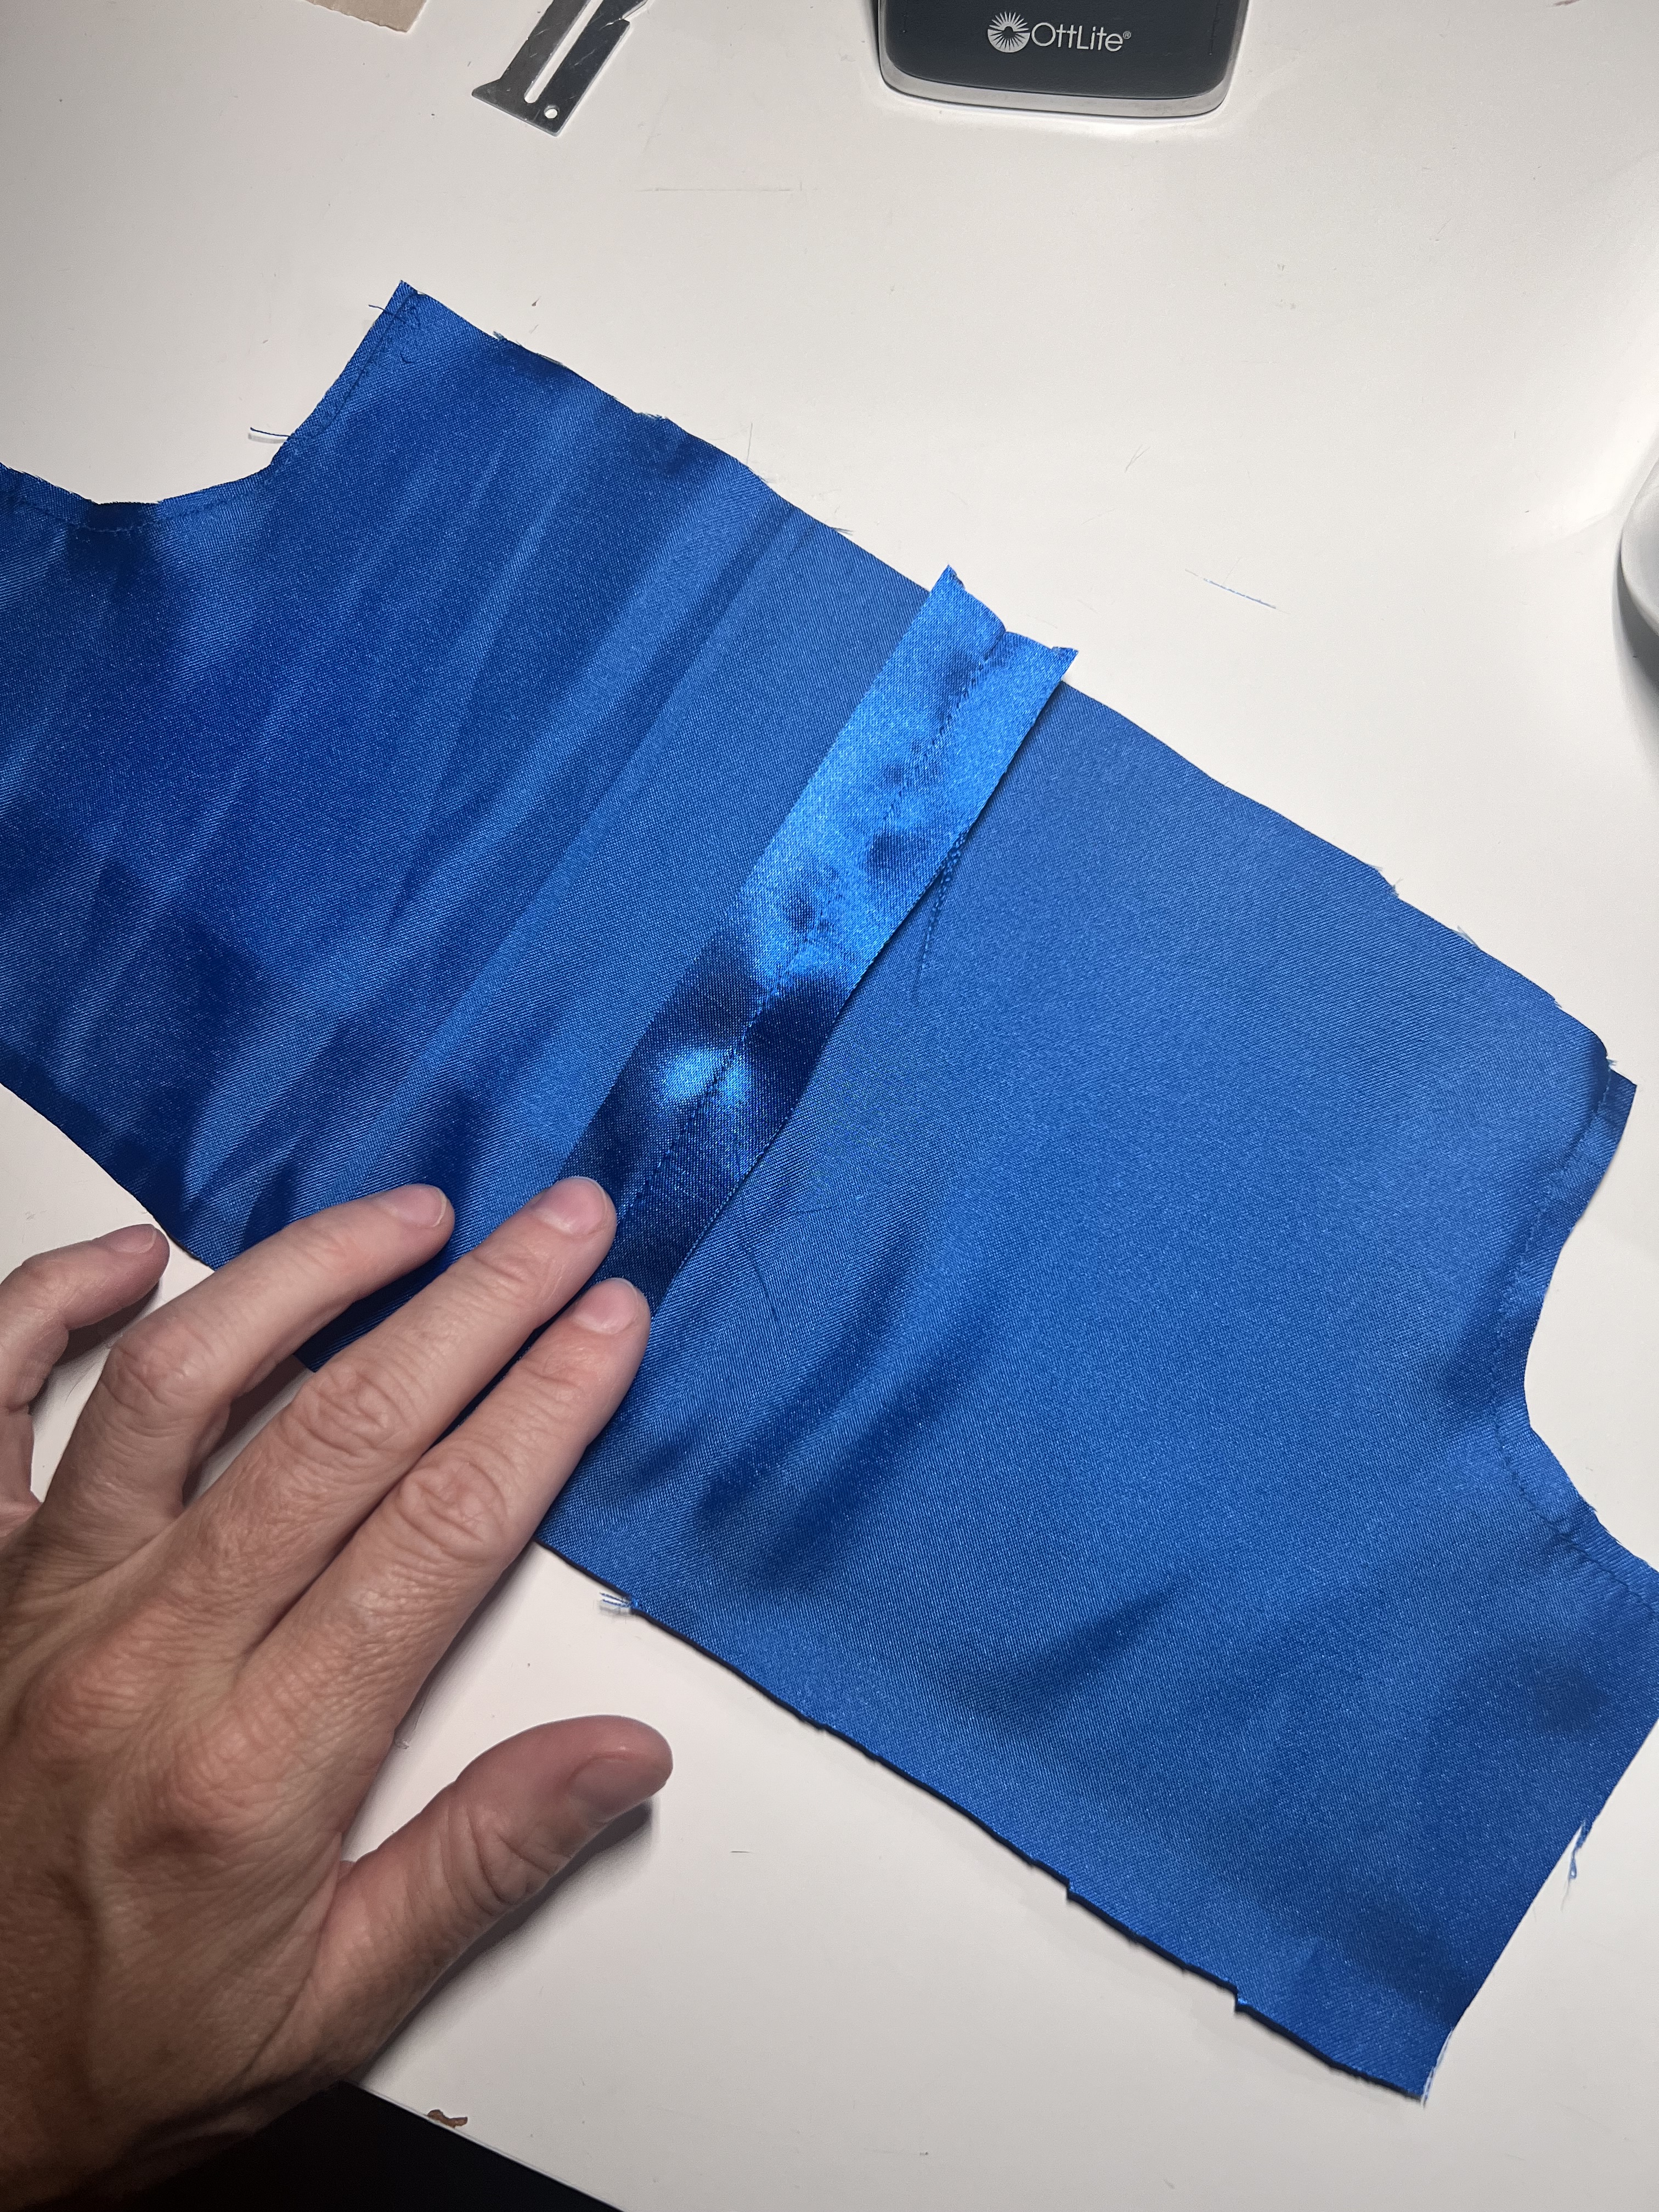
I cut the front bodice NOT on the fold so it could have a center seam down the front just like Belle’s. I added an extra 1/2″ seam allowance and cut four. Then, I sewed them together and continued following the pattern instructions.

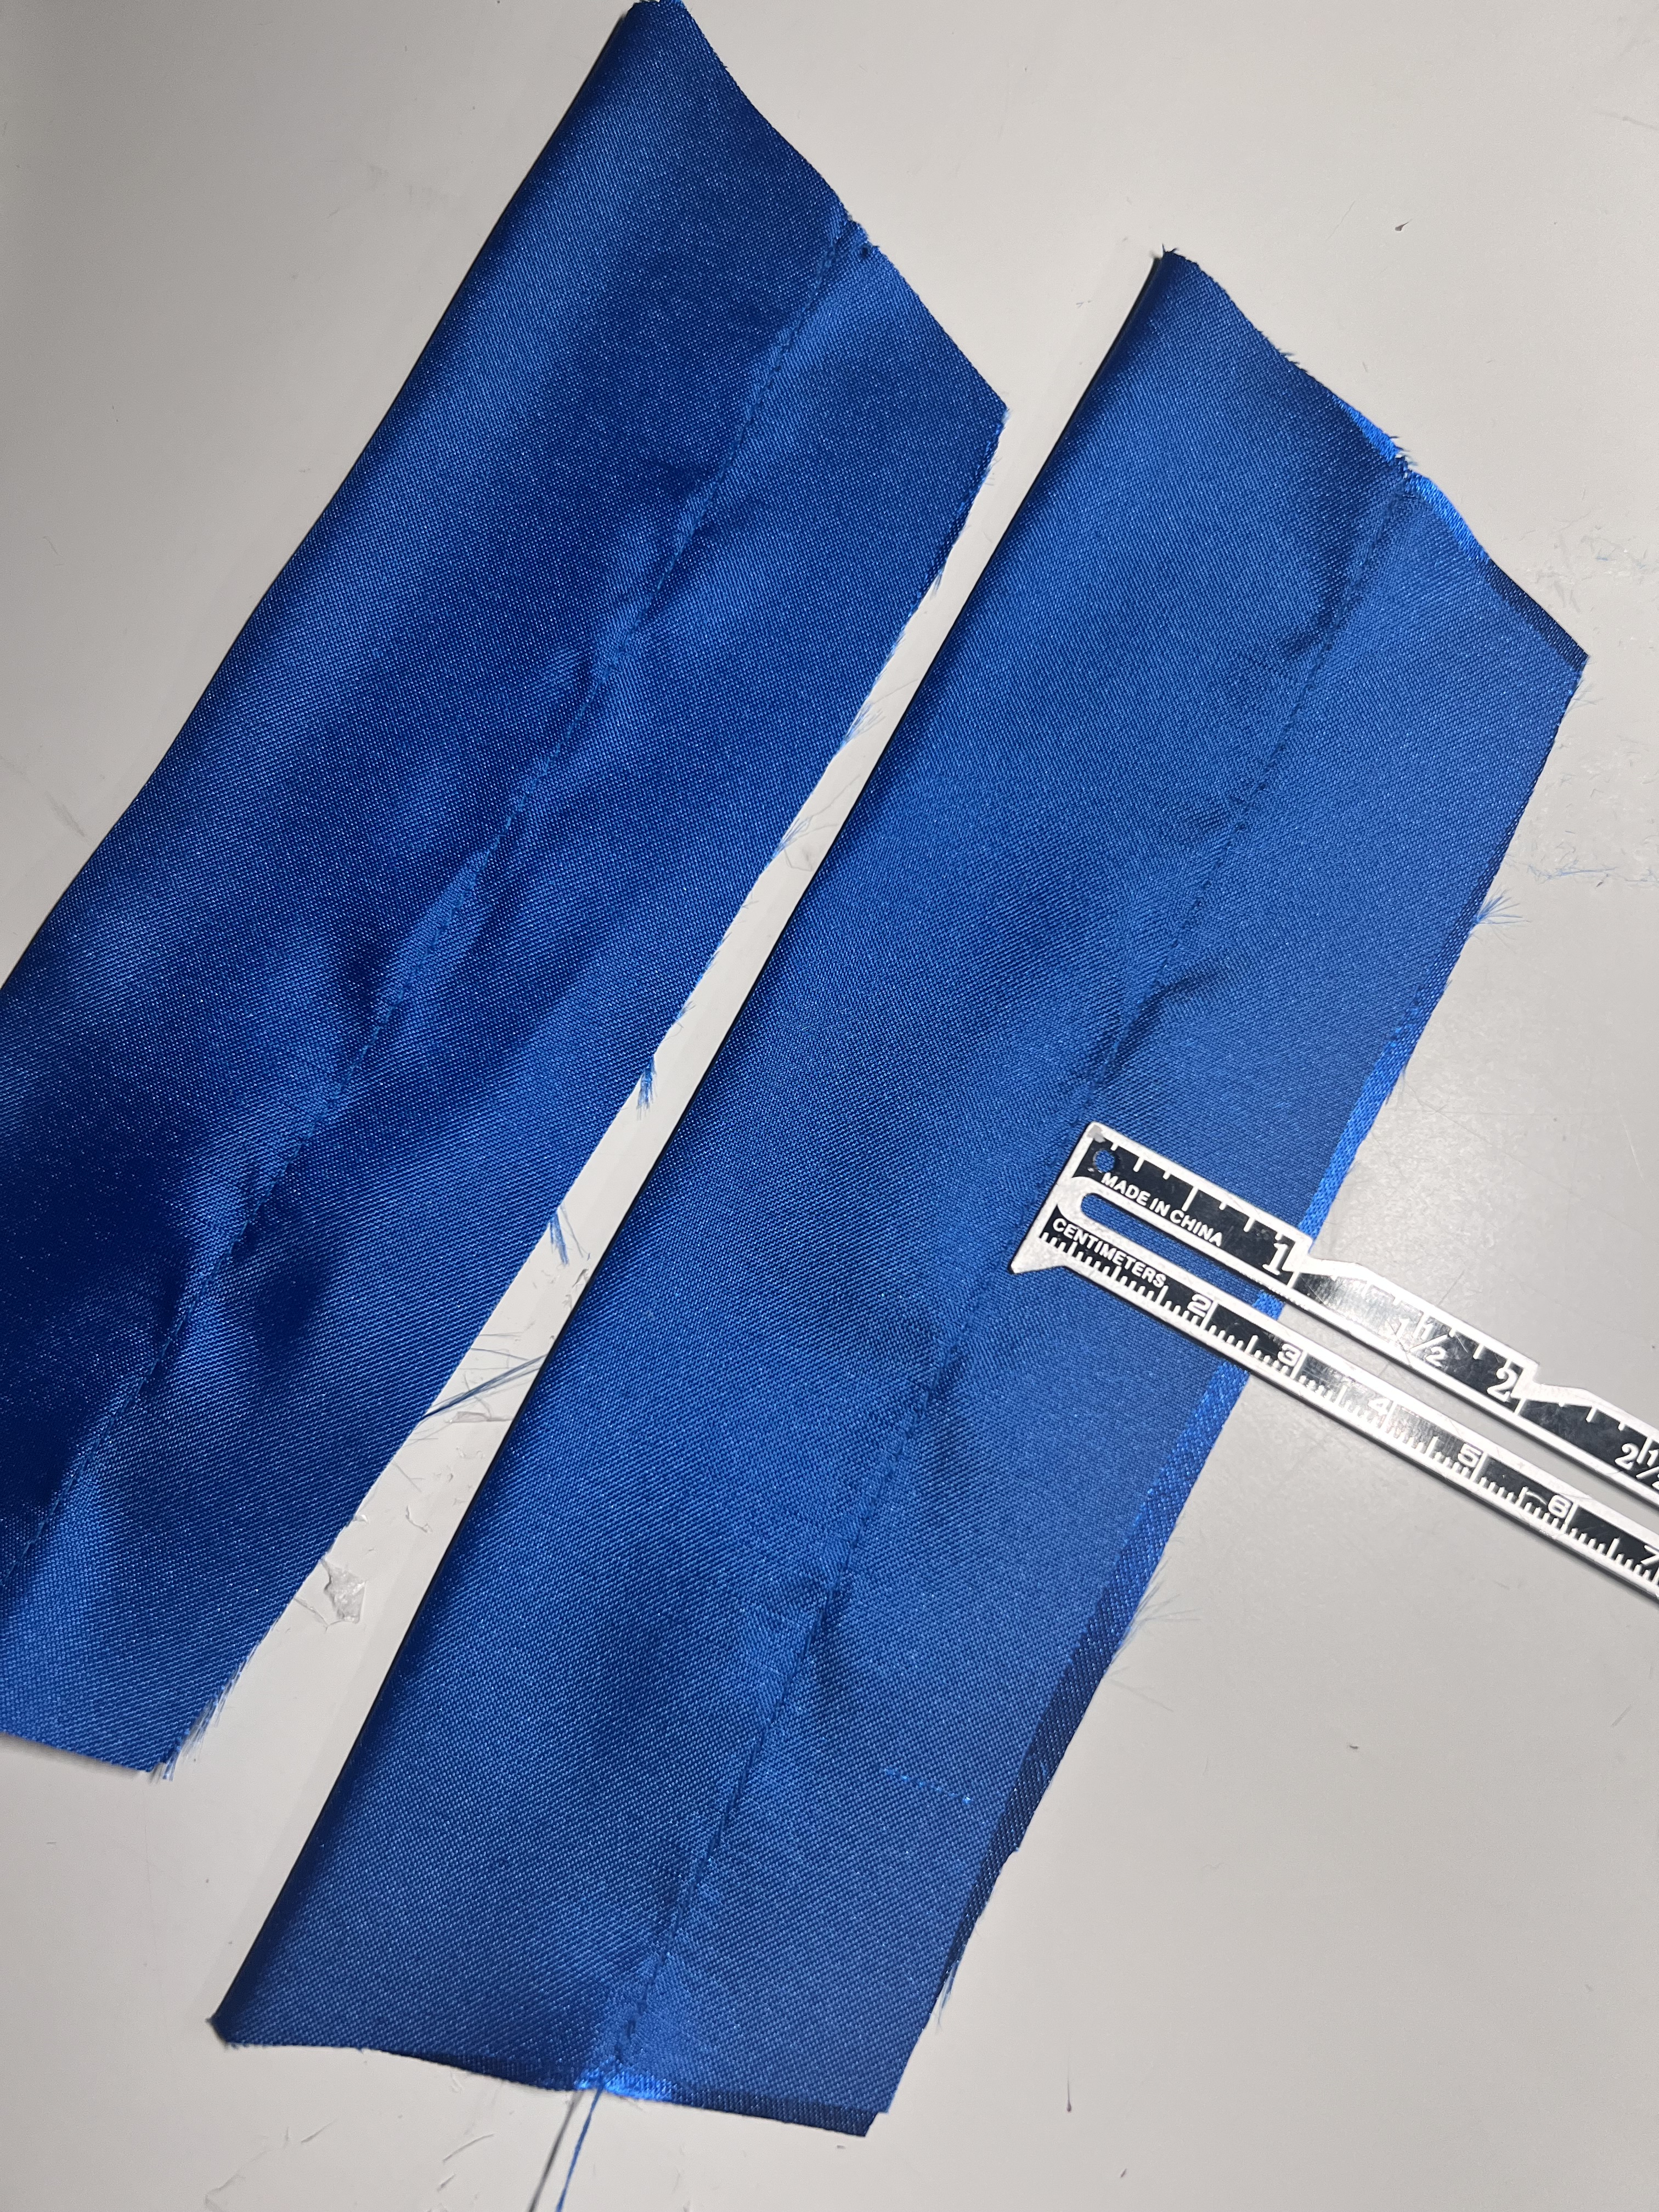
I also made the straps a little thinner by sewing them up with a 1″ seam allowance.
The rest was all followed via the pattern directions. I wish I would have interfaced the straps to give them a little more structure. Over all it’s super cute and looks just like Belle’s dress.
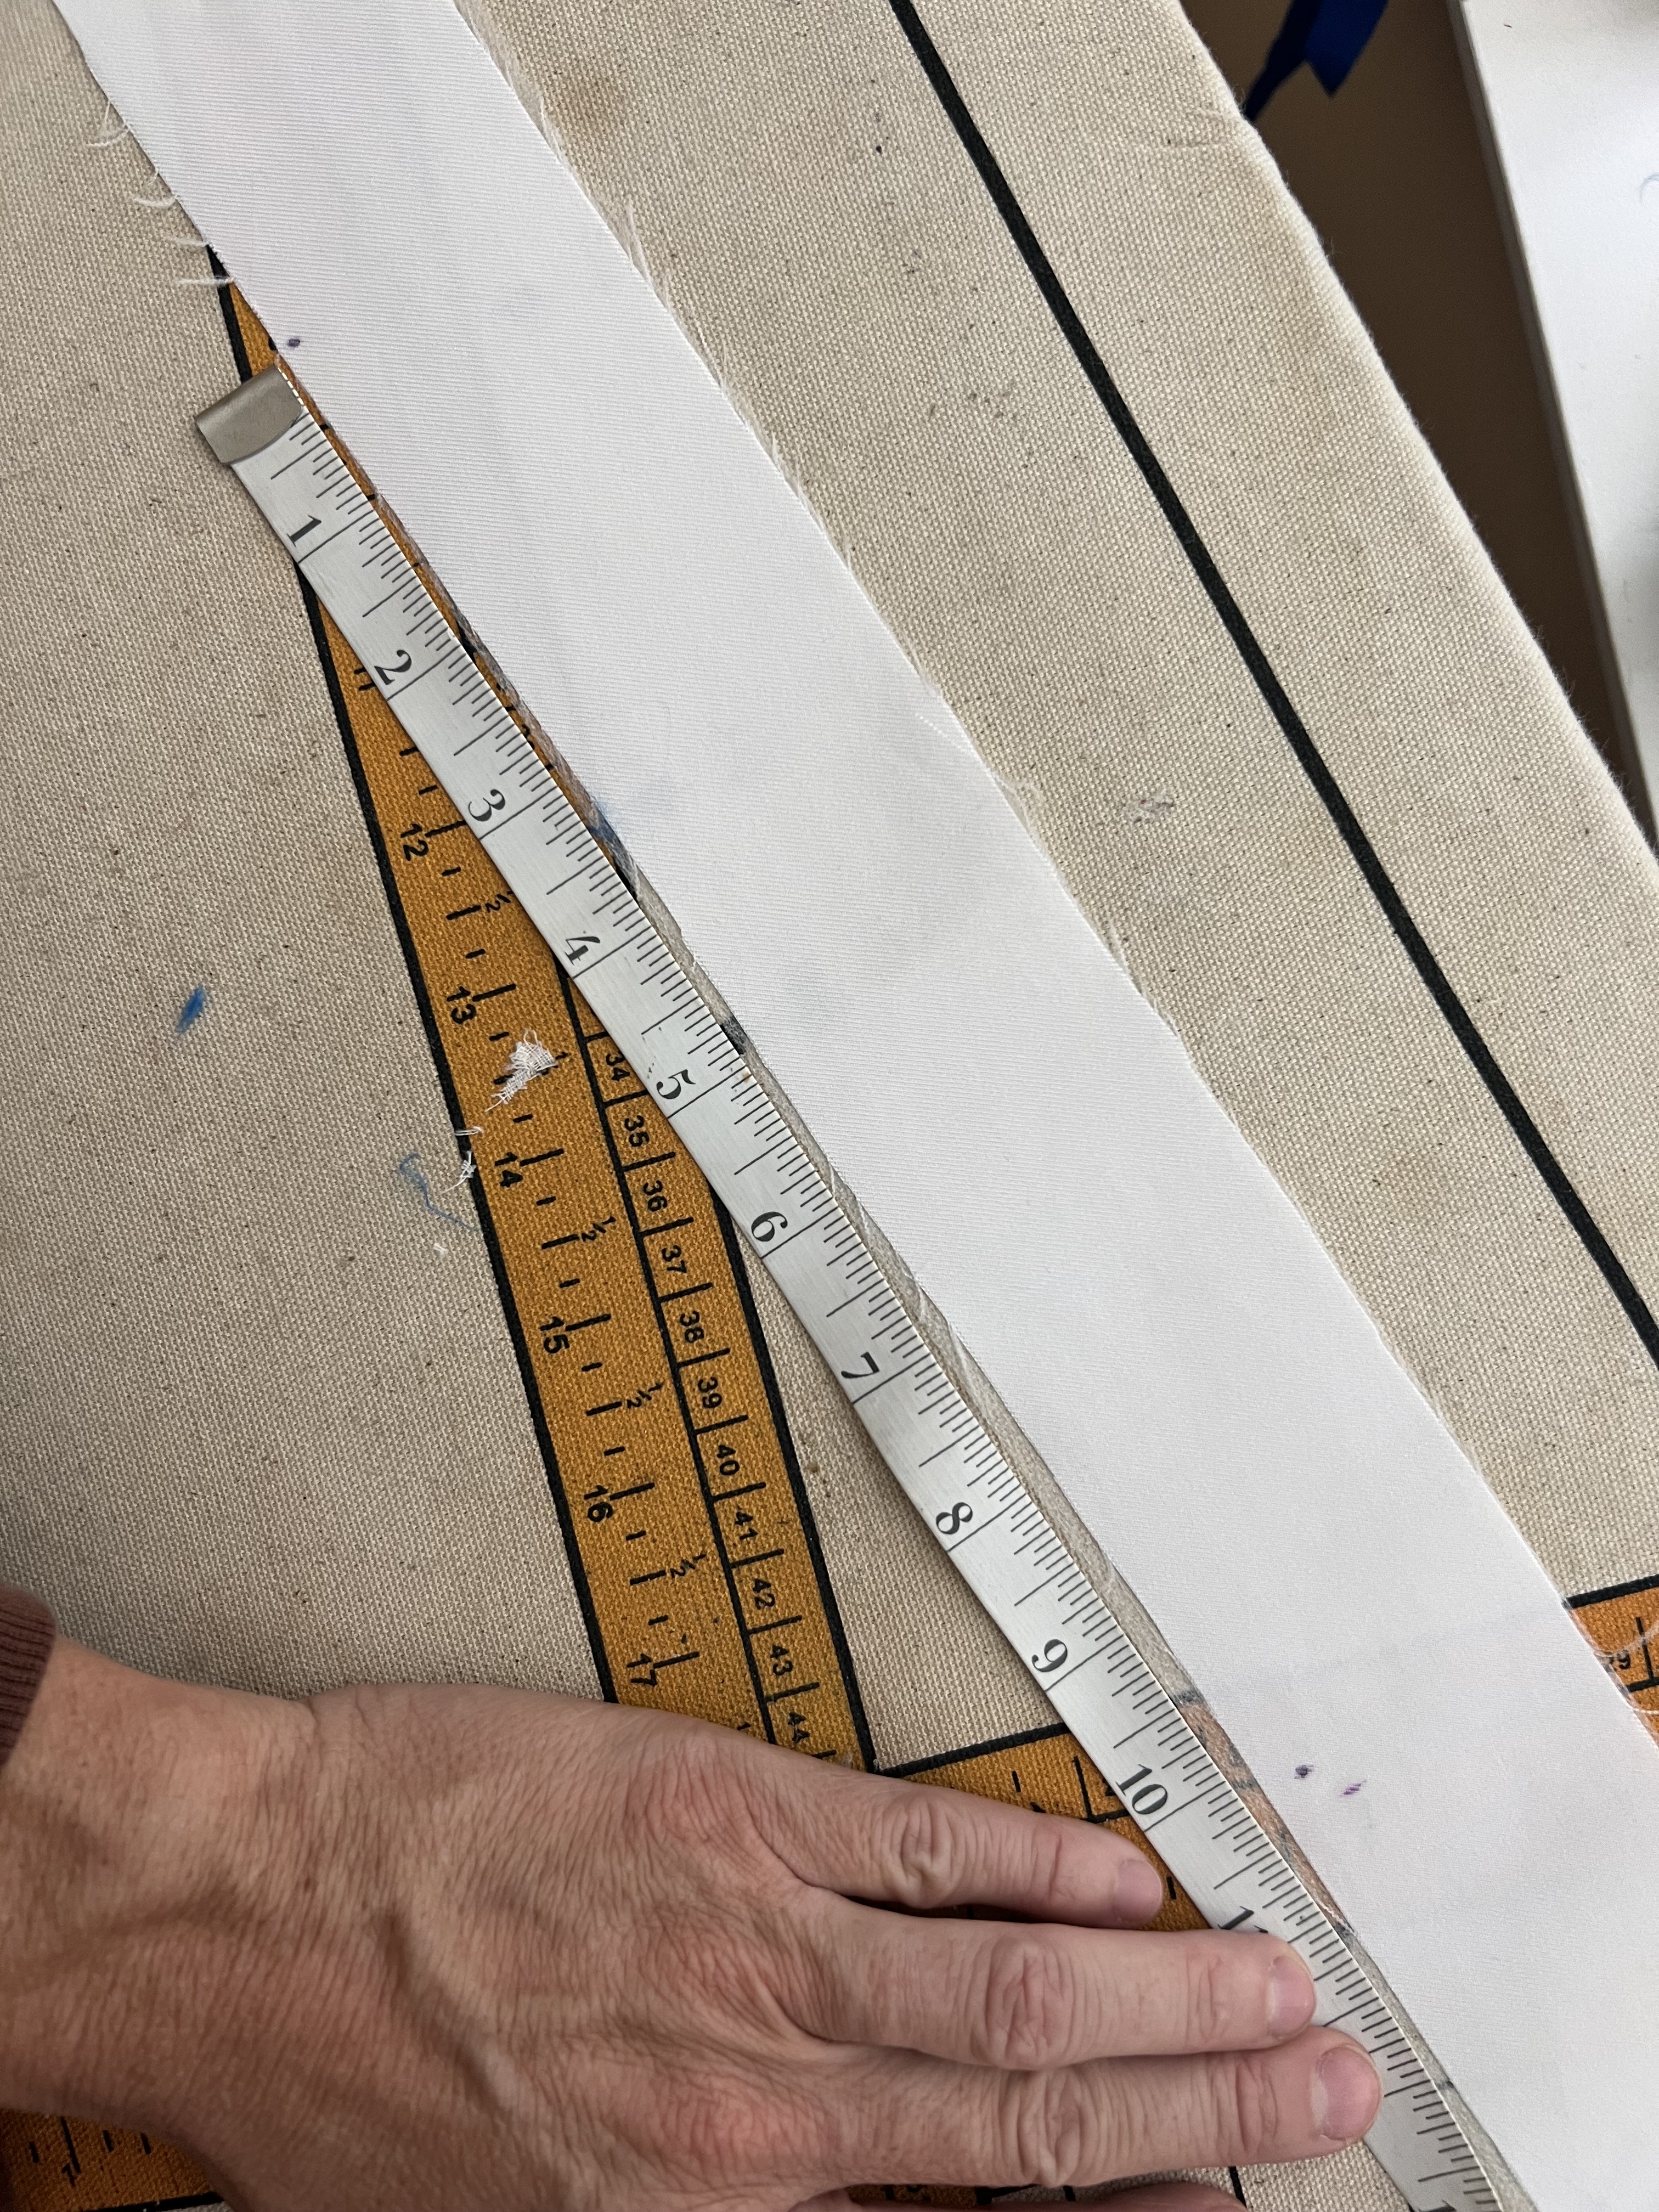
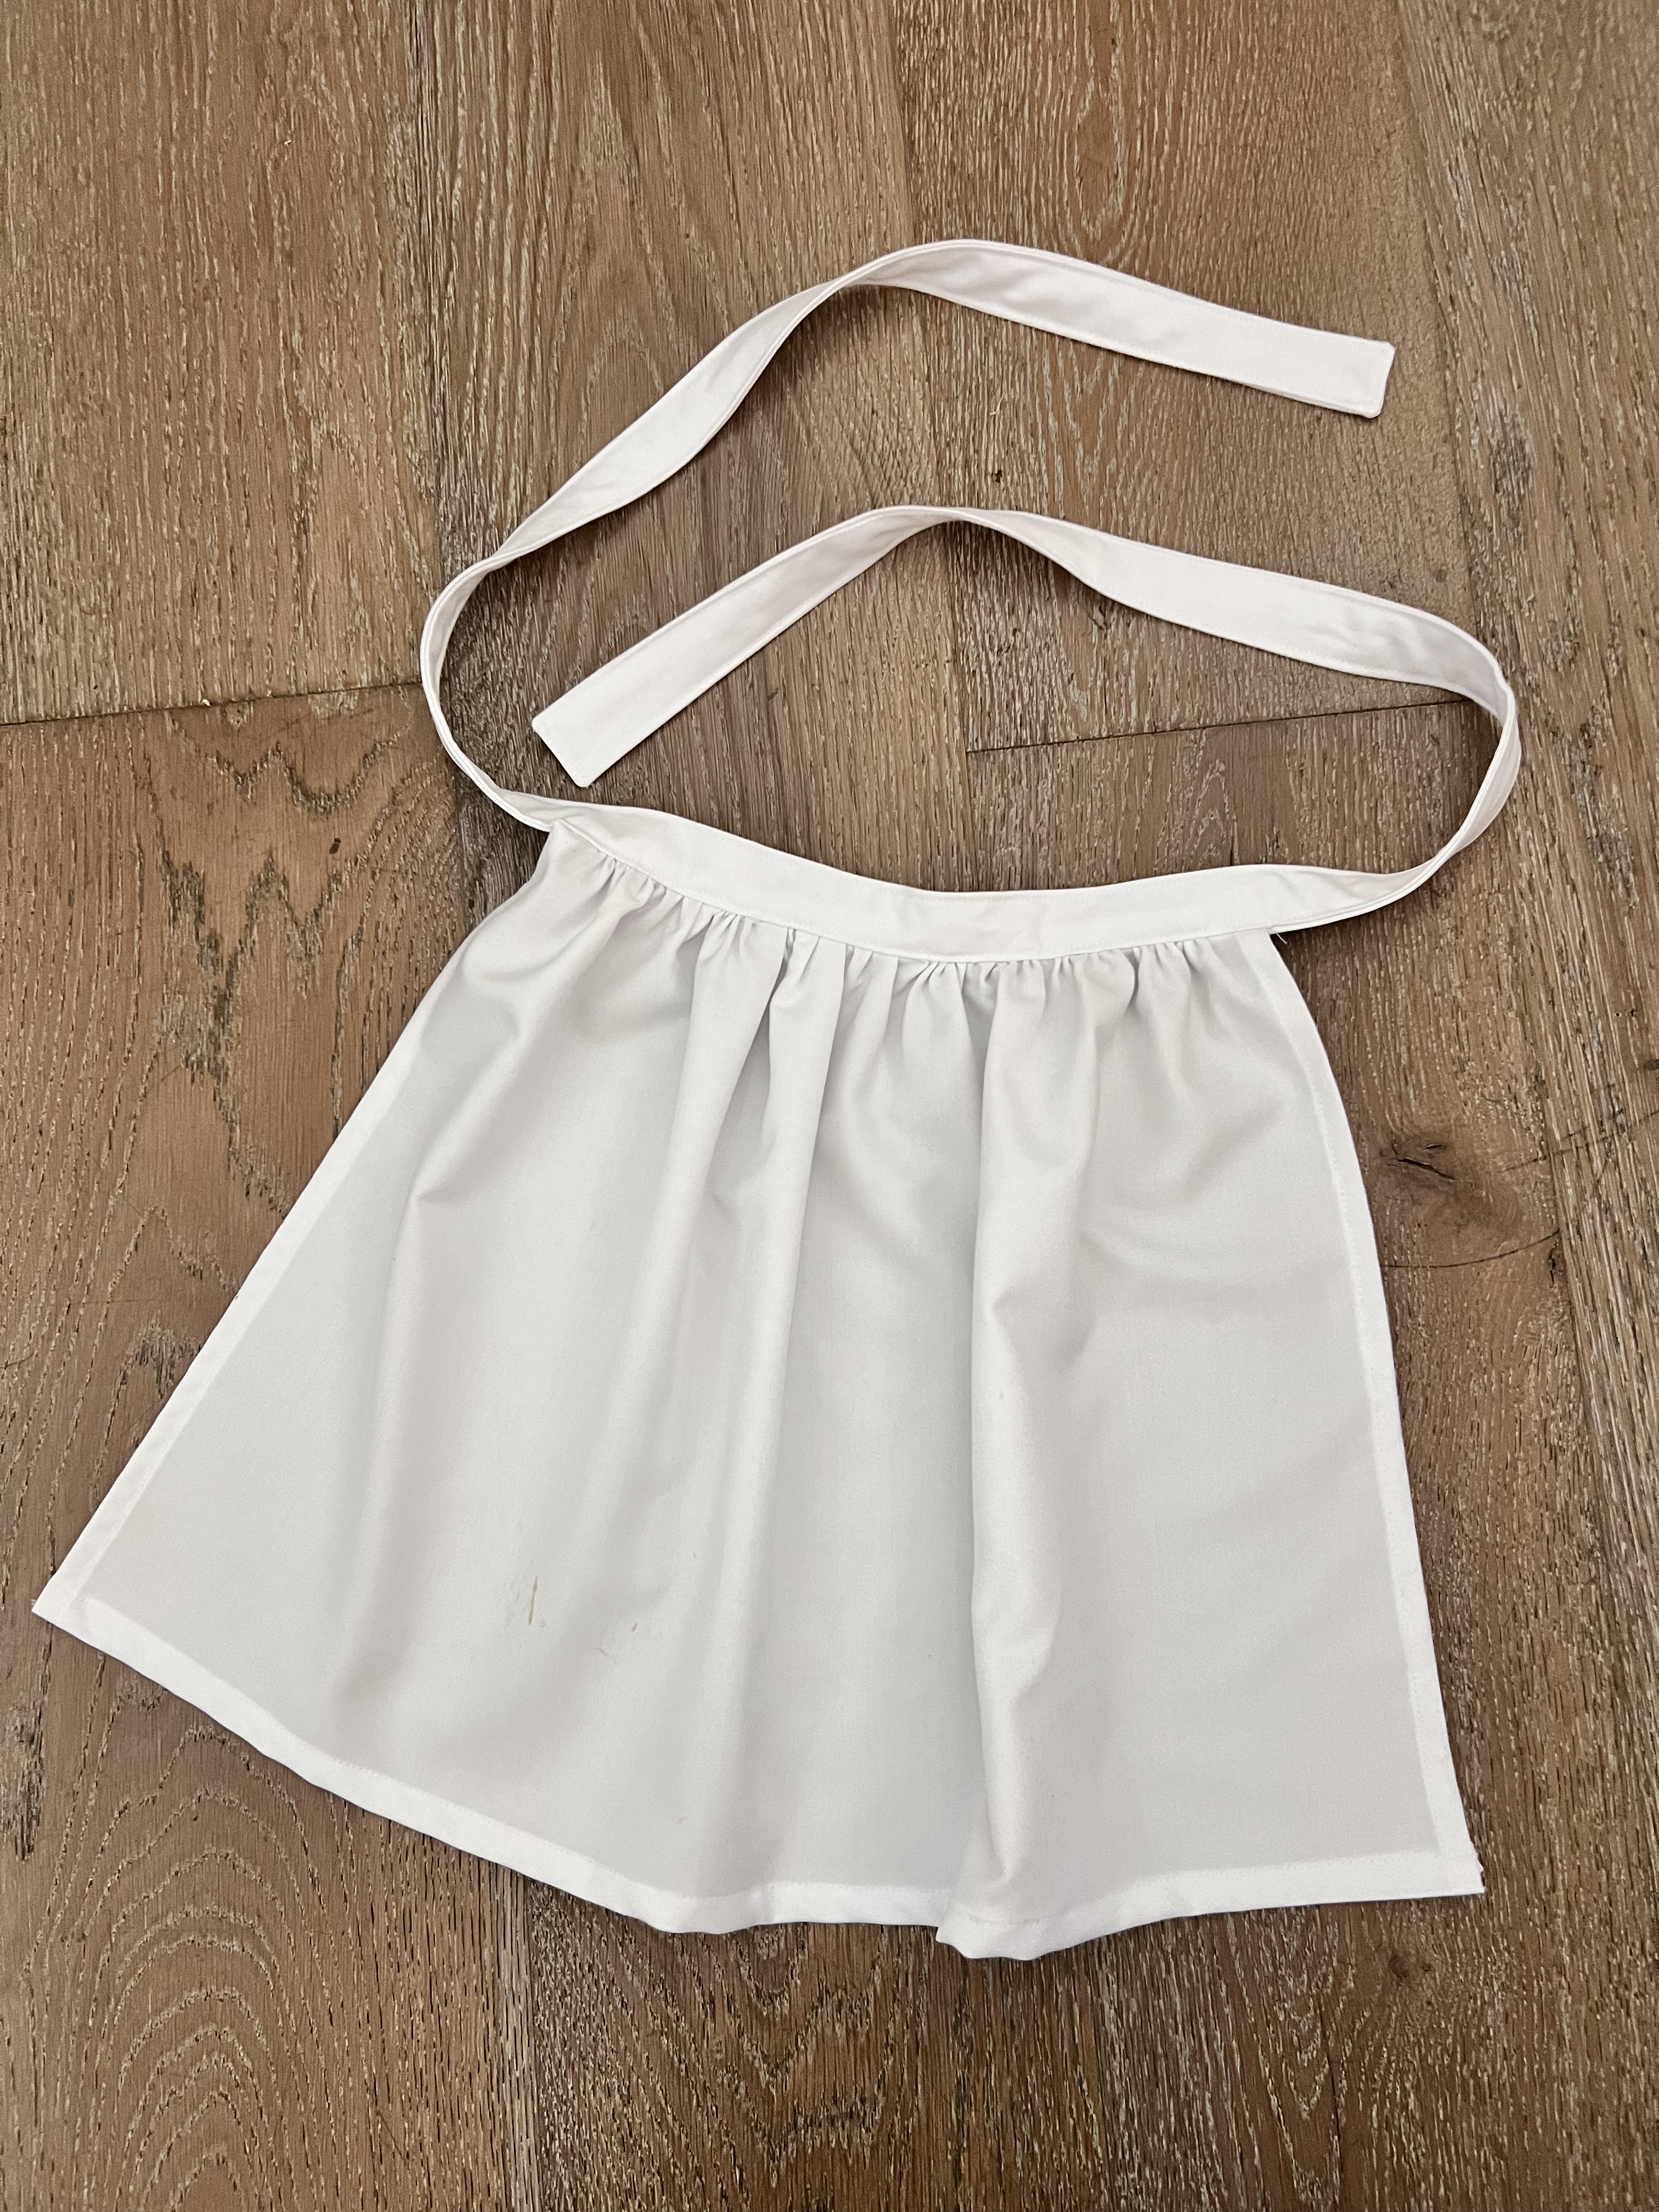
Now for the apron, I made a simple self drafted pattern. I used the same fabric I used for the shirt. These are the dimensions I cut out for my apron for a three year old:
Waist Tie: 2″ x 50″ (cut 2)
Apron Skirt: 15″ x 25″ (cut 1)
Here’s how I put it together:
Step 1: Interface one waist tie.

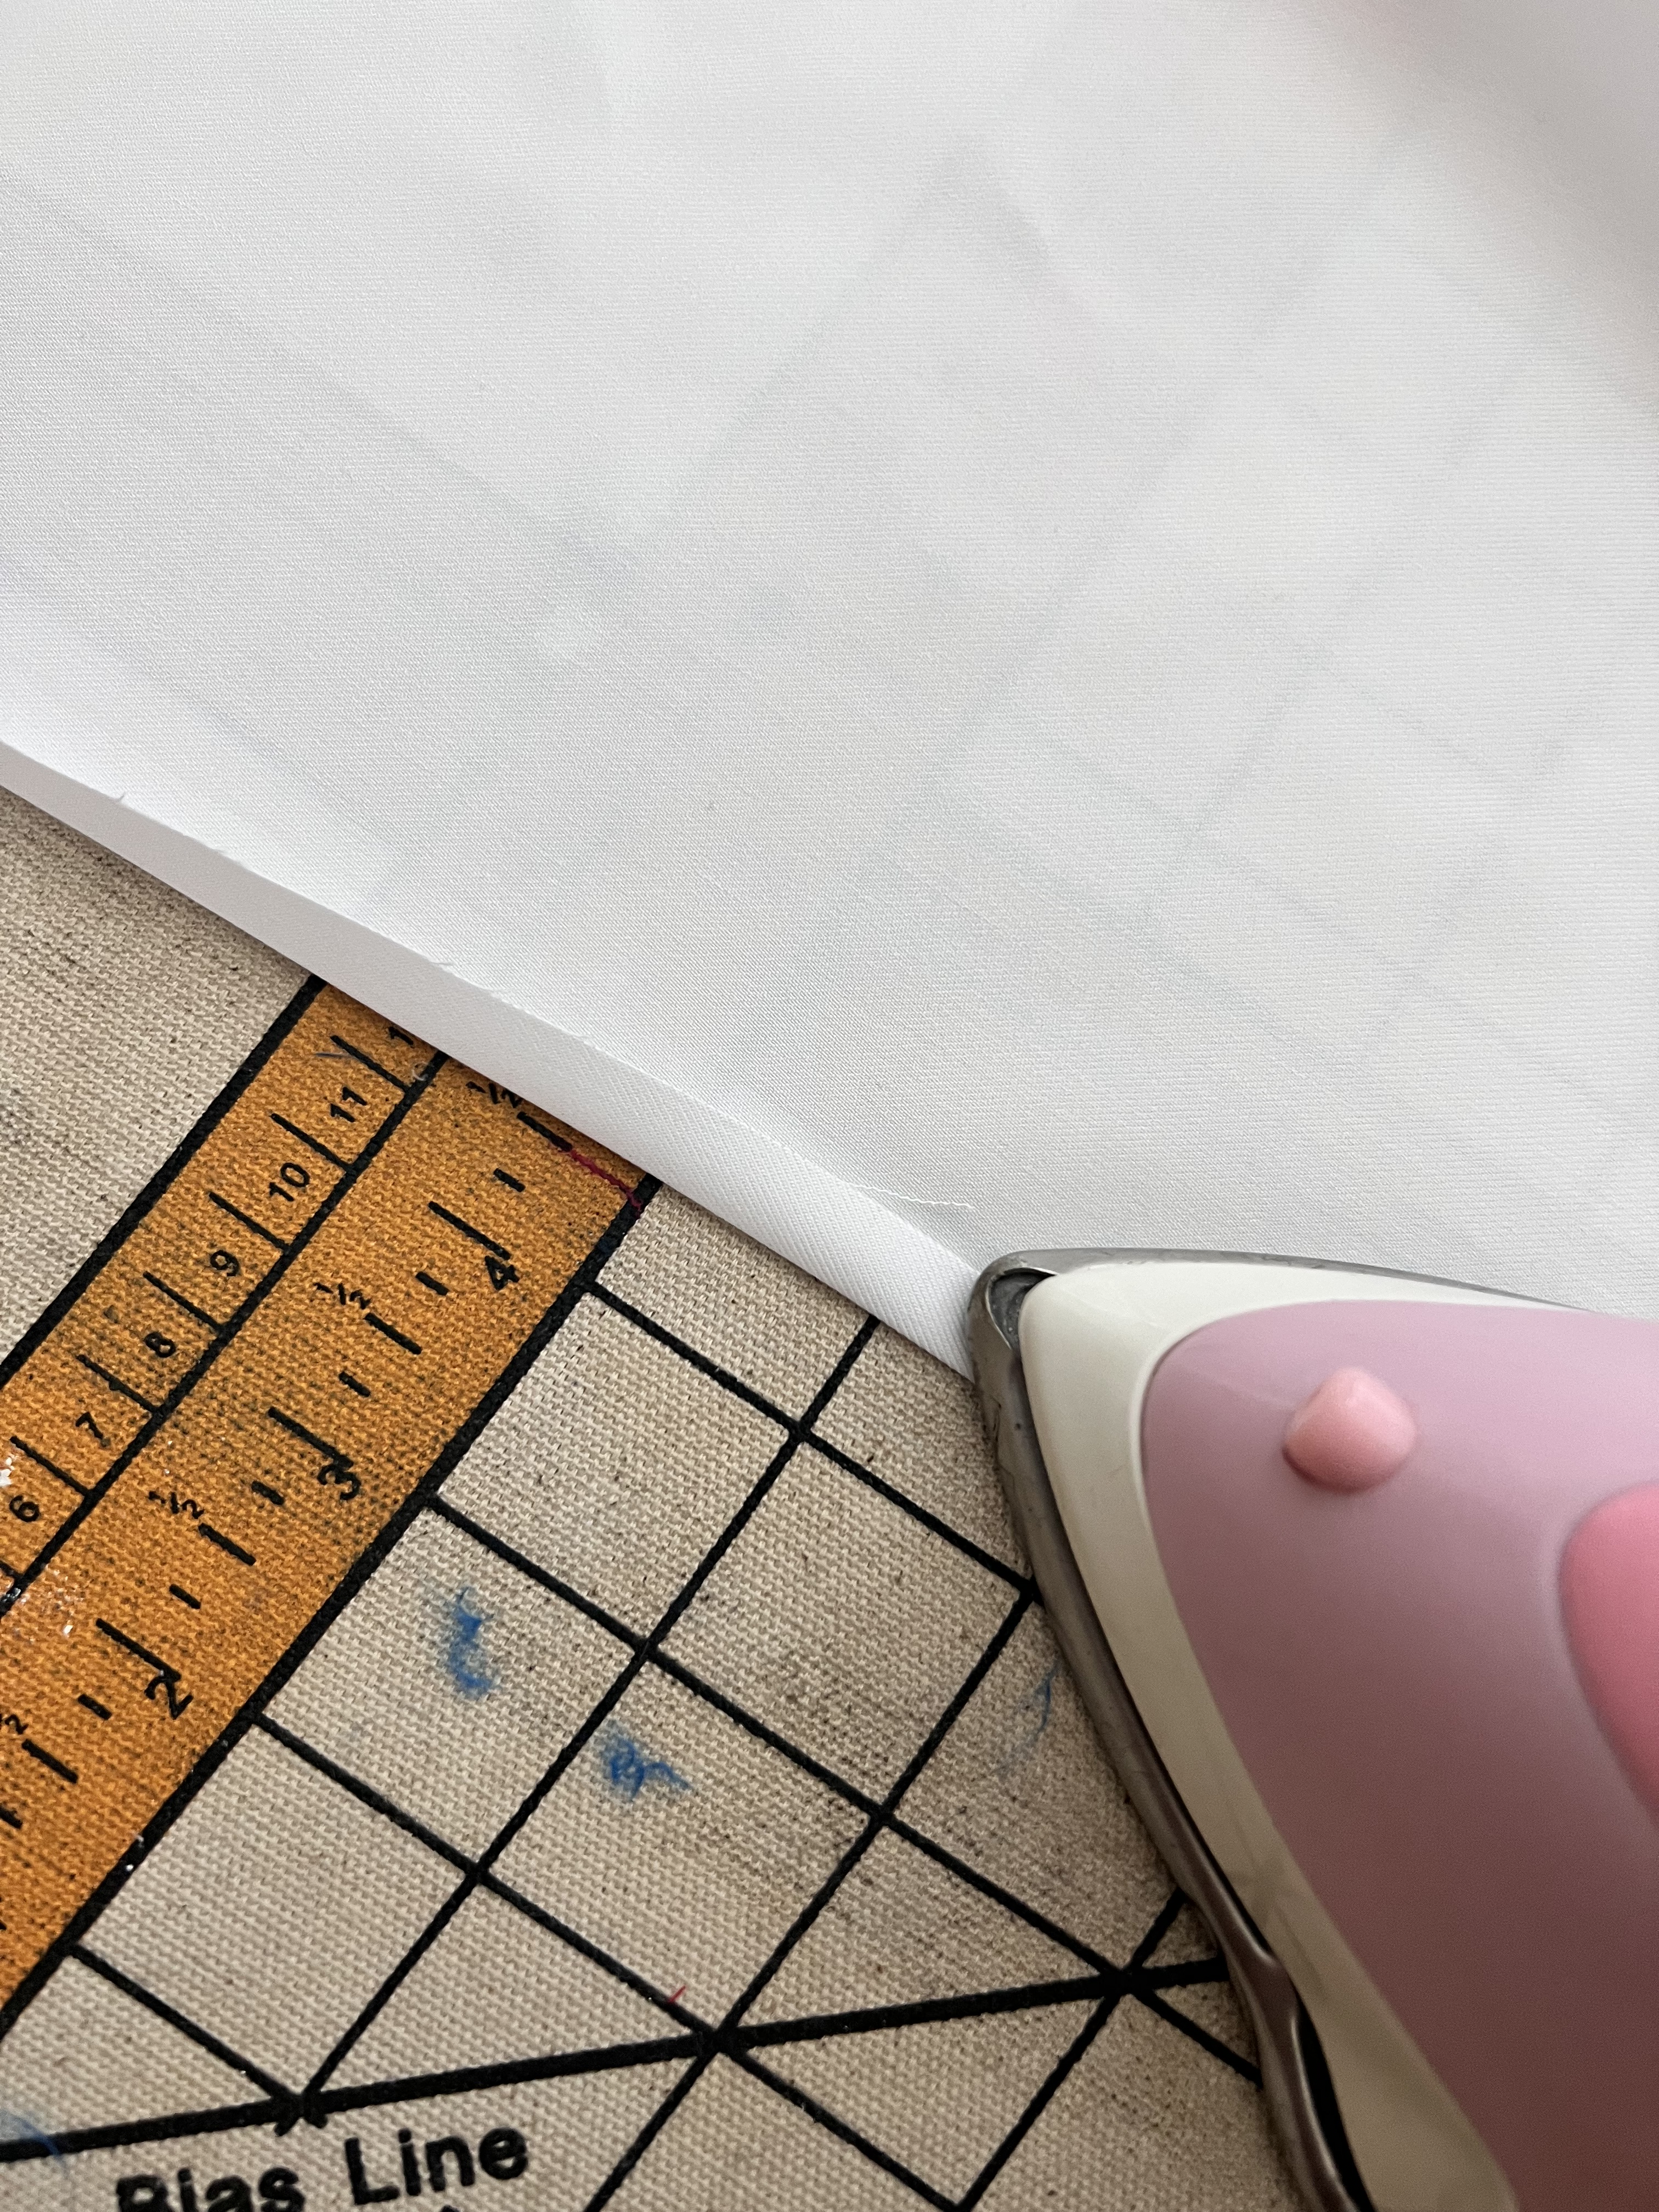
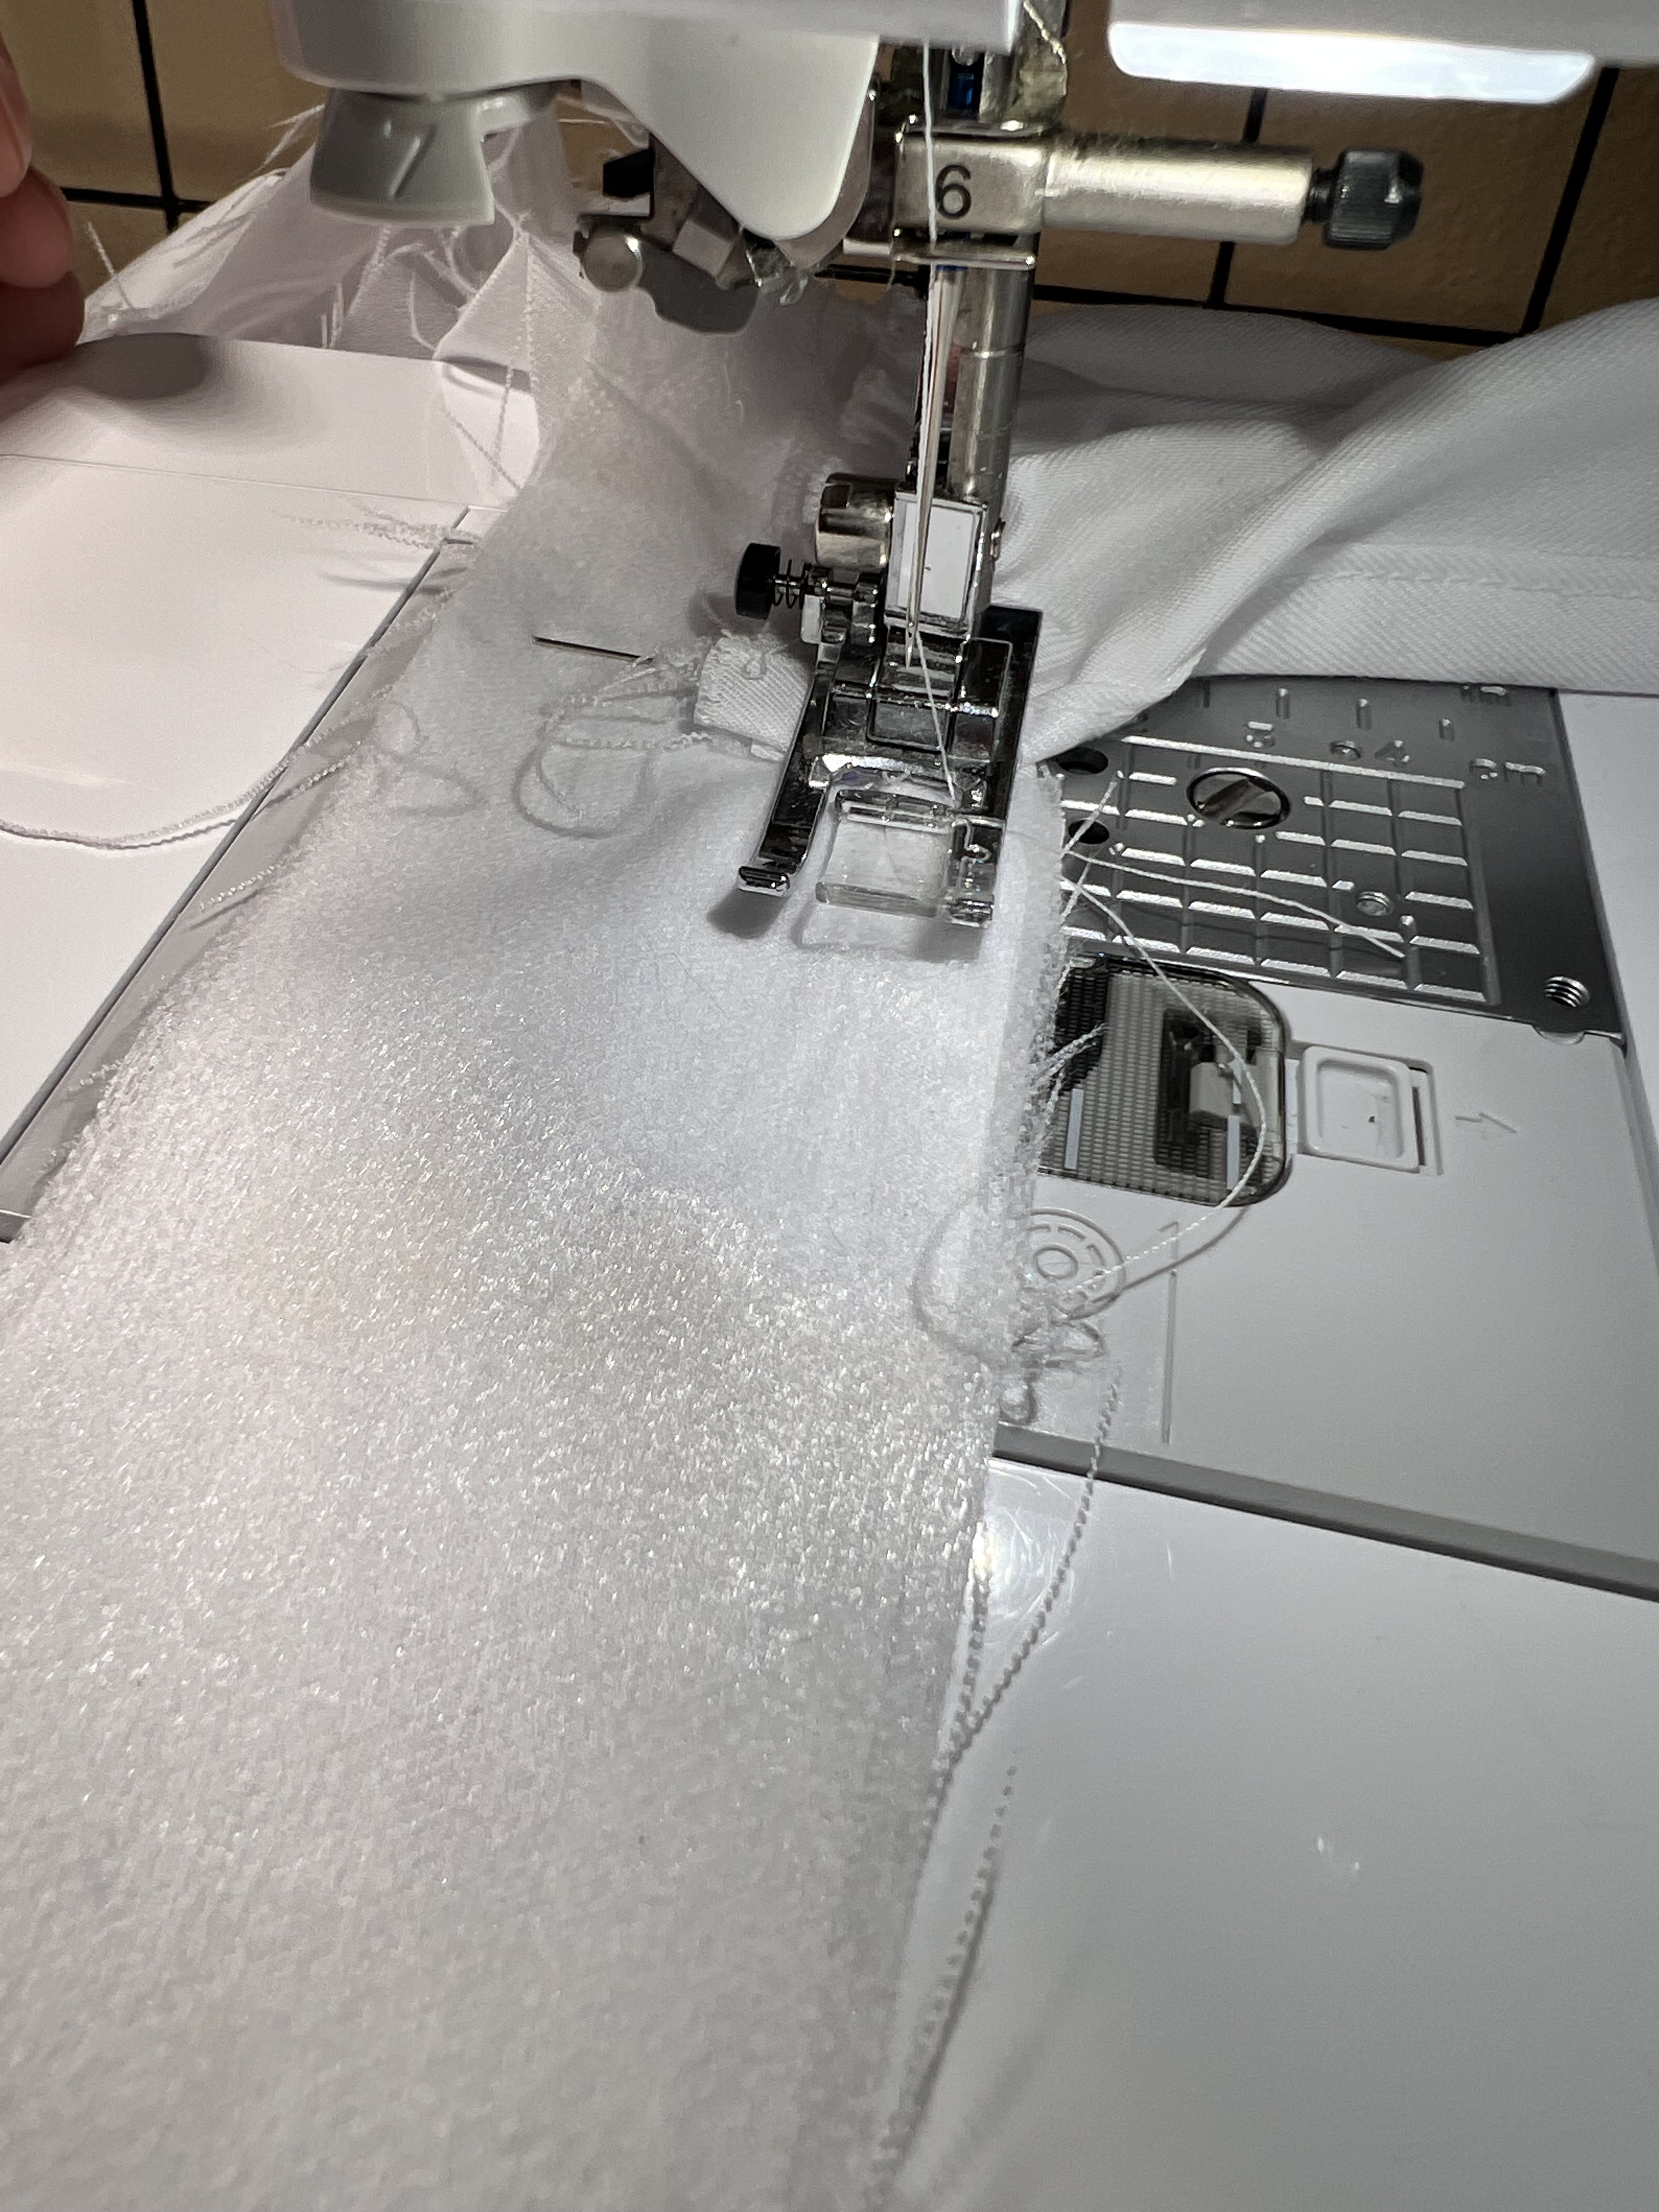
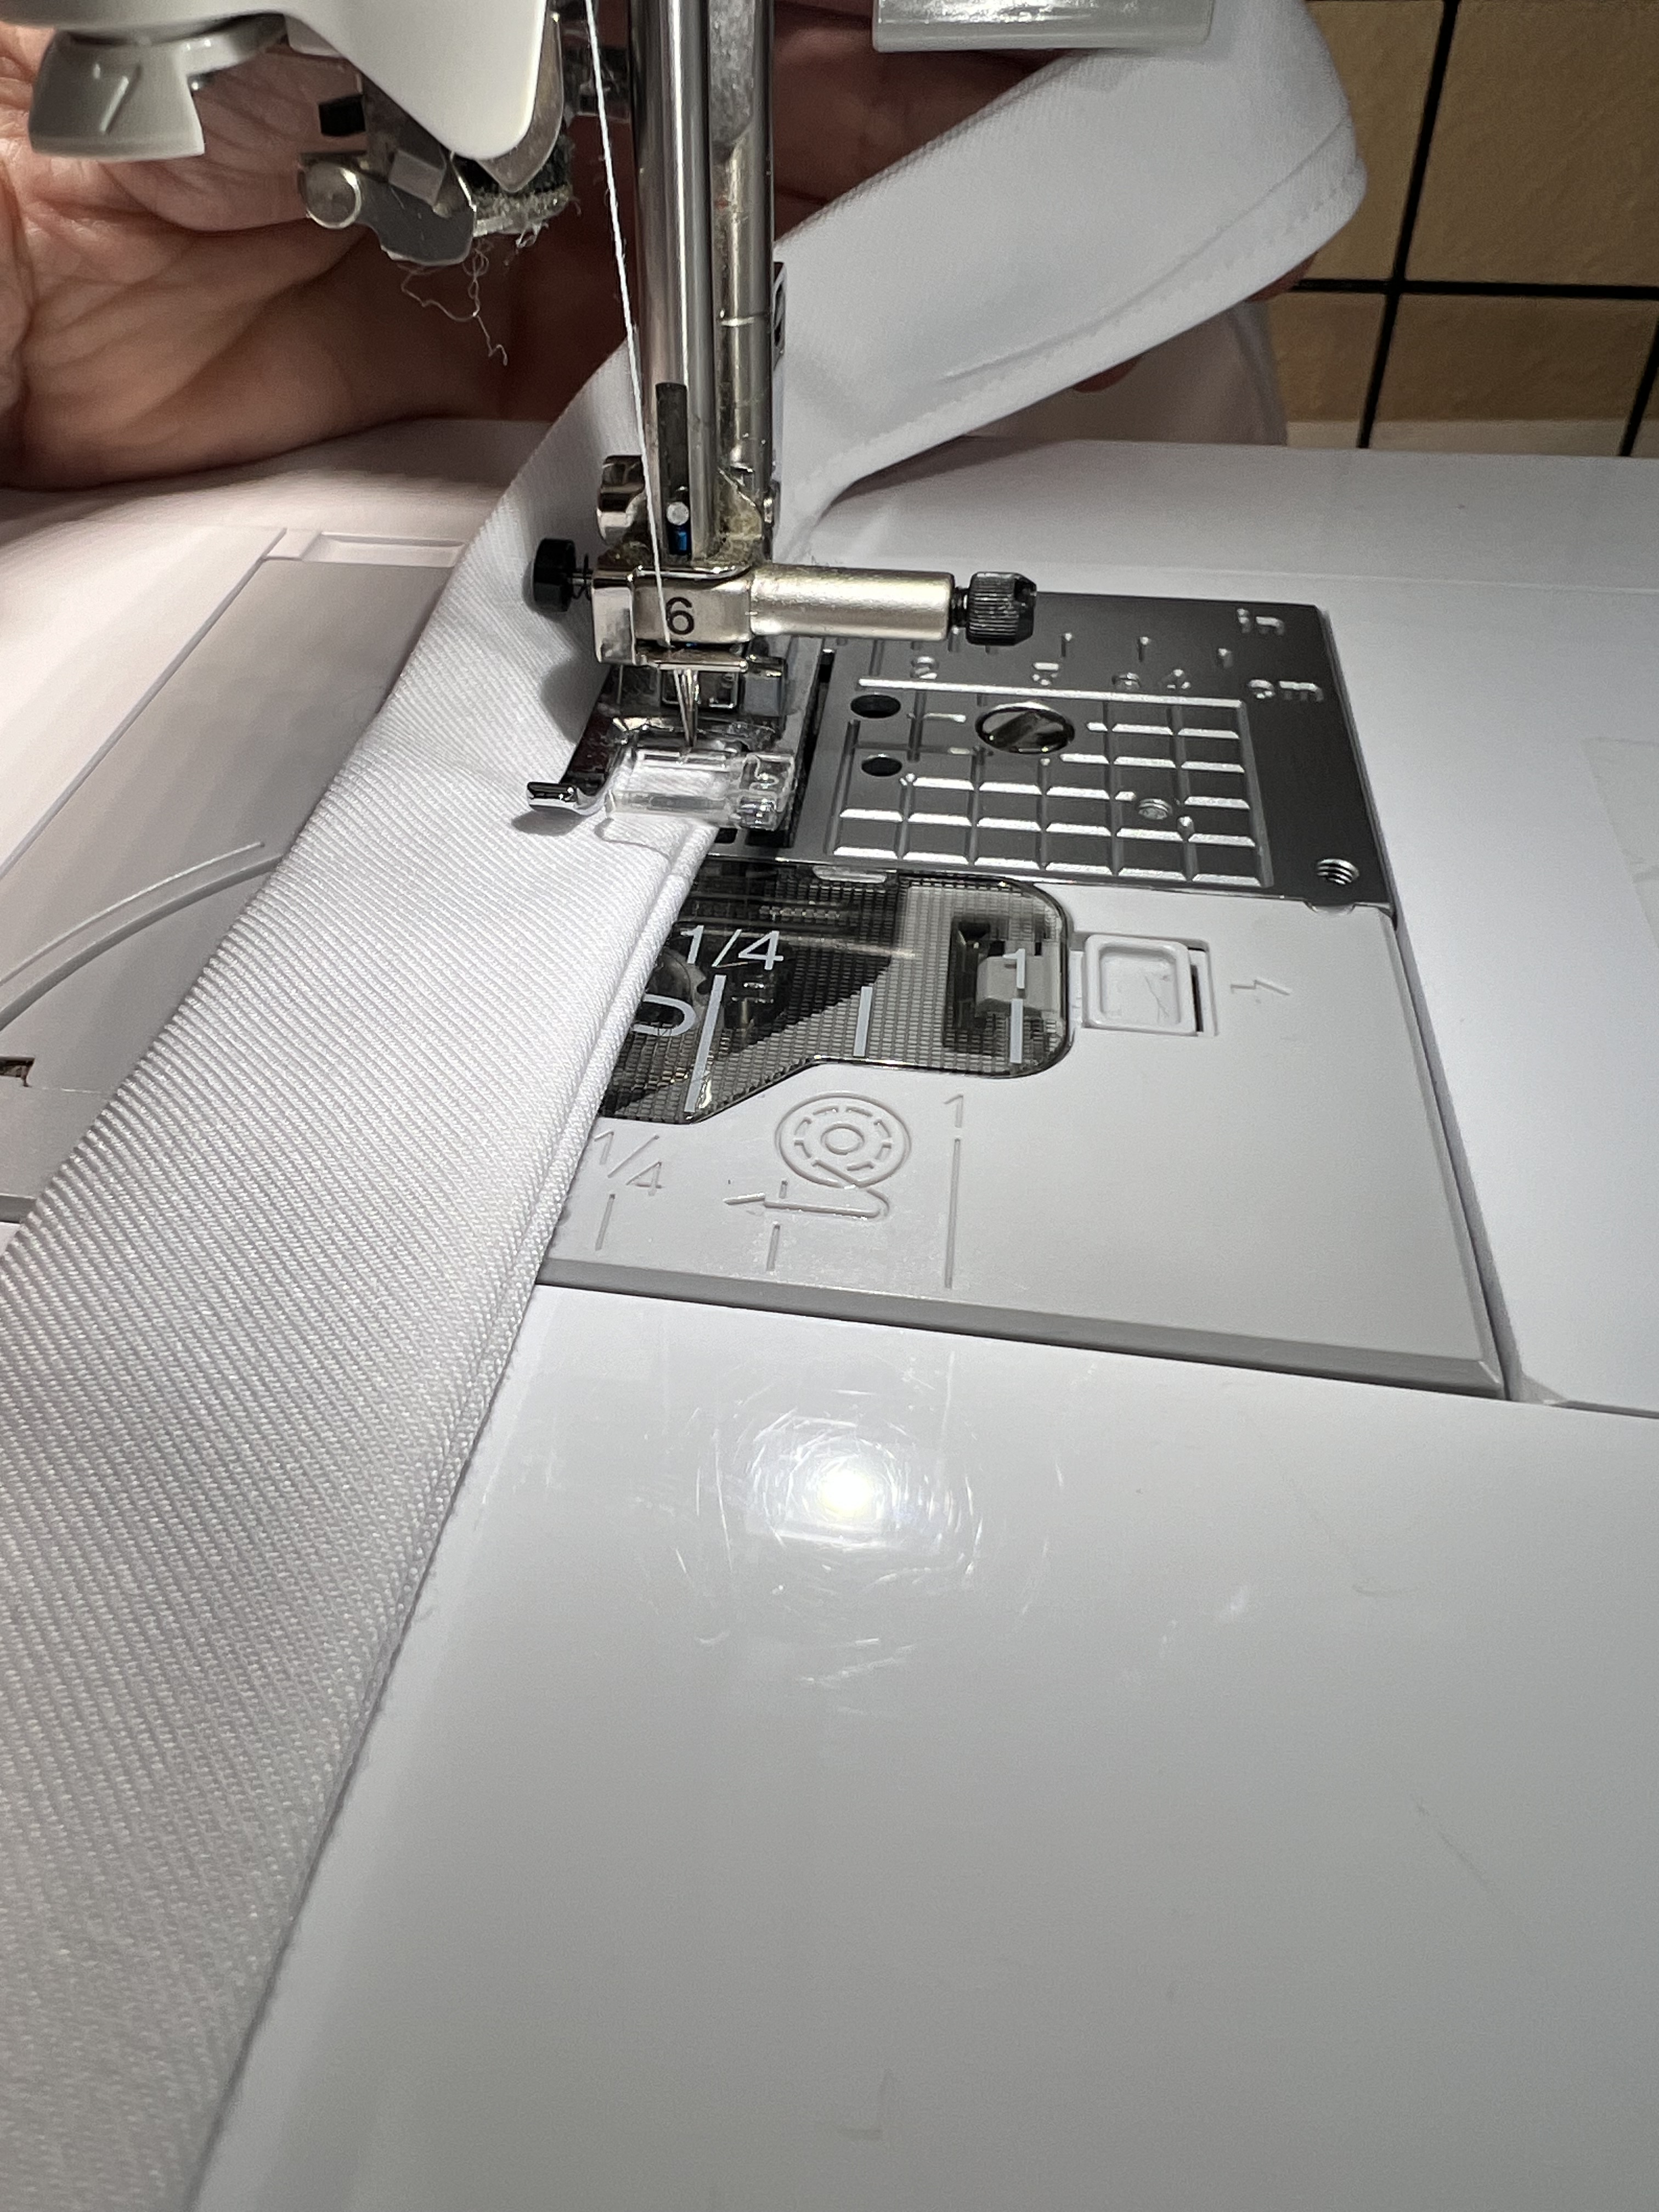
Step 2: Grab the apron skirt piece. Press the two side edges in at 1/4″ and again at 1/4″ and pin in place. Topstitch in place.

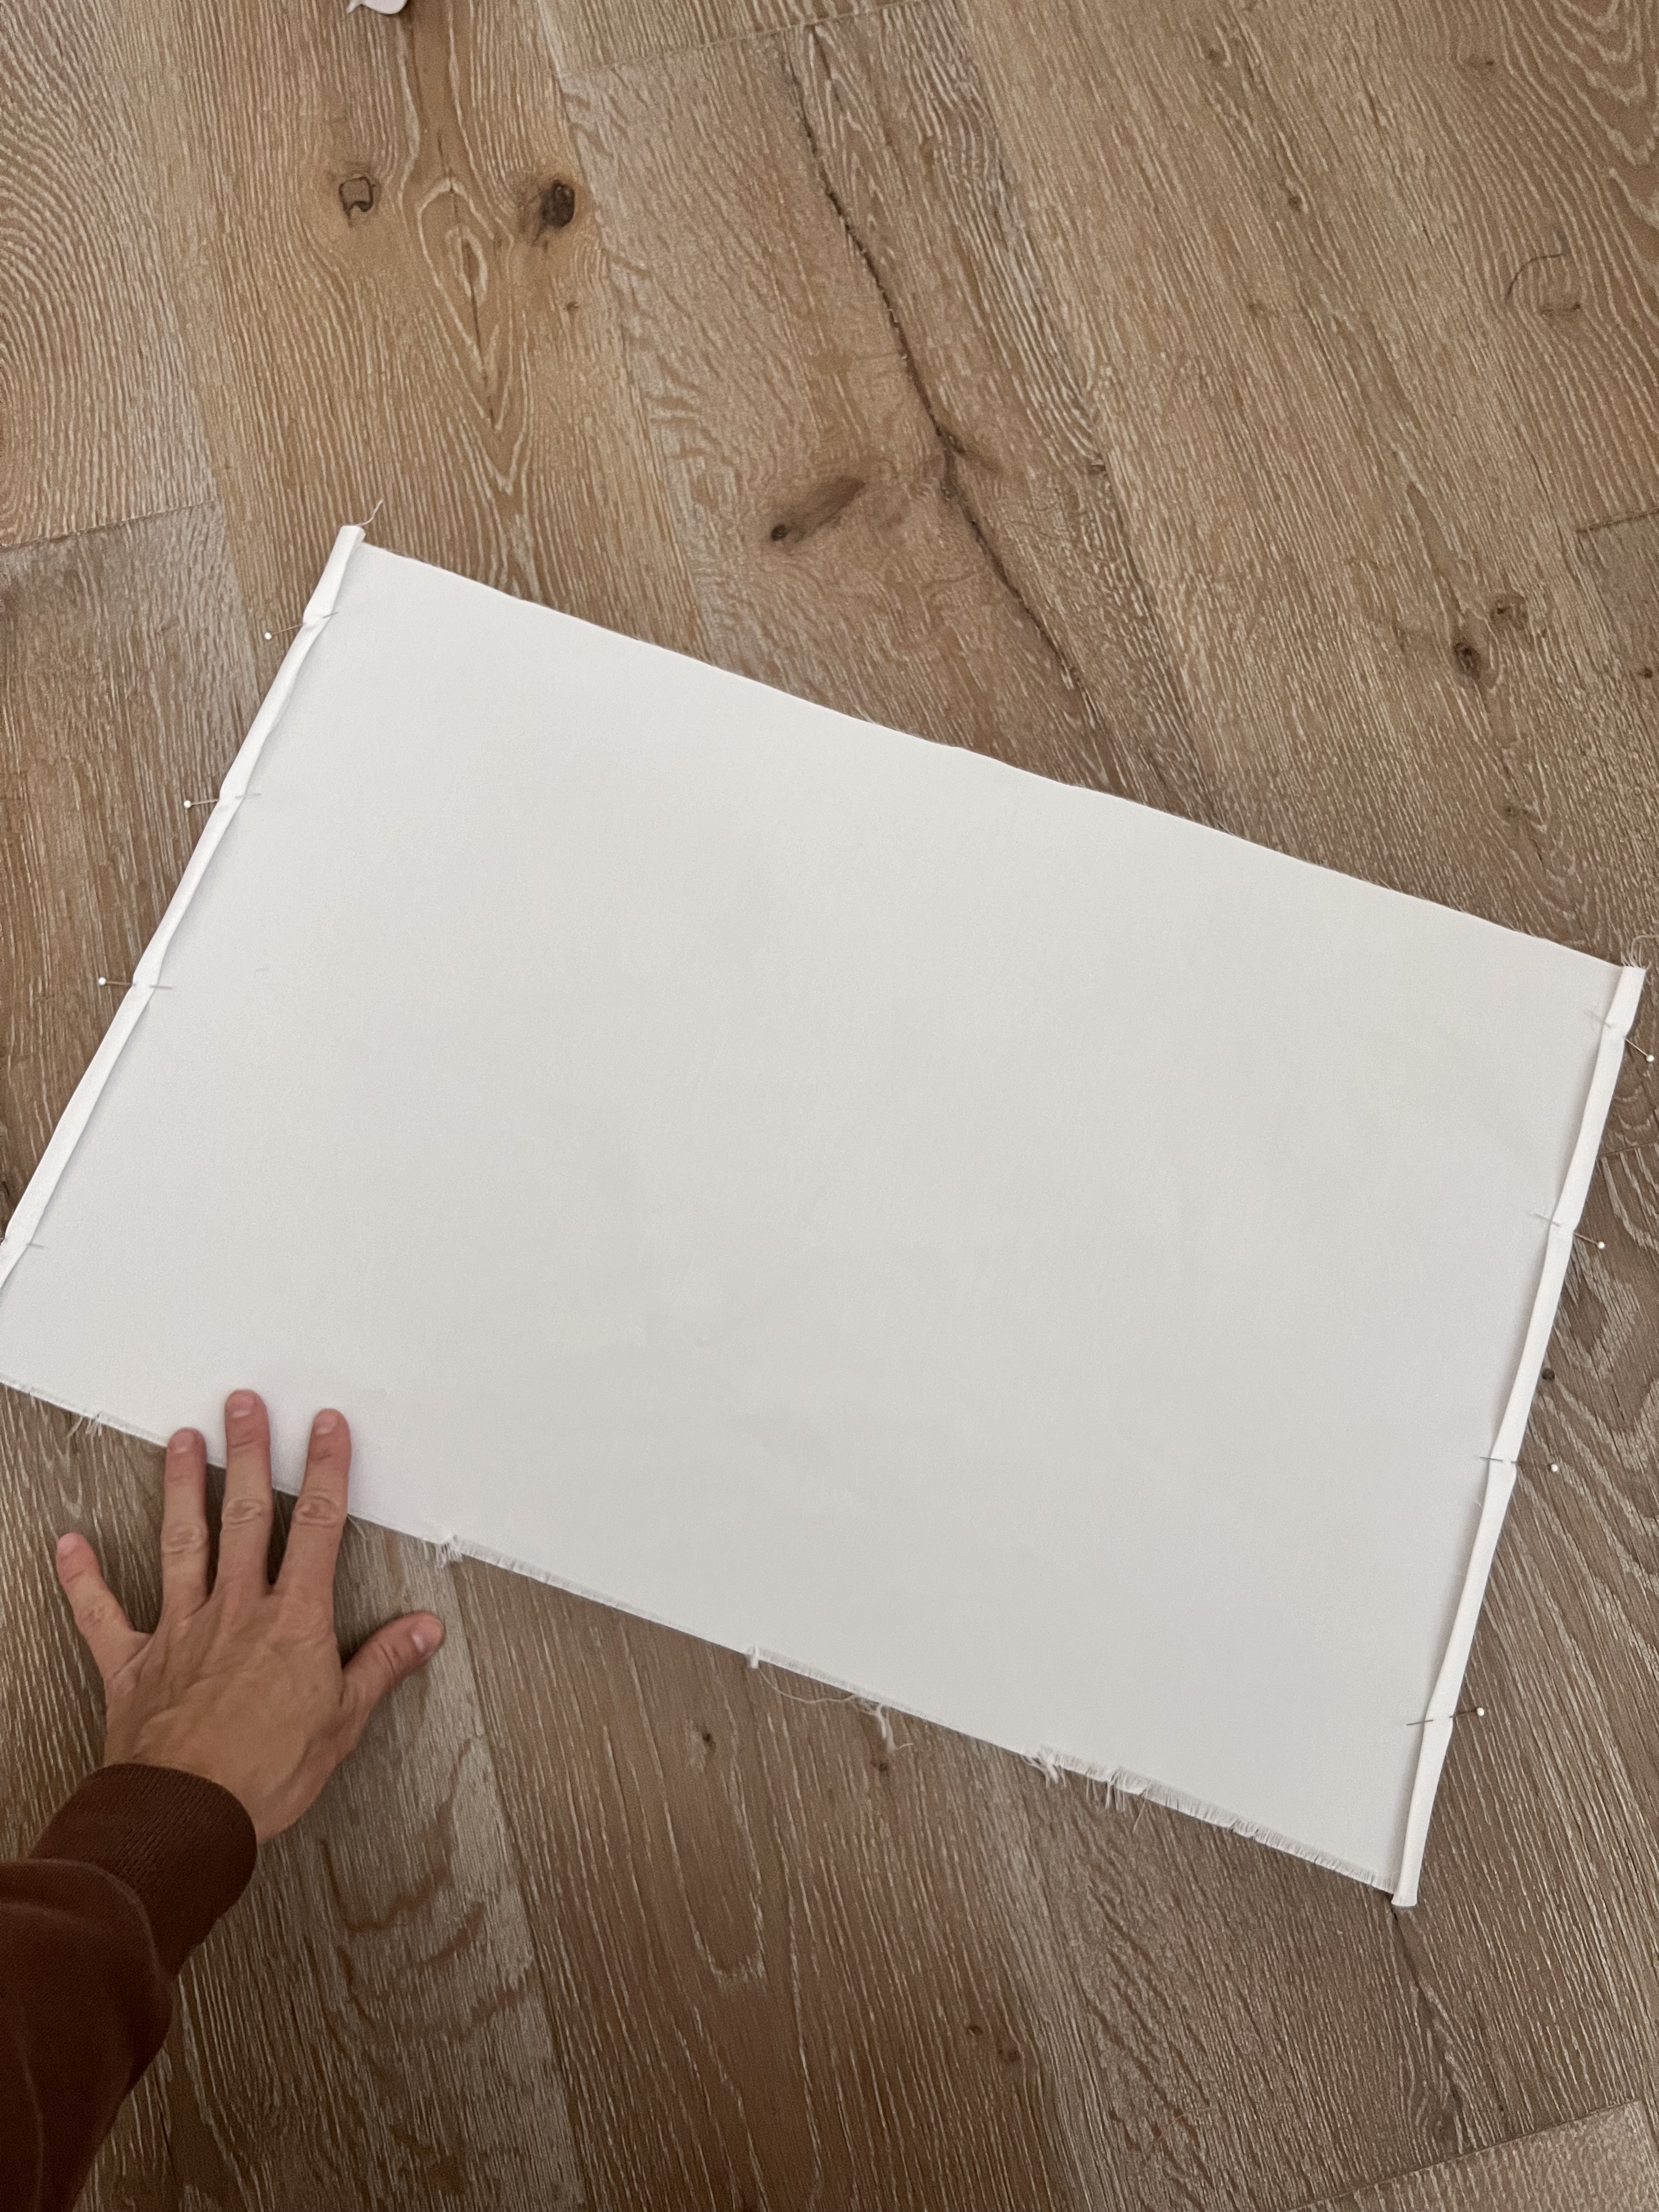

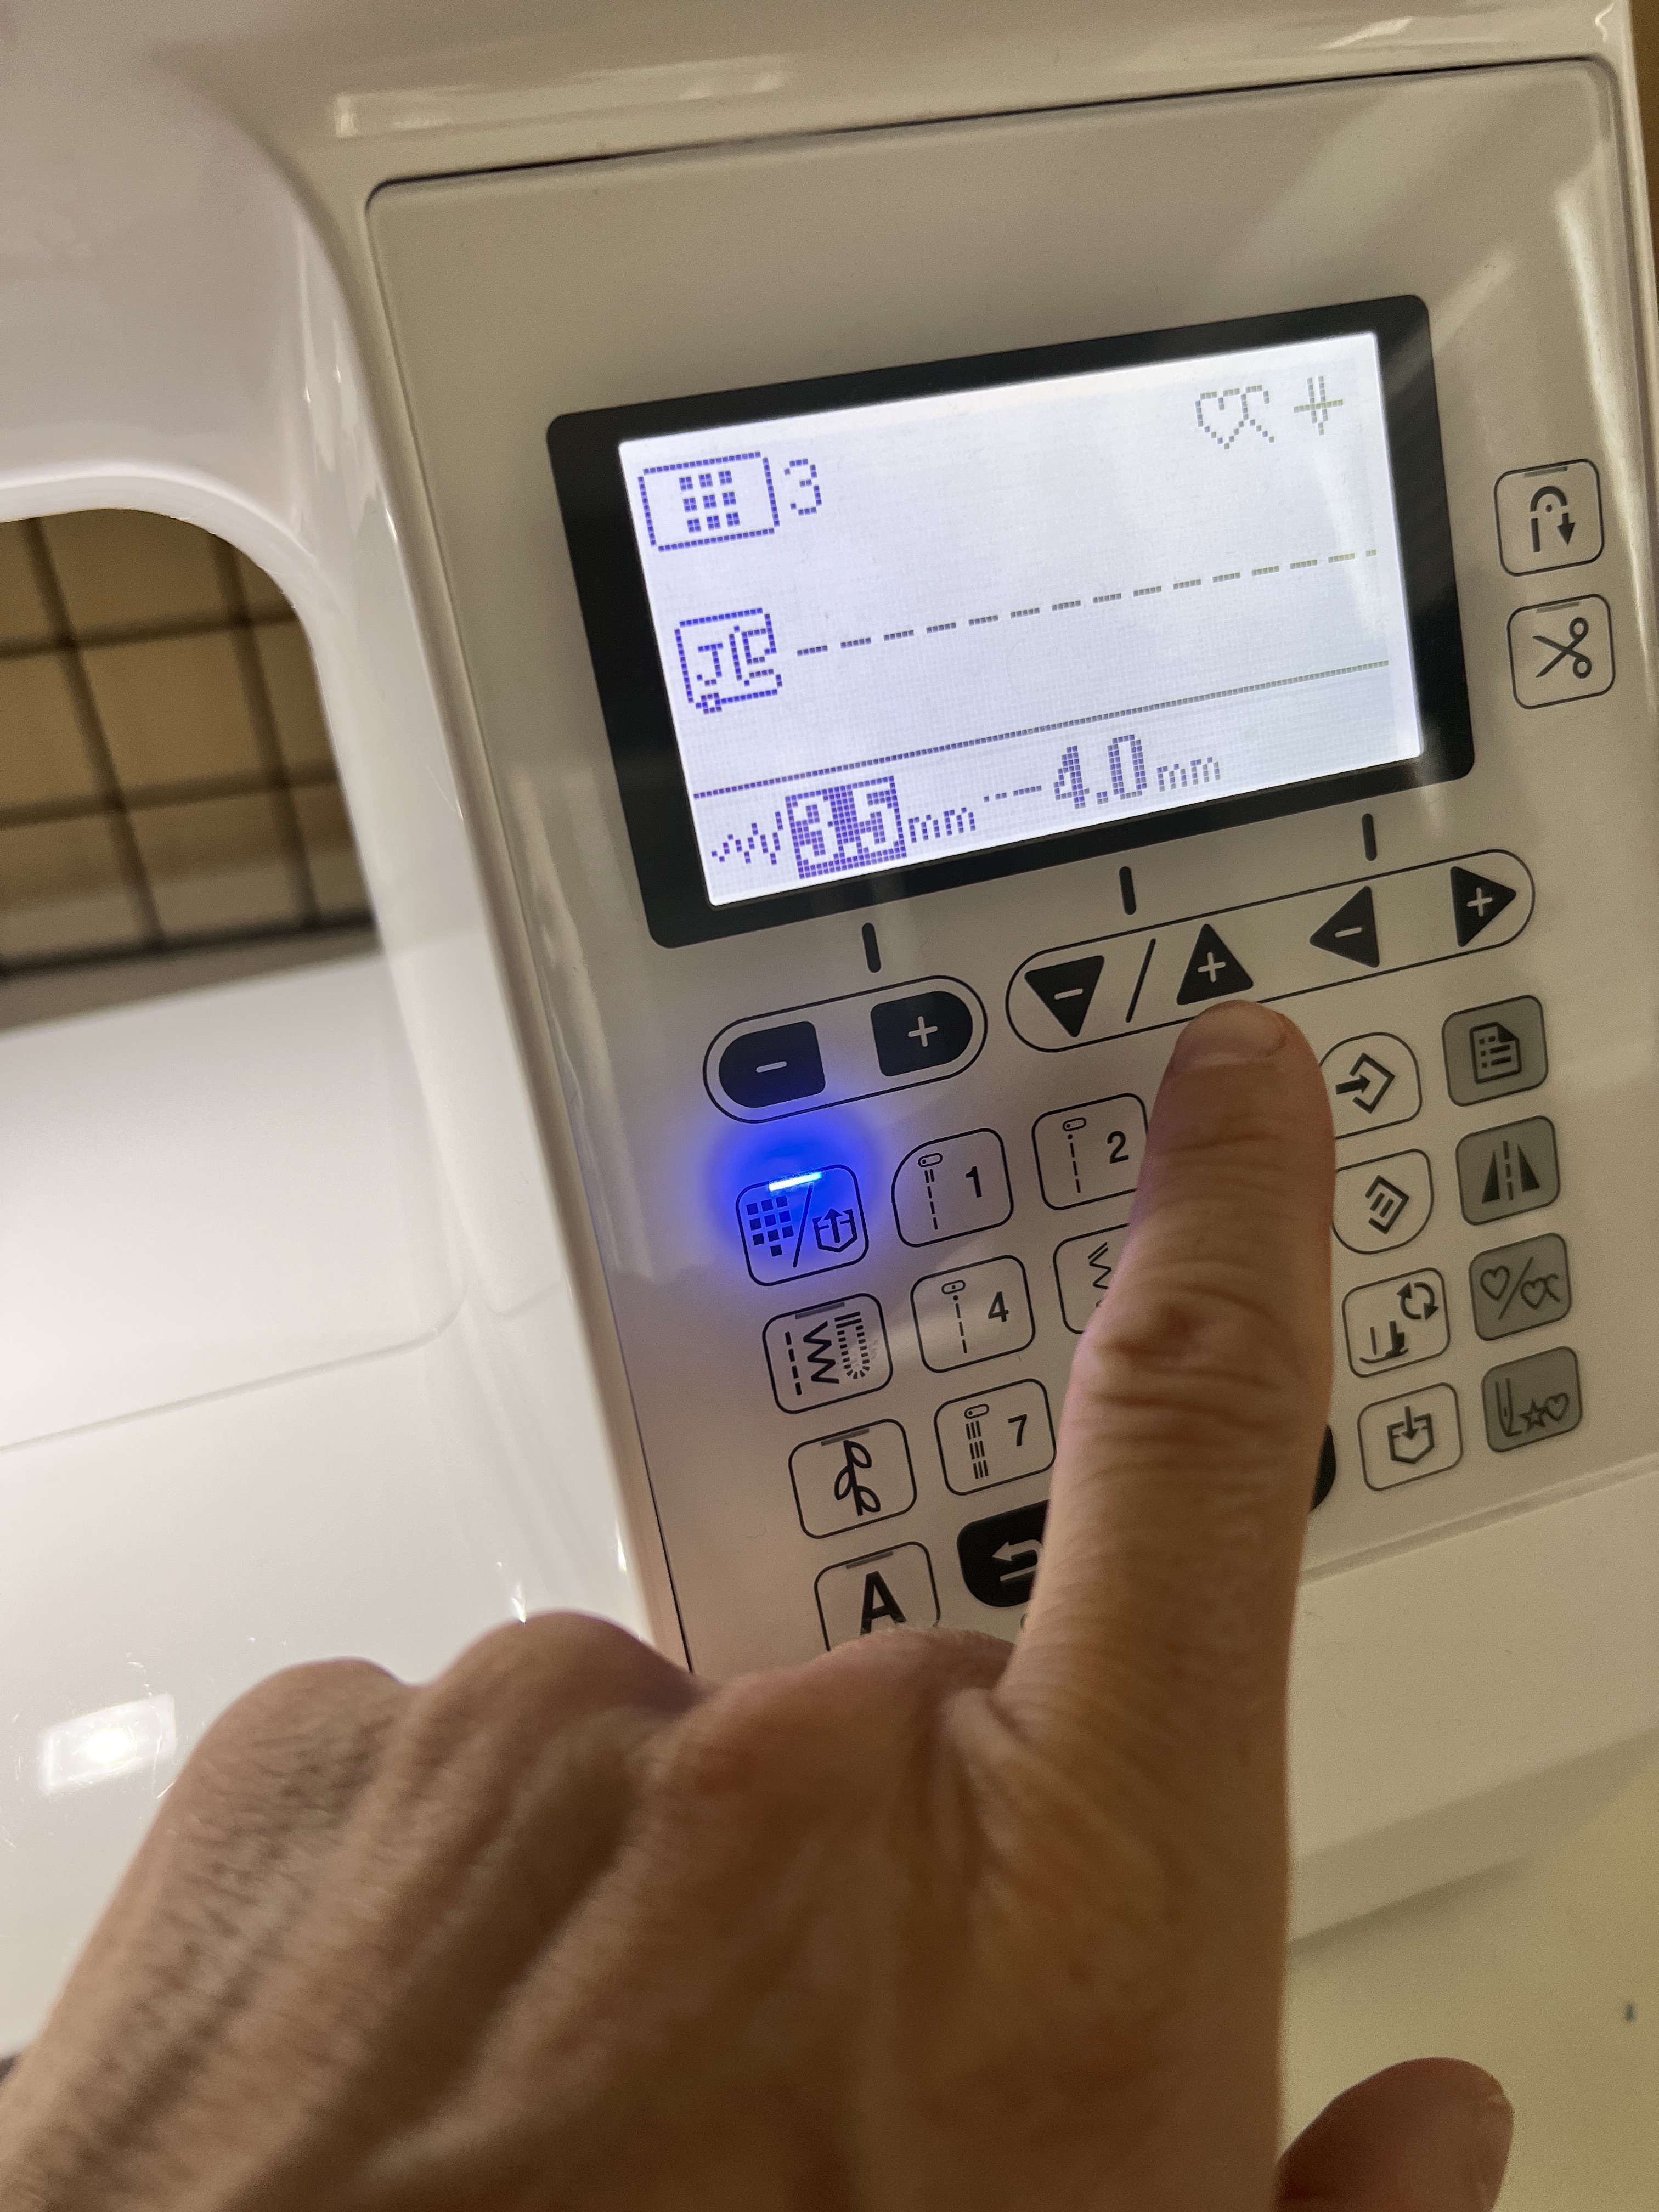
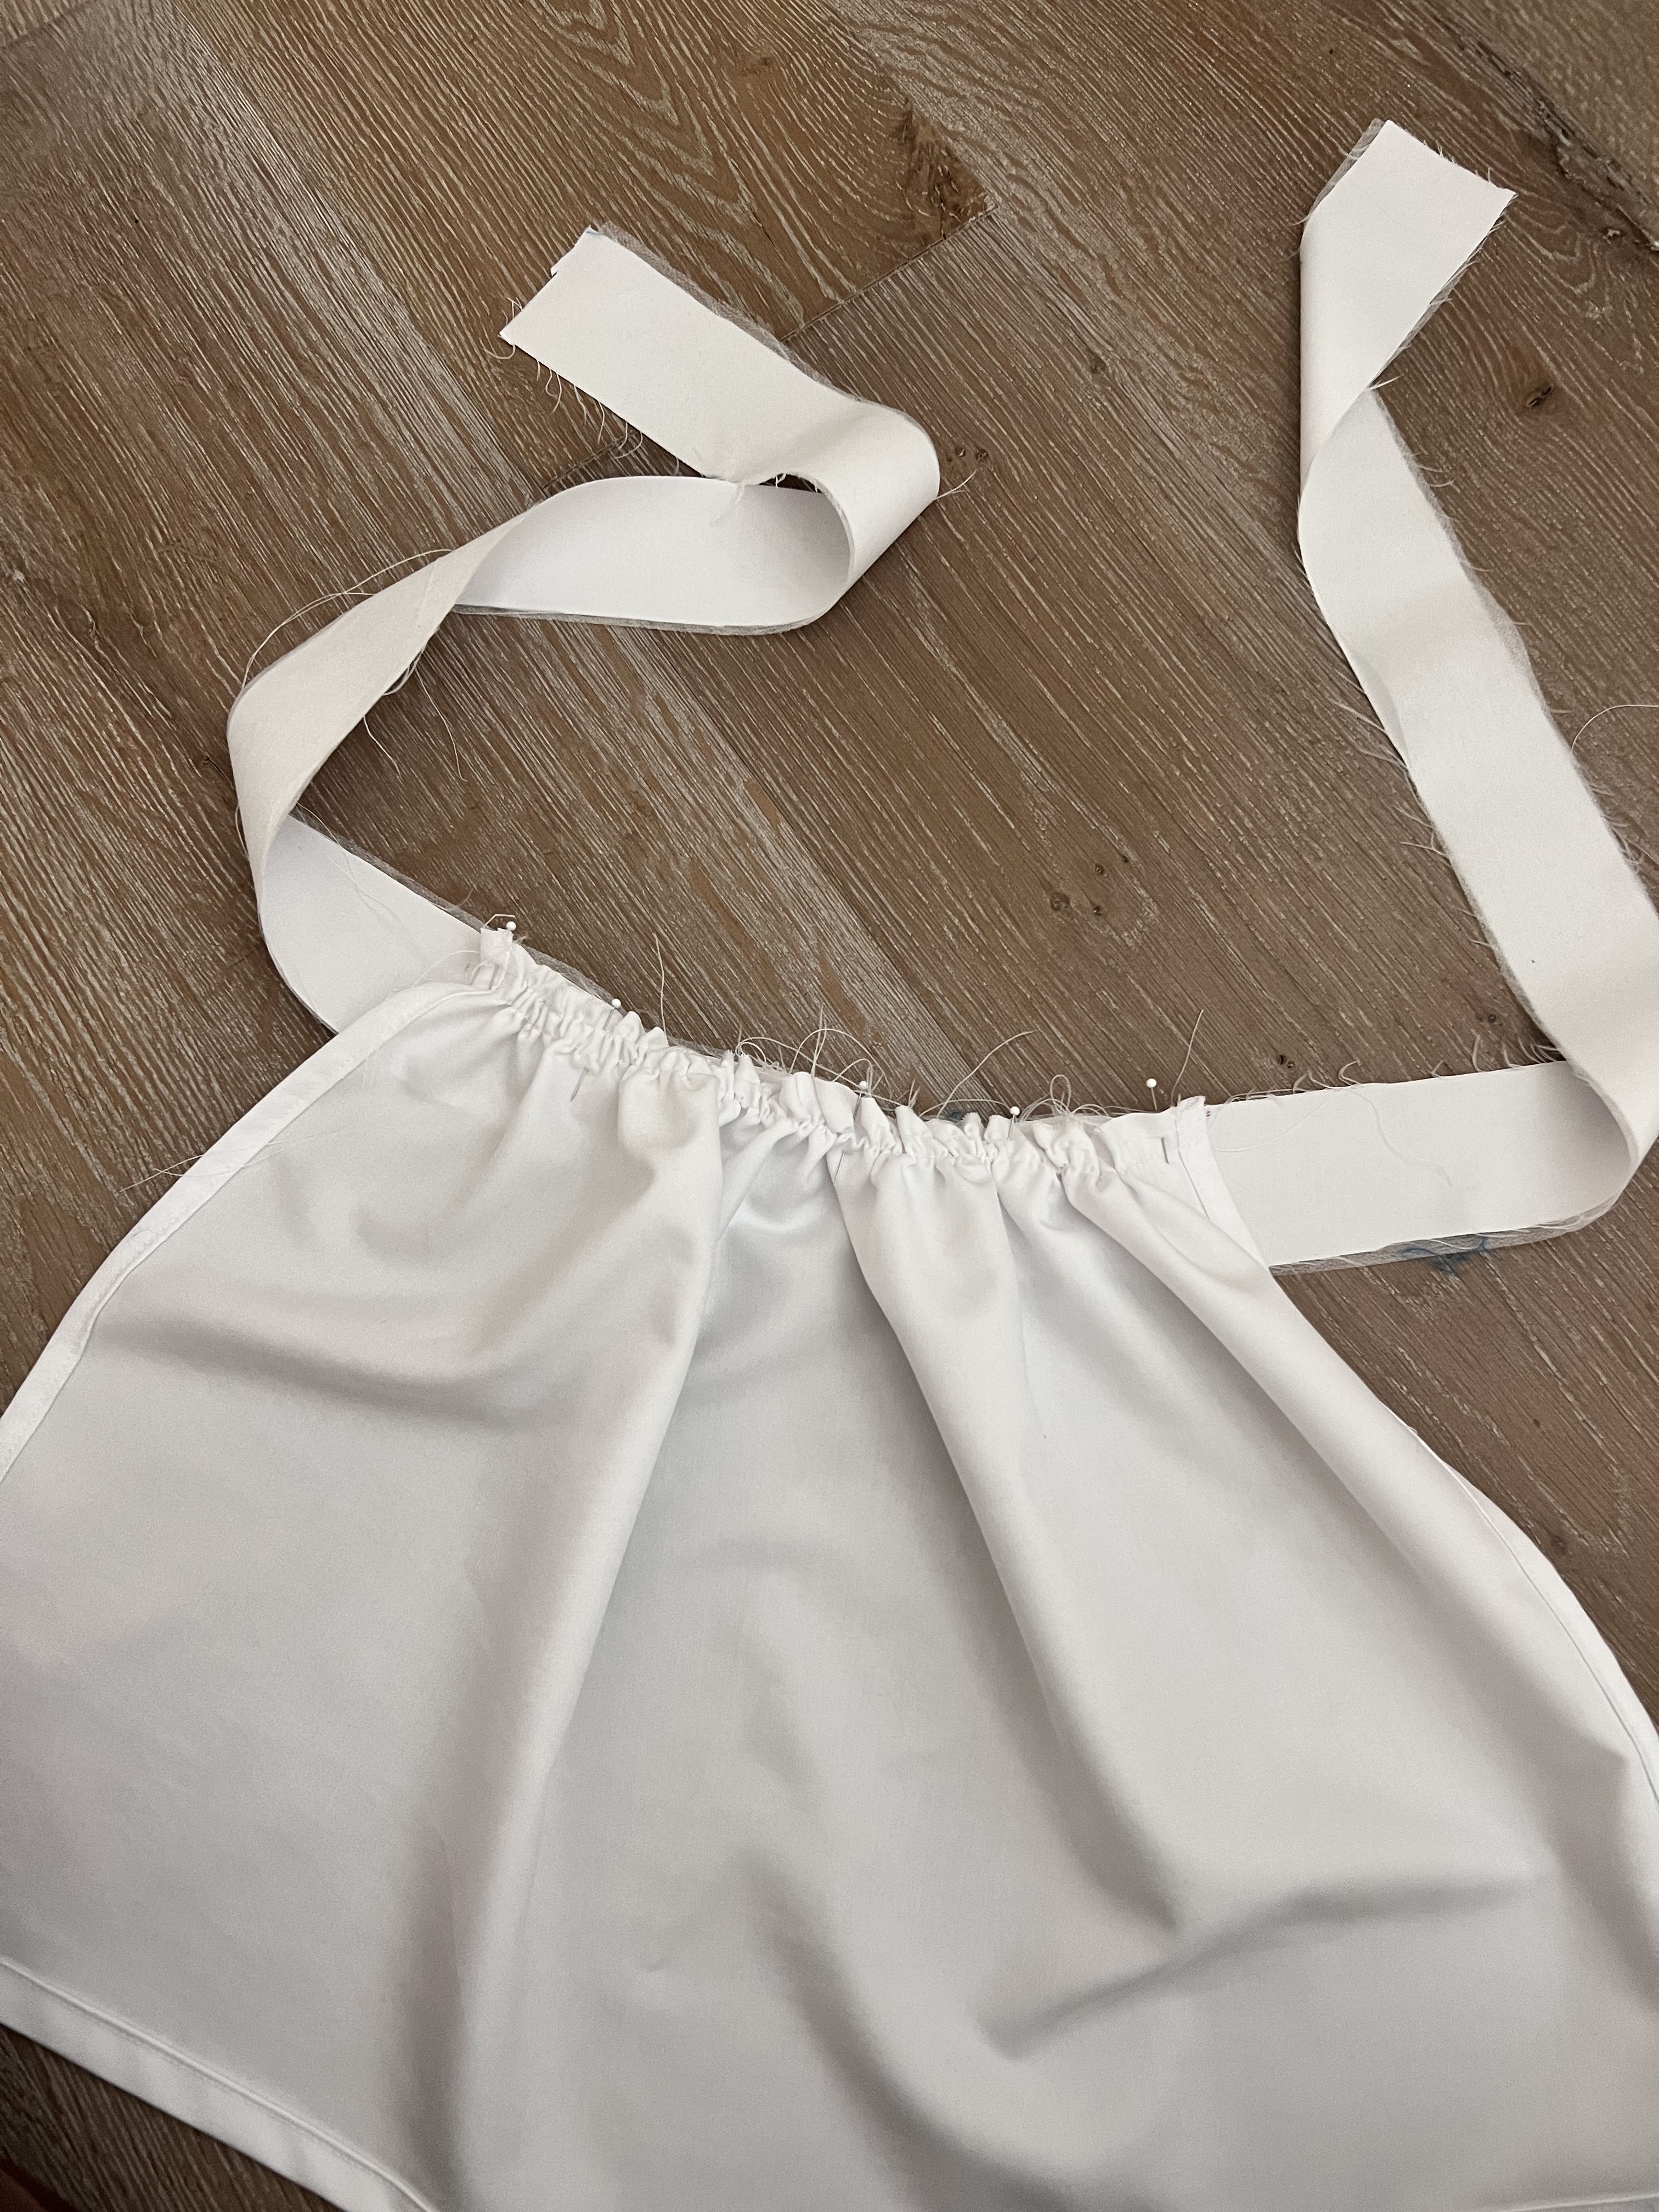
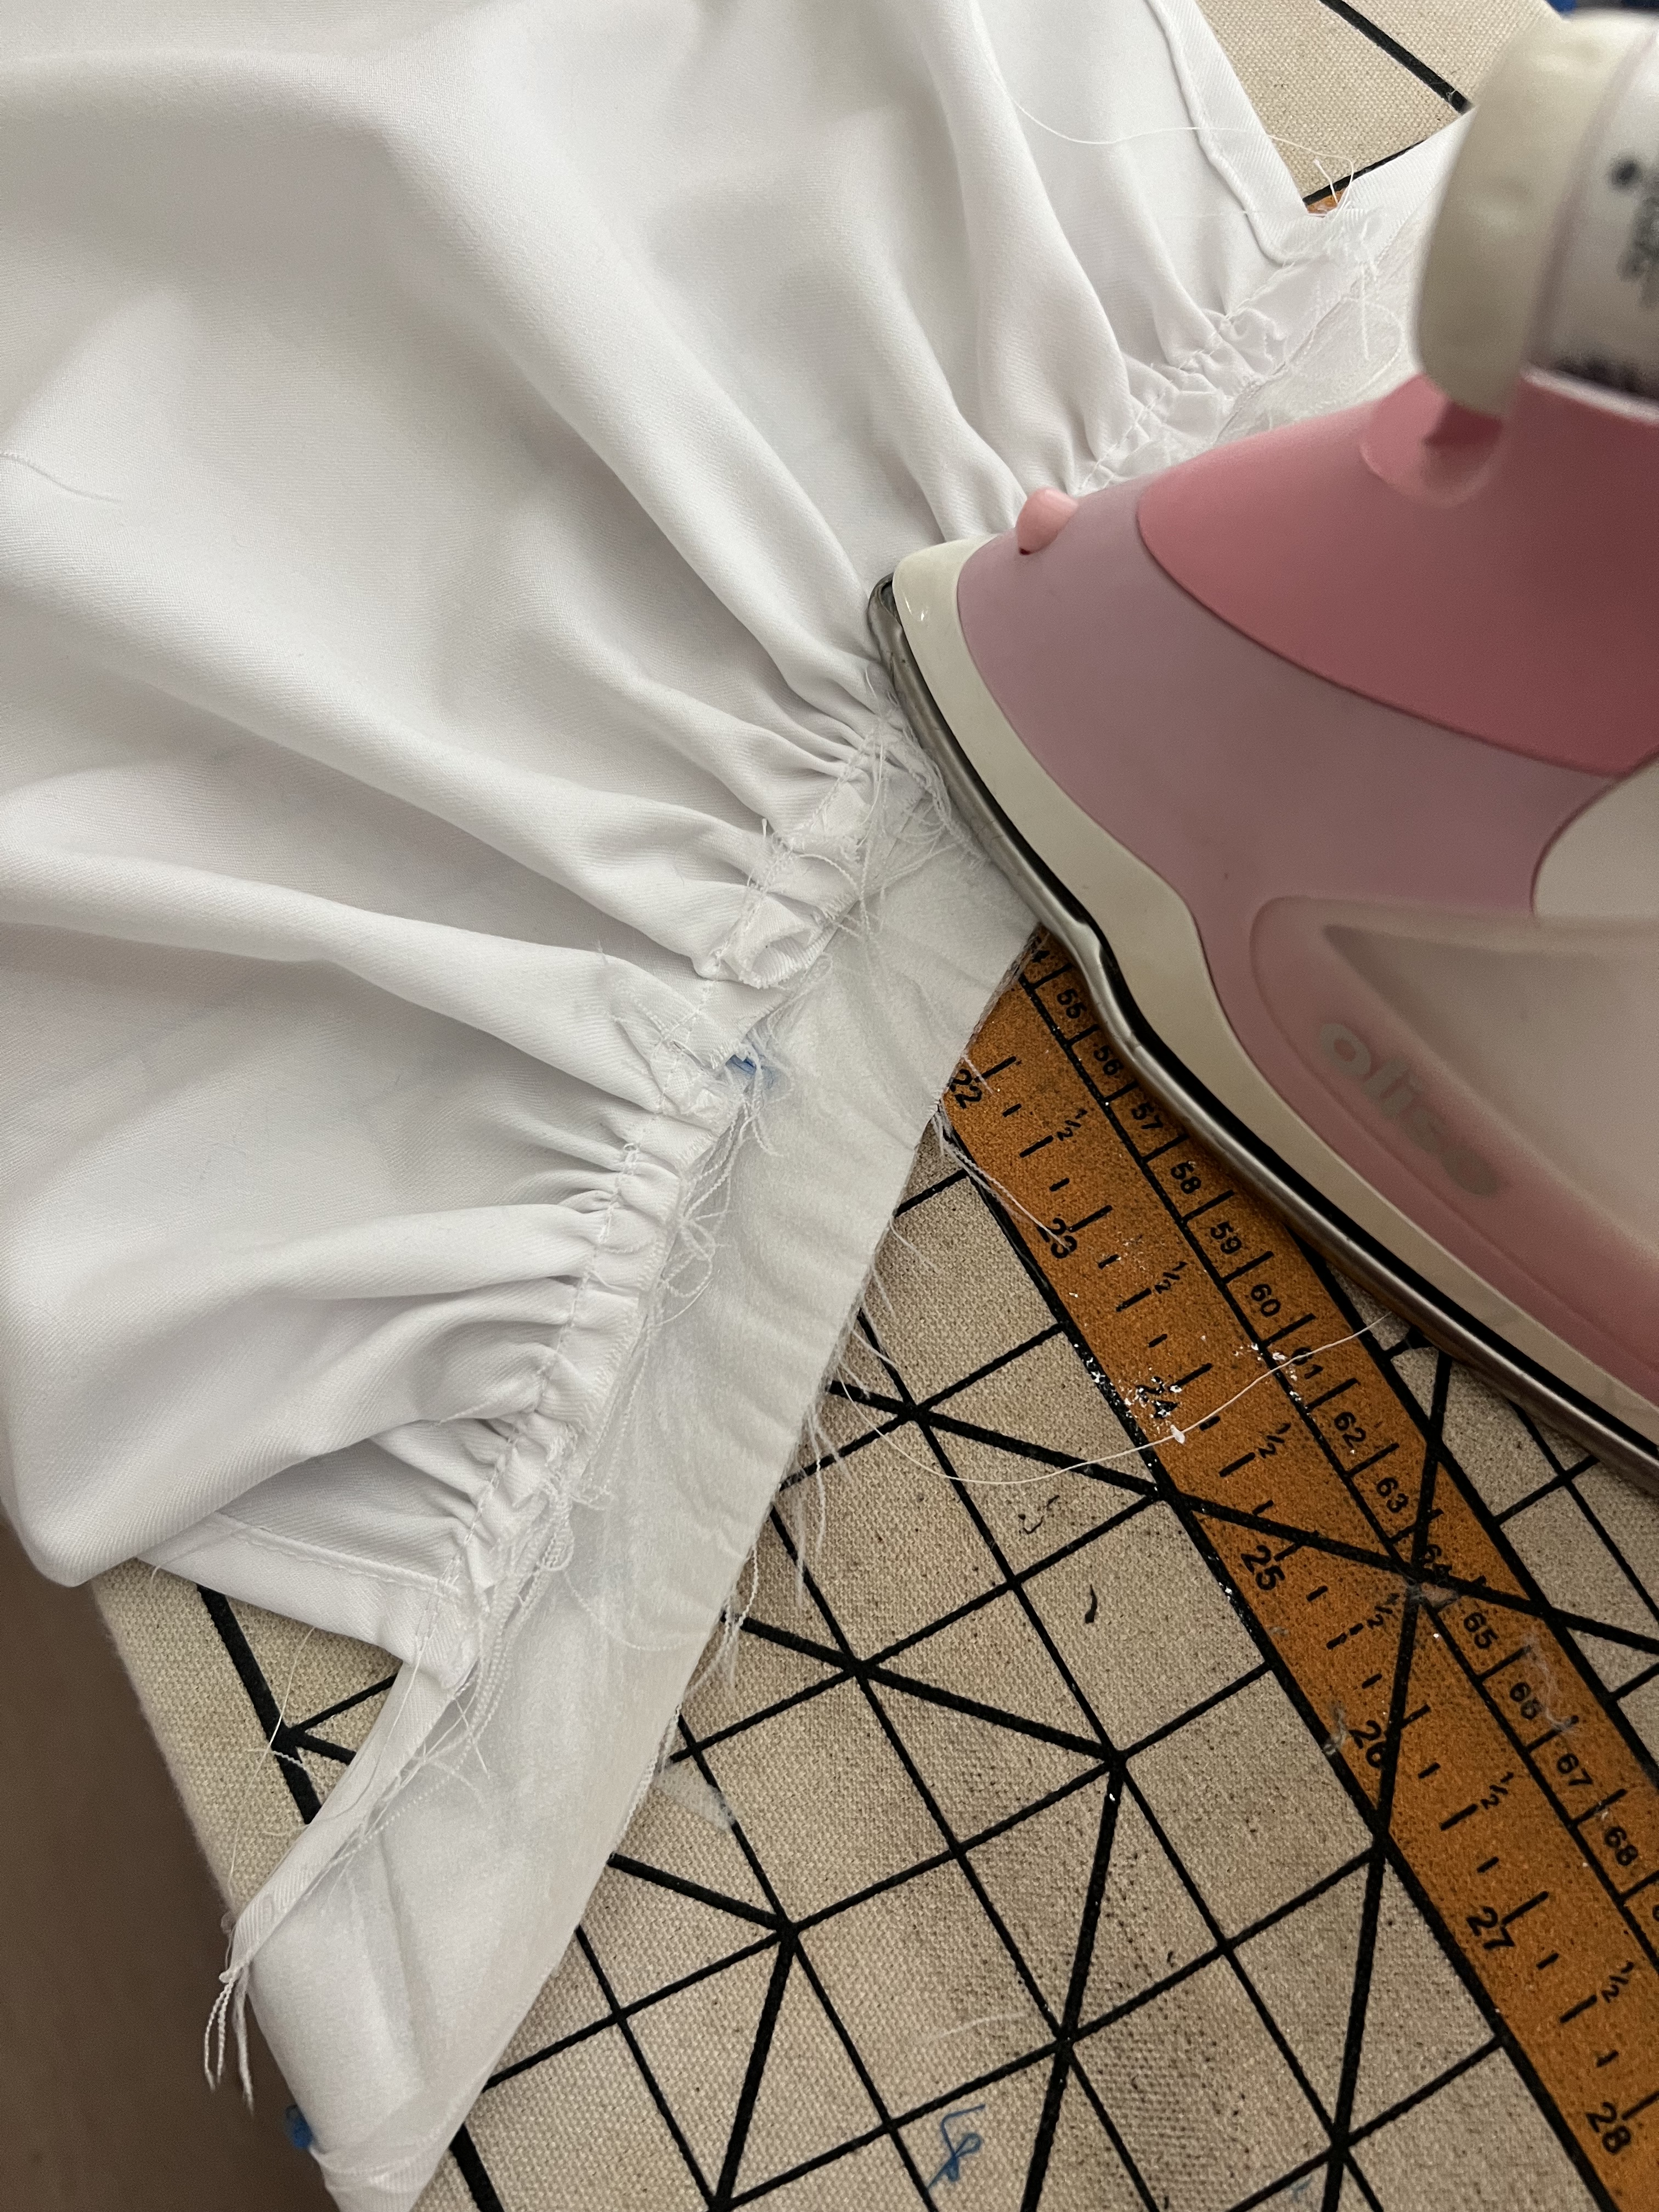
Step 3: Turn your stitch length up to 4.0 and baste two rows of basting stitches along the top edge of the skirt apron. Sew at 1/4″ and 1/2″ leaving long tails.

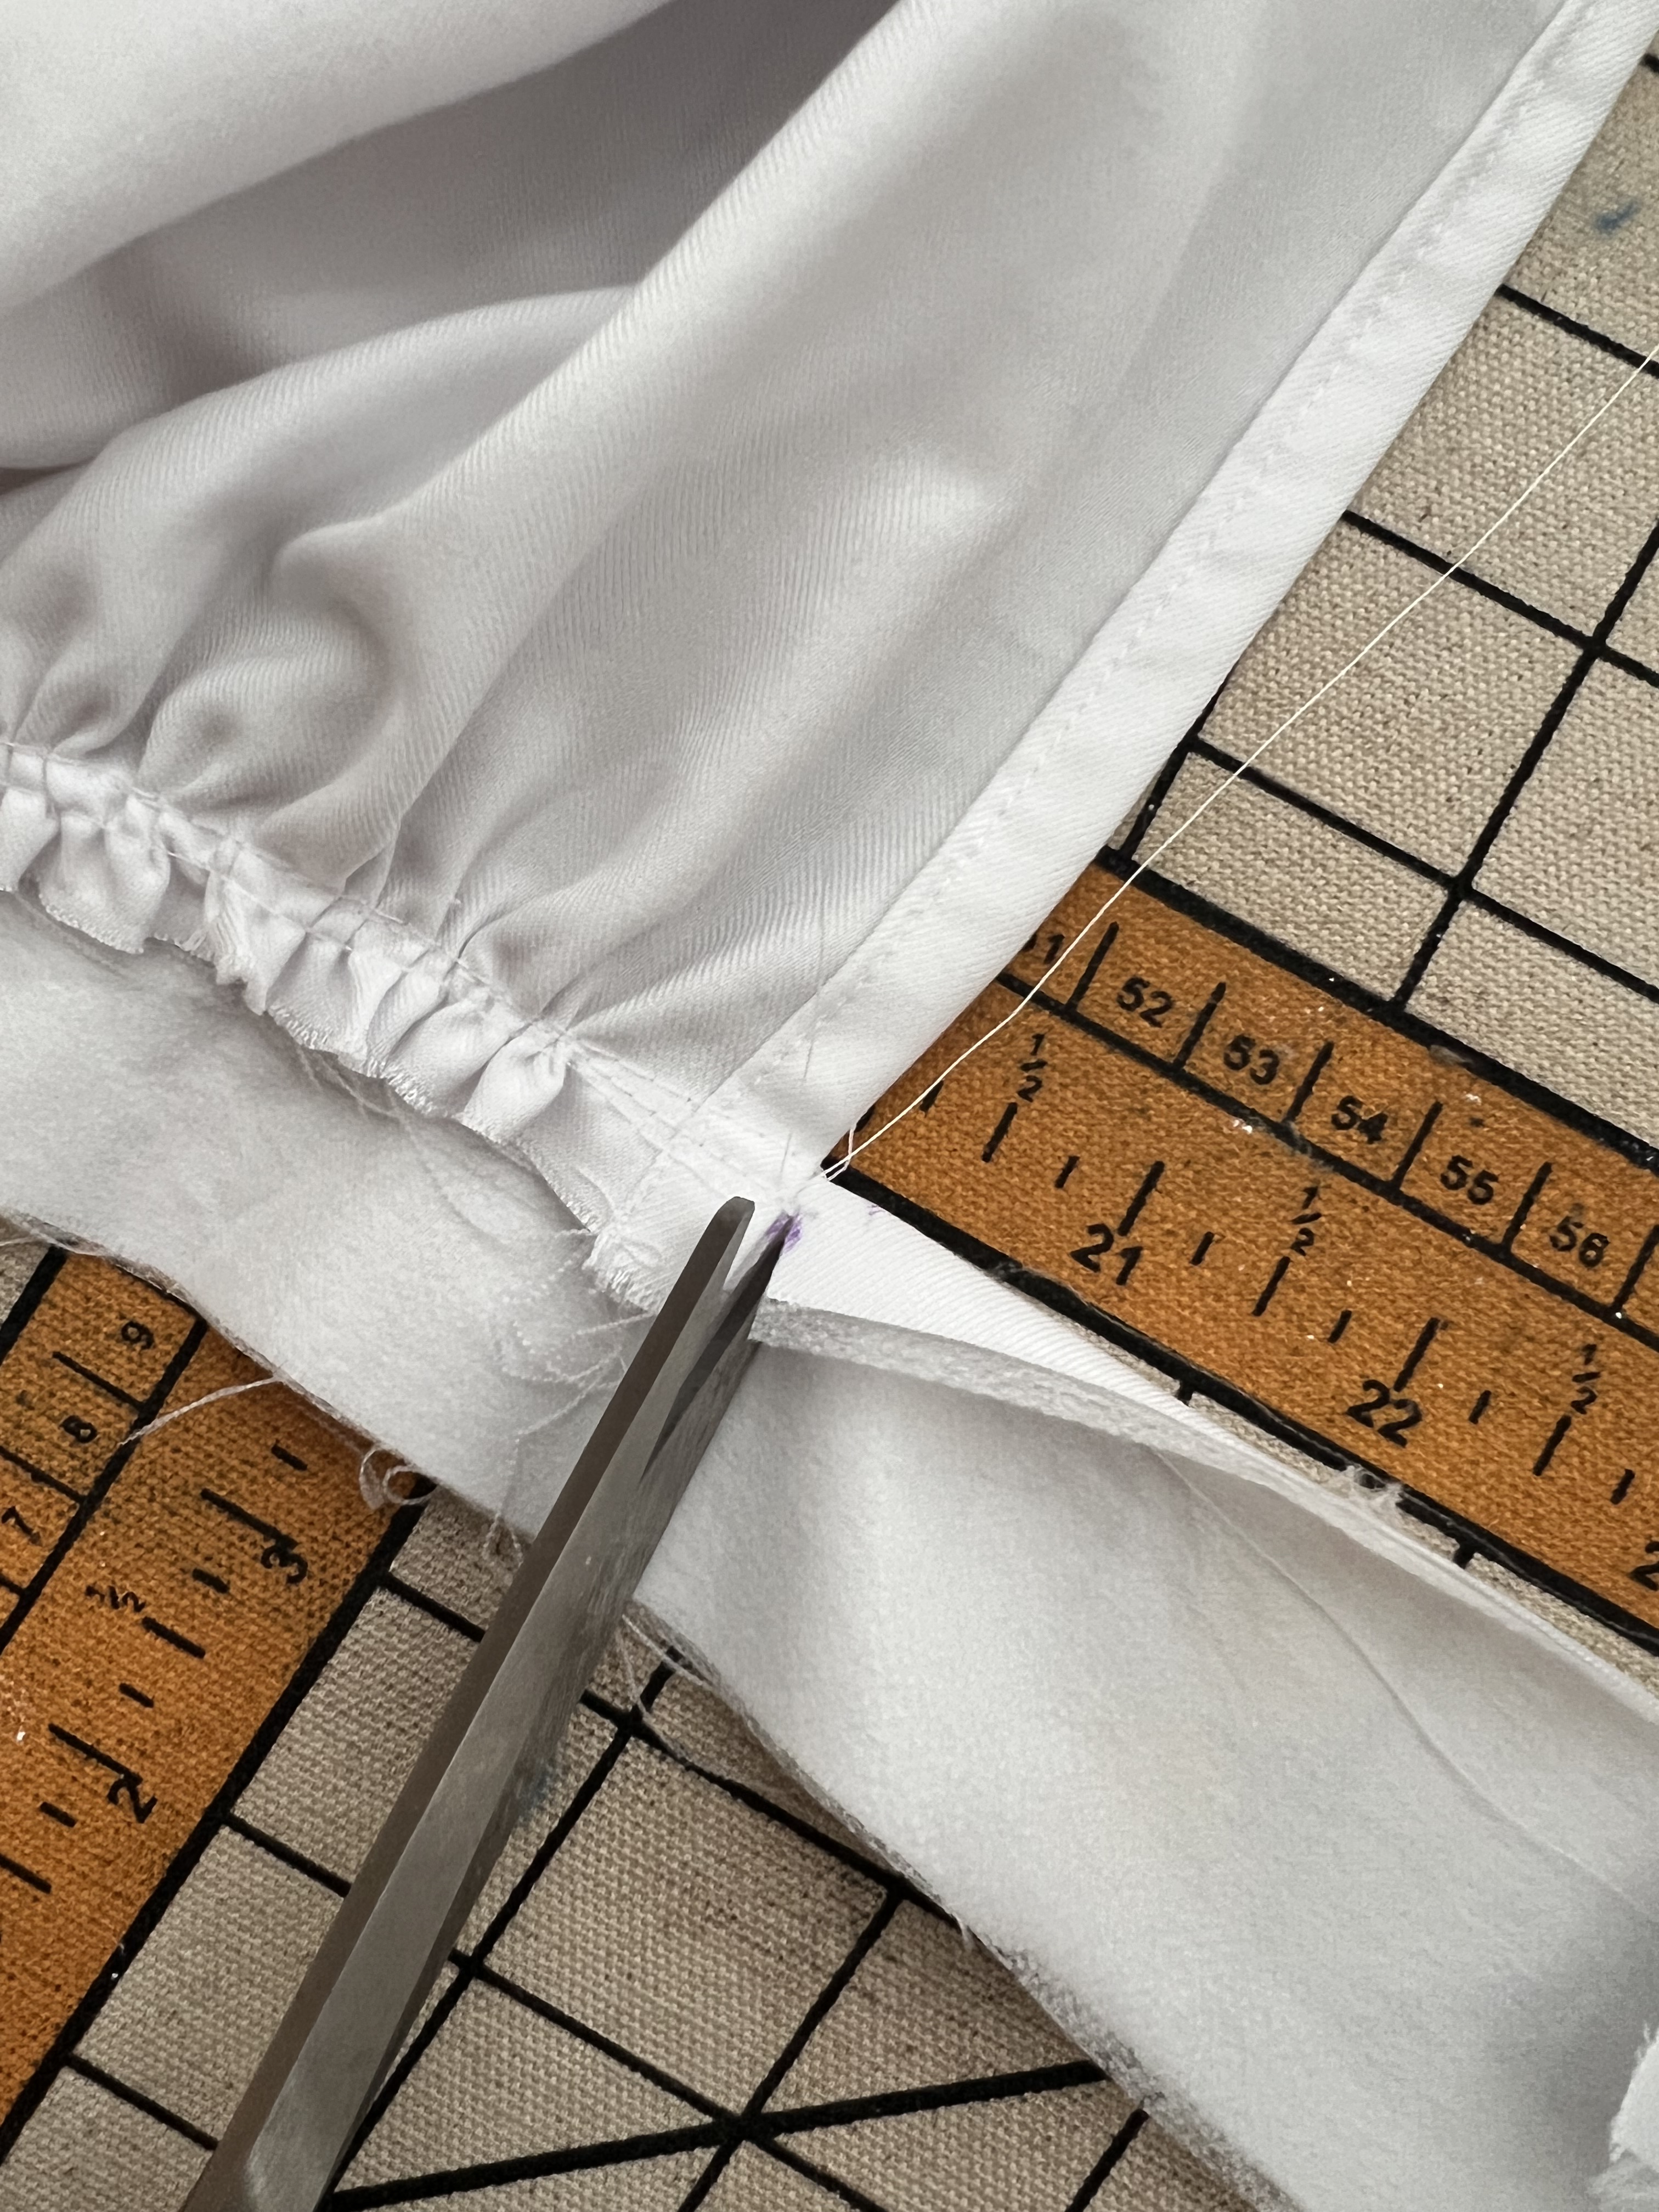
Step 4: Using a tape measure, decide how wide you want your apron skirt to sit along the waistline. Mine ended up being 10.5″ long. Grab the interfaced wait tie and mark this measurement from the center crease of the tie.
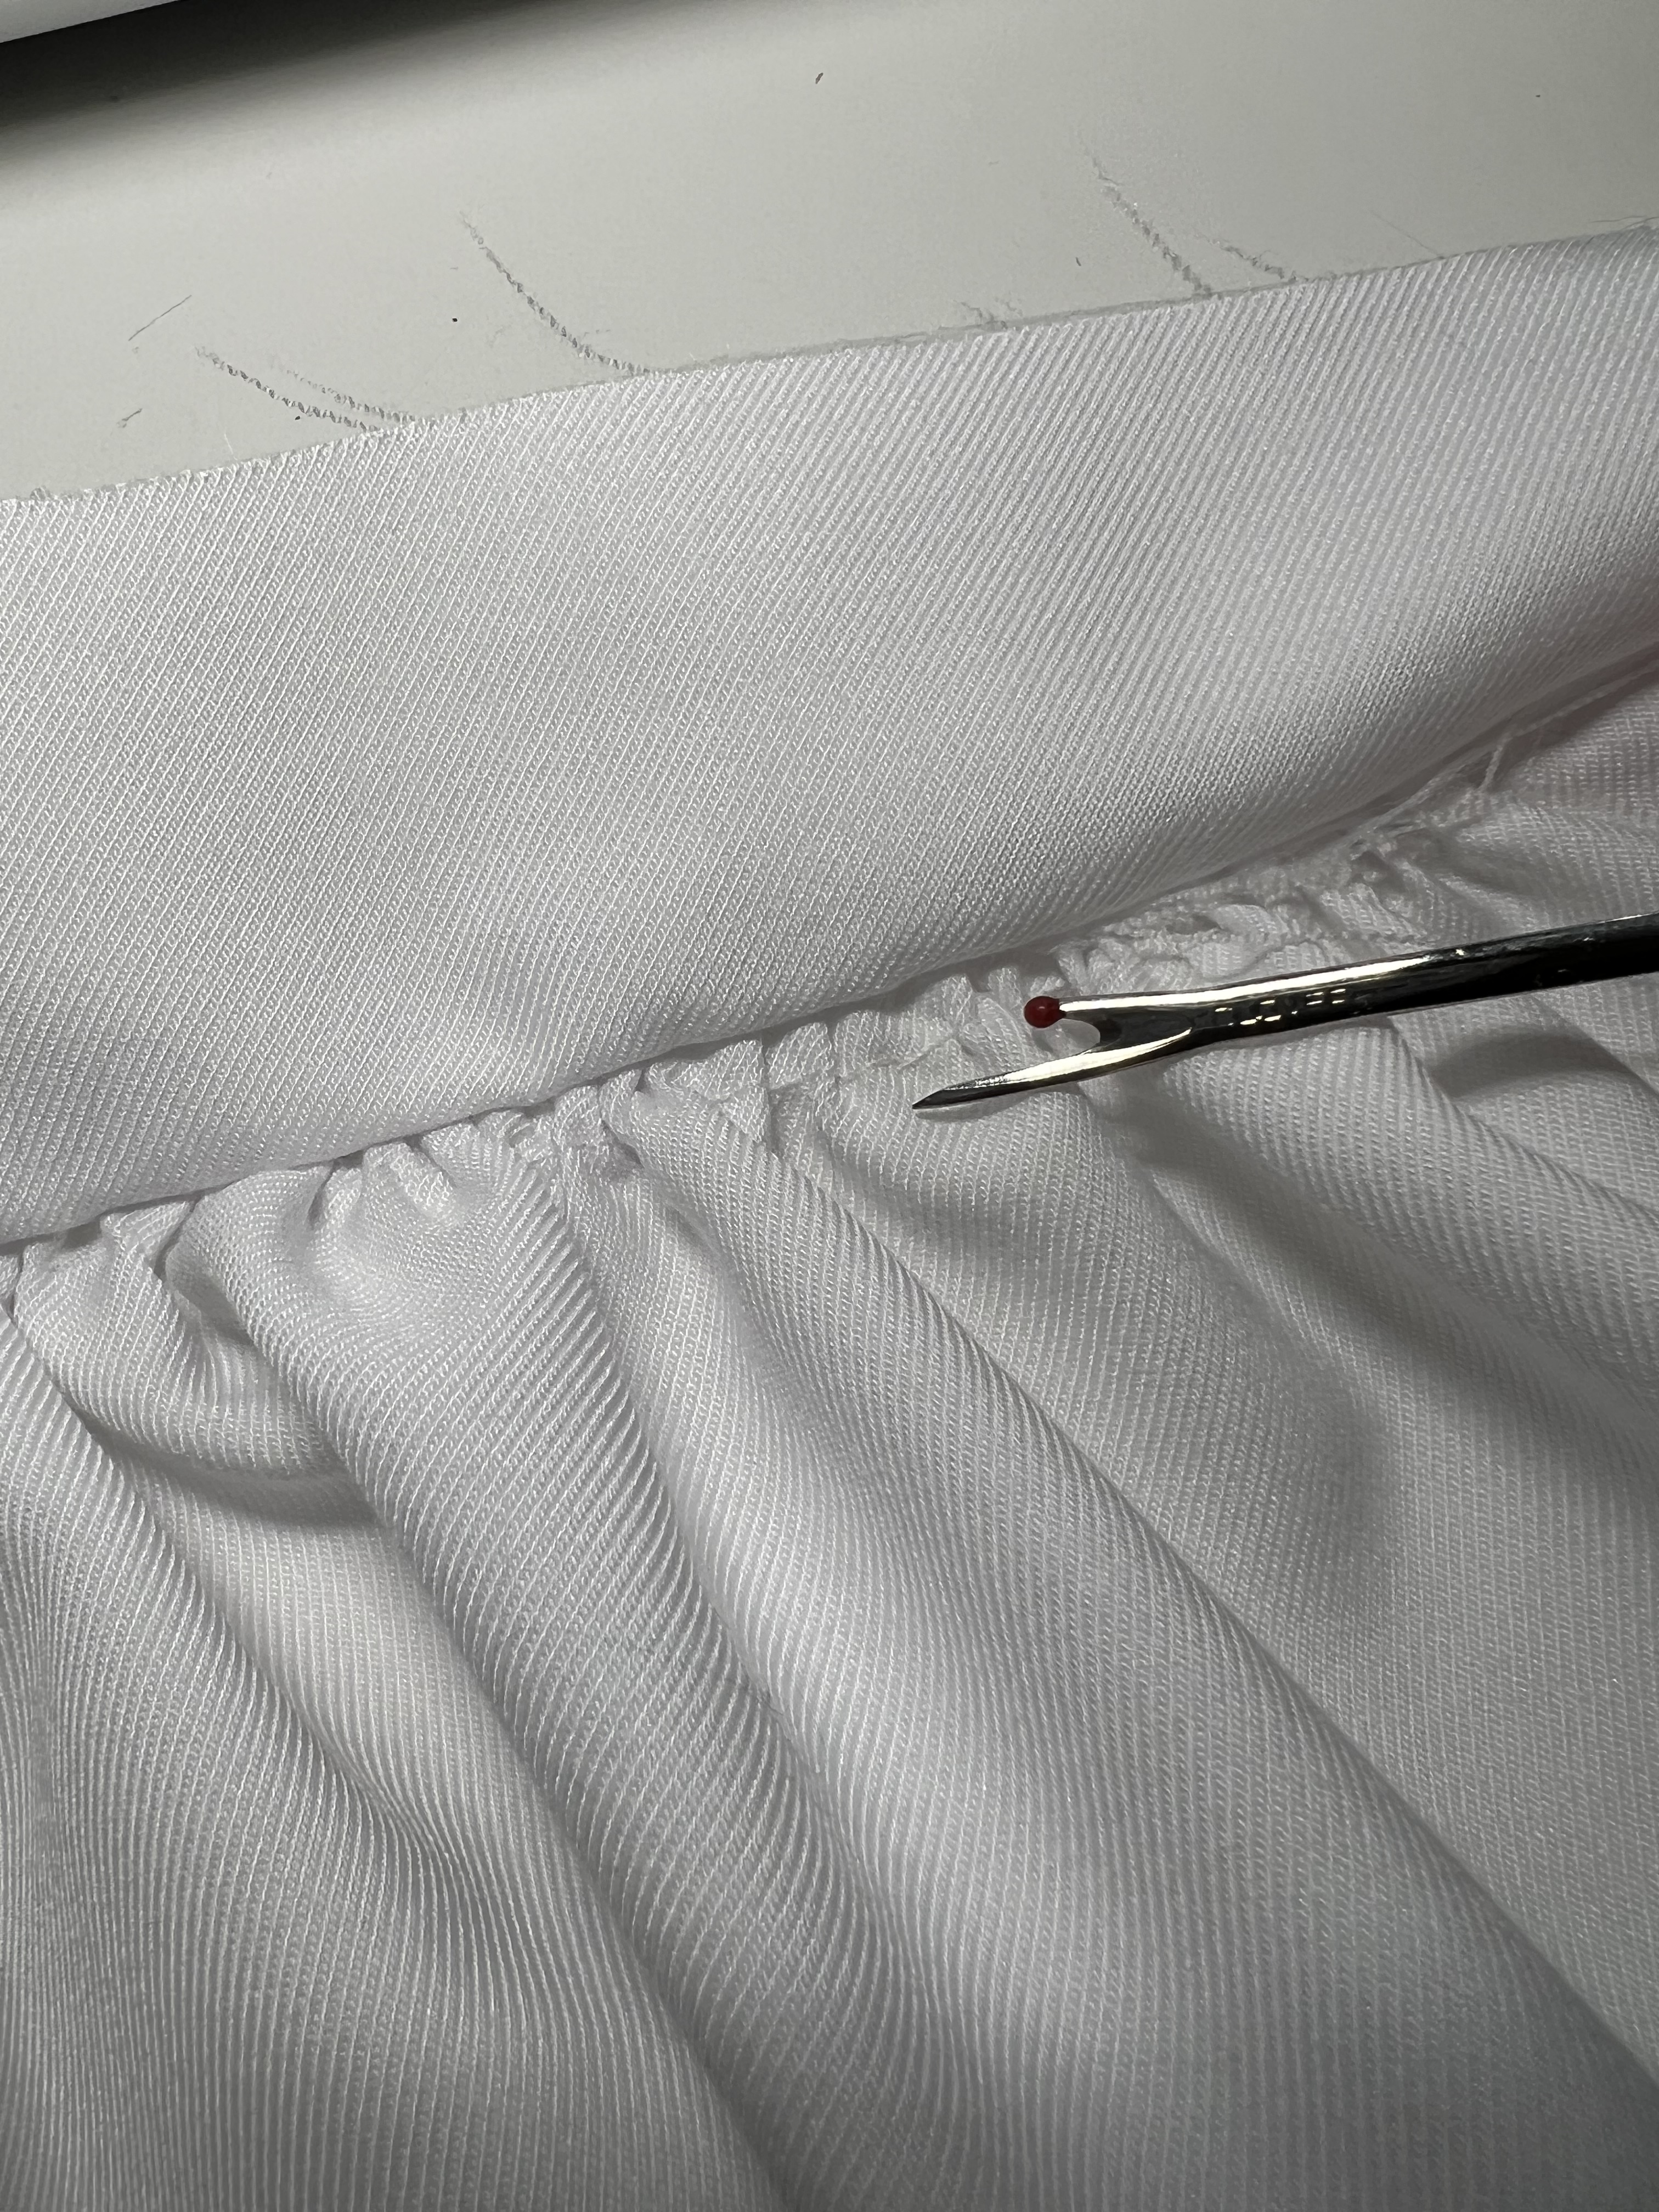
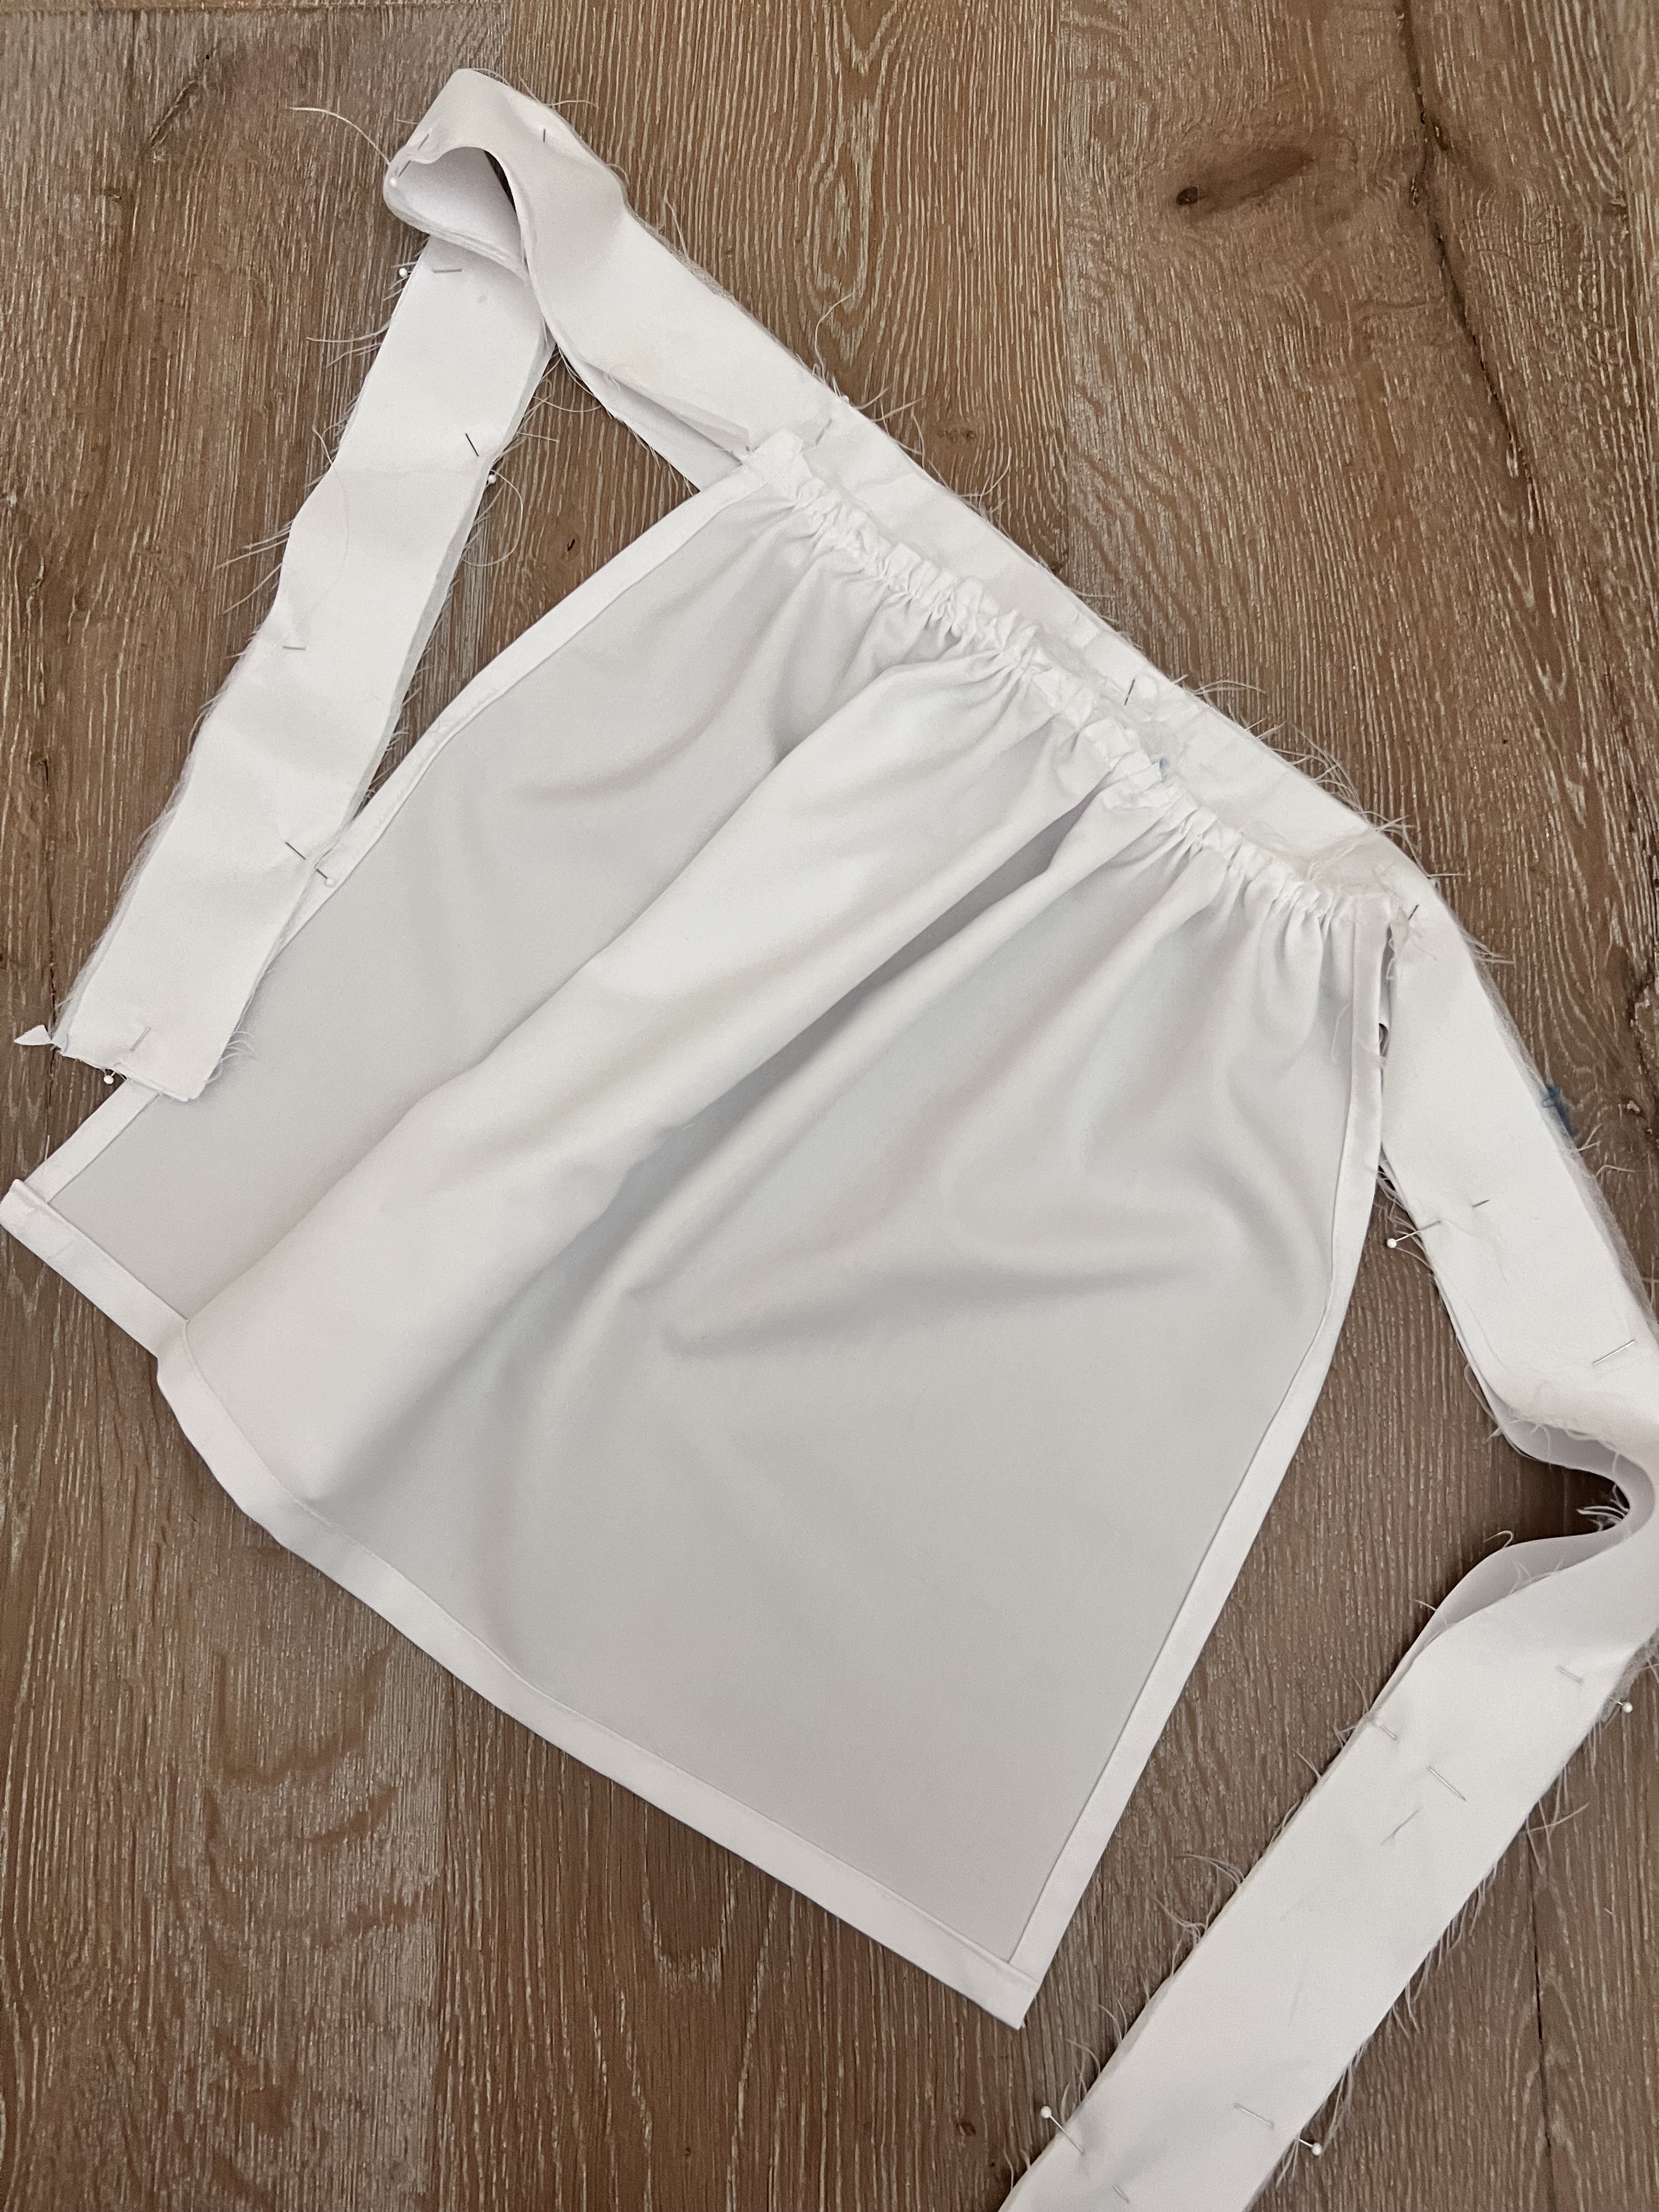
Step 5: Pin the two top edges of the apron skirt to these marks we just made on the waist tie right sides together, and gently pull your basting thread to gather the apron to fit in place, distributing the gathers evenly. Pin in place. Sew in place from the gathered edge. Unpick any basted stitches showing along the front.

Step 6: Press the skirt seam allowance upwards. Clip along the edges of the apron skirt. Pin the other waist tie right sides together with the skirt apron sandwiched in between. Sew just from the edge of the apron (where we clipped the seam all the around to the other side of the apron (also clipped) leaving the edge covering the gathered edge unsewn. I used a 1/2″ seam allowance. Trim the corner edges of the tie.
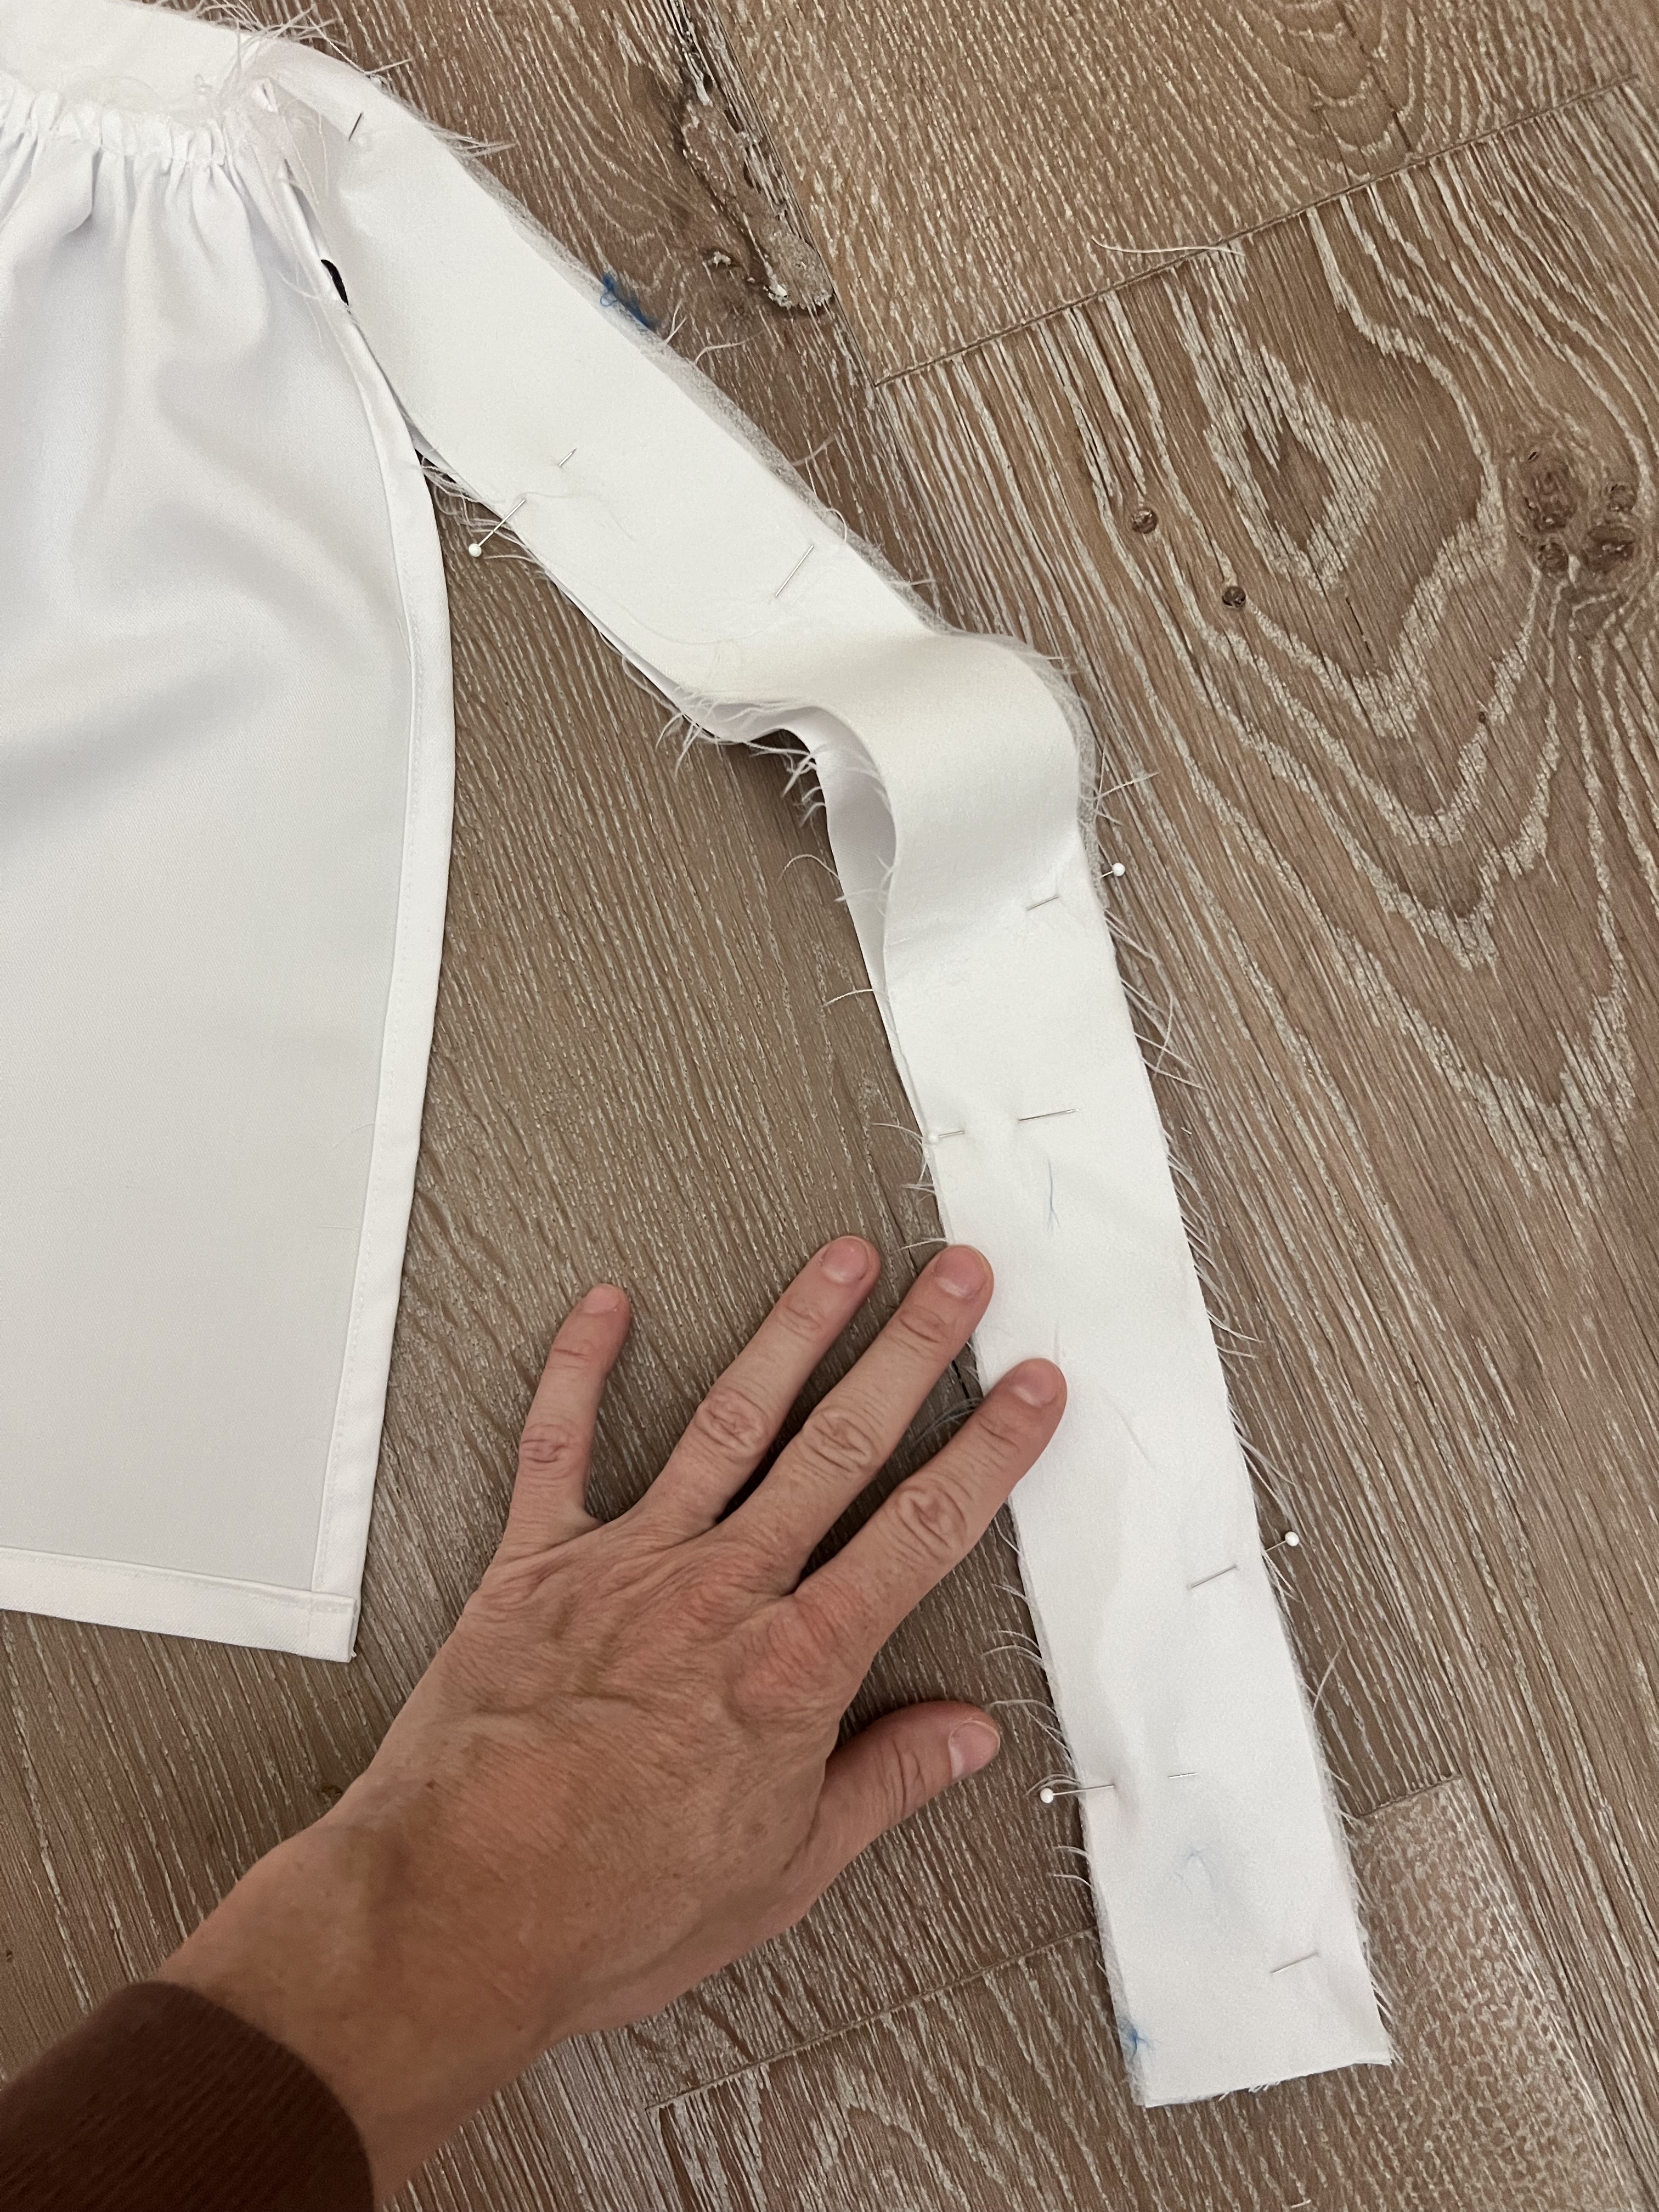
Step 7: Turn the waist tie right sides out and press. Press the sewn edge in at 1/2″ and pin in place over the gathered seam allowance of the apron skirt so the seam allowance is hidden. Top stitch around the whole waist tie to finish, catching the pinned edges.

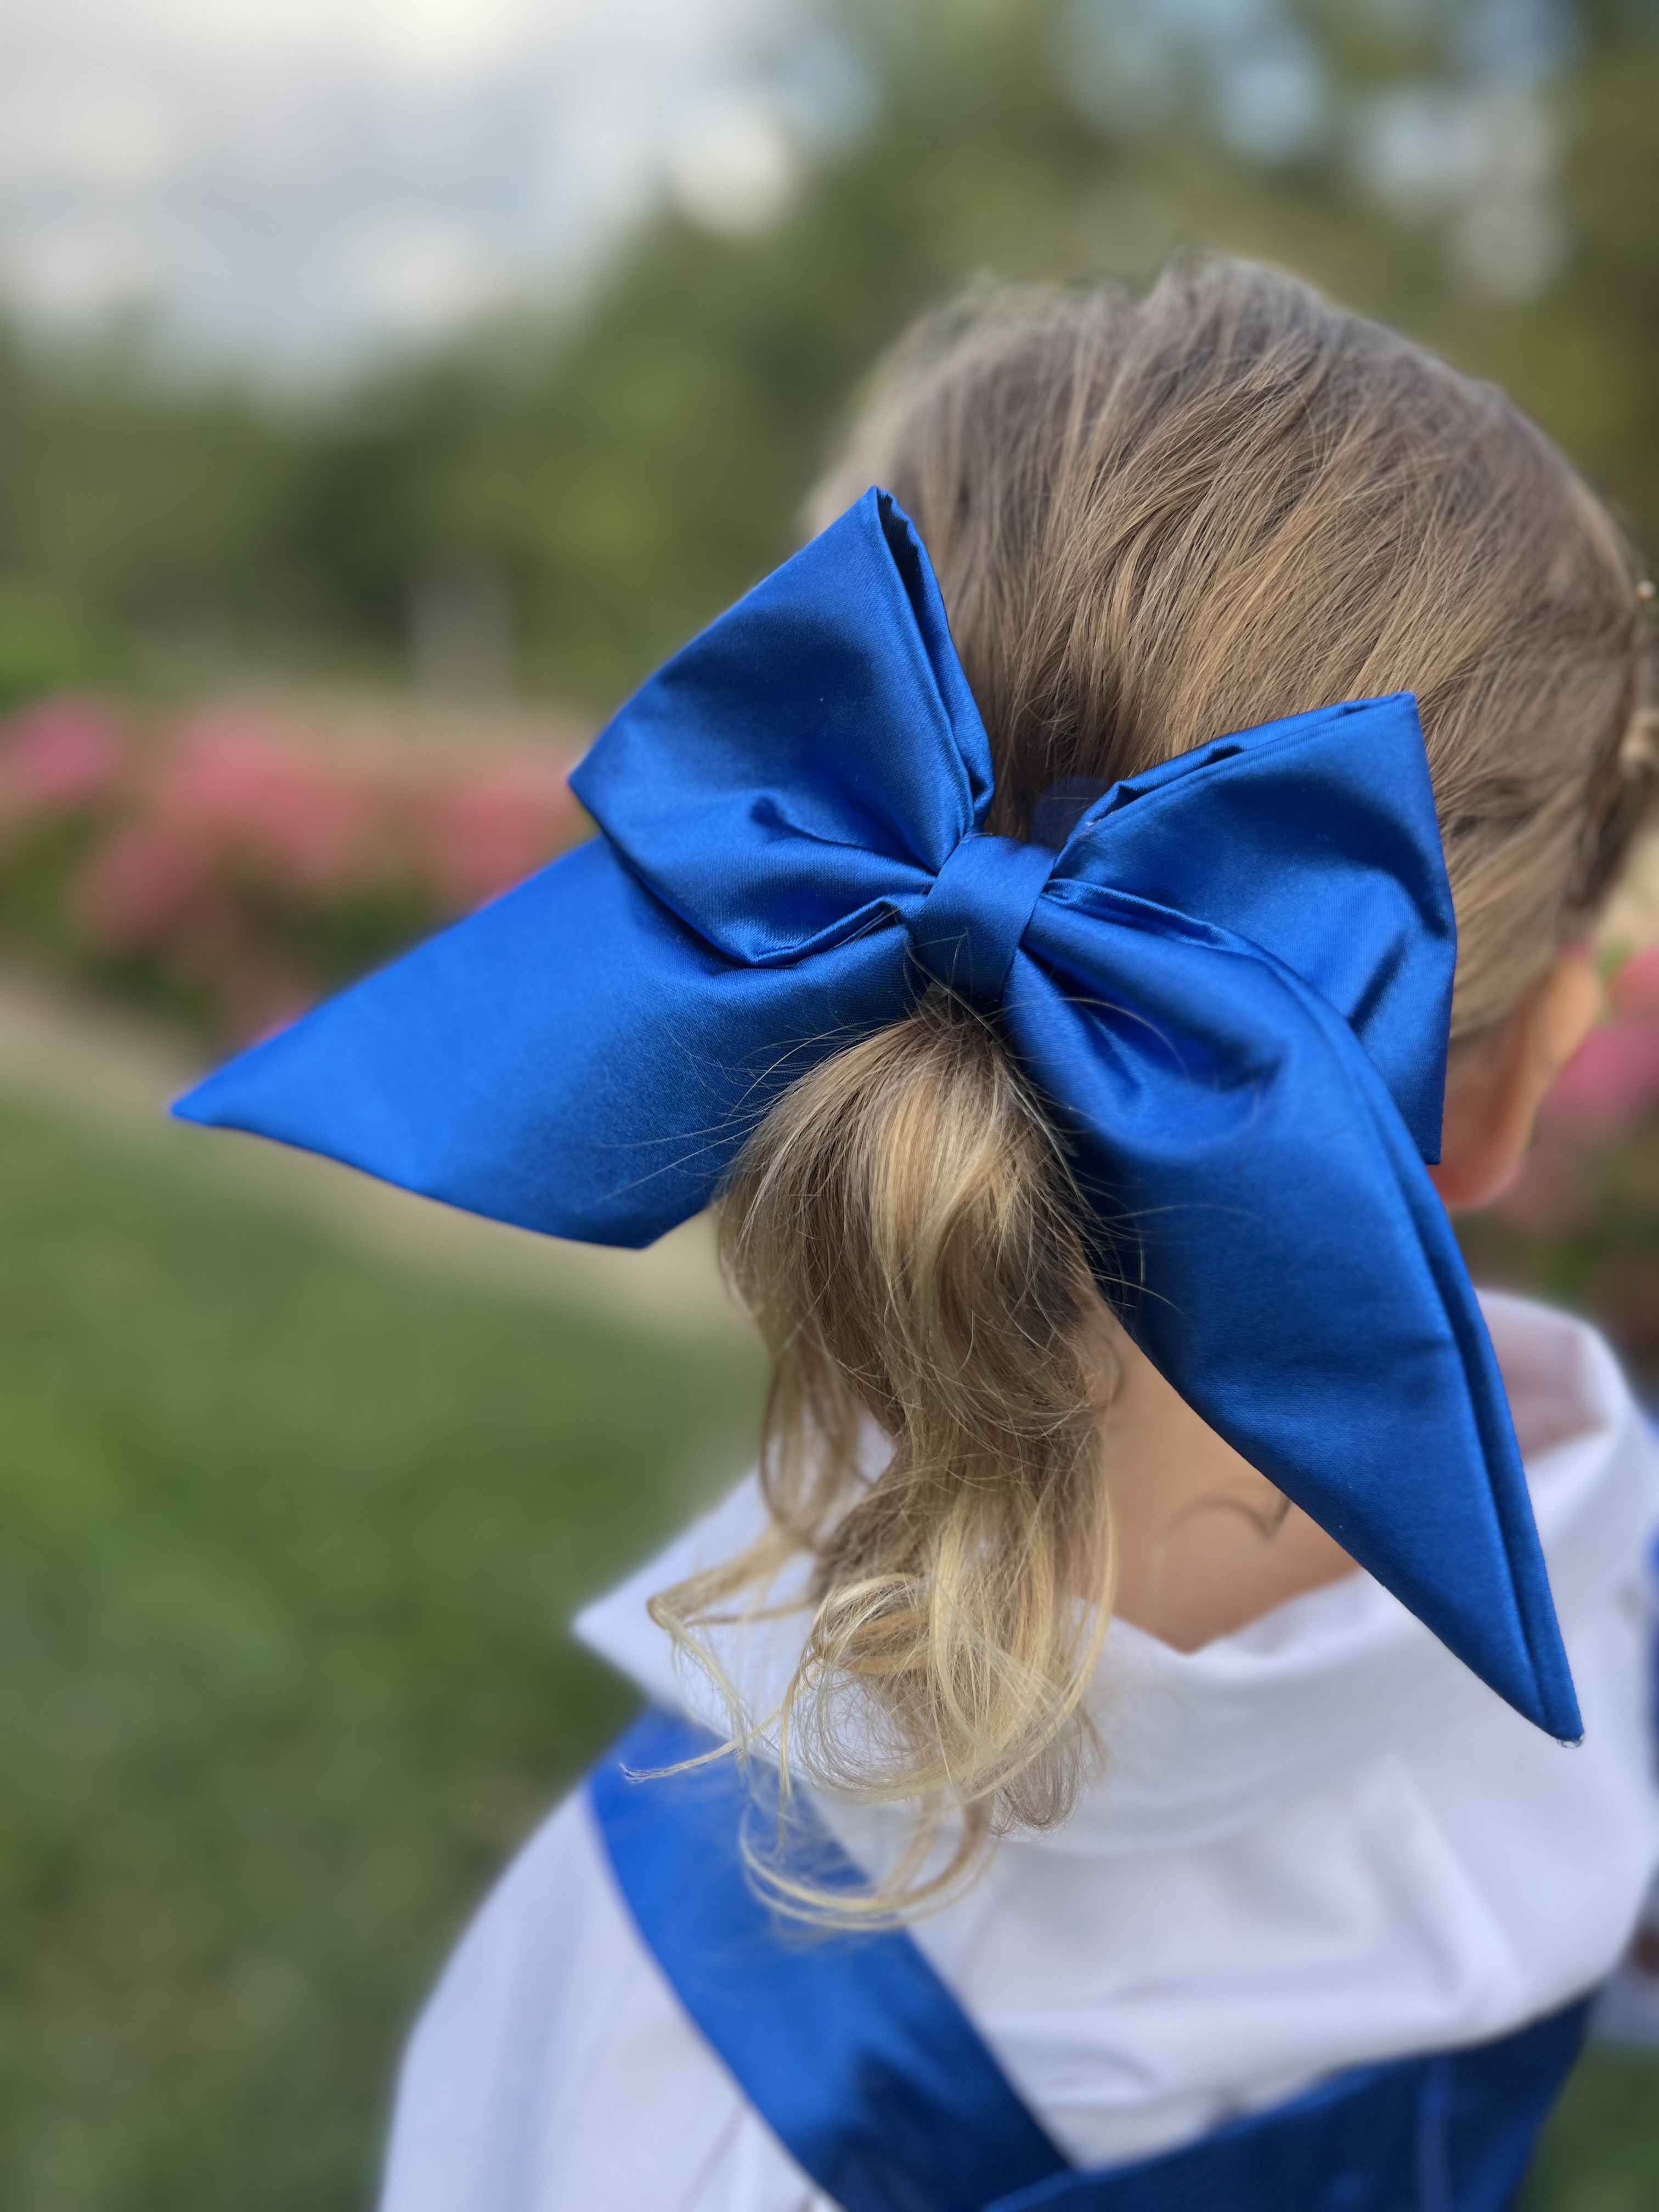
For the hair bow, I used this tutorial exactly using the same blue satin fabric, although I did interface my fabric for more structure:
Her little black flats can be found here.


And there we have it! We’re both thrilled with how it turned out and she can’t wait to wear it to all of our Halloween parties this year. Are you making any handmade costumes this year? Let me know i n the comments! Happy sewing!


Leave a comment