

This post is sponsored by Baby Lock, and I am a Baby Lock Ambassador. All opinions are my own.
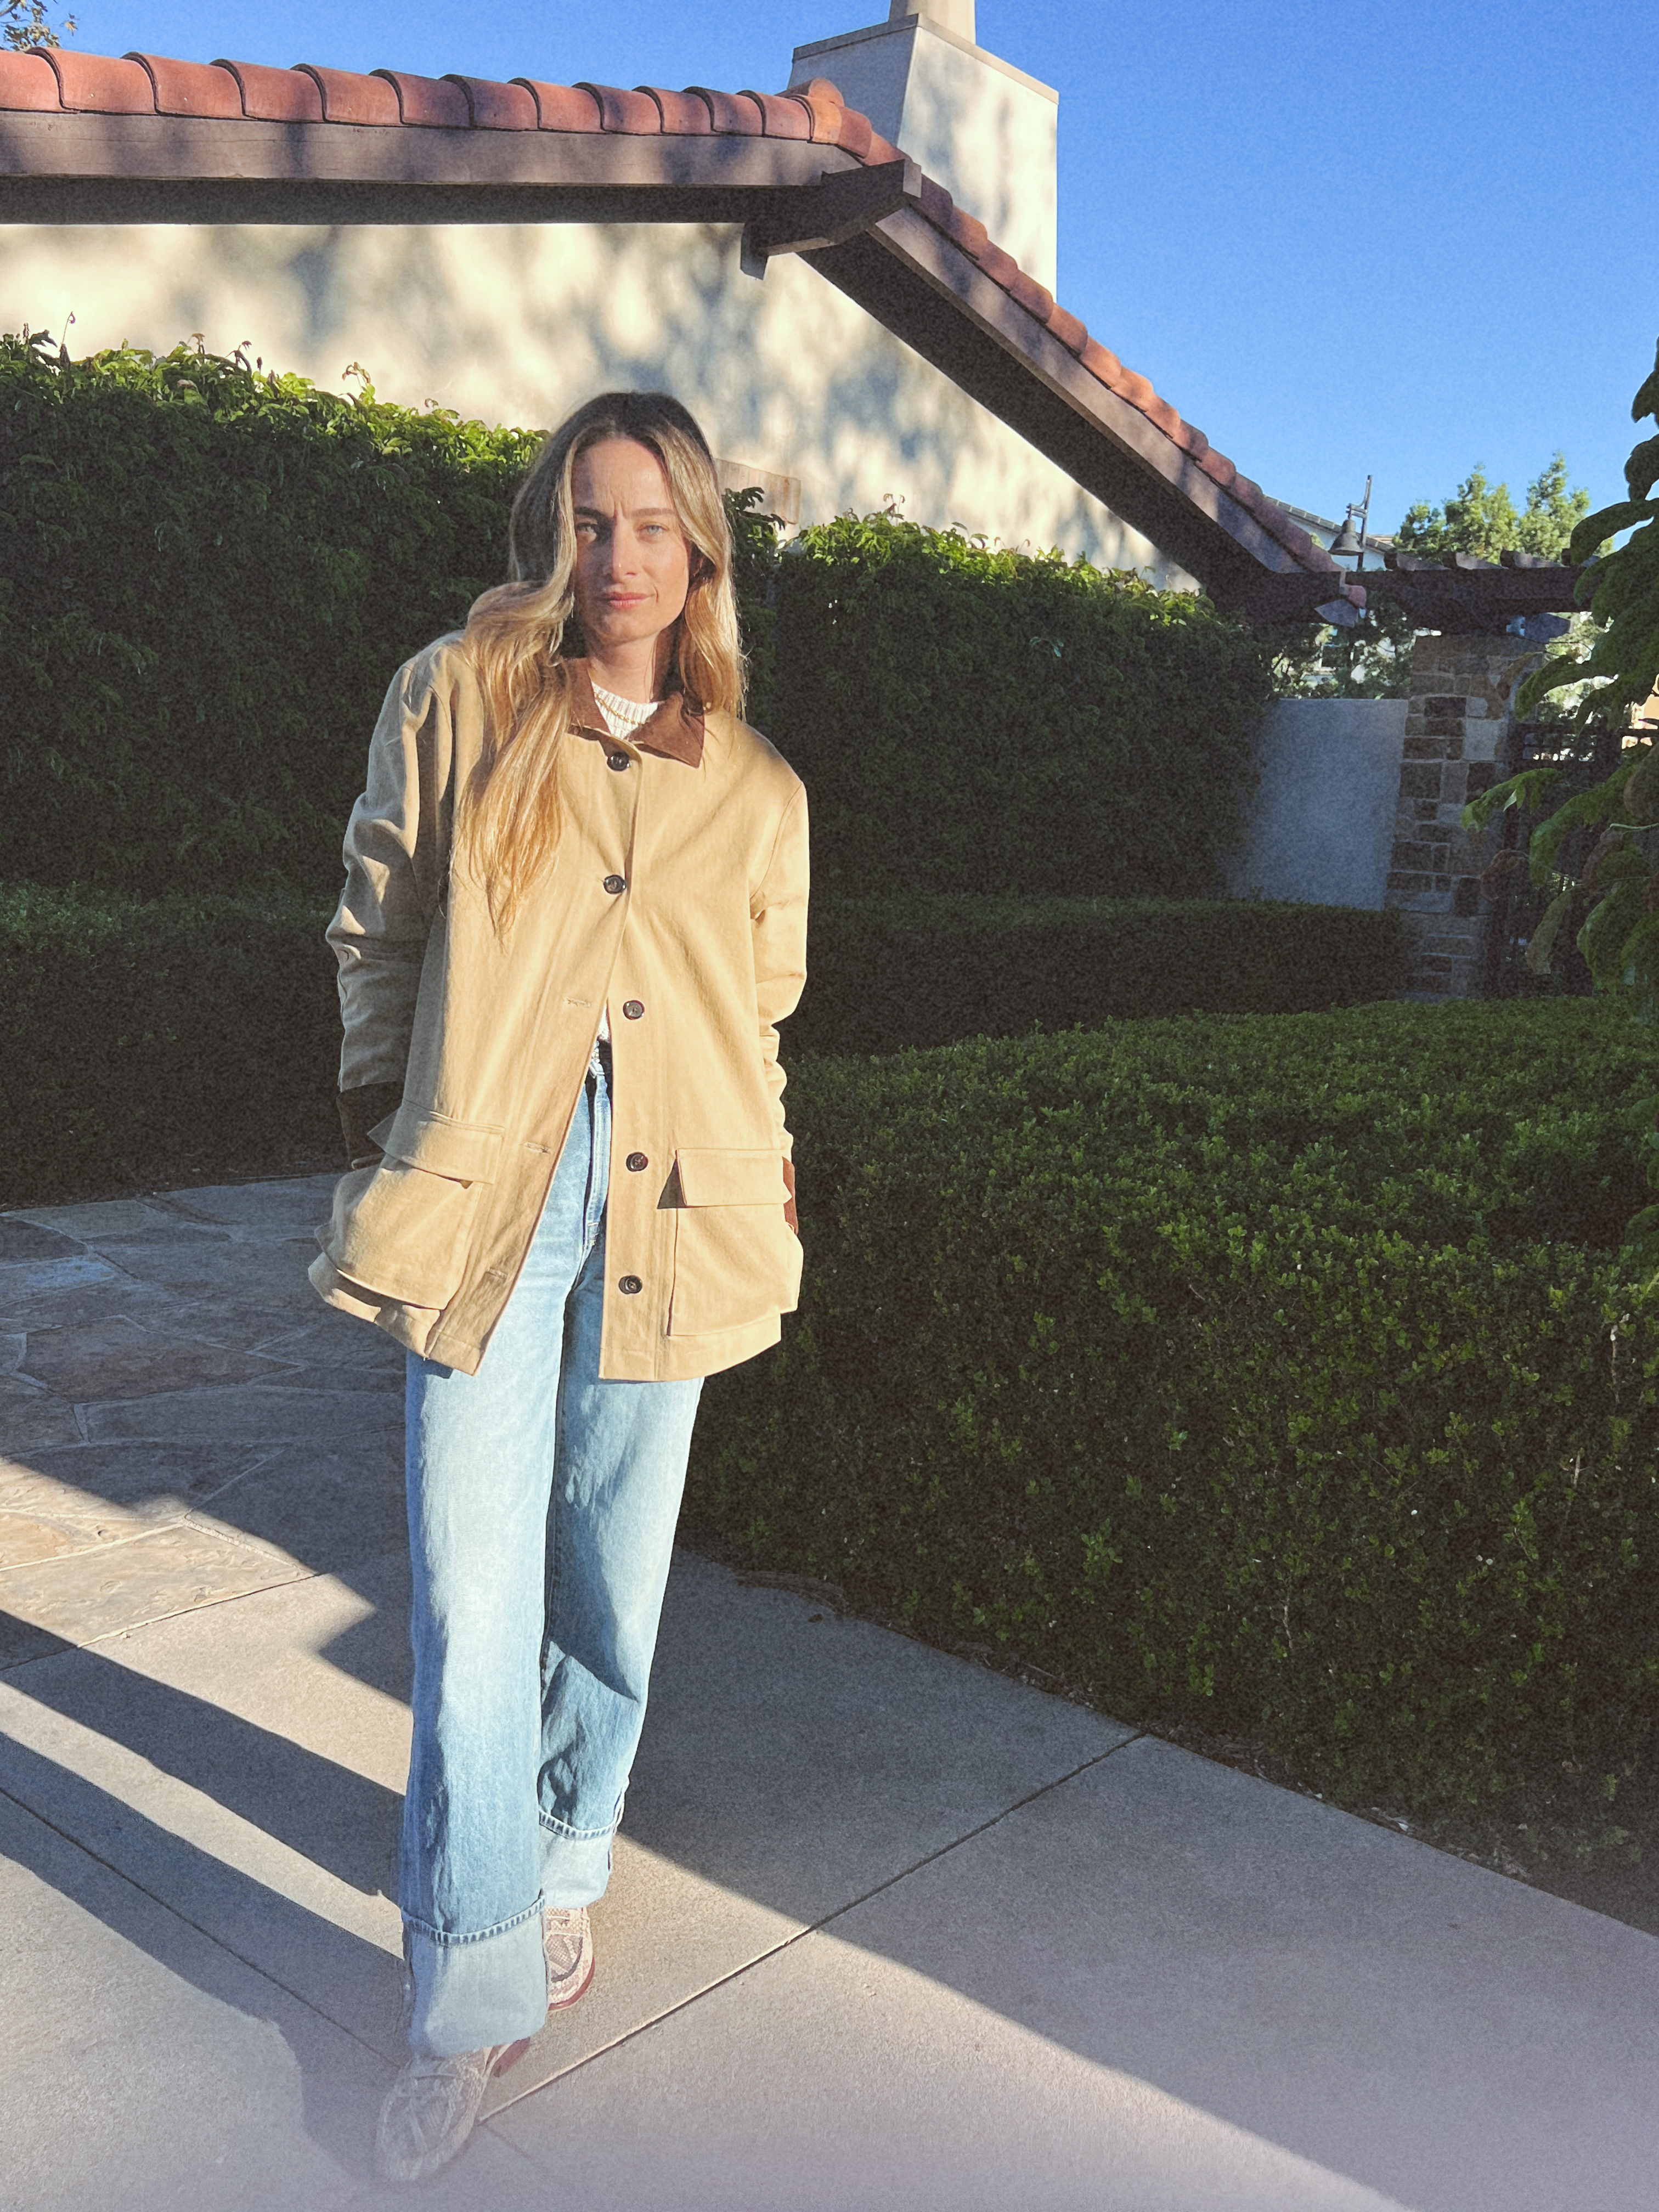
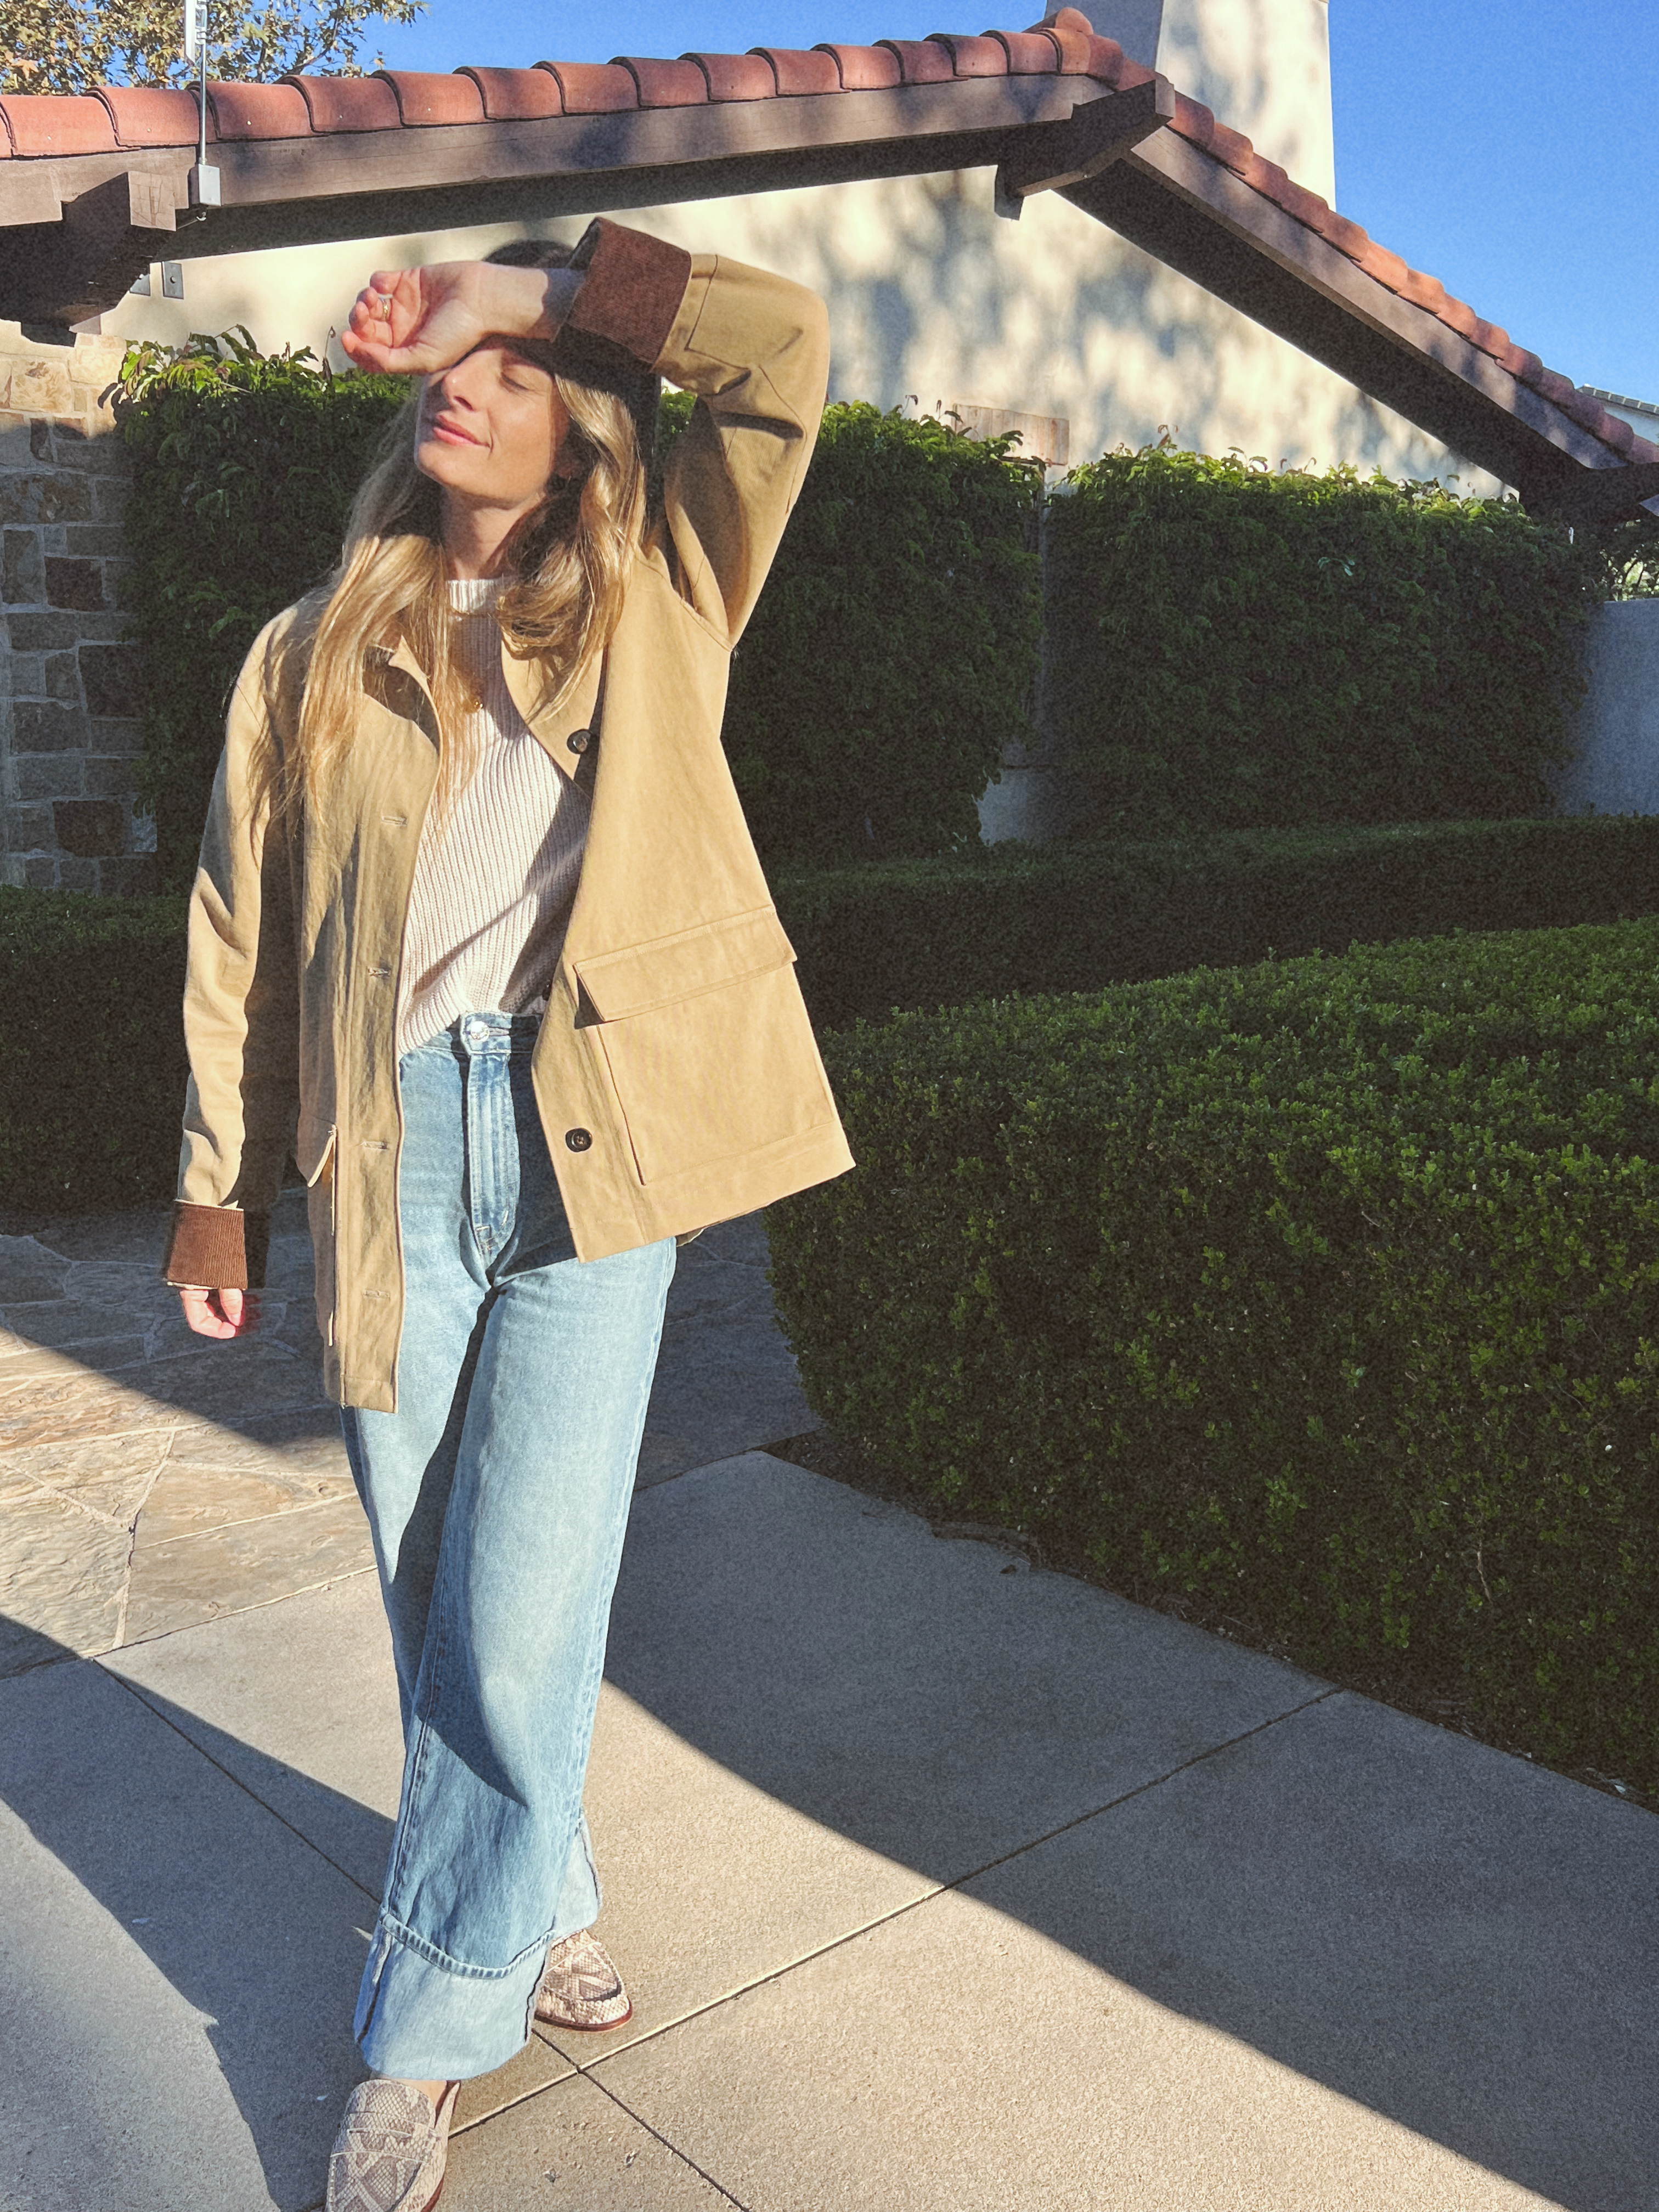
The classic Barn Jacket is making a return this fall. From Kate Middleton to street style influencers, they are everywhere!! Many people are turning to second hand barn jackets this season. I particularly love the classic L.L Bean Barn Jacket. After spending a lot of time searching, I finally decided upon making my own jacket. Many of the vintage ones are super long and would need to be altered. I figured if I make my own I can get the exact fit that I want.

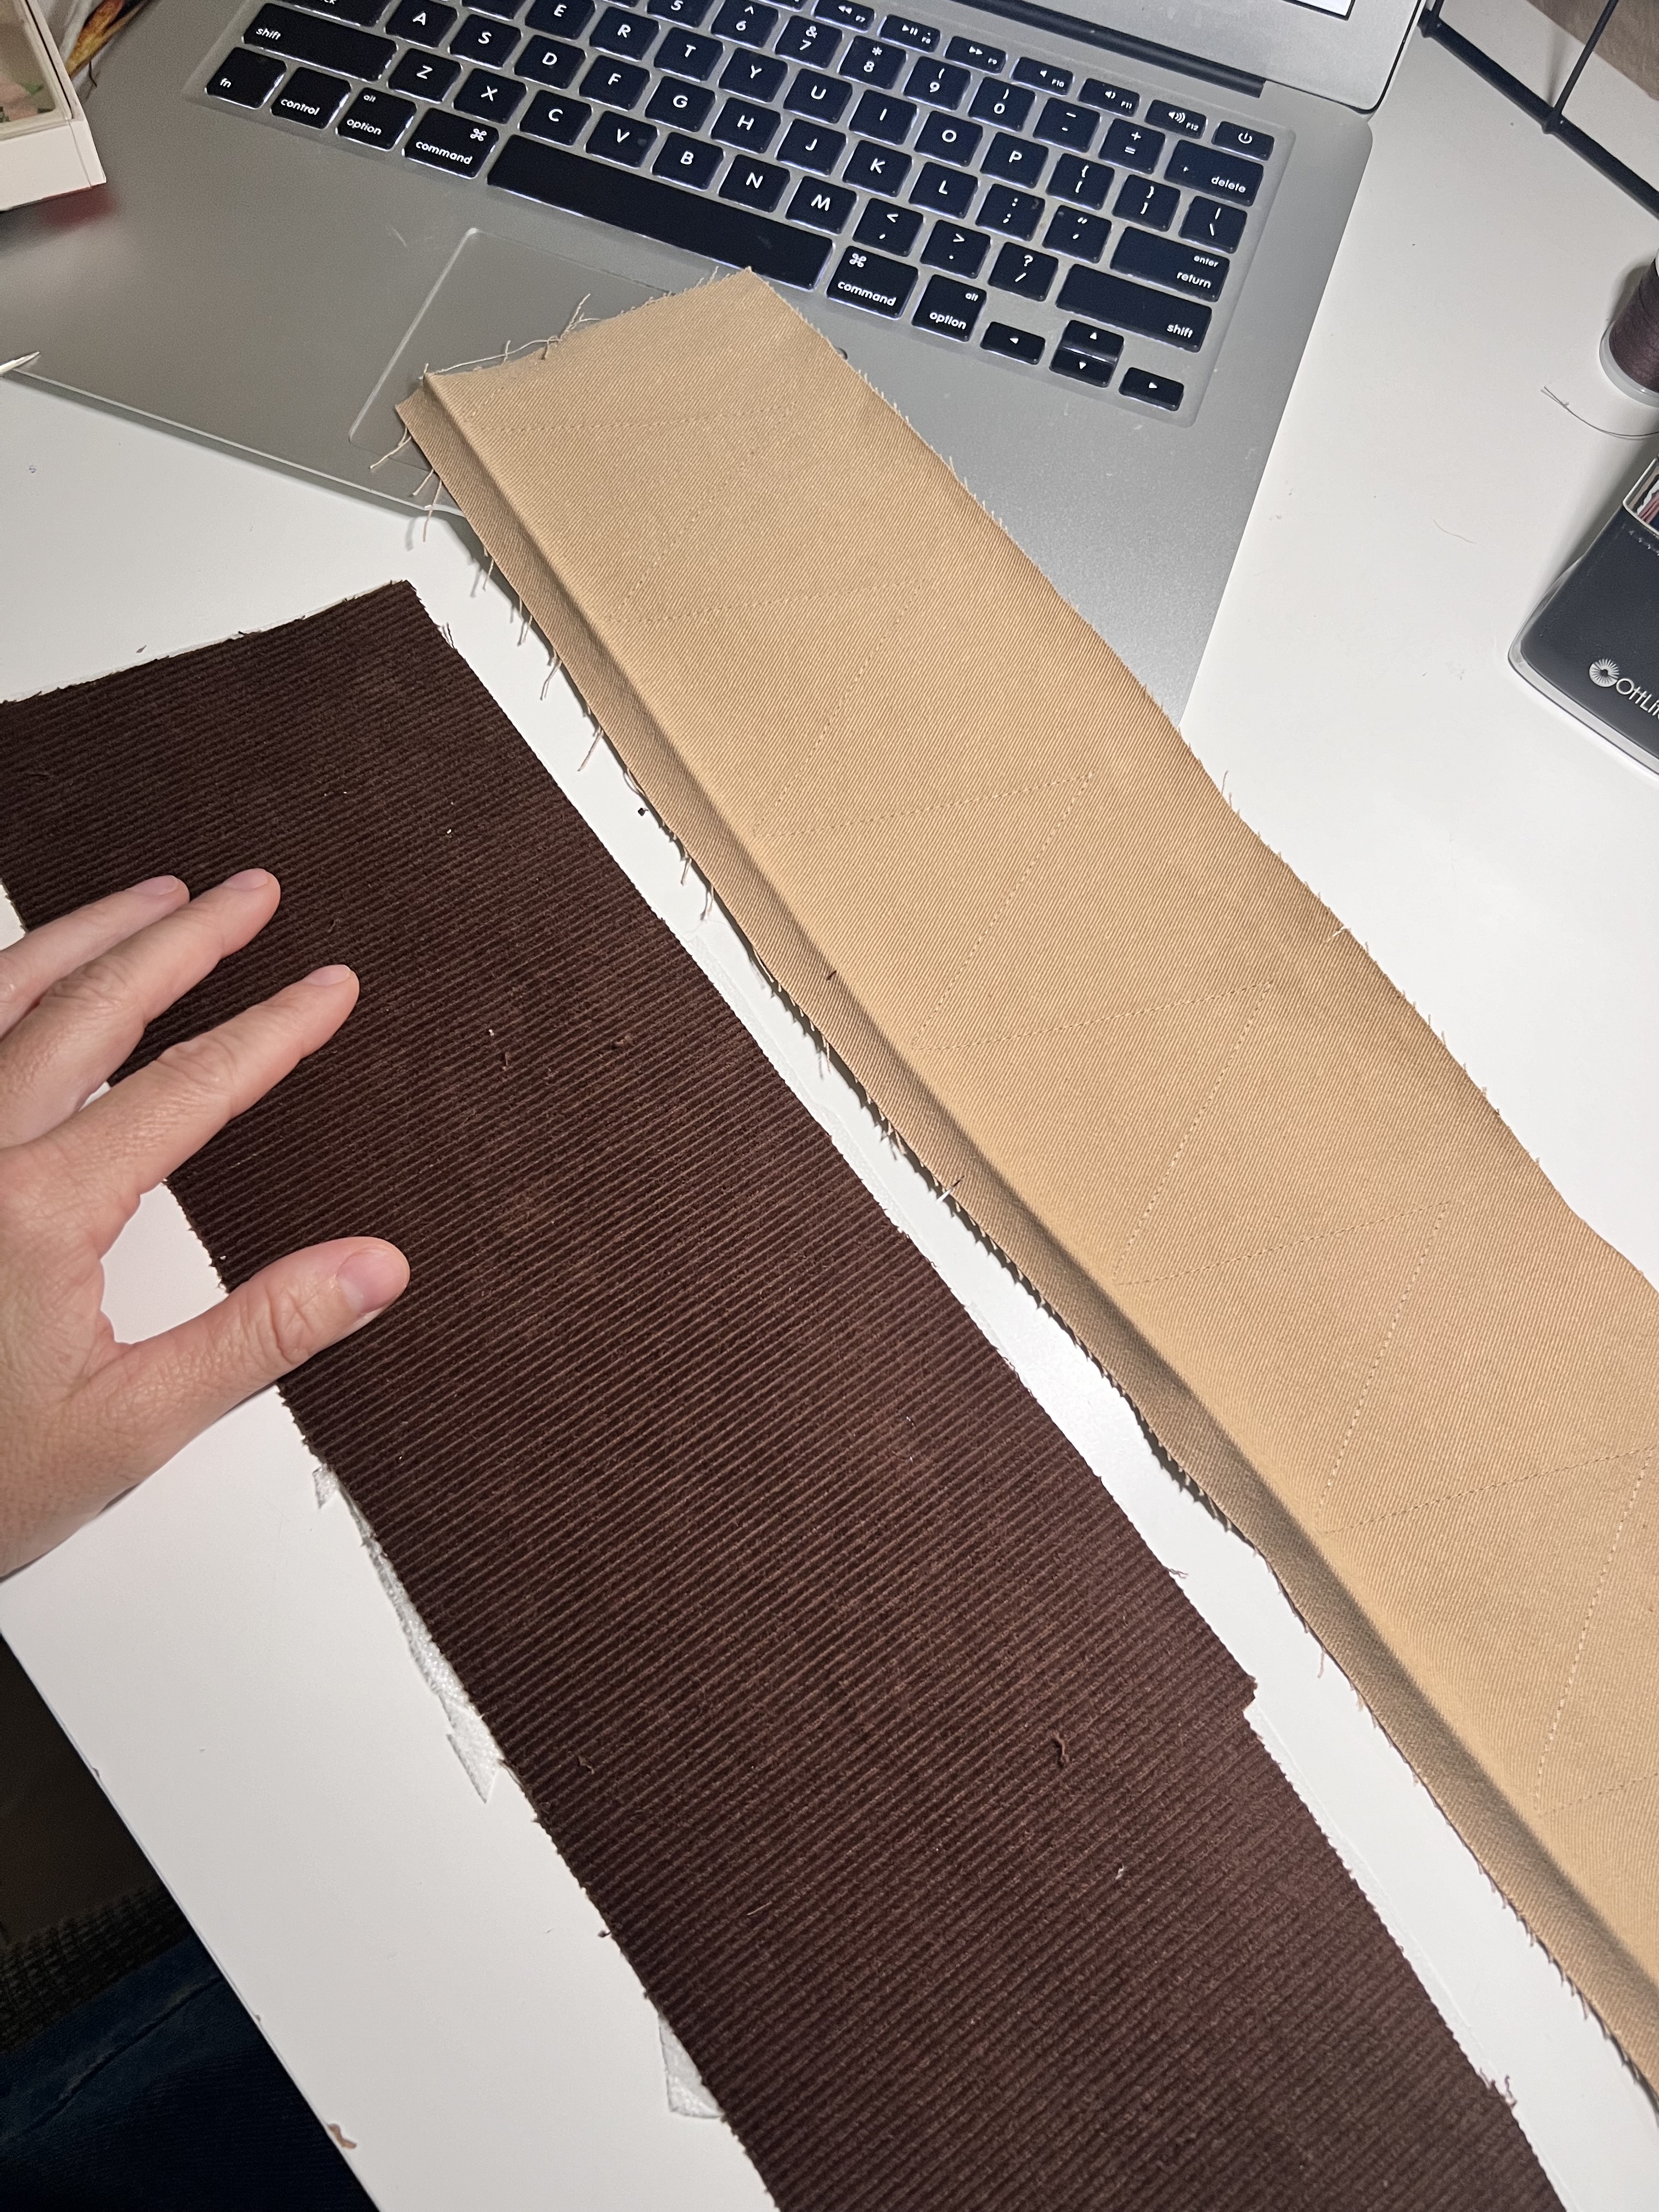
I’ve had my eye on the new Merchant and Mills Paynter Jacket Field Jacket pattern, and I decided it would be perfect for what I want in my barn jacket. Next, I found my way to Blackbird Fabrics where I found the most perfect 9 oz lived in twill in the color “Granola”. They also had the perfect dark brown “umber” corduroy for the contrasting color and cuffs that I was dreaming of. I ended up ordering my buttons off of amazon, they are really great quality and exactly what I was looking for. You can find them linked here.

I spent a lot of time figuring out what size I wanted to make, comparing past RTW Paynter Jackets in the Barn Jacket style to the measurements of the pattern. I decided to make the size small without adjusting for the women’s sizing. My measurements put me at a size XS, so I sized up one size. I loved that this pattern is unisex so I could achieve an oversized look. I added 1 1/2cm to the length, but looking back I don’t think it was necessary. That being said, I am really happy with the finished length.

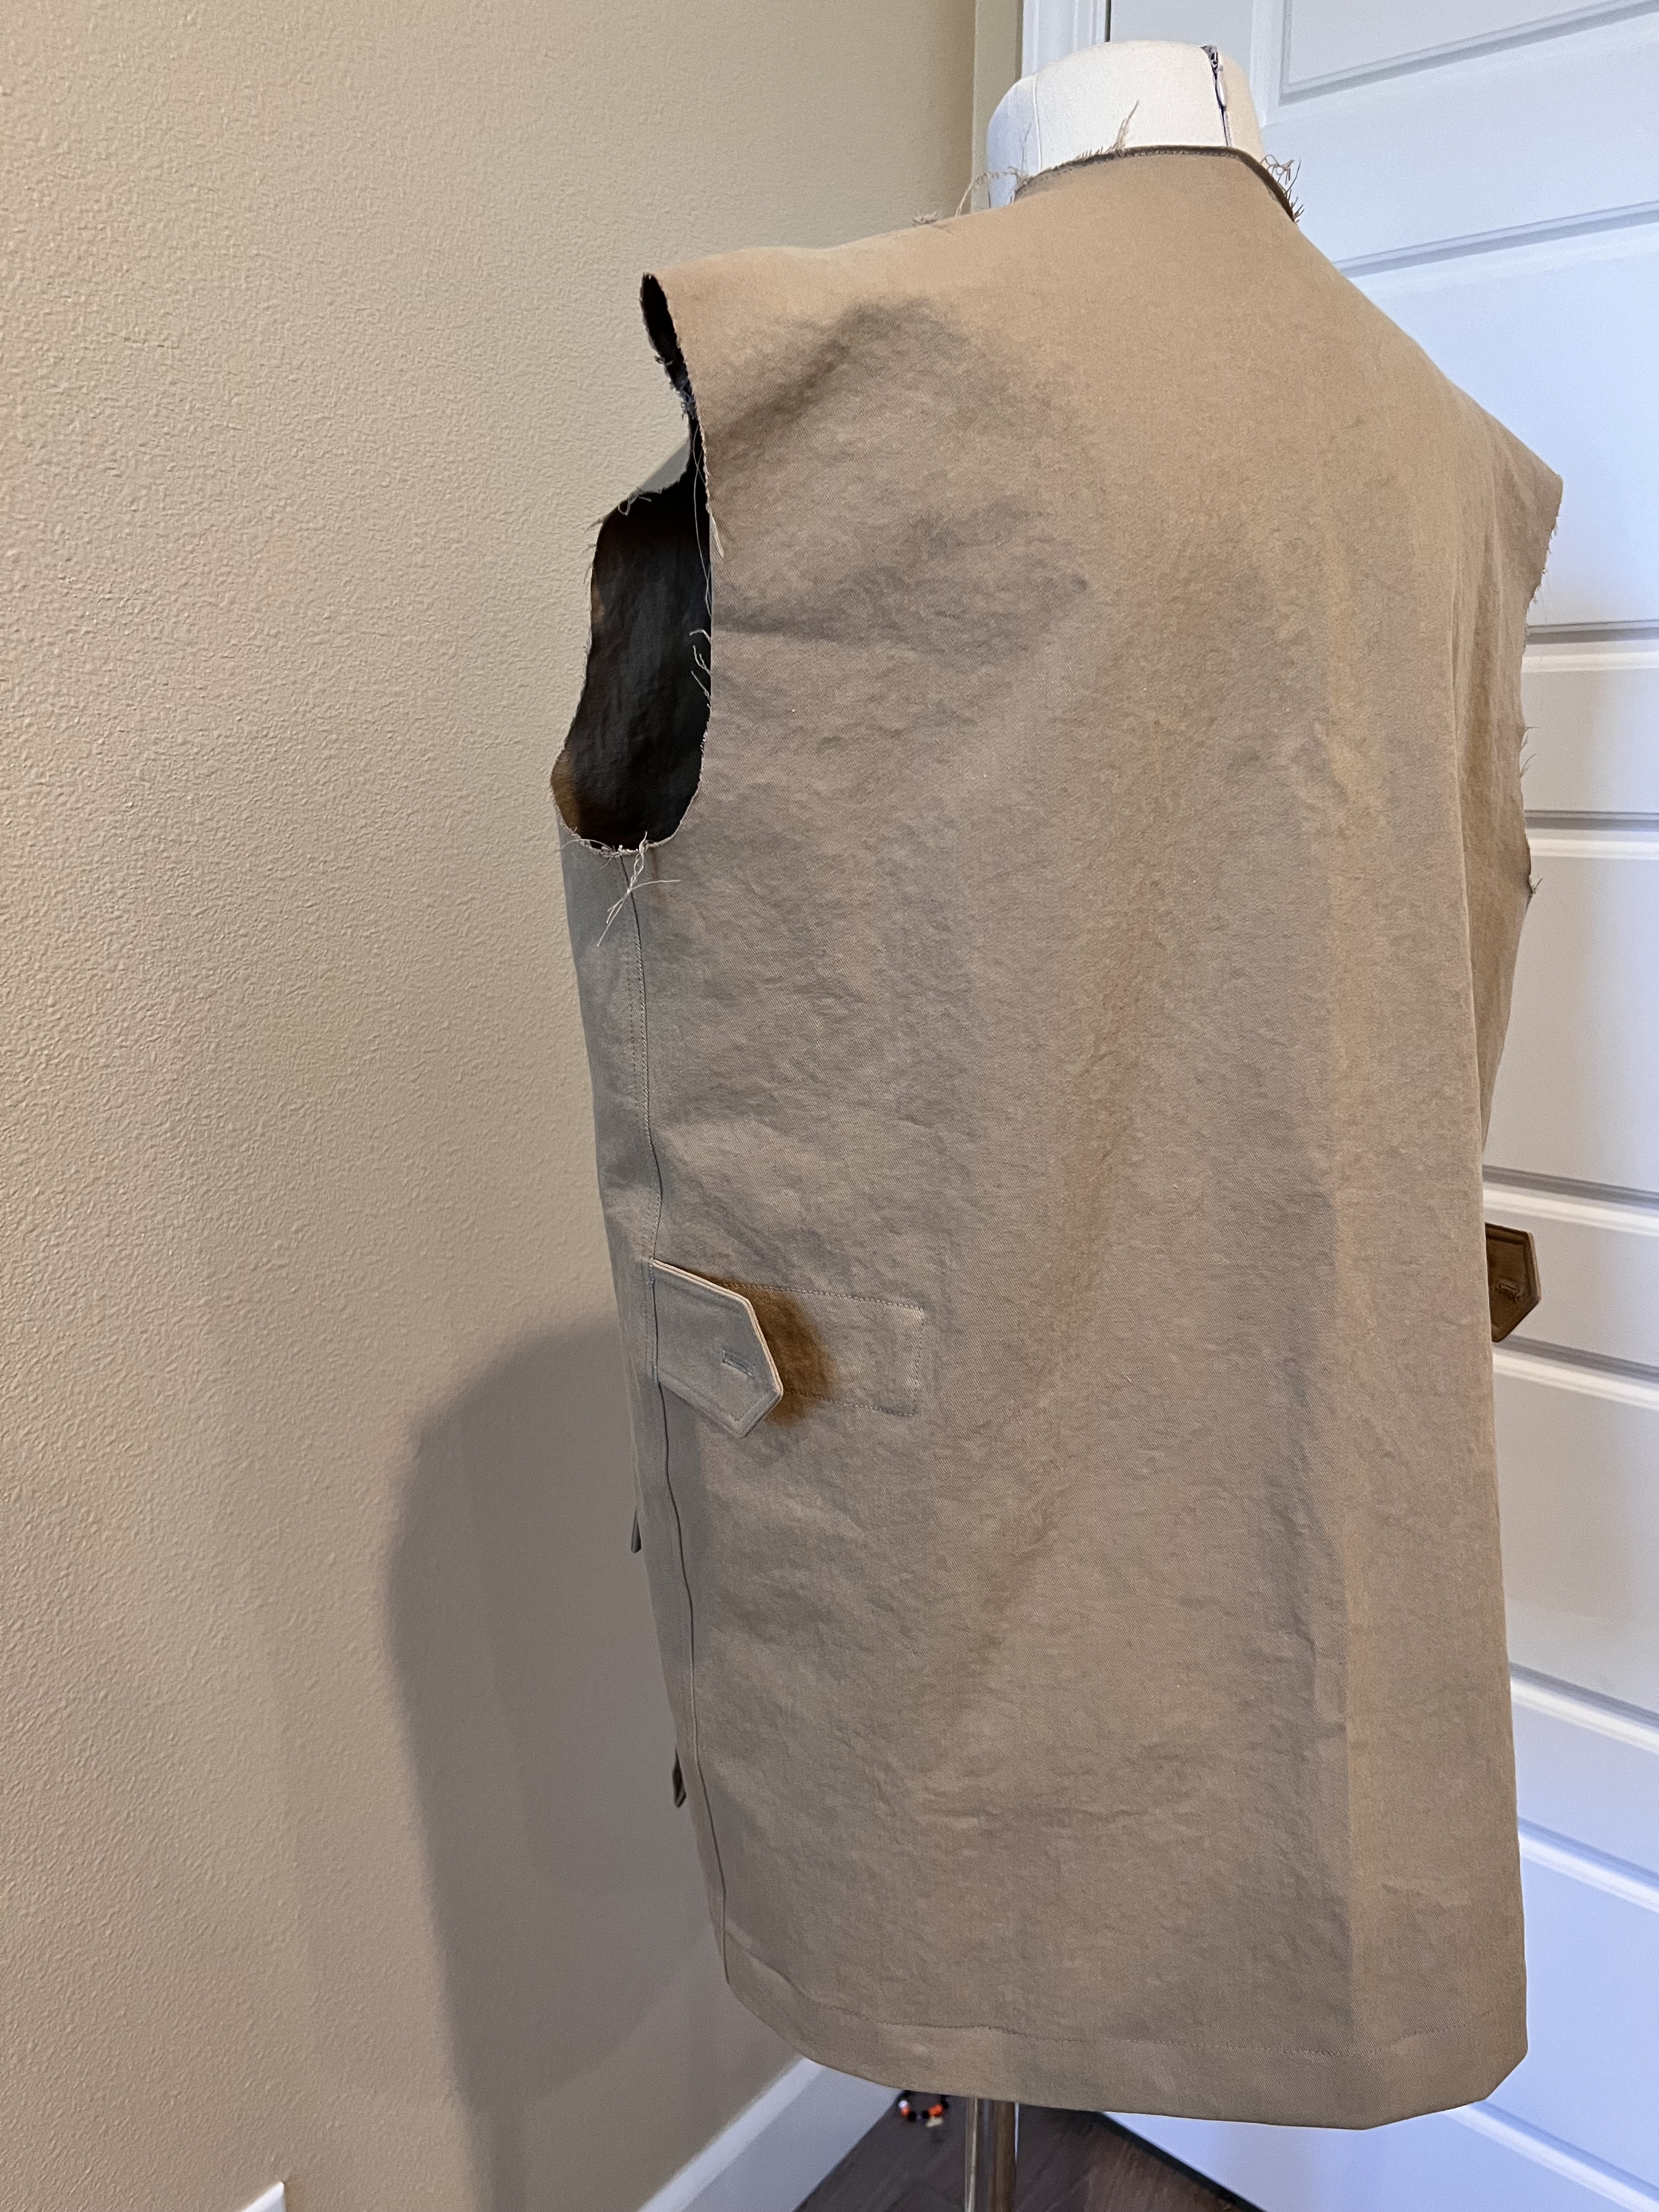
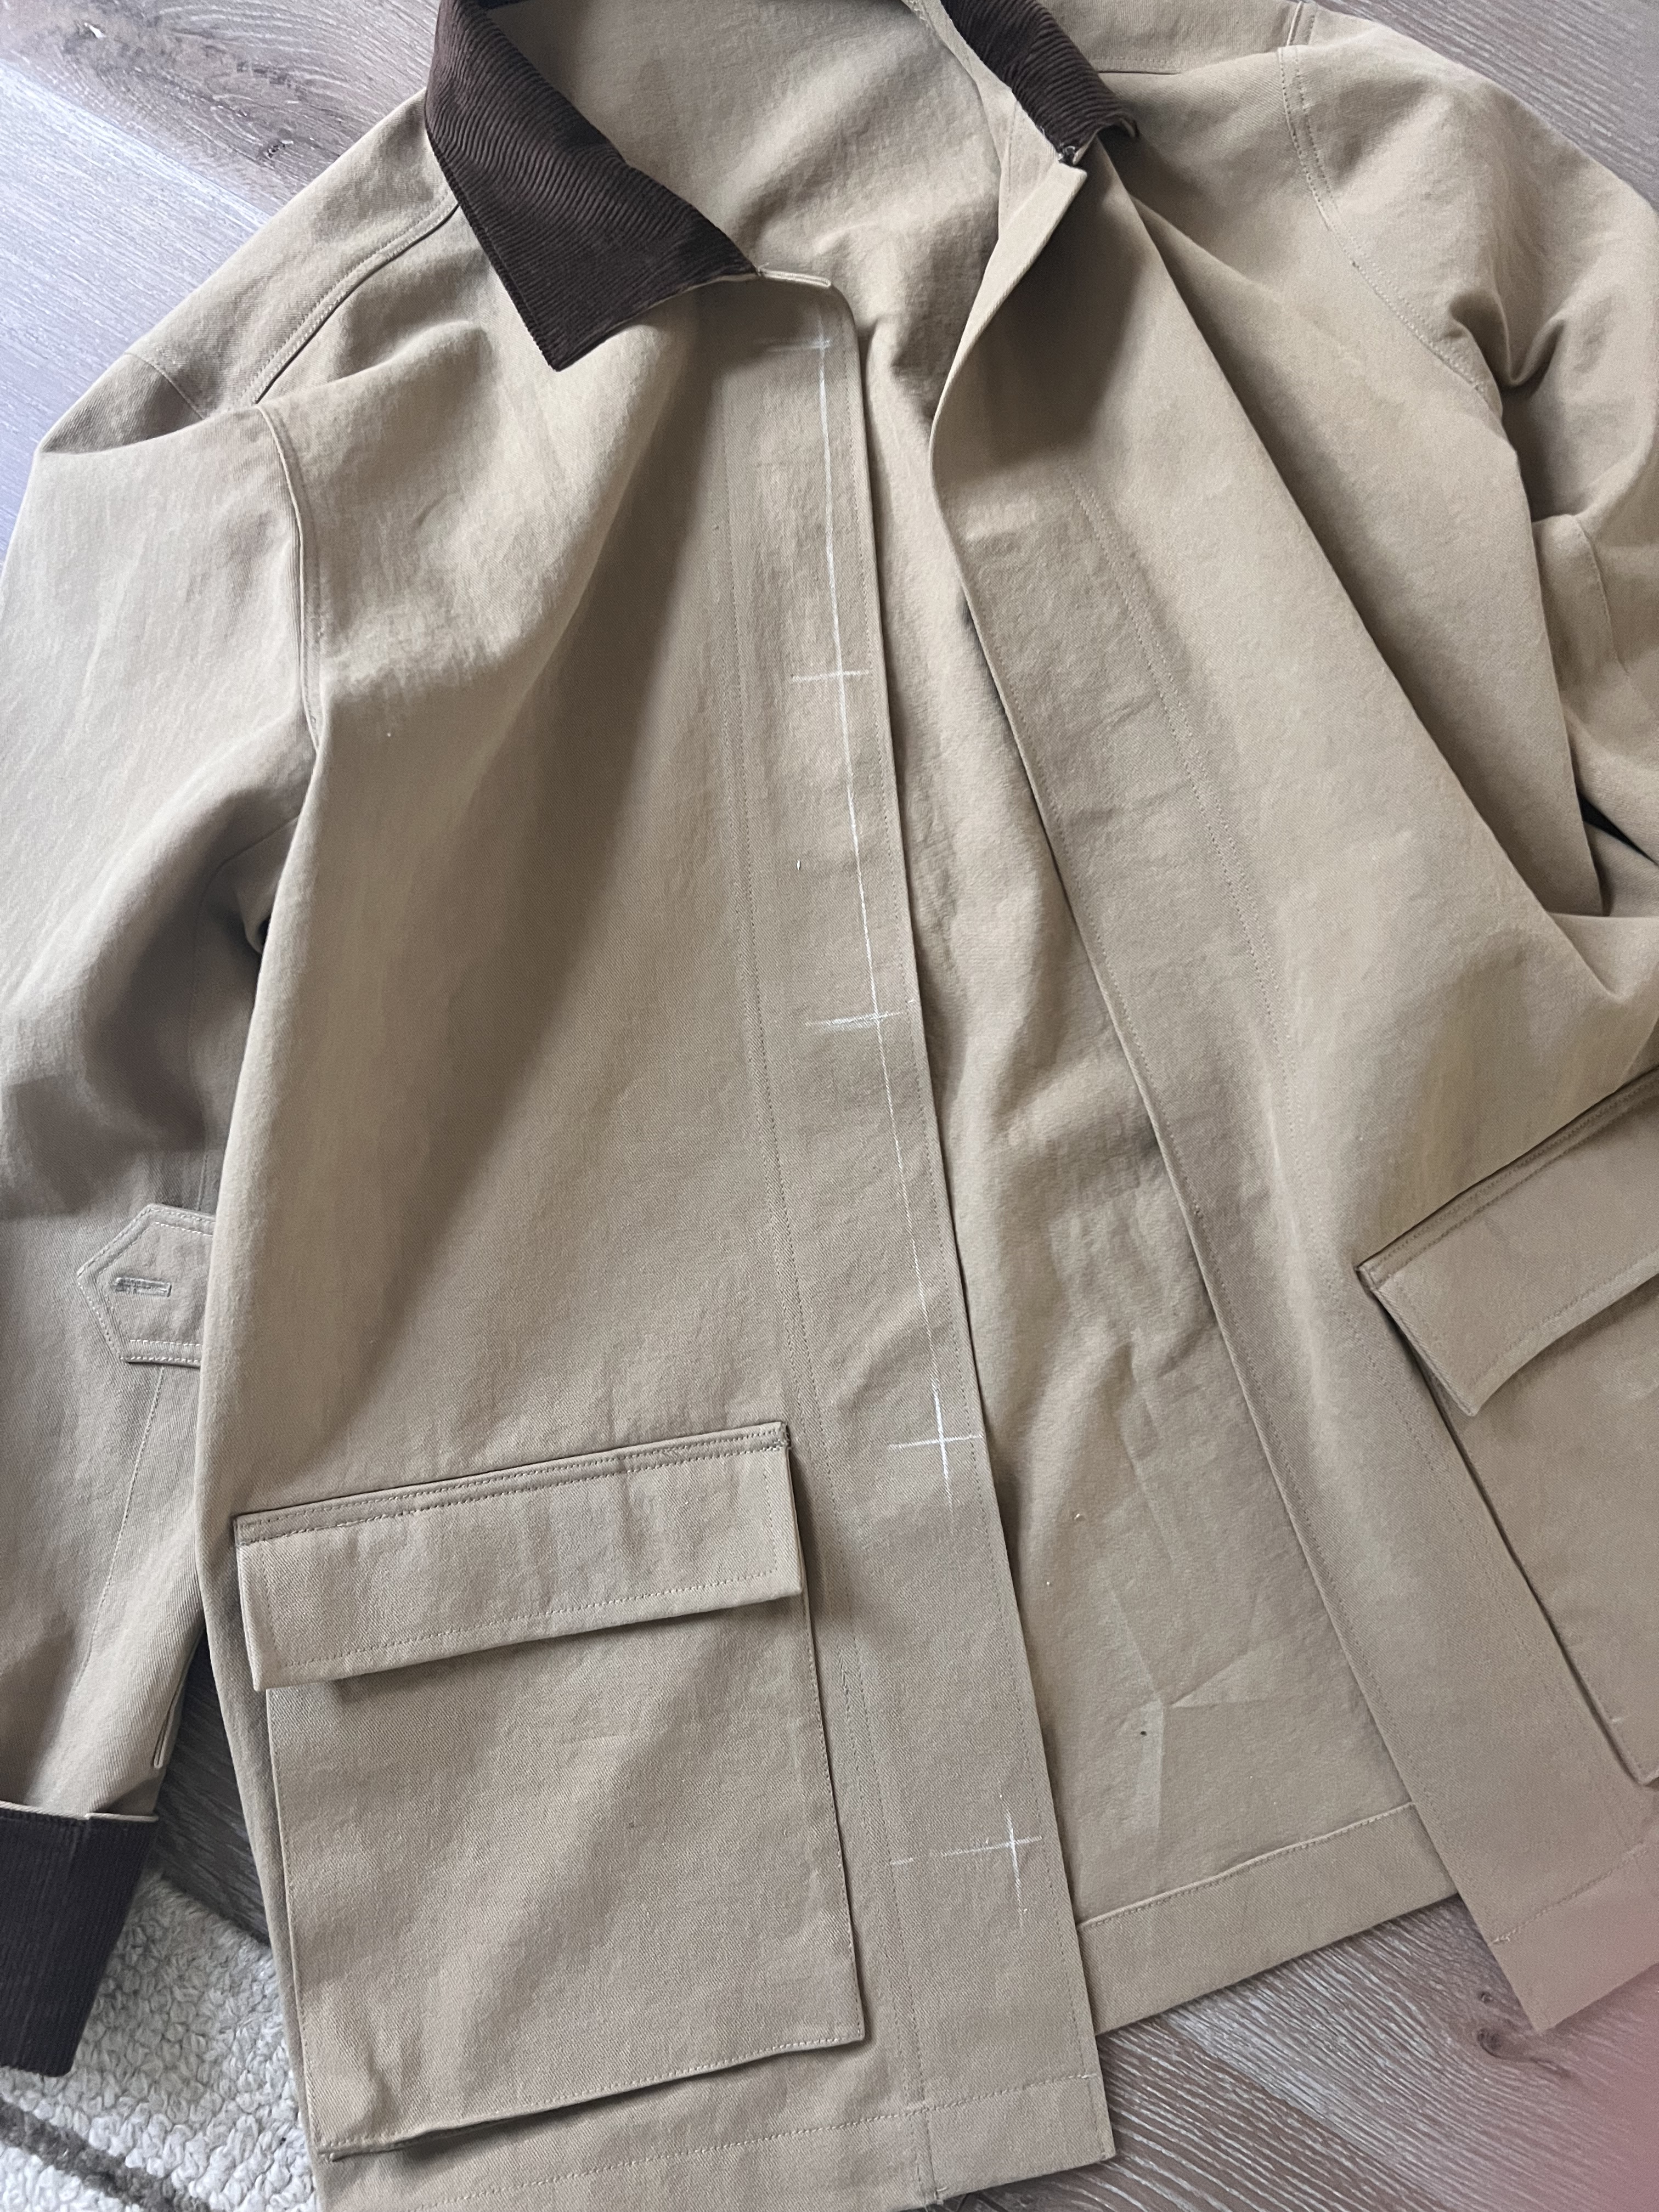
I will be honest, I was a little intimidated by this project! I found there was no need to be. It was very enjoyable and easy to put together. My Baby Lock Brilliant sewing machine handled the thick seams like a pro and my Baby Lock Celebrate Serger finished the seams so beautifully. The pockets were the most time consuming part for me. There is a lot of what feels like origami but the end result is really nice for the multi functioning pockets. Just go slow and take your time! I do wish the pattern had specific directions for the opposite pocket, so this took some brain work and double checking to make sure I did everything backwards correctly. Hopefully that makes sense!

I made a few modifications to my jacket!
- I omitted the breast pockets, just a personal style choice.
- I omitted the wrist tabs, and re-did the cuffs completely. You can find my tutorial for this below. The pattern is made with the cuff length already added to the sleeve. I cut off the cuff length and made my own cuff pattern piece.
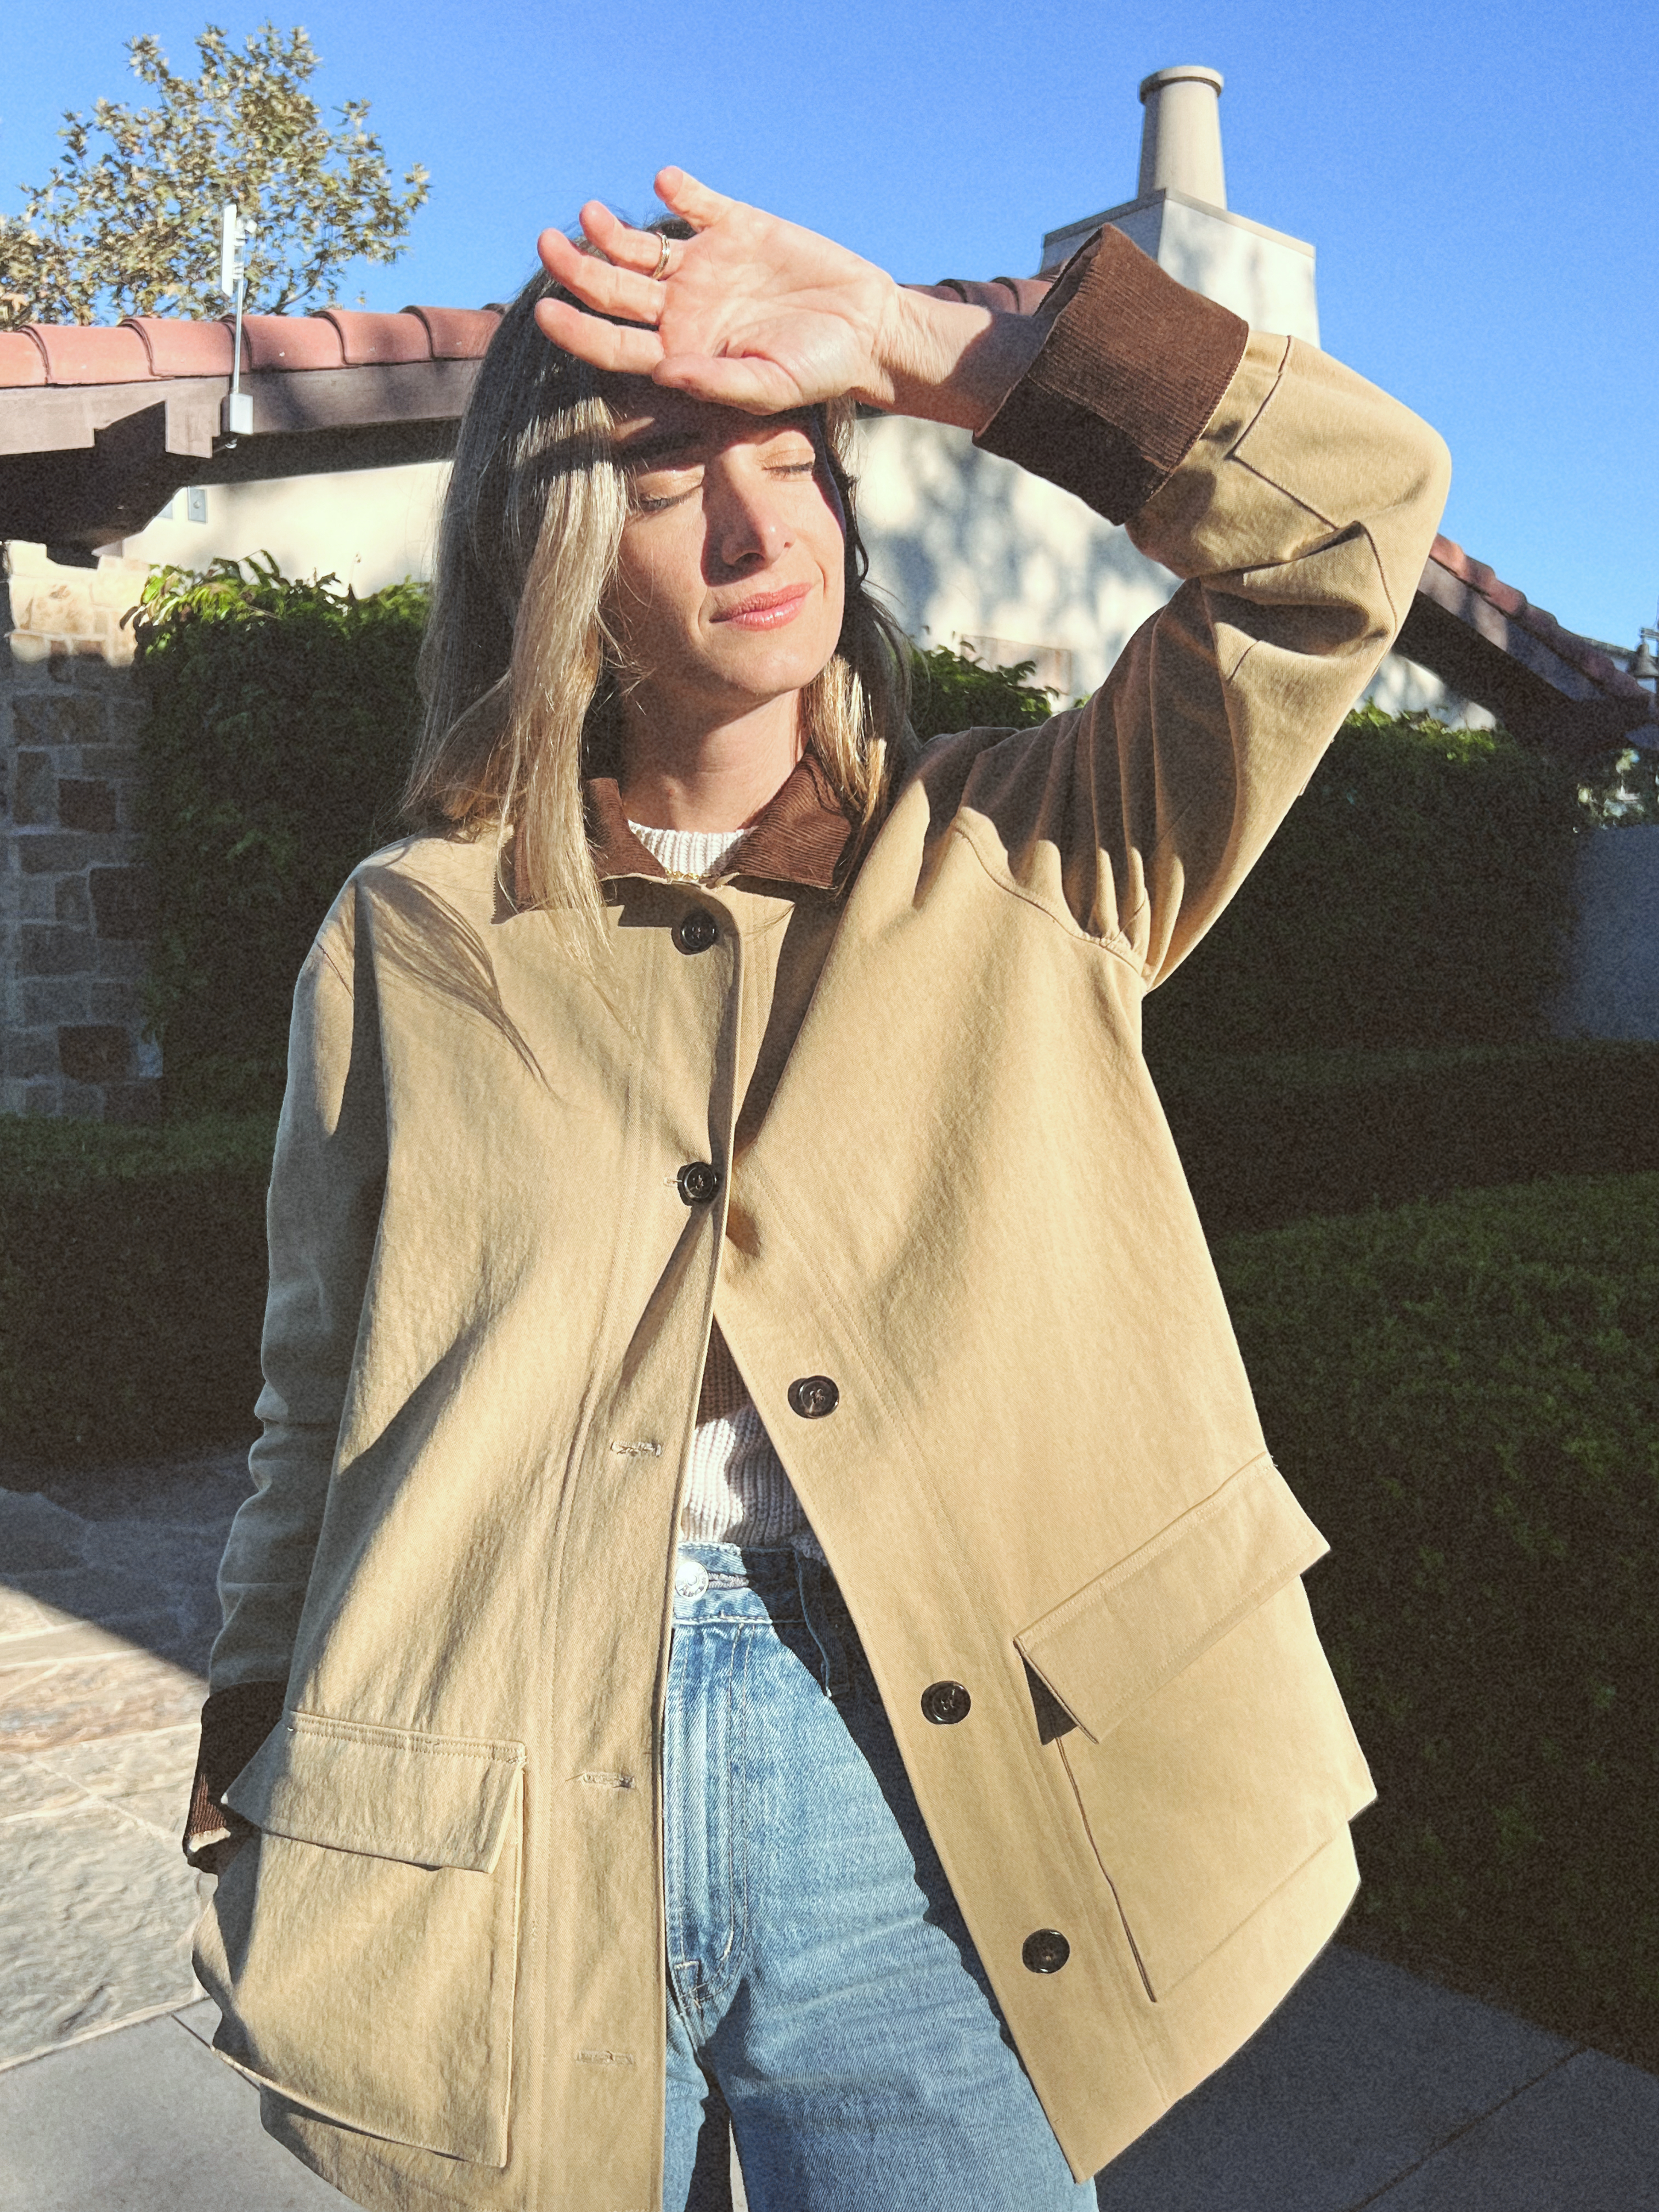
- I also omitted the button placket cover. I love the way this jacket looks with the contrasting buttons showing. I skipped the button placket cover steps, and finished the placket the same as the side of the placket the buttons will be sewed to, then added my buttons holes to the wearers right side of the jacket placket.
- I cut the top collar out in corduroy and the under collar in the twill.
Things I would do differently next time:
- Not add extra length. (I added 1 1/2 cm with no women’s mods) I’m 5′ 4.5″ tall for reference.
- Raise pockets and elbow patch slightly higher.
Contrasting Cuff Tutorial:
I really wanted my jacket to have the corduroy cuff on the inside of the wrist cuff, so when folded up once the corduroy shows. I also wanted the sleeve length to be just perfect for when the cuff was turned up, planning to always wear it this way. This is how I made my cuff:
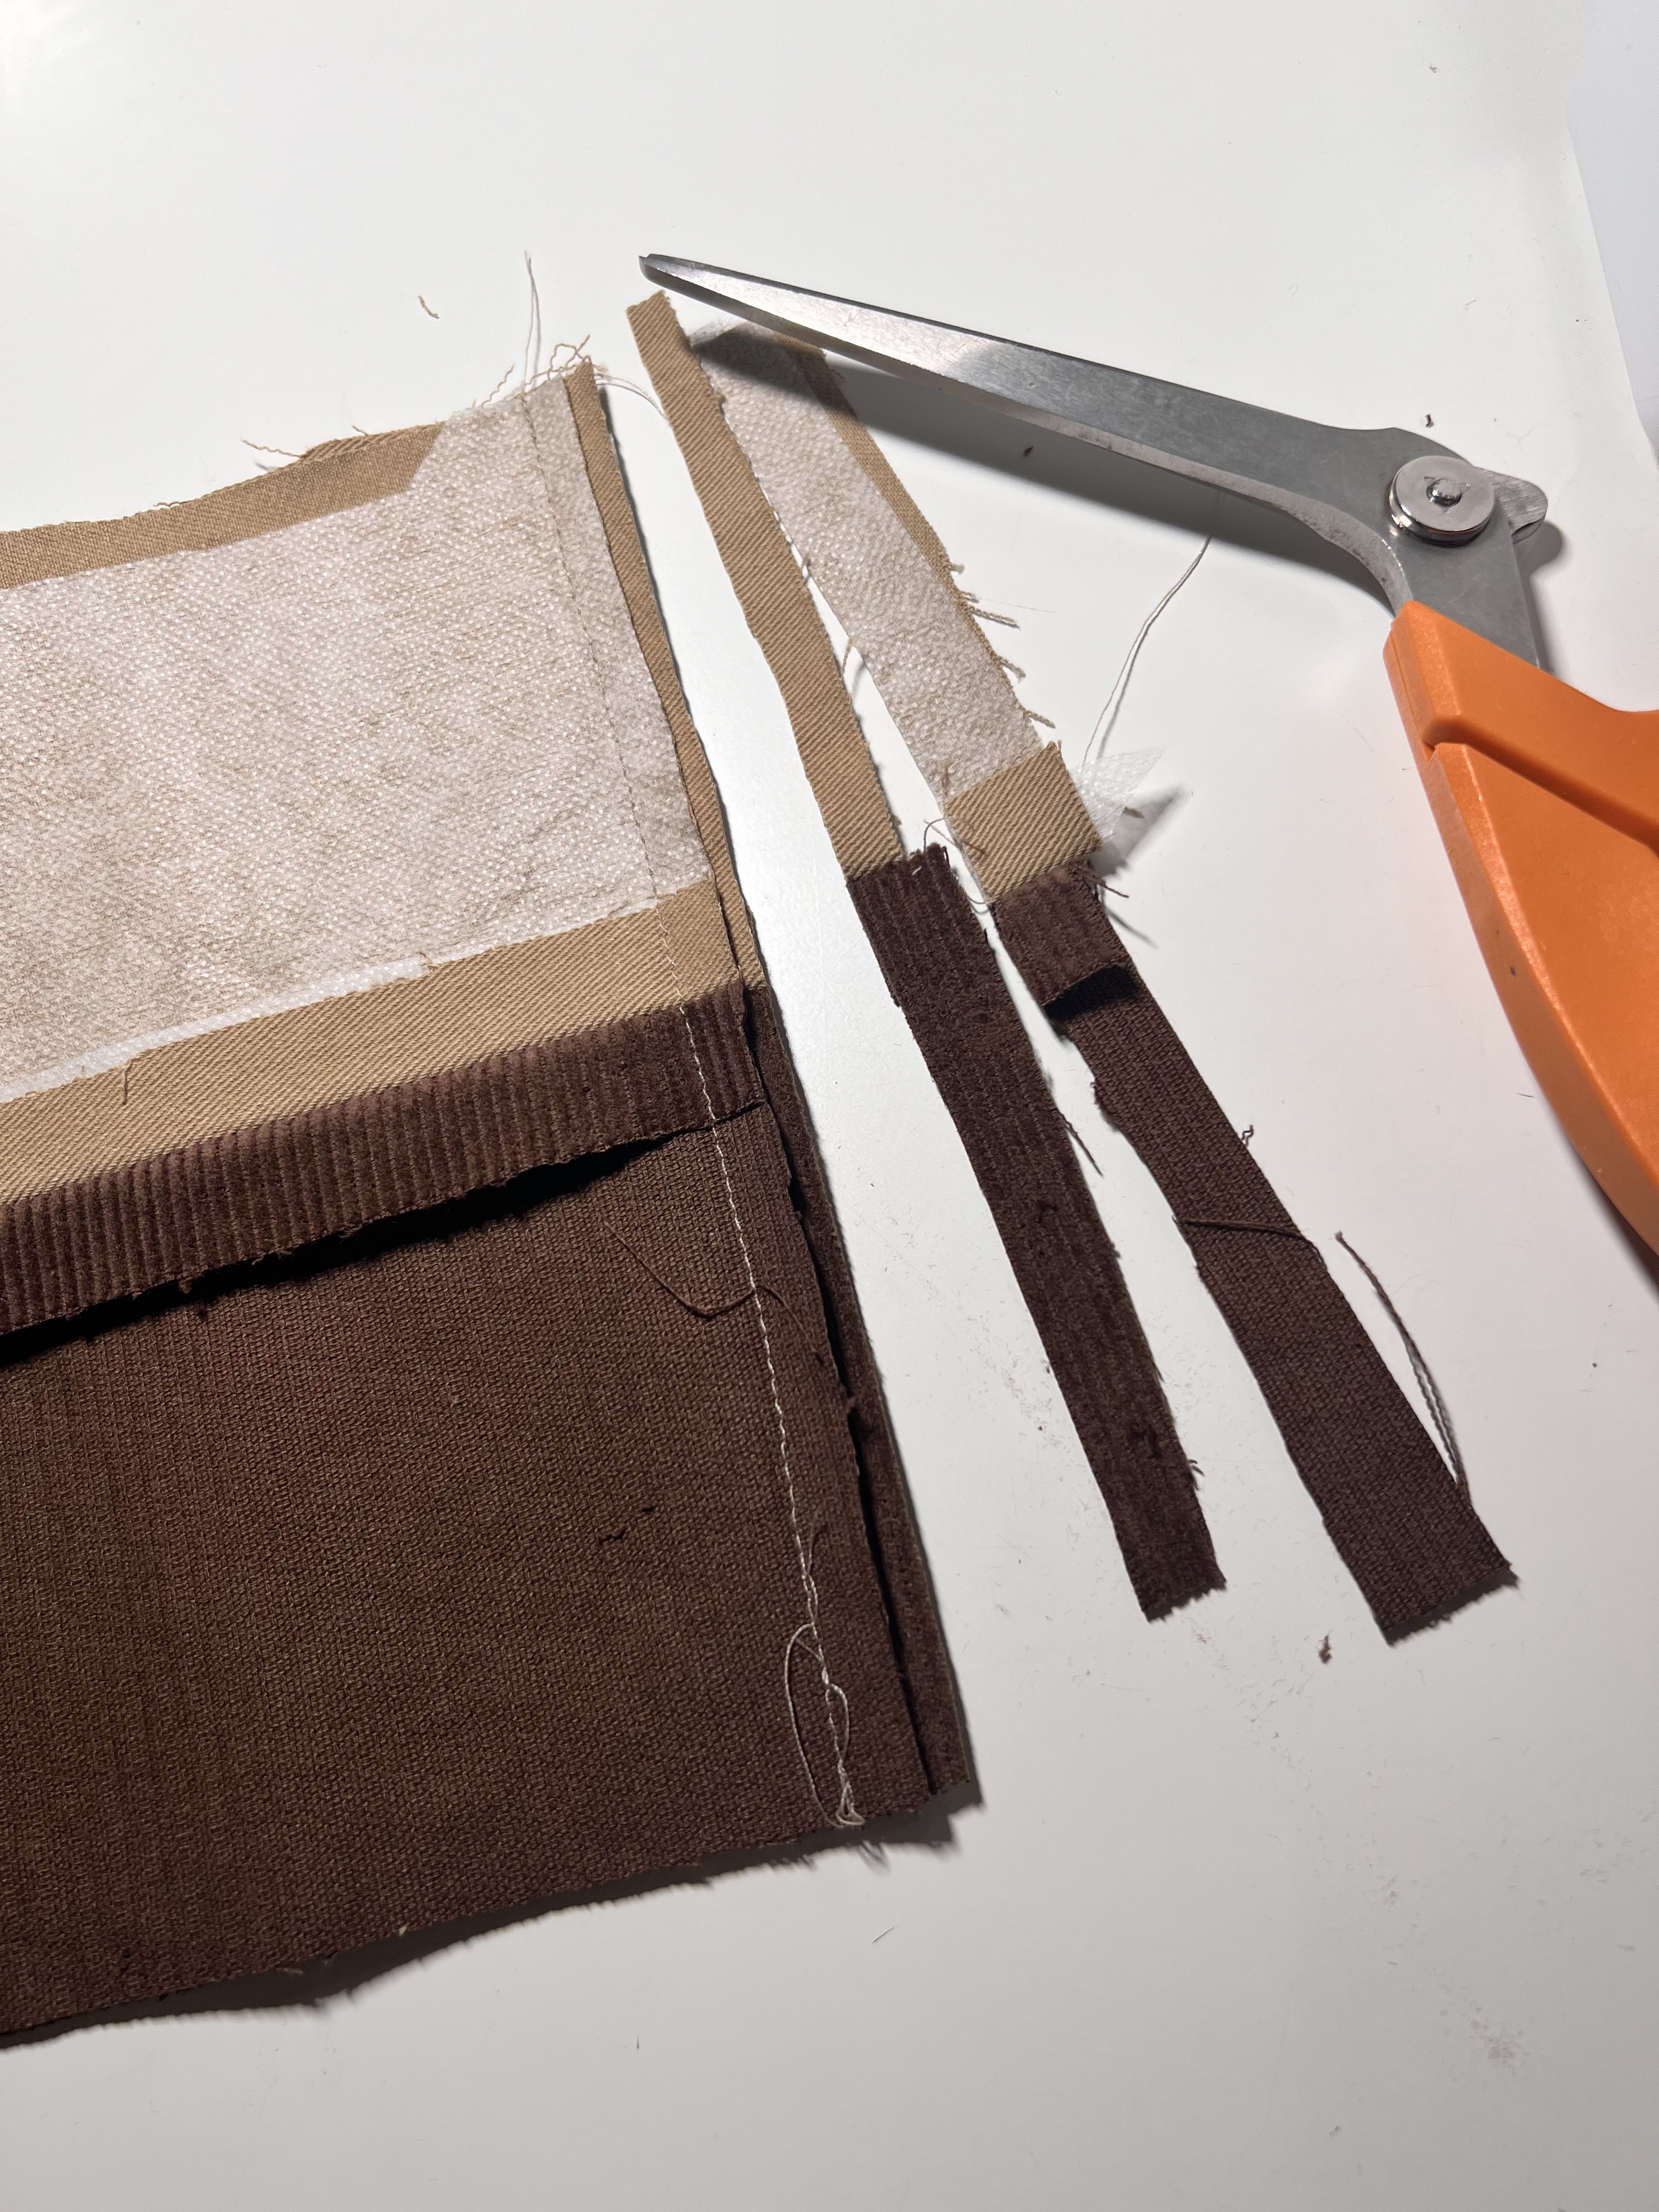
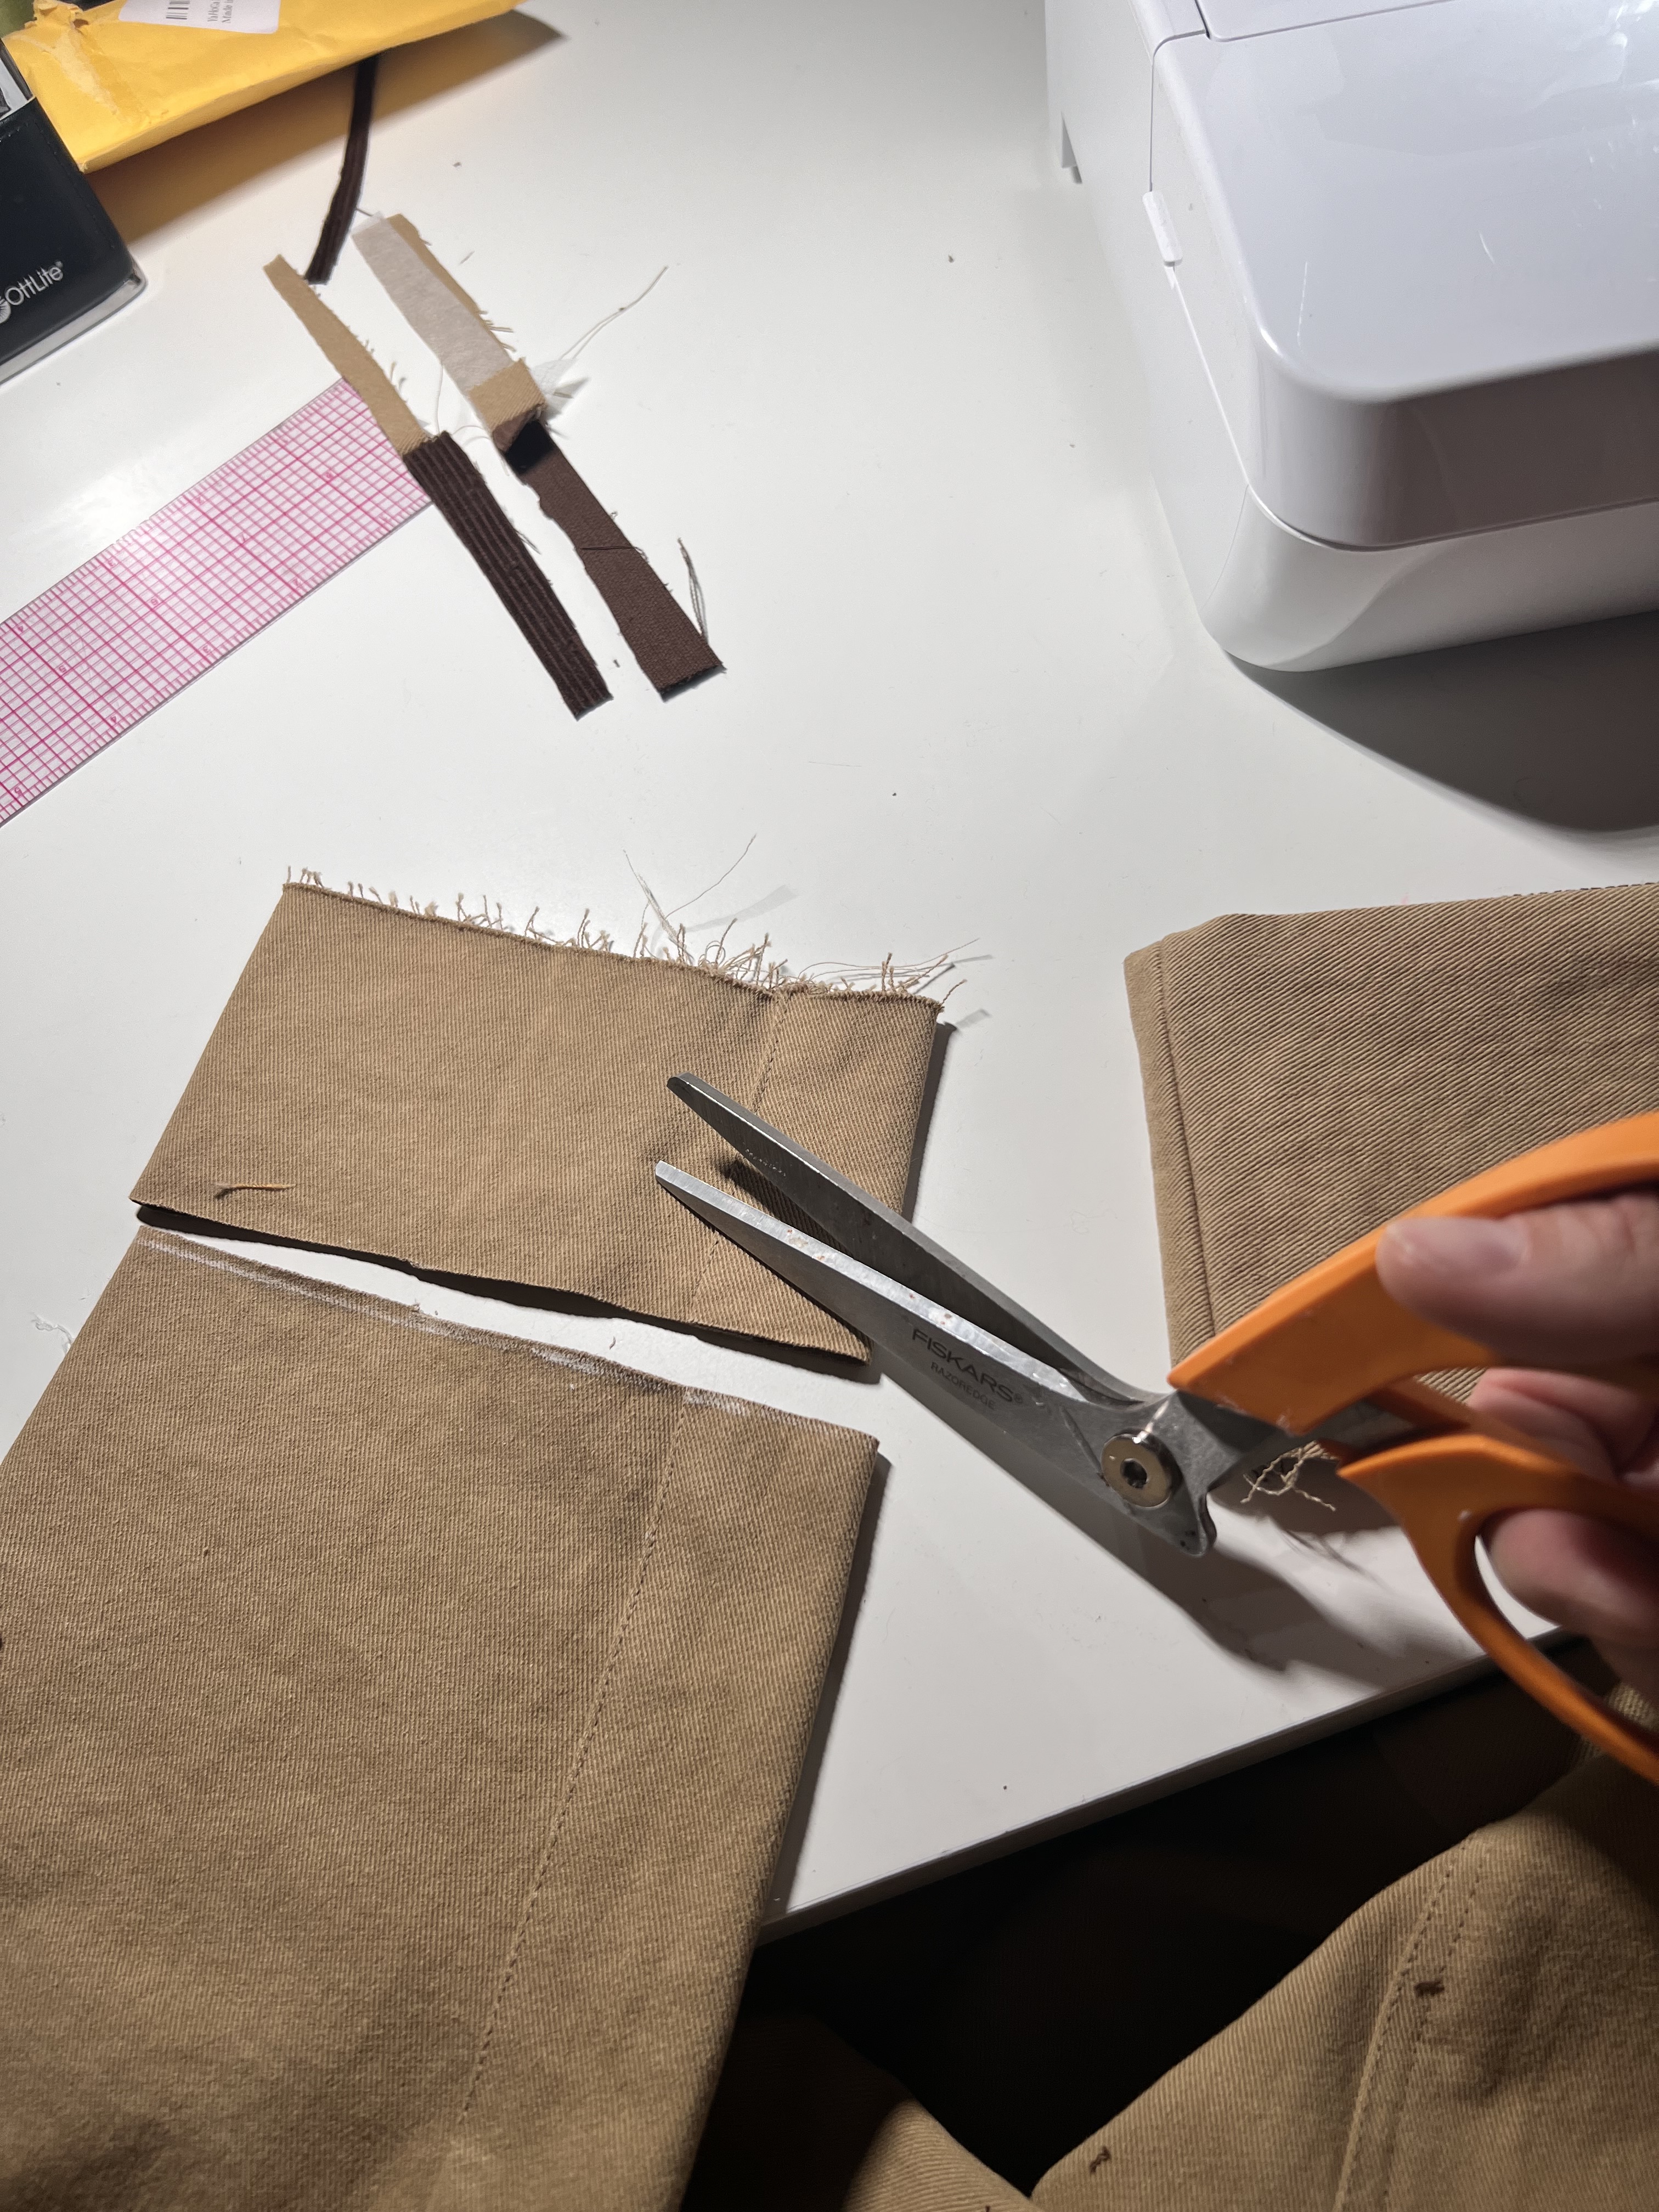
- First, you will need to cut the length of the sleeve at the notches to trim off the original cuff length. I added 1/2″ for seam allowance here but it wasn’t needed as I had to trim the sleeves shorter later on. Better safe than sorry.
2. Next, create the cuff pattern piece. Mine ended up measuring 13″ long x 4″ tall. Add length as you need for your size. I wanted the cuff to be really pronounced. You can slim it down a little if you prefer. Cut out two in the twill or main jacket fabric and two out of the corduroy.
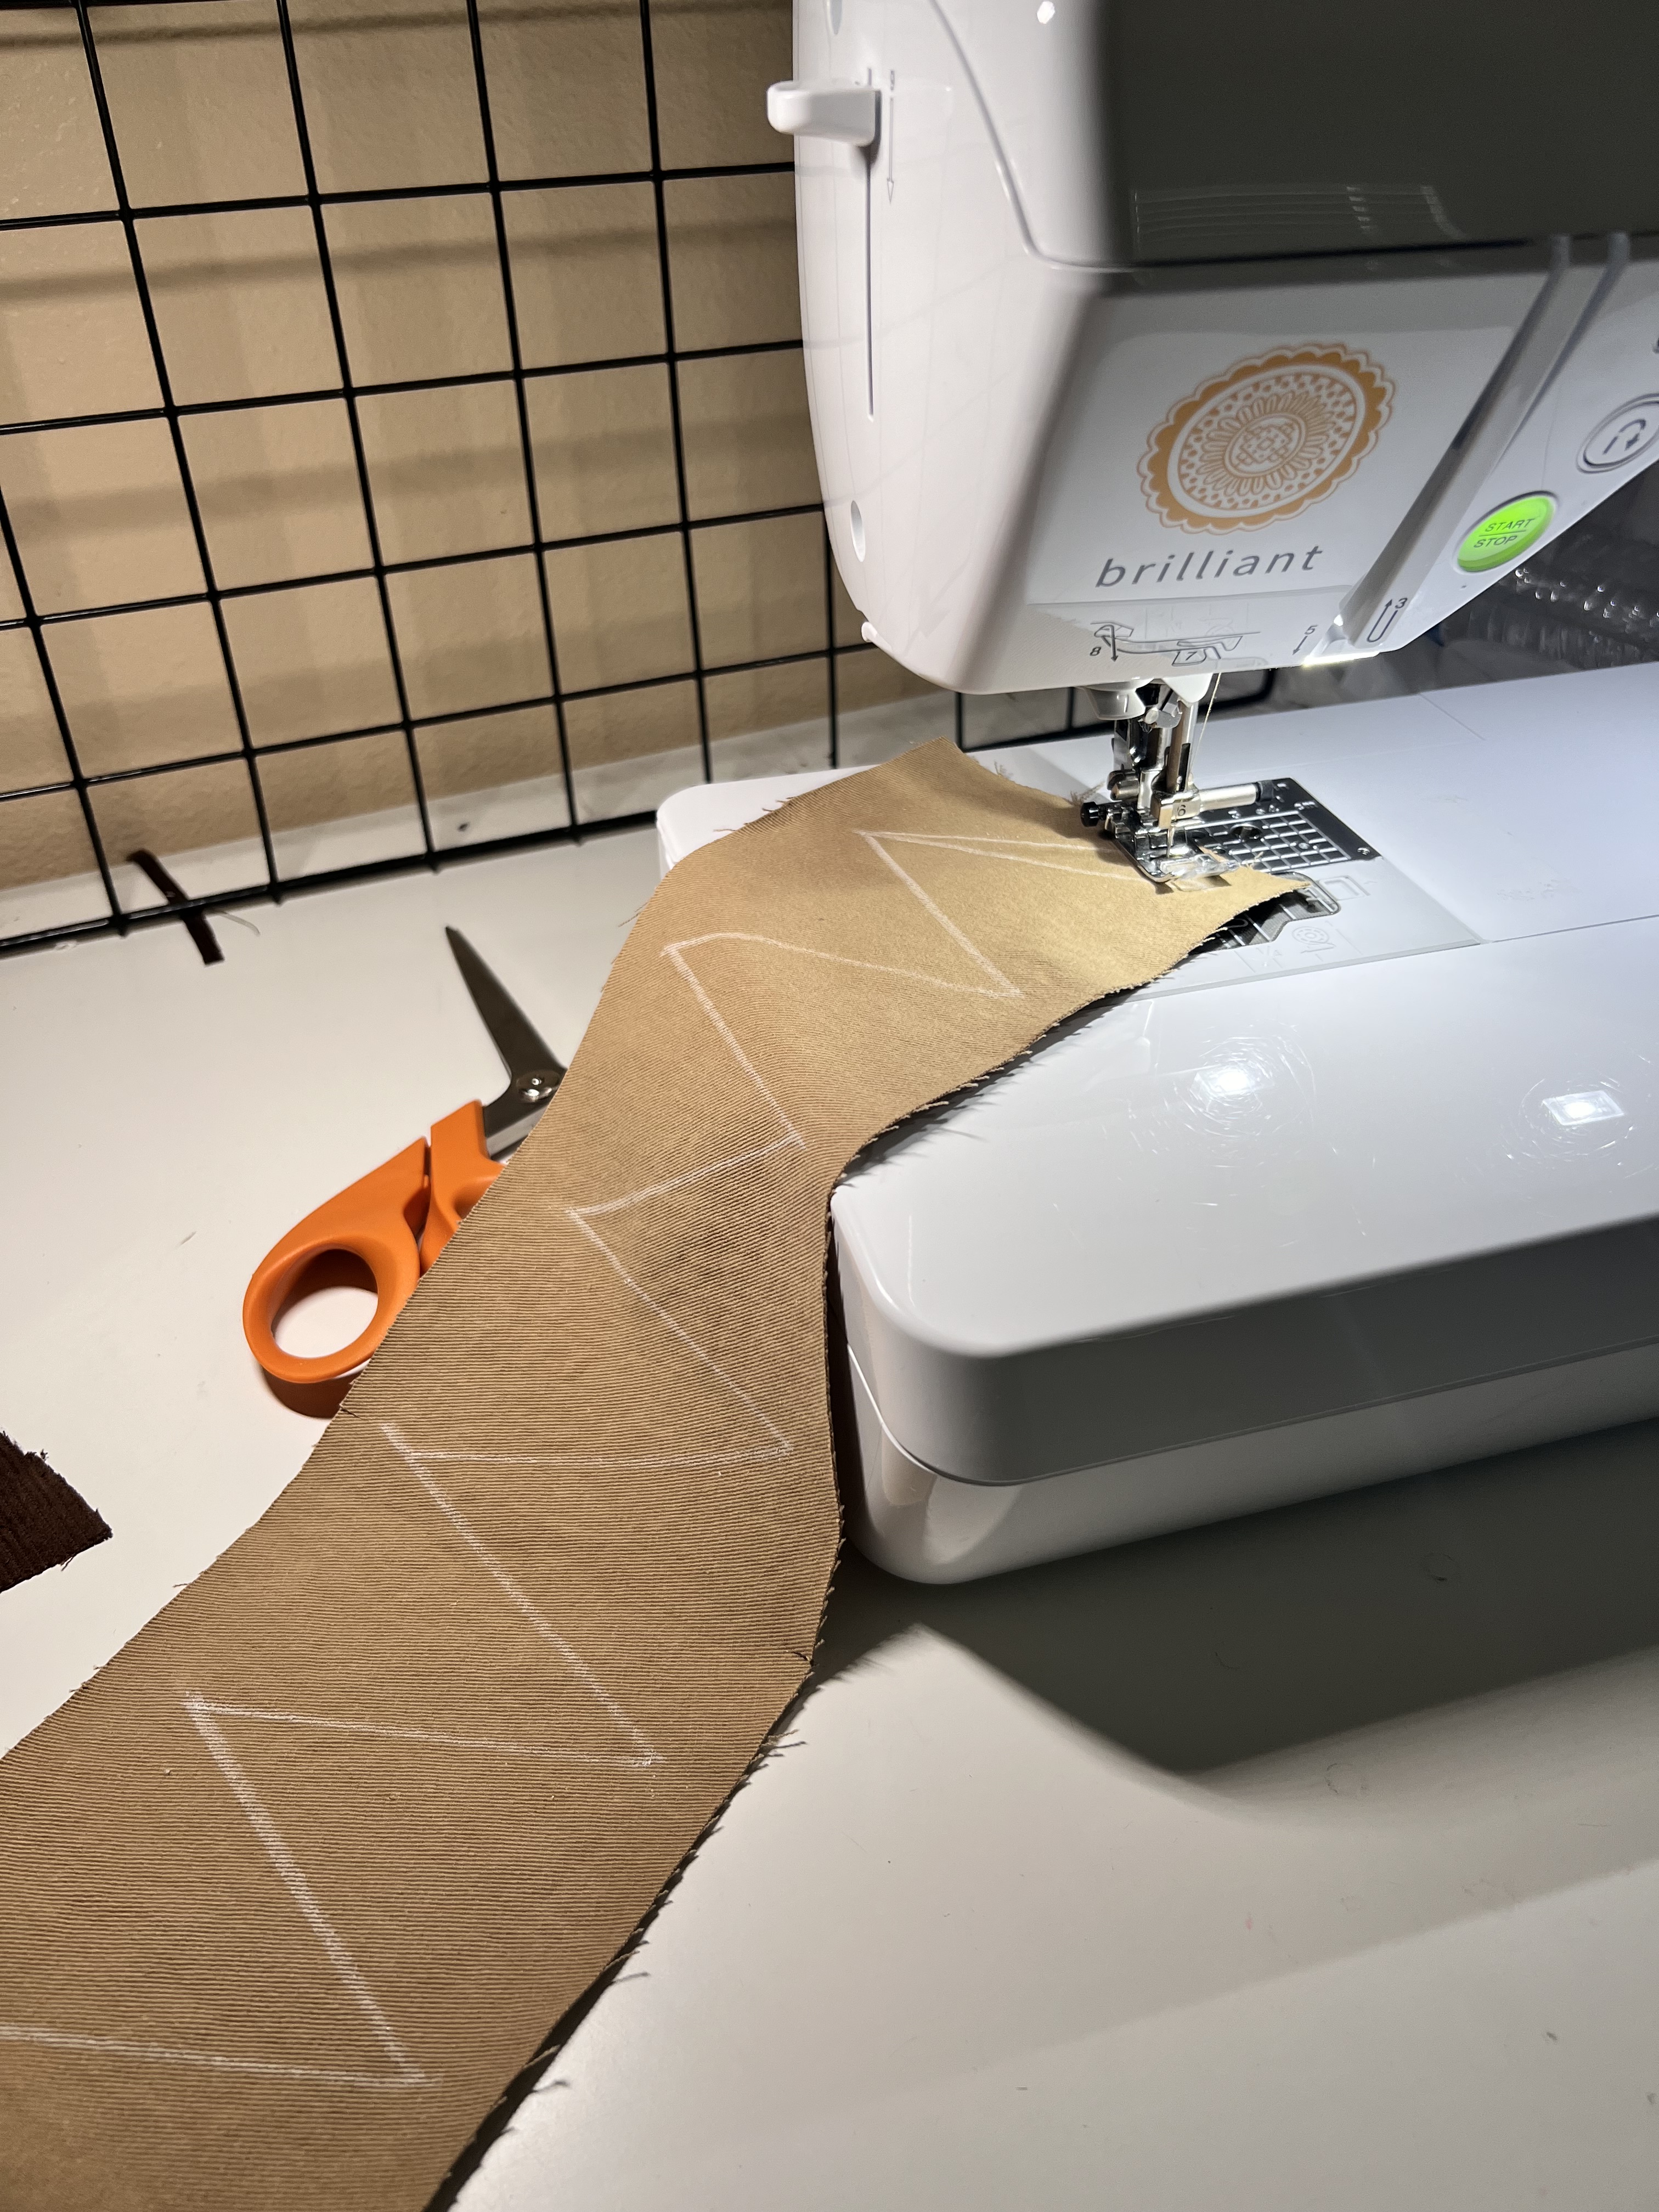
3. Next, interface the two twill cuff pieces. Now, lay one twill and one corduroy cuff right sides together. Pin along one top long edge and sew using a 1/2″ seam allowance.


4. Trim the seam allowance and press flat.

5. Now fold the cuff in half hamburger style right sides together to create a circle. Pin and sew again using a 1/2″ seam allowance. Trim off extra seam allowance. Press open.

6. At this point, try on the jacket and decide how long you want the sleeve to be. I ended up trimming off a little more length from my sleeves. Keep in mind the length of the cuff you will be adding.
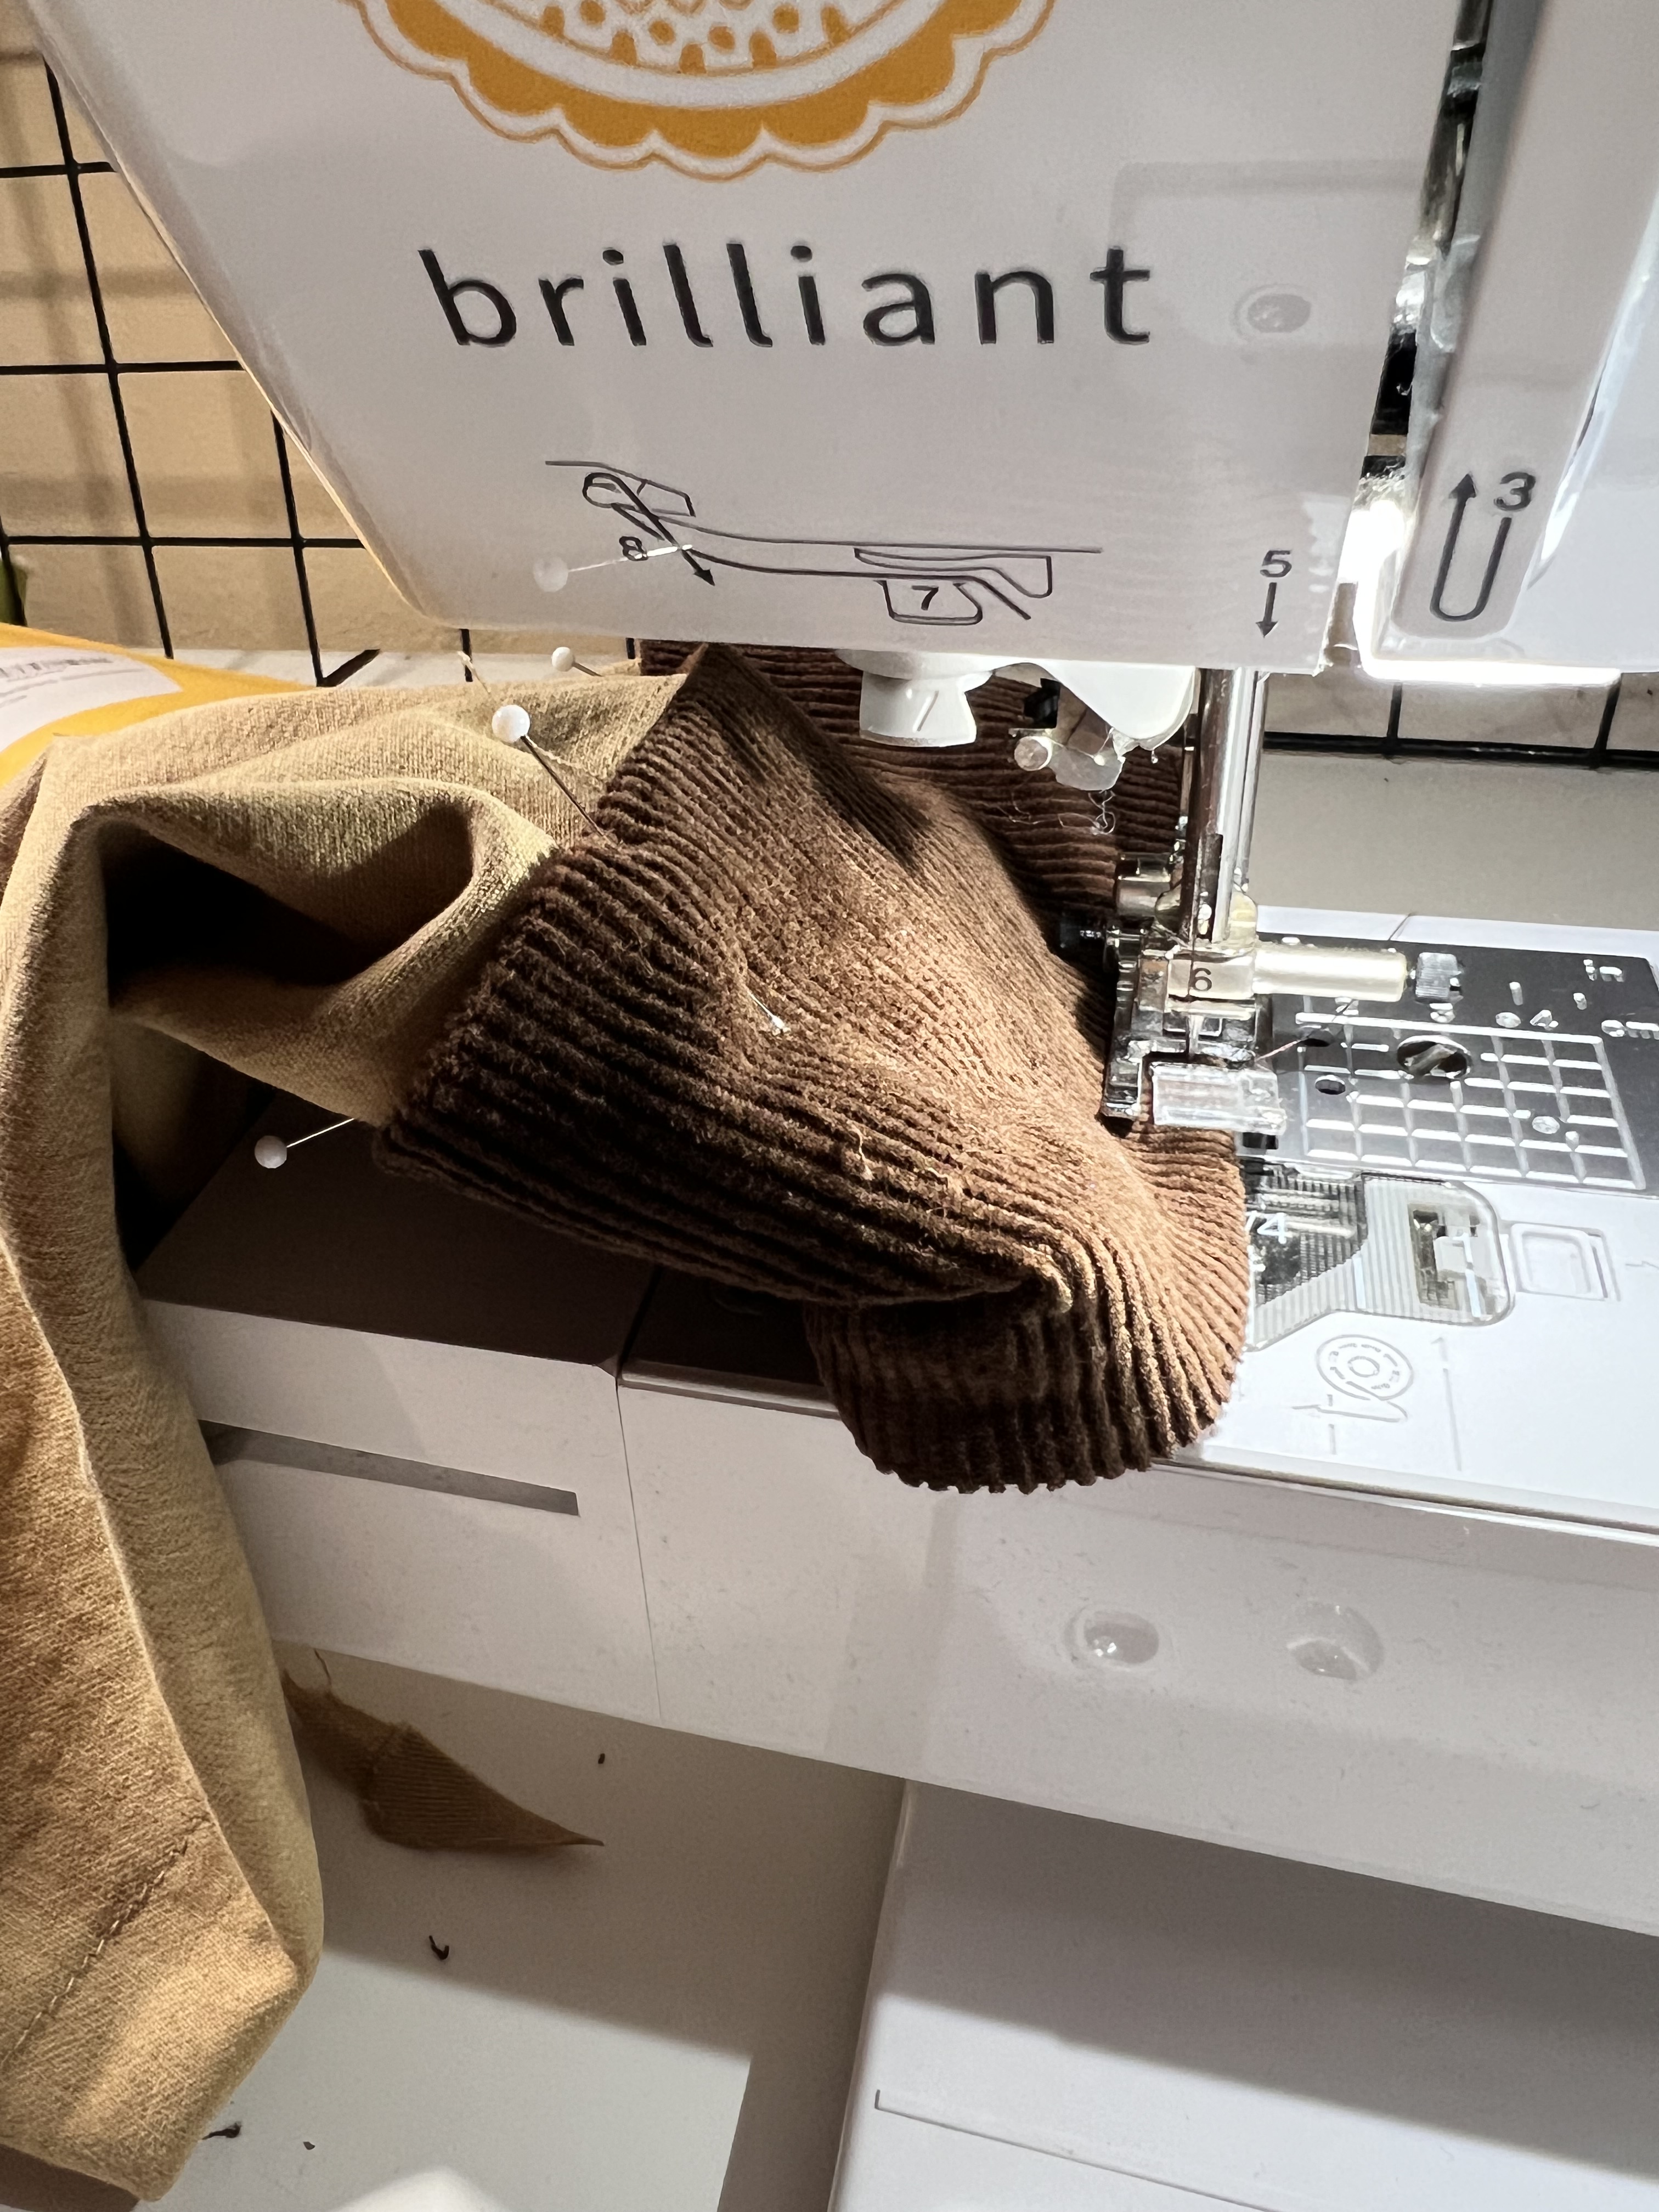
7. Next, pin the right side of the twill side of the cuff to the right side of the sleeve. Sew in place.


8. Next, press the corduroy edge of the cuff in at 1/2″. Fold over and pin along the seam-line of the cuff.


9. Next, edge-stitch along the cuff edge. Make sure to use dark brown thread on top and light brown thread in the bobbin for a nice finish. Then using a slip stitch method, finish the cuff edge by hand sewing it in place, hiding the seam-line as you go. I couldn’t fit the sleeve under my sewing machine at this point, even taking the tray out. So I just finished it by hand. Give everything a good press and you’re all finished!

For the collar, cut the upper collar out of corduroy and the under collar out of twill. Continue to follow the directions to finish the collar. Keep in mind what color thread you are using for topstitching the collar edge. Again i had one color on top and the other color in my bobbin. You could also cut both collar pieces out of corduroy as well if you would like. I have seen jackets finished both ways.
I was worried my jacket would feel too long or too oversized but it’s honestly perfect, I love it so much. It’s the perfect layer over a sweater without being too warm. I hope you find this tutorial helpful!! Happy sewing!
If you are interested in purchasing a Baby Lock sewing machine from the Baby Lock website, you can use my code SAVE10-ASJ2 for 10% off!


Leave a comment