
This post is sponsored by Baby Lock and fabric was gifted. All opinions are my own. This post contains affiliate links.
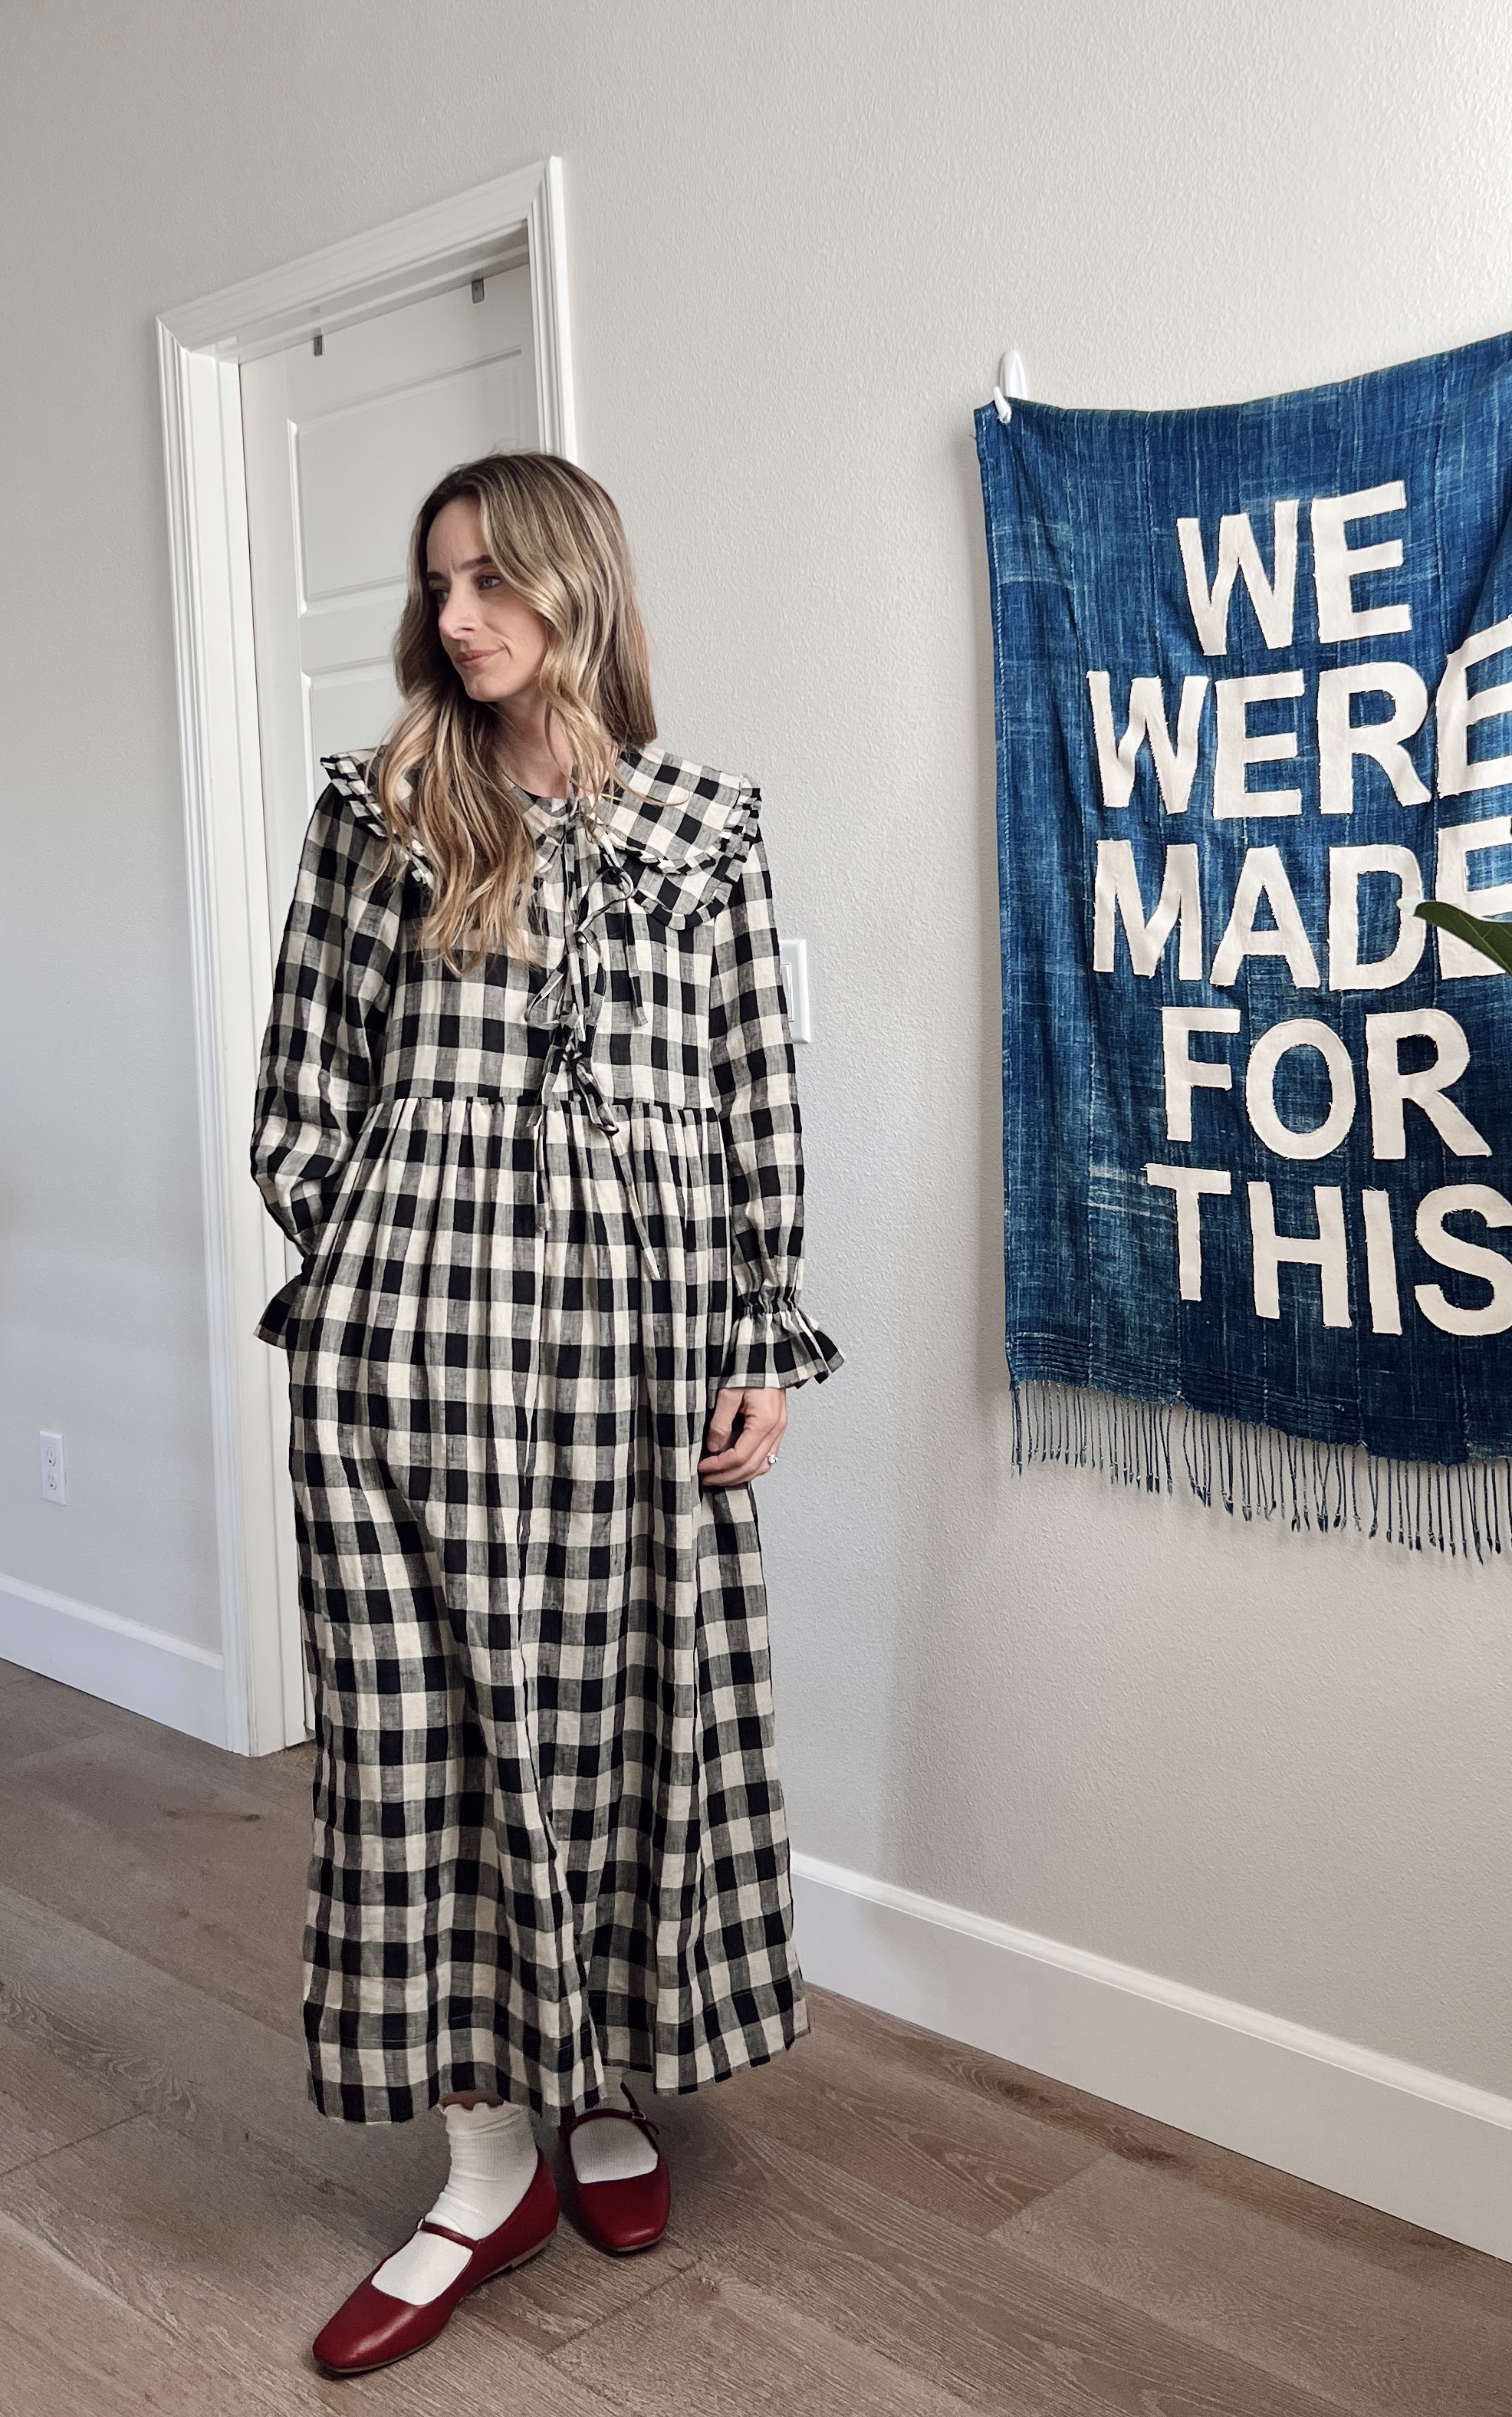
Happy Holidays everyone! I’m back with the perfect winter dress! I’ve made the Fleur blouse two times now, and when I recently saw Josie of Fabric God Mother’s Fleur top with a collar hack, I fell in love. I was also inspired by Damson Madder’s double collar top. Matchy Matchy Sewing Club’s gorgeous Large Gingham in black and tan linen just screams please make me into a winter dress! So here we are!
I used my Baby Lock accomplish 2 sewing machine as well as my Baby Lock Celebrate serger for this project. The accomplish 2 was so perfect for the extra thick double collar neckline finish. It went so smoothly!
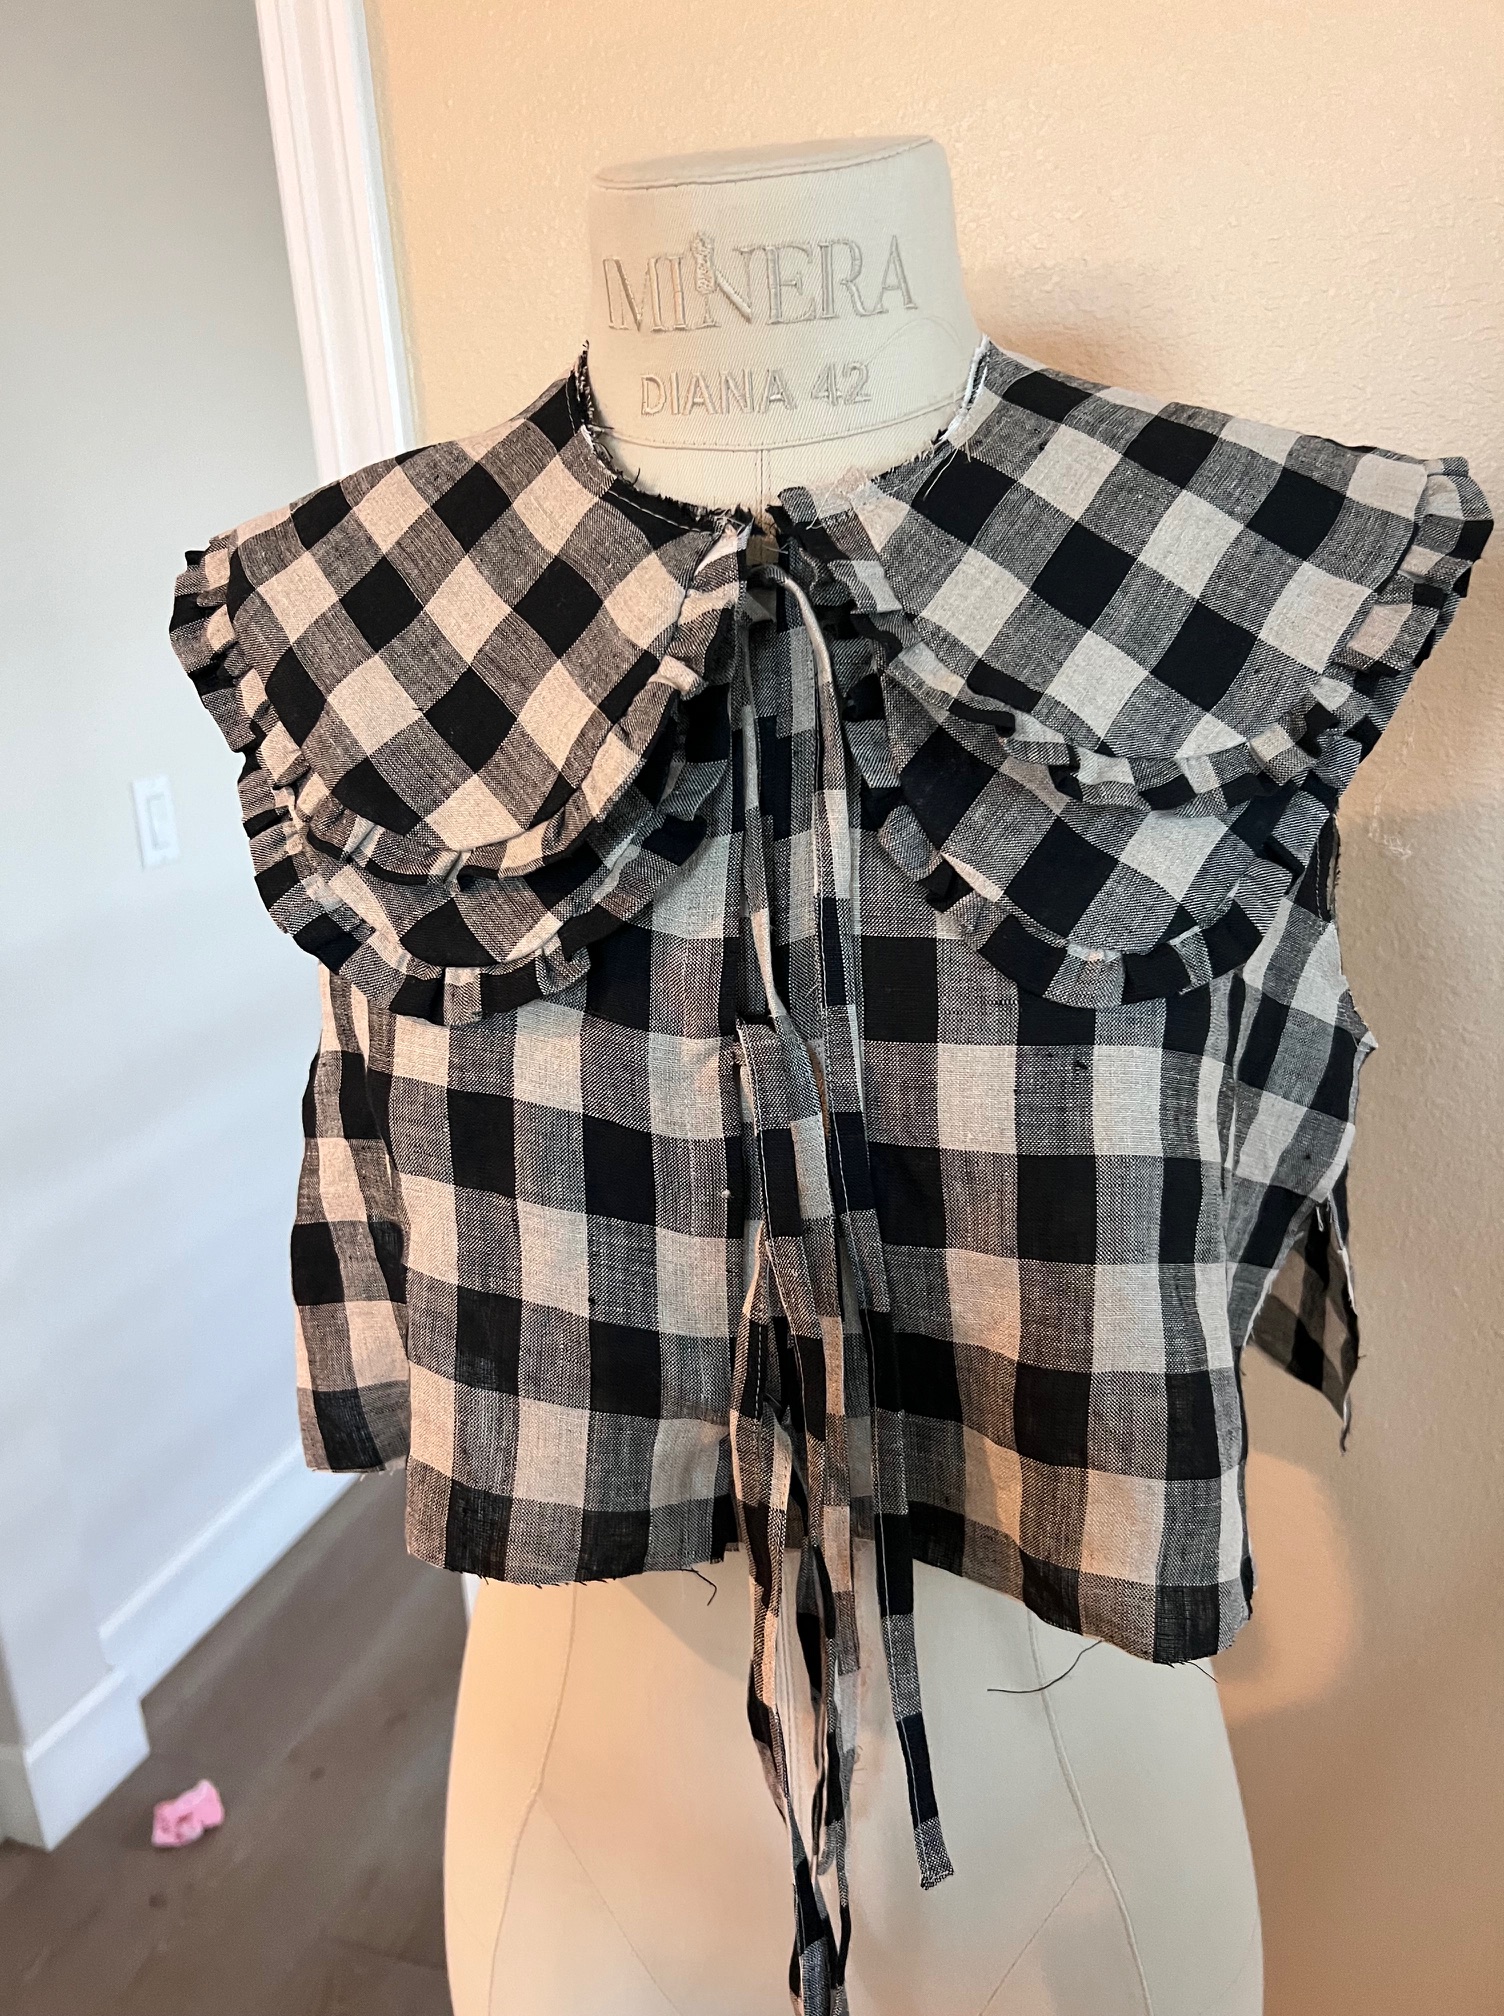
I made a few alterations to create this dress! I’m here today to walk you through what I did and how I did it! First, I hand designed two collars, one slightly bigger than the other to layer on top of one another on the neckline of the bodice. I also lengthened and straightened out the sleeve to create a long sleeve with an elasticated ruffle cuff finish. I made the size 8.
I was super unsure if the two collars would be too much, but in the end I think they are super fun!! I wore this dress for our big family Norwegian Christmas Eve dinner, and it was so perfect. I know I’ll wear this all year long as well. I’m obsessed!
Drafting the Collar:
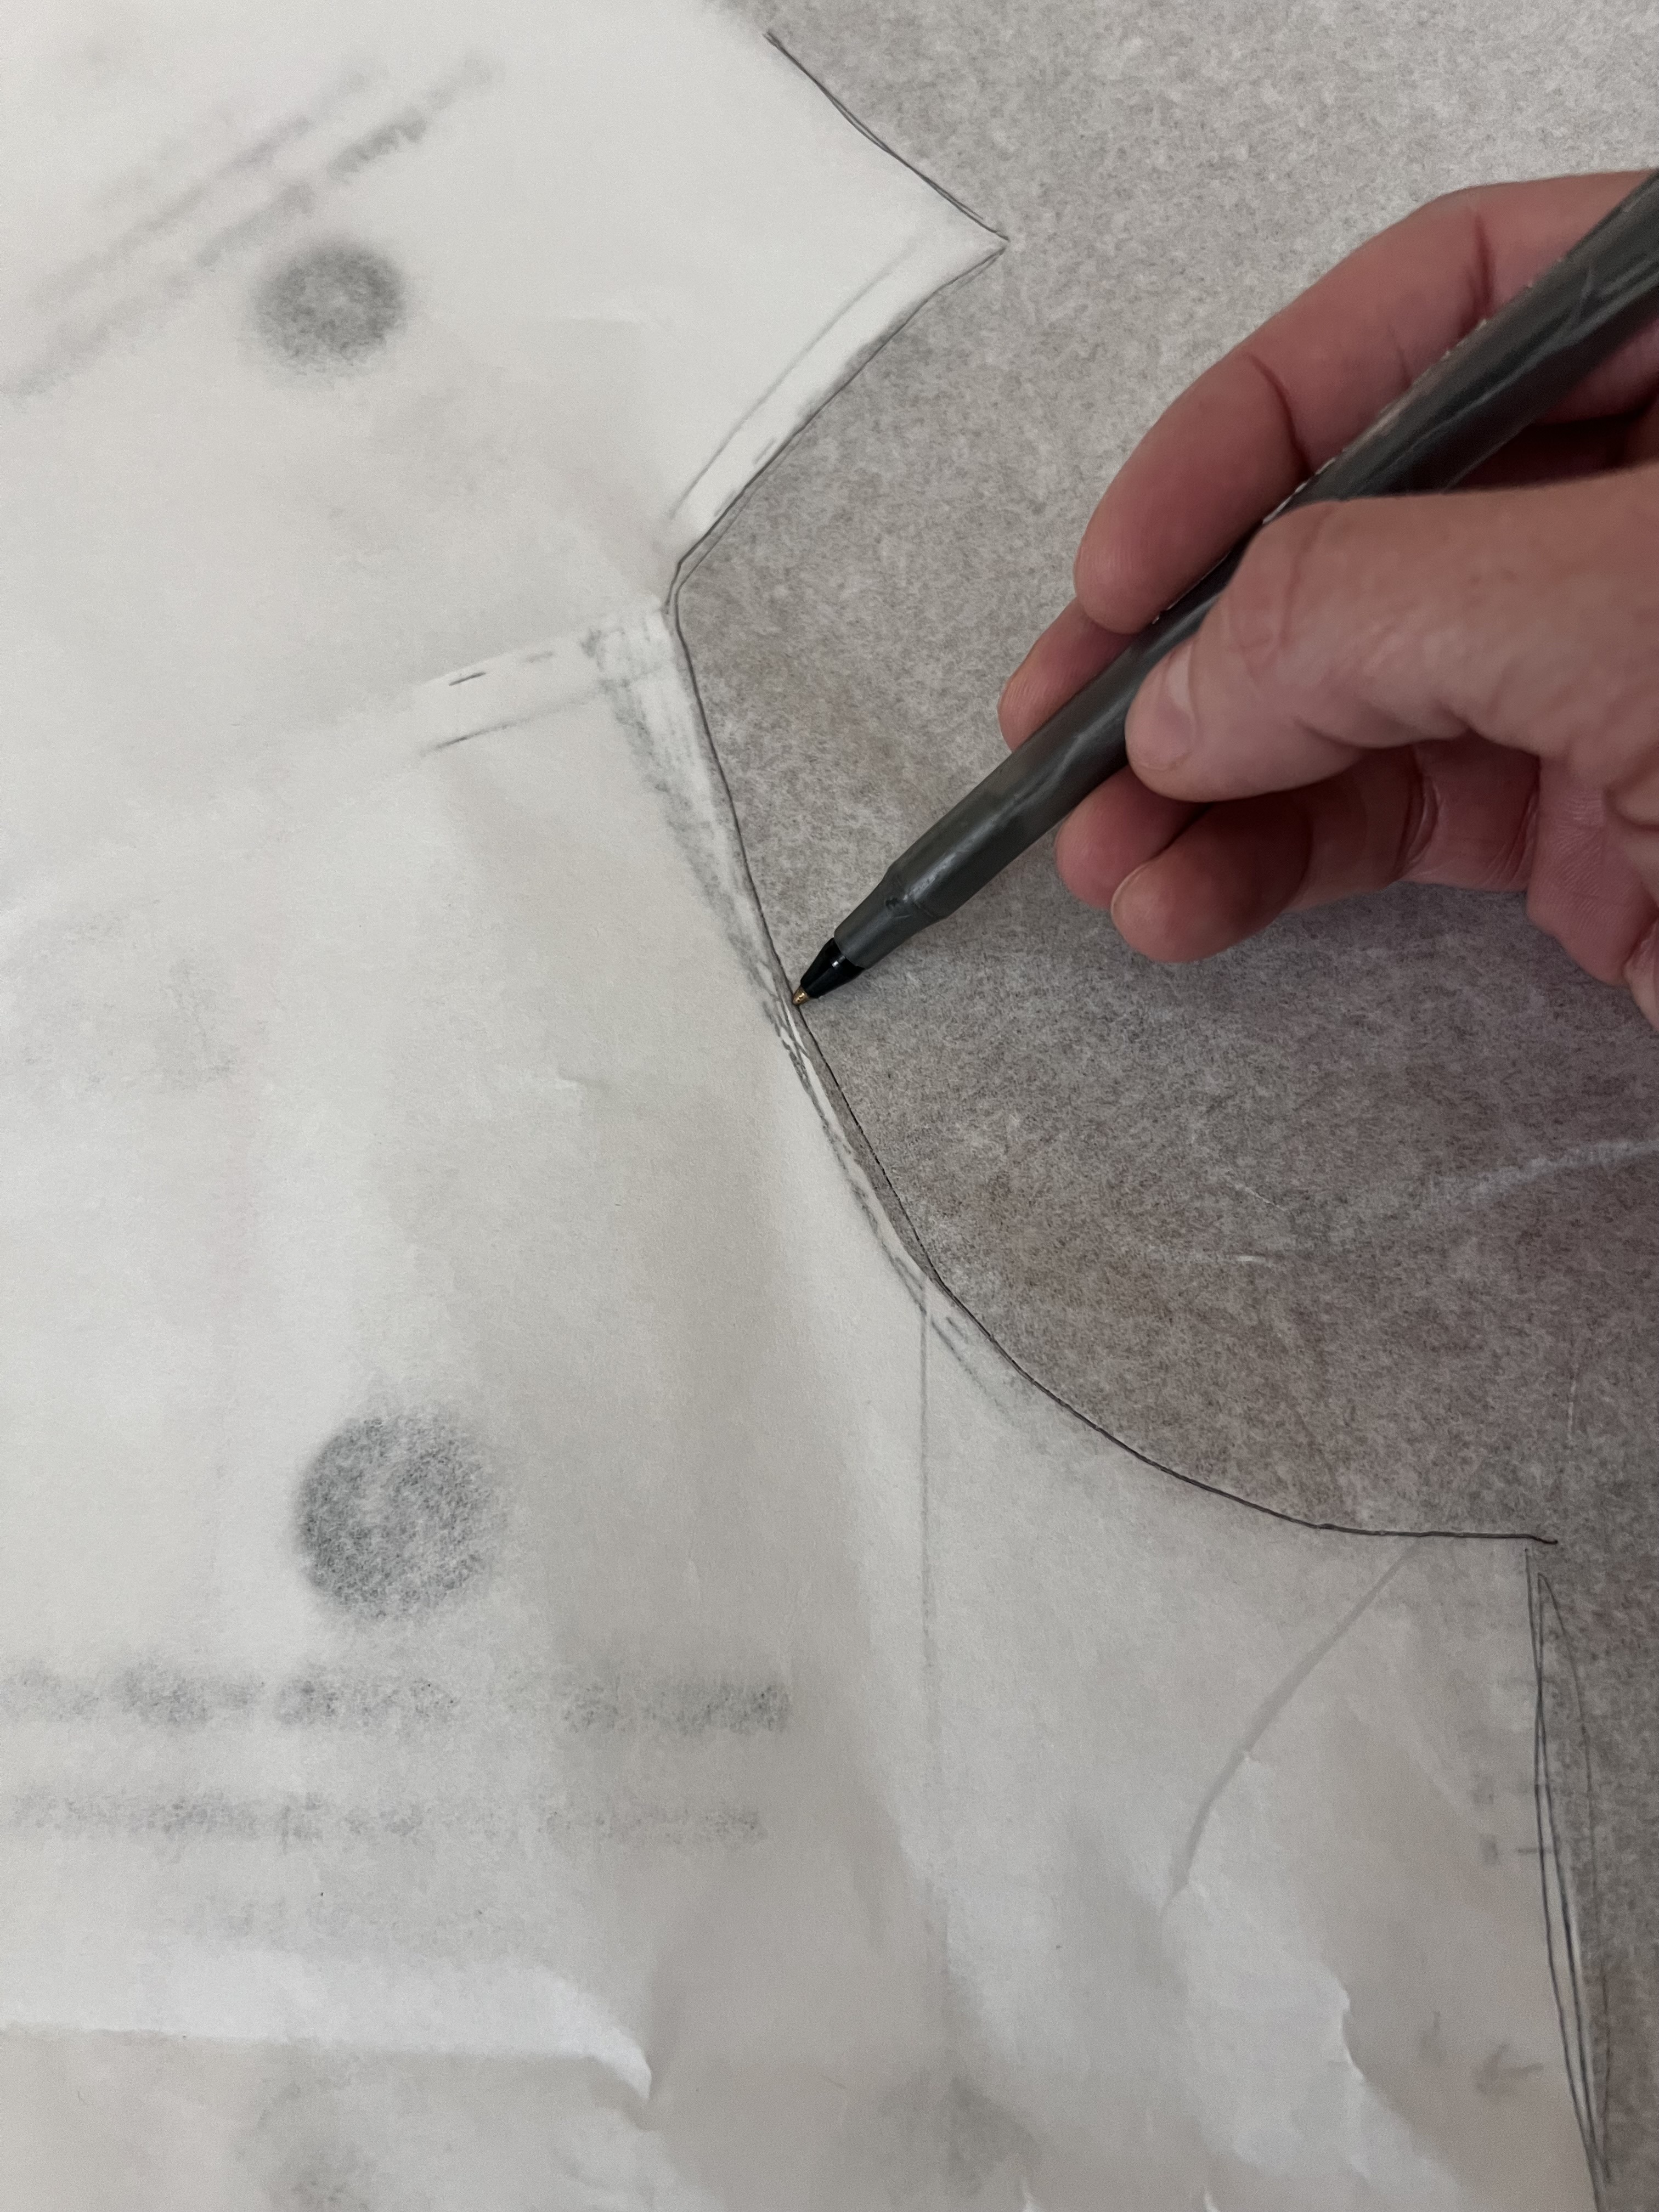
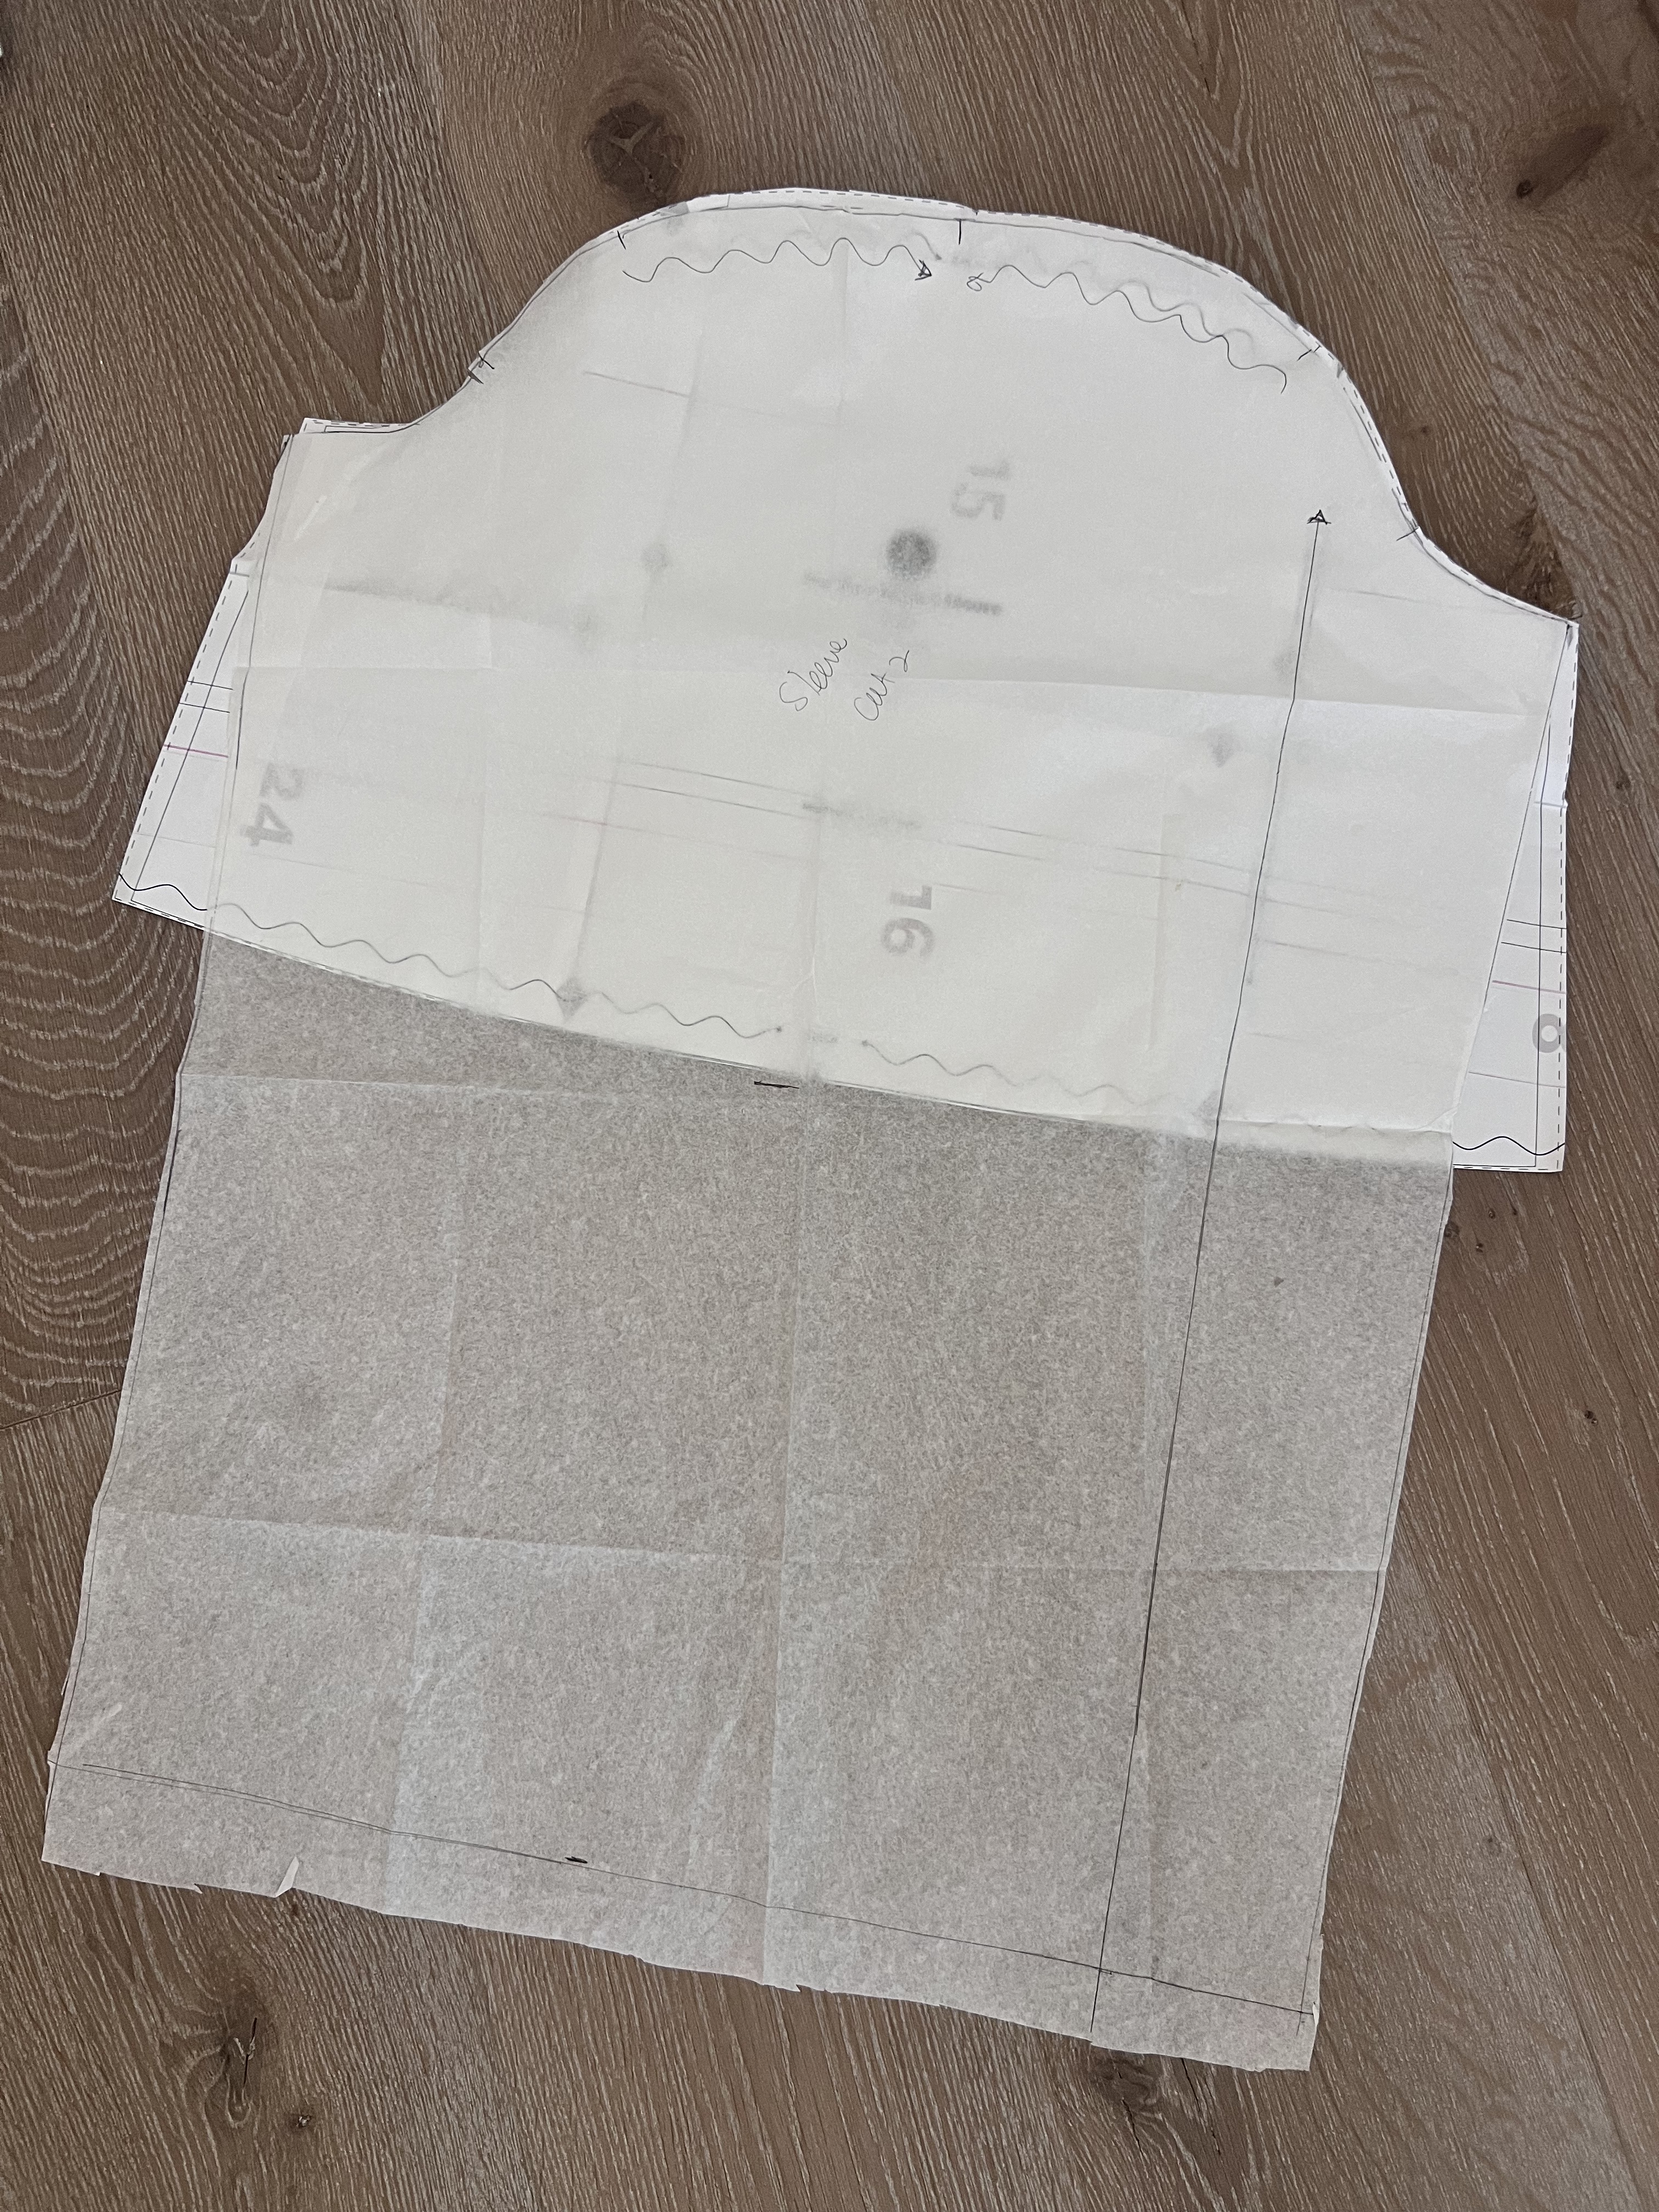
To create the collar, I taped the front and back bodice pieces together at the shoulders, overlapped to accommodate for the seam allowance, I taped it down to keep everything secure and accurate.
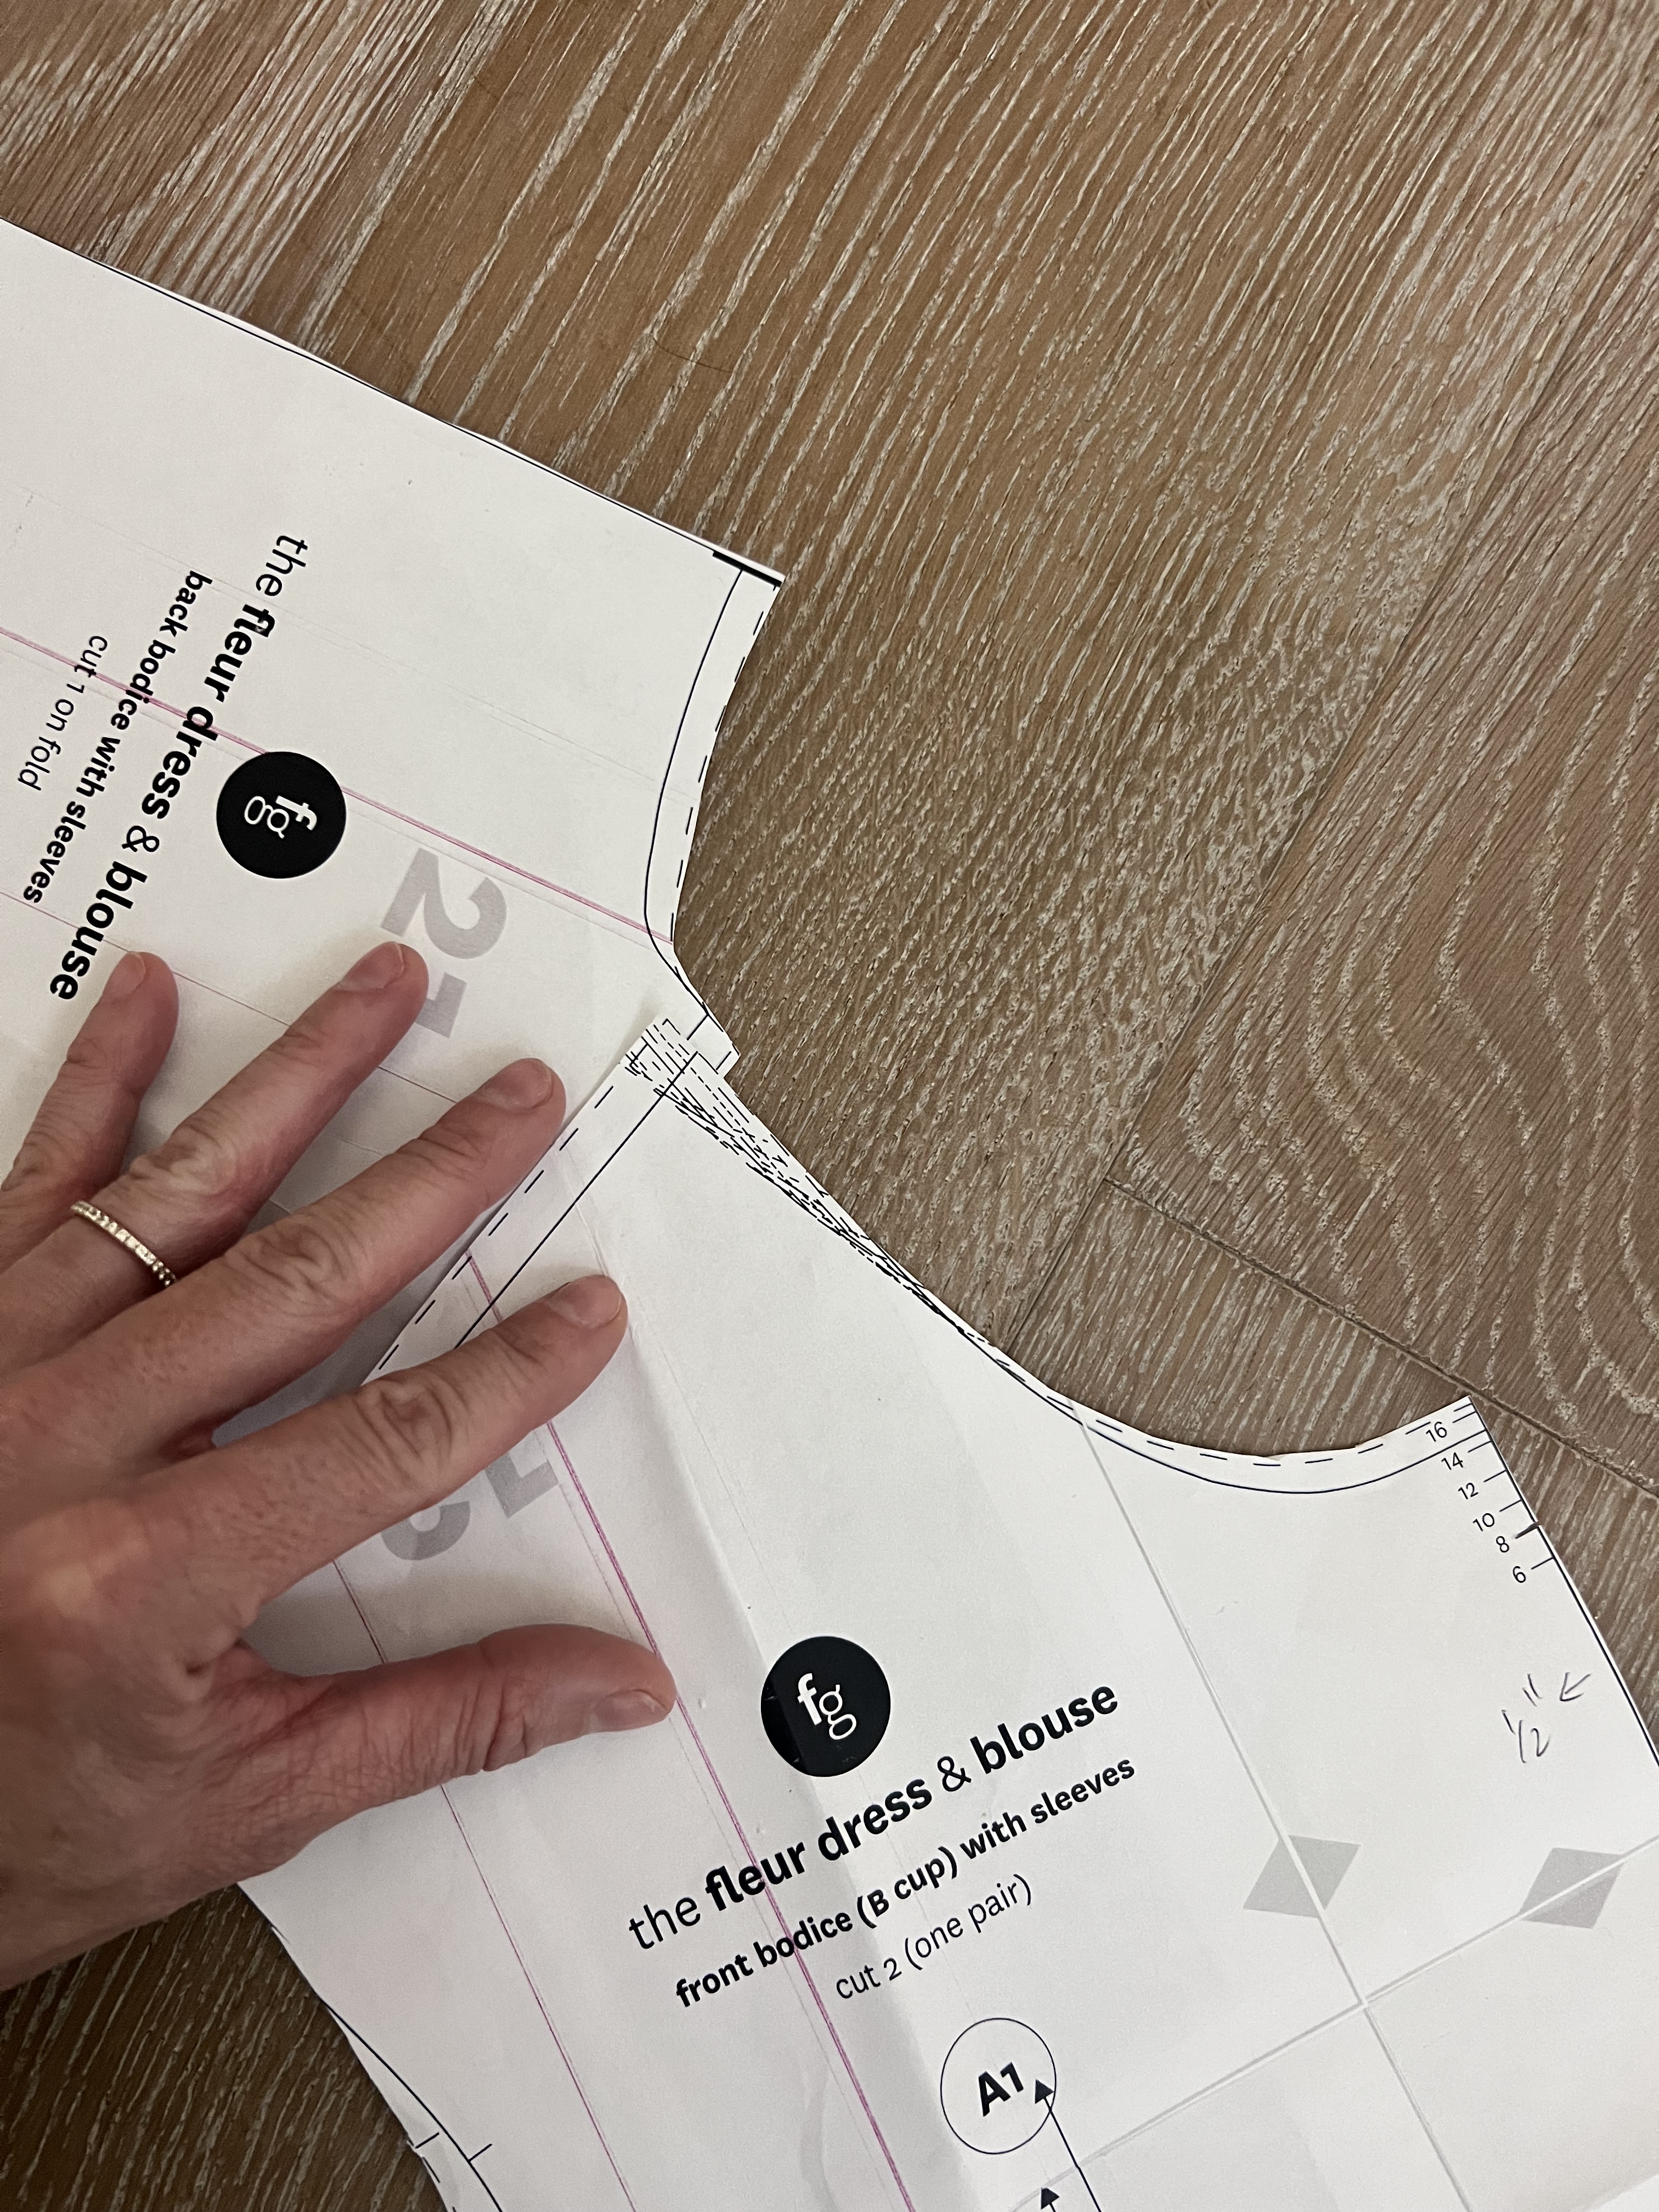
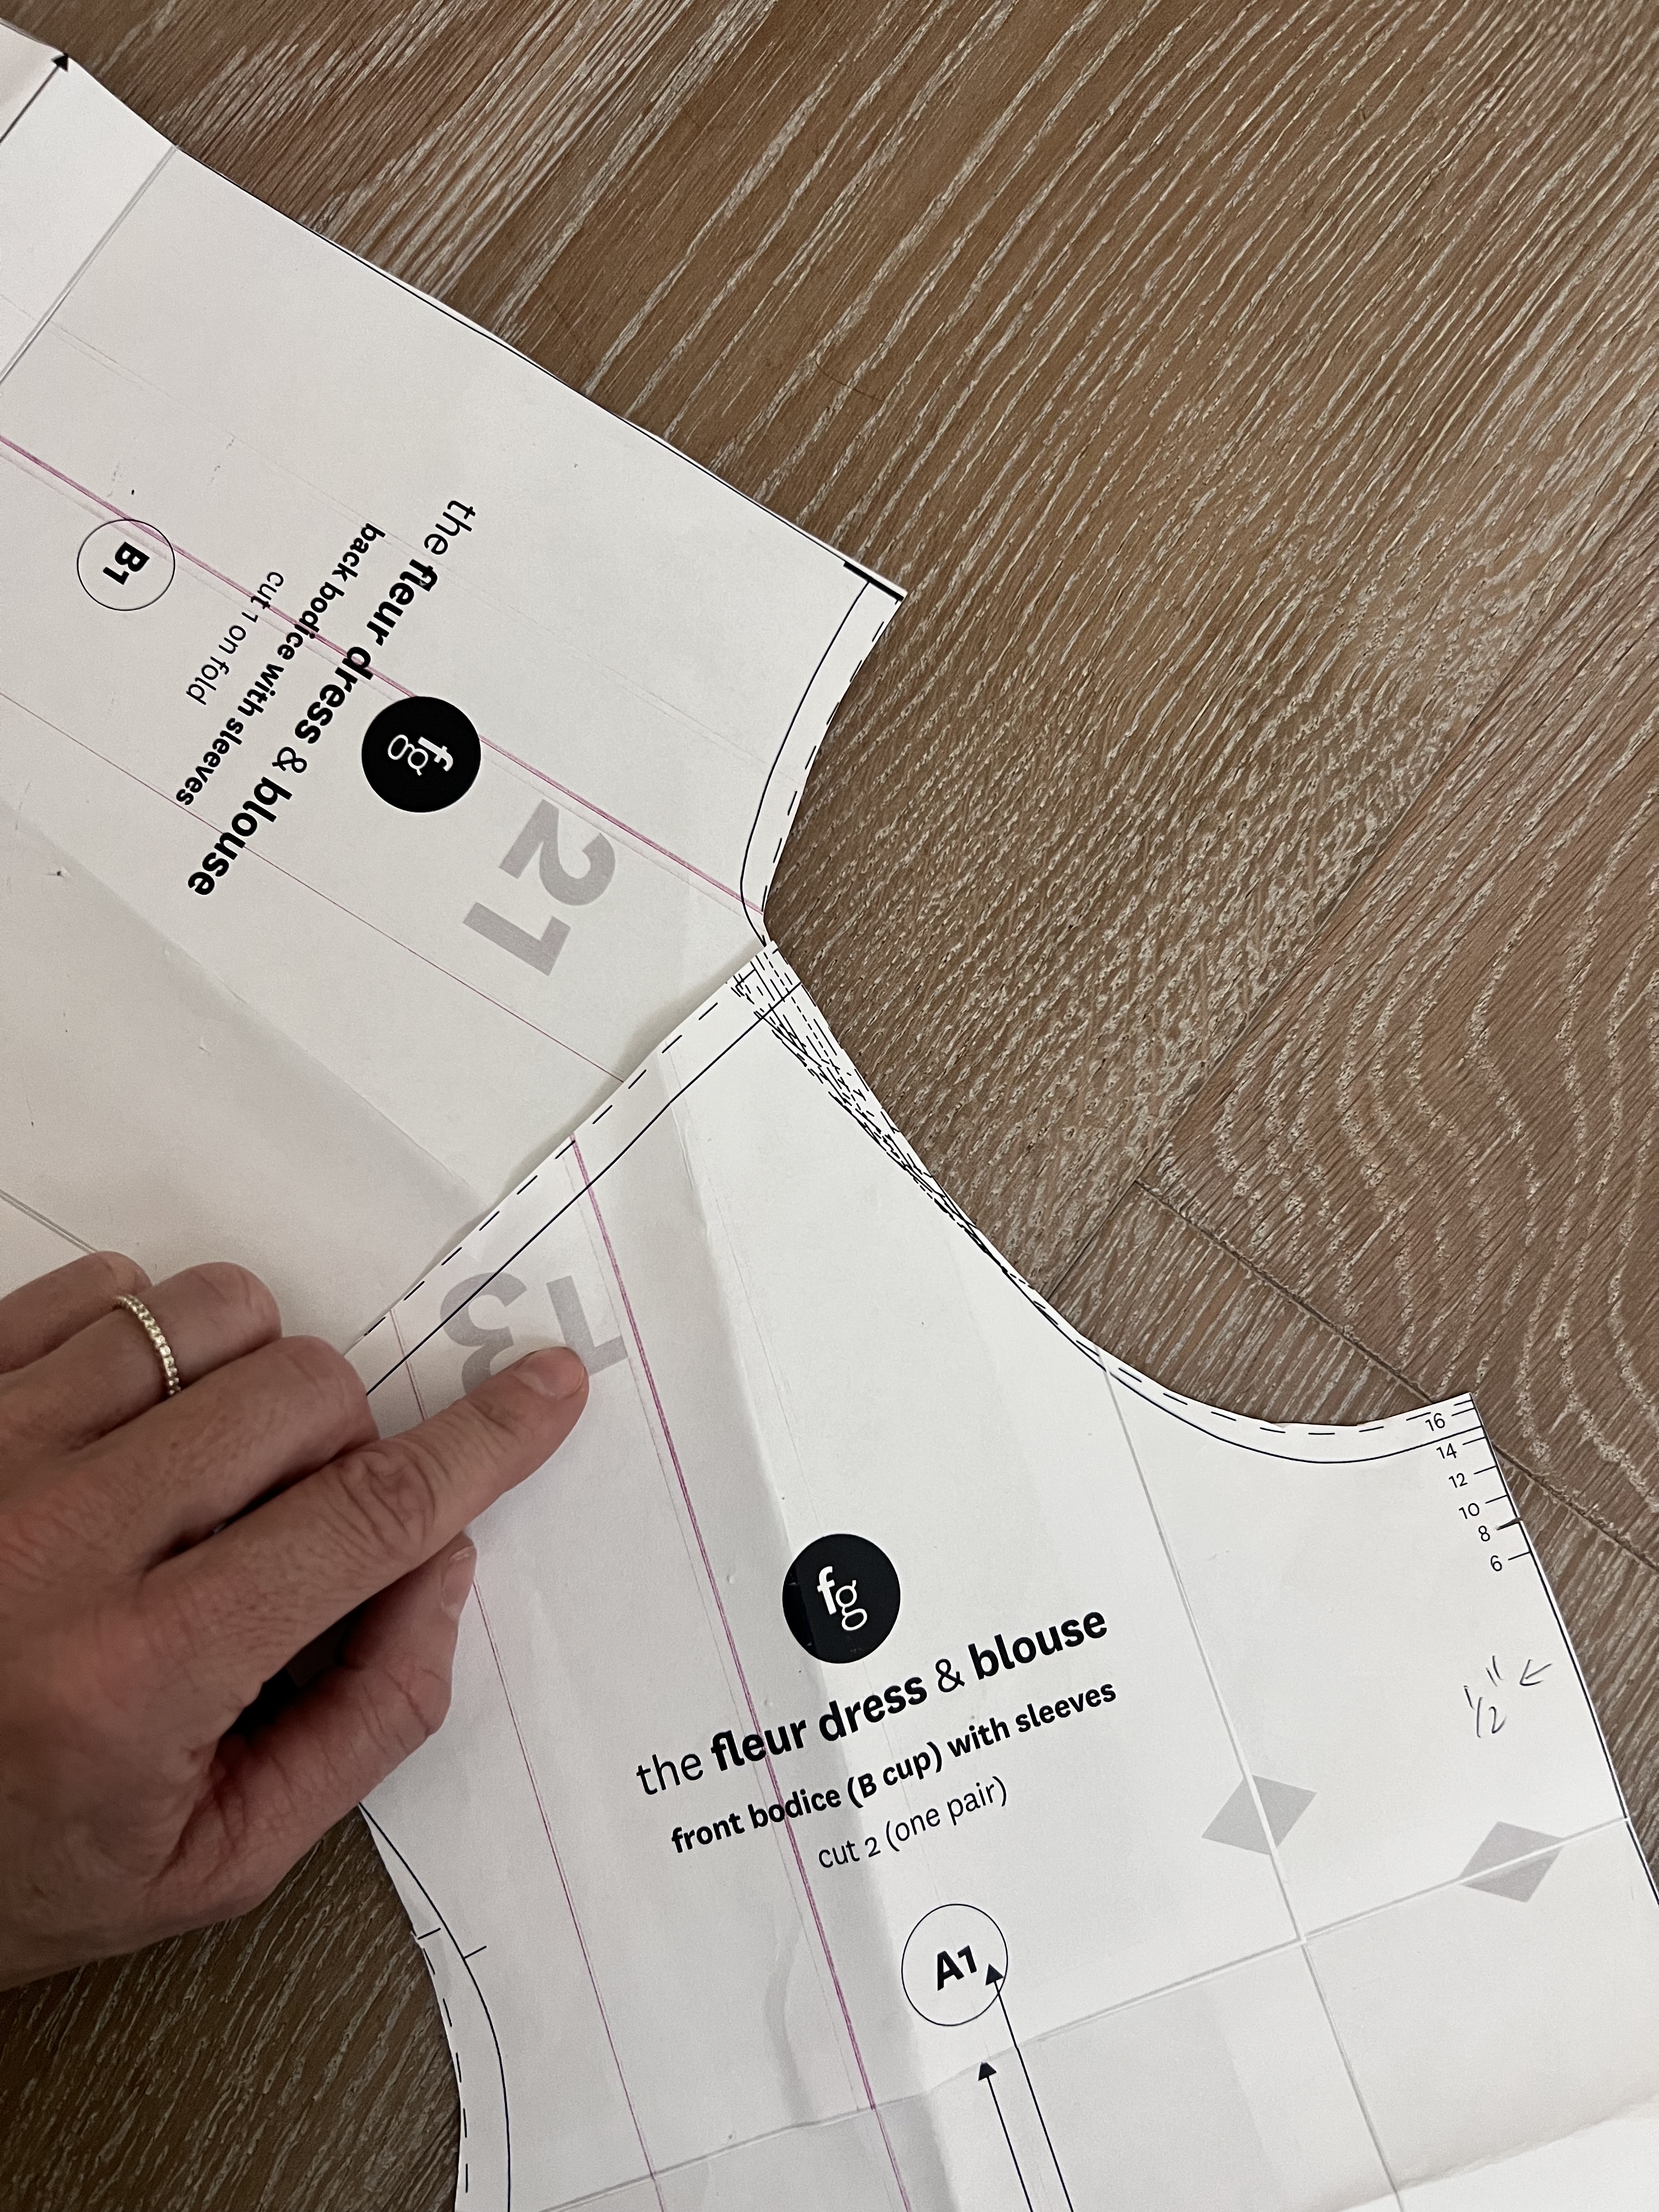
Then, I laid a piece of tracing paper on top and traced the neckline from the bodice front to the center back.
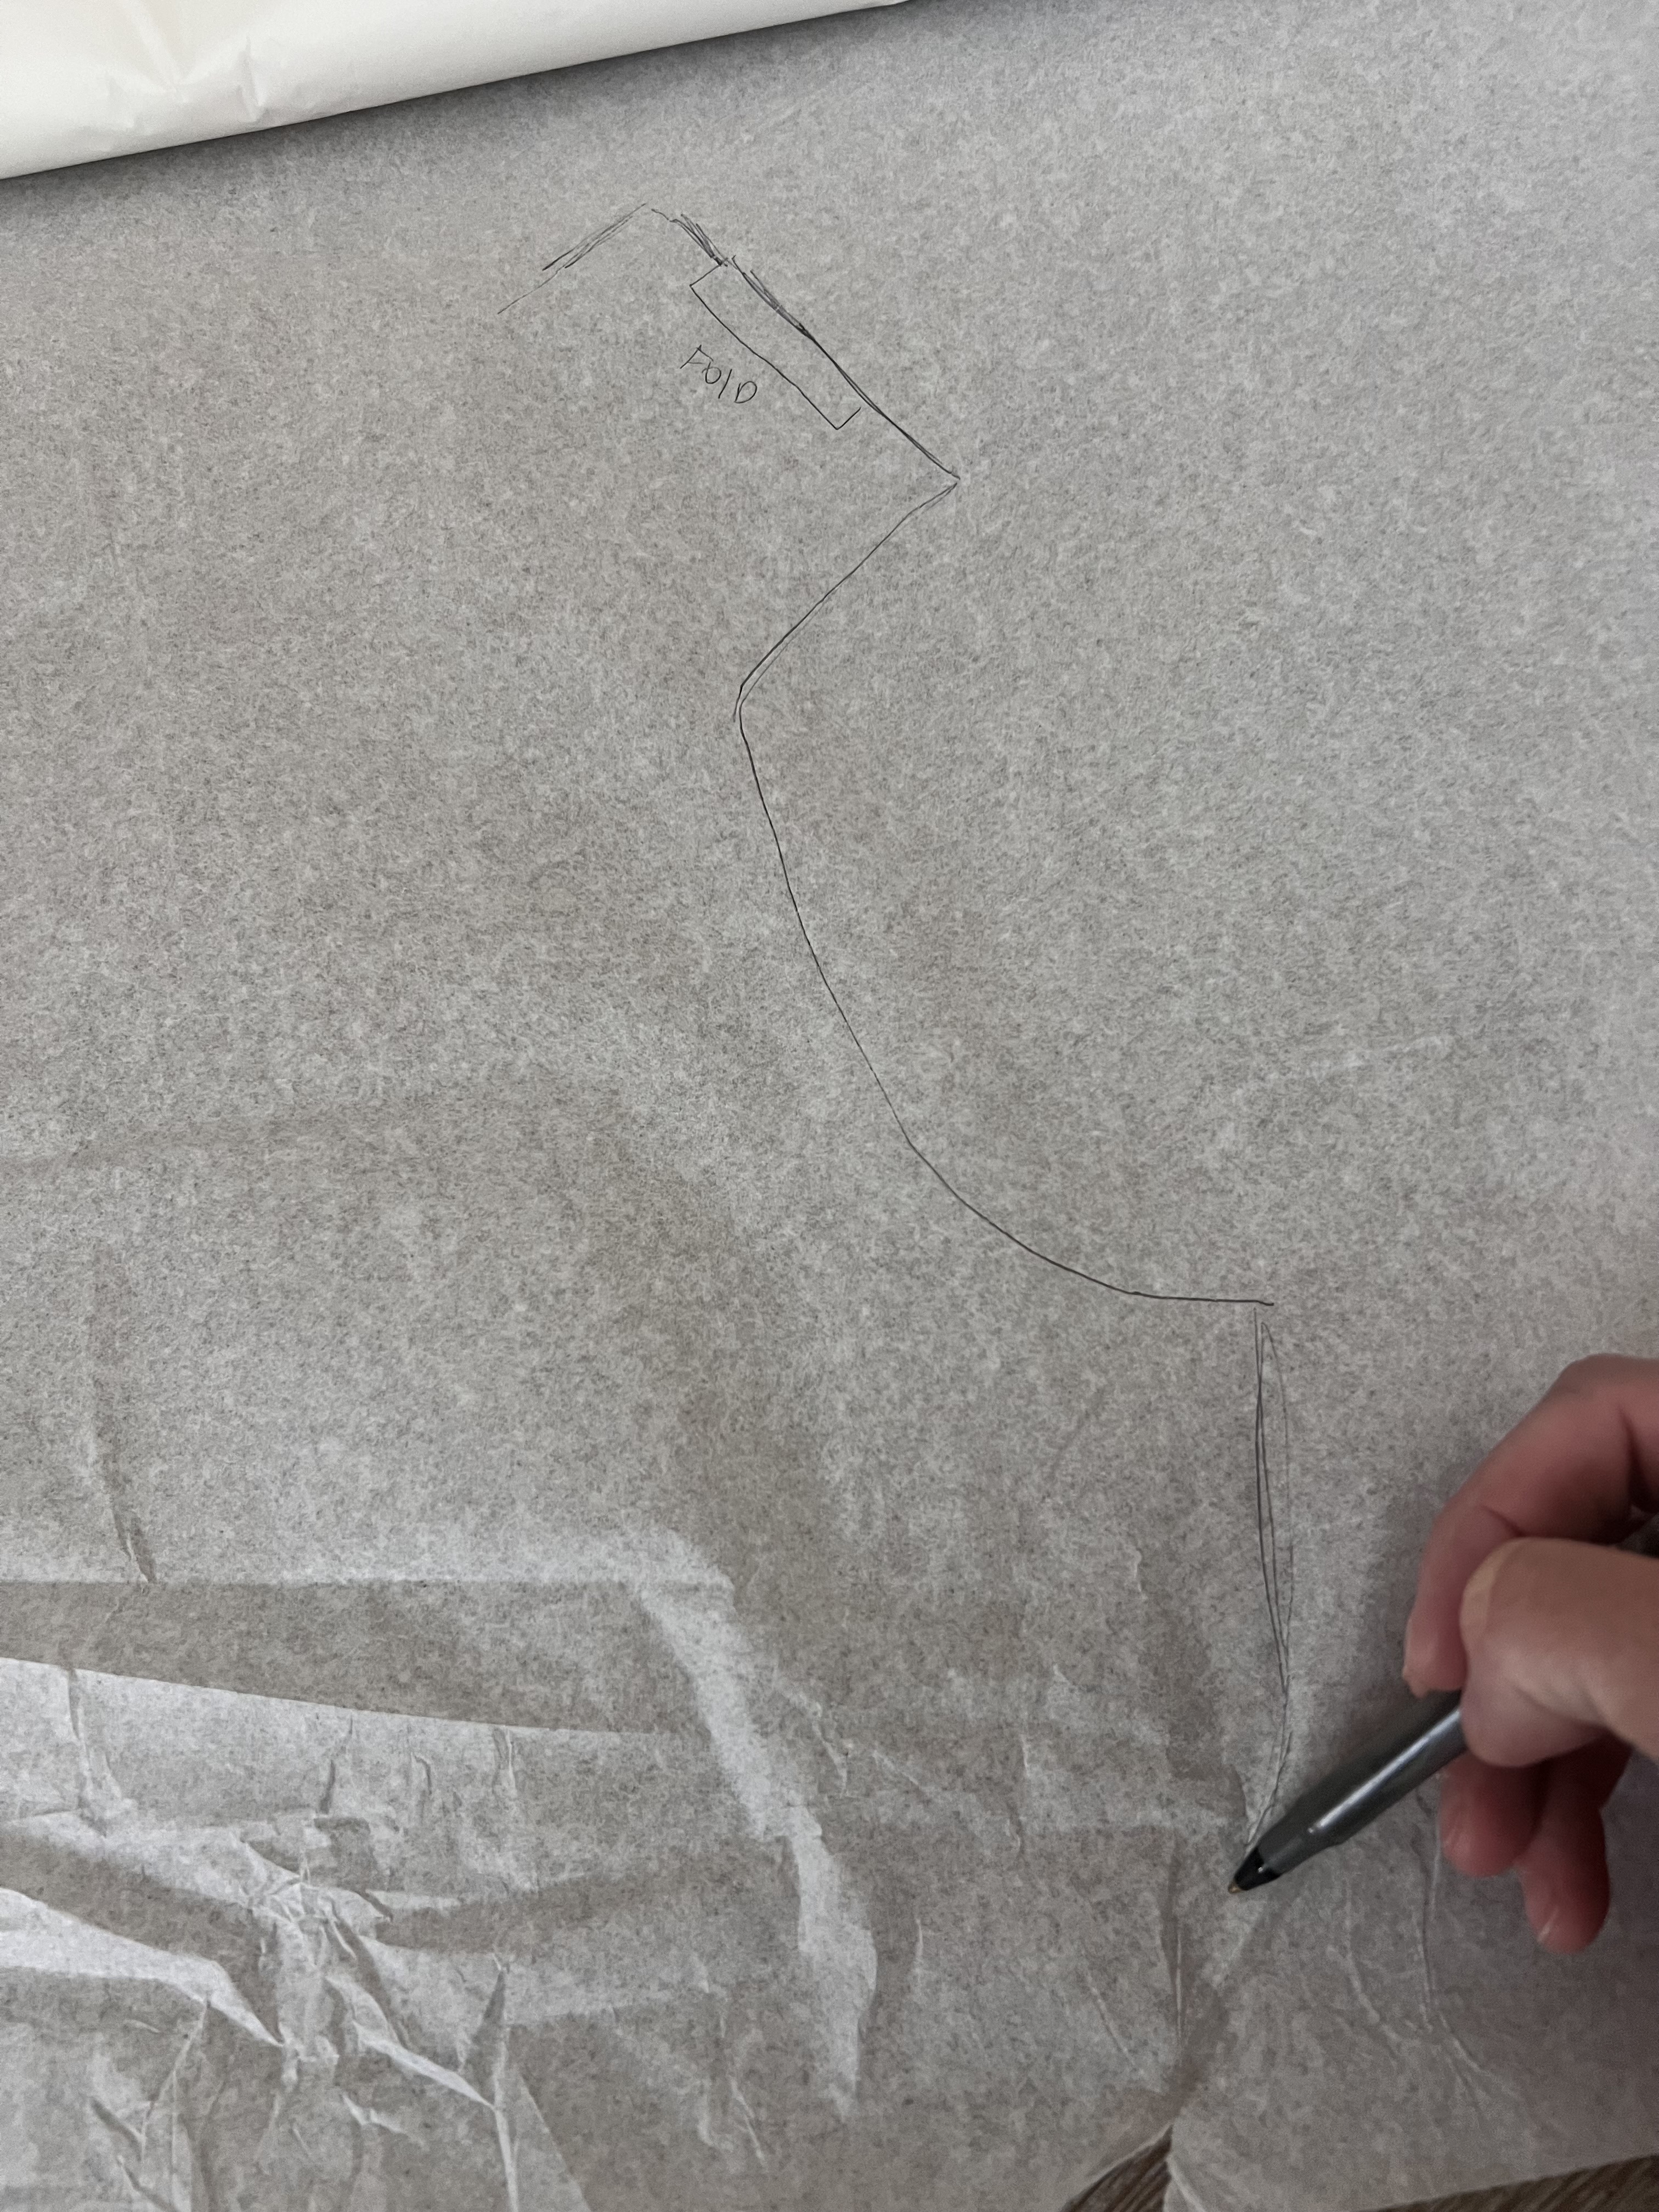
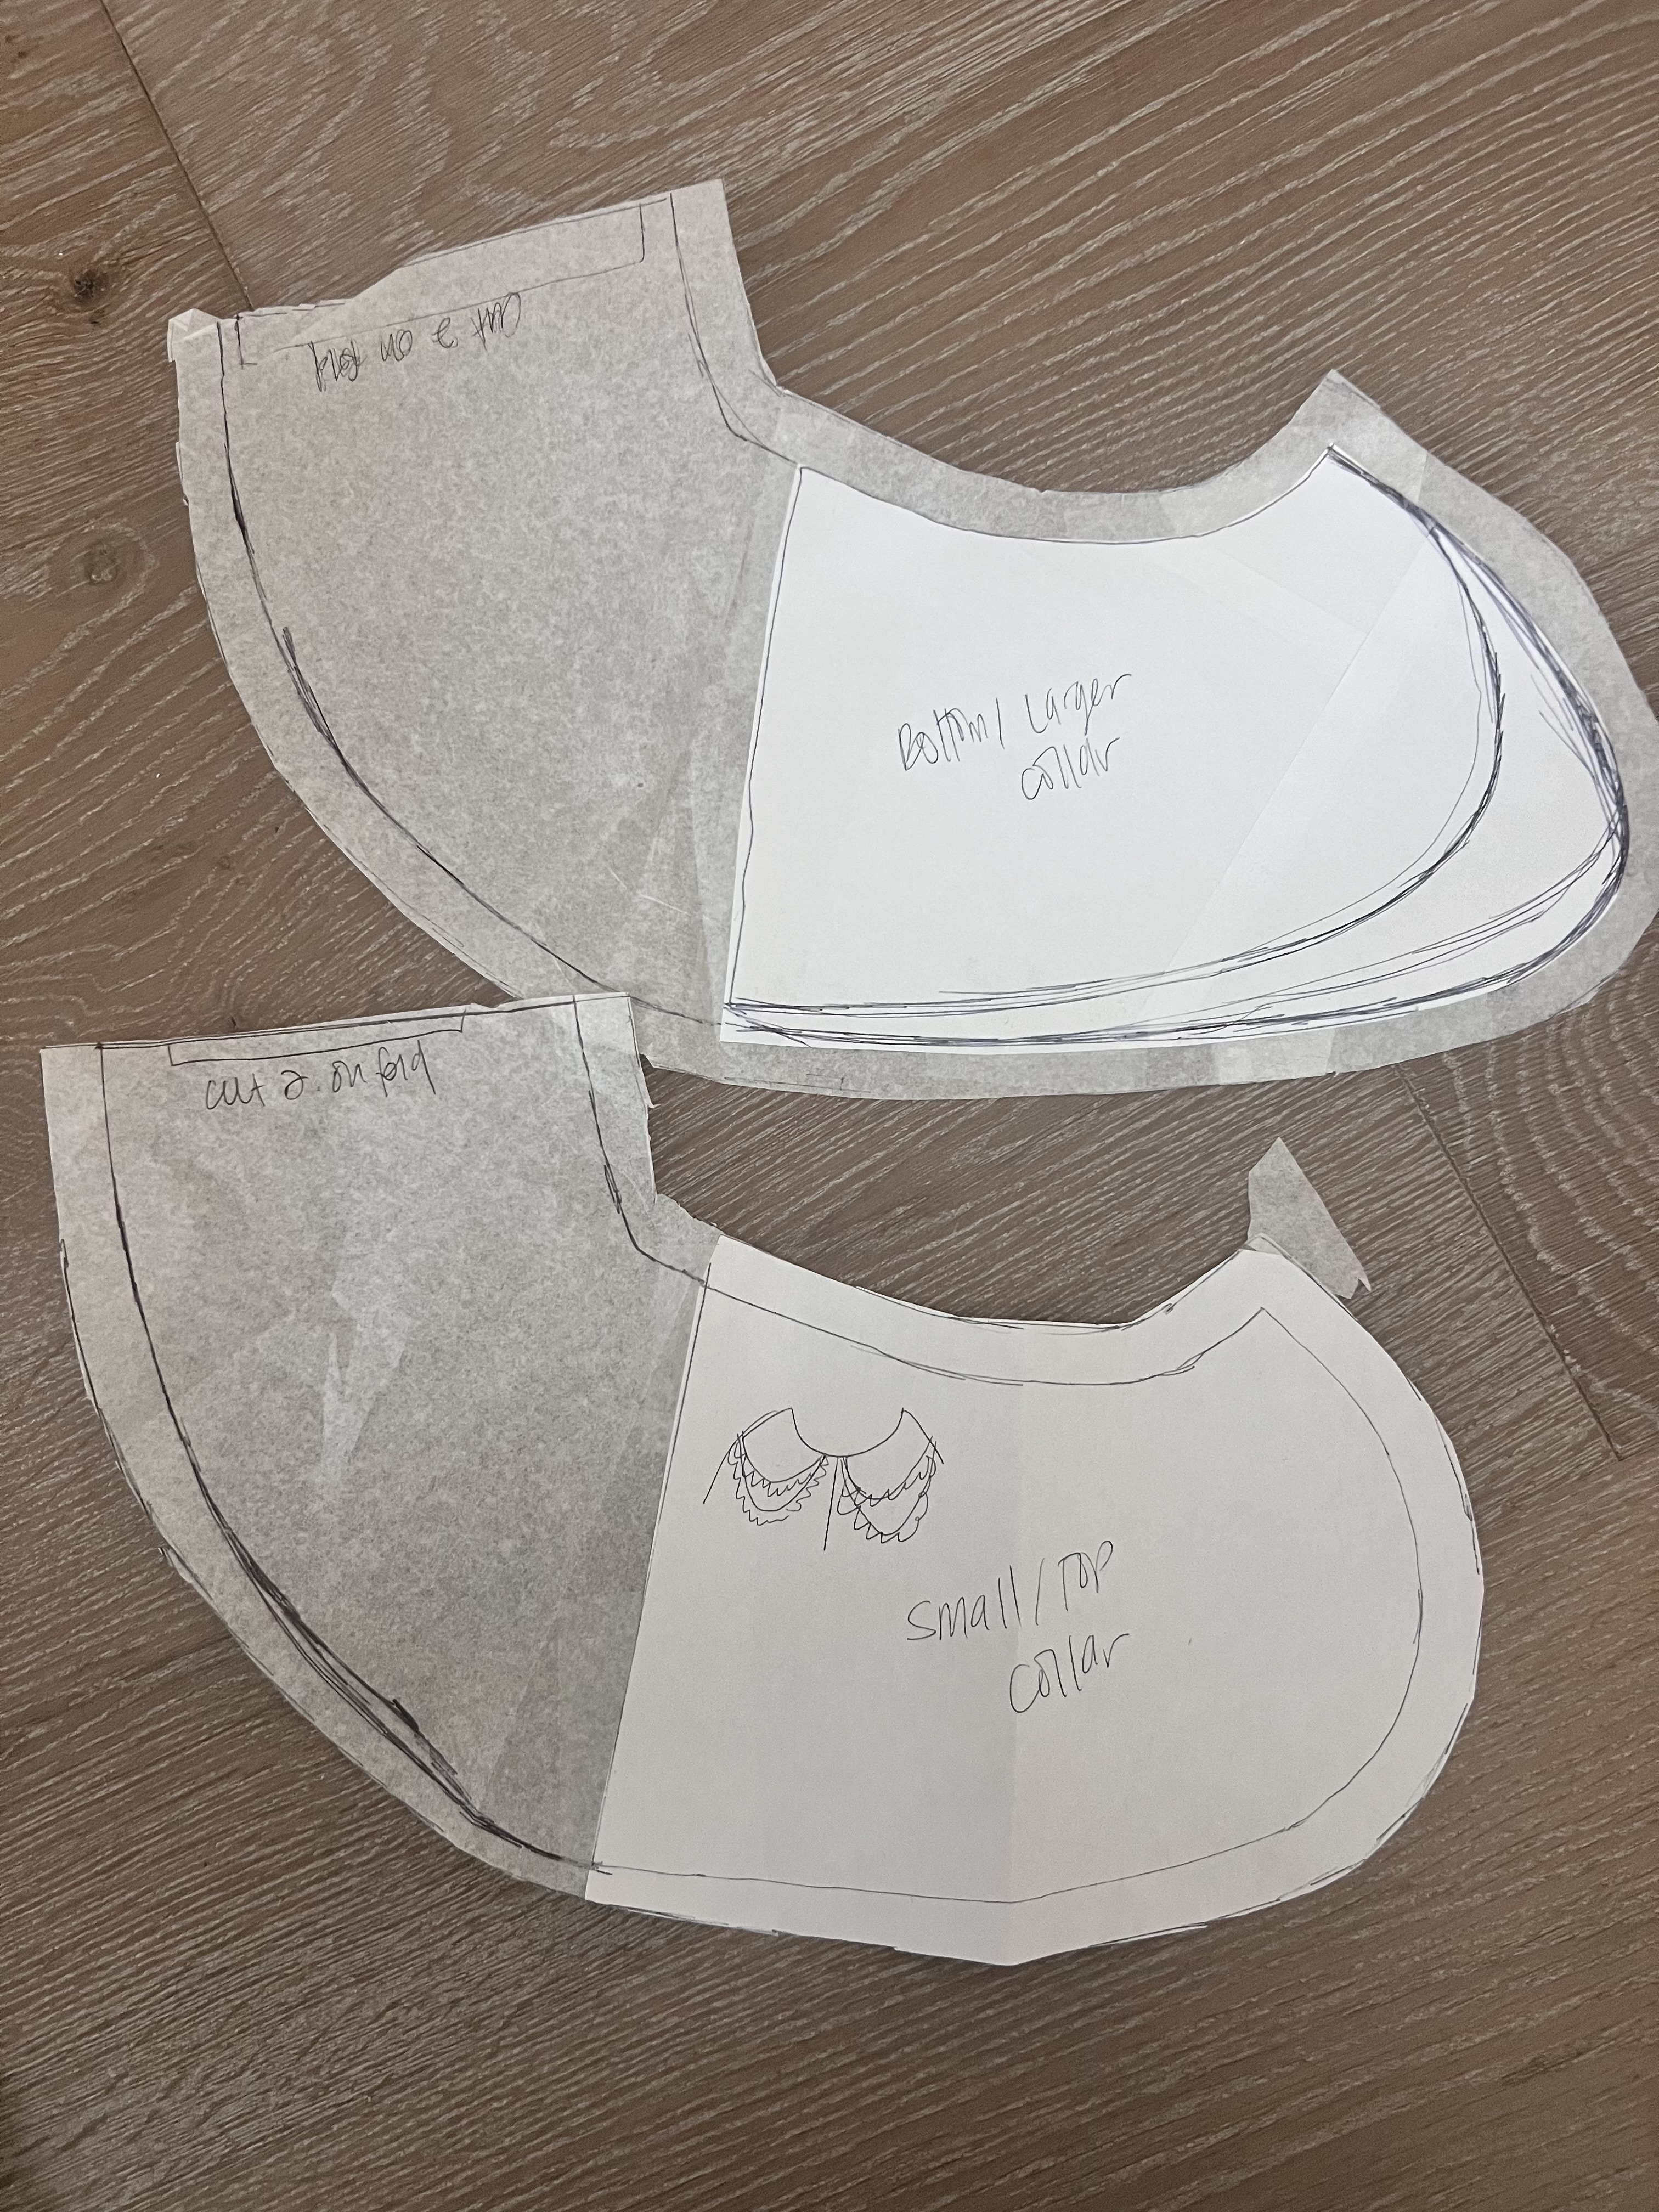
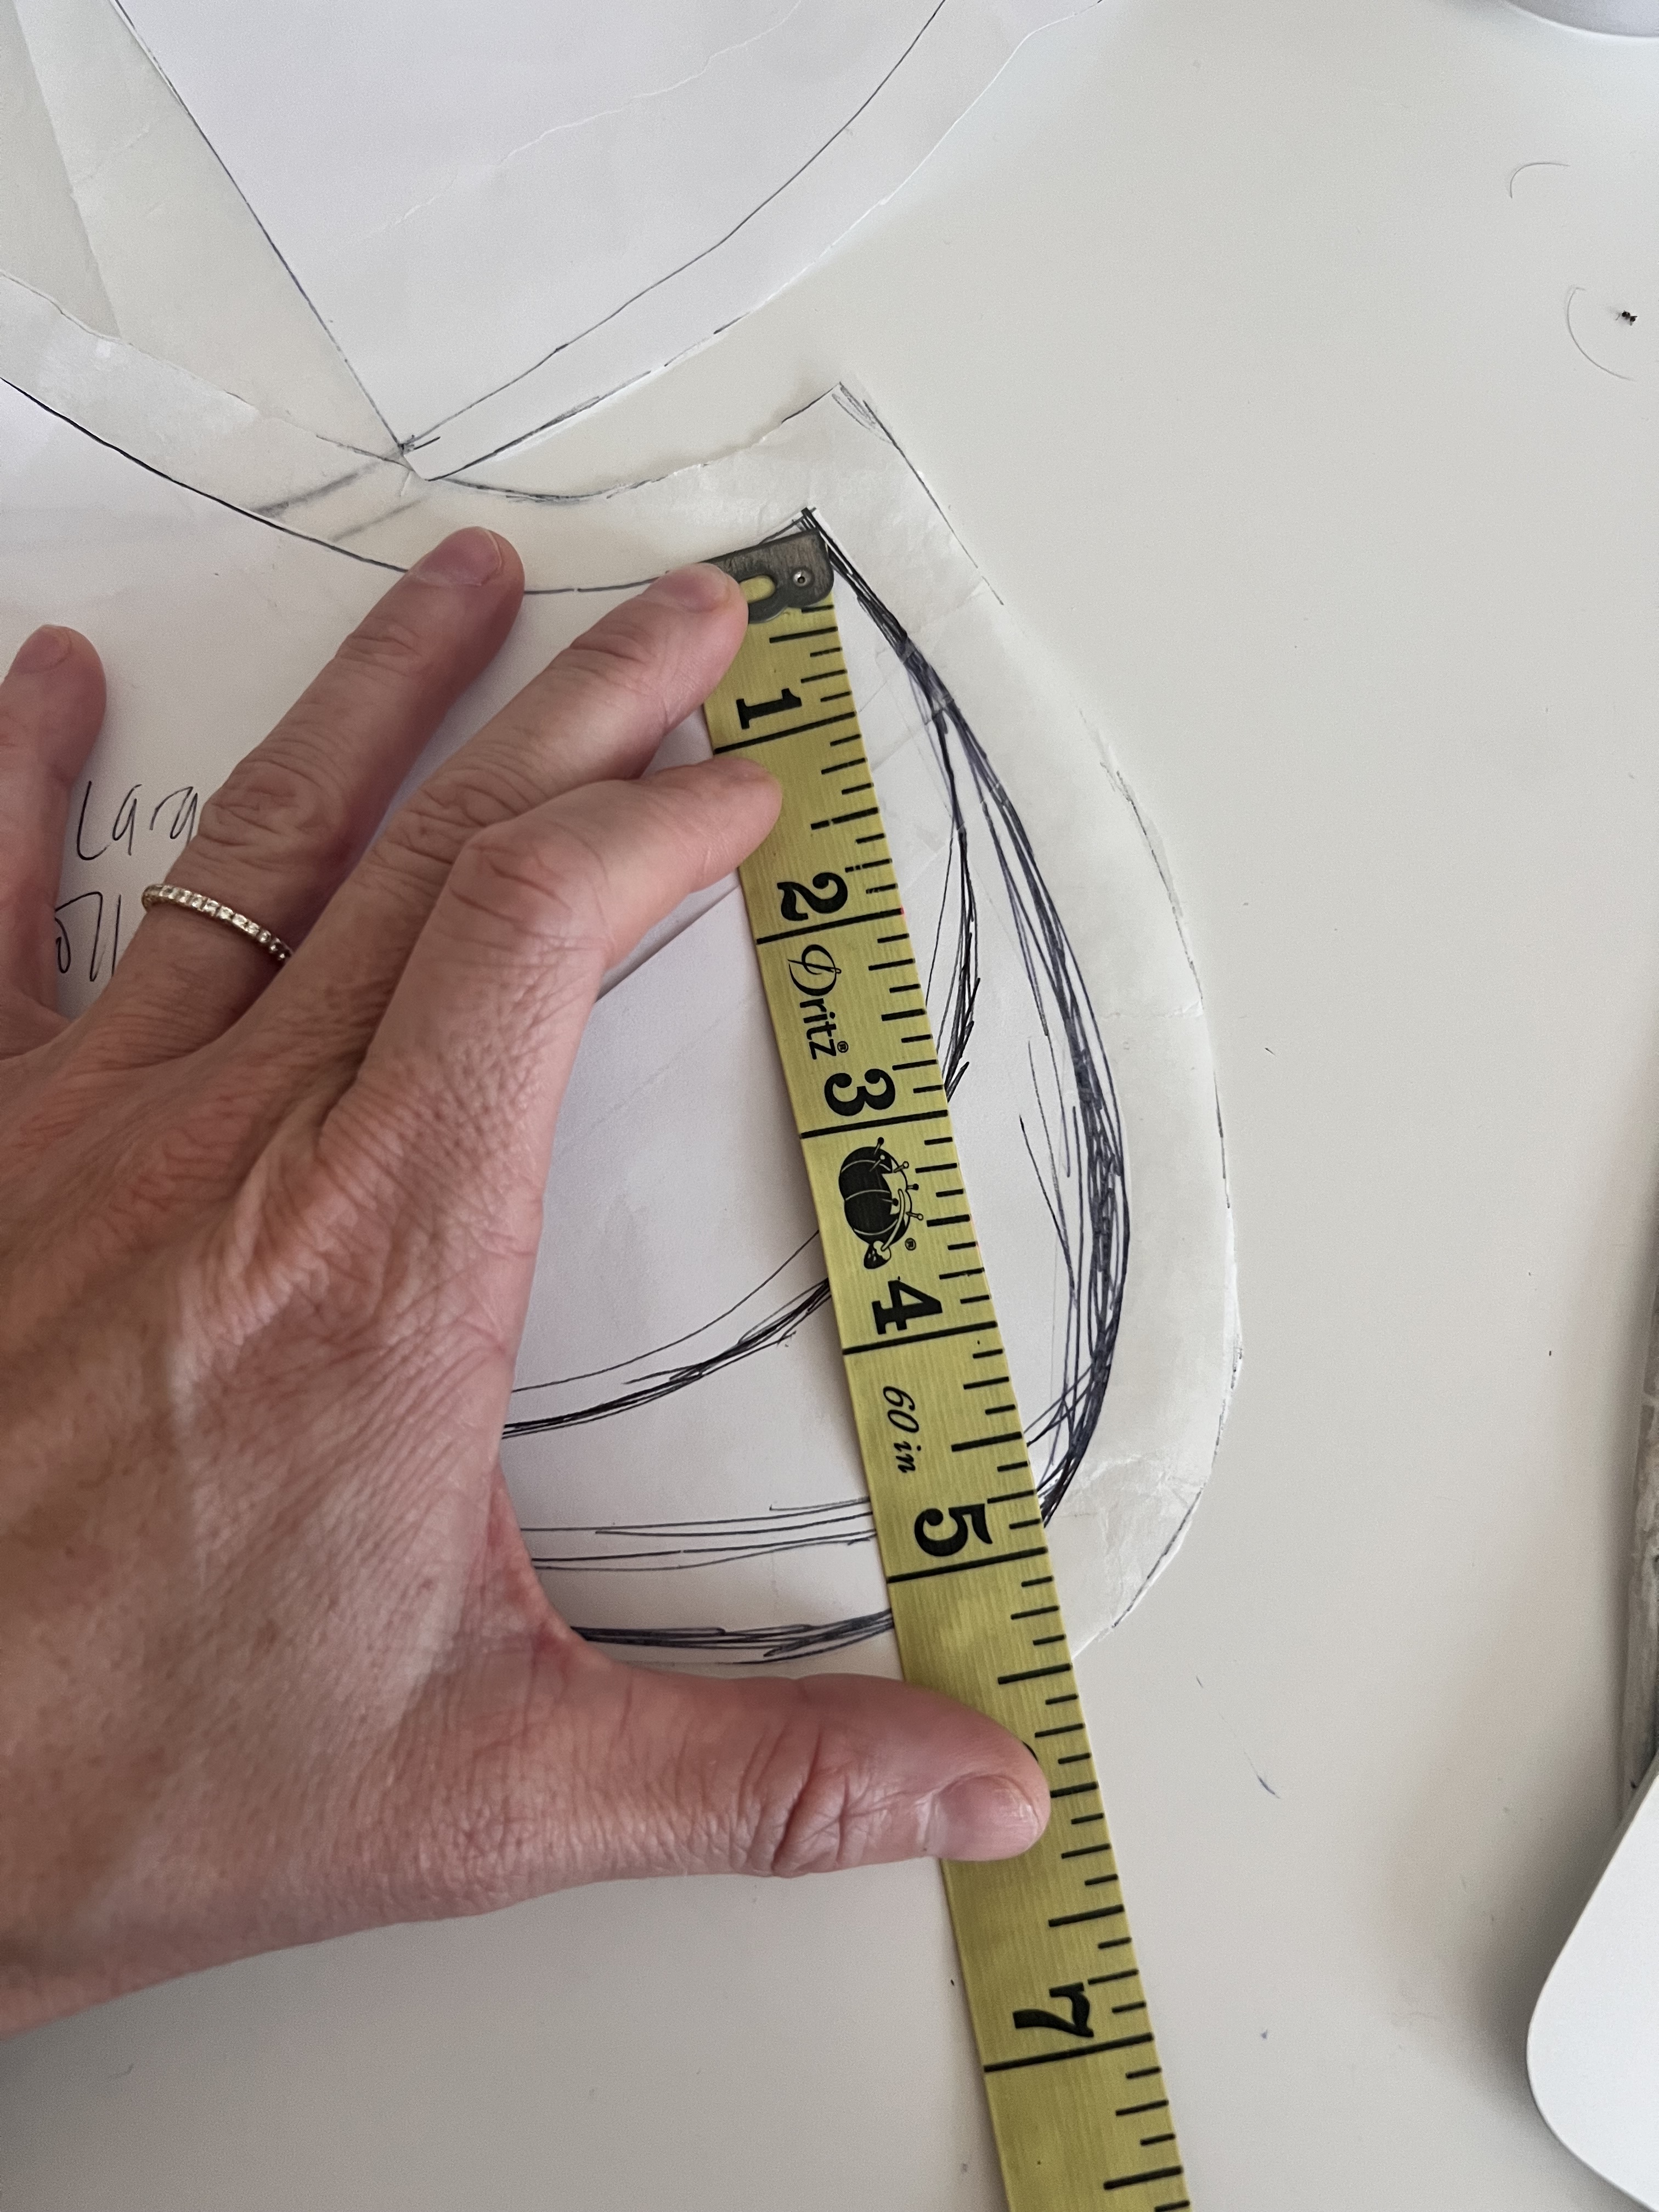
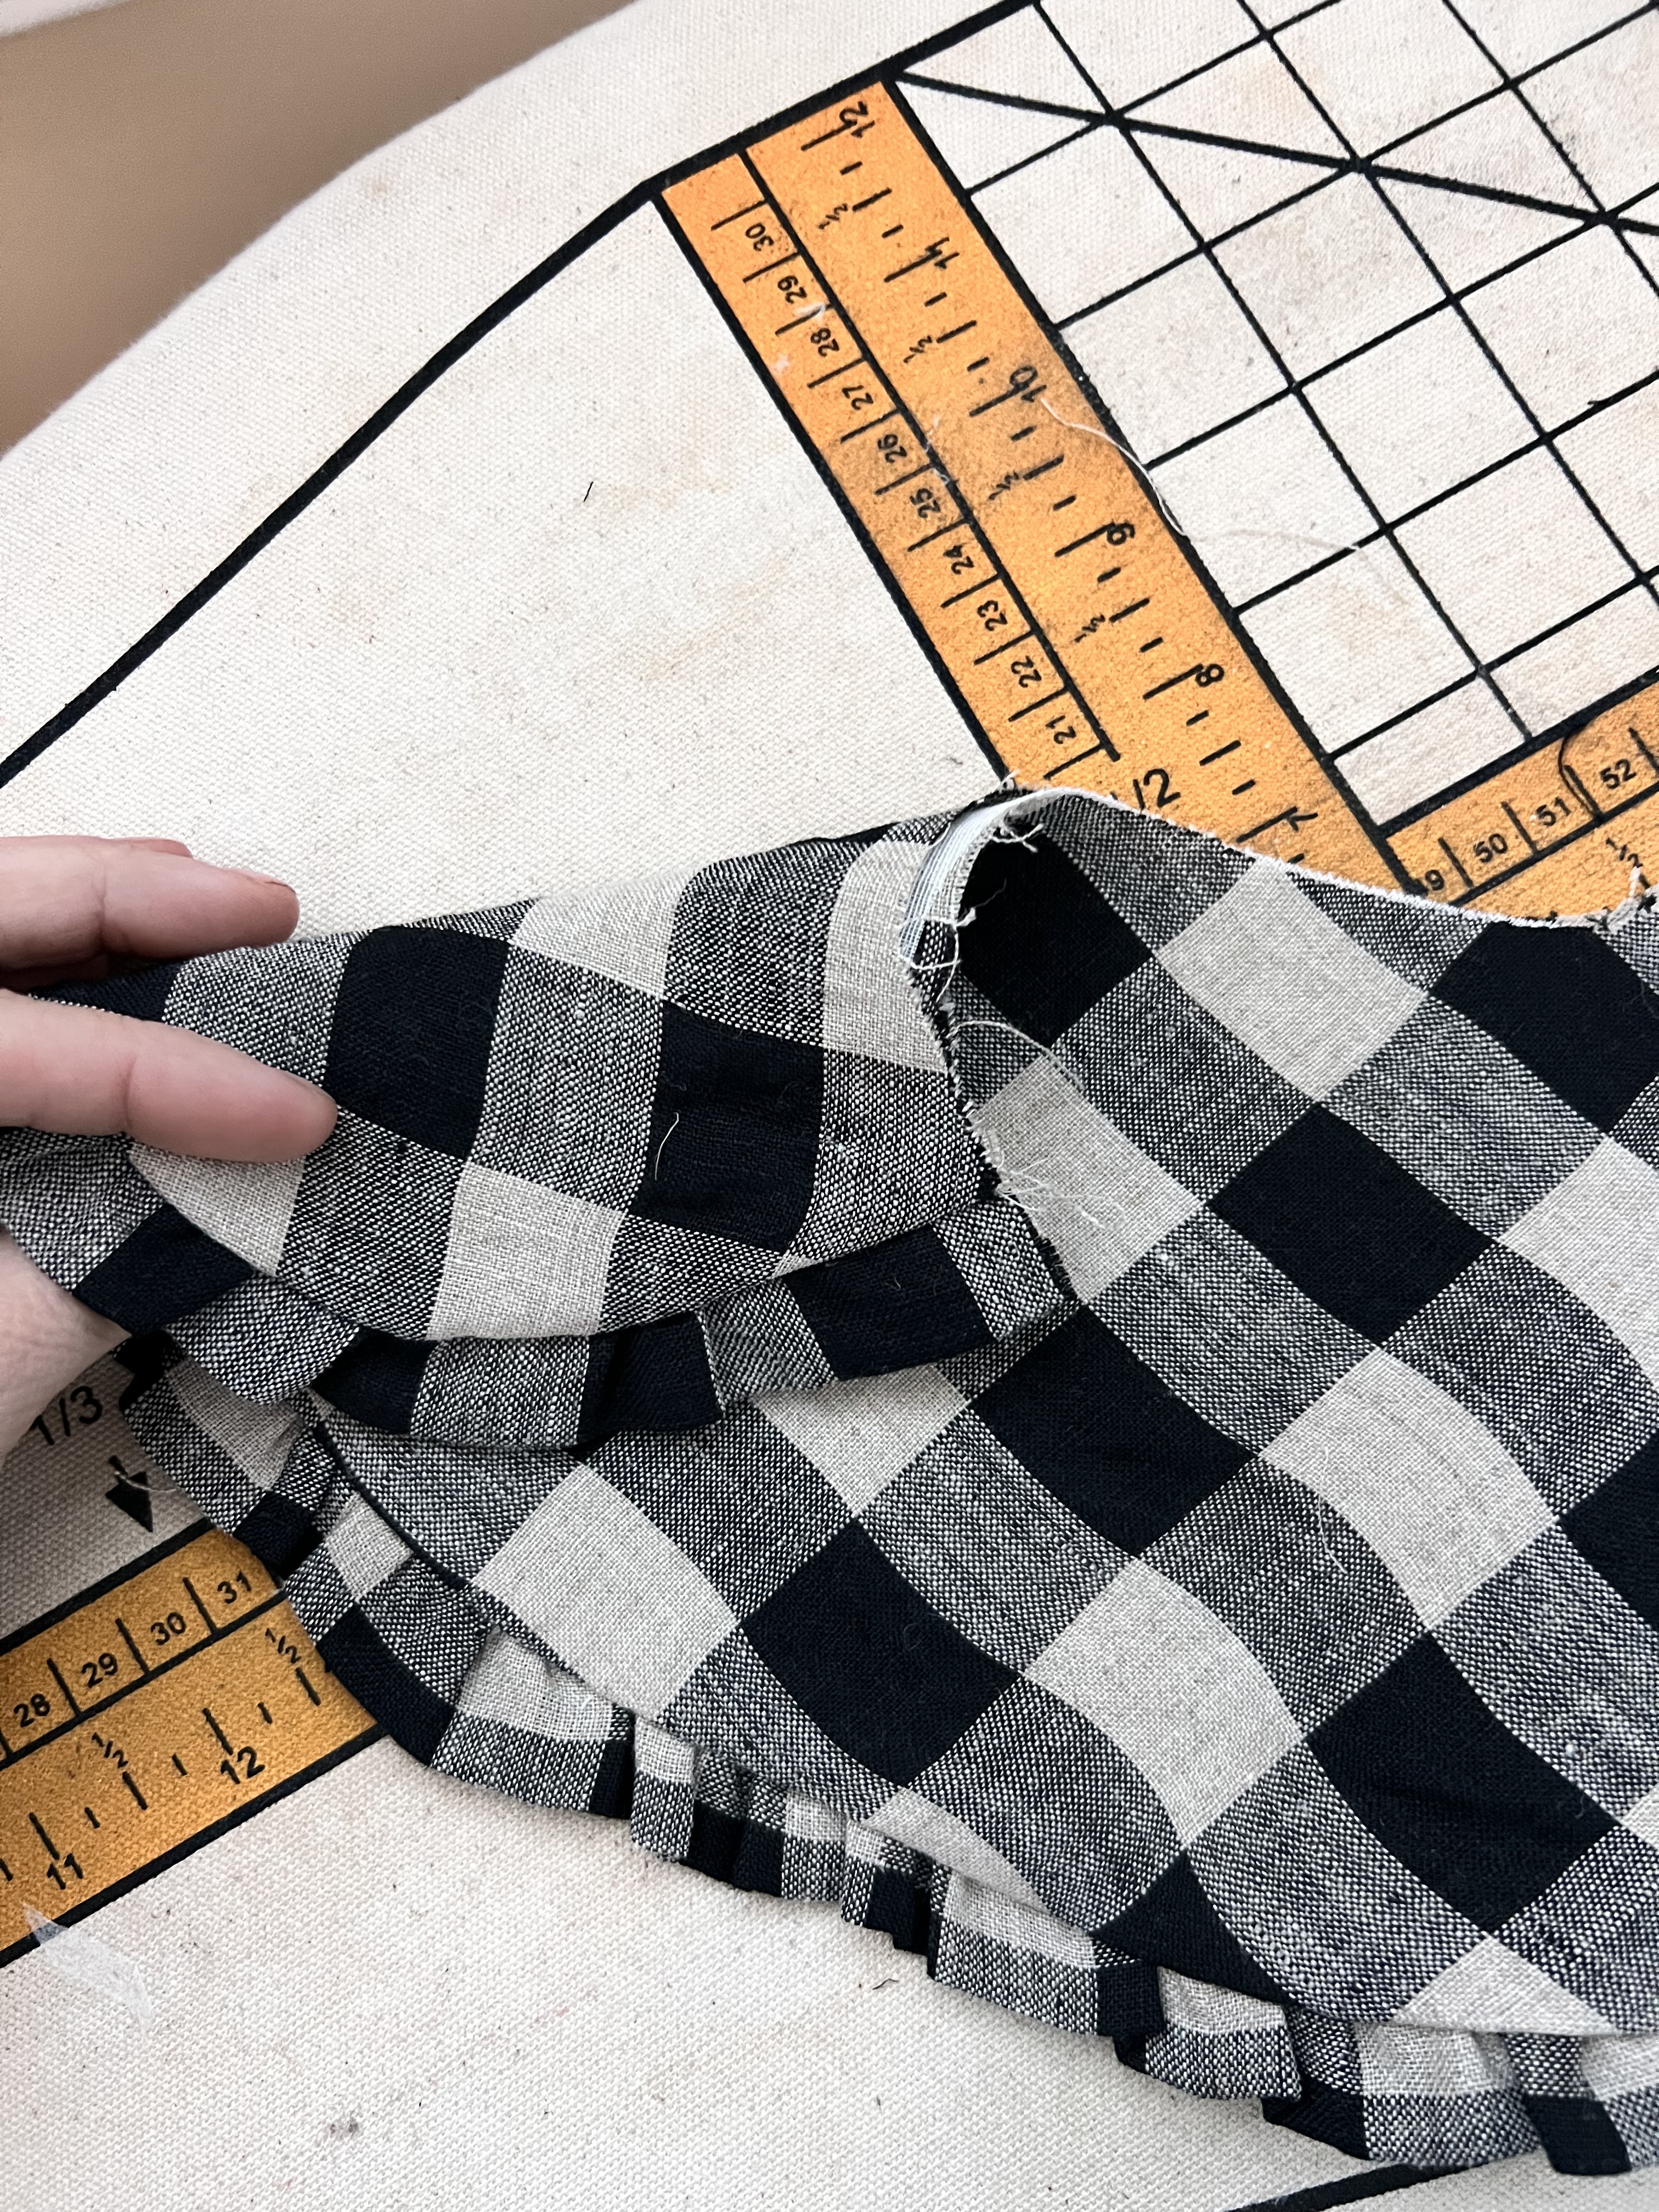
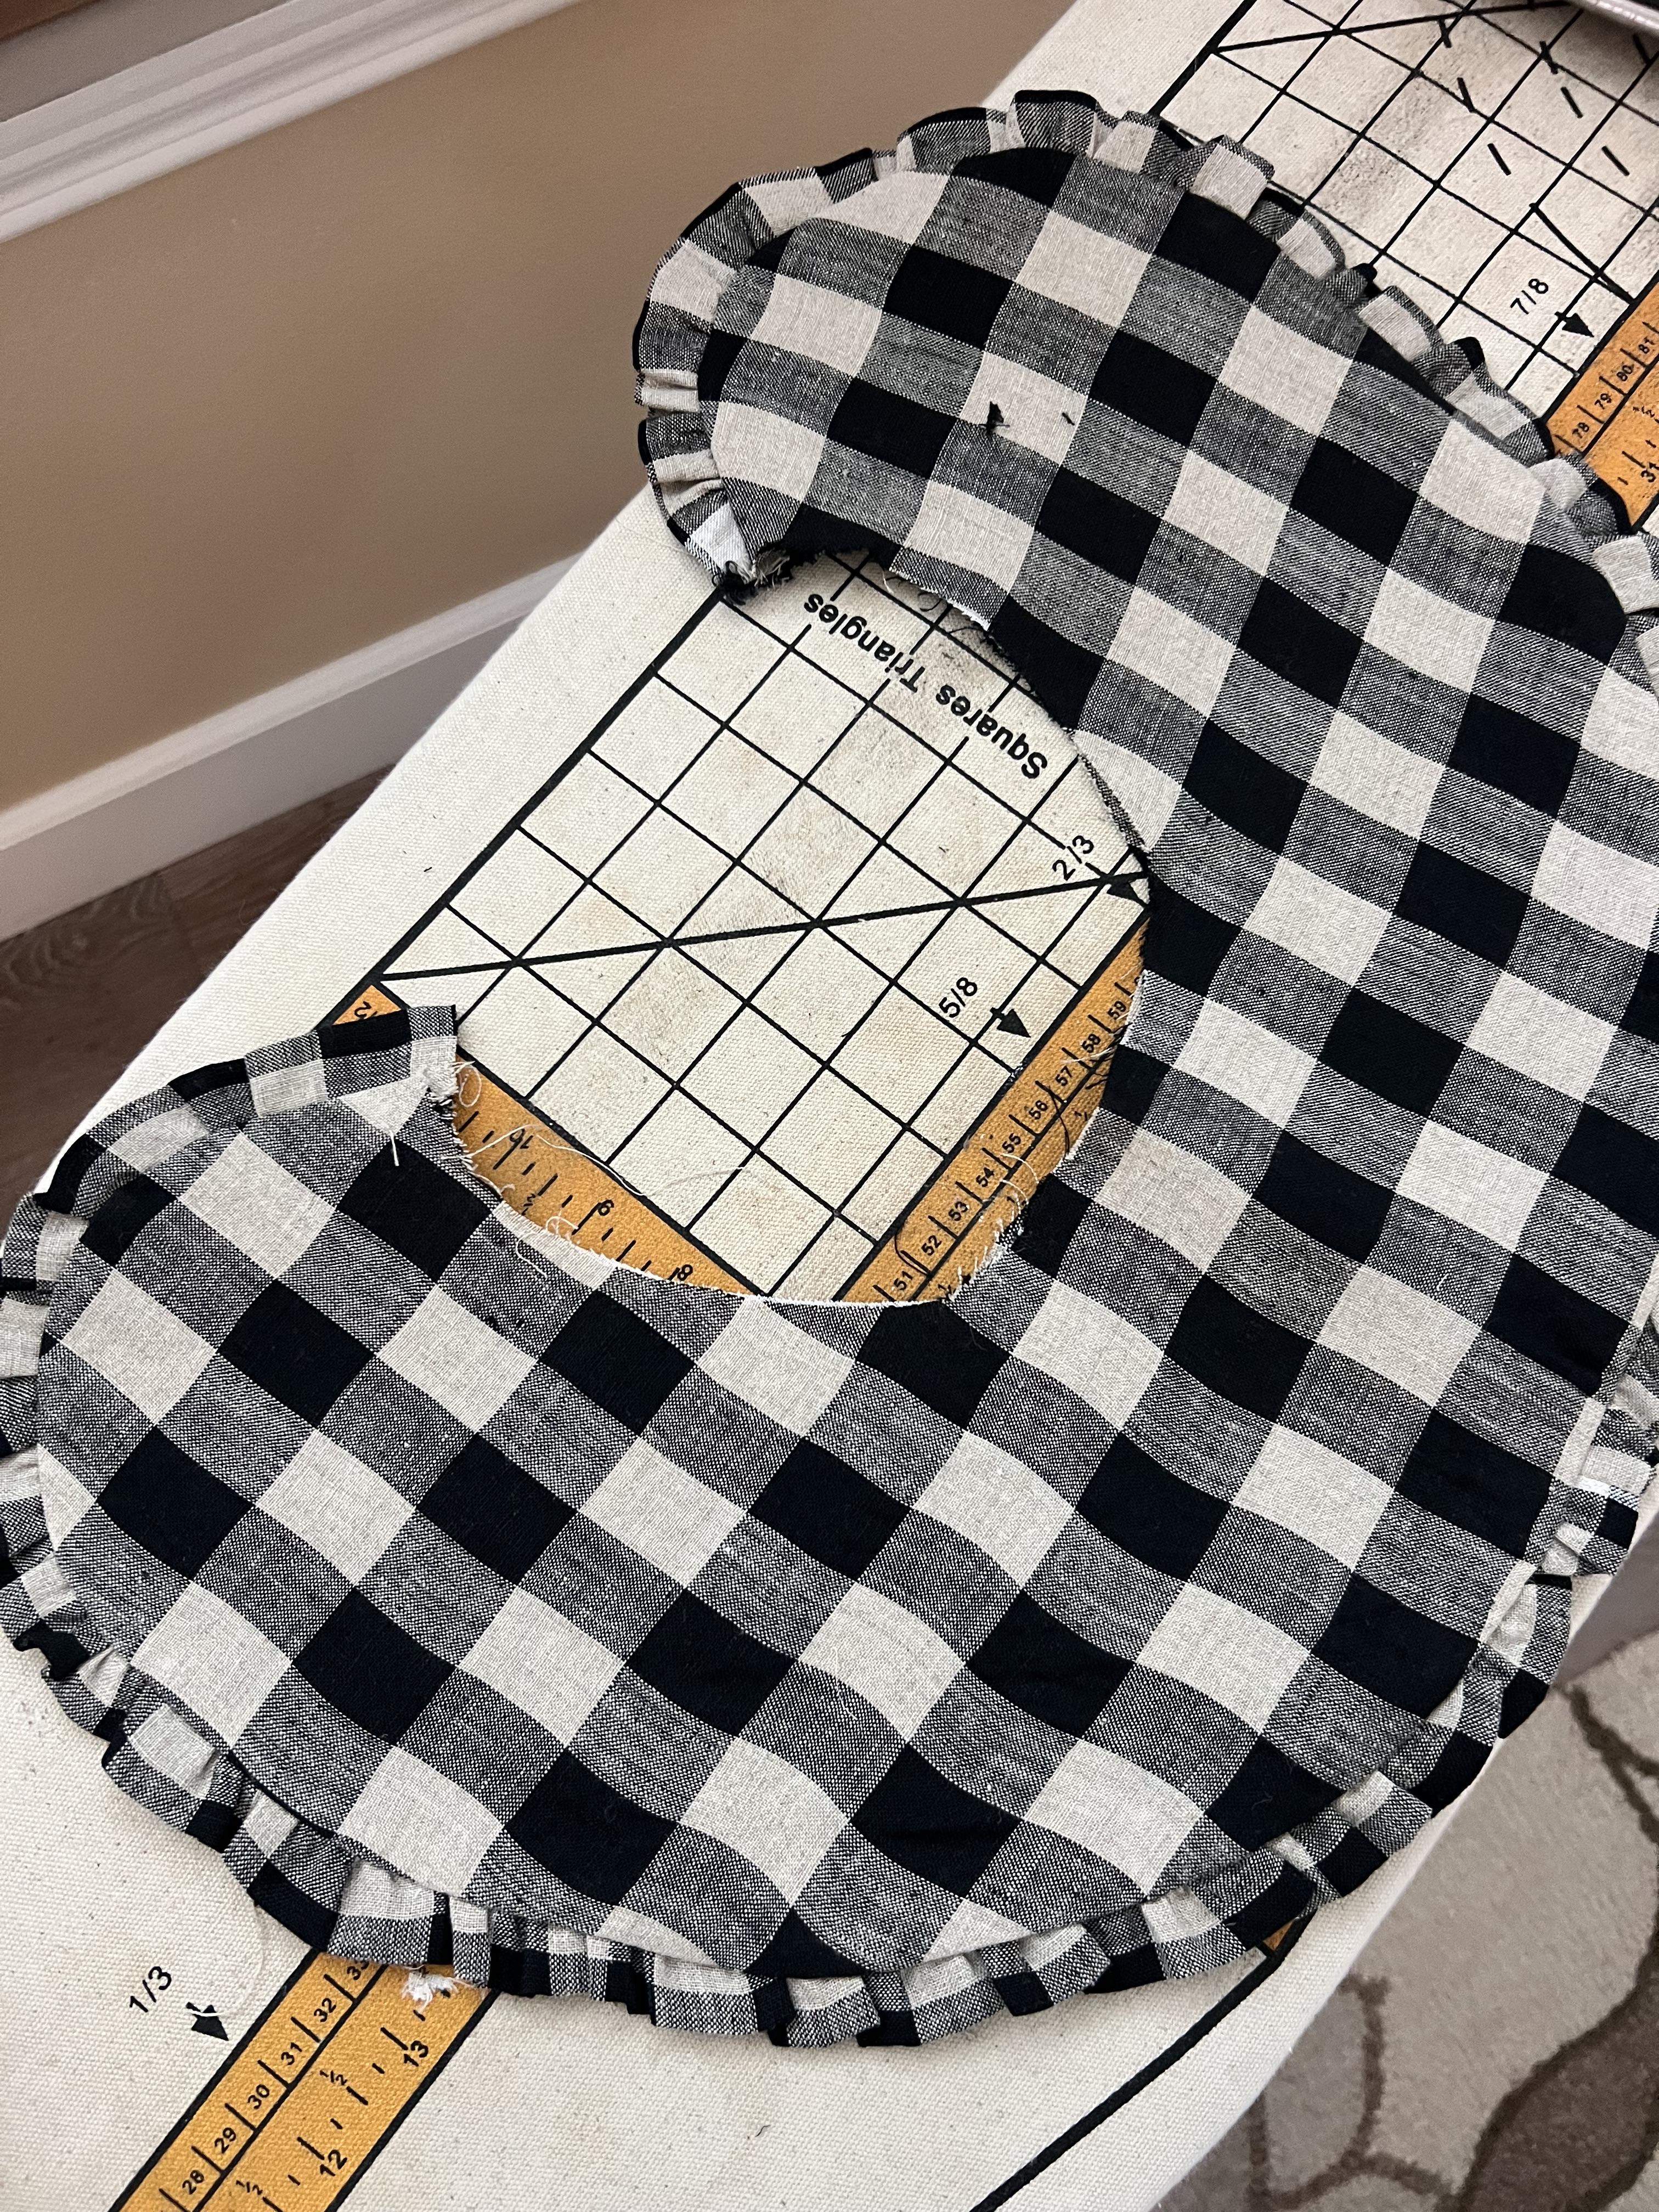
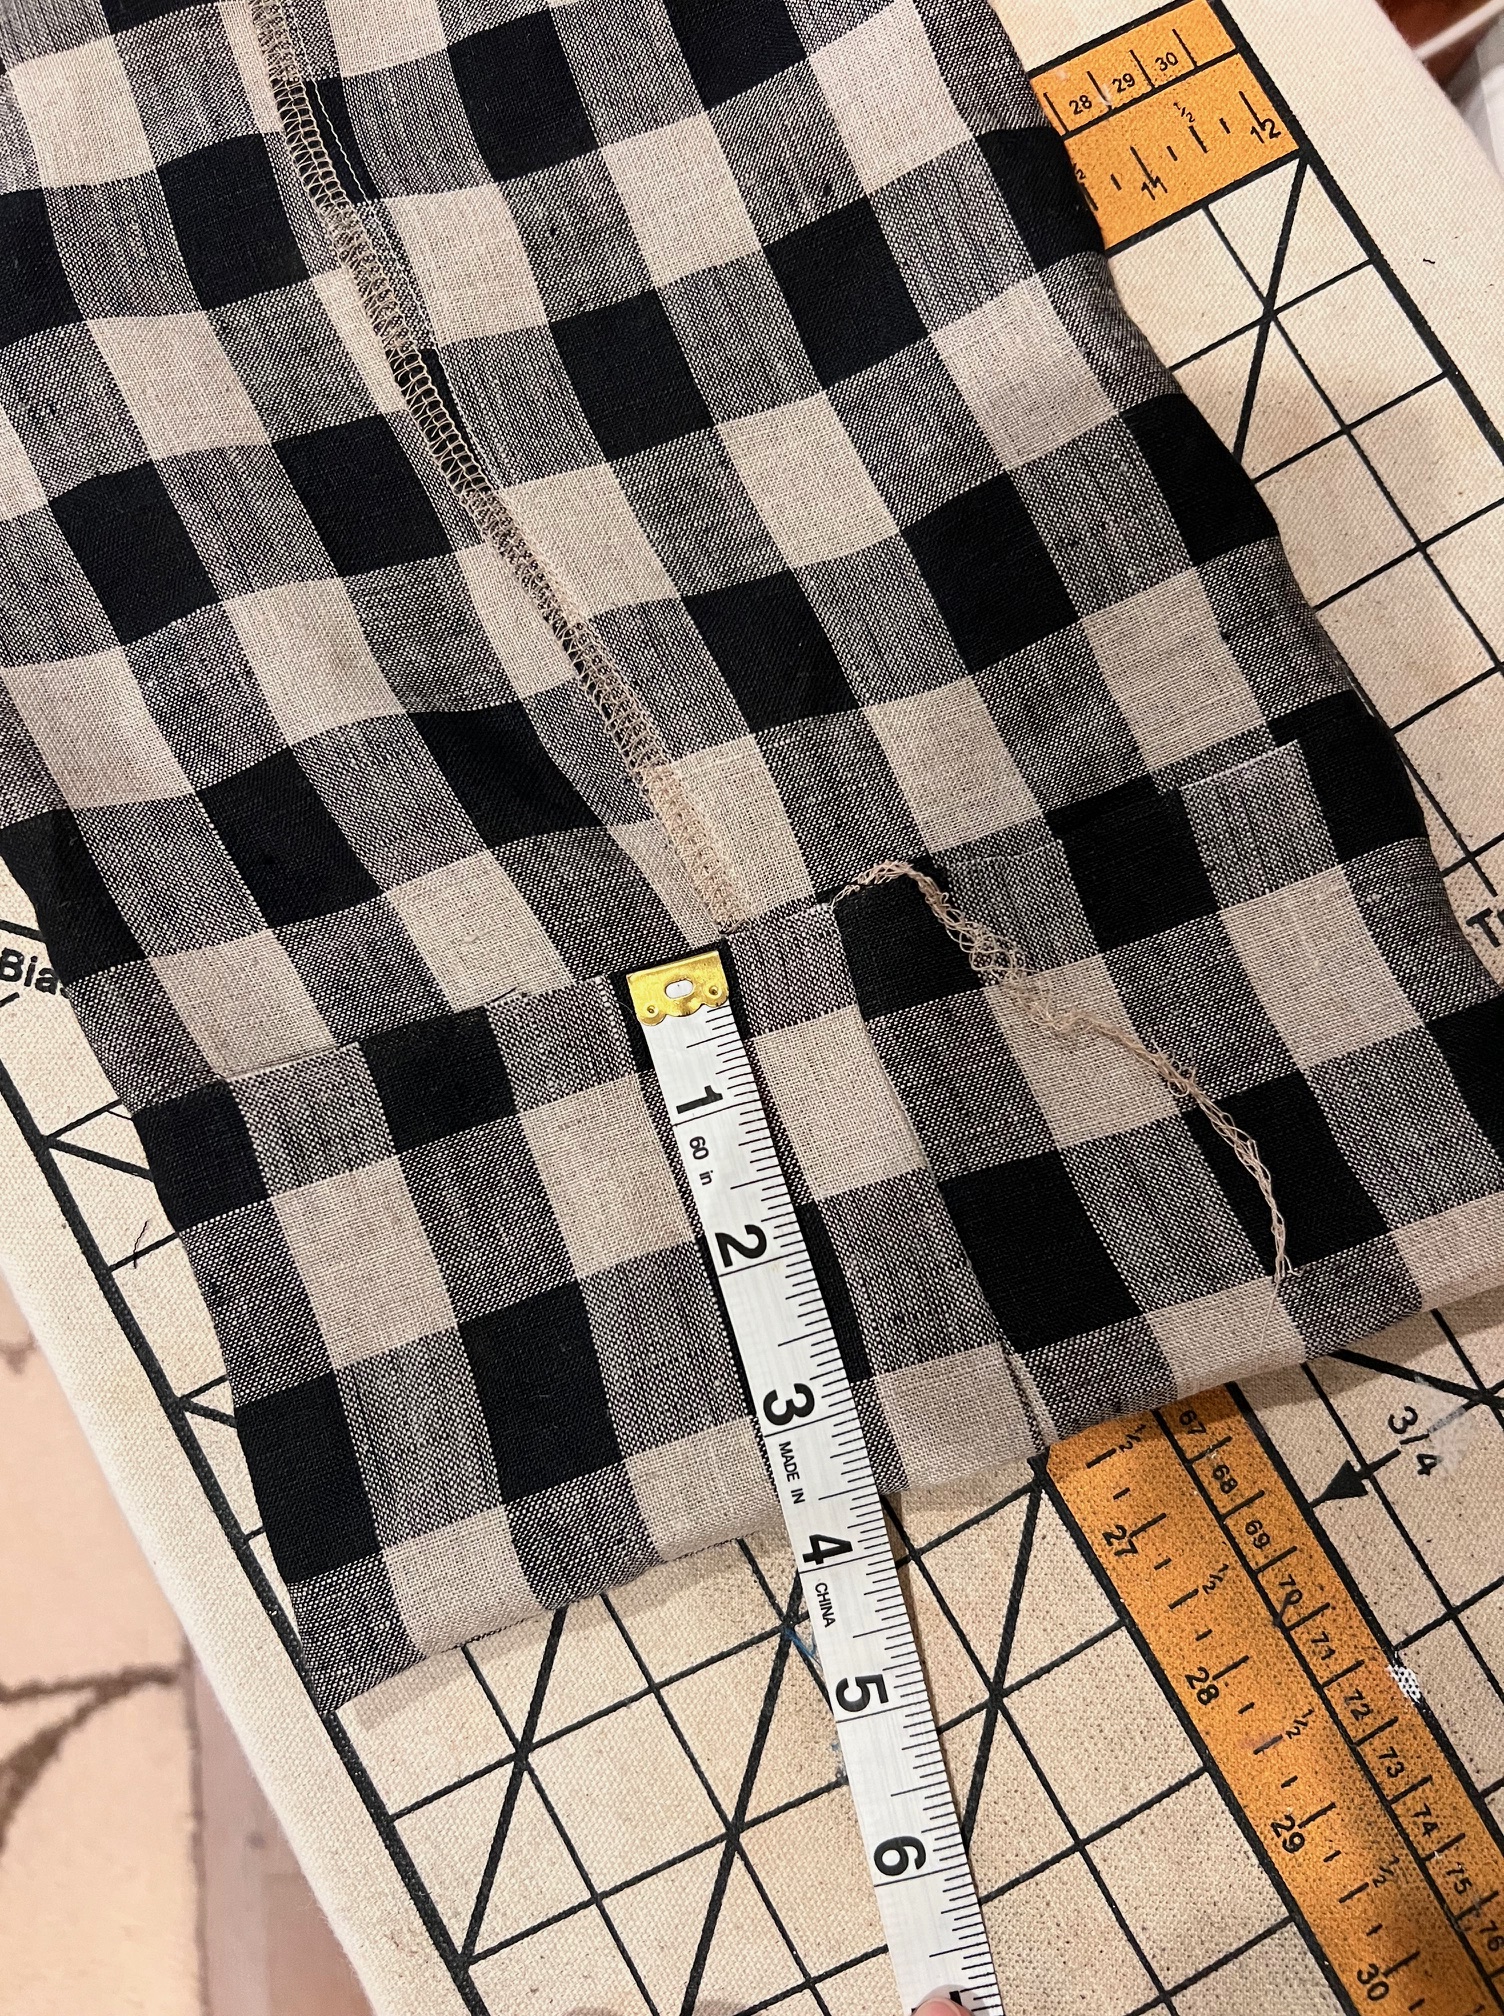
Next, I hand drew my collar design, making two collars. My top collar measured 4 1/2″ along the back fold line, and my bottom collar measured 5″. I wanted my bottom collar to have a slightly different shape from the top collar. I will share a photo below with a measuring tape to show the difference in shape. Then, make sure to add the seam allowance all the way around except for the fold edge, I added 1/2″ seam allowance. I traced the top collar onto the bottom collar pattern piece to get a visual of what the finished collars would look like on top of each other.

Collar Construction:
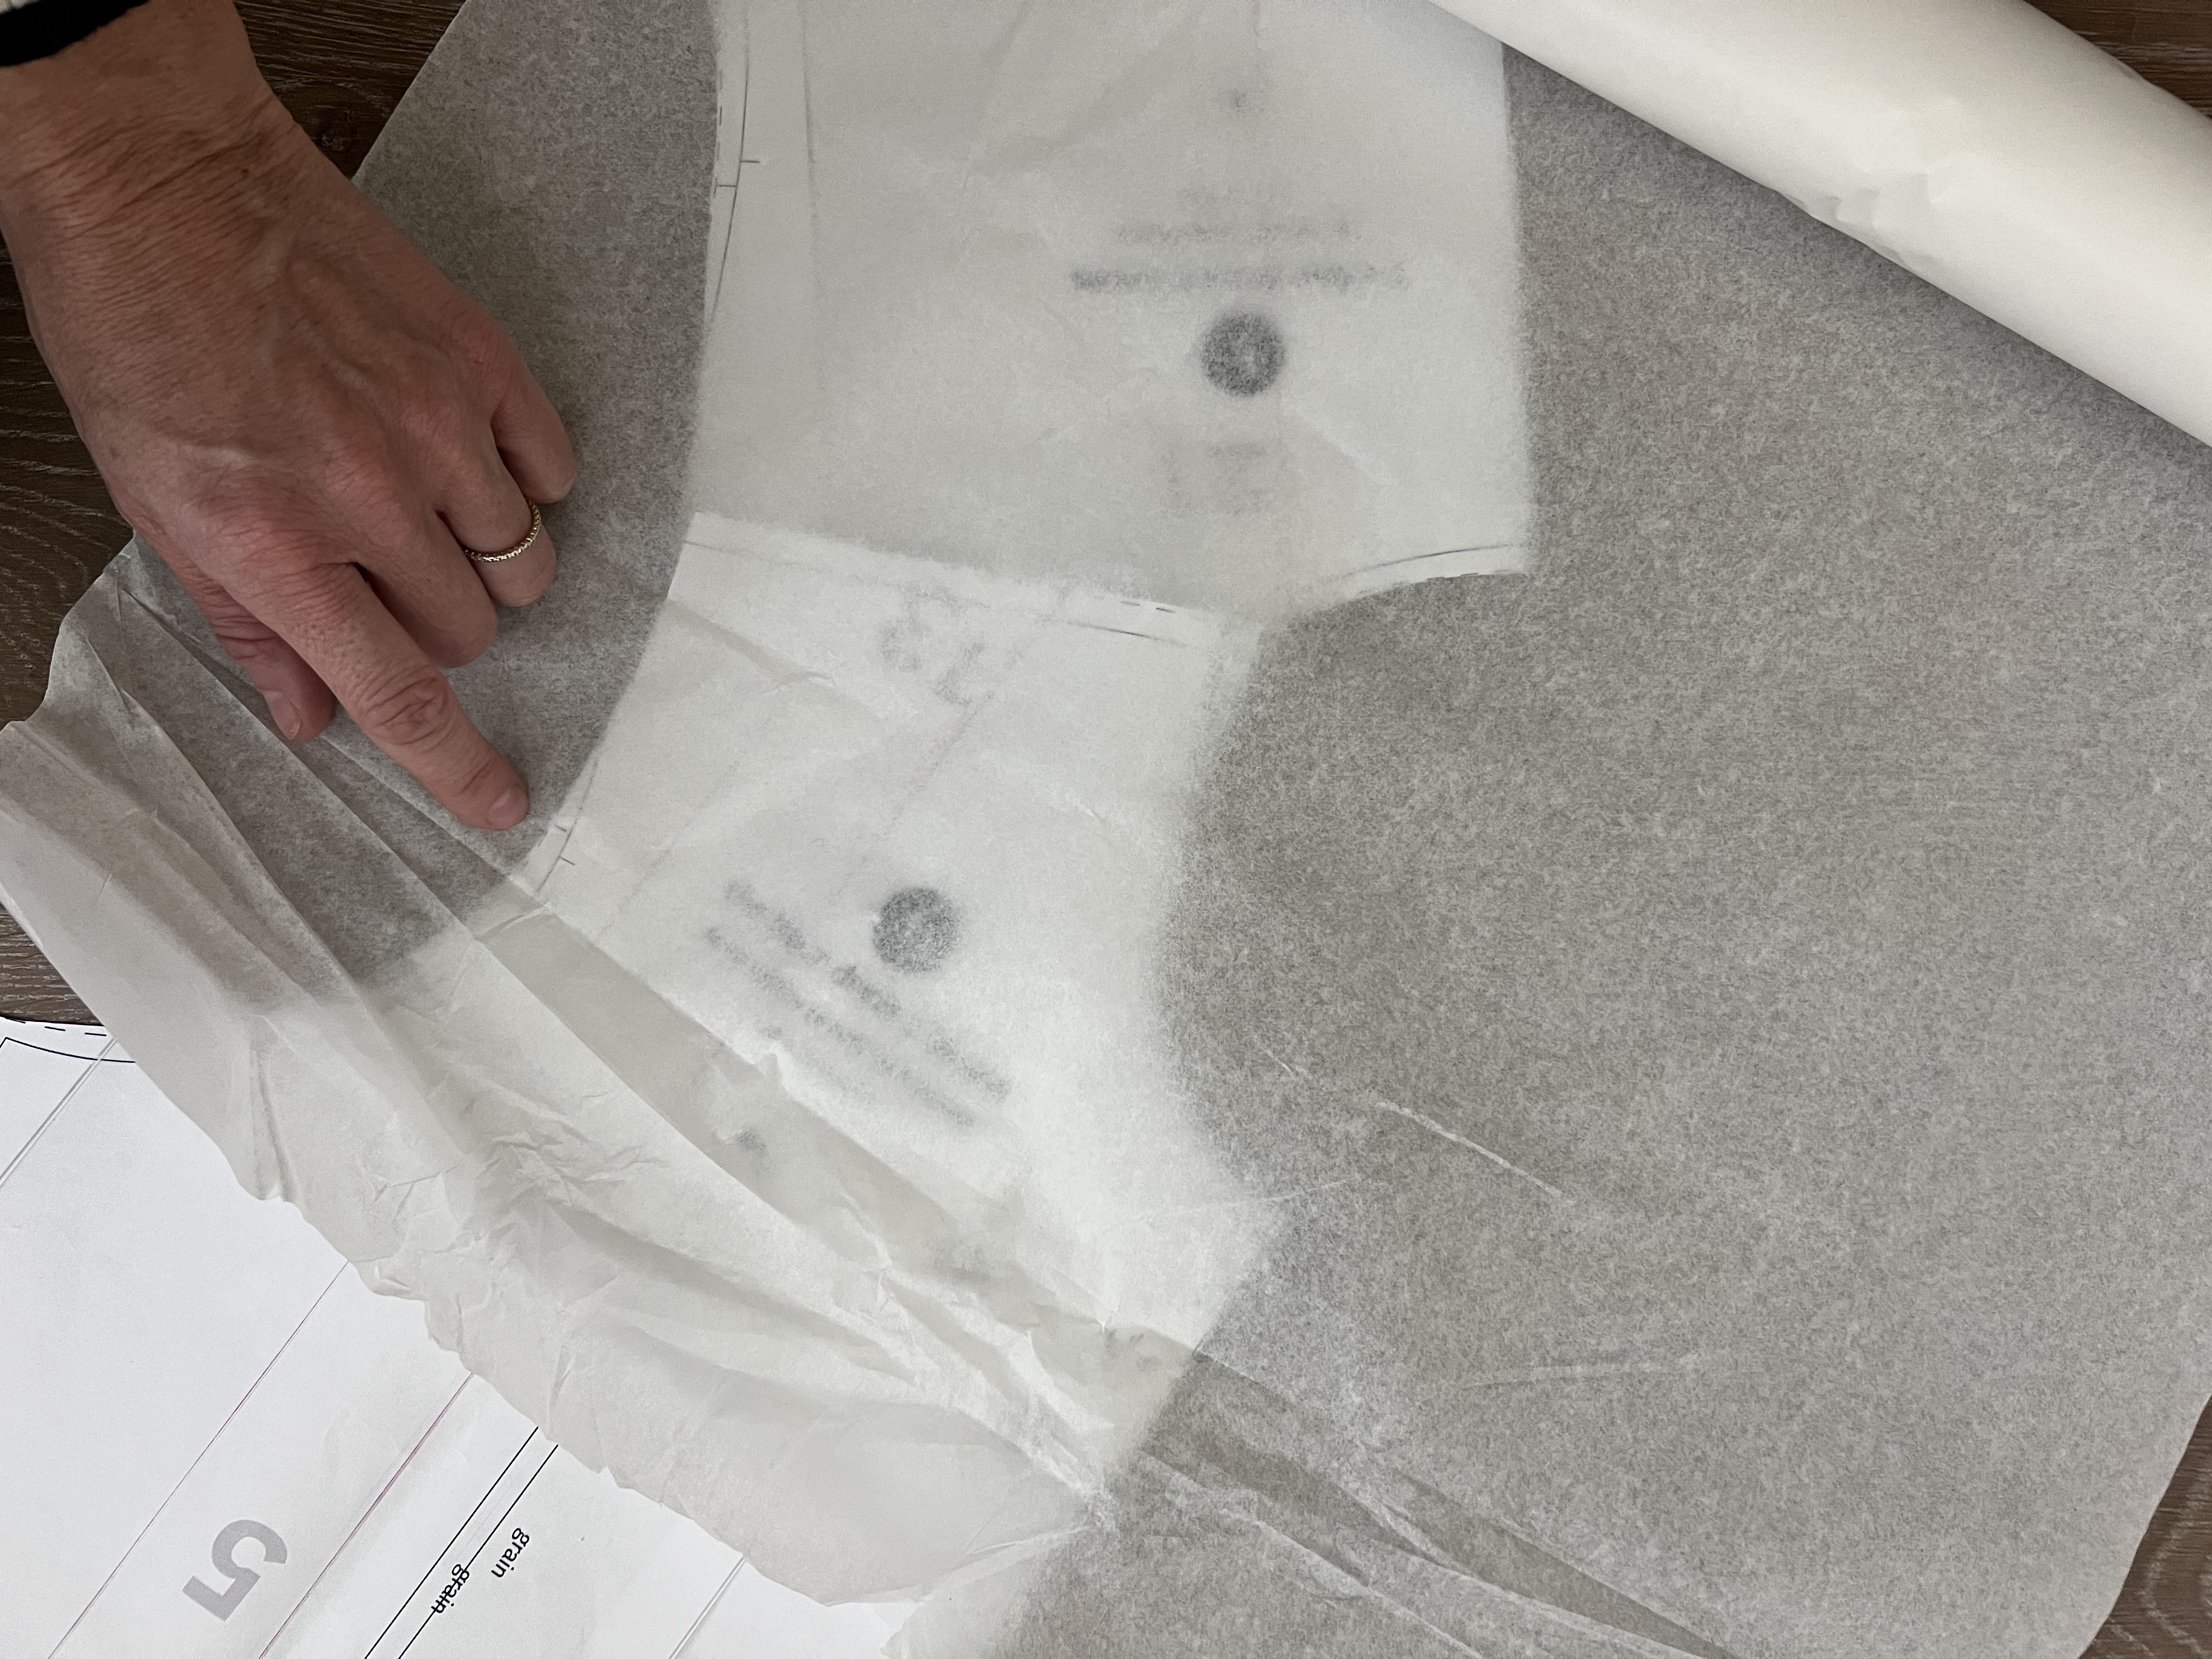
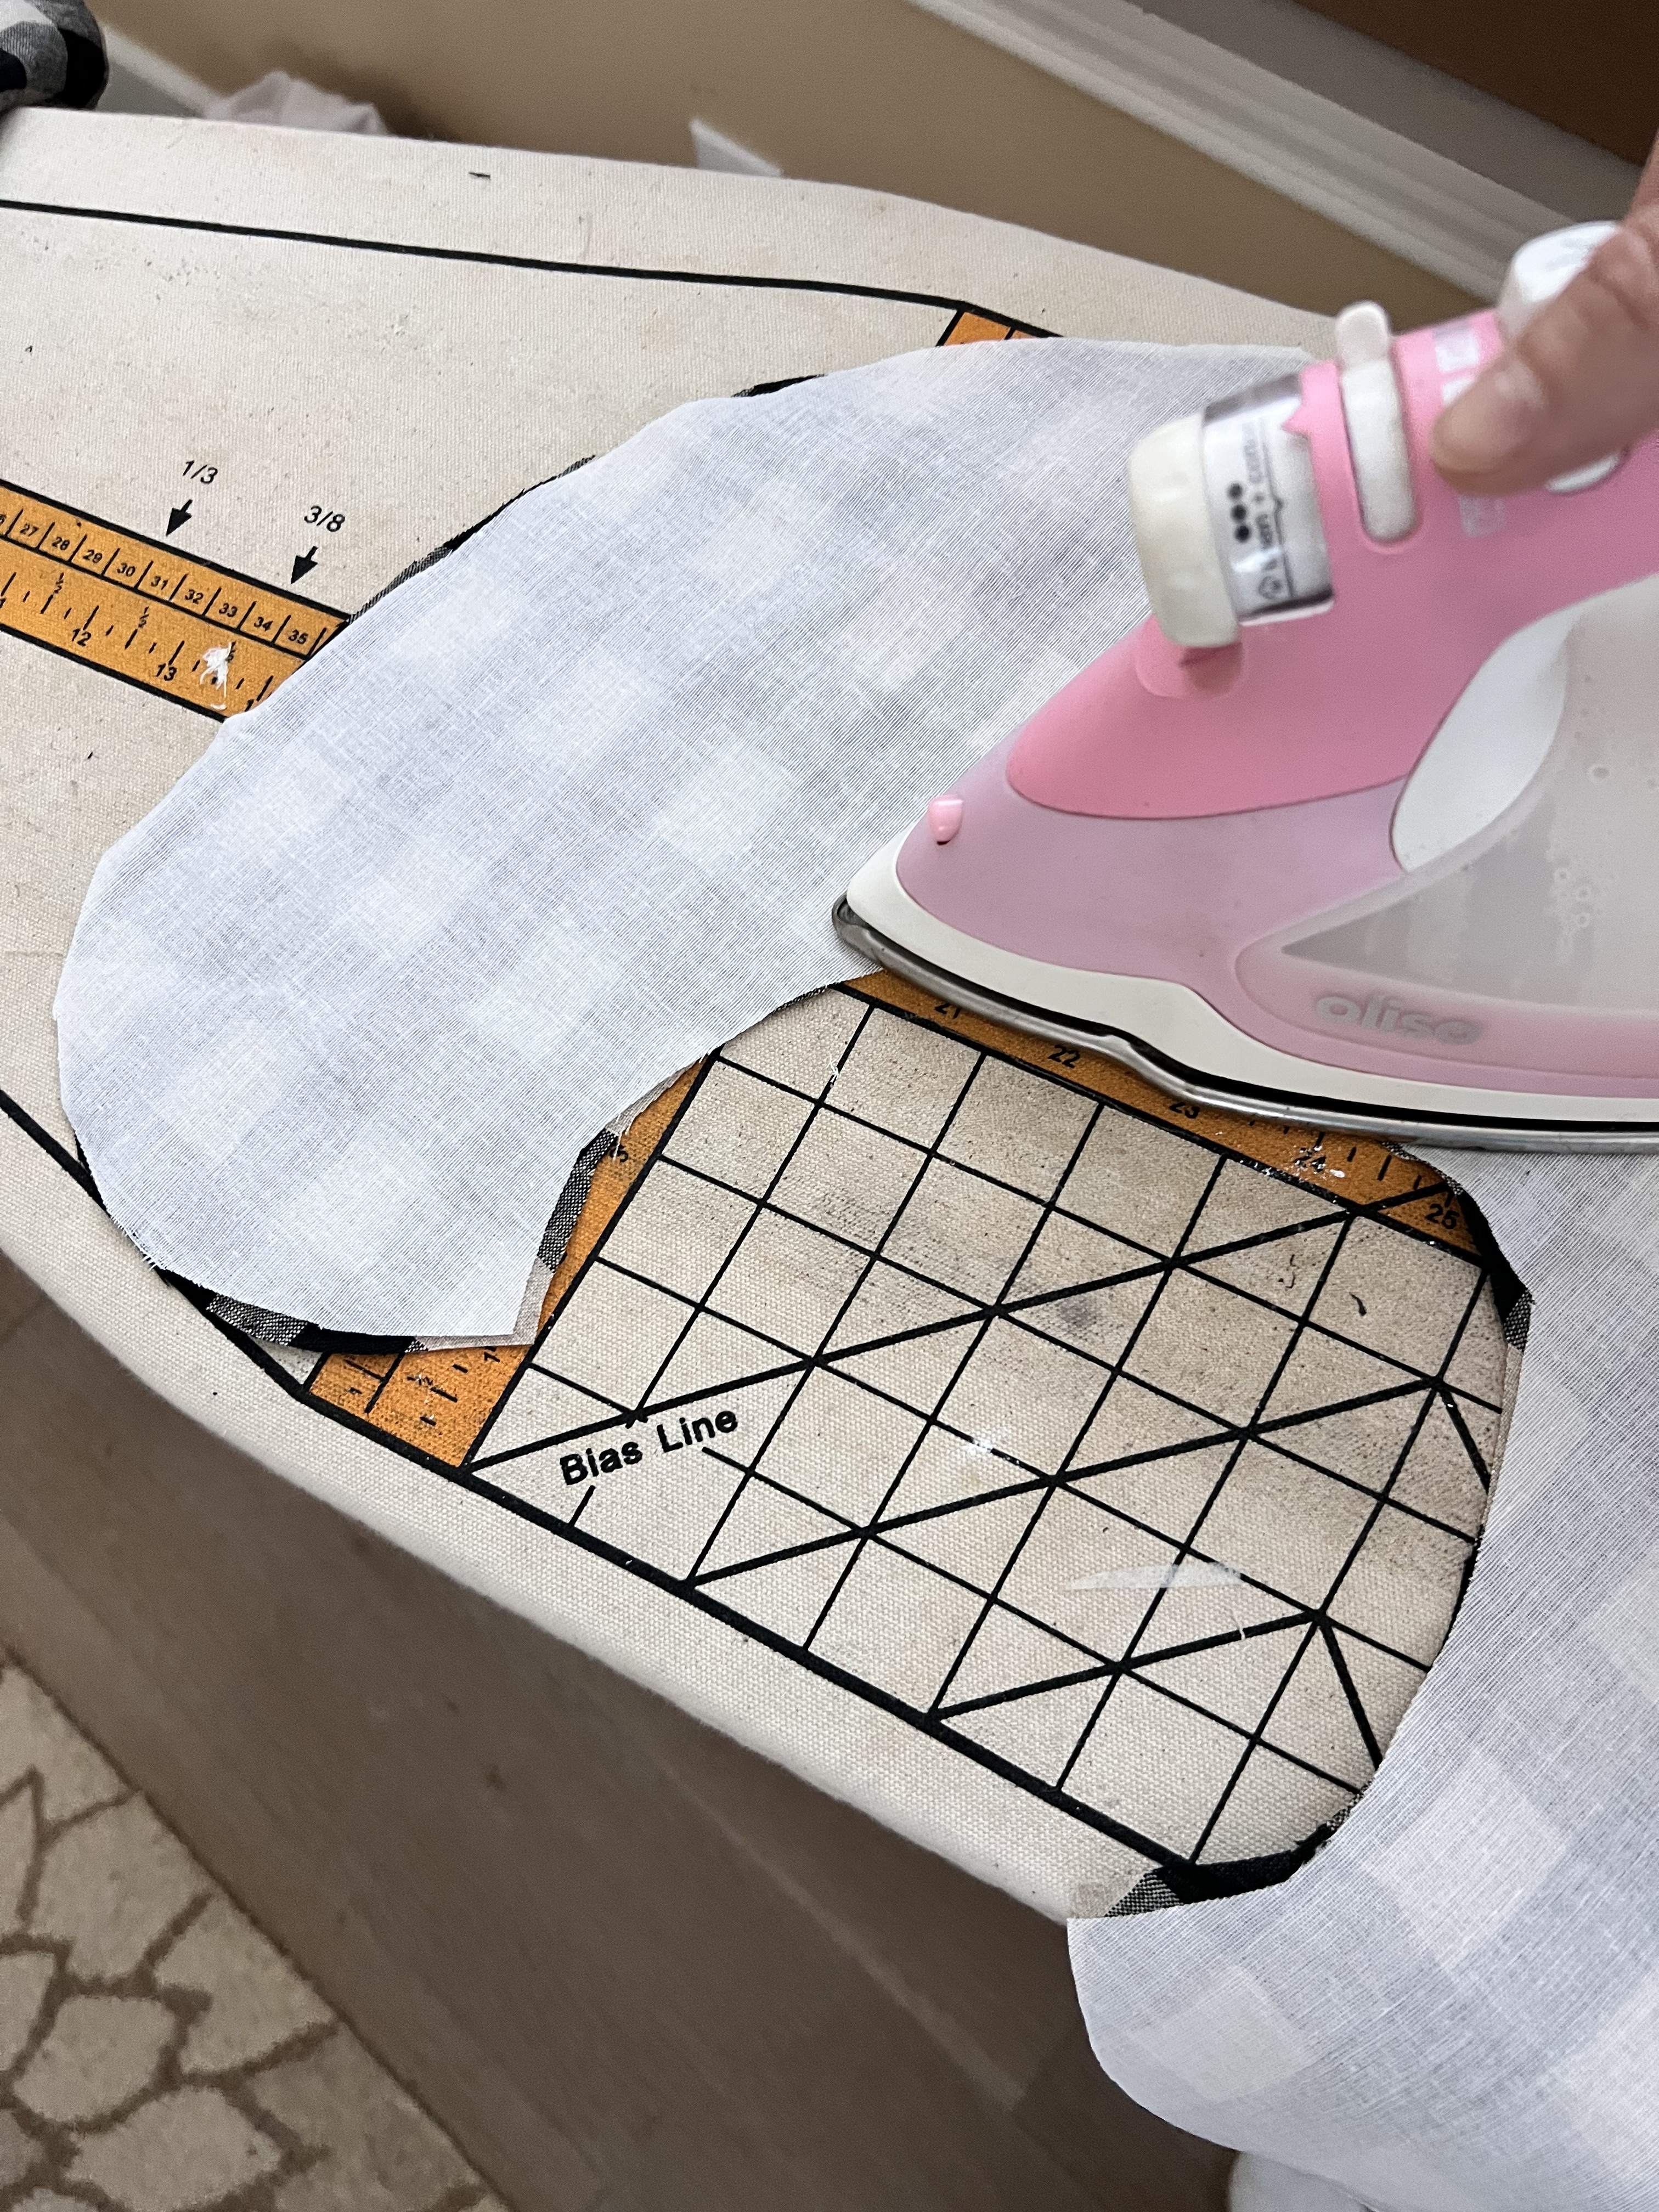
First, make sure to cut out and apply interfacing to one of the two collar pieces for each collar set. I wish I would have used a tricot or stretch interfacing, this will make sewing the collar pieces together a little easier.
Now let’s prep the gathered trim! Your trim should be the length of the outside curve of the collar x2. So my collar measured 21″ x 2 (because thats only half of the collar) so 42″ around. Now we need to multiple that by 2 again to account for extra fabric to create beautiful gathers around the collar. So now we have 84″. You can also cut this piece on the fold to account for fabric width, so we will divide by 2. My finished piece ended up being 42″ x 2″ cut on the fold. I wanted my trim to be about 1/2″ long, if you wish to have more trim showing you can adjust the 2″ measurement for width. Your collar measurement may be bigger or smaller depending on your collar design. I just used the same trim piece we just calculated for my smaller collar, but to be more accurate you could adjust the length as needed. It will measure slightly smaller.
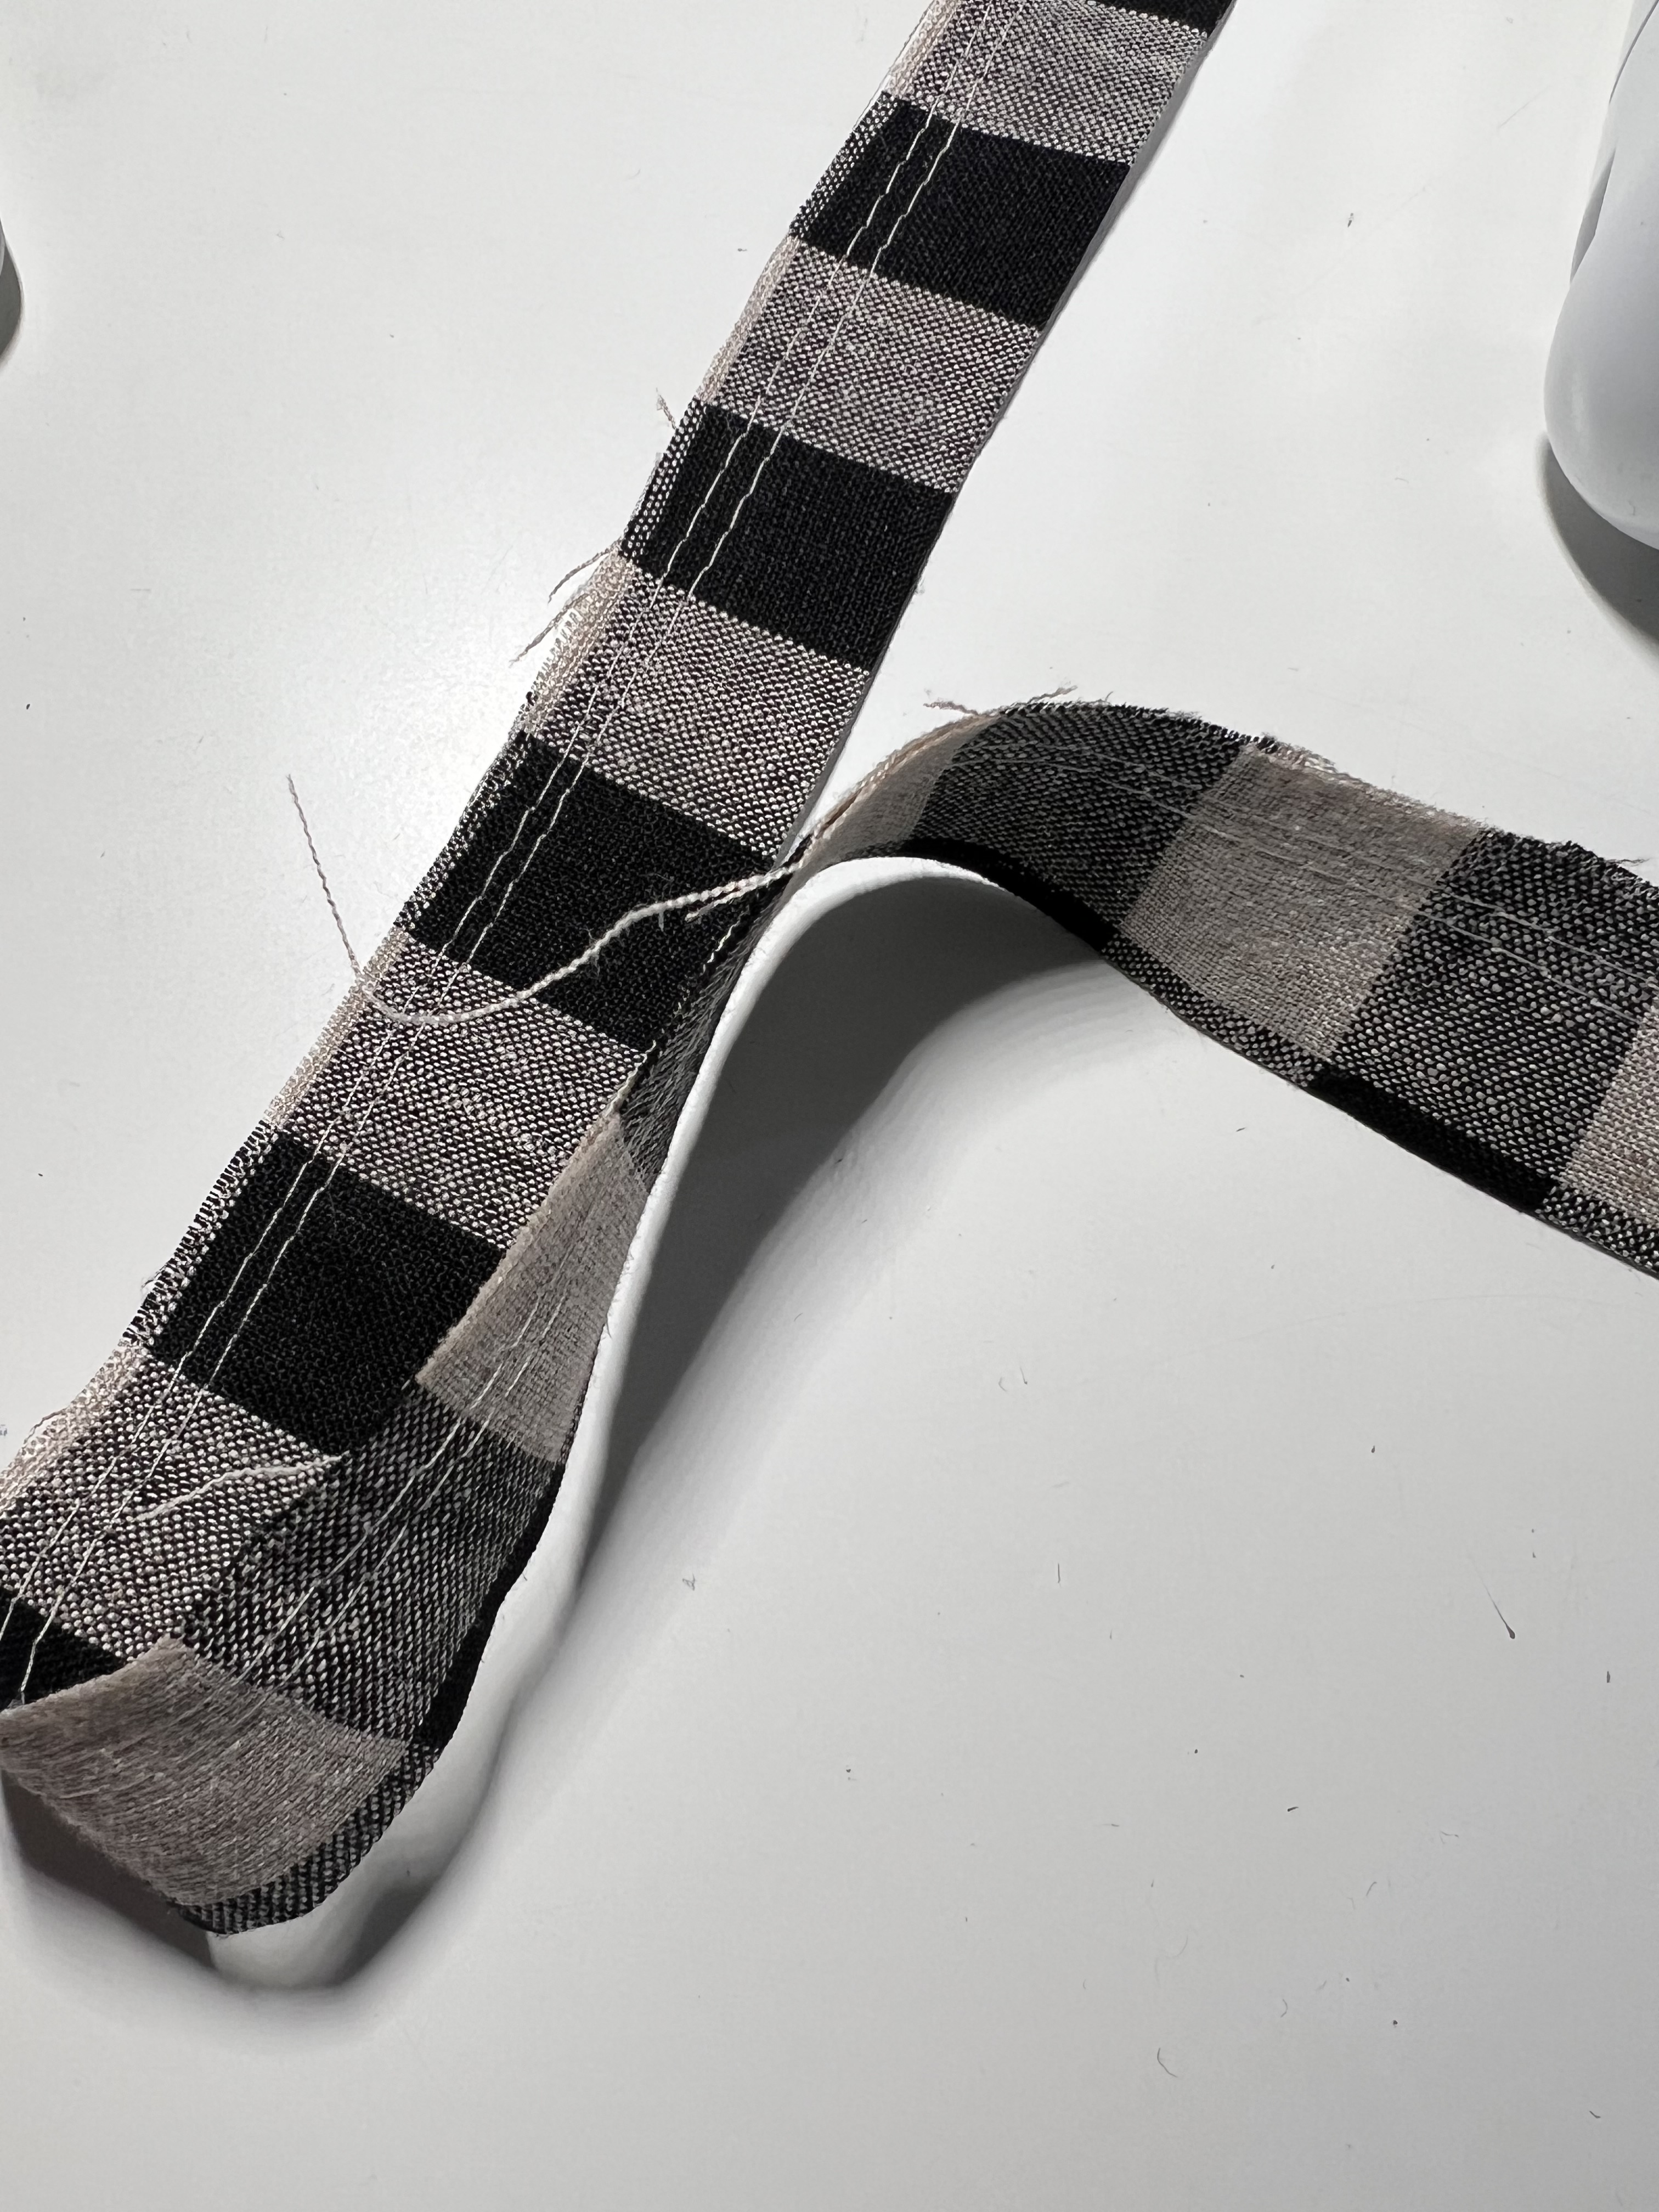
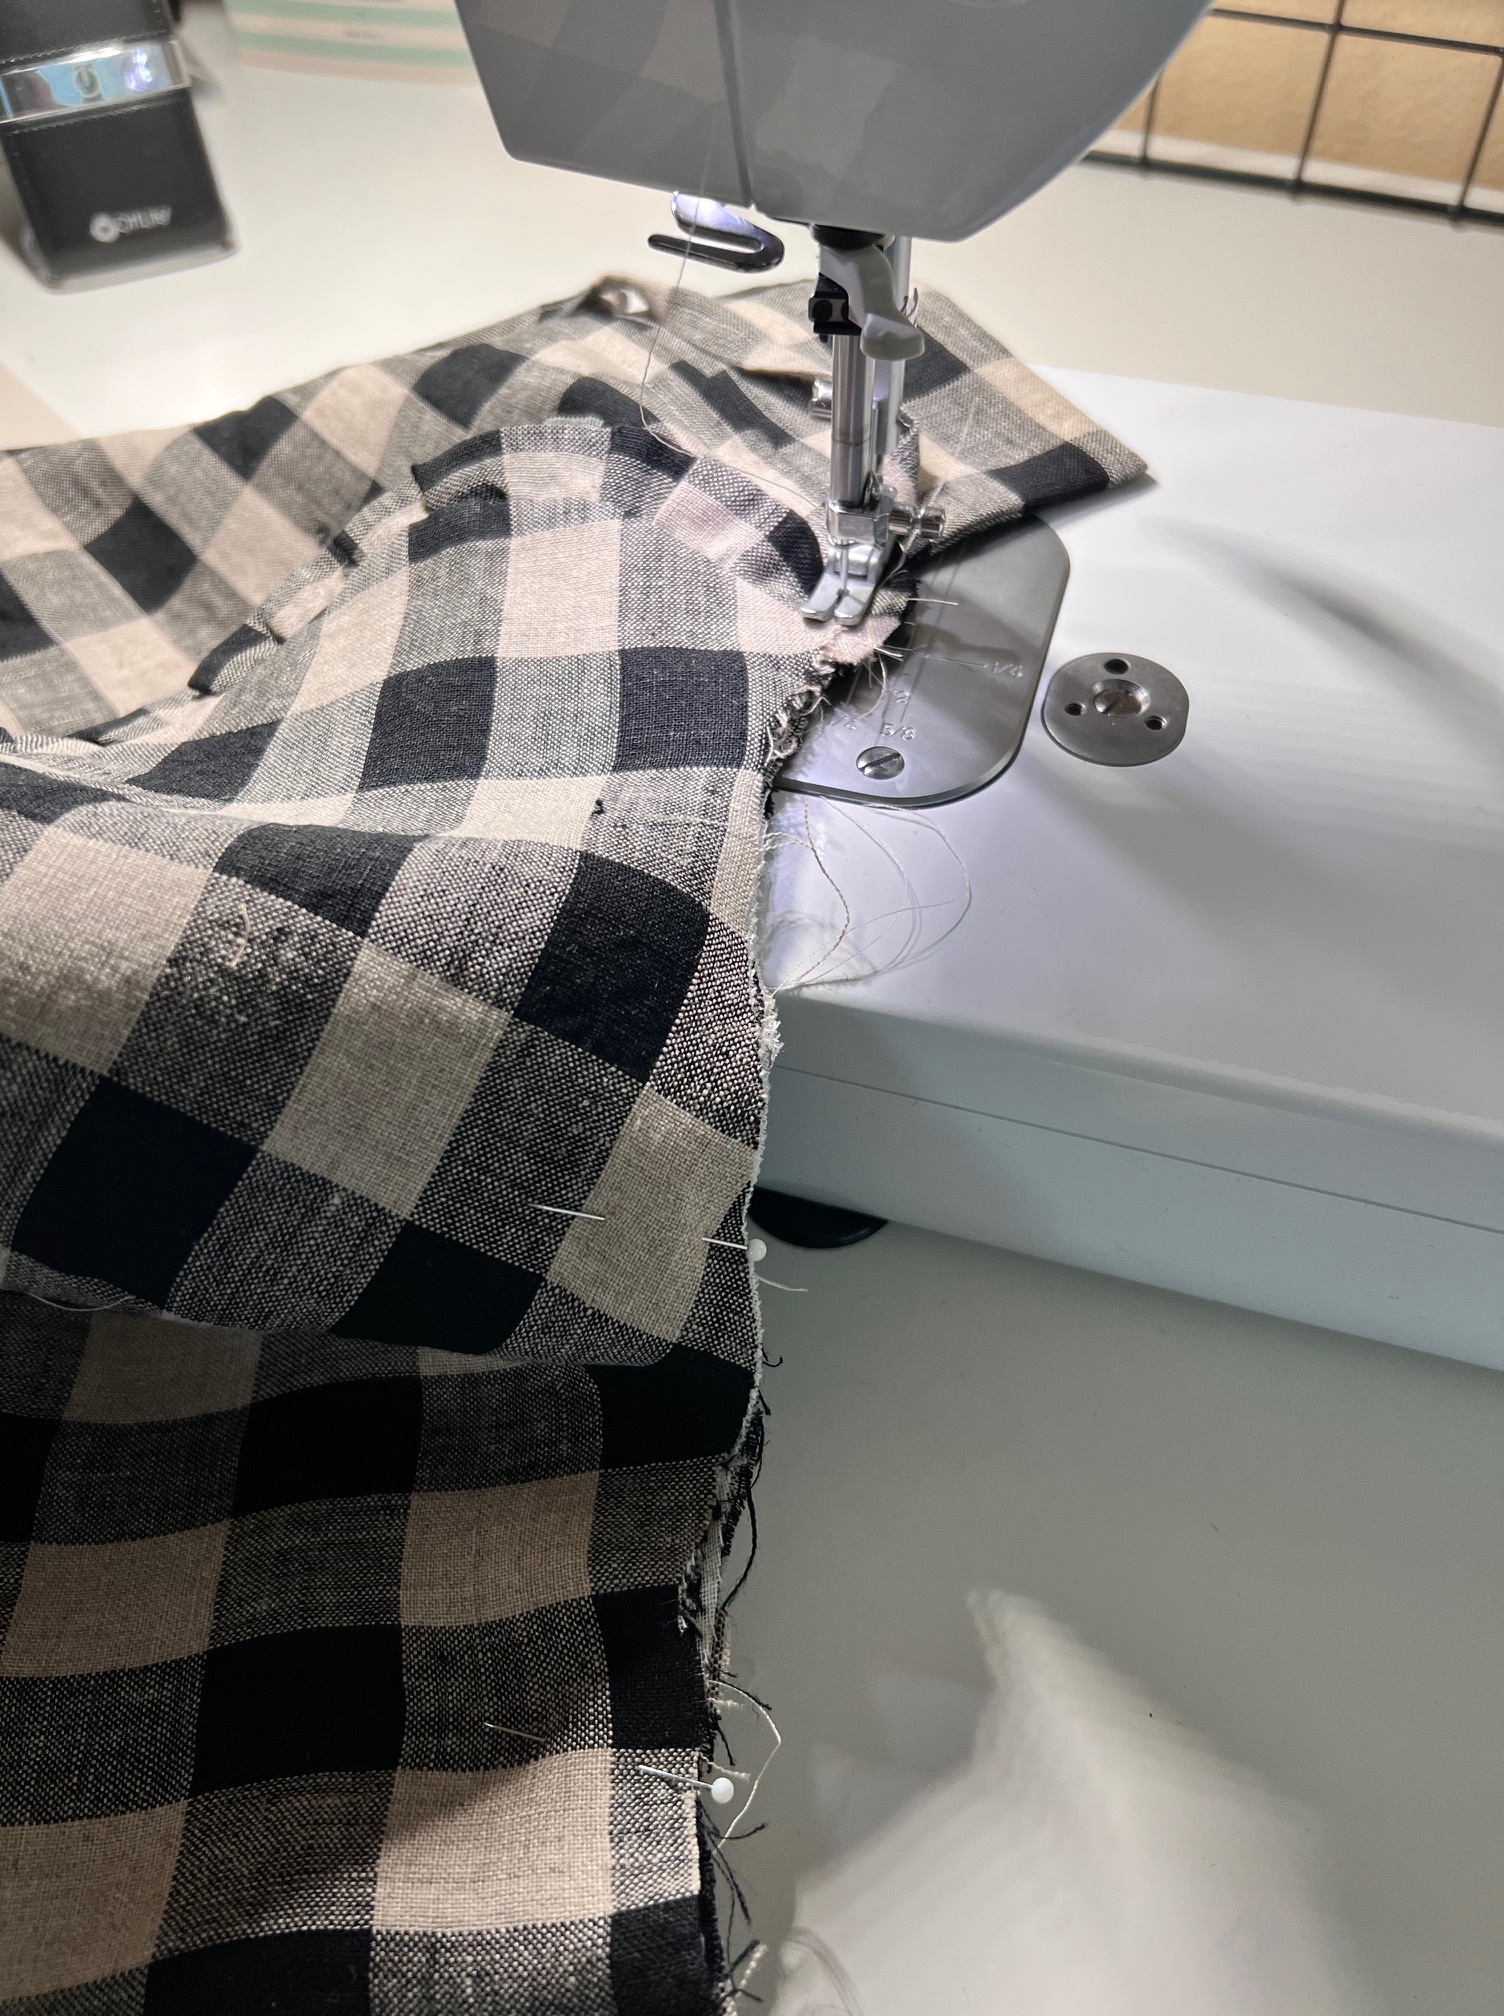
I had to cut two separate pieces to get the length I needed, so here I am attaching them below.

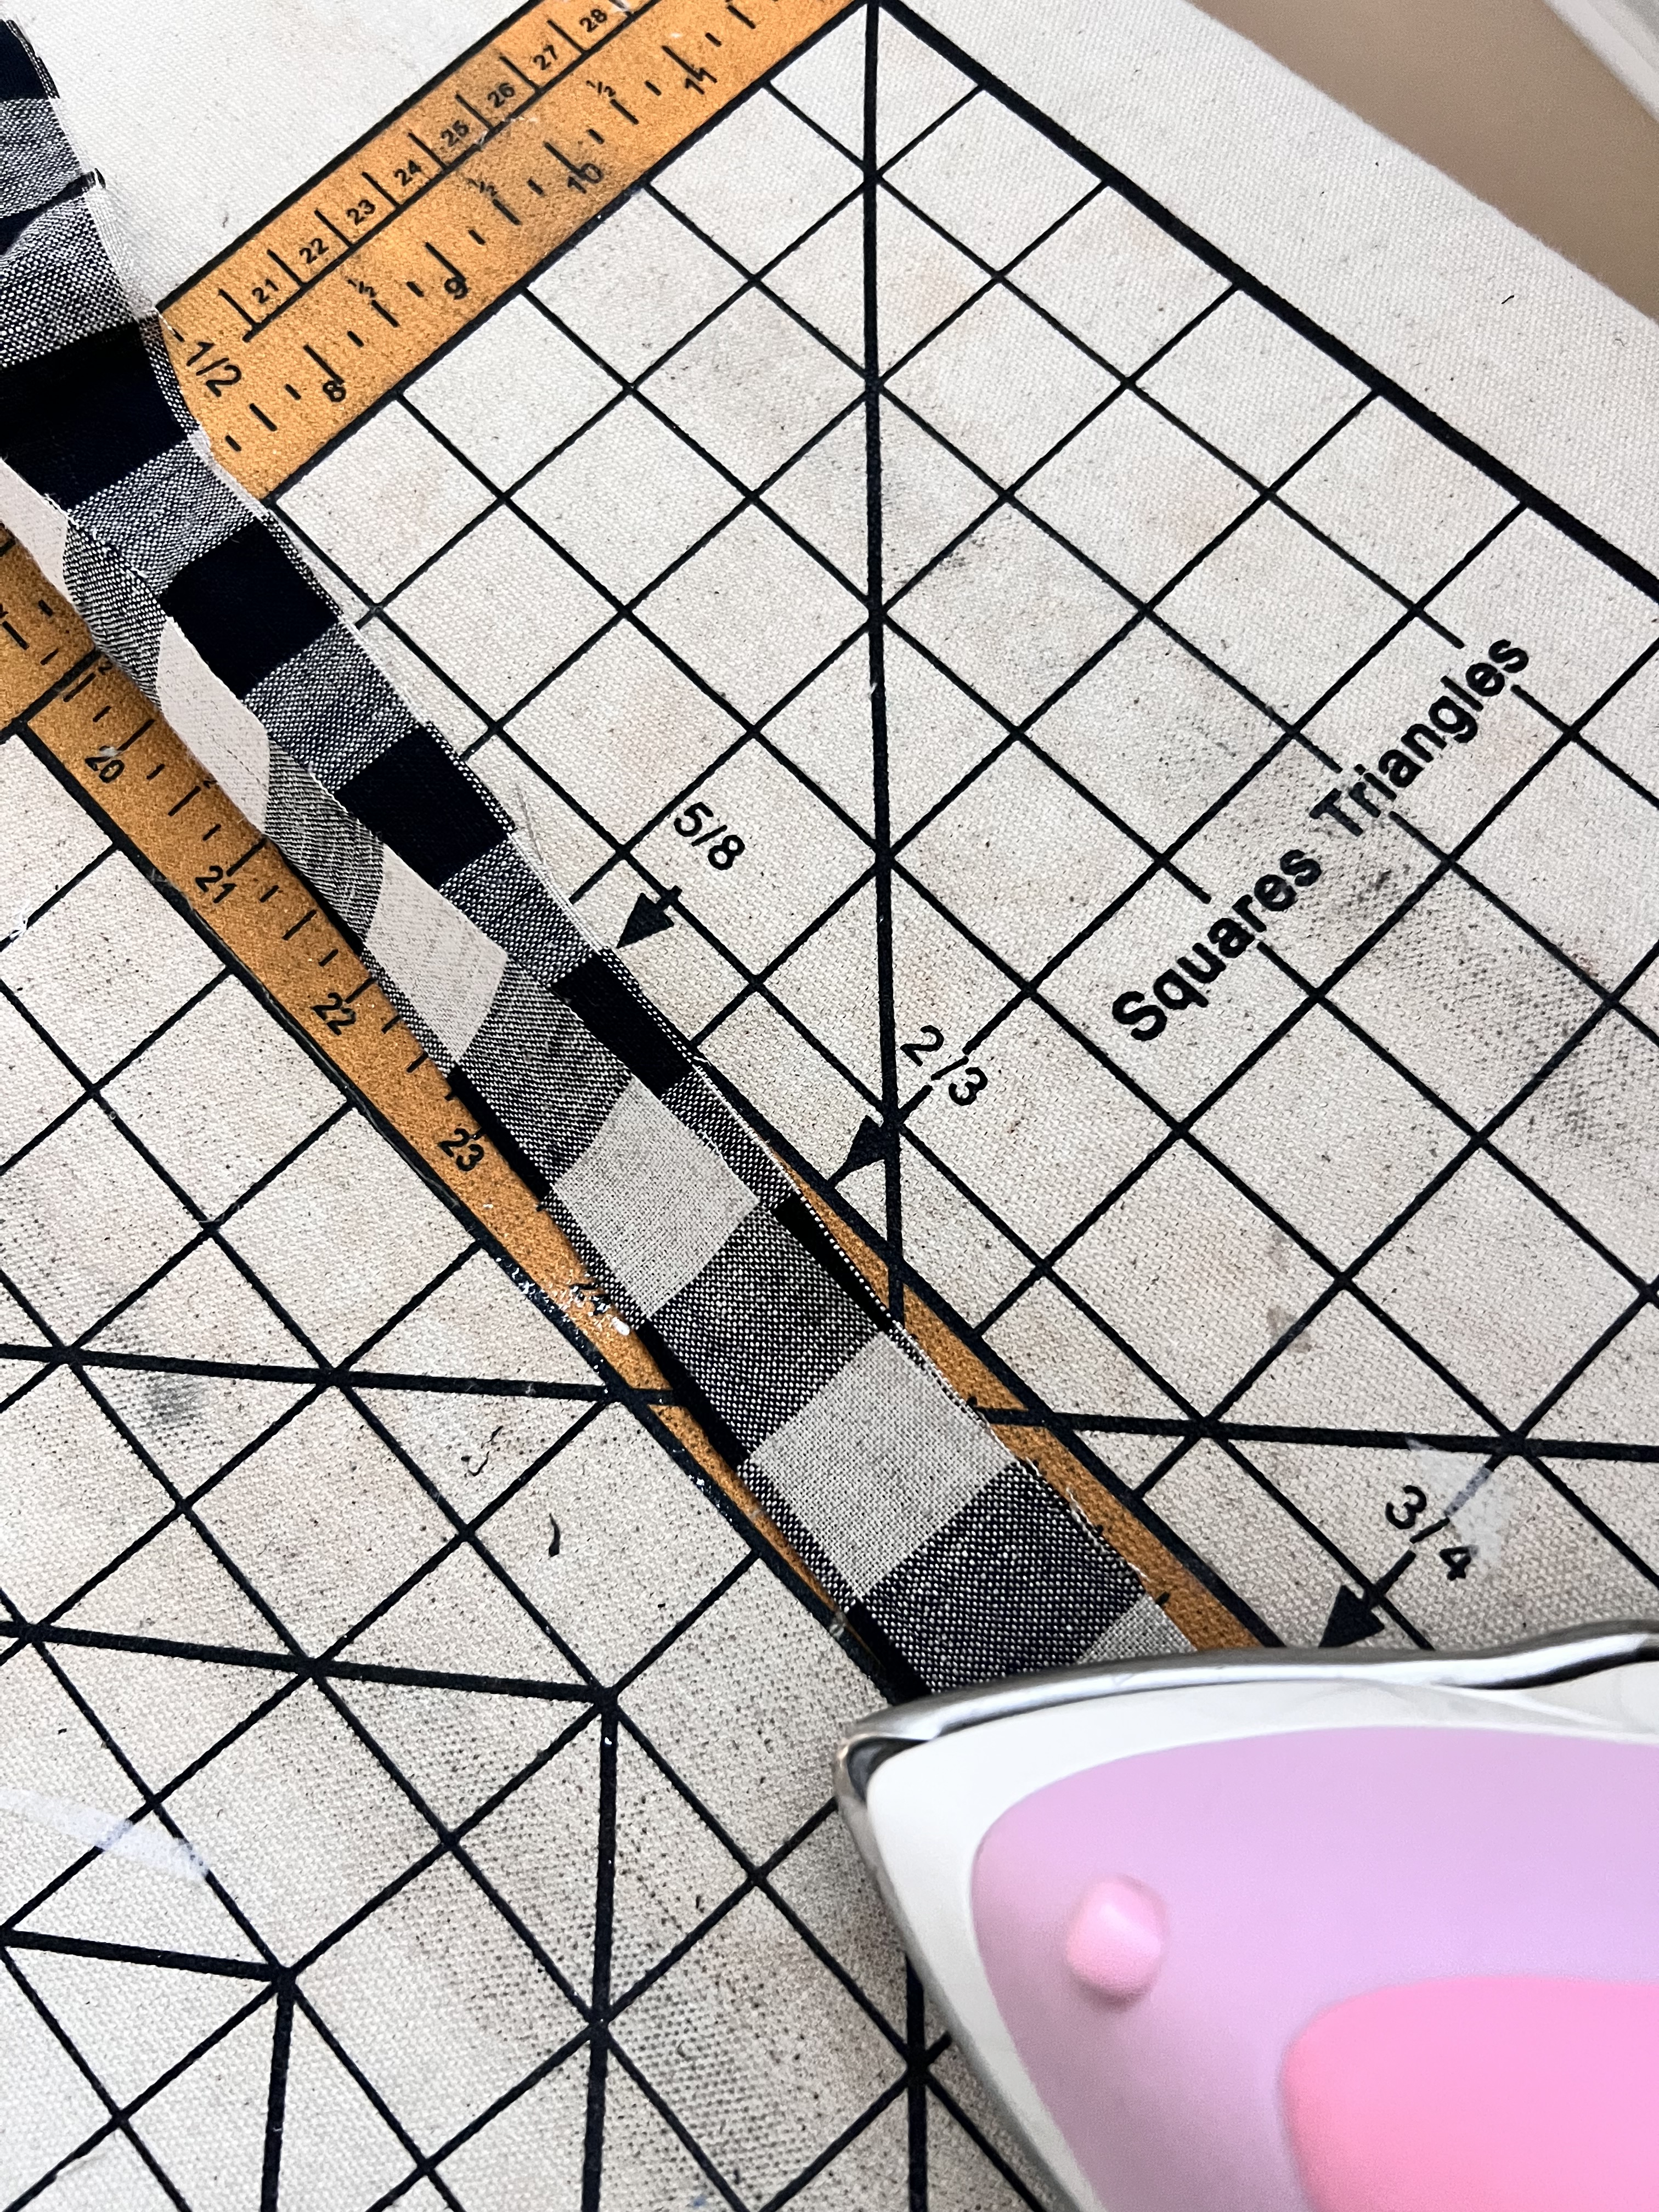
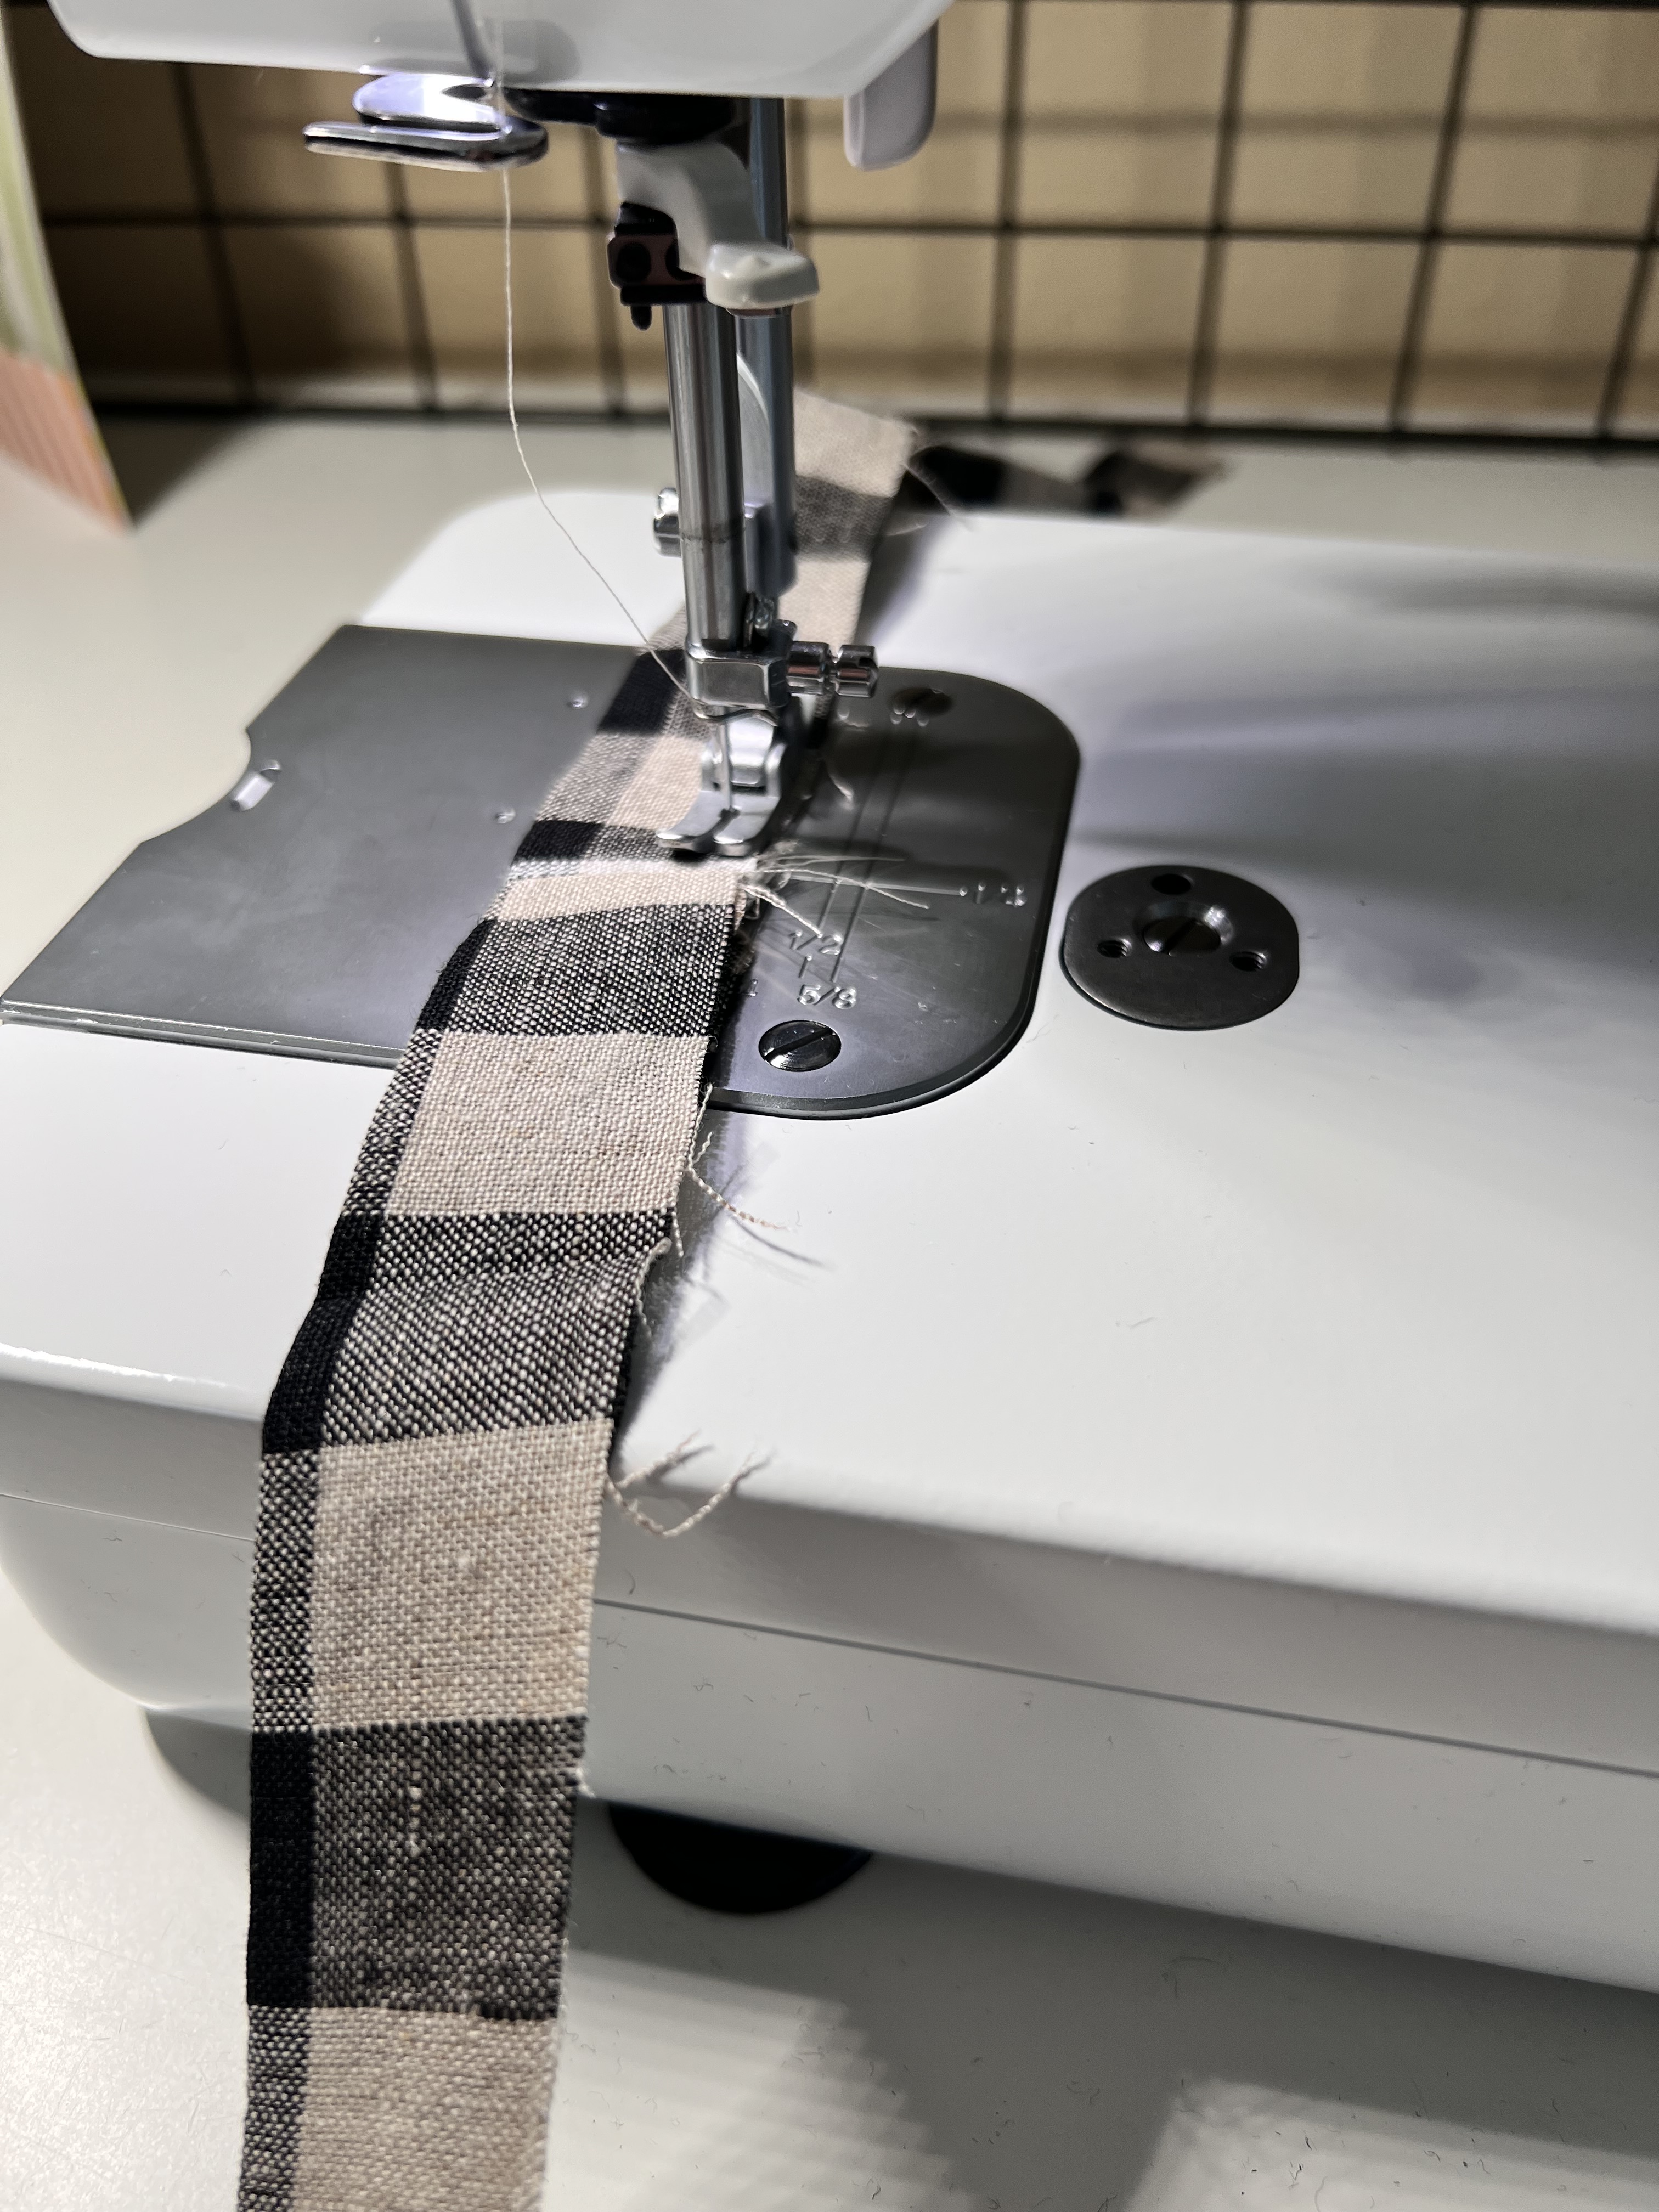
Next, press the trim in half wrong sides together. Now, sew two rows of basting stitches (lengthen your stitch length to 4.0mm) along the raw edges at 1/4″ and 1/2″.
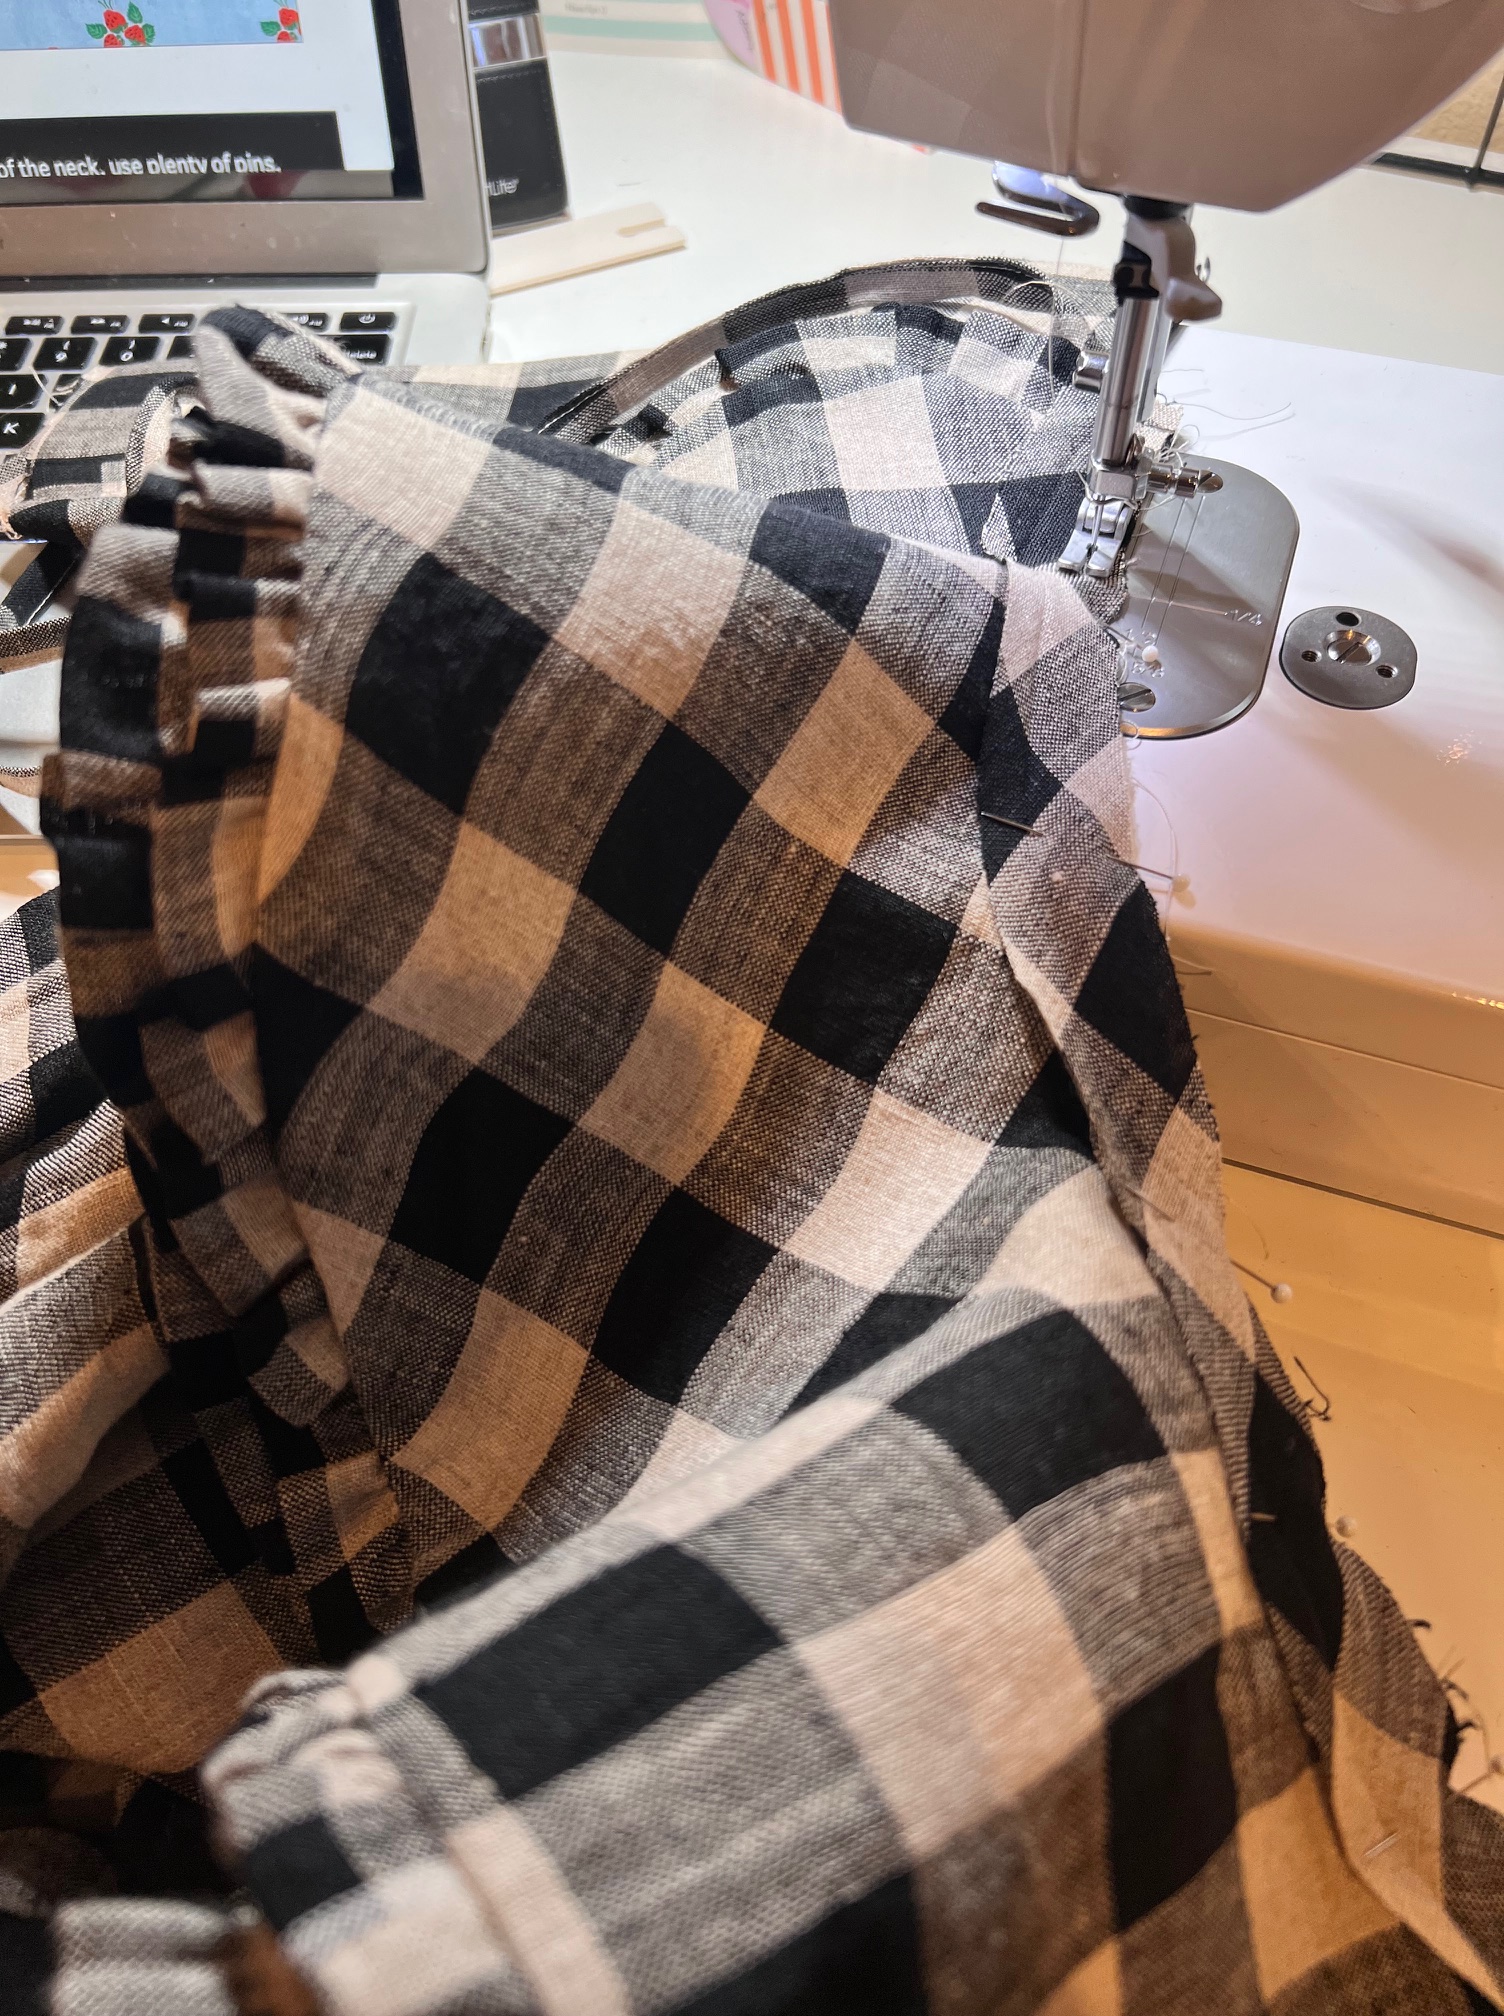
Now, we will sandwich the trim between the two collar pieces. pinning to the right side of the interfaced collar, raw edges aligned, pin the trim at the ends and center to the ends of the collar and center back of the collar to help better evenly distribute the gathers. Gently pull the basting stitches to fit the trim in place. Pin.
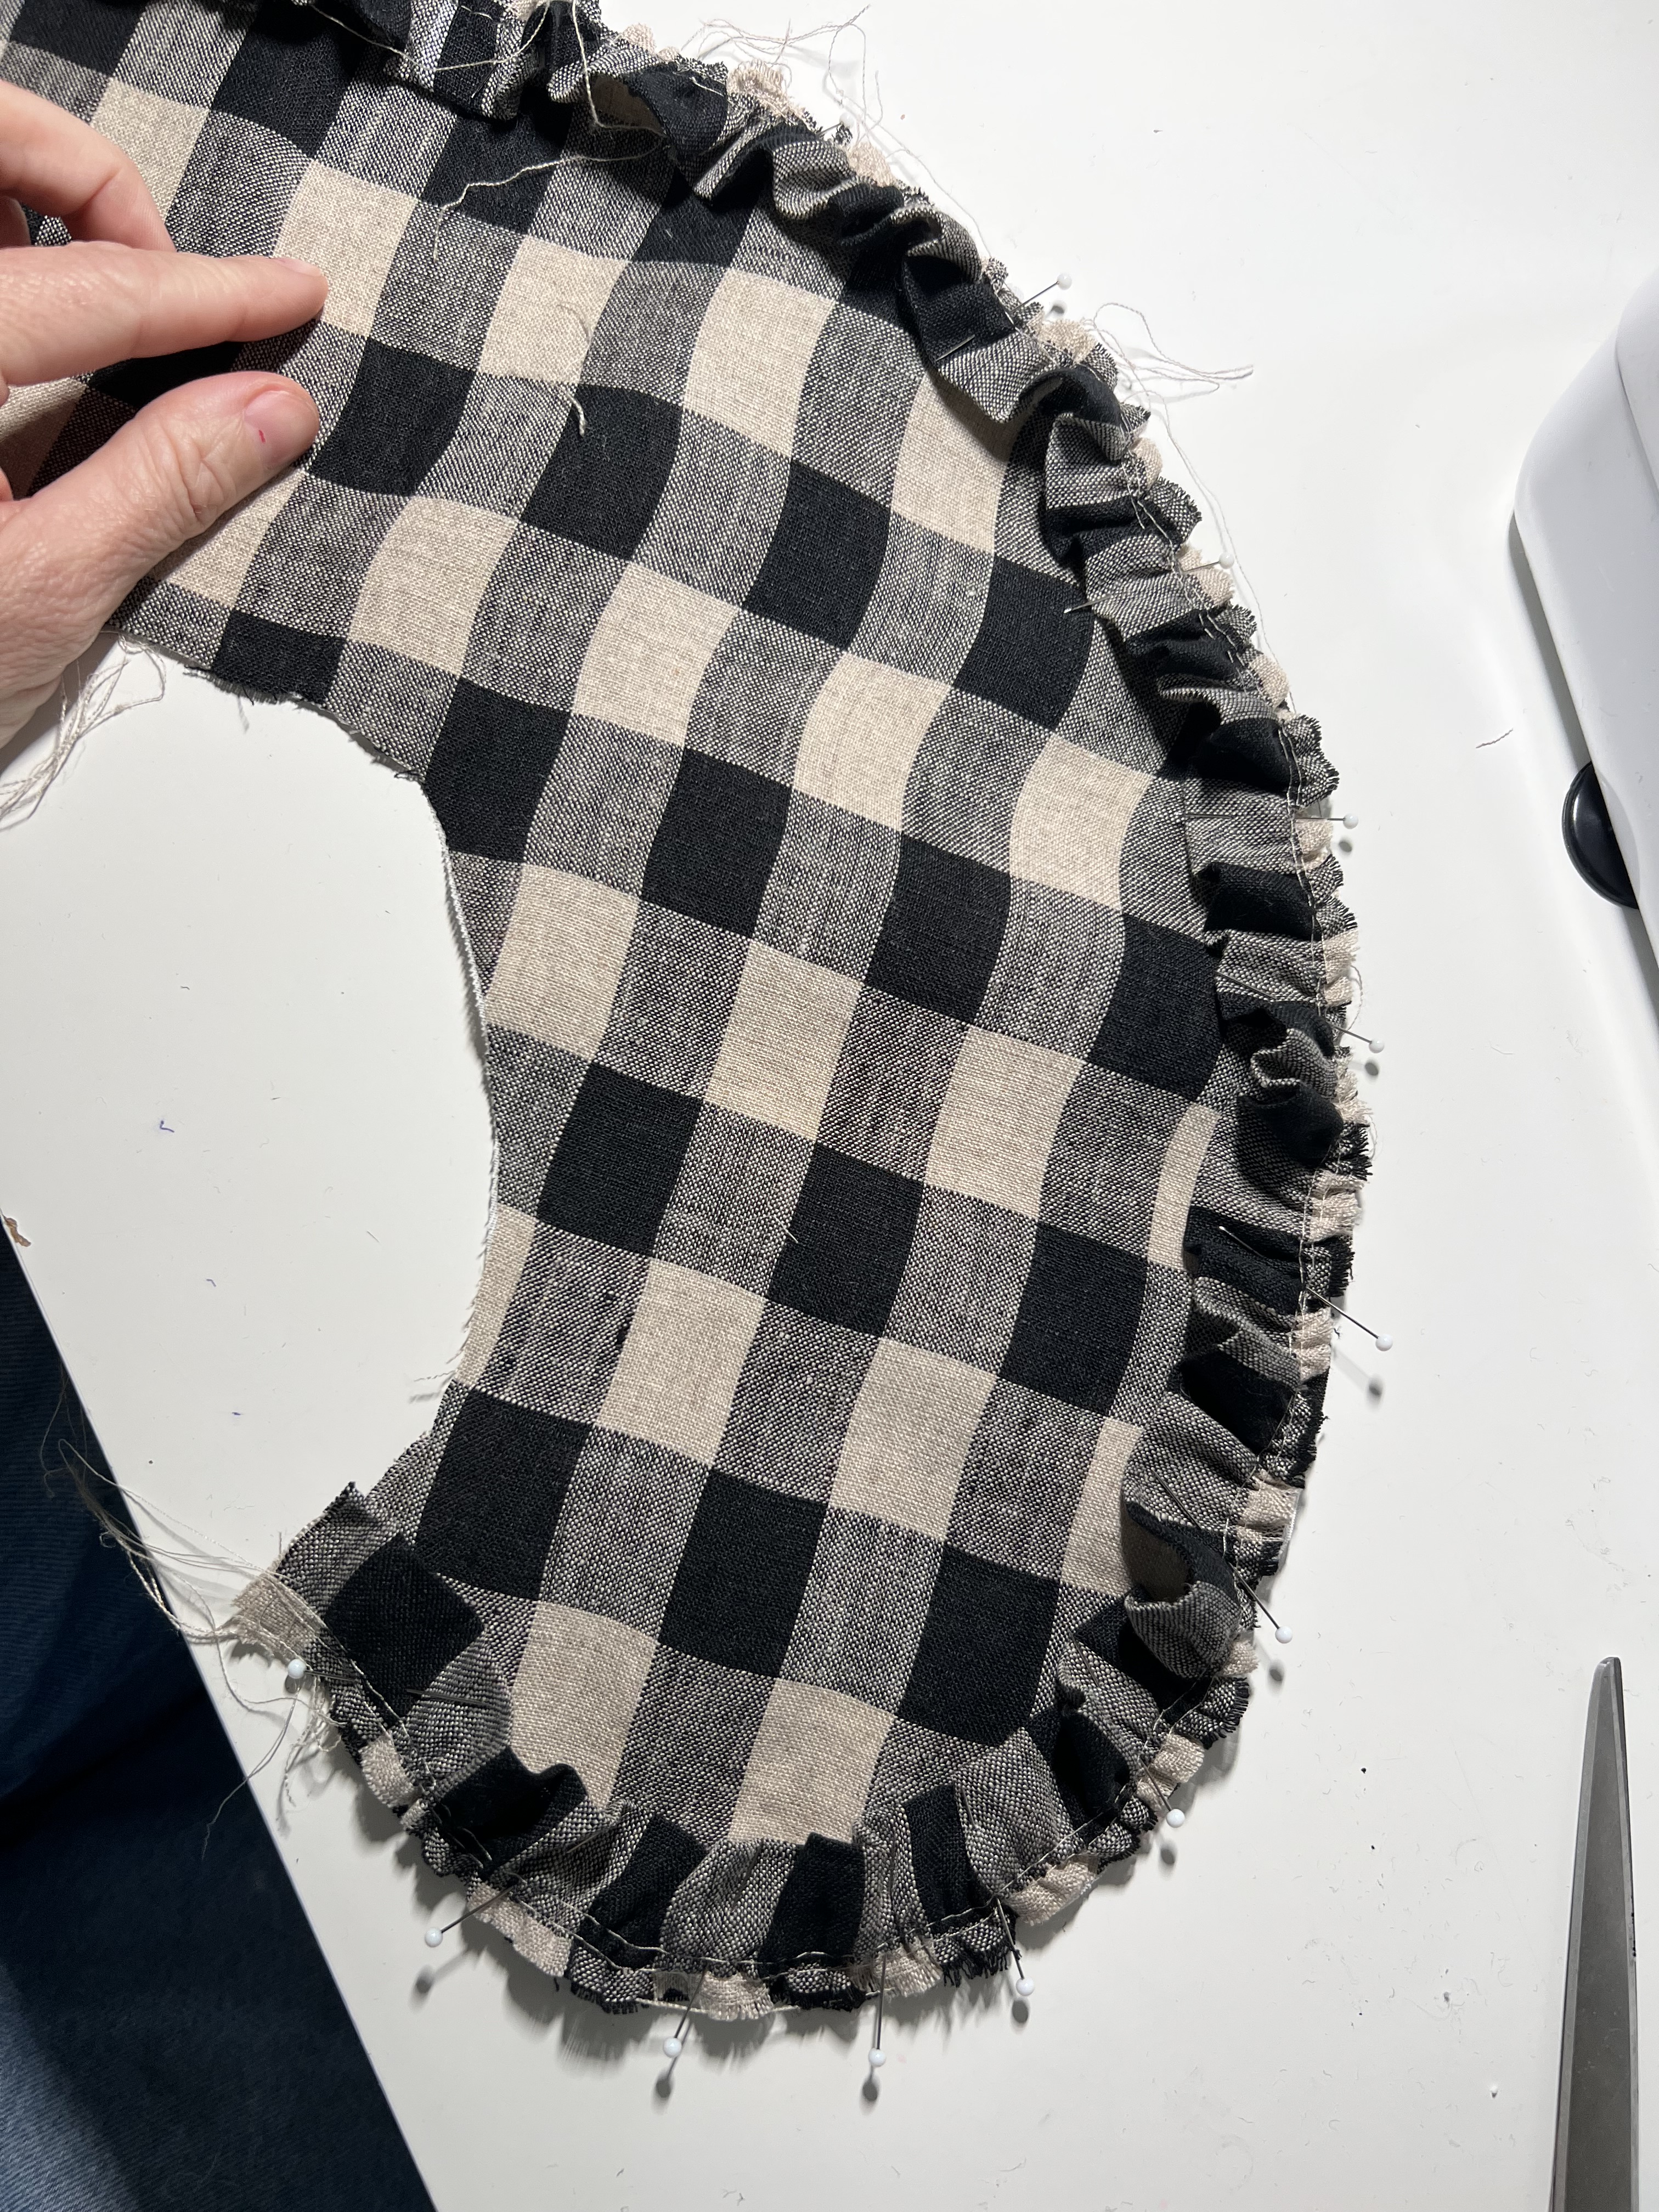
Lay the non-interfaced collar right sides together on top of the interfaced collar and trim. The trim will be sandwiched in between. Using the pins already in place, re-pin both collars together while keeping the trim in place along the edge.
Sew along the edge at 1/2″ seam allowance. Trim the seam allowance along the curves, and pull the collar right sides out. Give it a good press.
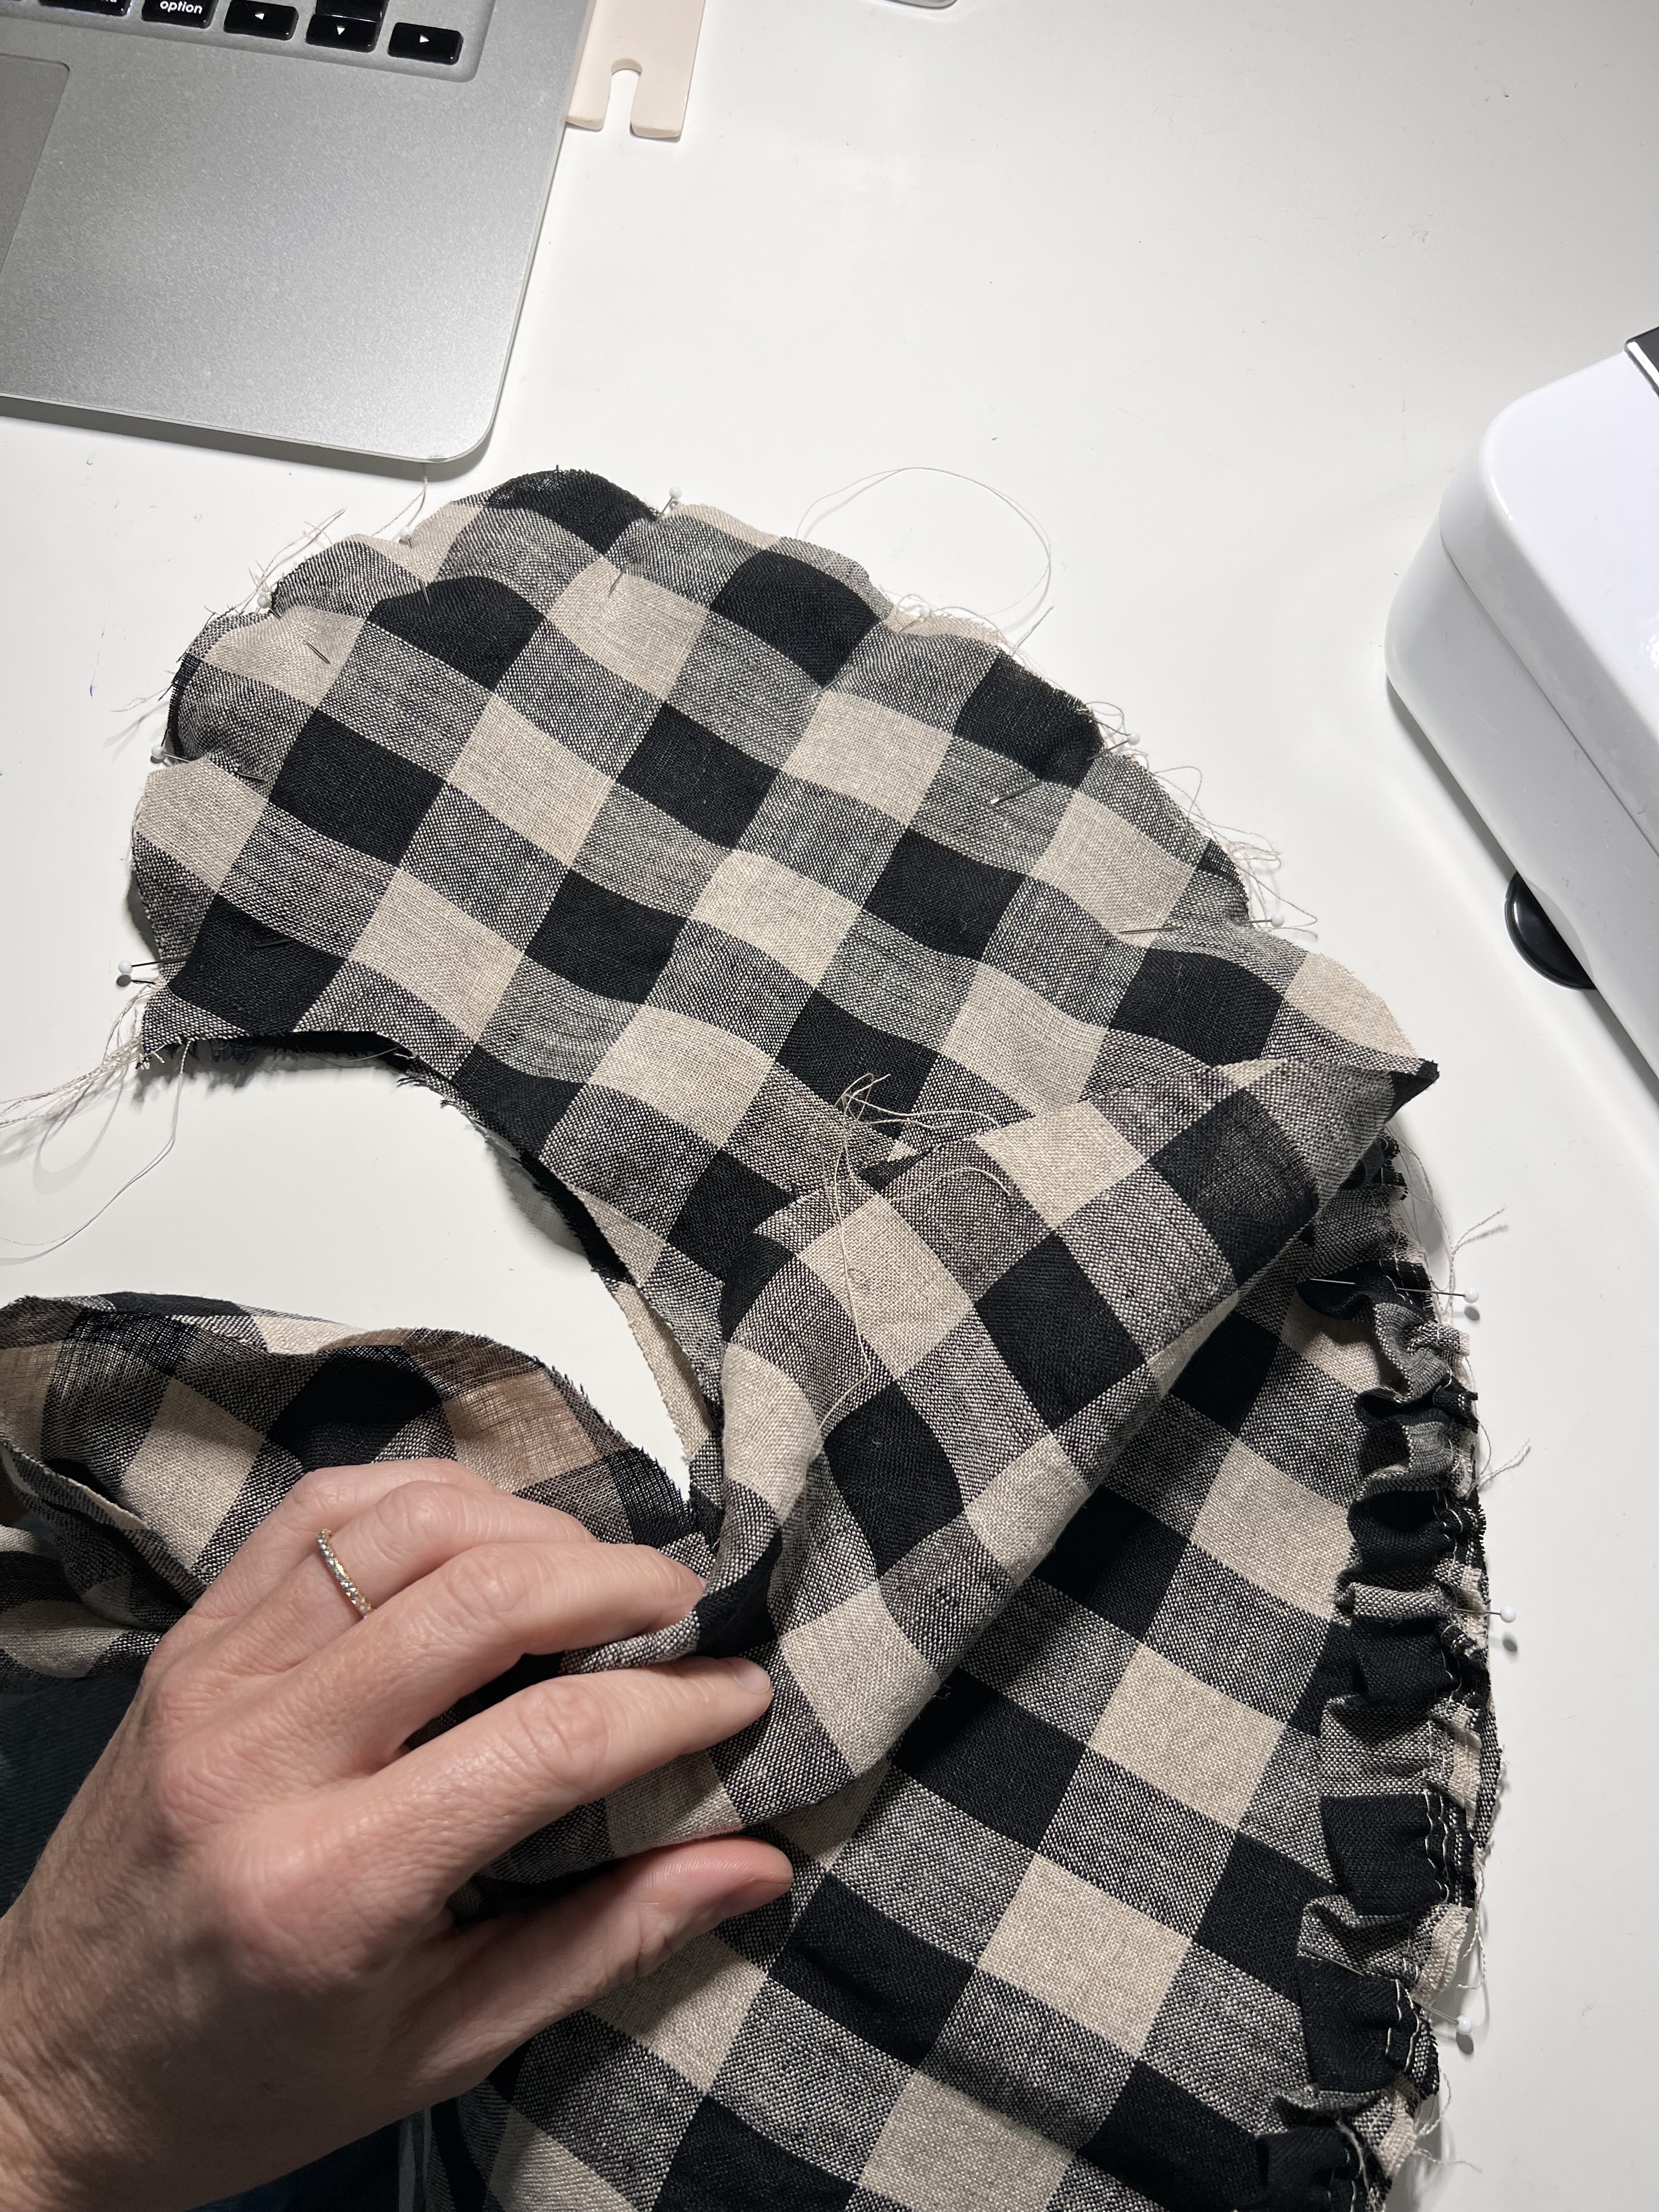
Repeat the same steps above for the second collar.
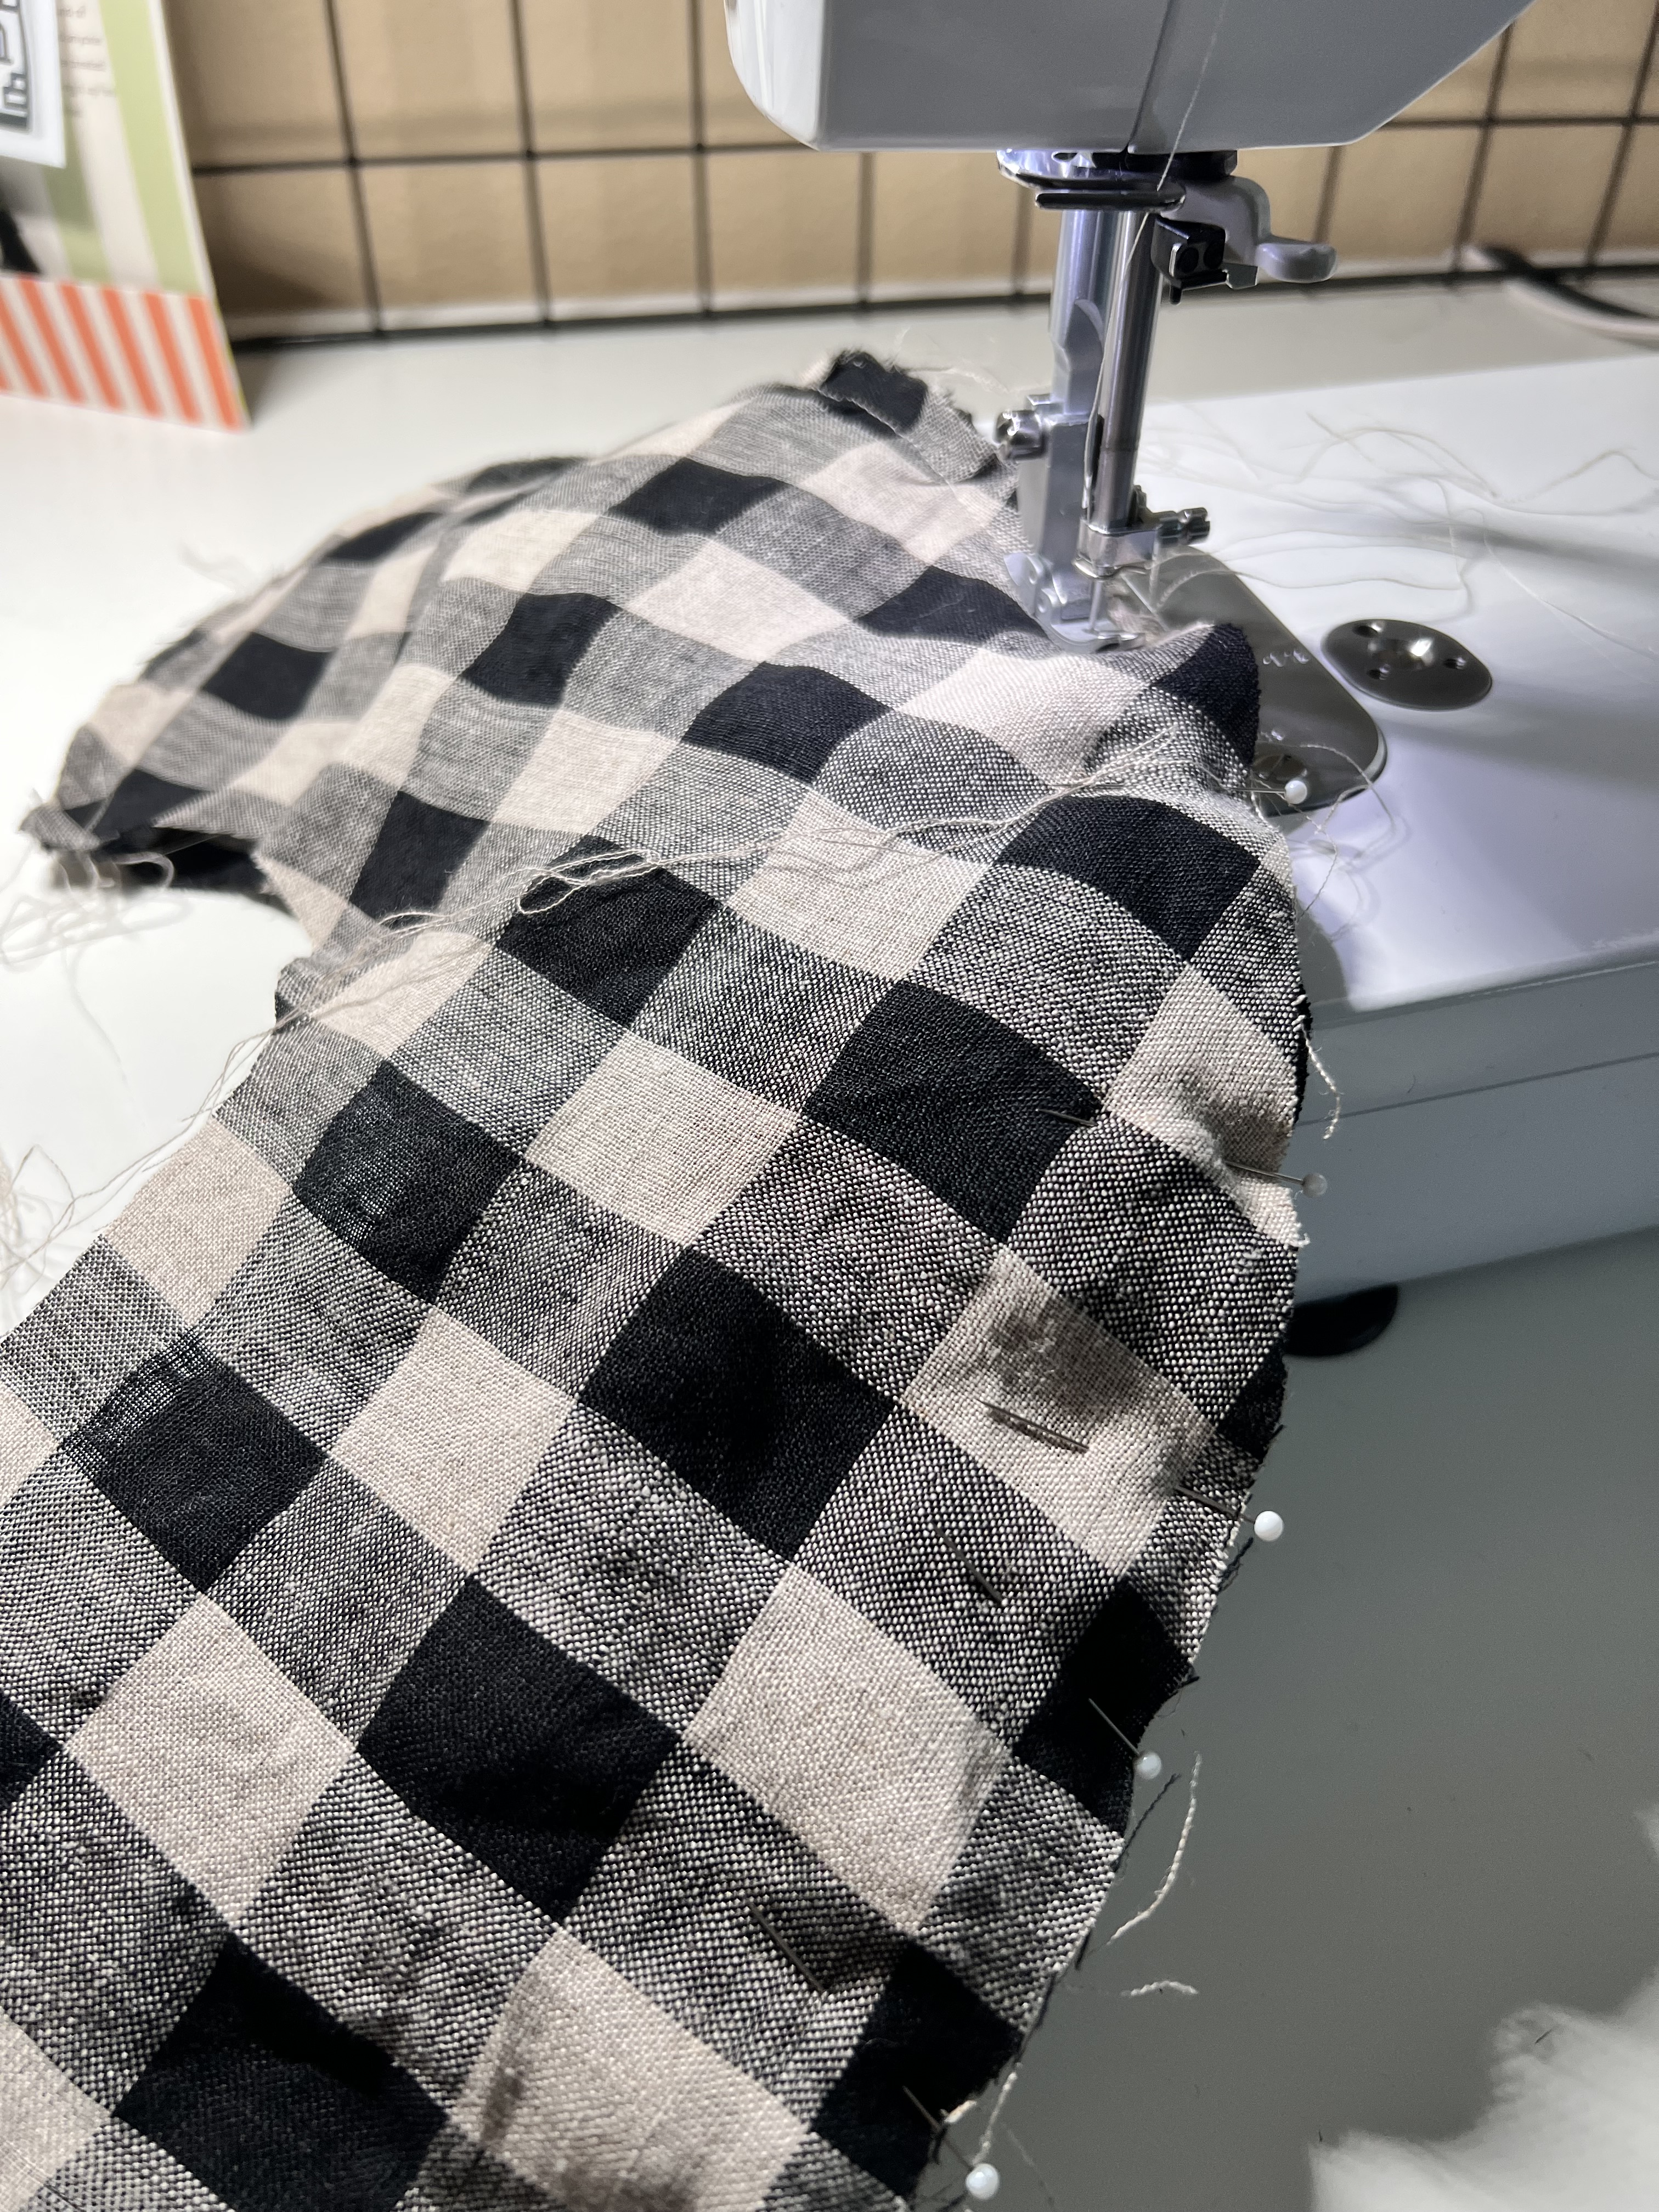
Now it’s time to attach the collars to the neckline! Pin them on the neckline right sides up, matching the collar and neckline edge. Sew. You could do one collar at a time and baste the first collar down.
Follow the directions in the Fleur Blouse pattern instructions to finish the neckline with bias binding.
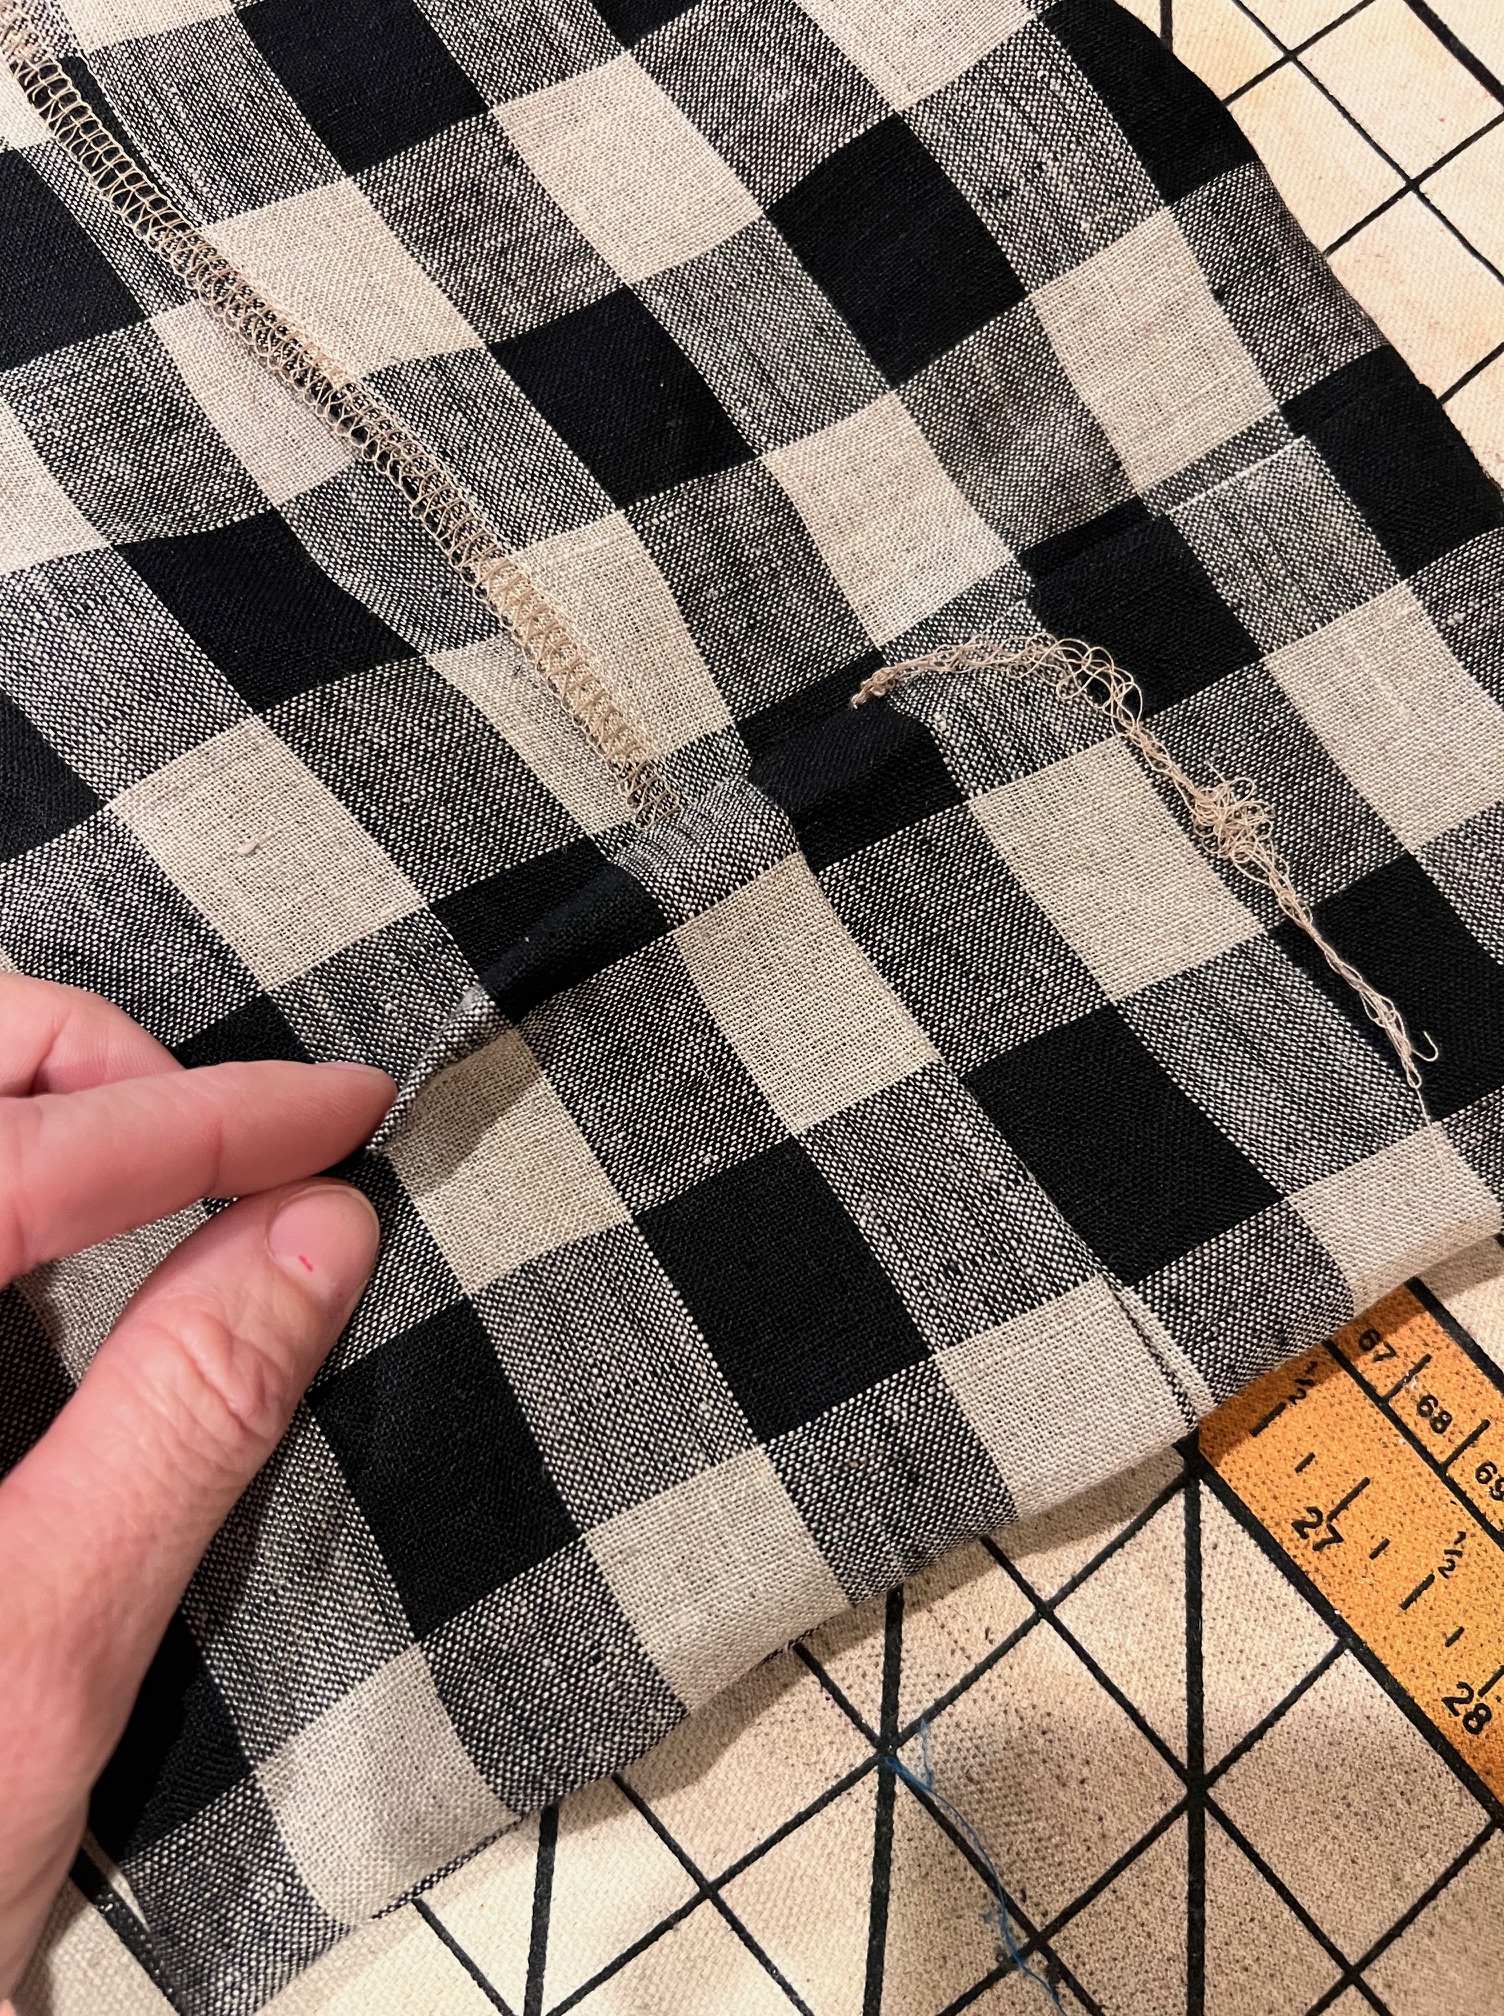
As I am writing this I noticed a few mistakes I made. This is what happens when you don’t make a toile/muslin first. I had a hard time matching up my larger collar to the interfaced collar along the left side shown below and trimmed a little off. I should have used a stretch interfacing to account for the ease of the fabric. Thats why that side looks slightly shorter than the right. You live and you learn!
Re-drafting the Sleeves:
Based off Josie’s instructions in her video, she mentioned she extended the sleeve and also made it more narrow, this is what I did! Laying tracing paper over the sleeve, I traced the sleeve cap to the underarm corner. From there I took the sleeve straight down instead of out like the original sleeve pattern. My arm measures 21″ from my shoulder notch to wrist bone. I added 6″ to account for the elastic gathered sleeve finish.
Gathered Elastic Sleeve Construction:
Sew the sleeve in just as the instructions direct you.
Try it on at this point and see how long everything is looking on the sleeve. I pinned my raw sleeve edge up at 4 1/2″ inches to check the length and it was perfect. Once you have decided on the length, turn the sleeve inside out.
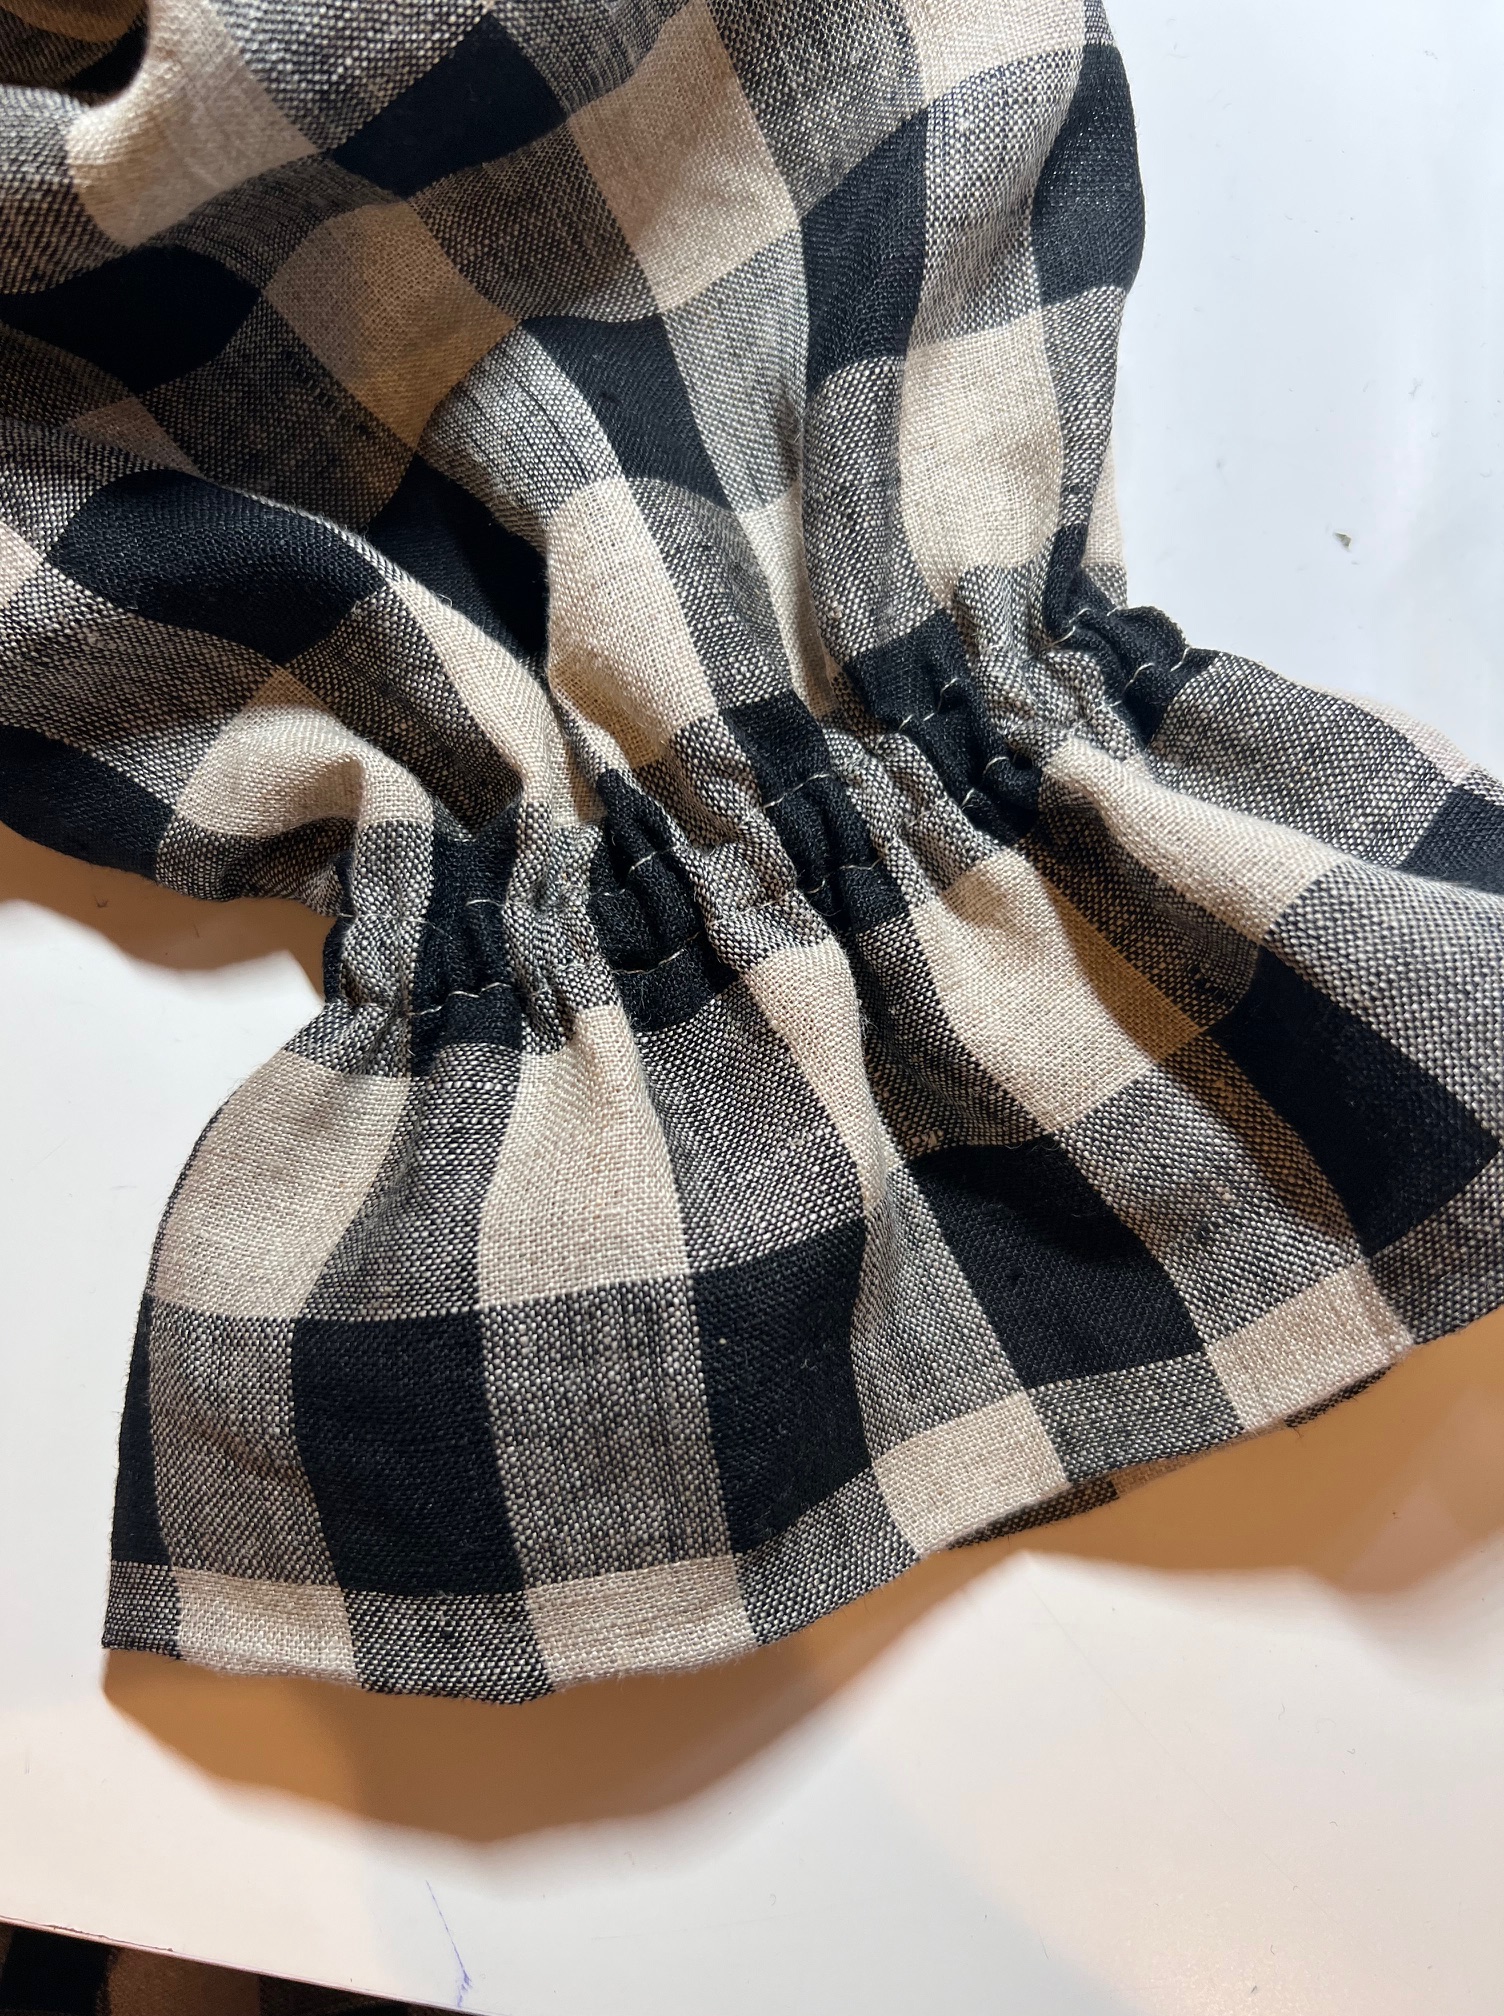
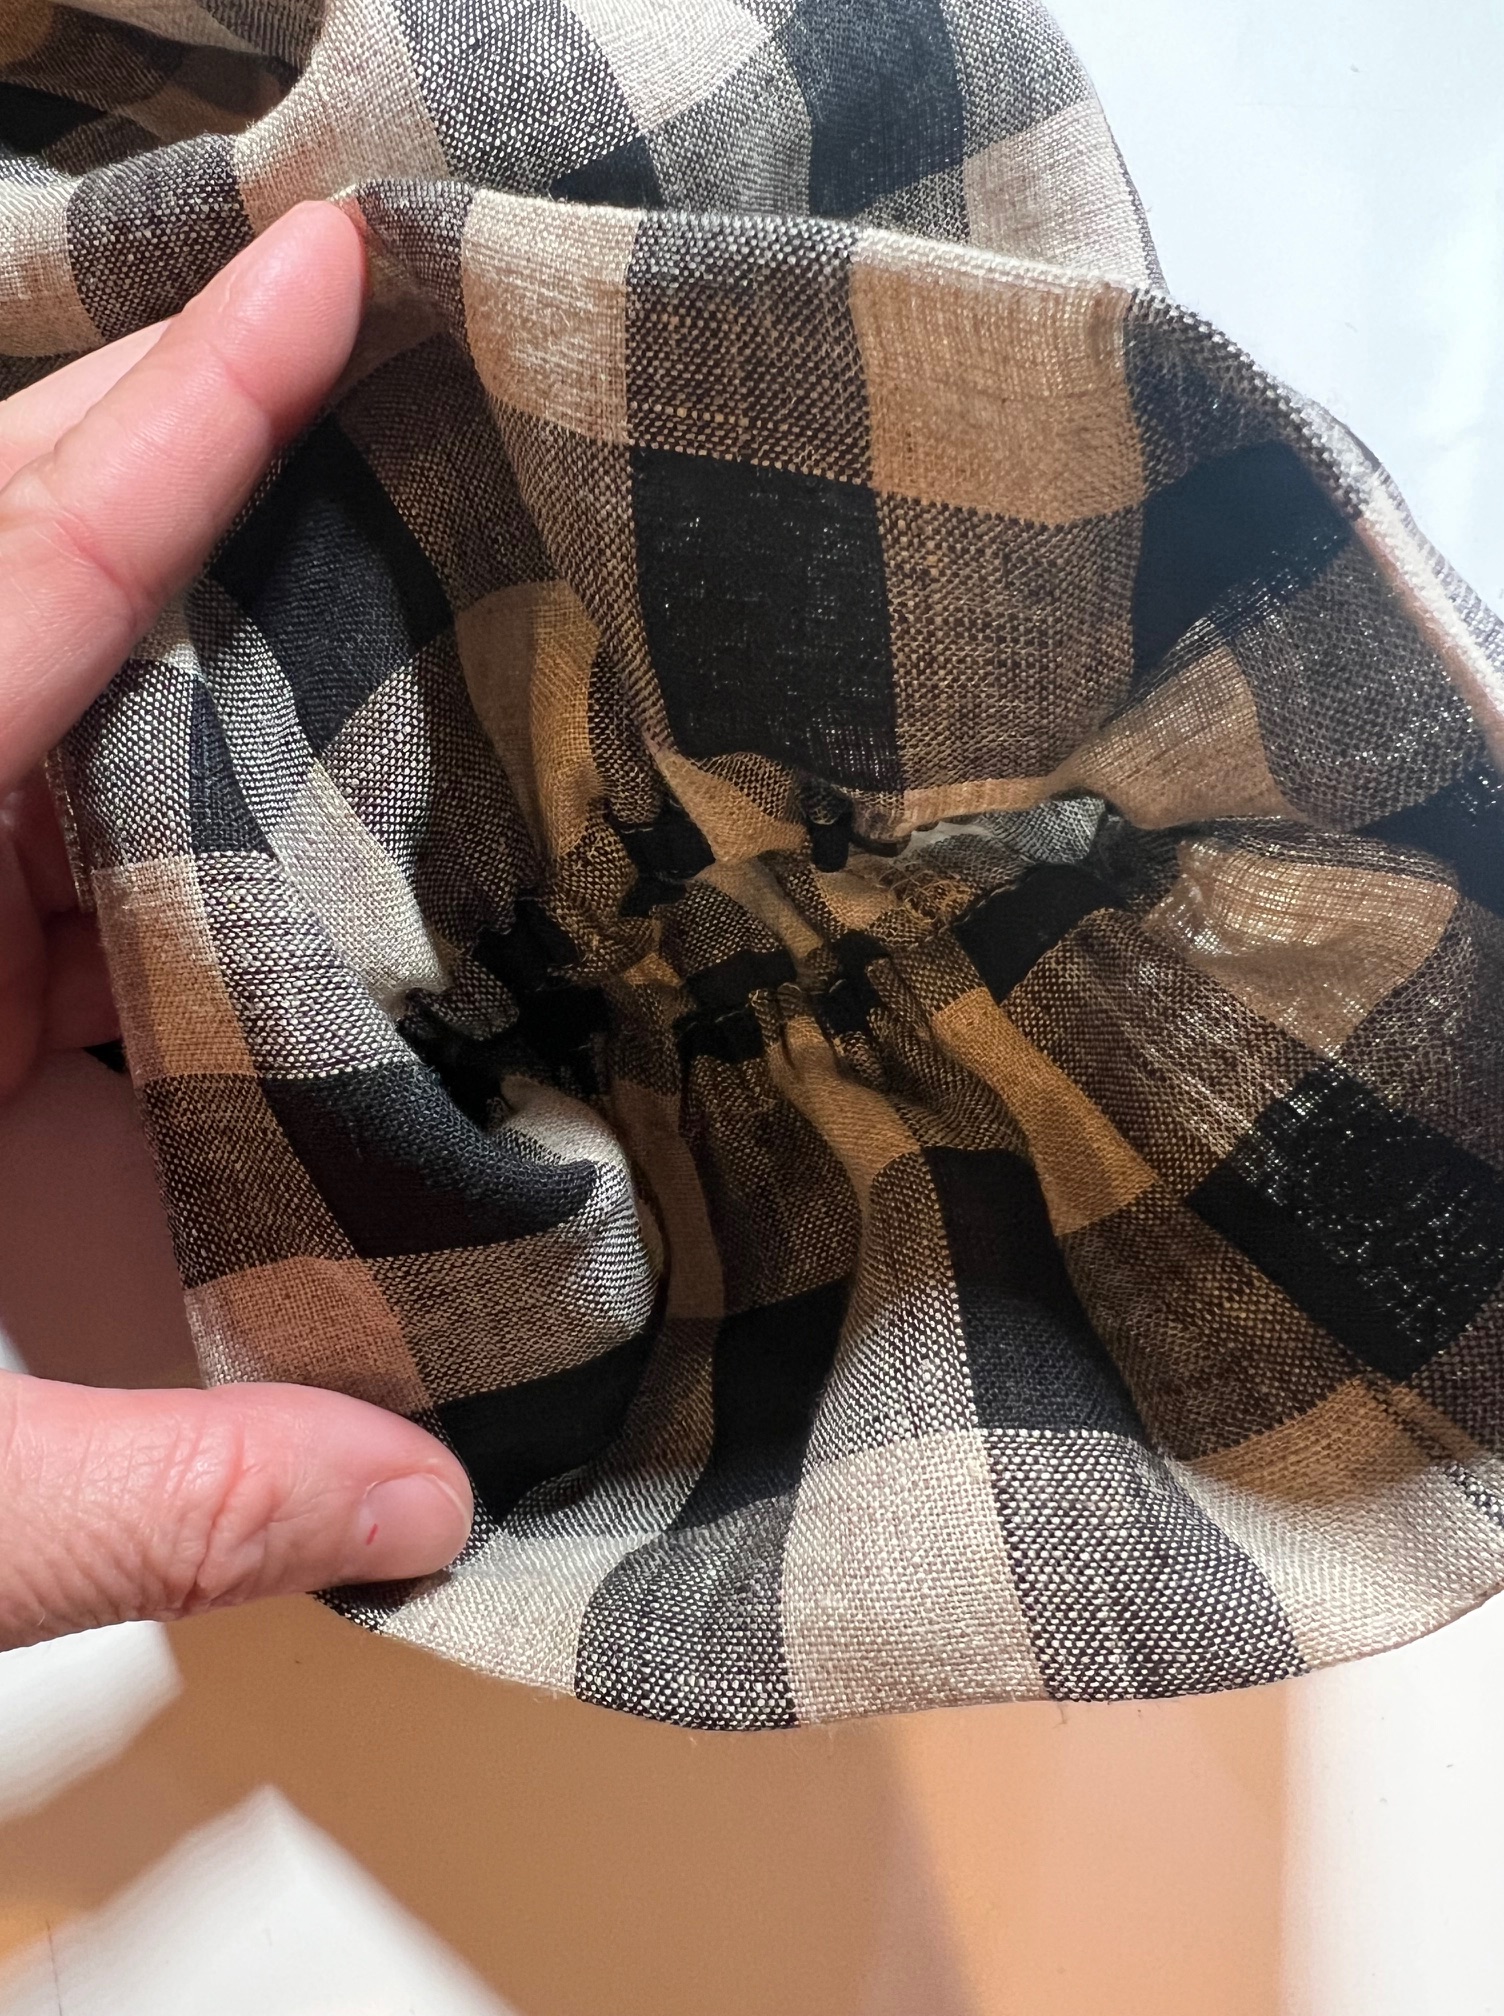
Fold/press the raw edge in at 1/2″, press and pin in place.
I forgot to get pictures of this next step, but sew right along the edge of the fold we just made all the way around. Now sew 3/8″ from the edge stitch just sewn all the way around again to create a casing but make sure to leave 1″ open to insert the elastic.
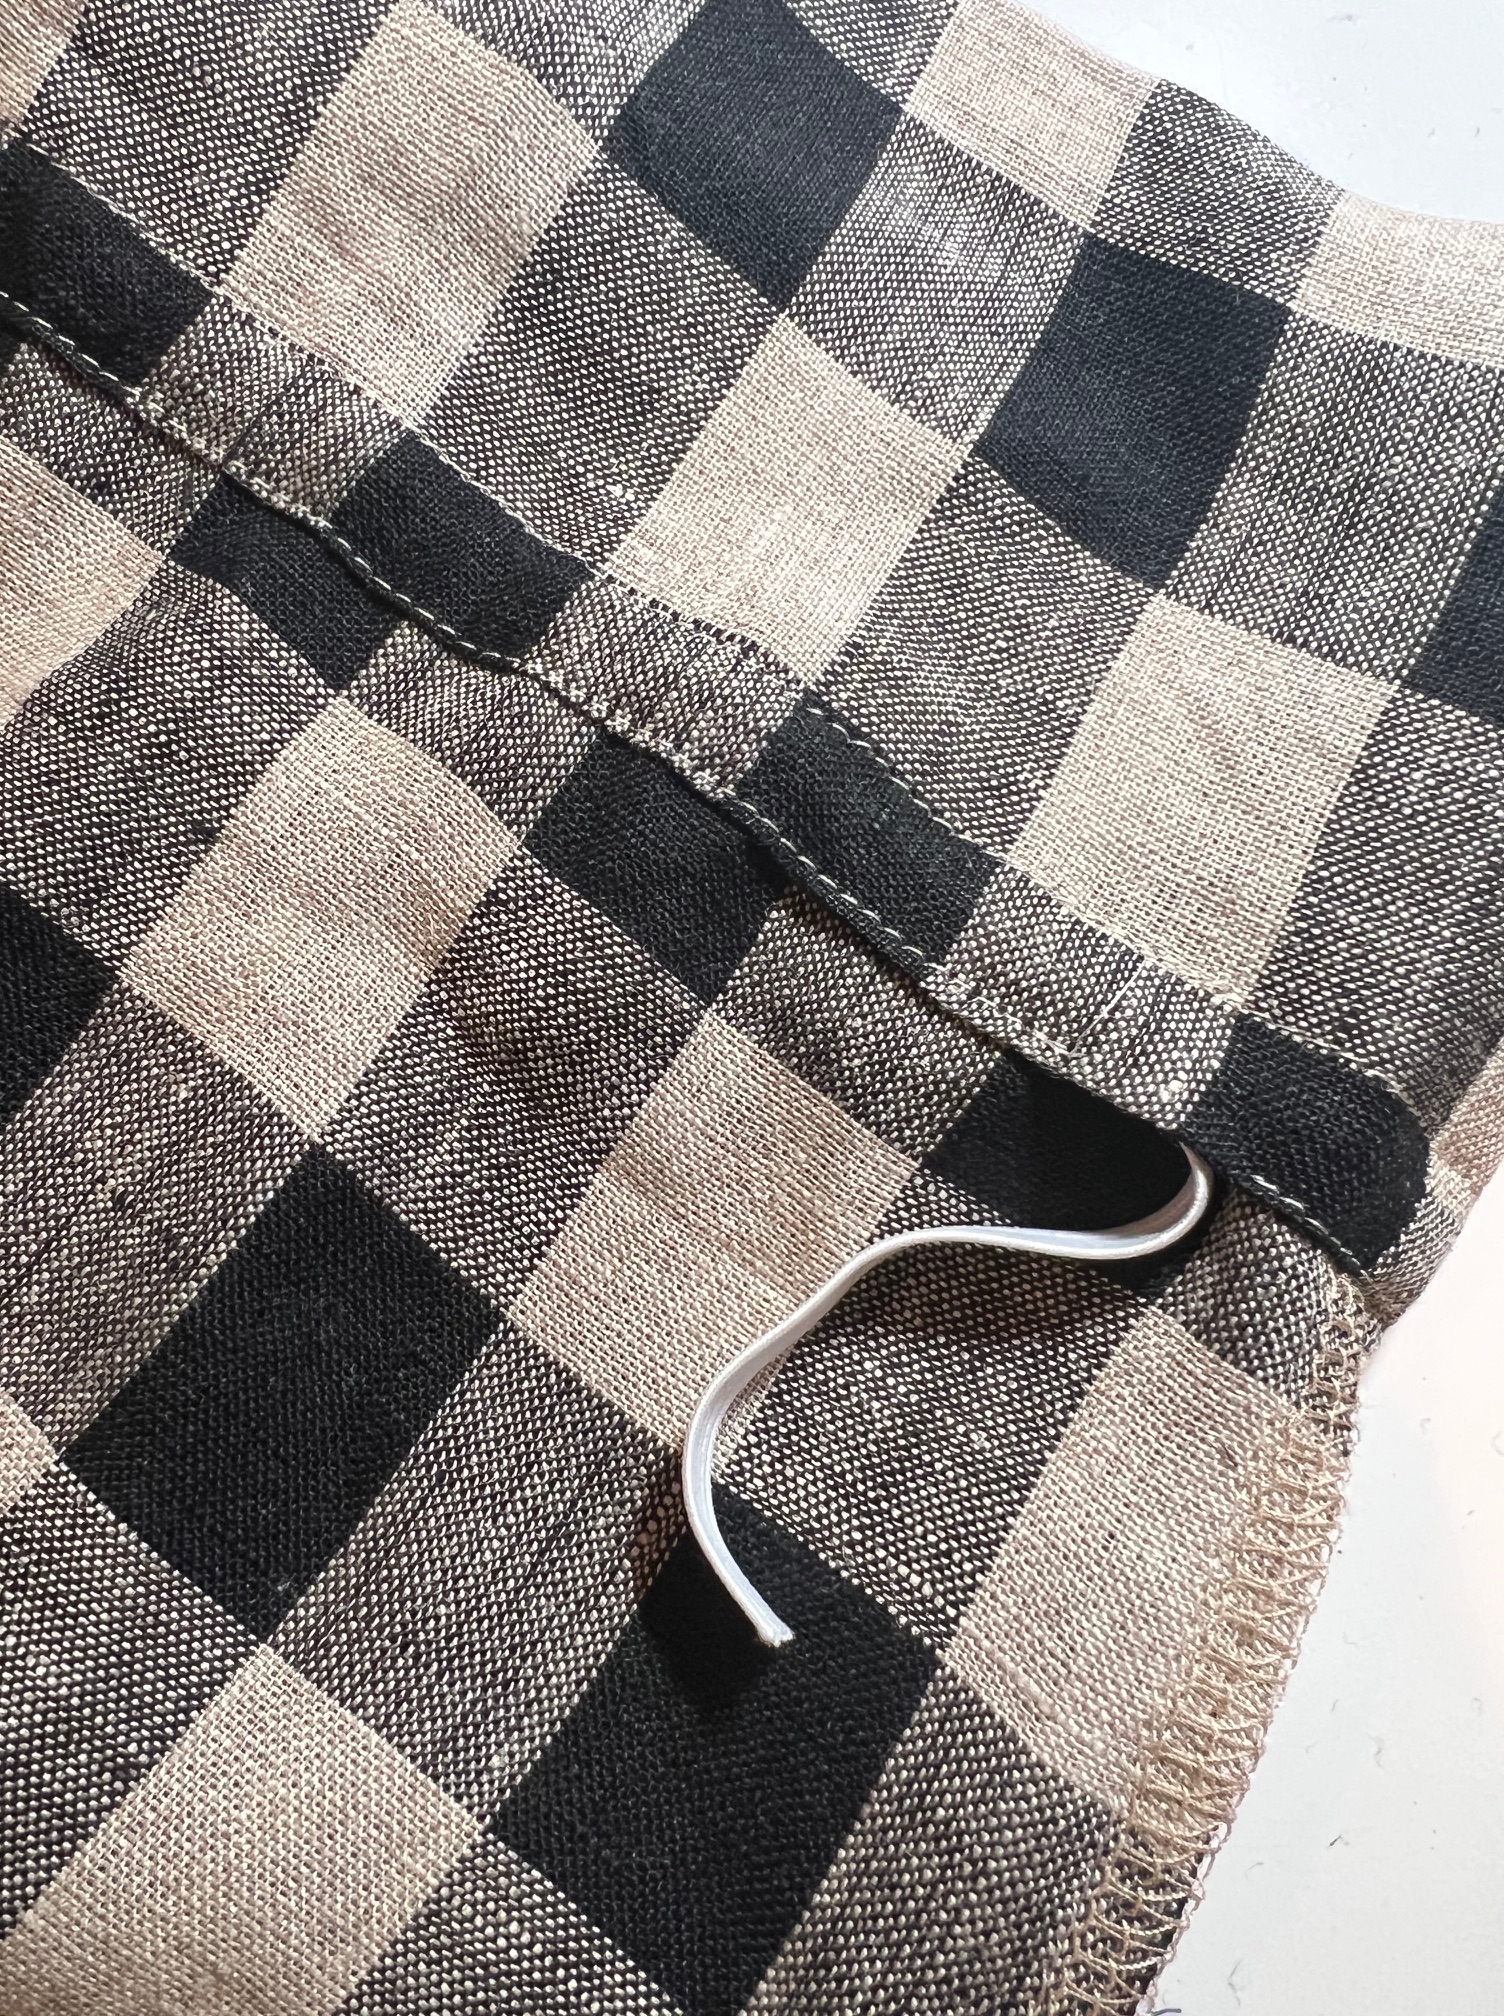
Using 1/4″ elastic, gently measure it around your wrist so it fits loosely, add a little for seam allowance and trim.
Using a safety pin and 1/4″ elastic, insert elastic into the casing.
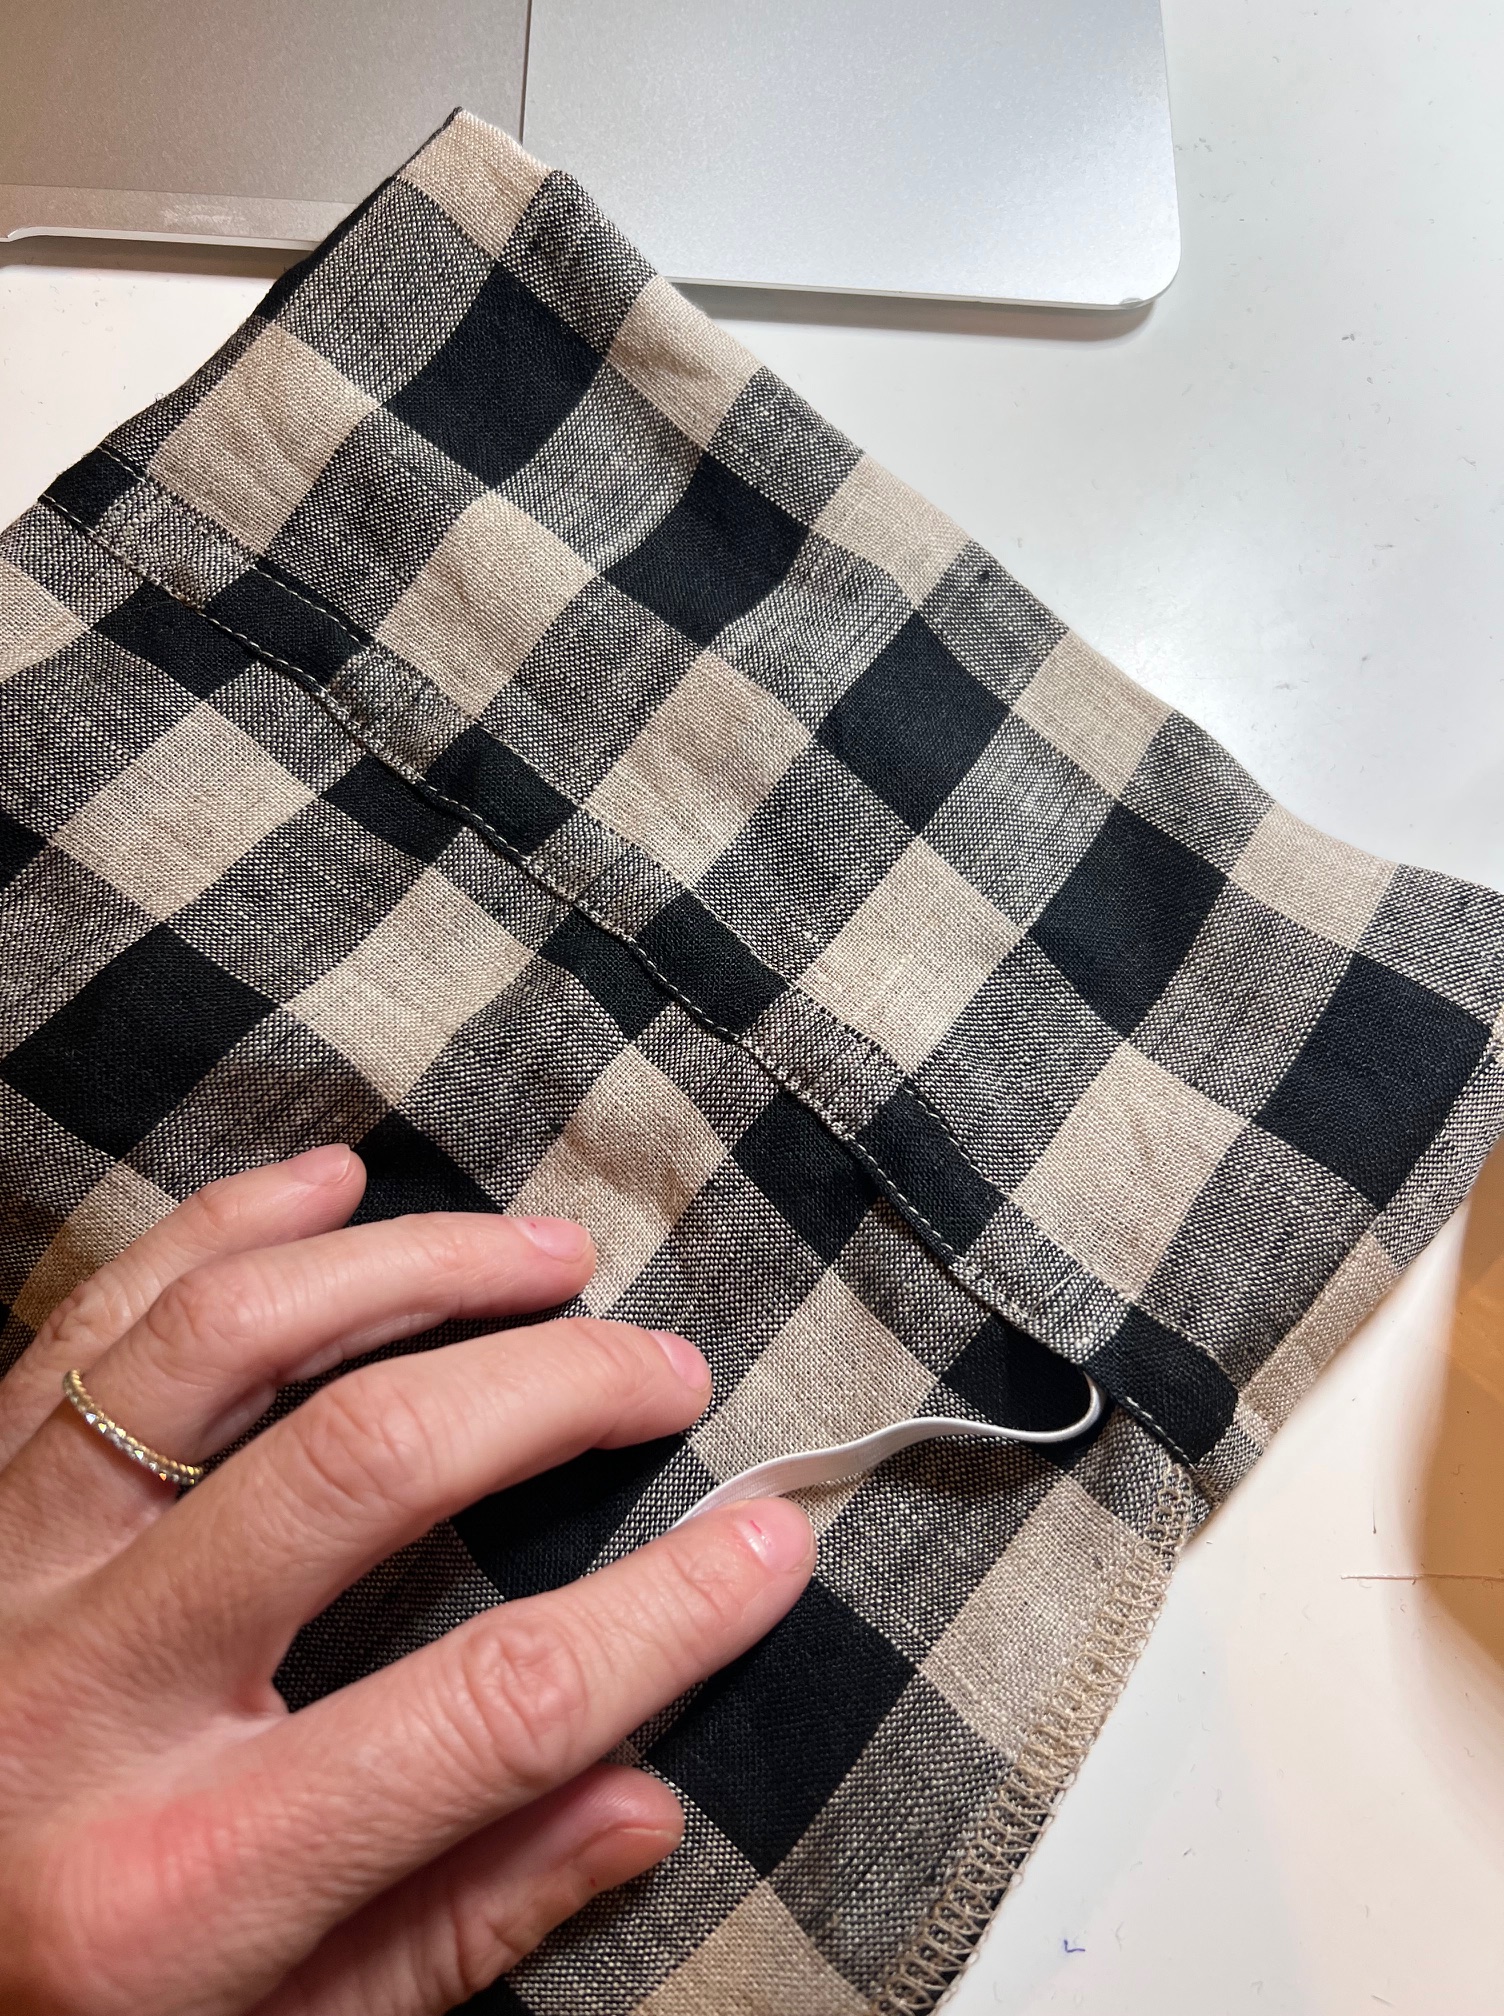
Sew the elastic together, and sew up the 1″ opening. Give the sleeve a good press and you are all finished!
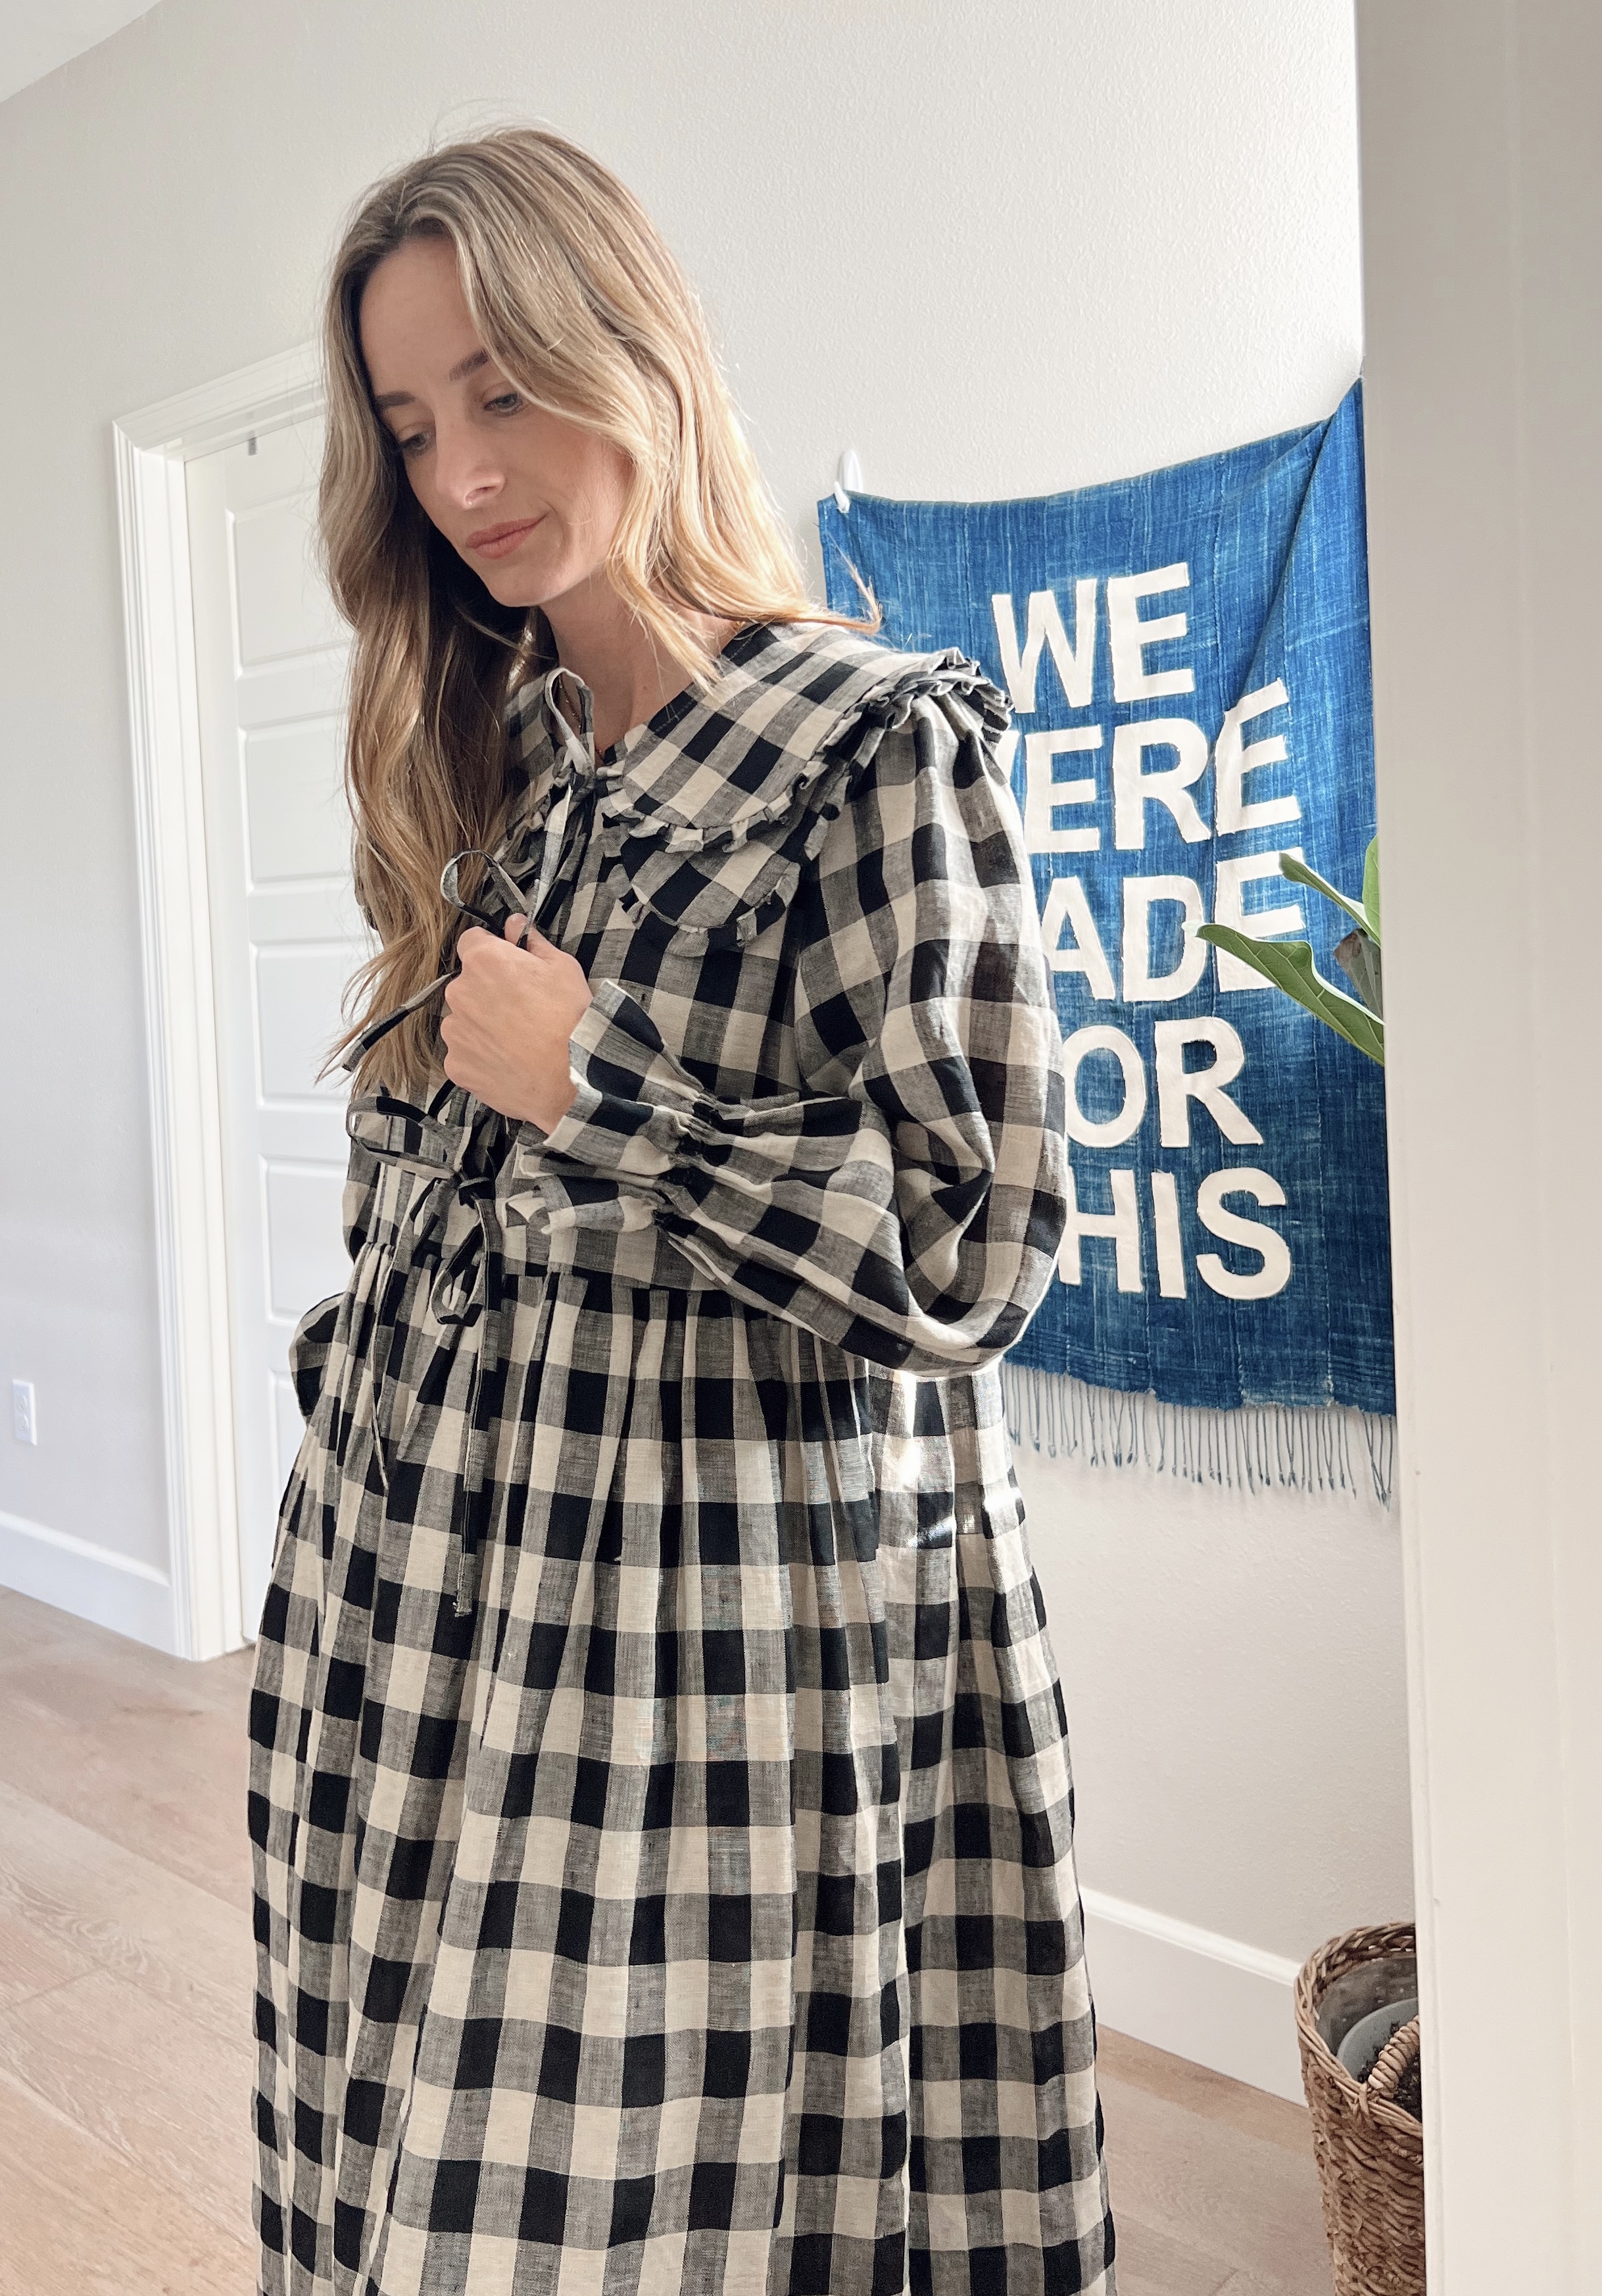
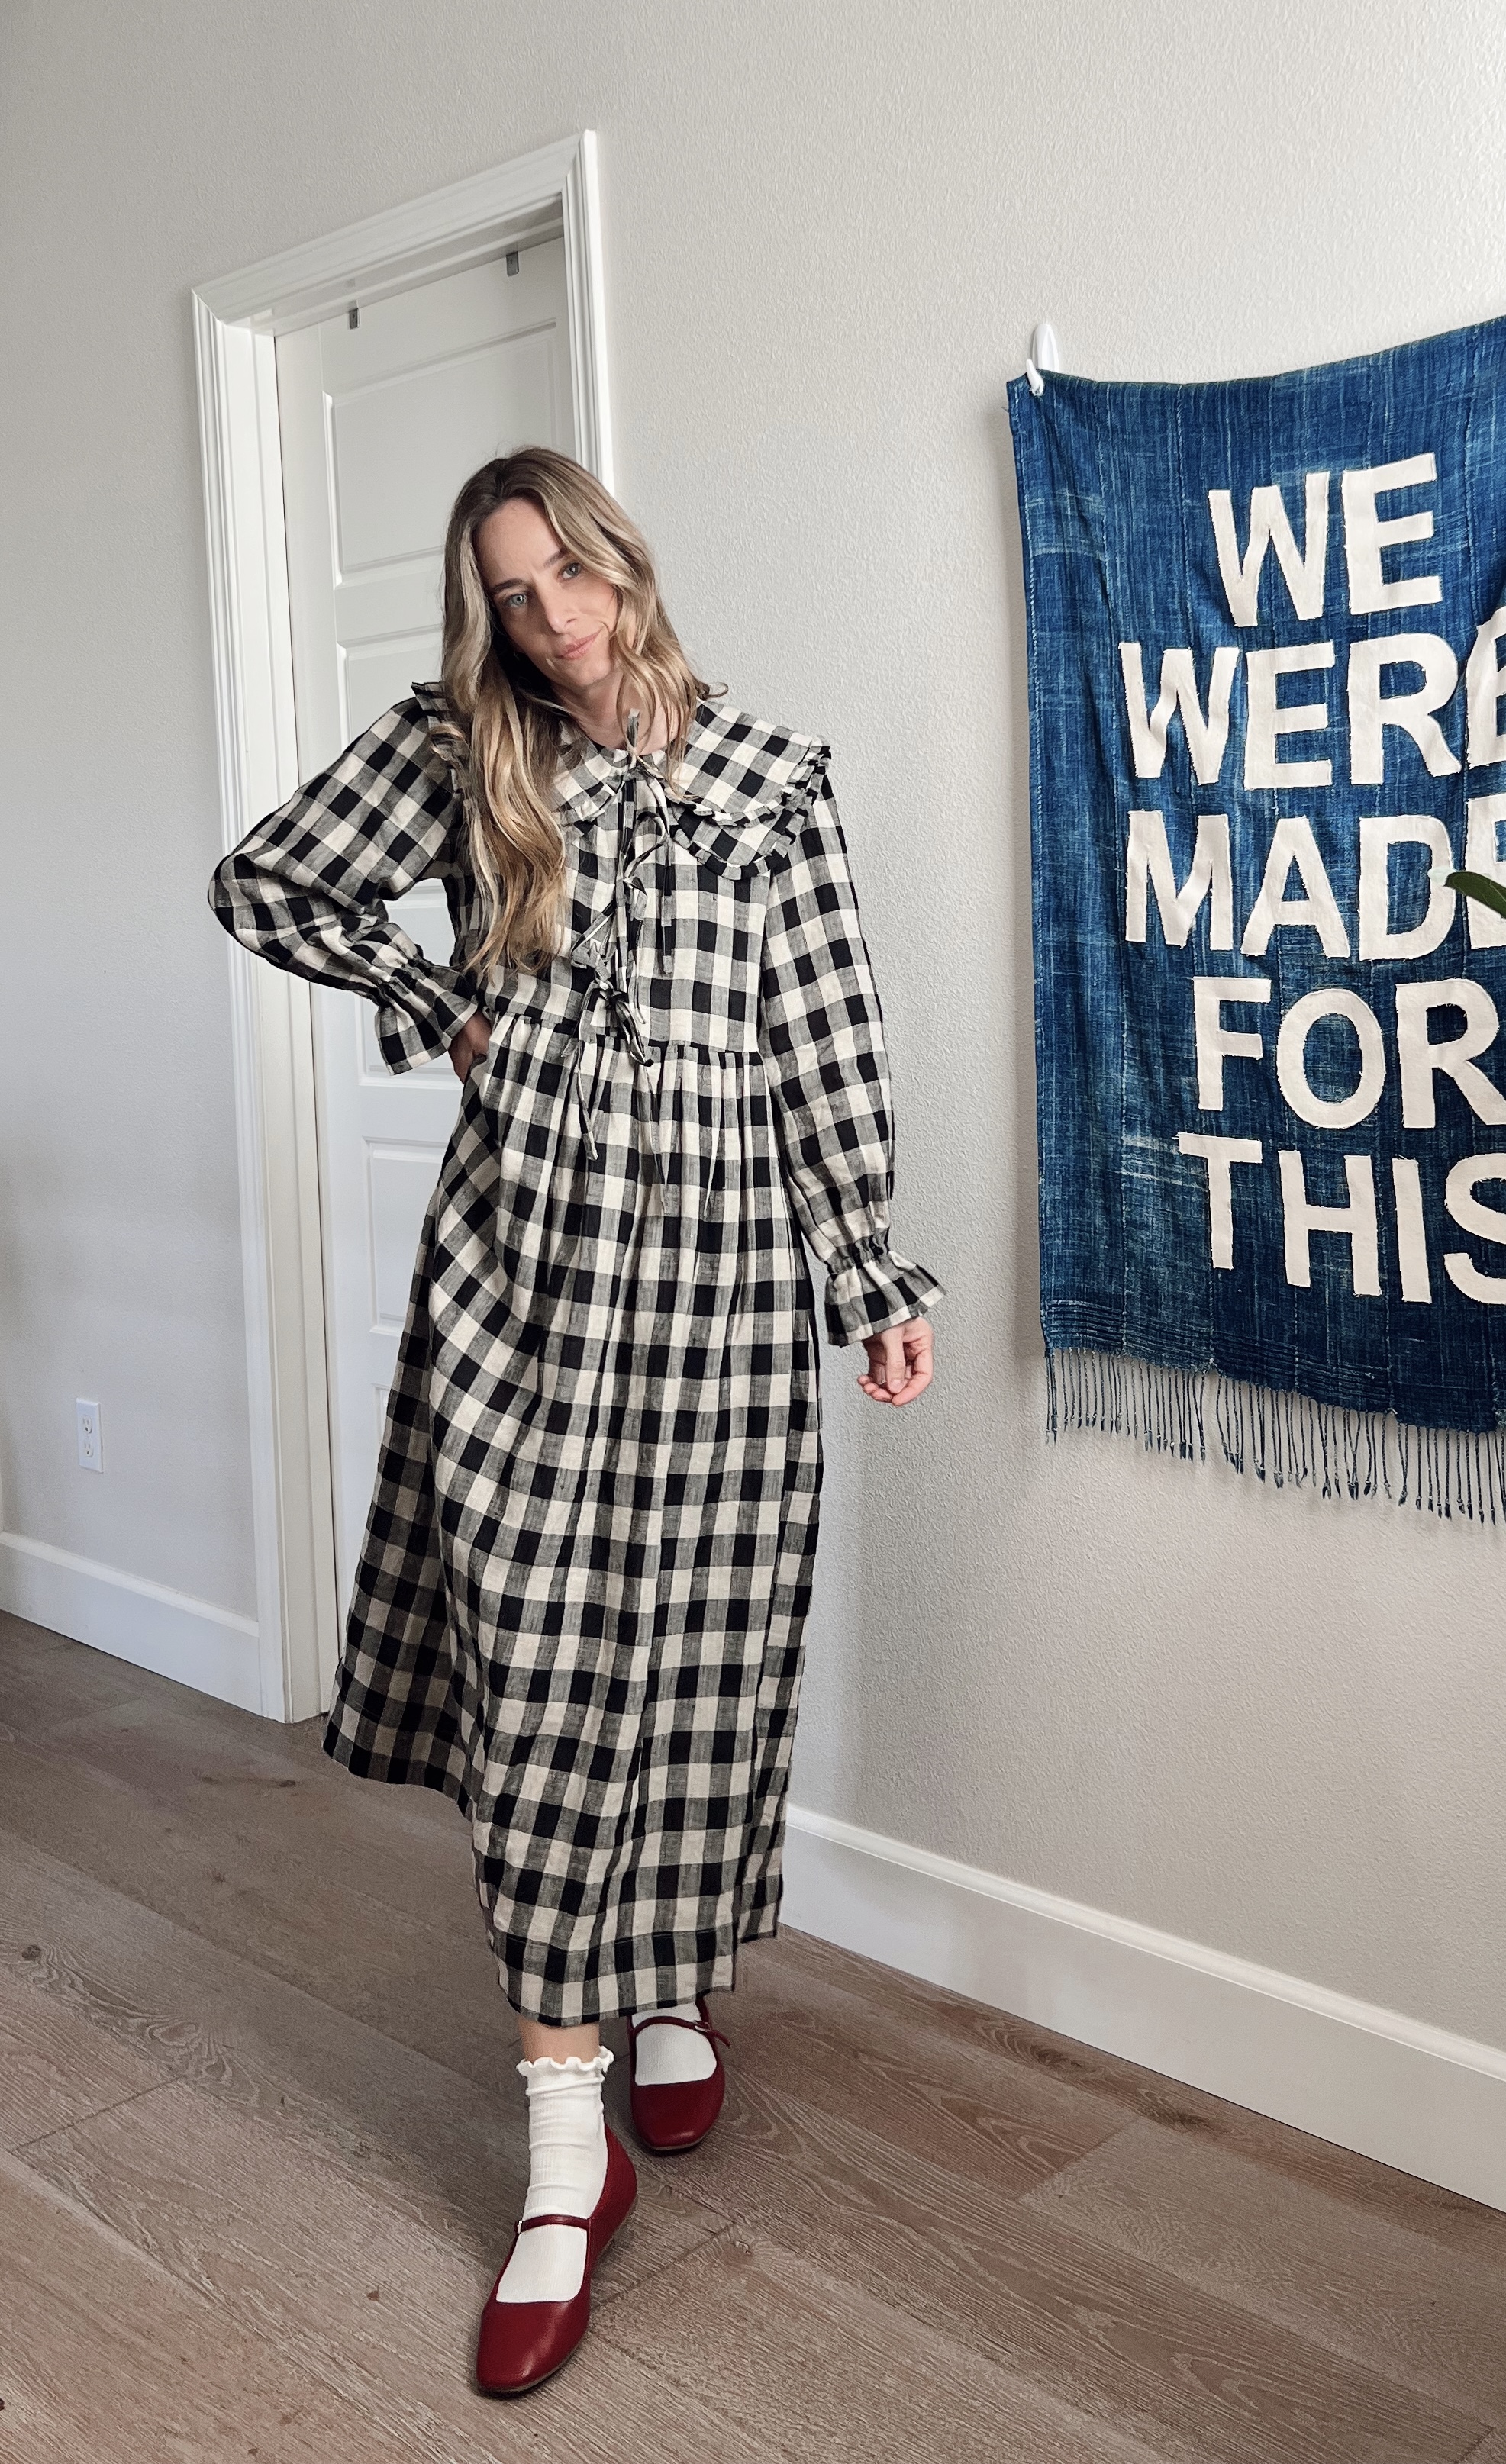
I am so happy with how this dress turned out. It’s so fun with the ruffles and ties! My red flats and ruffle socks are linked here!


Leave a comment