

This post is sponsored by Baby Lock, but all opinions are my own.
Happy summer everyone!
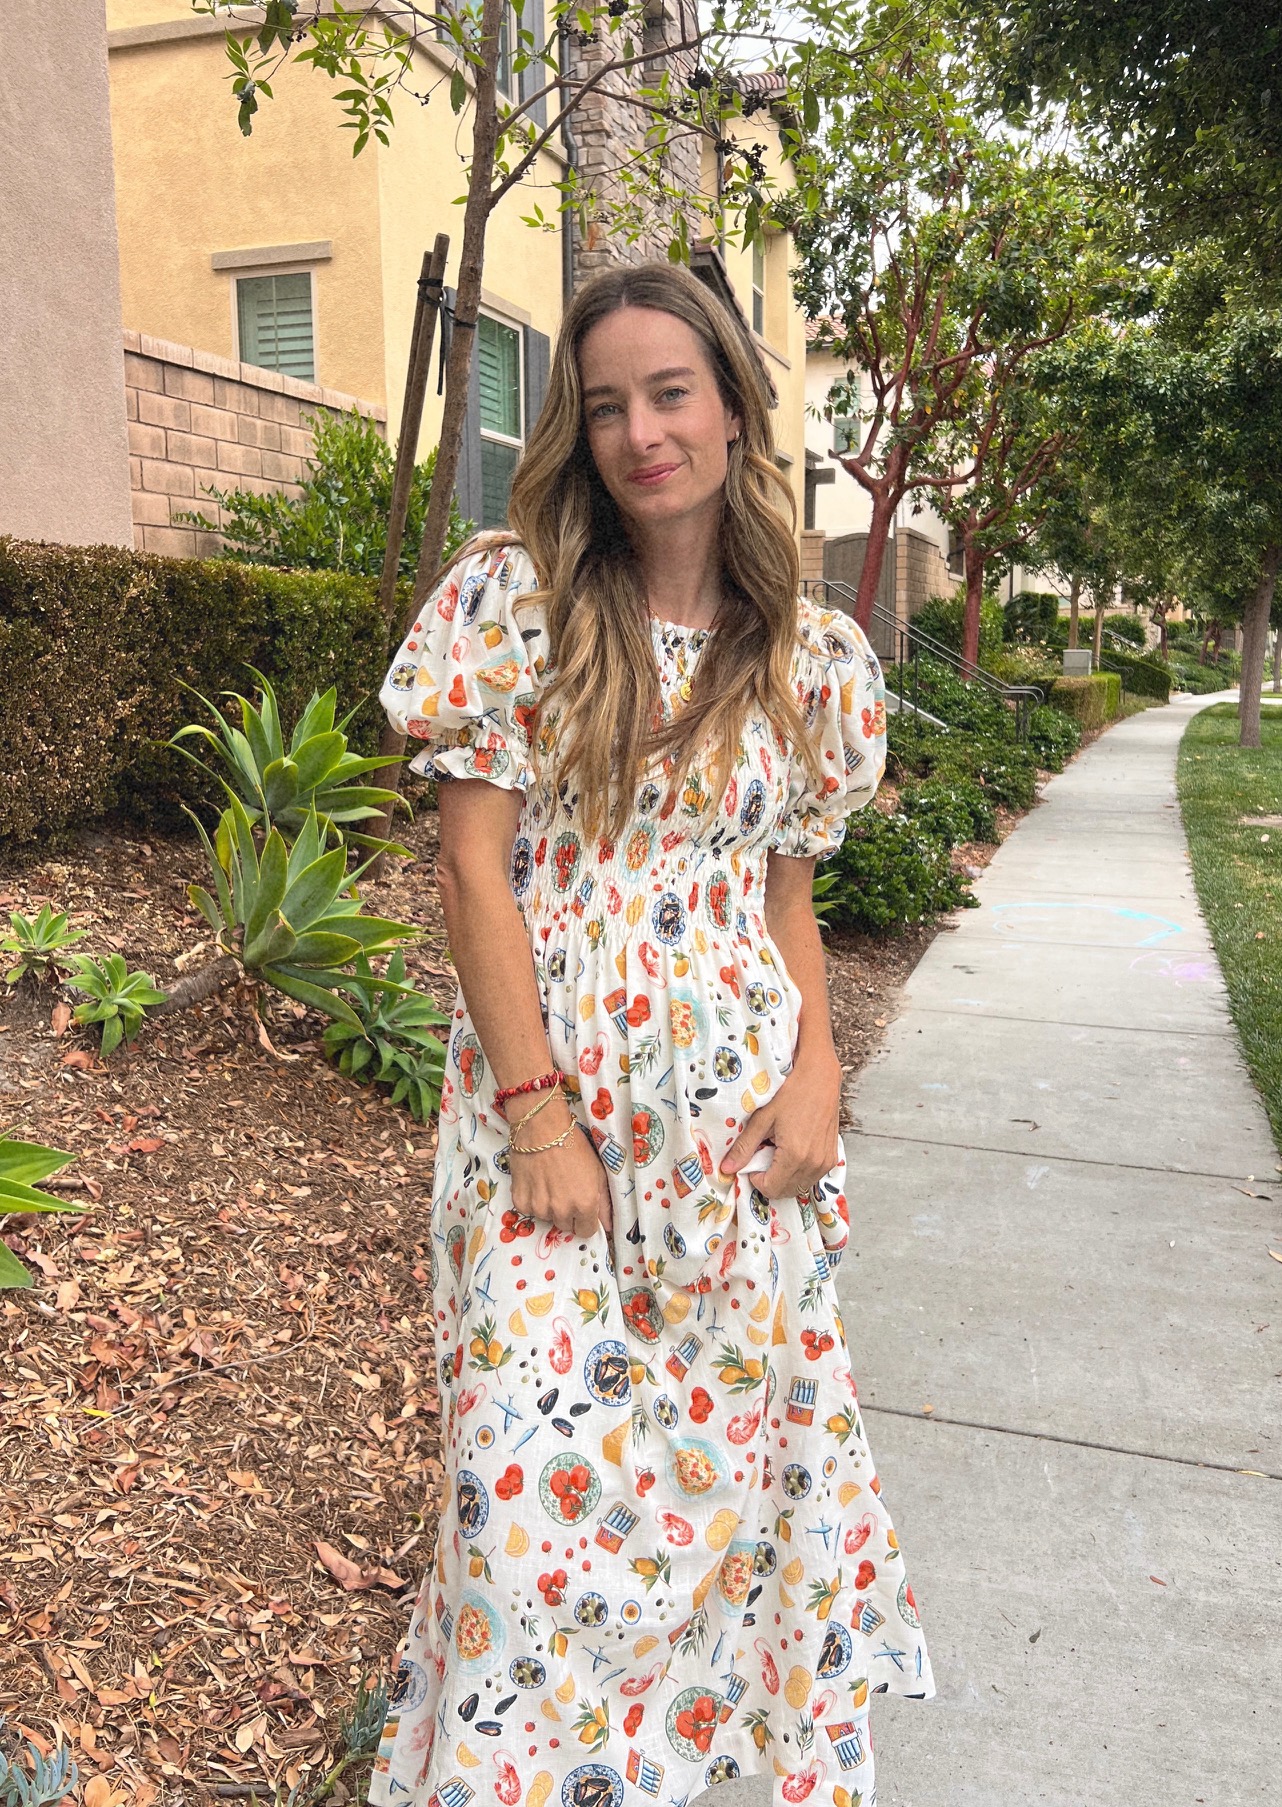
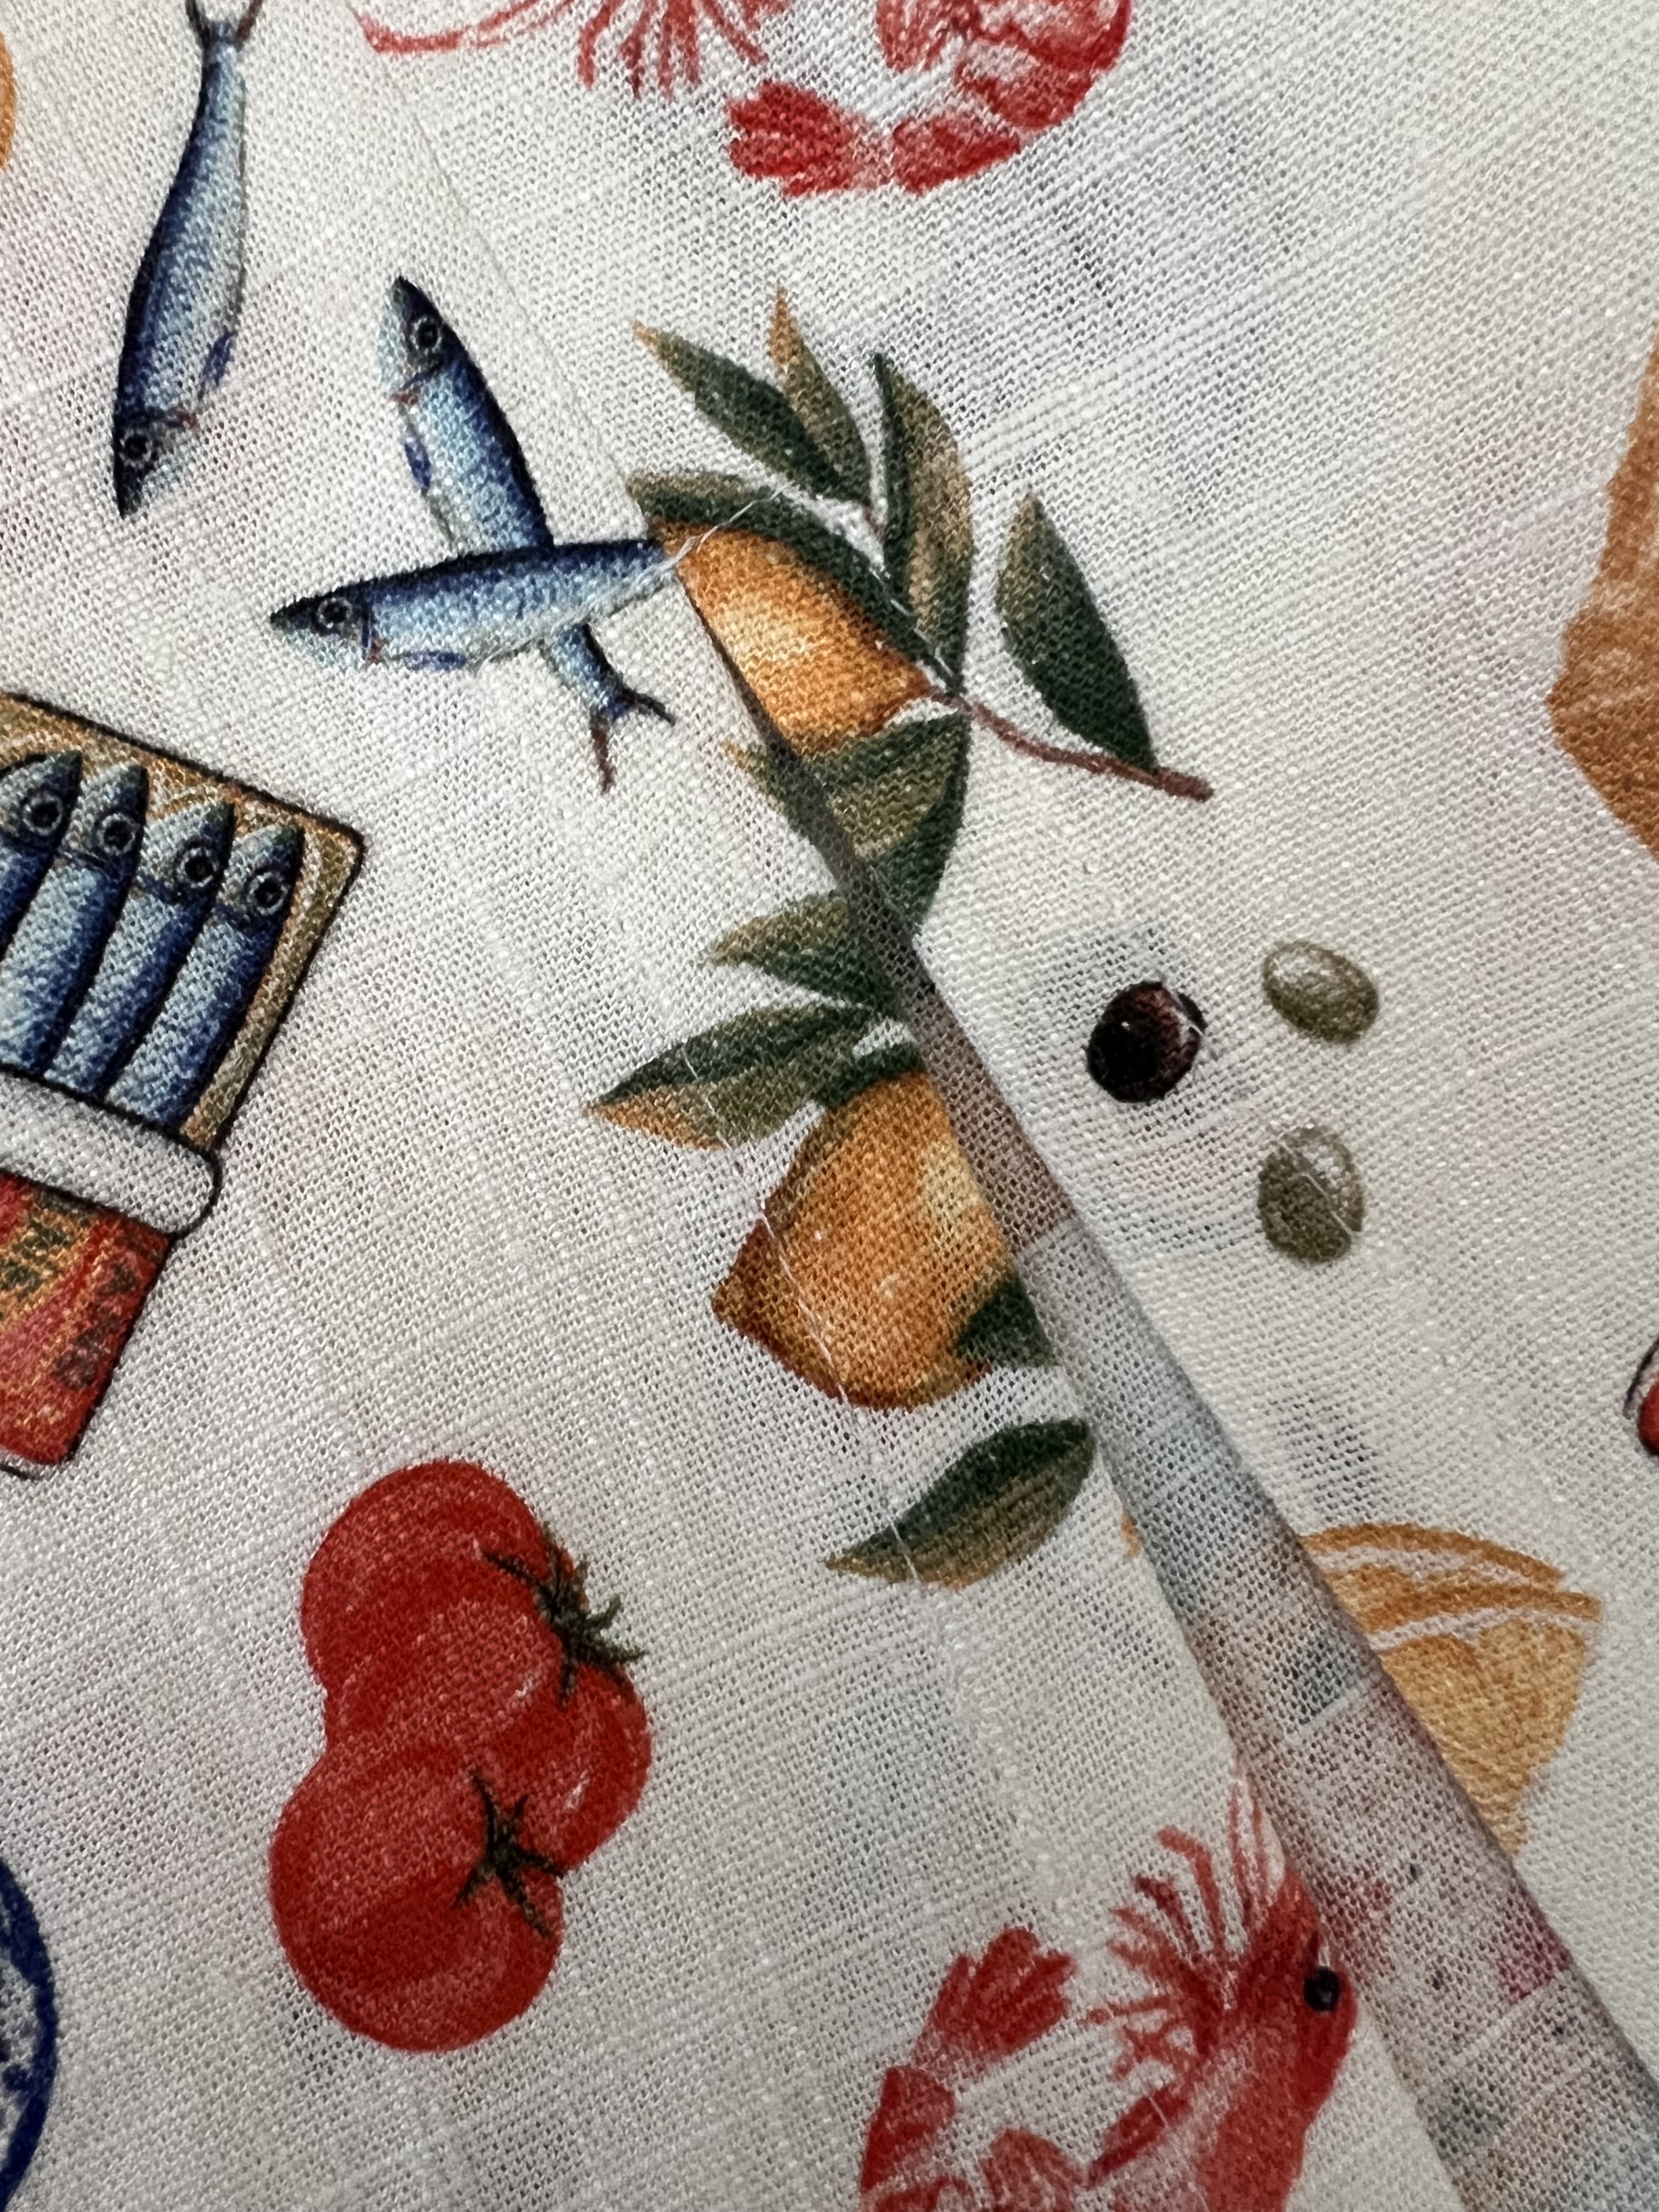
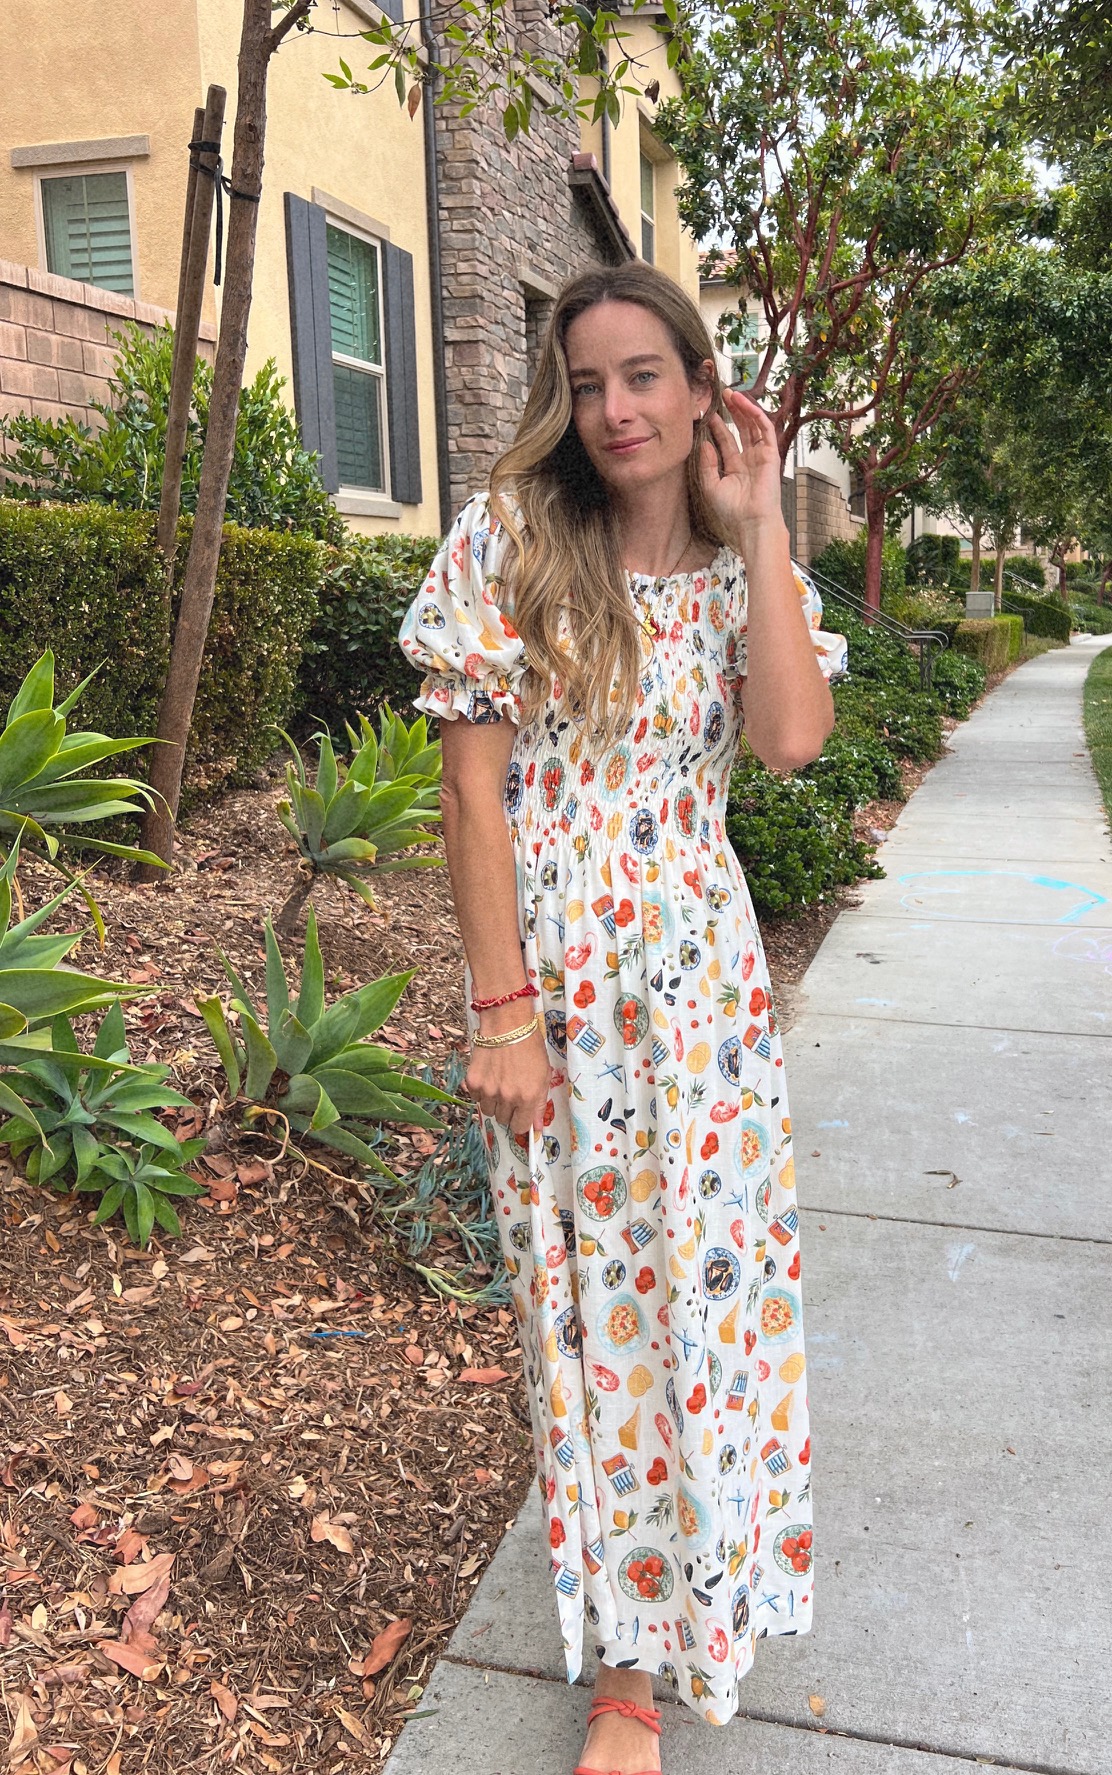
Back in January/February I purchased this really fun drapey linen fabric from Joann. I love the italian coastal vibes for summer 2025 and I thought this fabric would be fun to make something with. It took me a while to pinpoint exactly what I wanted it to be but I finally landed on a hack of the Eva dress, by Charlotte Rose Patterns.
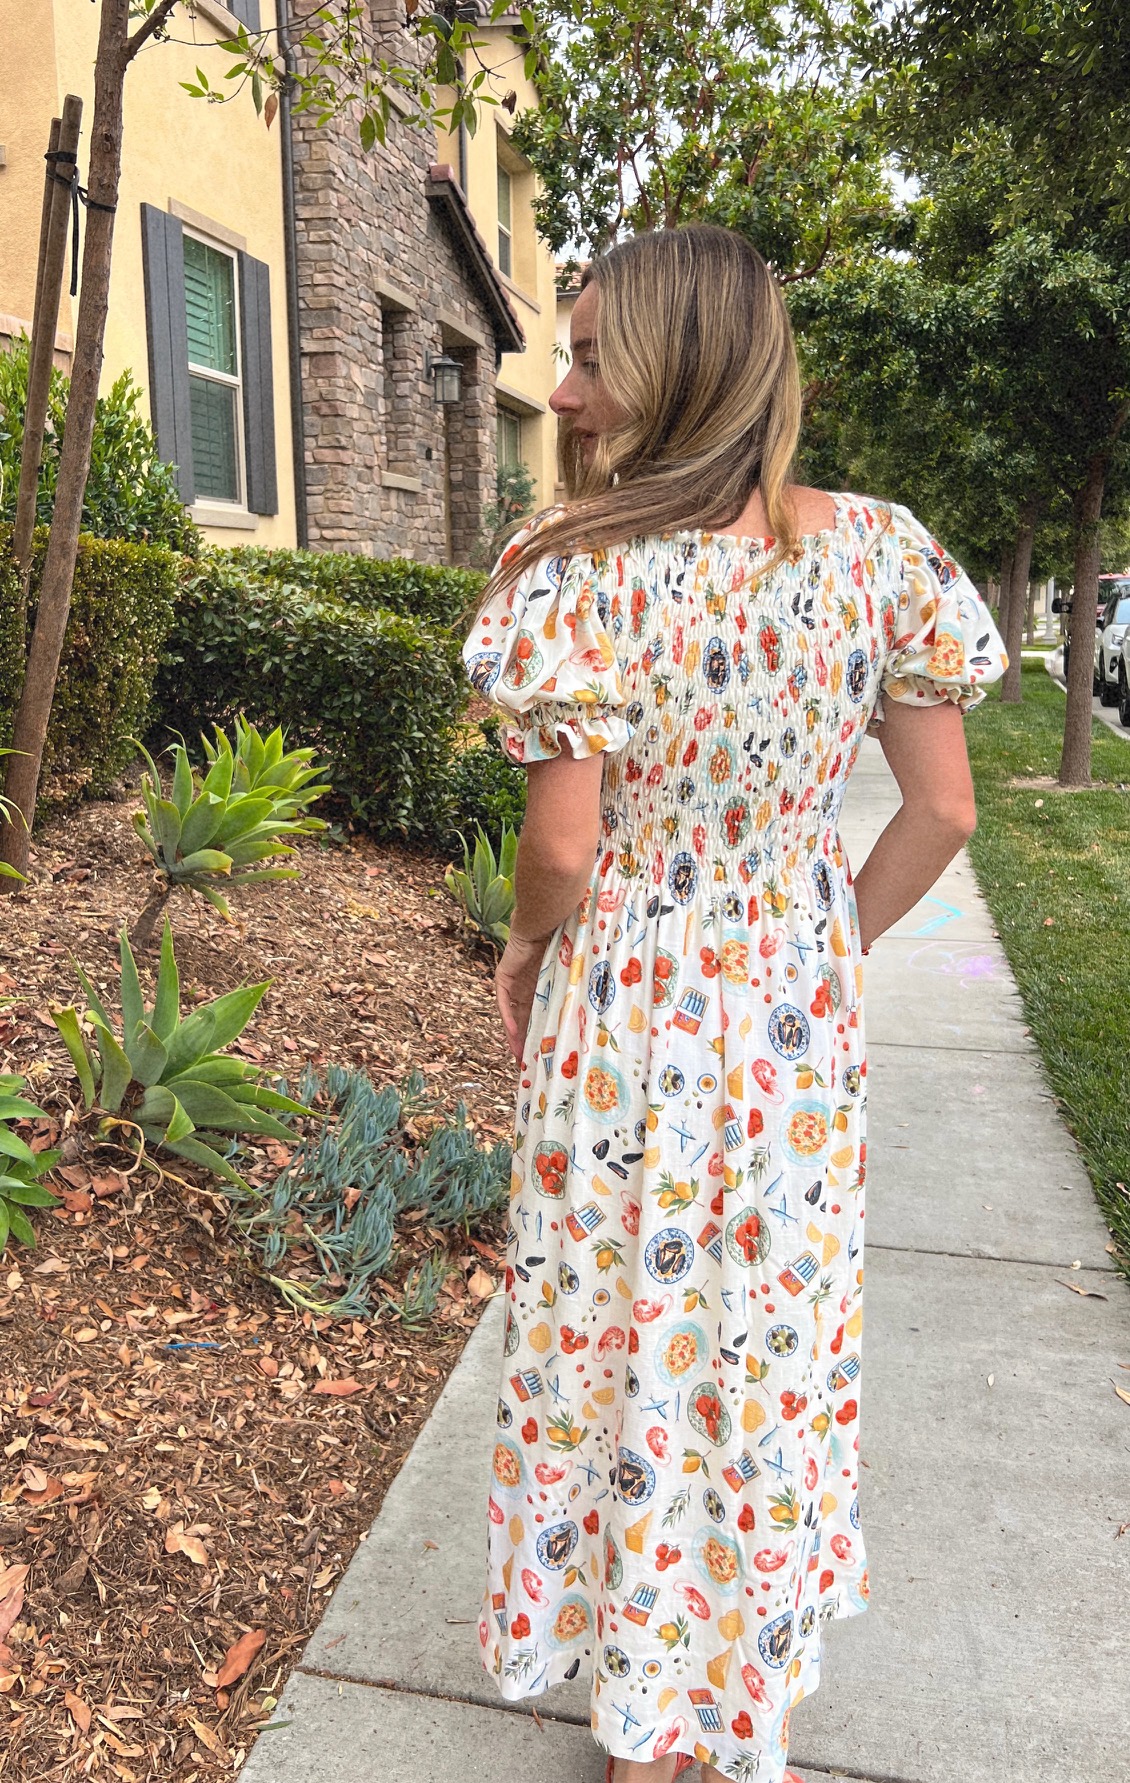
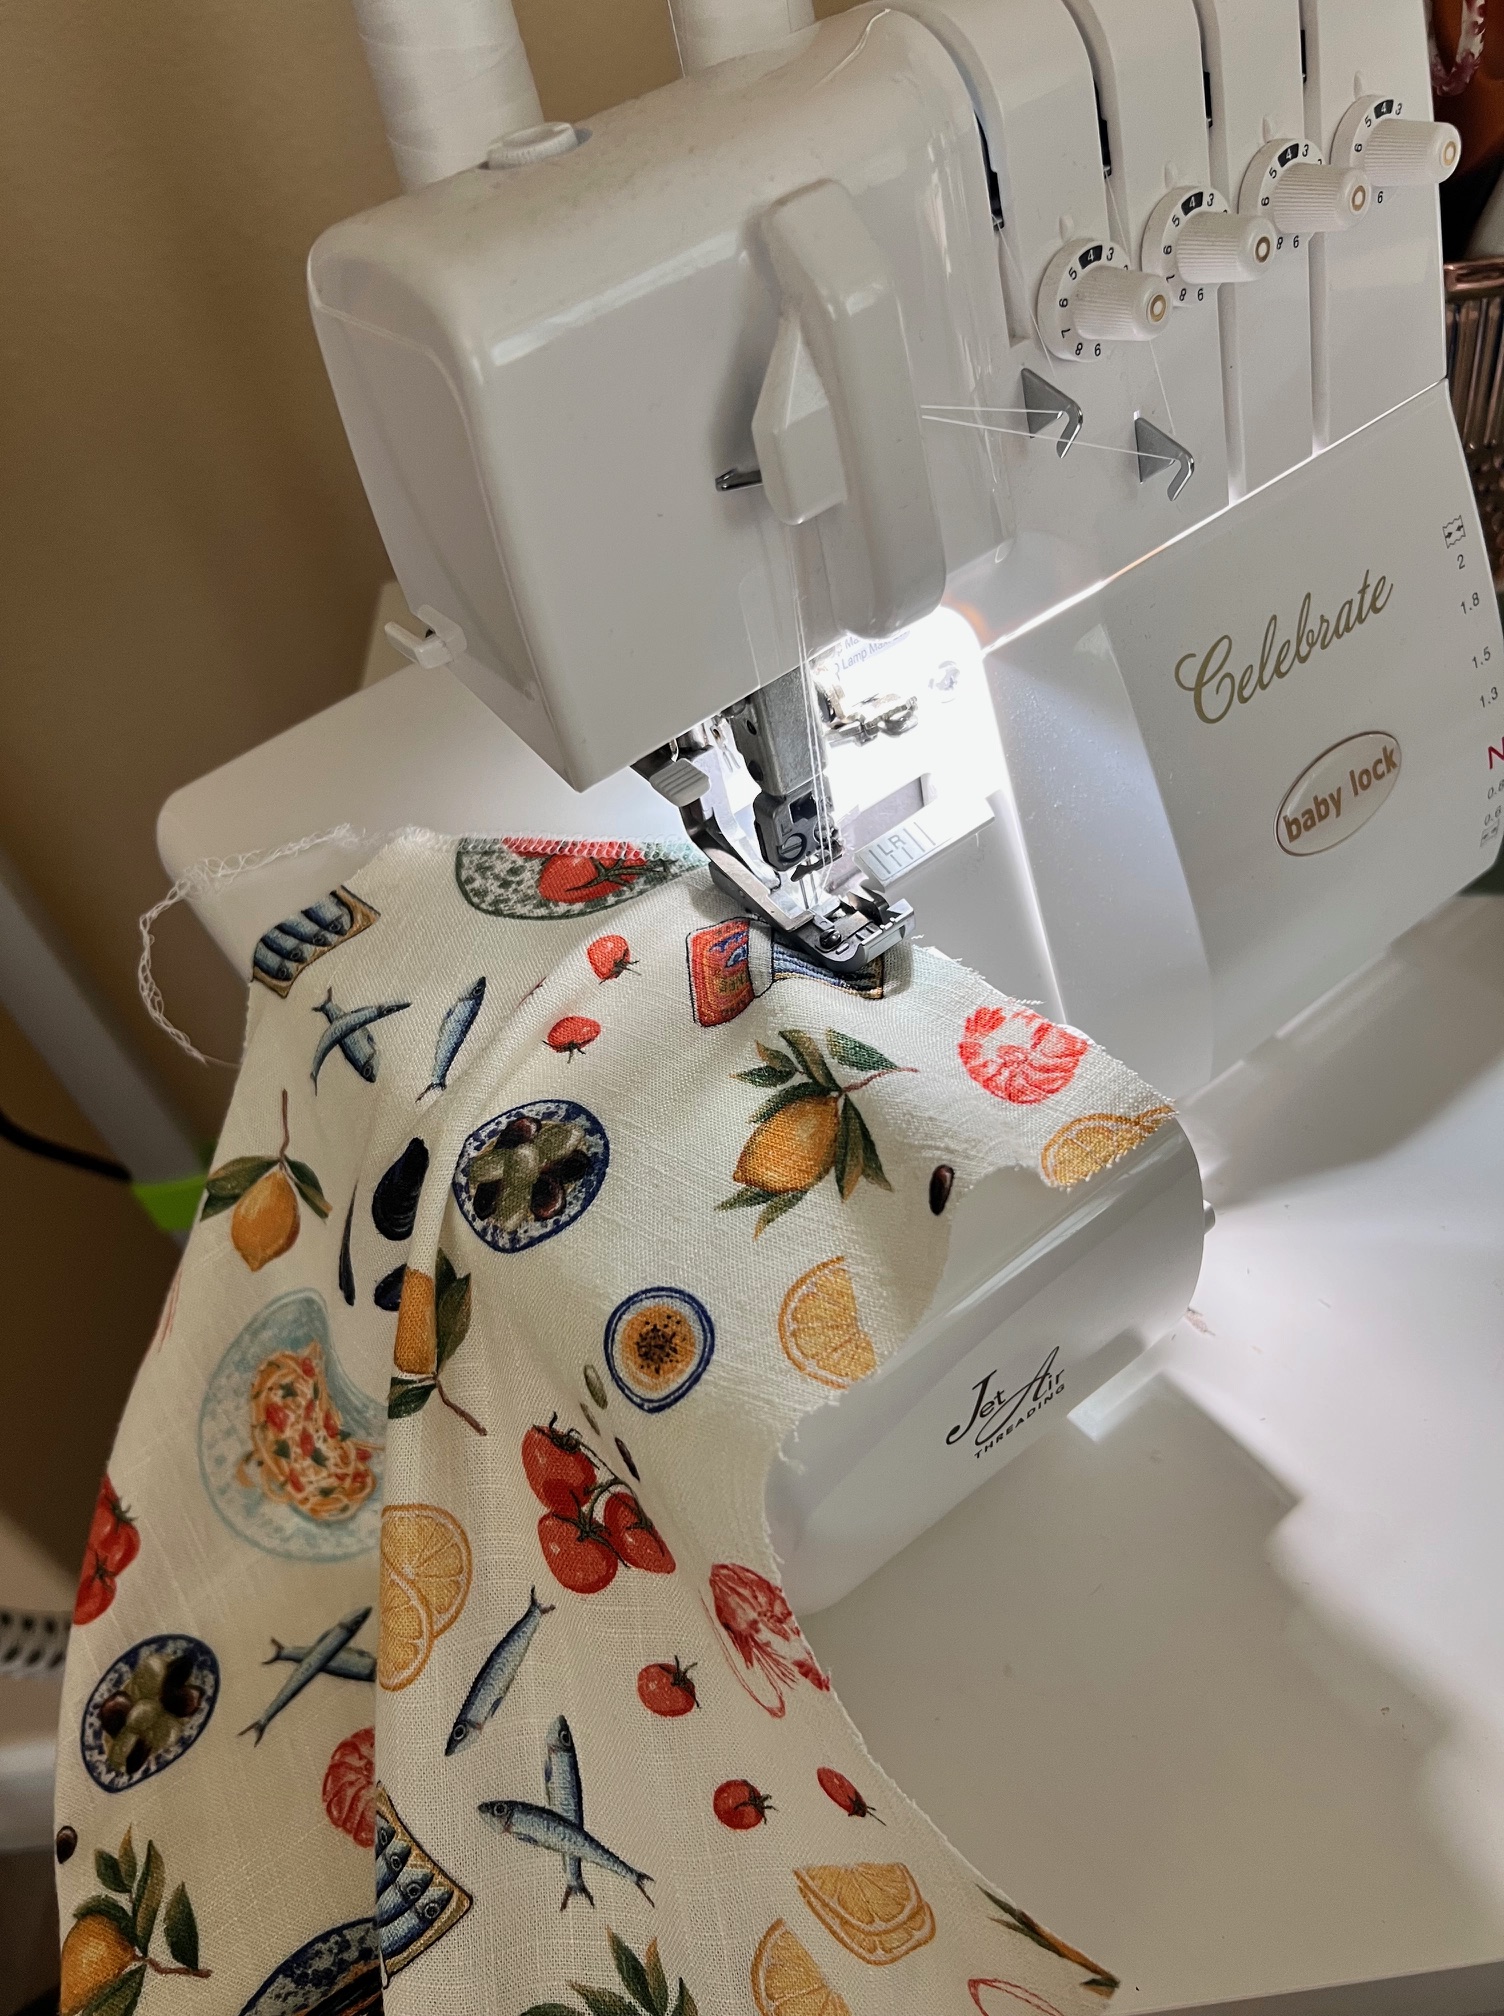
I used my Baby Lock Accomplish II and Baby Lock Celebrate serger to construct this dress and I’m thrilled with the results. Once I got the hang of it, the Accomplish II machine sewed the most beautiful ruching stitches.
I love the ruching throughout the bodice of the Eva pattern, but I wanted to finish it at my natural waist instead of mid thigh like the pattern is designed for. I also wanted to add sleeves to my version. Here are the edits I made!
I made the size small to begin with.
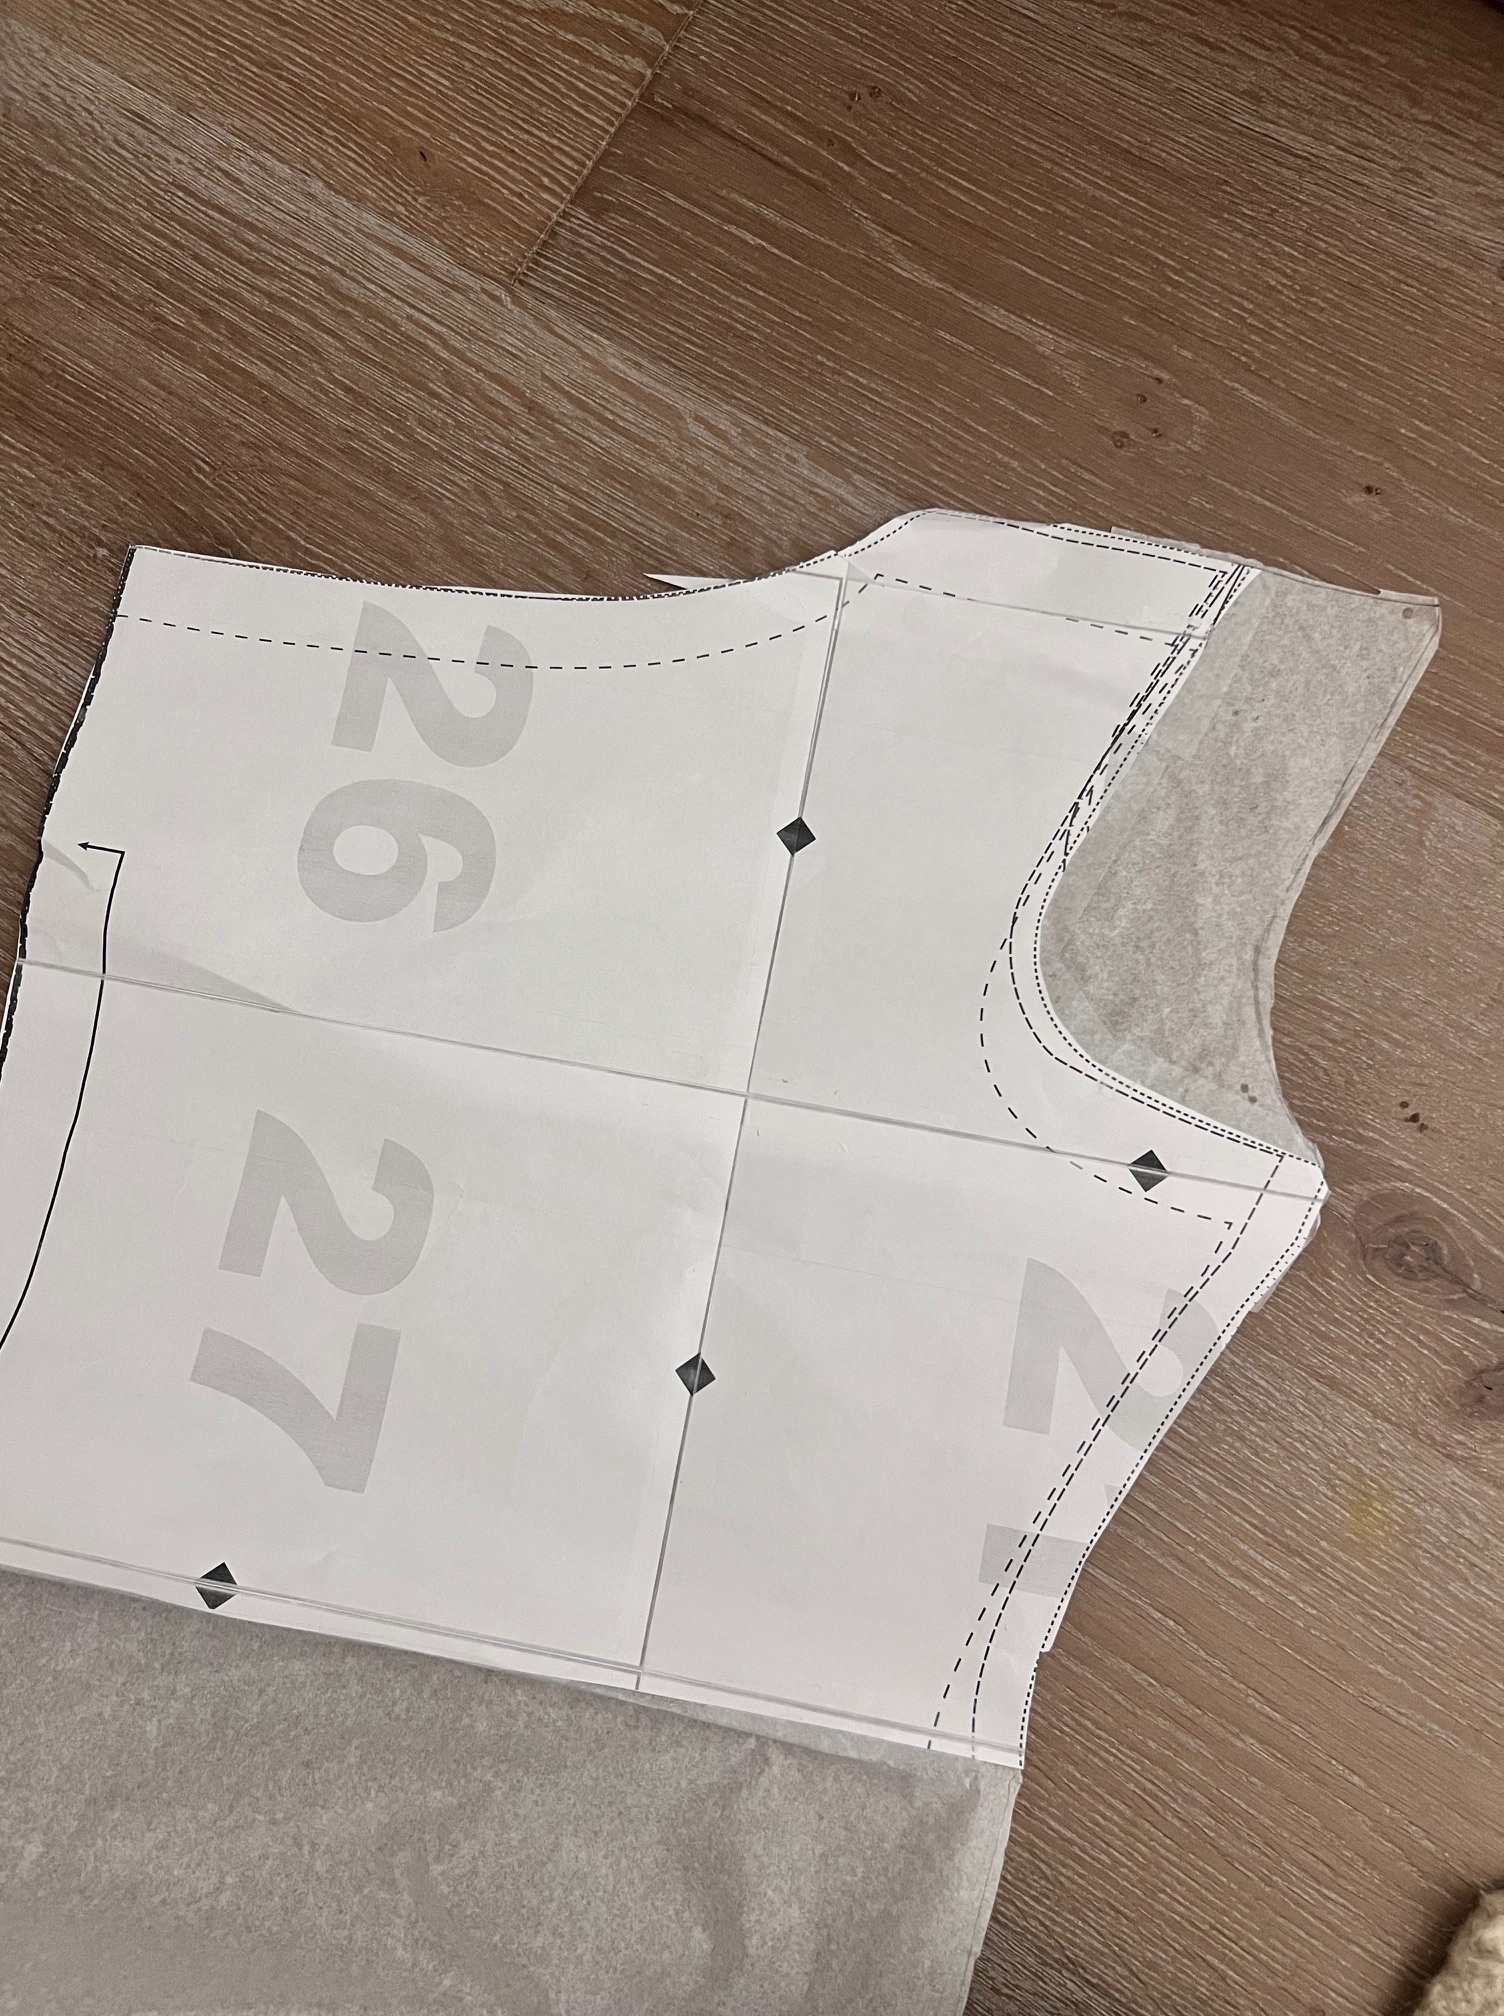
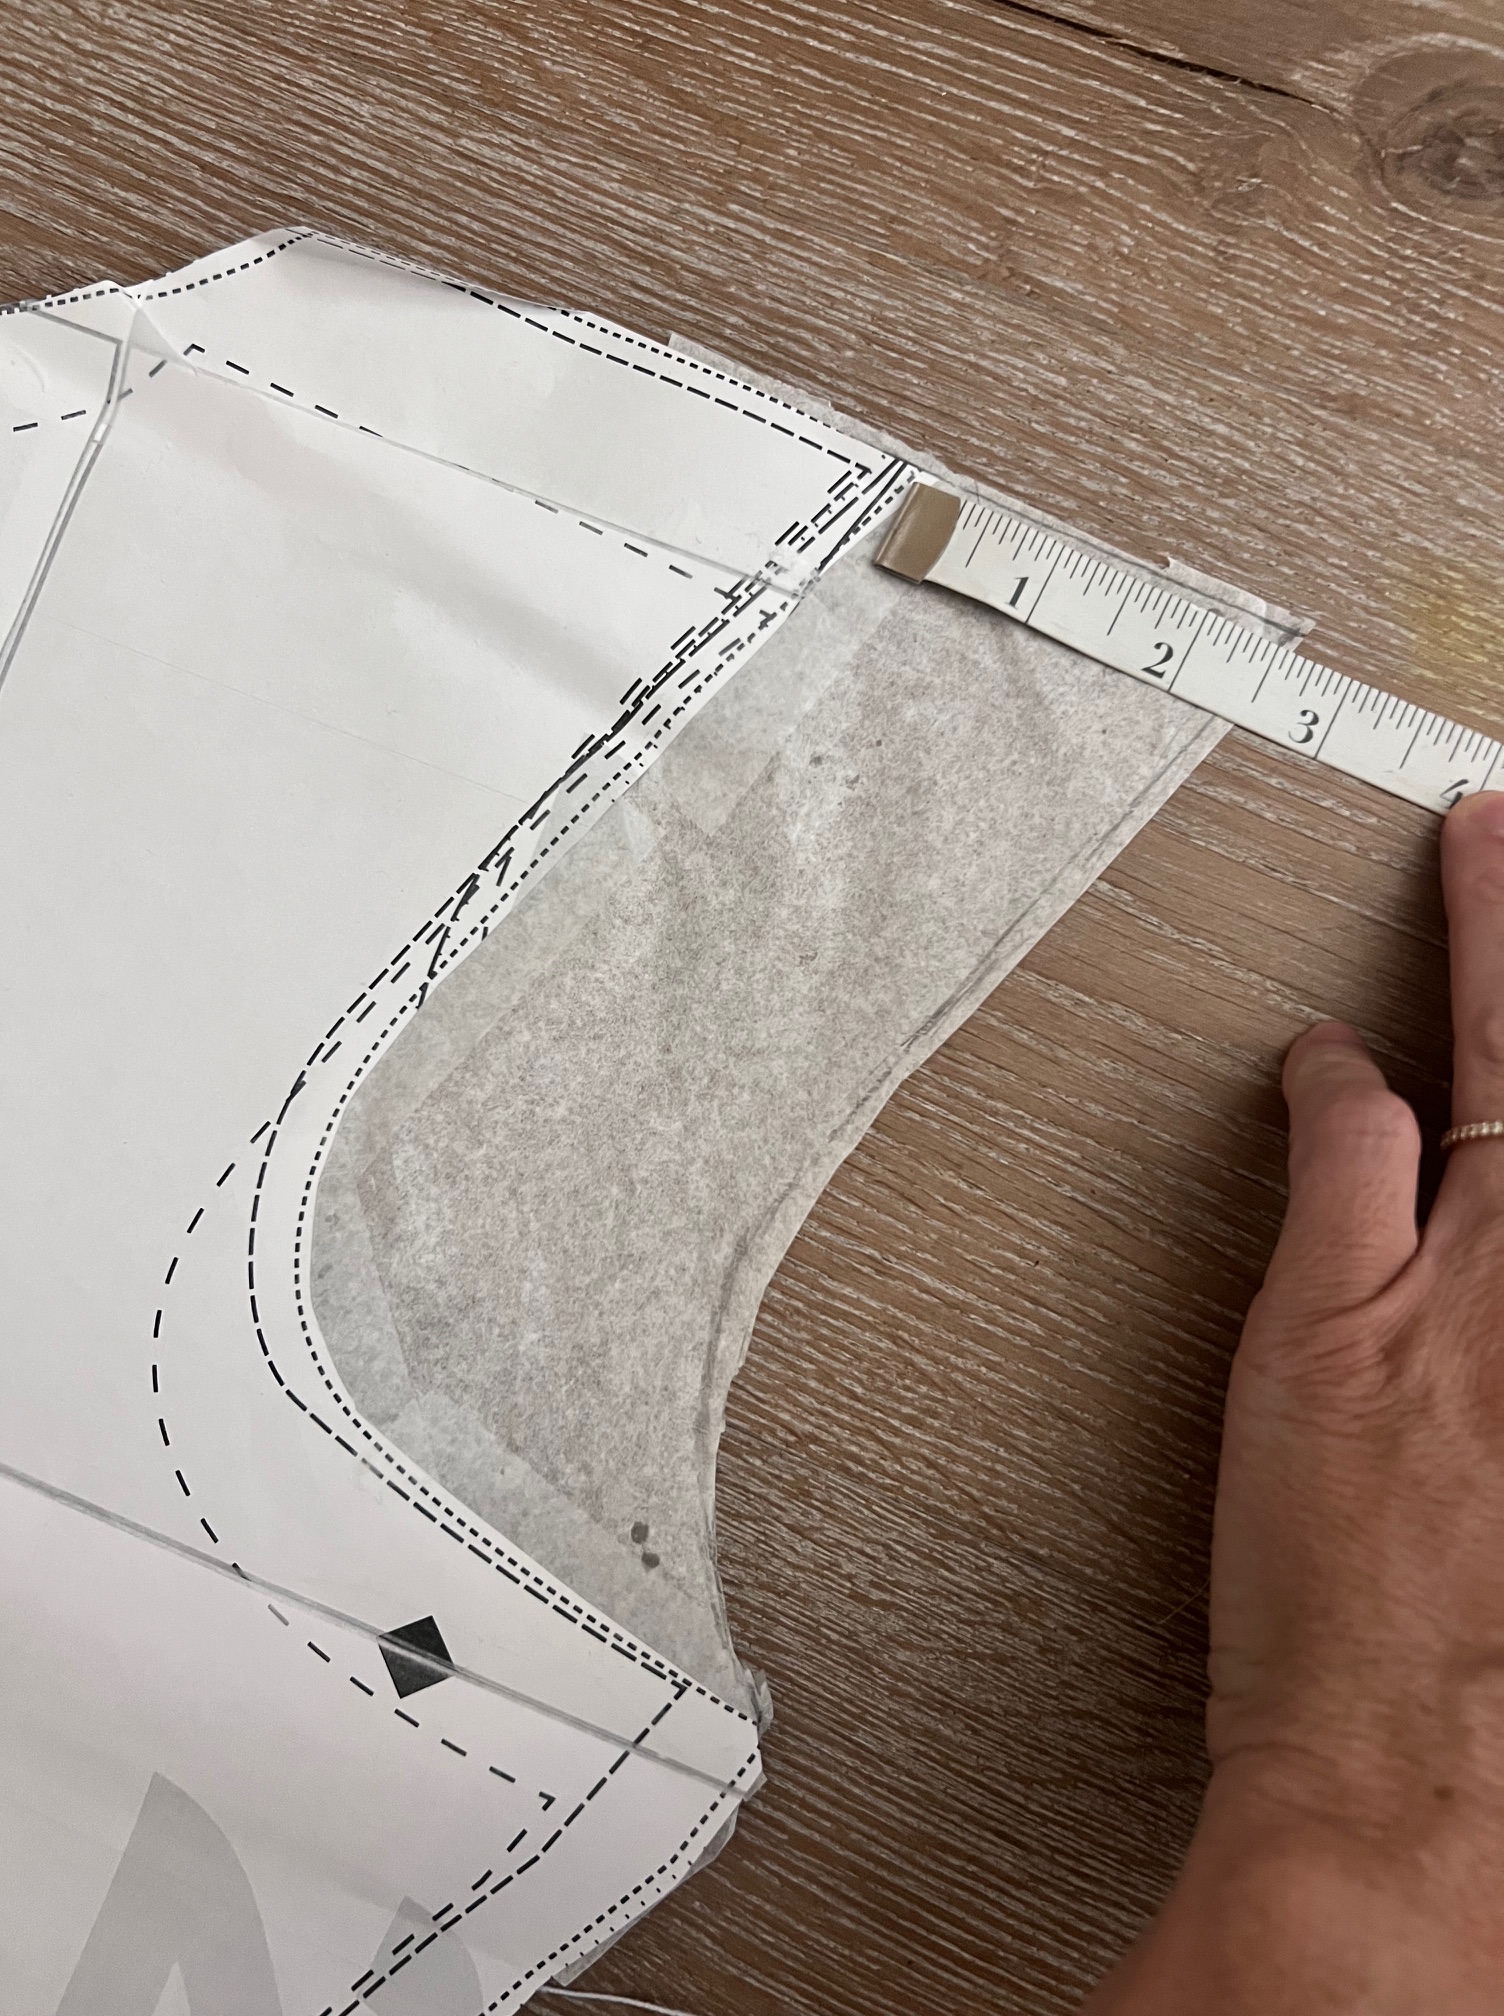
FIrst, extended the shoulder seams quite a bit so I could add sleeves, and it ended up working out just right. I extended the top of the shoulder out about 2 1/2″ as shown below.
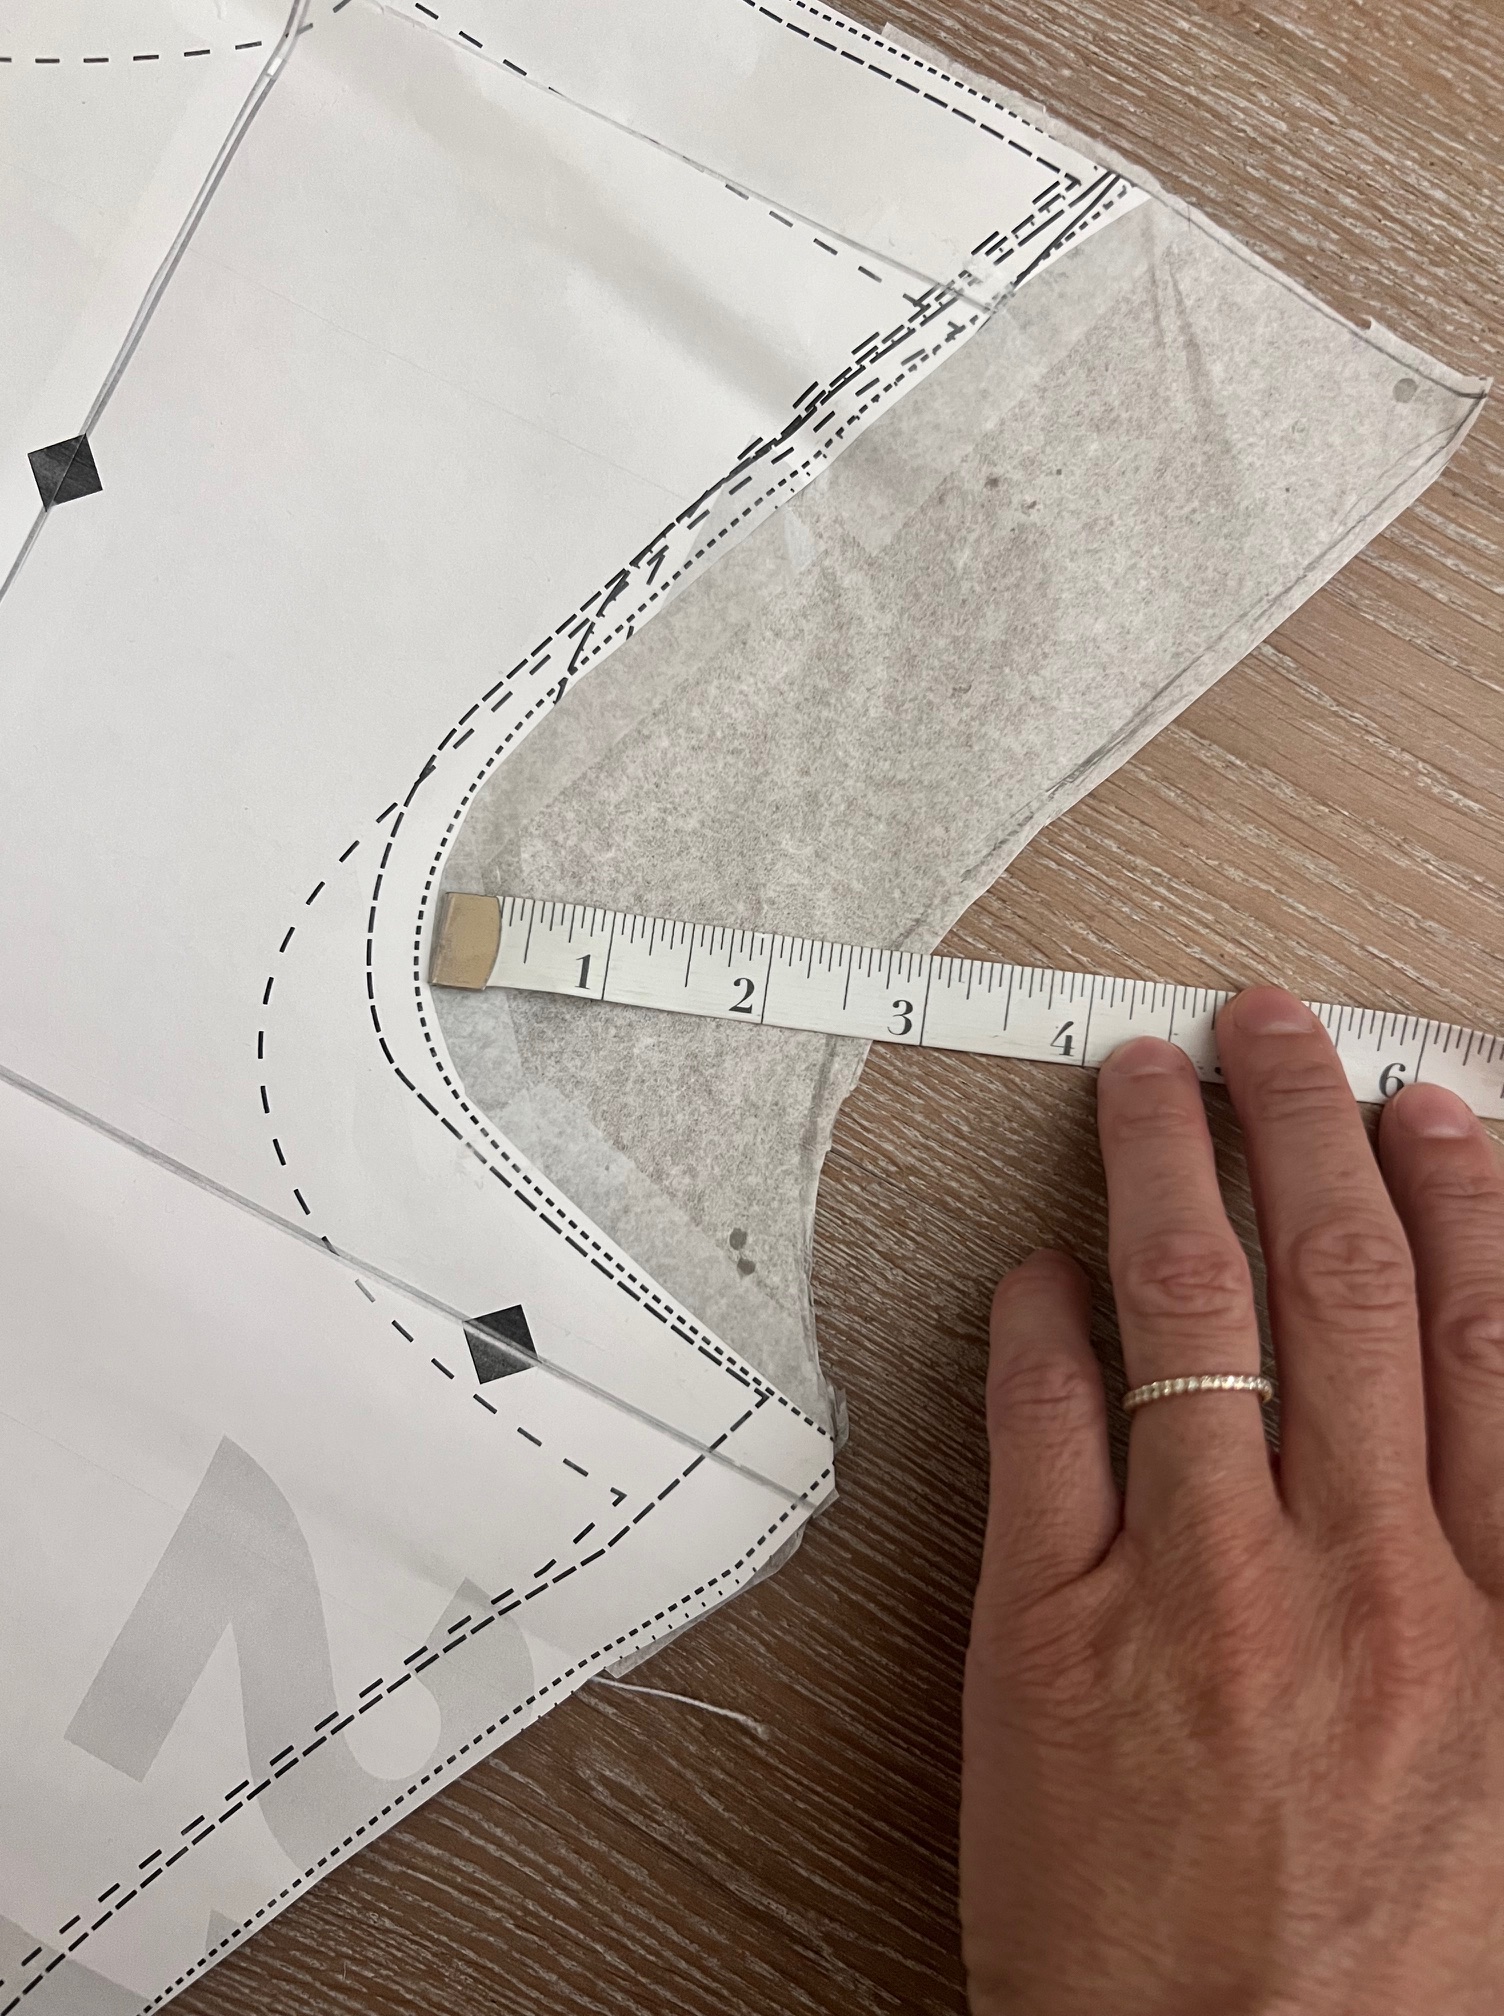
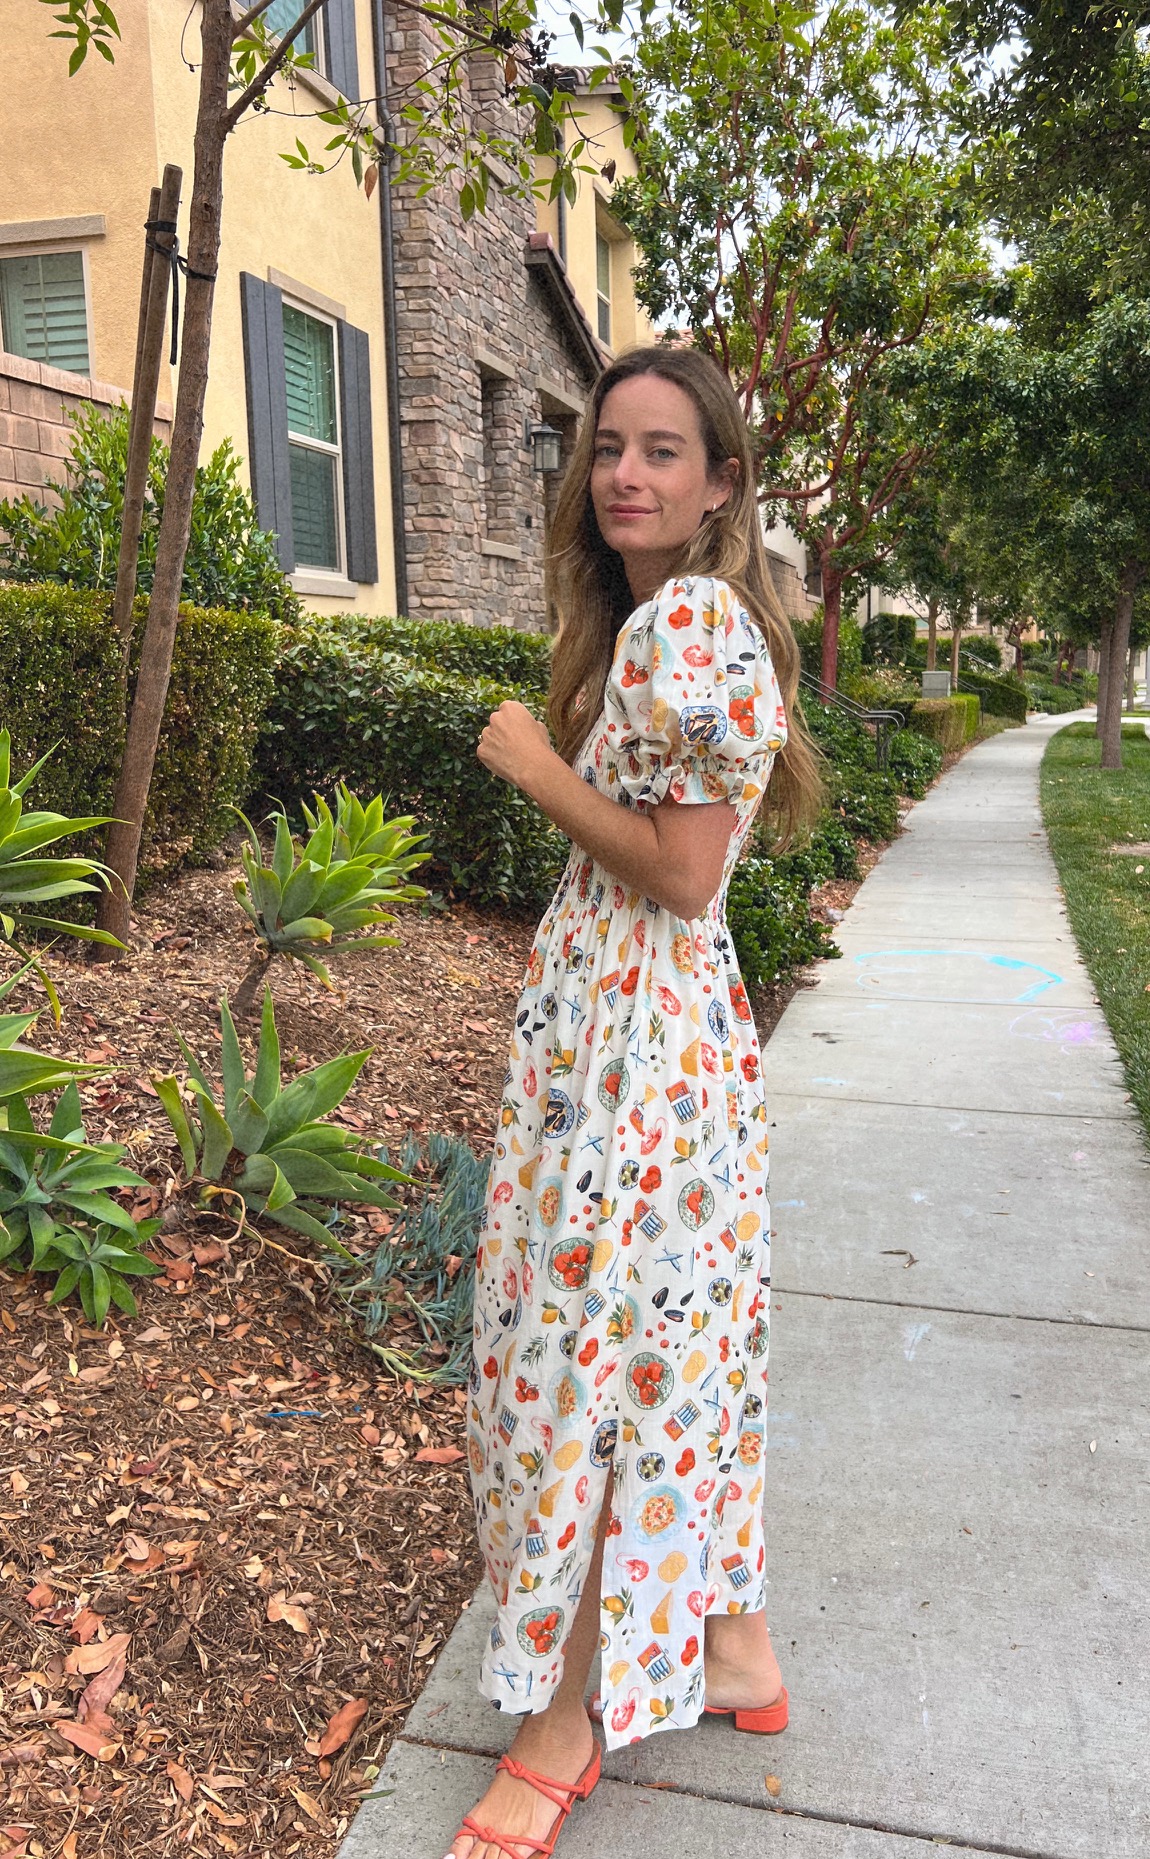
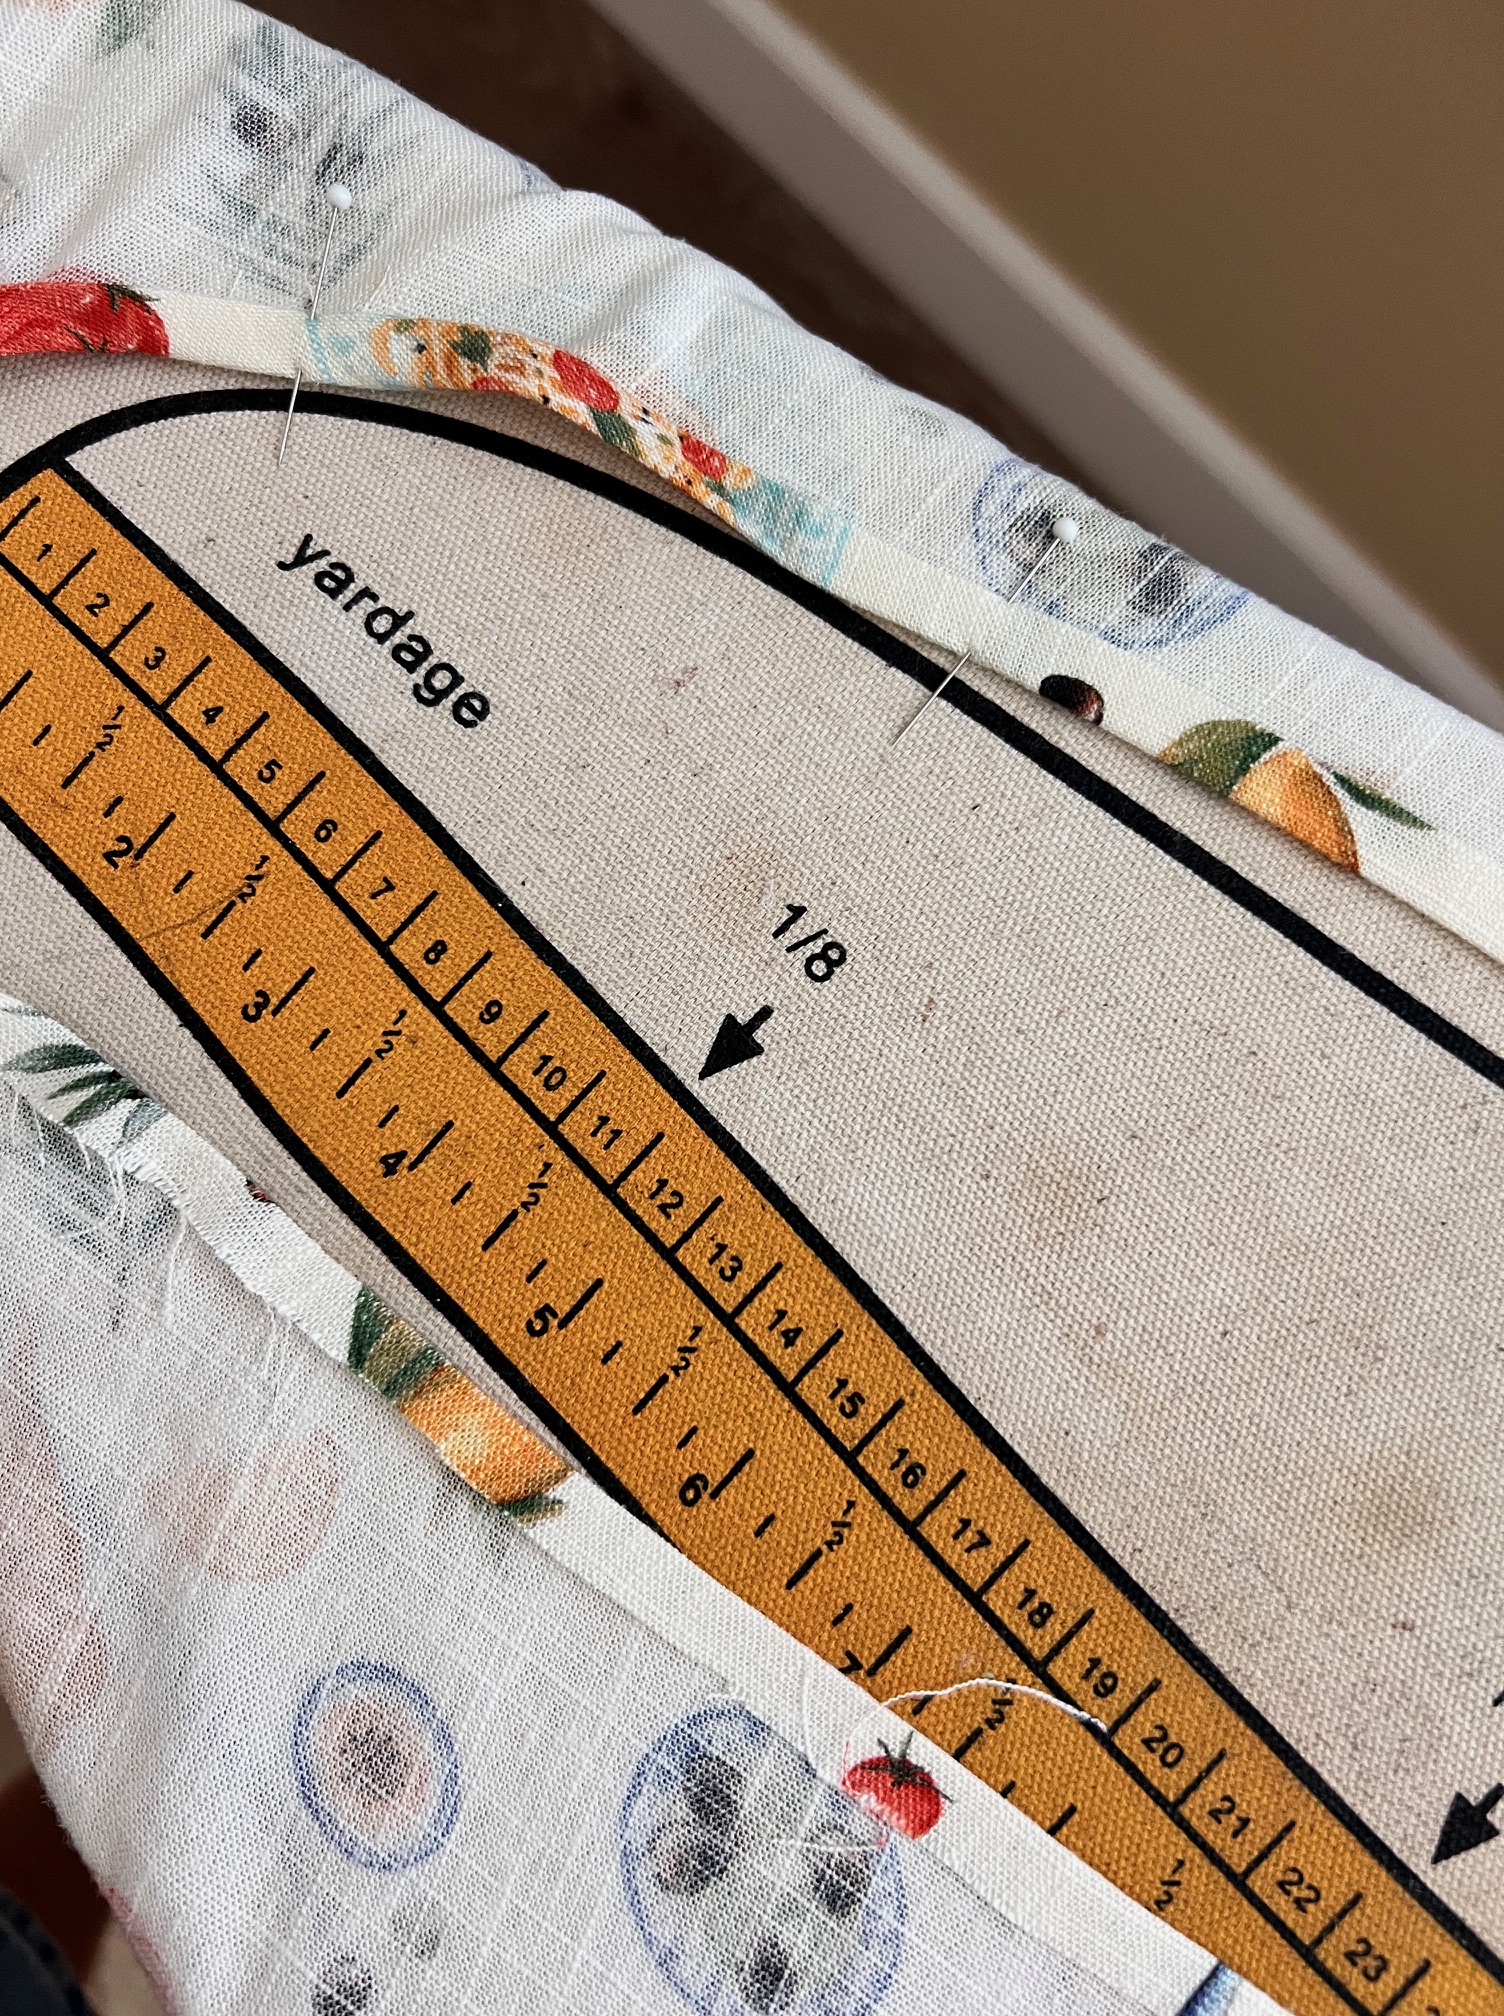
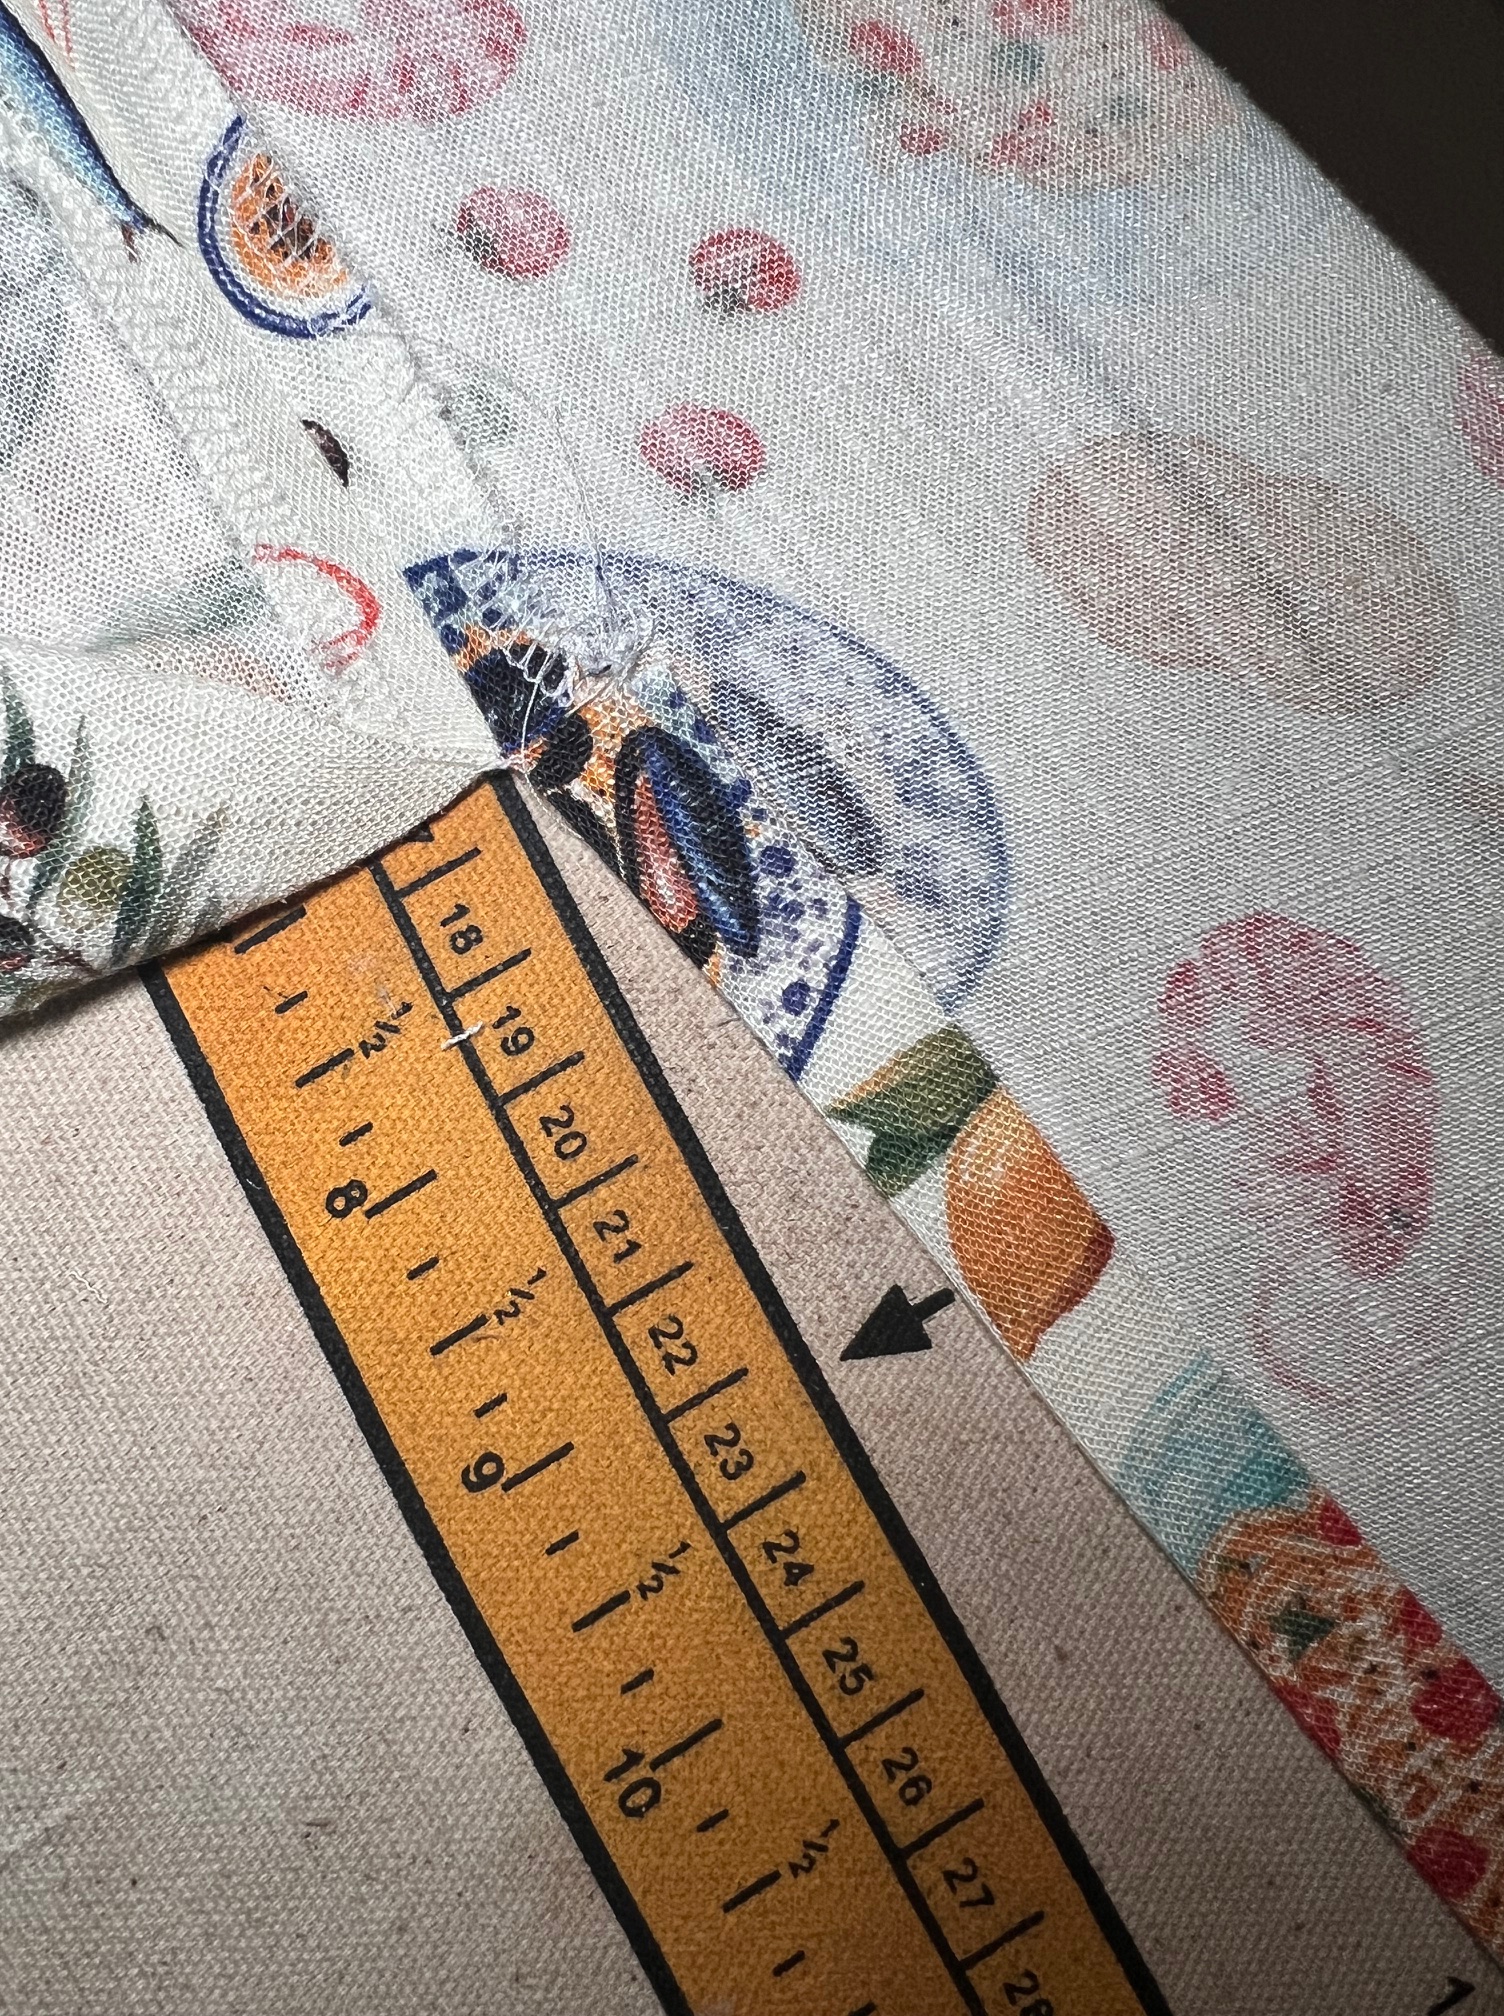
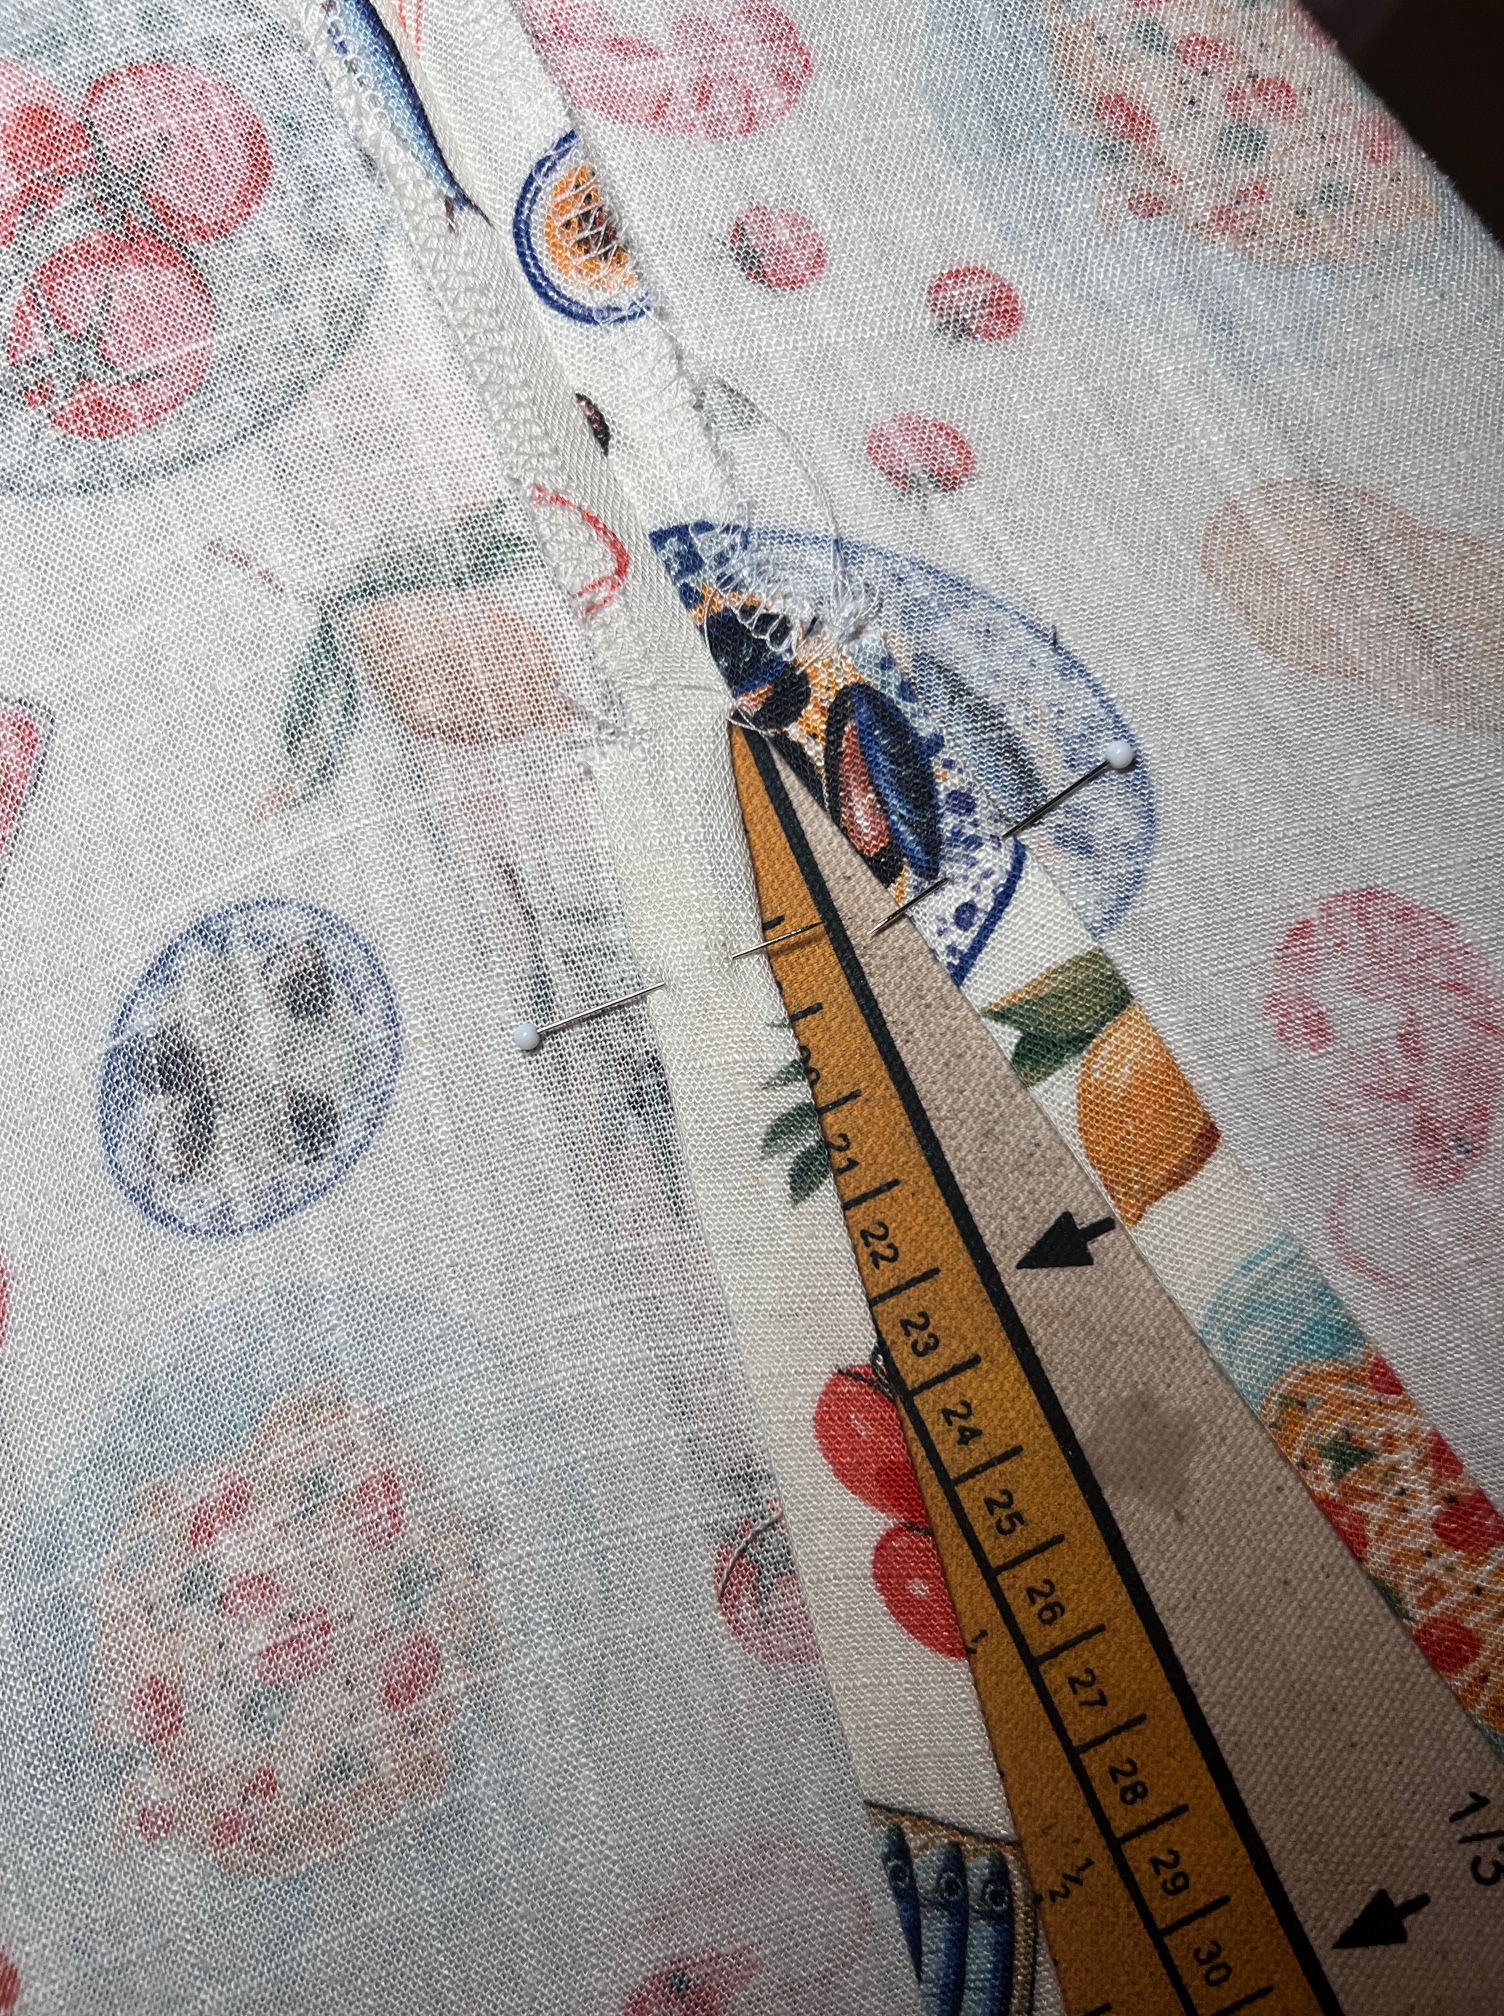
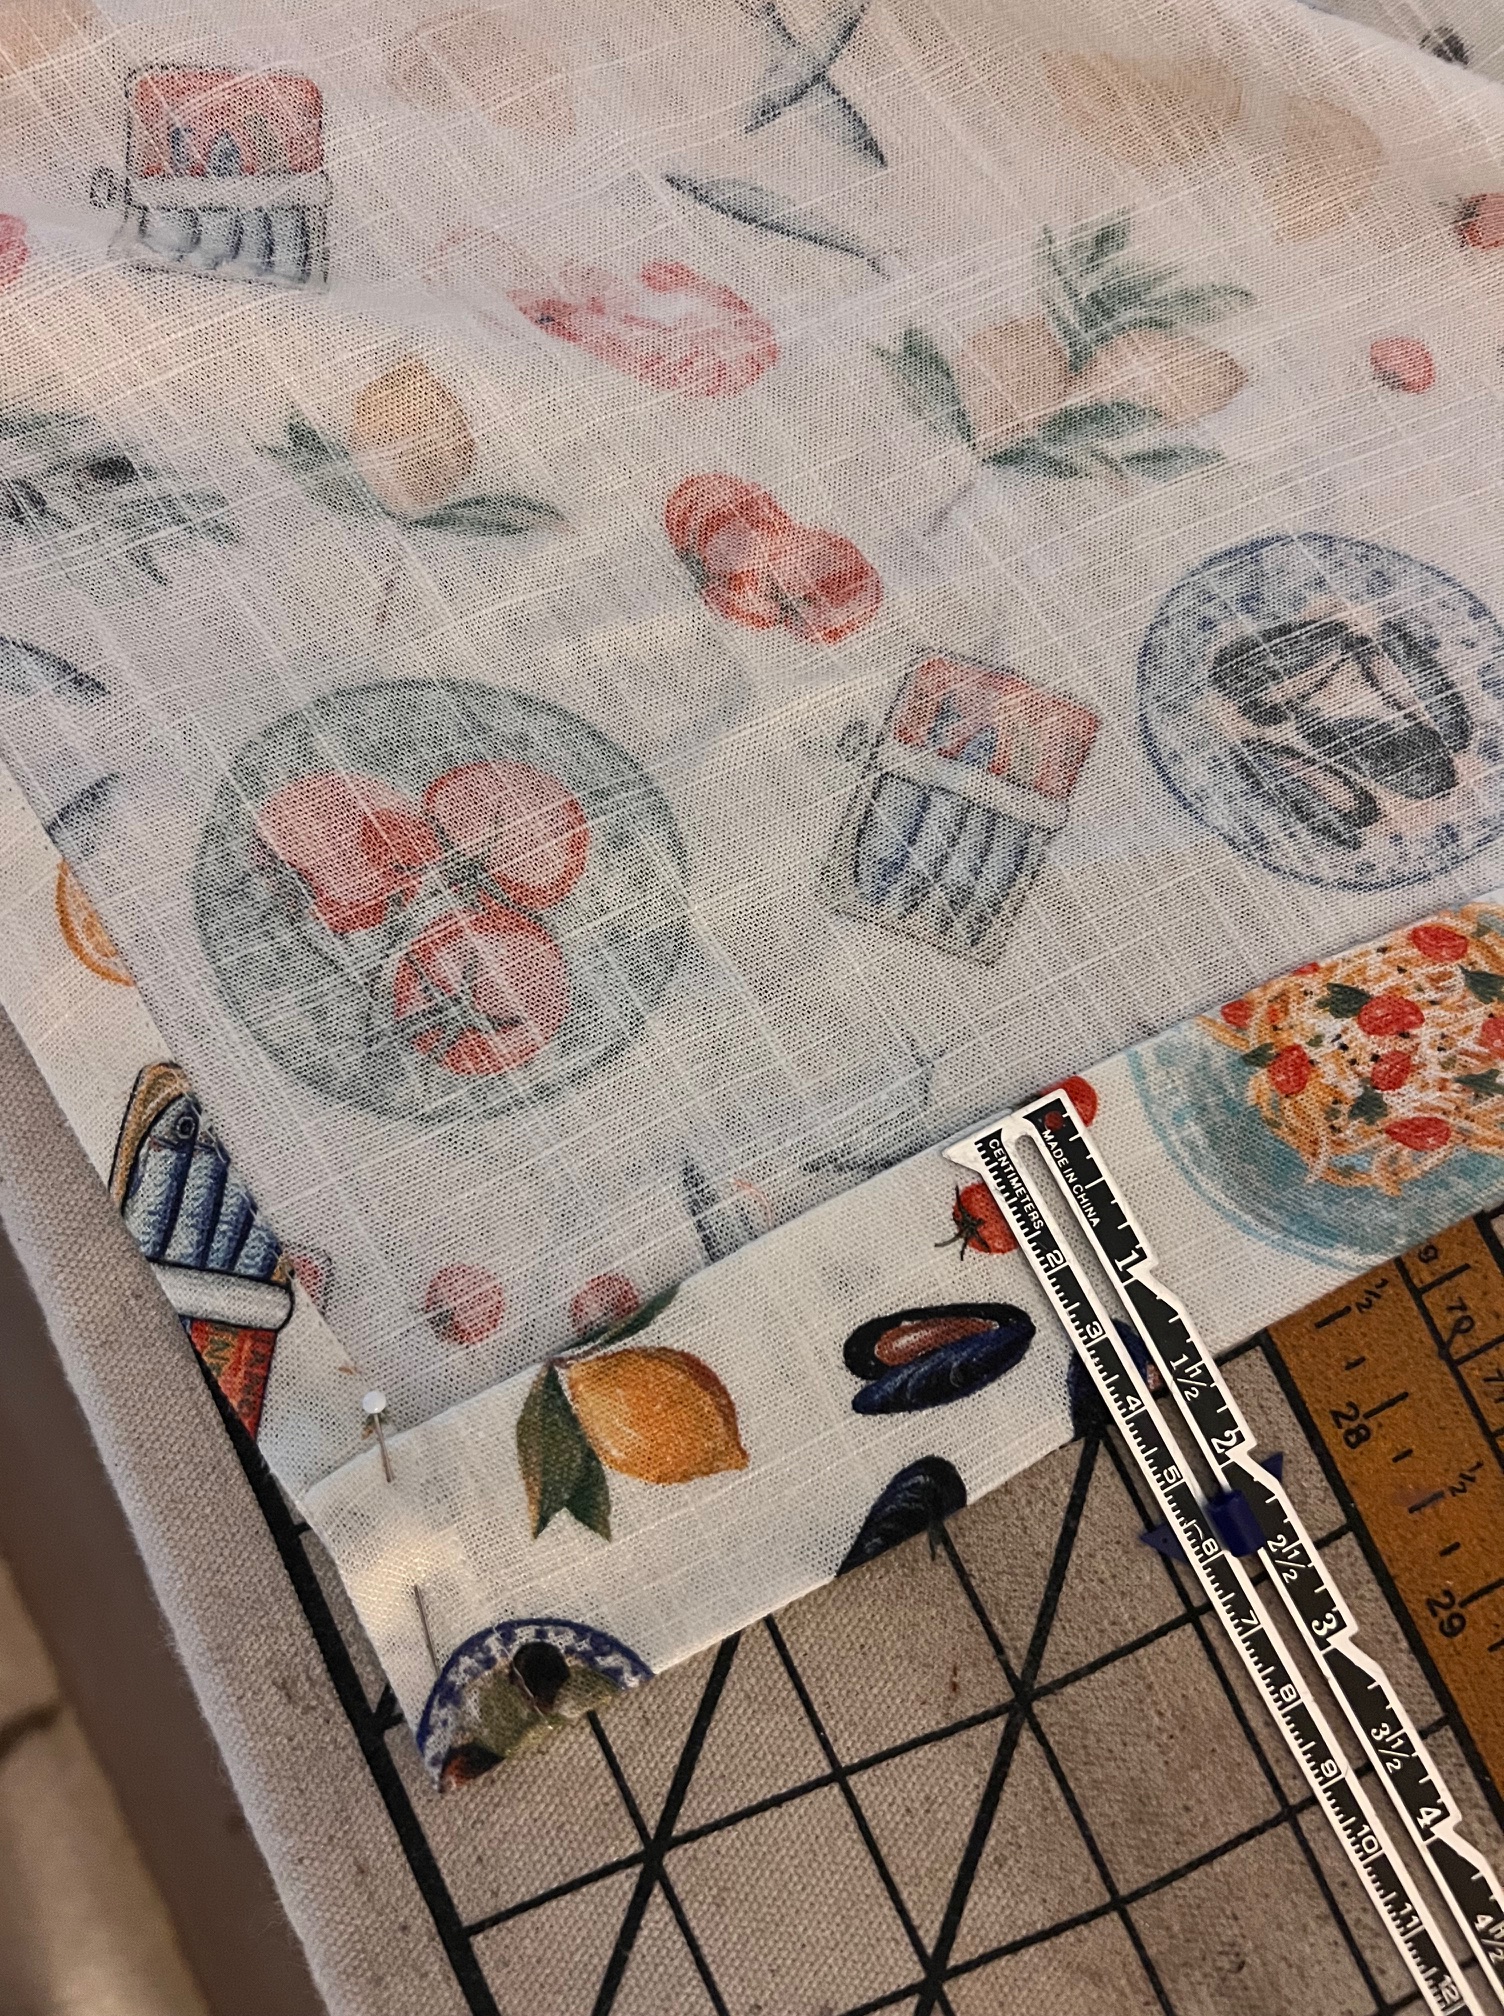
Next, I chopped the pattern off at my natural wait line, and added length. I literally just added a rectangle to the waistline for the skirt, my pattern piece is 36″ long, I’m 5′ 4″ for reference. I knew I wanted to have to side vents, so I added in a side vent to each side to accommodate for hemming the side seams. I measured from my waist to my knee and marked this measurement on the skirt piece. From this point down to the hem I extended the side seam out about 5/8″ to create the side vent.
You can see where I chopped off the pattern at the waist, and added the skirt.

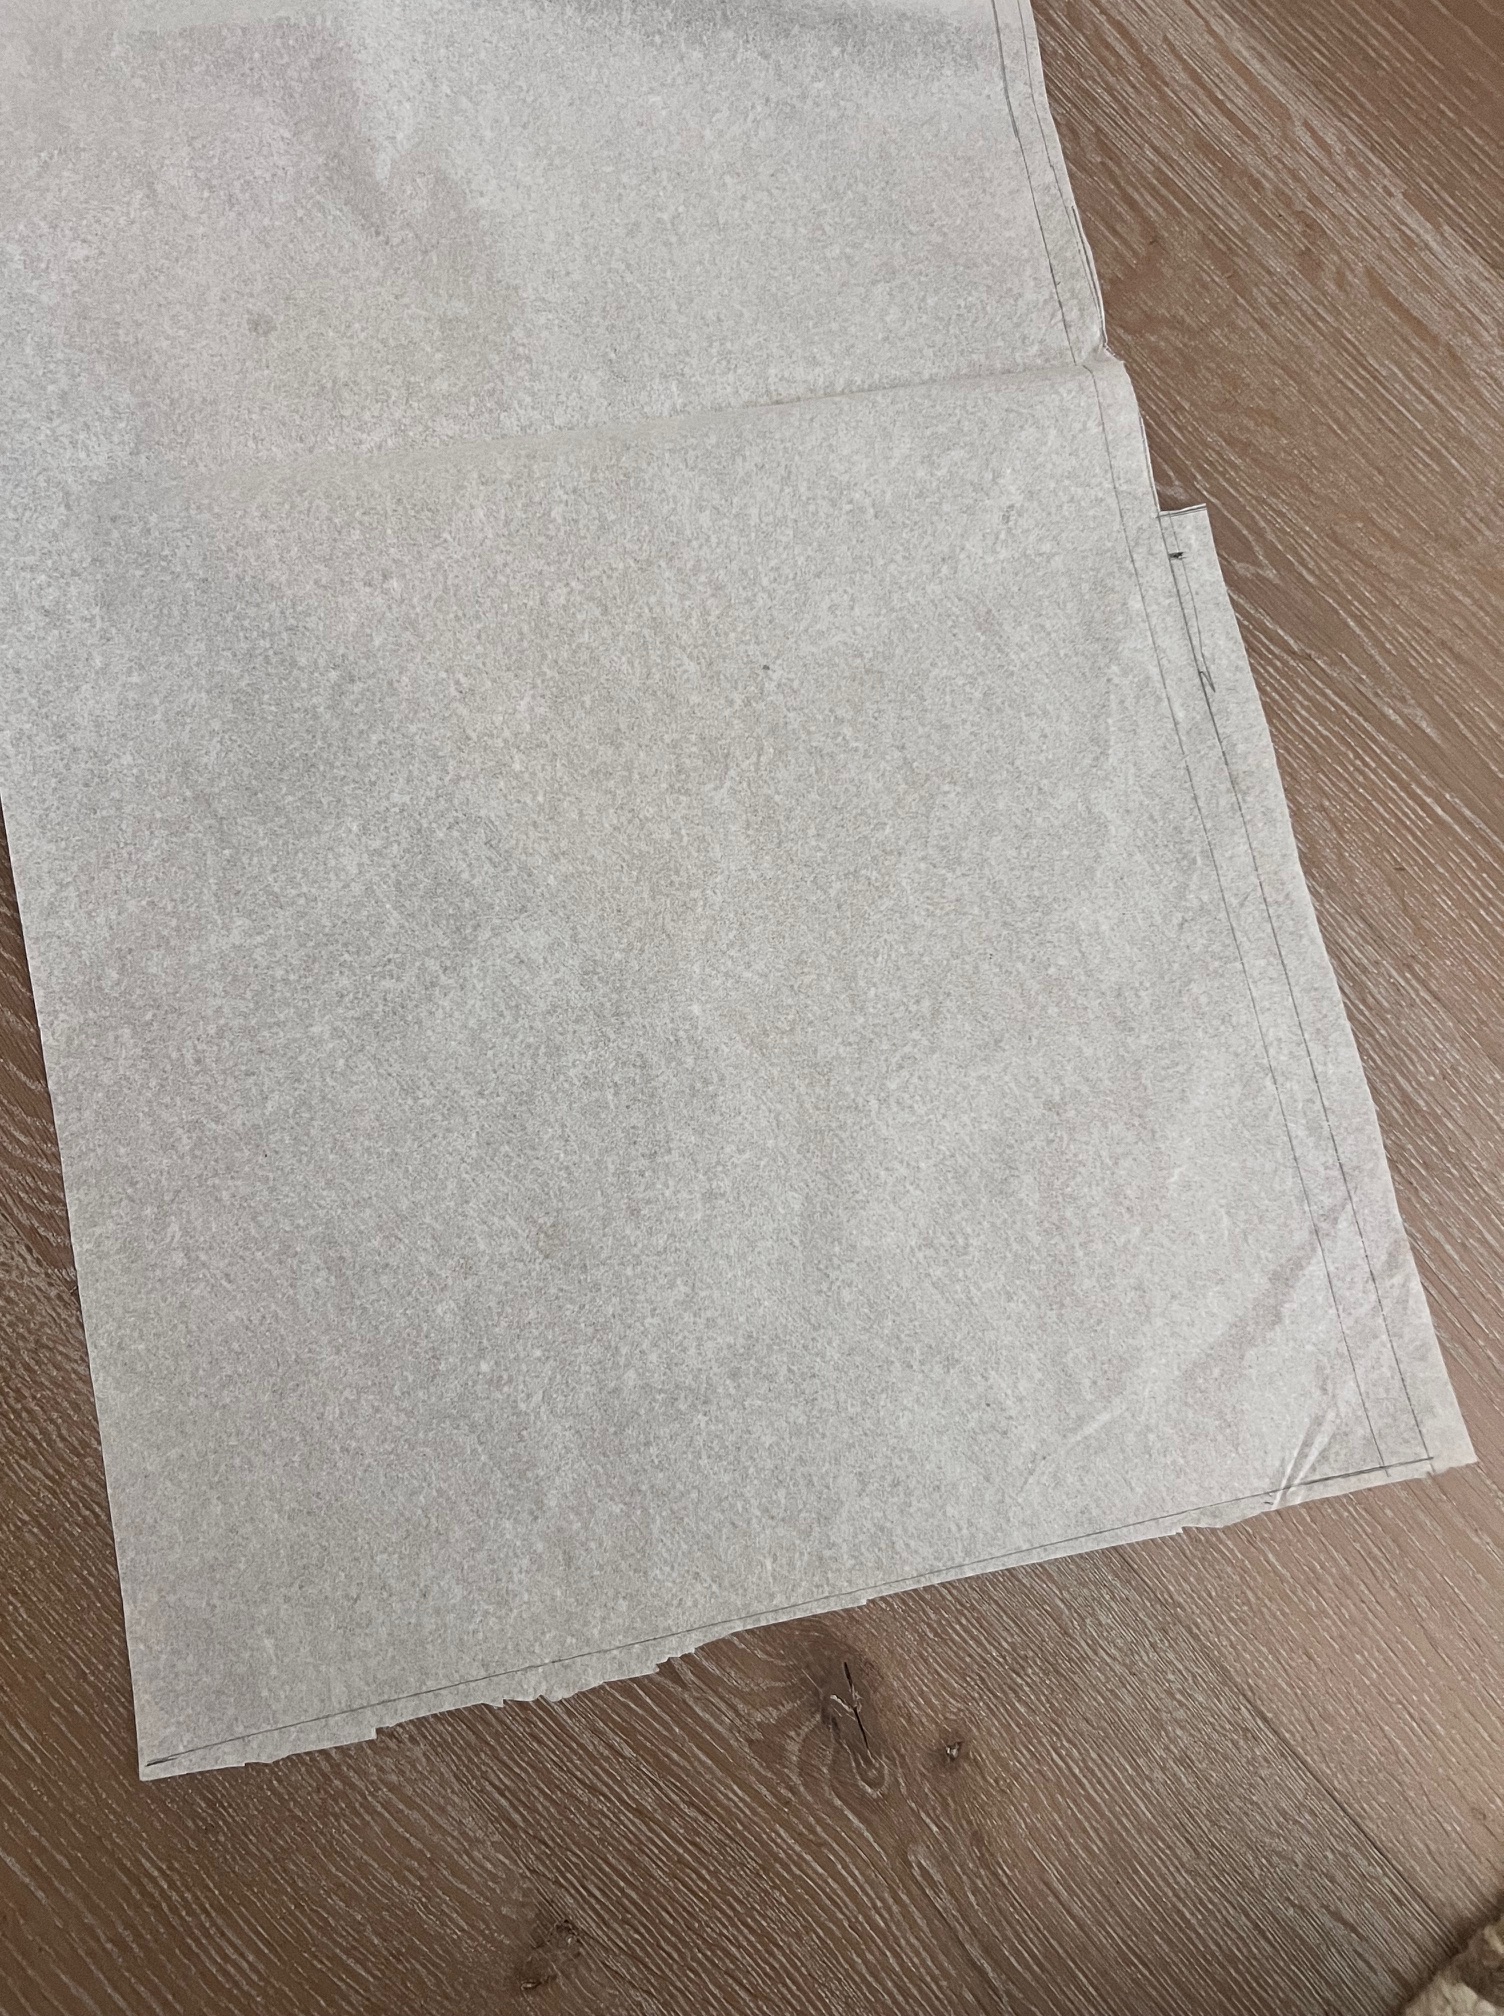
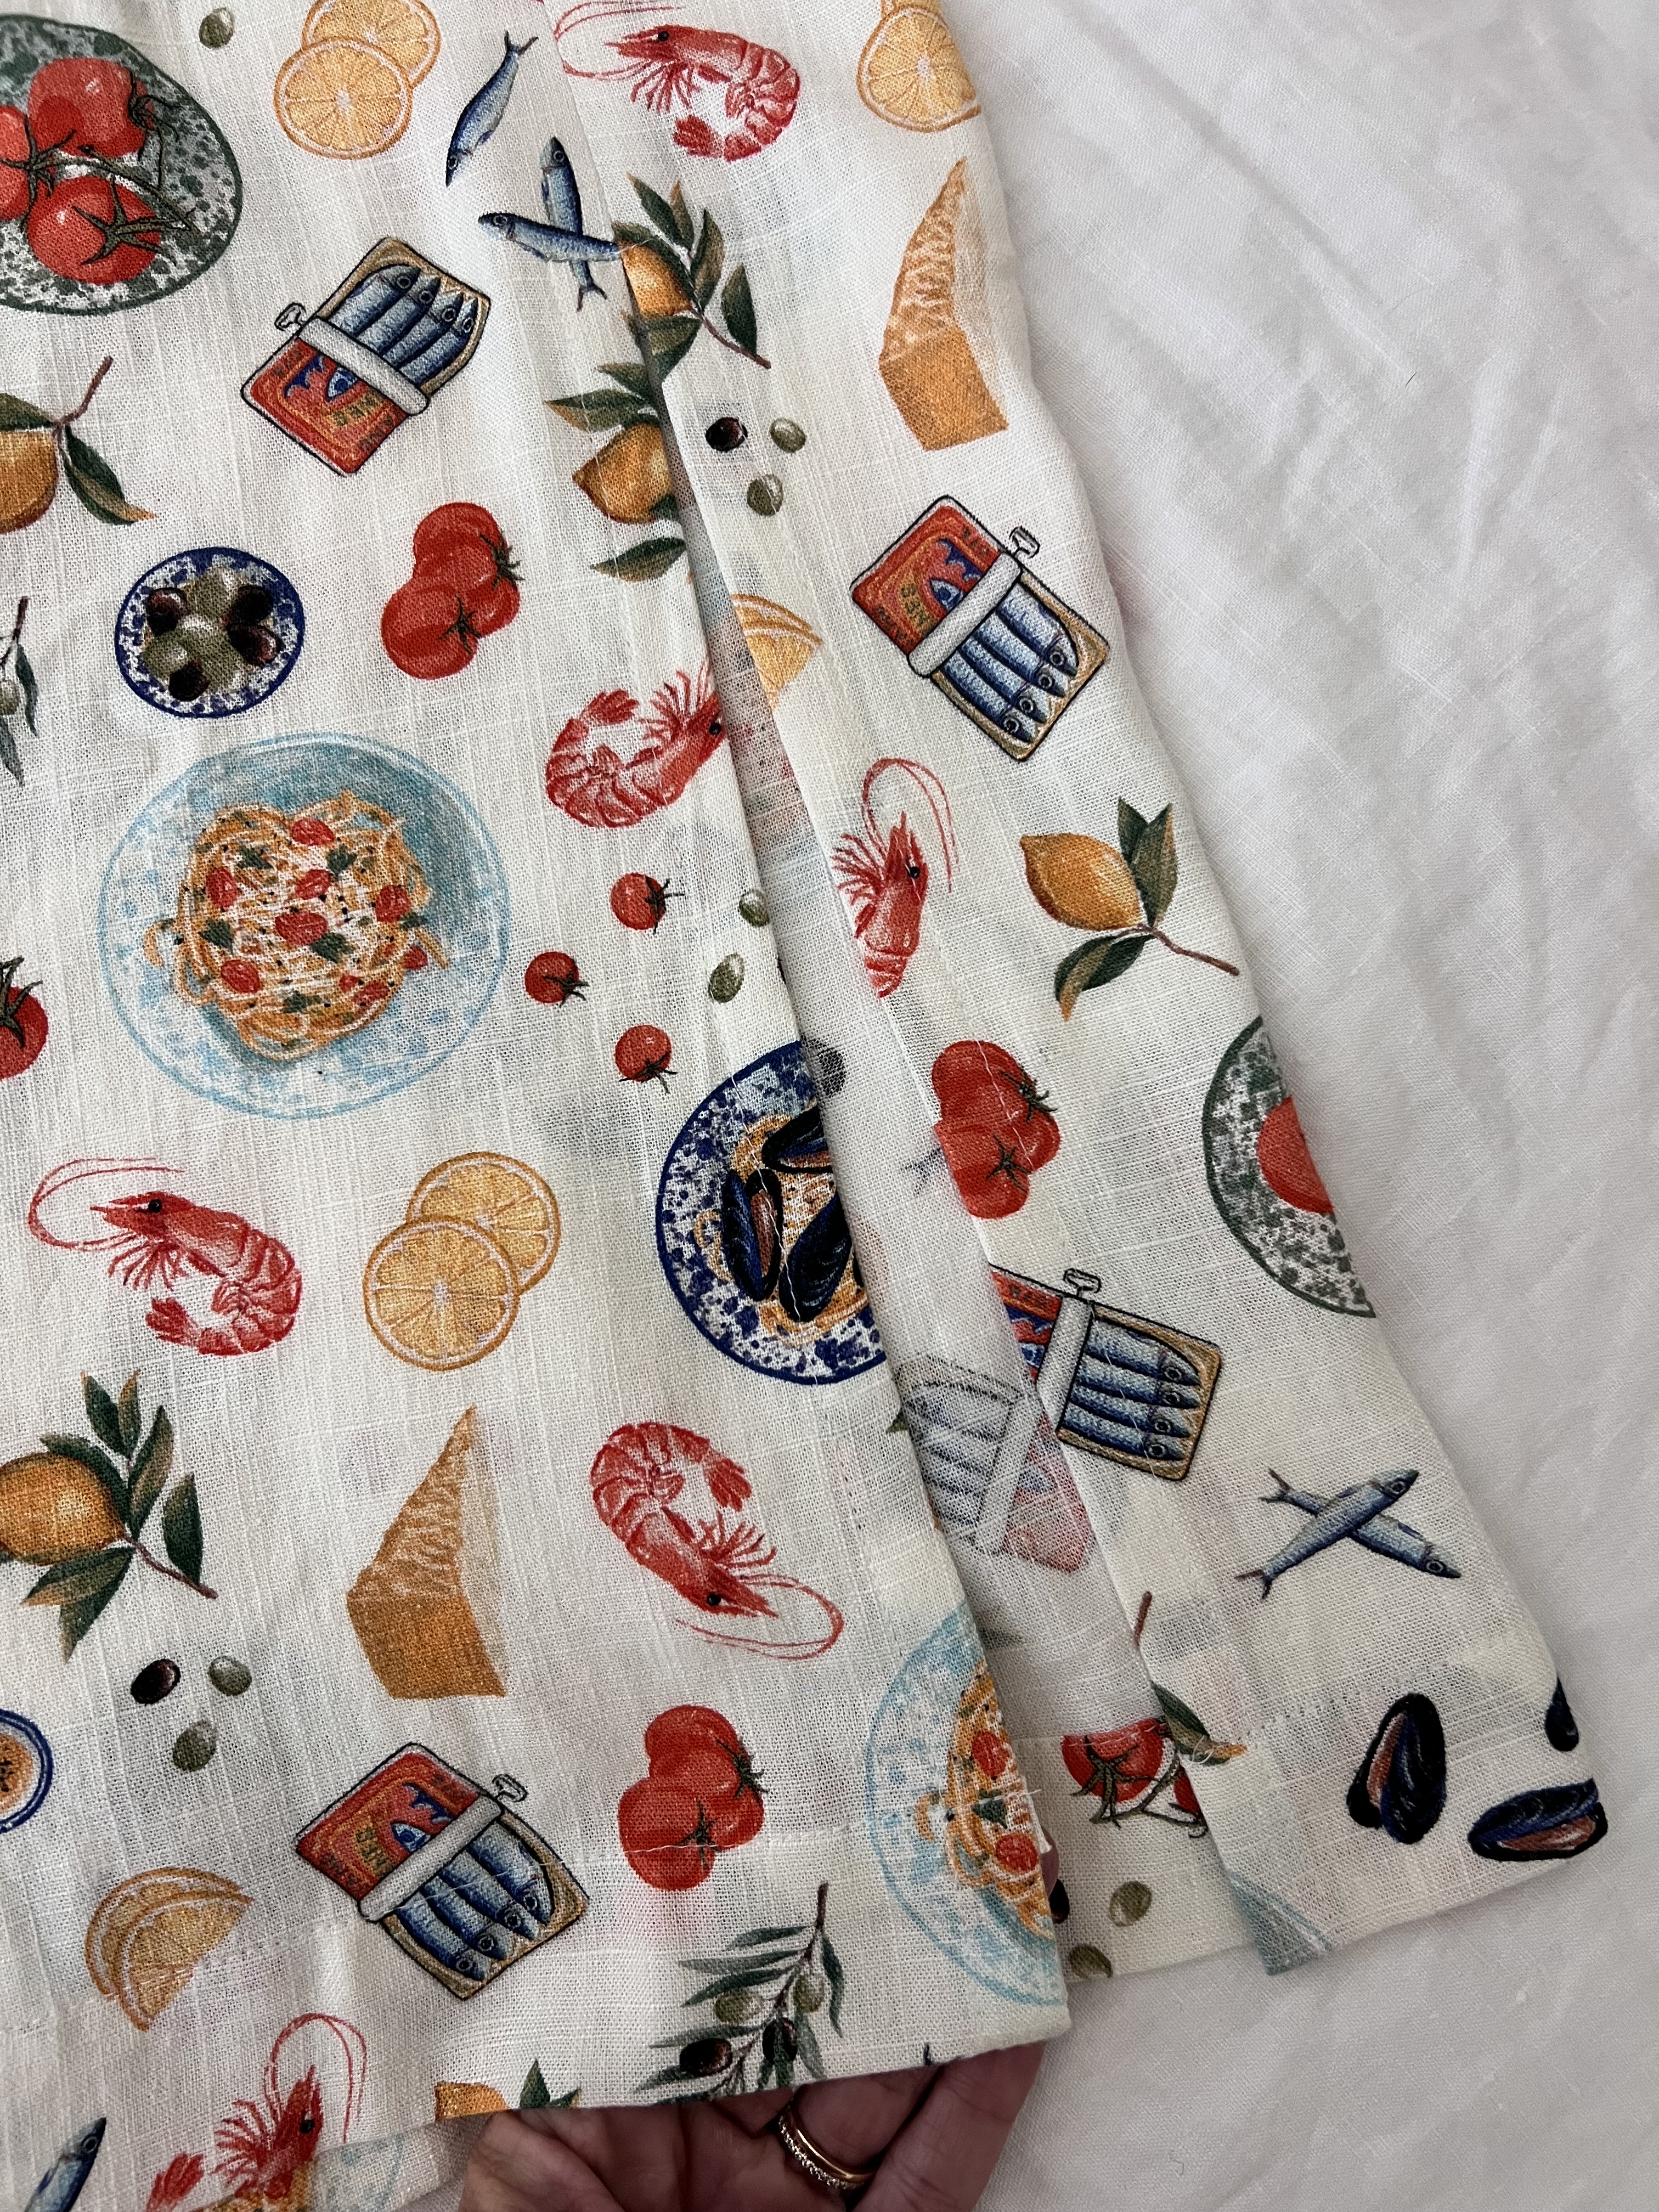
You can see the vent in this photos below:
For the sleeve, I used the Celine Blouse sleeve. I was originally inspired by a Damson Madder dress and it has a similar sleeve to this style dress.
Make sure to cut your dress front and back pieces on the foldline. Mark your waistline with a little snip!
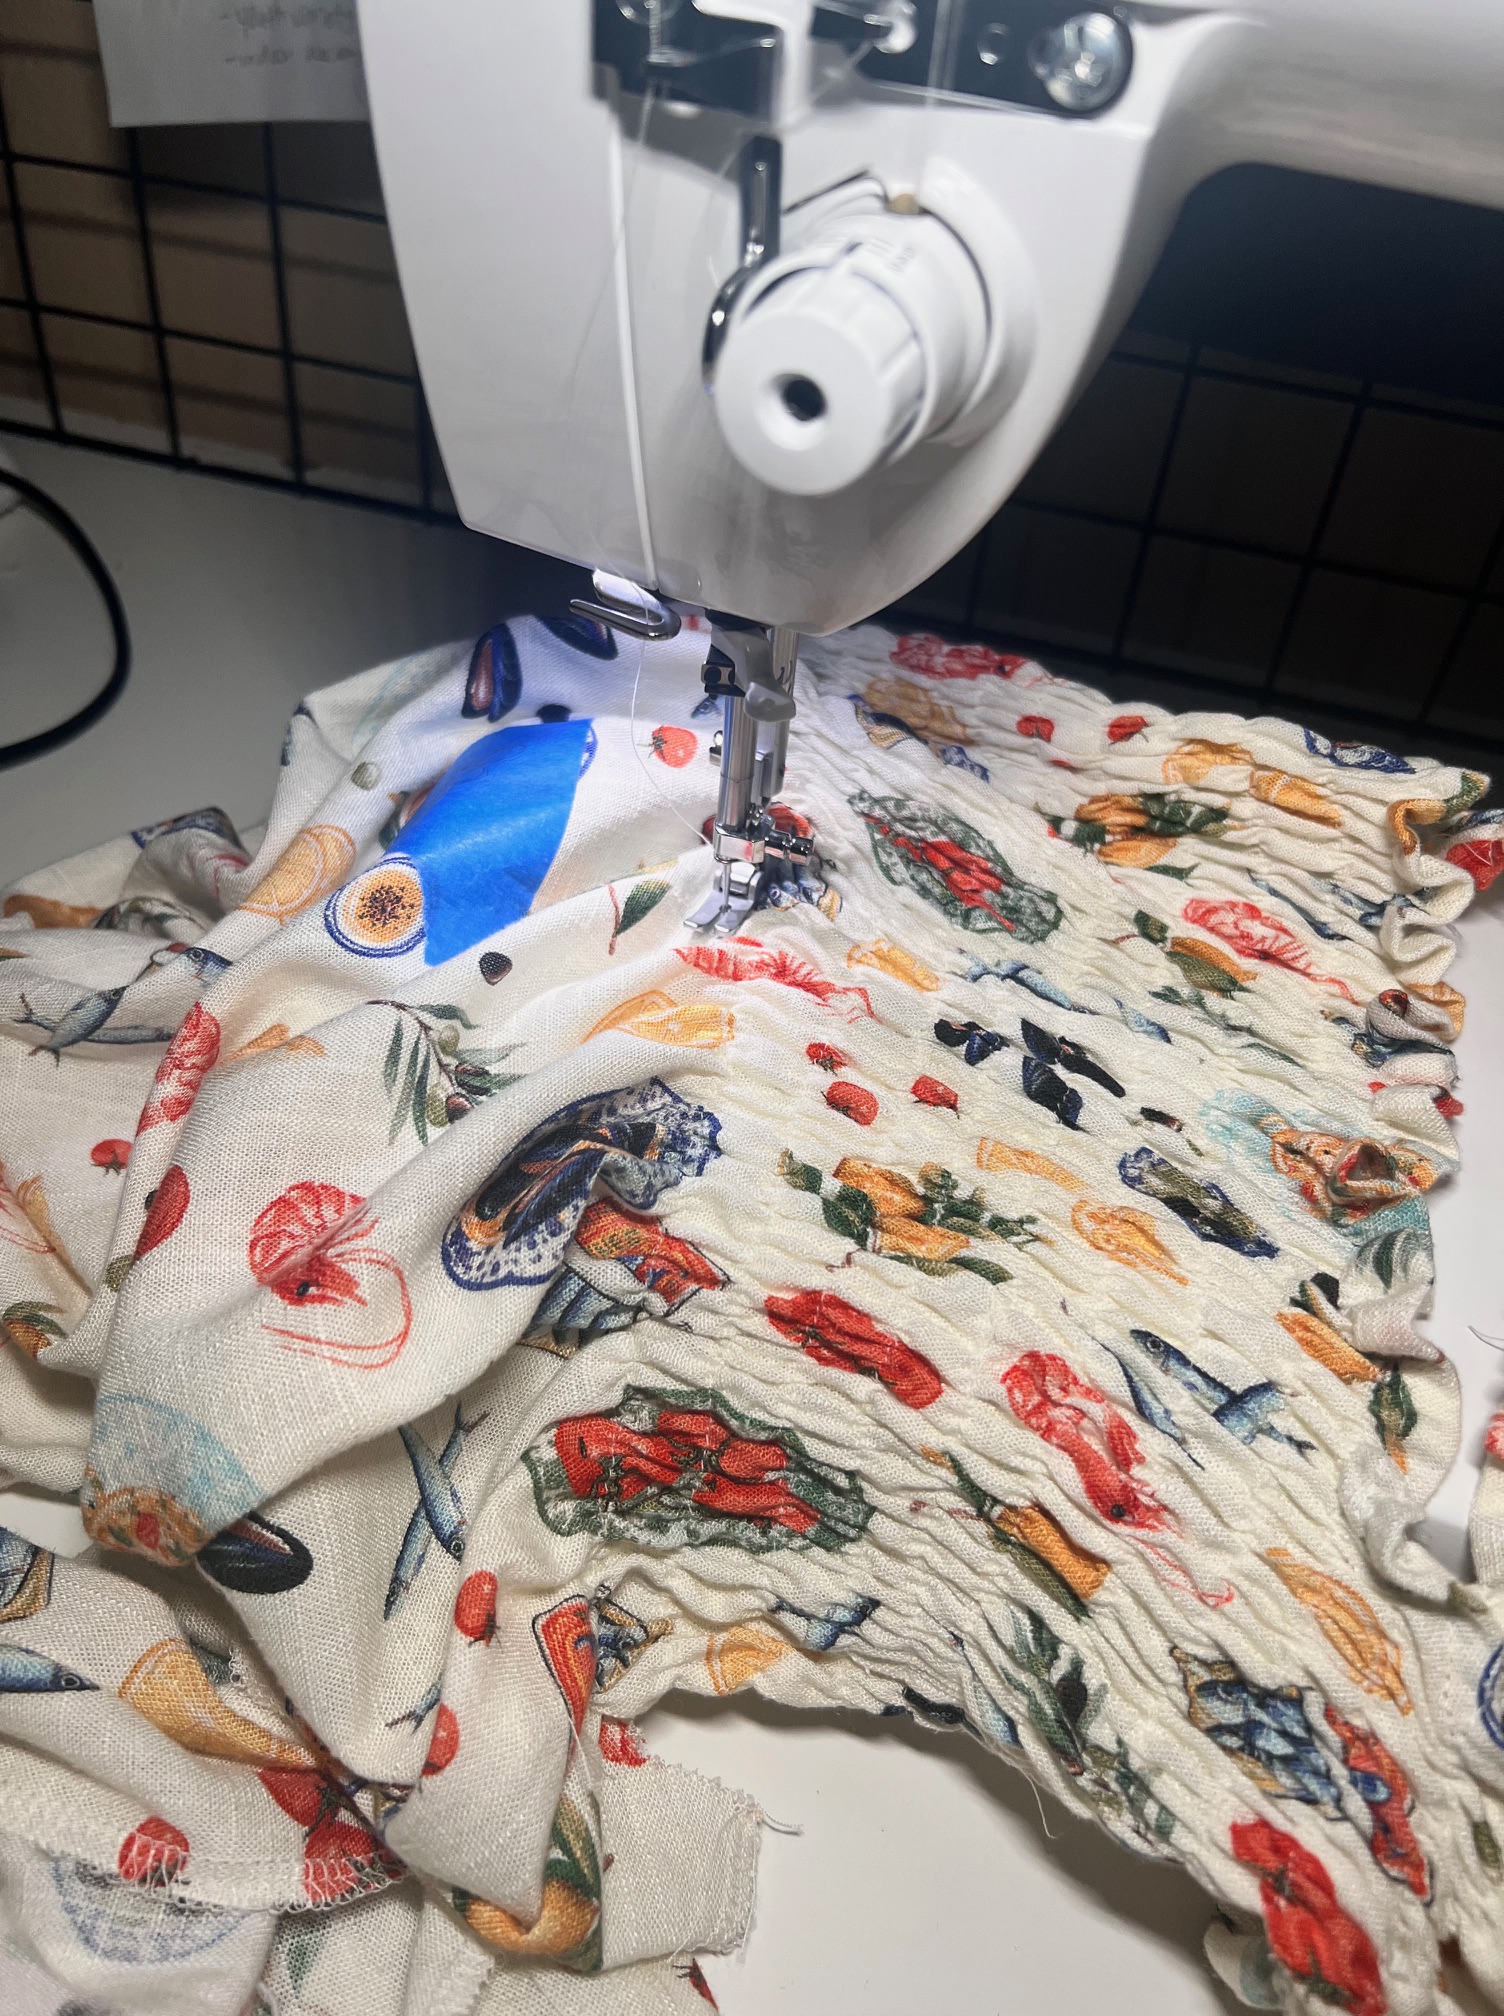
This pattern requires A LOT of ruching, and it took me many Youtube videos and trial runs to figure it out with my machine, but we conquered!
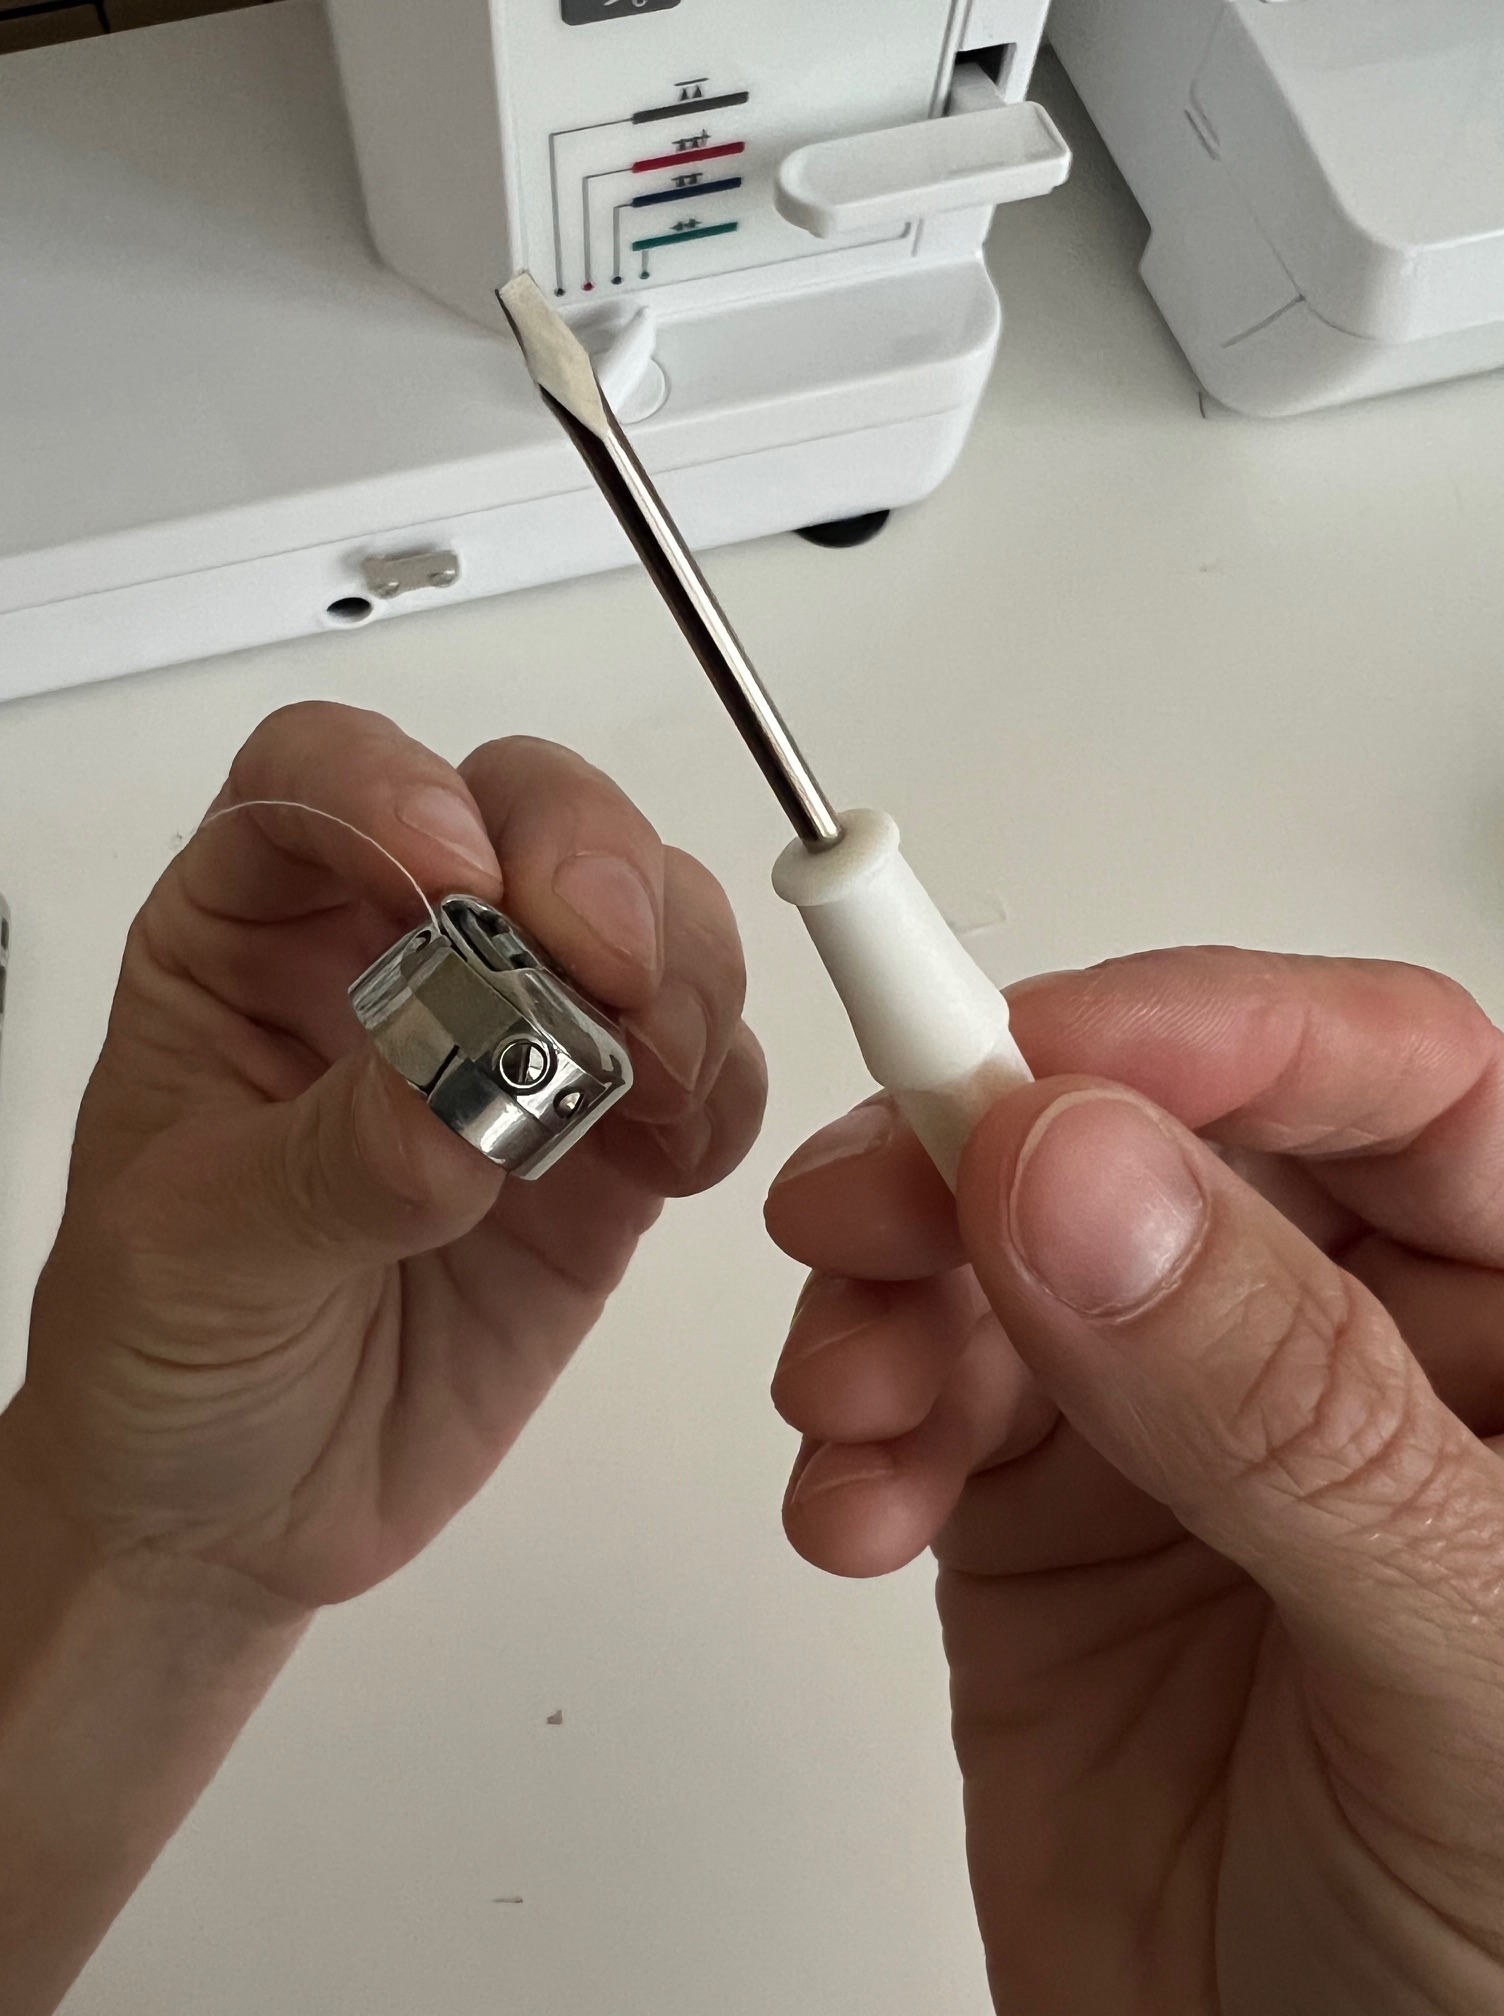
I used my Accomplish II for the ruching, and I found it worked best at a 4mm stitch length. My biggest help was adjusting the tension in the bobbin case! I never knew this was a thing! I used the tiny screw driver in my Accomplish II sewing kit and turned the screw on the bobbin case one time around making it slightly tighter. This did the trick!
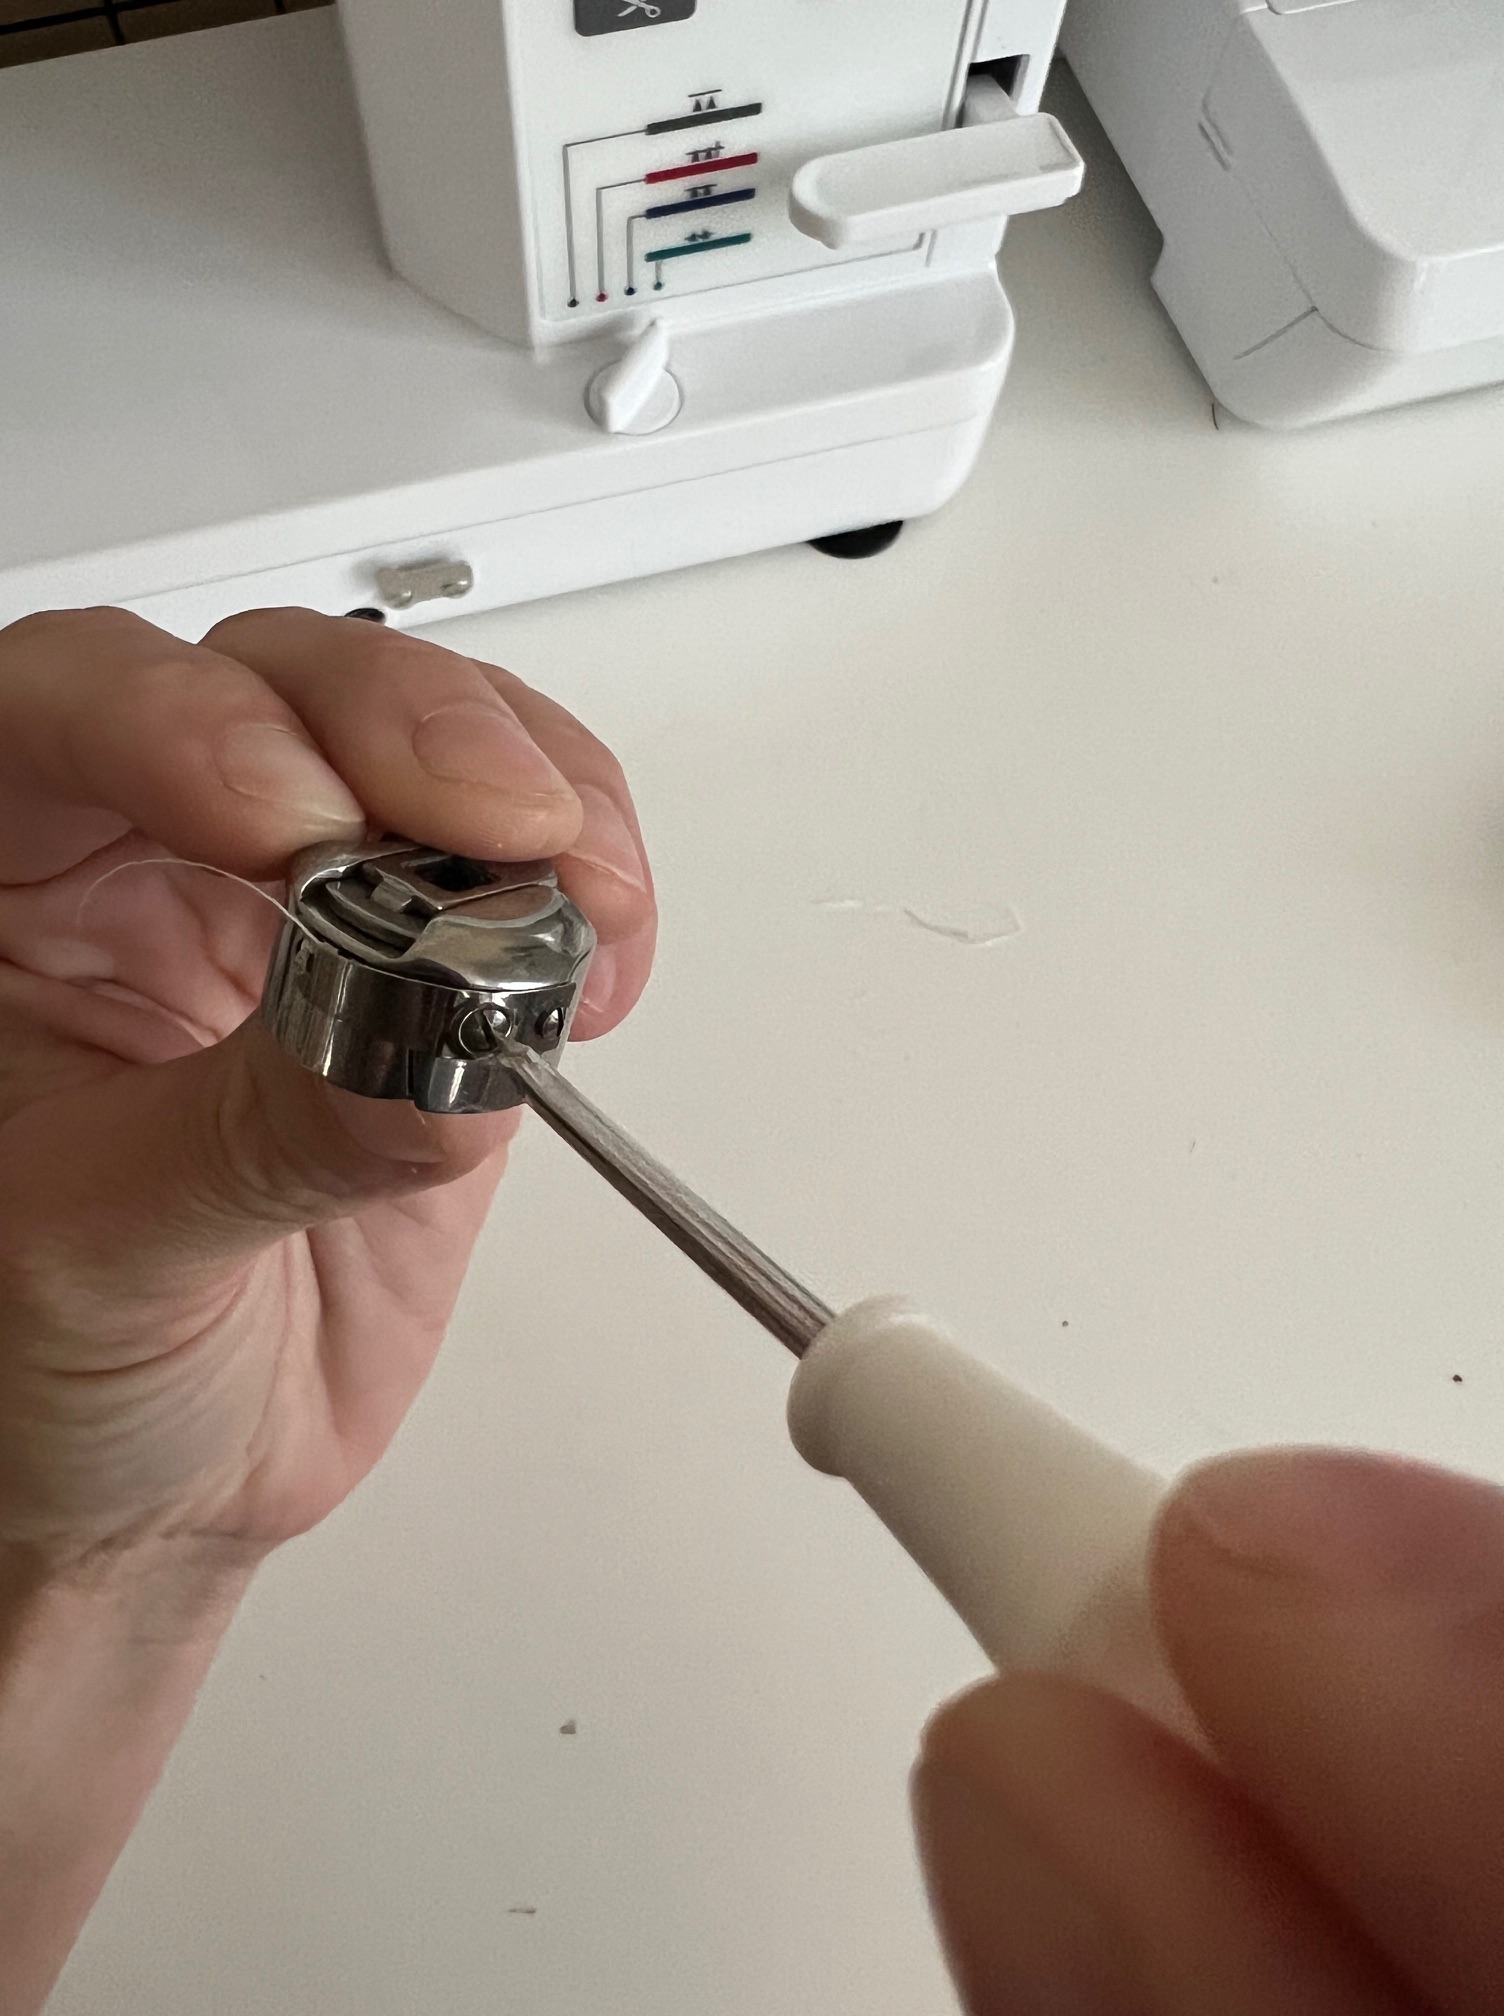
When using elastic thread, you need to wind the bobbin by hand. Next, load the bobbin like normal and pull the threads out in preparation for sewing. Make sure to take a few practice runs to get it just right, the bobbin case may need a little tweaking again. I found the elastic thread from Hobby Lobby was a little thinner and just right. I picked some up from Walmart as well but it was a little thicker and harder to use in my machine.

Now it’s time for construction! I’ll walk you through the steps I used as they are slightly different from the original pattern.
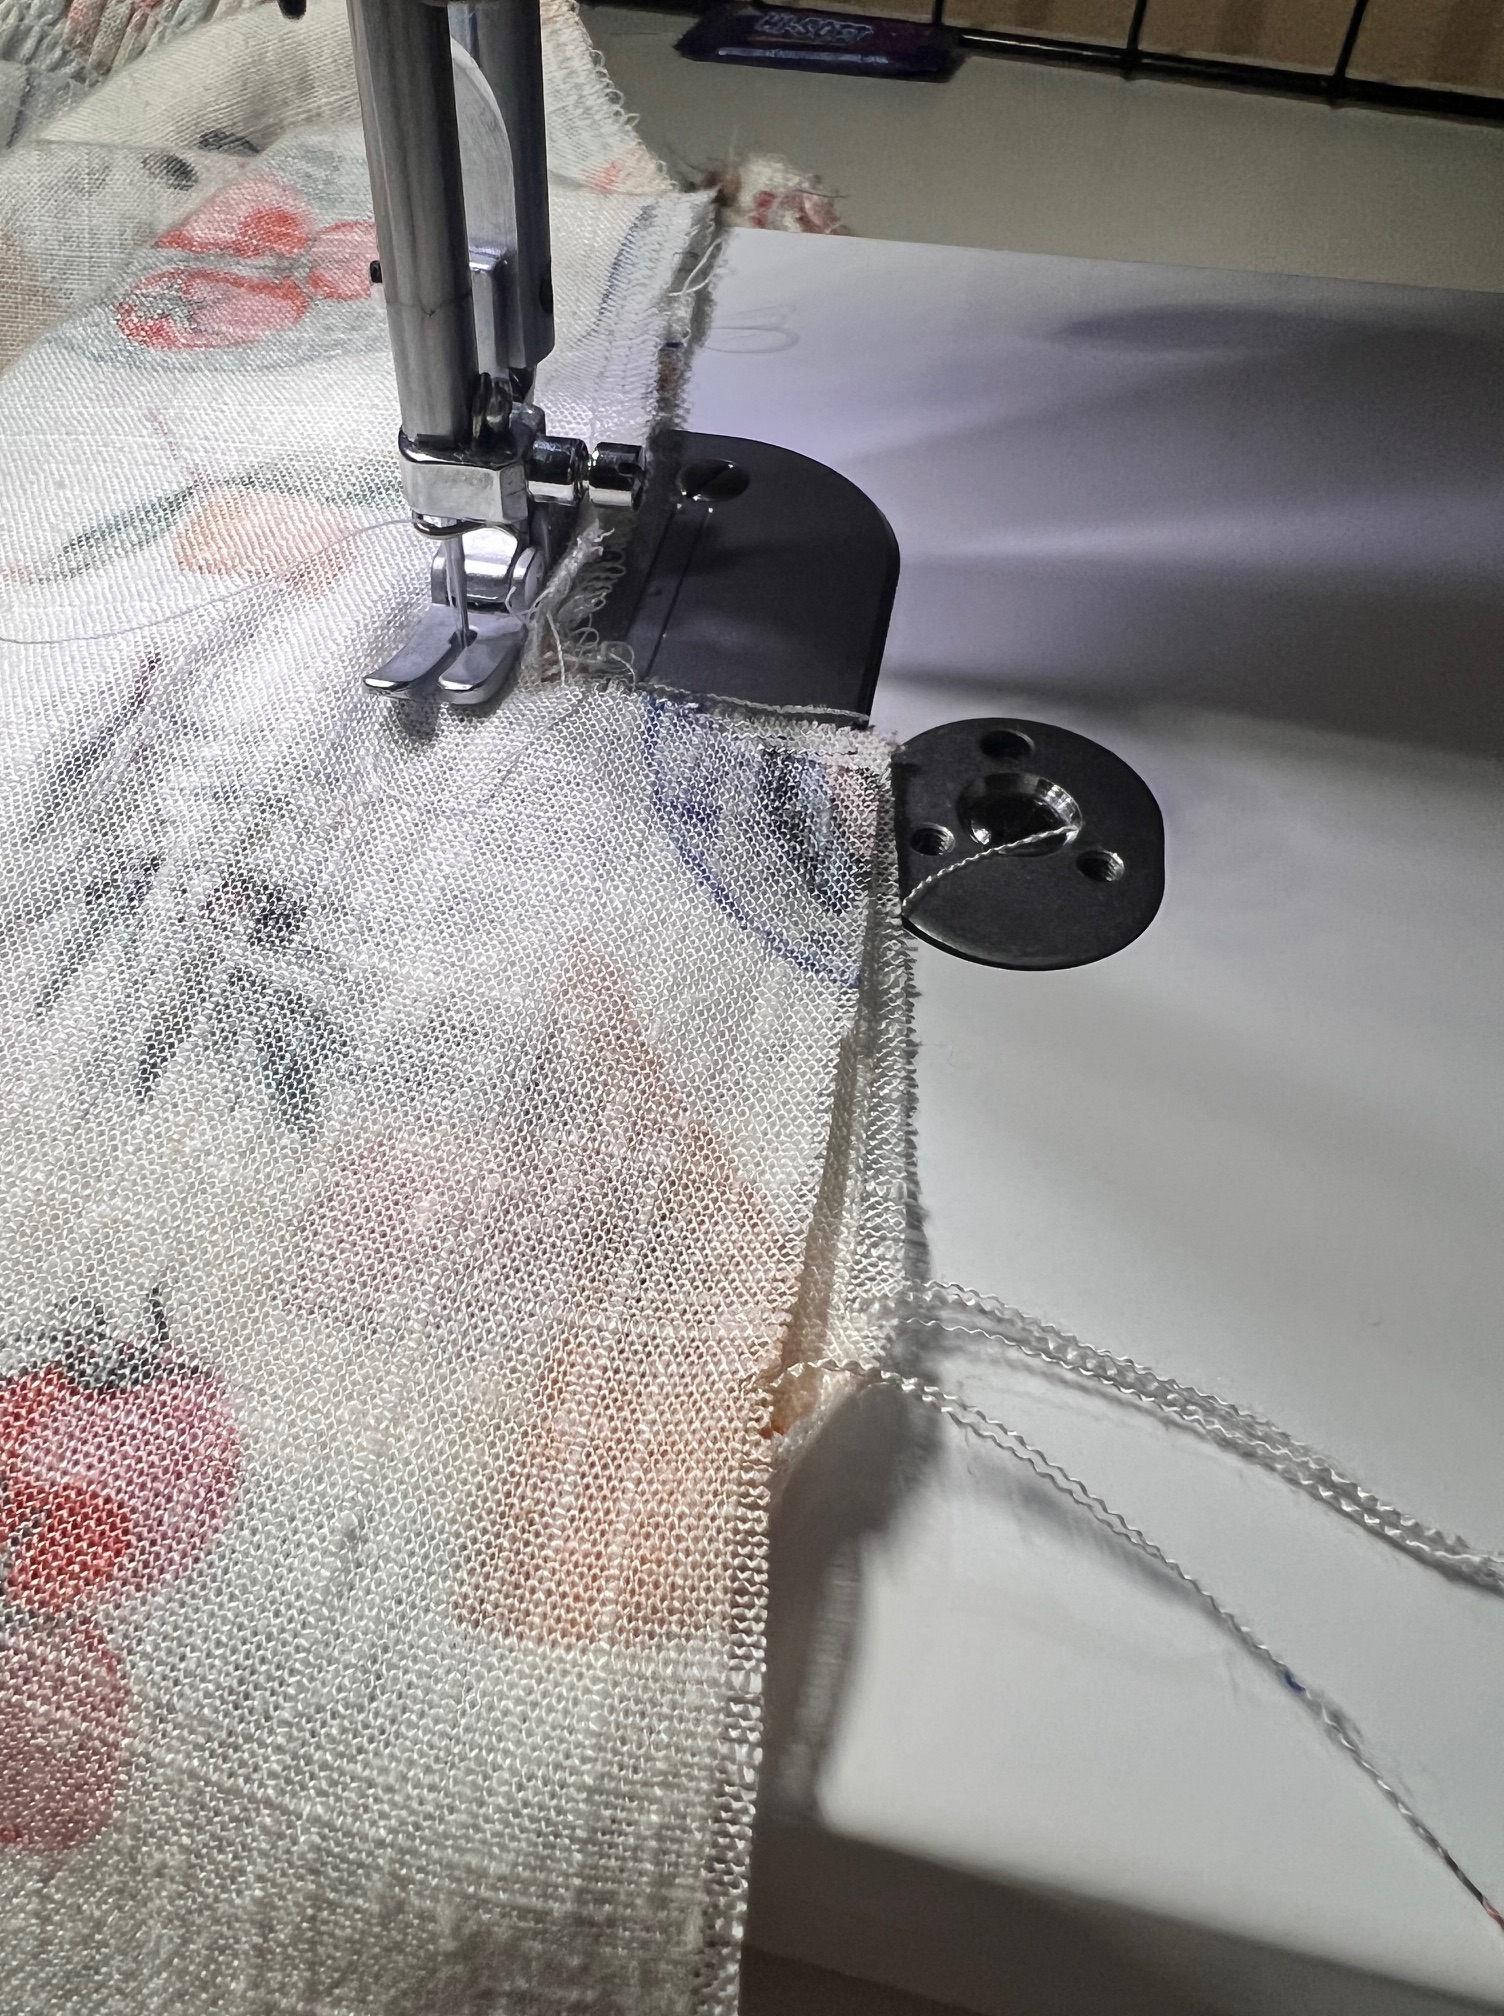
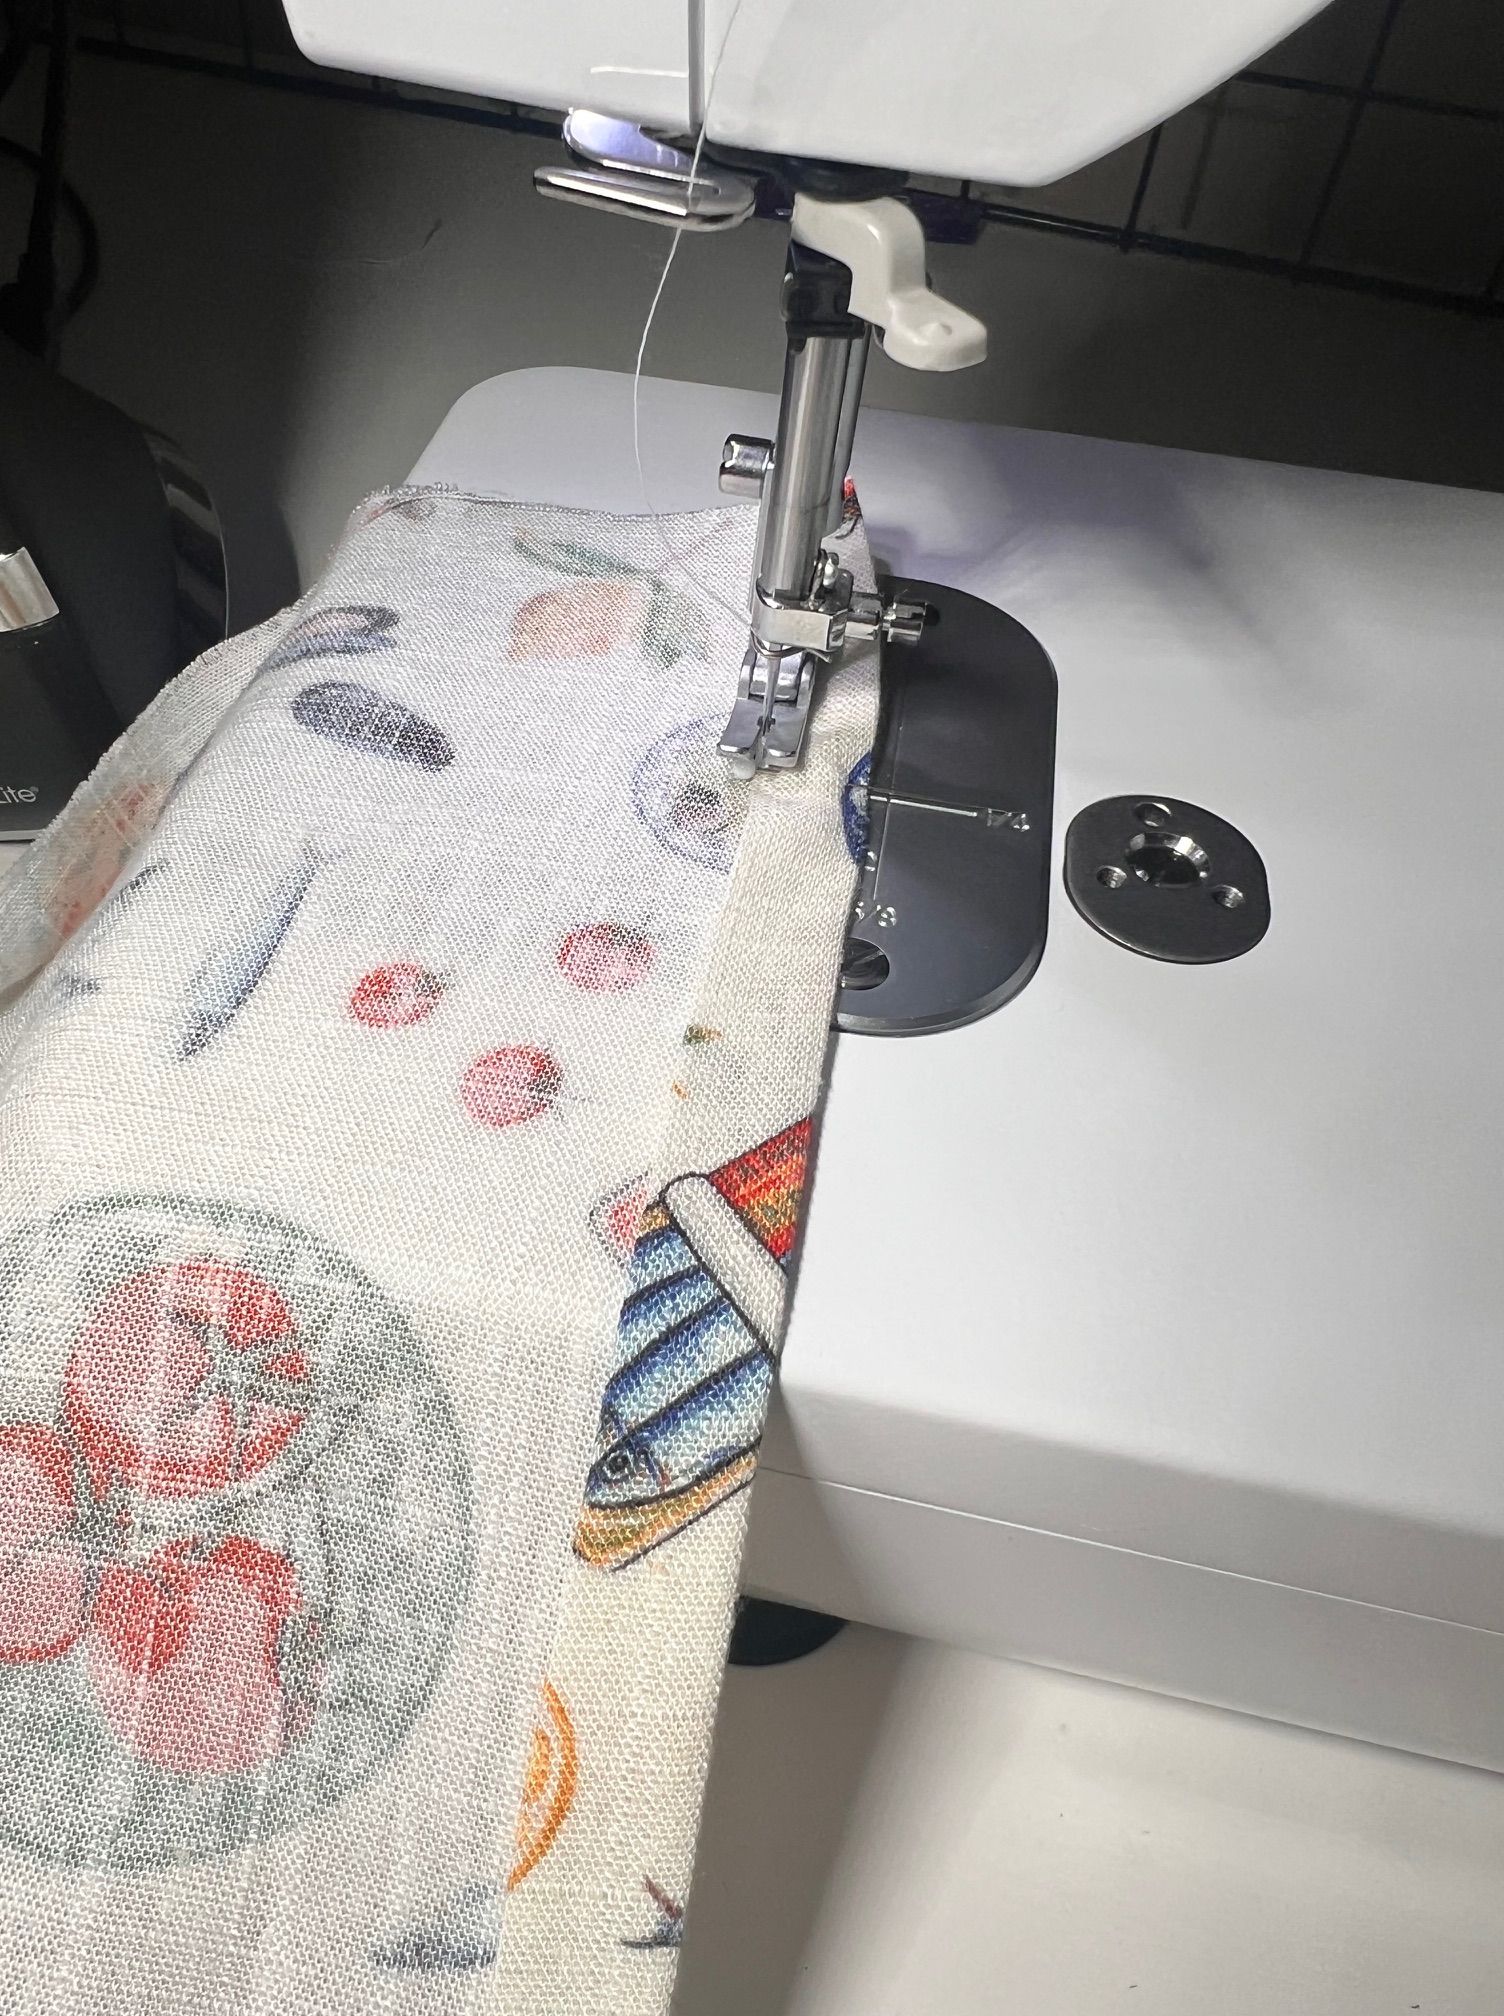
- Serge the shoulder and side seams.
2. Sew the shoulder seams together 1/2″, and press open with an iron.
3. Finish the neckline by folding the raw edge over at 1/4″ twice and edge stitch in place.
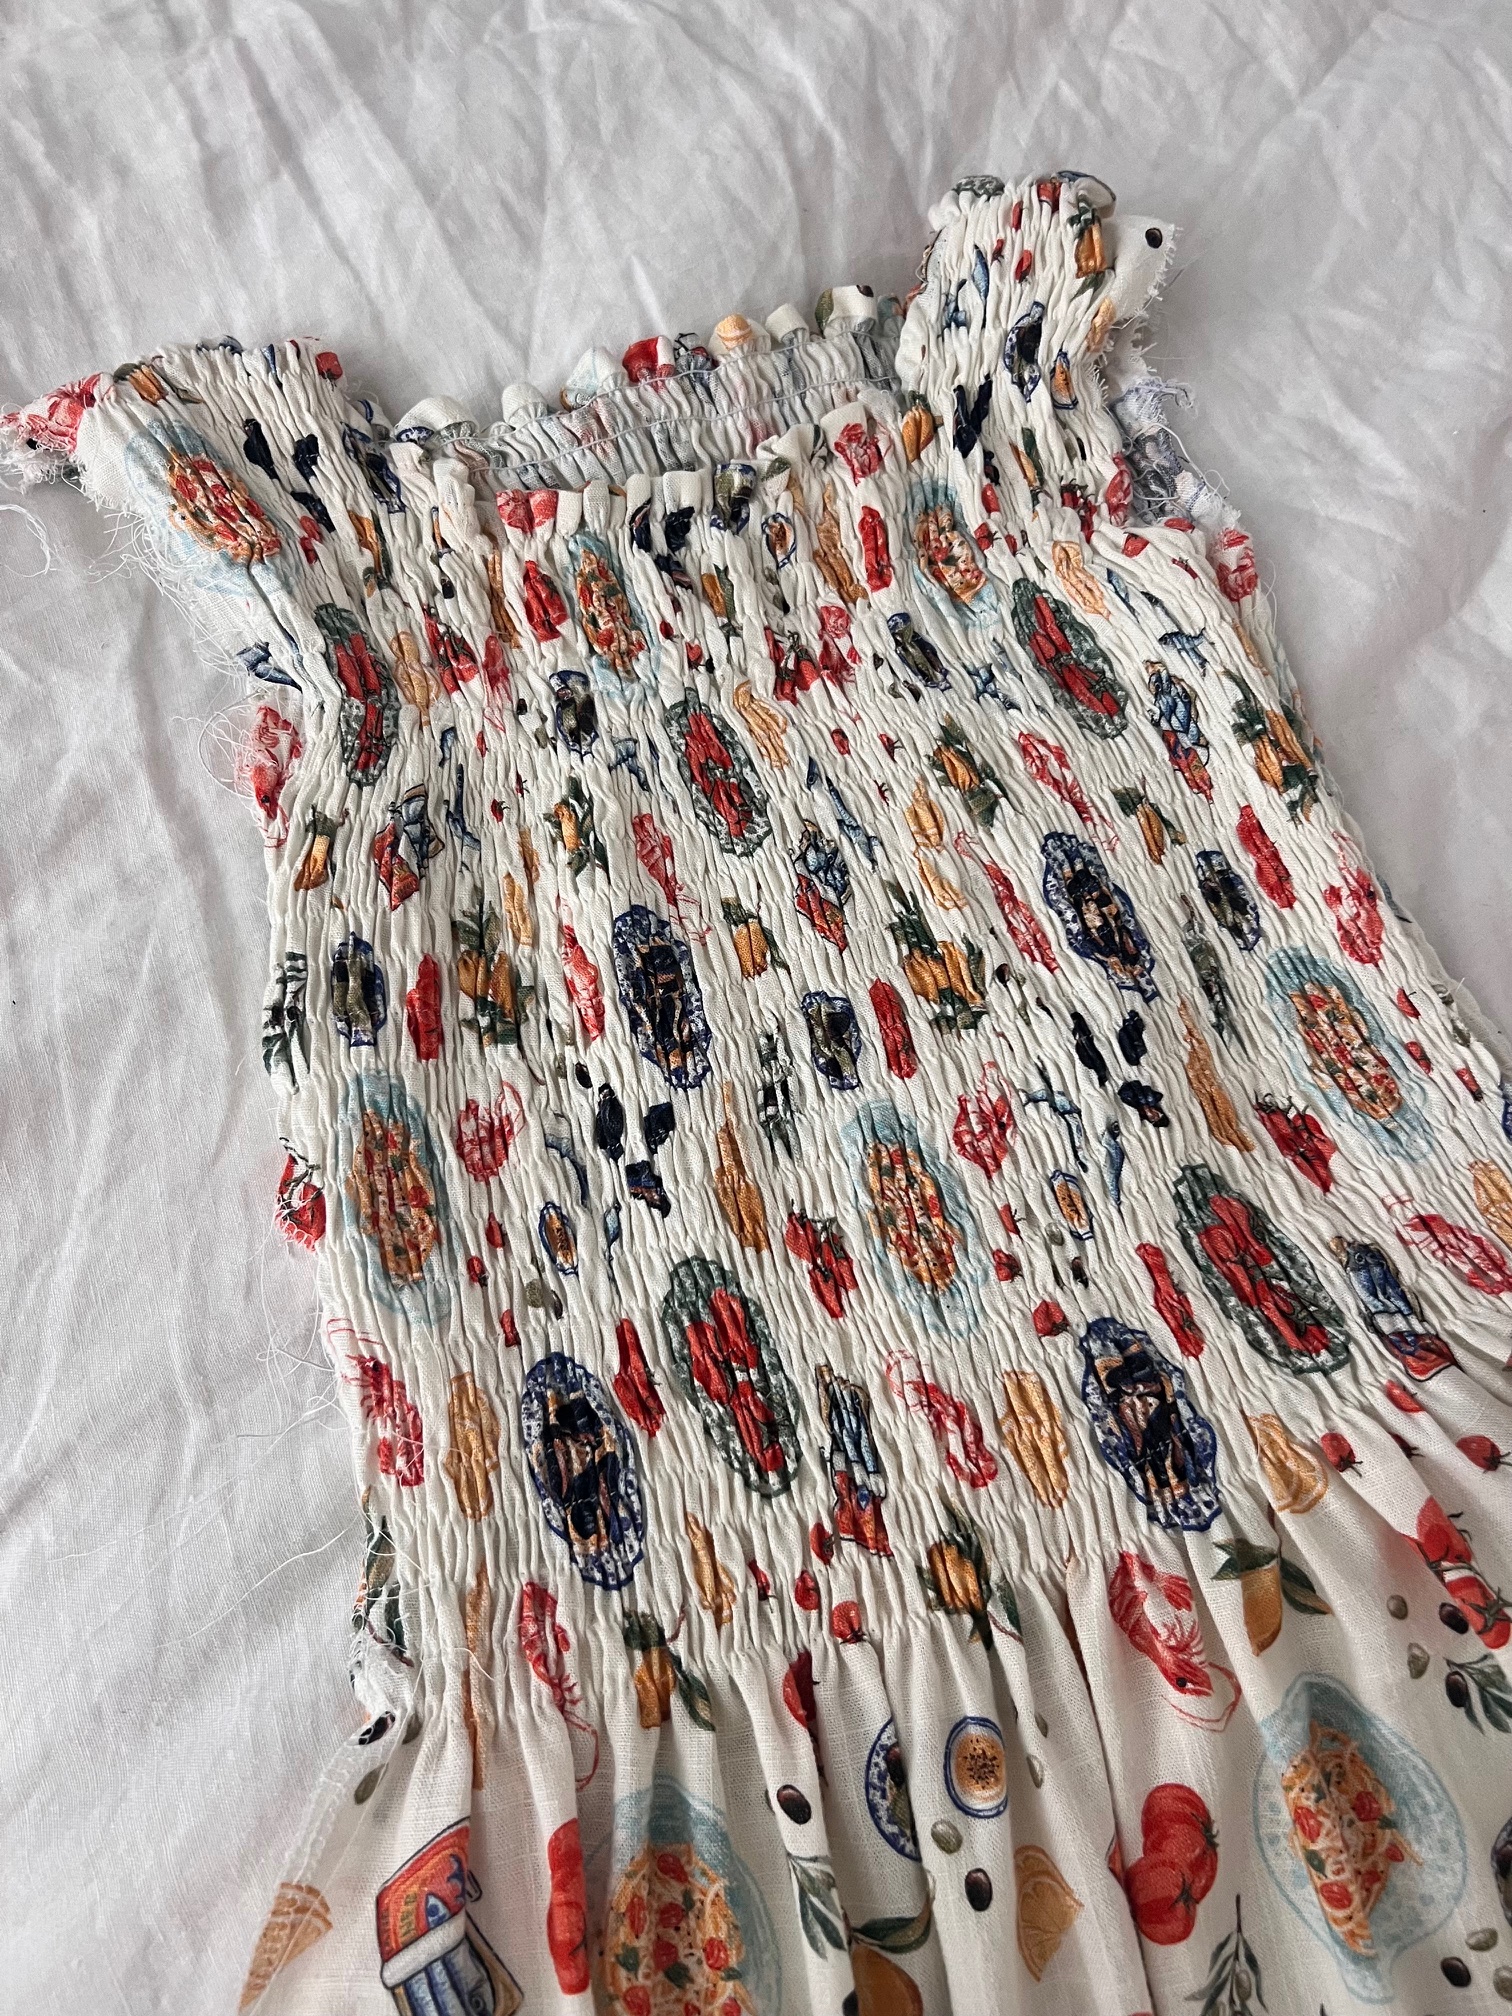
4. Time to get ruching! I started from the shoulder seams and made my way down each bodice one side at a time. I did not mark with lines, and lined my sewing foot up along each row with the same measurements each time. I eye balled it, but you could use lines if you’re nervous about doing it that way. My rows are out 5/8″ apart I would say. Make sure to back stitch at the beginning and end of each seam to lock in your ruching stitches. You want to make sure not to stretch the fabric as you are sewing your rows, but at the same time you want to make sure you don’t bunch it up too much either.
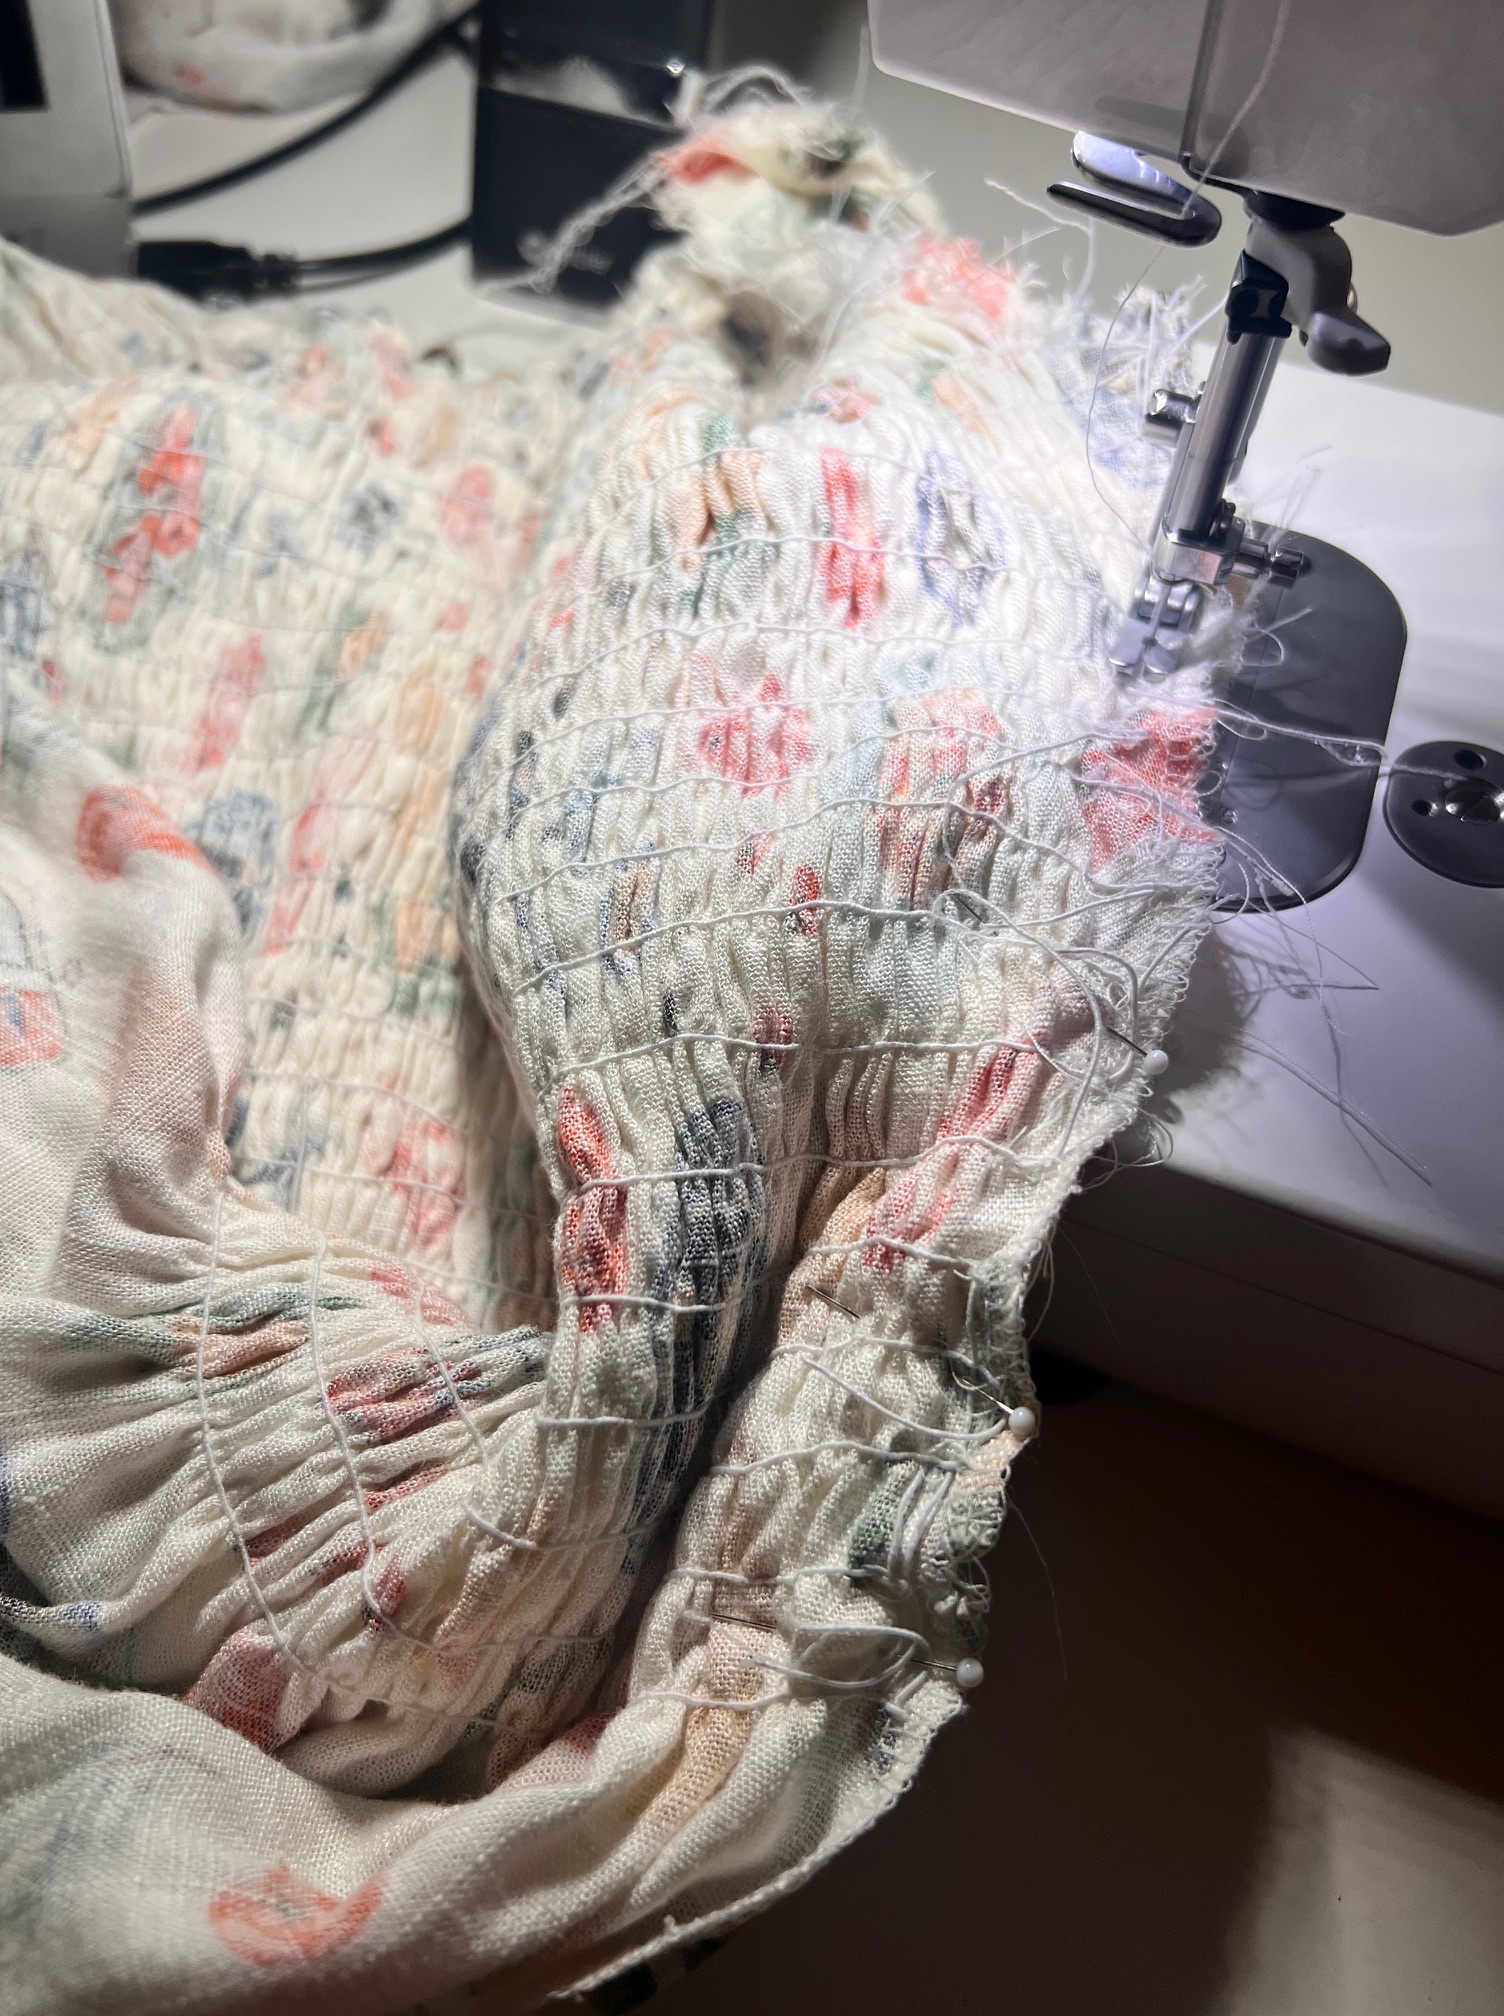
5. At this point I found it helpful to baste the side seam from the under arm to the waist to try it on. I made my front bodice way too tight the first time so I had to unpick most of the rows. The second time I got it just right. The difference is that I kind of bunched up the fabric behind the foot as I was sewing and this made the rows too tight. A video I found mentioned this tip but it didn’t work great for me.
6. Once you are happy with the fit, sew up the side seams right side together, making sure to stop right at the side vent, backstitching in place. I made my side vent a little wider than needed so ignore the fact that it looks wider than 5/8″ in the second photo. I ended up trimming some off.
7. Head over to your ironing board, and press the side seam open.
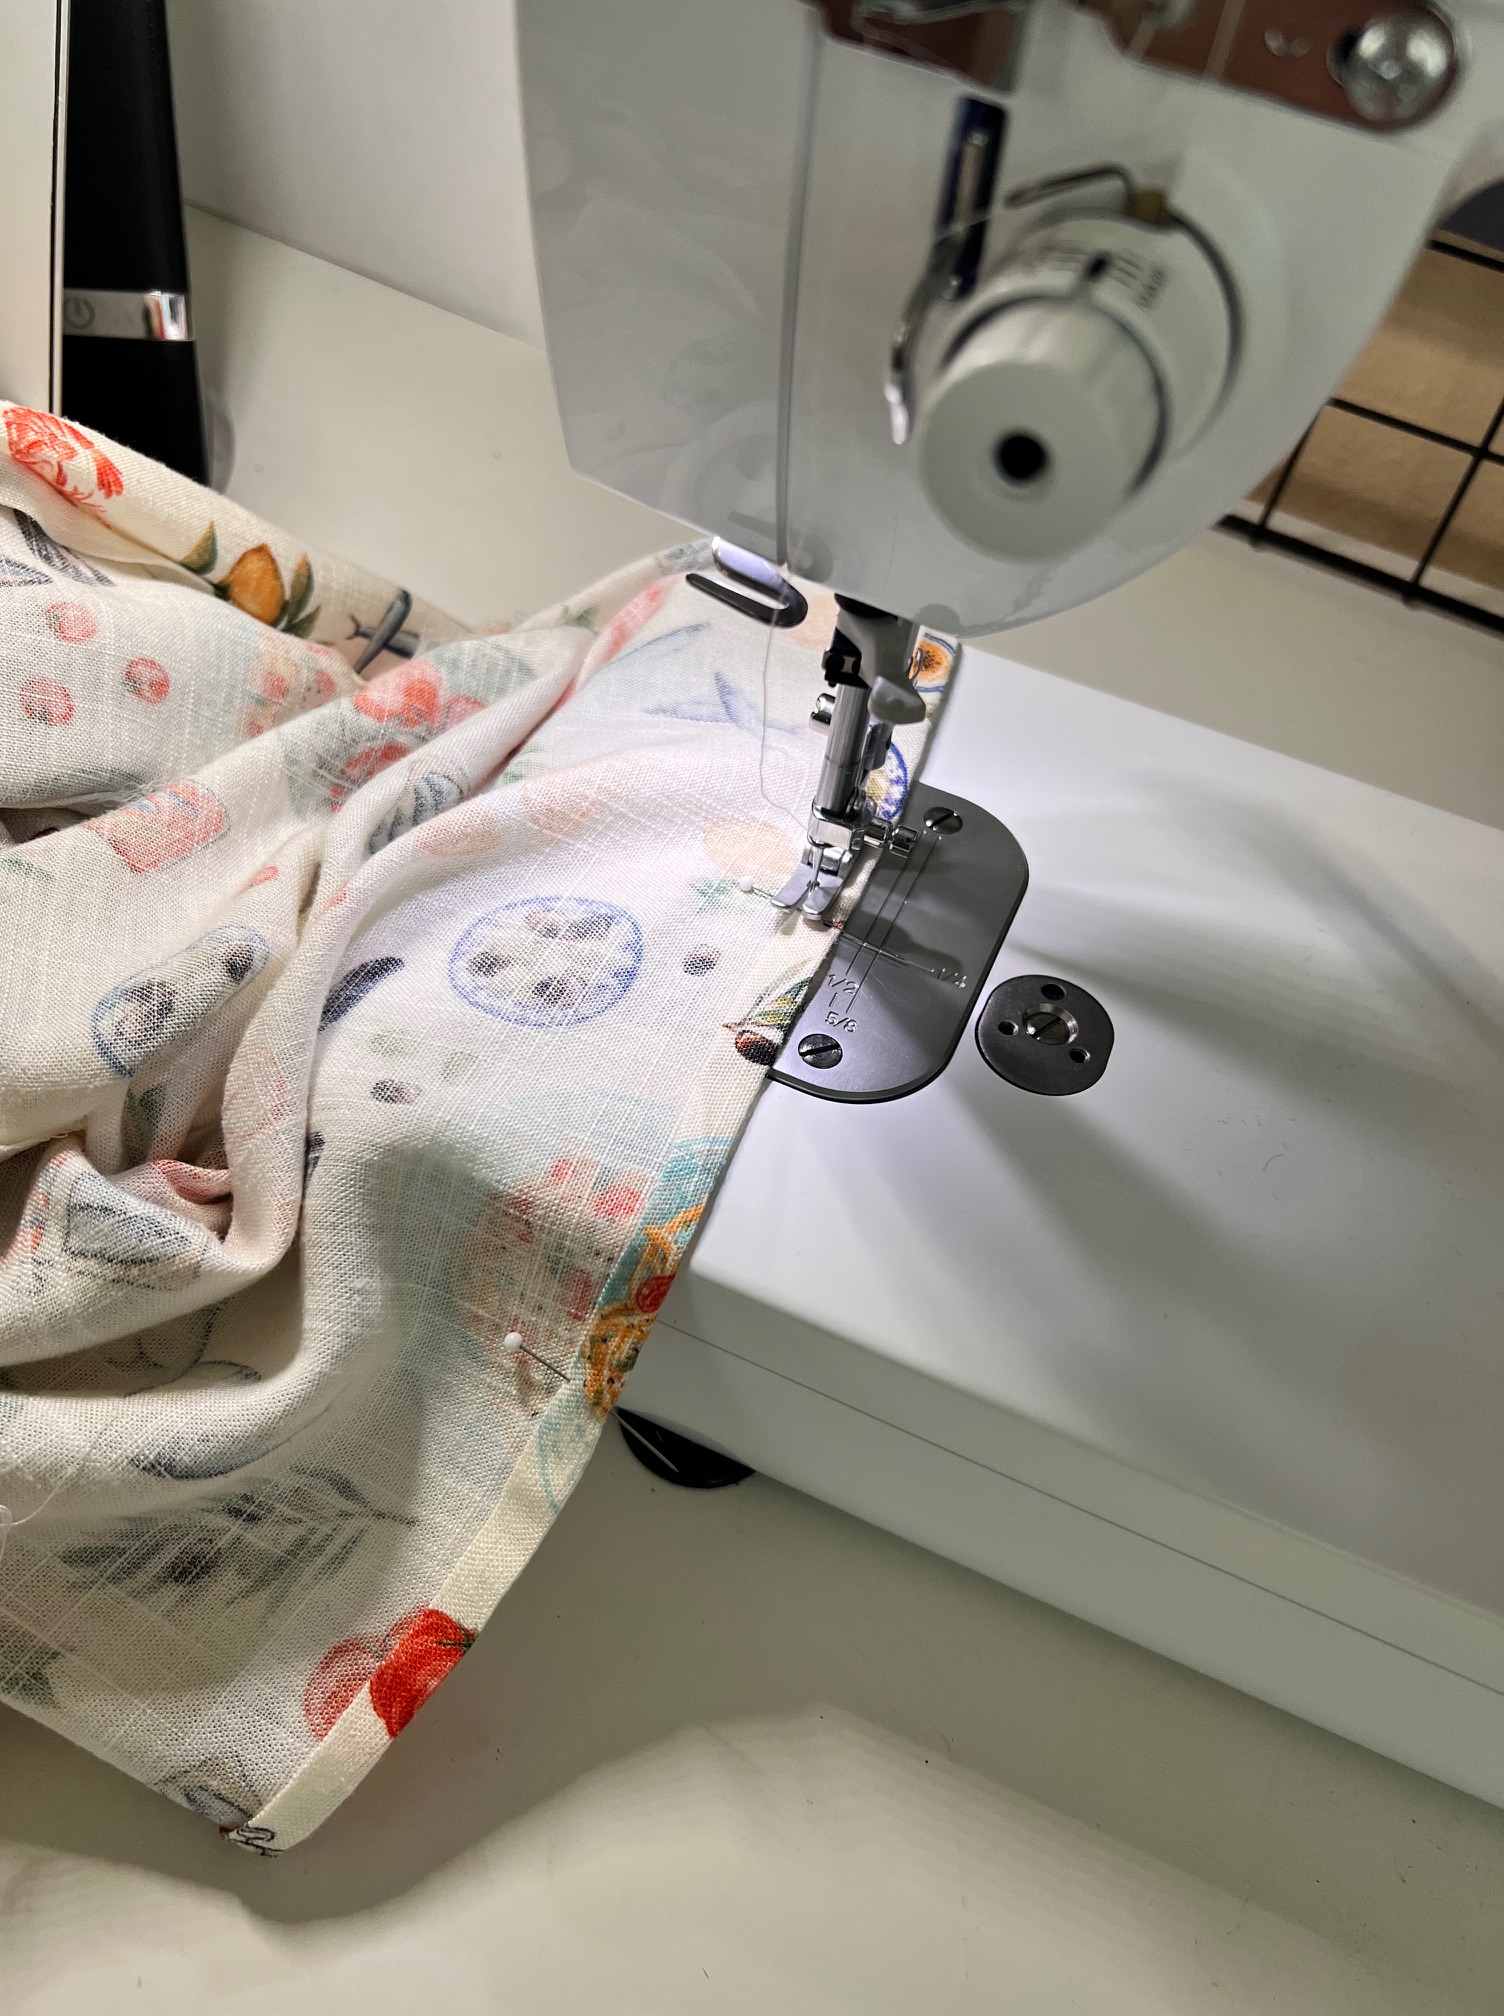
8. To finish the side vents, press the side vent in at 1/2″ once, and then once more and it should line up perfectly with the side seam we just finished. Pin in place.
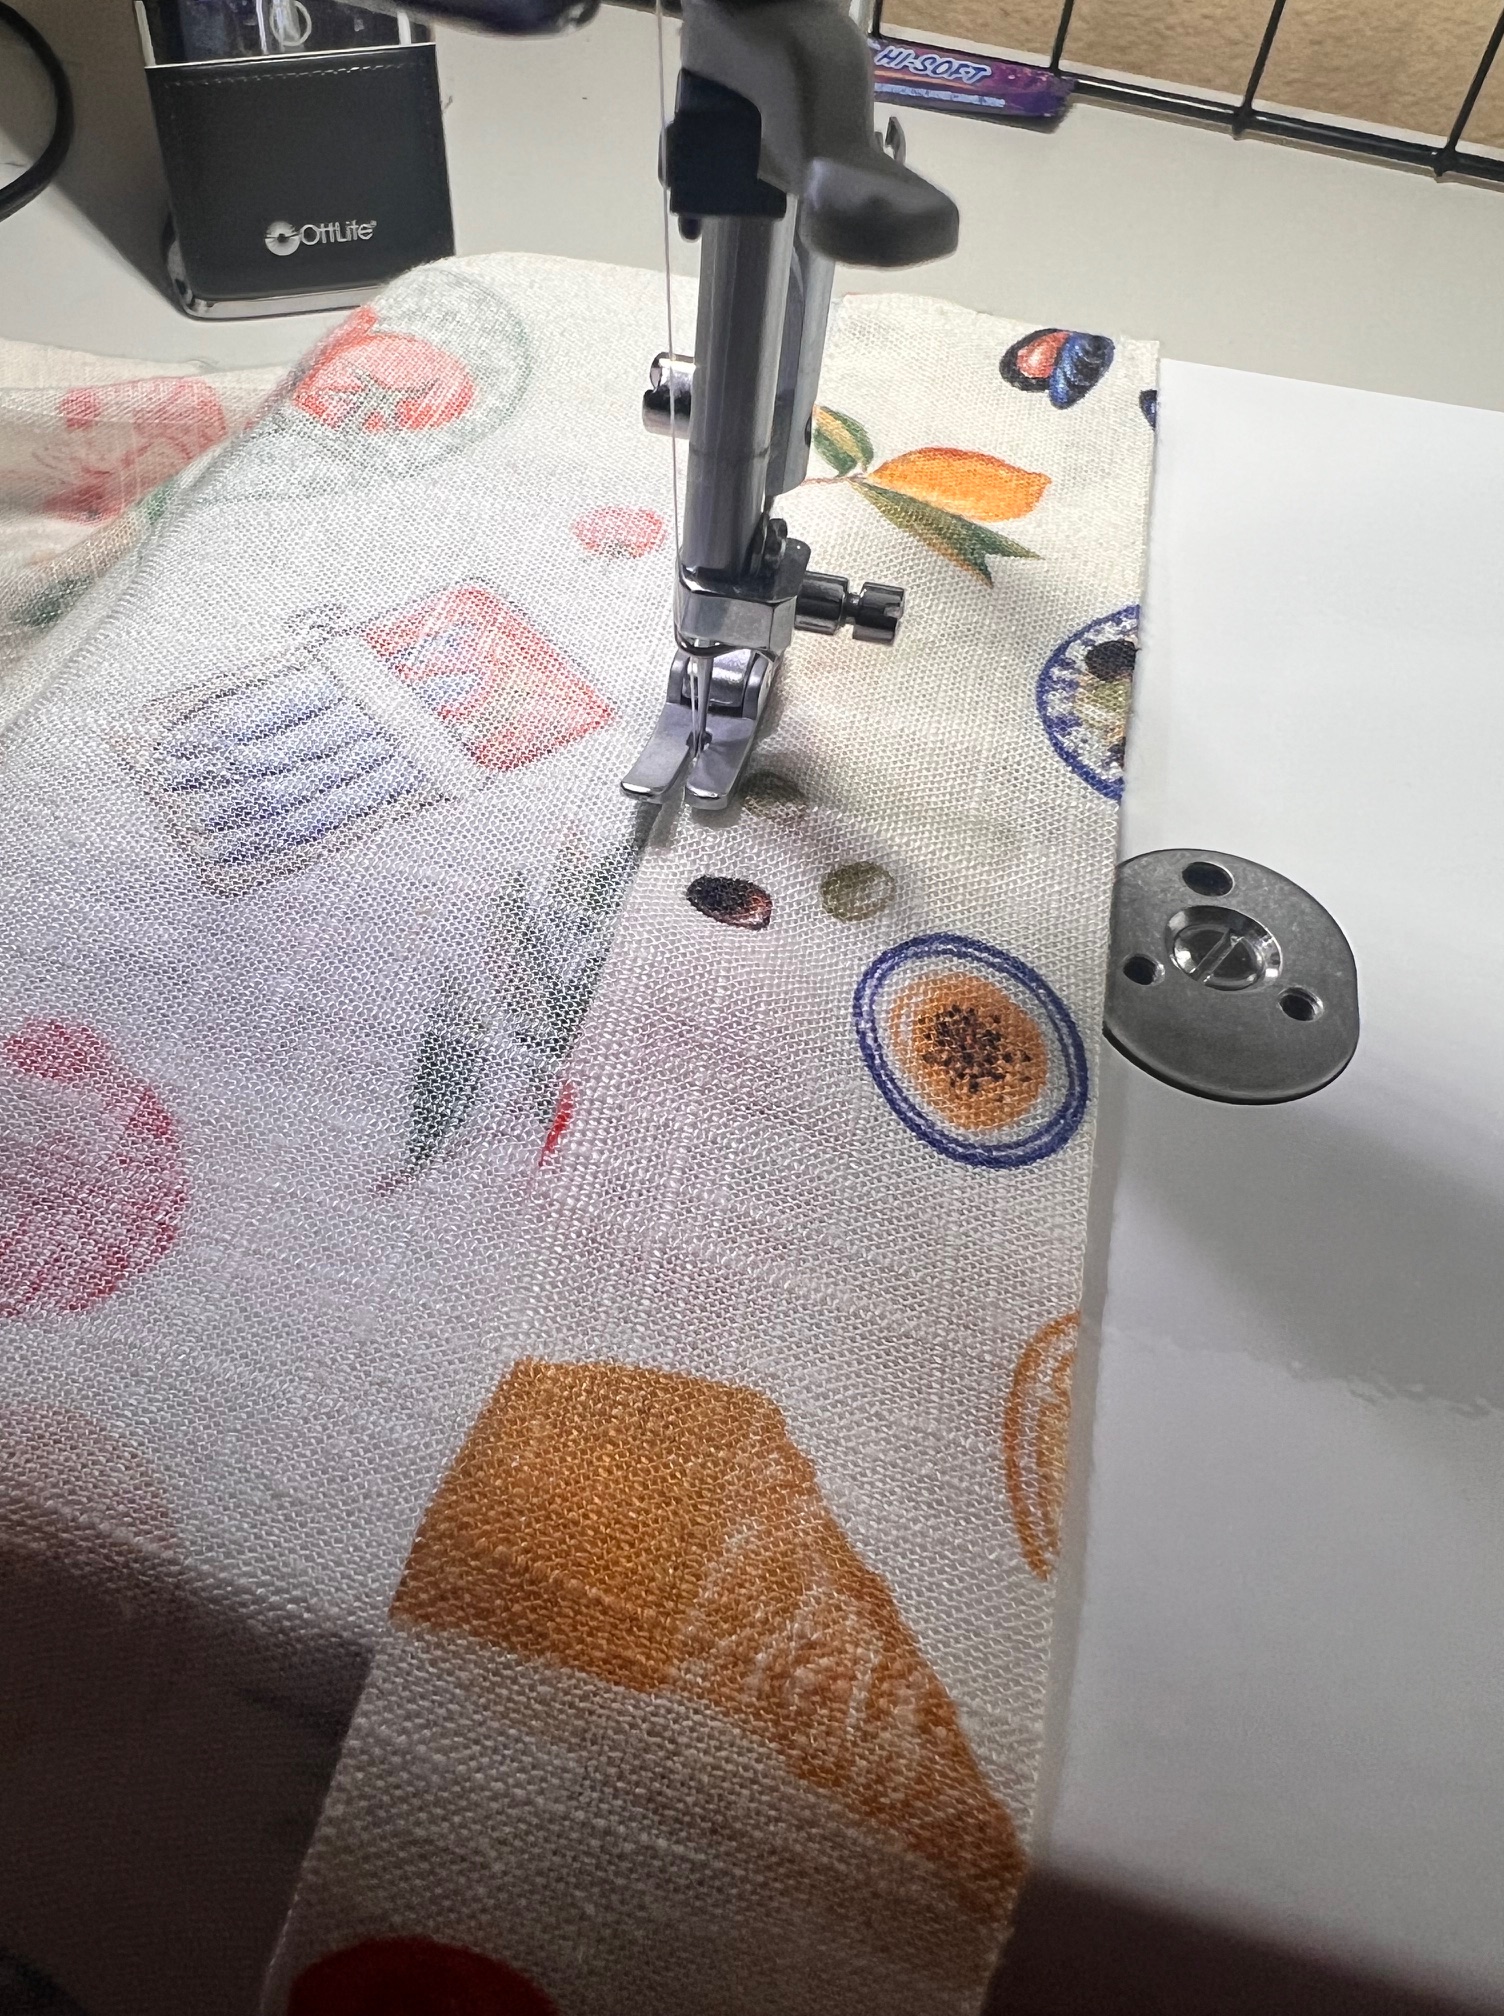
9. Starting at the hemline, make your way up the side vent edge-stitching to finish, pivot at the top and then making your way back down again. Repeat for the other side. Give everything a good press.
10. Now it’s time to hem the bottom of the dress. I pressed my hem up at 1/2″, and then again at 1 1/2″ and edge-stitched in place.
11. At this point you can finish the armhole with bias tape, or add in a sleeve. I added in a sleeve using the Celine Blouse sleeve (Pattern by SIlversaga Patterns), using the original directions from that pattern. I did find I needed to cutout and lower the armhole slightly before I sewed the sleeve in, as well as lengthen my basting stitches on the sleeve from the original directions. The sleeve works beautifully with this pattern.
And you’re all set! Hope this is helpful to you and as always, happy sewing!


Leave a comment