
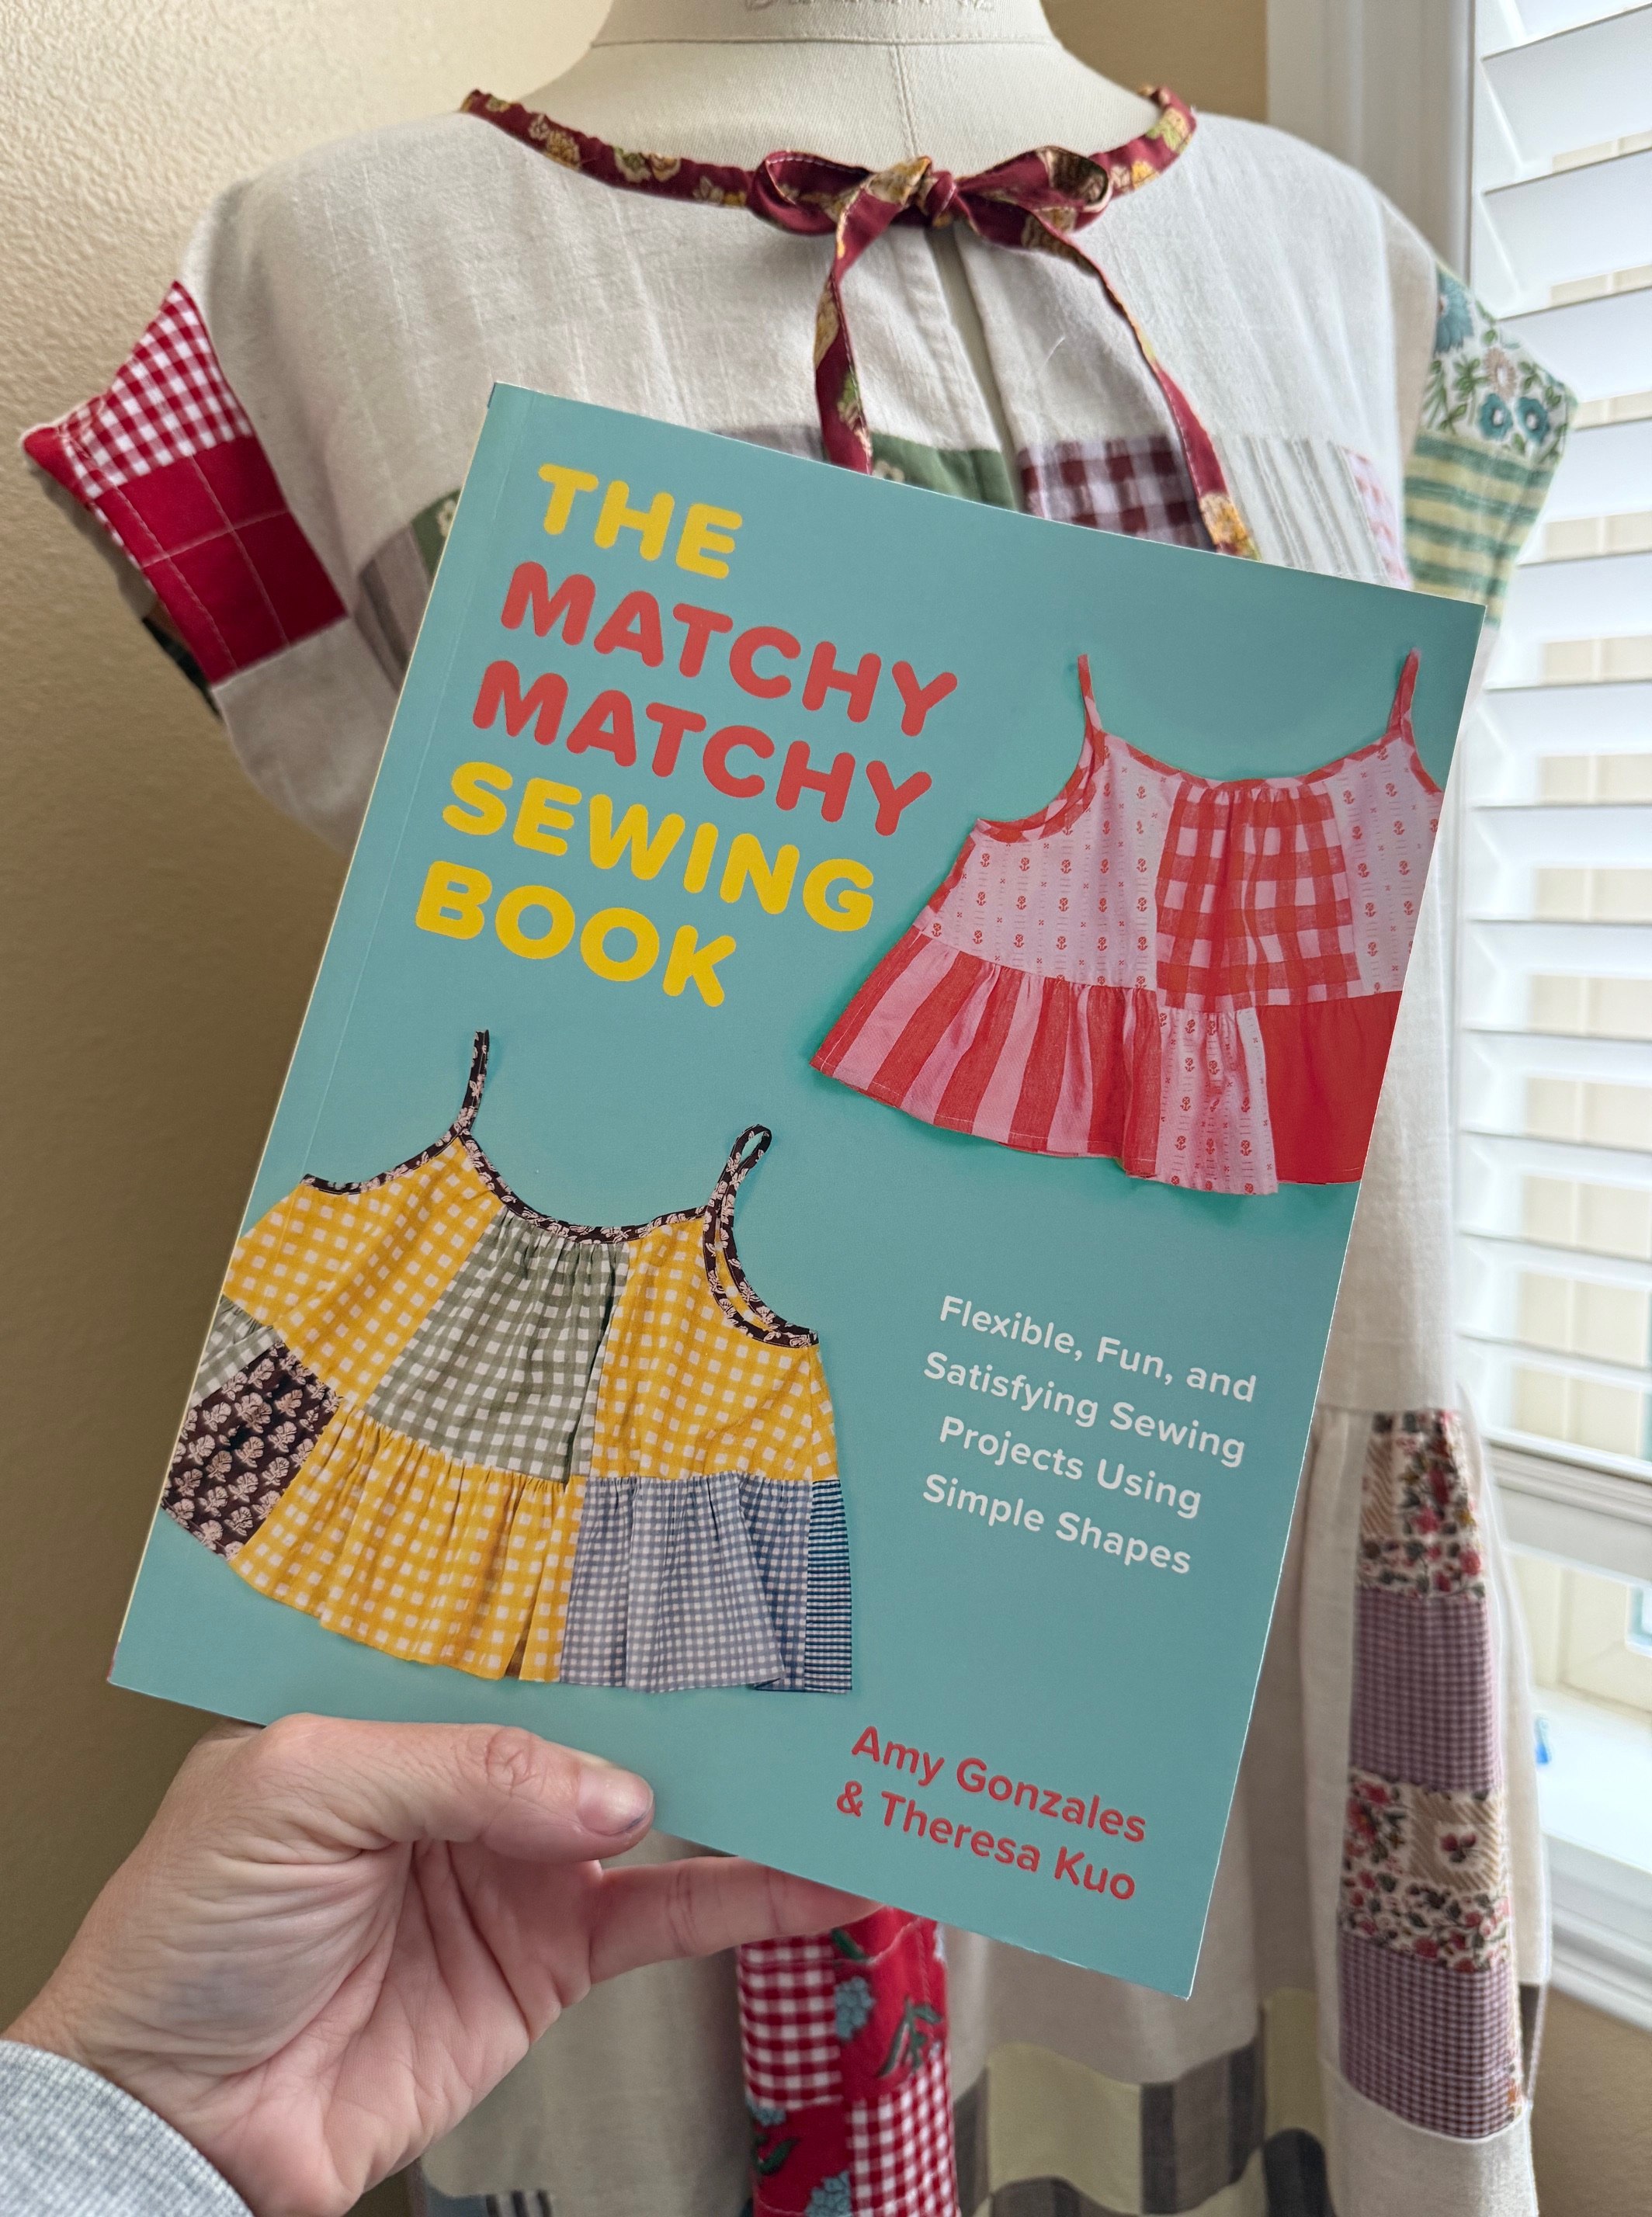
Huge congratulations to Matchy Matchy Sewing Club and their new pattern book! It’s so good! They generously sent me an extra book, one to give away to you! Head over to my instagram account for all the details!
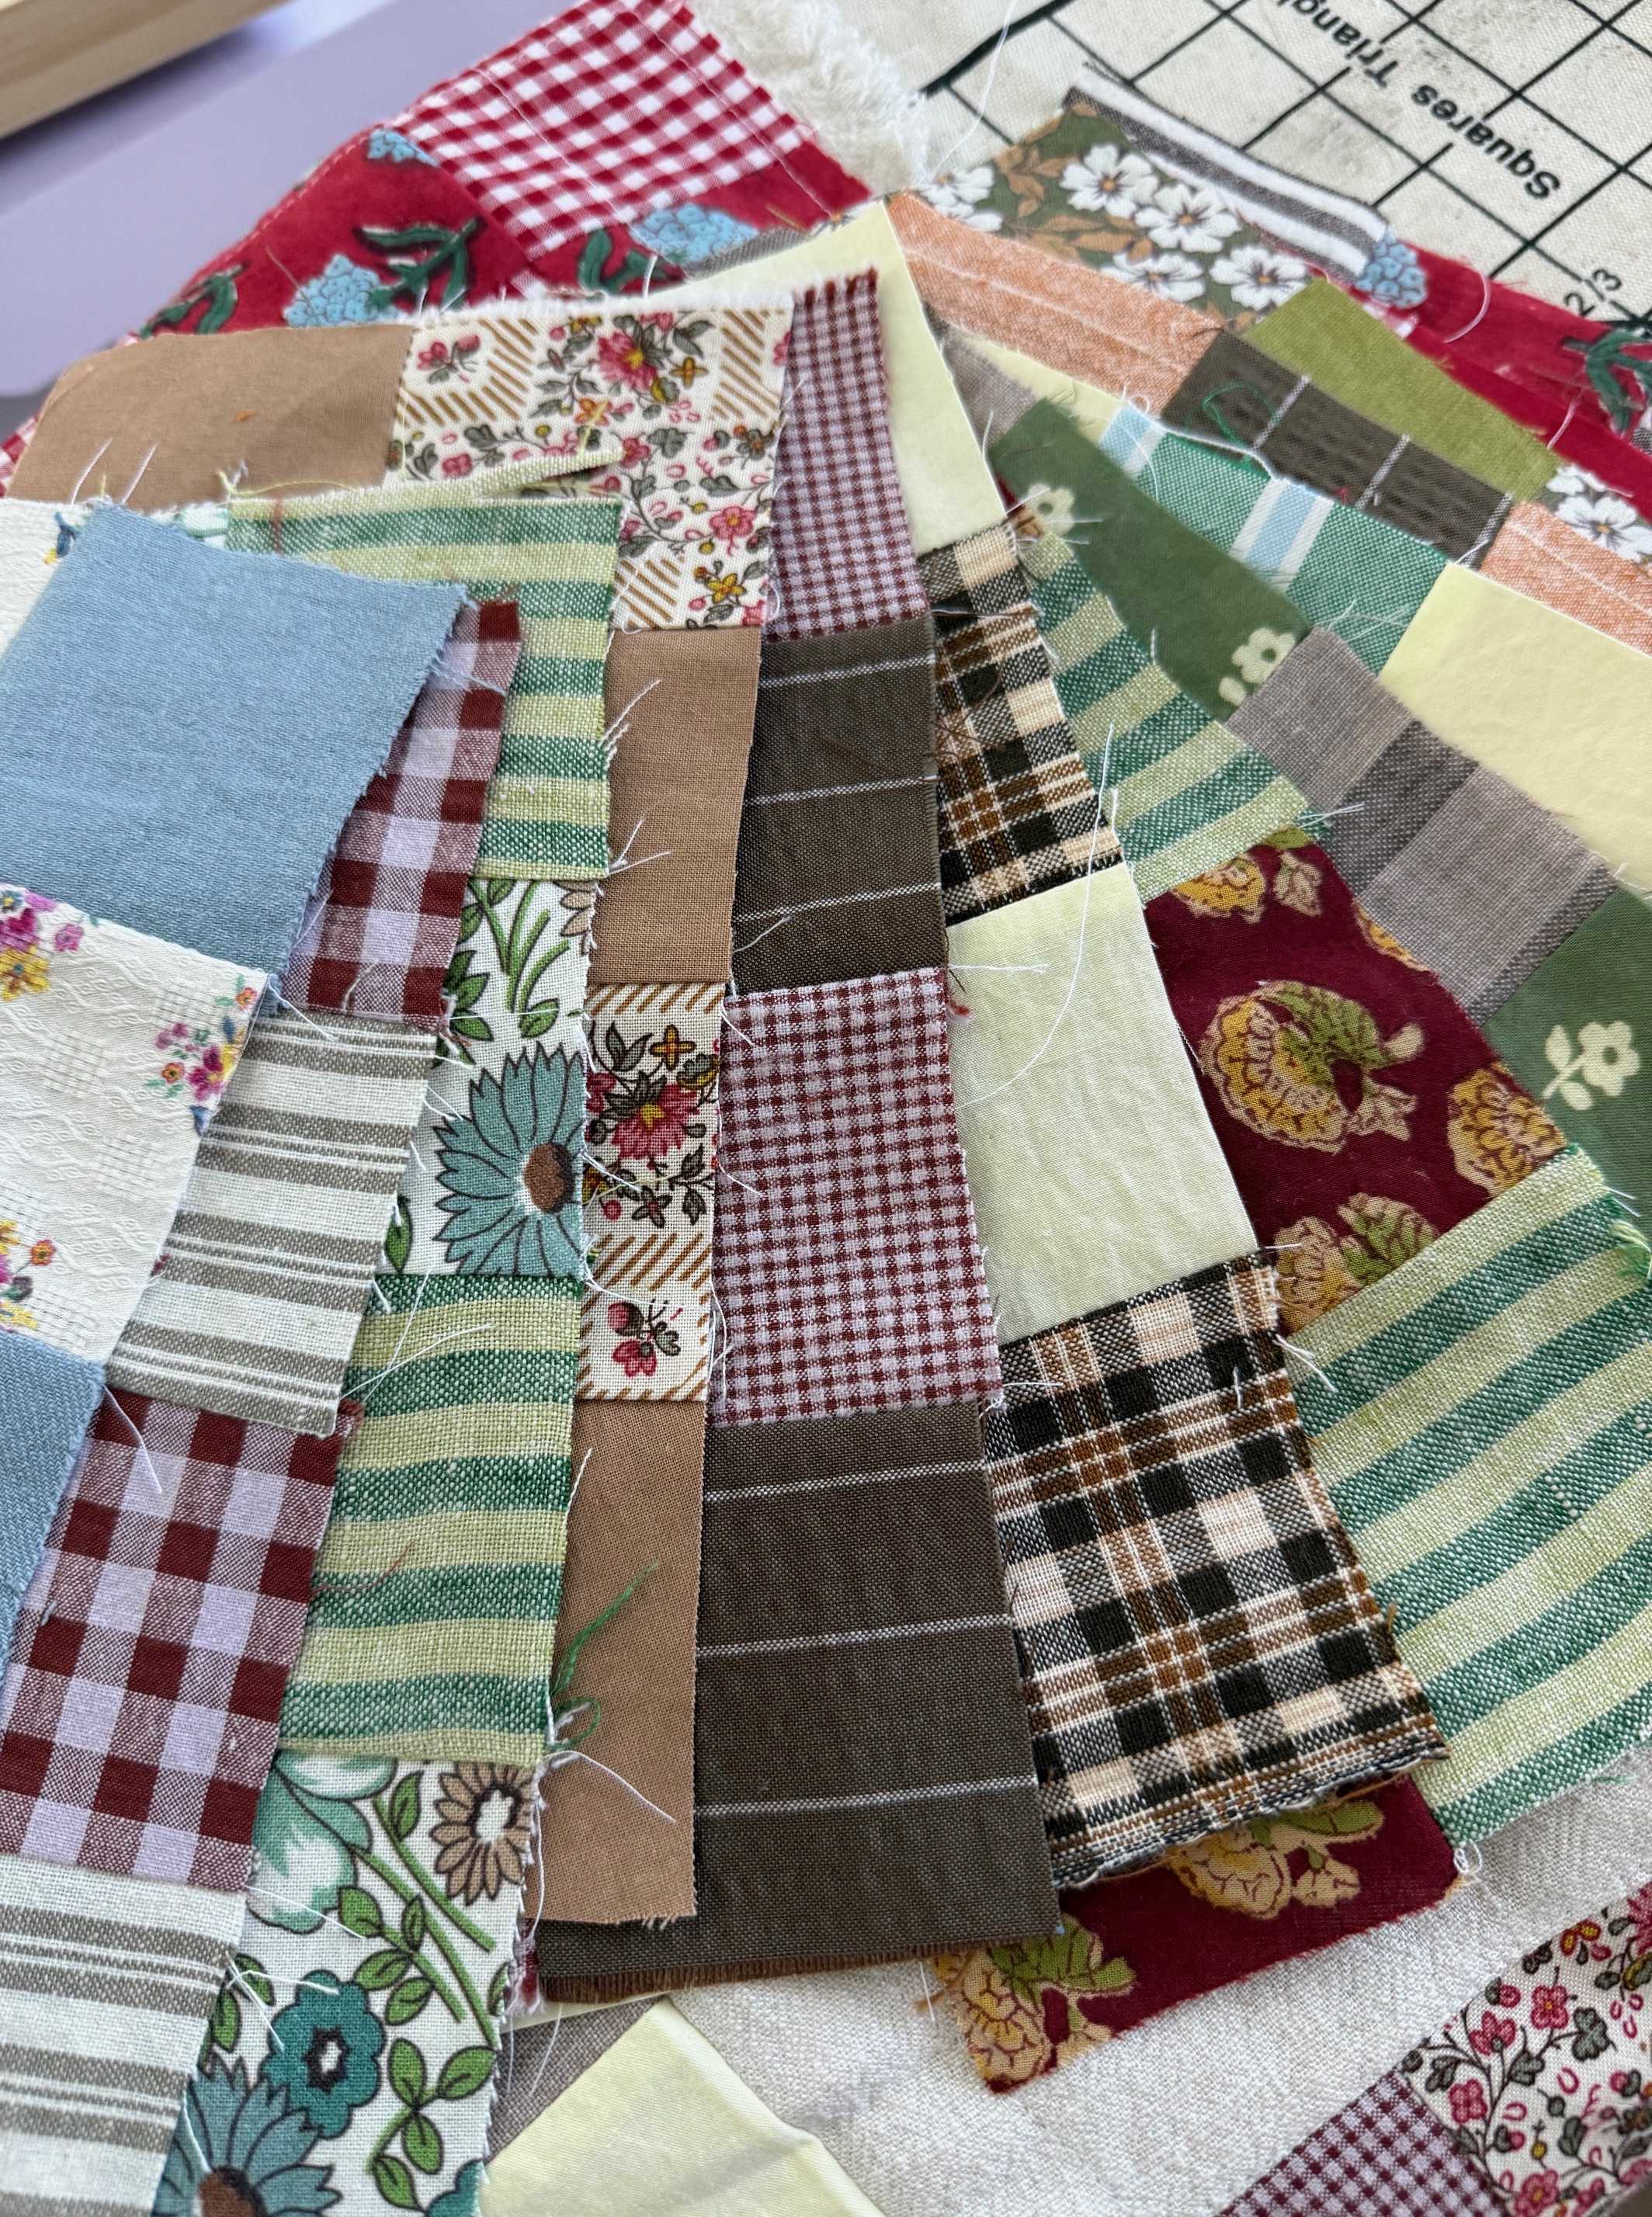
For the giveaway, I wanted to make something from their new pattern book, and I wanted to use my fabric scraps from past projects. Matchy Matchy sewing club is known for their gorgeous stripes and checked fabrics, perfect for patching working a project together.
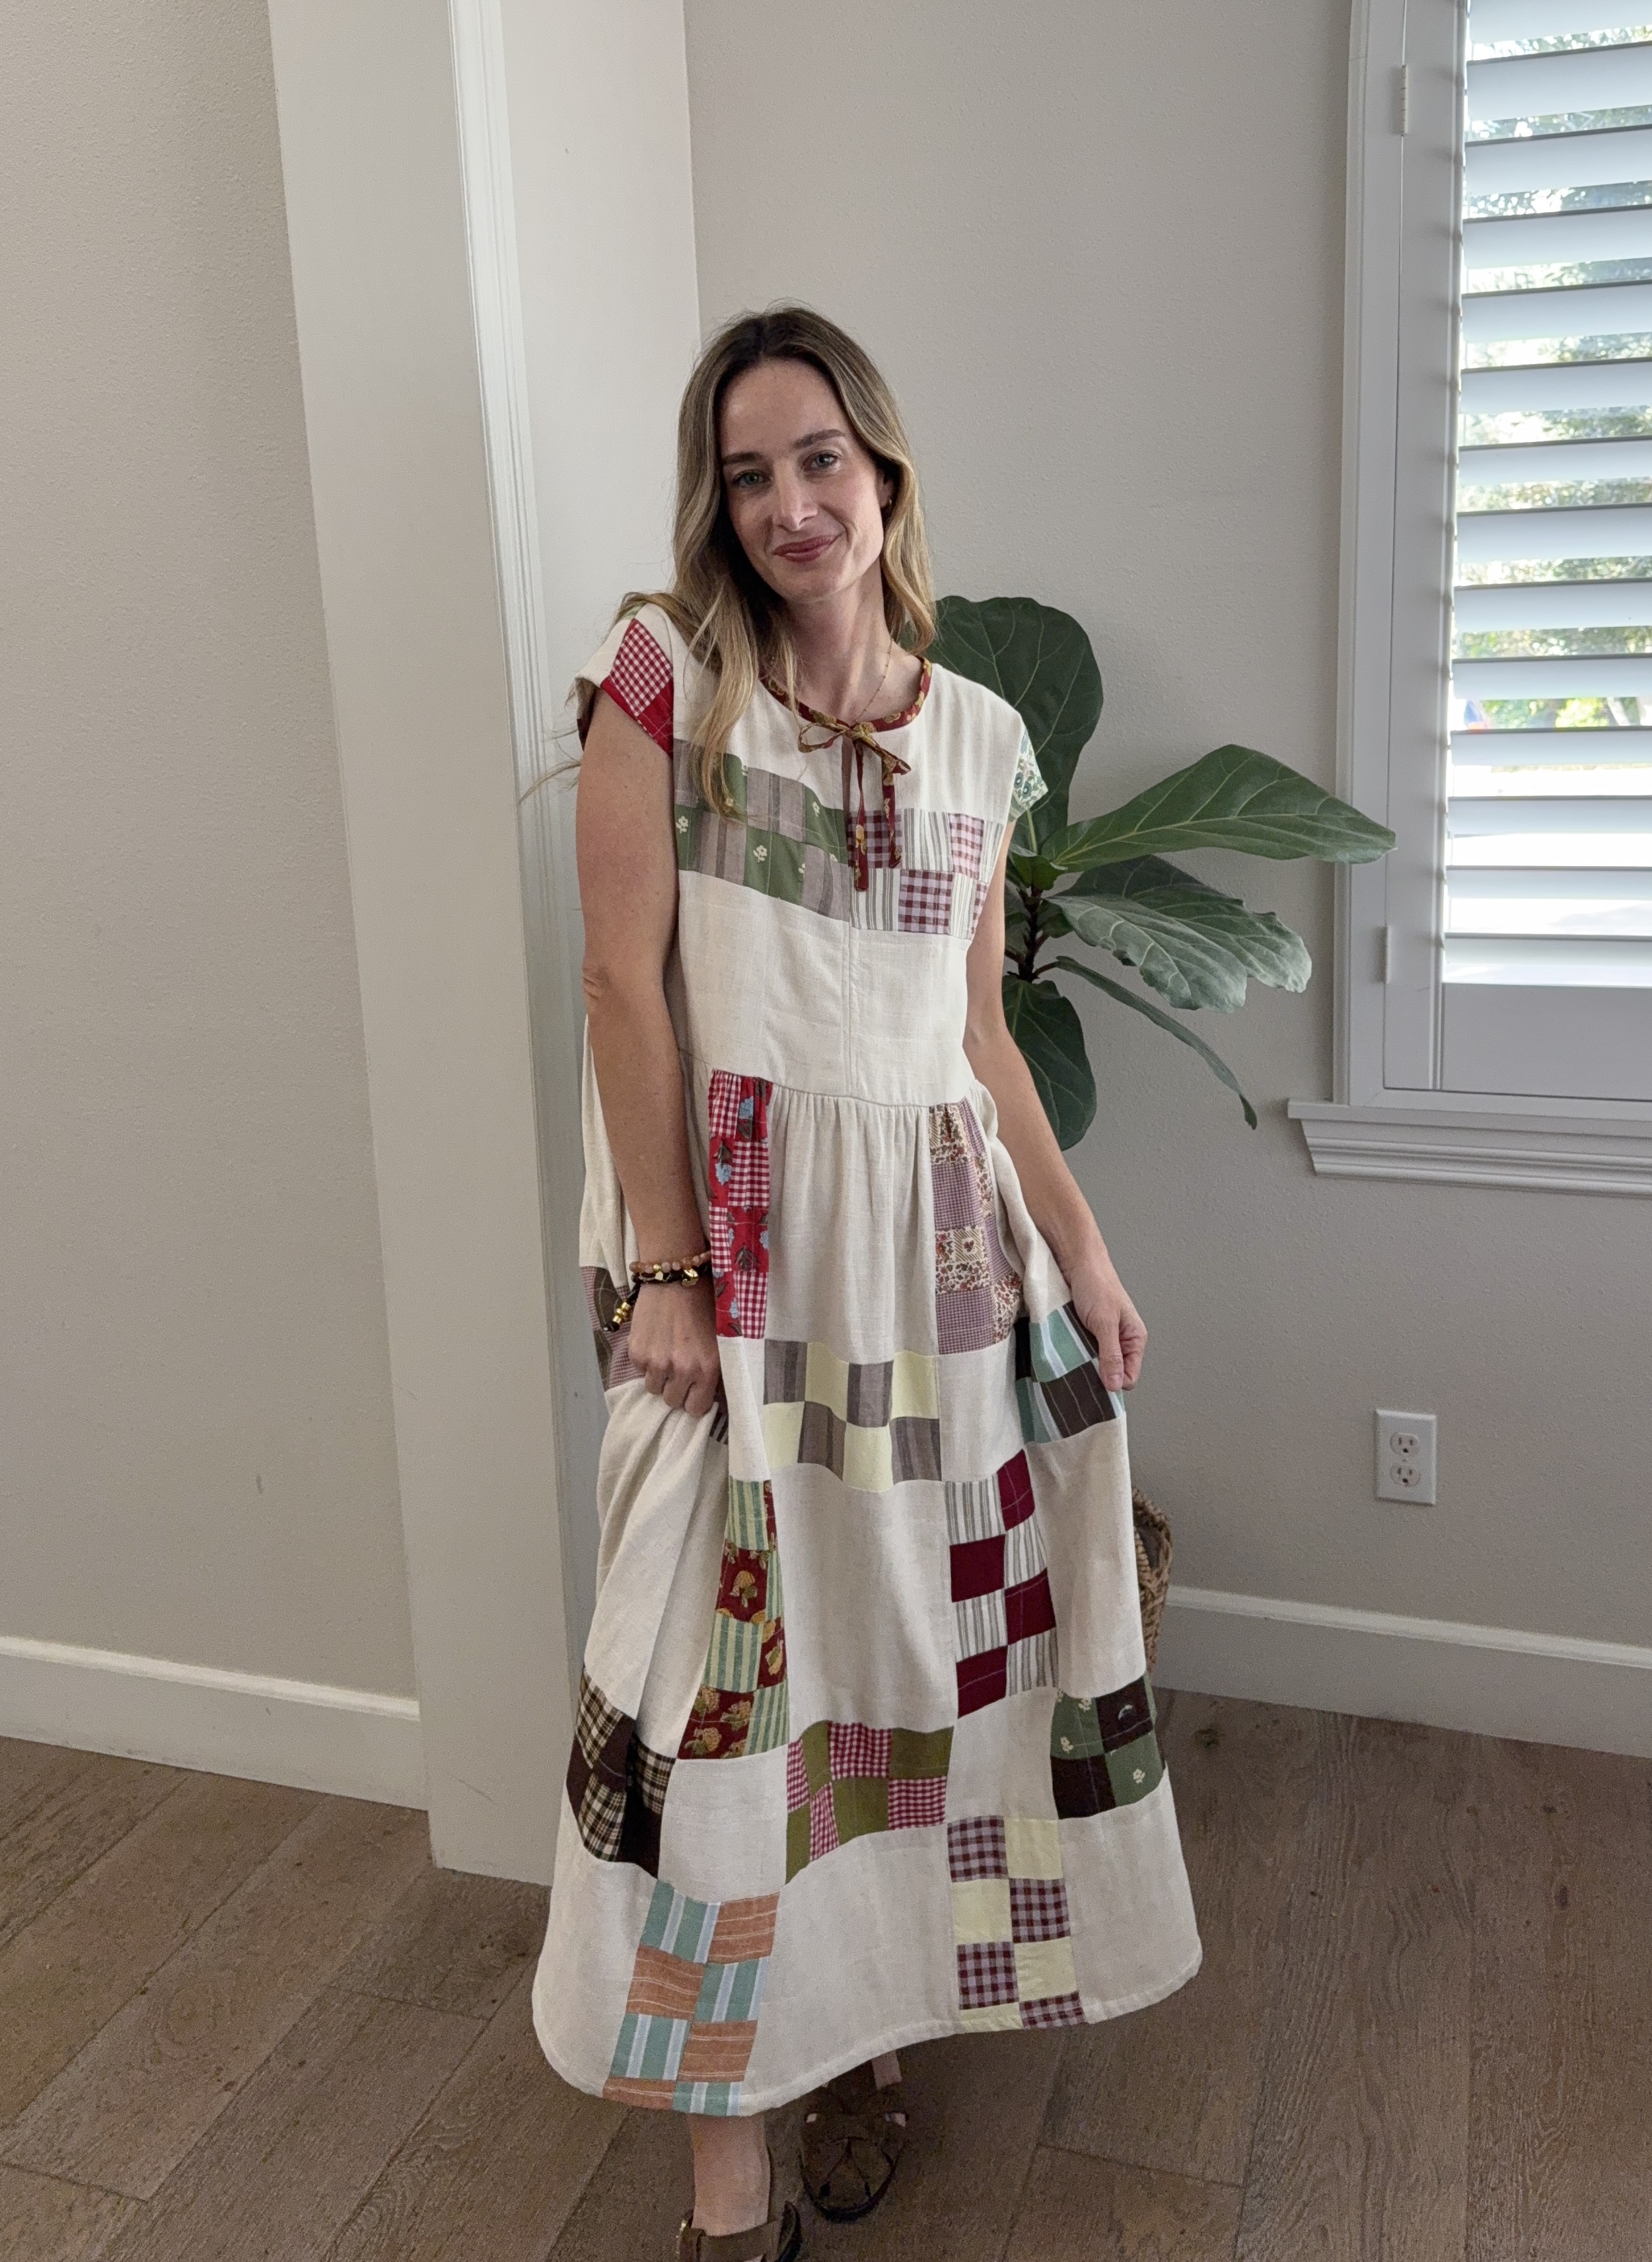
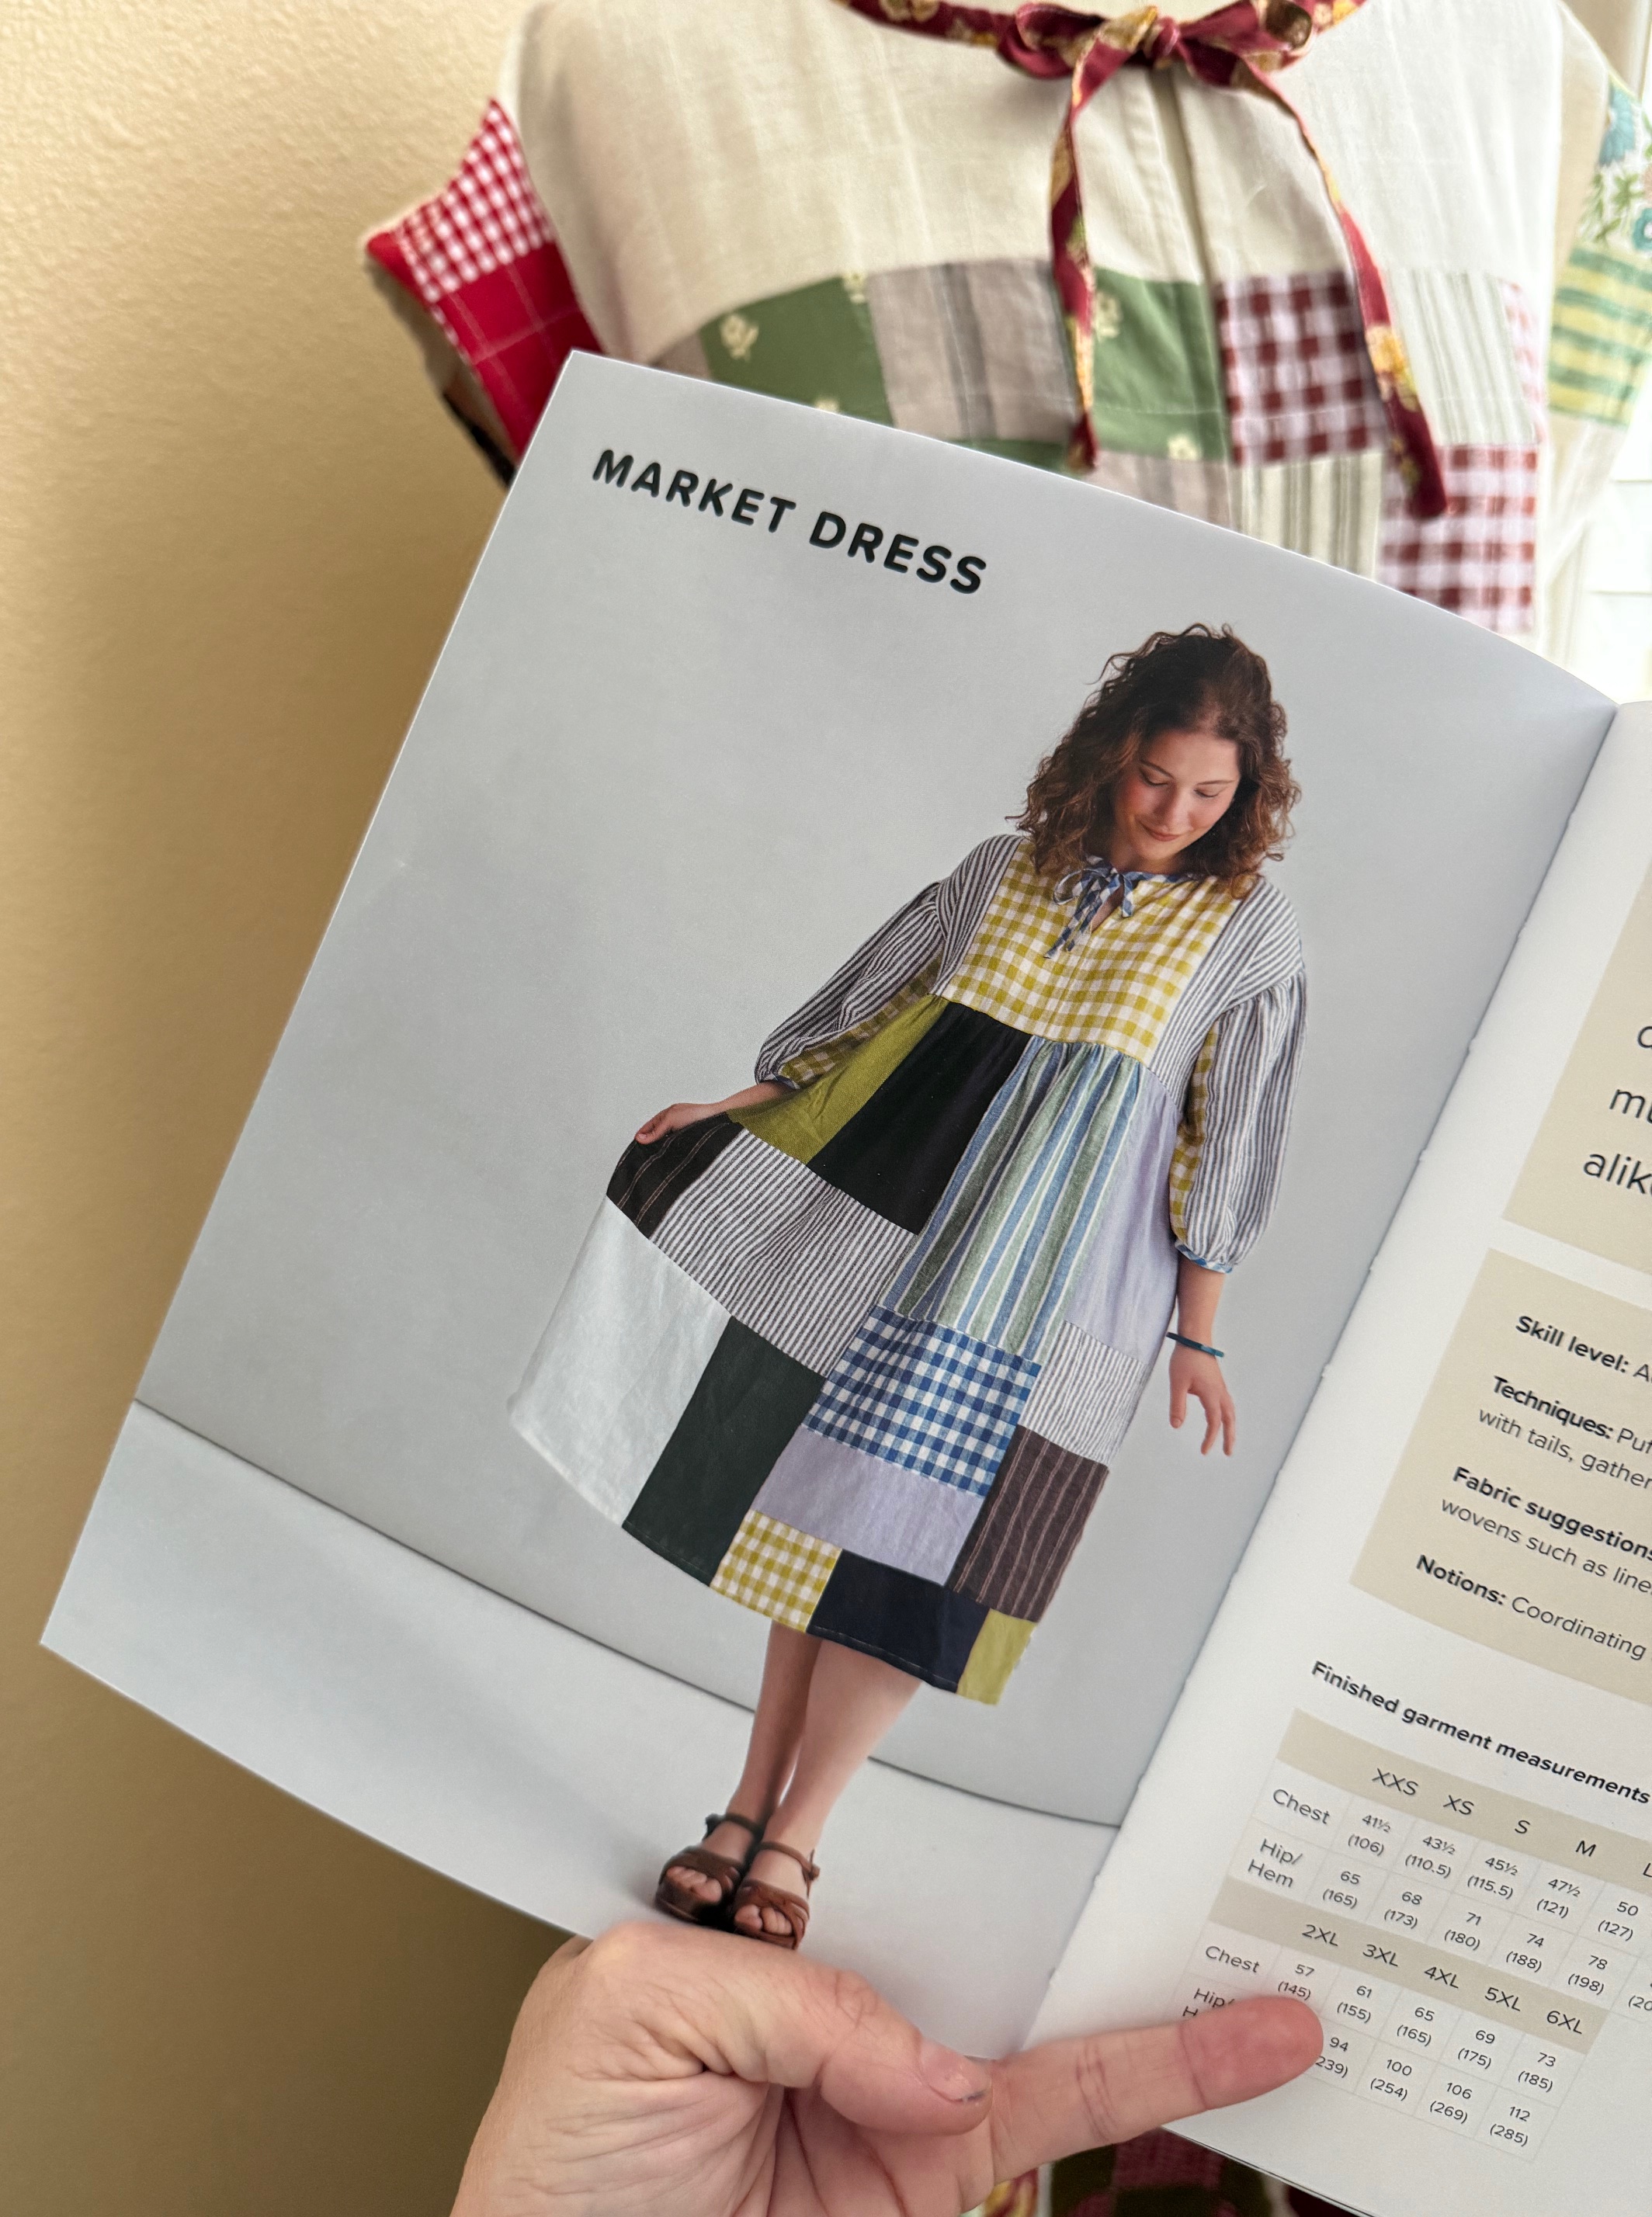
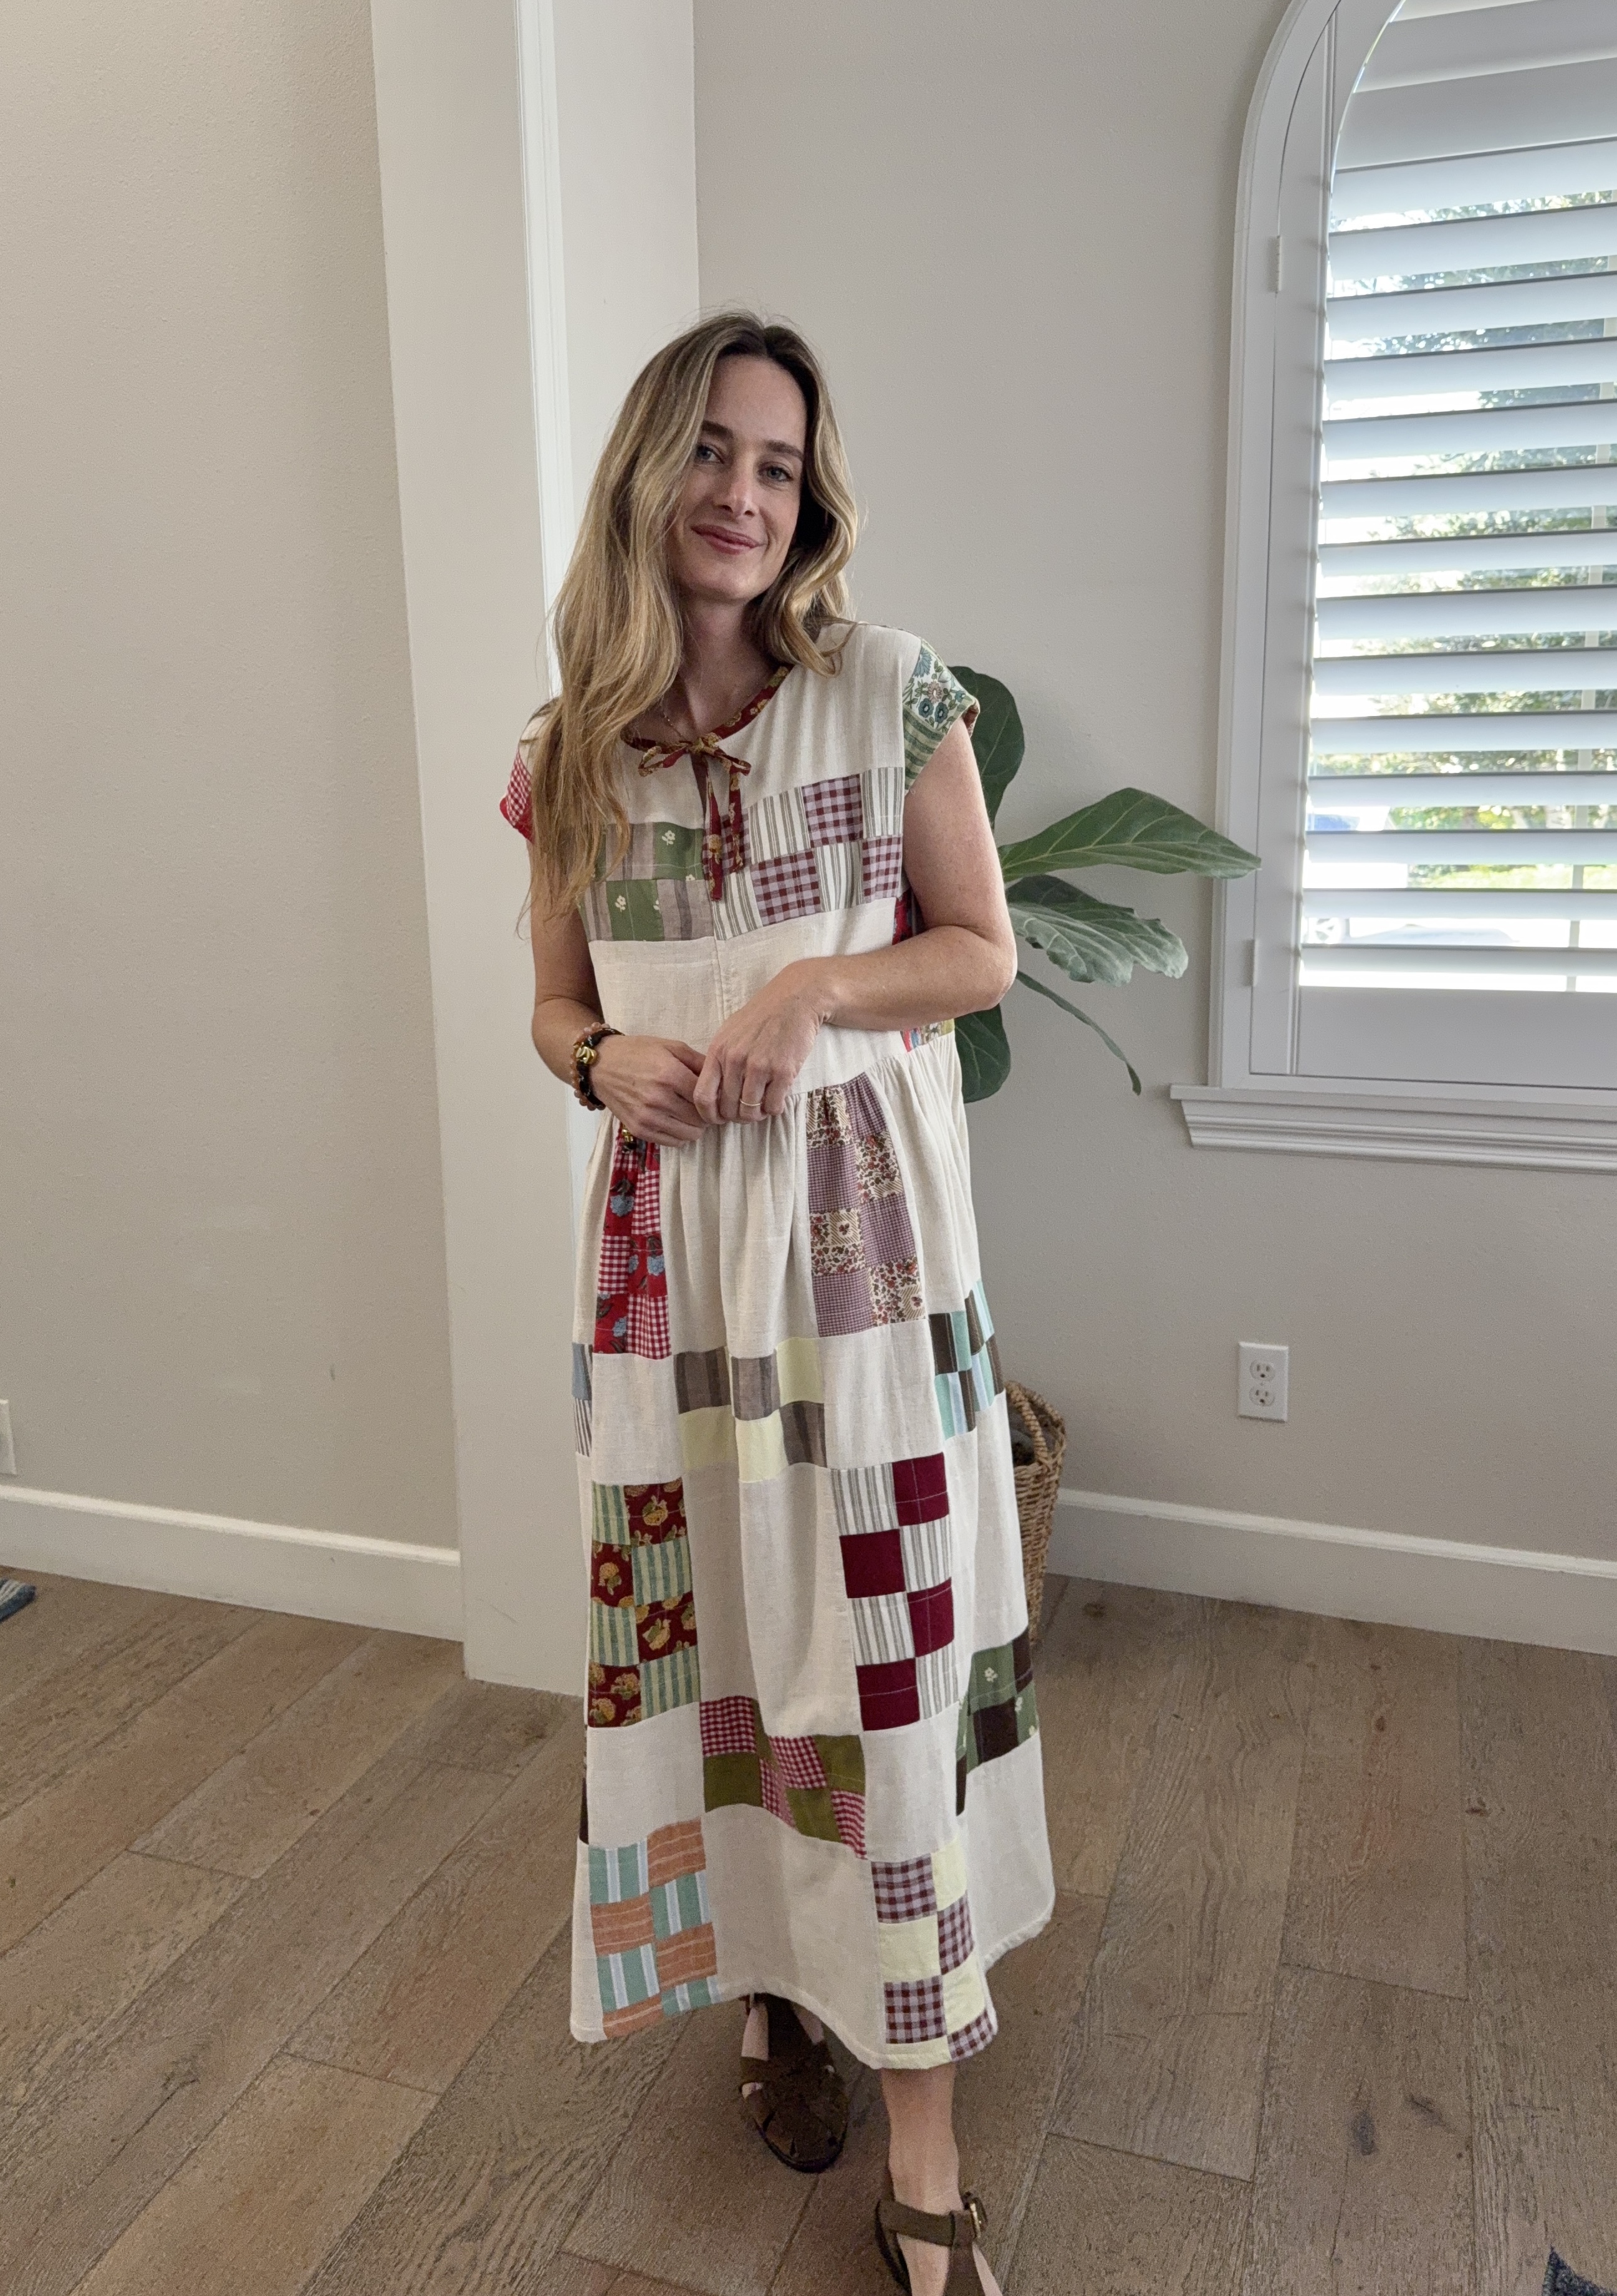
I landed on making the Market Dress in their new book, and I wanted my dress to be a little more intentional with the patchwork design. I searched quilted dresses online and came across a quilt pattern as well as Sydney Graham’s quilted dress tutorial and I was instantly inspired. Sydney’s dress pattern is similar to the Market Dress, so I used her tutorial to plan out my skirt pieces, and I also copied the way she did her front bodice piecing.Although, I didn’t add the bottom ruffle like Sydney and stayed true to the Market Dress design. The way she planned her main skirt pieces worked perfectly with this pattern.
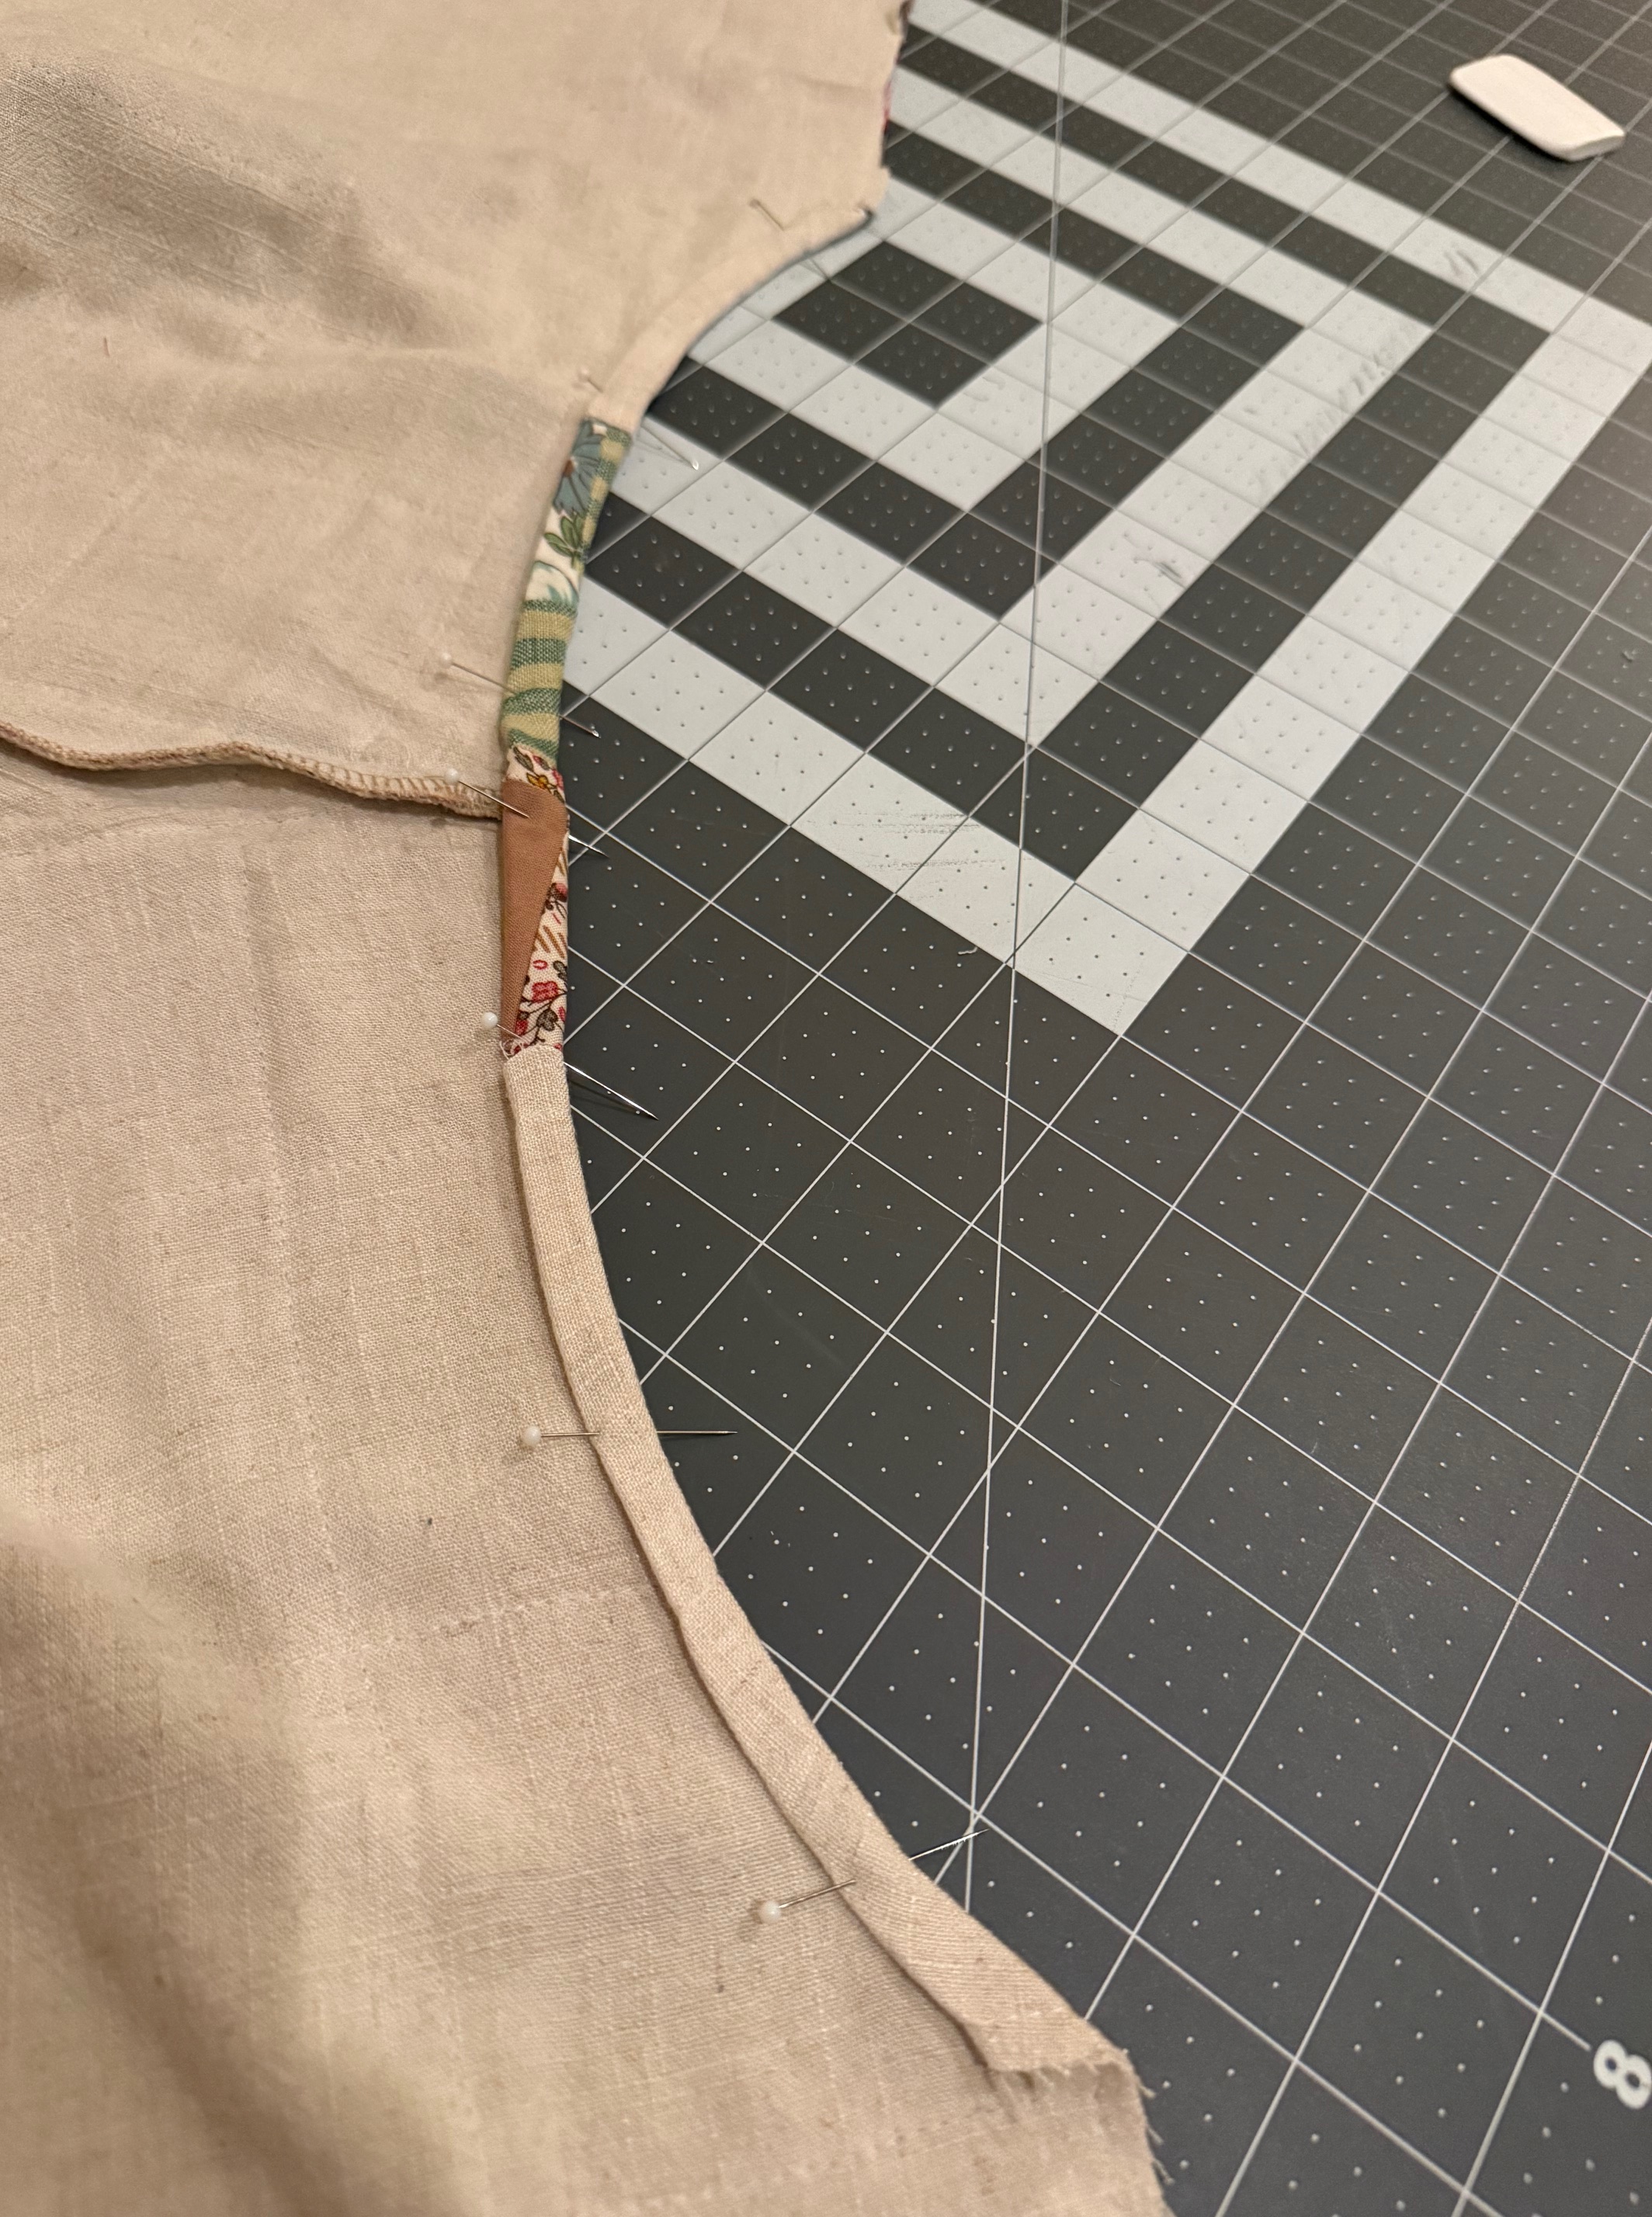
I made the size XS. I made a few simple alterations. I added 1 1/2″ in length to the front and back bodice so the skirt would hit closer to my natural waist. I tapped the bodice side and front pieces together (overlapping by 1/2″ to account for seam allowances) to create one piece. I love the idea of using different fabrics here but for my dress I didn’t want to break up the quilted blocks too much. I also took out some of the width in the front and back bodice pieces. This whole project was an ongoing experiment for me, so I didn’t make these changes the proper way in which you should alter a pattern, but it worked for me. In the photo below you can see the pink lines along my pattern piece showing how much a shaved off of the bodice widths.

I tried the bodice on as I was sewing to determine what adjustments I needed. Although I was hoping I wouldn’t need any! So it goes with sewing. The bodice looked perfect to me, but after I added the heavy skirt it was too wide on my frame. So, I removed the skirt and took off some of the bodice width. I also needed to bring up the armhole too, personal preference.
Like I said before, for the actual piecing I followed along with Sydney Grahams math- thanks Sydney for figuring this out for the rest of us! You can watch her Youtube tutorial for all of the info.
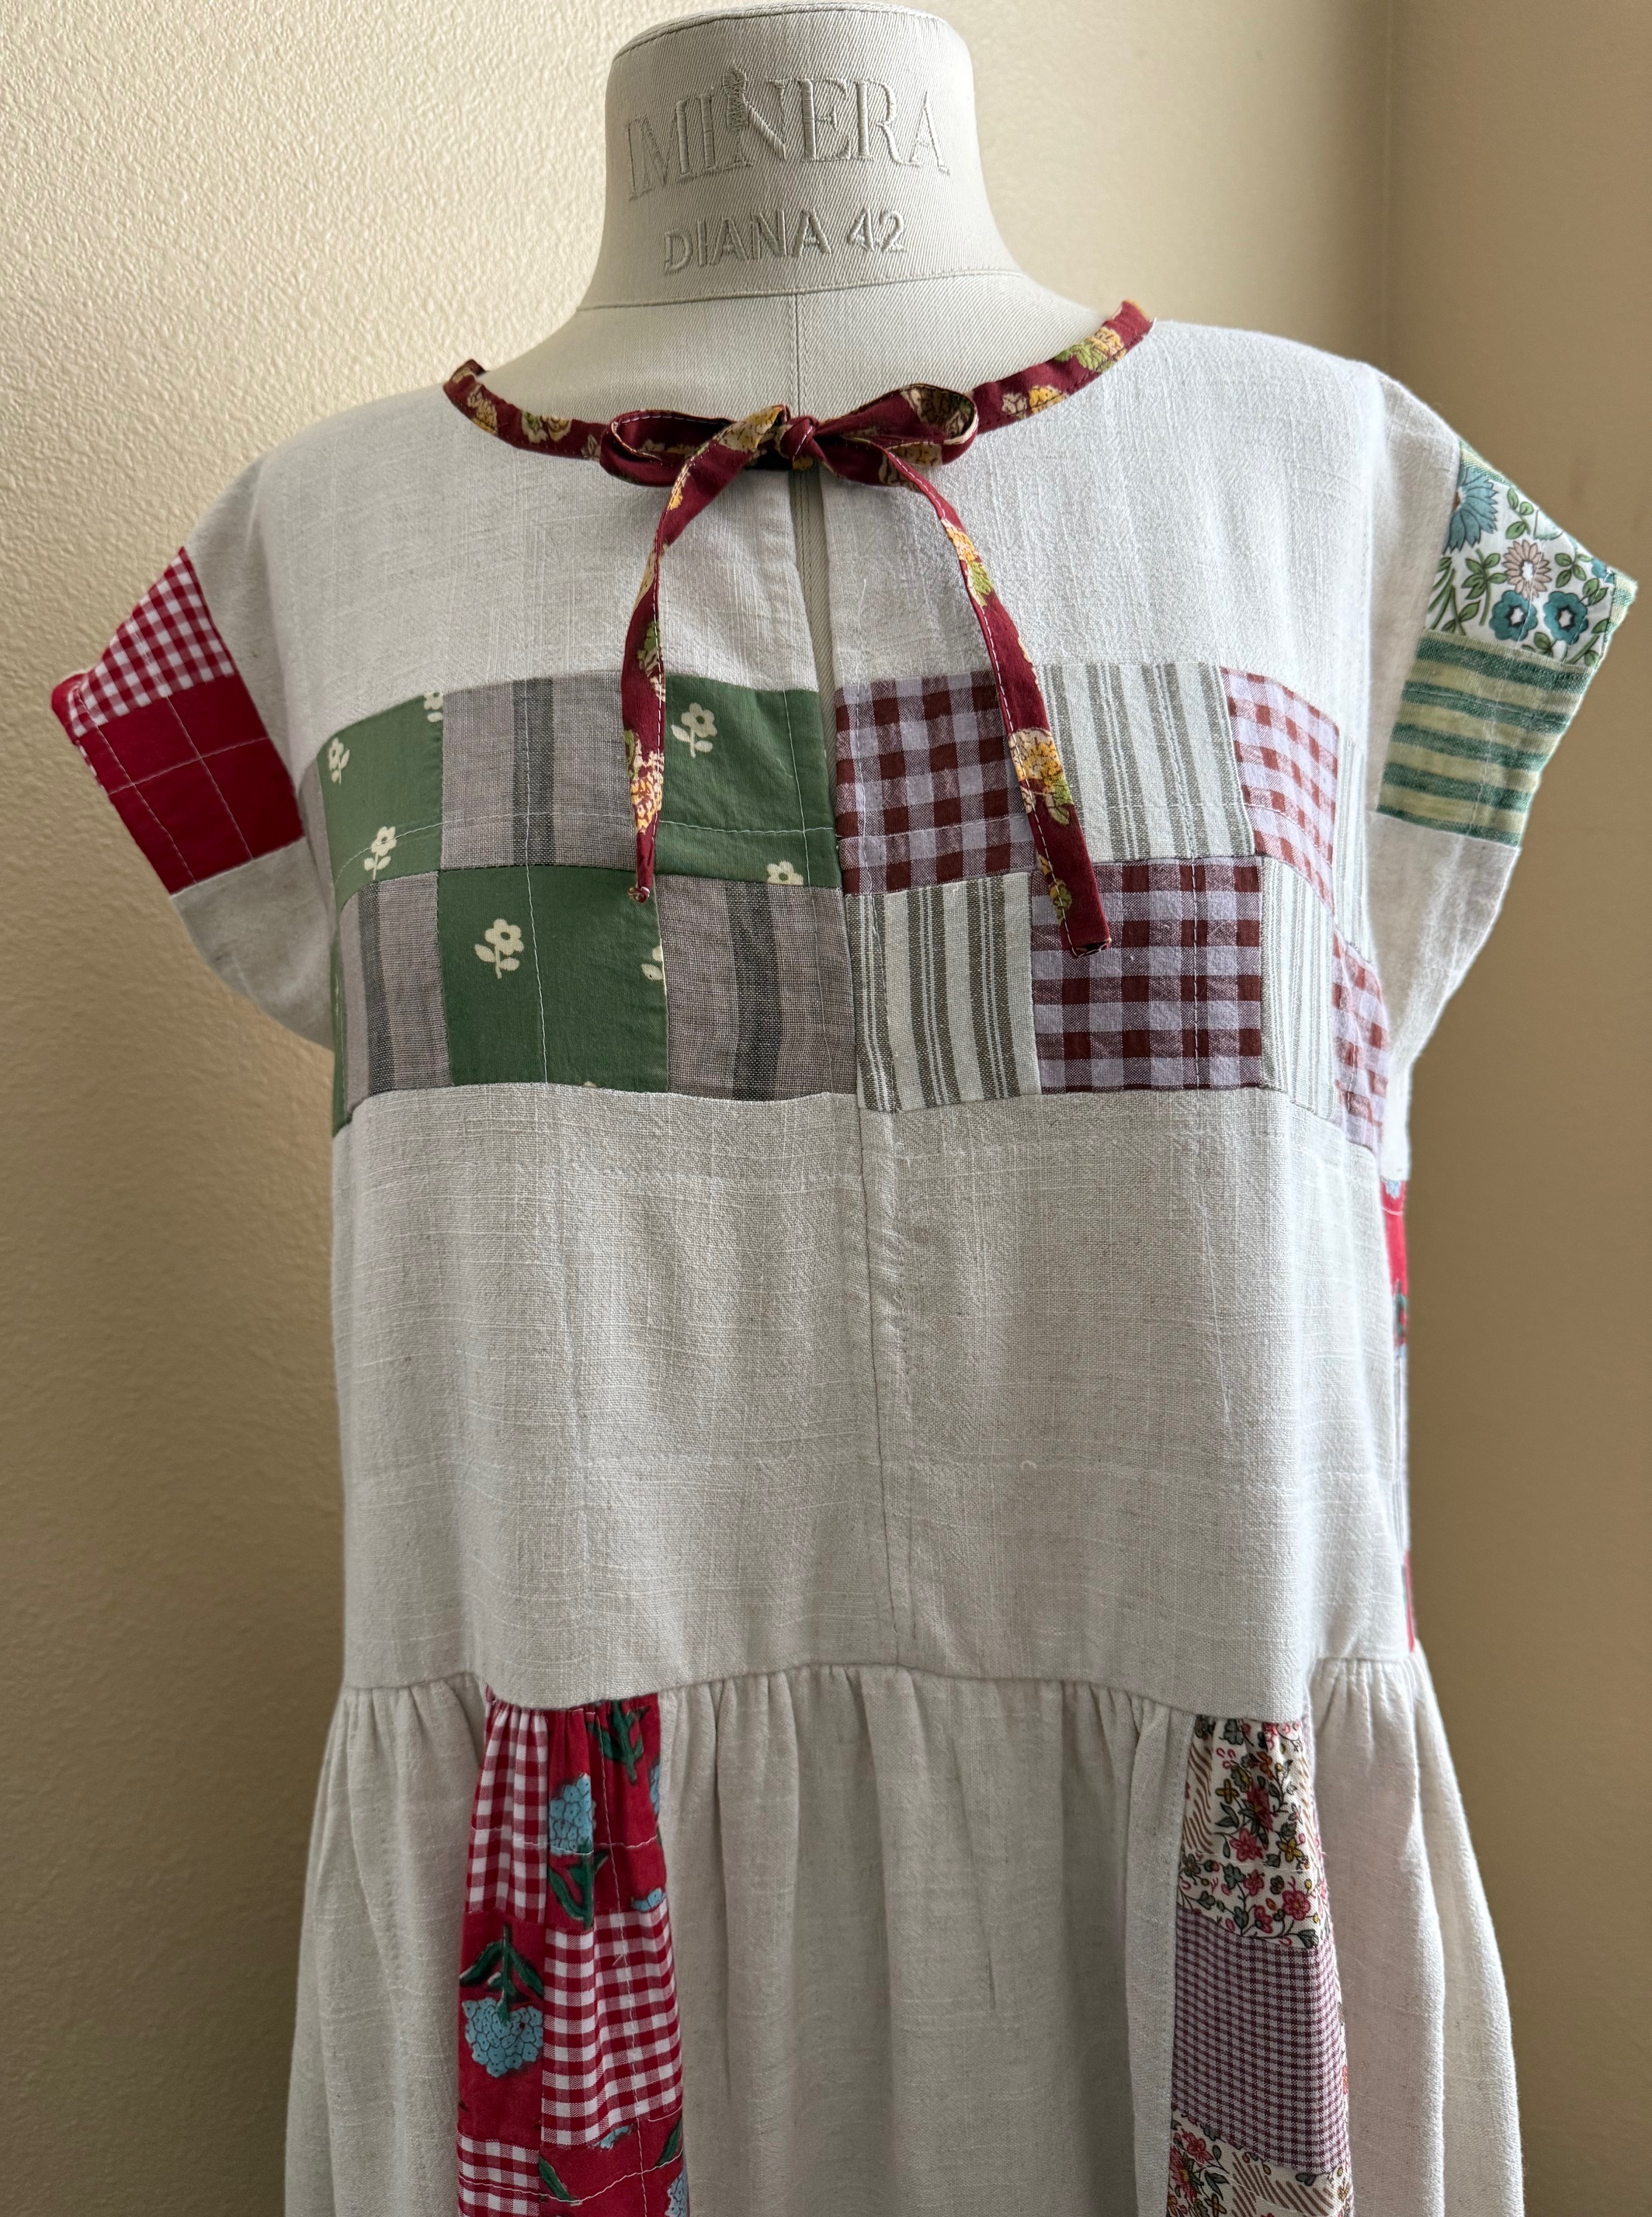
My favorite part of this dress is that it is all made up of scraps from past projects. Fun fact about me, I don’t have much of a fabric stash! I have maybe three cuts of fabric in my stash currently! BUT I keep all of my scraps in hopes of using them for a project like this. I picked up the off-white linen blend fabric from Hobby Lobby. I used about 3 yards.
I loved pairing and piecing my scraps together to create all of my blocks.
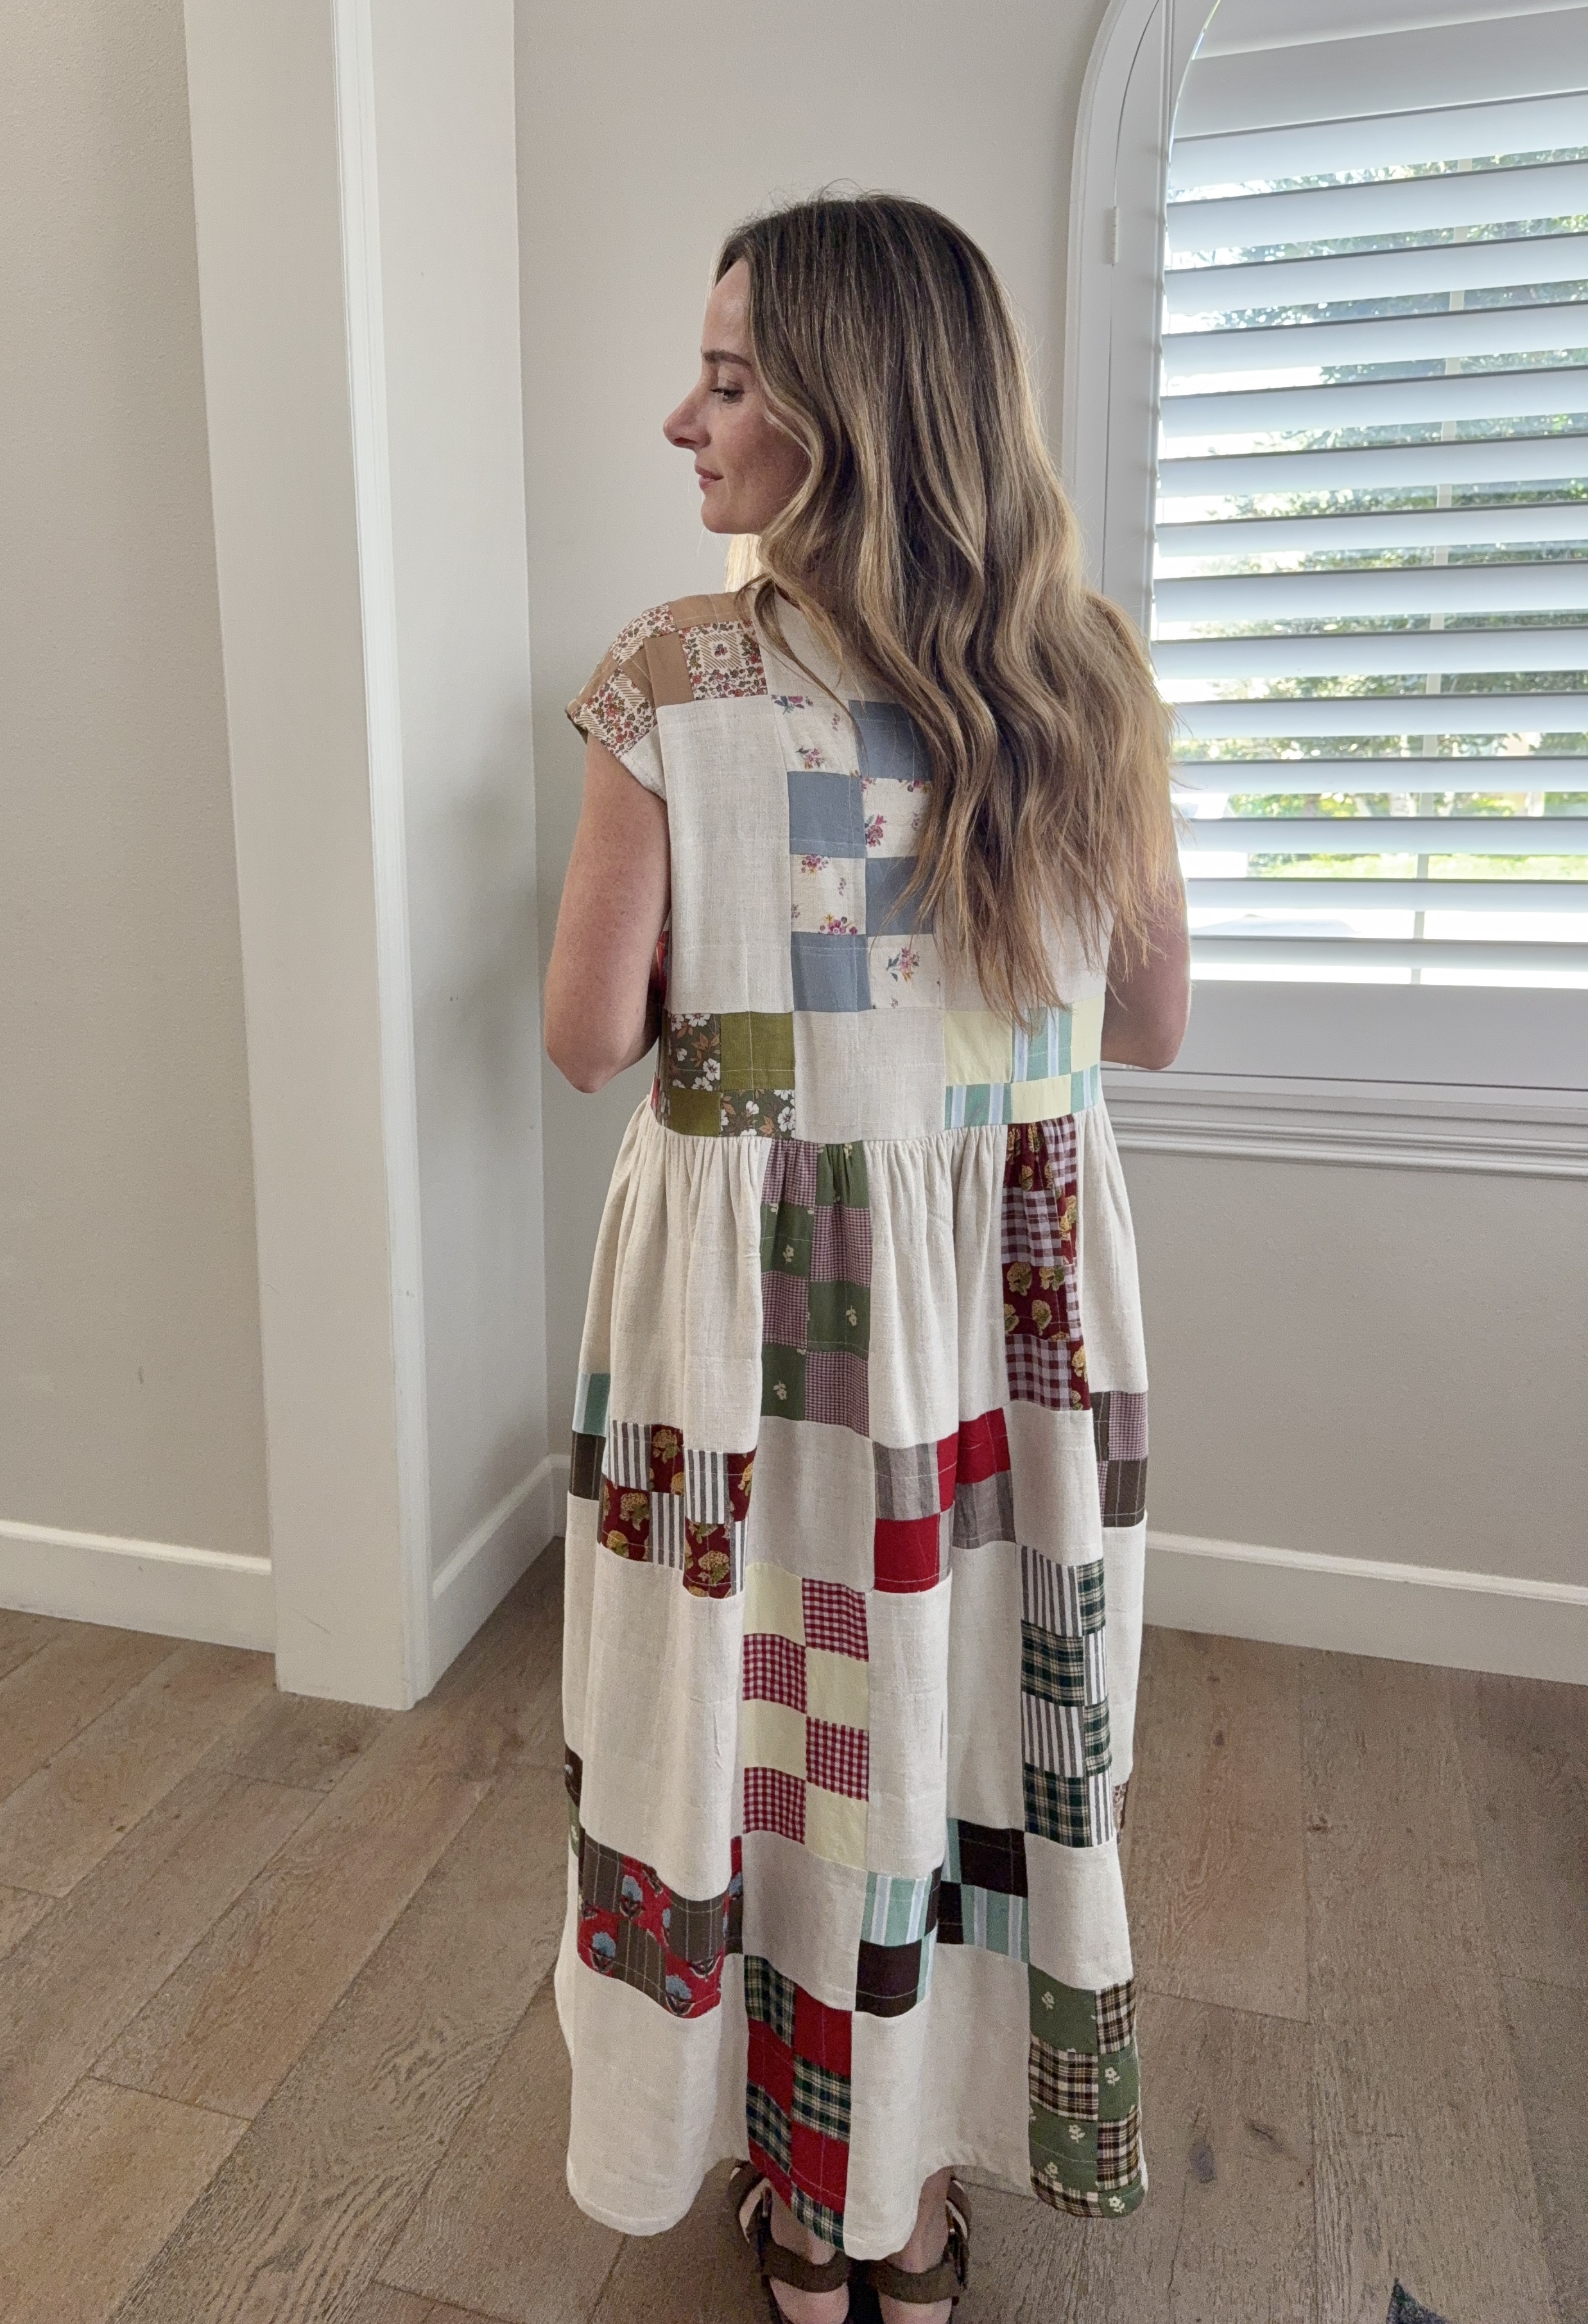
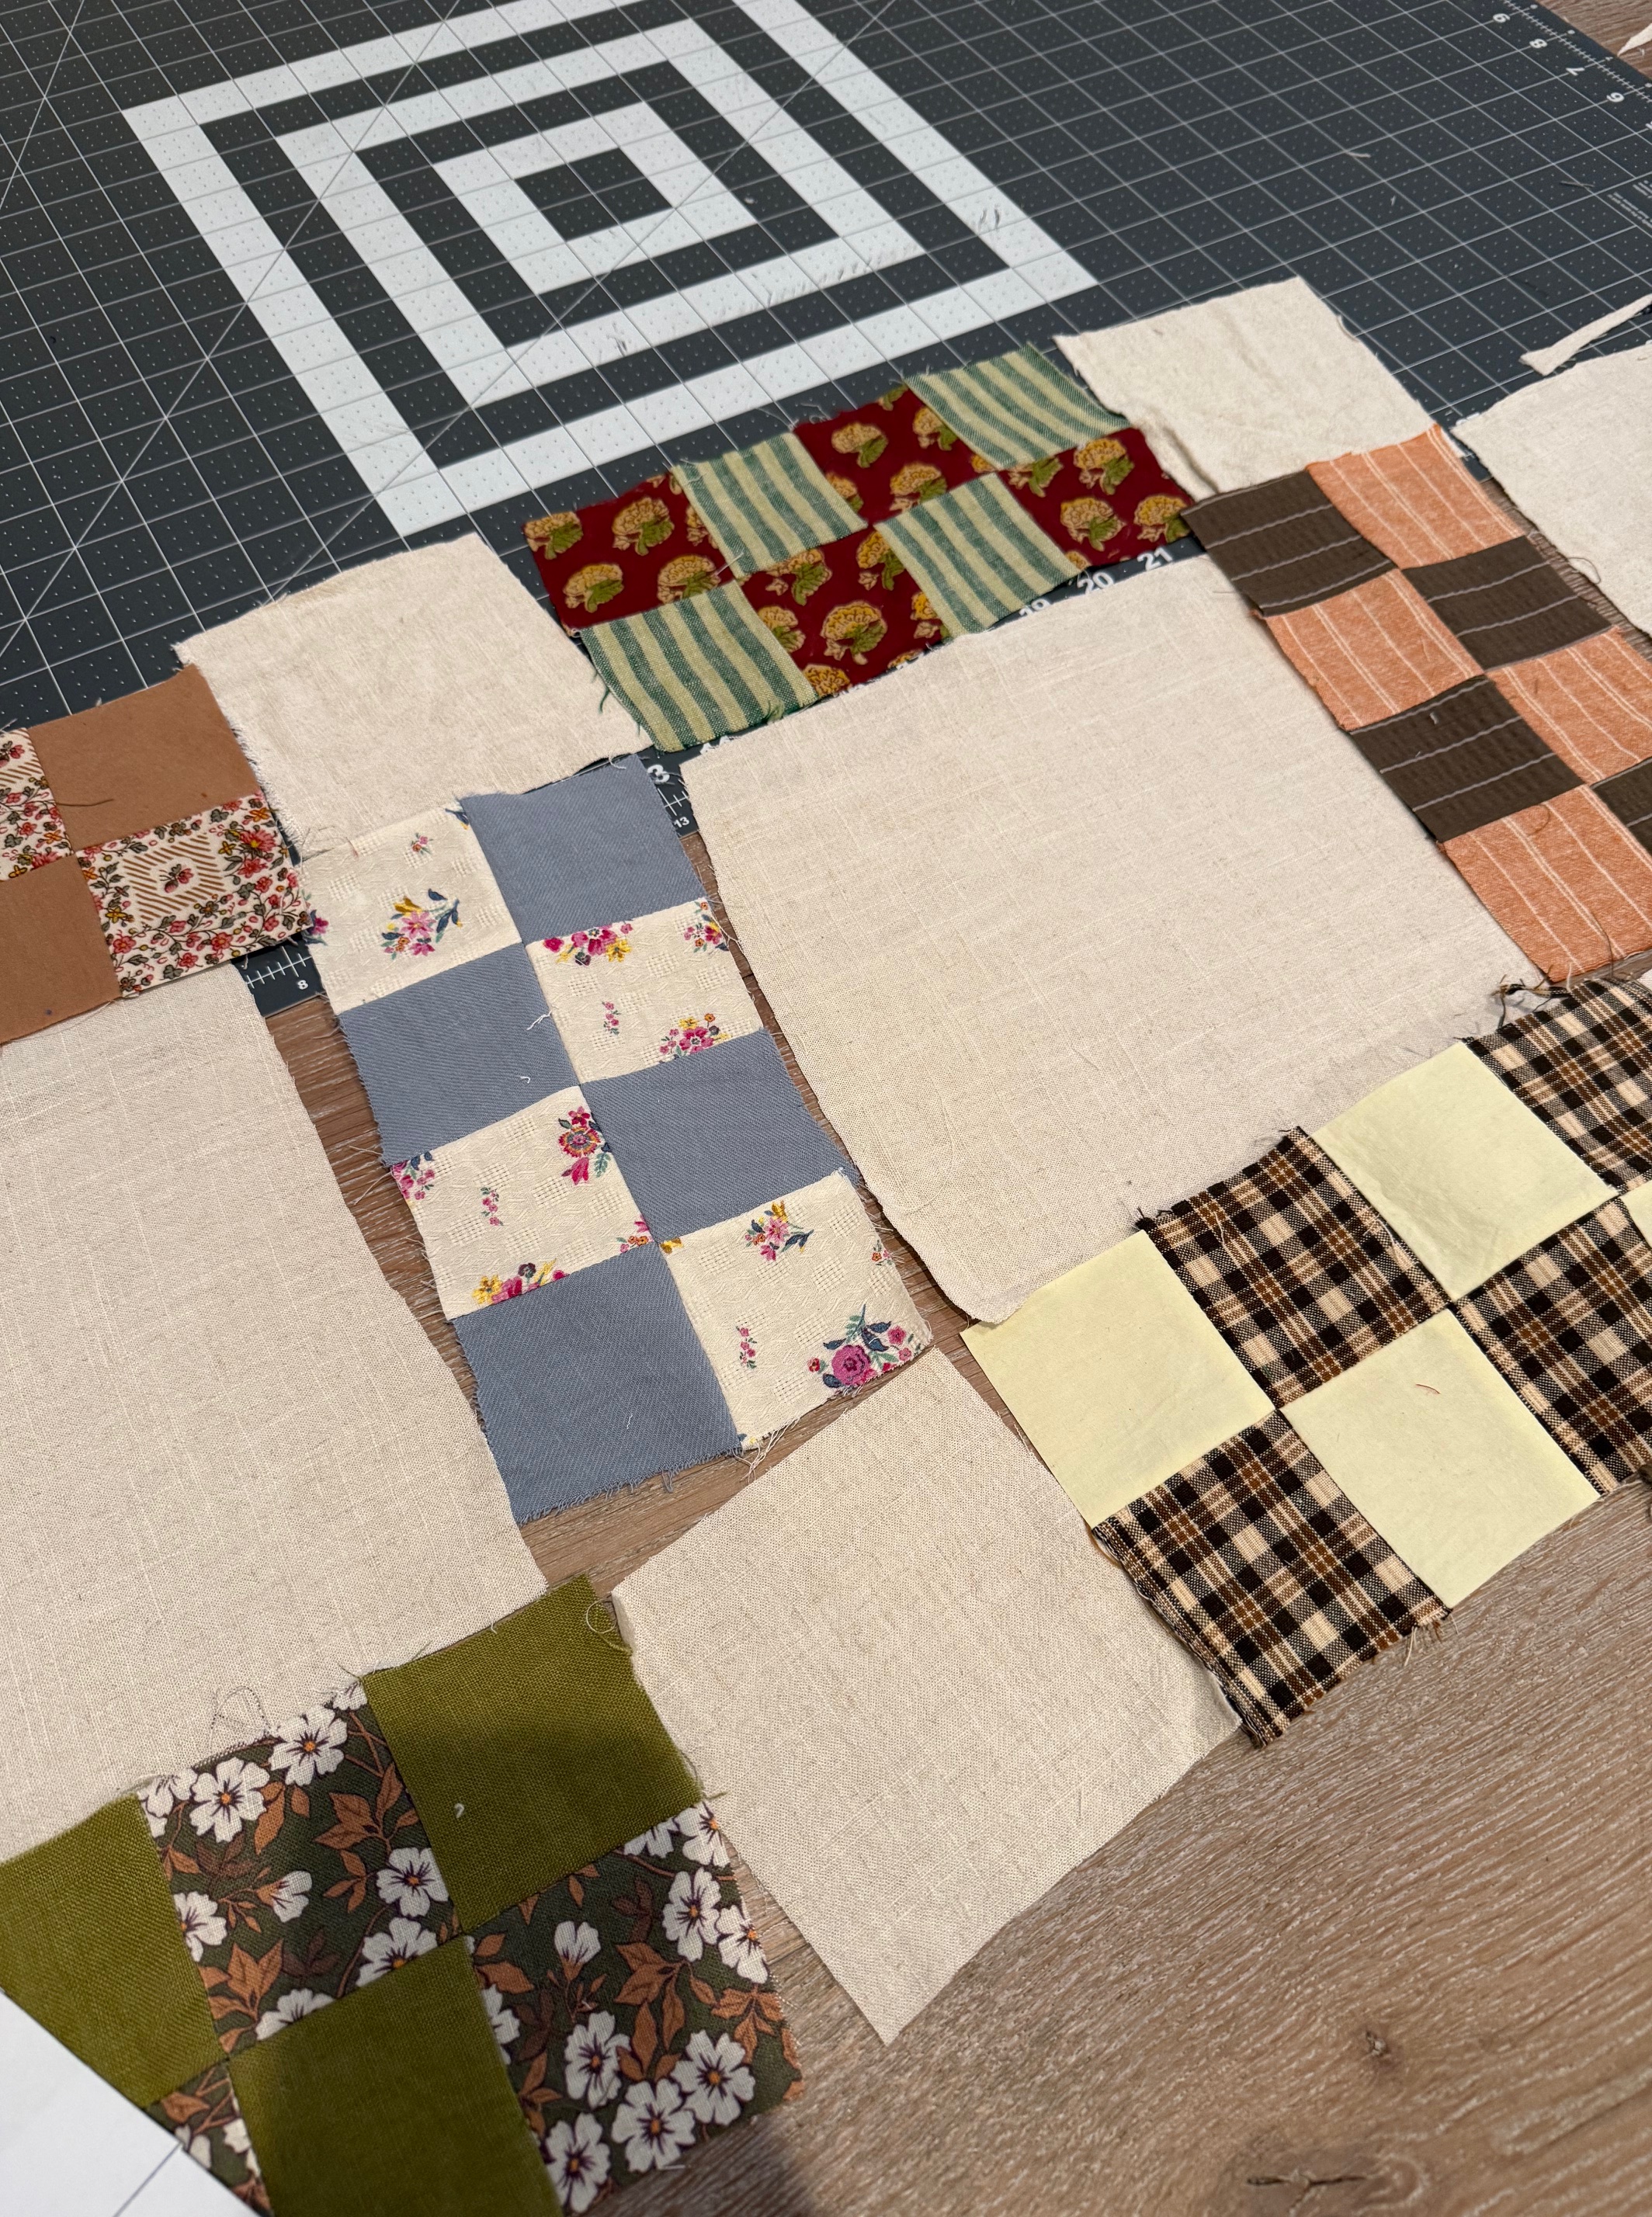
Once all of my blocks were ready, I laid them all out with the off-white squares to plan out where each pieces would go. Again, Sydney’s tutorial walks through what sizes all of your different squares need to be to create your blocks.
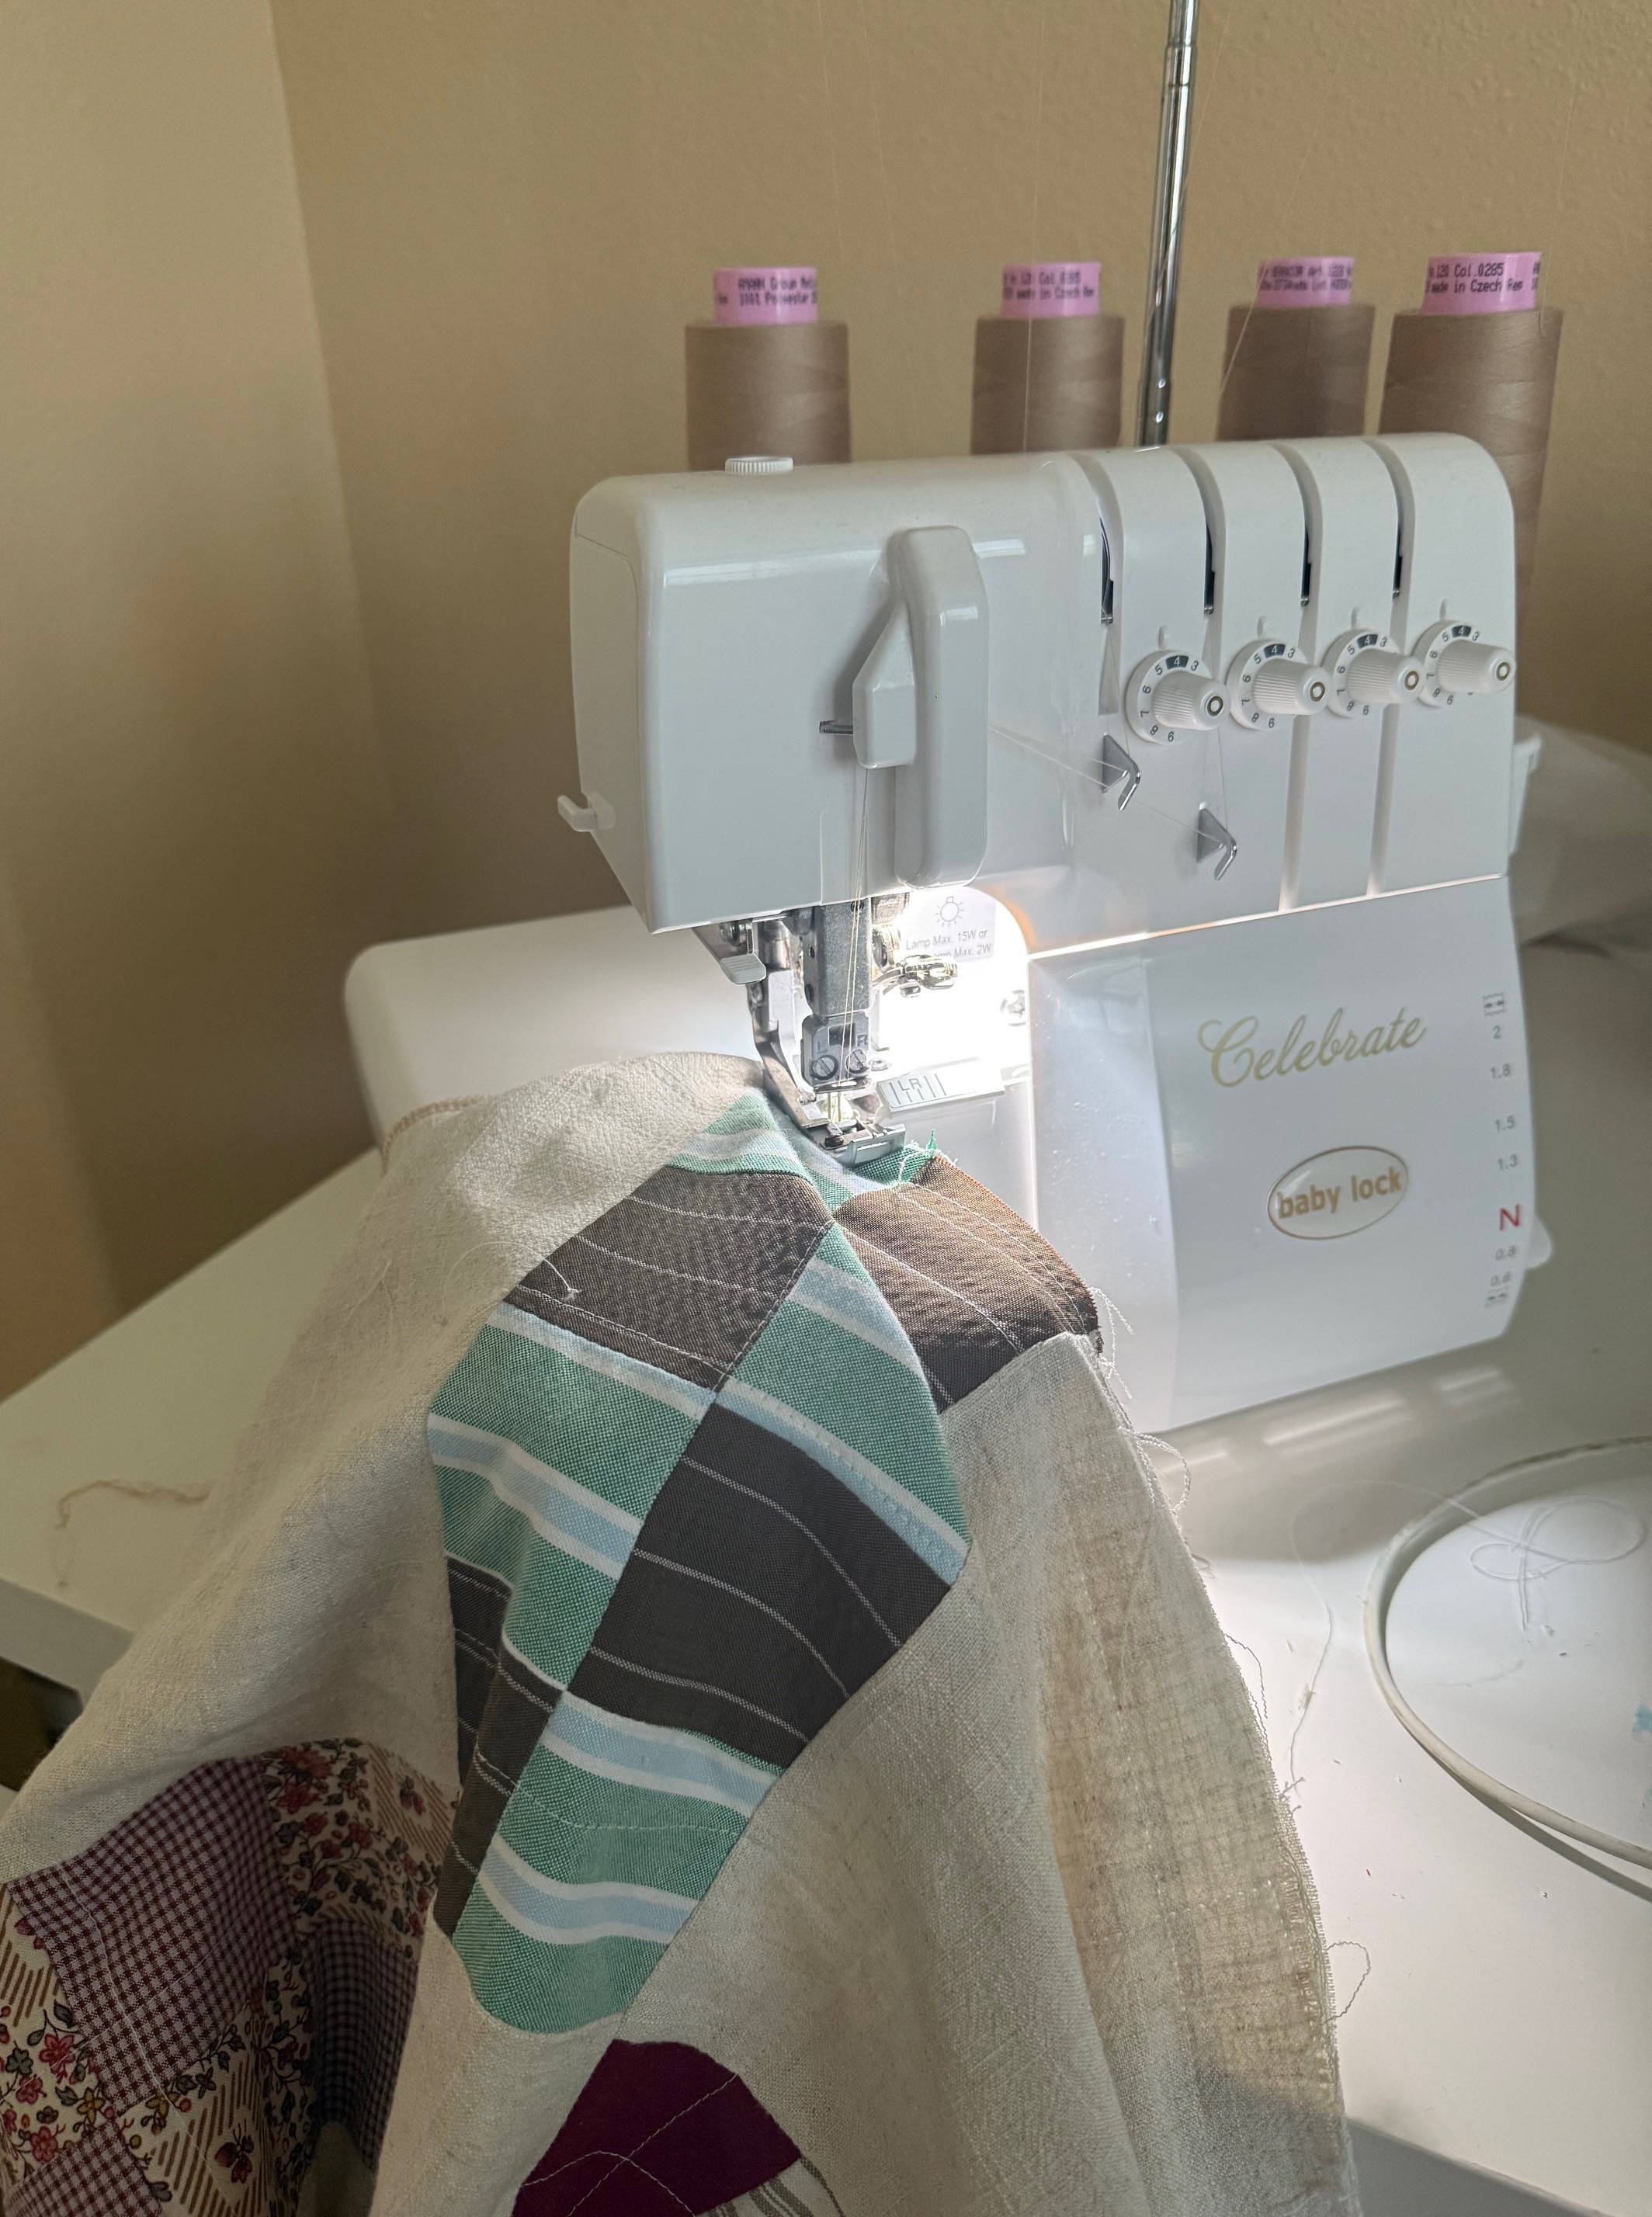
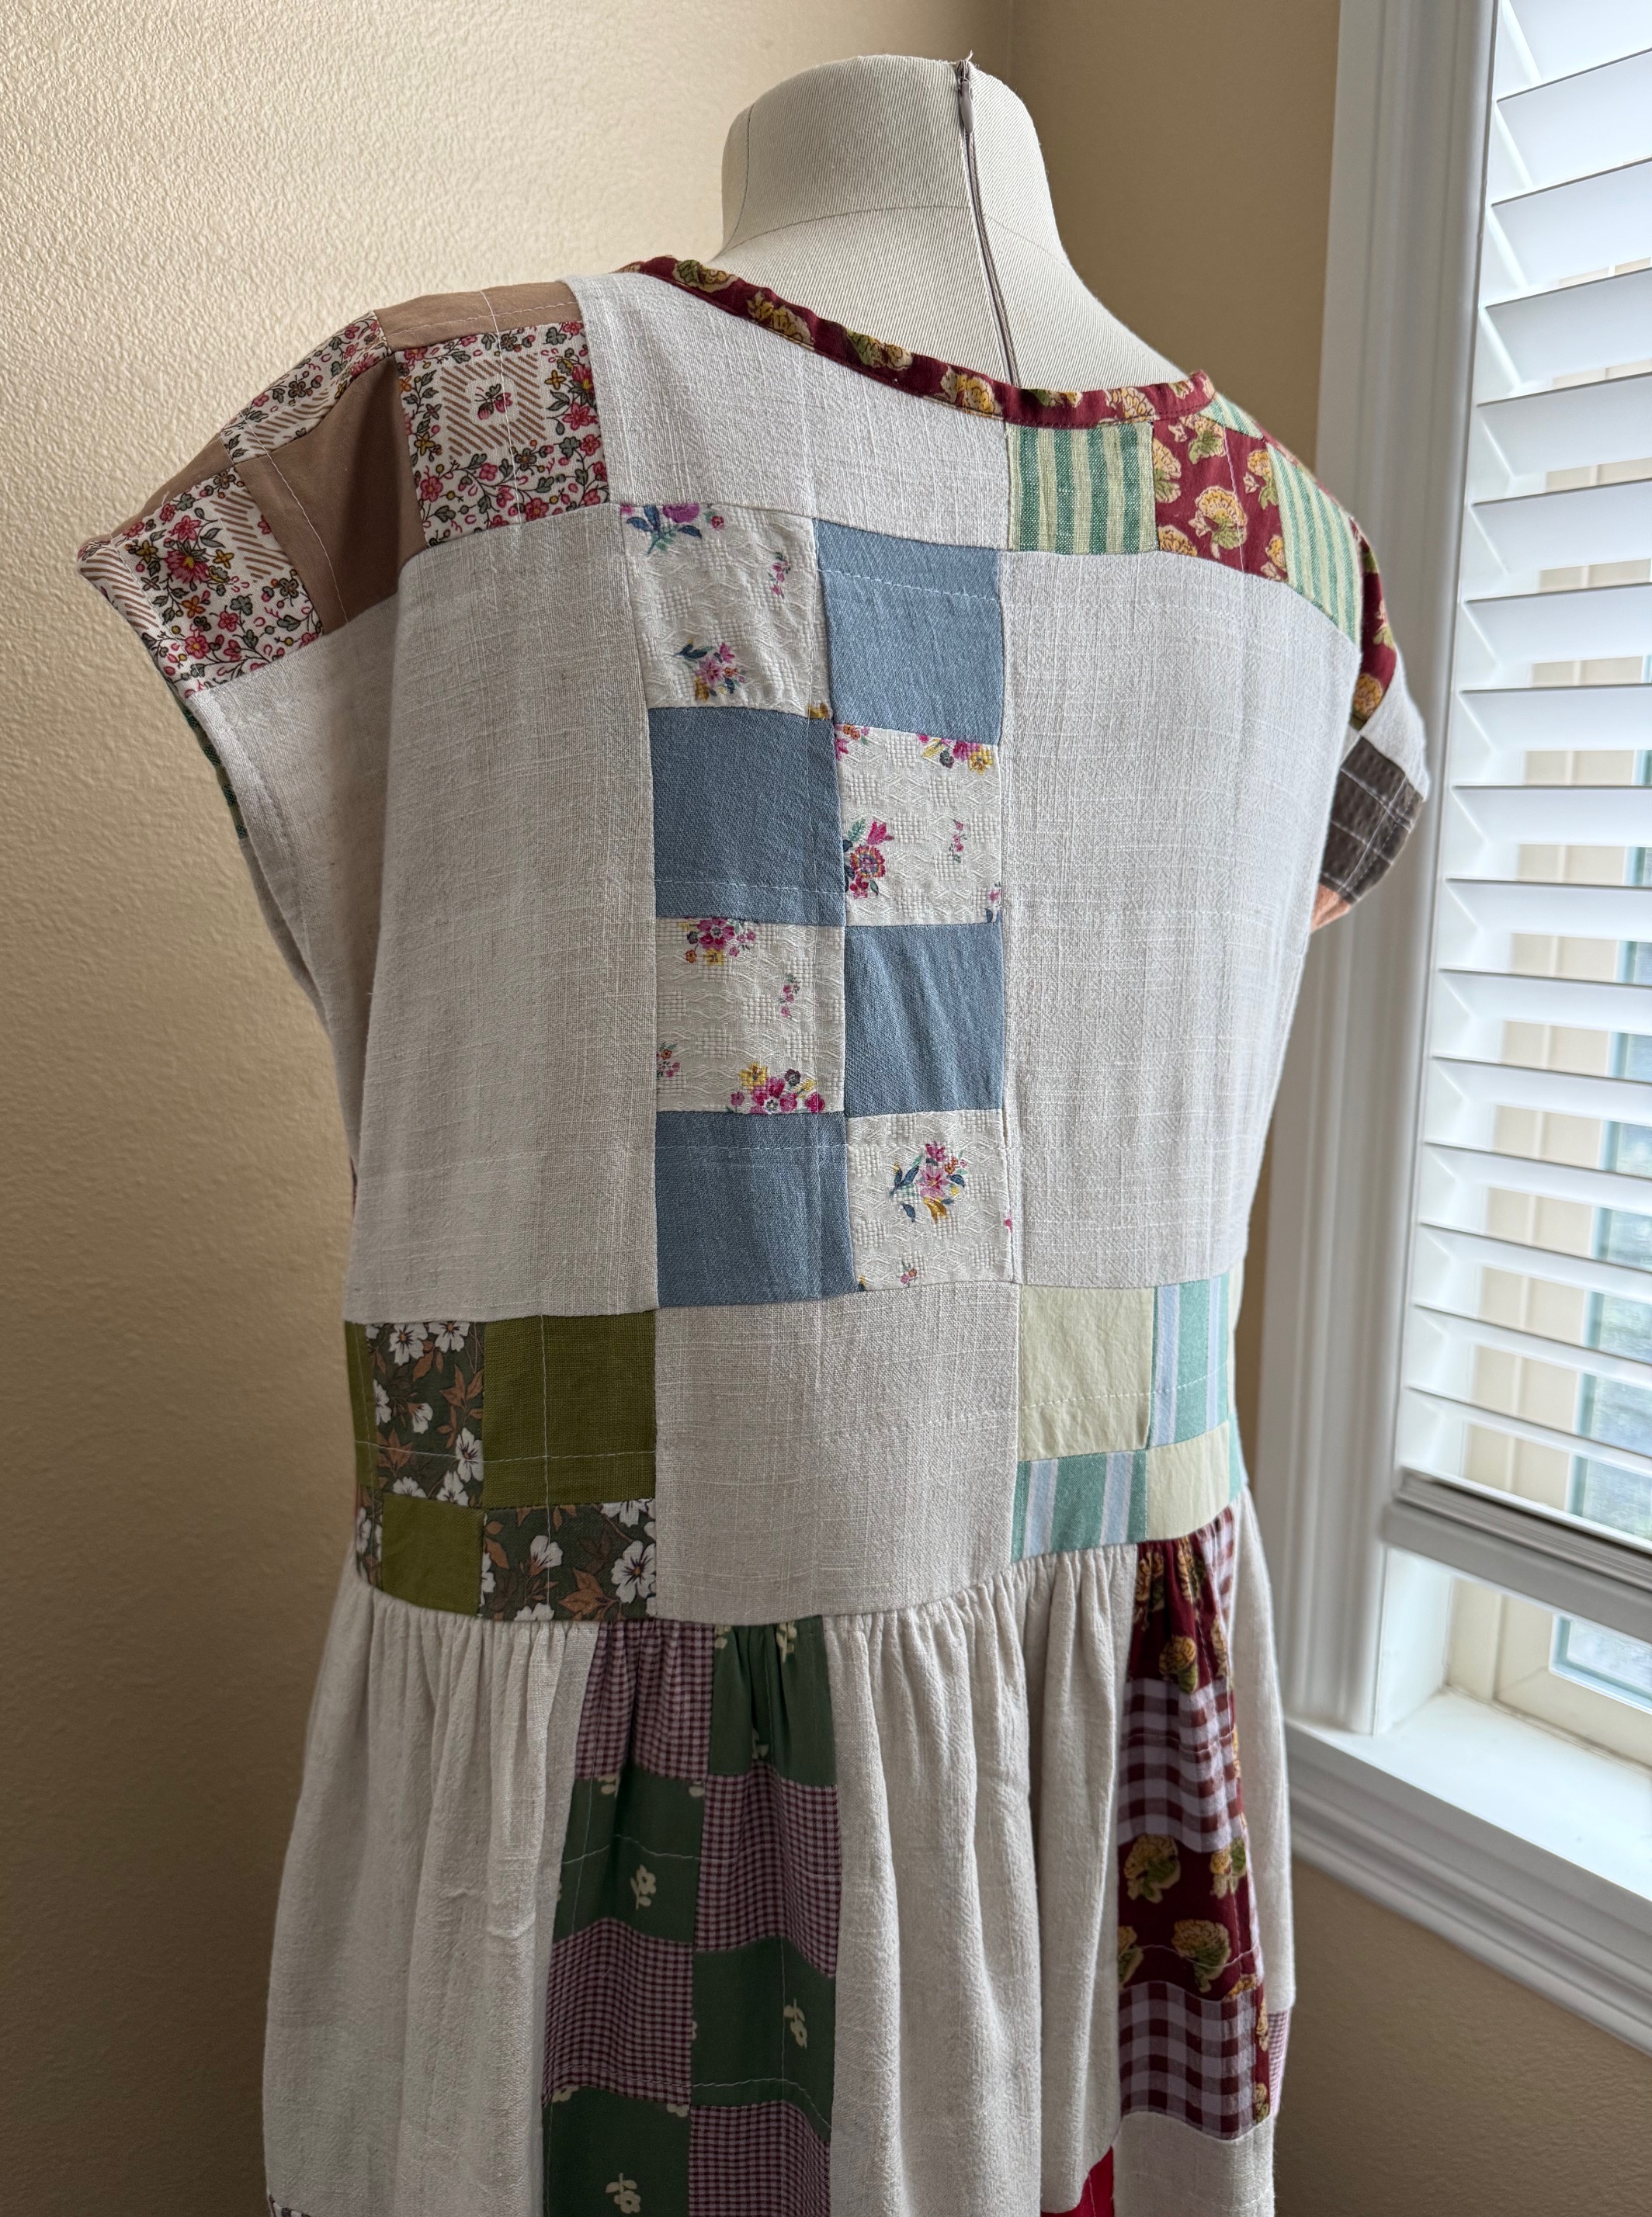
Once everything was sewn together, I used the off-white linen fabric to back each skirt block, and then quilted them together using 3×3 square pattern. I copied Sydney Graham here again. I was nervous this would make the skirt too heavy- but I didn’t really have another choice because I didn’t serge/finish the blocks as I made them. The skirt IS heavy but it’s a really nice clean finish on the inside of the dress, and it works!
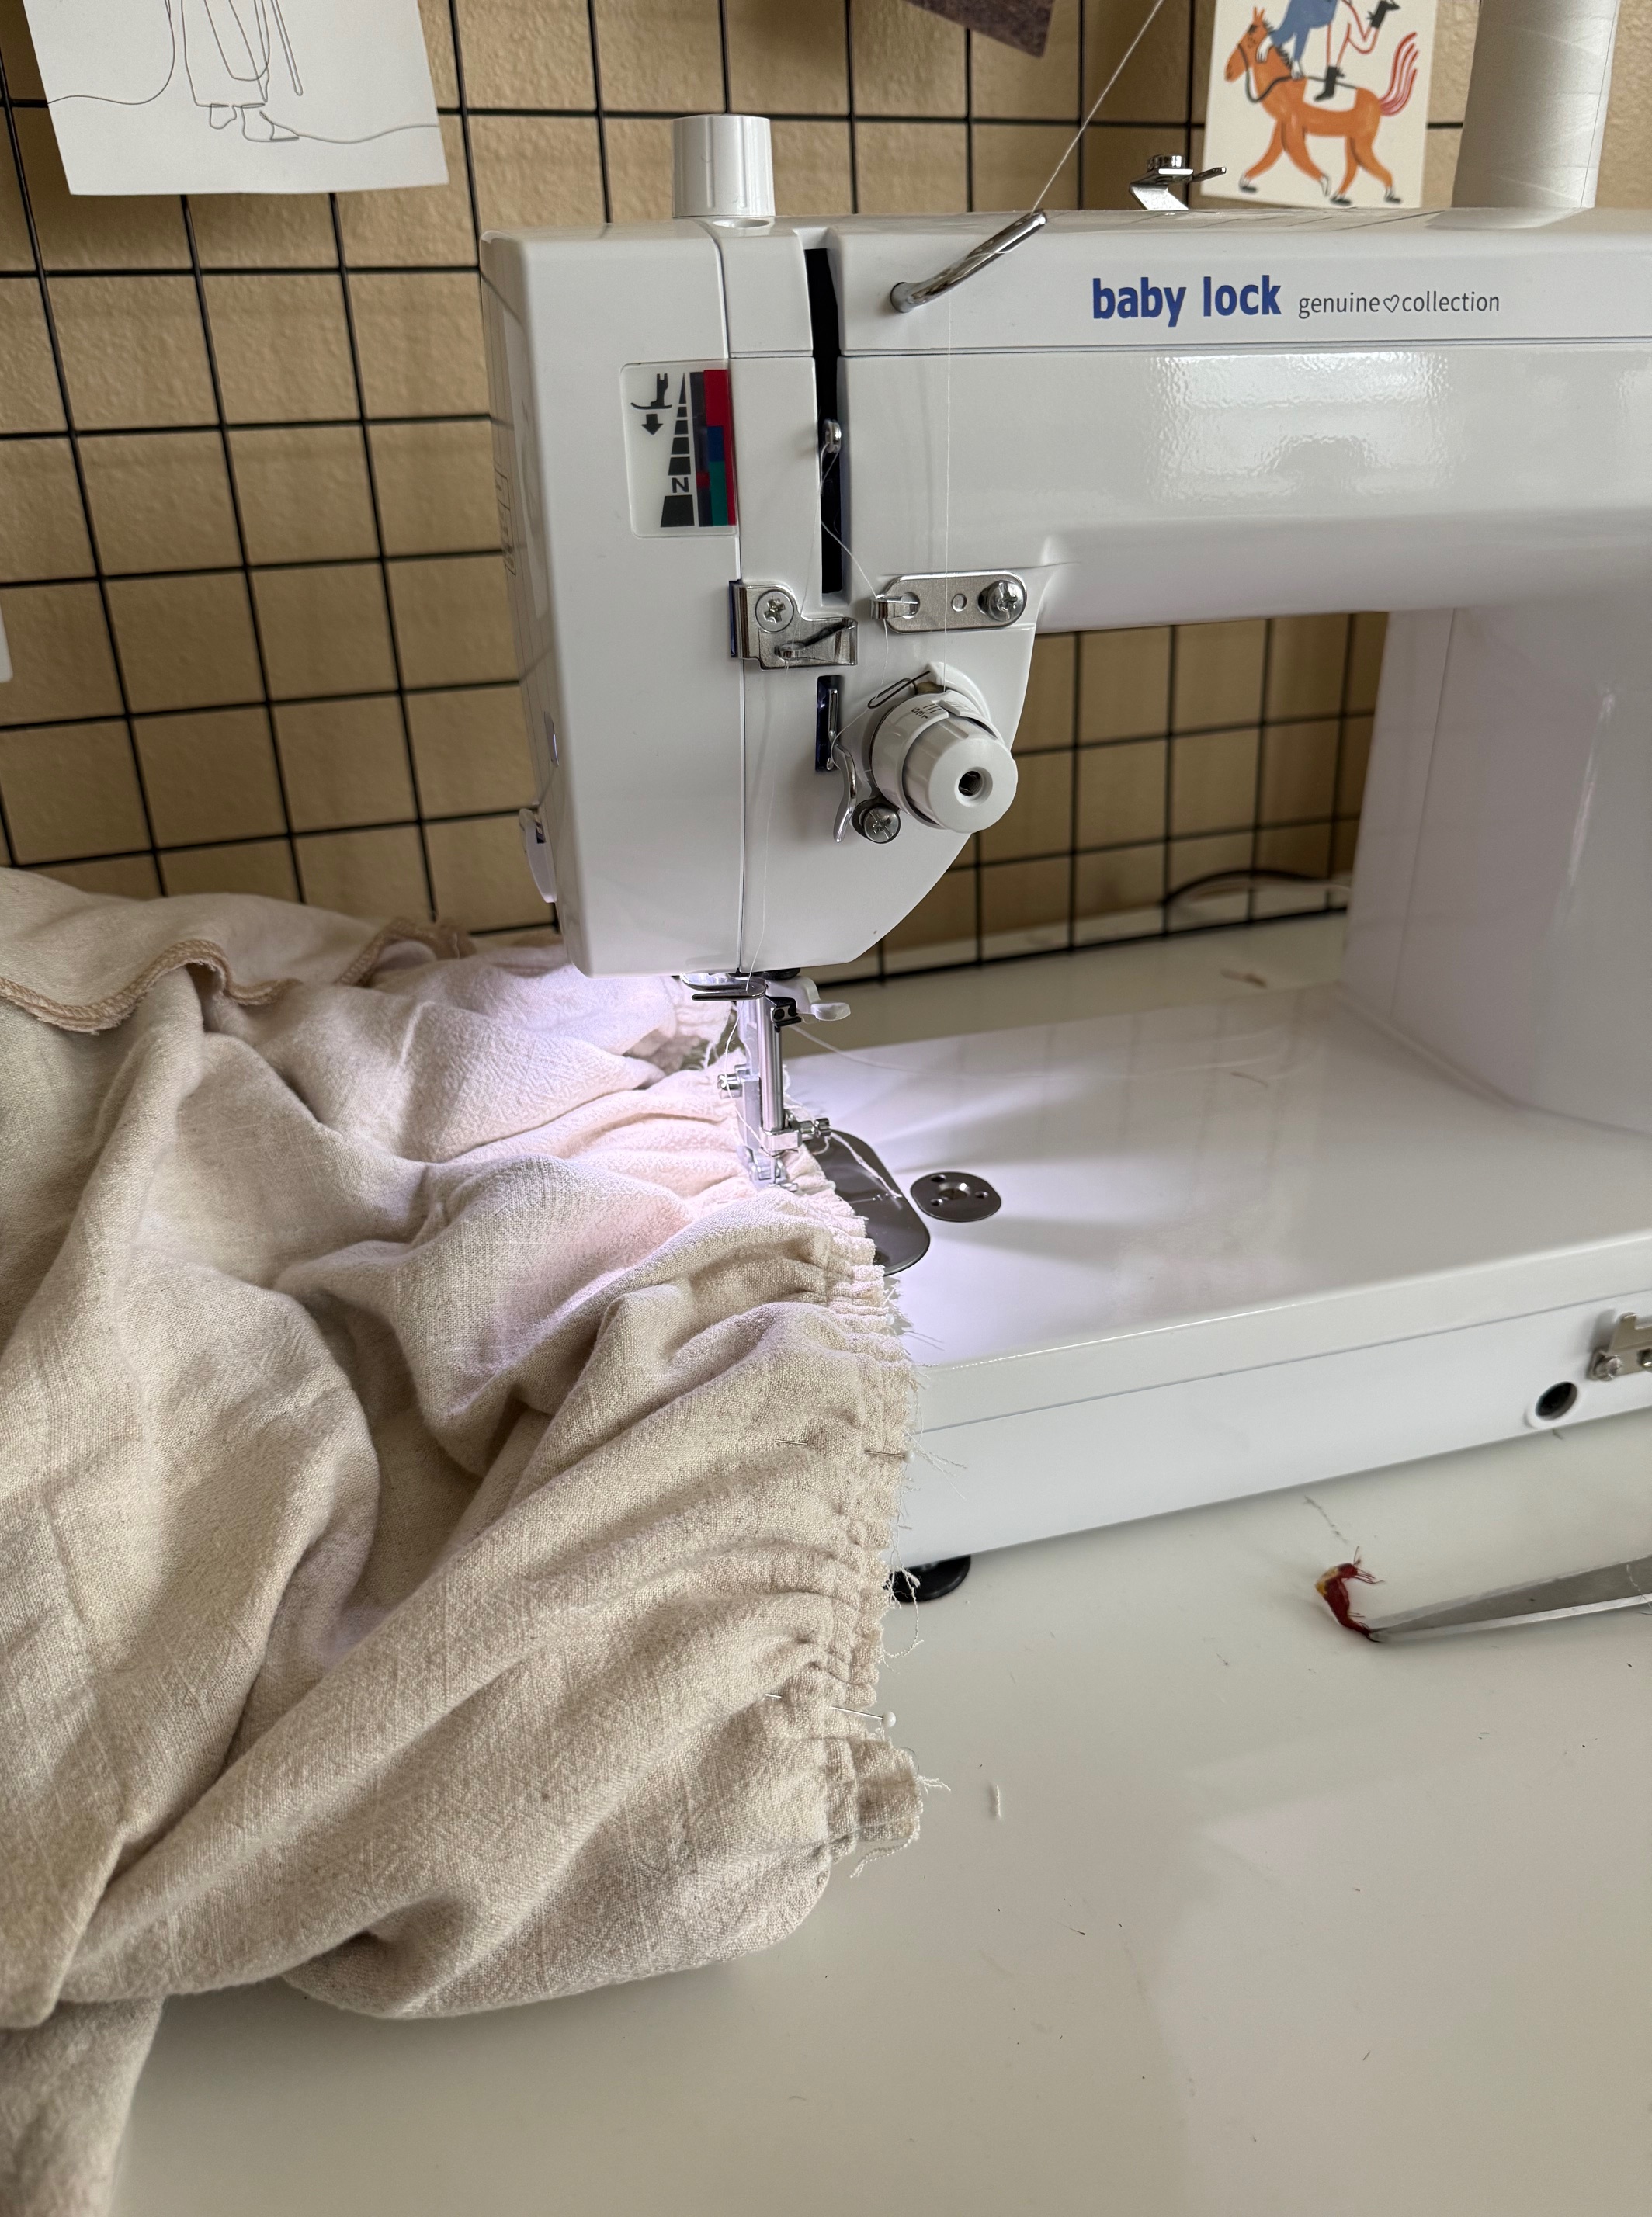
I used my trusty Accomplish 2 Baby Lock sewing machine, as well as my Baby Lock Celebrate serger and they both handled the thick seams so nicely. Before I sewed my pieces together, I serged each side edge beforehand to help reduce the amount of bulk going through my serger, and that definitely helped!
For the bodice, I planned where I wanted the blocks to sit on the bodice when being worn. I cut out the bodice pieces, then cut out the backing pieces for the bodice, and quilted them together as well.
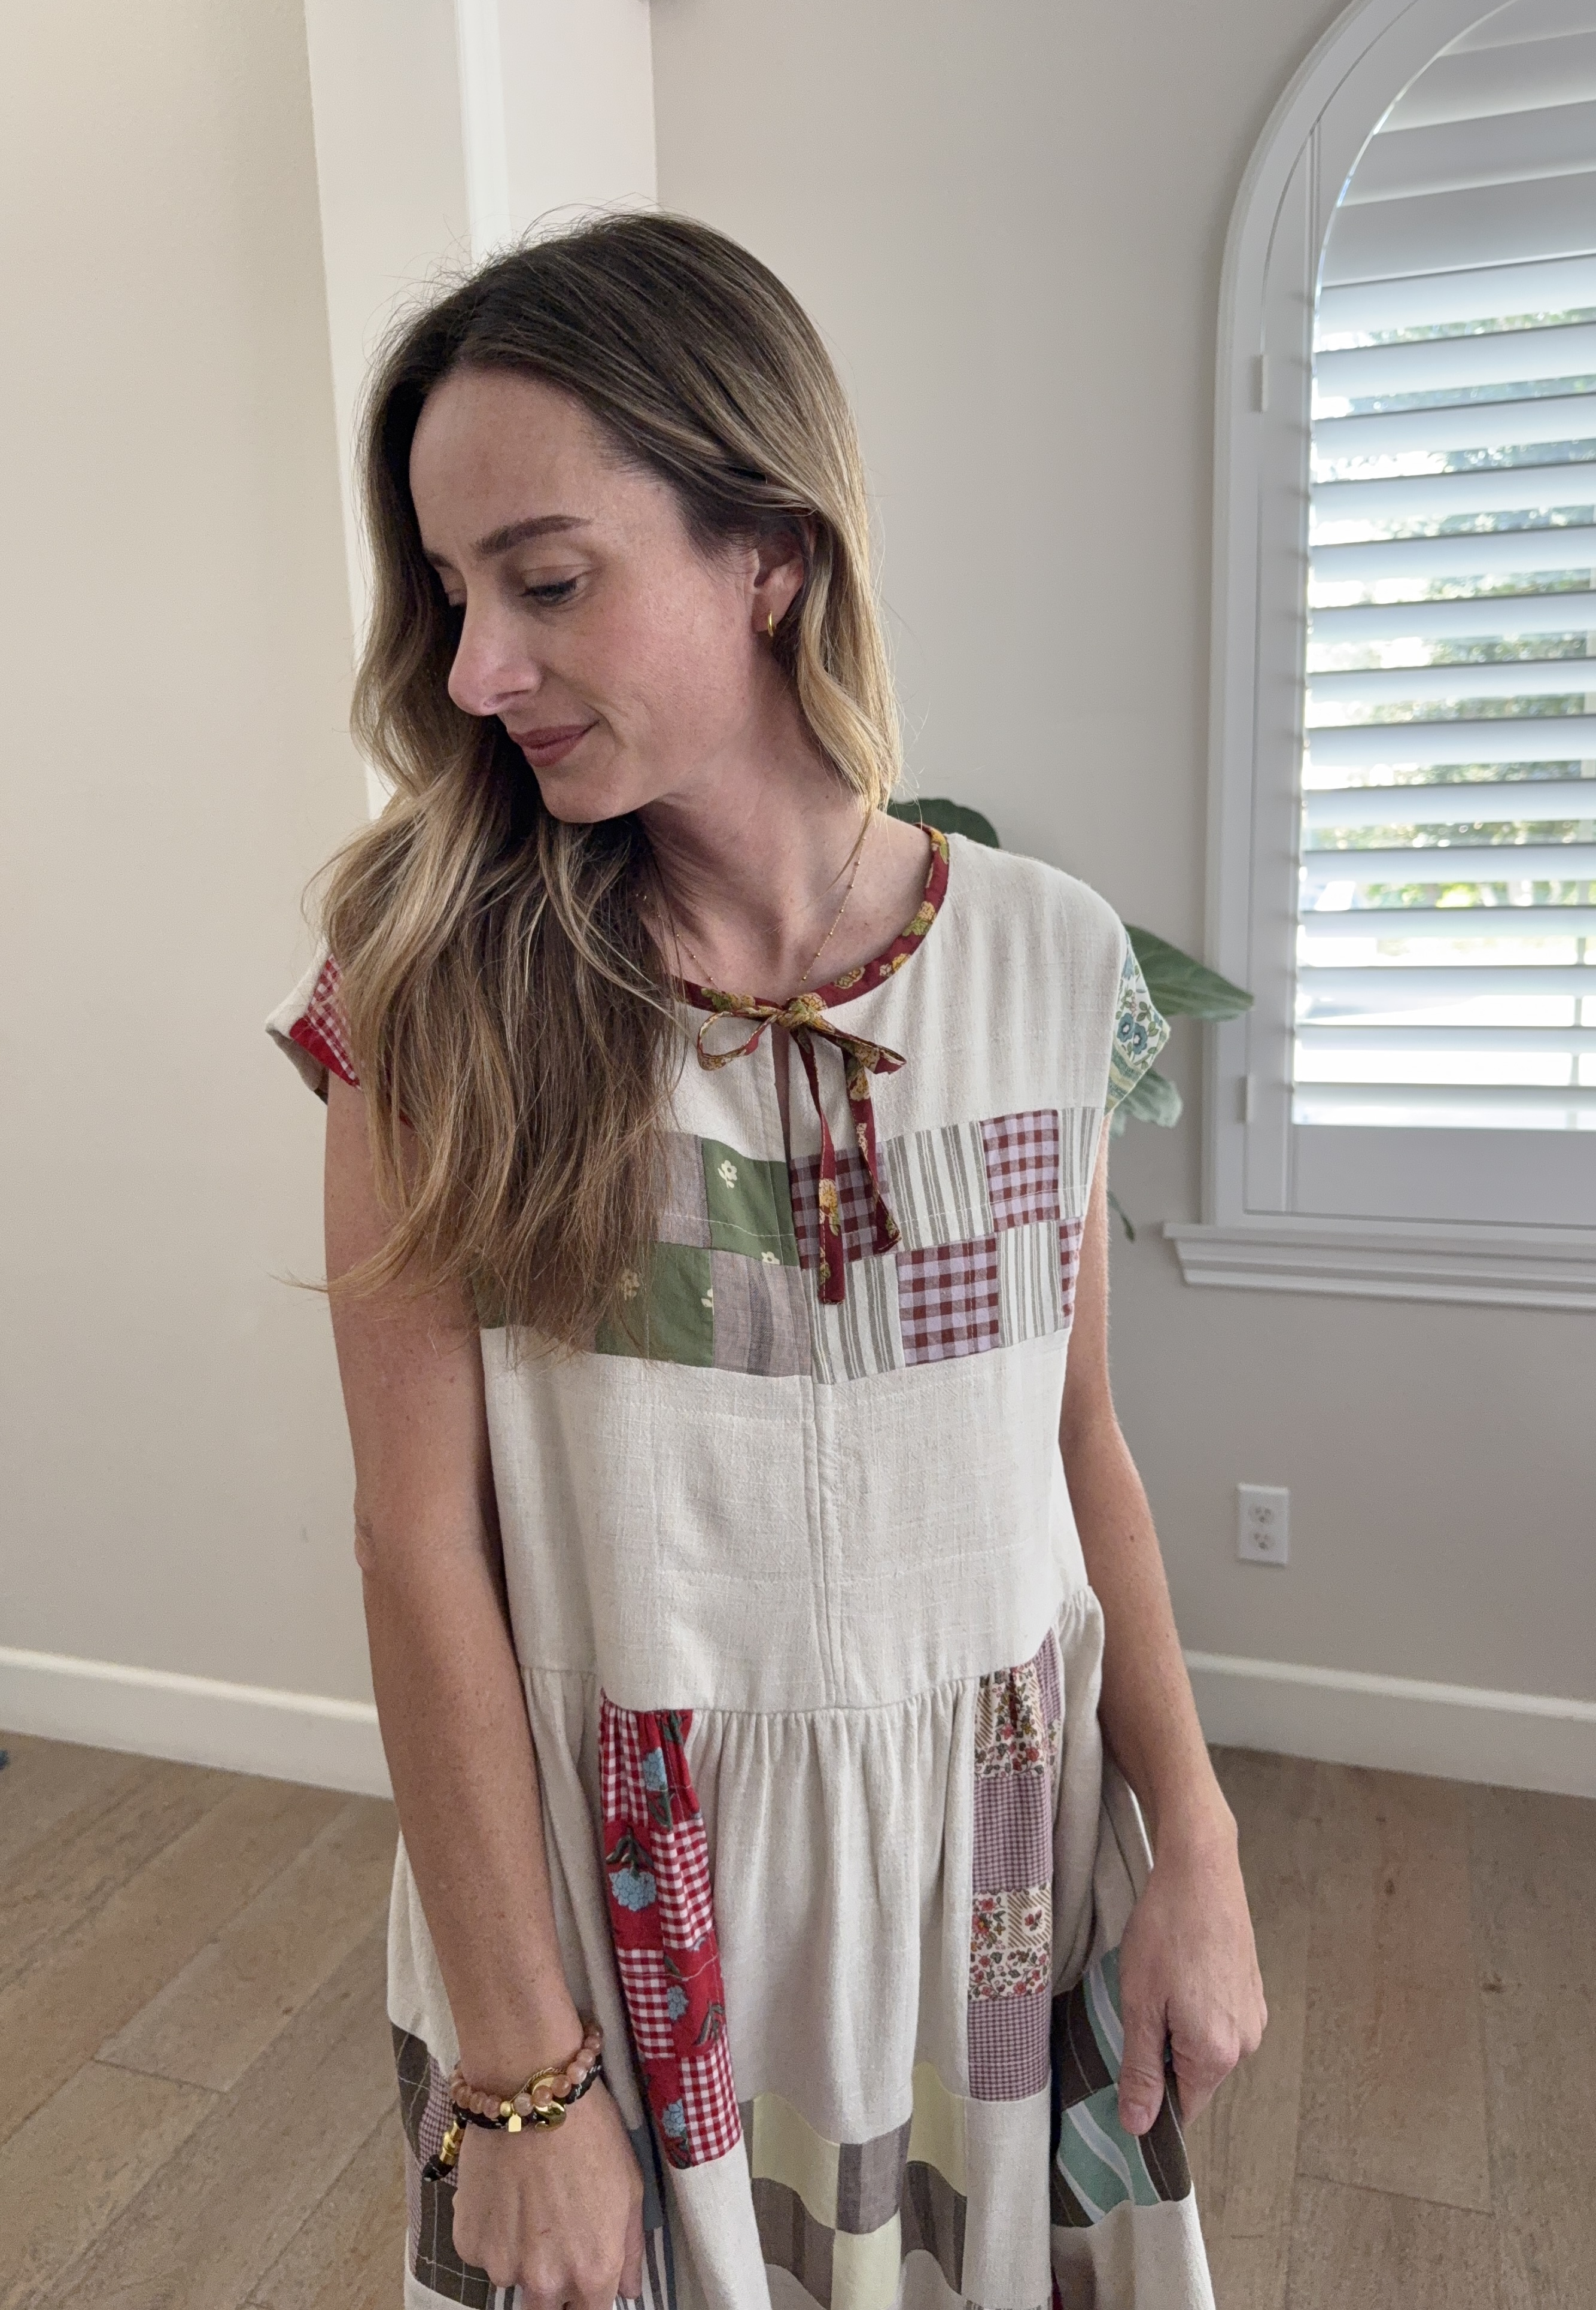
Originally I loved the idea of adding the sleeve pattern to this dress, but it took sooooo long to piece and quilt everything (and it was getting heavy) so I decided to leave the bodice as is and finish off the cap sleeves by pressing to the wrong side twice at 1/4″, and edge-stitching in place to finish before sewing up the side seams. I really love how it turned out.
I followed the construction as the book advises and everything came together so smoothly. I know I will be referencing back to this book again in the future, it’s really so well done and inspiring!


Leave a comment