

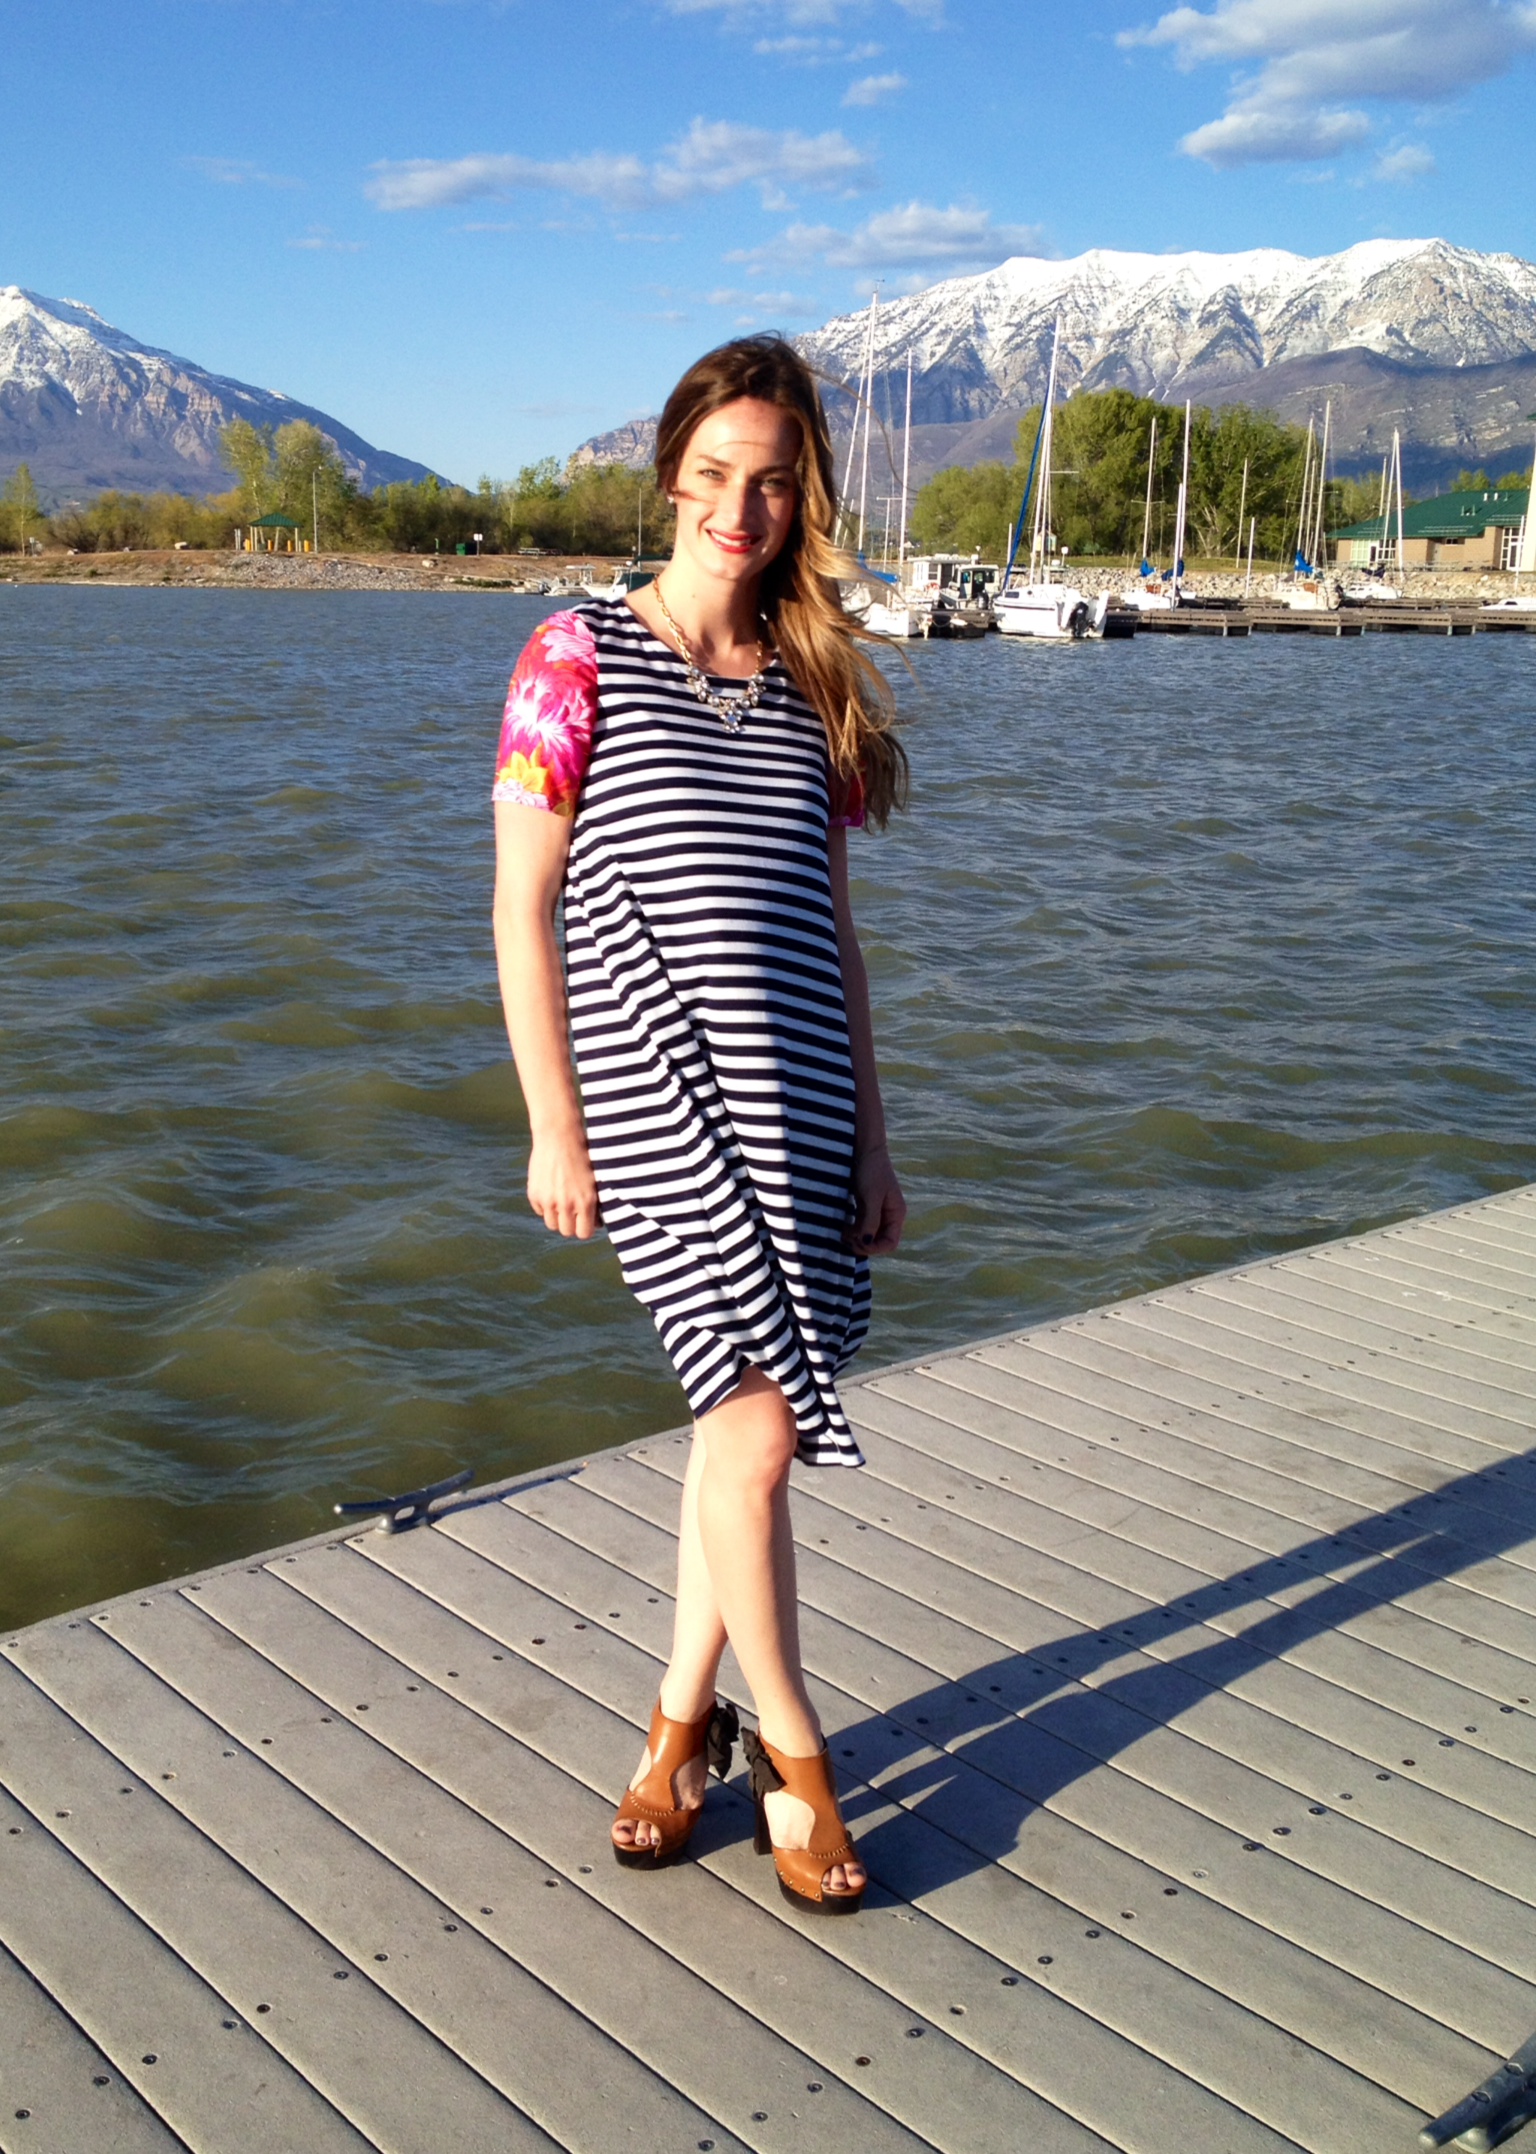

A few things inspired this dress: I love the shape of the summer swing dress, but I also love this great dress I found on Pinterest. I also had the idea of combining different fabrics into one dress. Sooo, I found this great Ponte De Roma navy and white striped fabric via girlcharlee.com. (They are currently sold out, but the link above will take you to all Ponte De Roma knit fabrics in stock). For the sleeves, I found this floral fabric by Phillip Jacobs.
Here is how I made it:
1// Create your pattern. I prefer to use a combination of my favorite patterns for certain parts of this dress, and you can too. (If you don’t have specific patterns in mind, go ahead and use a tank top or shirt you like for different aspects of your pattern; remember to add a 1/2″ seam allowance). I used a pattern for a neckline I have made and used in the past, a different pattern for the shoulder and armhole and sleeve (I don’t like to mess with the armhole), and designed the rest of the dress myself. Mark your length, and width for the bottom of the pattern. (My dress width for both front/back combined is 32″ wide at the bottom and 18″ wide under the arms). Then draw a straight line from the bottom width mark up to the bottom armhole. Do the same for both front and back pieces.
*Dress front/back and neckline facings cut on fold// sleeve is cut 2 NOT on fold
What my pattern looks like:

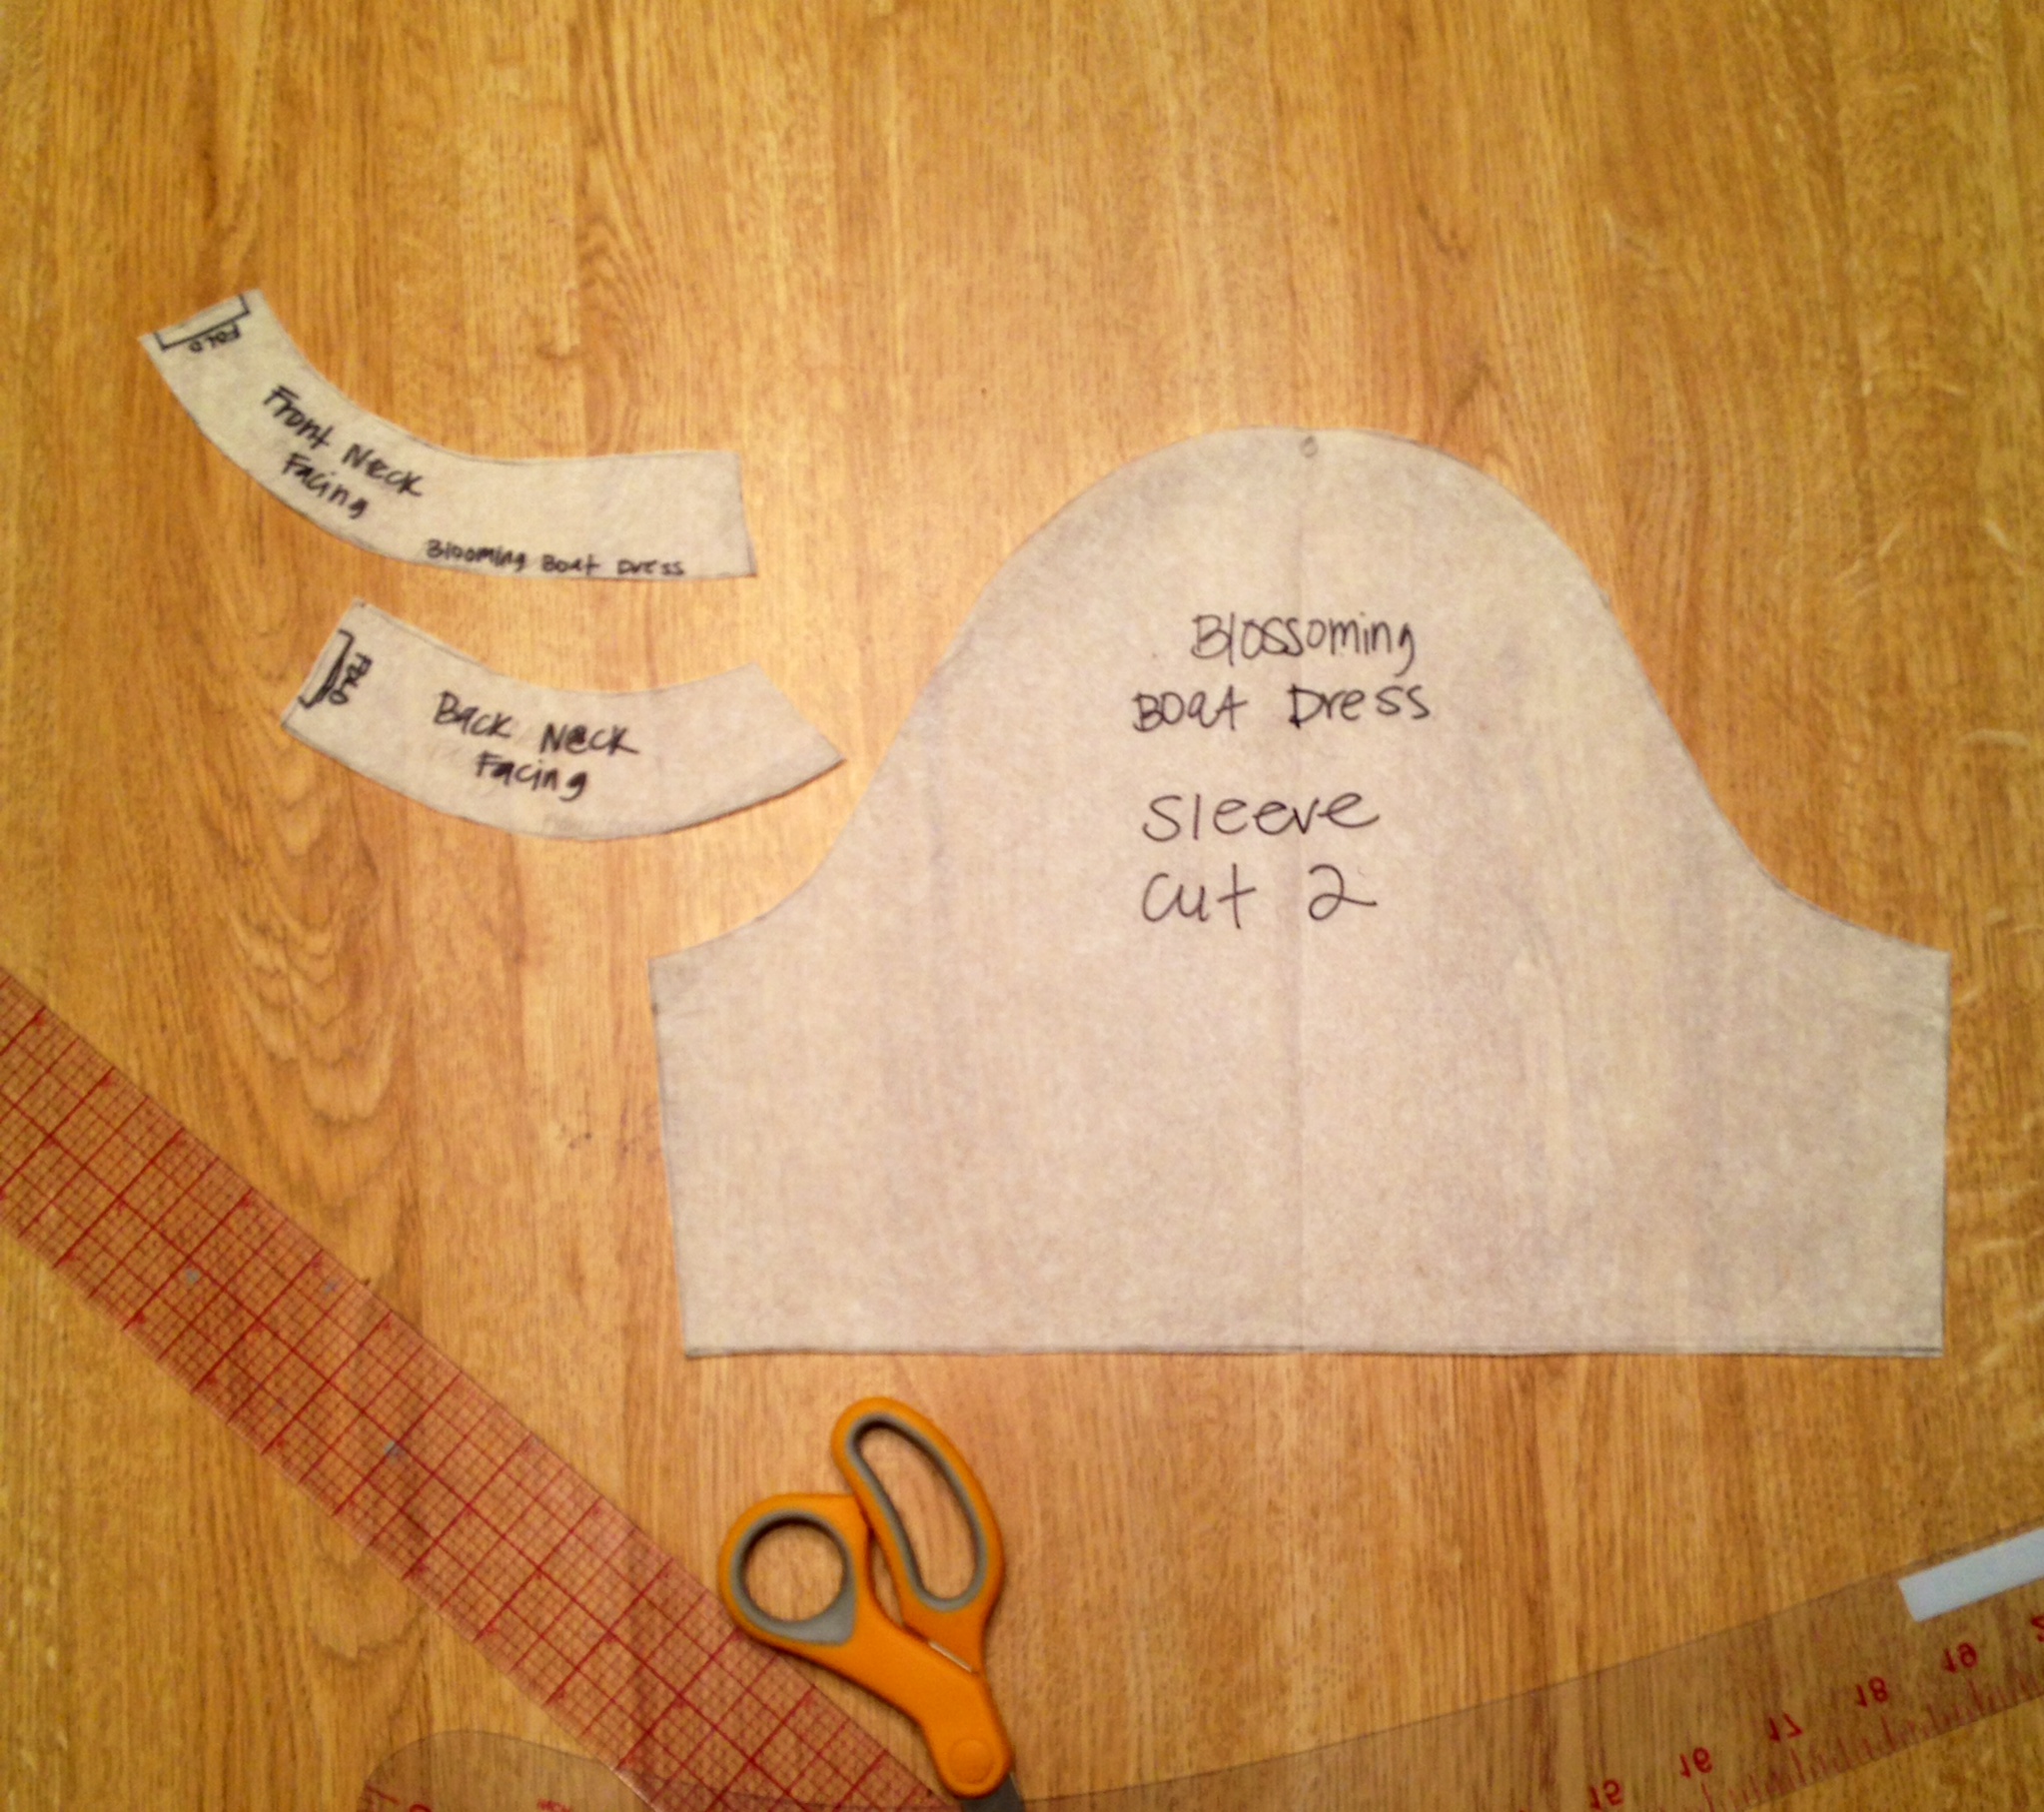
Next, you need to create your neckline facing pattern by simply tracing on top of your previously made dress front/back pattern as shown below:

2// Layout your fabric and pin pattern. I used 2 yards of fabric for the dress front/back pieces and neckline facings (all cut on the fold). I used 1/4 yard for the sleeves. Cut fabric.

3// Begin sewing! Lay dress front and back right sides together. Sew side seams and shoulder seams at 1/2″. (*TIP: If using a regular machine use a ball point needle and zig zag stitch for knit fabric).
4// Prep your sleeves. First, I like to hem my sleeve. I hemmed mine at 1/2″ and used a blind hem stitch for a more professional look. Great tutorial here. Next we need to prep our sleeves by basting at 1/4″ and 1/2″ as shown below. *Remember to keep your threads long for easing in the sleeve later on.
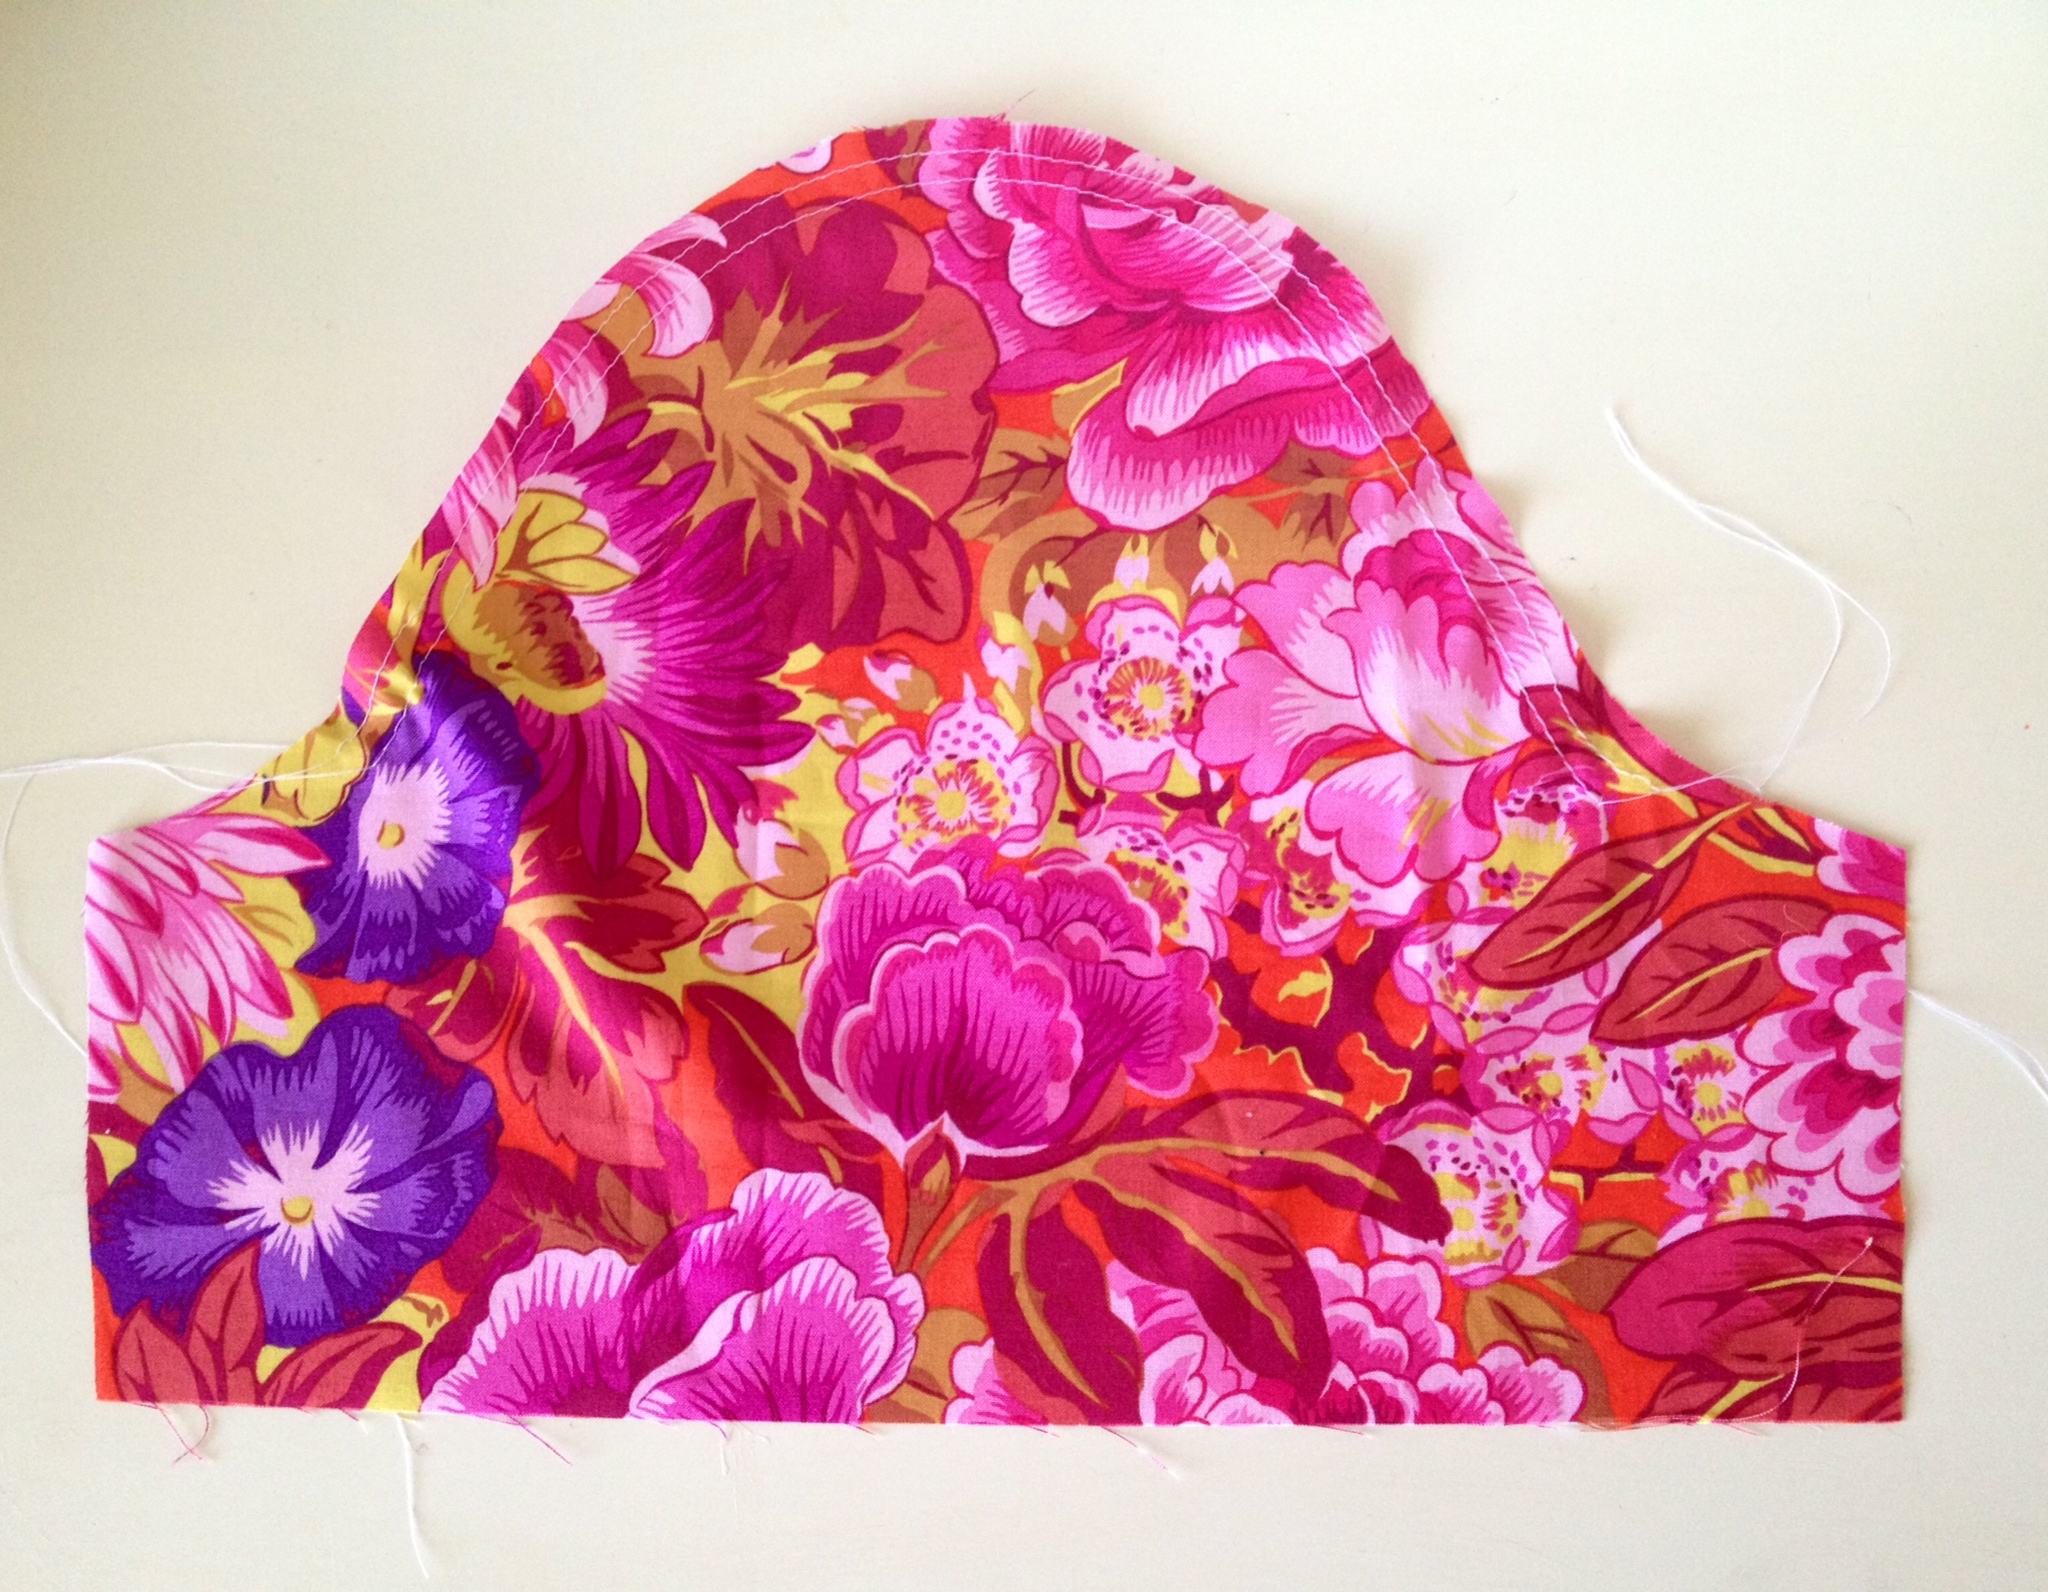

Next, sew each sleeve together under the arm at 1/2″ or until it fits as desired, shown below.

Then, insert the sleeve in the the armhole of the dress right sides together. Make sure to line up the seams under the arm, and the very top of the sleeve lined up with the shoulder seam. Ease the sleeve by pulling basting threads to gather the sleeve to fit into the armhole, pin into place. Sew at 1/2″ using a zig zag stitch, make sure fabric is laying flat as you go. Once you are done, unpick the basting threads showing on the right side of the sleeve, and cut any excess threads.
5// We are almost done! Time to insert the neckline facing. First sew the ends of your neckline facing, right sides together.

Next, pin your facing into the neck hole. Line up shoulder seams with facing seams, right sides together, sew at 1/2″ with a straight stitch.

Warm up your iron, and press the facing inside the dress, pushing the seam towards the inside of the dress so you wont be able to see it when its being worn. Now we need to topstitch around the neckline to secure the facing in place. I sewed mine at 1/2″ using a straight stitch.

6// Hem the bottom to desired length. You did it! I hope you love this dress as much as I do.


Leave a comment