
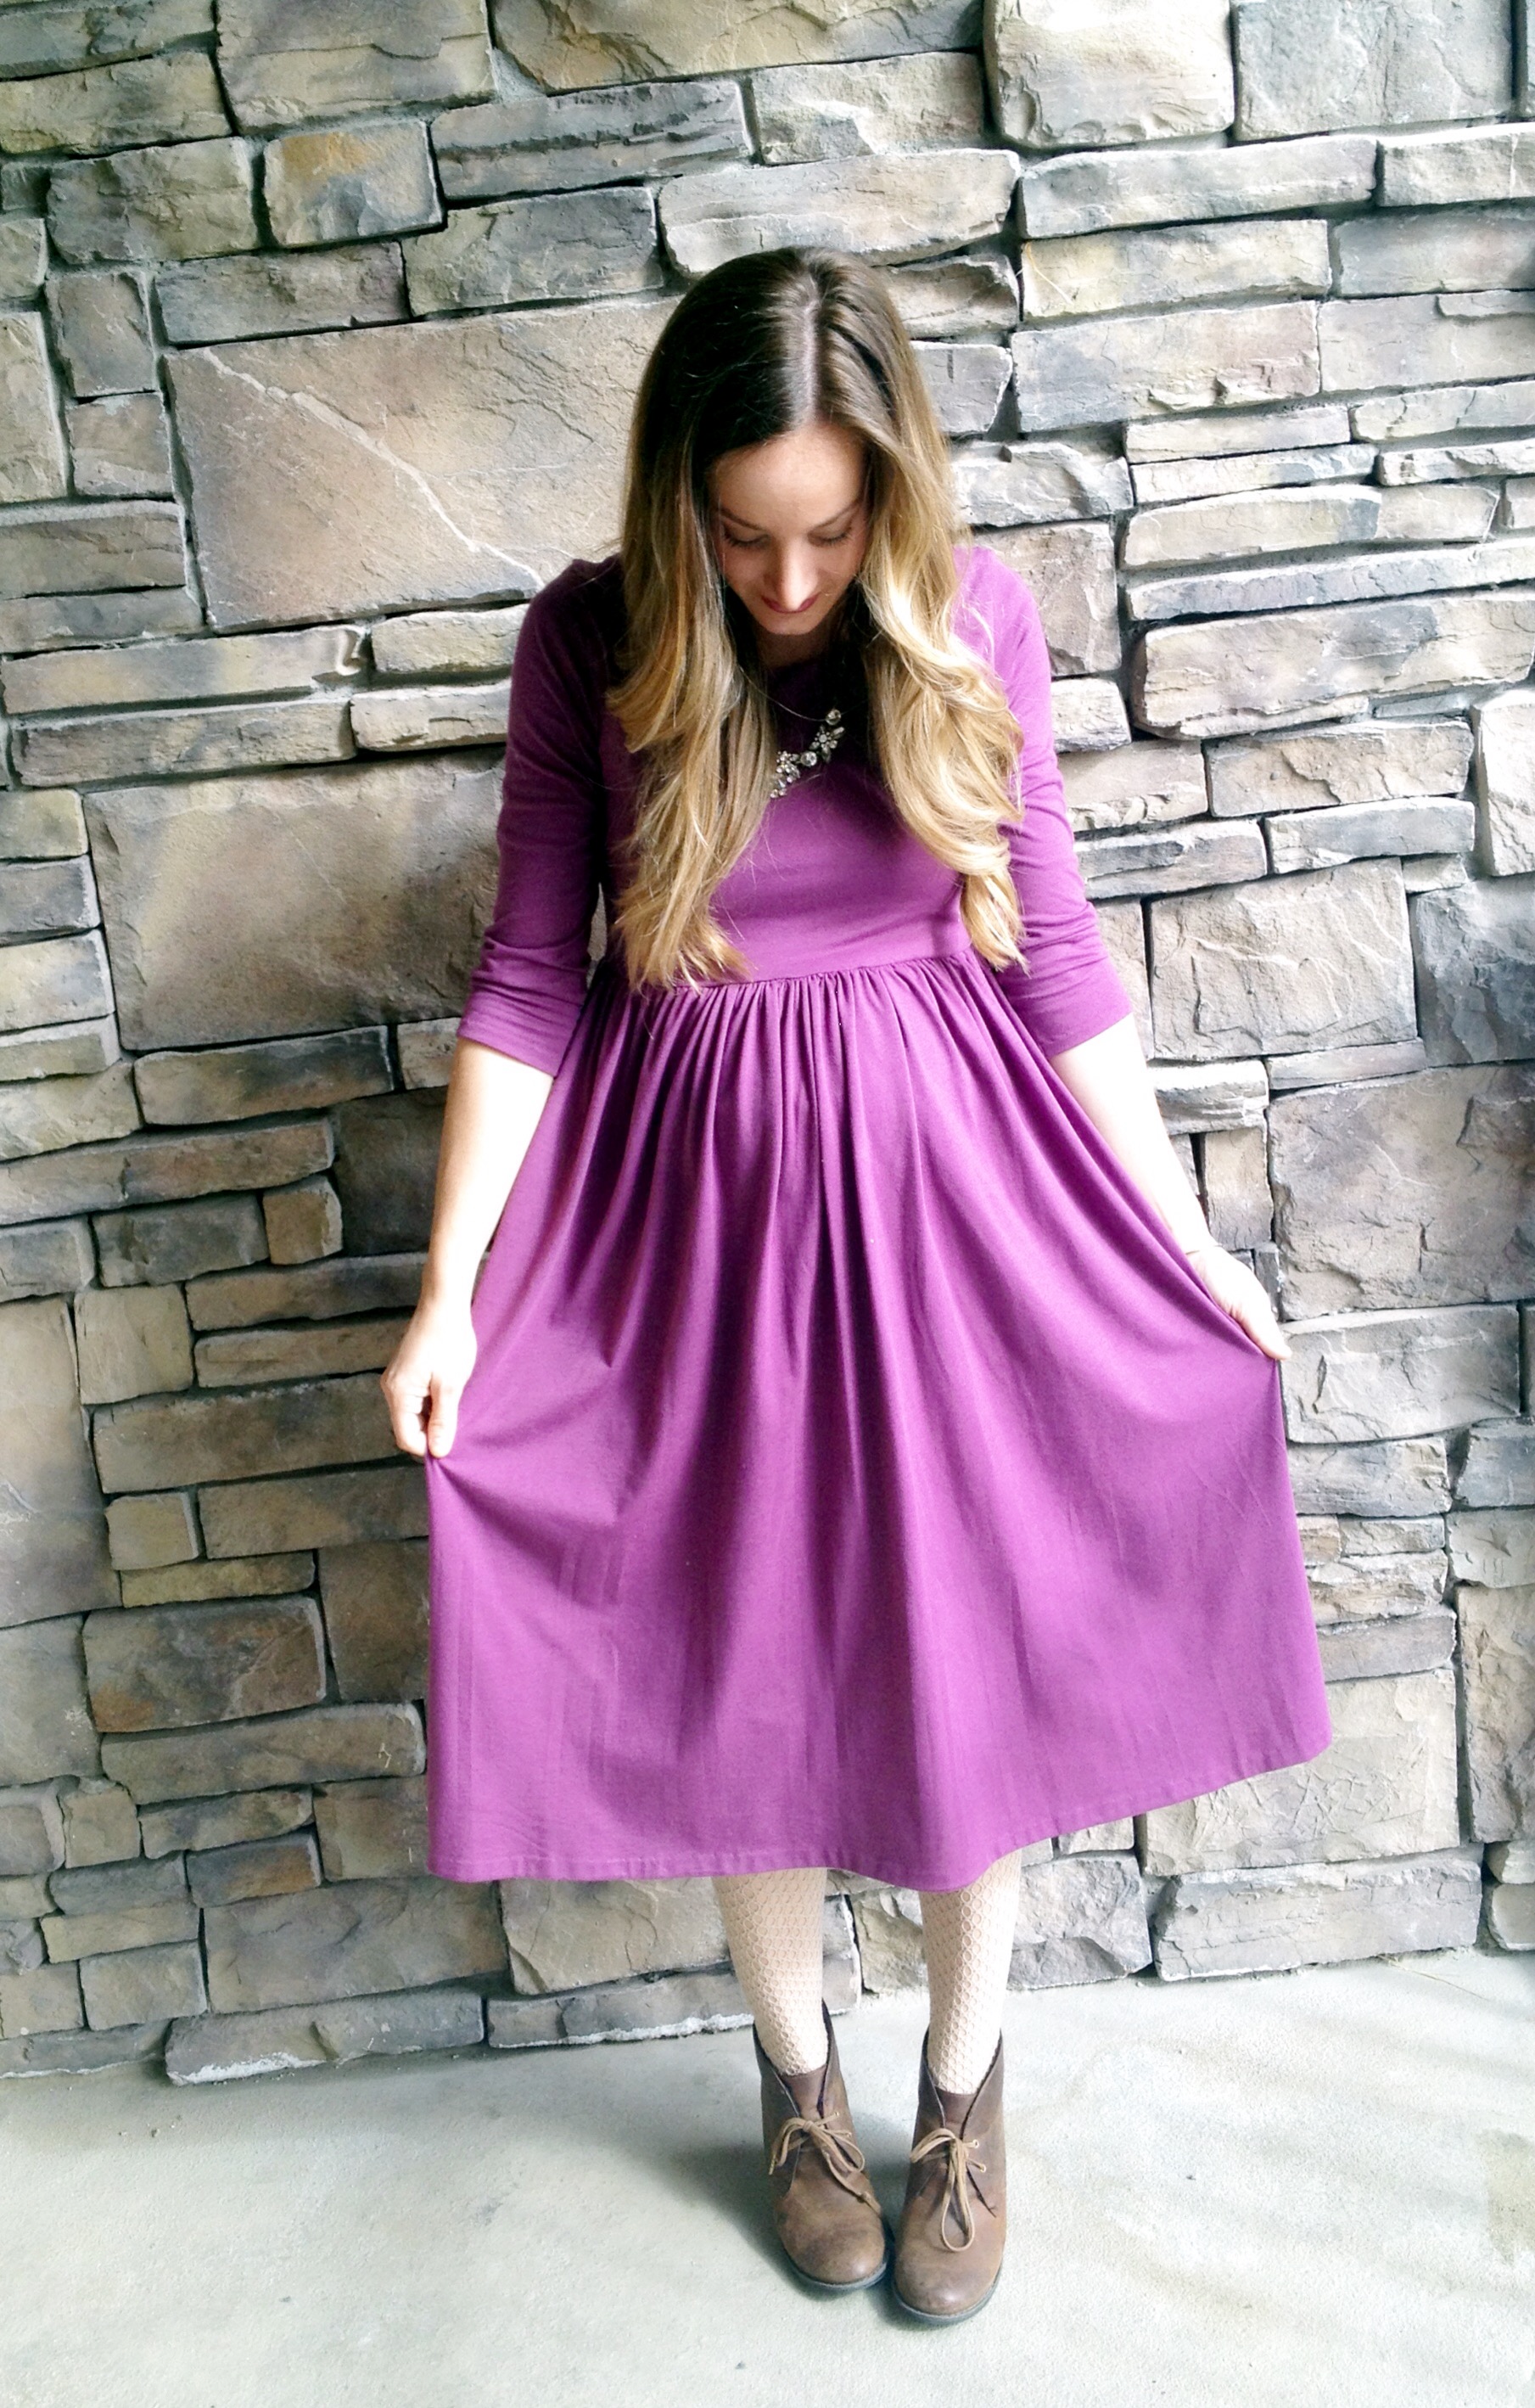
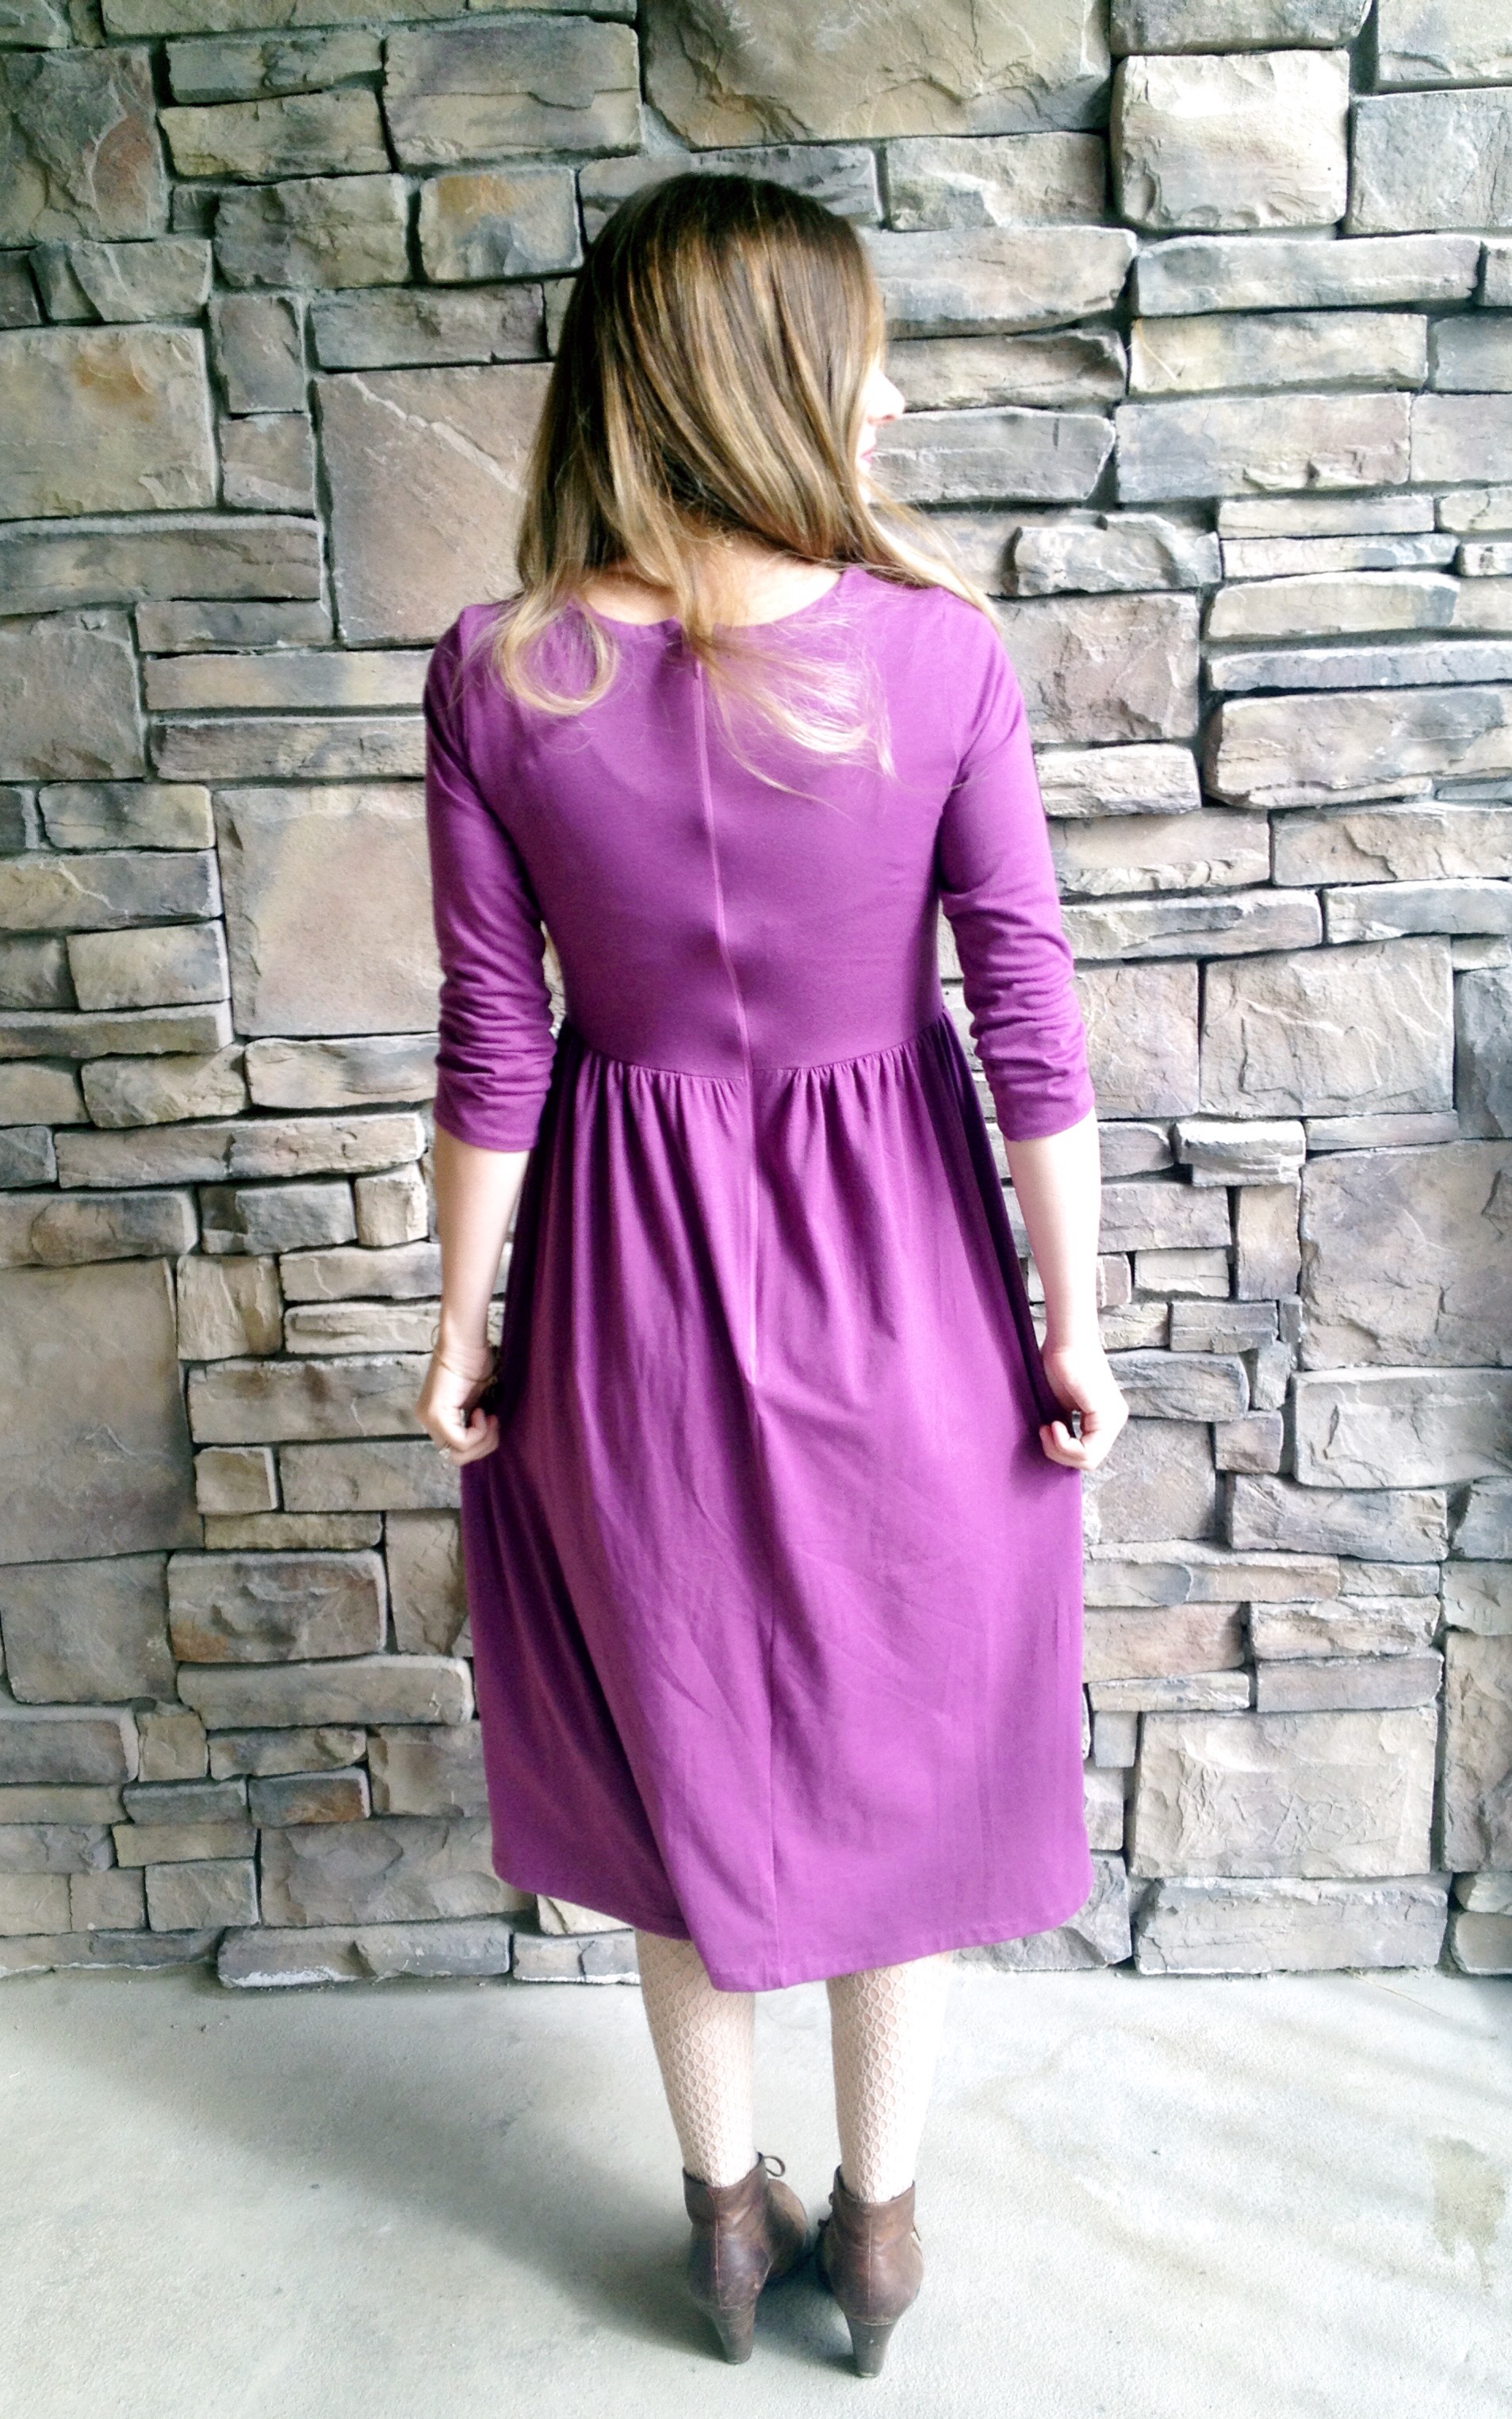
I have been dreaming up maternity patterns for the last few weeks, but none of them have really inspired me. I couldn’t find any tutorials or patterns I liked either. I also have a wedding coming up in December that I need a berry colored dress for, and I haven’t been able to find anything online (that is also affordable) that I love. Last Saturday I woke up early, looked through my fabric stash and found this lovely berry jersey knit in my pile and I went to work. I wanted something I could dress up or dress down, feel comfortable in, and also grow into. This is what I came up with. I put the whole thing together in one night, so it’s very fast and very simple. I really like how basic it is, there are so many ways to dress it up or down. I also left the hem line pretty long (longer than I would like) so I could alter it exactly how I need before the wedding. (I get realllllly big and the wedding is still two months away- so I’m playing it safe).
Anyways, on to the tutorial. I found my fabric for $2 a yard at a discount store in LA, making the dress a total of about $5 with the zipper and thread. Can’t beat that. Sewing your own clothes CAN be worth it if you can find a good deal on your fabric. If you don’t have a discount fabric store near you, I highly recommend checking out Girl Charlee online. They have knits on knits for cheap prices.
What you need:
-2 yards jersey knot fabric
-matching thread
-20-22″ invisible zipper
First you will need to create your pattern. Use a T-shirt that fits well or a previously used pattern you know fits well as a guideline.
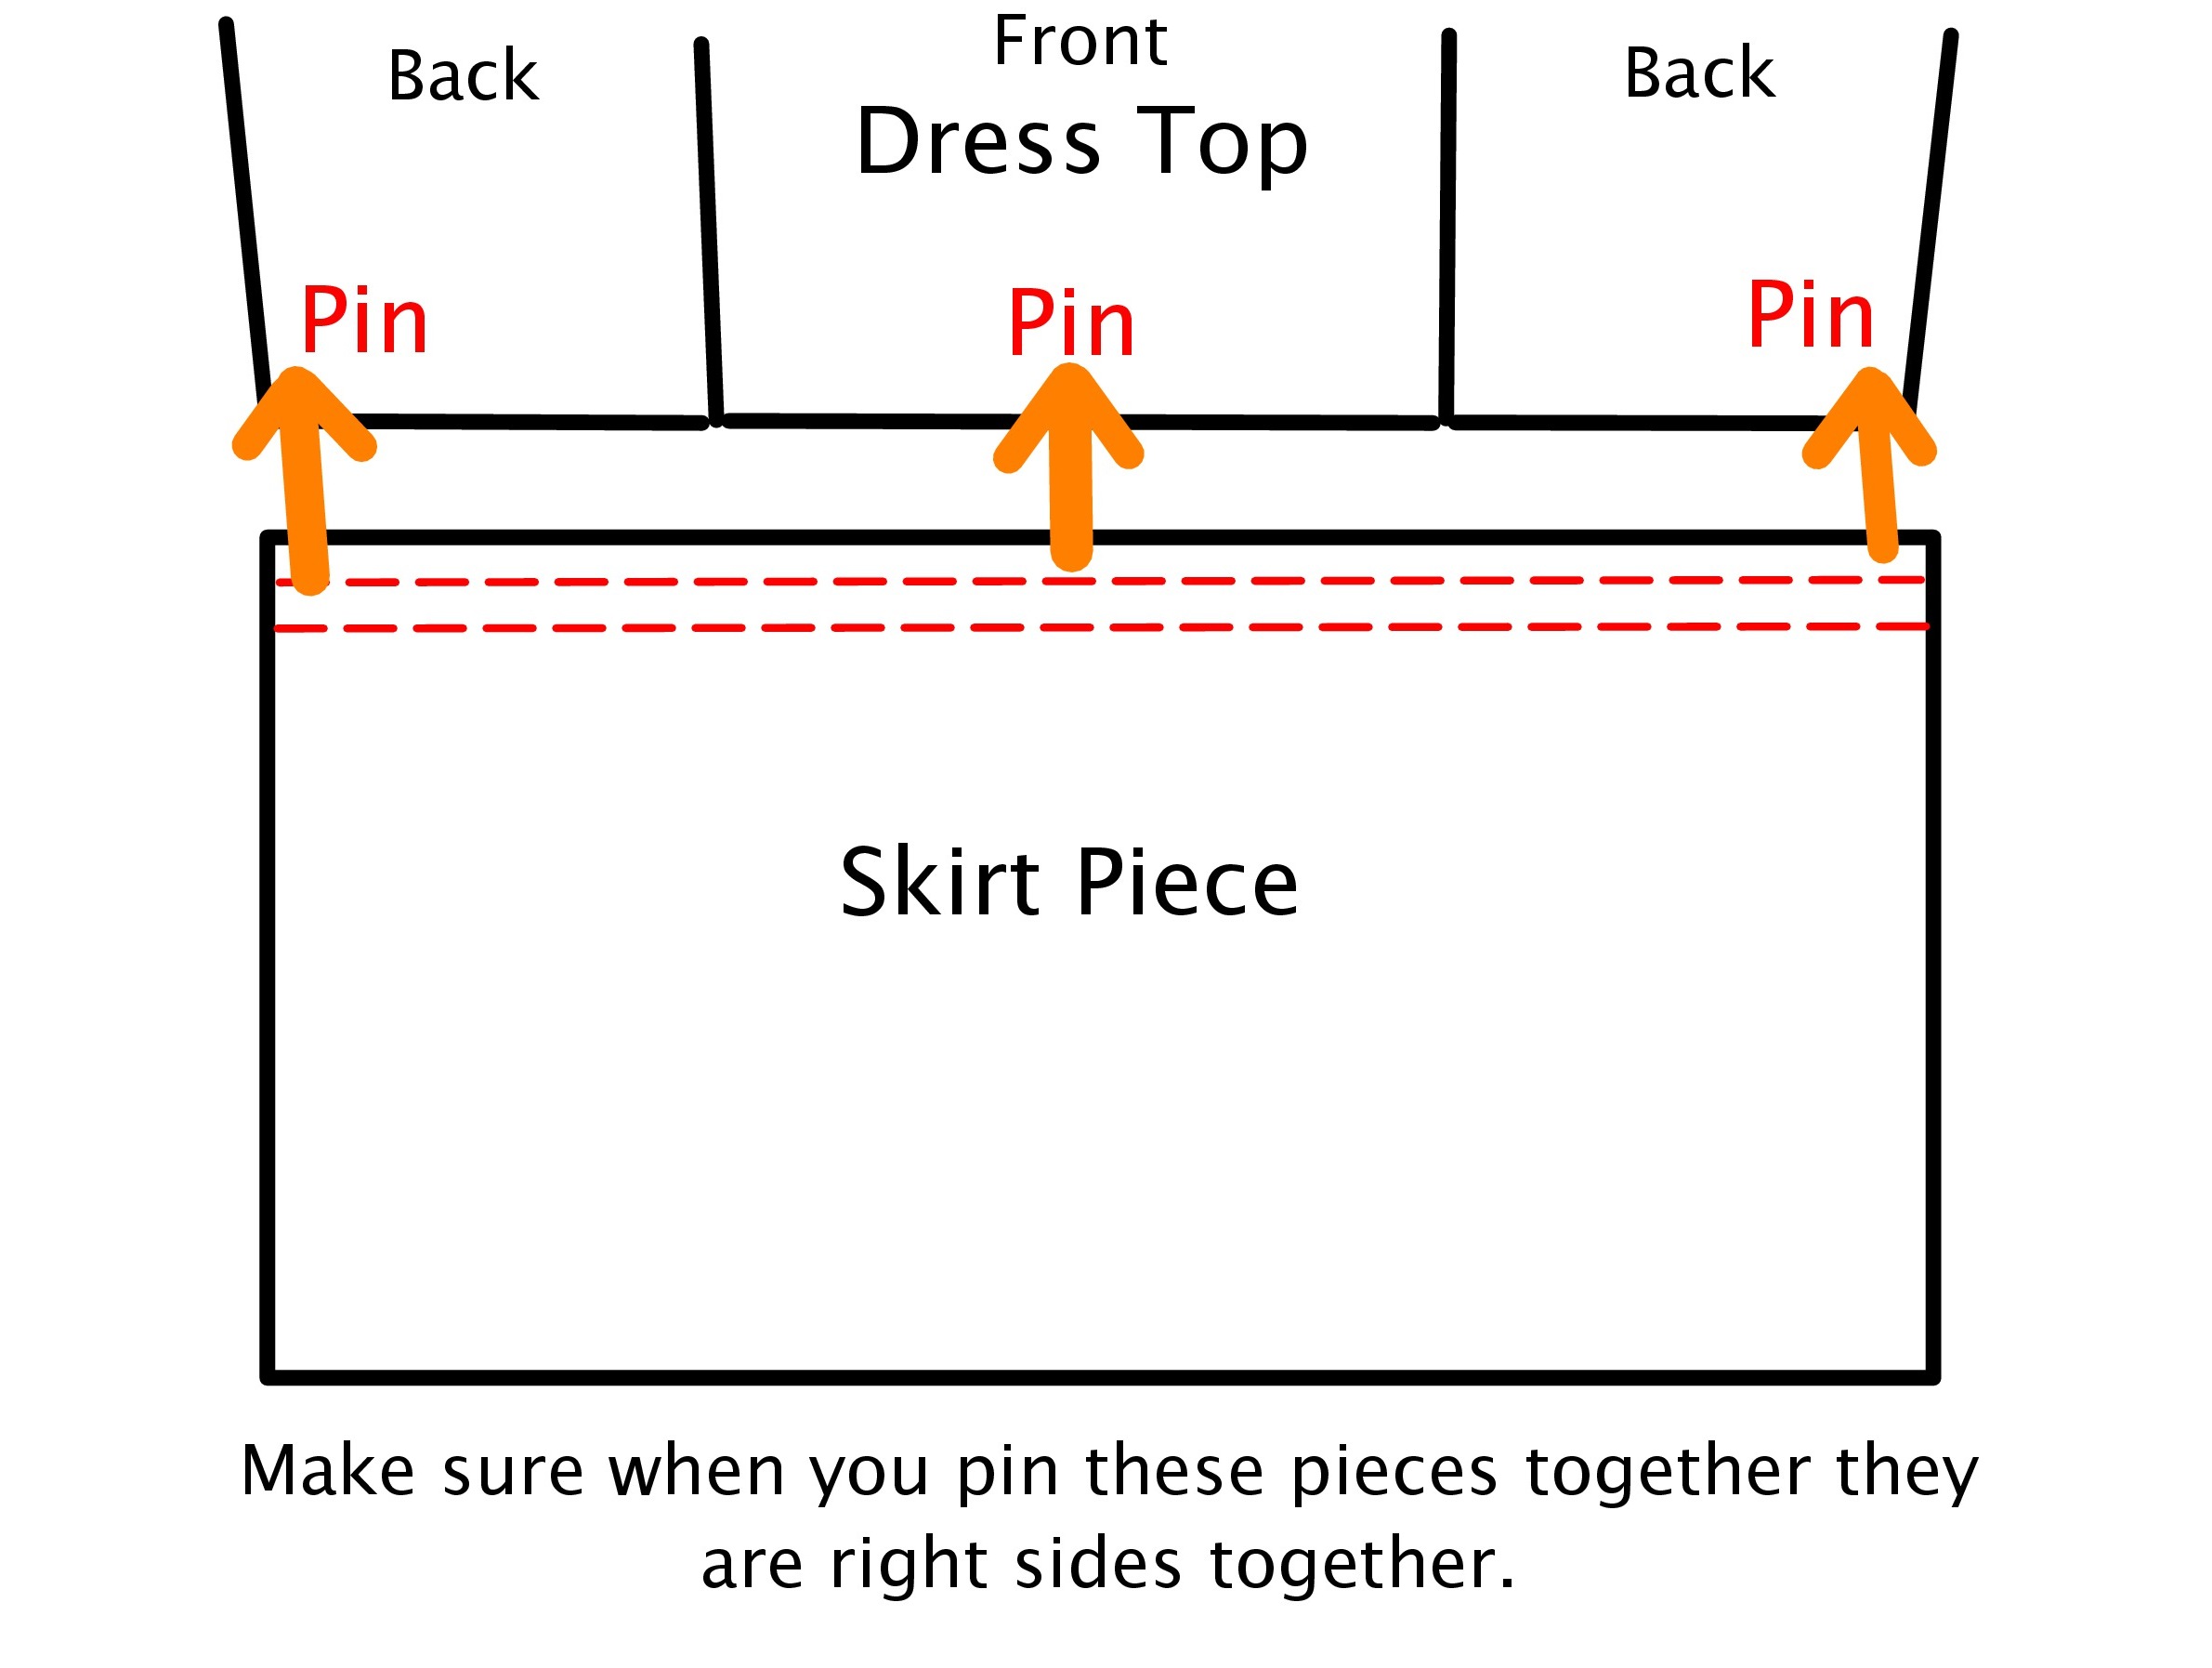
You will need these pieces: (sorry for the bad image, it will help give a better visual though).

-Bodice Front (cut 1 on fold) & Bodice Back (cut 2) (mine measured about 14″long- length from shoulder seam to just under your bust plus 5/8″ for your seam allowance).
-2 Sleeves (I used a previously used sleeve pattern altered to a longer length).
-Front Neckline Facing (cut 1 on fold- just trace your bodice front pattern neckline and make it about 2″ wide).
-Back Neckline Facing (cut 2- trace bodice back pattern piece).
-Skirt (Cut 1 on fold- measure just under your bust around your whole rib cage, and double that number for your width. Measure yourself lengthwise for desired length. It will look like a rectangle).
And that’s it!
Here’s how I made it:
Step 1// Begin putting your bodice together by sewing the front and back shoulders seams together rst. Iron seam, and trim seam allowance.
Step 2// Hem your sleeves using a blind hem stitch. I like to do this by hand. Here is a great tutorial: Sew your sleeves in. (here are pictures of a previous project using the same steps).

Pin sleeve into armhole RST. Make sure ends and centers are pinned first.

Once pinned in place, sew in your sleeve using a zigzag stitch at 5/8″. Trim seam allowance.

3// Pin your side seams rst and sew from bodice bottom to under arm to end of sleeve in one continuous seam, sewing up the whole side for both sides each.
4// Finish edge of your neckline facings using a zig zag stitch if you desire. Sew front neckline facing to both back neckline facings where shoulder seam would meet. Pin facing to dress neckline rst lining up your shoulder seams, sew in using a straight stitch. Trim seam allowance. Iron facing behind dress front to finish off the neckline. I tacked my facing down at the shoulder seams to keep it from flipping up.
5// Gather skirt. On top edge of skirt piece, baste the whole length of the skirt at 1/2″ & 5/8″, remember to leave your thread tails long. Pin center of the skirt piece to the center of the bodice front rst, then line up skirt edges to the bodice edges, also pin. (See picture below). Gently tug your thread ends and gather each side evenly. baste two pieces together at 5/8″. Make sure everything is in place where it should be, and sew using a zigzag stitch.
6// Sew in your invisible zipper using the instructions on the zipper packaging.
7// Hem your dress to desired length.
All done! I hope this helps with some of your maternity fashion dilemmas!


Leave a comment