This post is sponsored by Cricut. The opinions expressed in this post are my own. Affiliate links are included.
I have a such a fun post planned for you today in collaboration with Cricut! I’ve been eyeing all the fun graphic tees in ready to wear stores right now. I love the minimalist fonts, and hilarious sayings. So when I was thinking of what I would like to make with my new Cricut Explore Air 2, I instantly pictured a cool t-shirt or sweatshirt with a creative saying on it.
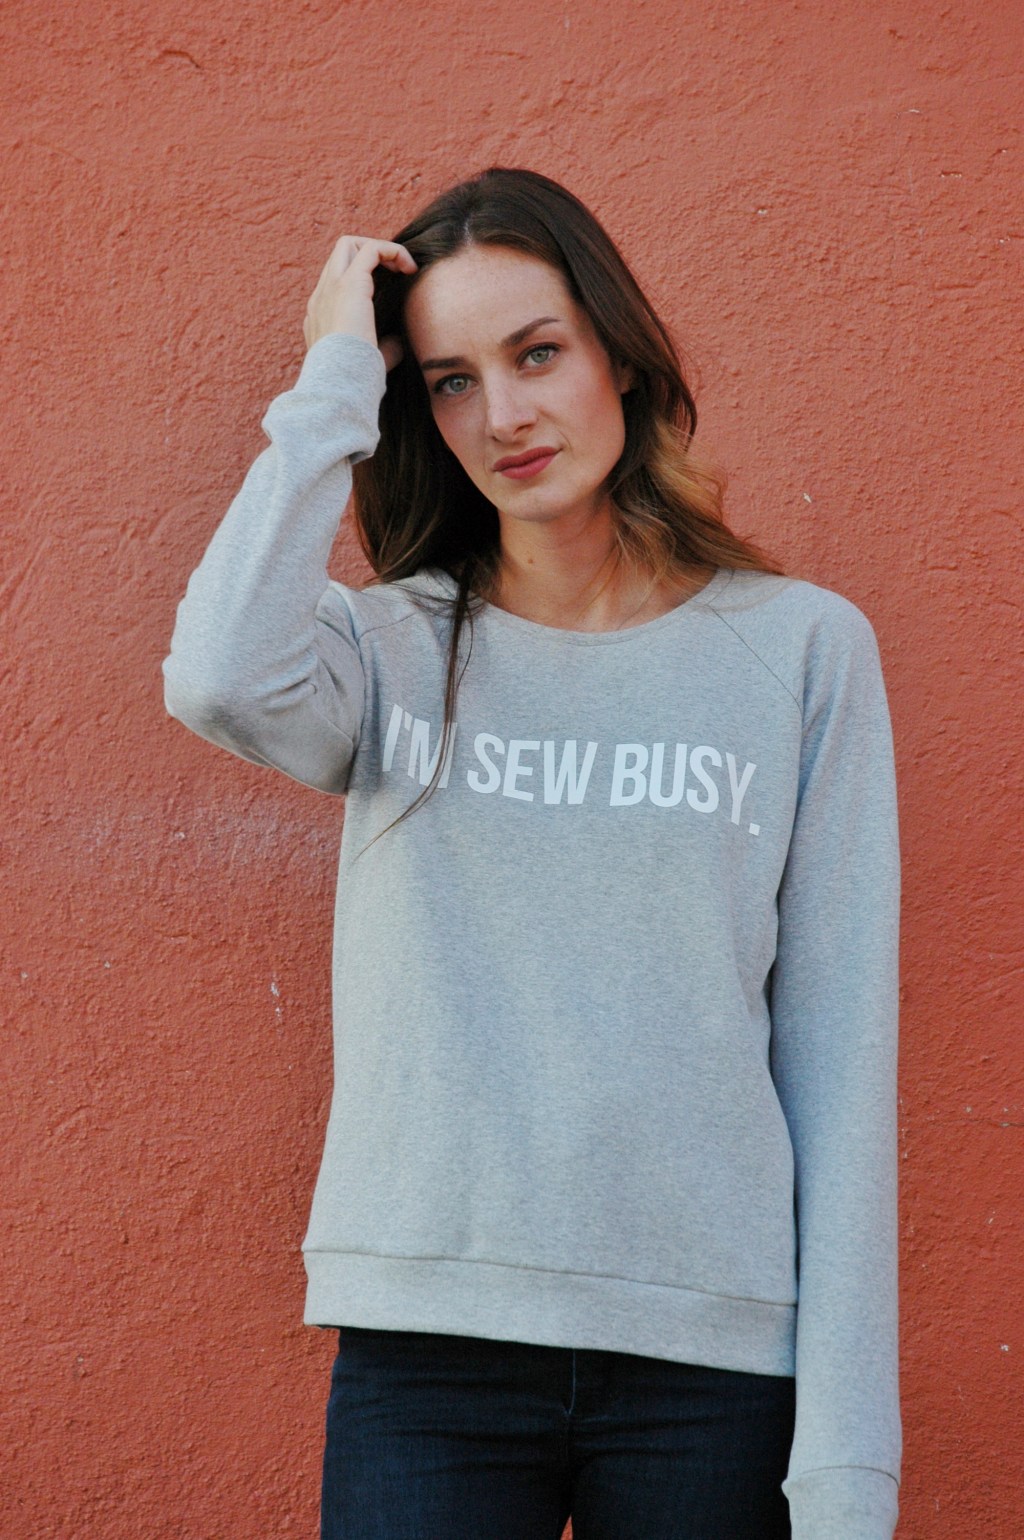
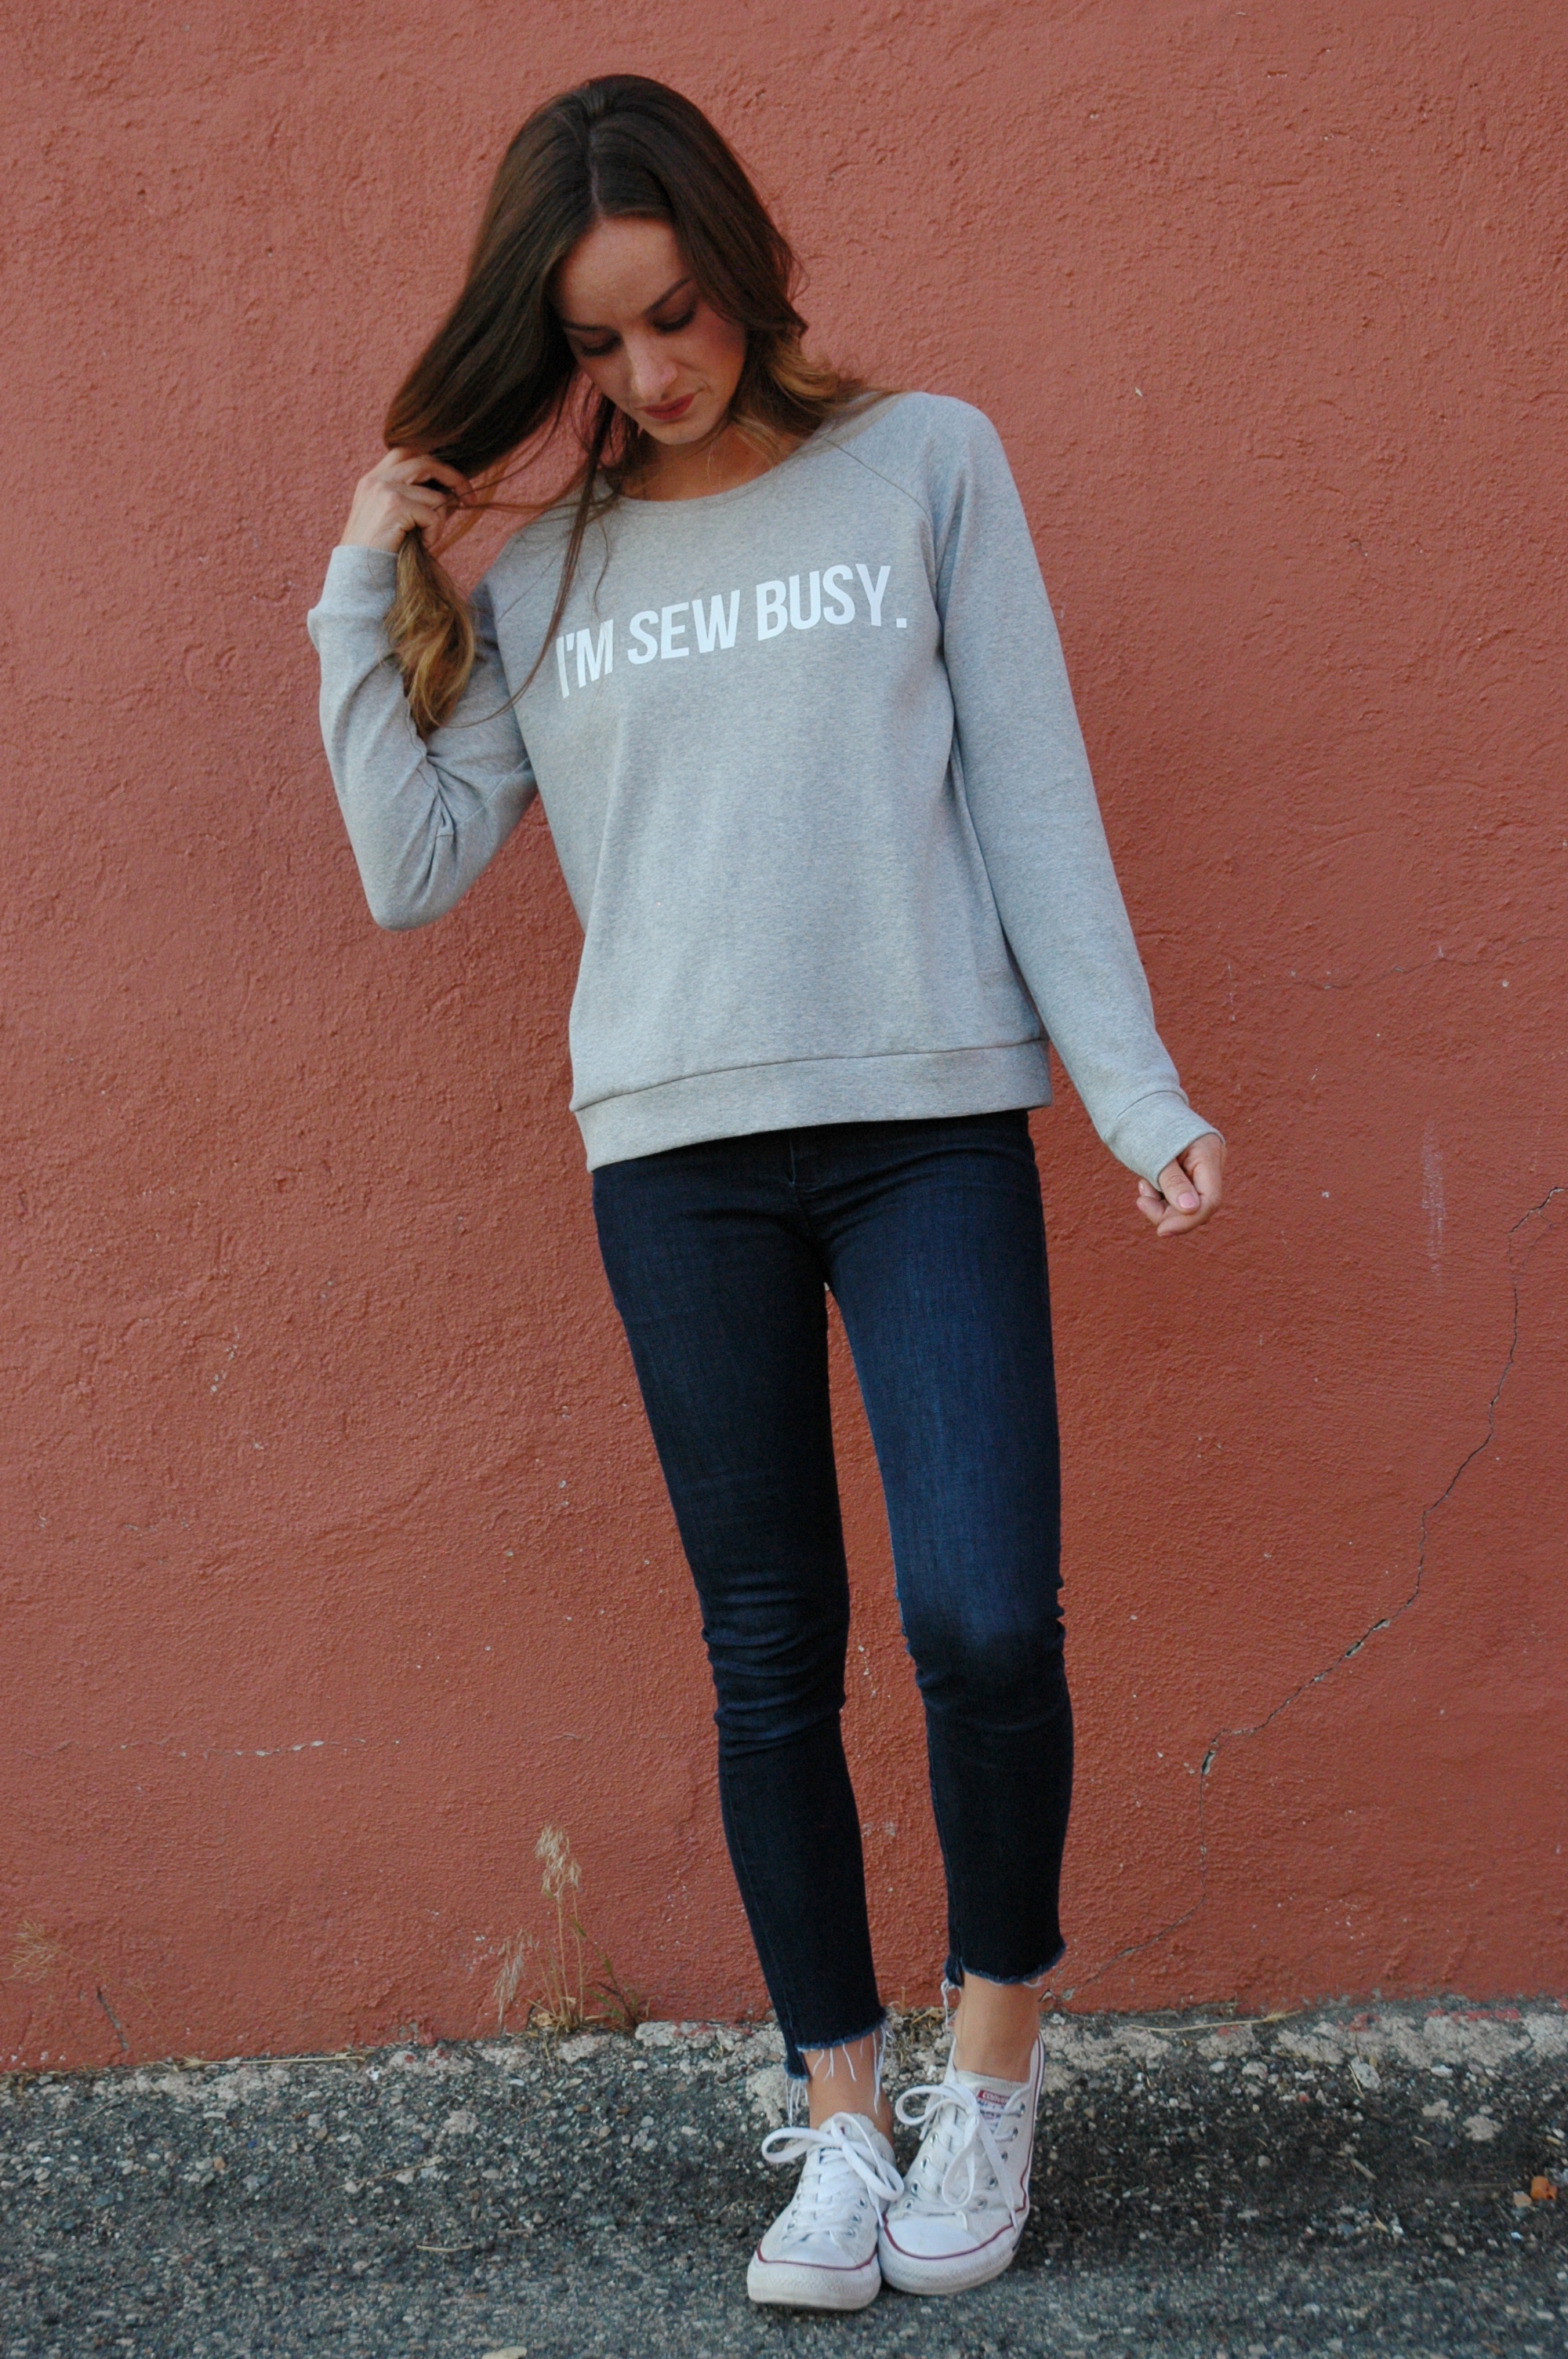
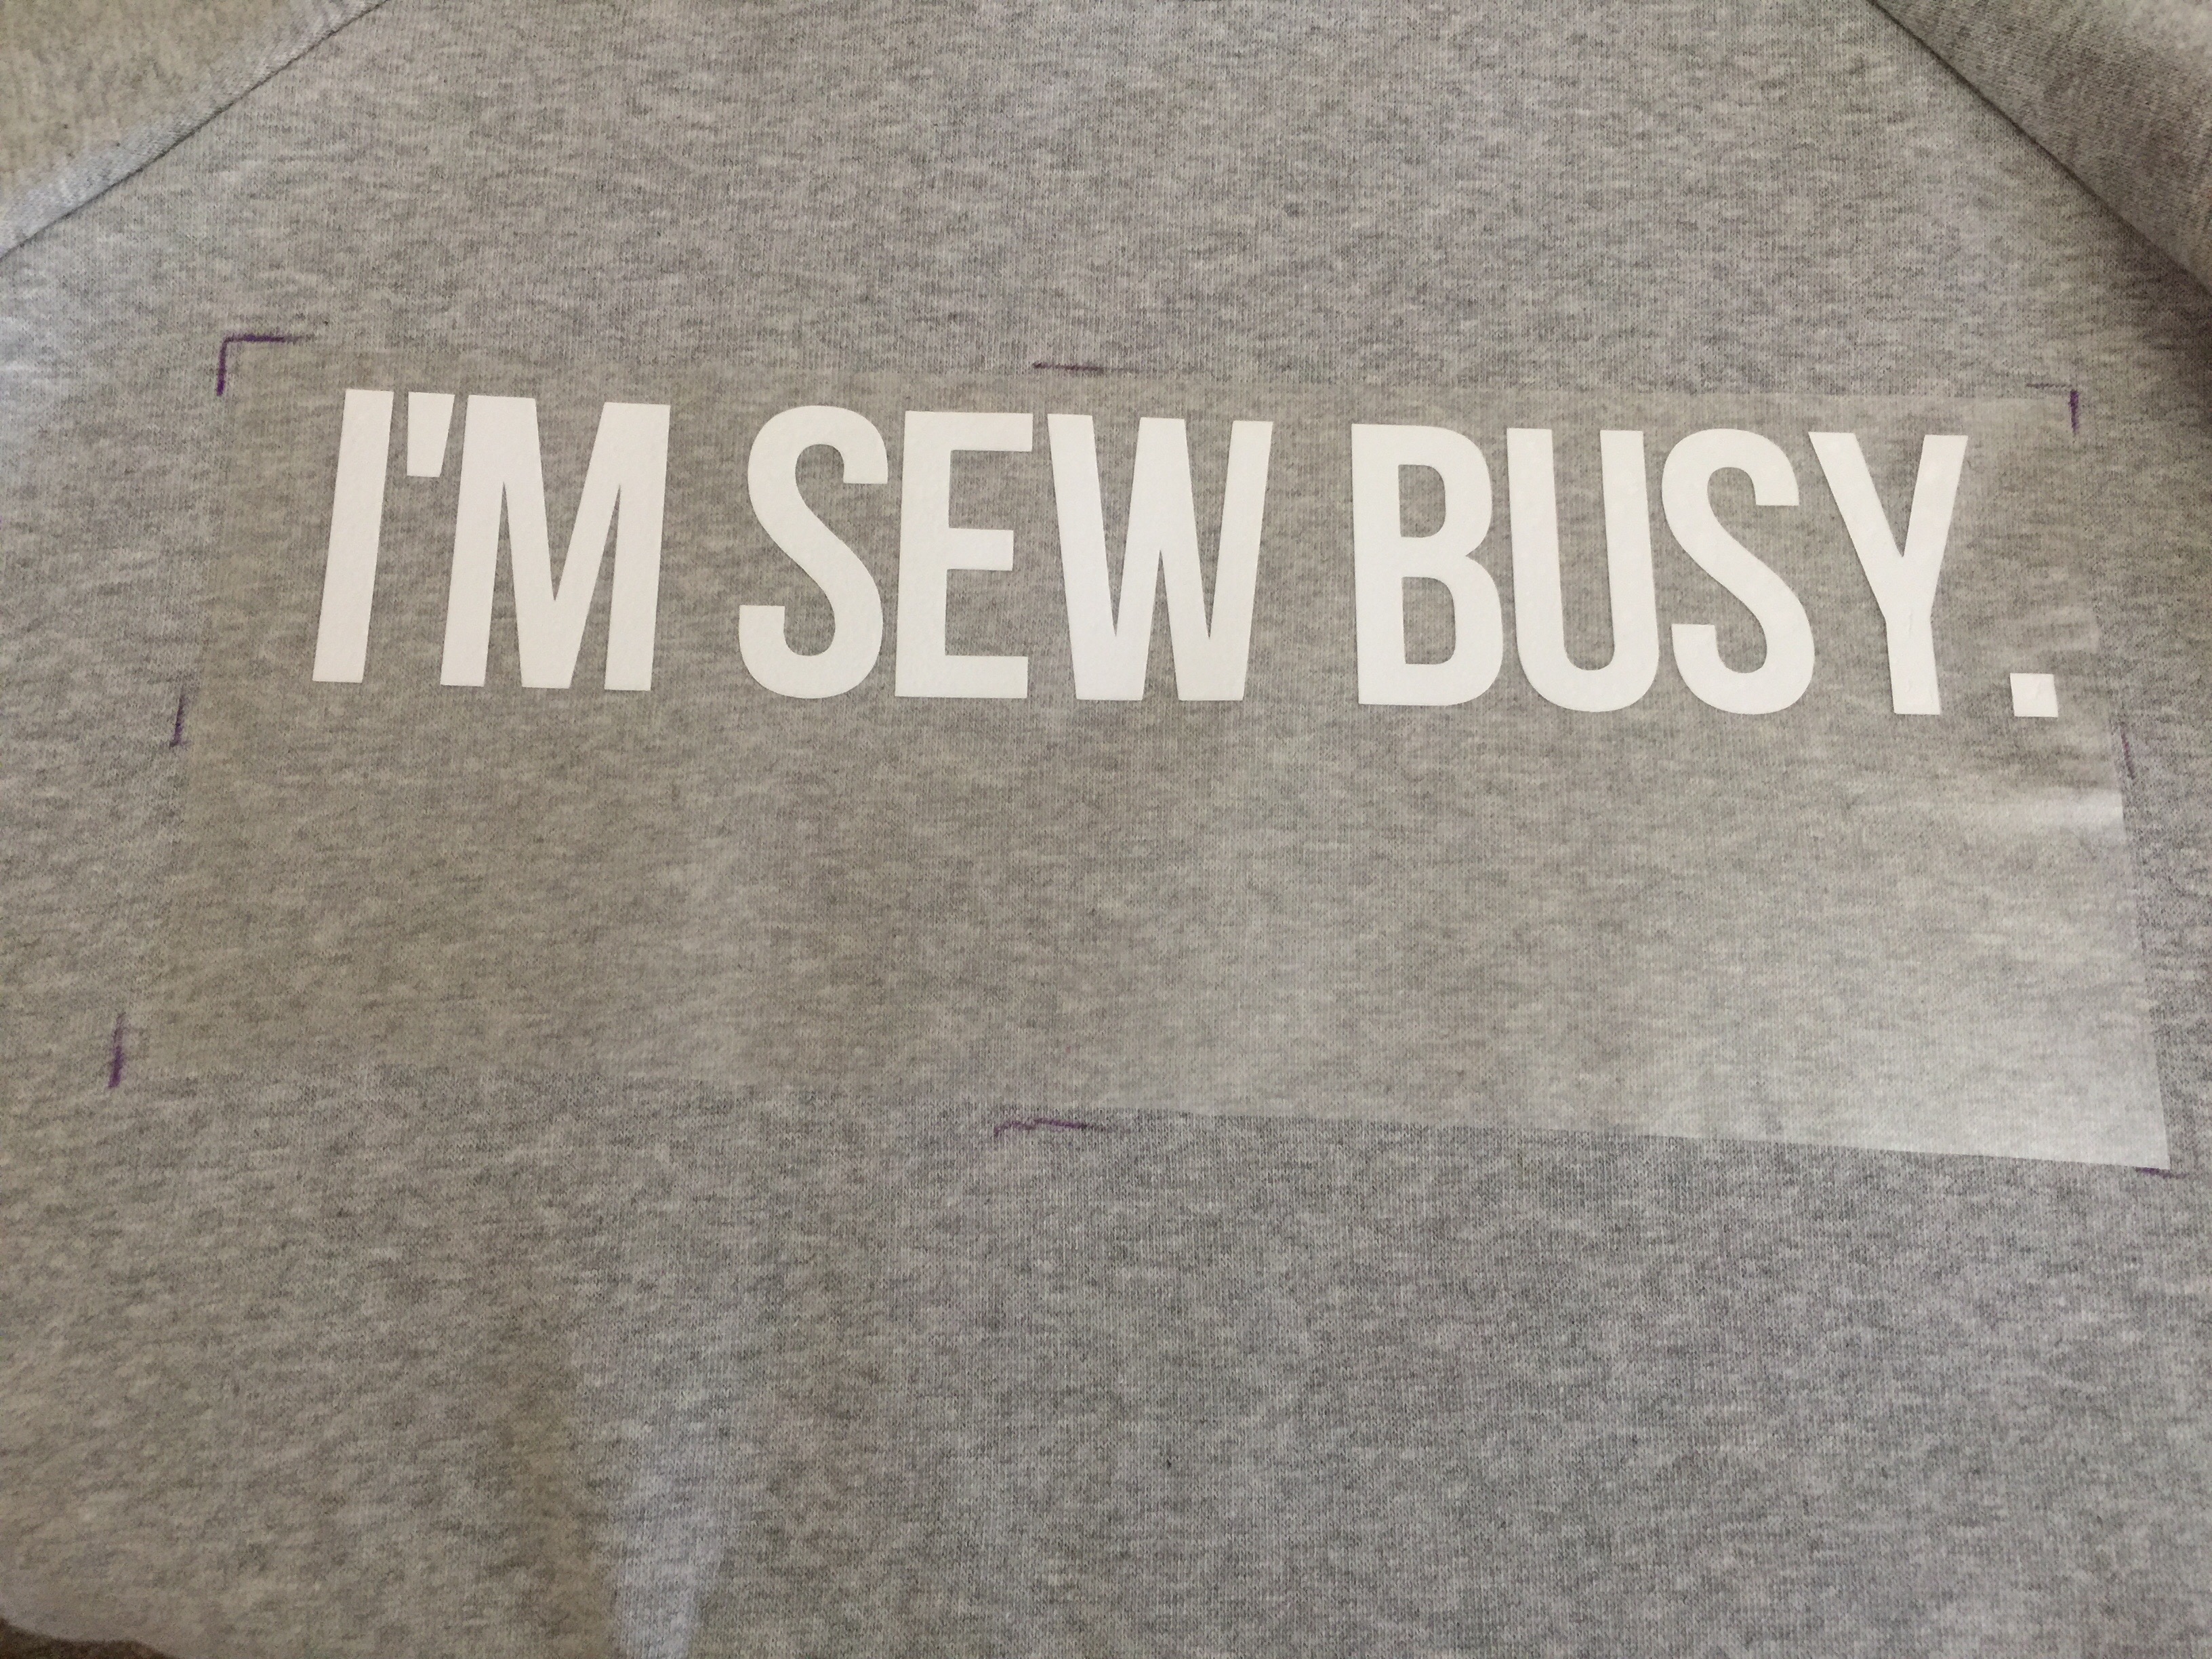
I chose to sew up the Linden Sweatshirt for this project, paired with a the saying “I’m sew busy.”. I chose this phrase because it rings pretty true for my life right now, and it’s something I would totally throw on with jeans and wear out. I picked up my grey knit fabric from my local Joann Fabrics shop.
Keep reading below to enter a giveaway to win your very own Cricut Explore Air 2!

The Linden Sweatshirt is a pattern stash MUST HAVE. It’s your classic raglan sleeve sweatshirt pattern. It’s an easy 1 hour project, and a necessary wardrobe staple. This happens to be my first ever Linden, and I’m seriously questioning why I waited so long to sew one up. I just love it. This pattern does tend to run a size bigger, so keep that in mind when deciding on which size to sew! I made the size small that matched my measurements, but I probably should have made the xs.

This is also my first time working with a Cricut machine, so I wanted to start out with something simple and easy to figure out. Now my mind is spinning with the endless possibilities this little machine holds within!
Creating a vinyl iron-on is very easy to figure out, and I’m excited to walk you through the process today! You can also watch this video for everything you need to know about ironing on a vinyl iron-on image to a garment.
First of all, sew up your t-shirt or sweatshirt (or use an already sewn top) and set it aside.
Next, decide on what color vinyl iron-on(s) you want to use for your project. You can layer different colors on top of each other for a really cool look. I decided to go with one color for my sweatshirt, and I chose white.
Next, you’ll need to go into the “Cricut Design Space” and click on “New Project”. Select the text button, and type out your saying. Here’s a direct link to this project if you choose the same saying and font that I used.
Now we get to choose a font. Cricut has tons of font options, but I opted to download a free font from the internet. To add an outside font to your cricut design space, you need to first download the font onto your computer and save it within your font files. Then open or reopen Cricut Design Space, and look under the systems tab within the font option, and you can find all the fonts saved to your computer. It’s super easy to figure out. I used this font called Bebas Neue Bold; it’s free! I did move the letters slightly closer together too.
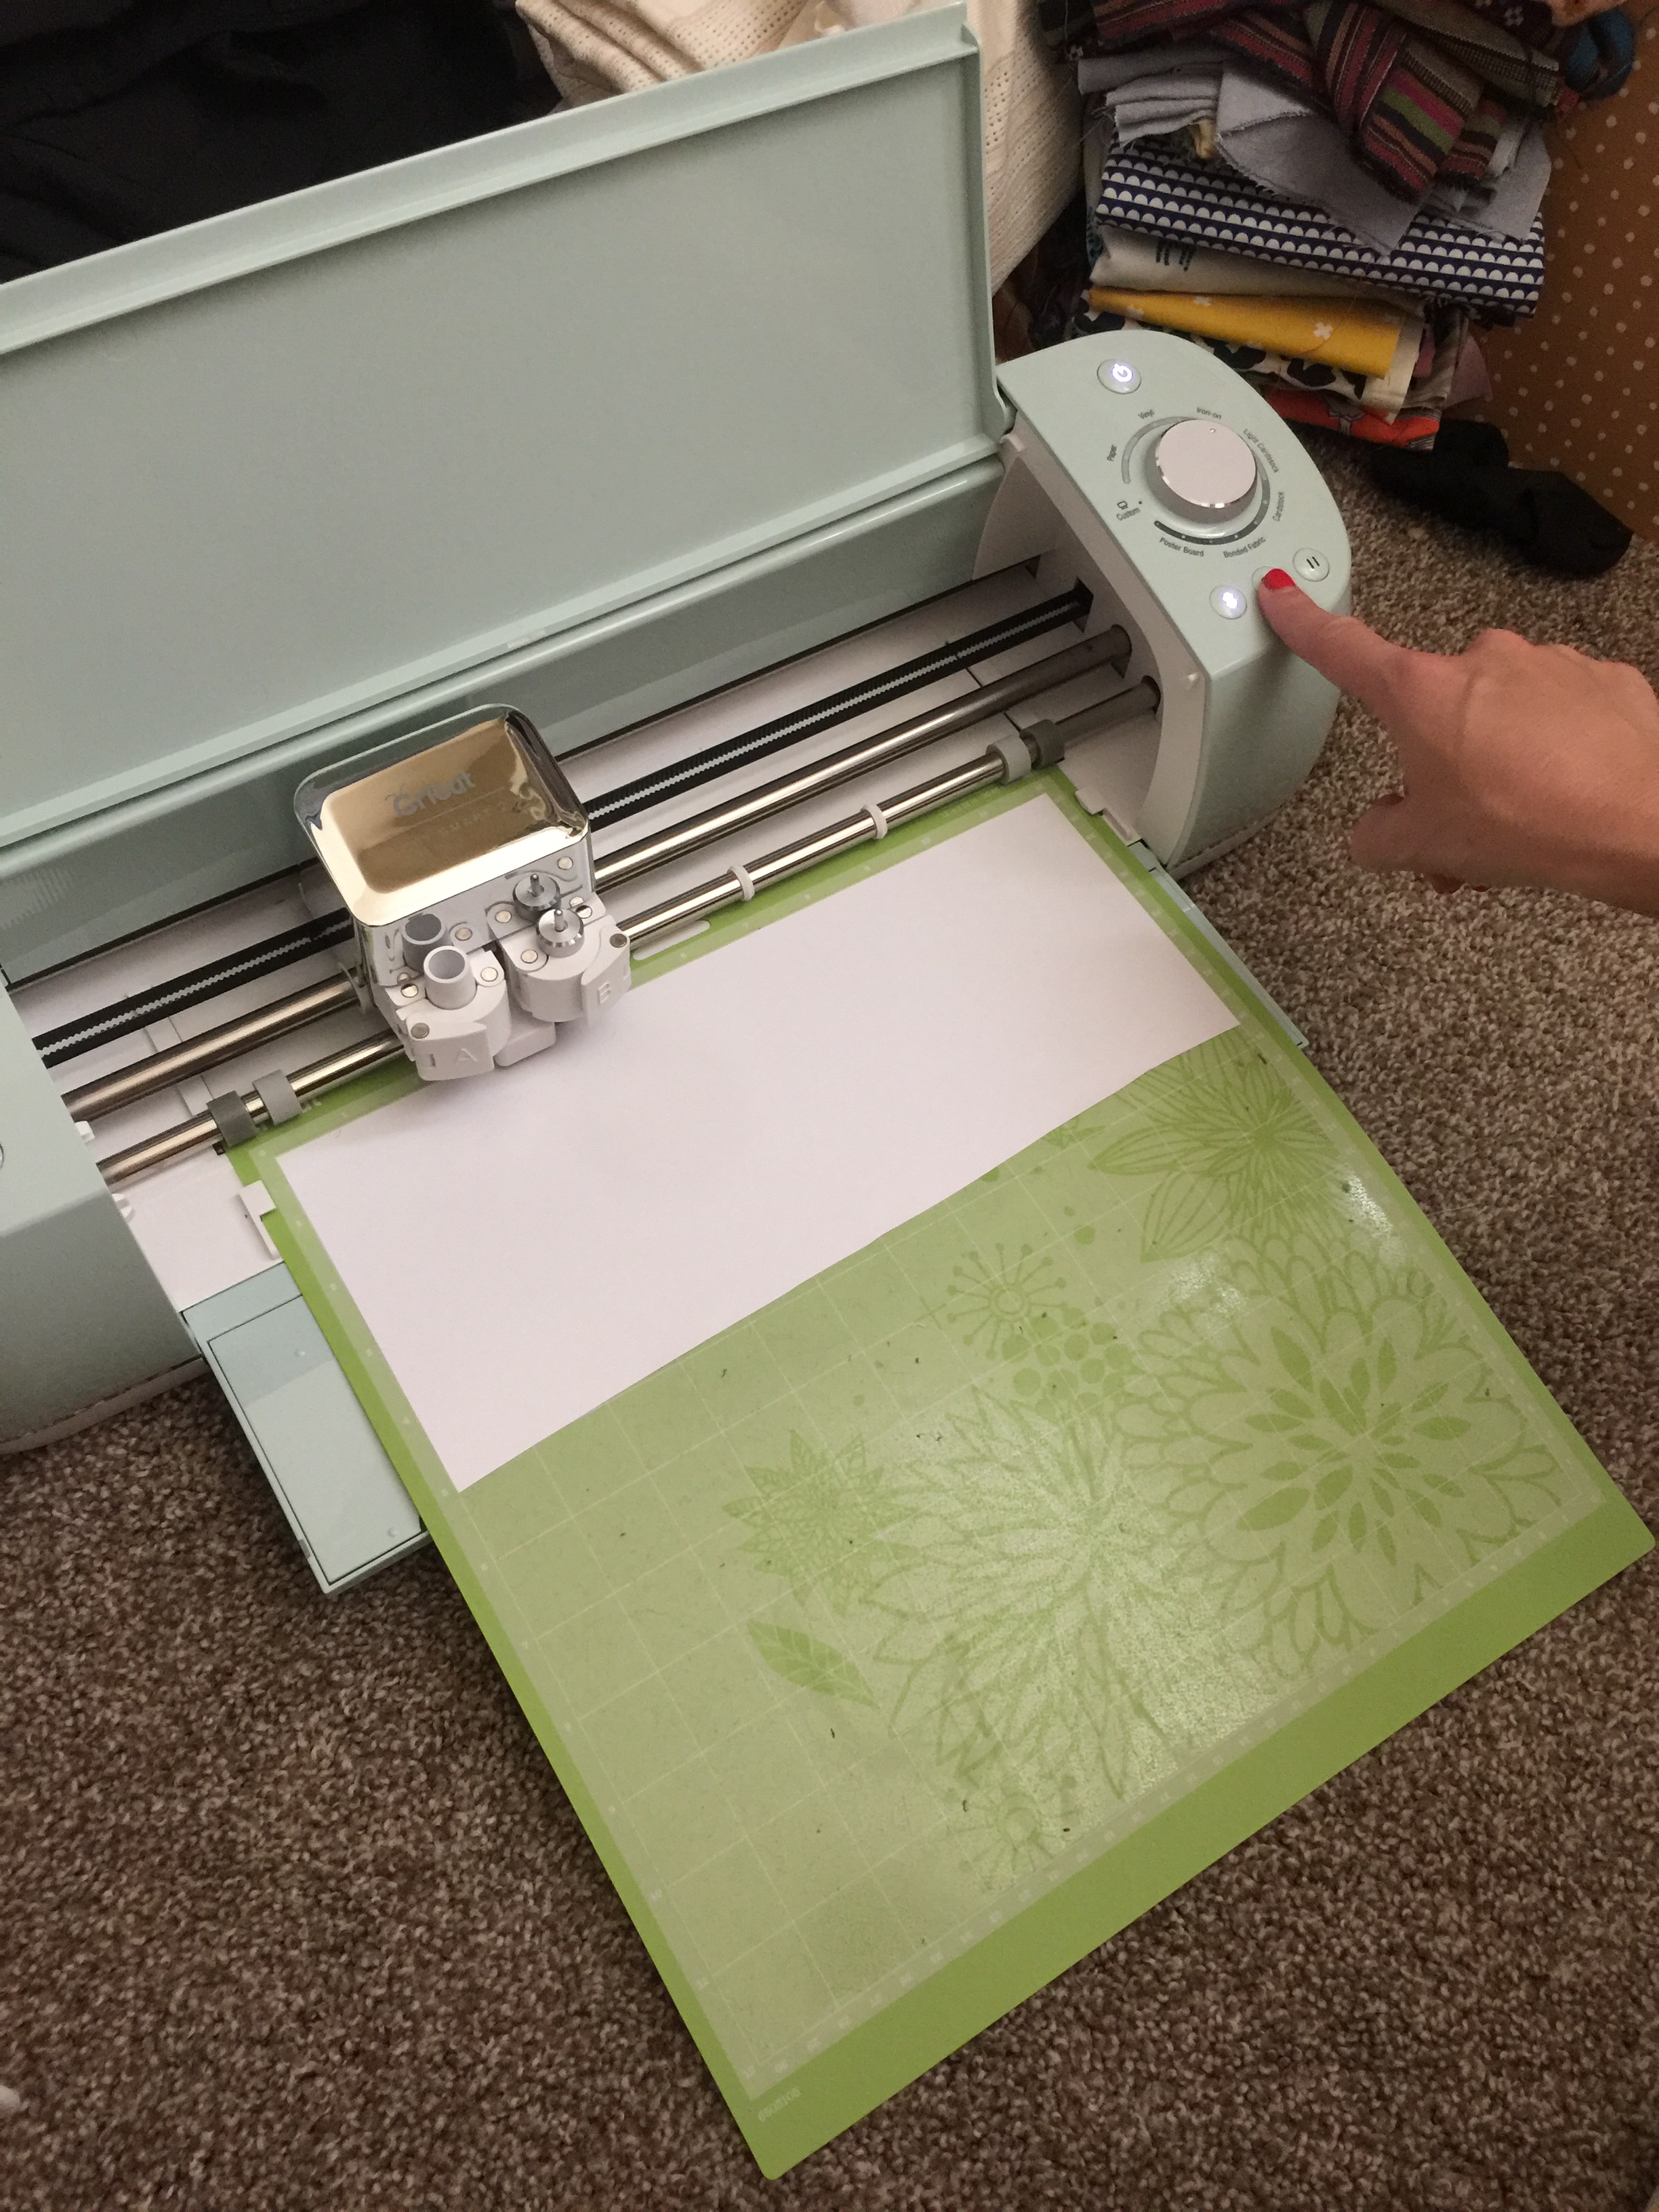
Now we need to prep the mat so our vinyl is ready to be cut. My phrase was only two inches tall so I cut a small strip about 4″ tall of my white vinyl, and then smoothly placed it along the top of my mat.

")
Next you will click on “make it” on the top right corner, and remember to mirror the image before you send it to your machine to be cut. Set the dial to “Iron-On”, load your mat, and press the blinking button on your machine to begin the cutting process.
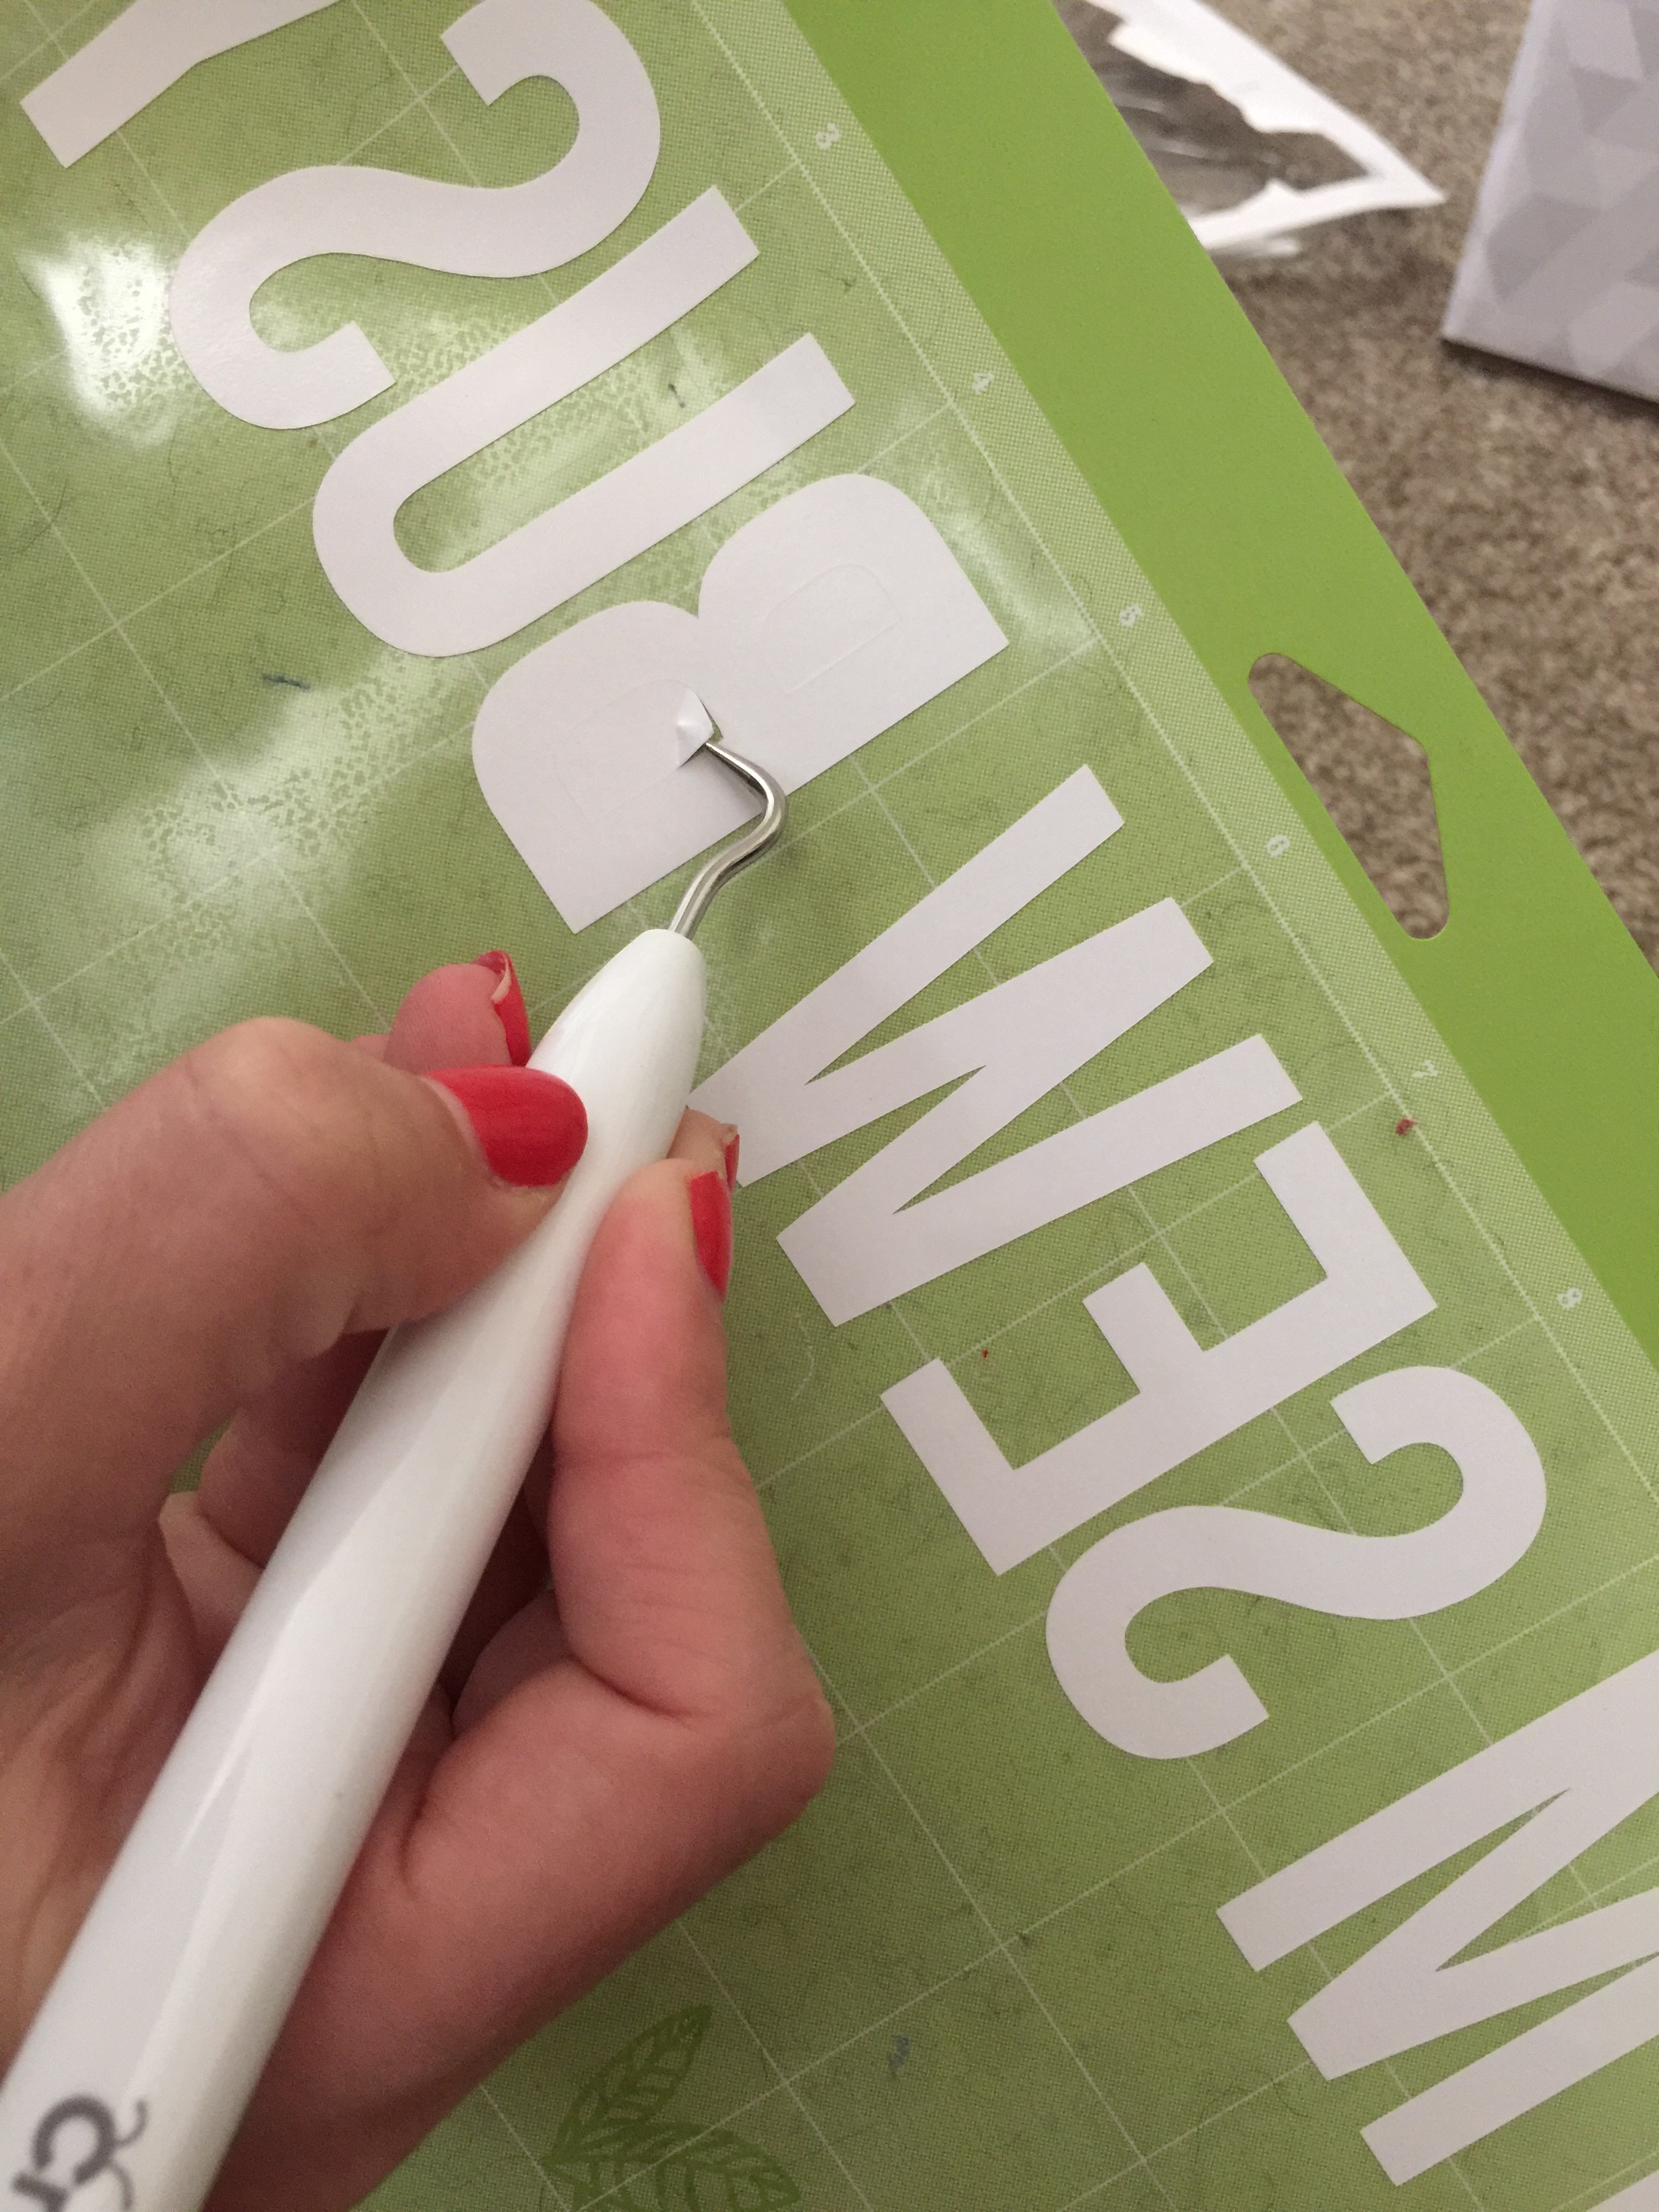
Once your phrase or image is finished being cut, unload the mat and pull it out of the machine. Slowly peel away the vinyl from the mat to reveal your image.
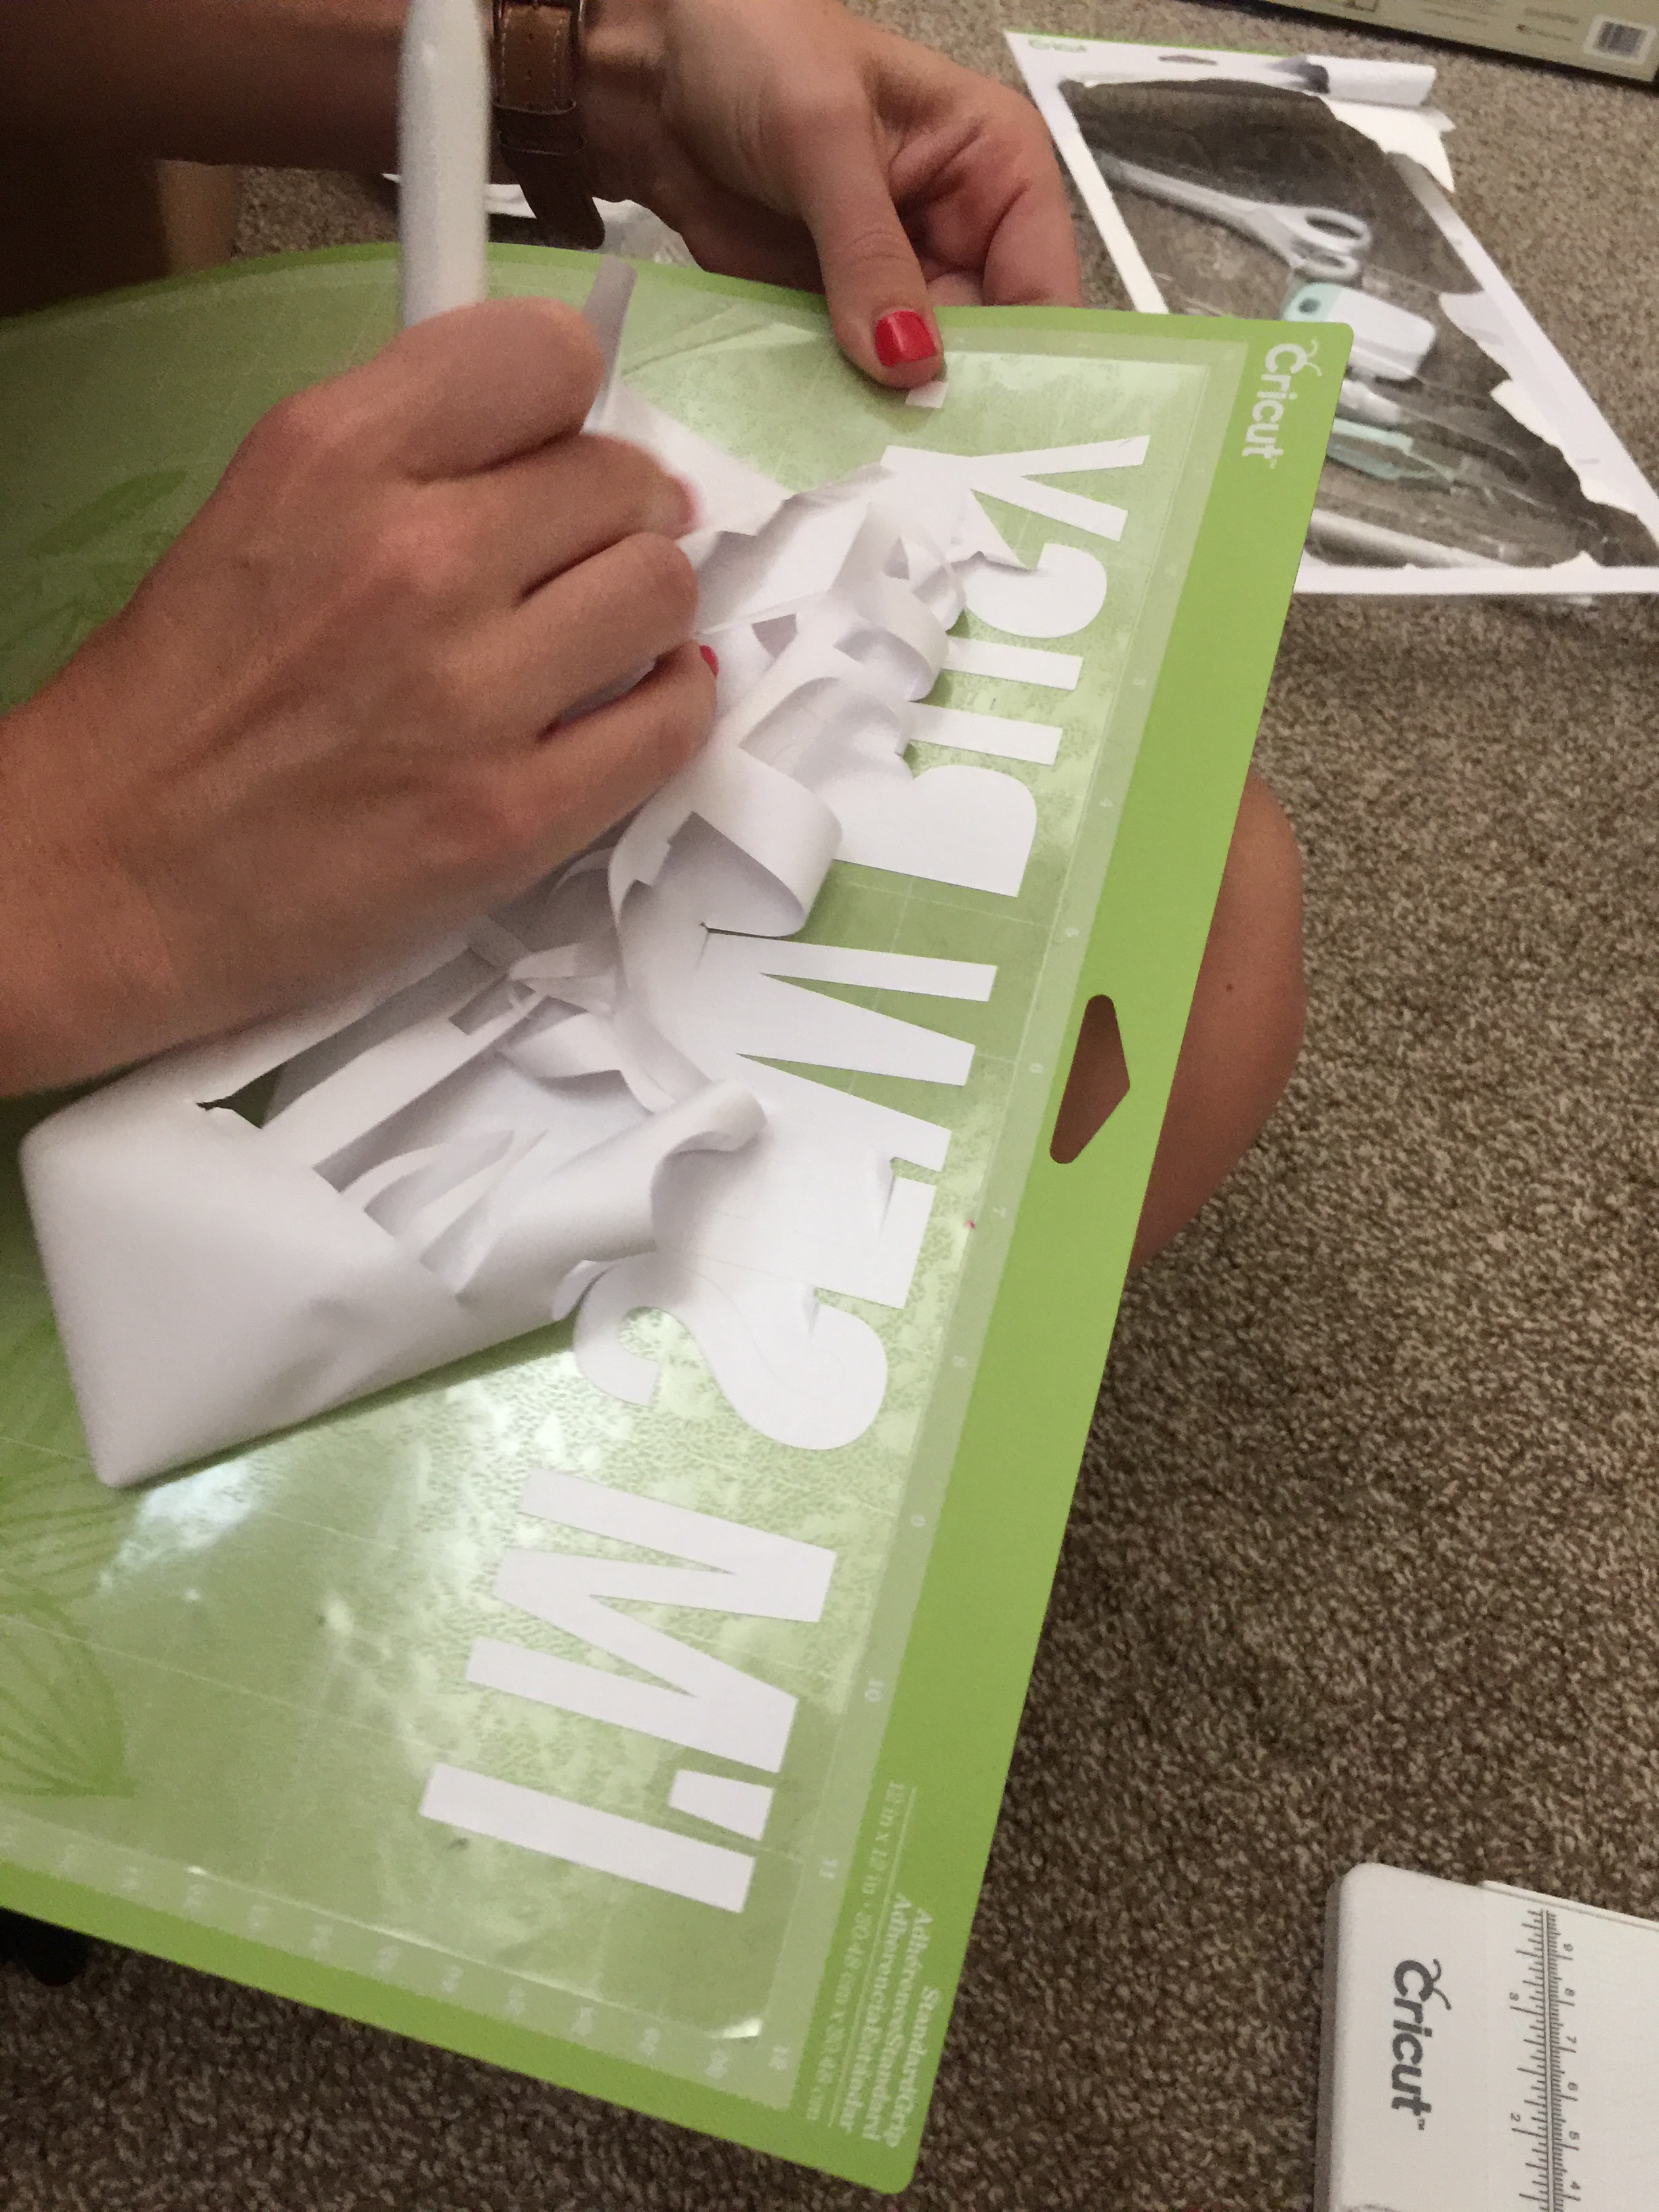
Next, using a Cricut Tool, remove the small pieces within the letters so the image is all cleaned up. This is called weeding.
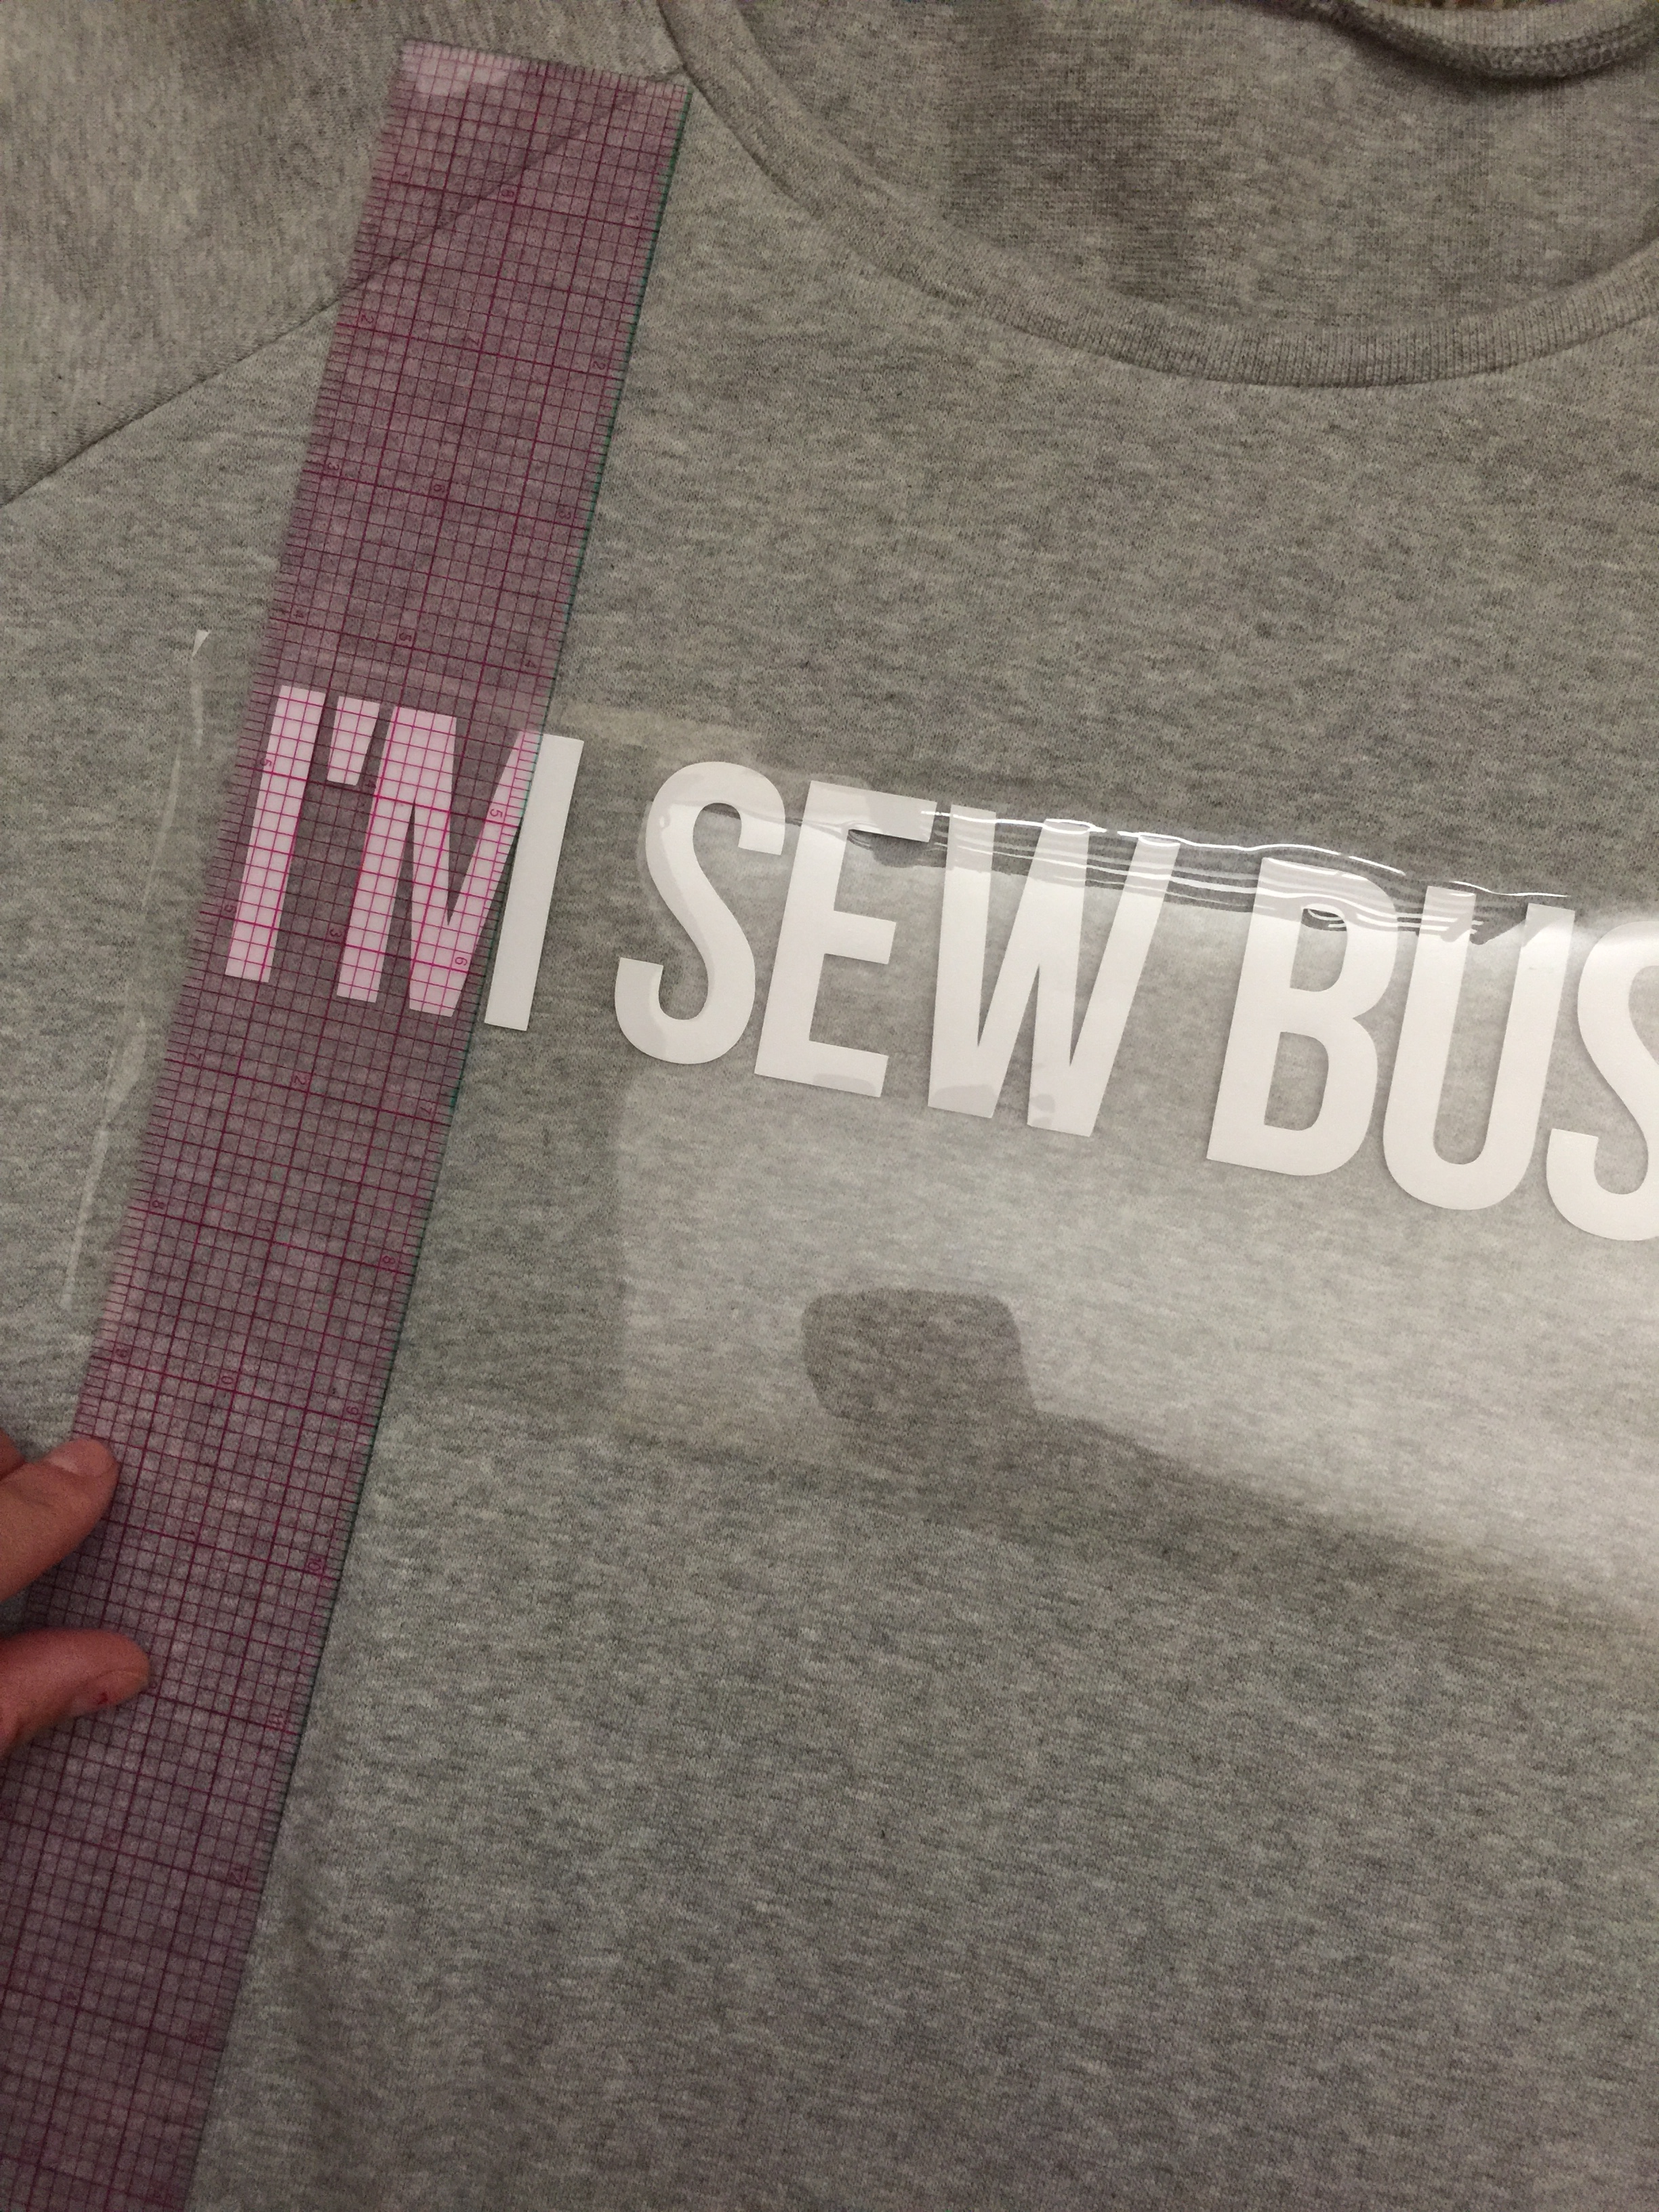
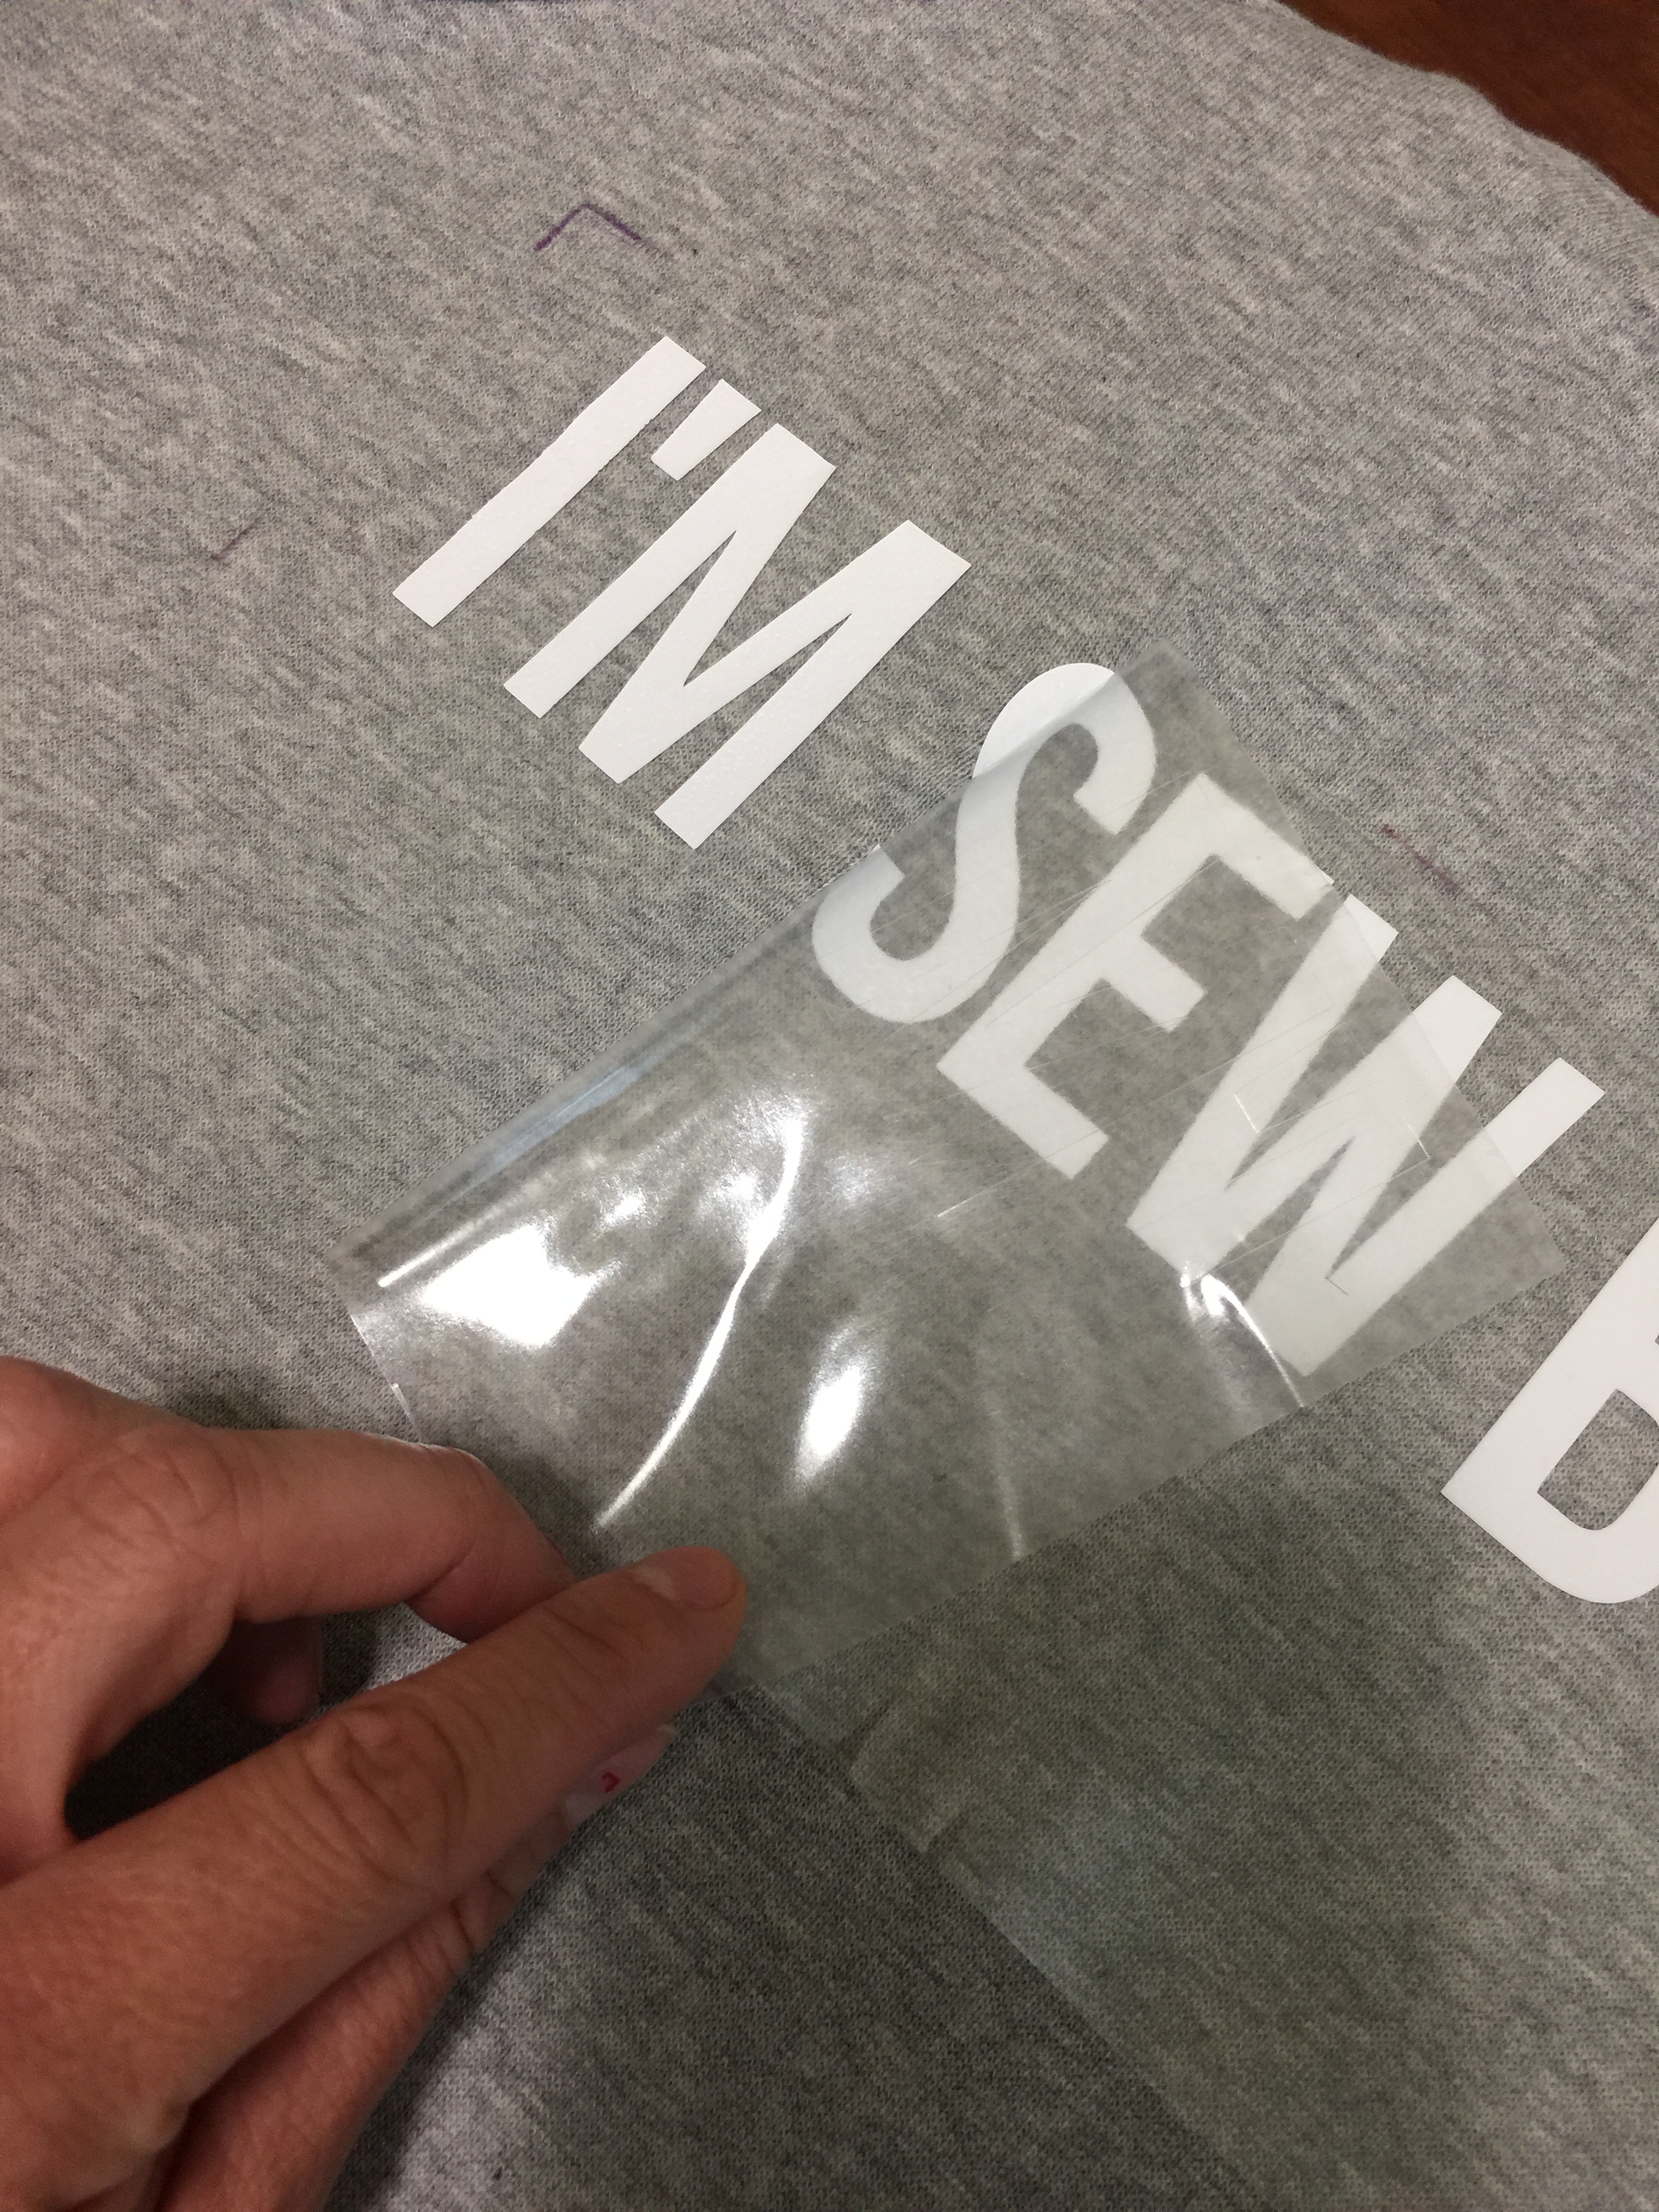
You’ll notice there’s clear plastic behind your image, attached to the mat. Slowly pull it away from the mat. Decide on where you want to position the saying on your shirt. I used a ruler and water soluble marking pen to get just the right spot.
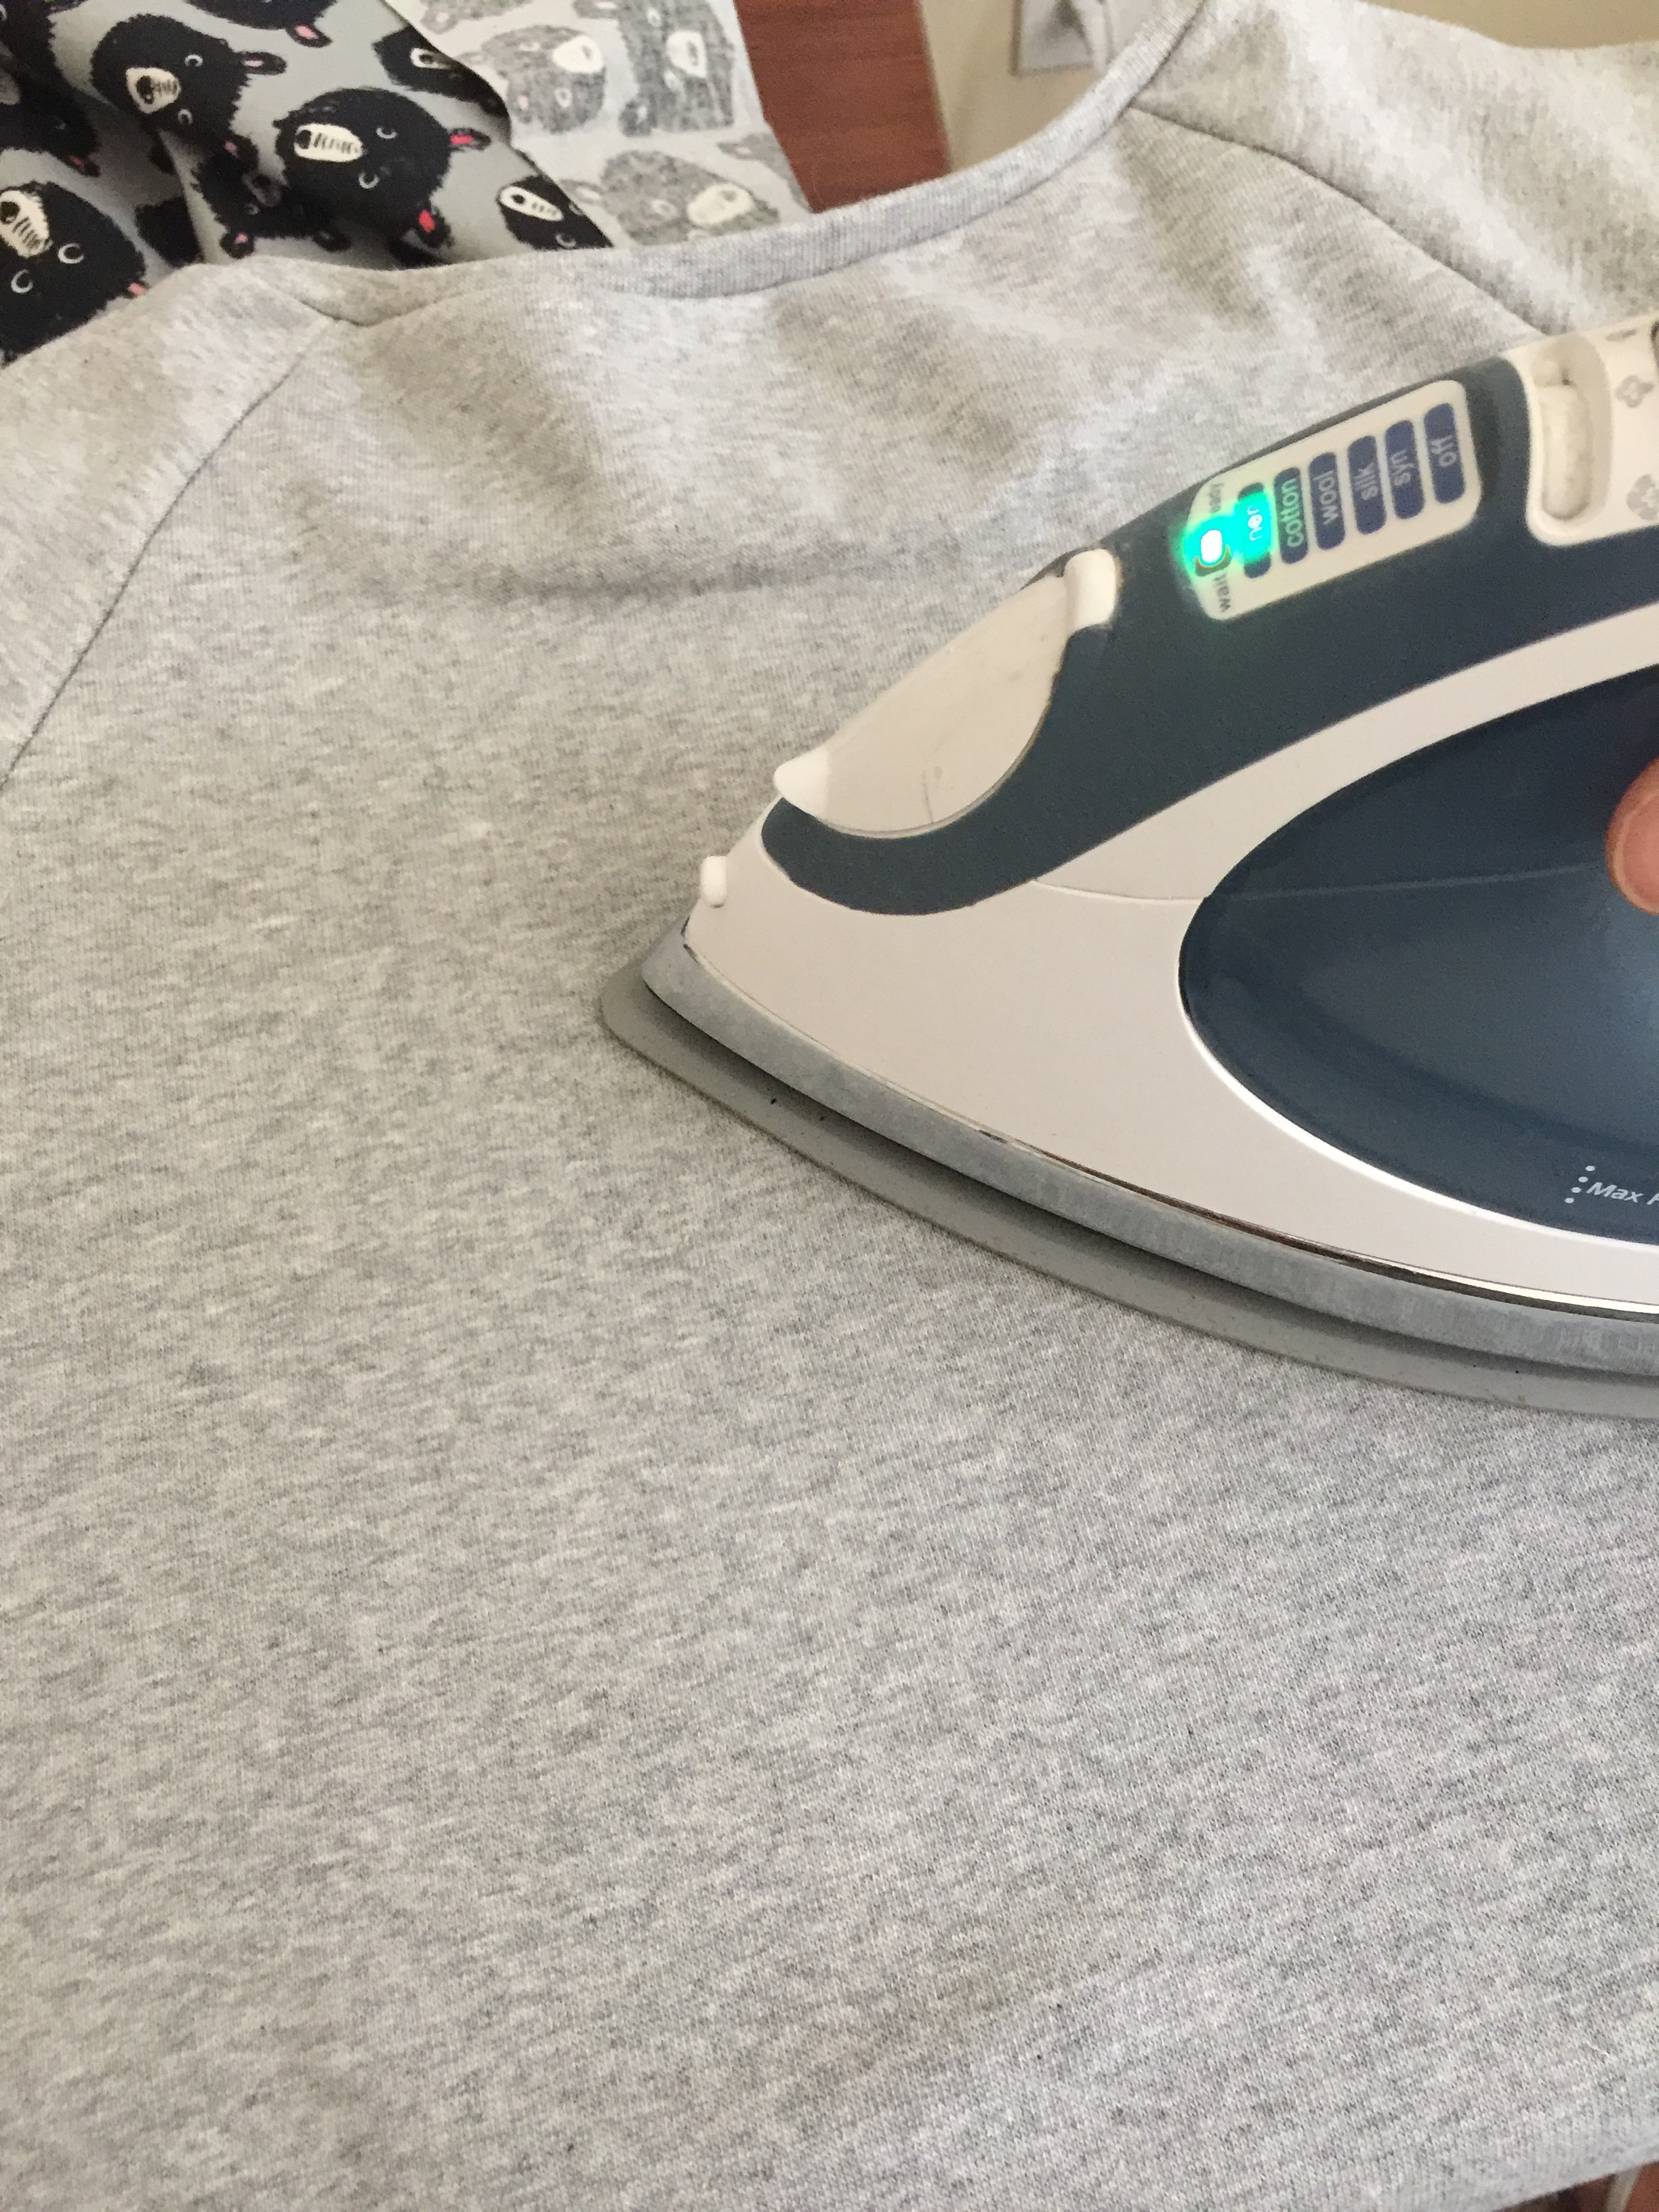
Now remove your image from the sweatshirt, and run a warm iron set to the hottest setting over the spot where you are going to place your image. Put the image back in place with a cloth over it, (I used some cotton fabric) and iron over each section for about 25 seconds.
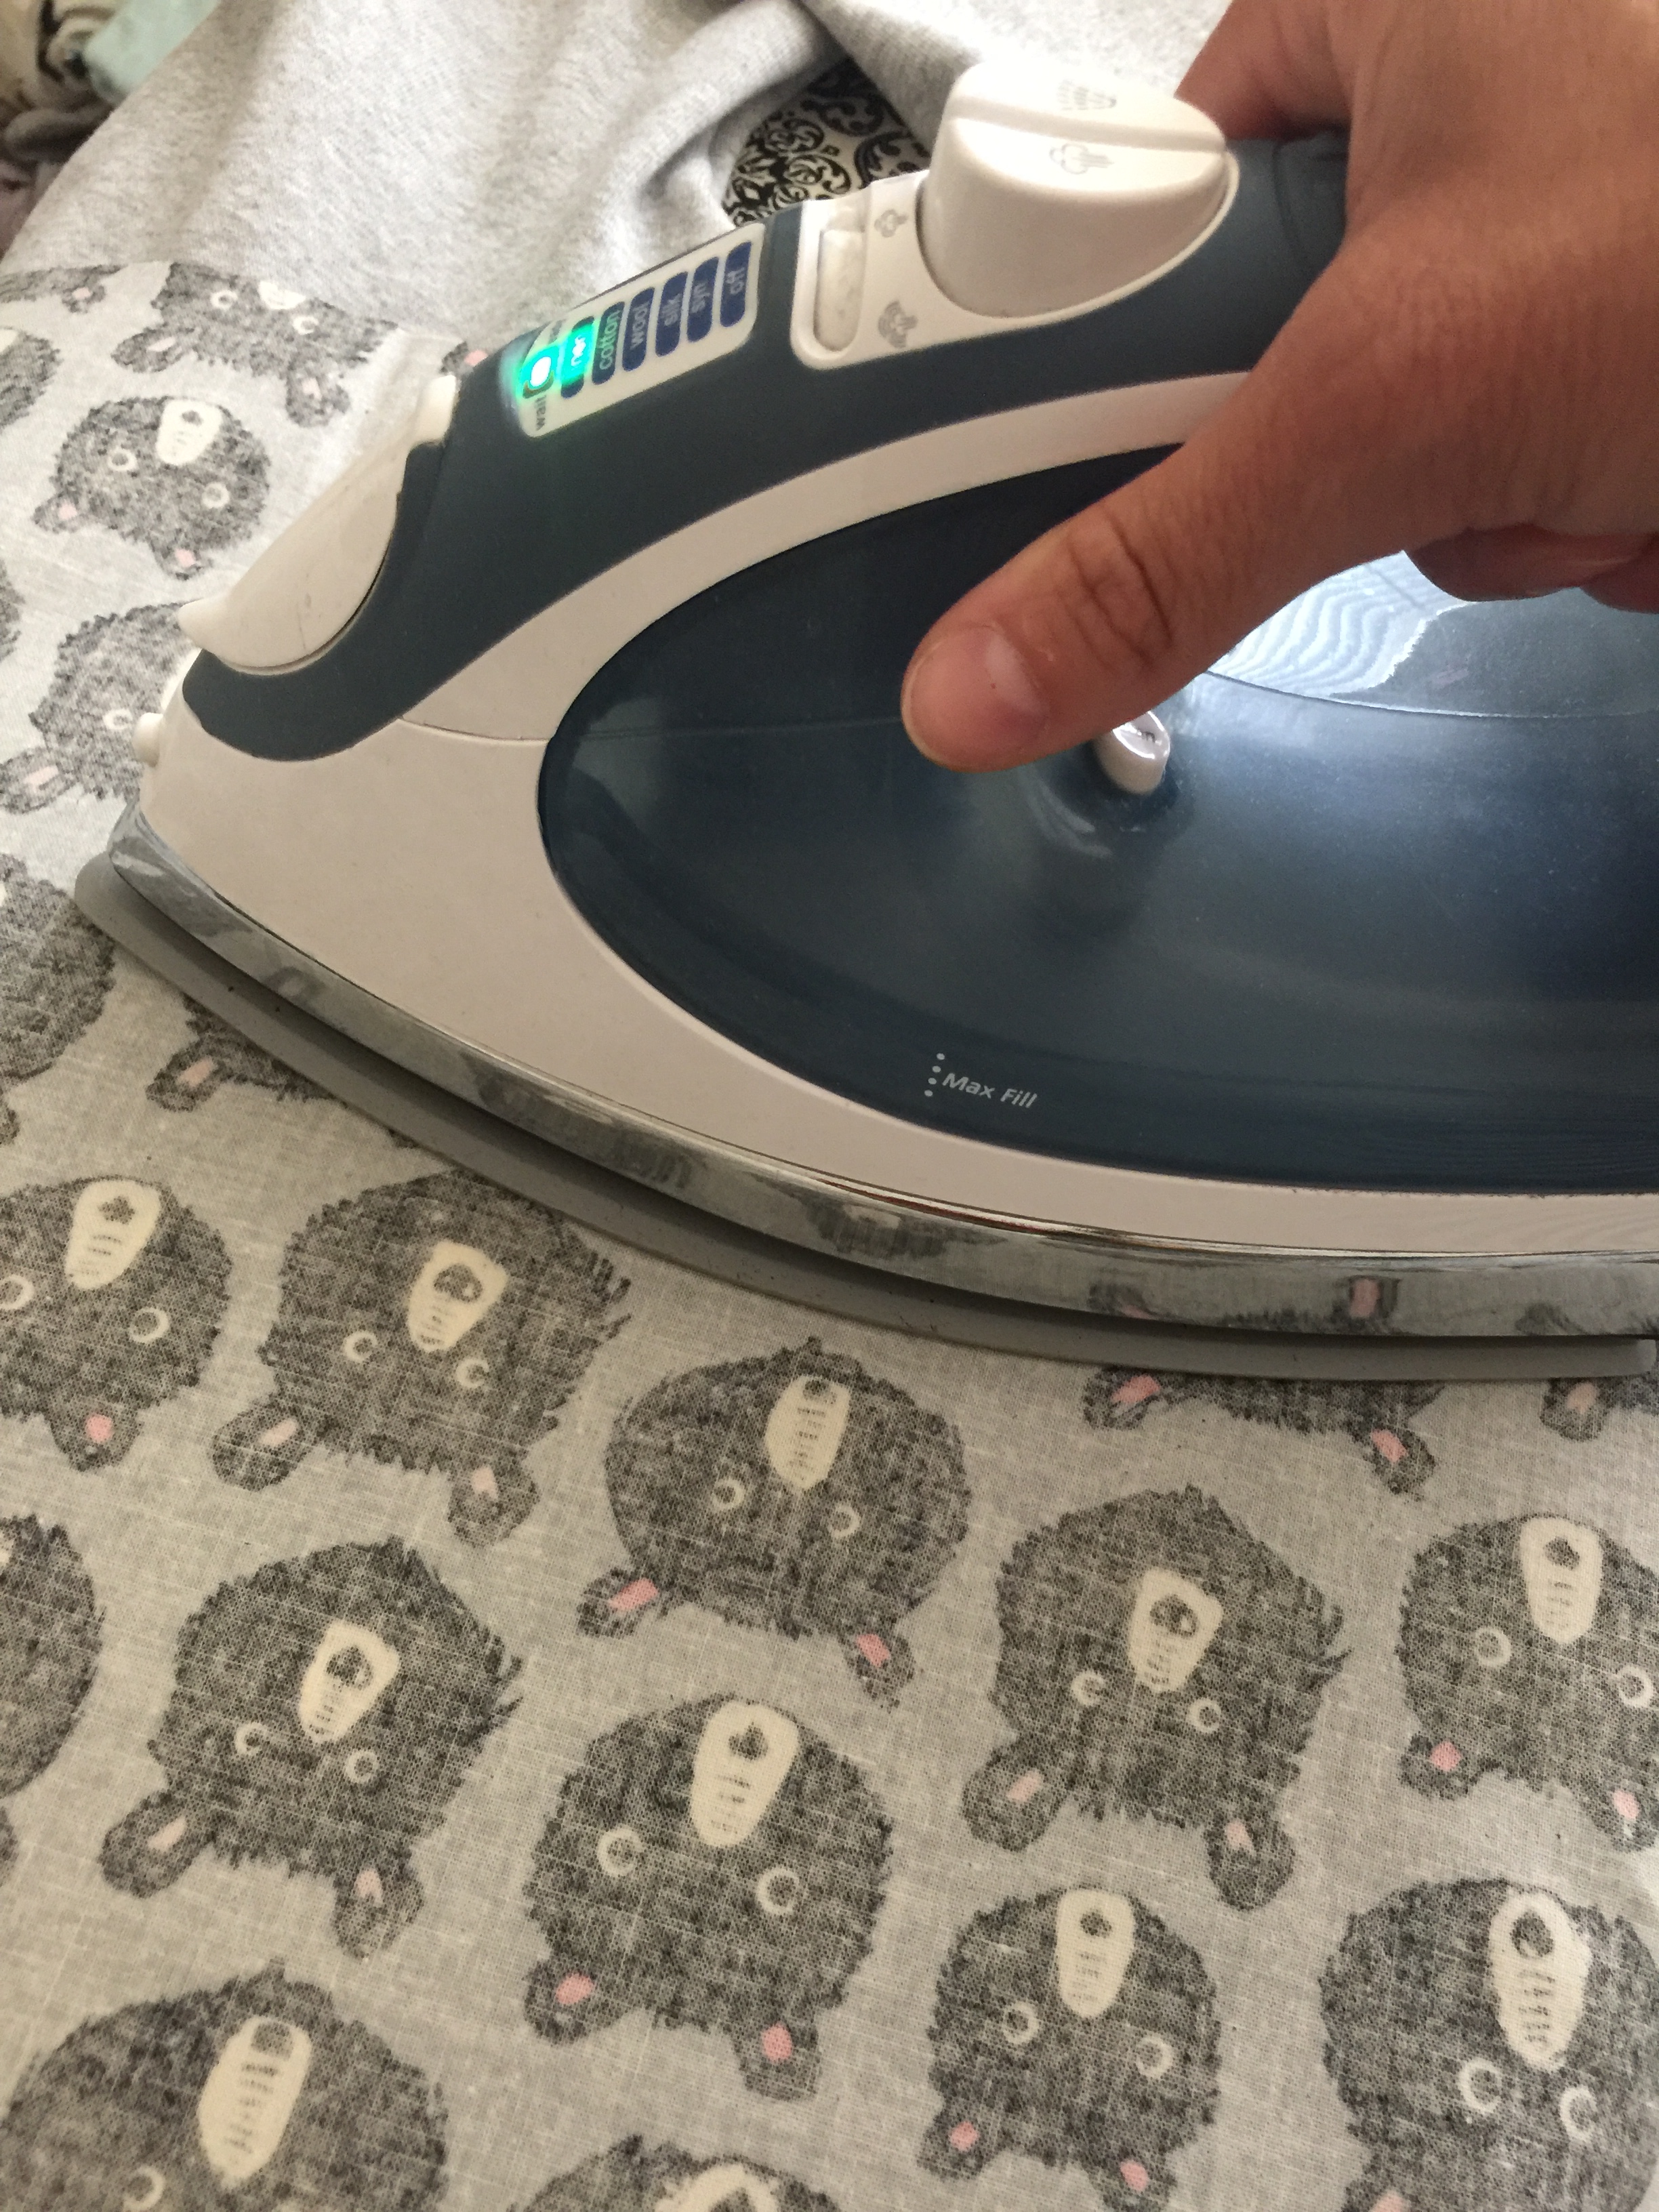
Flip the sweatshirt over and iron the back side of the garment for another 25 seconds on the same area.
I went over the front with a cloth on top one more time after this step. Now wait for everything to cool off. Once cooled, slowly remove the plastic off of the phrase or image.
And just like that you have your very own, customized sweatshirt! (And I think this might be a fabulous idea for Christmas presents this year! Yes?). Happy Sewing friends! Keep reading below to enter a giveaway to win your very own Cricut Explore Air 2!


Enter to Win a Cricut Explore Air 2 HERE
Make sure to follow along with the rest of the tour for lots of Cricut inspiration!
Week One: July 19th
Week Two: July 26th
I was invited to participate in the Cricut Party Blogger Program Kickoff.
This experience is based strictly on my opinion. Others may have a different opinion or experience with the product listed above. I was provided the sample free of charge by the company or PR agency and I have given my honest opinion.
This is a sponsored conversation written by me on behalf of Cricut. The opinions and text are all mine.
https://influencers.tapinfluence.com/assets/cogs/core-v4.js var ts=document.getElementById(‘ti-pixel-tracker’); var axel = Math.random() + “”; var num = axel * 1000000000000000000; var ti=document.createElement(“img”); ti.style.display=”none”; ti.src=”https://tracking.tapinfluence.com/trk/UOORG/1MILm/p.png?p=NFWLI” + String.fromCharCode(38) + “i=WwbqB” + String.fromCharCode(38) + “ord=”+ num + String.fromCharCode(38) + “s=” + encodeURIComponent(document.referrer); ts.parentNode.replaceChild(ti,ts); JSON.stringify({“program_id”:”ea3aef68-5cfb-11e7-8c3c-22000a66c666″,”post_id”:”f565ef2c-6af8-11e7-82ff-22000a7d00a4″});


Leave a comment