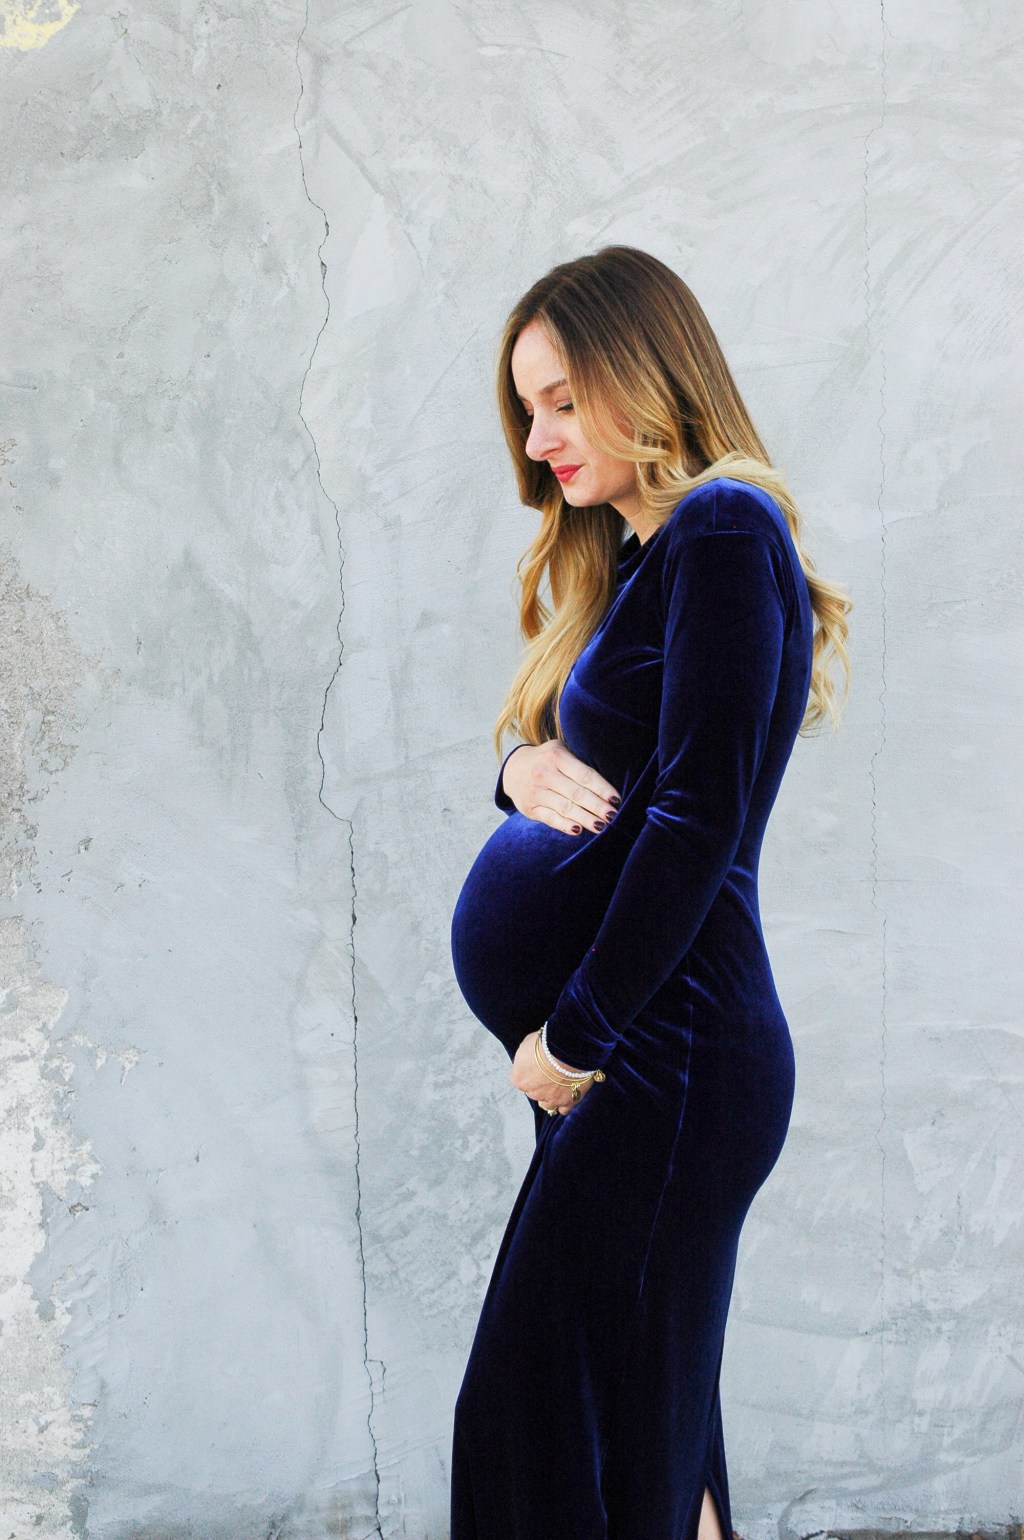


The holidays are finally here, and that calls for a fancy dress. Ever since I saw Named Clothing’s Gemma Dress in velvet, I’ve been wanting to try making a maternity version for myself. I couldn’t shake the idea out of my head so I decided to go for it. Honestly, I wasn’t sure how this was going to turn out. I’m happy to say, it worked! This pattern also comes with a sweatshirt variation that I’ll have to try post baby bump.

I picked a royal blue stretch velvet from Stylish Fabric for this dress. I cut my dress out along the less shiny-reflective side of the fabric. I have a lot going on so I figured it would be more flattering to NOT catch the light on every bulge along my body but now I wish I had cut it the other way around. I don’t think it would be so bad. I do like the darker blue color of the less shiny side I chose though.
A lot of people ask me for tips about working with stretch velvet. It’s basically very similar to sewing with a knit fabric. You can wash and dry it. Make sure to use a stretch stitch or serger when sewing with it. Be aware of what direction you are cutting out your pattern, one direction of the fabric is more reflective and the other not so much. There’s not a right or wrong way, just depends on your personal preference. This is my fourth stretch velvet project in the last year, you could say I’m a fan.


I picked a size based on my current bust measurement and added a little more length to the front skirt piece of the dress. I found it helpful to drape/stretch the fabric over my baby bump and see how much width I needed across, I ended up adding 2 1/2″ to the waistline. This is what my pattern piece looked like after my modifications:

I’m not sure if that’s the BEST way to do it, but it worked really well for me. Just measure around your widest part and find it on the pattern piece based off of where the waist is marked. I’m currently 25 weeks along, and there’s still room to grow in this dress. I didn’t make any modifications to the back pattern pieces.

I sewed everything together according to the directions. When you get to steps 8 & 9 I would recommend basting the pieces together first and once you match up your seams (it may take a few attempts) sew a straight stitch at regular stitch length just over the matched seams, and then serge the whole seam. This was the hardest part of the whole project for me.

My hip measurements are a lot smaller than the size 8 measurements, but I didn’t adjust the pattern at all. I sewed up the side seams as they were, and then fitted the dress exactly how I wanted it at the side seams, and sewed them up again. I wasn’t sure how everything was going to fit overall, I ended up taking another 1/2″ out of the bodice side seams and sleeves, plus the extra fabric that I needed to take off at my hips. It worked great. I also lowered the back slit by 3″ for more coverage.

Thanks for reading along, and happy holiday season everyone!


Leave a comment