

This post contains affiliate links, but all opinions are my own. If you purchase anything through my links, it gives me a small commission in return that helps support this blog. So, thank you! This post is a paid sponsorship with JOANN.
Hey everyone! I’m so excited to share my January project with you all. I’ve been dreaming of a quilted jacket for quite a while now, and I had so much fun finally creating this amazing coat. I switched things up a little with this project, and instead of a Youtube video or blog post tutorial- I’ve shared my process of creating this jacket on Instagram stories. You can find all of my videos saved in the stories highlight bubble labeled “Tamarak Jacket”.
I chose a 11.5 oz denim I got from JOANN and experimented with bleach to get just the right color I had in mind, more on that down below. I picked up some Kona Quilt Cotton (for the lining of my jacket), and my all natural cotton batting both from JOANN as well. This just might be my most favorite project I’ve made to date. I’m obsessed with it to say the least.

For my pattern, I used the Tamarack Jacket by Grainline Studio as my base. I sized up by one size (ended up sewing up a size 4) because I used heavier fabric than what the pattern calls for. I made a few slight changes, those being added length of about 6 1/2″ to the front and back bodice pieces. I wanted my coat to hit about mid thigh on me. (I’m 5′ 4″ tall for reference). I also straightened out the side hem seams. Super simple changes! I really loved working with this pattern. The instructions are fabulous and there is a sew along blog post if you need a little more visual help. I used the welt pocket sew along instructions and they were super helpful.

Once my pattern was ready to go, it was time to prep my fabric. Like I said, I wanted a slightly lighter colored denim so I decided to play around with bleaching my fabric. I ended up filling my bath tub with 4″ of warm water, added 6 cups of bleach, and soaked my fabric for about 30 minutes making sure to mix and agitate the fabric (while wearing gloves) to get an even bleach affect. I didn’t want it to be too bleached out, just slightly- and this was perfect. I ended up using about 3.5- 4 yards of fabric for this project.

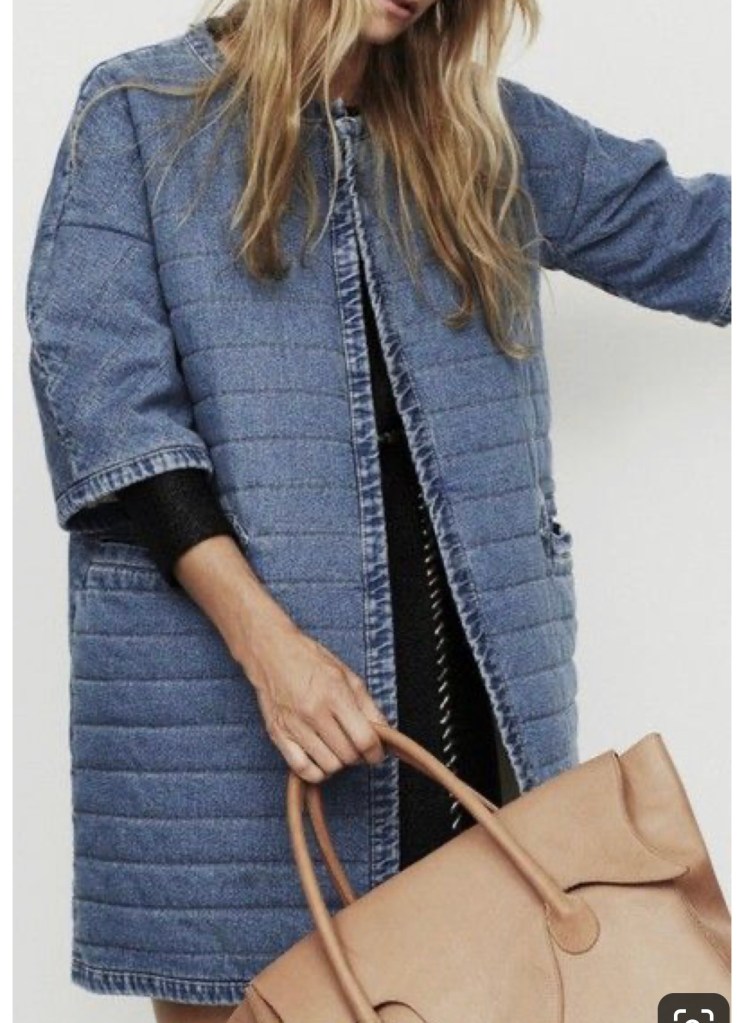
I decided to only quilt the bodice pieces of the jacket by sewing 2″ horizontal lines across the jacket. I really love the look, and this was probably my favorite step of the whole process. You can see below how my ready to wear inspiration picture matches up with my finished coat.

I went back and forth on how I wanted to add closures to this jacket. Zipper, snaps or hook and eyes? I decided on neither of them and went with a coatigan style jacket with no closure at all. I love it so so much.

For my binding, I decided to hand finish it. I love how nice it looks and it didn’t take very long to hand sew it all in place. It’s so neat inside! My pockets on the other hand don’t look quite so pretty on the inside, but I did my best and it’s fine. (welt pockets.. man!!). I wanted to bind all of my inside seams but this coat is already so thick I decided against it and finished them with a zig zag stitch (because my serger isn’t working at the moment- so sad!!).

I love how organic this coat feels. Its simple and clean. It’s giving me some Japanese style vibes. I know this jacket is going to be a wardrobe workhorse for me. Perfect timing too as the temperature is dropping here in California. I wore it out to Balboa Island last night while watching the Christmas Boat Parade and it kept me super warm, while also be comfortable and stylish.

In this post I’m wearing my new black jeans from Madewell. I’m obsessed with them and wear them more then I probably should. They are super comfortable but still hold their shape really well. I’m wearing this mock neck sweater from Target– size up on this one for a looser look. Also, my favorite gold hoops that I wear all the time. Shoes are old.
That’s all there is to it! This project took a little bit longer than I anticipated, but I thoroughly enjoyed the whole process, and even better- I’m obsessed with the finished product. Thanks so much for reading along! Happy sewing!


Leave a comment