This post is sponsored by Baby Lock, and all opinions are my own.


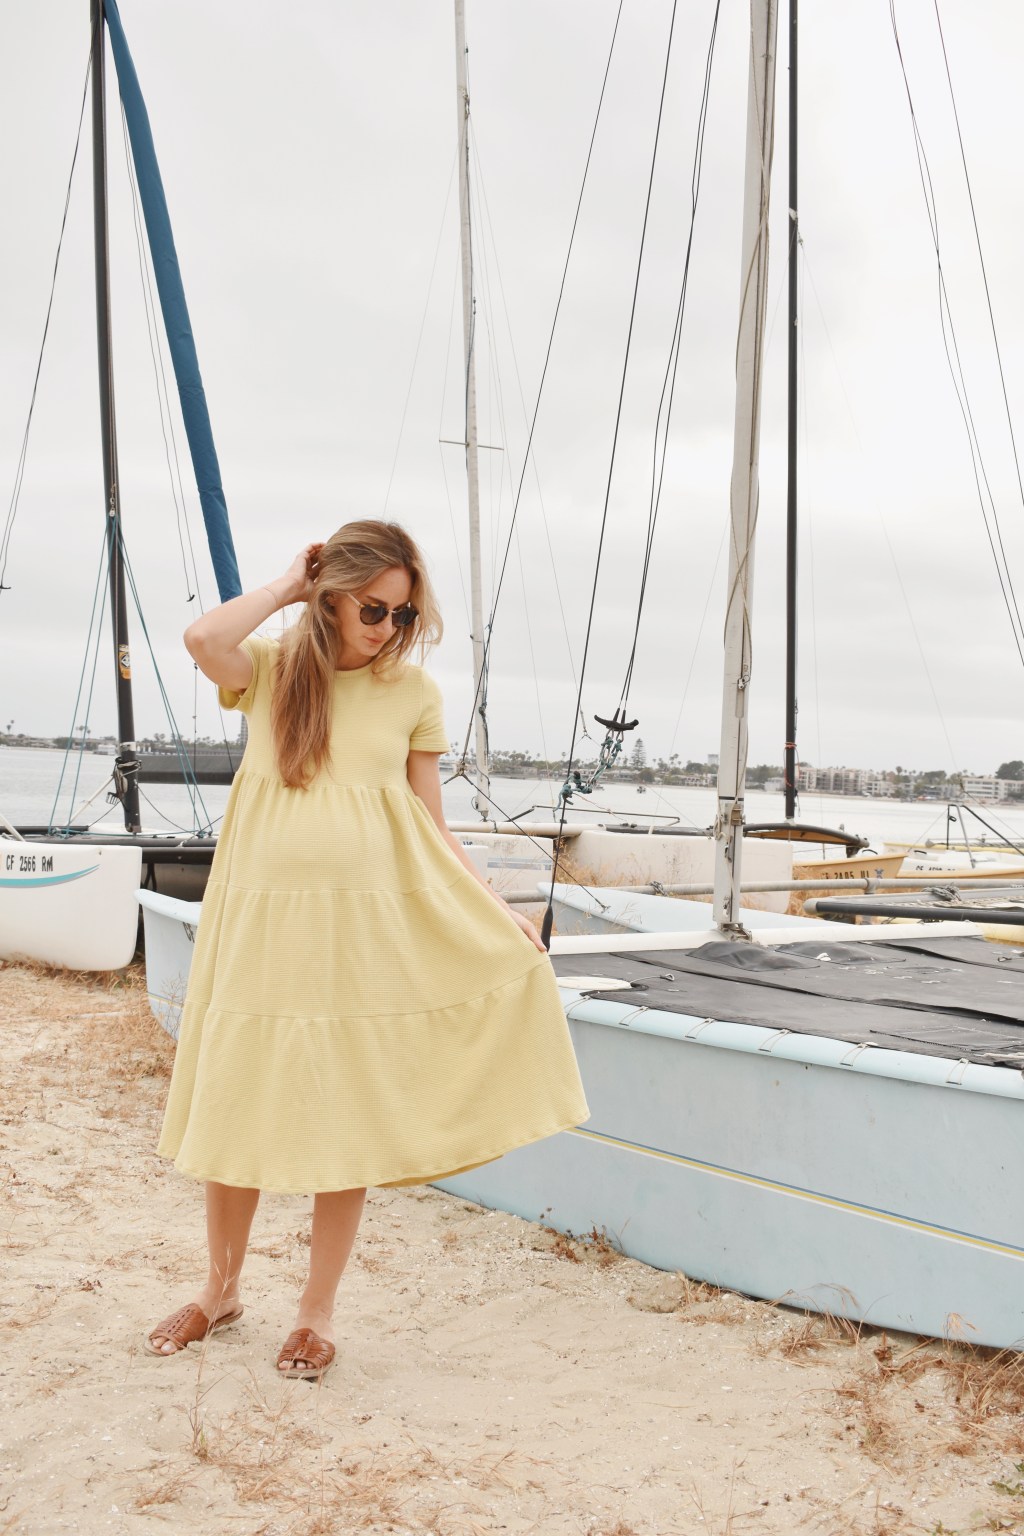
Yes, I know, it’s another dress…. but to my defense there isn’t much else I want to wear these days, (except for maybe a giant sweatshirt and leggings). This dress is inspired by a RTW dress my sister has had for a few years. I’ve watched her wear it many times while both in pregnancy and out. I love that this isn’t intended to be a maternity dress but works great for it. My goal has been to make things I can wear now in my pregnancy and long after.
I used my Baby Lock Brilliant sewing machine and Baby Lock Celebrate serger to create this project. I also sewed with Maderia thread on both machines. I have absolutely loved working with this brand of thread, the quality is really great!! This thread was gifted to me from Baby Lock.


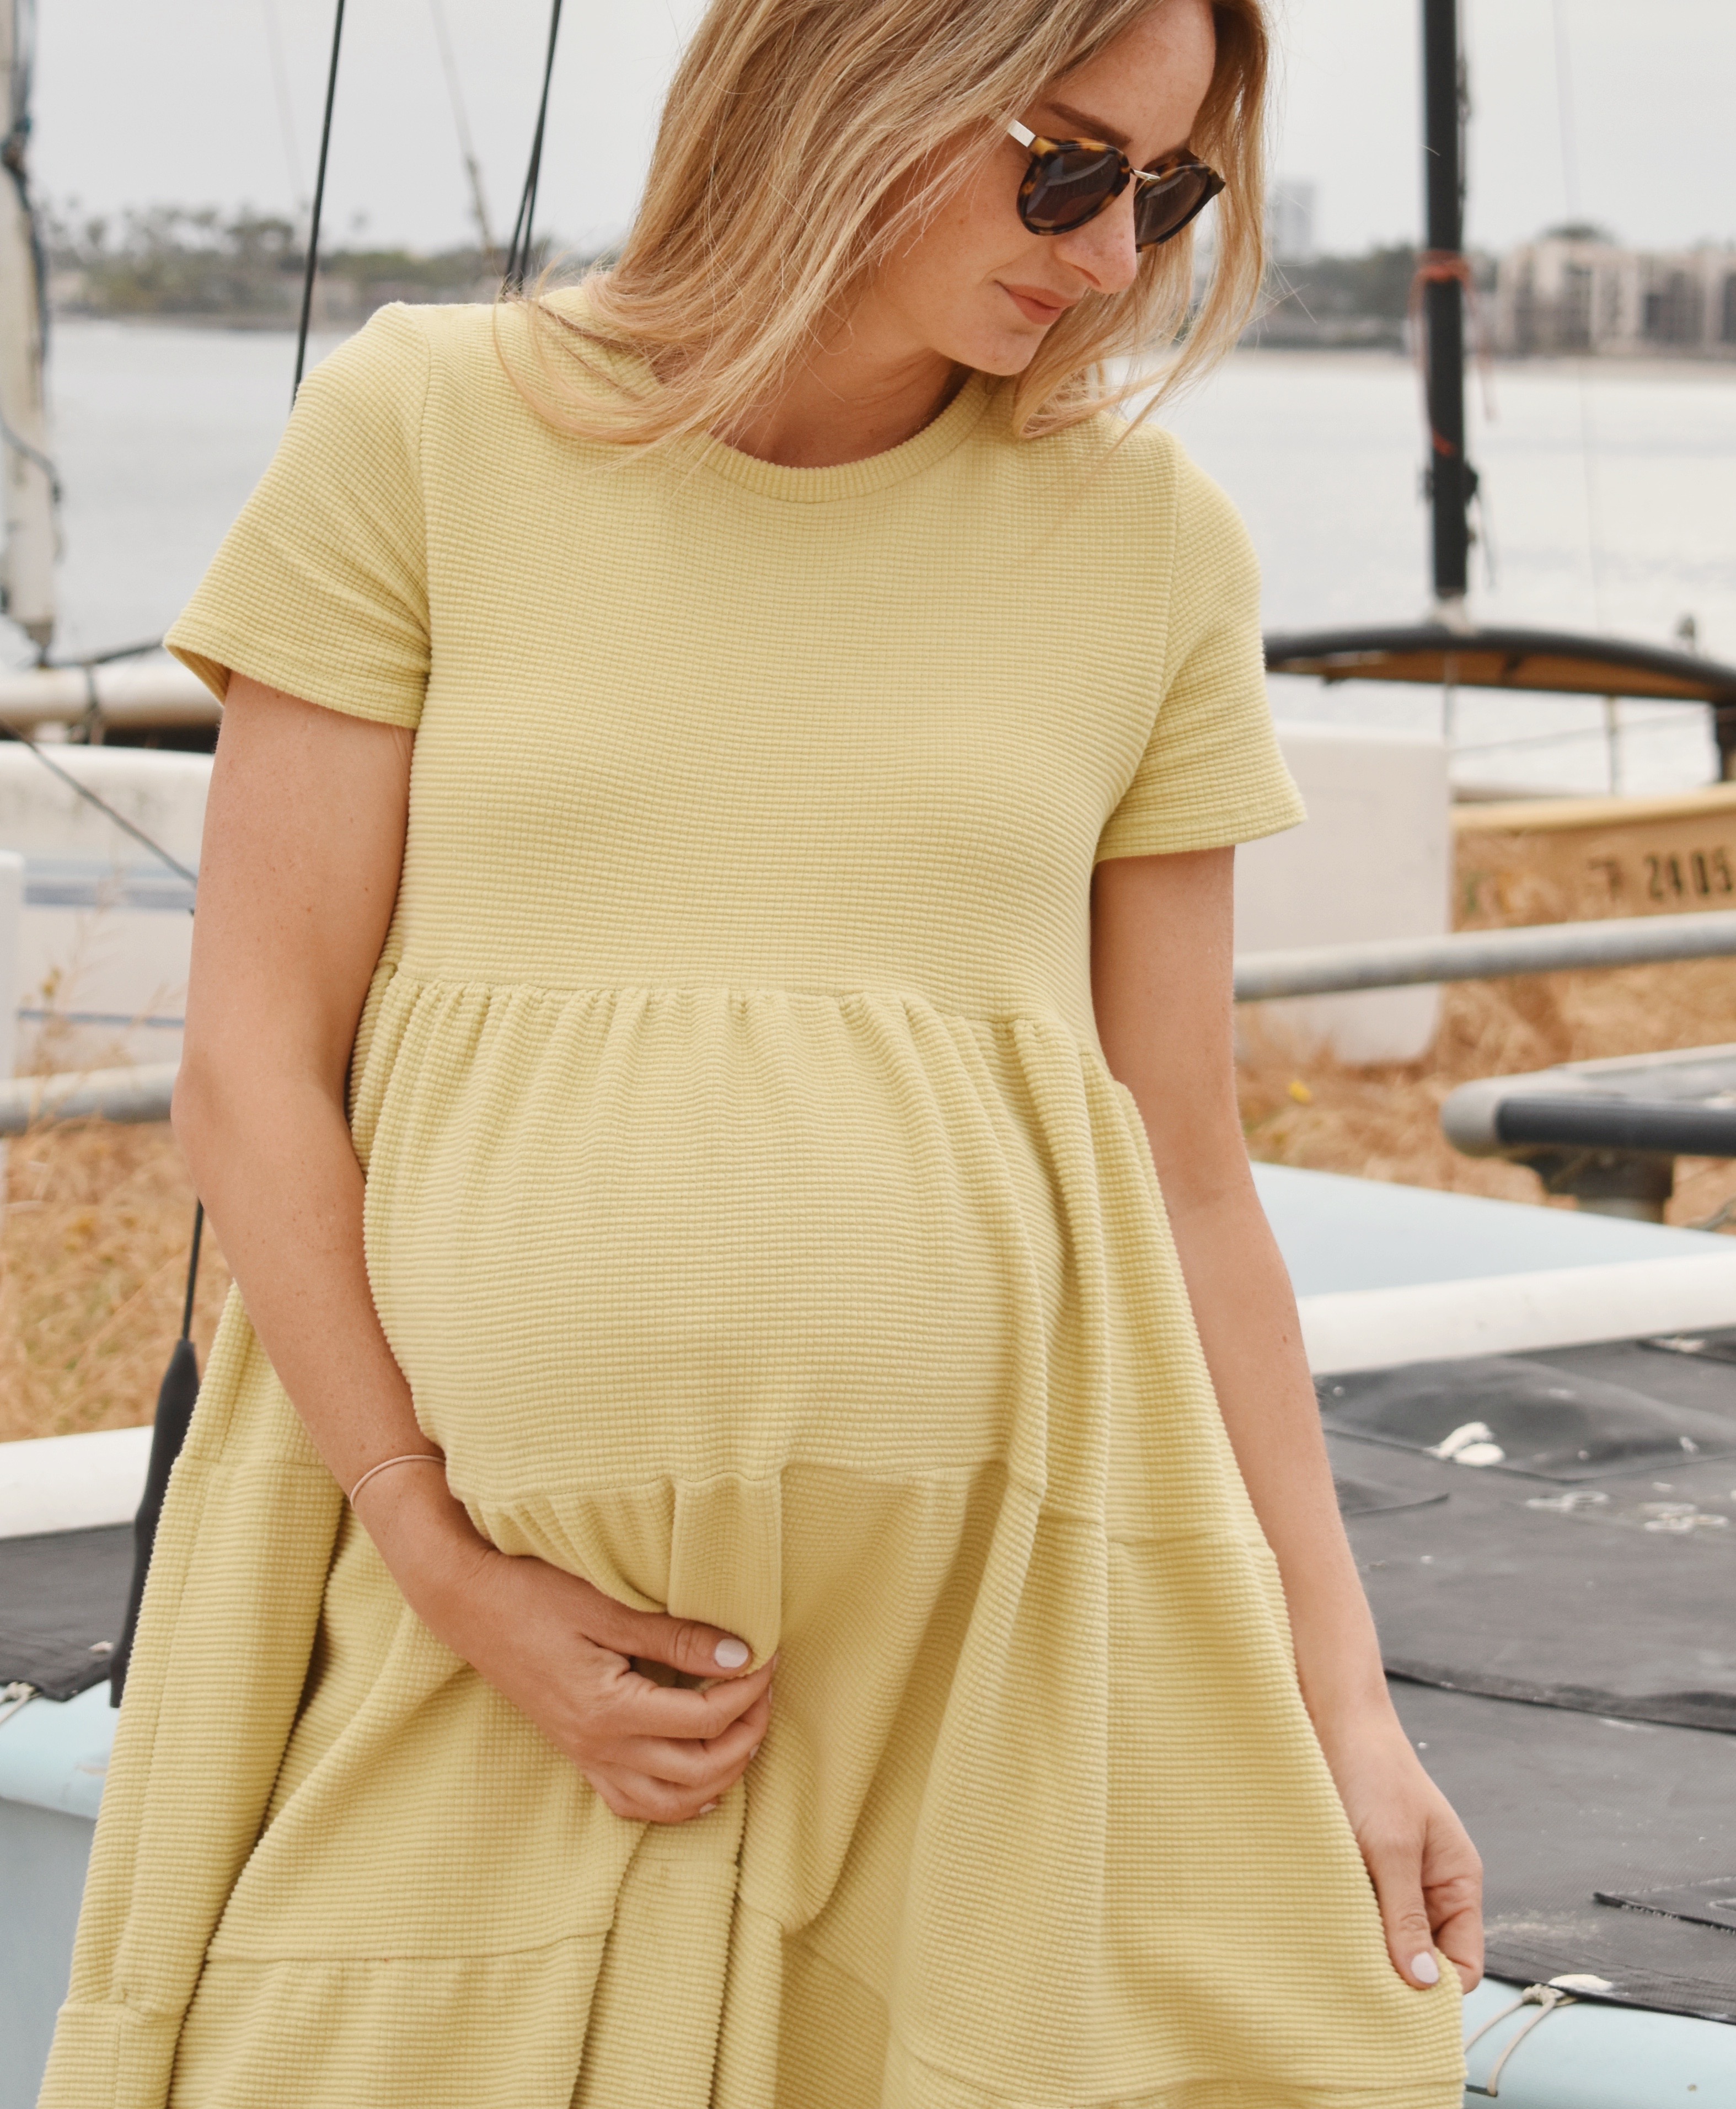
I used the Panama Tee Dress pattern as a base, and a photo of my sister’s dress for inspiration and recreated it the best I could. I’ve used this pattern as a base many times now, its a tried and true pattern for me! I’m excited to walk you through the design and sewing process in this post! I used a really great waffle knit fabric gifted to me from I See Fabric, in Mellow Yellow. Now, not all waffle knit fabrics are created equal. This particular fabric is medium weight and has really great recovery. I made a toile of this dress in a lighter weight waffle knit and it did not turn out as well as this one did, you really need a waffle knit with good recovery. Check out I See Fabric for quality knit fabrics!! I used 3 yards of 51″ wide fabric for this dress.
Let’s jump into our sewing tutorial for this dress!
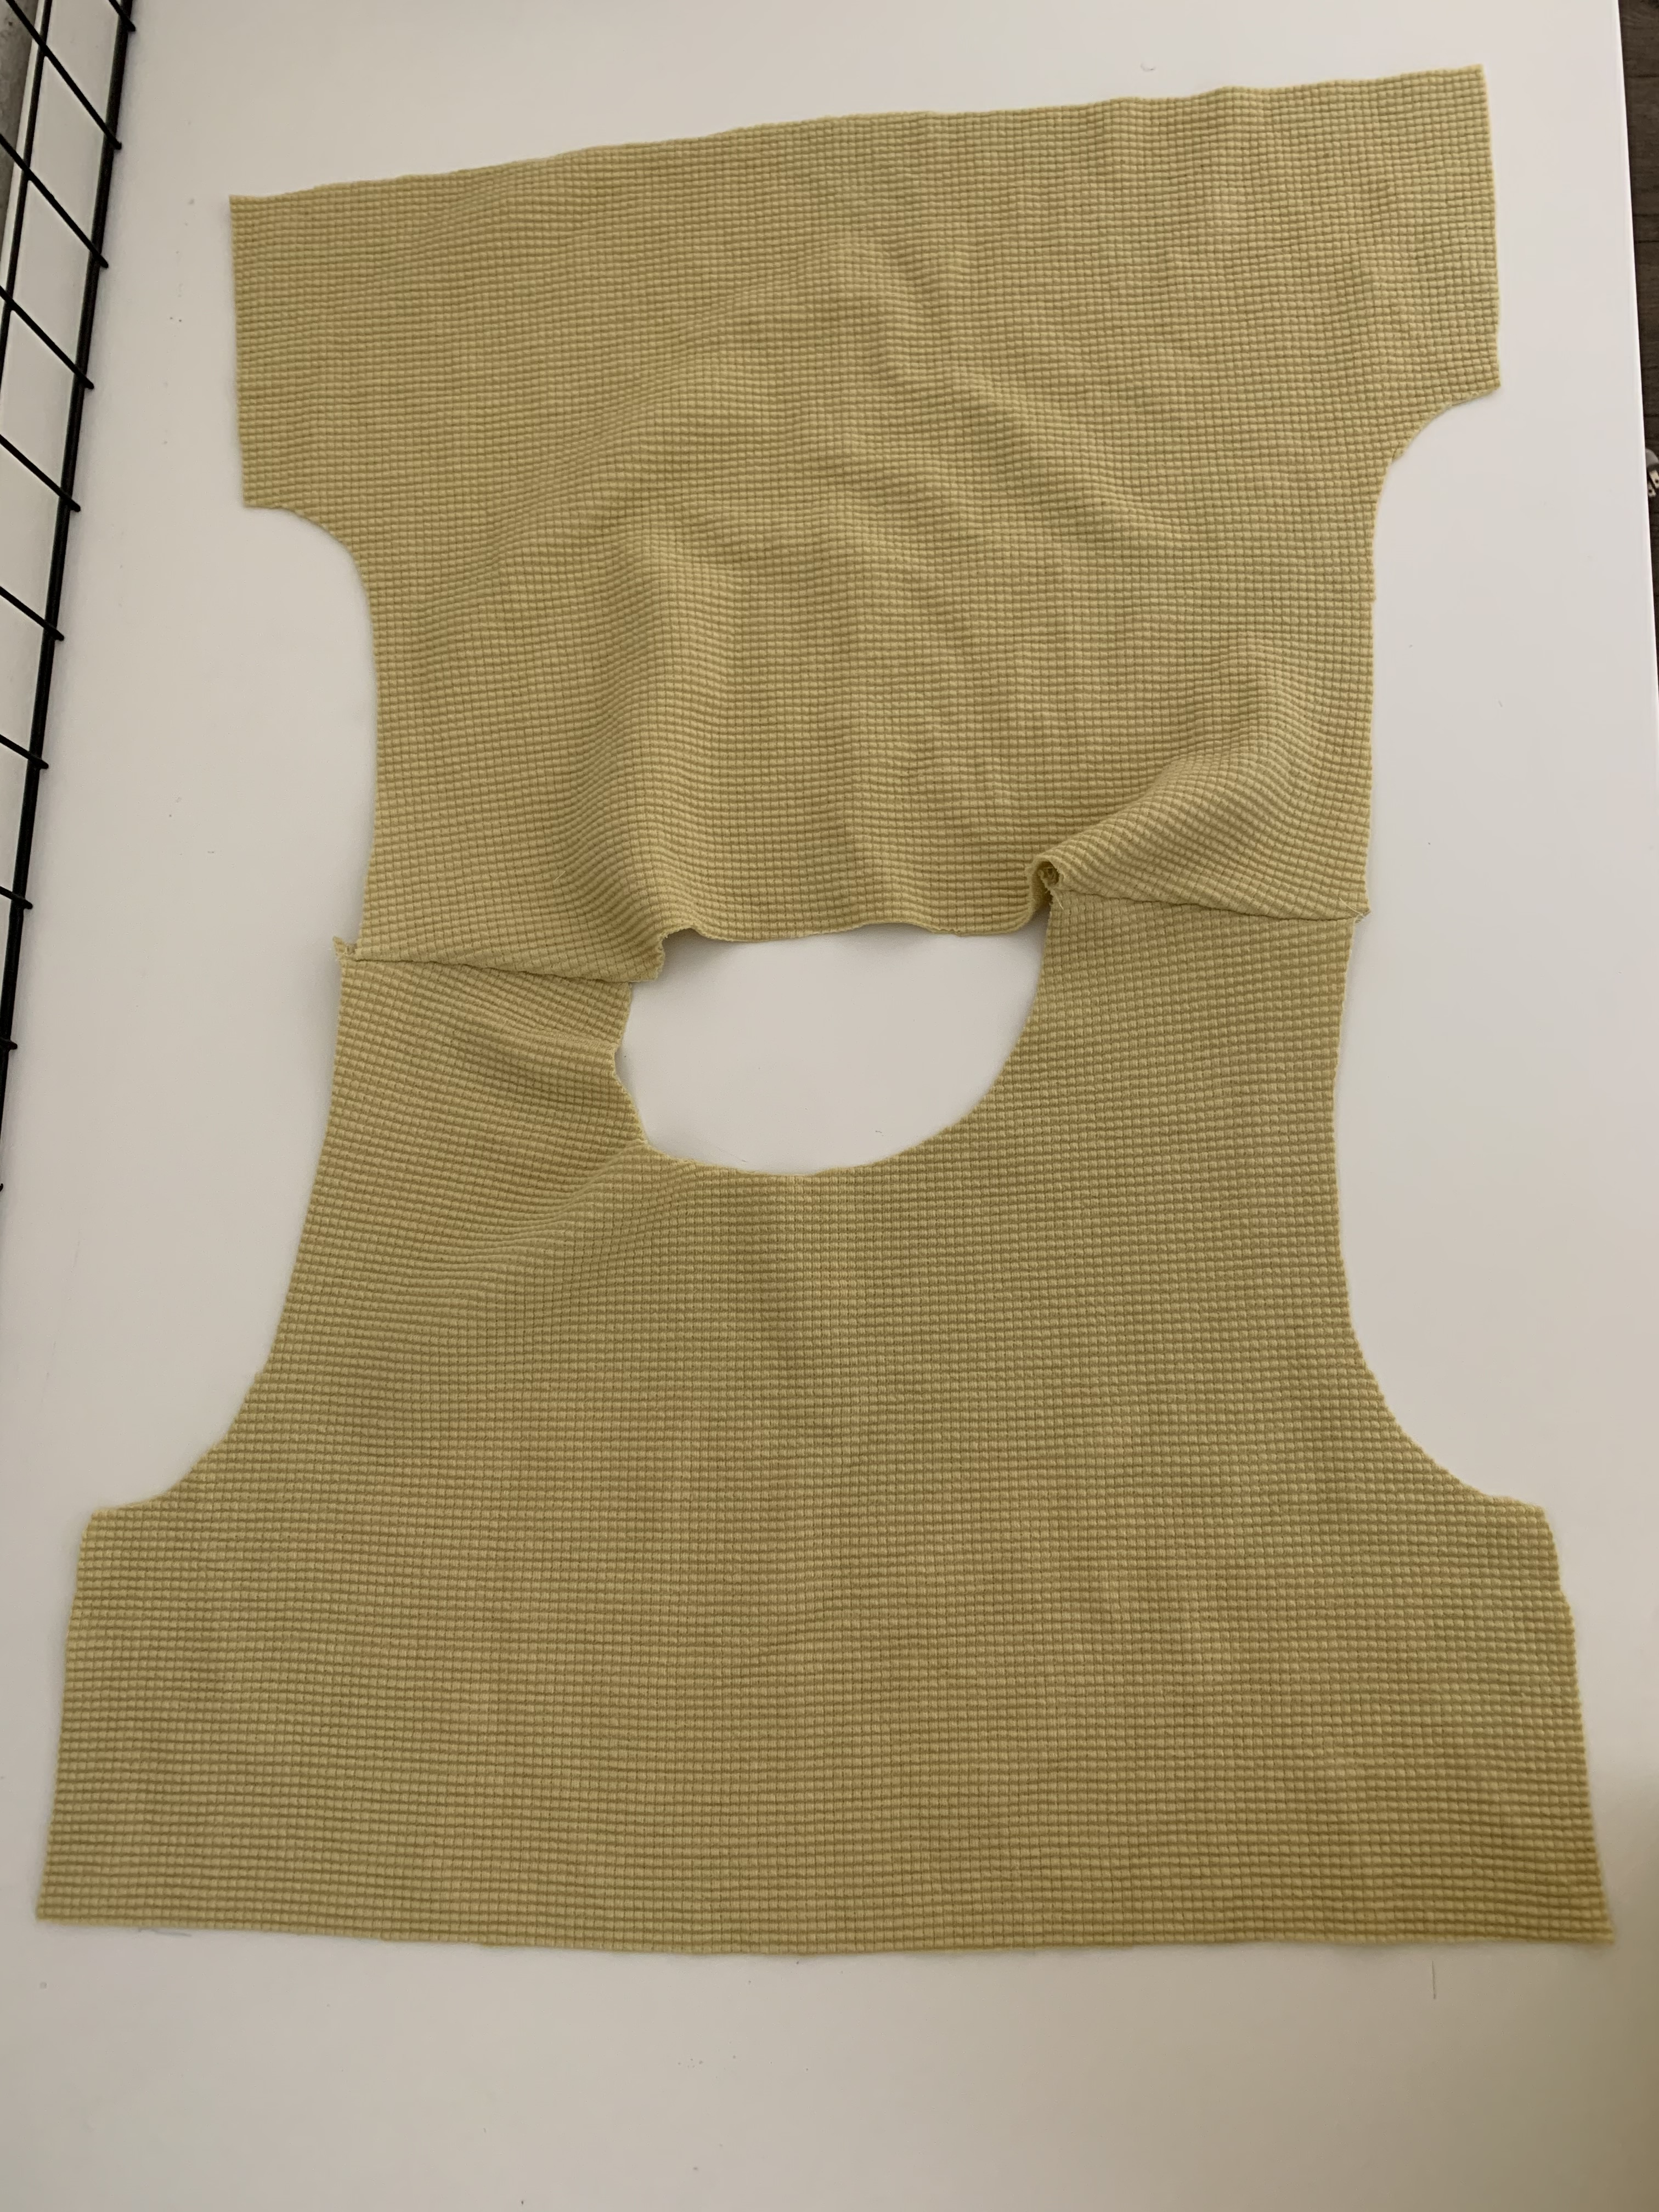
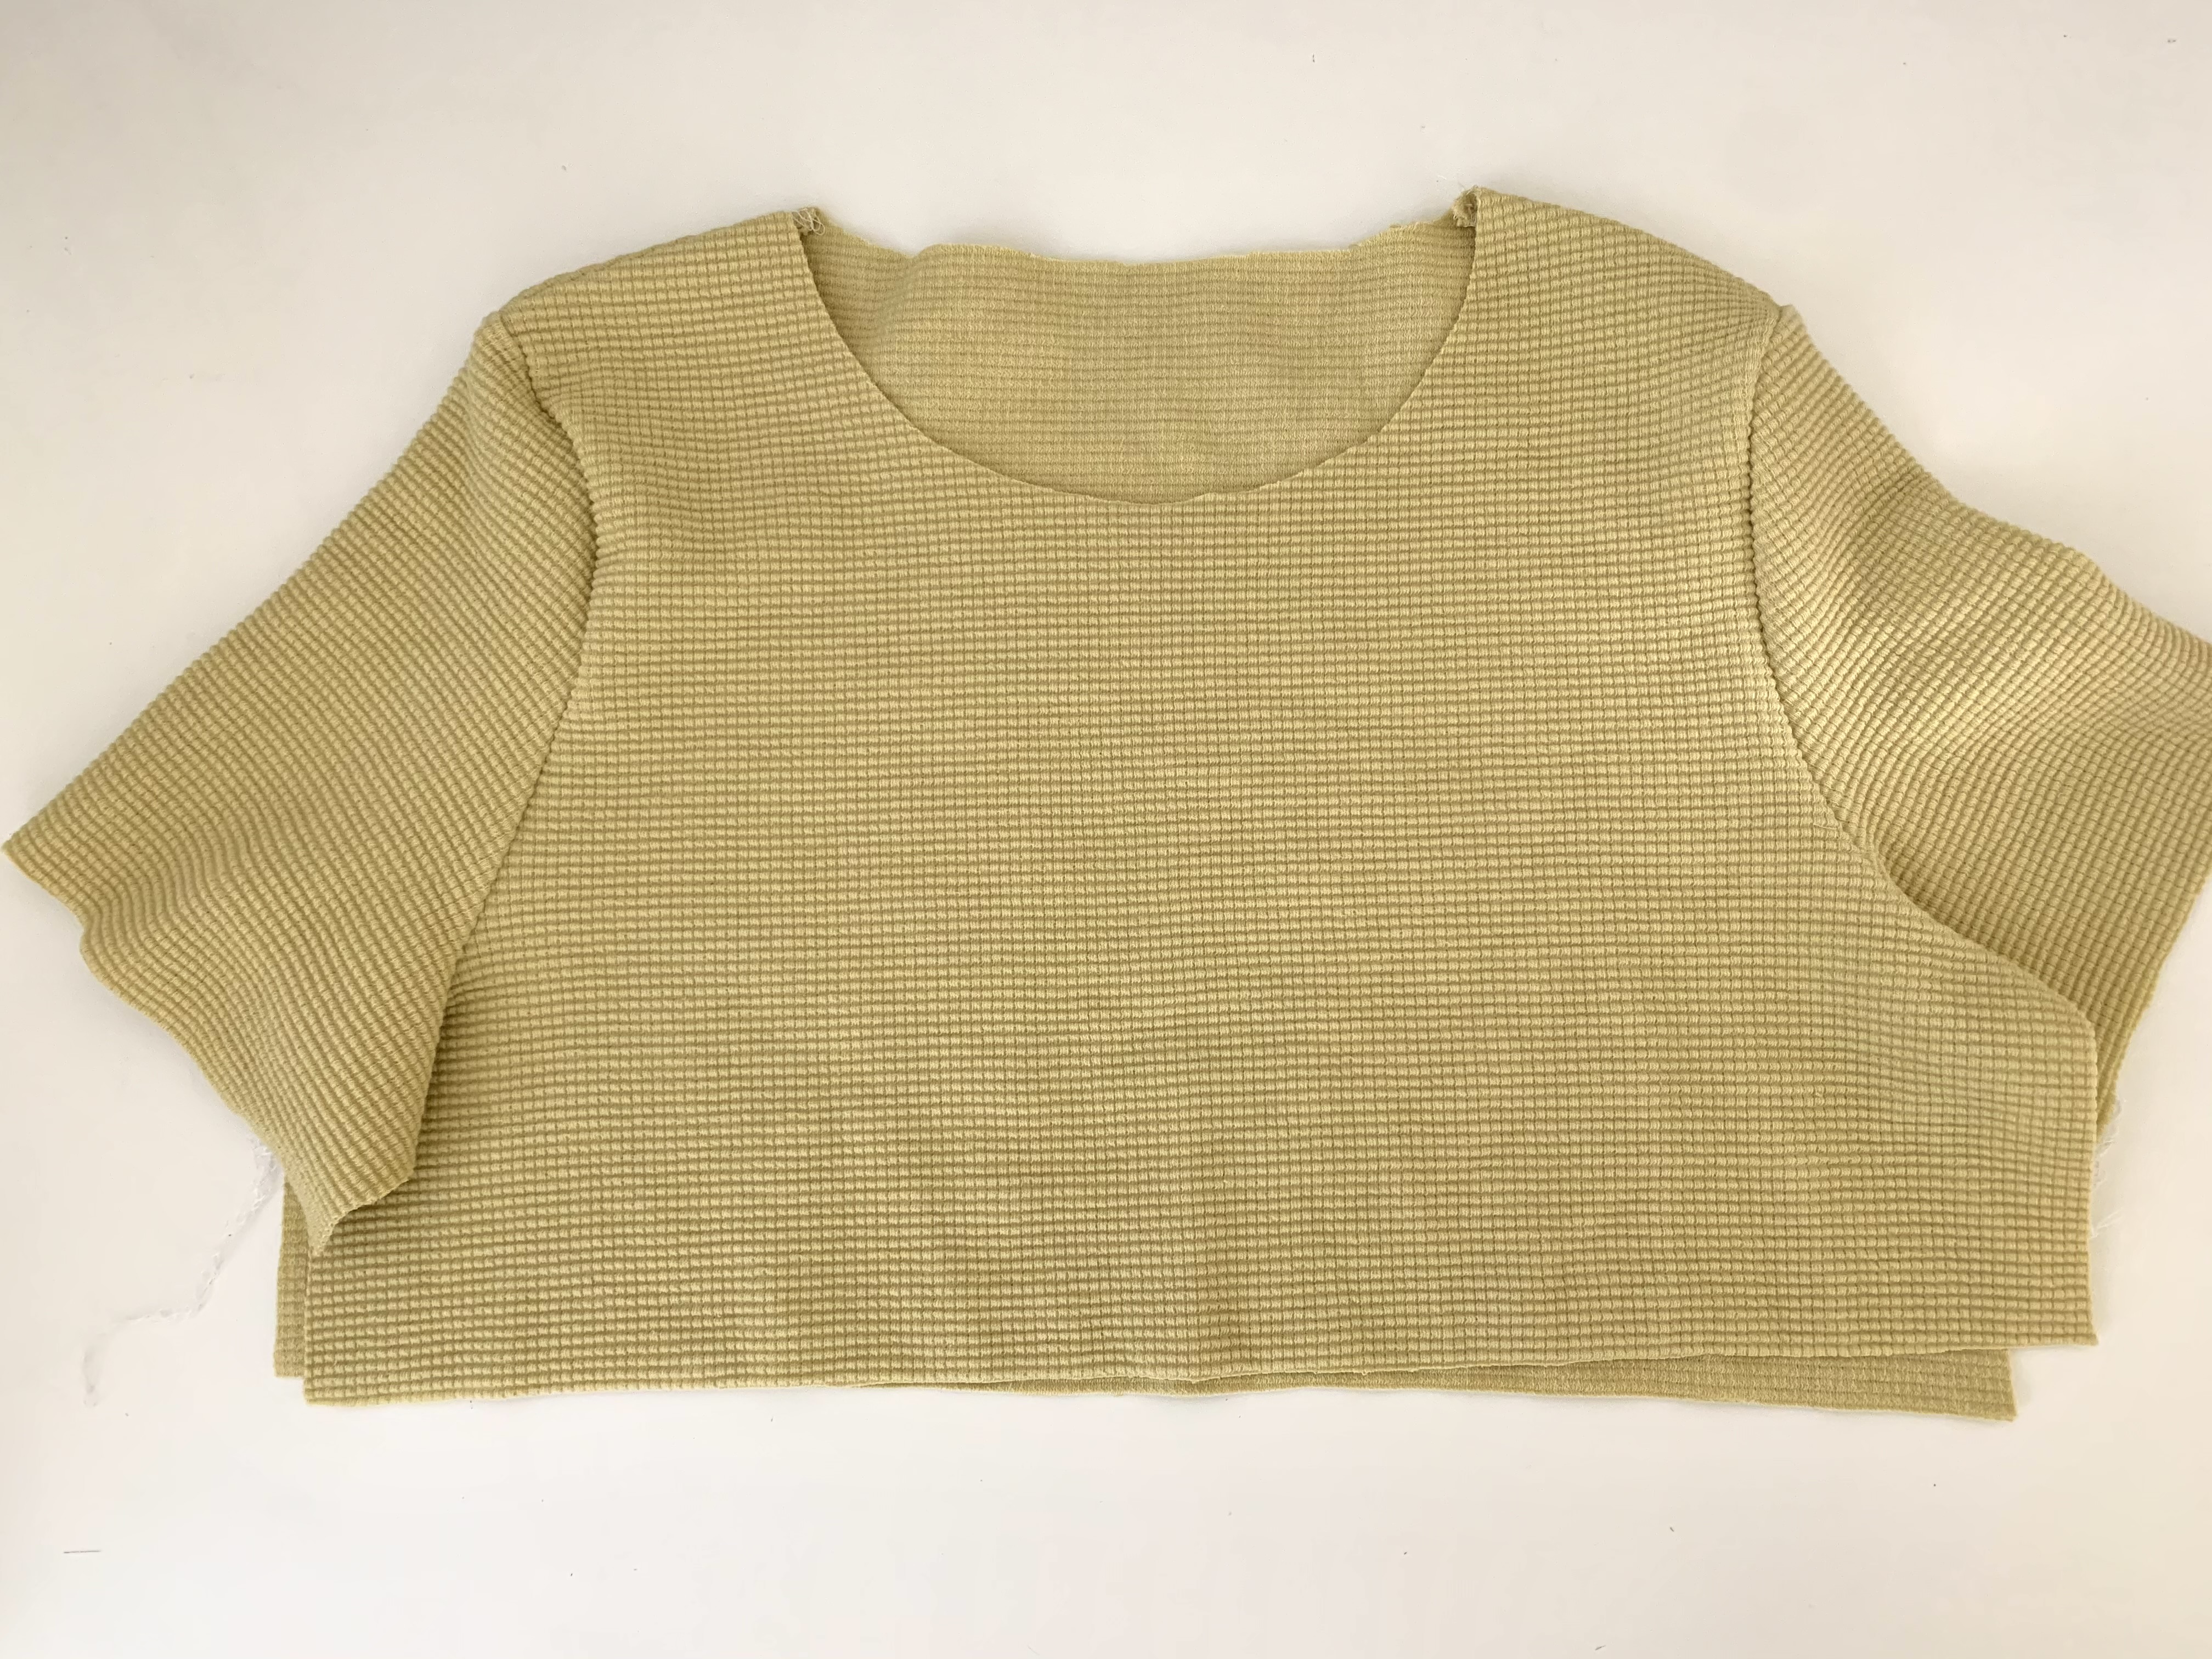
First we need to slightly alter the panama tee dress pattern. Starting with the front and back bodice of the dress, I shortened the bodice lengths to 9 1/2″ for the bodice front and 12.5″ for the bodice back along the centers fronts. Then I added 1/2″ of width off of the side seams for both. I wanted a slightly less fitted look to my dress. *Note that the side seam goes out slightly at an angle, I ended up correcting this to a straight side seam.

Because I added 1/2″ to the front and back bodice side seam, I also added a 1/2″ to both under arm seams of the sleeve pattern.

Next, I created three rectangle tiers for the skirt portion of the dress. You will cut 2 on the fold for each. Their measurements are:
Tier 1: 17.5″ wide x 8.5″ long
Tier 2: 21″ wide x 9 1/4″ long
Tier 3: 25″ wide x 12 1/4″ long
You will also need the neckband pattern piece, no adjustments were made to mine. Here are all of the pattern pieces at a glance:

Time to begin sewing!
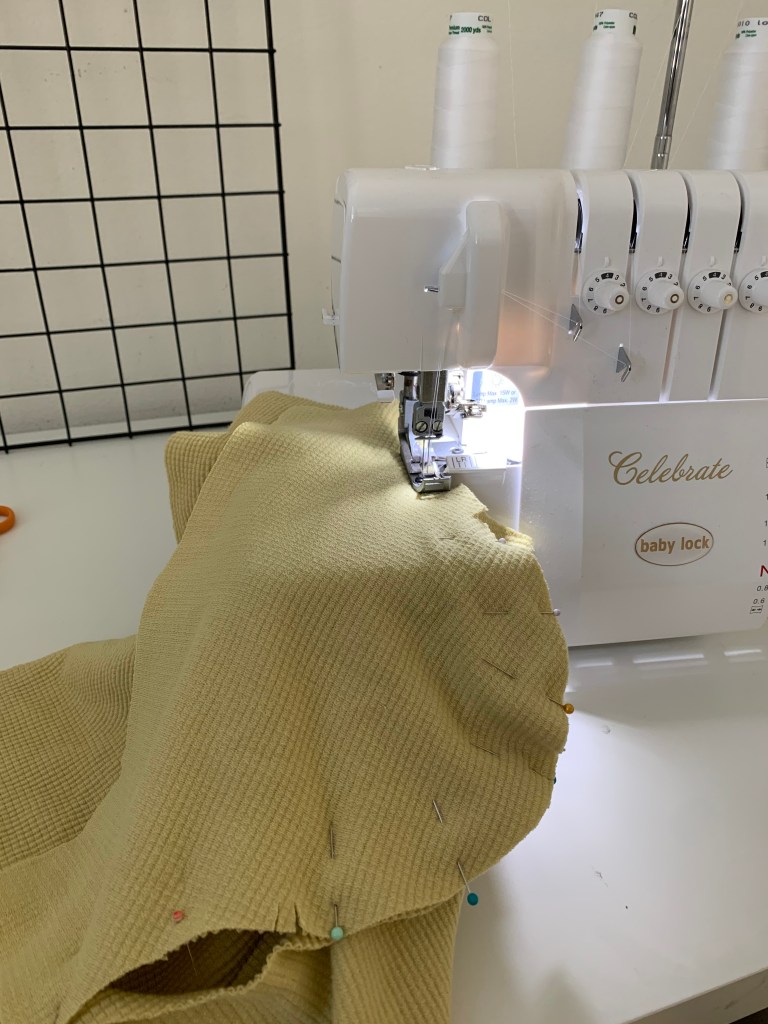
- Place your bodice front and bodice back shoulder seams right sides together and pin in place.

2. Sew at the shoulder edge. I used a serger but you can also use a regular sewing machine with a zig zag stitch! Press seams.

3. Get your two sleeve pieces. Make sure to notch the front, center and back edge of the sleeve. Pin the sleeve center notch to the shoulder seam right sides together. Then match the side edges of the sleeve to the underarm seam of the bodice pieces. Pin in place.


4. Sew in place, lightly press seams.

To hem the sleeve, press the raw edge up at 1/2″-3/4″ to the wrong side and pin in place. Using a sewing machine, sew a zig zag stitch along the right side the of the folded edge to finish.


5. Now, pin your side seams and underarm seams right sides together, and sew. Press seams.


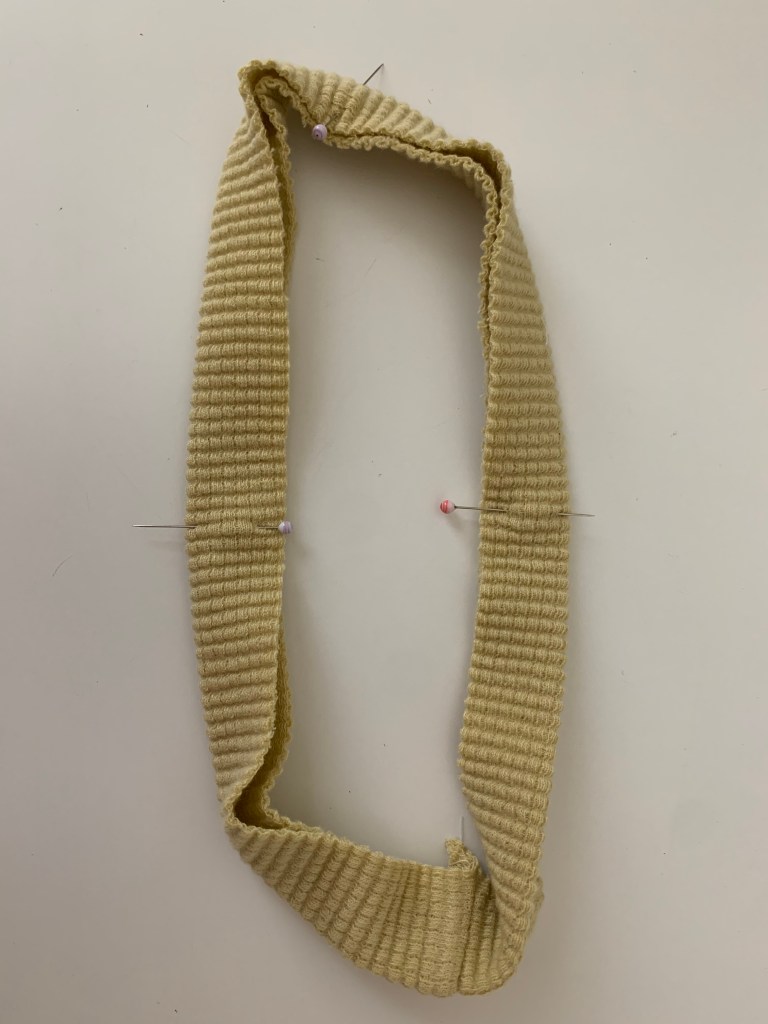
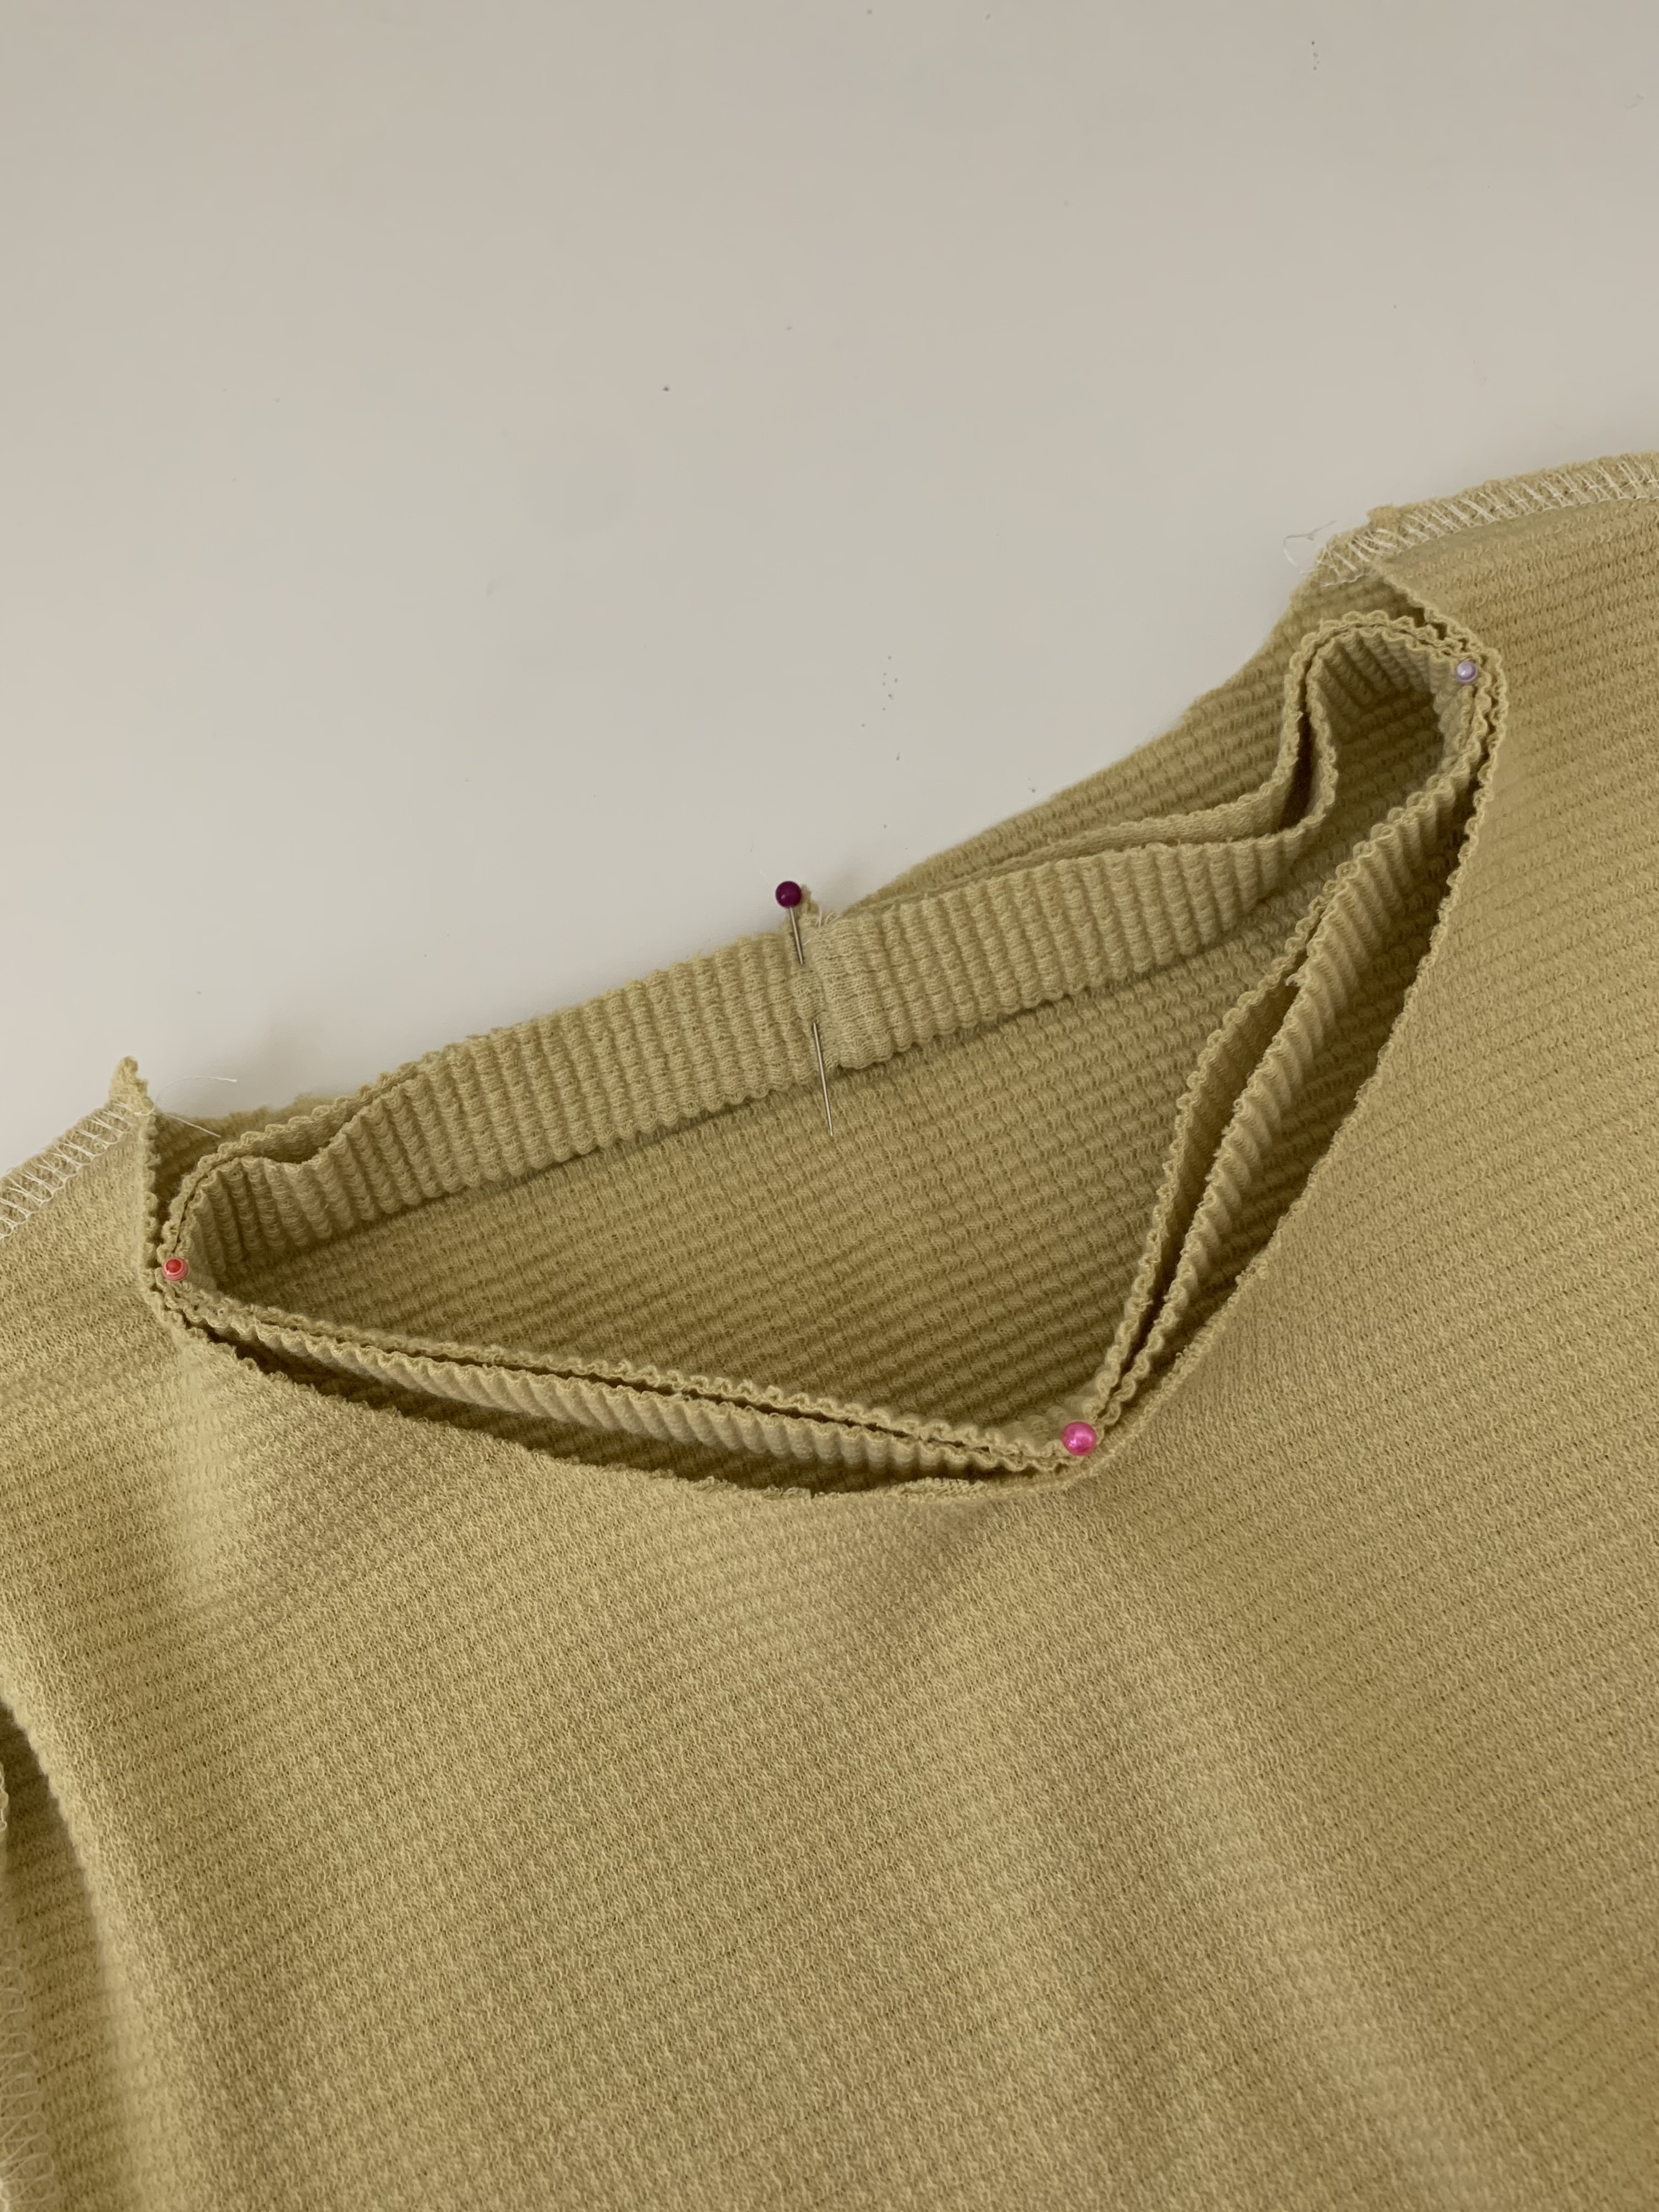
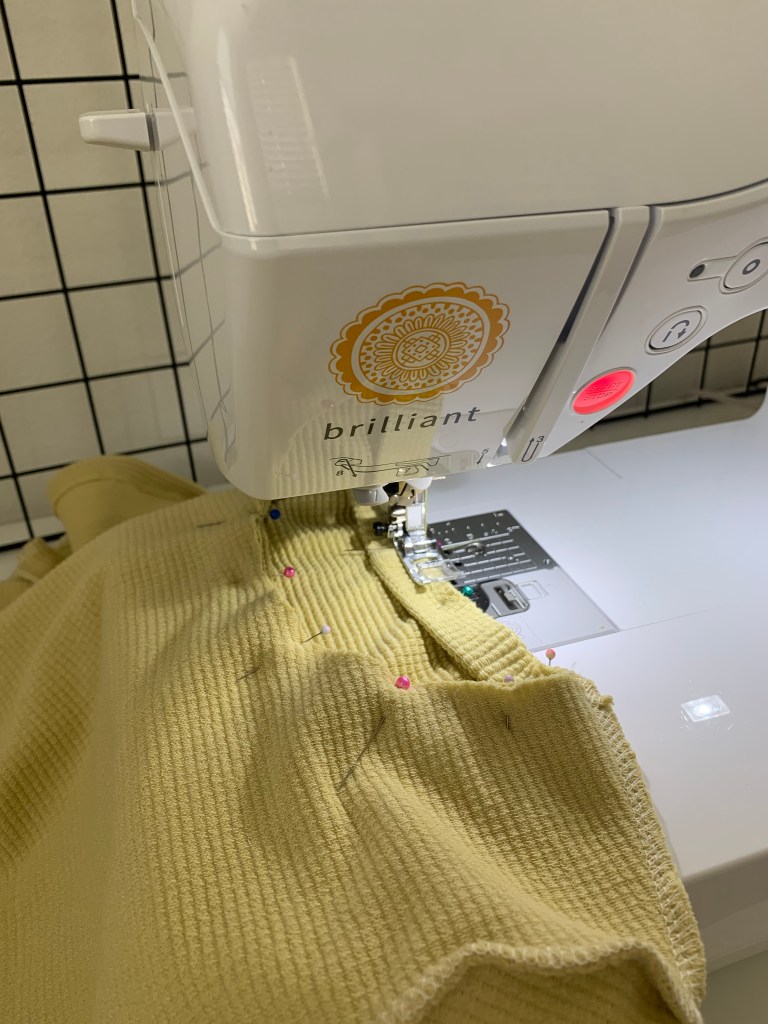
6. Now we will insert the neckband. Grab the neck band piece and pin the two edges right sides together, creating a circle. Sew and press. Fold the band in half, wrong sides together and press.


7. Using pins, divide your band and neckline into 4ths.
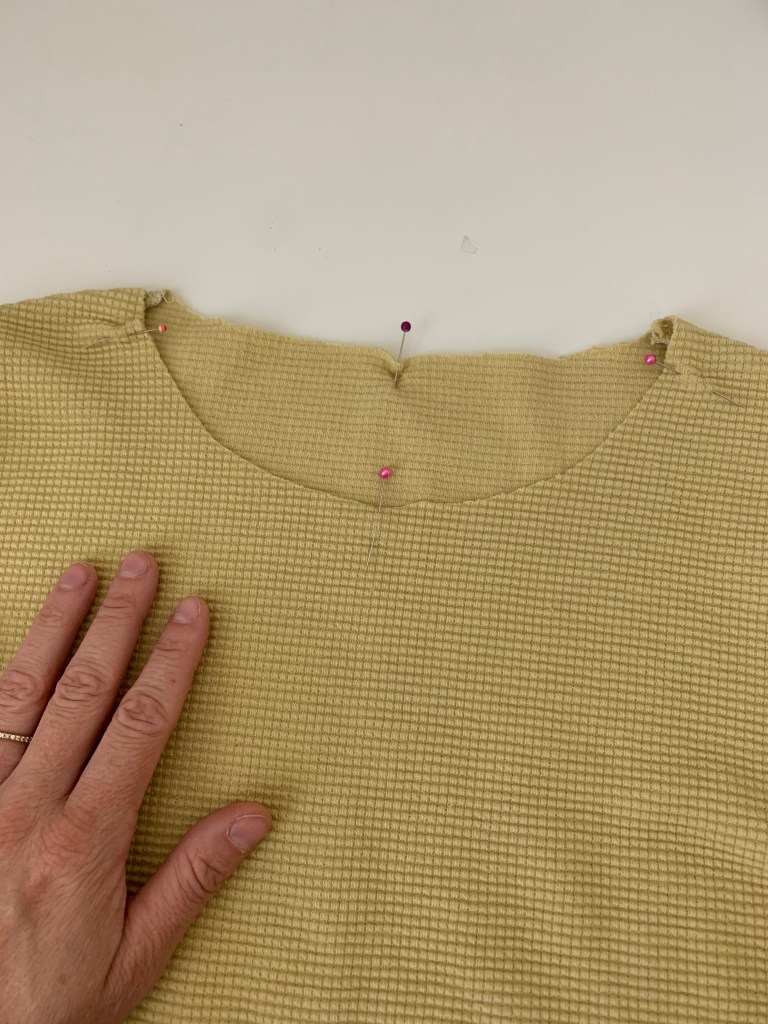
8. Pin the raw edge of the band into the neckline, right sides together, matching the quartered pins. Match the seam of the neckband with the center back pin on the bodice.
9. Pin the rest of the neckband to the neckline, easing it in. You will have to stretch out the band slightly to fit into the neckline- this means it’s fitting nicely and will pull the neckline in. If you don’t need to ease the neckband in too much, the neckband piece may be too long.

10. Pull out your sewing machine and set the stitch length to 4.0. Using a straight stitch, baste the neckband to the neck edge.

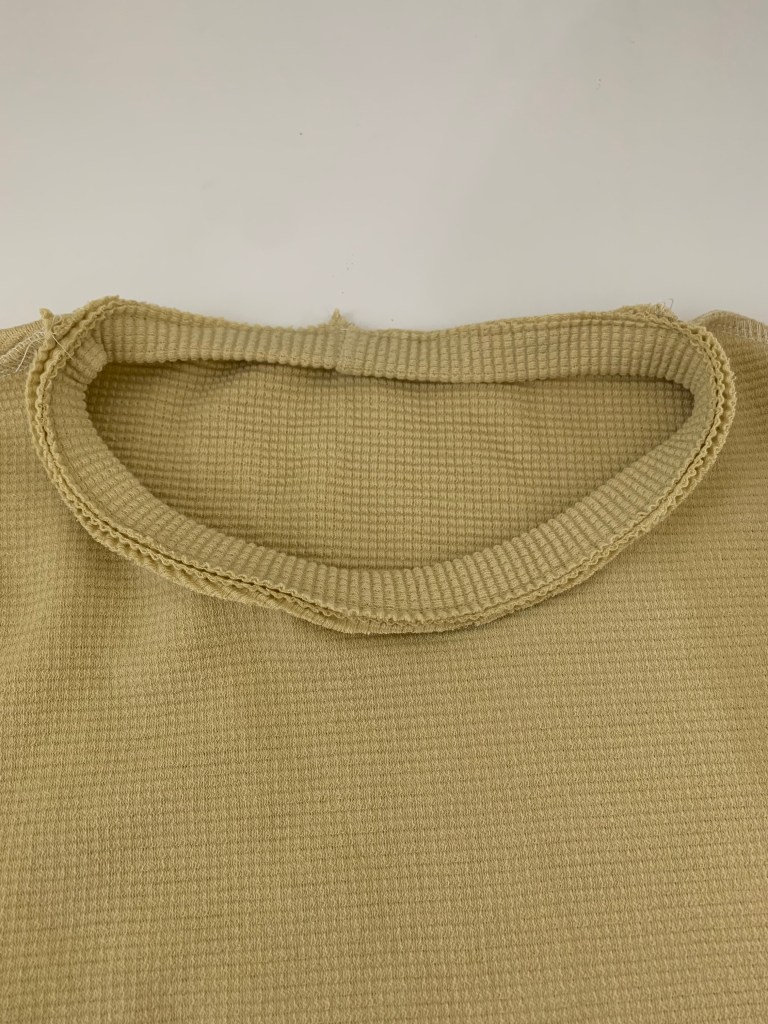
11. Try on the bodice!! I always try on my knit project at this point to see how the band lays. If it lays flat you are good to go, but if it seems kind of loose and wonky- then your neckband piece is too long. Unpick it the neckband, trim off a little bit of length, and try again if needed.

12. Once you are happy with the fit of the neckline, serge the neckband to the neckline. Press.


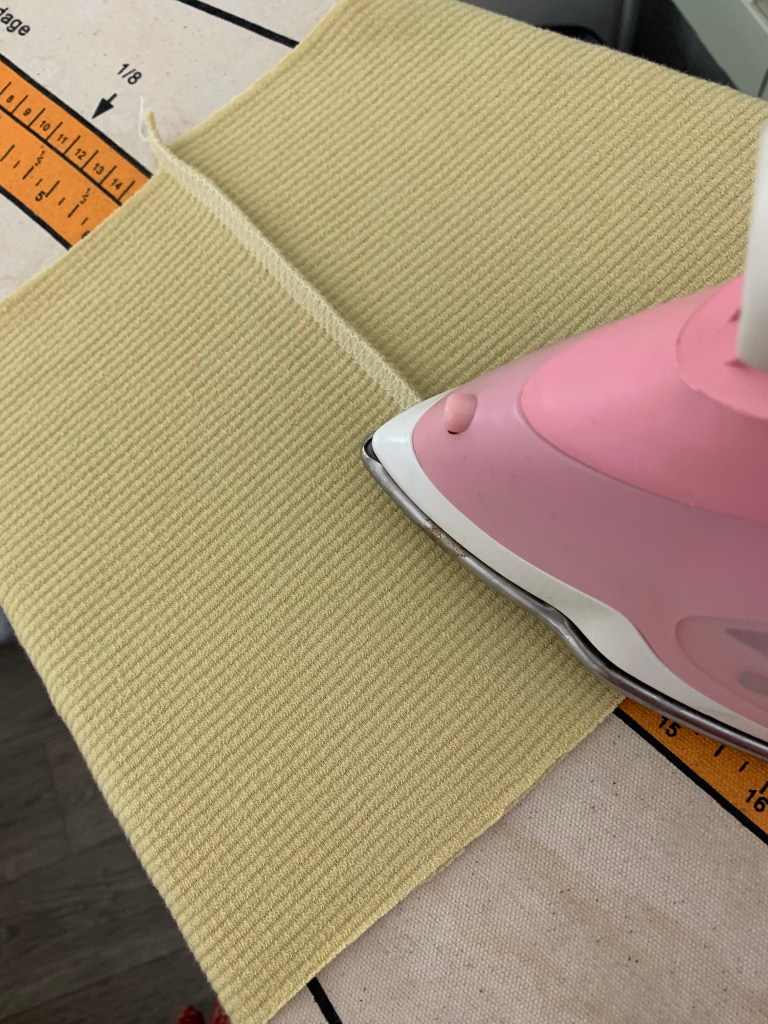
13. Now we will prep and attach the skirt tiers to the bodice. Get the two tier #1 pieces, and pin right sides together on both edges, sew and press.


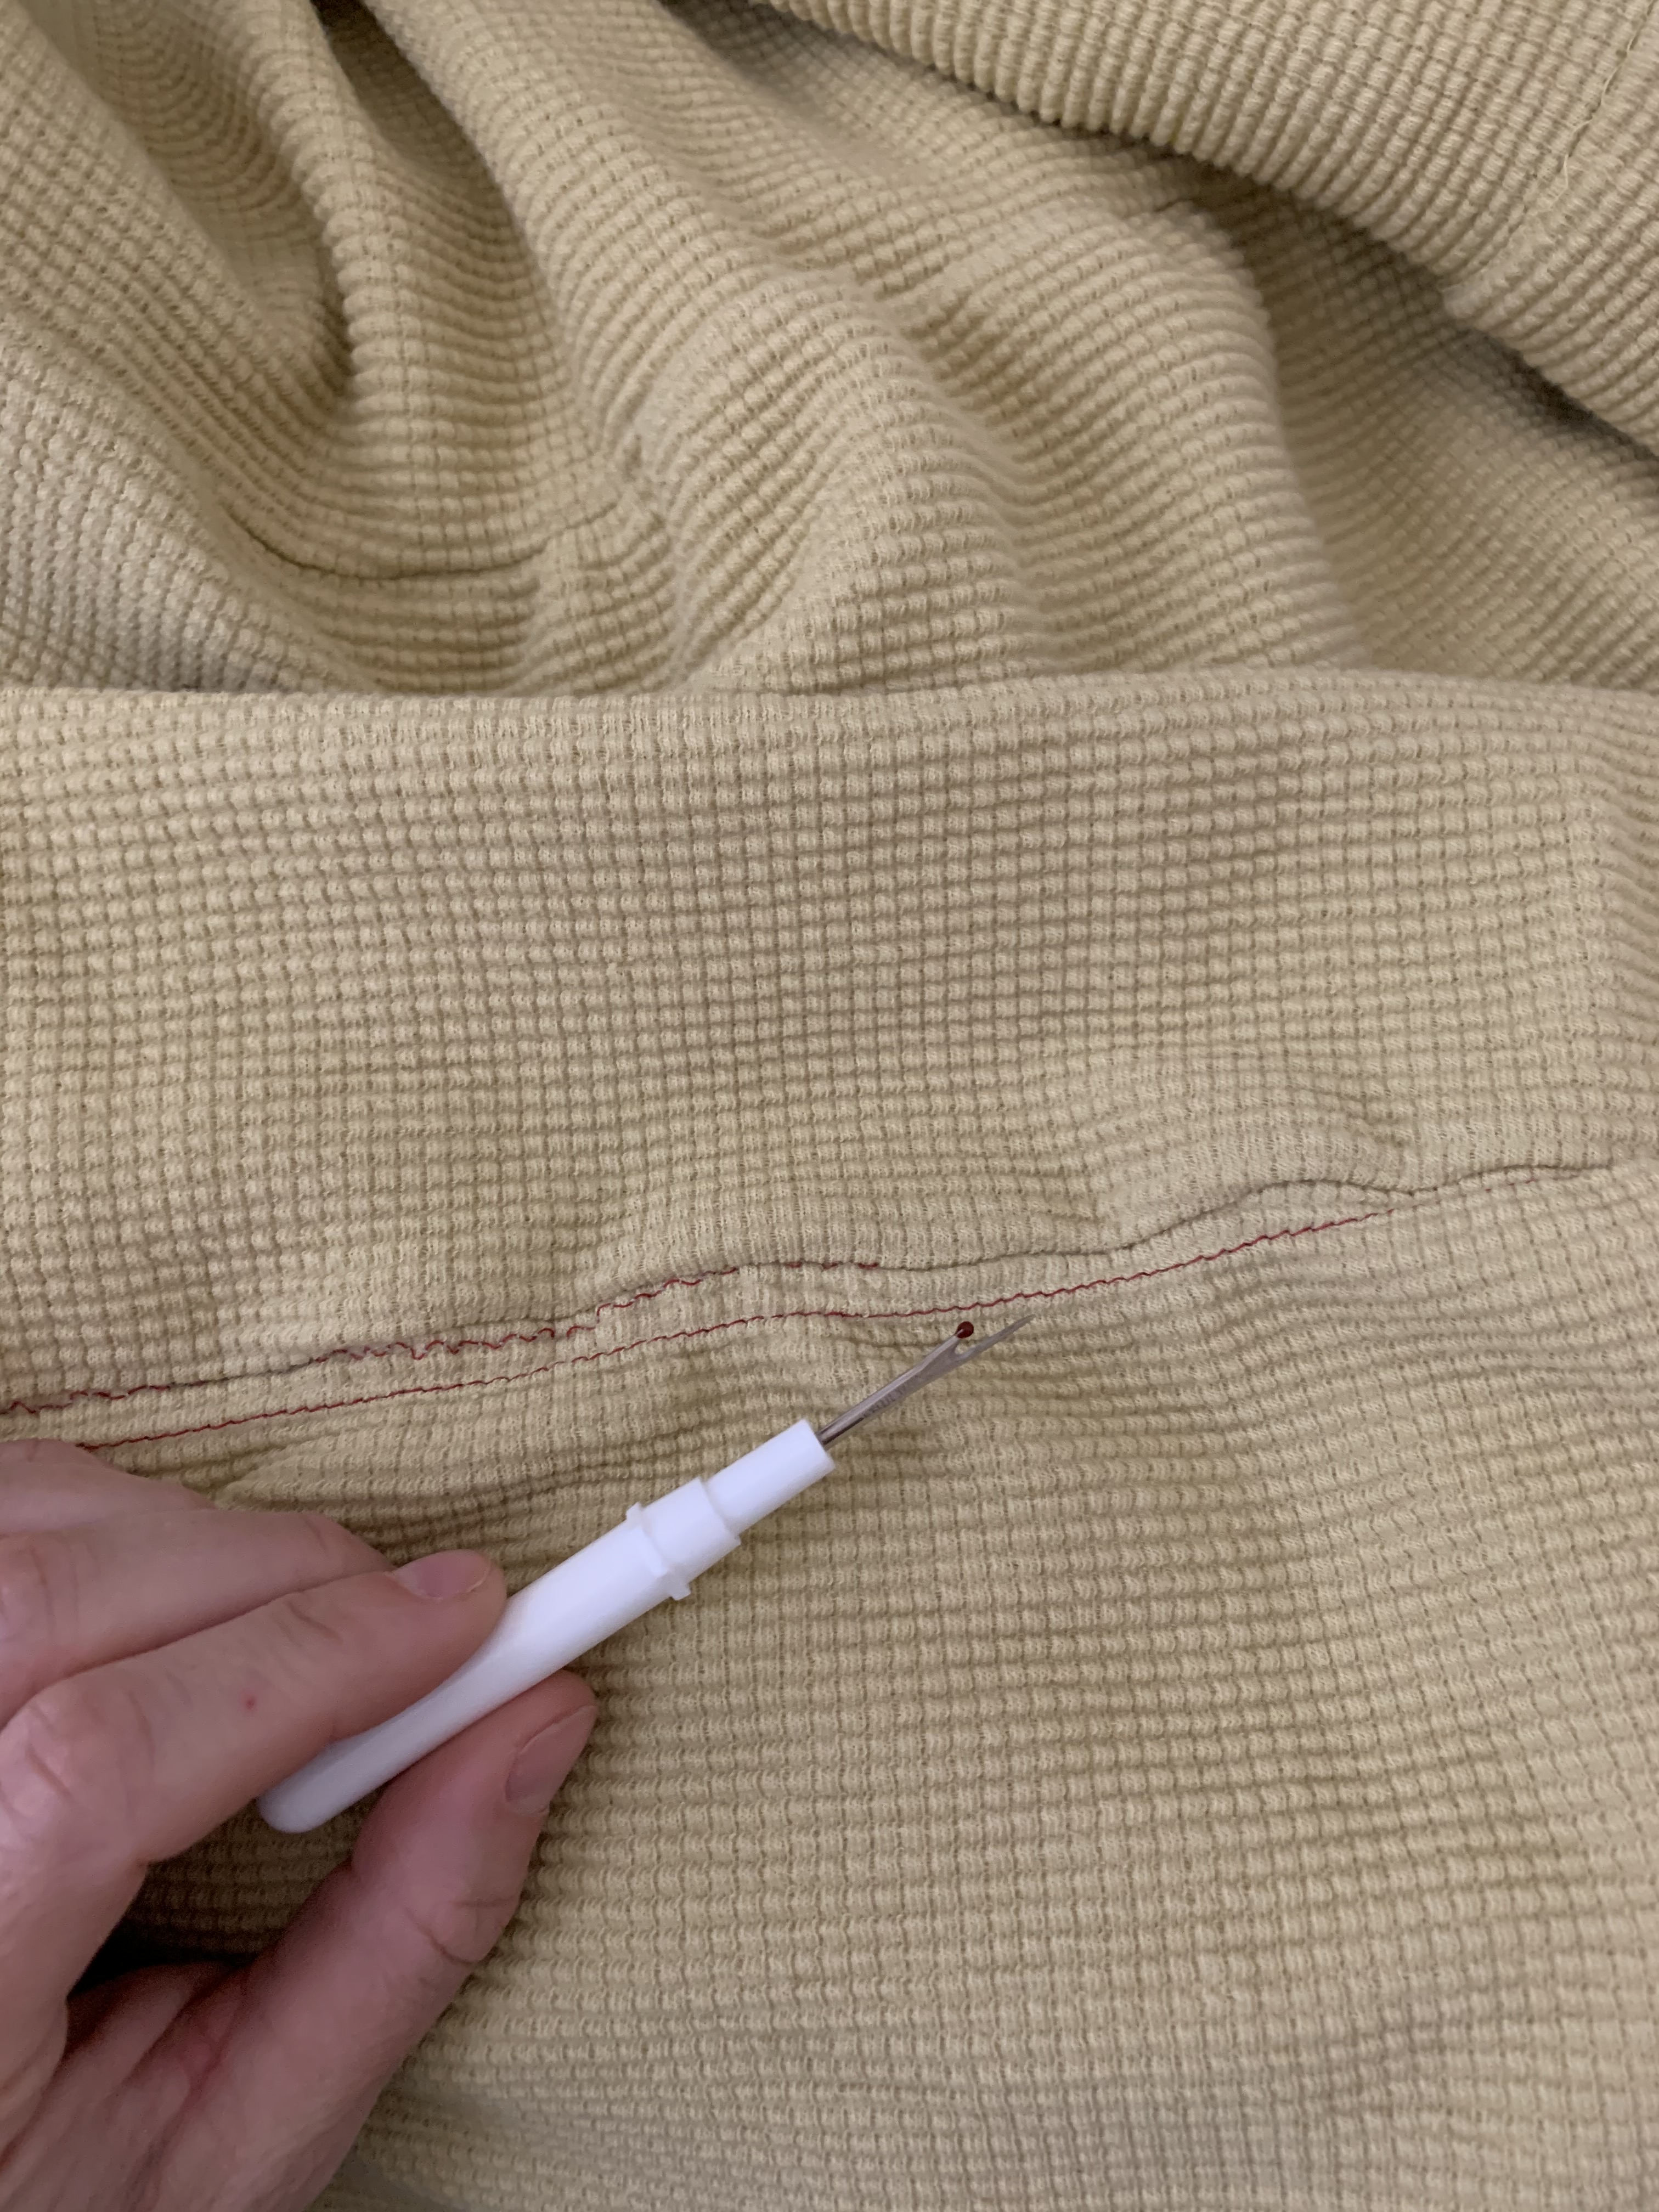
14. Back to the sewing machine, set a 4.0 stitch length once again. Sew two rows of basting stitches along one raw edge of the the tier at 1/4″ and 1/2″, leaving long thread tails.

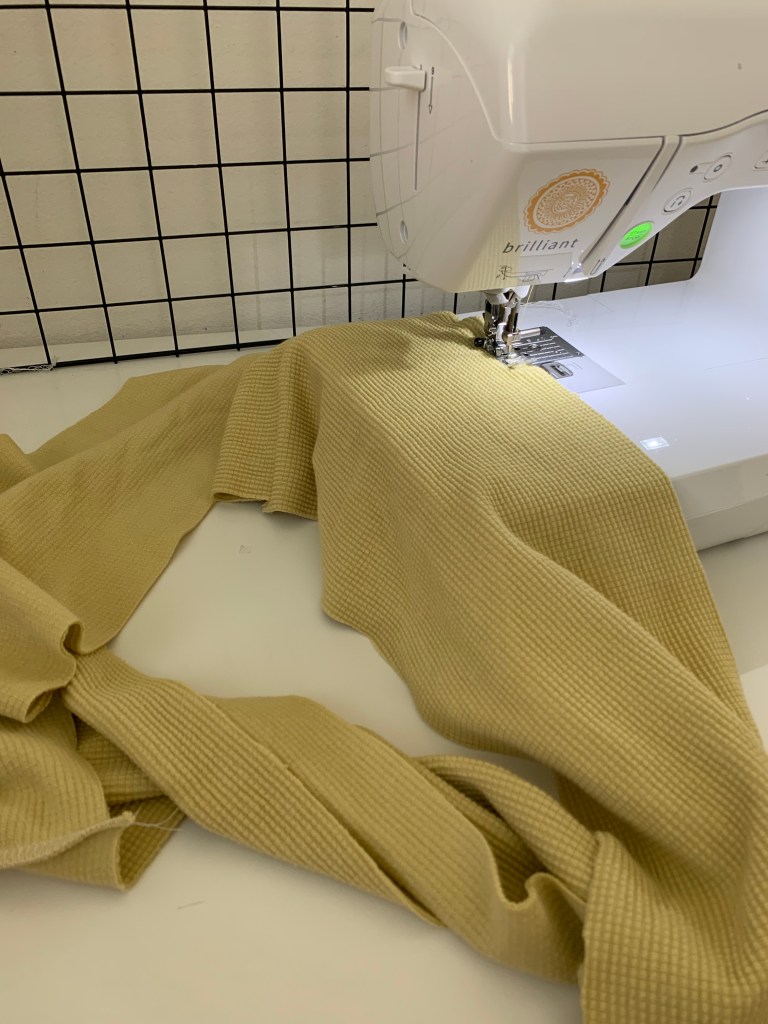

15. Just like we did with the neckband, quarter the tier #1 piece using pins, and repeat with the bottom of the bodice. Match the side seams and centers right sides together at quartered marks of the bodice and tier piece and pin in place.

16. Lightly pull the basting thread tails to gather the tier piece to fit into the bodice piece. Take your time here as to not break the basting thread. Evenly spread the gathers until the tier fits into the bodice. Pin and sew.
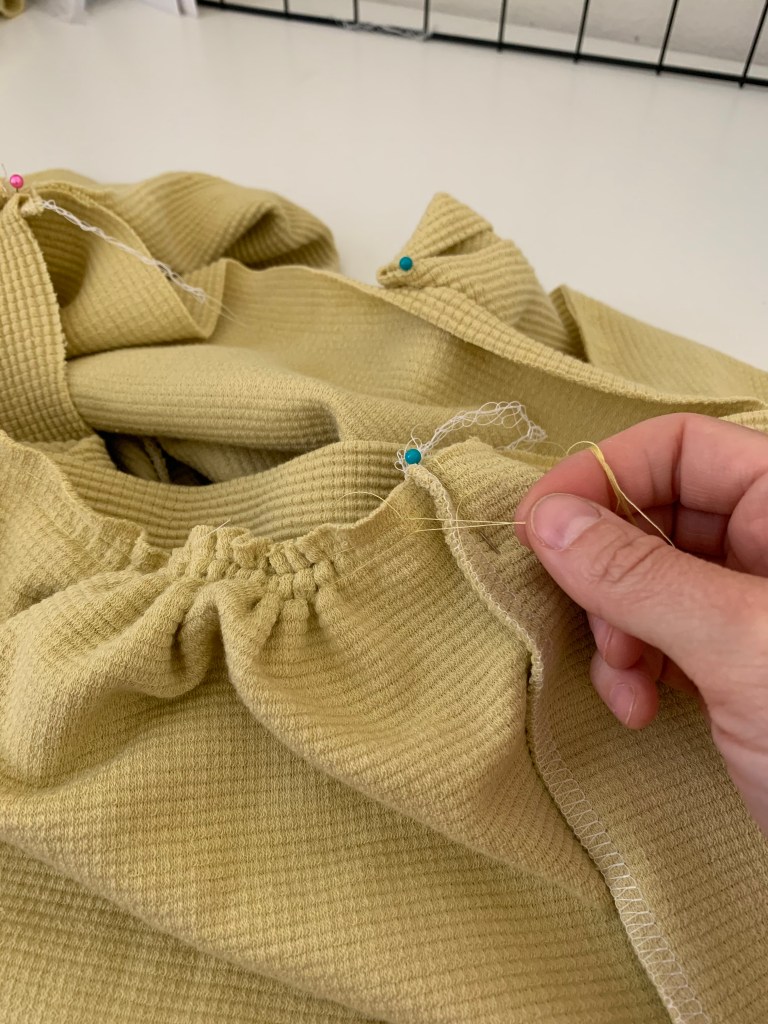


17. Repeat steps 13-16 for the remaining two tiers. Press the seams up lightly. Unpick any basting thread that shows on the front side of the dress.
18. Hem the bottom of the dress by pressing the bottom edge up at 1/2″-3/4″ and pin in place. Using the sewing machine, sew a zig zag stitch along the right side the of the folded edge all the around to finish.


All finished! This dress is perfect to wear all summer long, I know I will be living in it! Thanks for stopping by and happy sewing!


Leave a comment