This post is sponsored by Baby Lock but all opinions are my own.
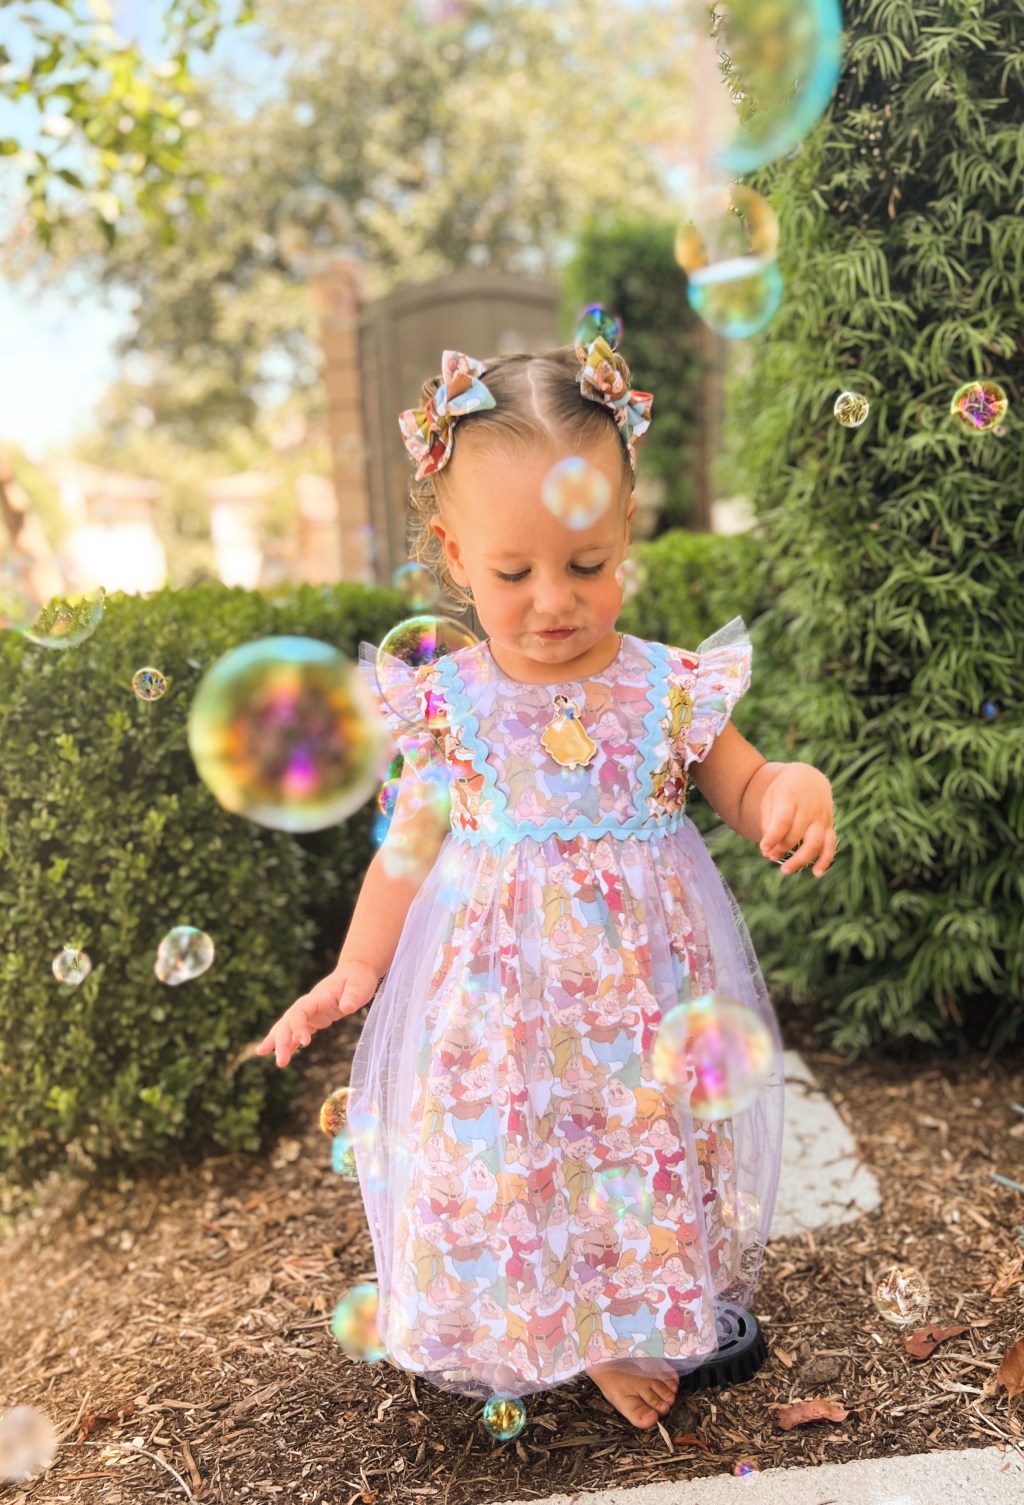
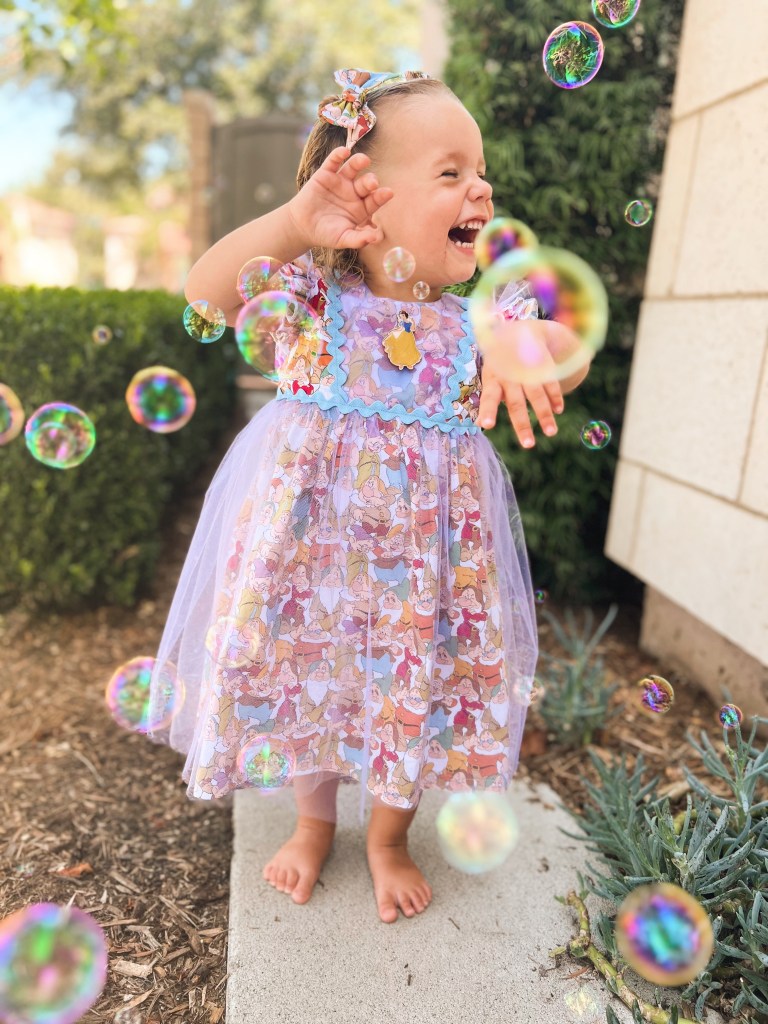
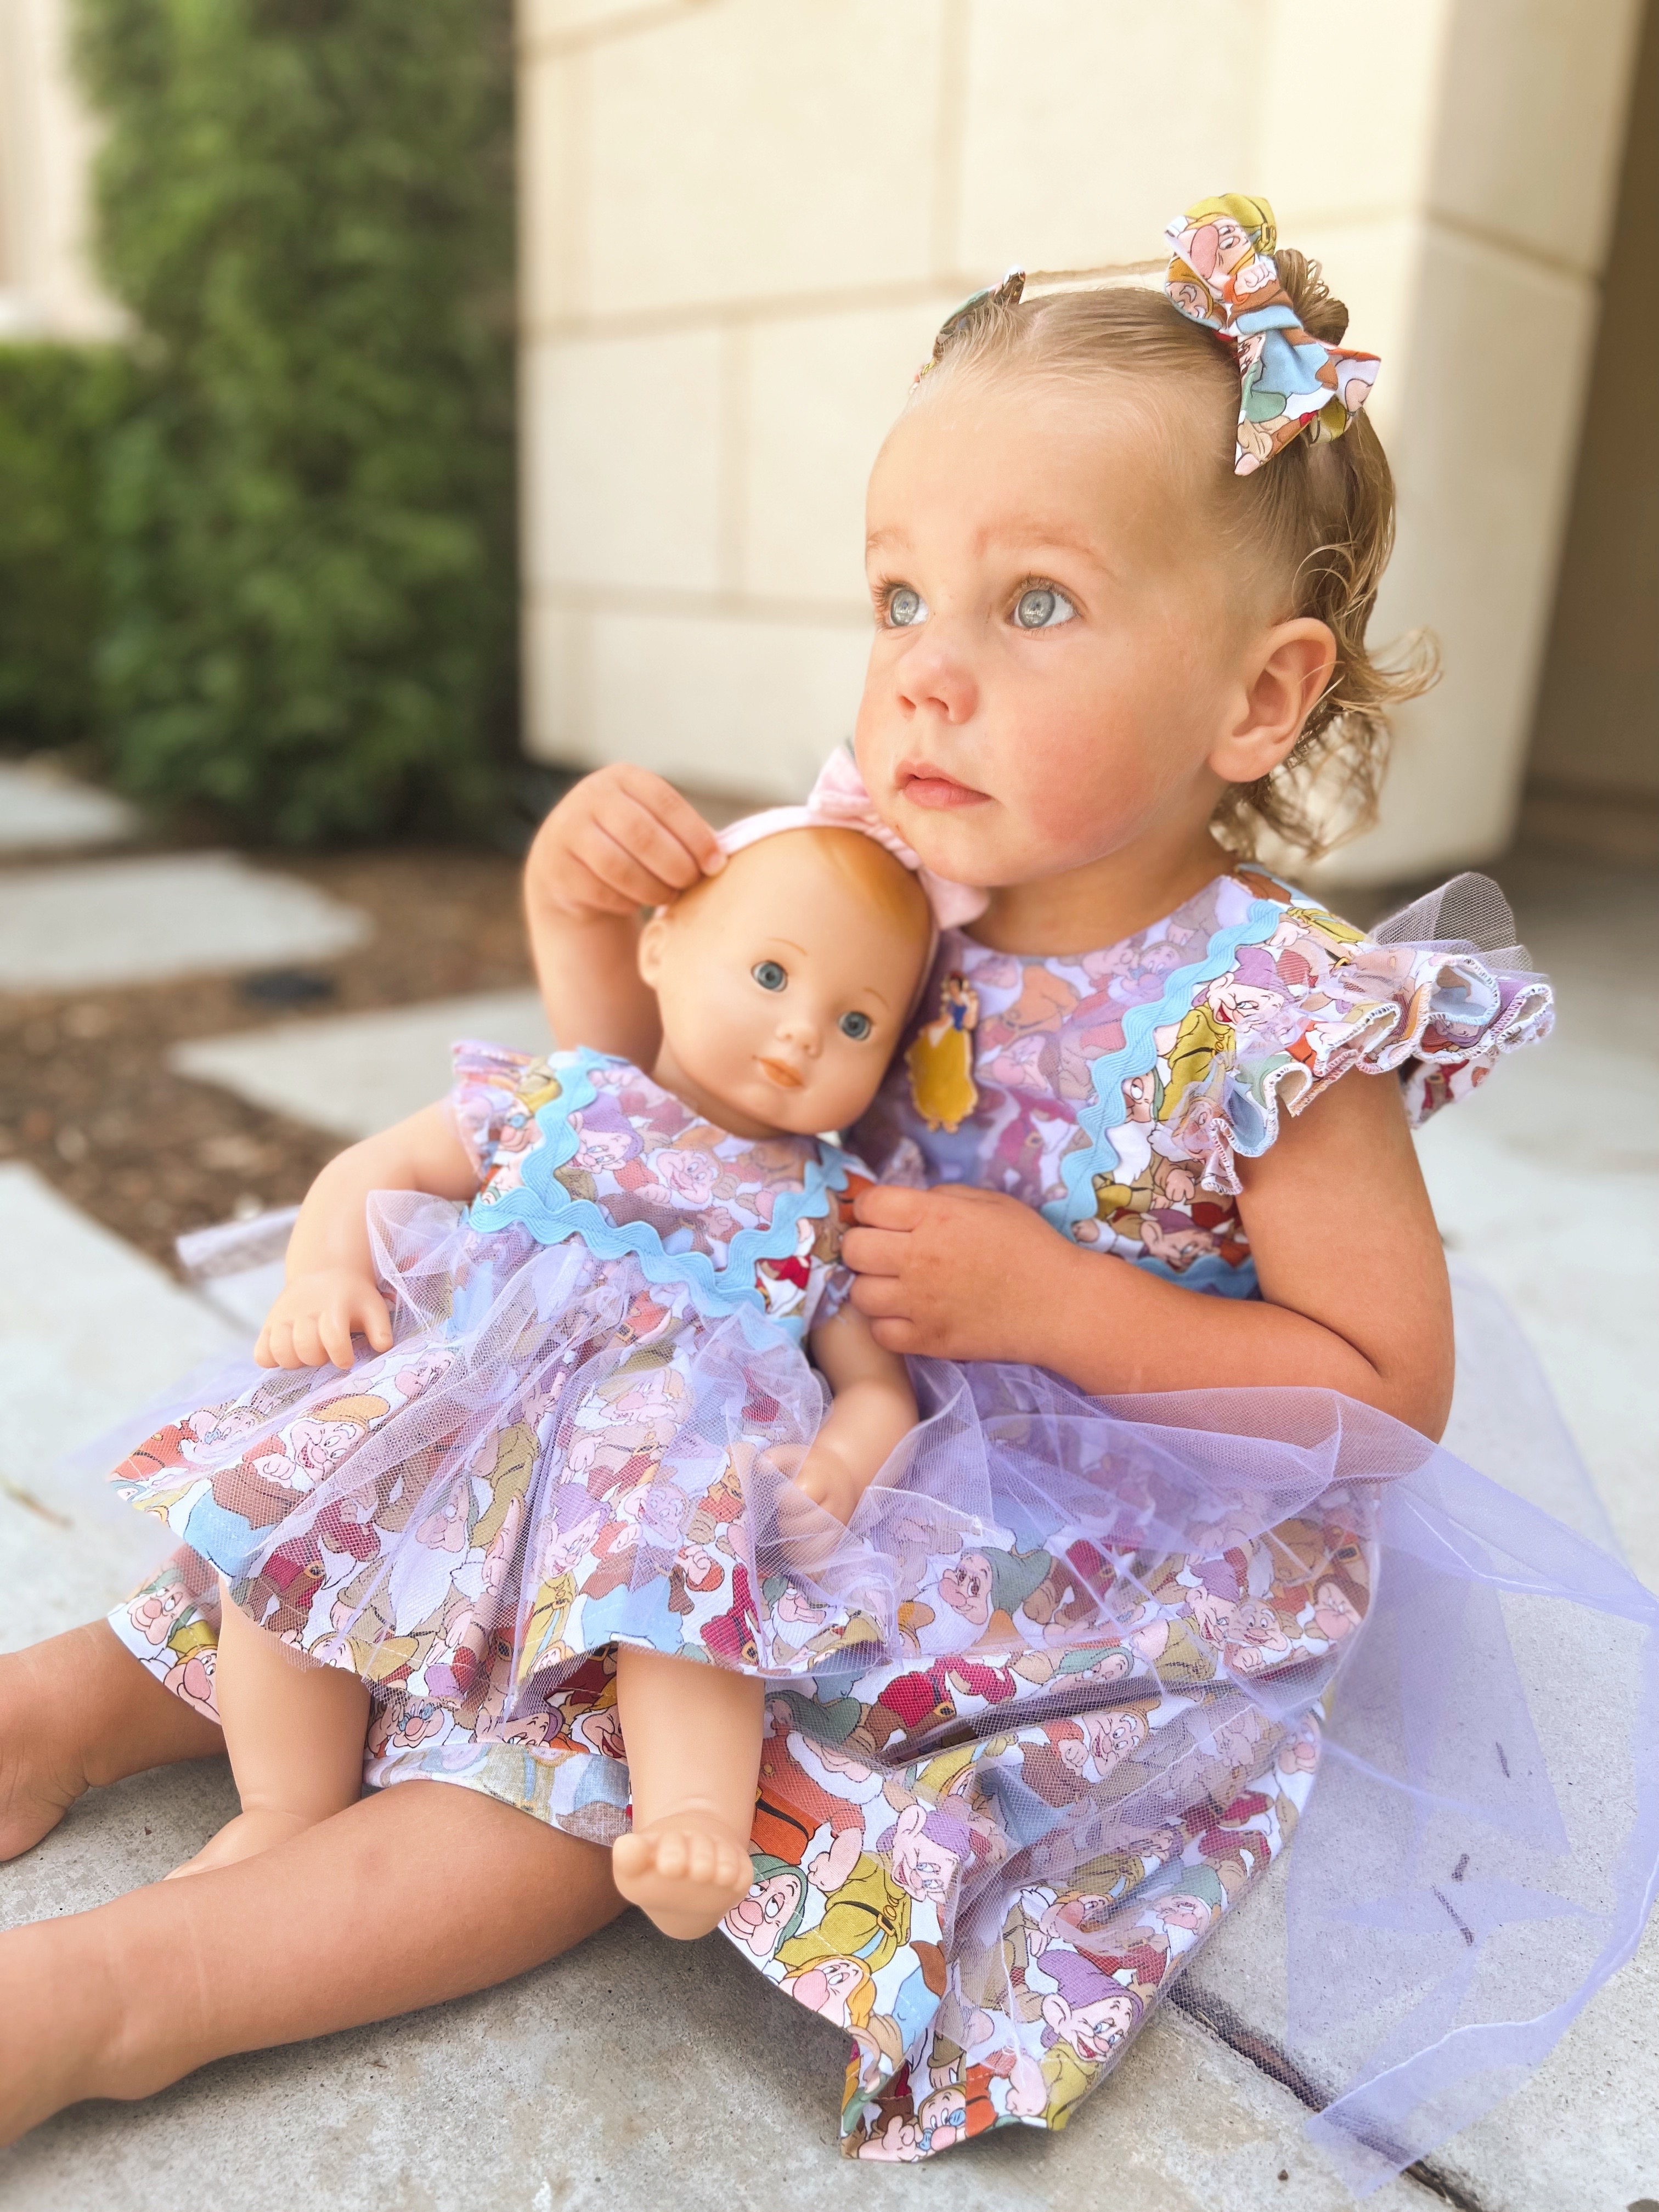
My youngest daughter just turned two, and I made her a dress to celebrate the occasion. She is obsessed with Snow White at the moment, so I thought it would be fun to make her a unique party dress. I also made a mini matching one for her Bitty Baby doll.
I used my Baby Lock Celebrate Serger to finish the flutter sleeve edges with a more professional touch, and I’m excited to walk you through that super easy process. I also used my Baby Lock Brilliant sewing machine for the rest of the project.
For the dress pattern, I used the Geranium Dress pattern by Made by Rae for both dresses. I used the smallest size 0-3 months for the bitty baby doll’s dress. I brought the armhole up a little bit higher and shortened the front and back bodice by 1″. I made the size 2 for my daughter.
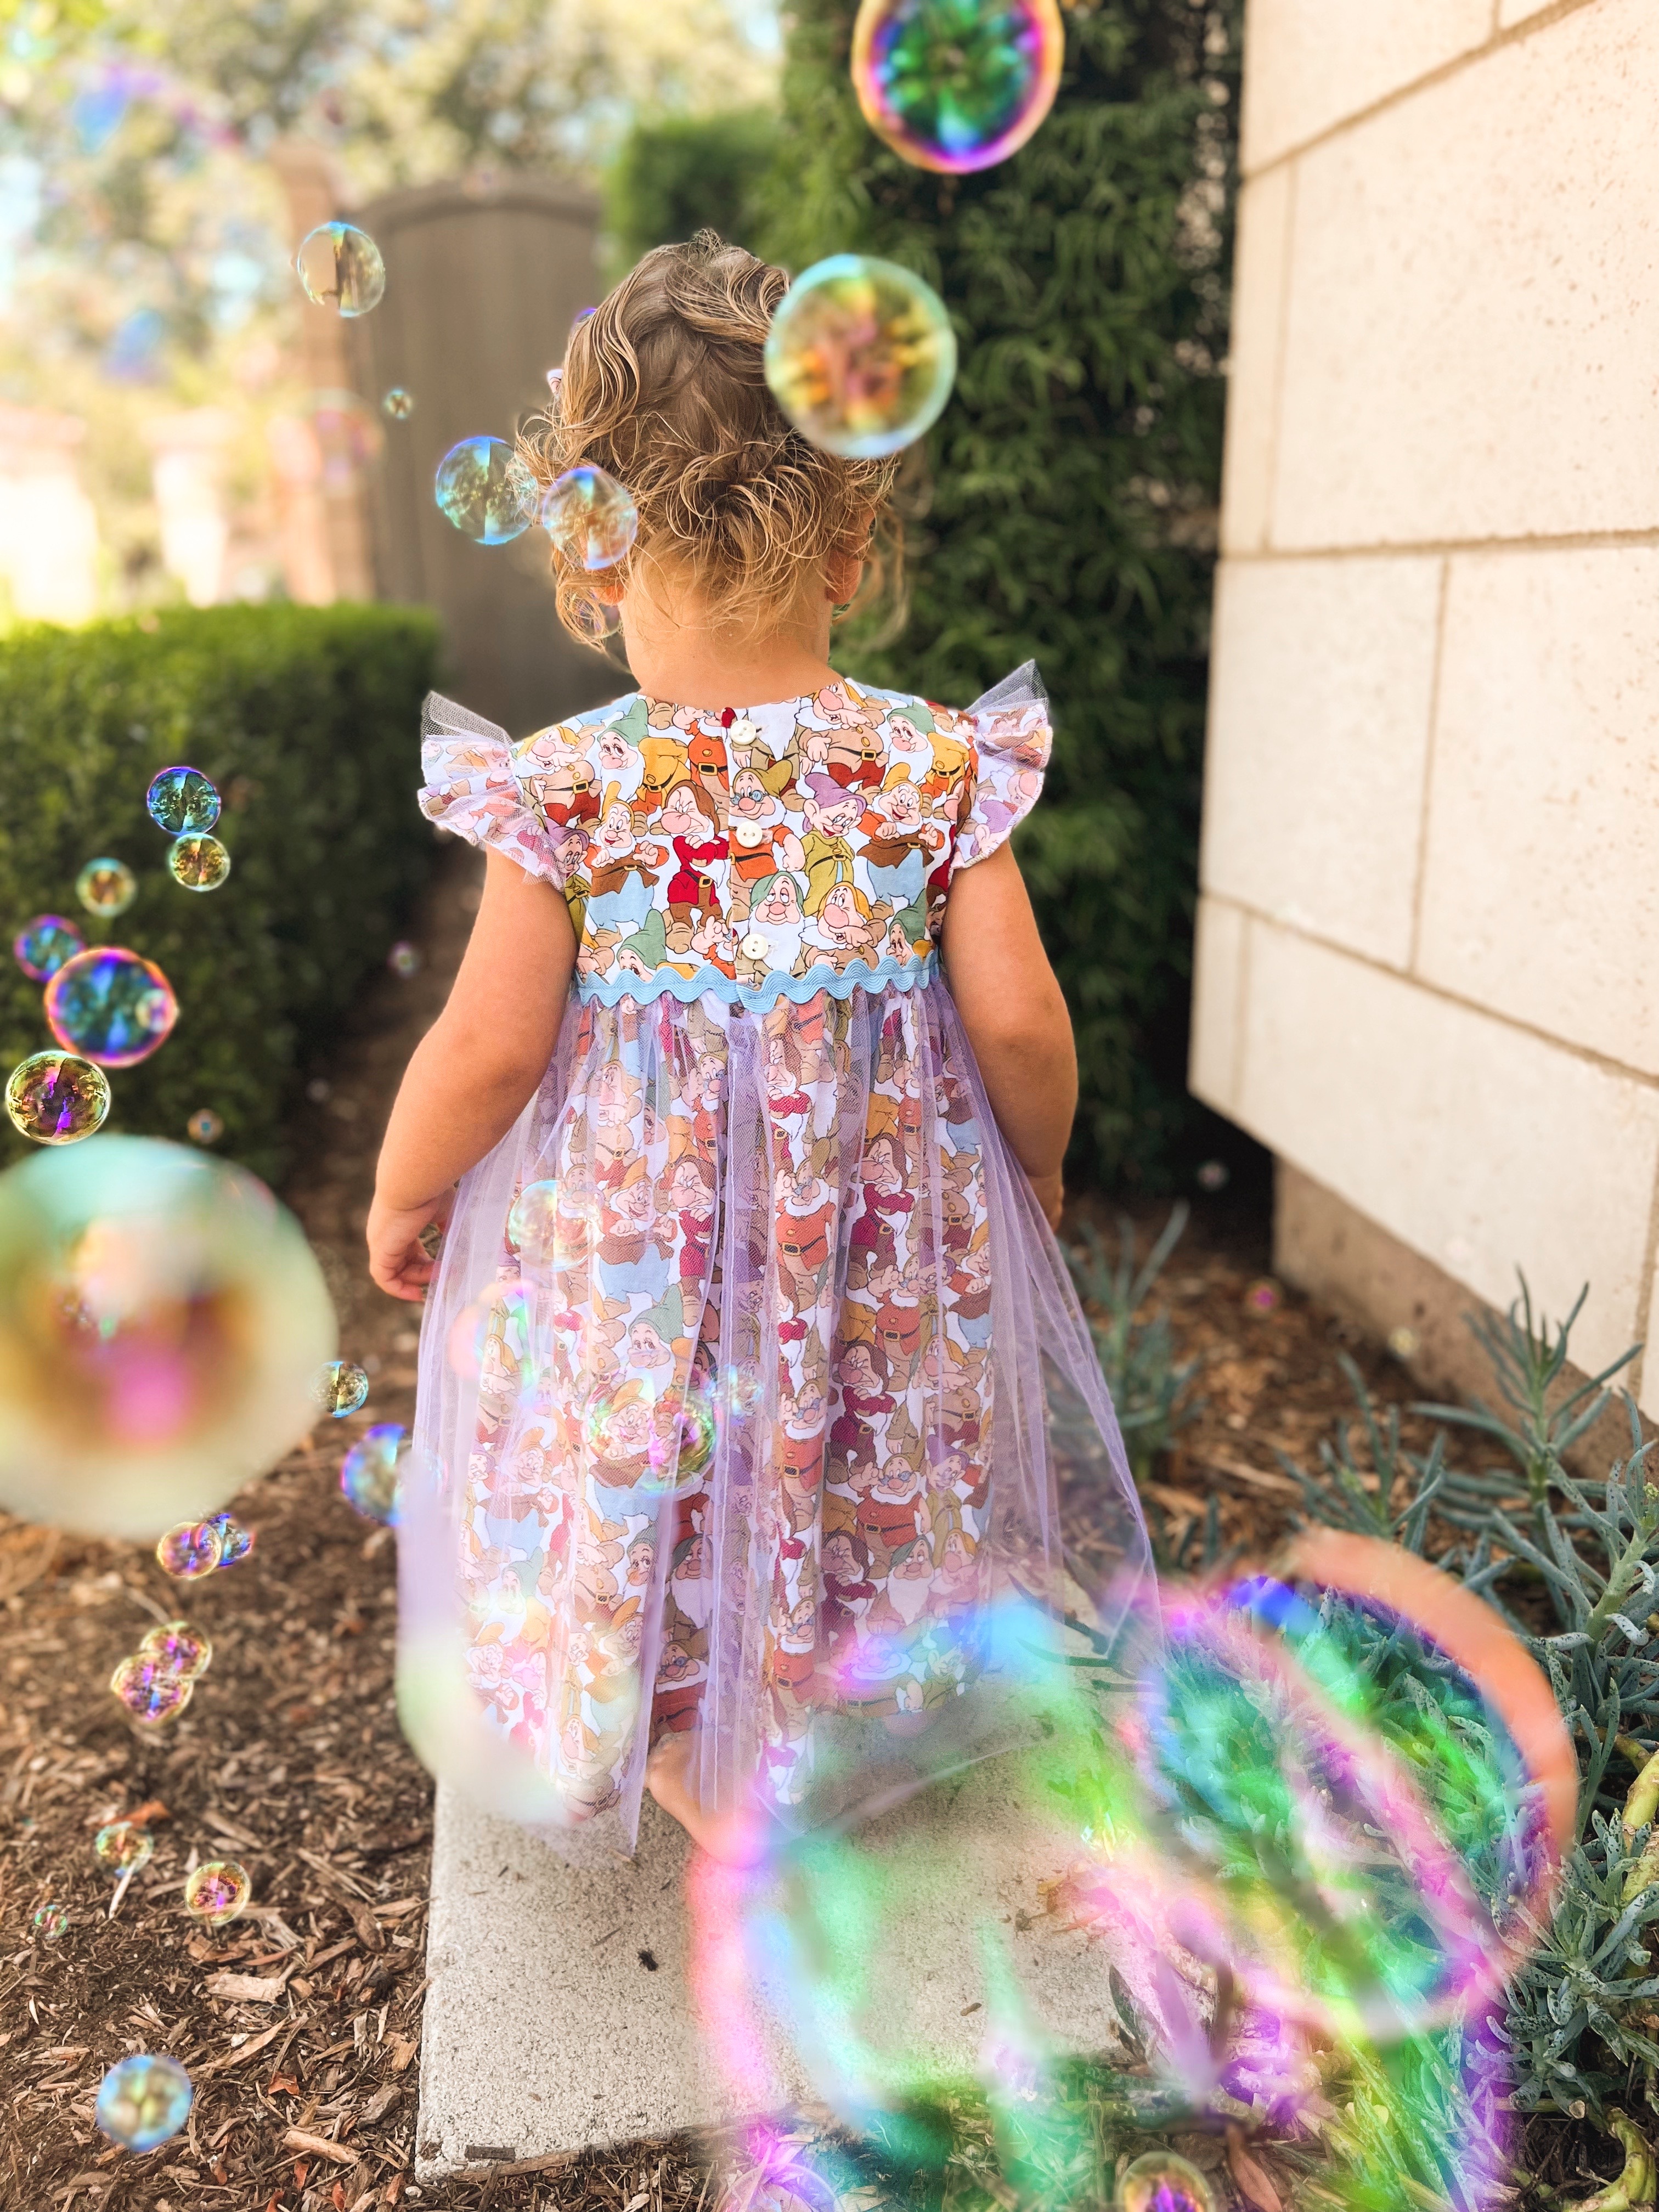
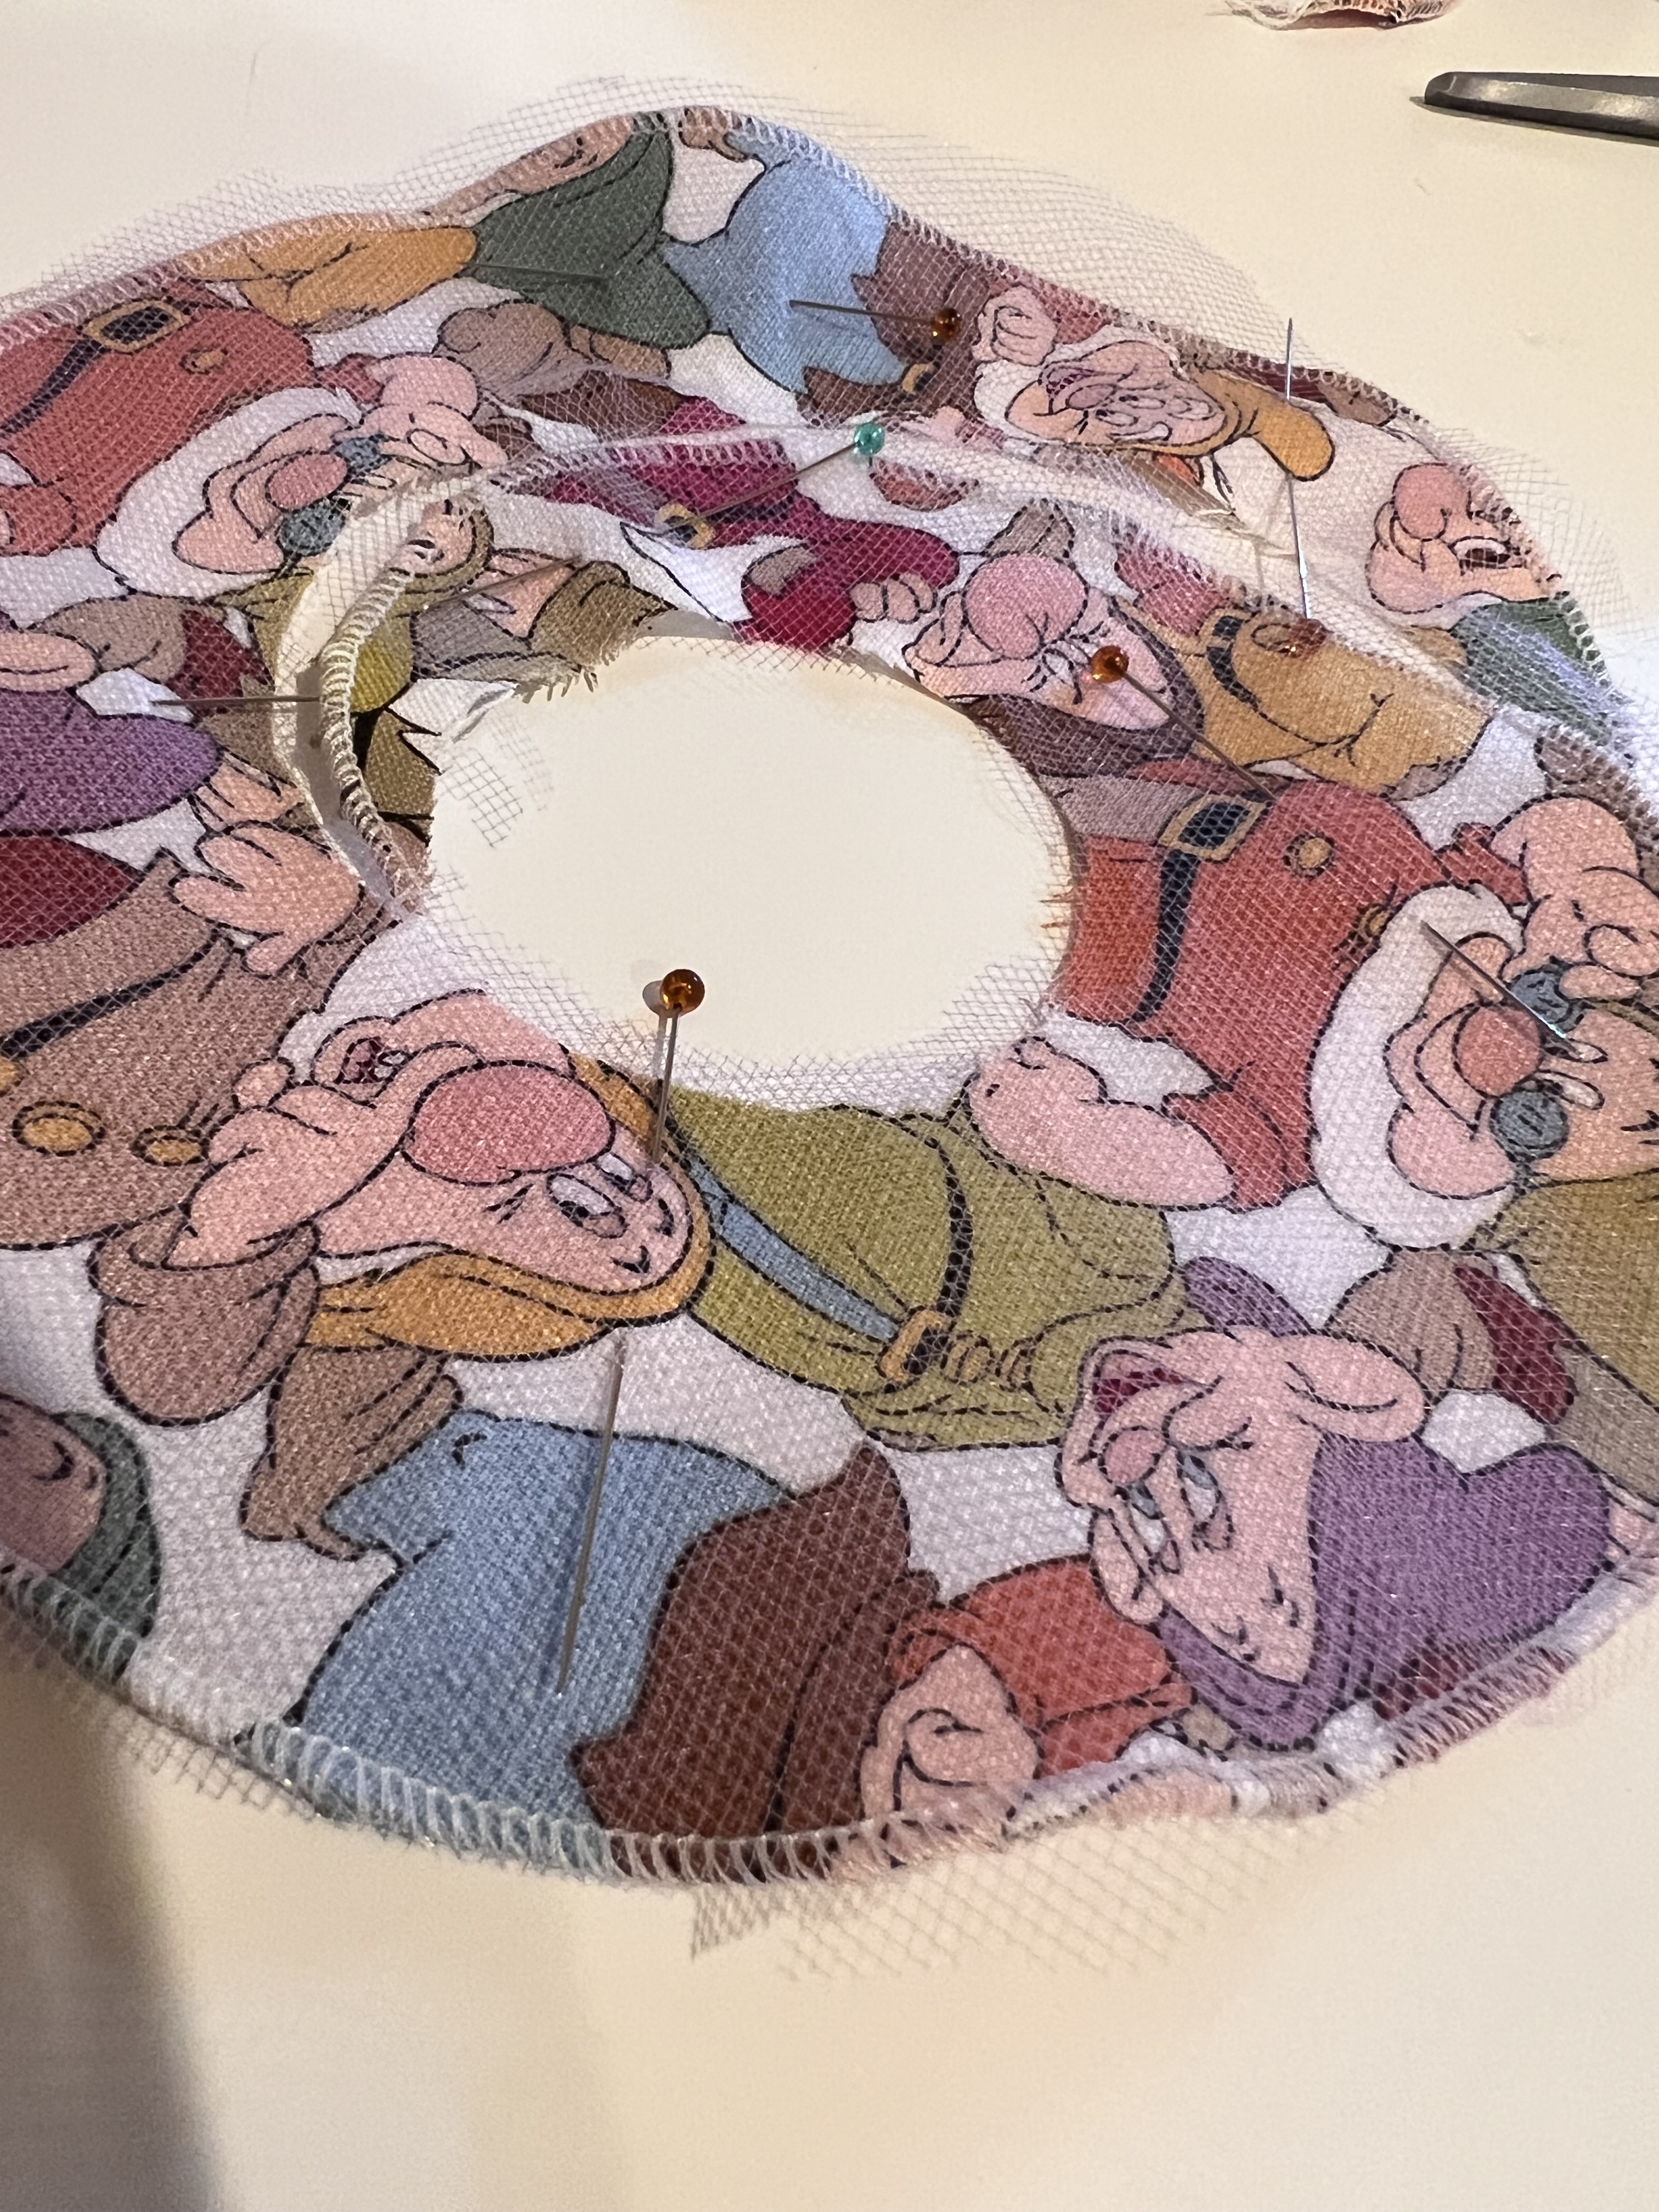
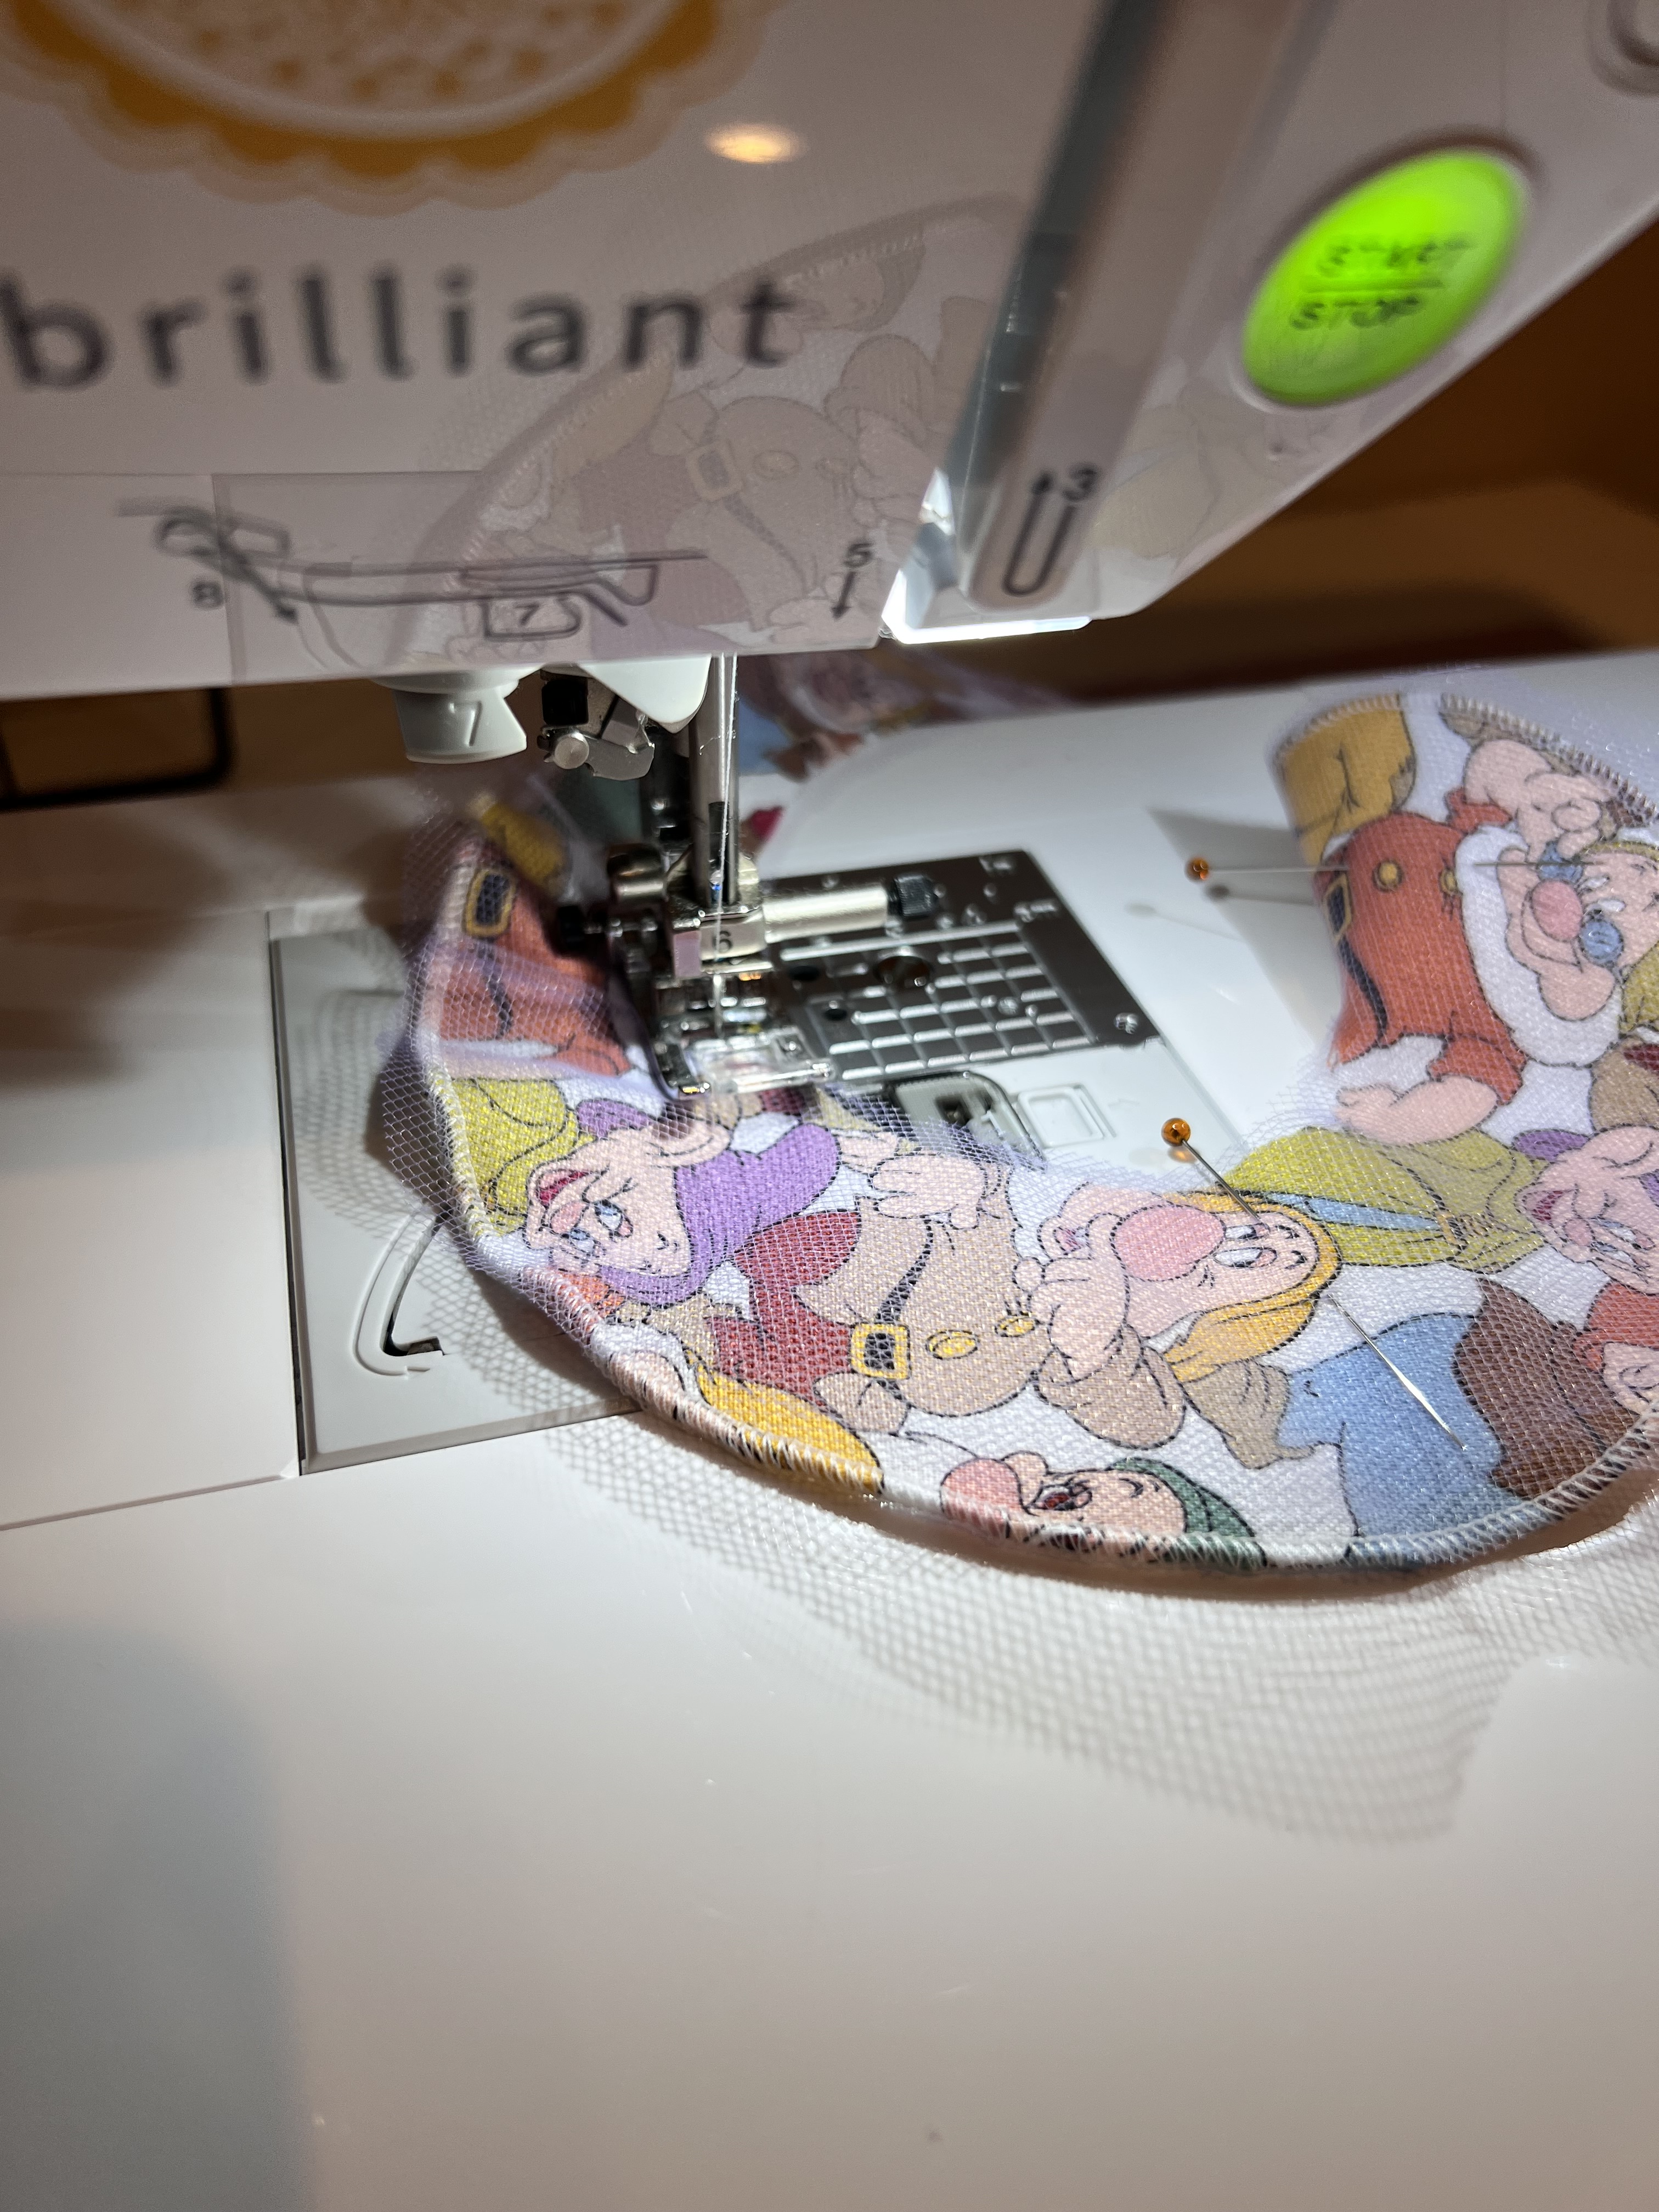
I added a few details to the pattern that I wanted to share with you. After I cut out my main dress pattern pieces, I also cut out two more skirt pieces, and 4 flutter sleeves out of tulle fabric. I also added 4 layers of tulle down the middle of the front bodice pieces. To finish it off, I added rick rack down the edges of the tulle on the middle front bodice and waistline. While shopping around at Joann for supplies, we found these really fun princess buttons, so we added a Snow White button to the front bodice to finish it off.

Today I’m going to share how I finished the sleeves and added all the extra tulle pieces to create this dress!

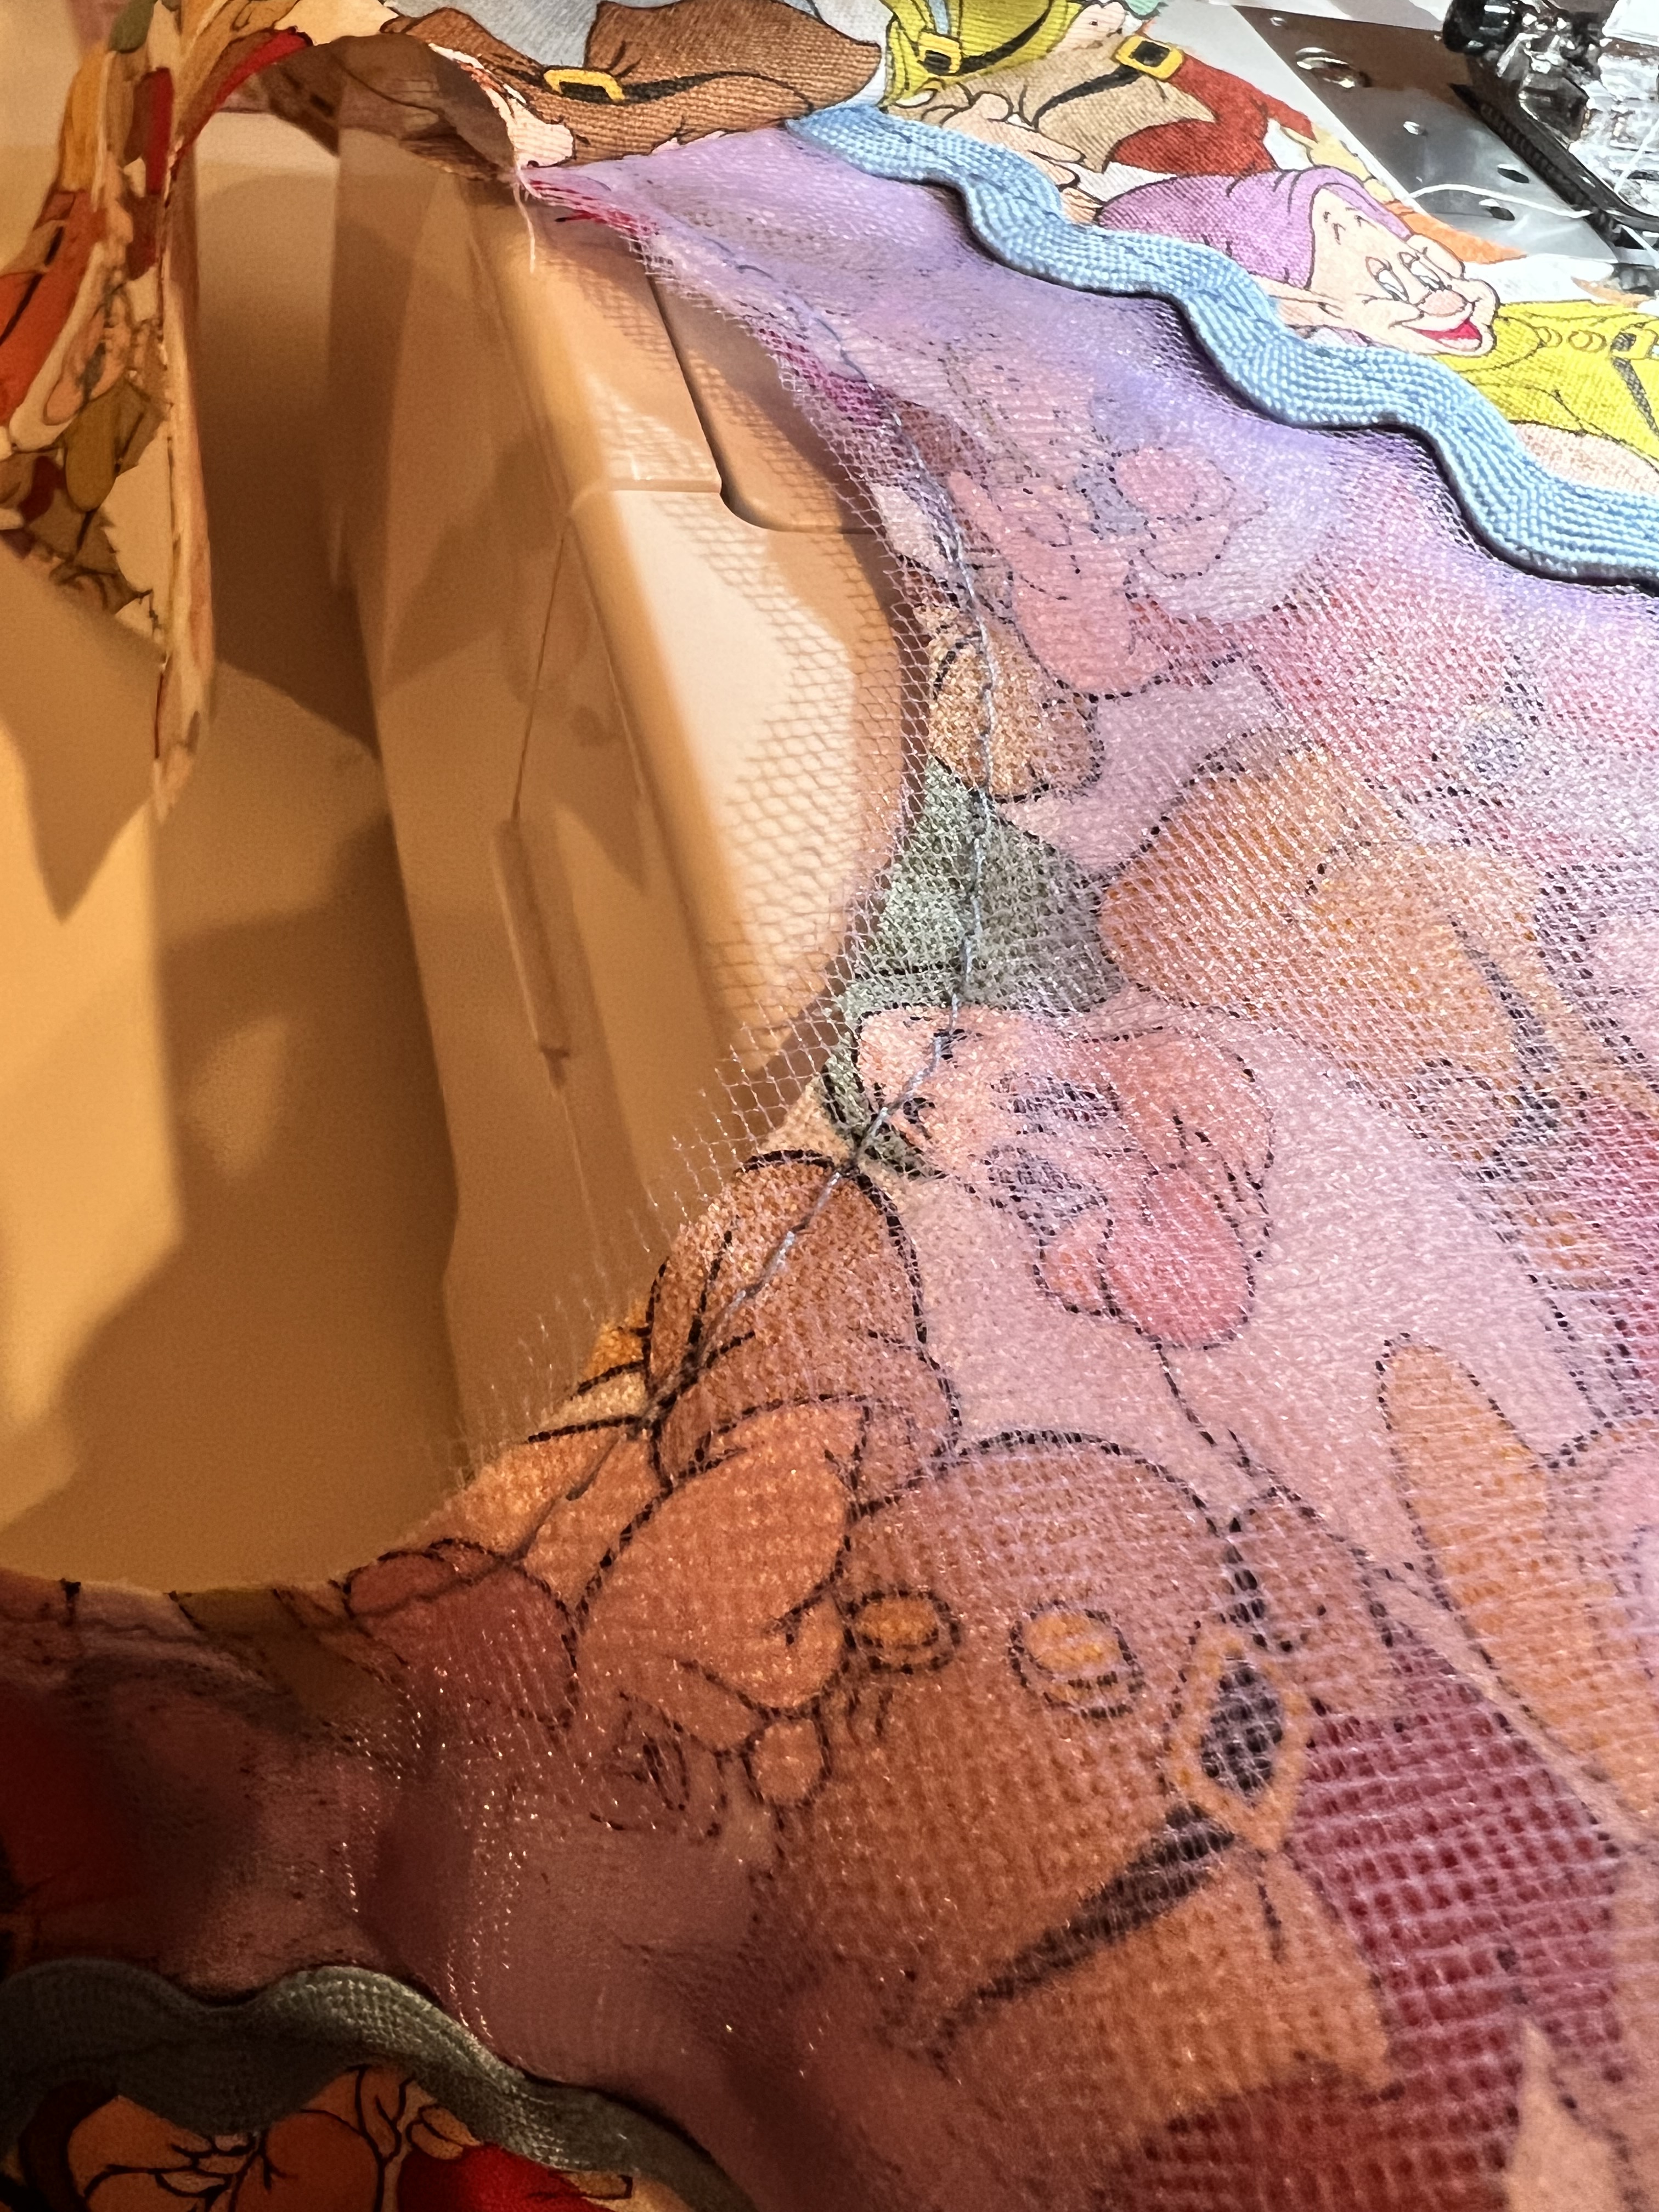
To add the tulle and rick rack to the front bodice, I first laid down 4 layers of tulle and pinned it down at the top center of the bodice. Next, I laid down the rick rack just along the edge of the tulle, and pinned it in place as shown above.

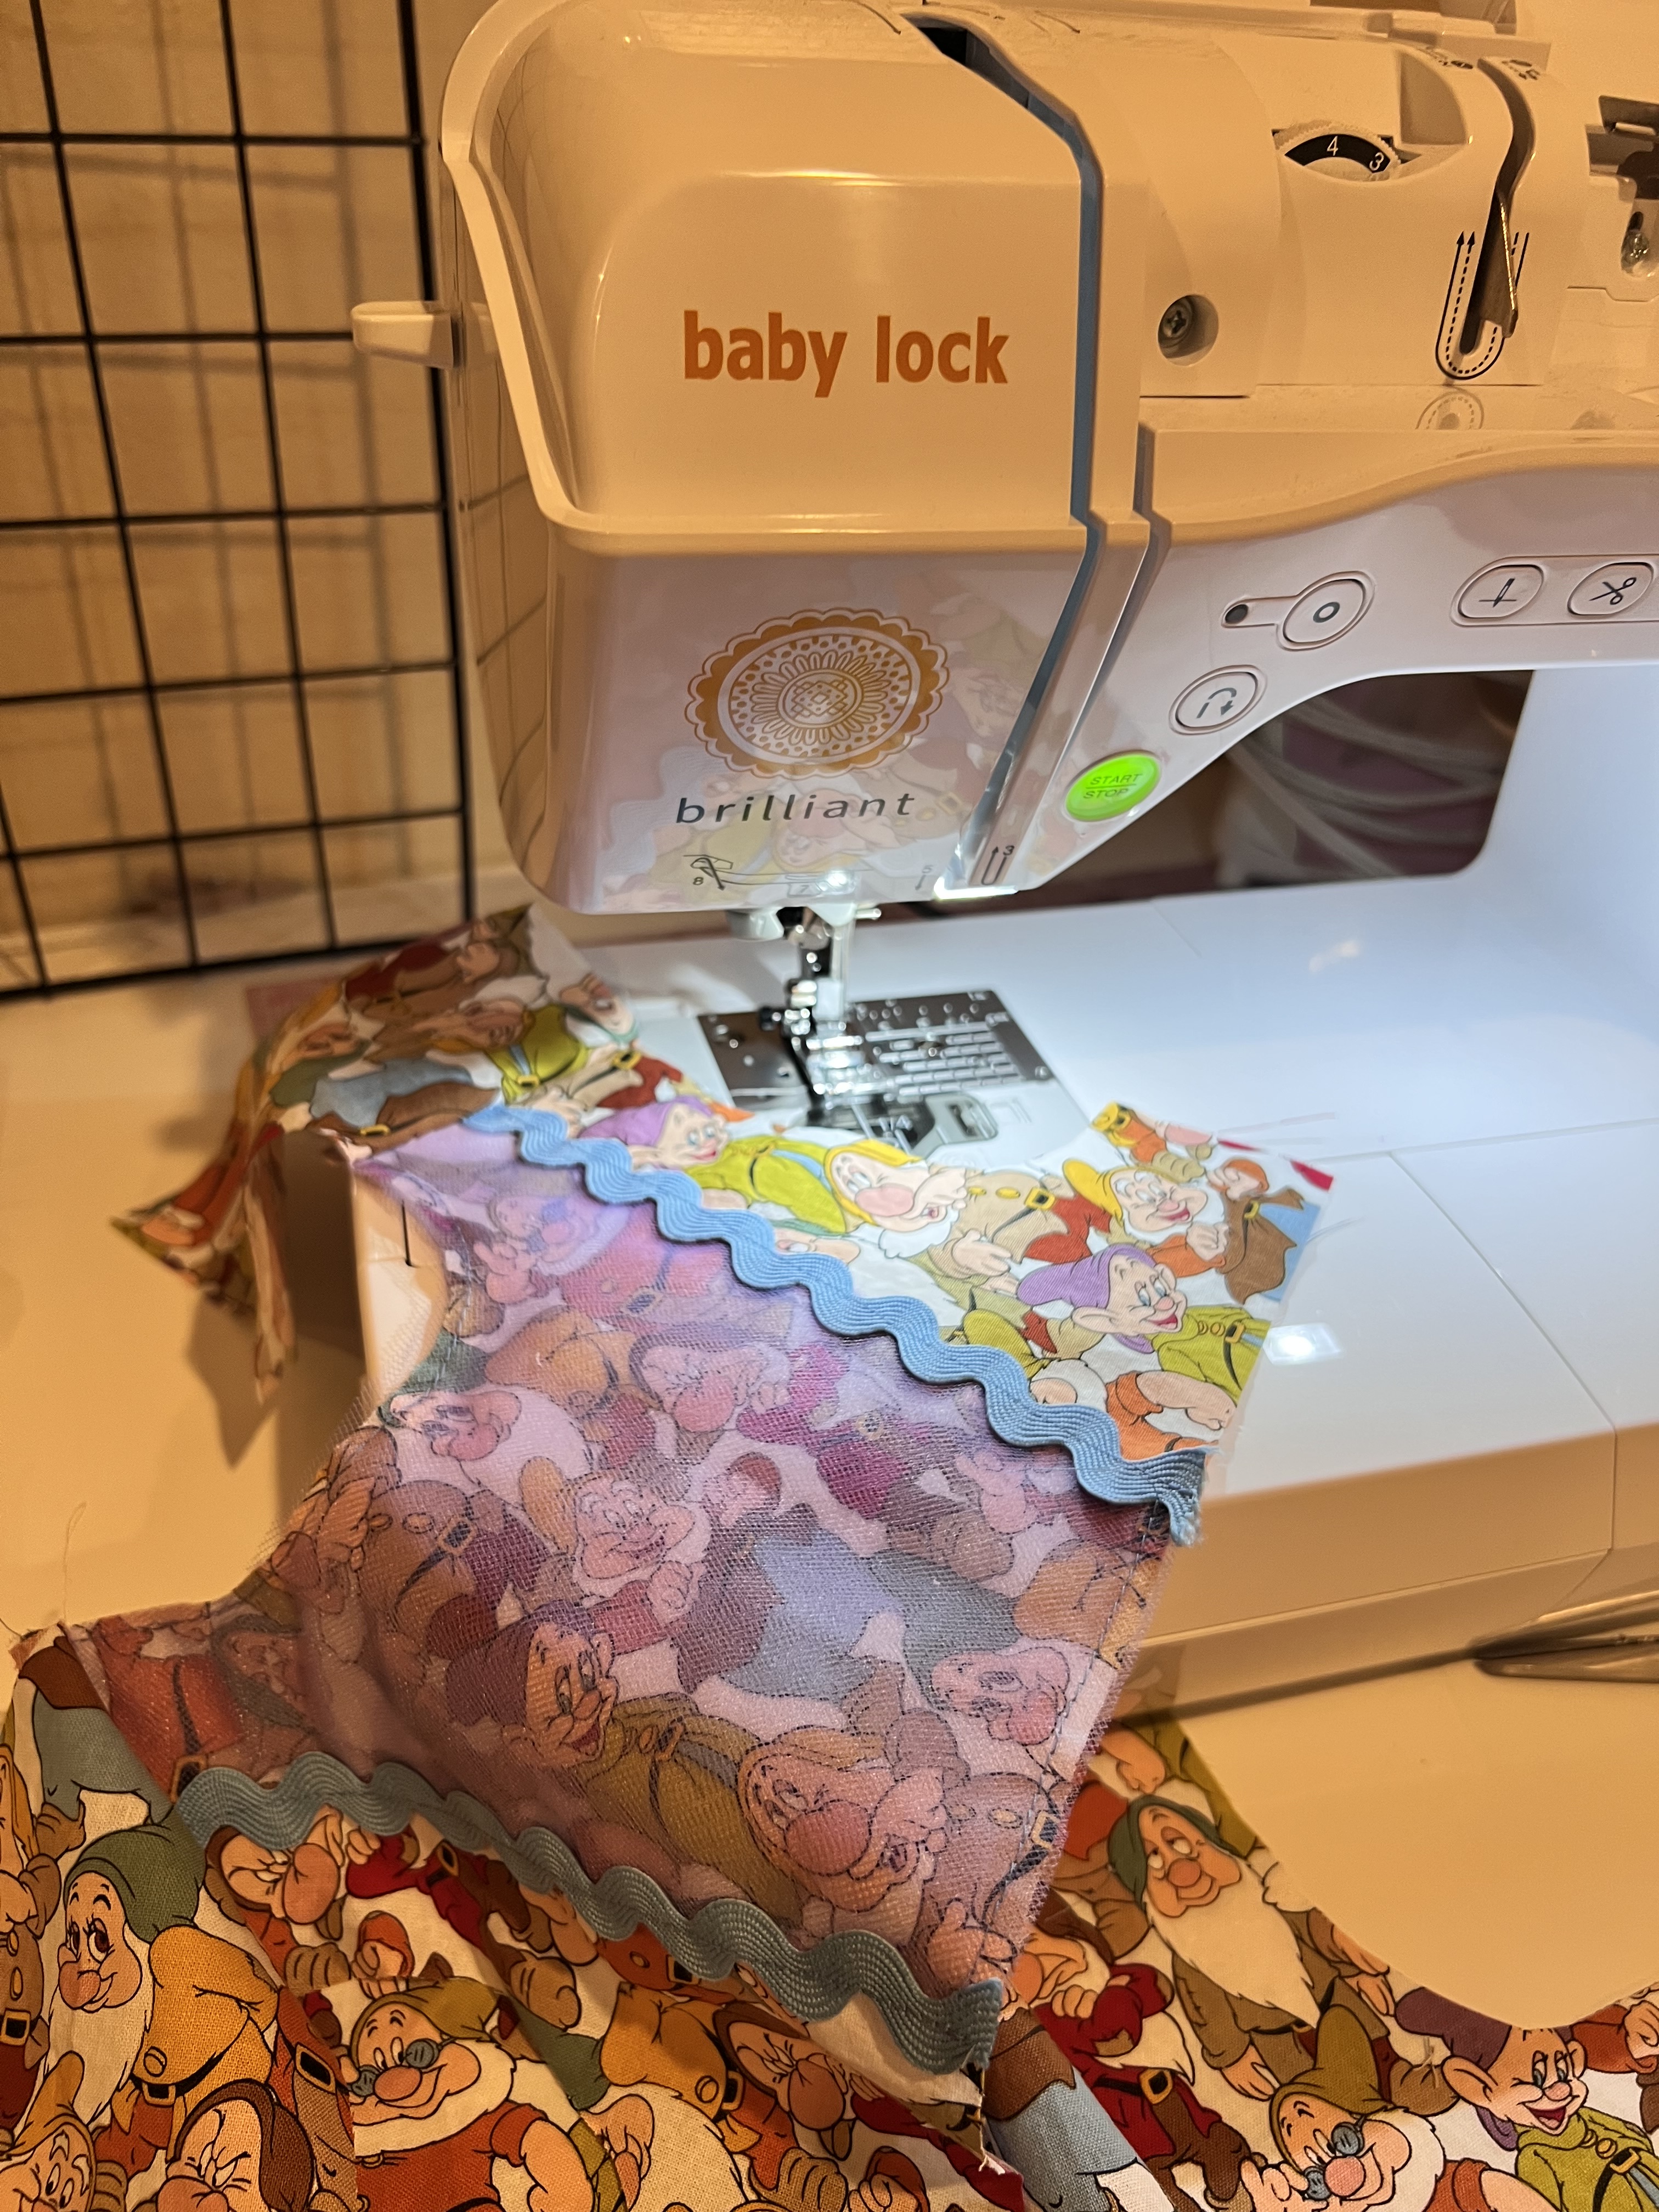
Next, I topstitched along the center of the rick rack I also placed a basting stitch along the front neckline to secure the tulle to the main fabric. Once that was all set, I attached the shoulders of the back and front bodice right sides together, and gave the shoulder seams a good press.

Here are a few more images of these steps above.
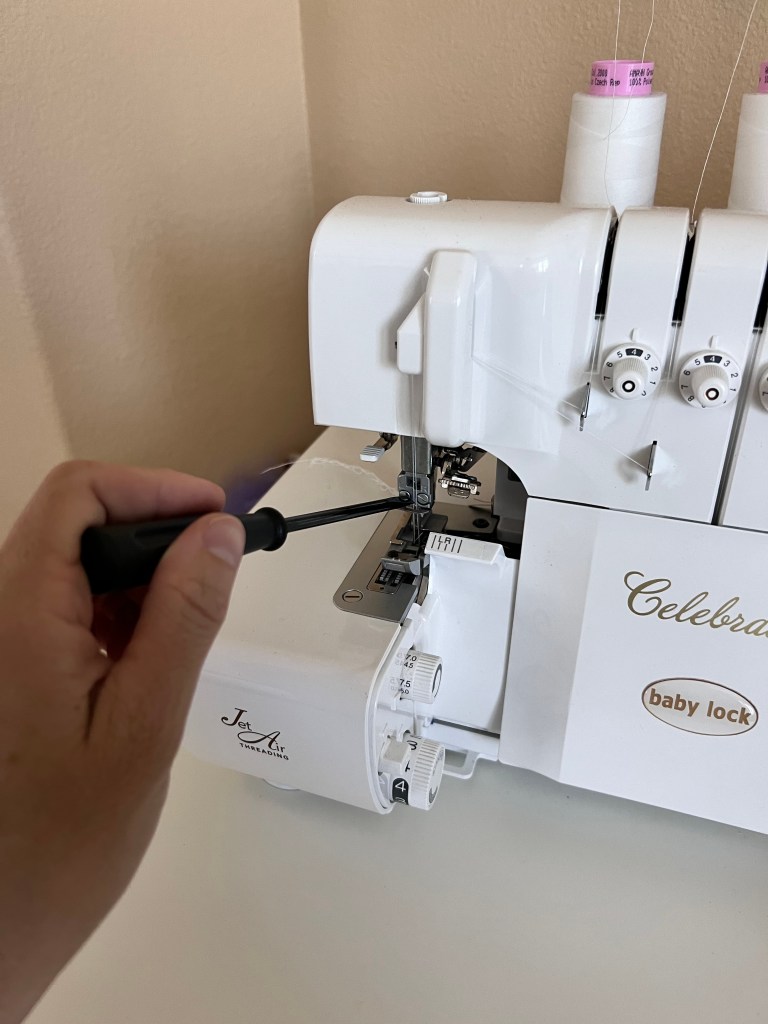
If you choose to add the flutter sleeve, the next step is to finish the edge of the sleeve. The pattern instructs to finish with a zig zag stitch but I wanted to try something a little more professional looking. I pulled out my Baby Lock Celebrate serger and set up my machine for a 3- thread rolled edge hem. You can find the full set up instructions on page 25 of the reference guide. I’ll list it here too:
- Remove the left needle and corresponding thread.
2. Turn the stitch length adjusting dial (the bigger one) clockwise into the rolled hem range.

3. Turn the stitch width dial (the smaller one) until the M lines up with the arrow indicator.
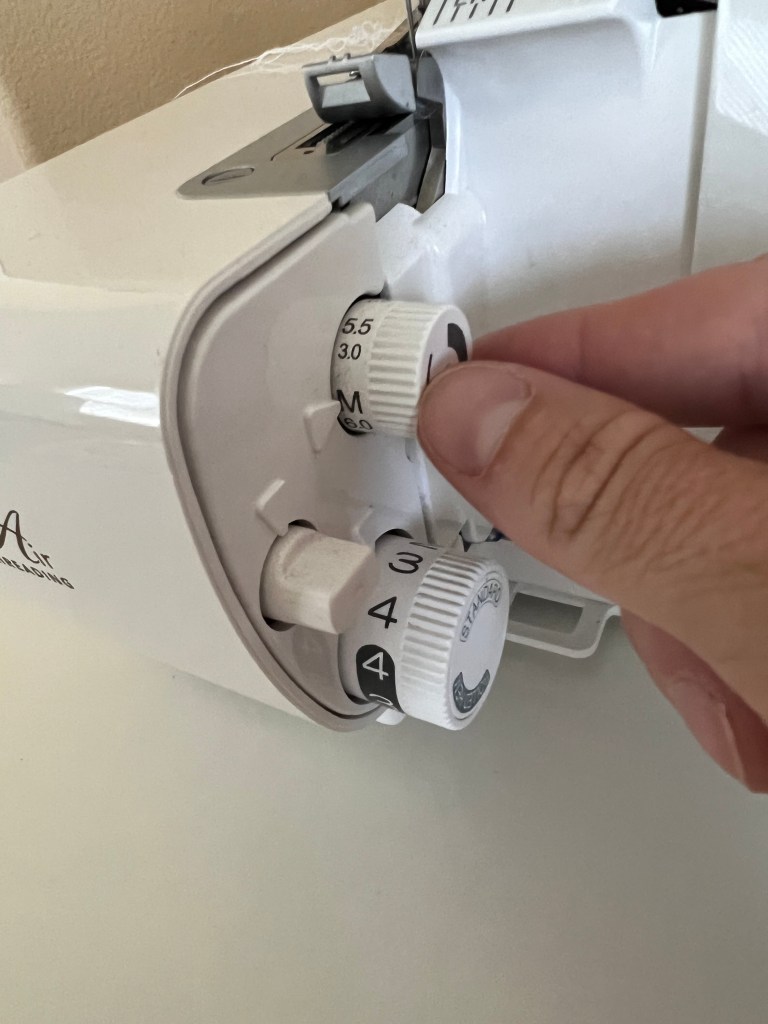
4. Increase the lower looper tension (the tension dial to the far right).
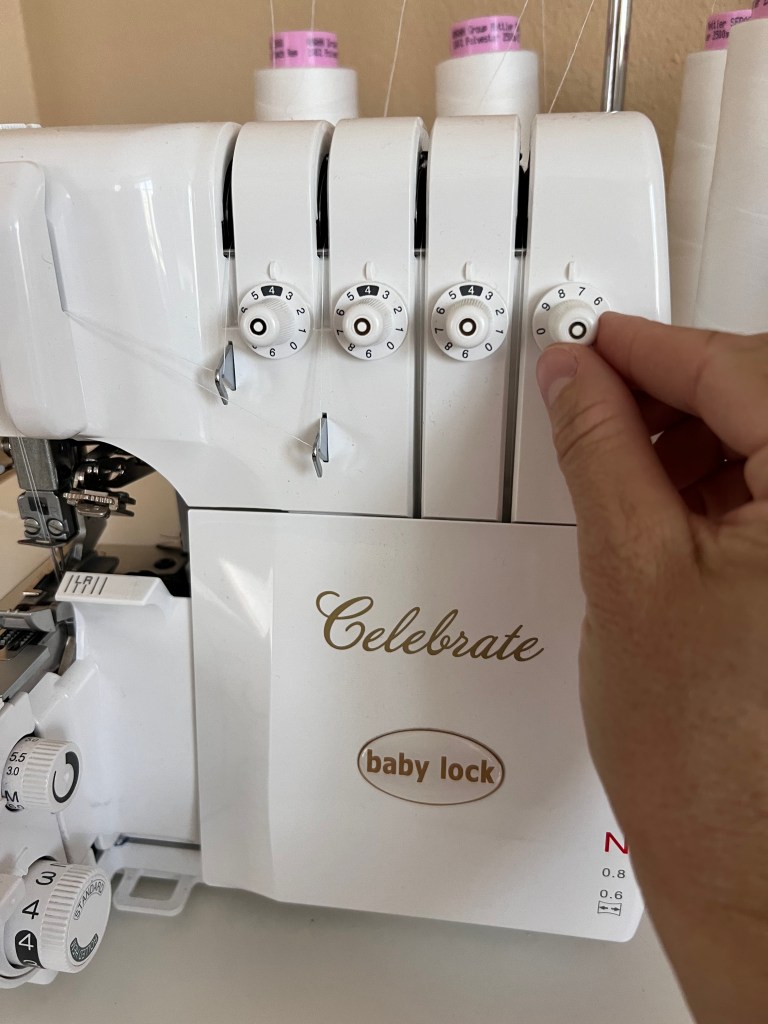
I recommend practicing the stitch on a scrap piece of fabric first, and then simply just serge right along the edge of the flutter sleeve. Mine came out so nice and professional looking!
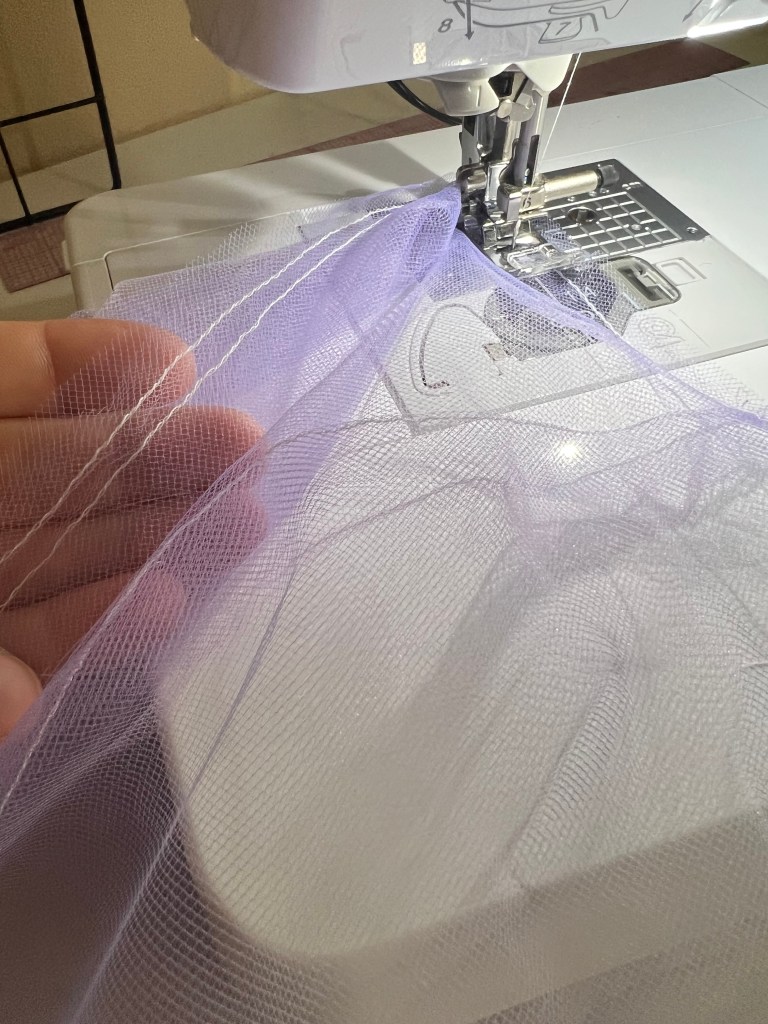
Once your flutter sleeve edge has been finished, gently lay the two layers of tulle on top and pin in place. Also I will note here that I did not finish the tulle edges of my skirt or sleeves pieces.


Next, gently sew basting stitches along the inside edge of the flutter sleeves. Pin the flutter sleeve and front bodice right sides together, and gently pull the threads to ease and gather the flutter sleeve into the sleeve curve. Baste in place.
If you choose to add a princess button like I did, now is a great time to hand sew it in place. Now your bodice is all set up, and you can continue to follow the pattern instructions as written for finishing the bodice.
Once I finished my bodice, I prepared my skirt pieces as instructed, and repeated for the two tulle layers as well. I attached and basted the main fabric skirt first, and then repeated the steps again with the two tulle skirts, treating them as one. I sewed my basting stitches to both tulle layers at once, and then attached them over the main skirt pieces that have already basted to the bodice.
Once my skirt pieces were all attached, I added rick rack along the waistline, and top stitched it in place just like I did for the bodice.

Next, I trimmed any tulle that was slightly longer than the flutter sleeves and skirt main fabric pieces to get it just the right length right along the edge of the hemline.
I had a little extra fabric left over, so I made matching piggy bows to put in my daughters hair. I just found a simple tutorial on YouTube, they were super easy to make.
Overall, it was a really fun project and I enjoyed adding the extra flair to the already adorable Geranium dress pattern. There are so many fun possibilities with a dress like this. Now I think she needs a halloween themed dress. Hope you all liked this tutorial and see you again soon!


Leave a reply to Vickie Quinney Cancel reply