
Hello!
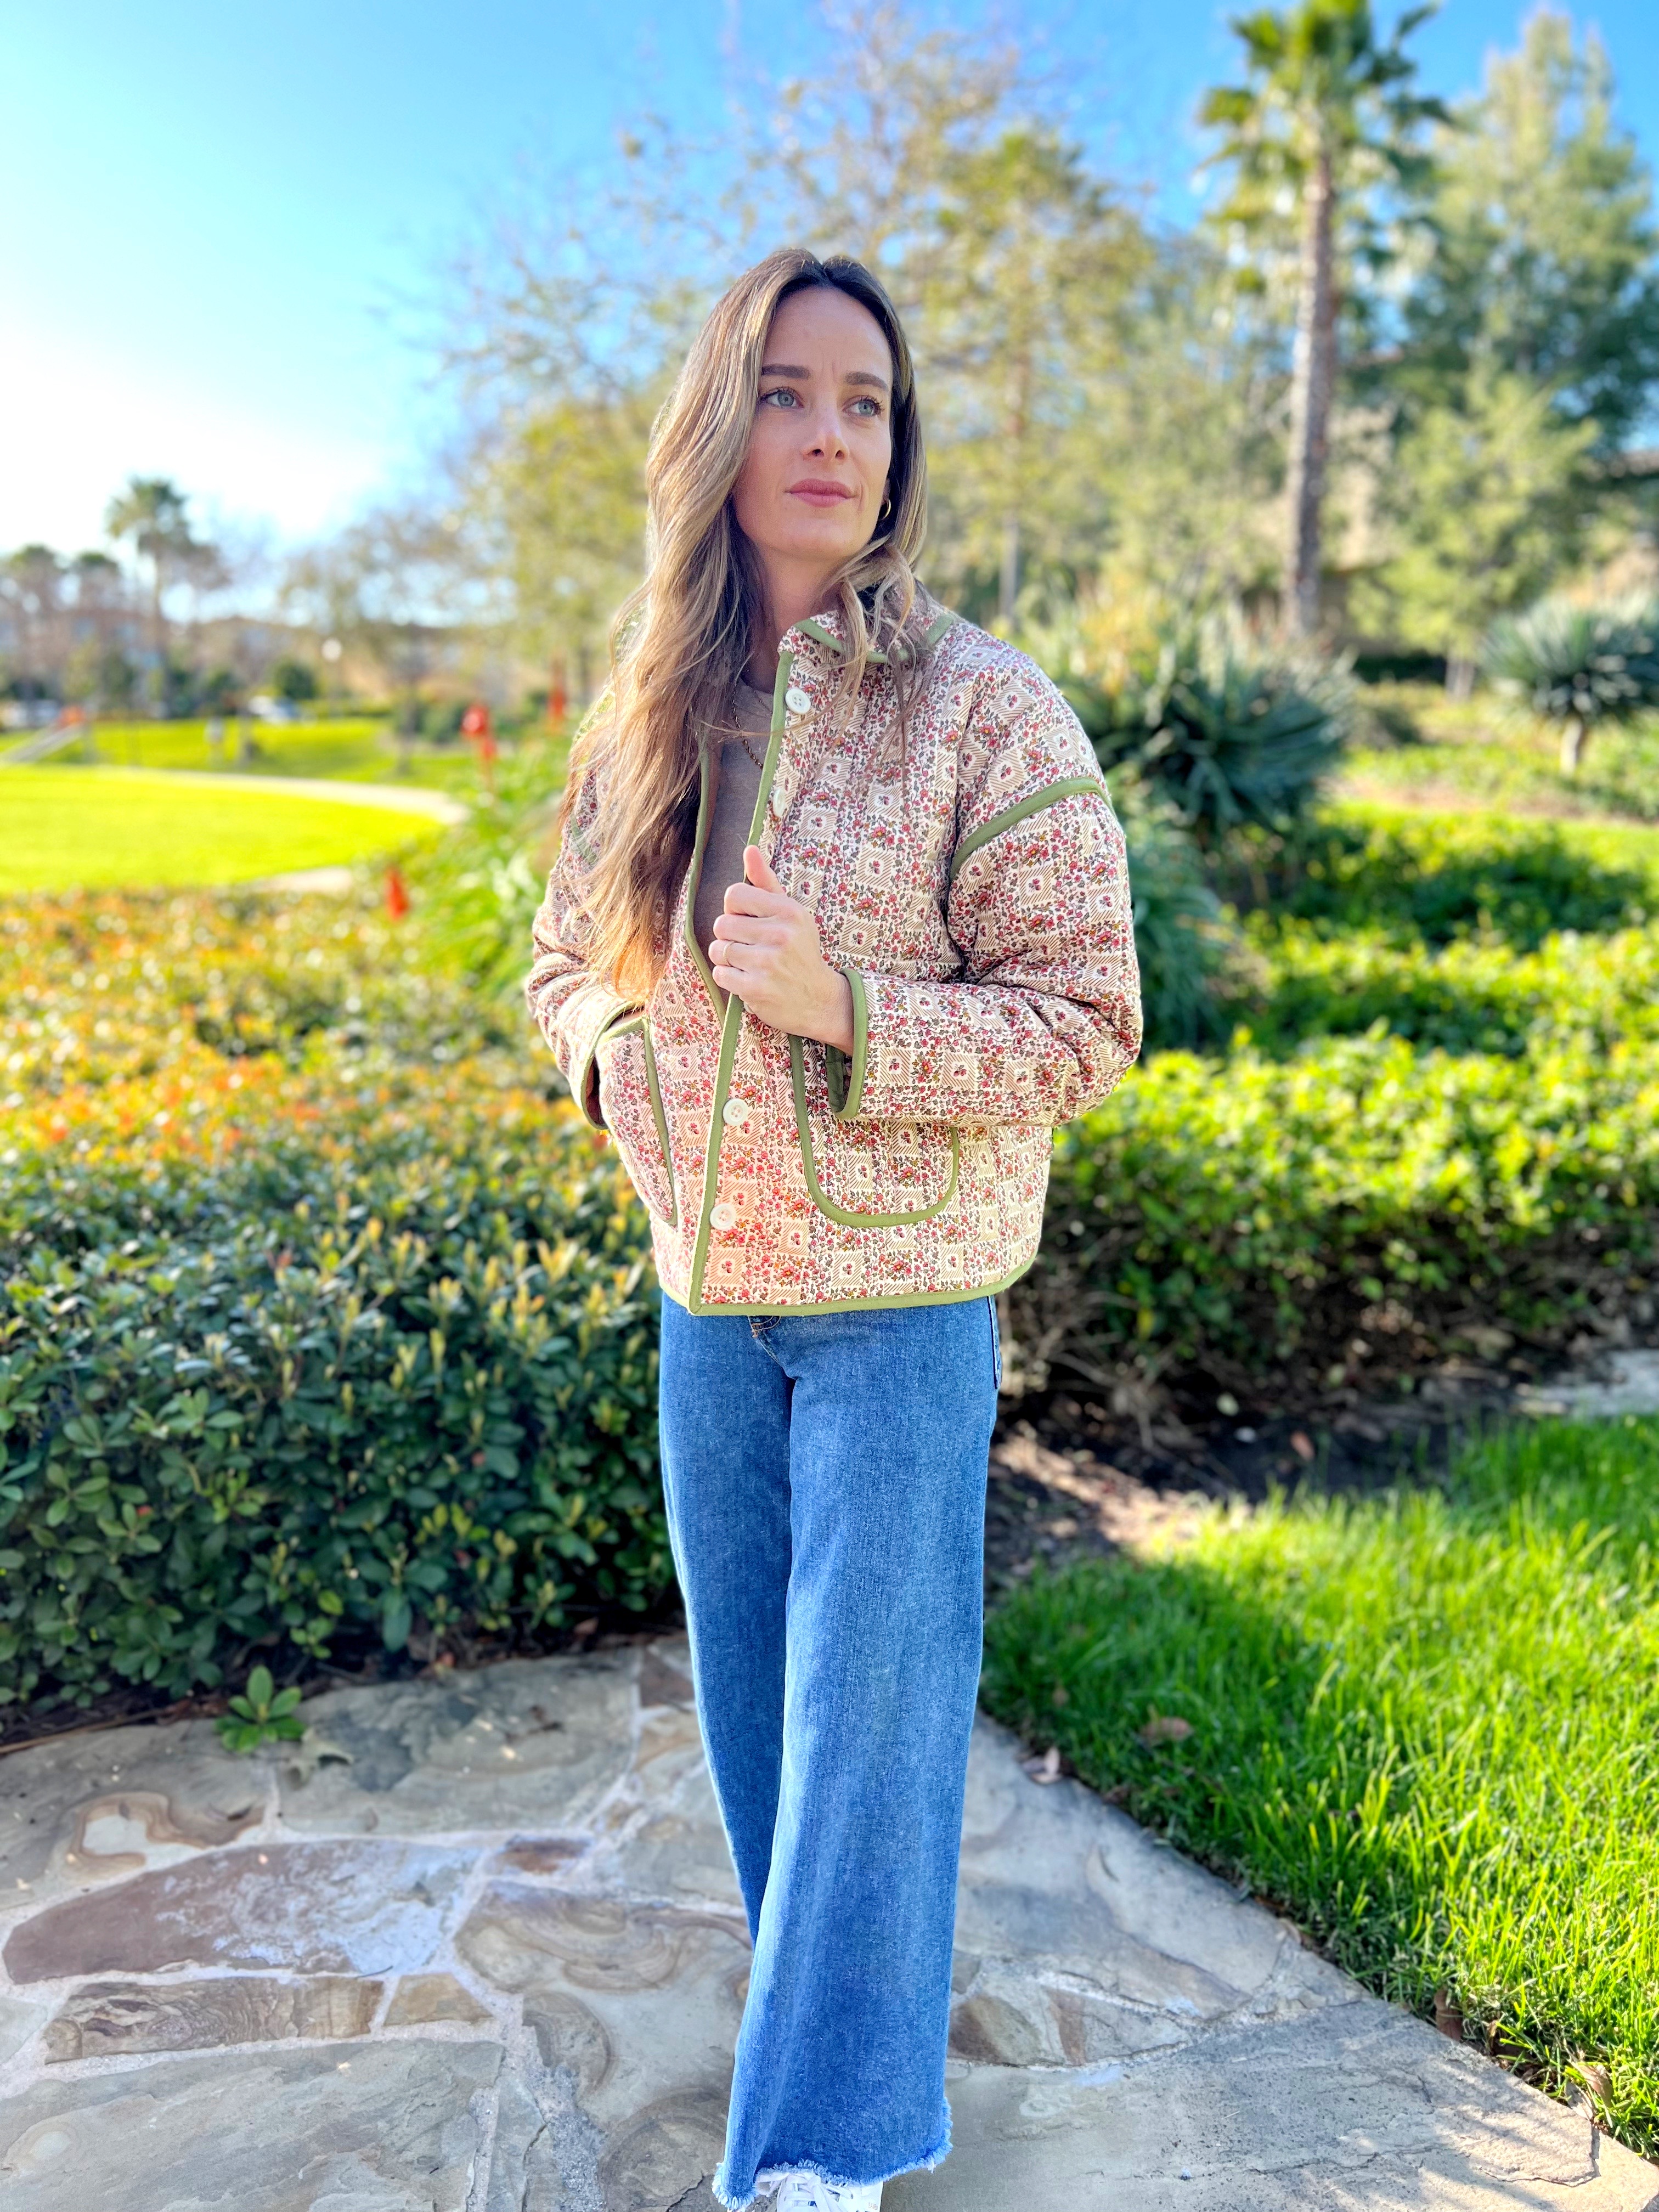
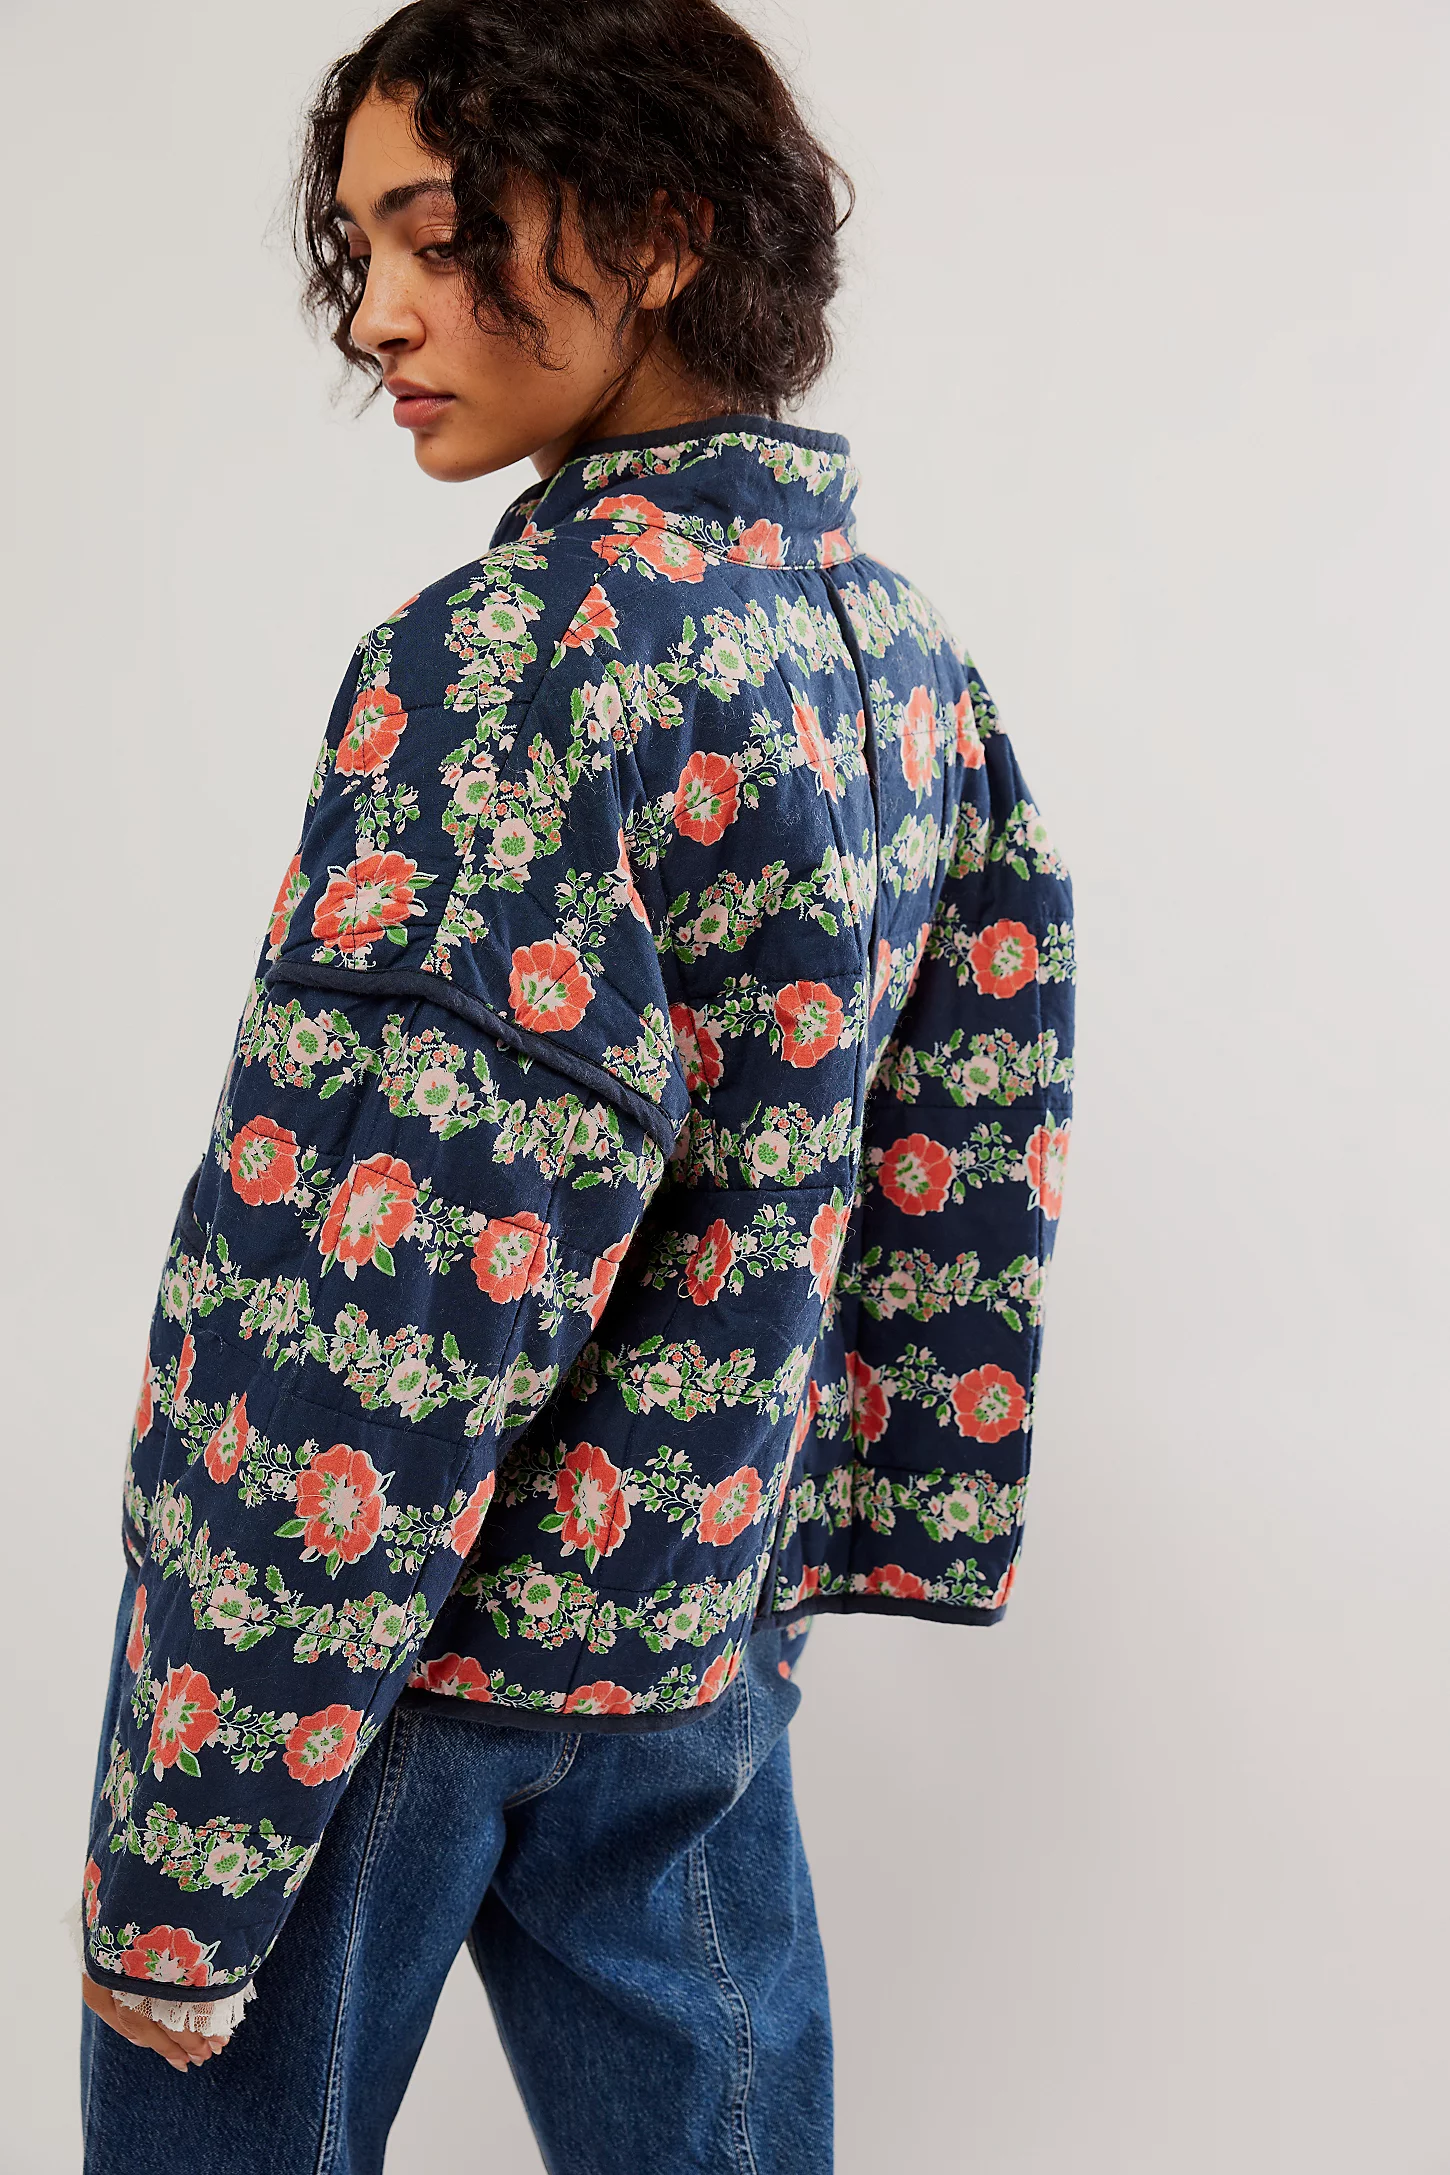
I’m verrry excited to share this project with you all. Quilted jackets are everywhere right now, and while walking through Nordstrom the other day I finally found one that stopped me in my tracks and gave me the push to make one for myself. It was the Free People quilted jacket seemingly floating around everywhere right now. I knew this had to be my next Baby Lock Ambassador project.
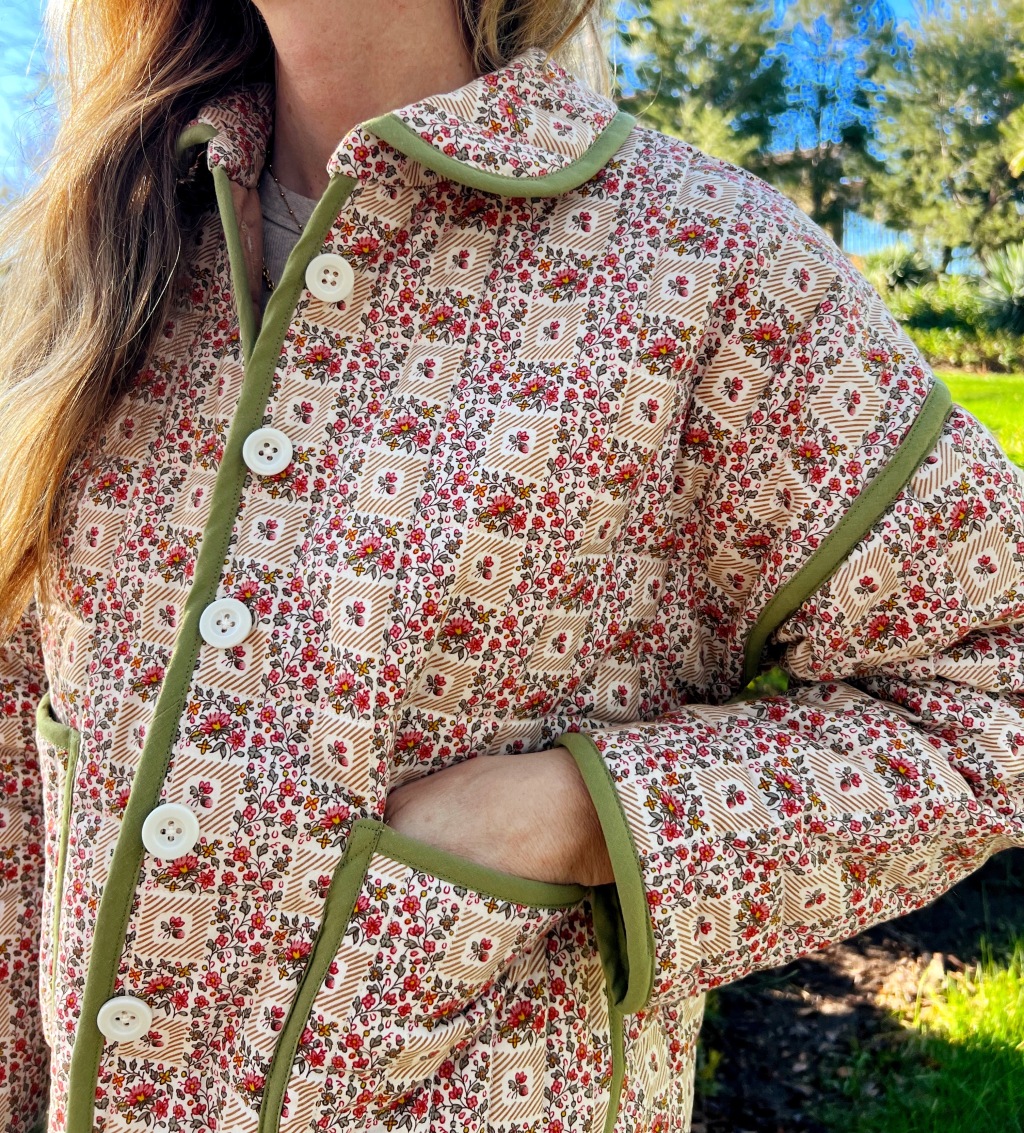
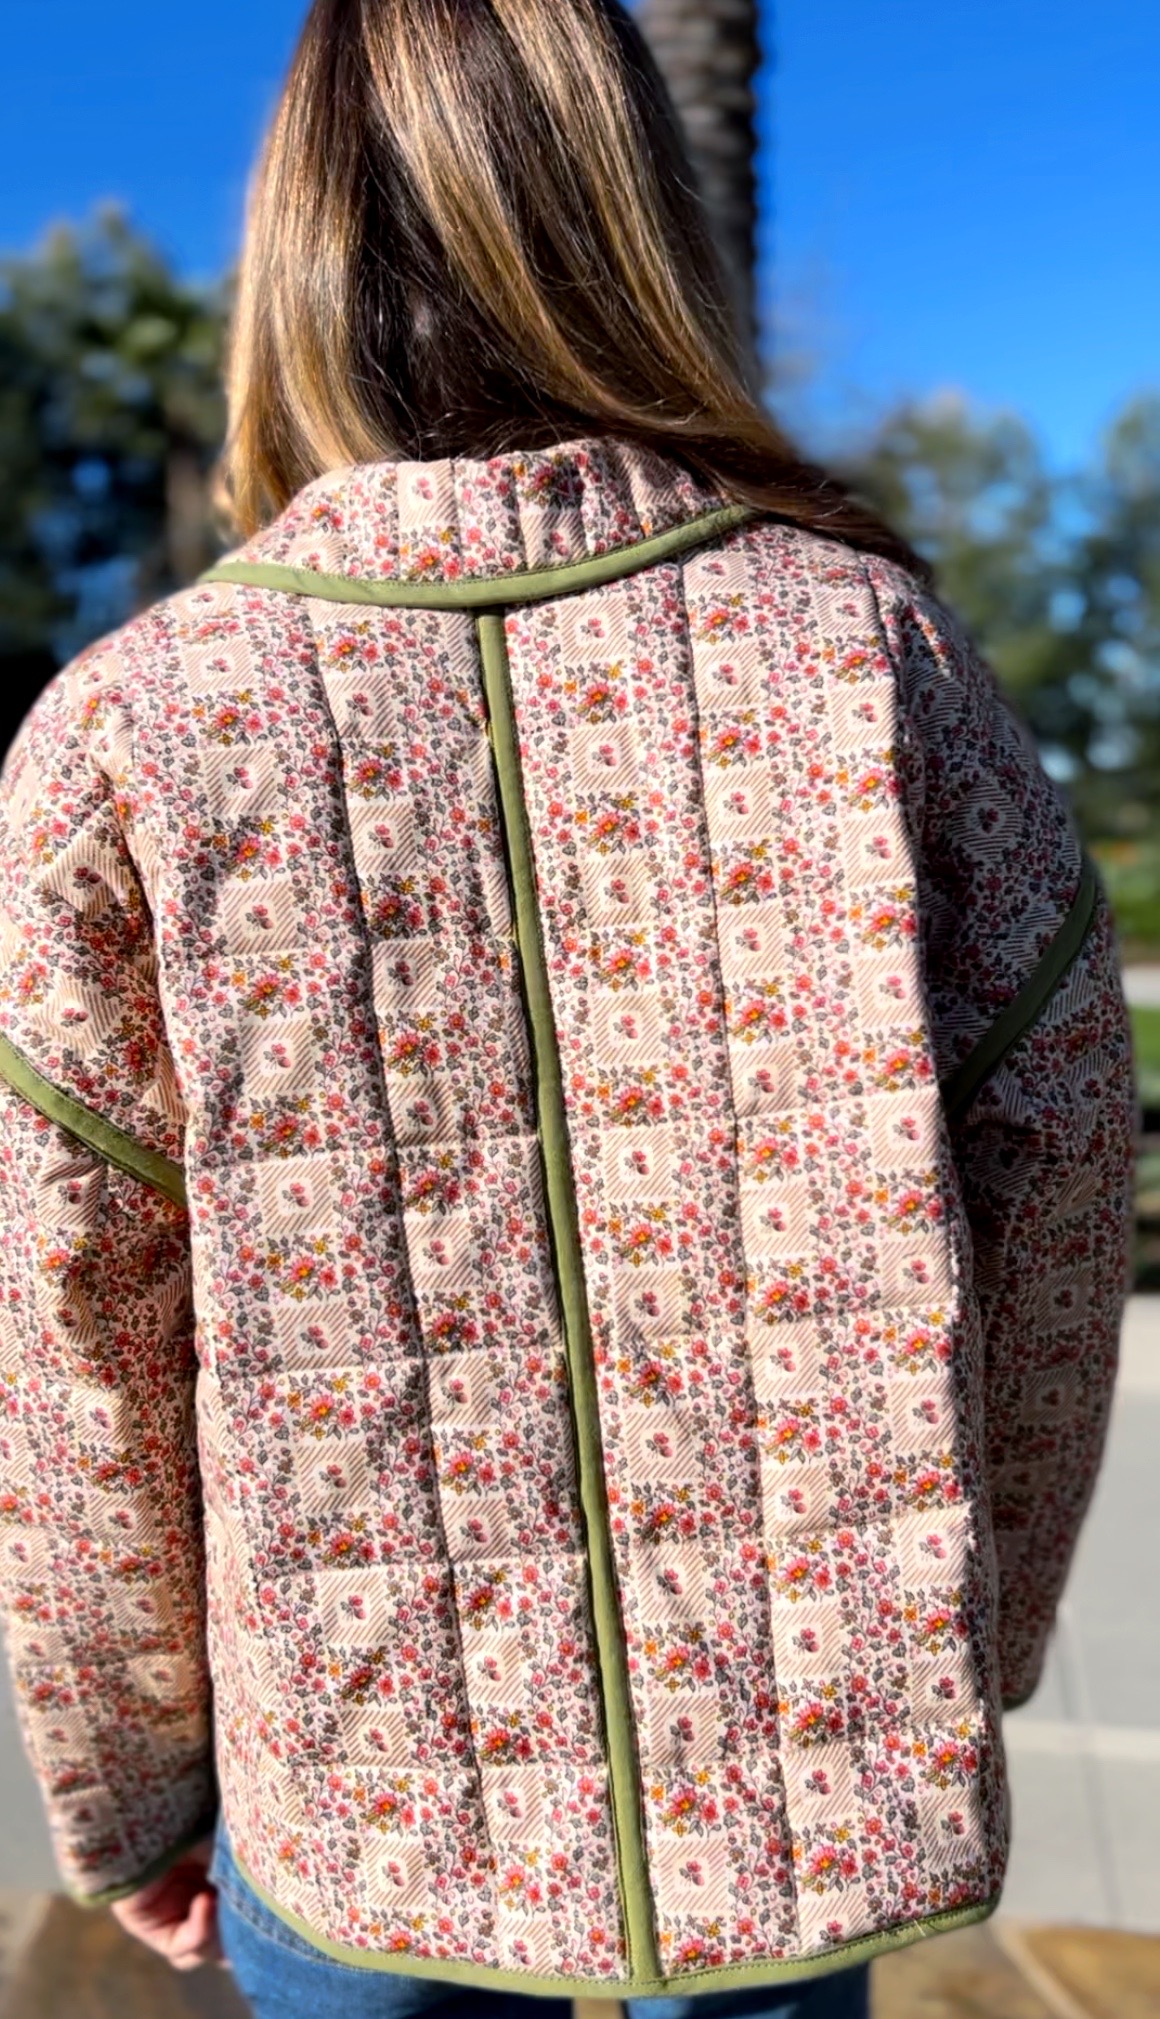
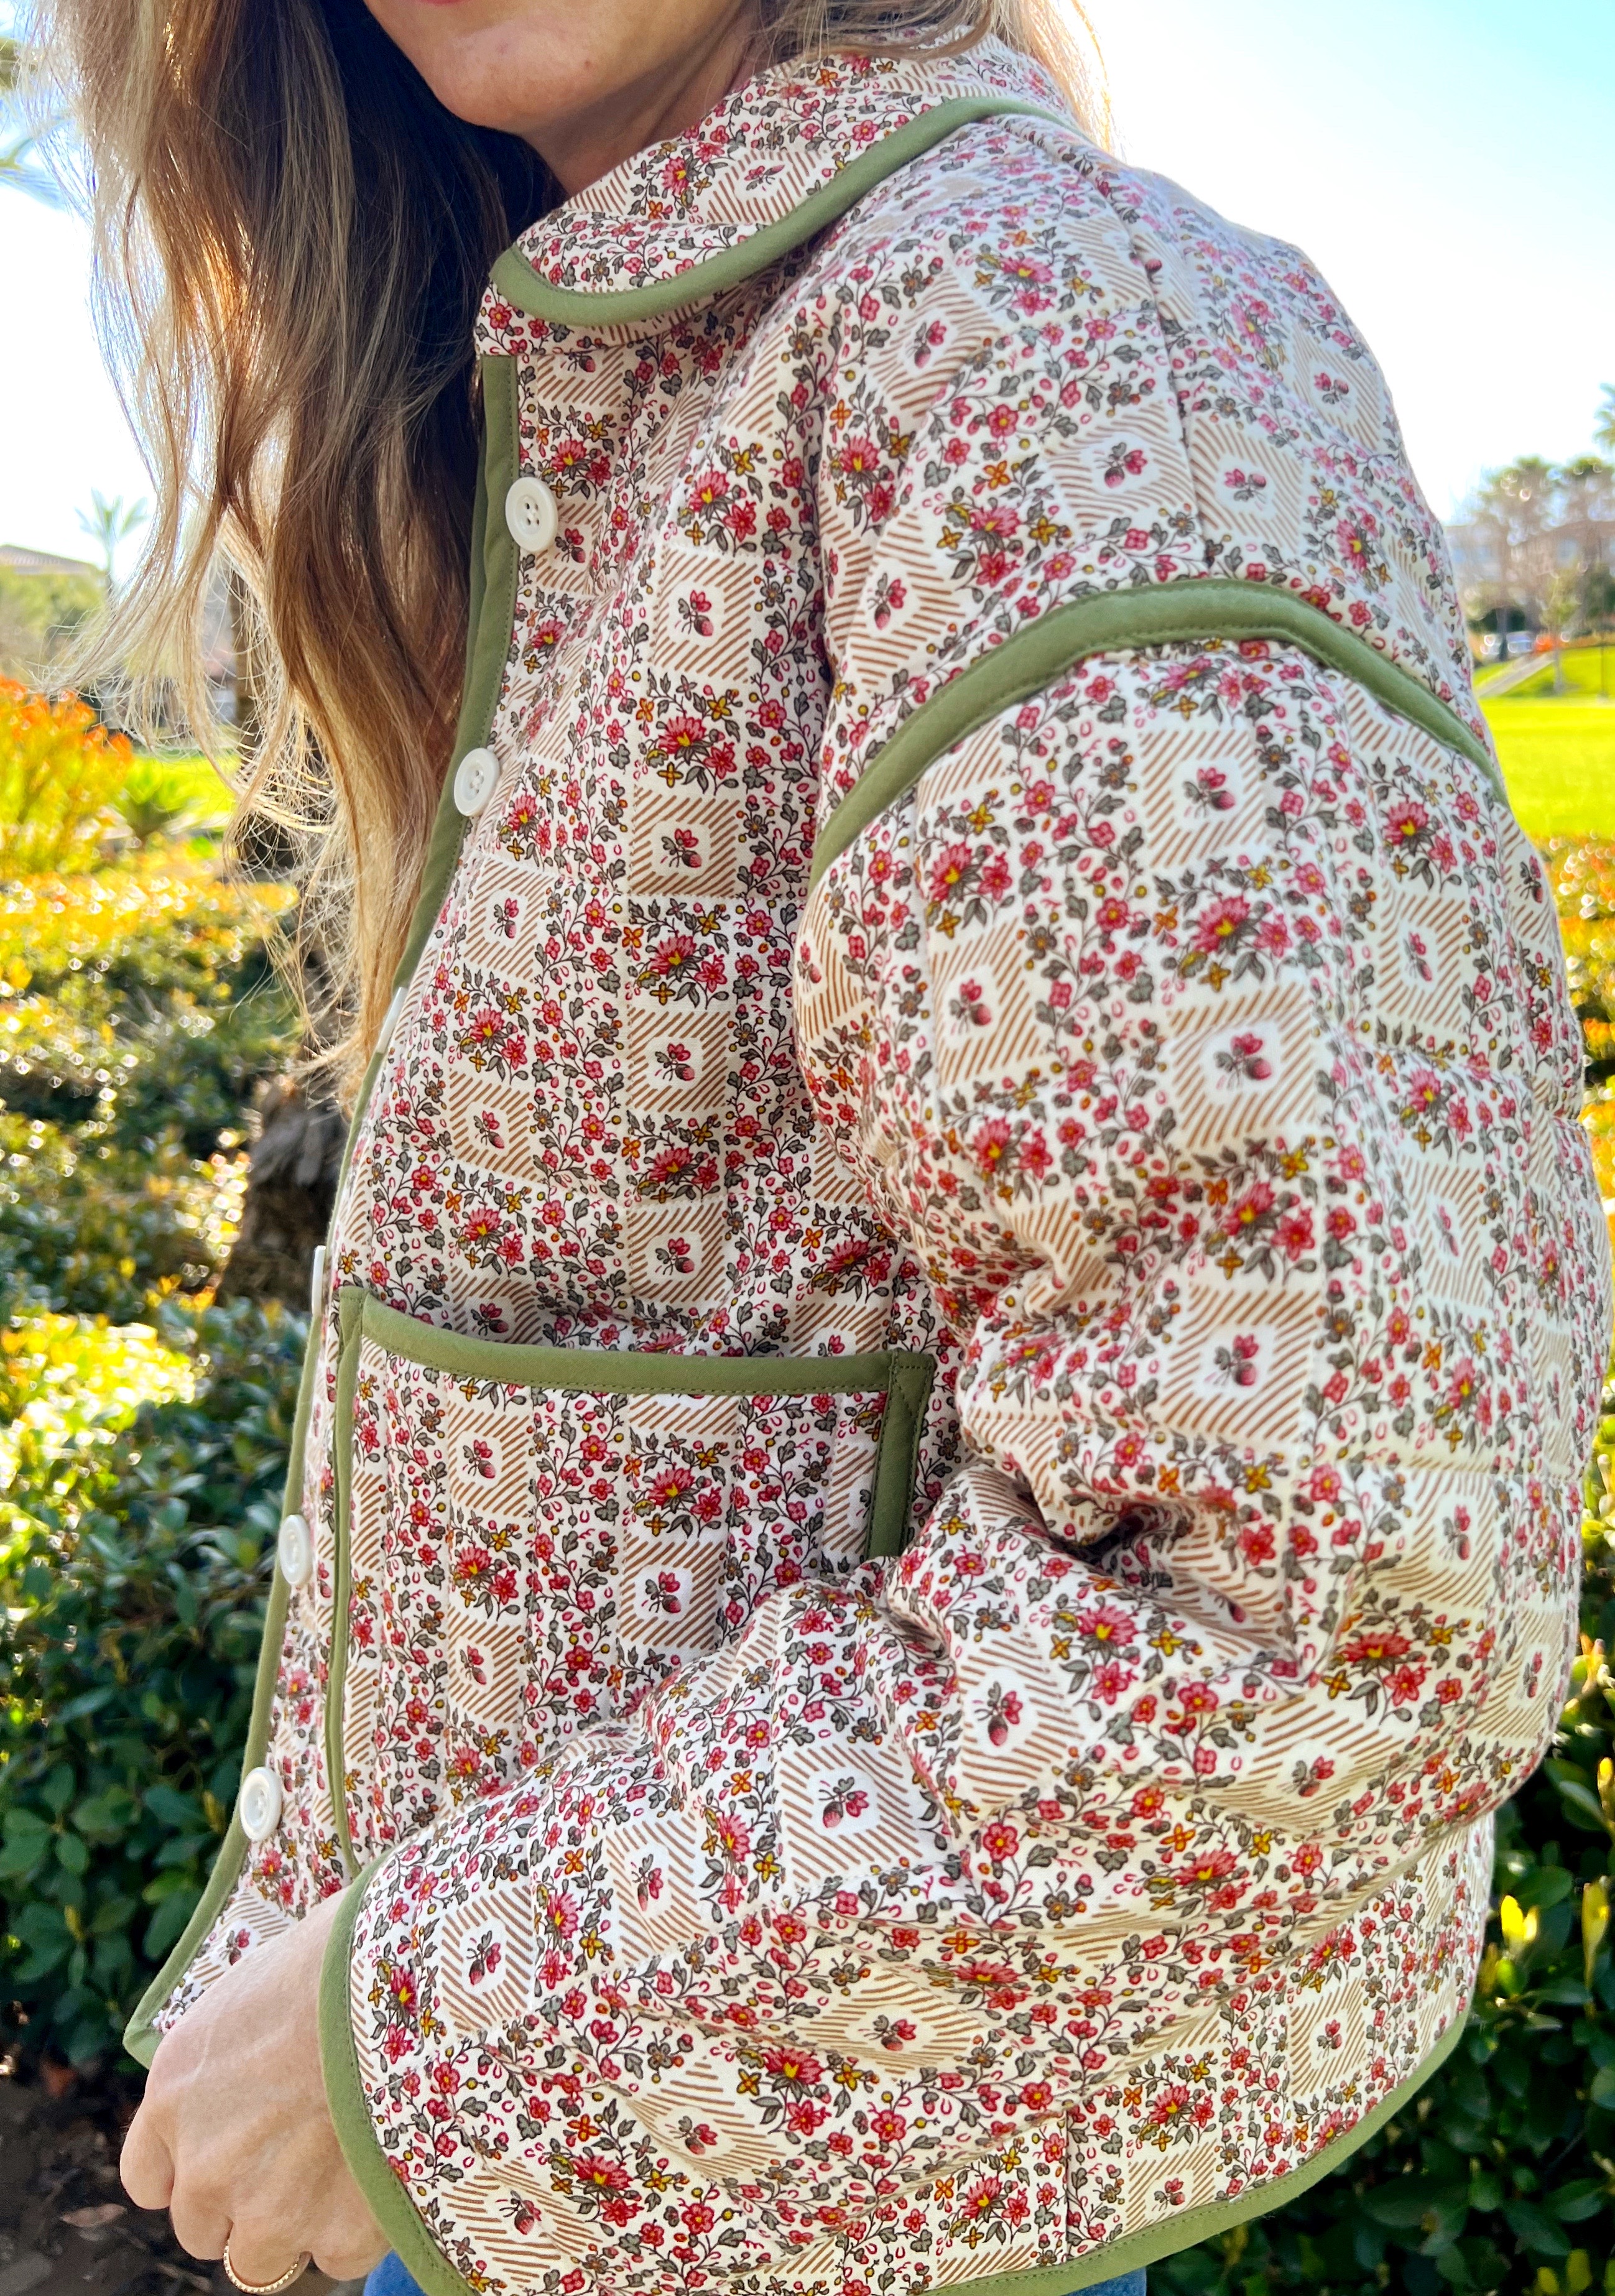
Once I got home, feeling very inspired, I searched for a quilted jacket pattern with a drop sleeve, knowing I could alter other aspects of a pattern to make something close to the Free People jacket. I really wanted to copy a few details on the free people jacket: the exposed back seam finished in bias, exposed drop shoulder seam detail, patch pockets, and I also liked the straight hemline hitting right around the hipline.
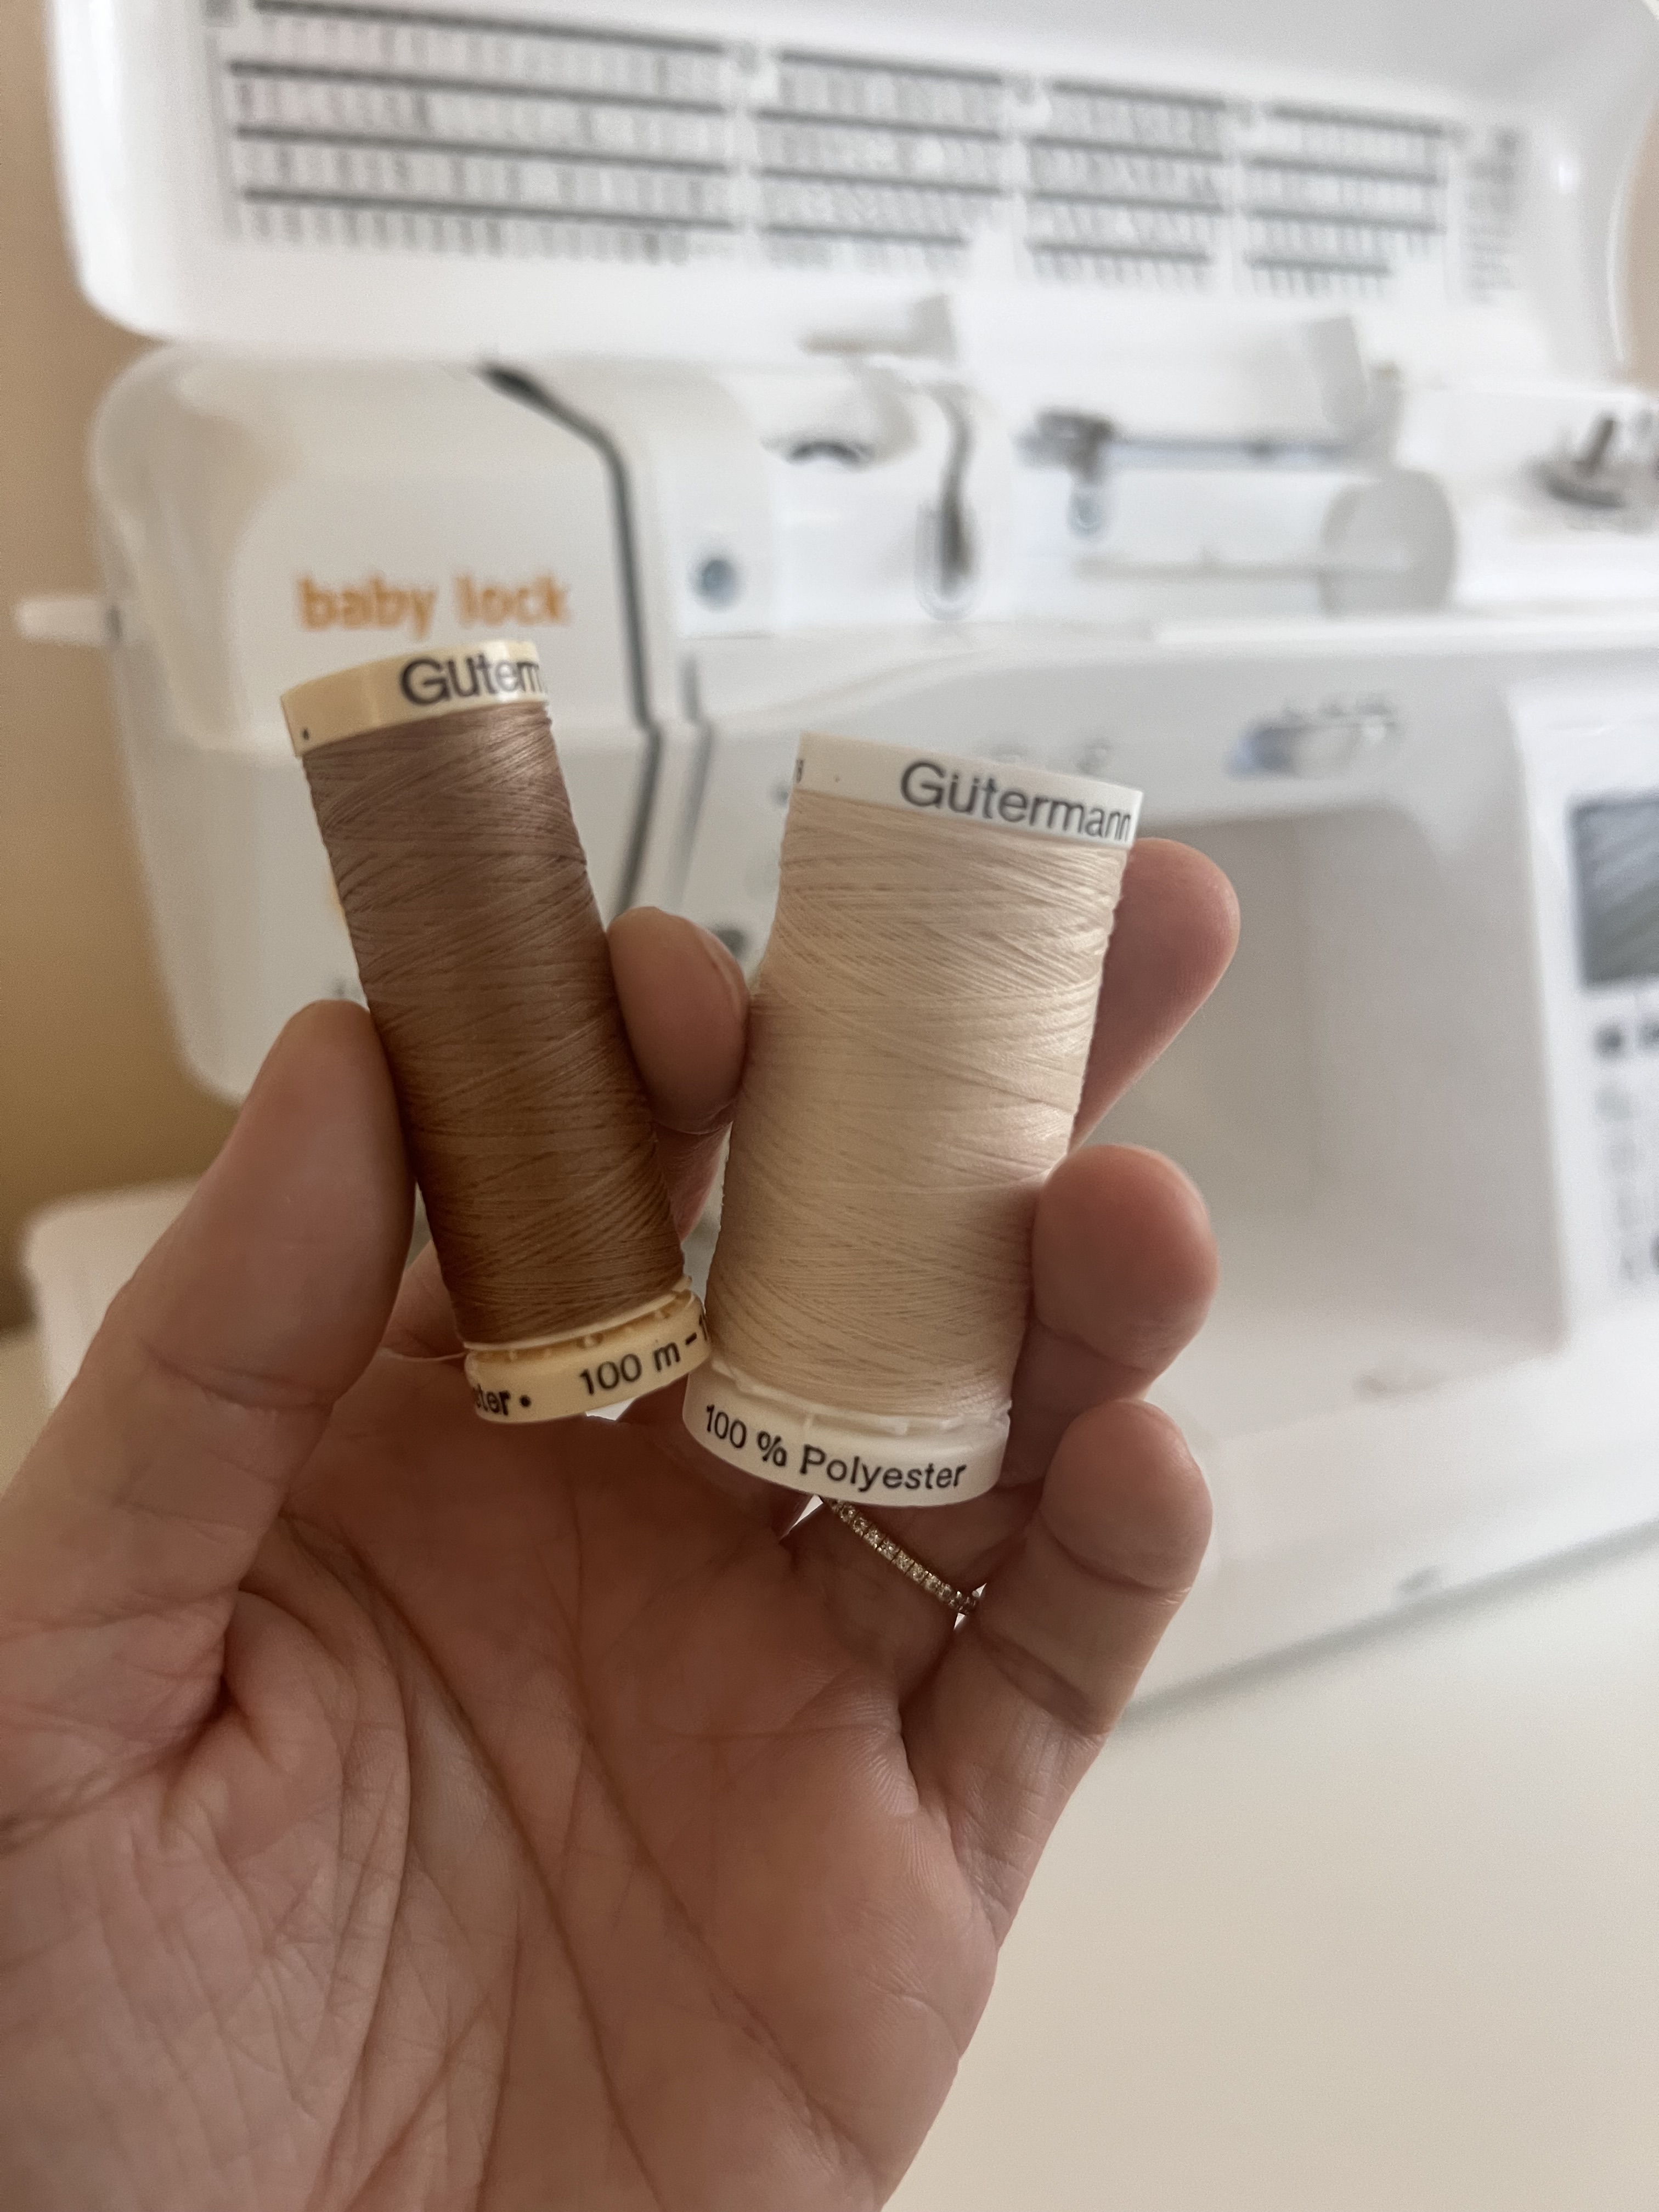
I found the Nerrisa Quilted jacket by By Hand London, and knew we were in business. Now for the fabric… I really loved the free people jacket in florals so I set out to find a floral cotton fabric that caught my eye. I finally came across this really pretty small almost liberty like floral in nuetrals but also a little color. It was perfect. I also liked that I could play with contrasting bias binding matching the olive green. Even better, it was only $7 a yard. I found it at Stone Mountain Daughters online fabric shop. Next, I hit up Joann to grab a lining cotton, I chose a tan color cotton similar to the little tan stripe in the main fabric’s design. I also grabbed tan and green bias tape. Tan for the inside finishes and green for the outside finishes. I also grabbed three different thread colors: cream for the outside of the jacket, tan for the inside and green for the bias finishes. I also picked up some high loft polyfil batting, and cream buttons.
Quick note on the batting- I really struggled with knowing which batting to use. Wool, cotton, polyfil? In the end I wanted a higher loft look and polyester batting can offer that more than the others. It’s also very cost effective, lighter weight than natural fibers and won’t mold or mildew over time. That being said, natural fibers tend to be softer and give the project a more shrunken/puffier look I think. I spent too much time thinking about this for sure. In the end, I went with what was available to me, and the most cost effective option as things were already quickly adding up for this project.
As far as pattern alterations go, I cut out the smallest size. I straightened out the hemline, with the length hitting right around my hipline. For the back bodice piece, I added 1/2″ seam allowance to center back and cut two out (instead of cutting one on the fold). I also omitted the original pocket pattern pieces and created my own simple patch pocket pattern piece.
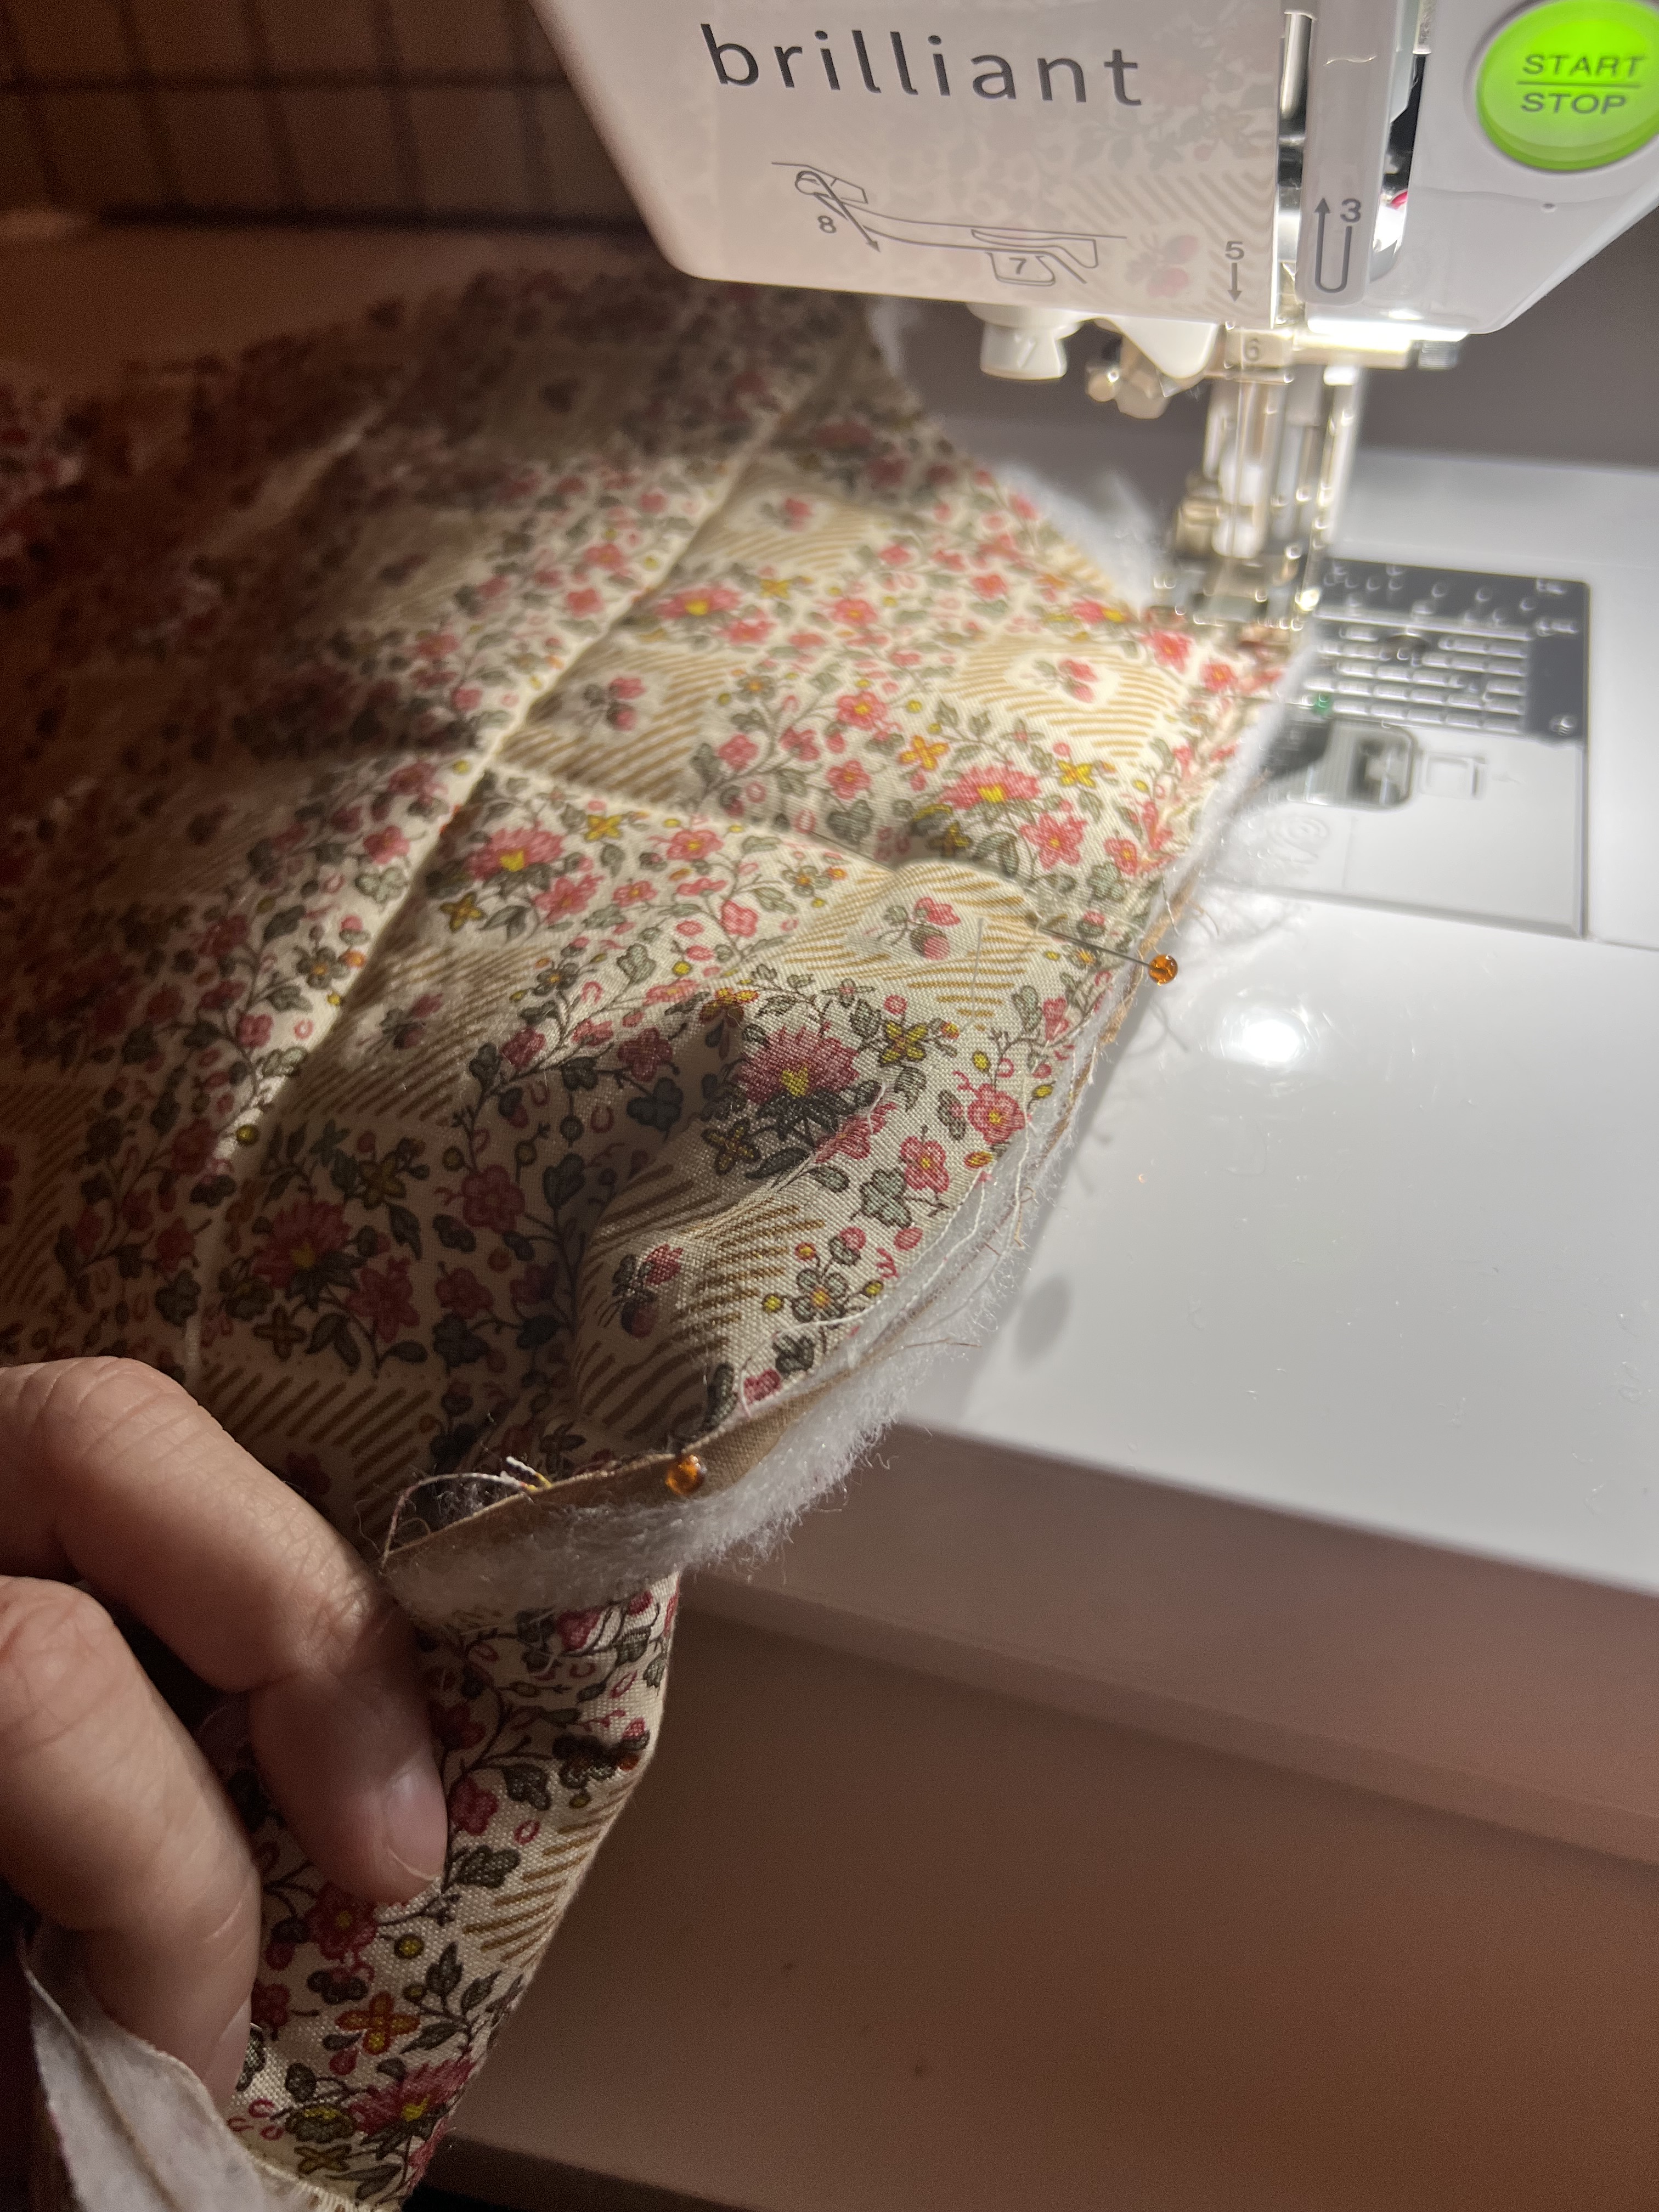
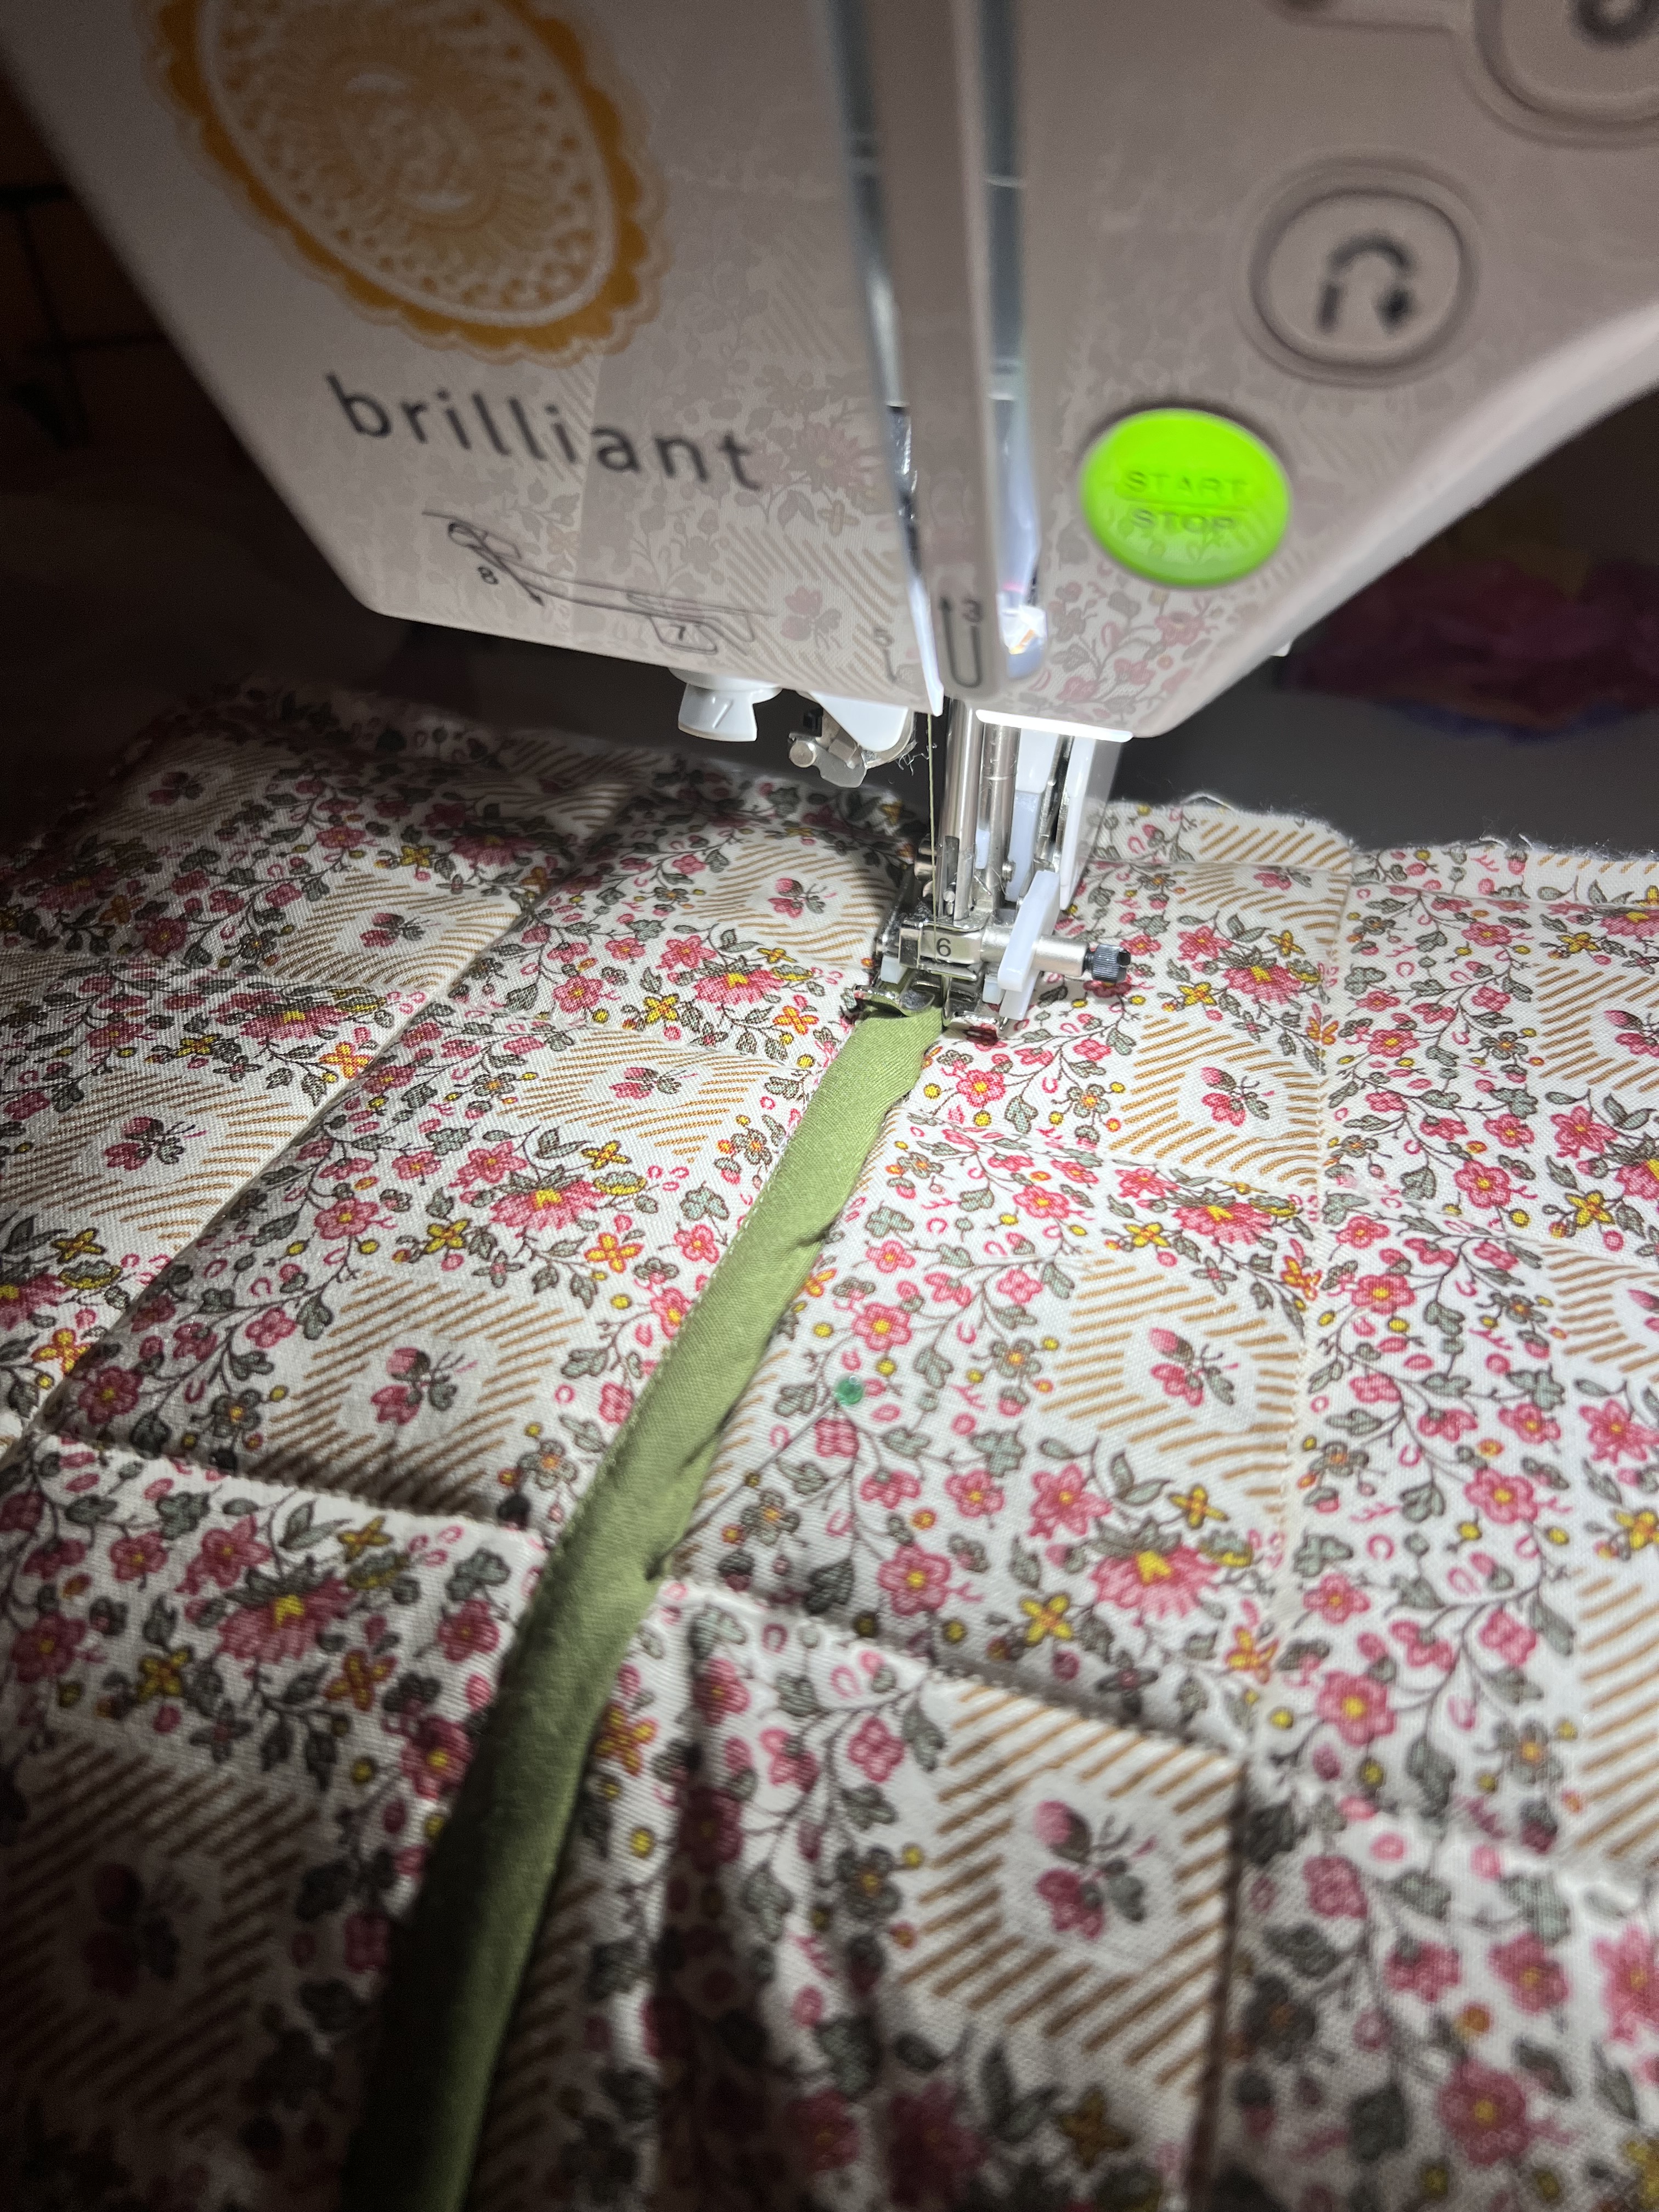
To create this jacket, I used my Baby Lock Brilliant Sewing machine. A serger is not required for this project because all of the seams are finished with bias tape. I used my walking foot for the whole project. This machine was a champ with all the quilting and thick seams. I’m always impressed.
I constructed parts of the jacket a little differently than the pattern directs in order to achieve a look similar to the Free People Jacket. I’ll go in order of the pattern instructions from here:
The Quilting Process:

My first tip is use your WALKING FOOT! Wow, what a game changer. I used it for every part of this project and it helped the quilting and sewing process go so smoothly. If you’re not sure how to install it, you can find guidance in your sewing machine manual.
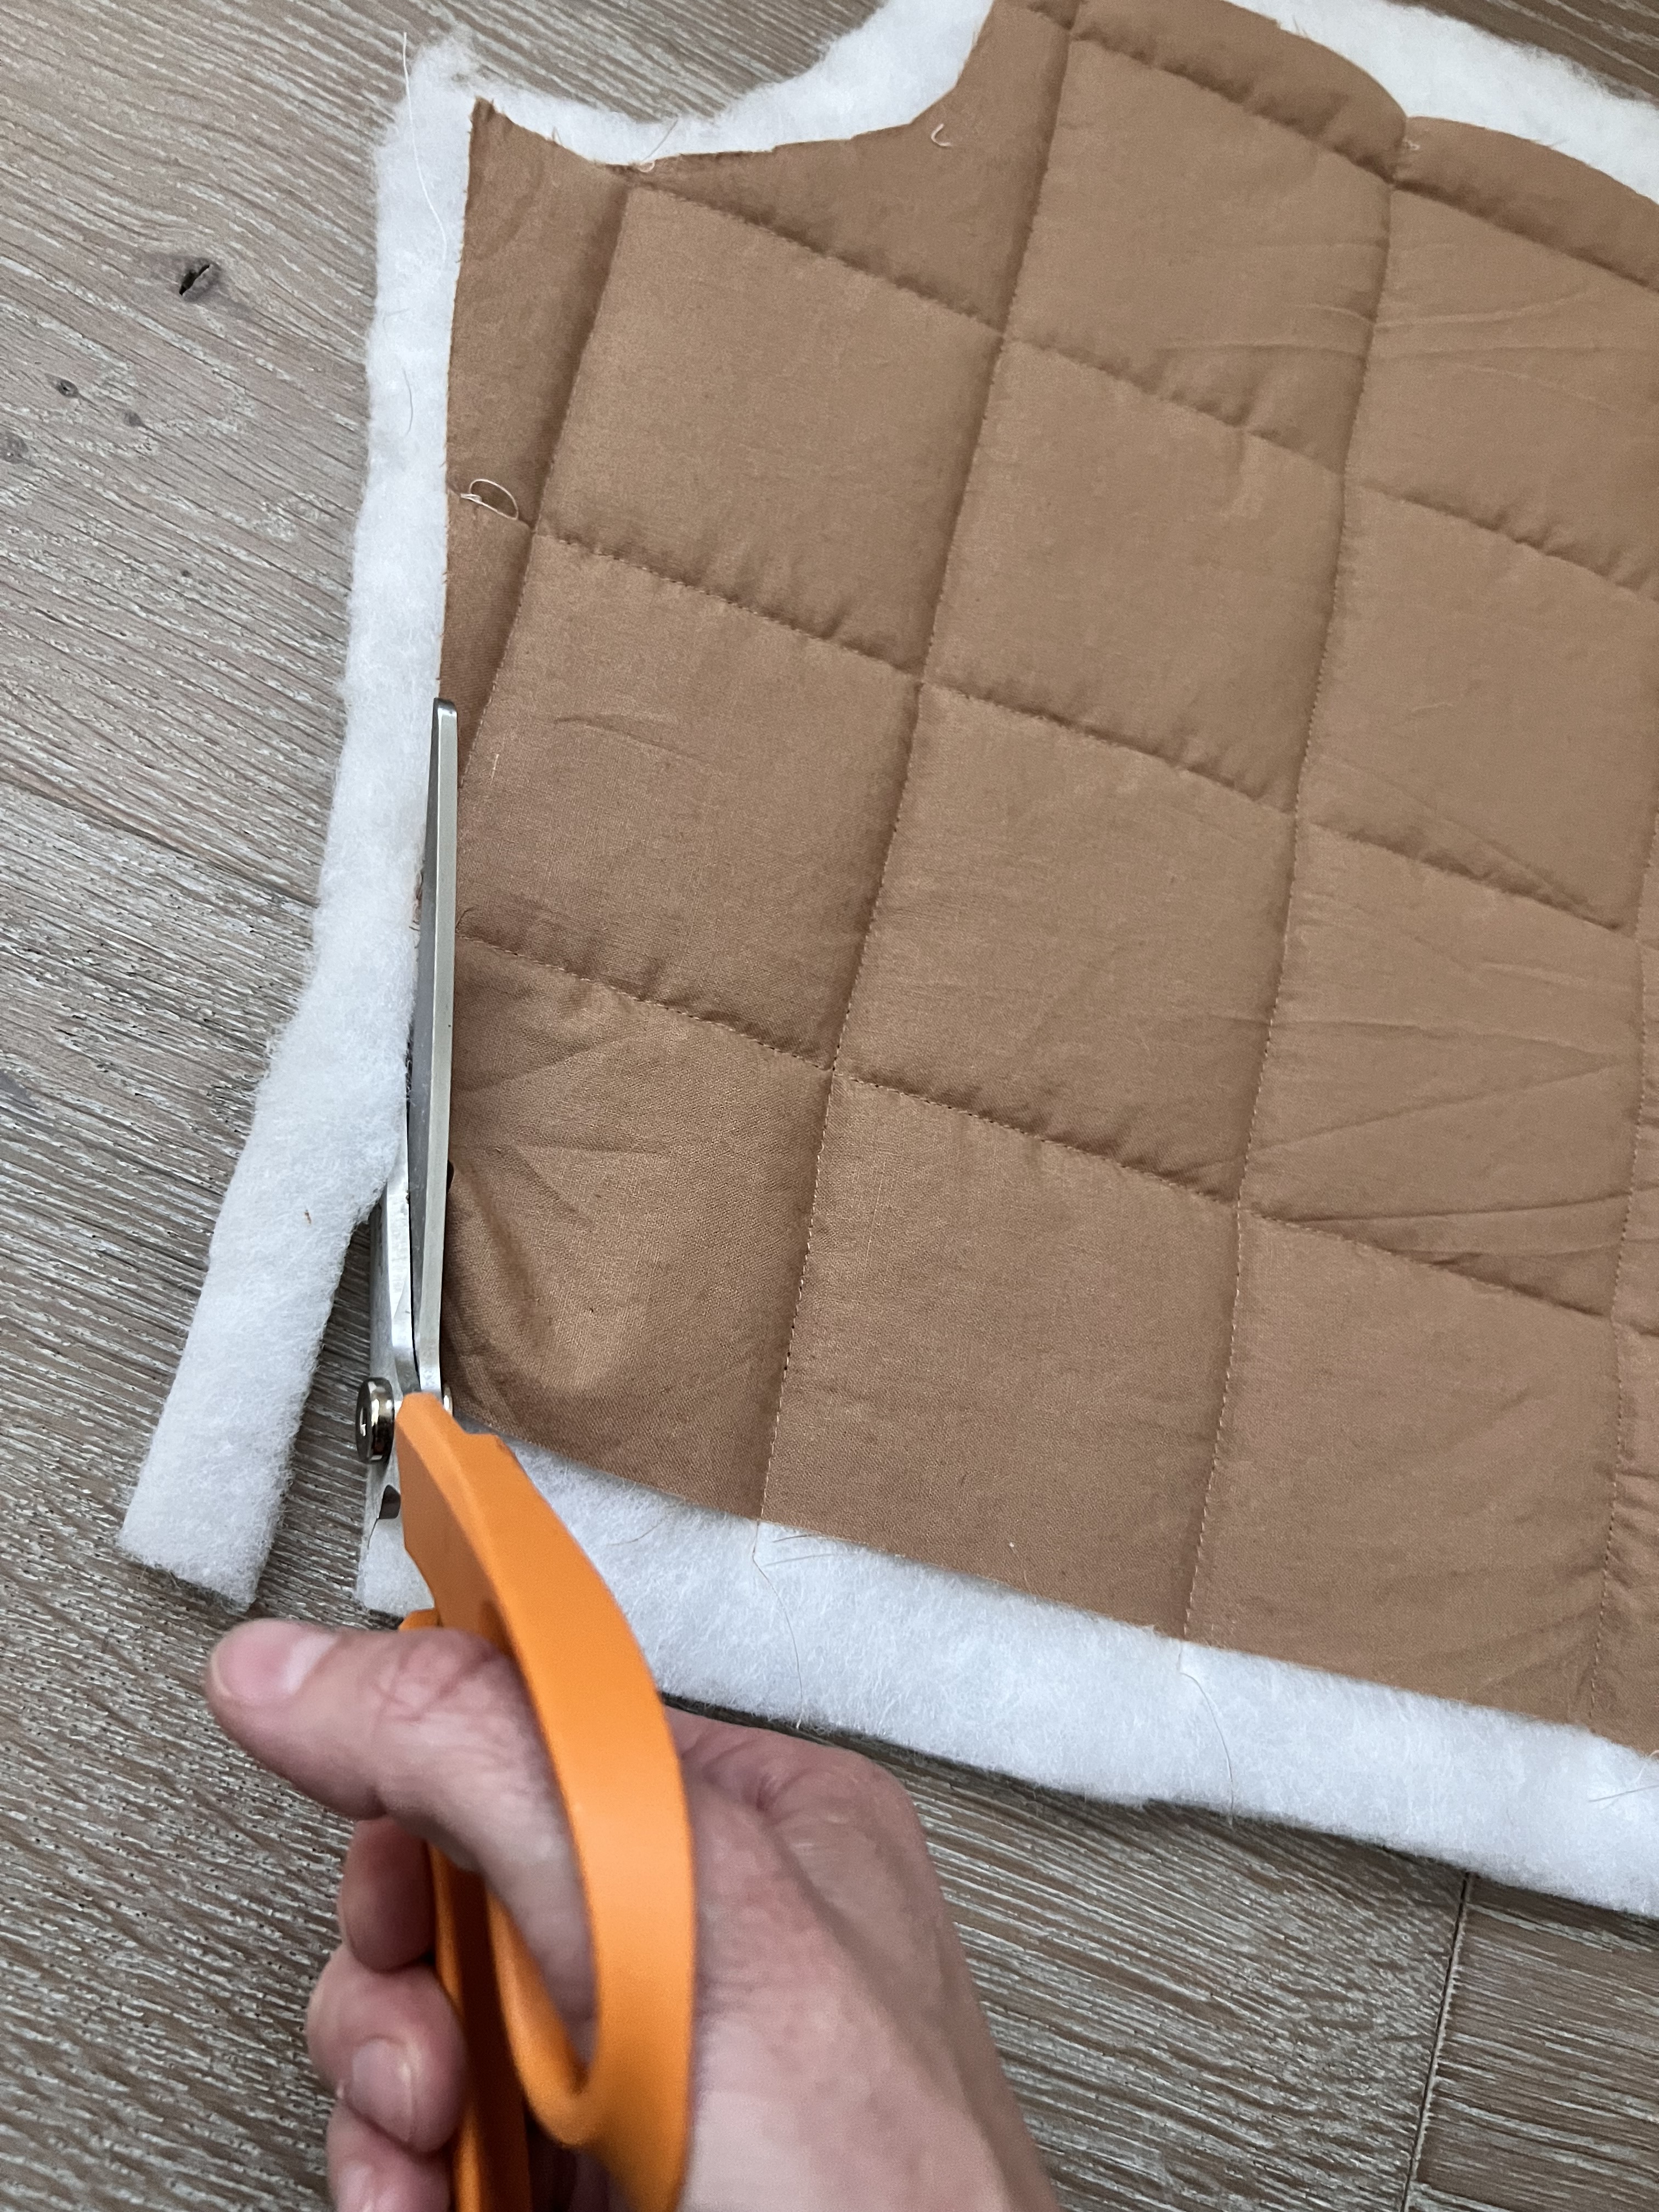
My second tip is to cut out a little extra of the batting around the pattern piece to allow for any movement during the quilting process. Once everything is quilted, trim off the extra.

My third tip is to use different color thread for the main thread and bobbin to match your fabrics. My lining and main fabric are different colors so I used two colors to make sure everything would match on the outside of the jacket as well as on the inside.
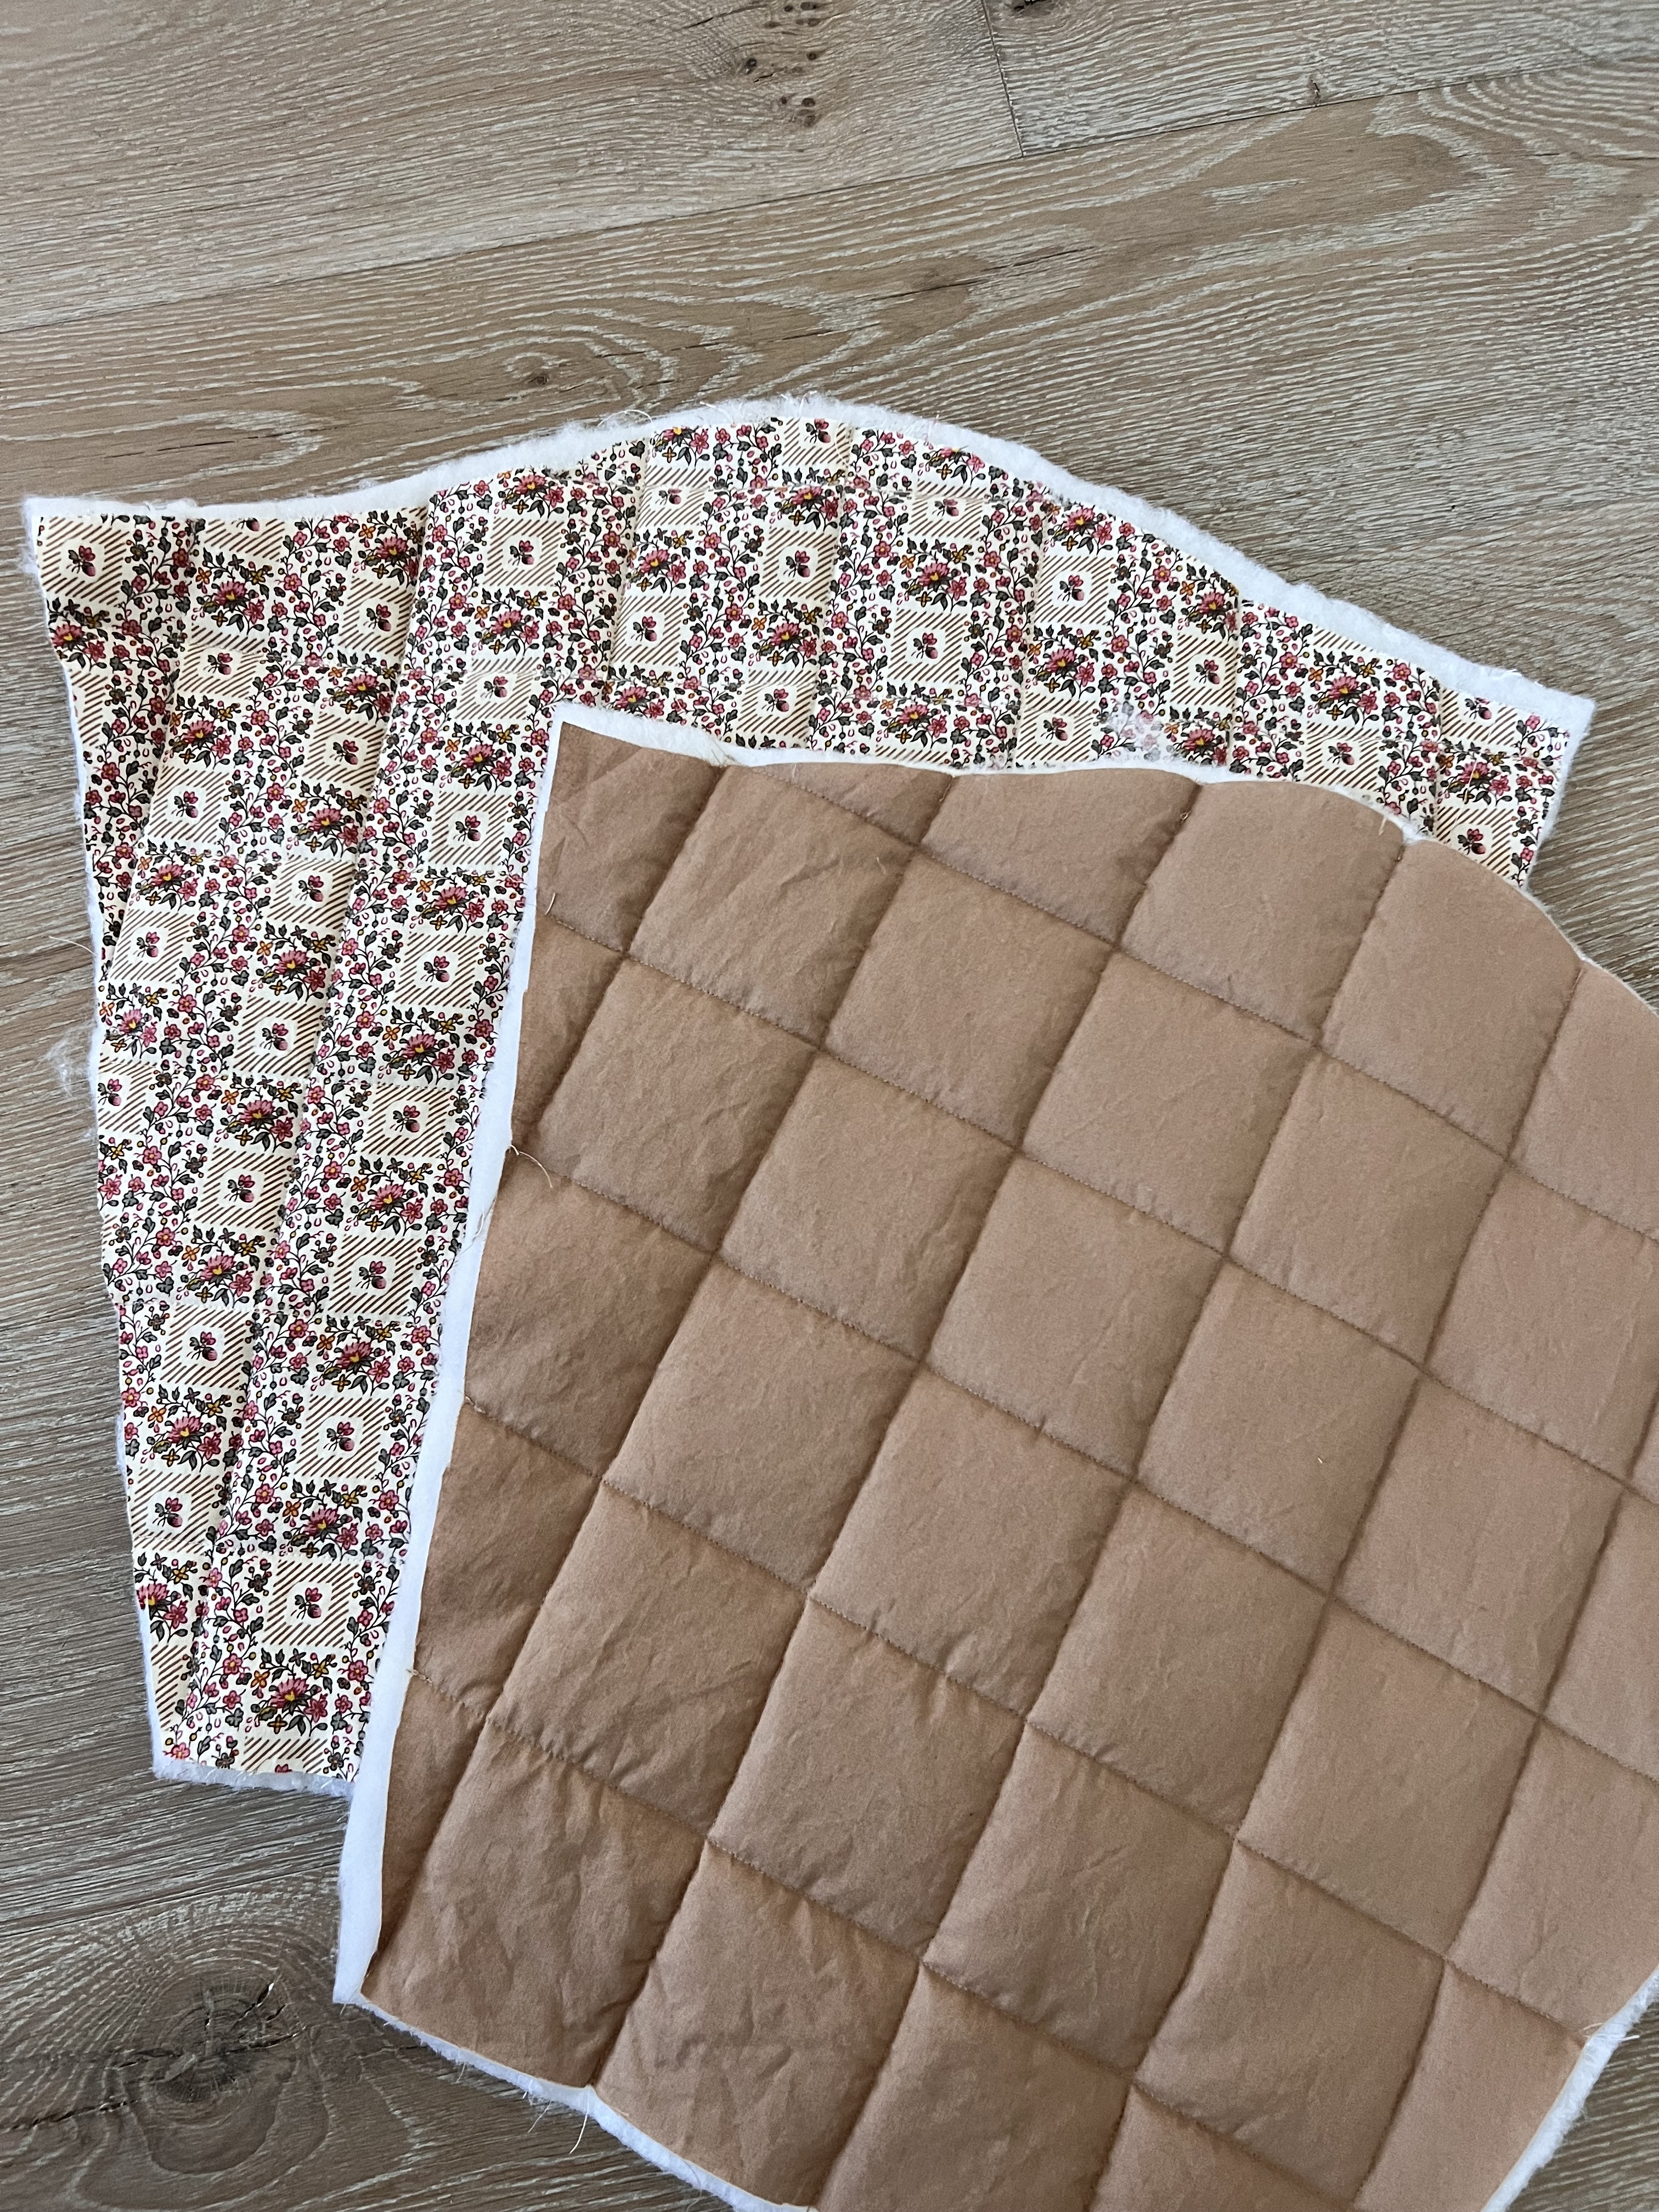
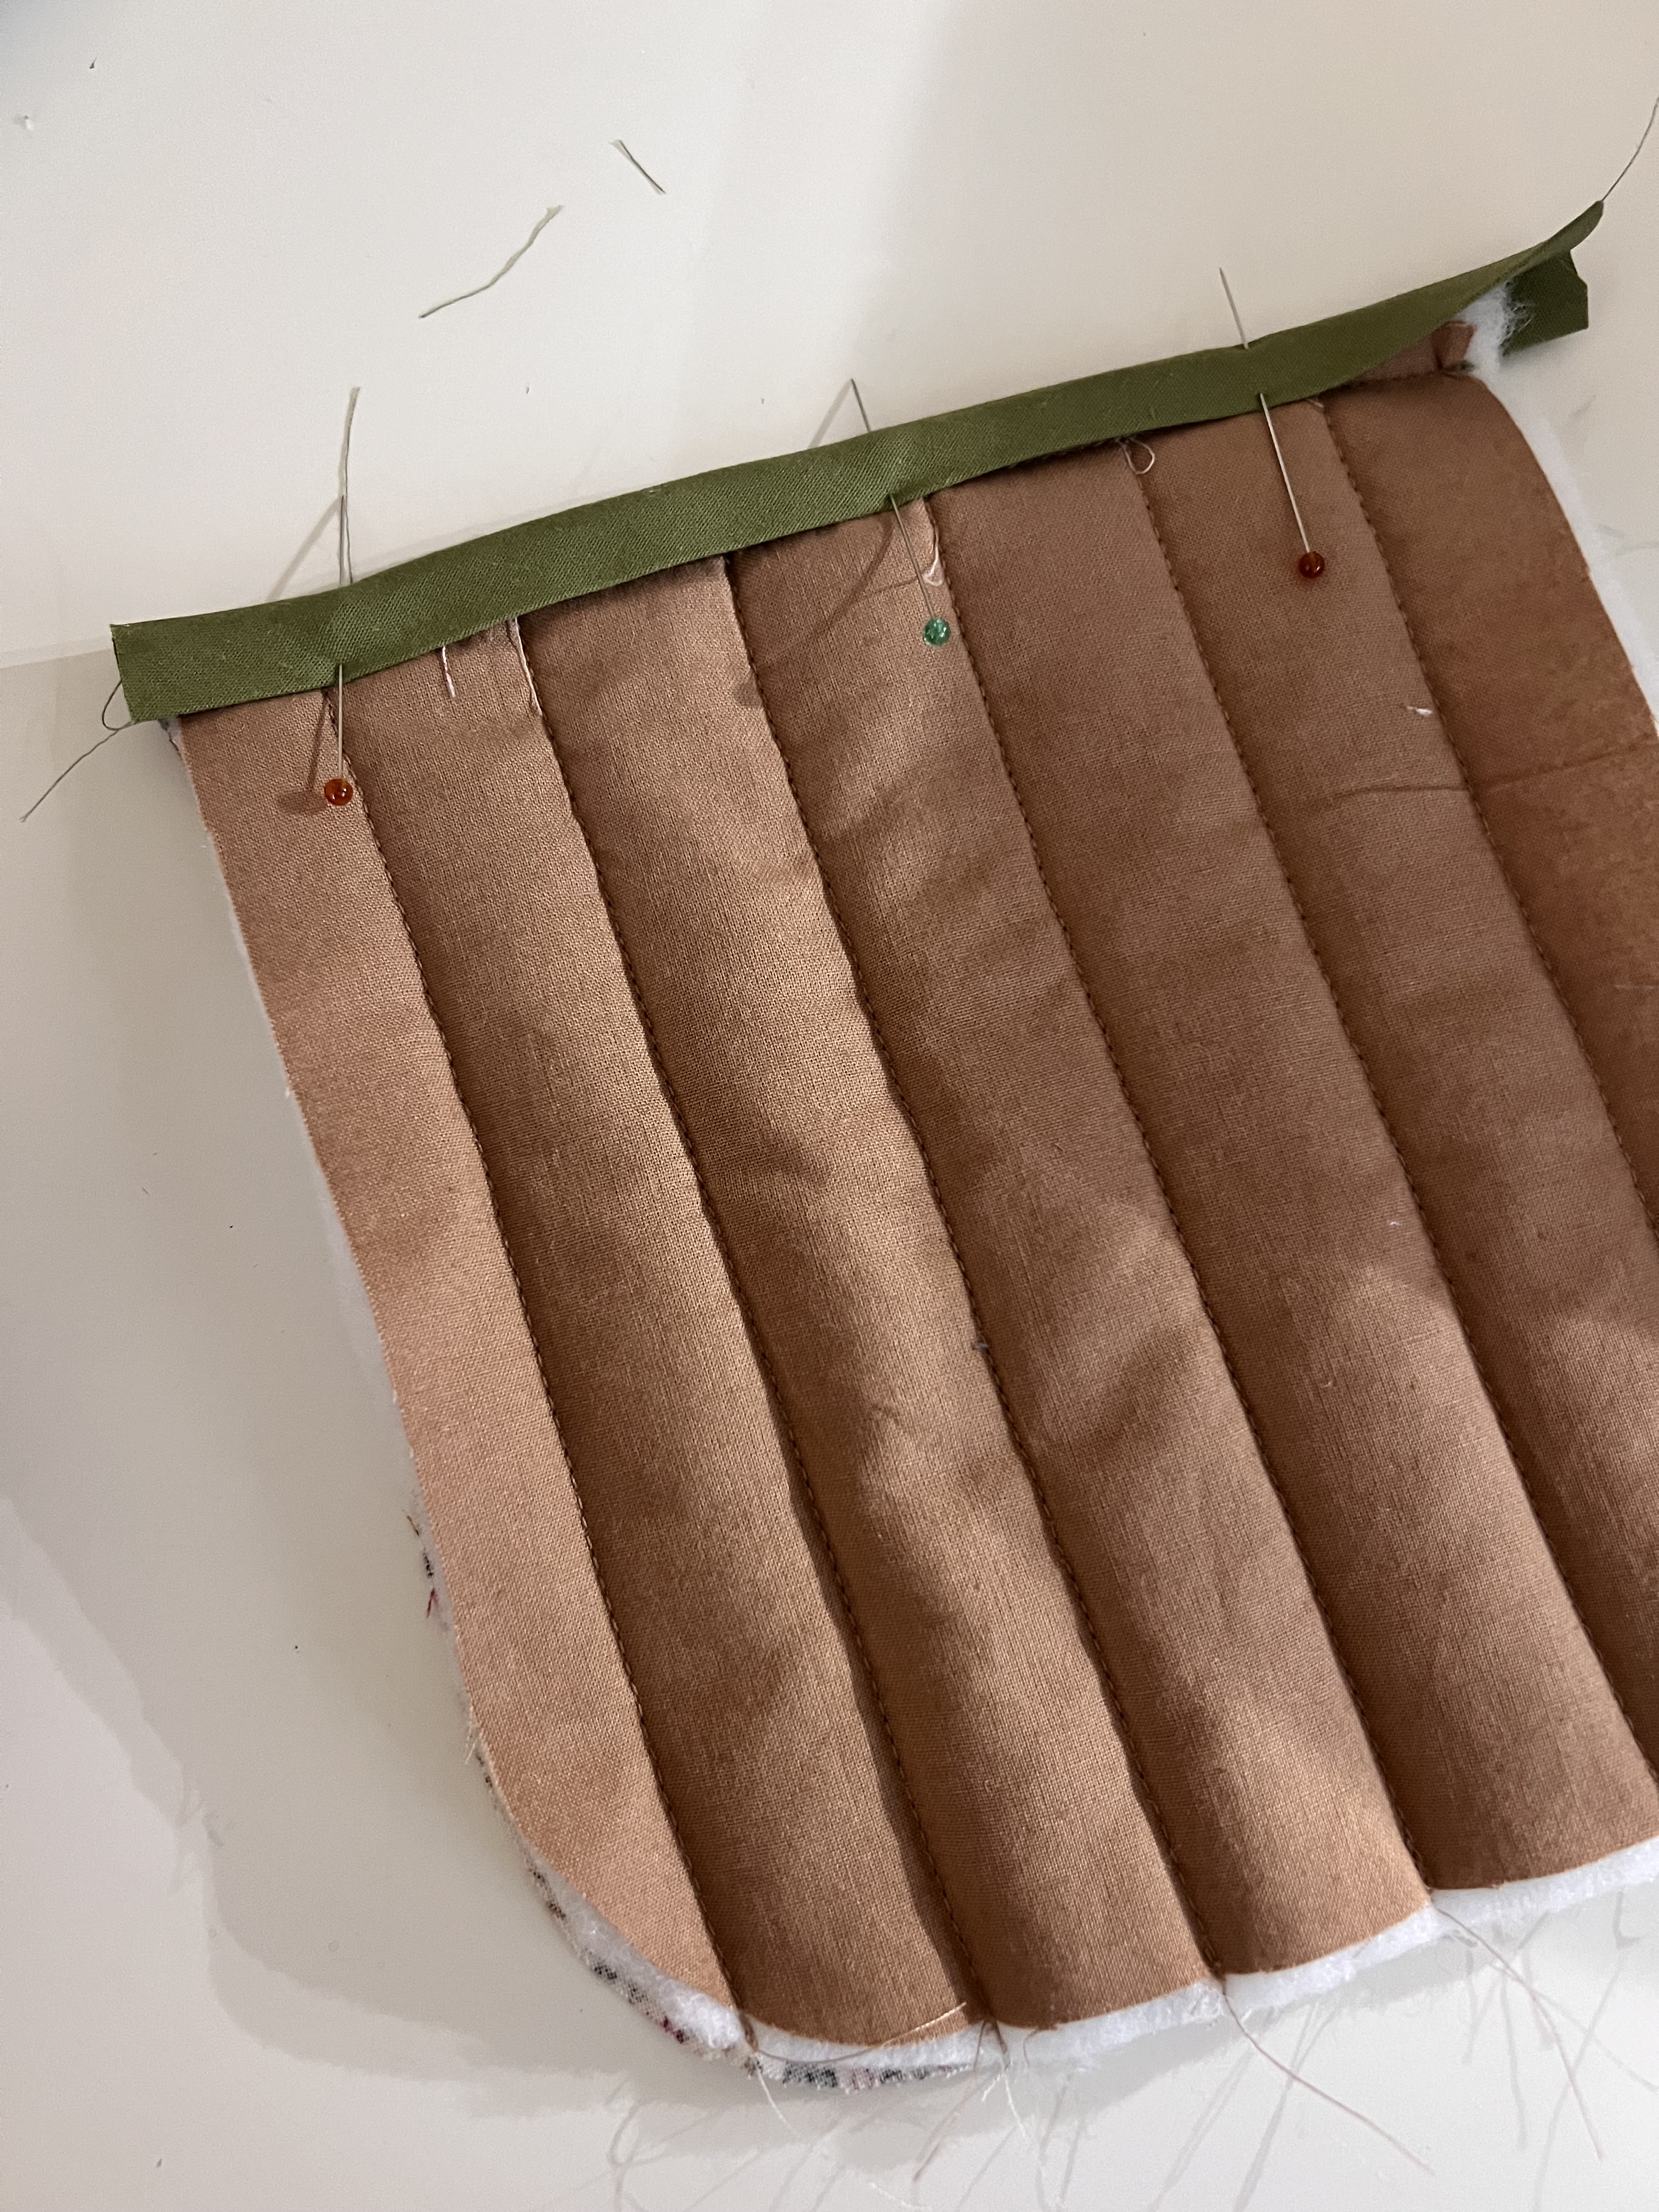
I quilted in a 3″ square pattern which matched really well with my fabric, it also allowed me not to have to mark any of my quilting lines as I was able to follow the direction of the fabric pattern. For my pockets and collar I quilted vertical lines about 3/4″ apart, again matching with the pattern on my fabric for a more customized quilted look.
Also, make sure to line up your quilting lines on the front bodice and back bodice pieces so everything matches nicely once constructed.

Back Bodice Construction:
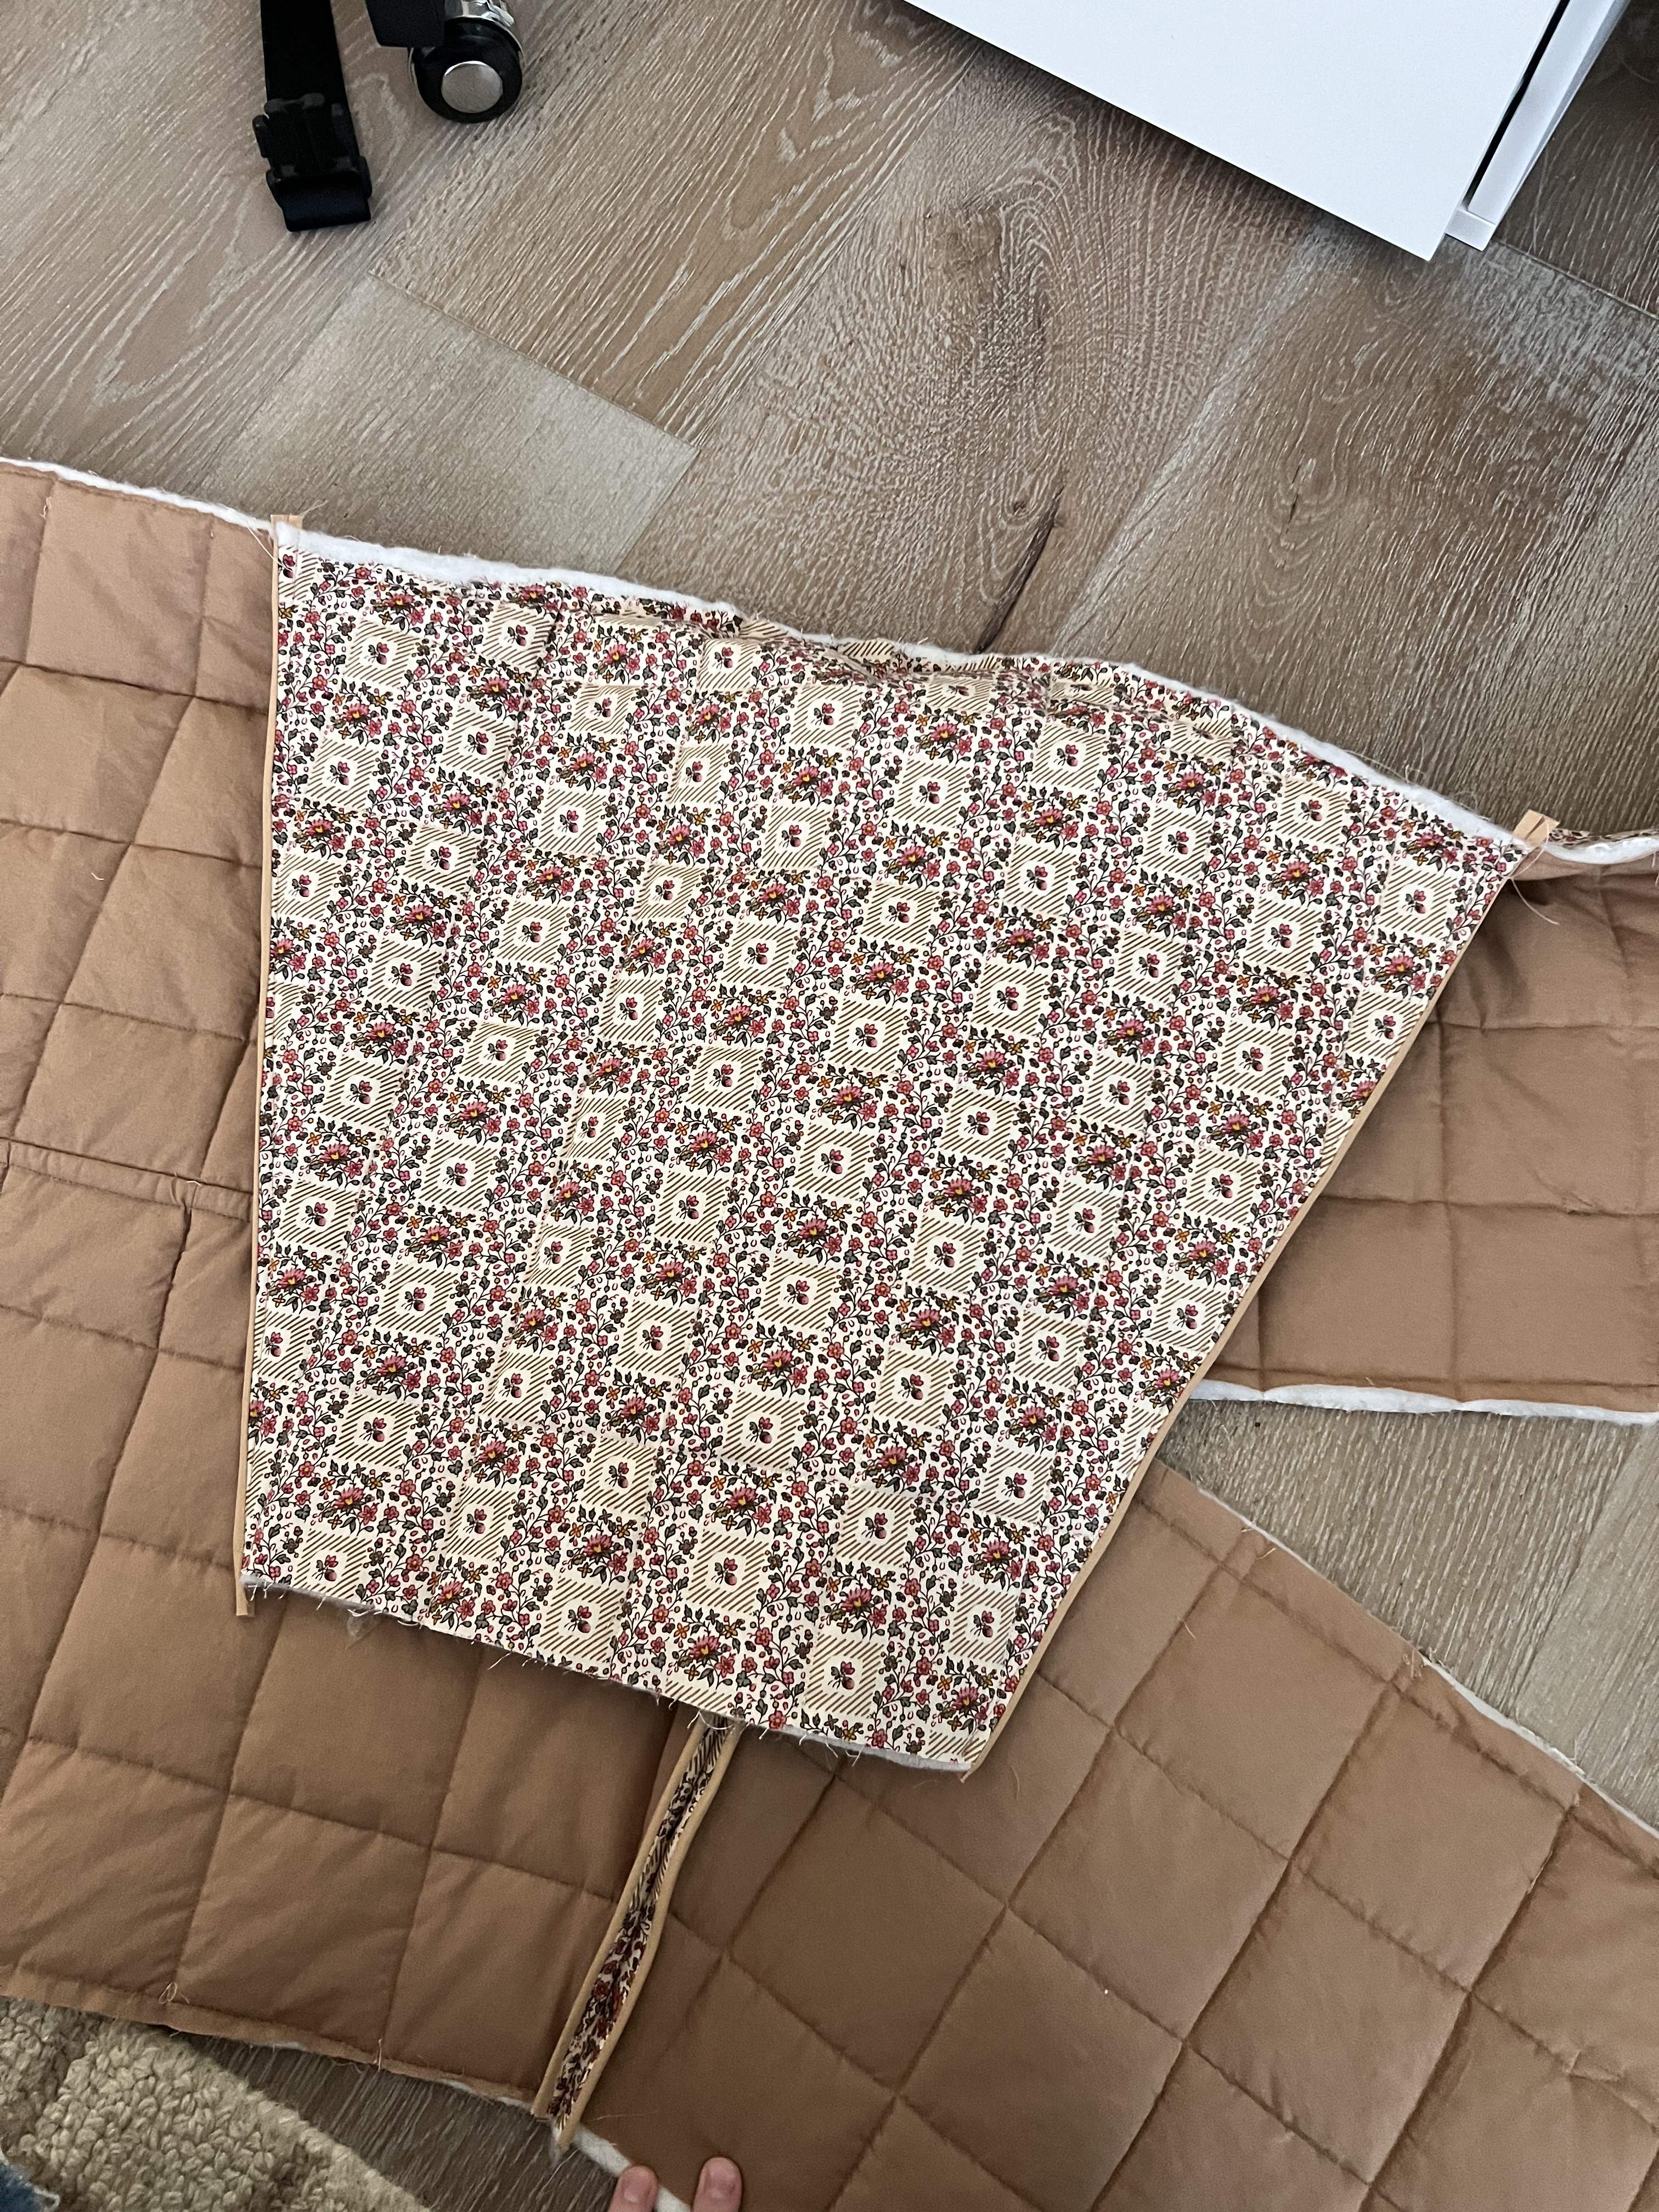
To begin, once the pieces are quilted, first, pin and sew back bodice piece along the center back wrong sides together.
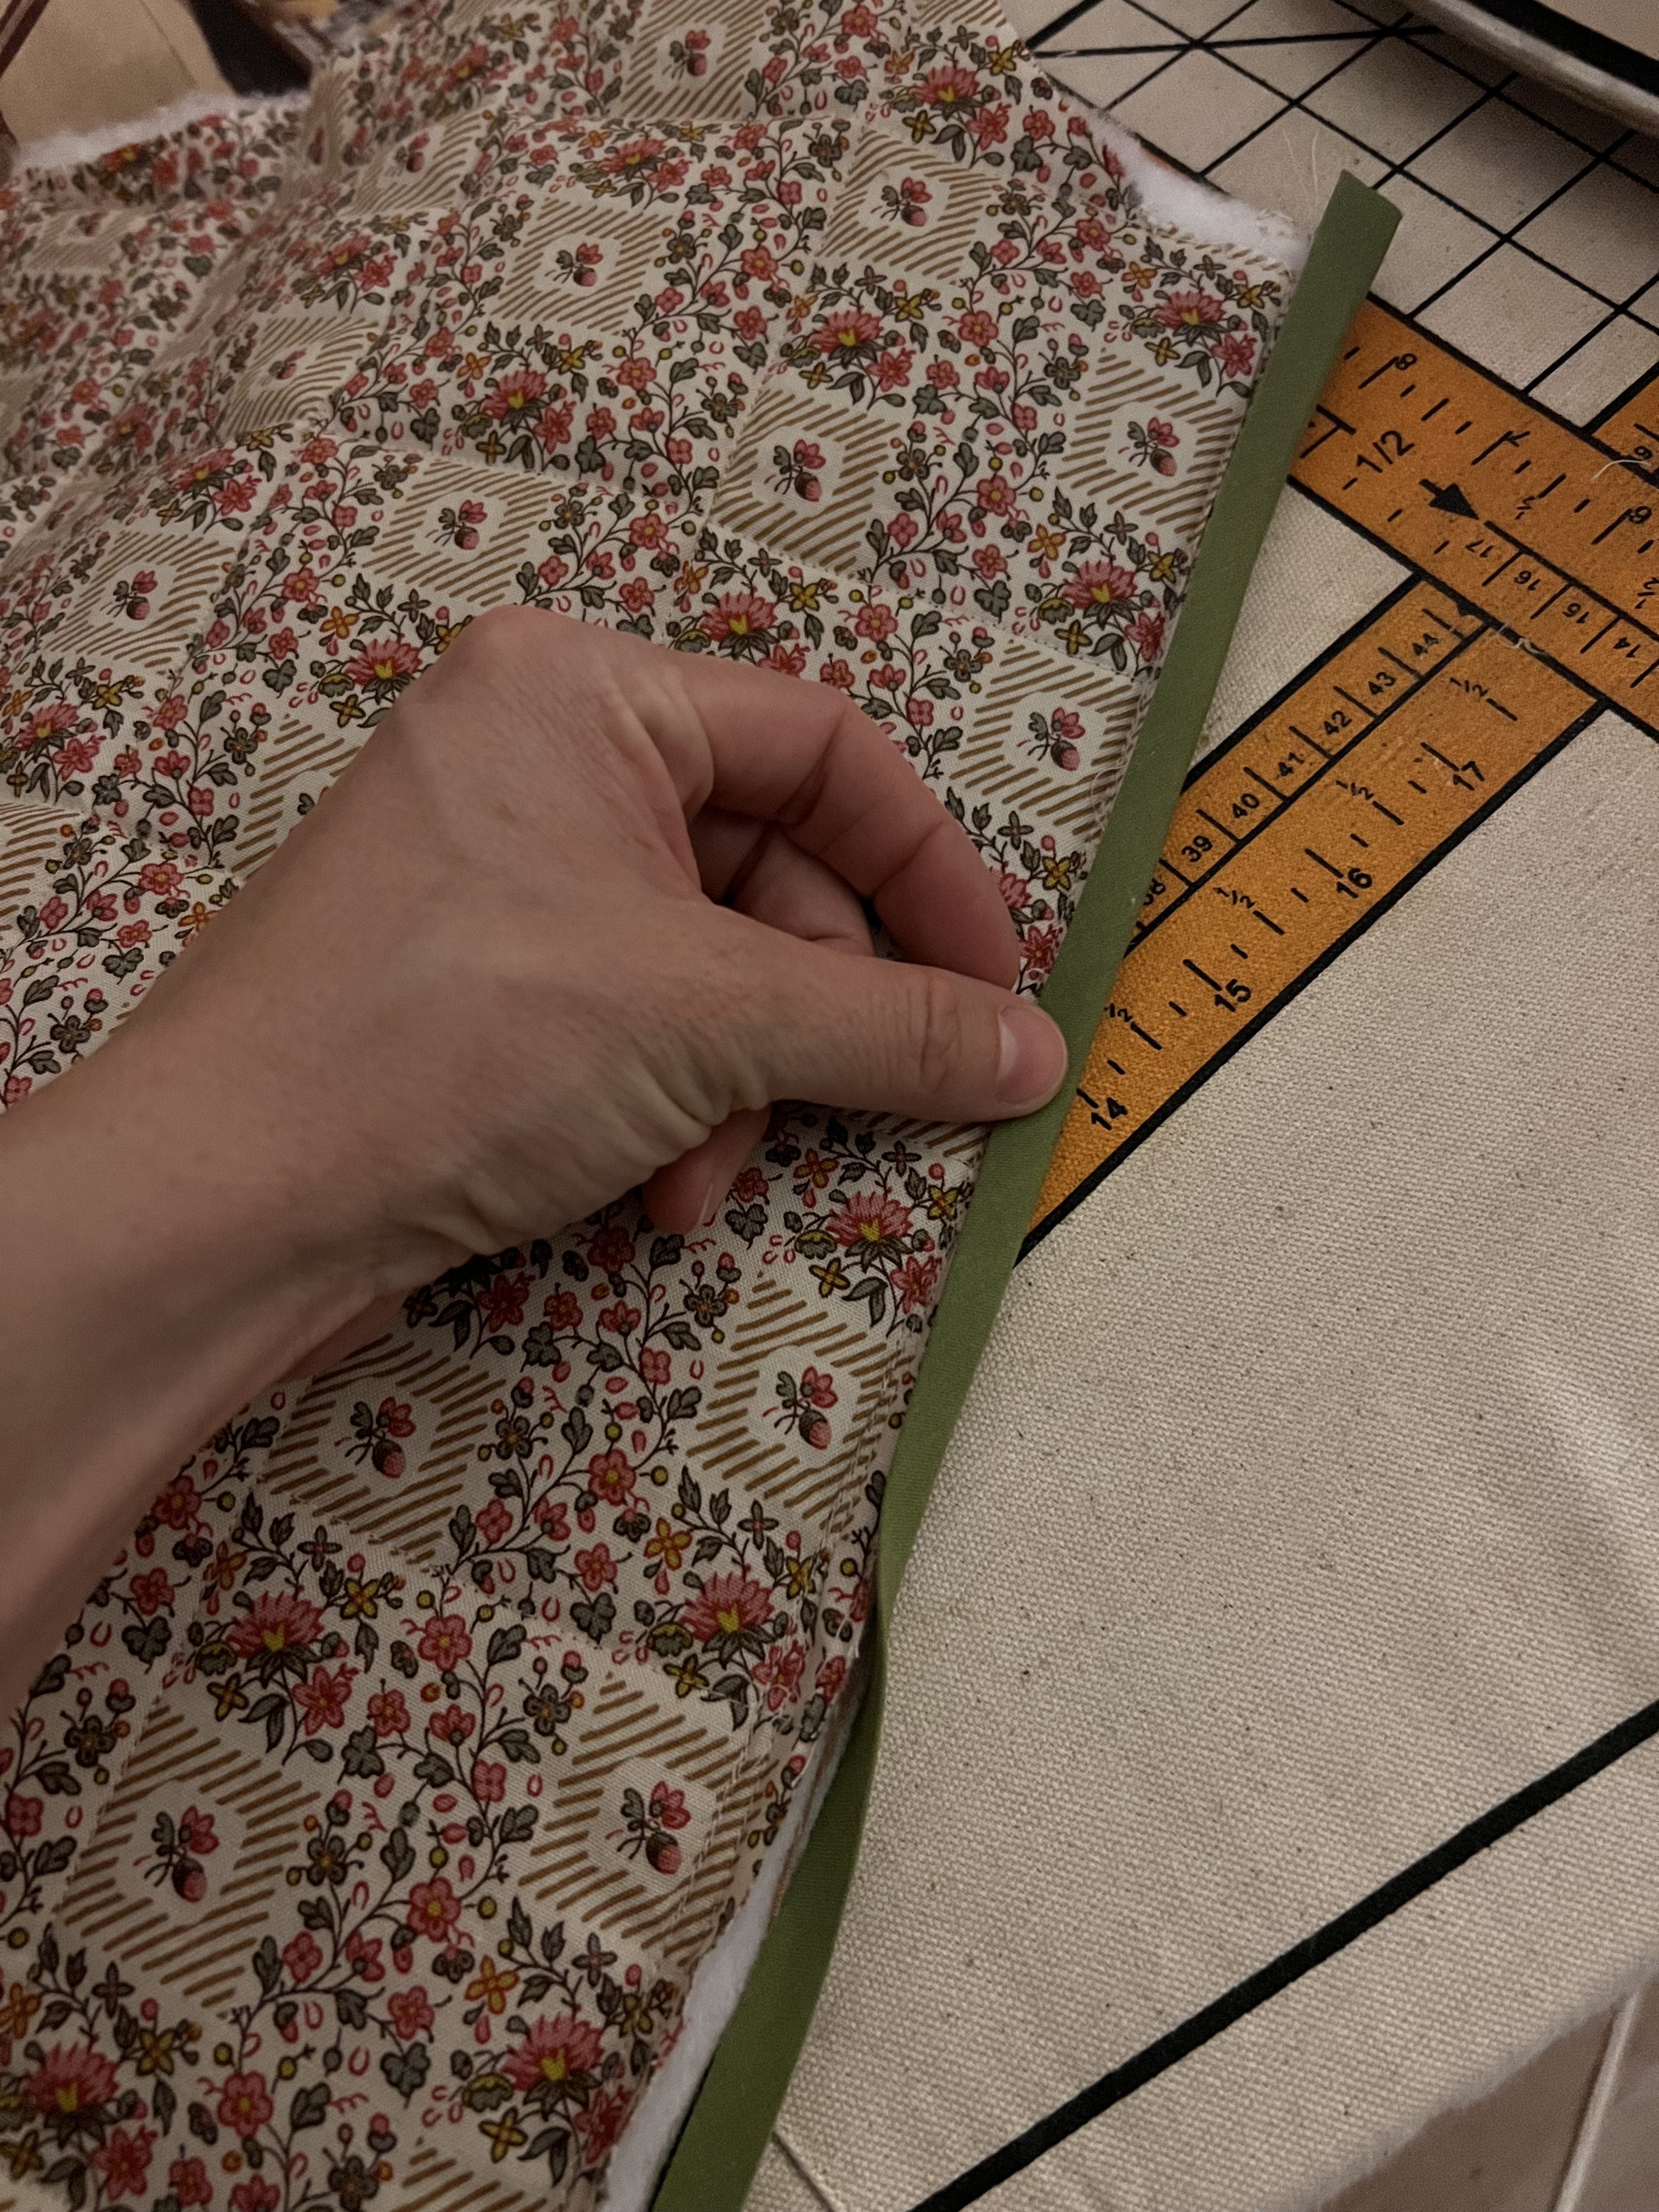
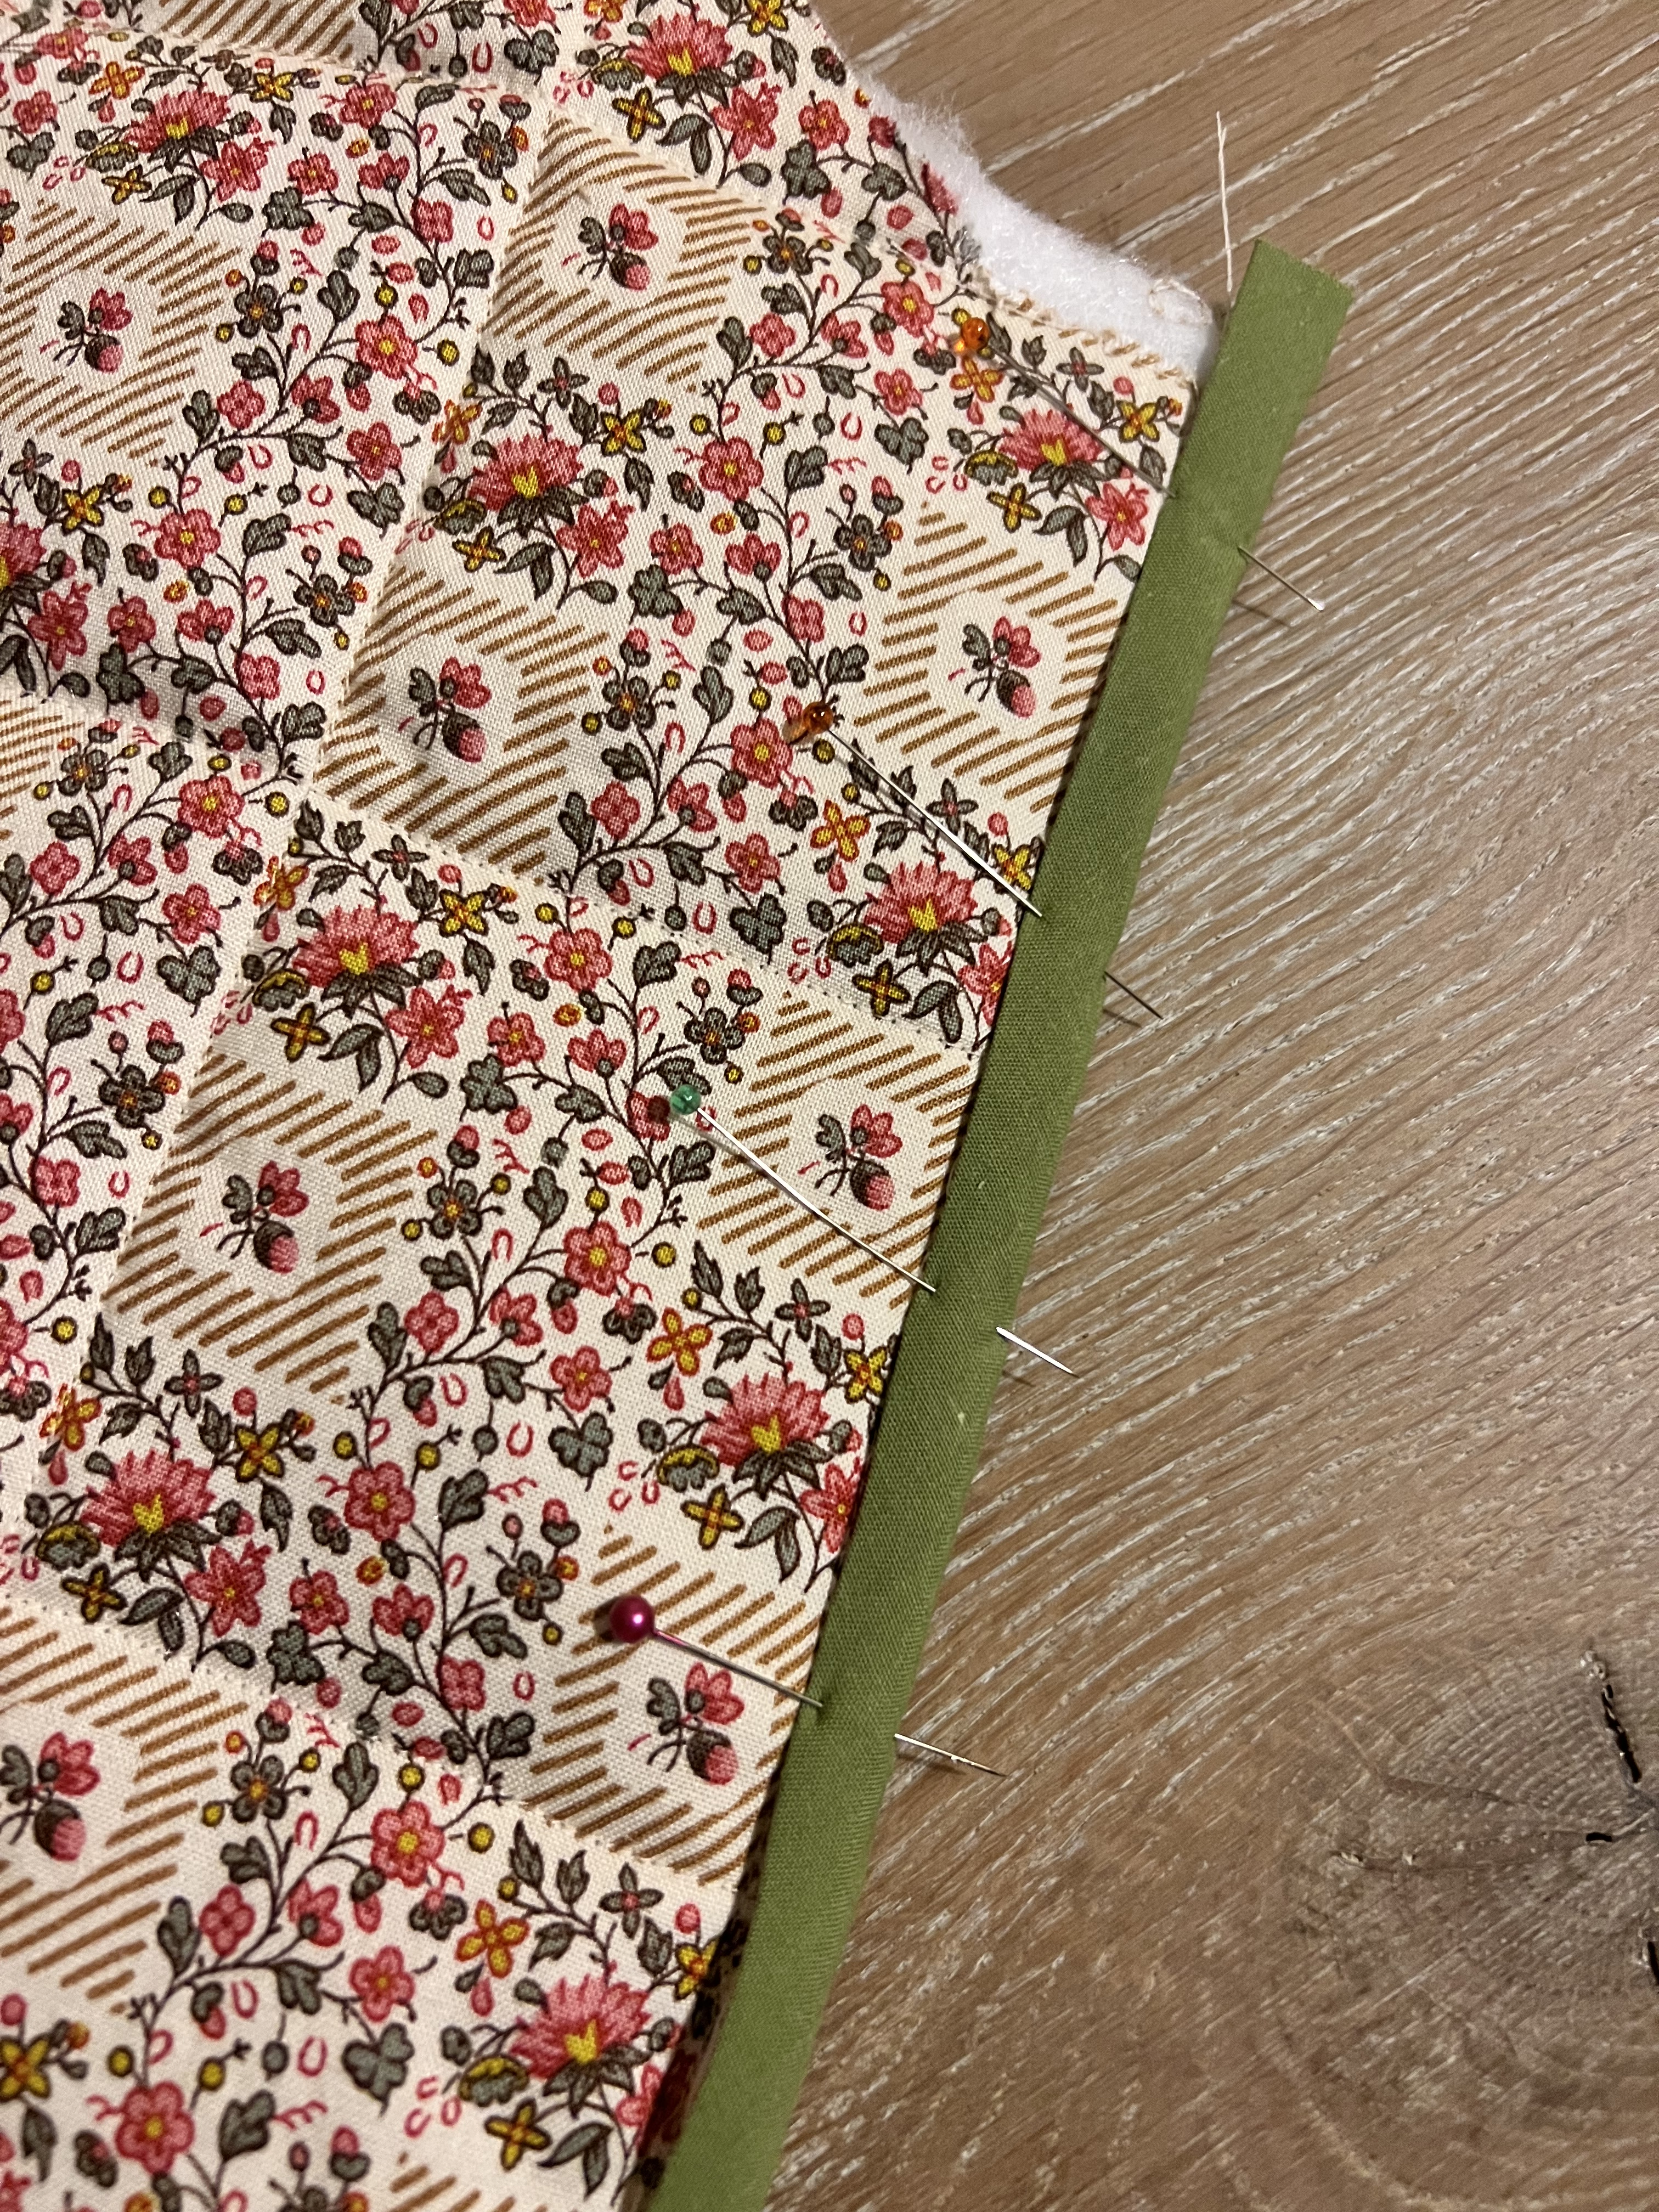
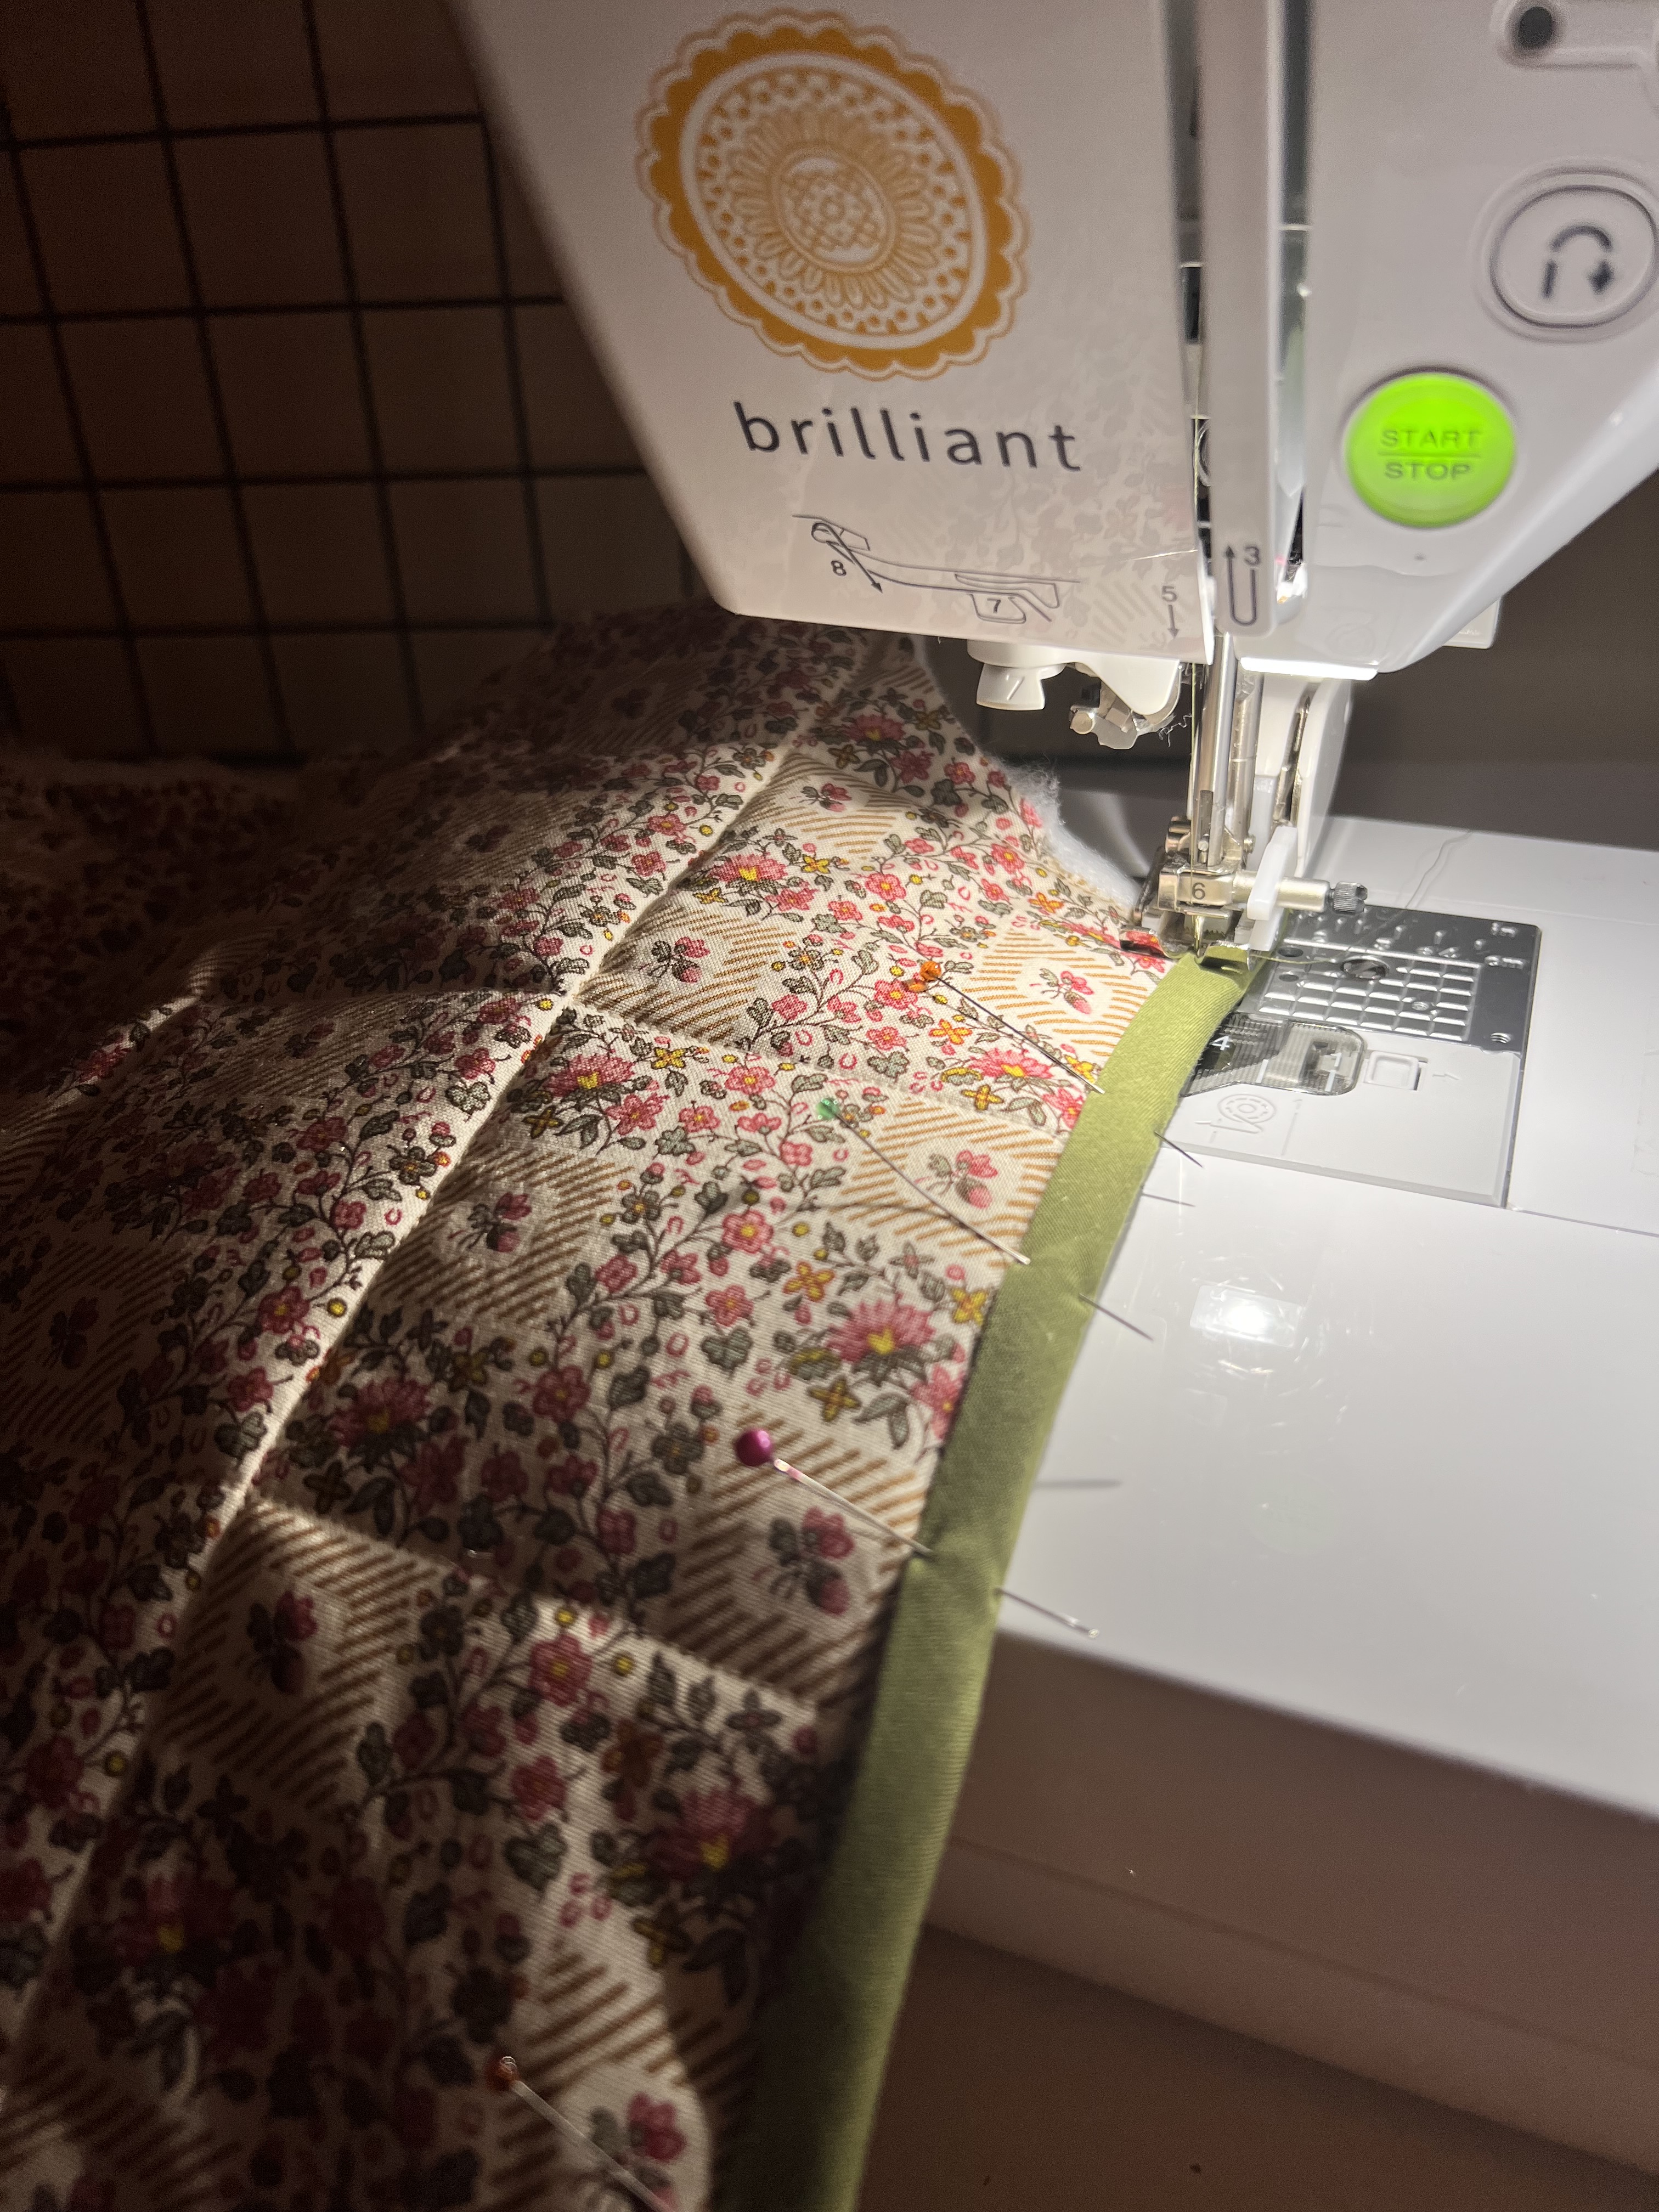
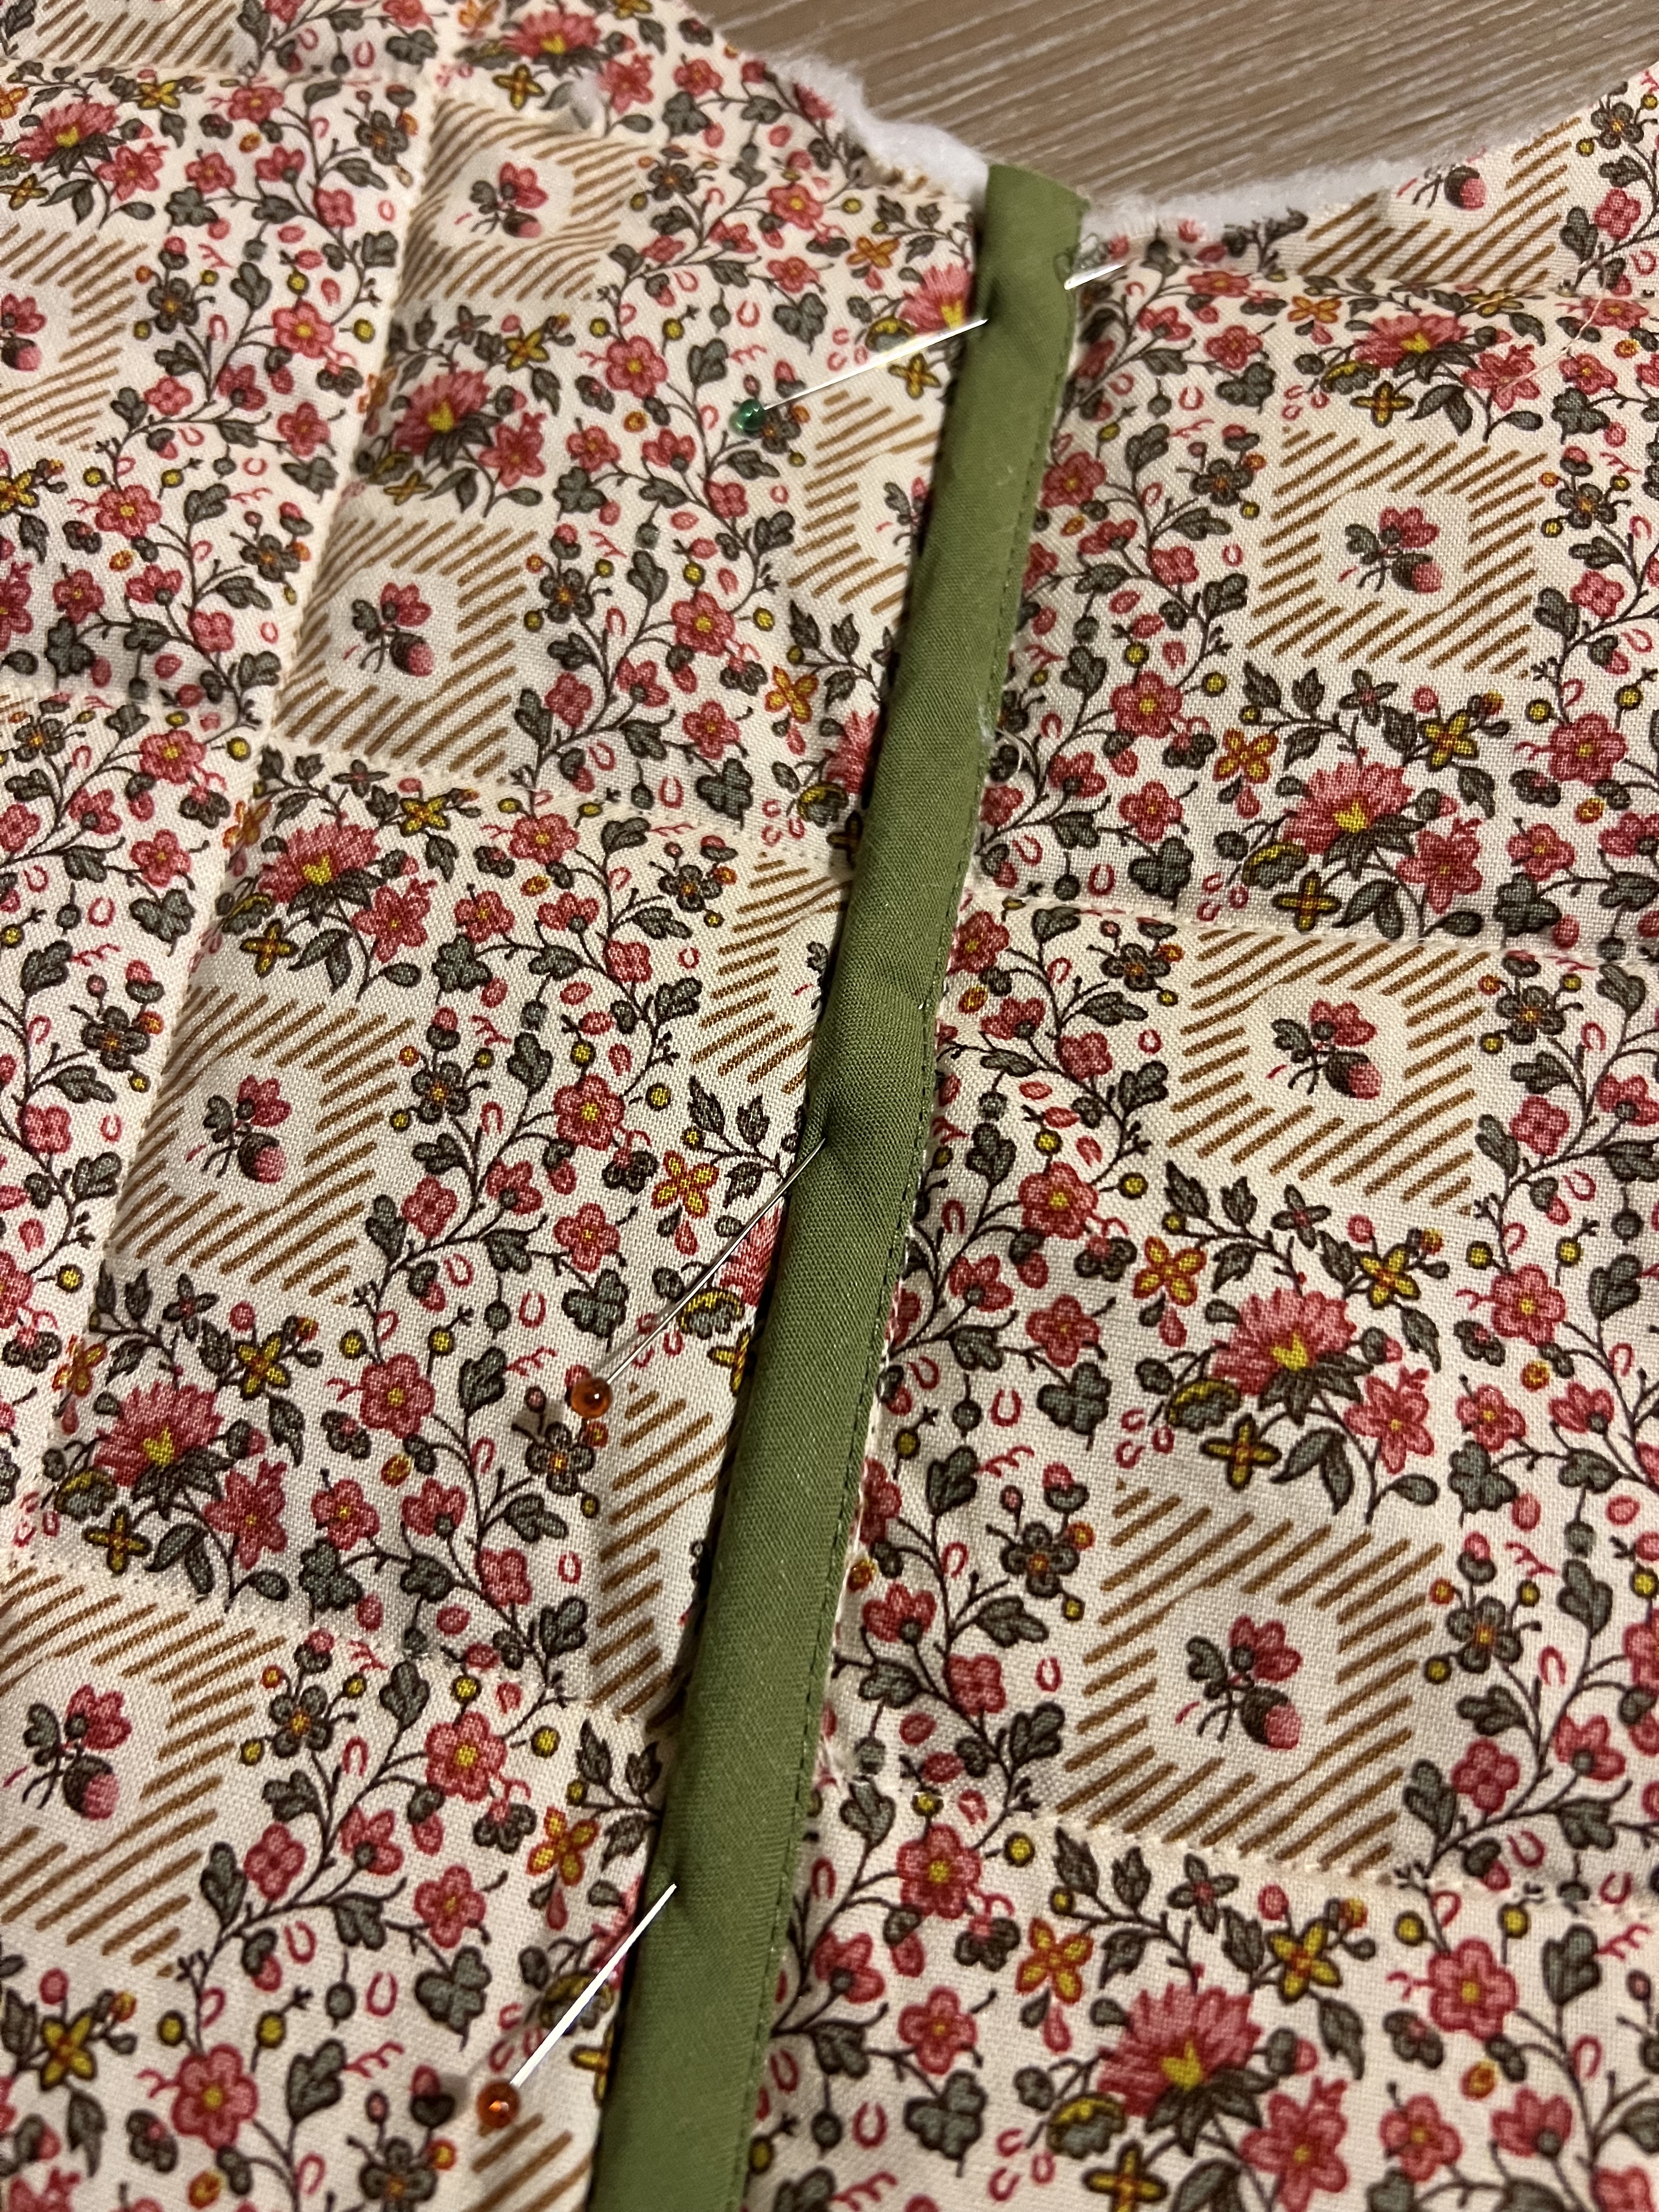
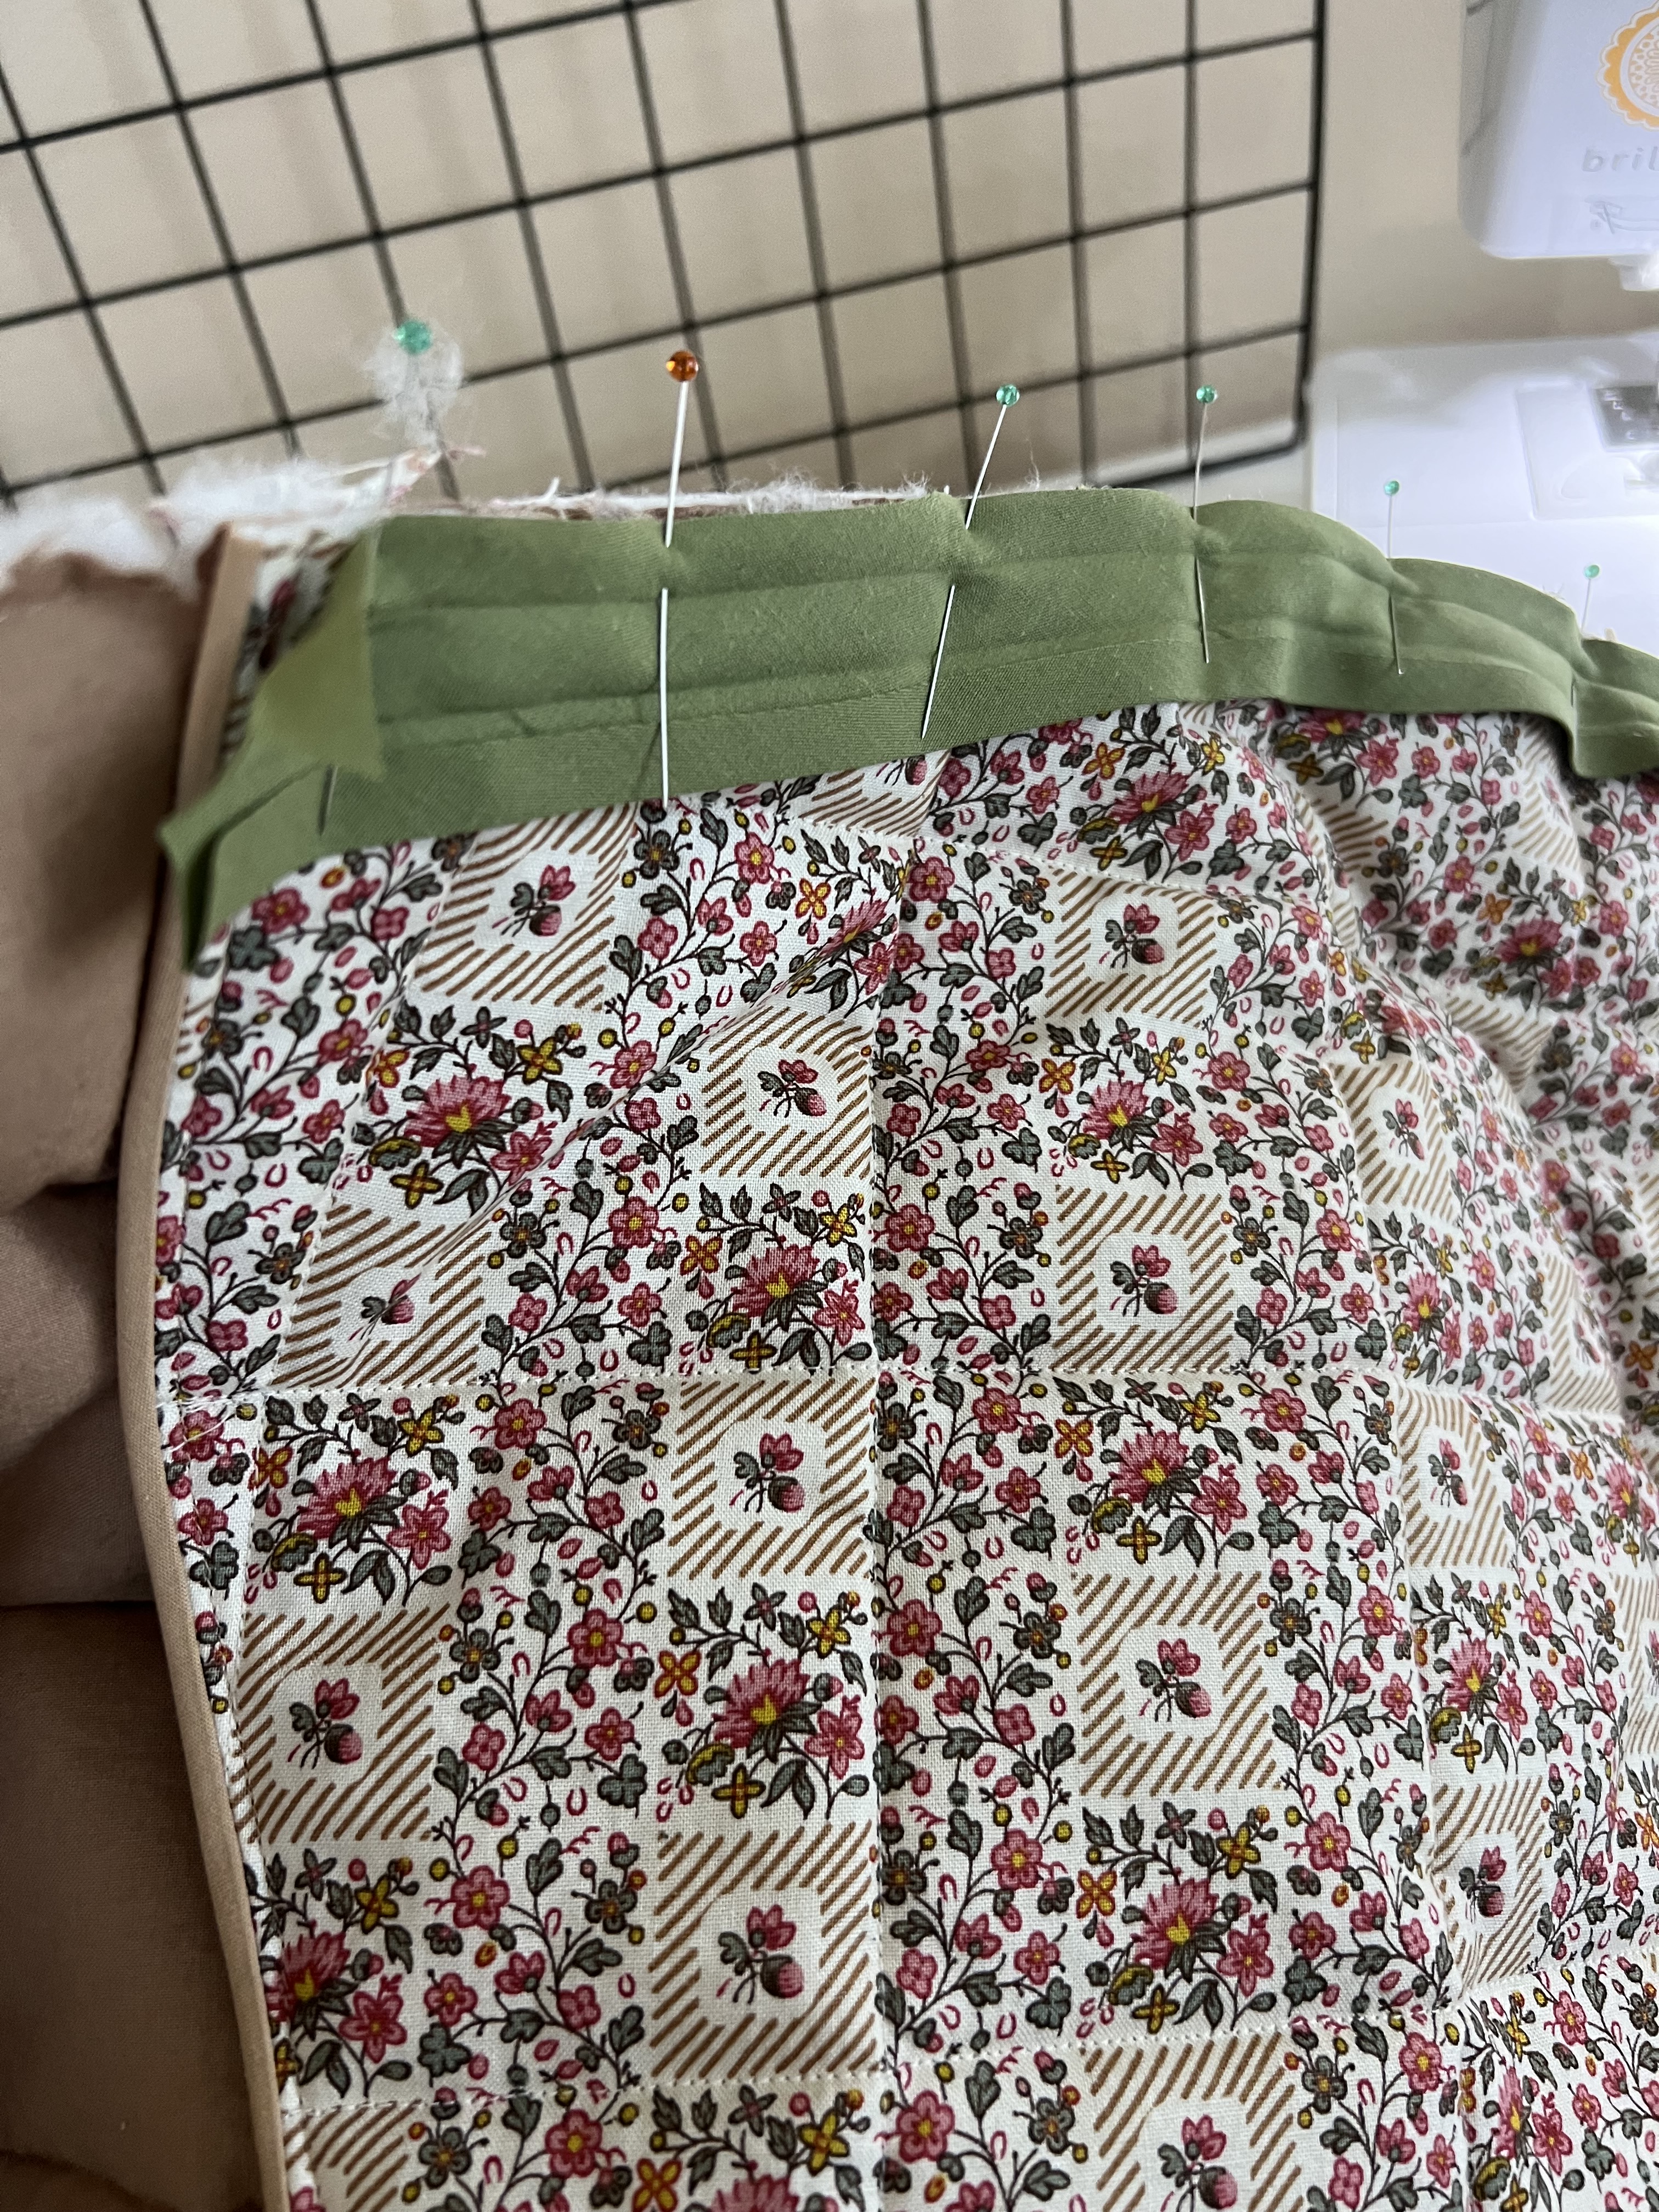
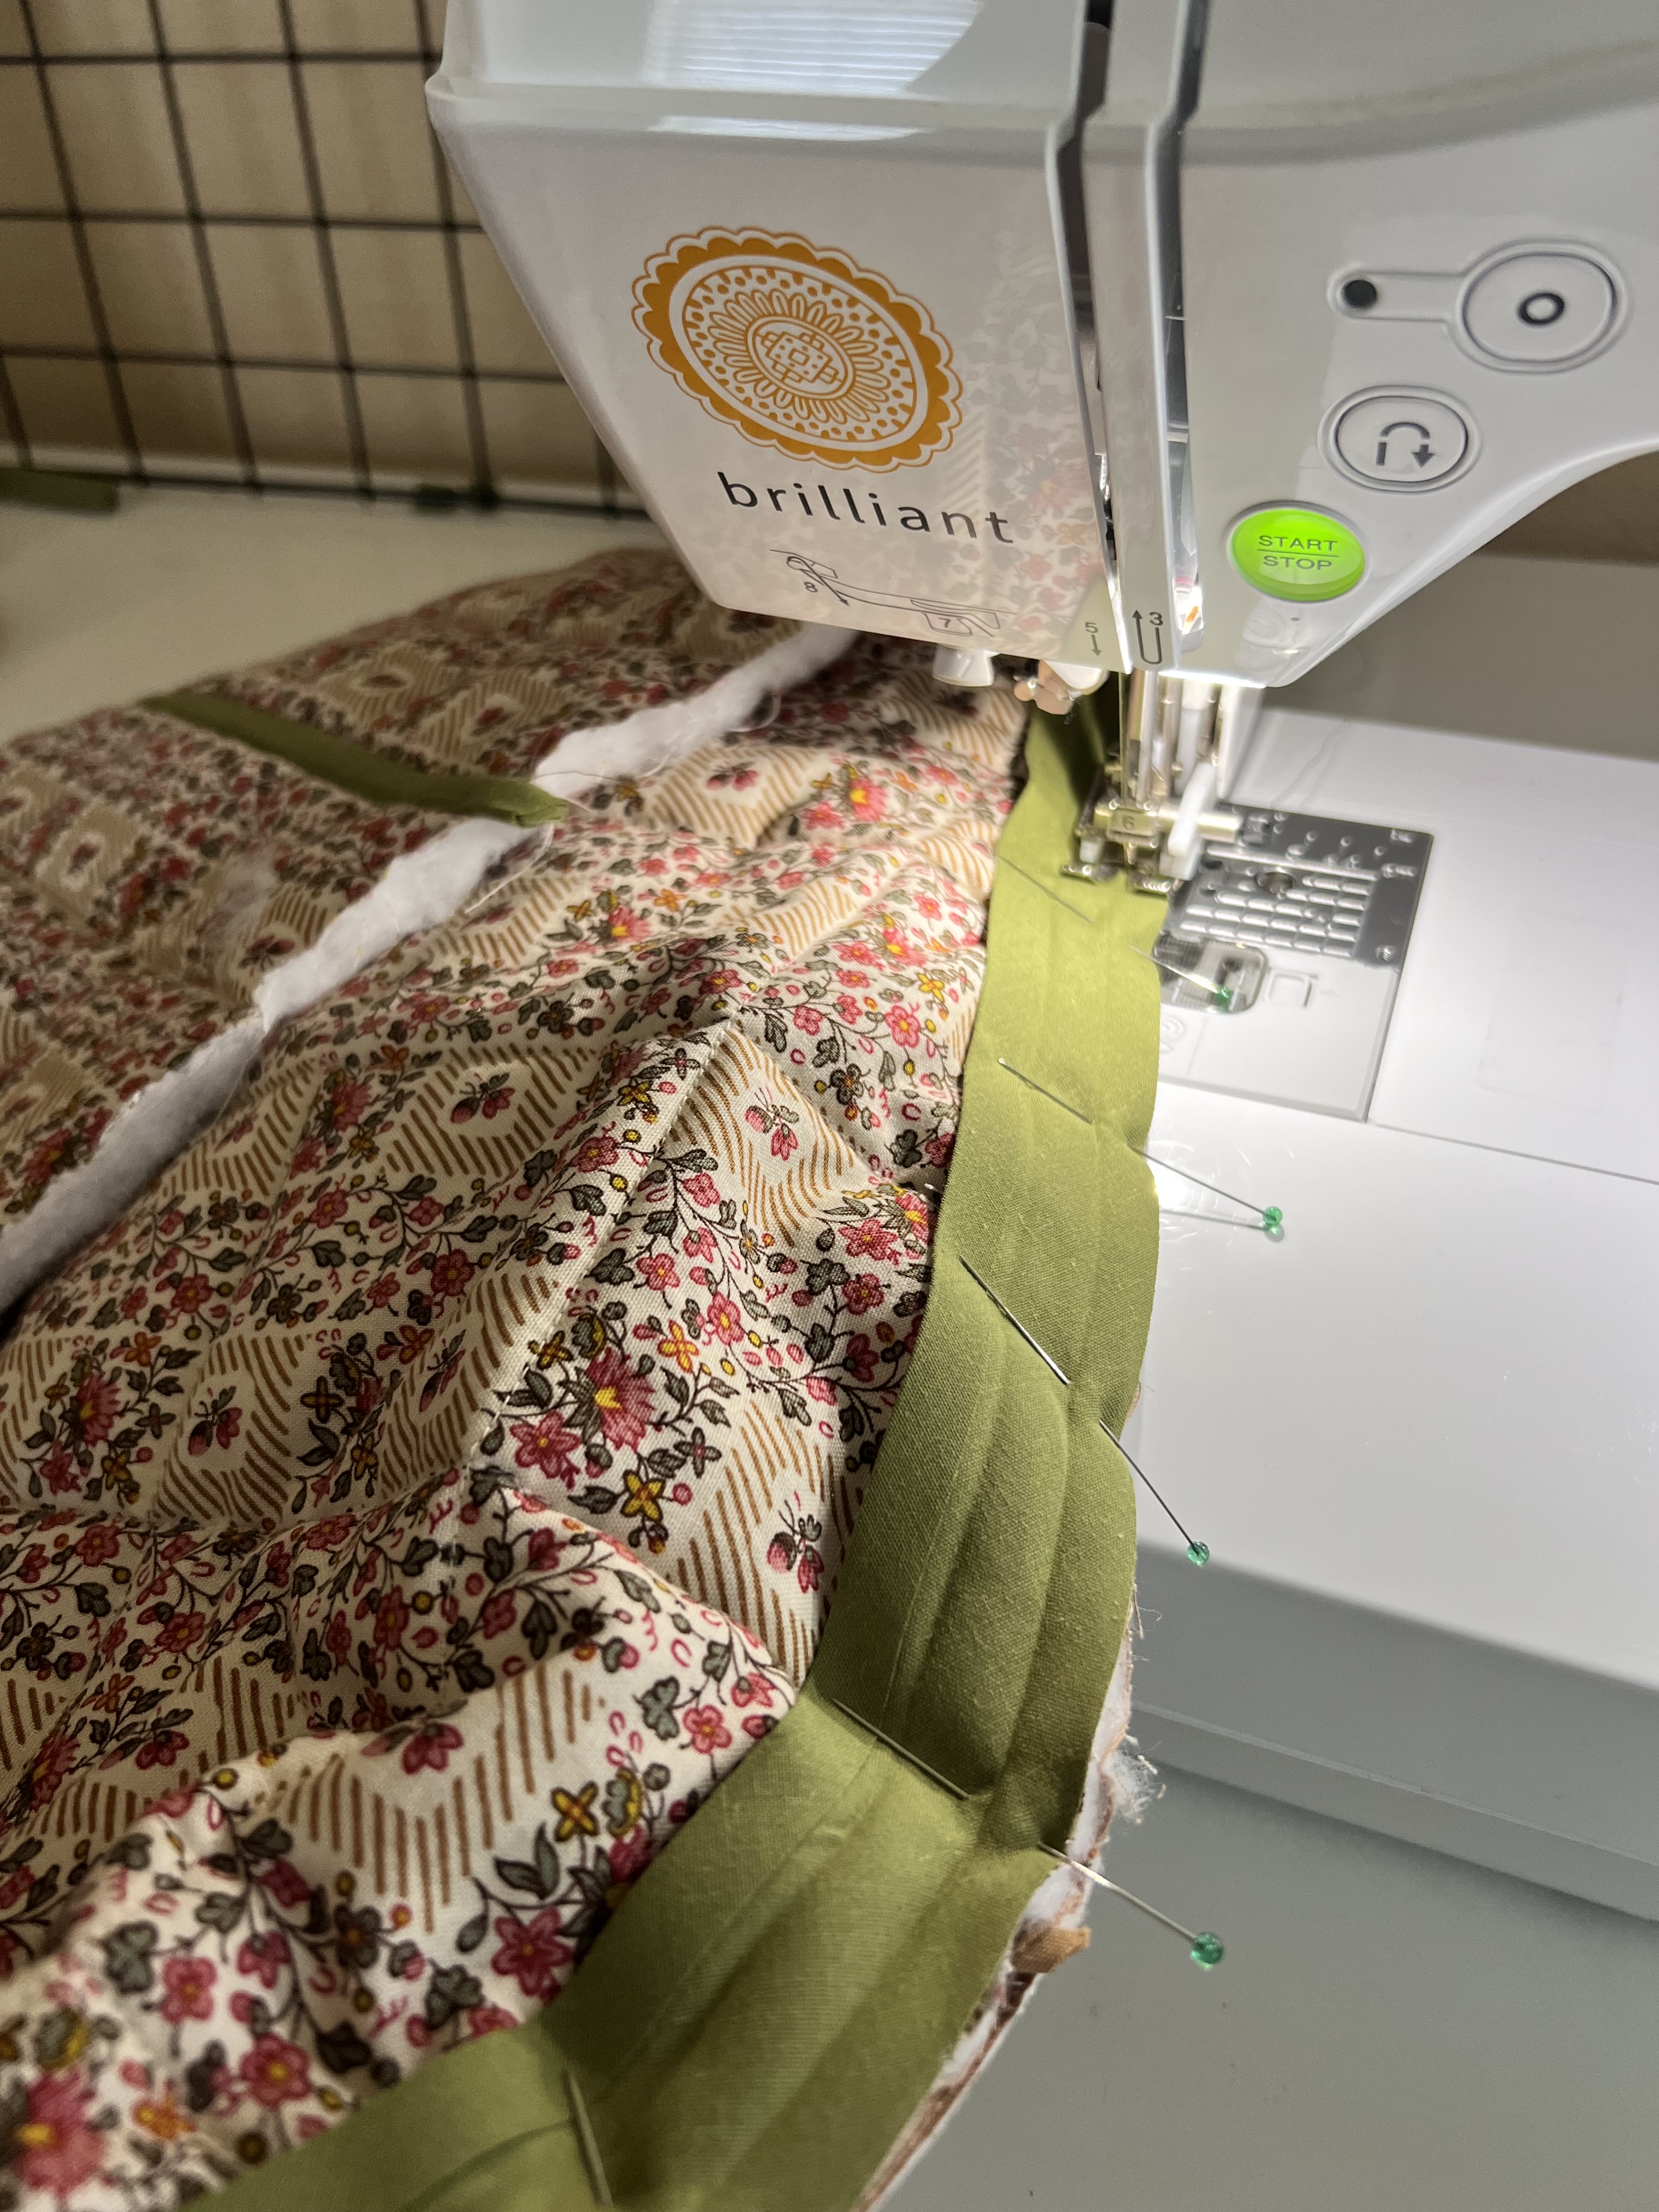
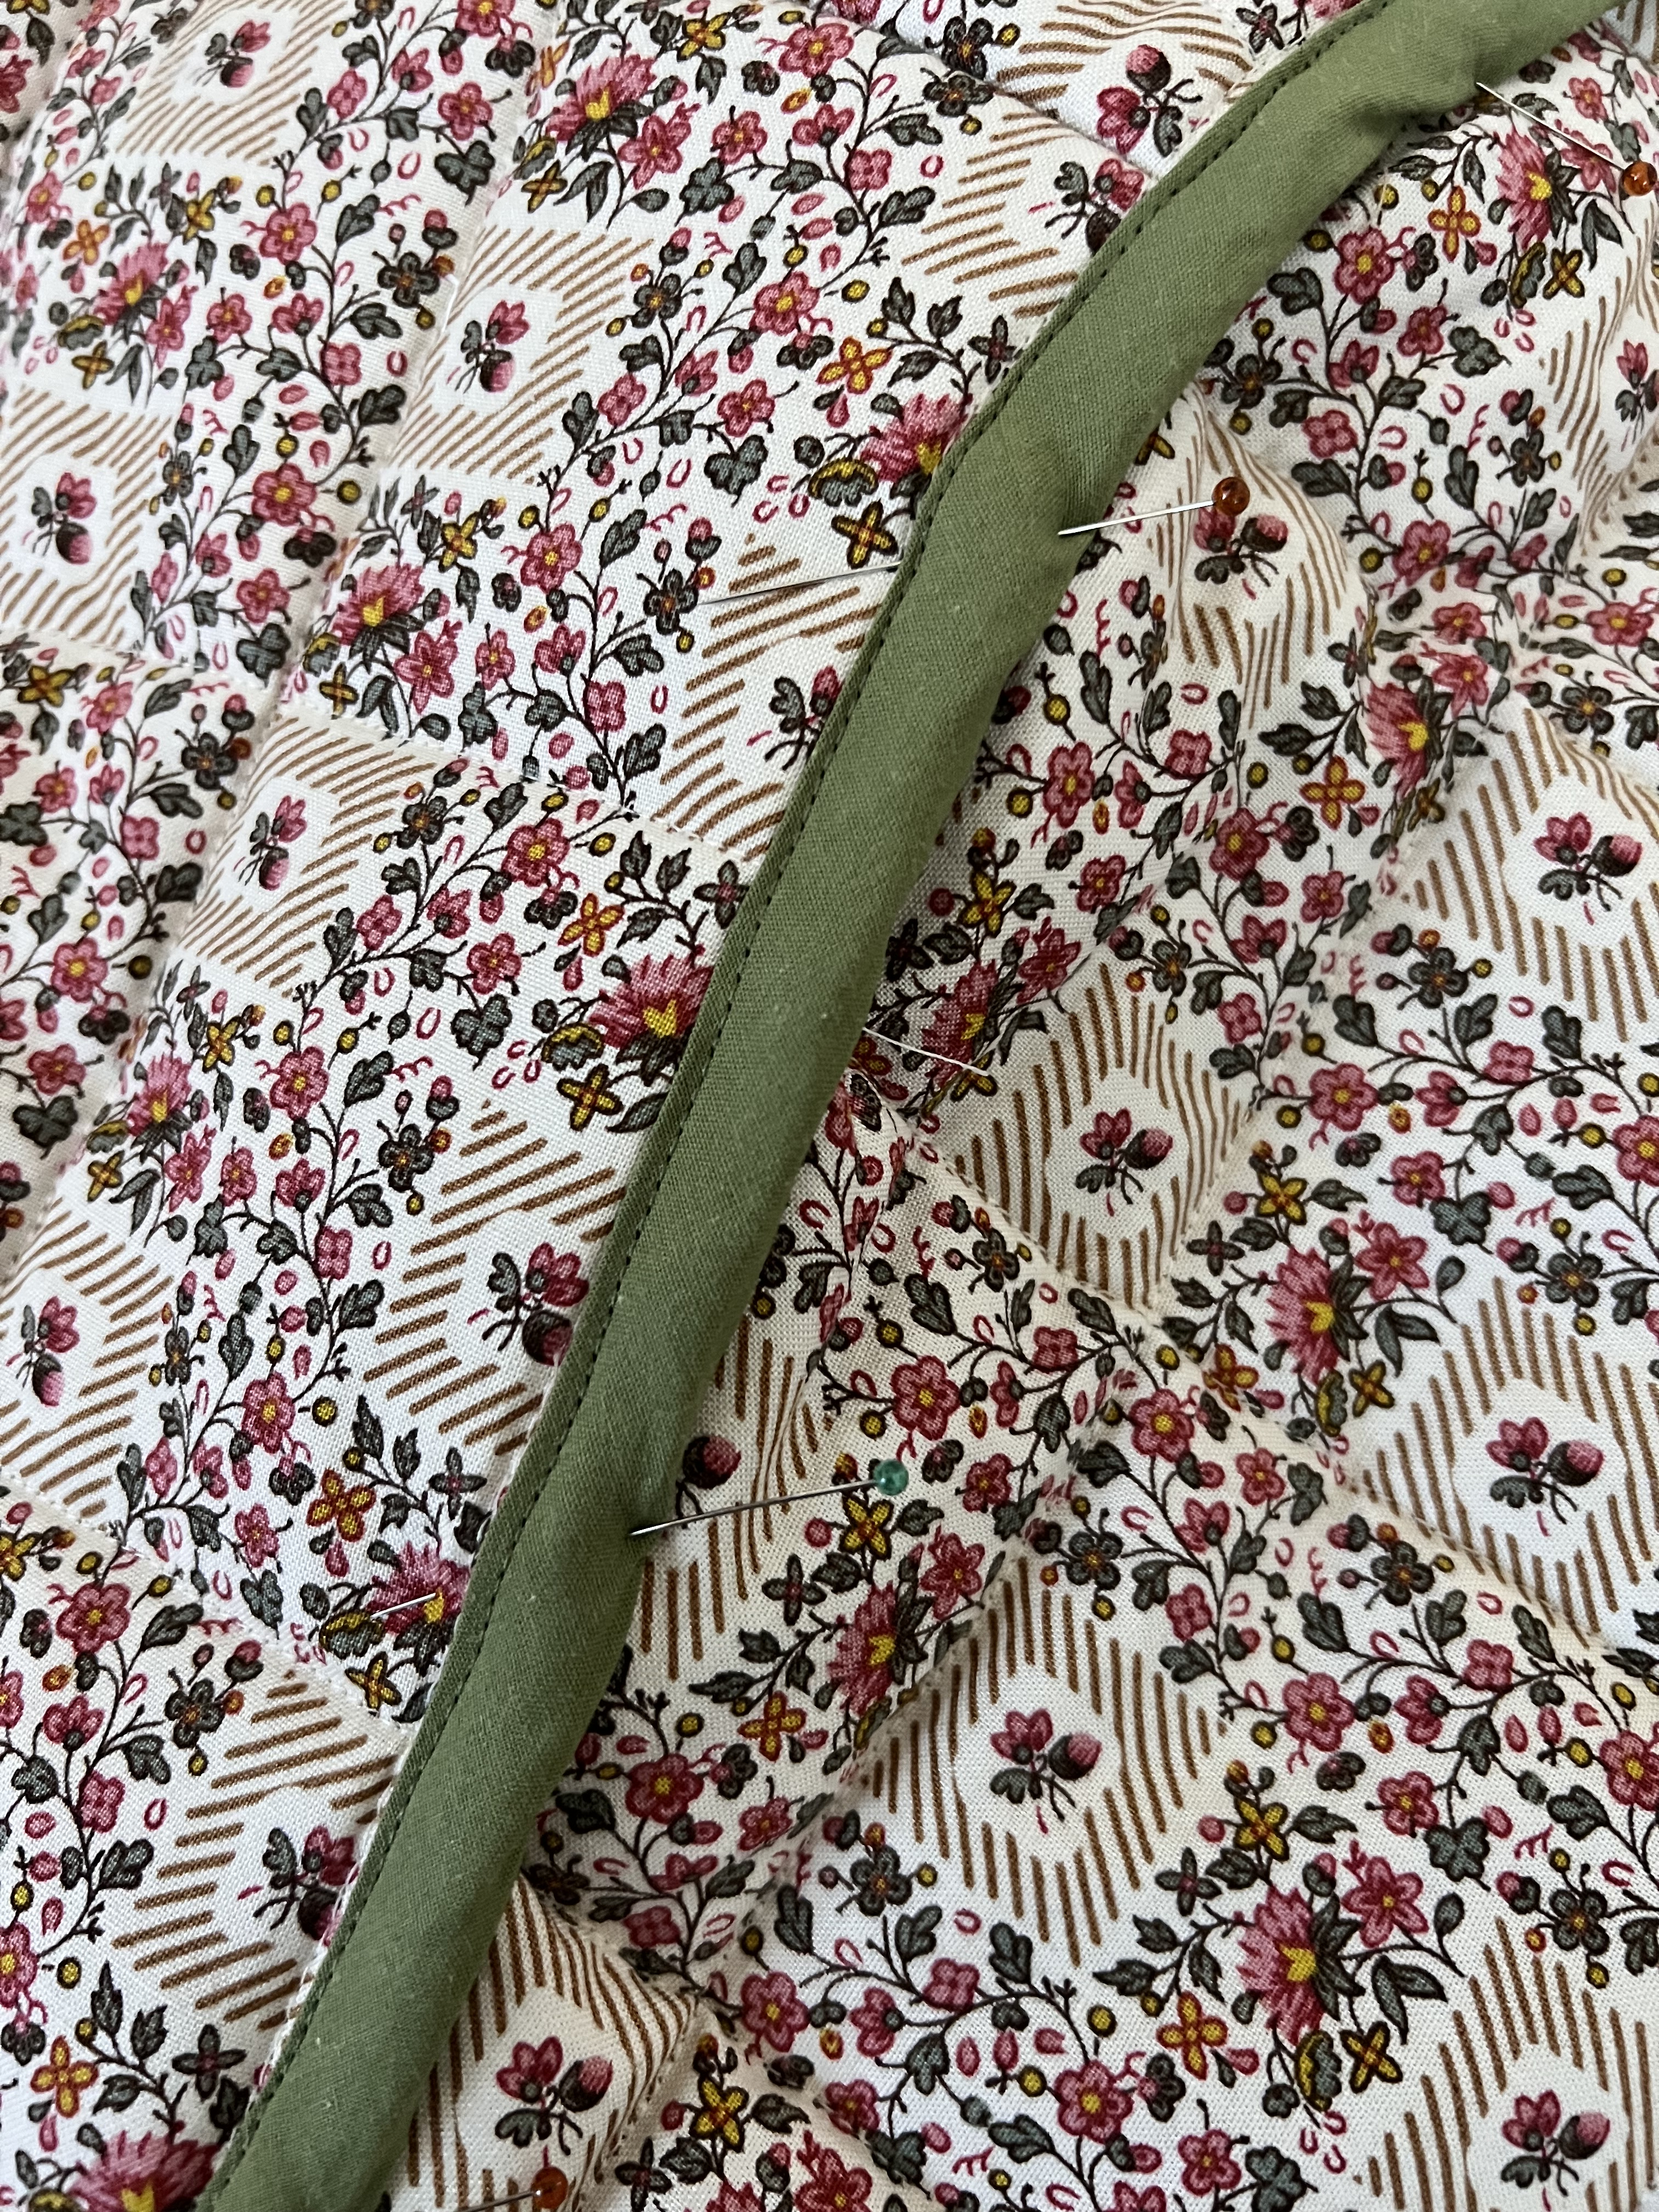
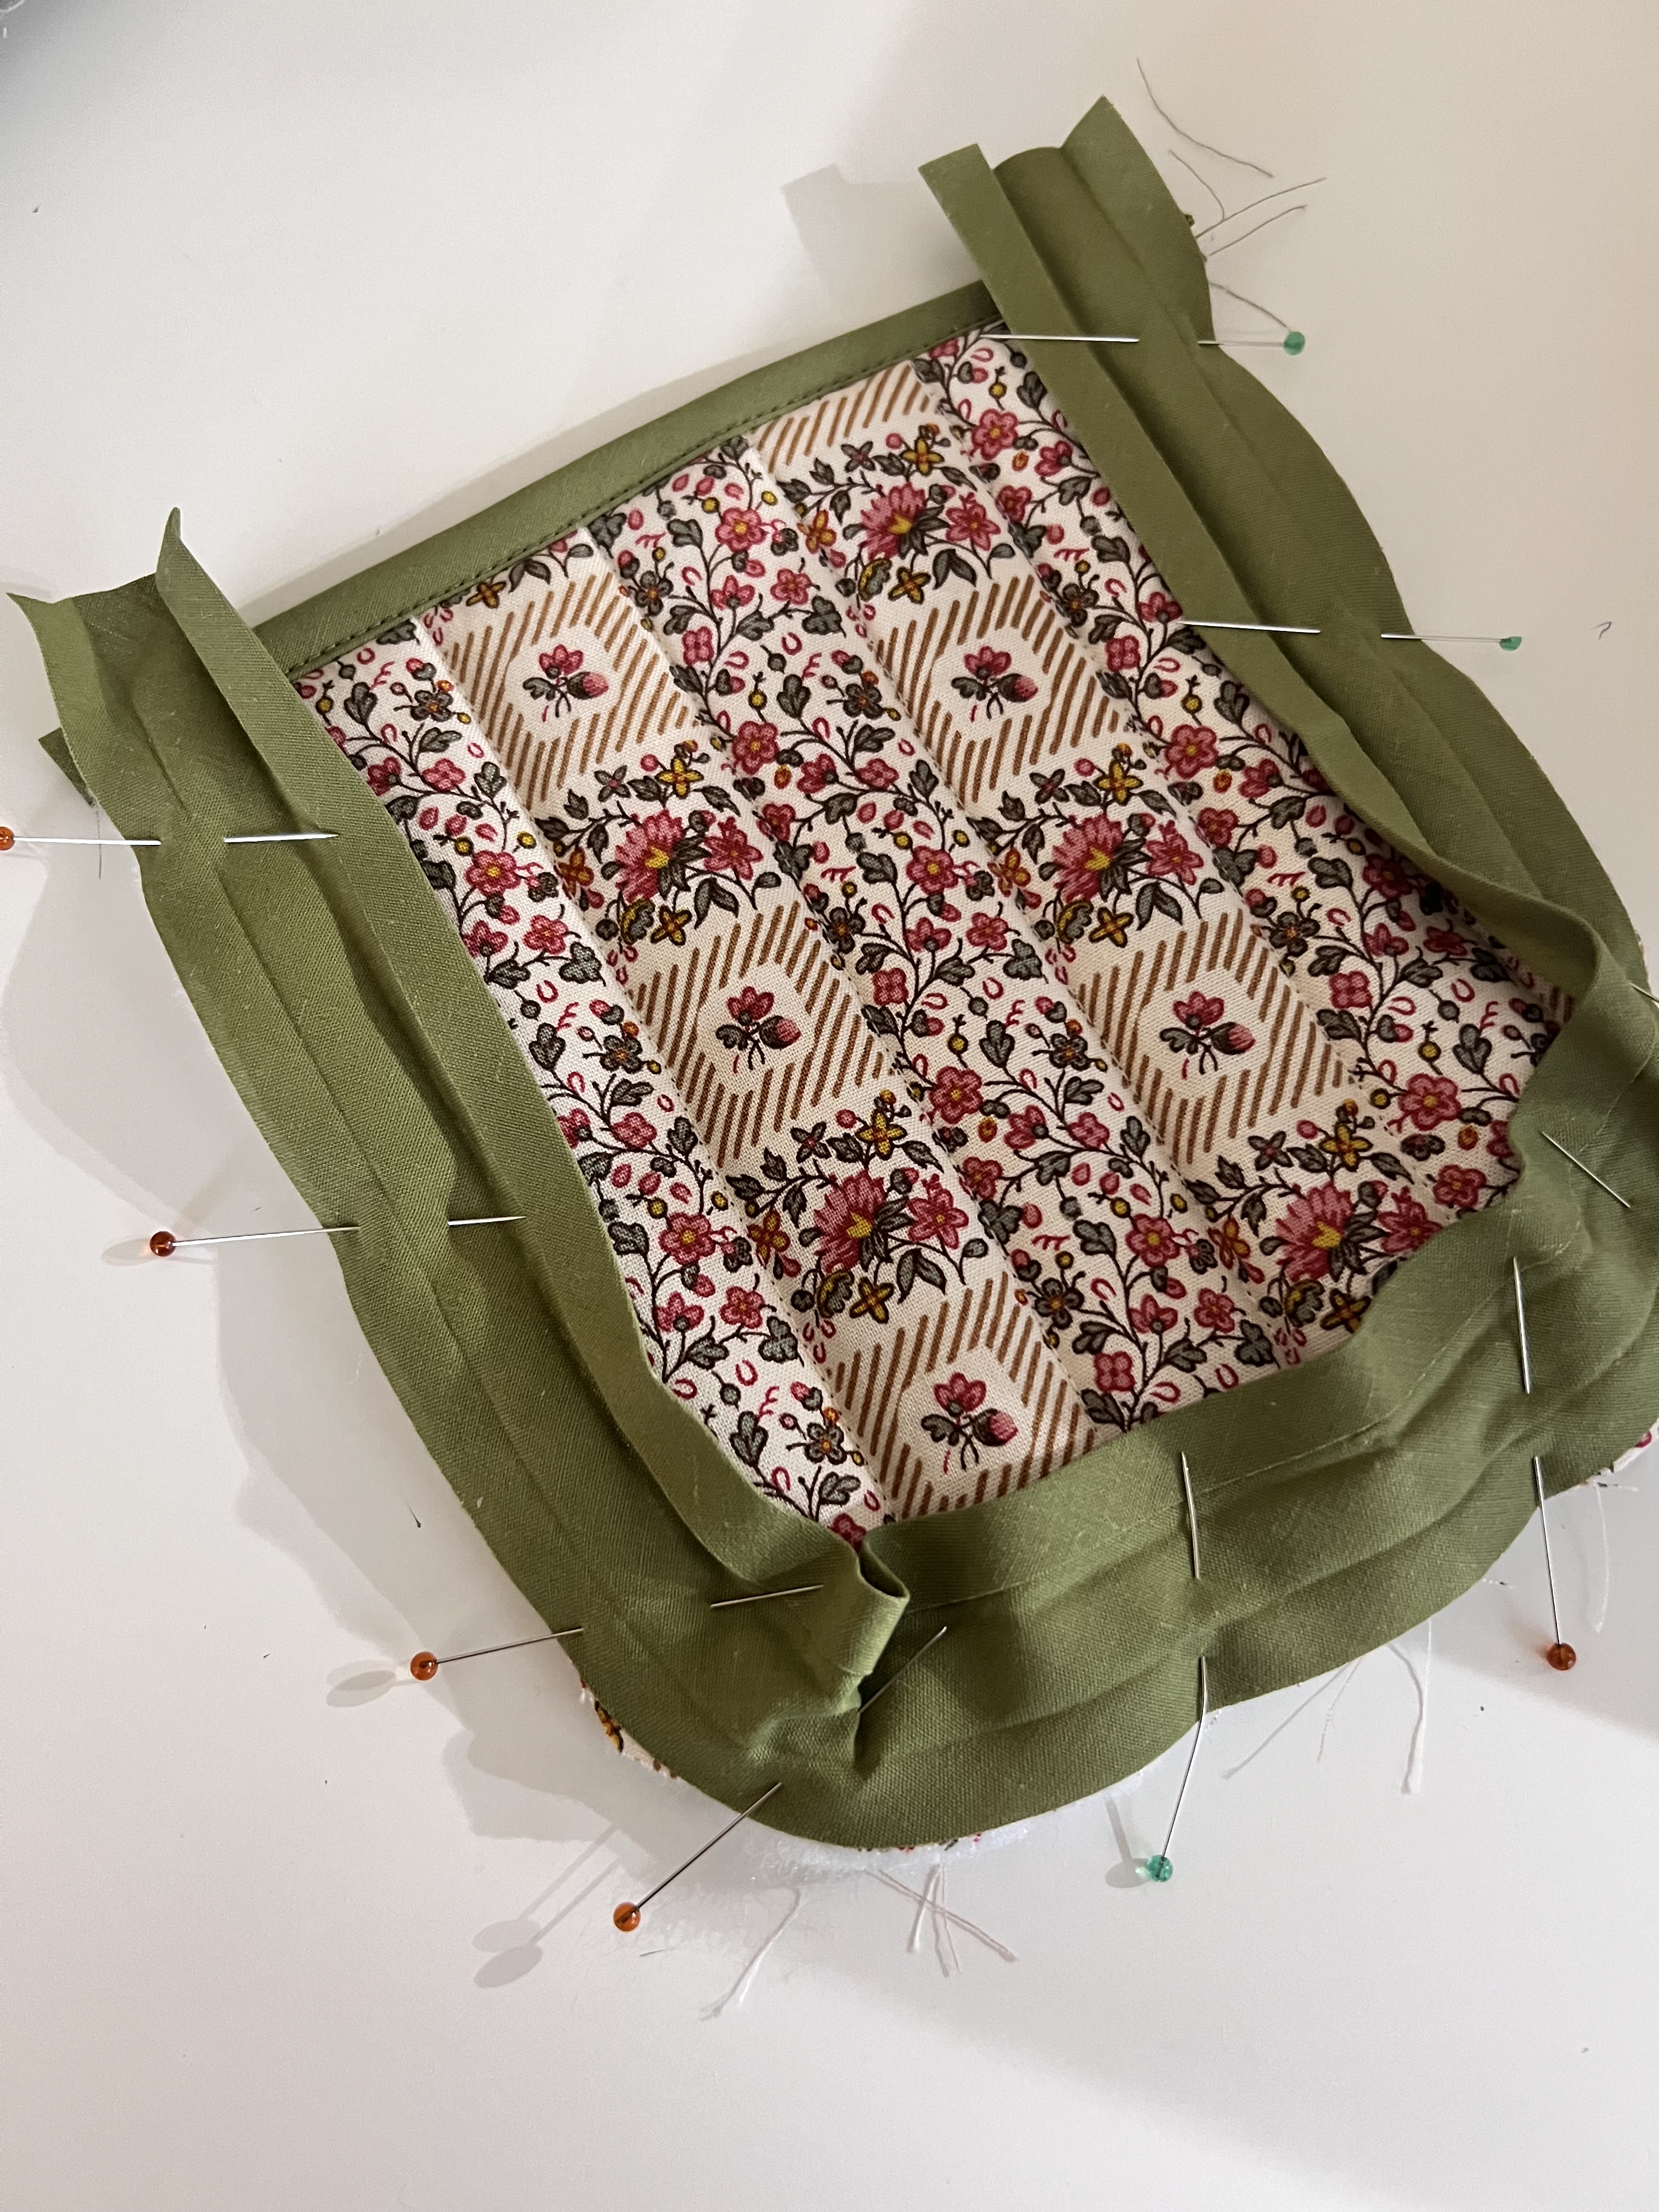
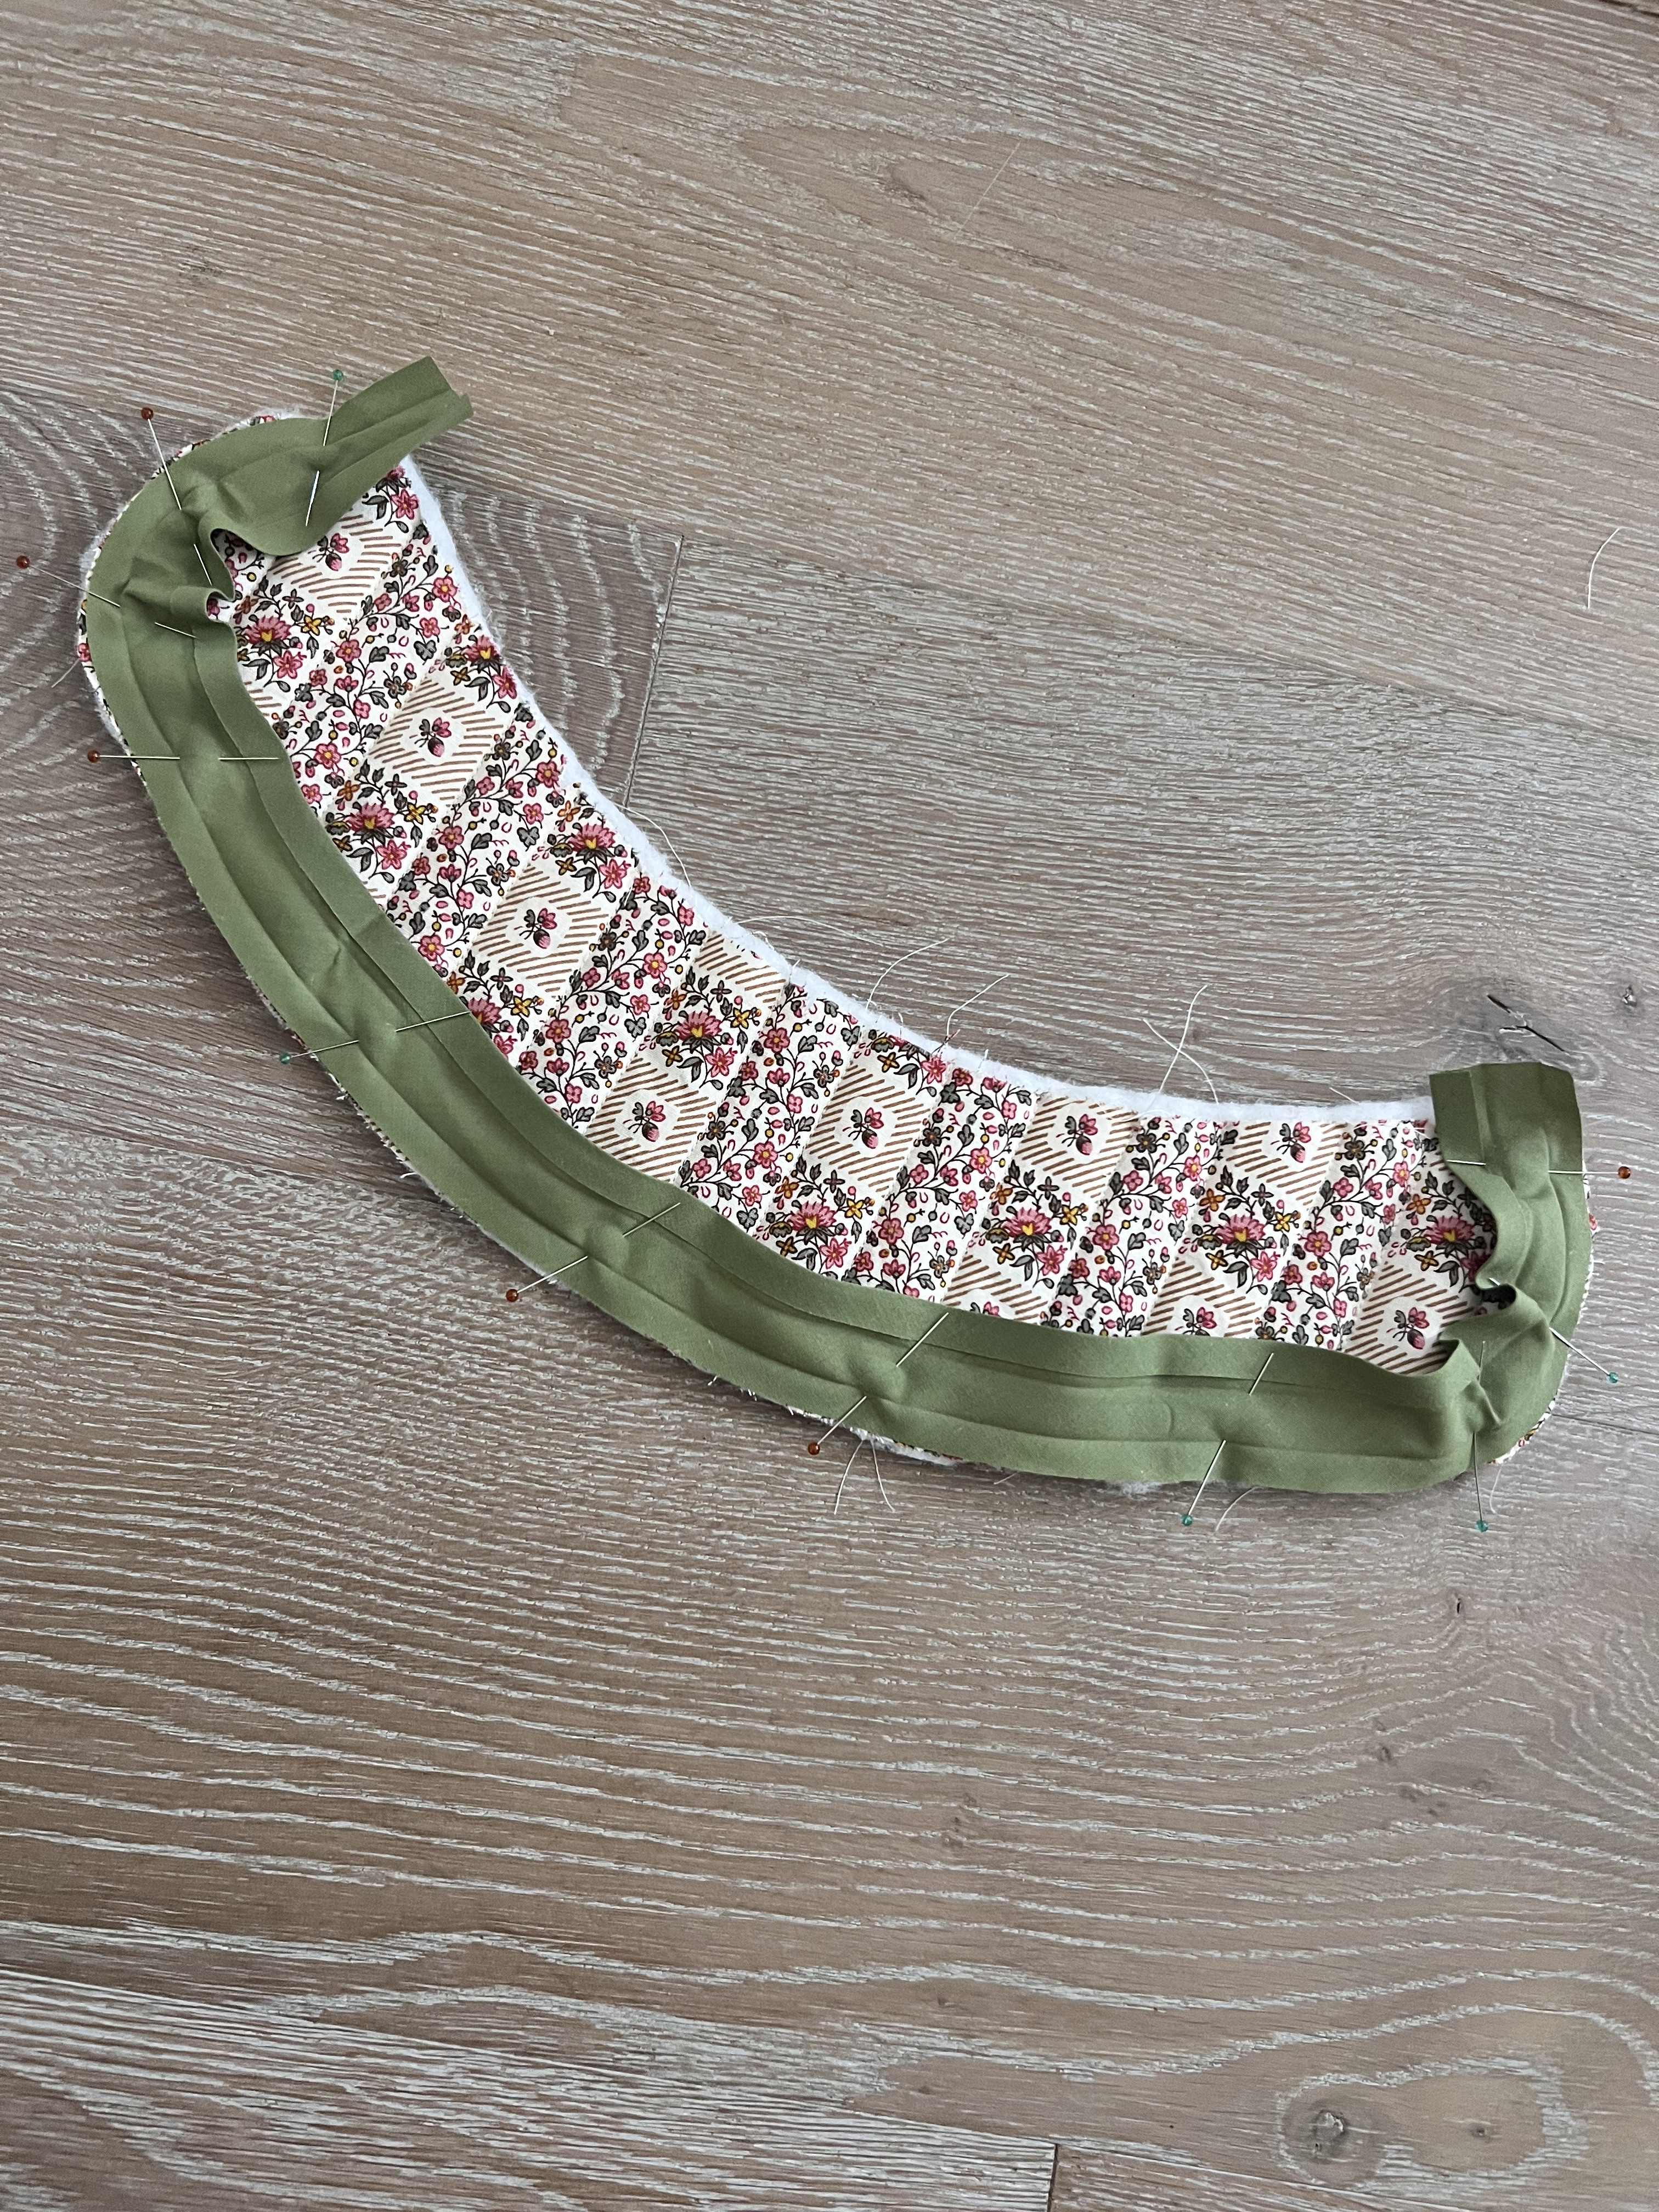
Next, apply the bias tape. Open up the tape and align one edge along the raw edge of the finished seam. Pin in place. Sew along the crease of the bias binding.
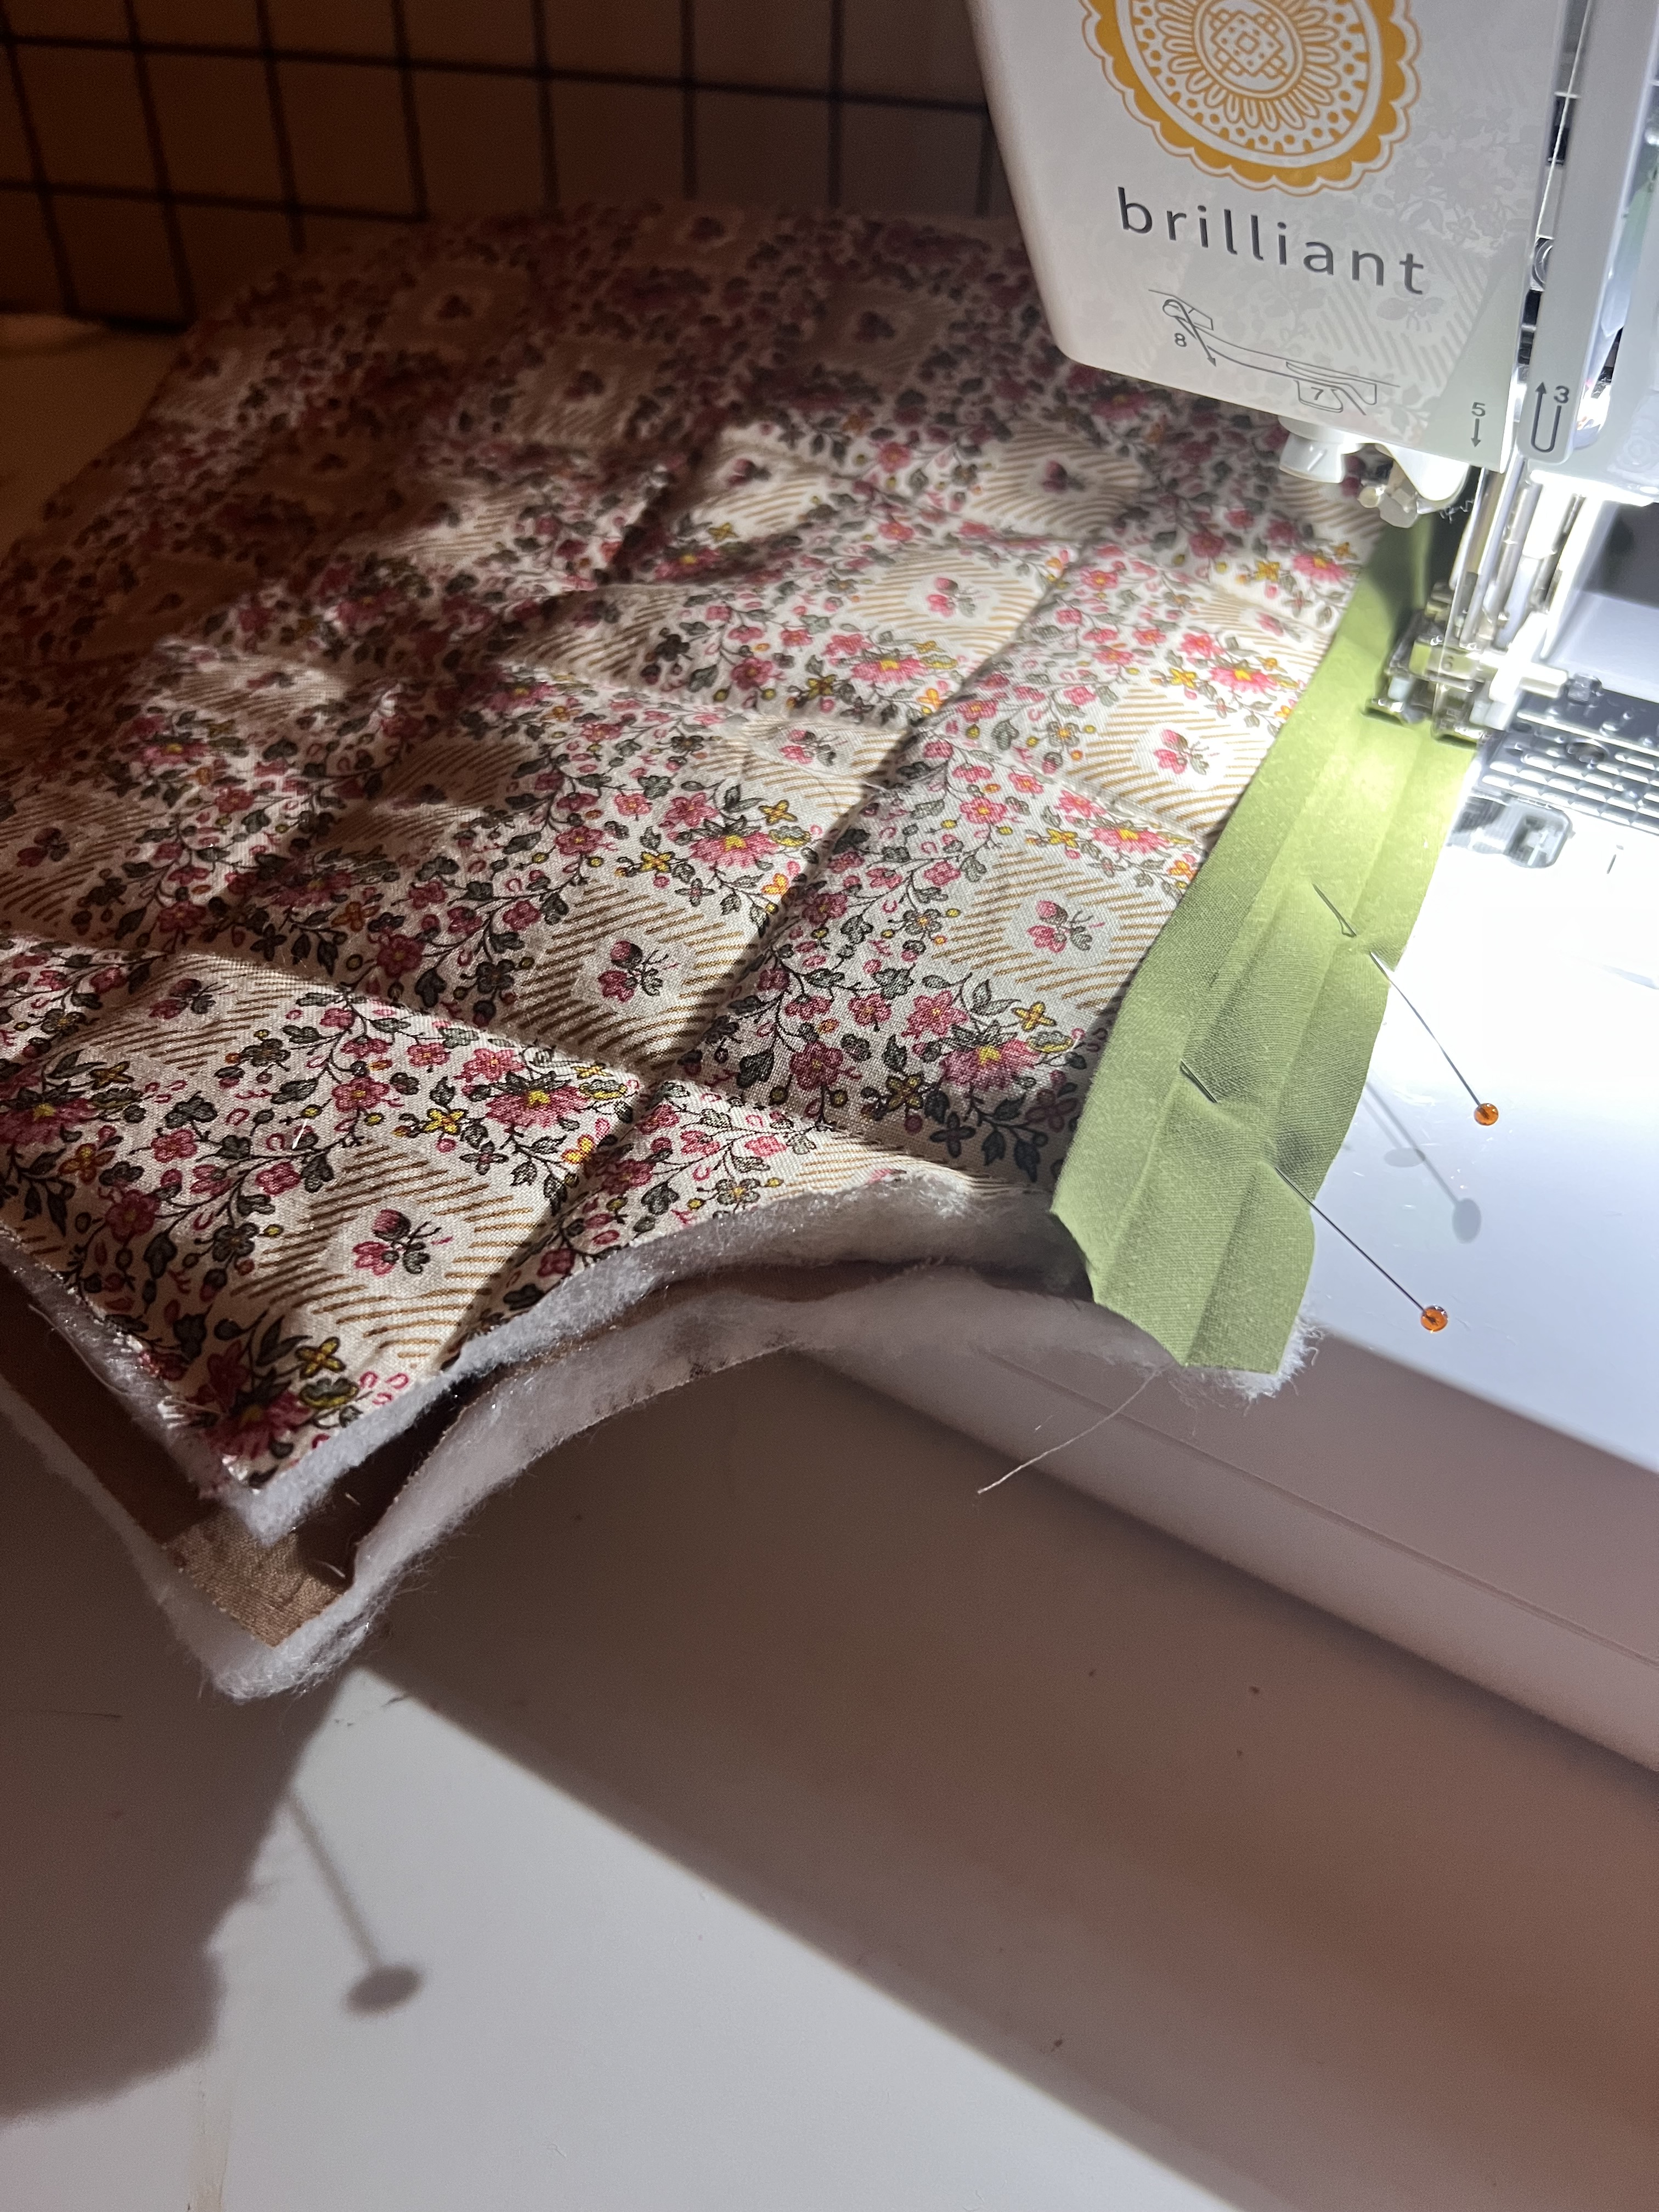
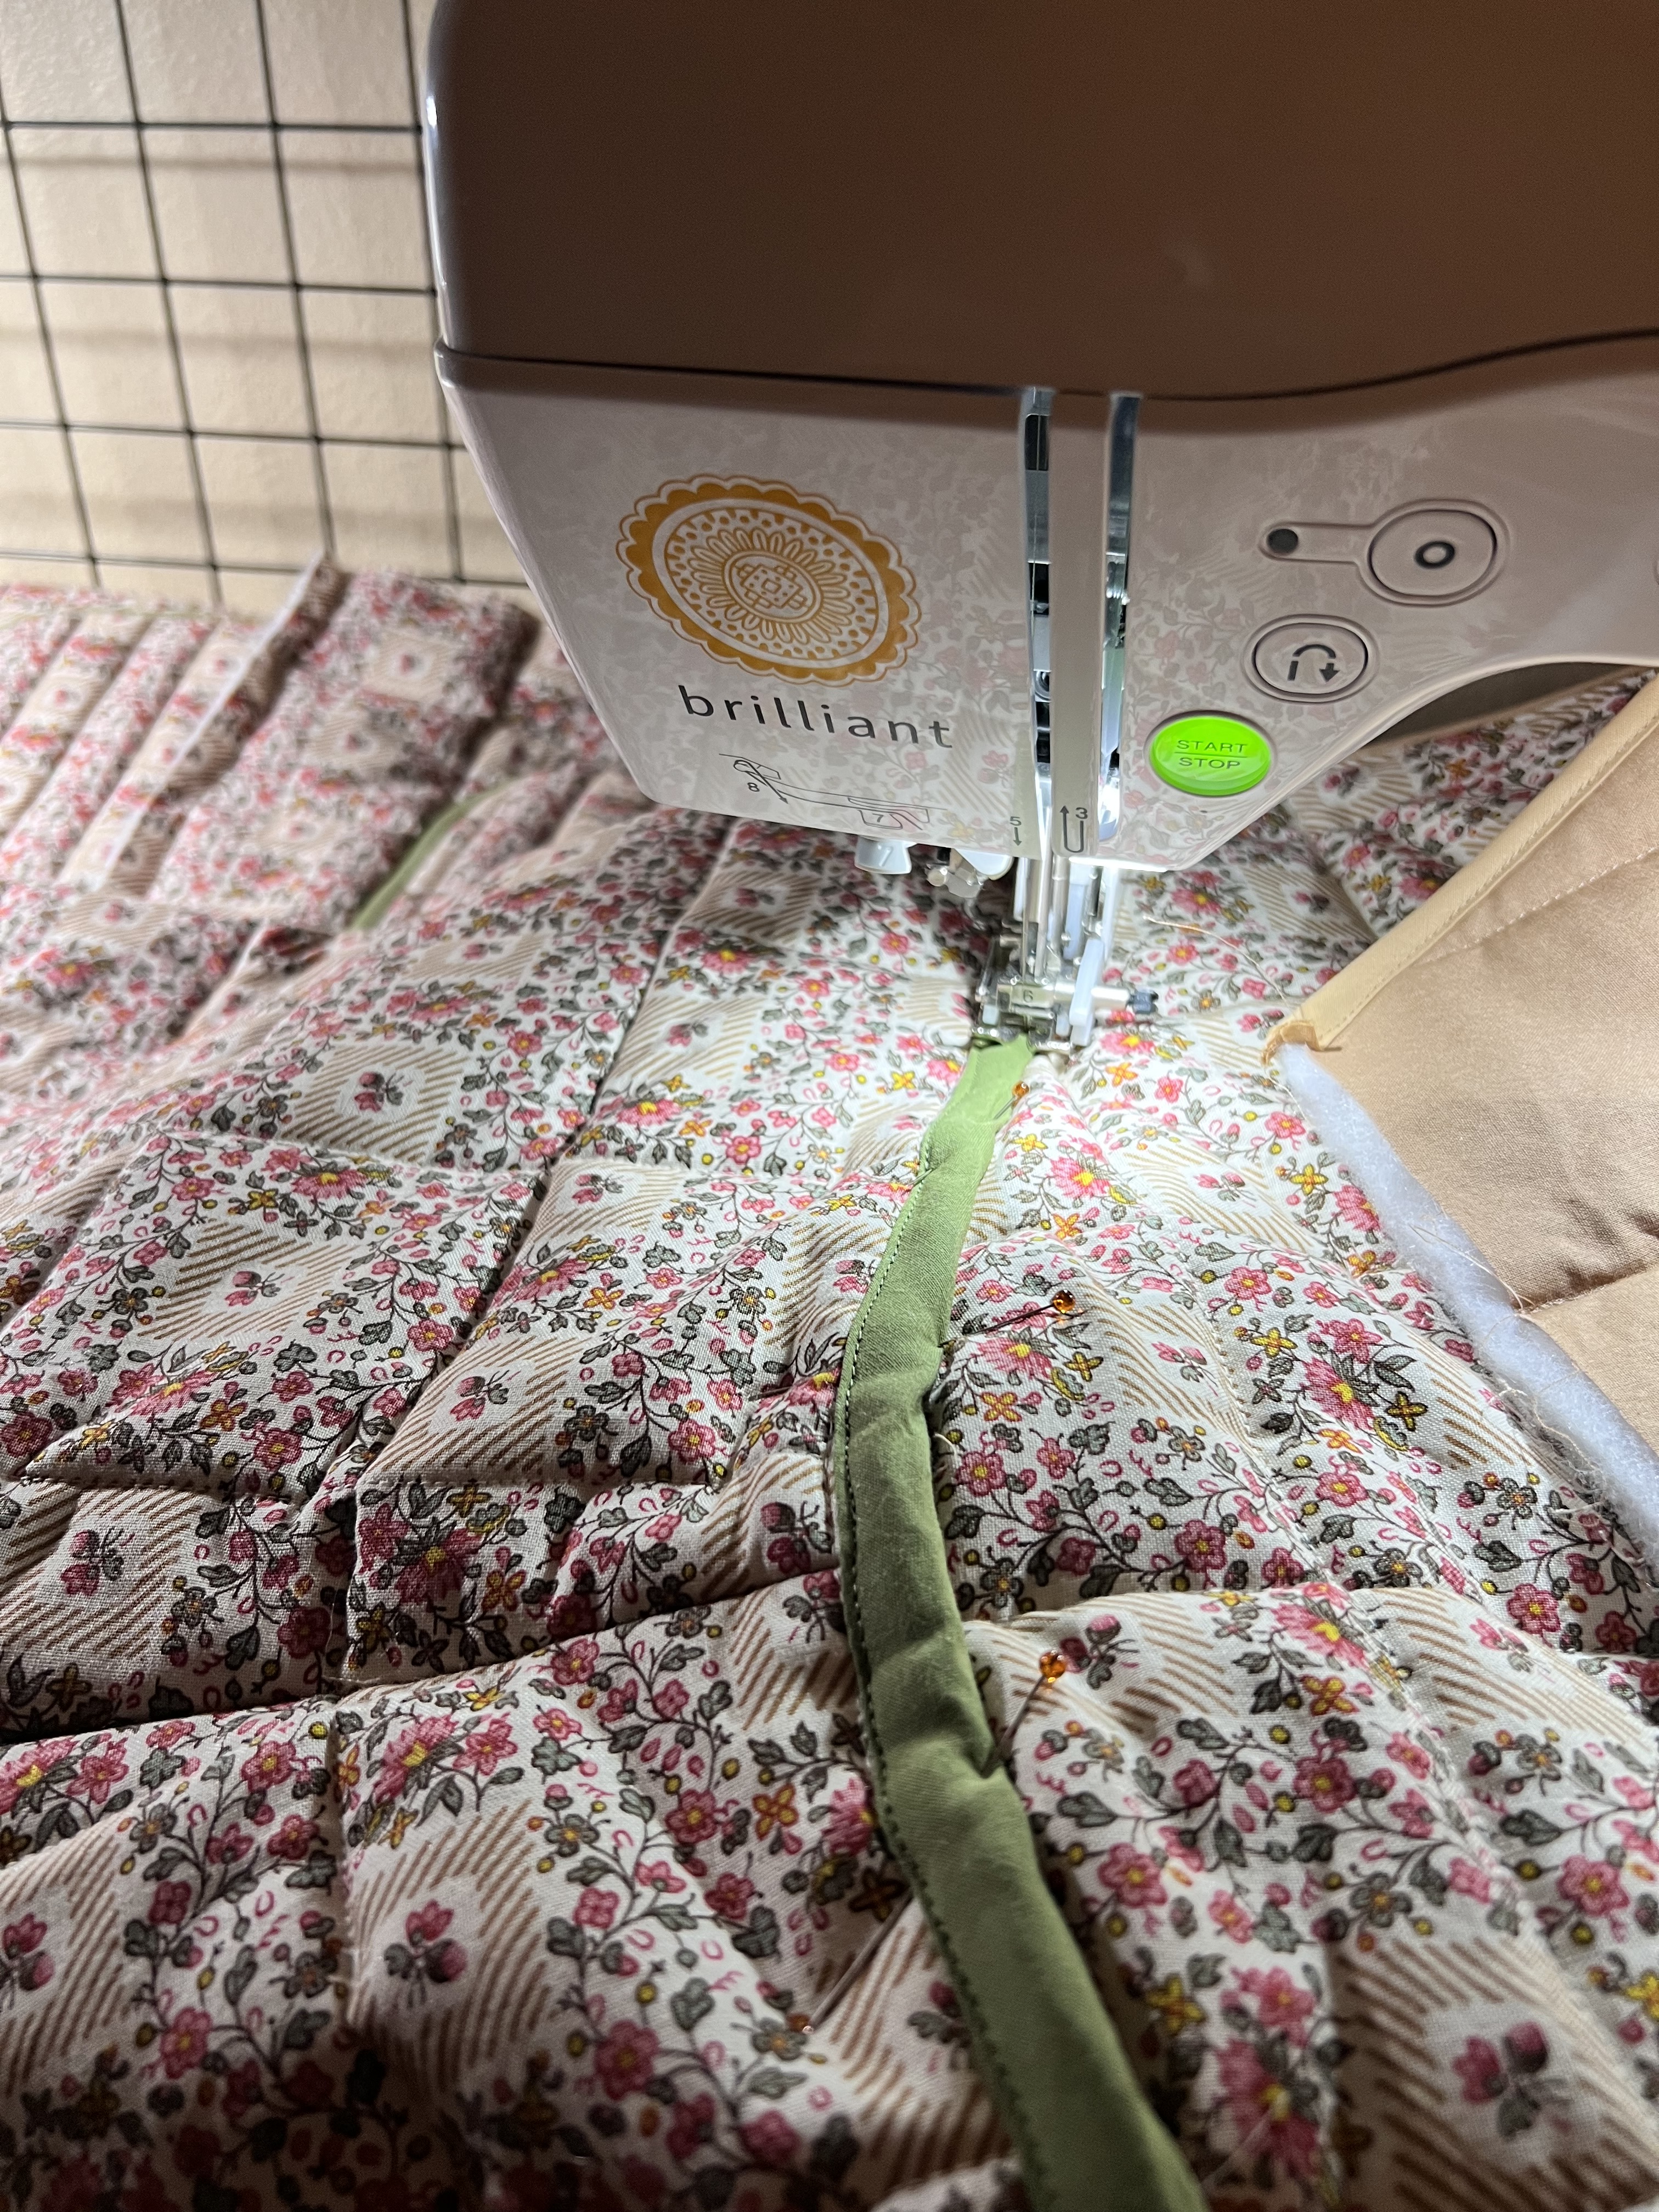
Now fold the bias tape over the seam allowance covering the previous stitches and pin in place again. Sew along the edge of the attached side of the tape to finish, making sure to catch the loose edge of the tape on the other side of the seam.
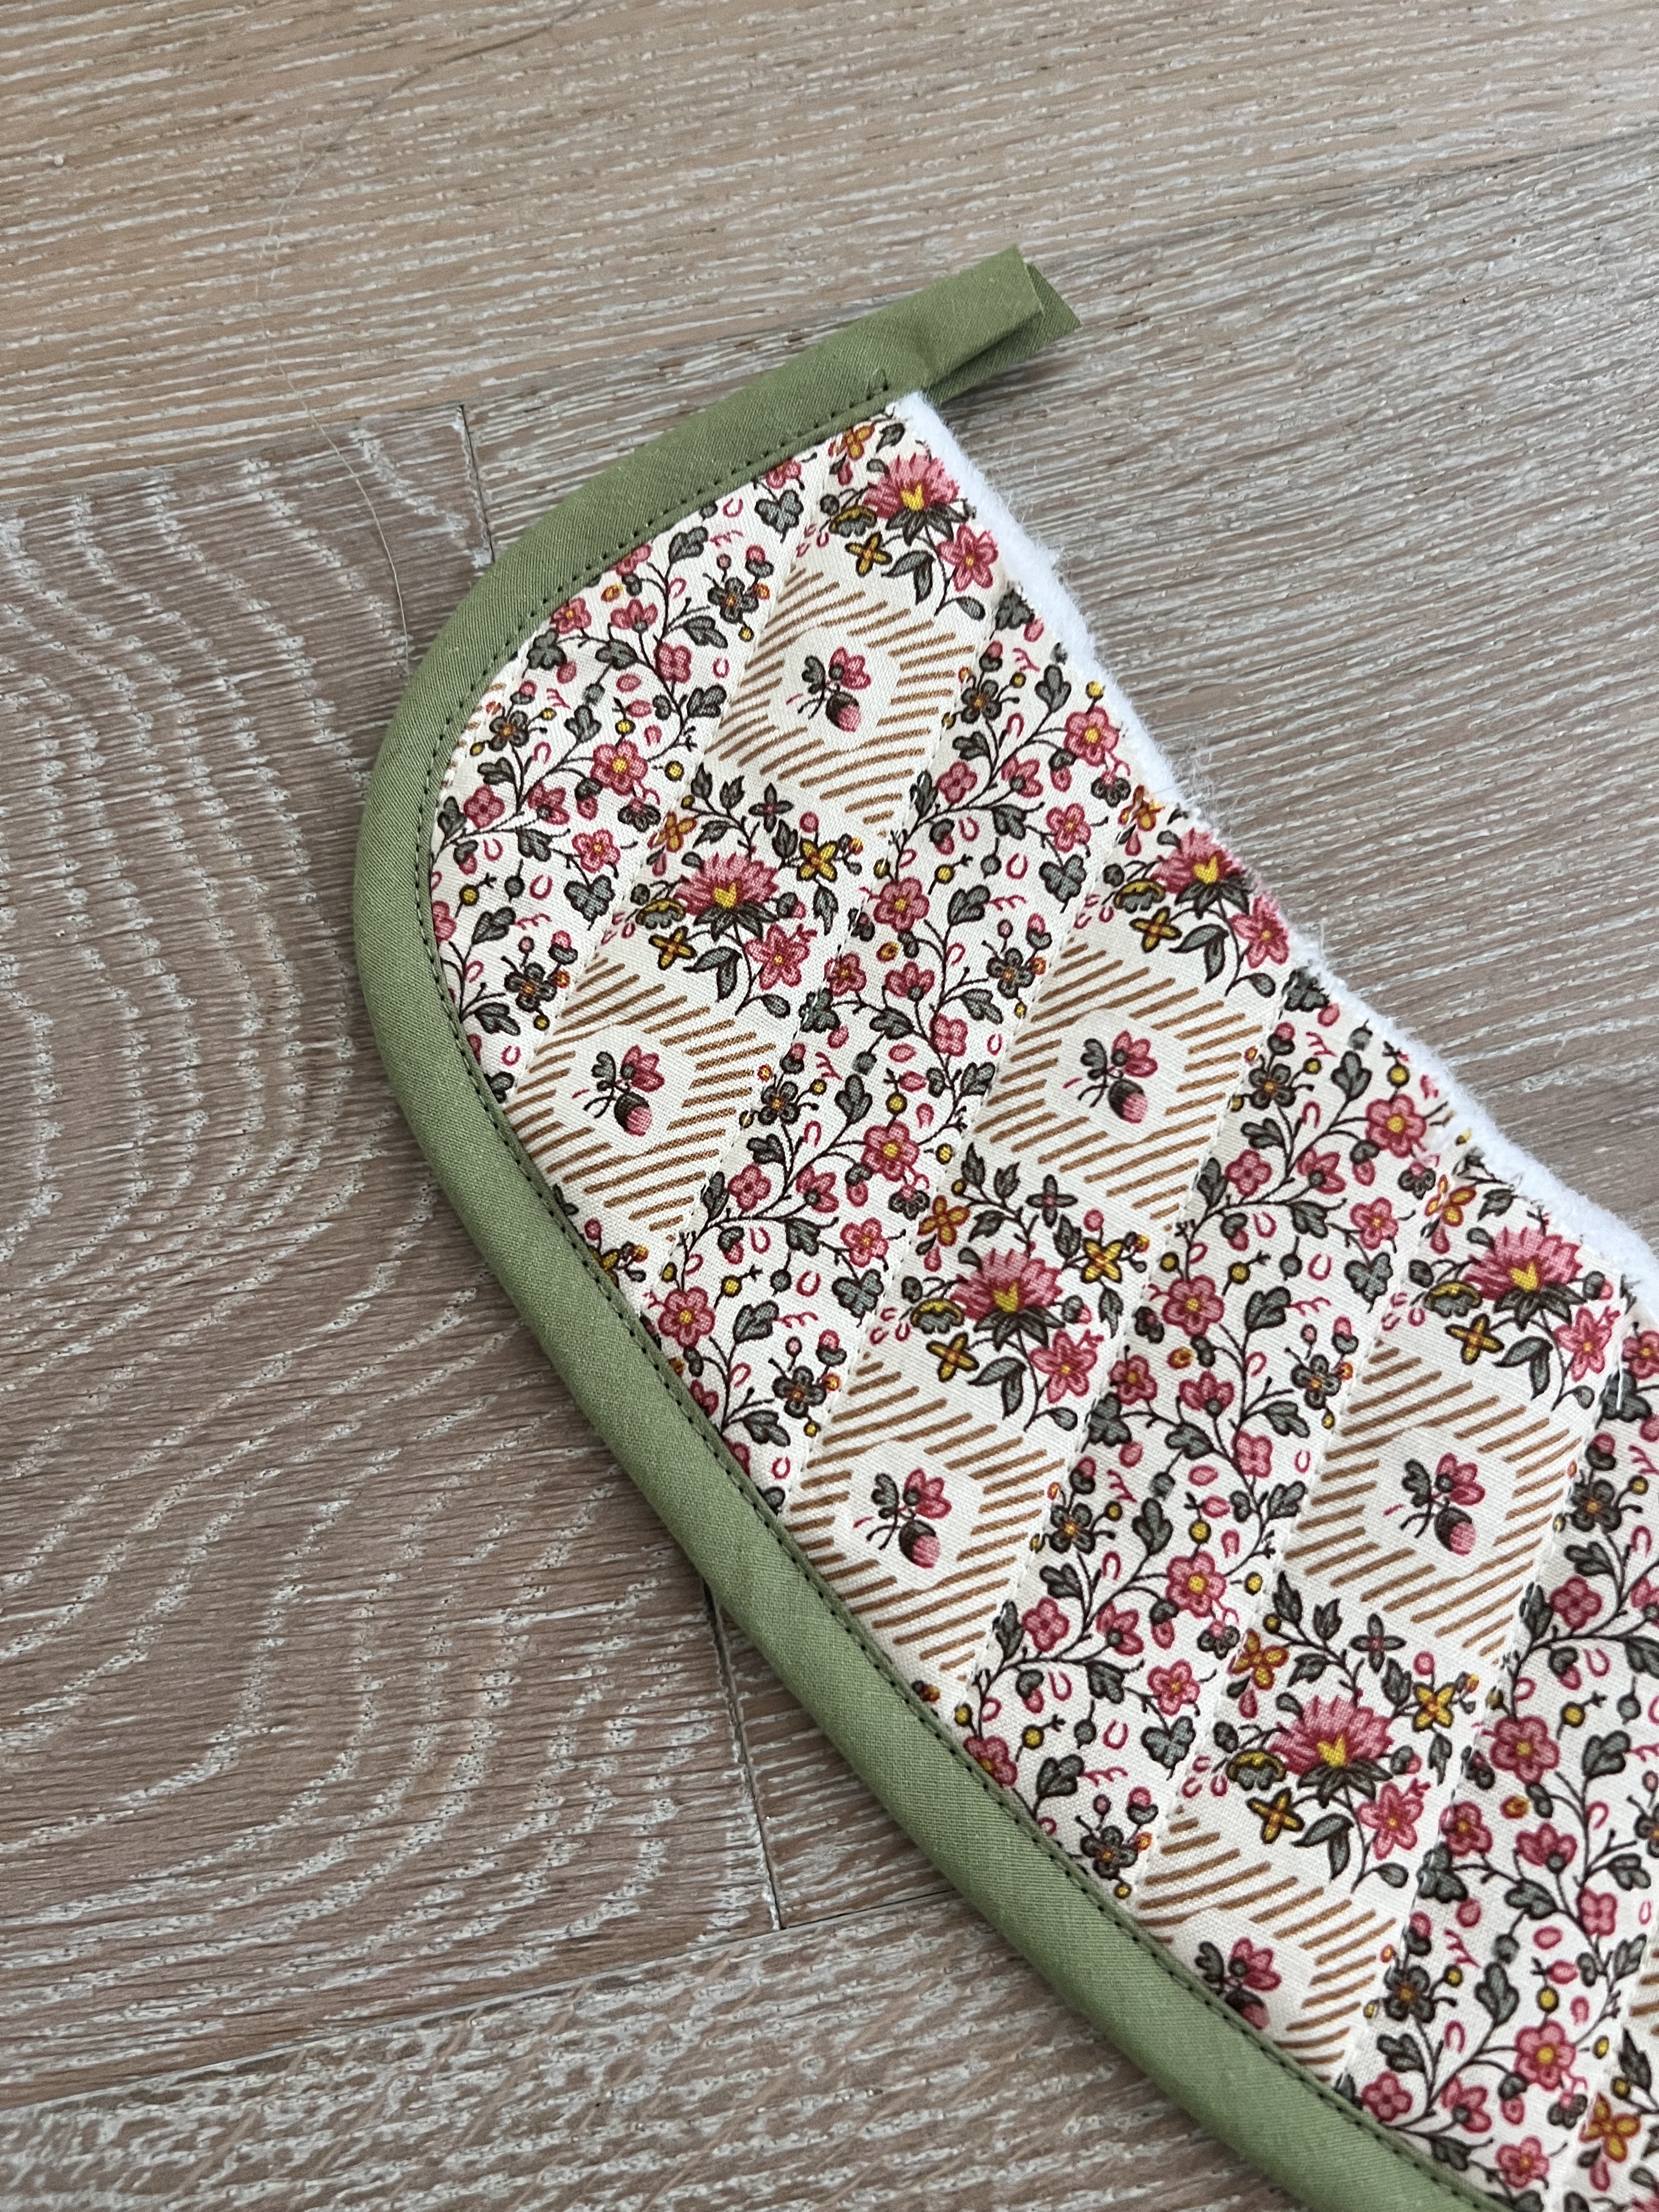
Lastly, open up the back bodice so it’s laying flat and press the finished seam flat. Edge stitch the loose side of the tape down on the other side. Now you’re ready to move on to the next step, attaching the shoulder seams.
Shoulder Seam Exposed Bias Binding Construction:
First, pin and sew the sleeves and drop shoulder seam wrong sides together, just like we did for the back bodice seam.
Next, apply bias tape to the raw edge of the shoulder seam, just like before to finish the seam.
Flip the tape over to the other side of the seam, pin and edge stitch in place just like we did with the back bodice seam.


Press flat, and stitch the loose edge down, again just like we did with the back bodice.
From this point, pin and sew the sleeve and side seam right sides together just as the pattern instructions direct. The seams can be a little thick right at the underarm area. I used my hand wheel to go really slow over this area to avoid breaking a needle.
Patch Pocket Construction:
First, quilt the pocket piece just as you did all of the other pieces. You can use a different quilting pattern here if you’d like. Then apply bias tape all around the pocket just like we did in the past steps. You can apply along the top first, and then finish around the sides like I did, or (what I should of done) is use one long piece and miter the top corners. I folded the tape under to finish my top edges. It was late and I wasn’t thinking clearly. I would miter the corners if I were you, it will give you a really nice finish. You can Youtube how to miter bias binding. Either way is acceptable. 🙂

Once the pocket is finished, pin it on the jacket front where you want it to go, and edge stitch in place around the edge of the bias tape of the pocket. Don’t forget to reinforce the top corners, and match the pocket on the other front side of the jacket.
Collar Construction:
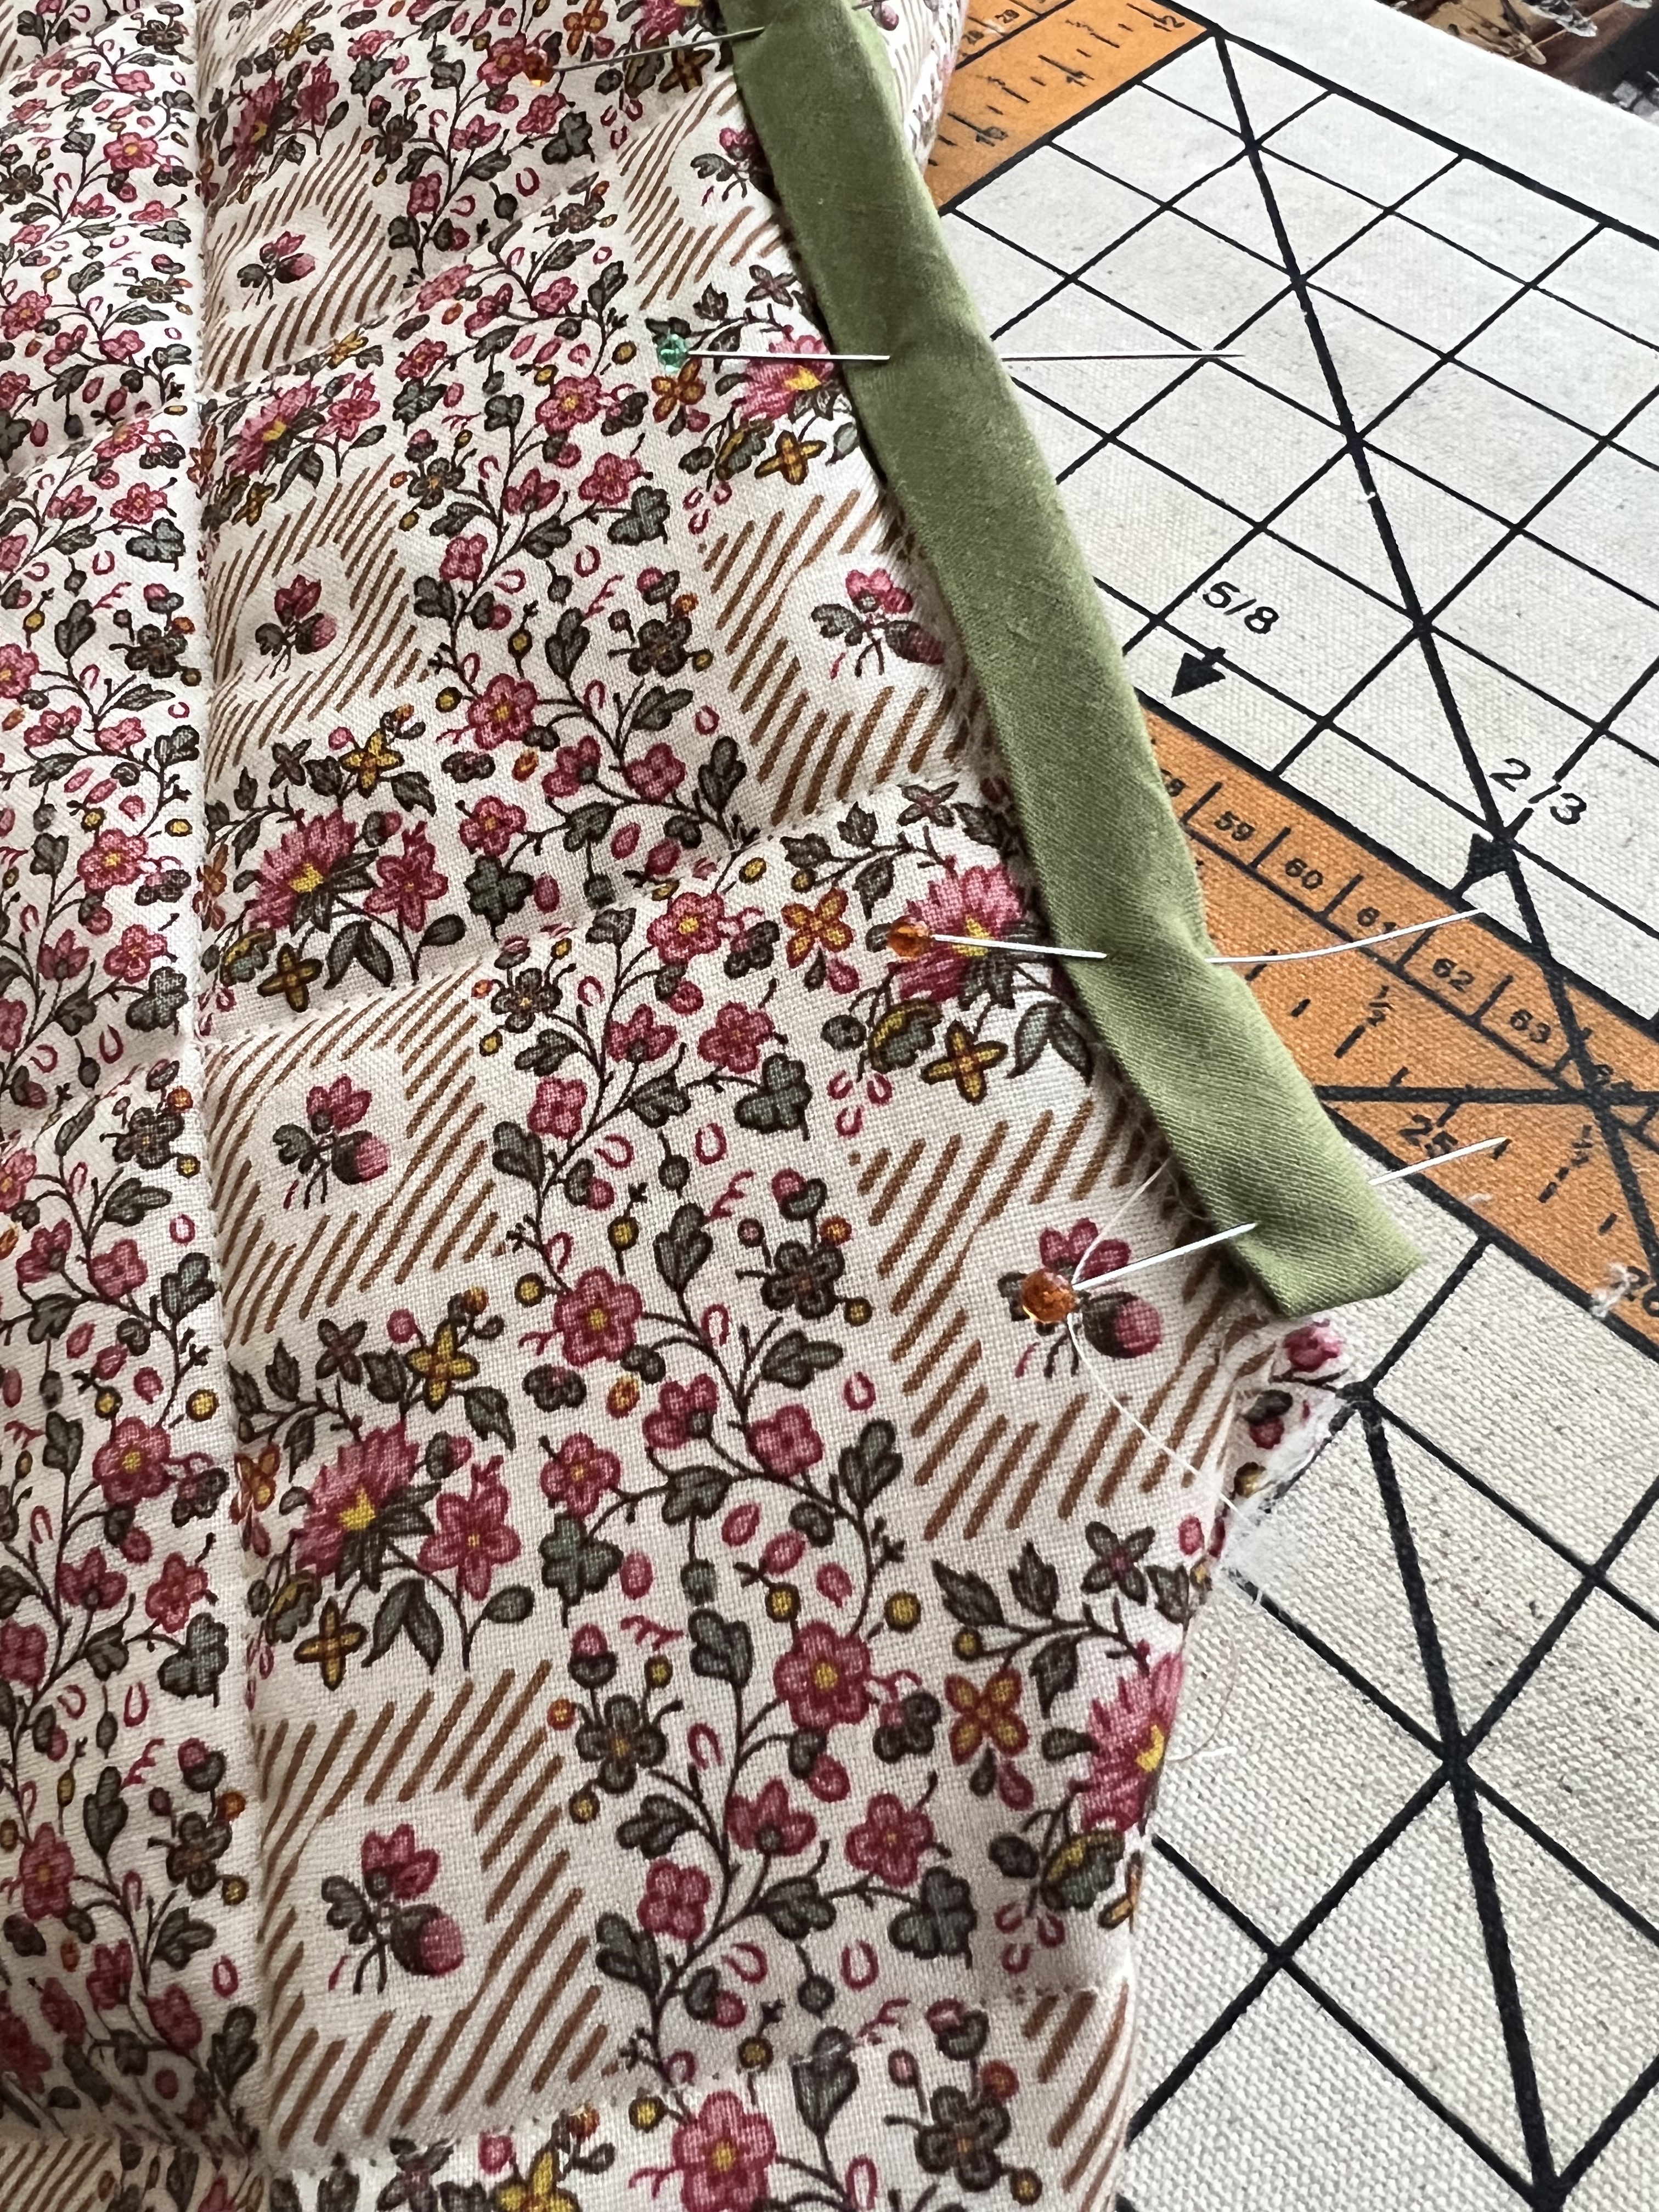
Please note: I did not take off the 5/8″ seam allowance around collar edge before applying the bias tape. If you were to sew the collar as instructed, you would lose 5/8ths along the collar edge. I wanted my collar to be bigger, so I didn’t trim it off.
Apply the bias tape along the raw outer edge of the quilted collar. Sew in place. Flip it over and edge stitch along the top of the collar, catching the loose edge of bias tape underneath to finish.
For the collar stand, I decided to interface BOTH pieces, and not quilt it. This worked out perfectly, not too thick as most of it had some batting in it from the seam allowances it connects to already. I would recommend doing it this way if you are using a thicker batting too. From here, you can finish the collar as directed by the pattern instructions.

I decided to go with the original pattern collar instead of a standing collar like the free people jacket because I love the sweetness the peter pan collar adds. I think it goes really well with the fabric I picked too. So so cute.
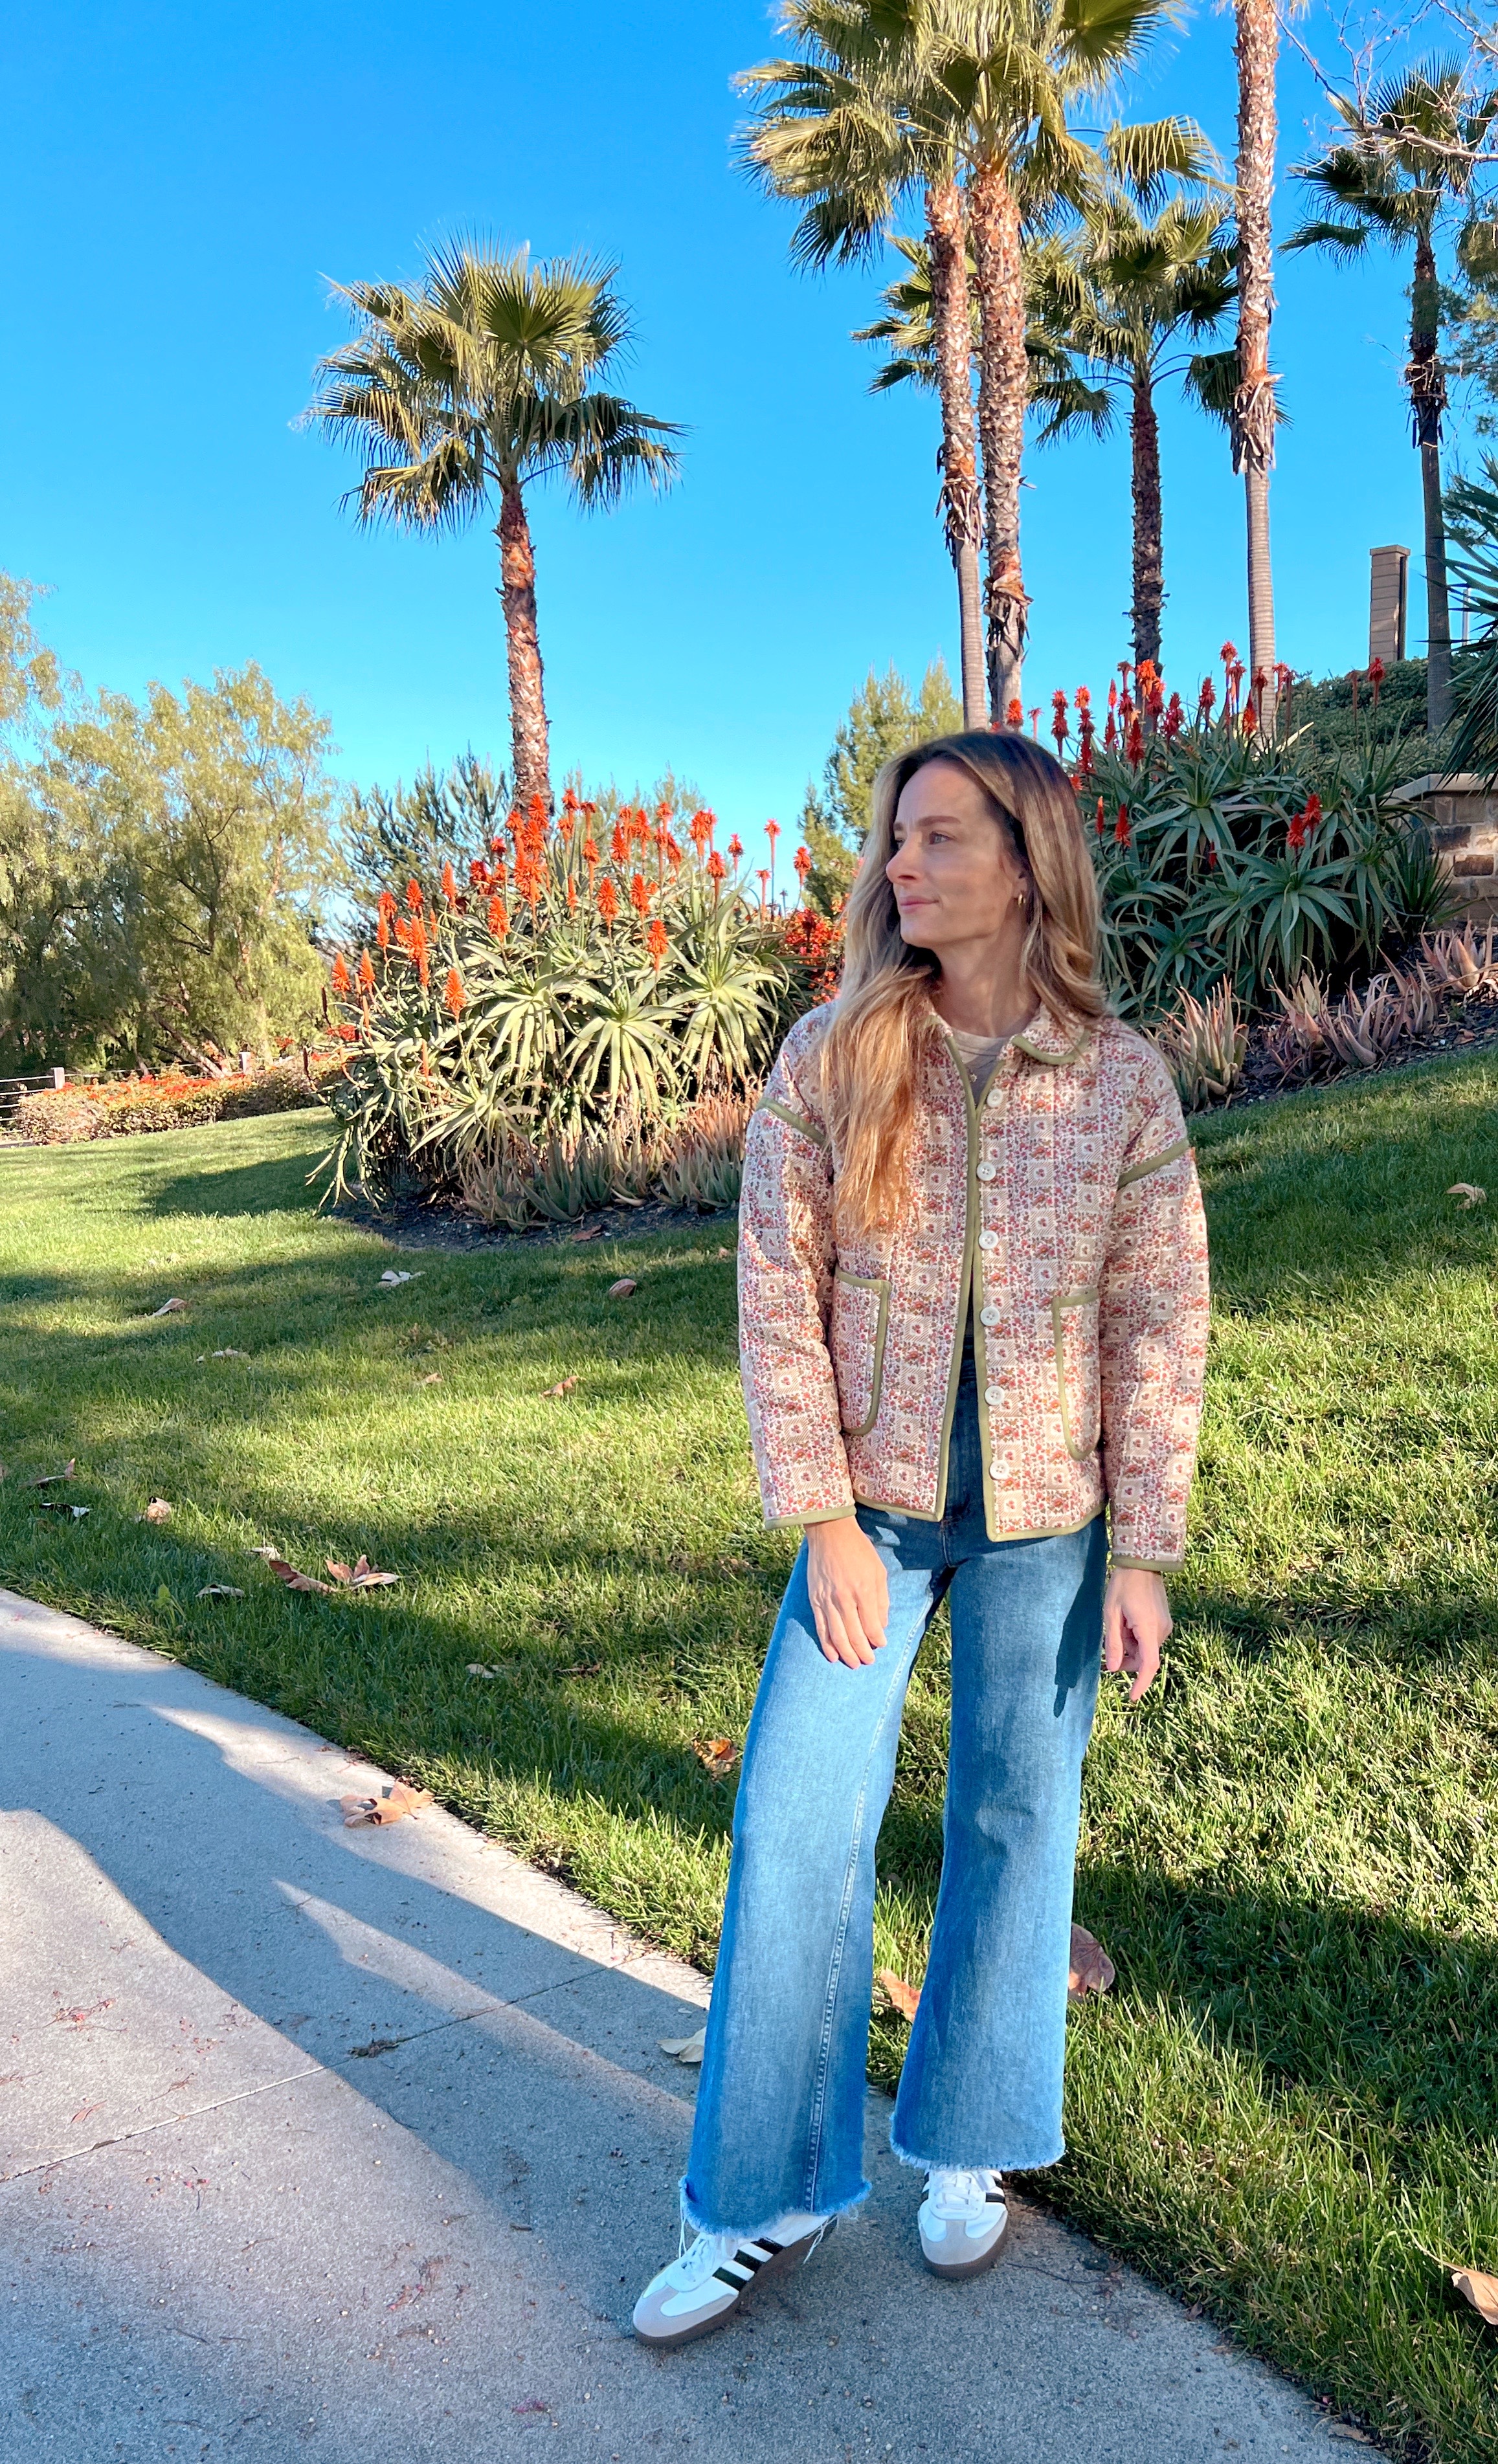

I’m so happy with the jacket. It was truly a labor of love! I know it will gets lots of wear and love over the years. I think it will soften with wear and wash giving it a less stiff look over time. Will be a fun one to pass down to my kids one day.
Thanks for following along! Please let me know if you have any questions in the comments and I’ll get right back to you. Happy sewing!


Leave a comment