


This post is sponsored by Baby Lock who I am an ambassador for. This post also contains affiliate links which provide me a small earning from any products you purchase through my links.
Hello! I’m so excited to share this tutorial with you all today. The backstory is that 4 days ago I saw these amazing quilted bandana tote bags made by a company in Paris, and I instantly fell in love. I checked the price to look into purchasing one for myself and it was pretty steep. I looked a little closer at the bag and thought, “Hey, I could make that!”.
I remembered Hobby Lobby sells bandanas in several colors for $0.99. That same morning I ran up the street to Hobby Lobby and grabbed a bunch. I found a video online with similar construction details to the bag from the shop in Paris. Basing the measurements off the main bandana piece, I was able to put together a similar bag all my own using my trusty Baby Lock Brilliant sewing machine. In this post I will walk you through the full tutorial to create this ultra cool and totally customizable tote bag! Let’s begin!

Supplies:
- 8 Bandanas in two colors. so 4 of one color and 4 of another. Or go crazy and use many colors.
- Quilting Batting- I used a medium loft poly-fil
- (optional) Sulky Sticky Fabric-Solvy + Embroidery Thread, Needle & Embroidery Hoop
- White Thread
- Interfacing
Bag Pattern Pieces:
- 4 Bandanas for front and back (2 of each color)
- Sides-20cm x 43cm (cut 2 in each color for 4 total)
- Short Strap-9.5cm x22cm (cut 2 out of bag side color)
- Long Strap- 61cmx22cm (cut 2 out of bag main color)
- (Optional) Inside Pocket: 7 1/2″ x 11″ (cut 2)
Construction:
*When I say “Main” that means the outside bandana color and “Lining” inside bandana pieces and colors.
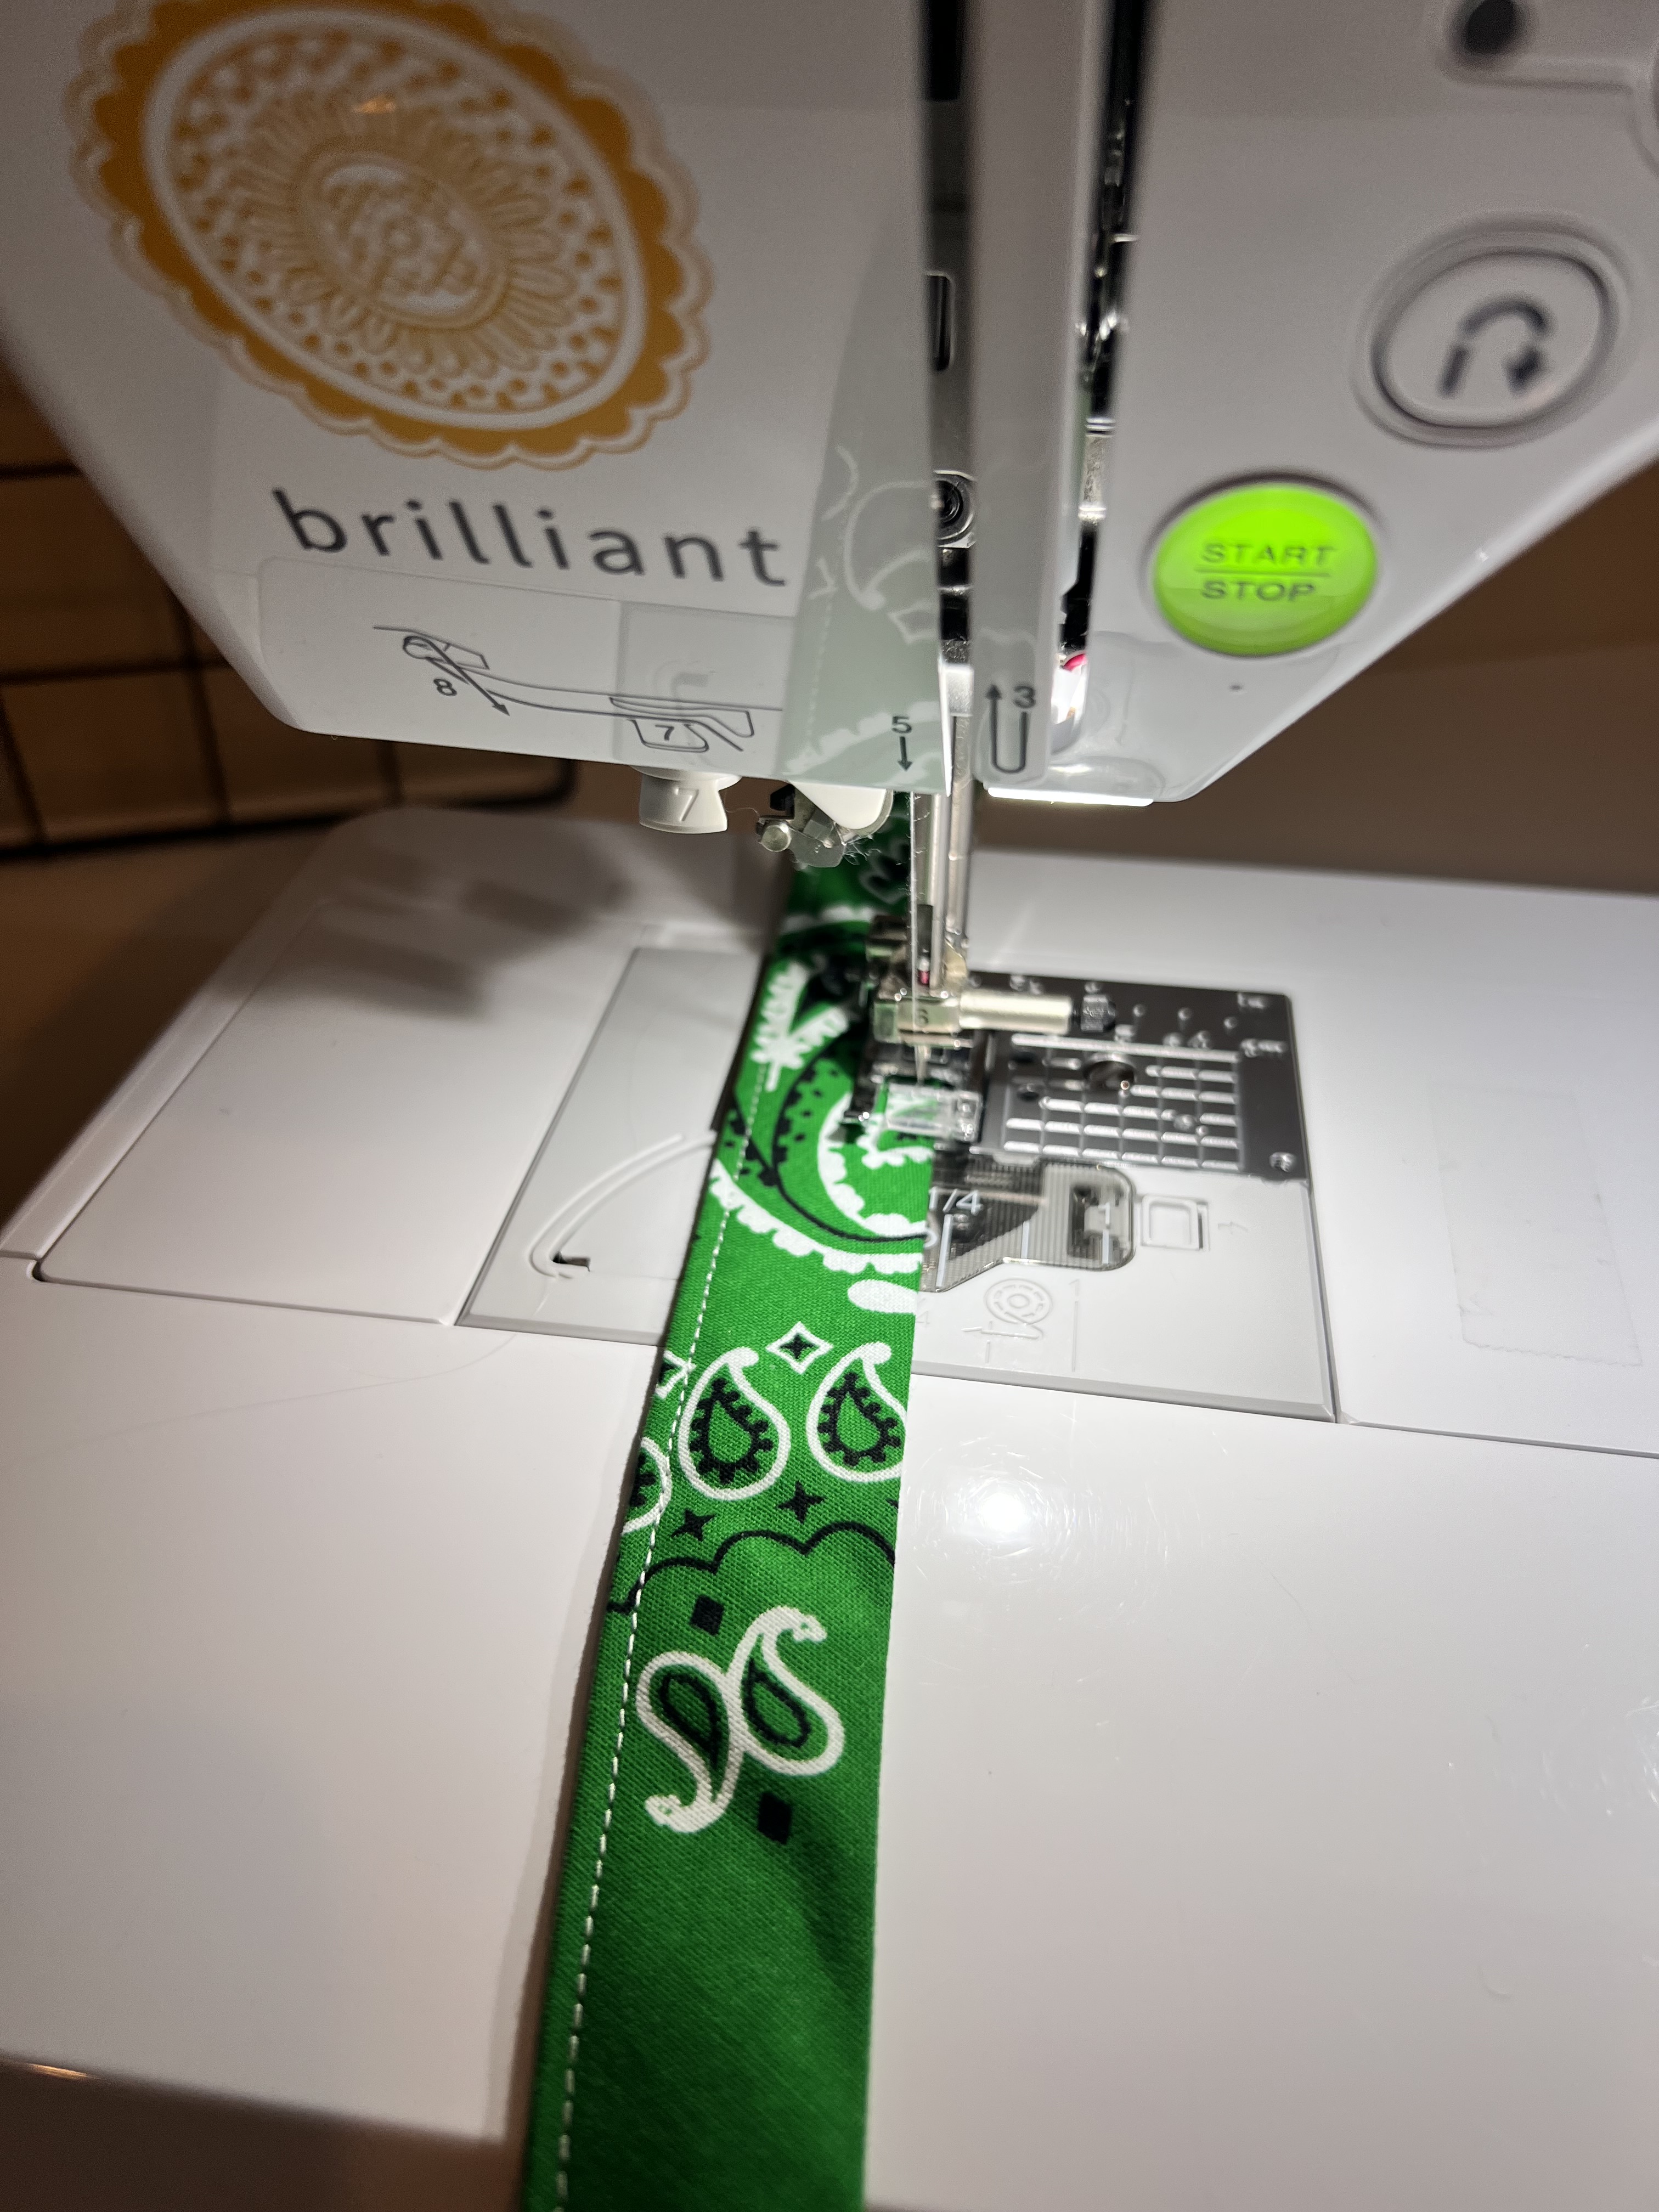
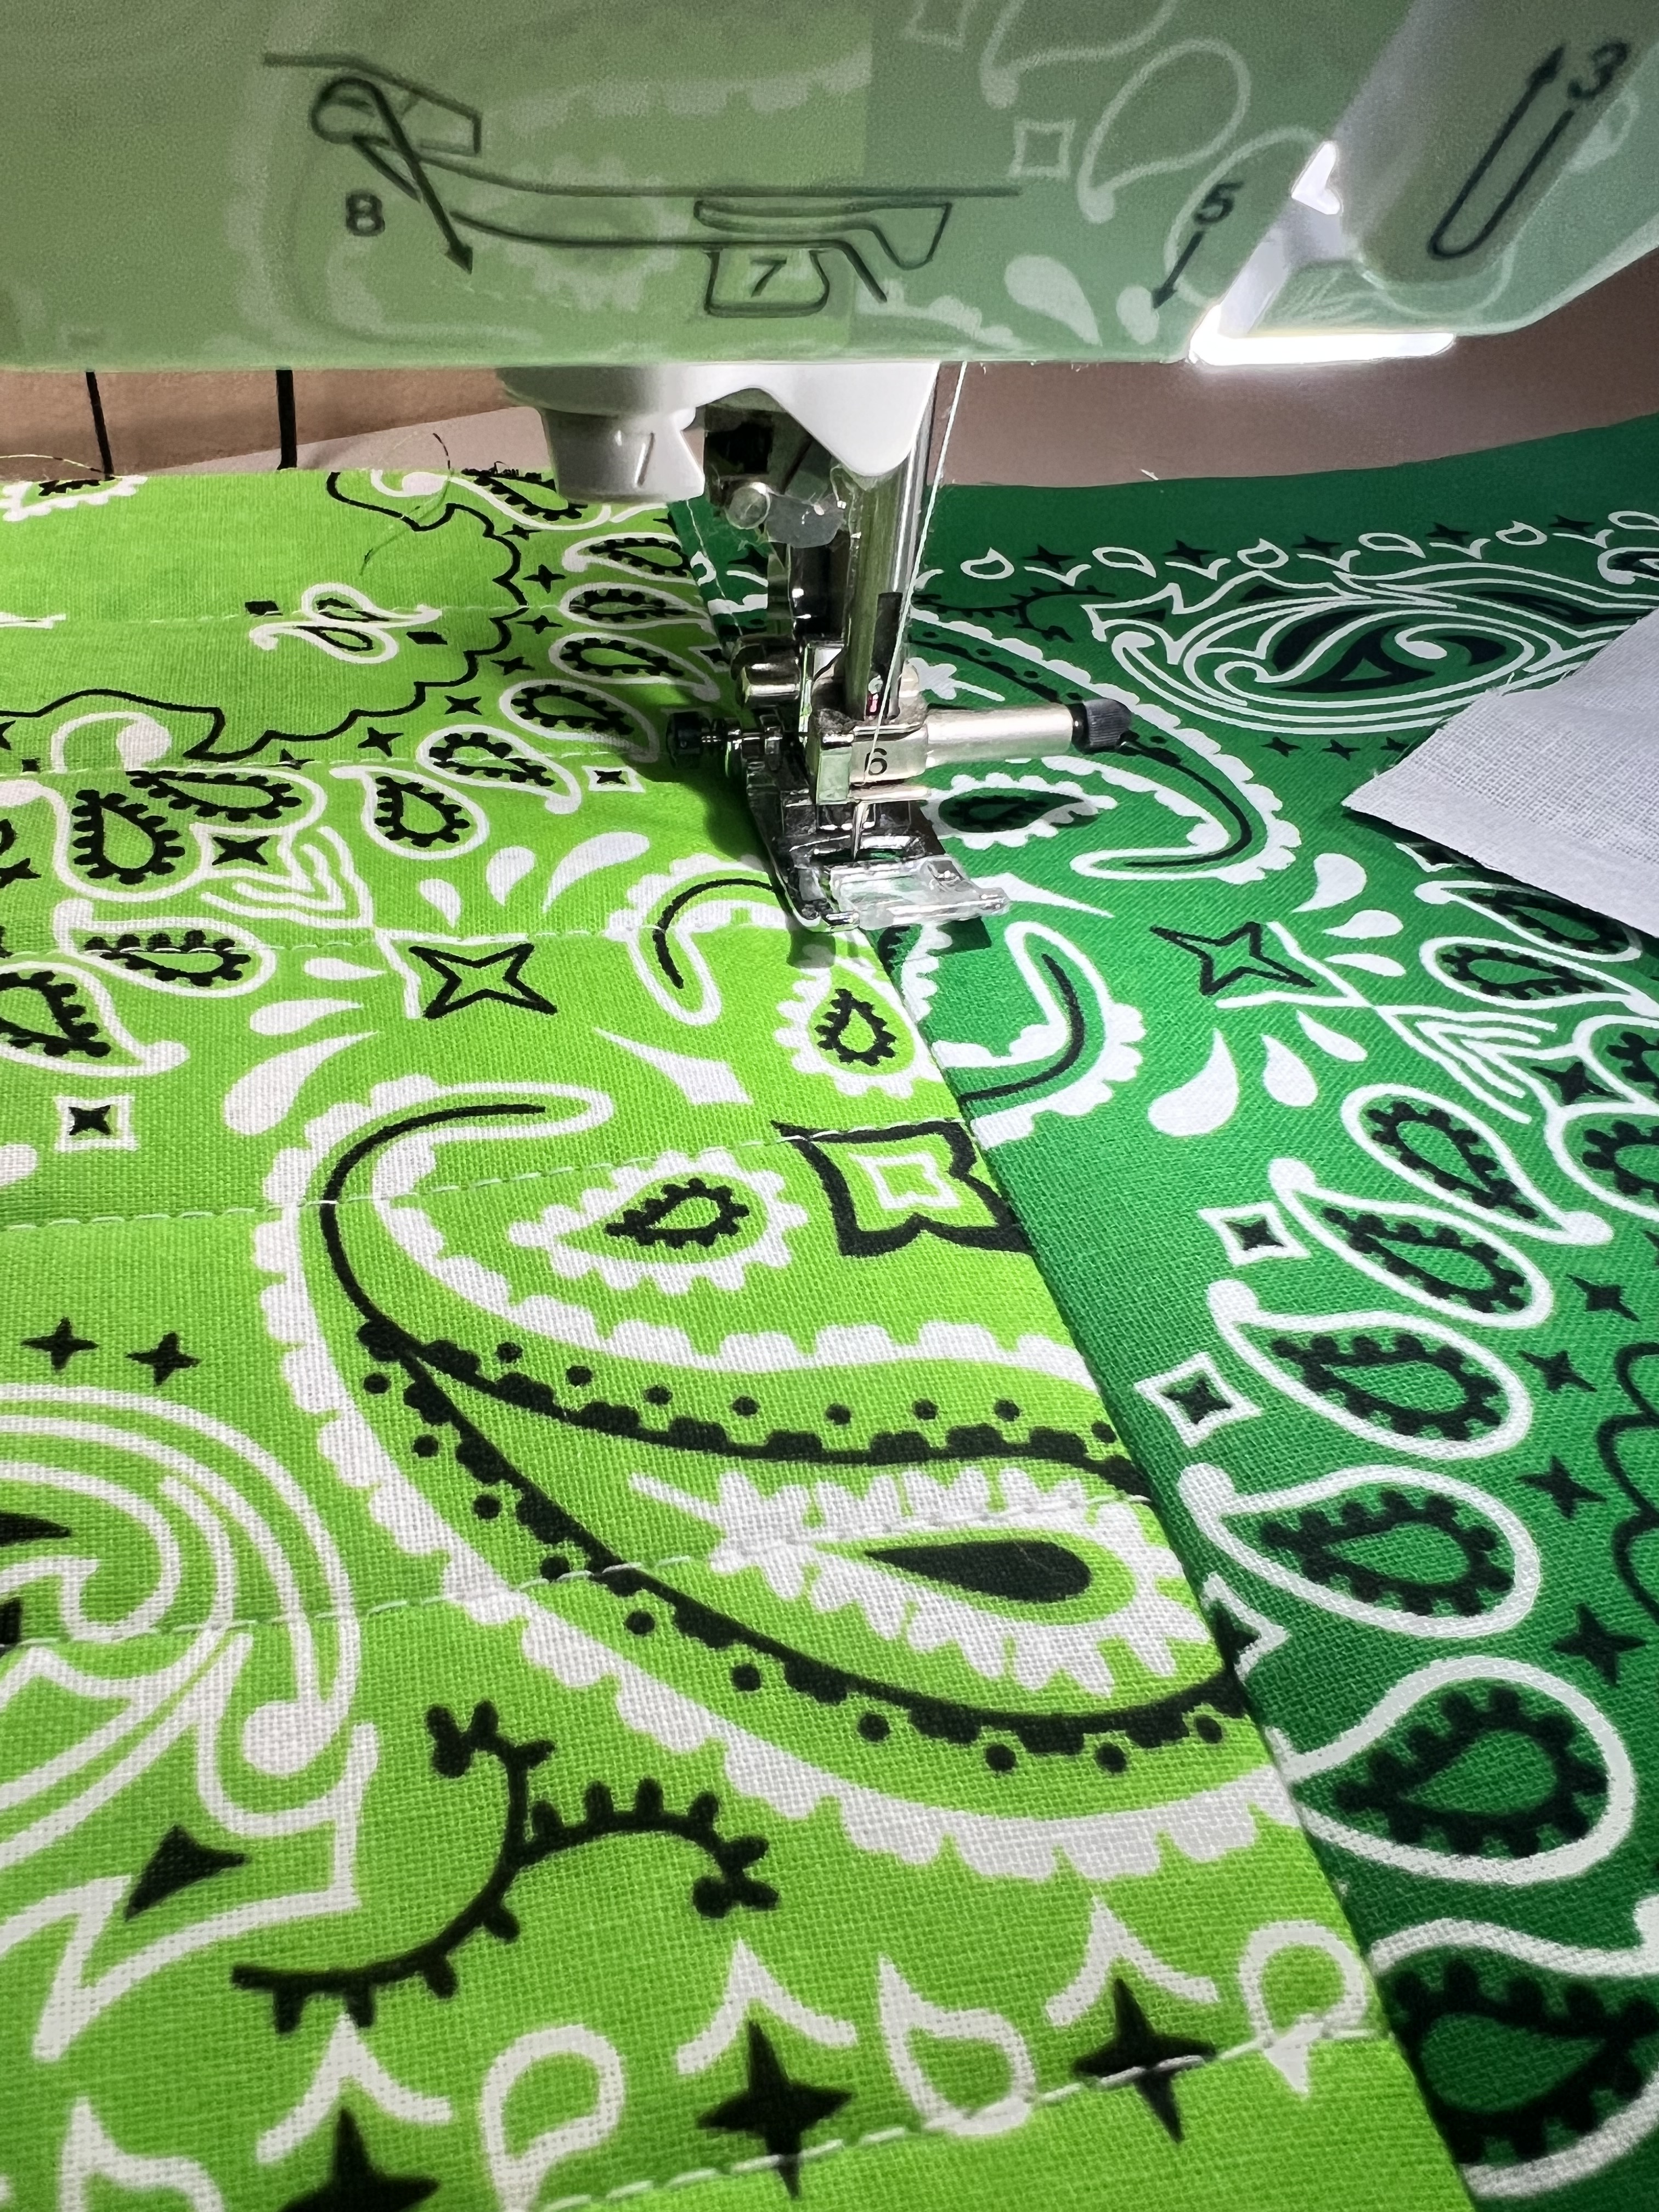
- Pin the front and back outside bandana pieces right sides together, sew one edge together at 1/2″. Press the seam open. Repeat for the inside lining using the other two colors.


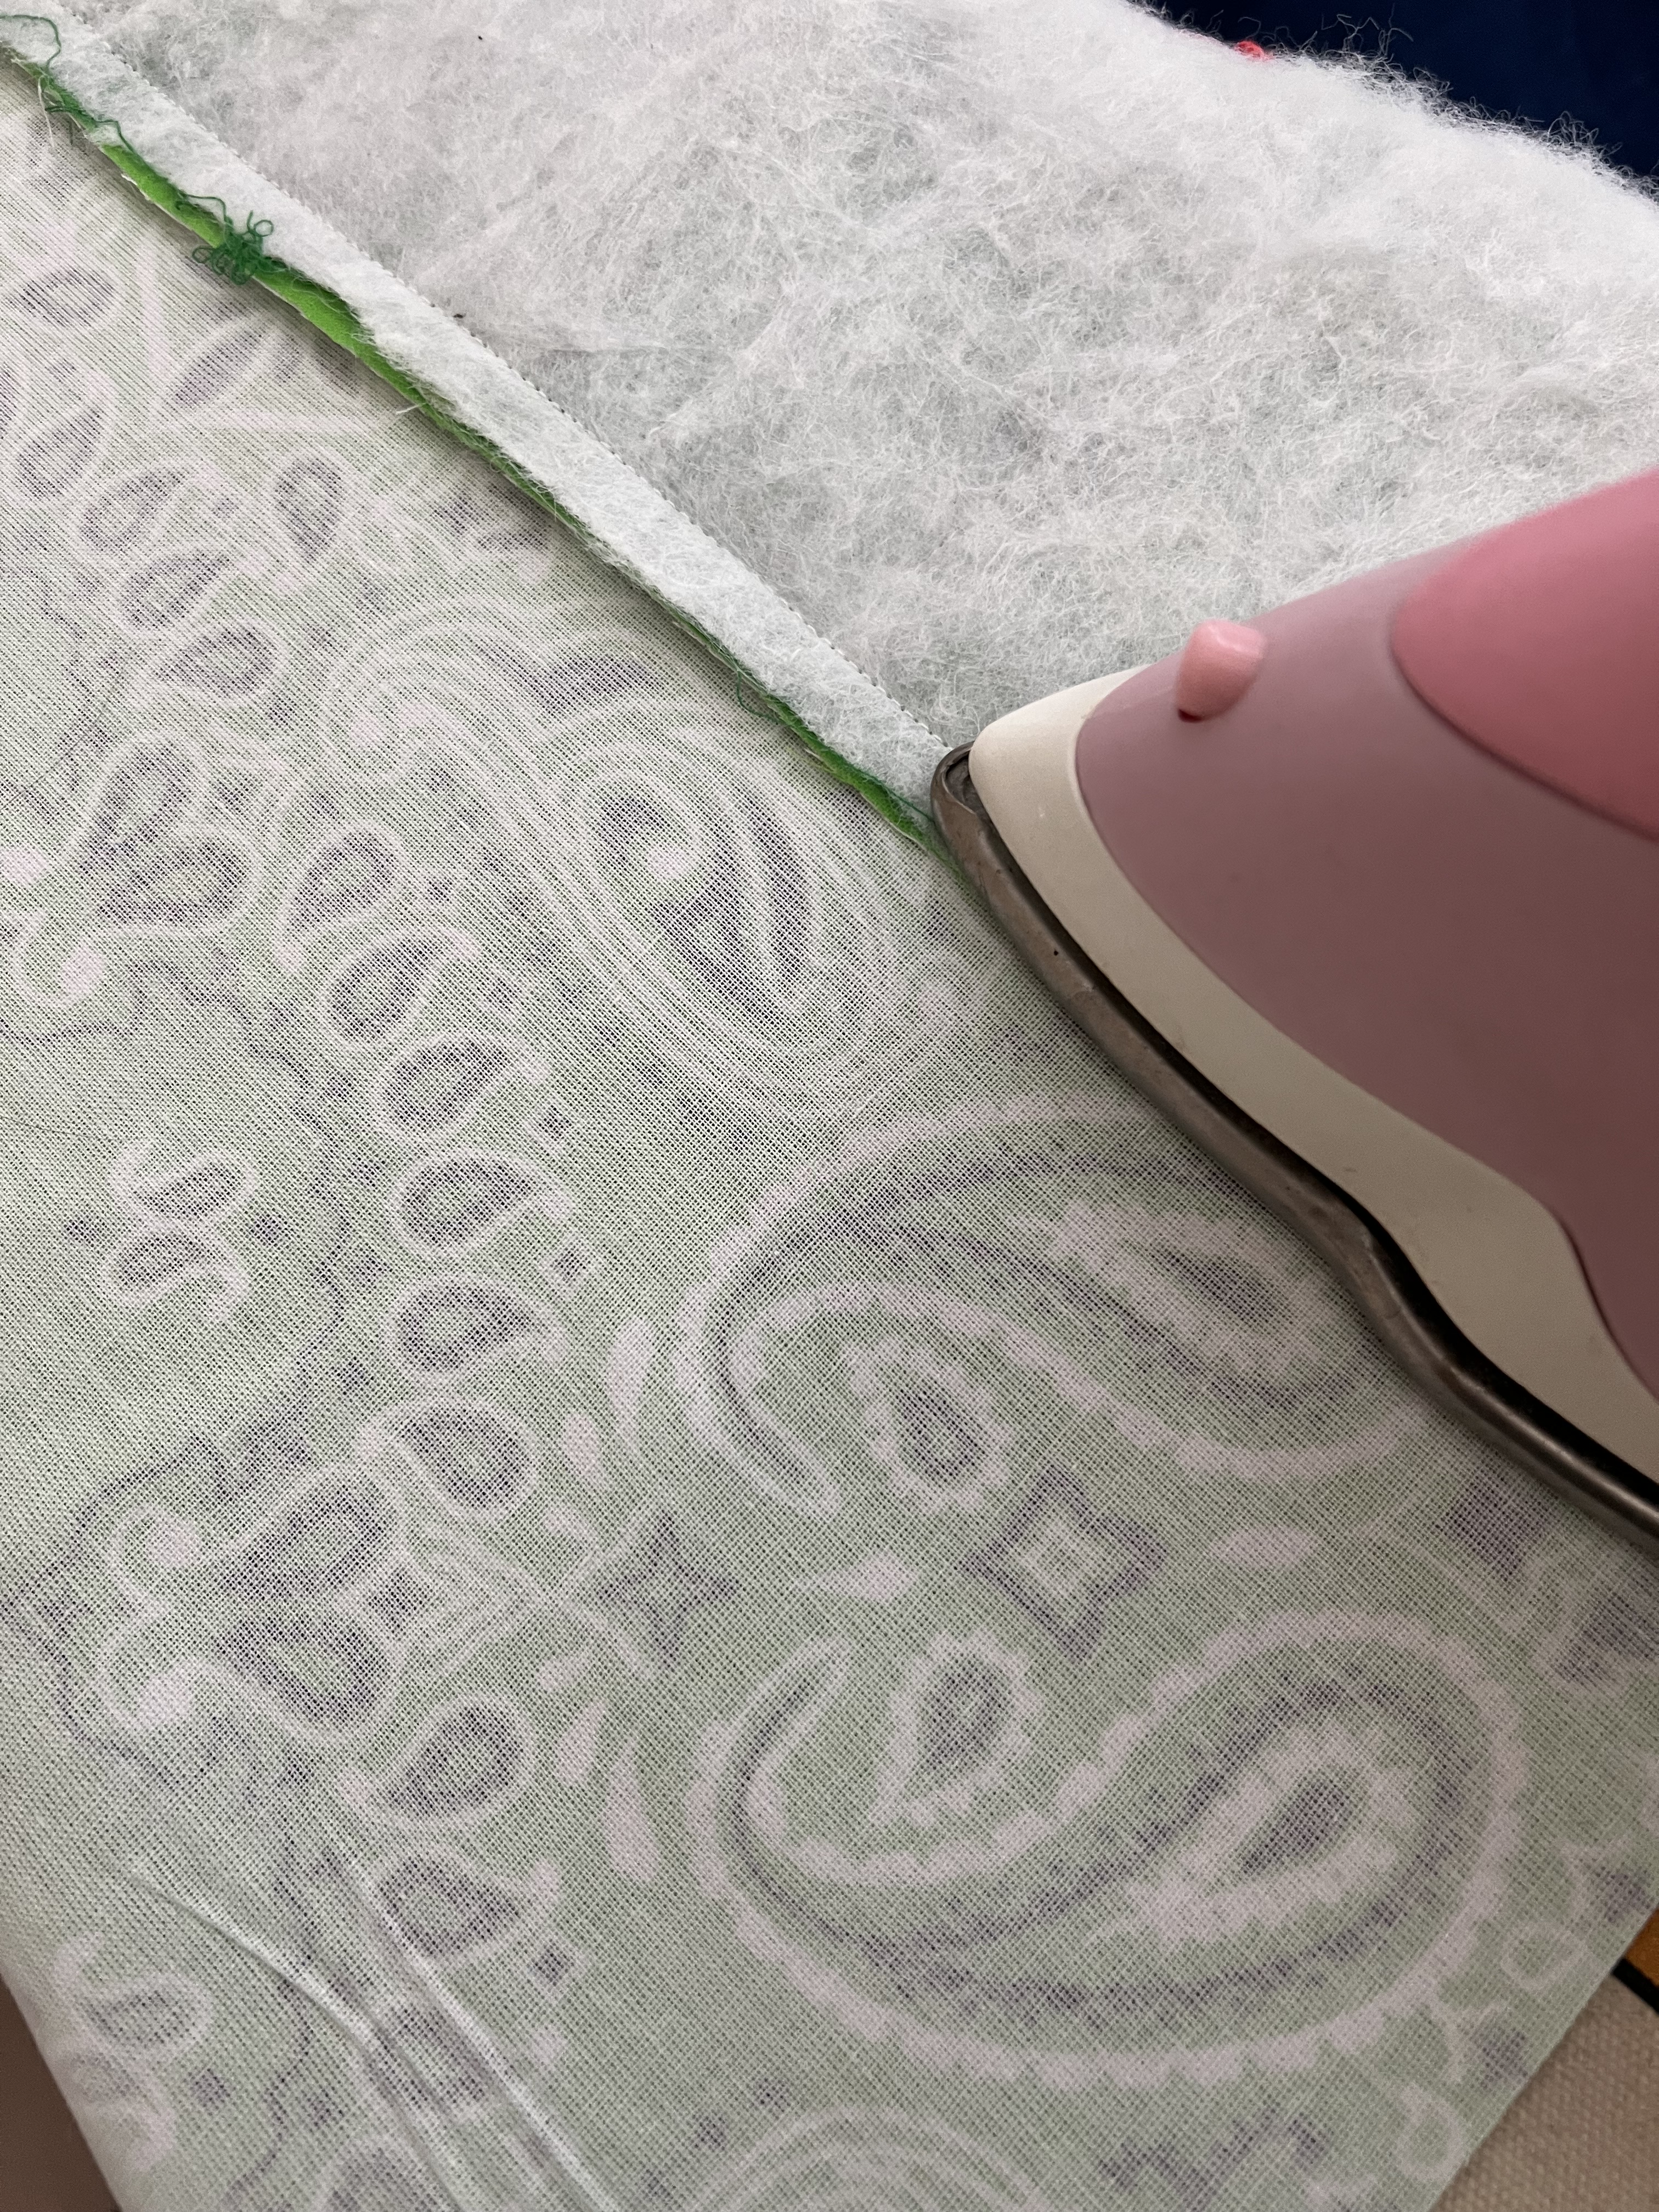
- Interface the lining pieces of the bag (inside bag bandana pieces), one pocket piece and all 4 straps.


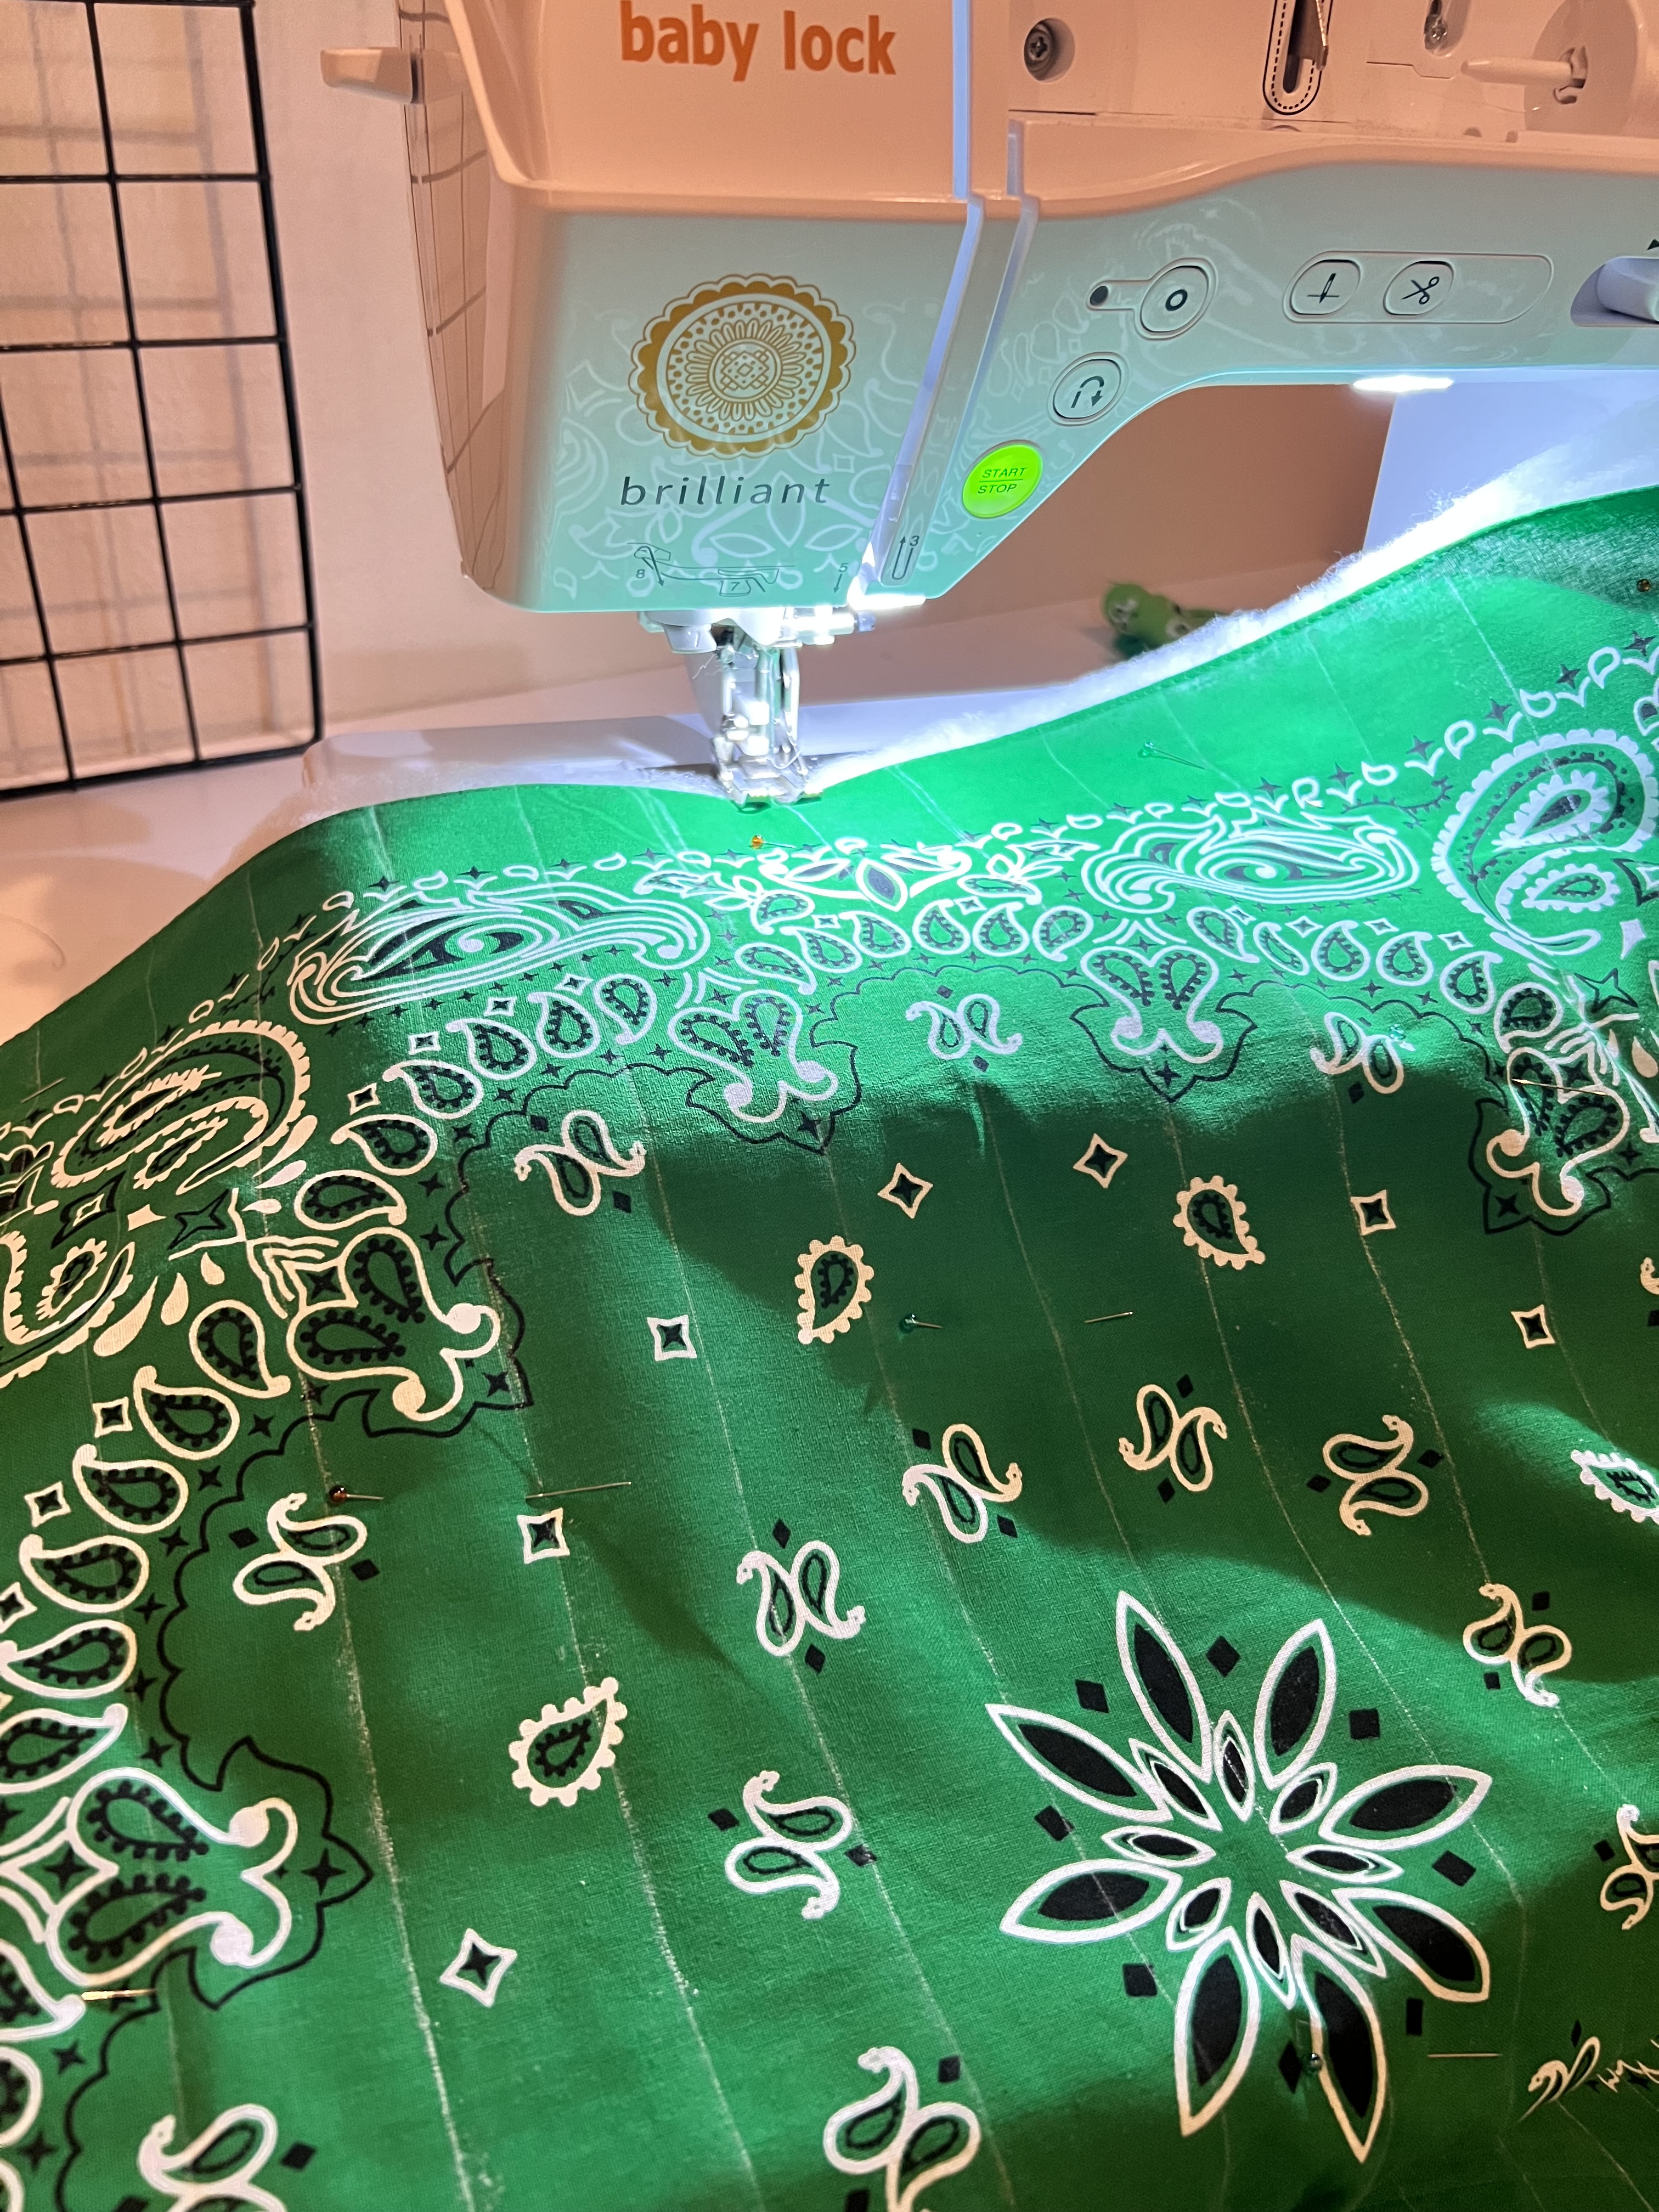
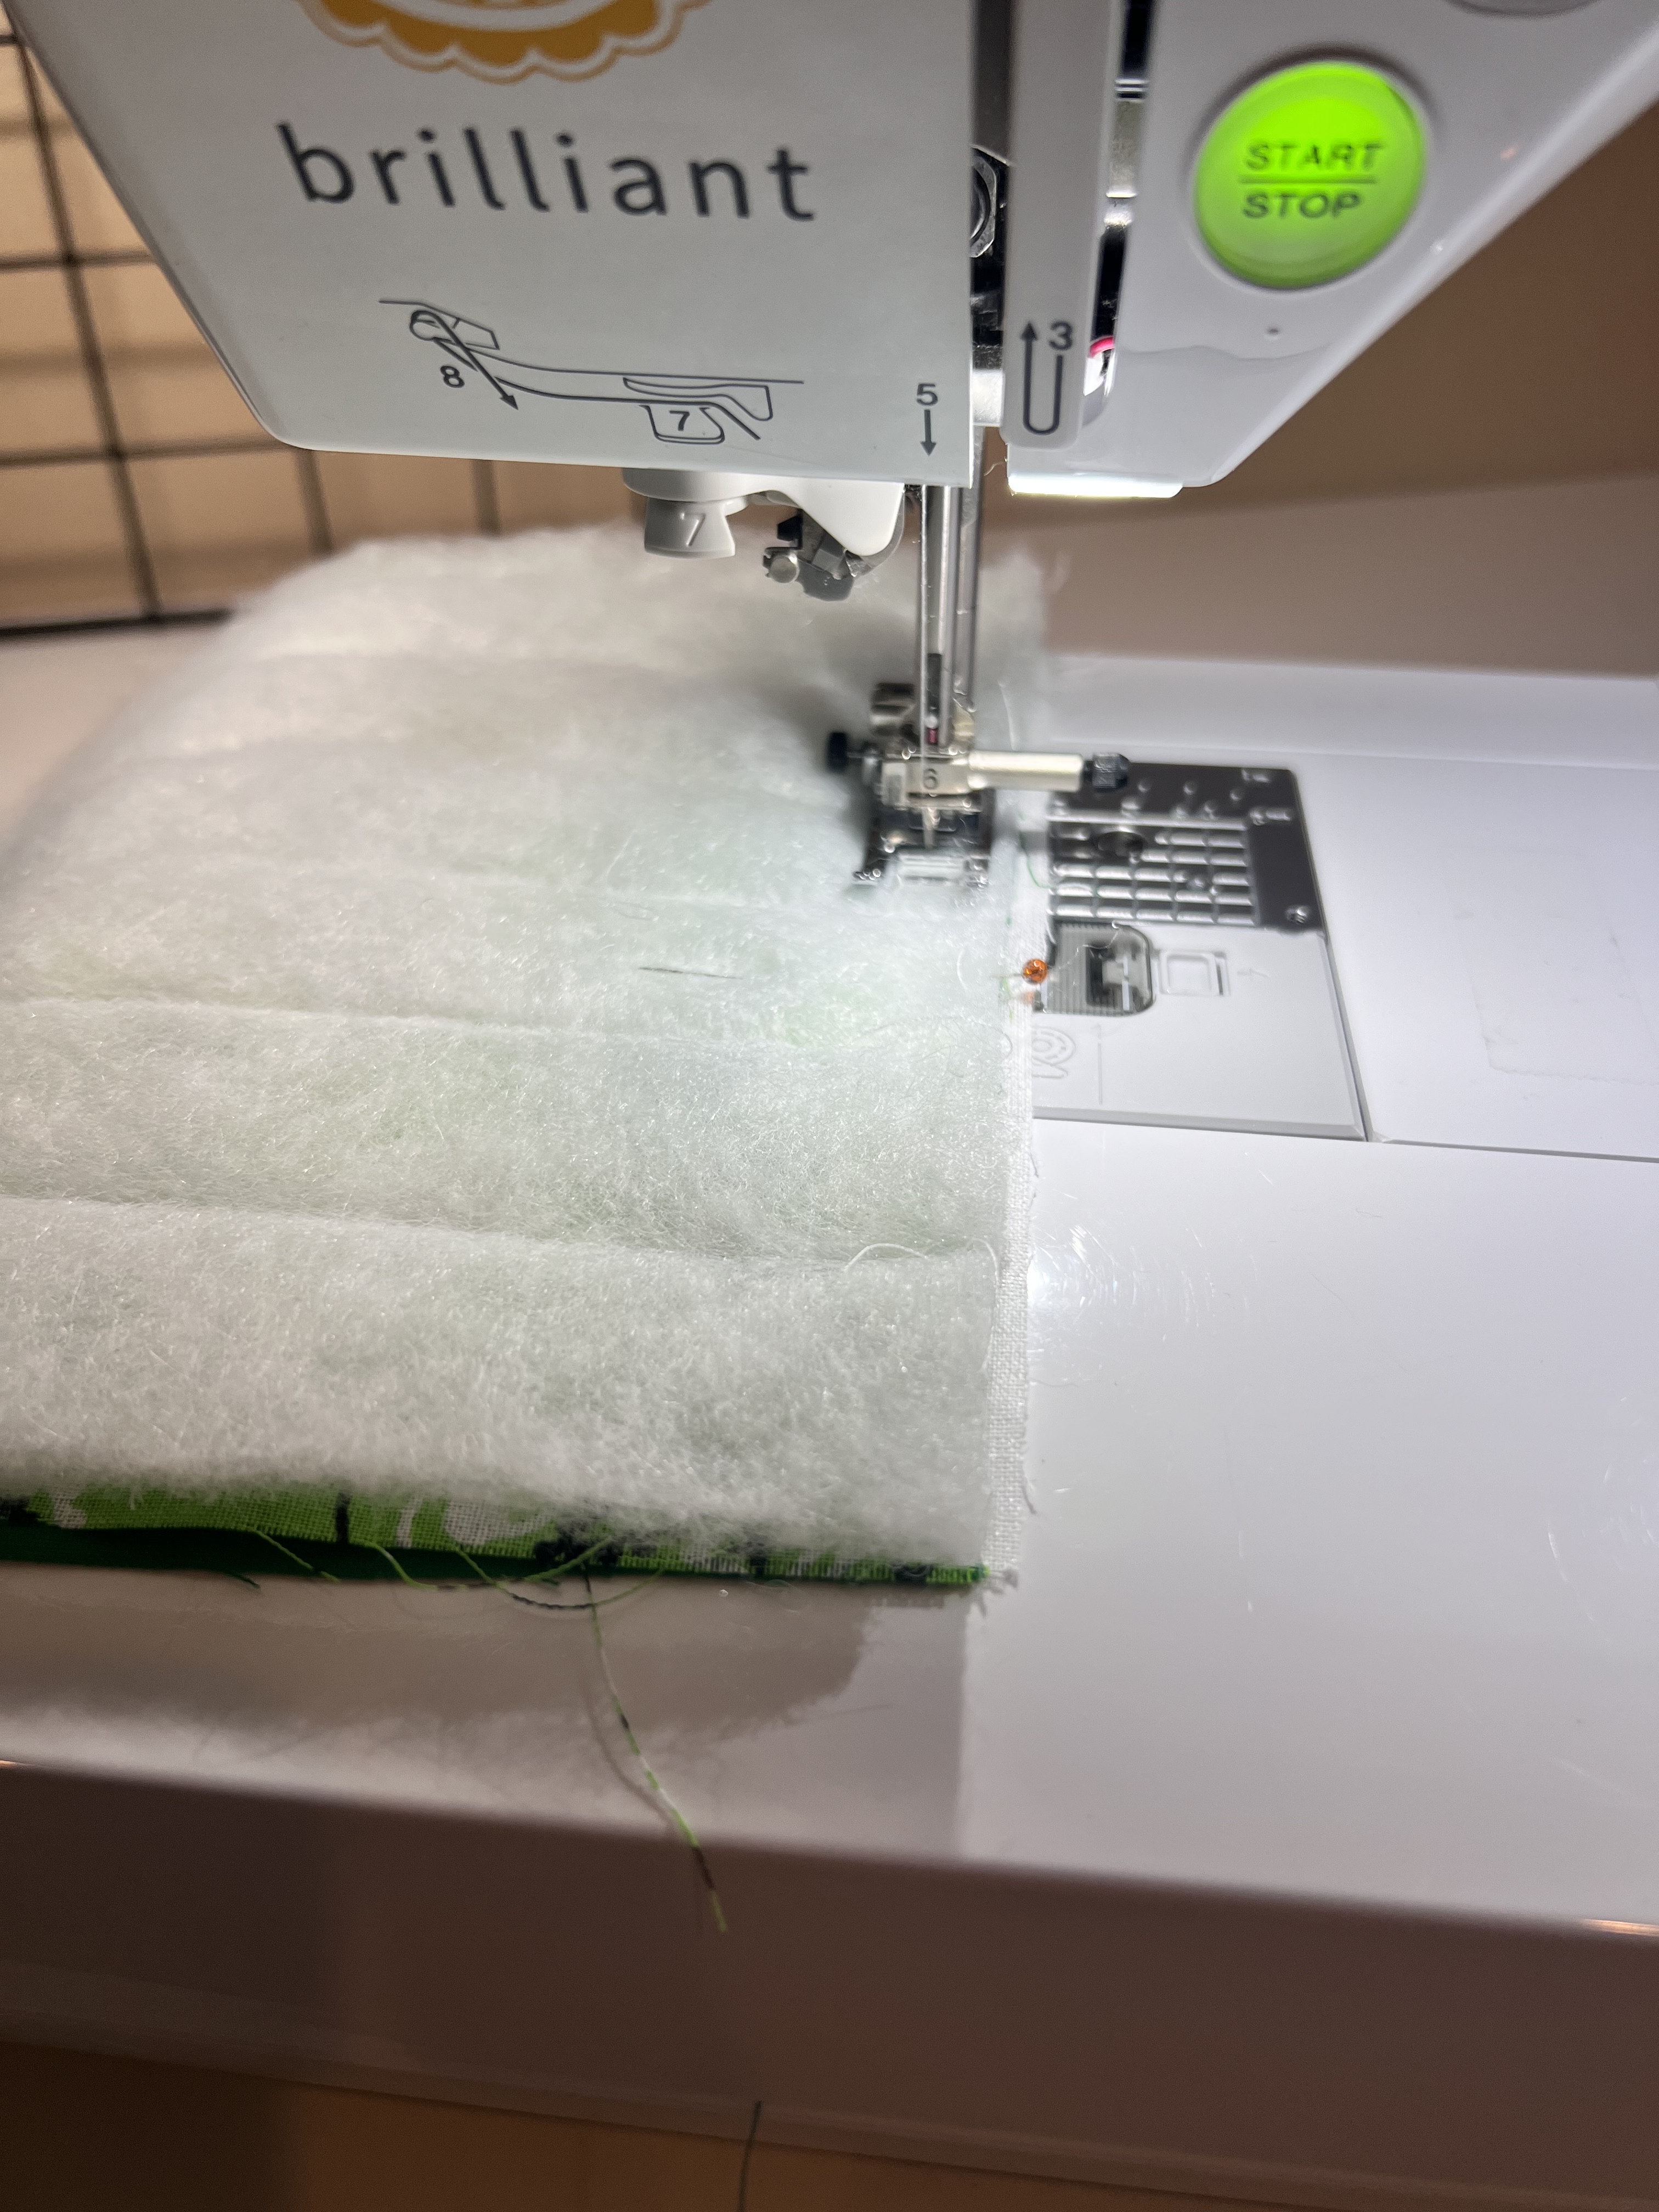
3. Place the bag main front and back pieces over your batting and cut out batting leaving 1/2″ around the bag main edges. Draw your quilting lines using chalk. Mine are 1 1/4″ apart. Using many pins, pin bag main fabric right sides up to the batting really well as shown below.

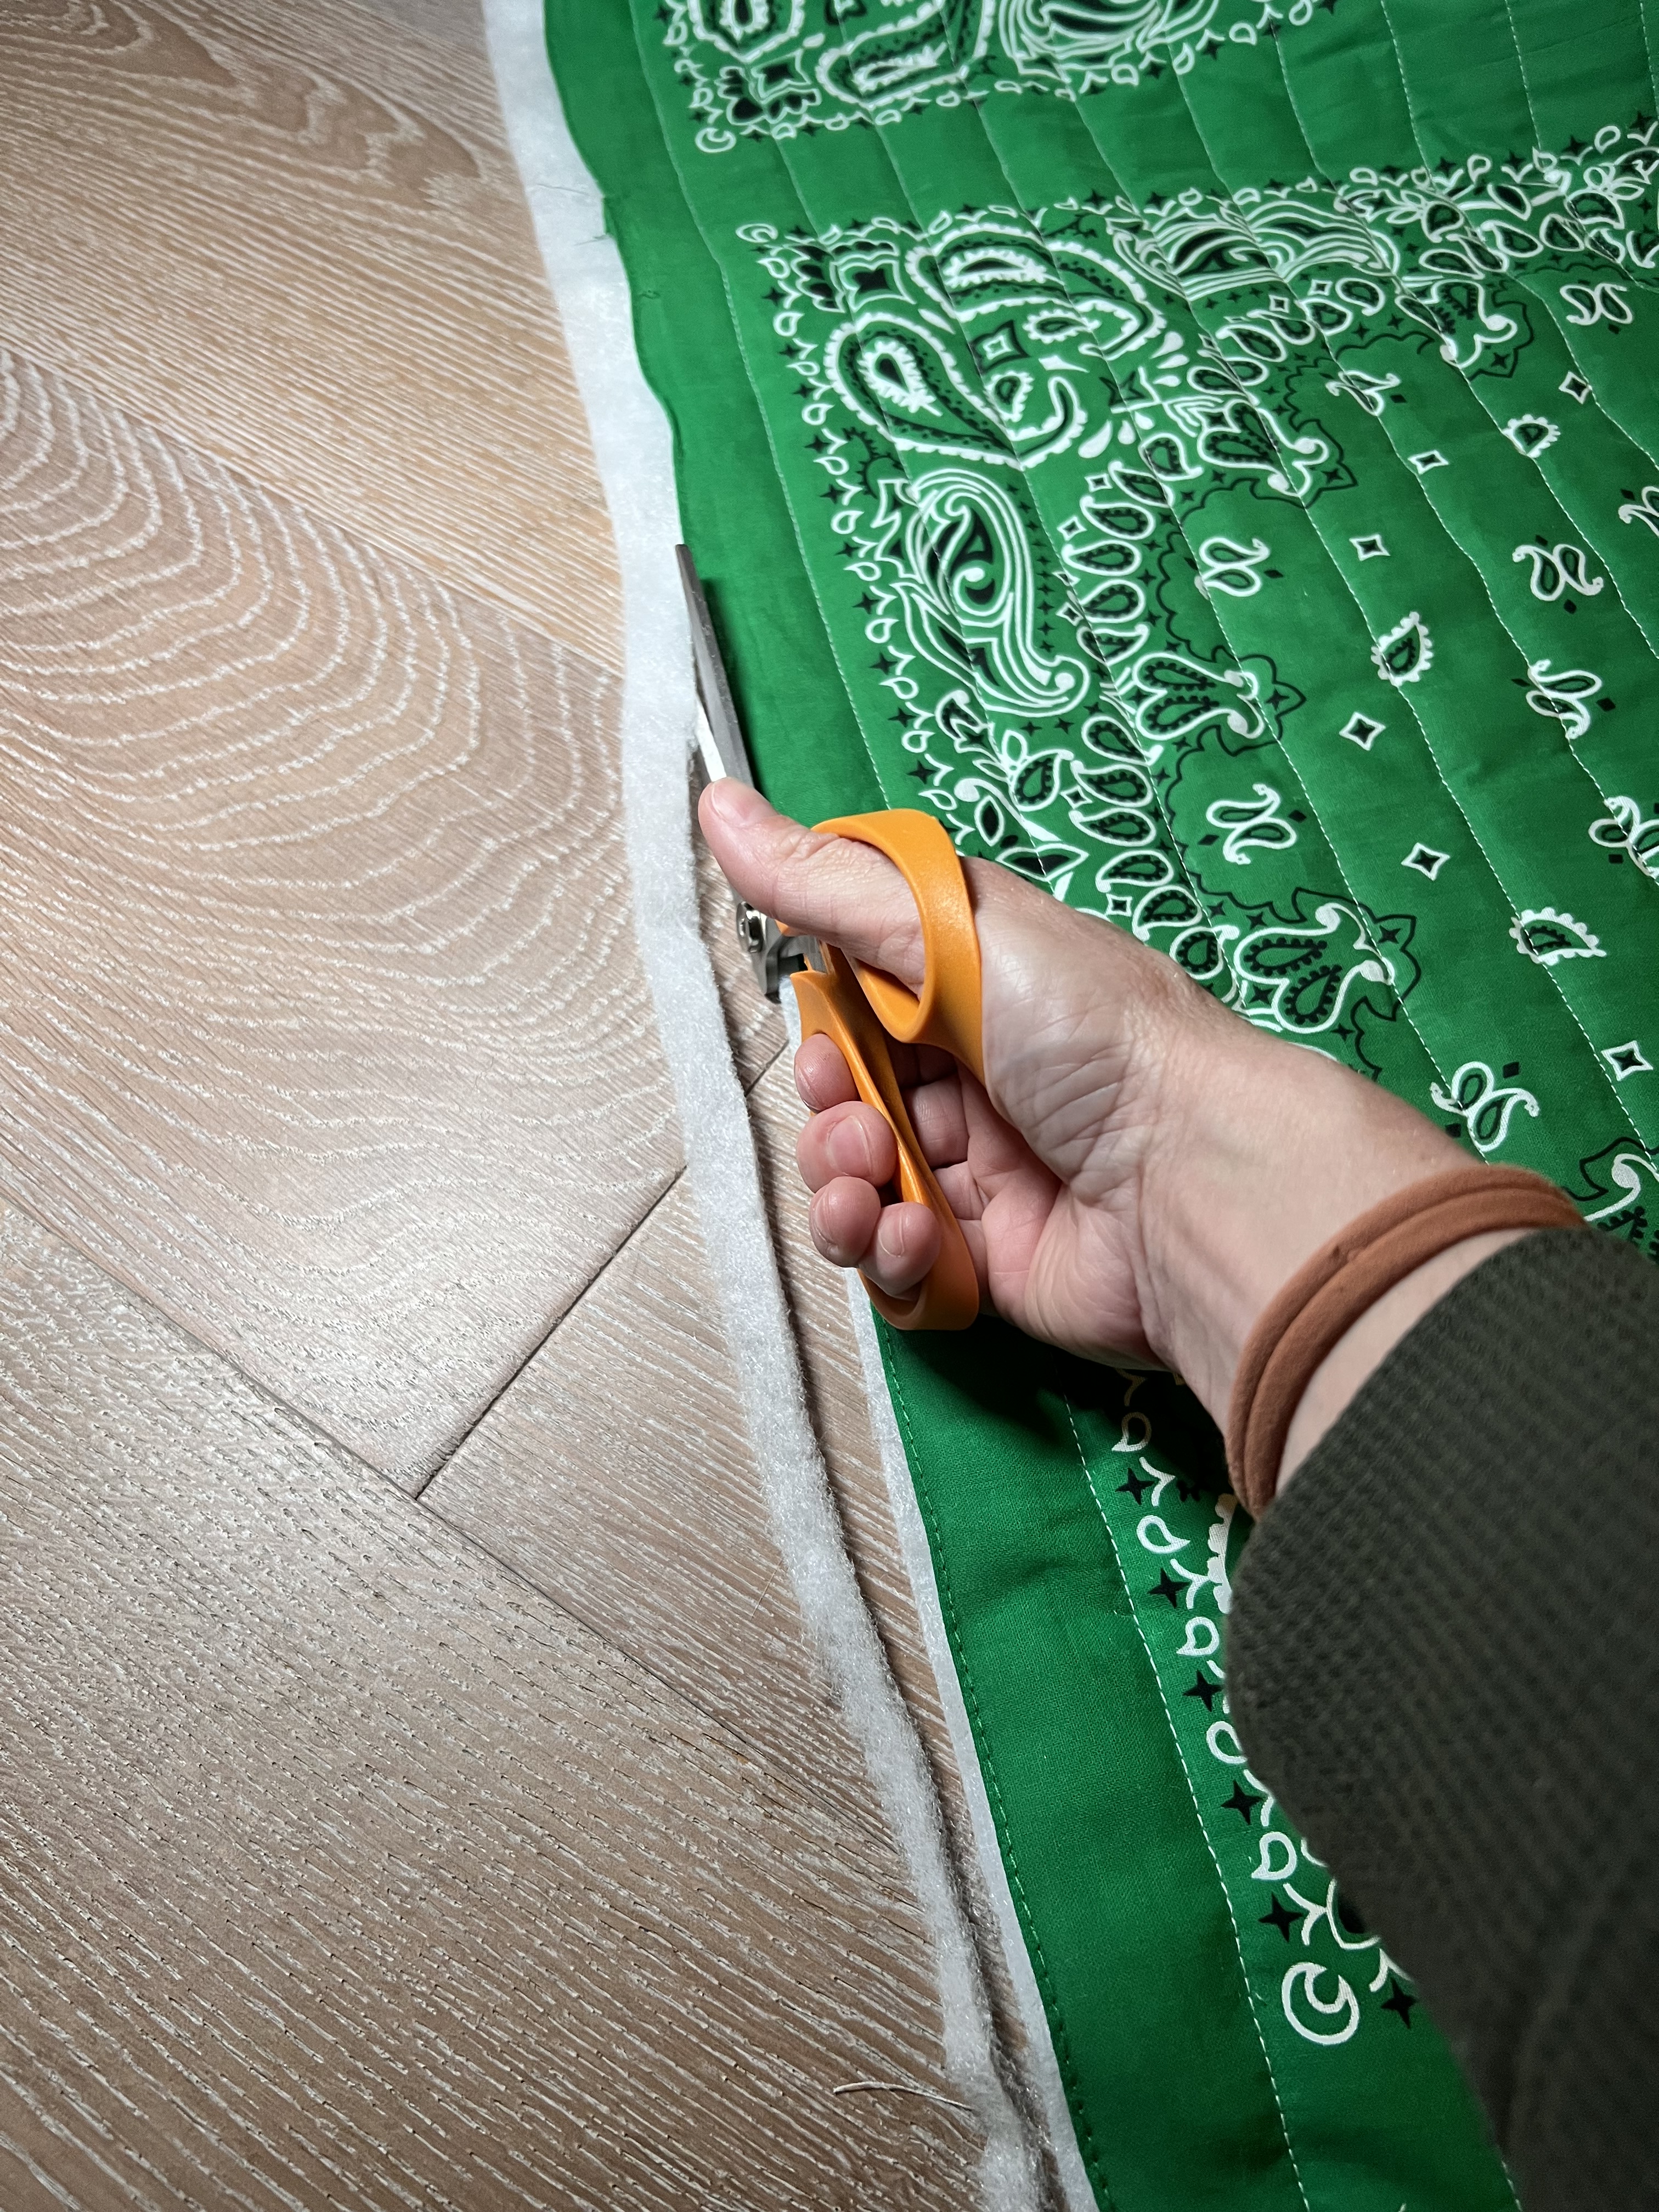
4. I would suggest installing your walking foot for this next part if you have one. I also lengthened my stitch length to 3.5mm. Sew along the quilting lines beginning first in the middle and moving outward. Repeat steps 3 & 4 with the two main side pieces. I swapped my colors foe the sides and have the brighter green showing for the outside of the bag and the darker green for the side lining of the bag. Trim off any batting along the edge.


5. Now let’s make the inside pocket. Pin pocket pieces right sides together, and sew around all four edges at 1/2″, leaving a 2″ opening to be able to turn the pocket inside out. Trim corners and turn right sides outs. Give it a really good press while tucking the raw edges of the opening inside the seam. The opening will be finished when the pocket is topstitched in place in the next step.


6. Add any labels to the pocket at this point. Next, pin the pocket to the top edge of one of the inside lining panels 3.5″ from the top edge of the bandana. Edge stitch around the sides and bottom of the pocket, pivoting around the corners. (Do not sew the top edge as this will be the pocket opening). All finished!


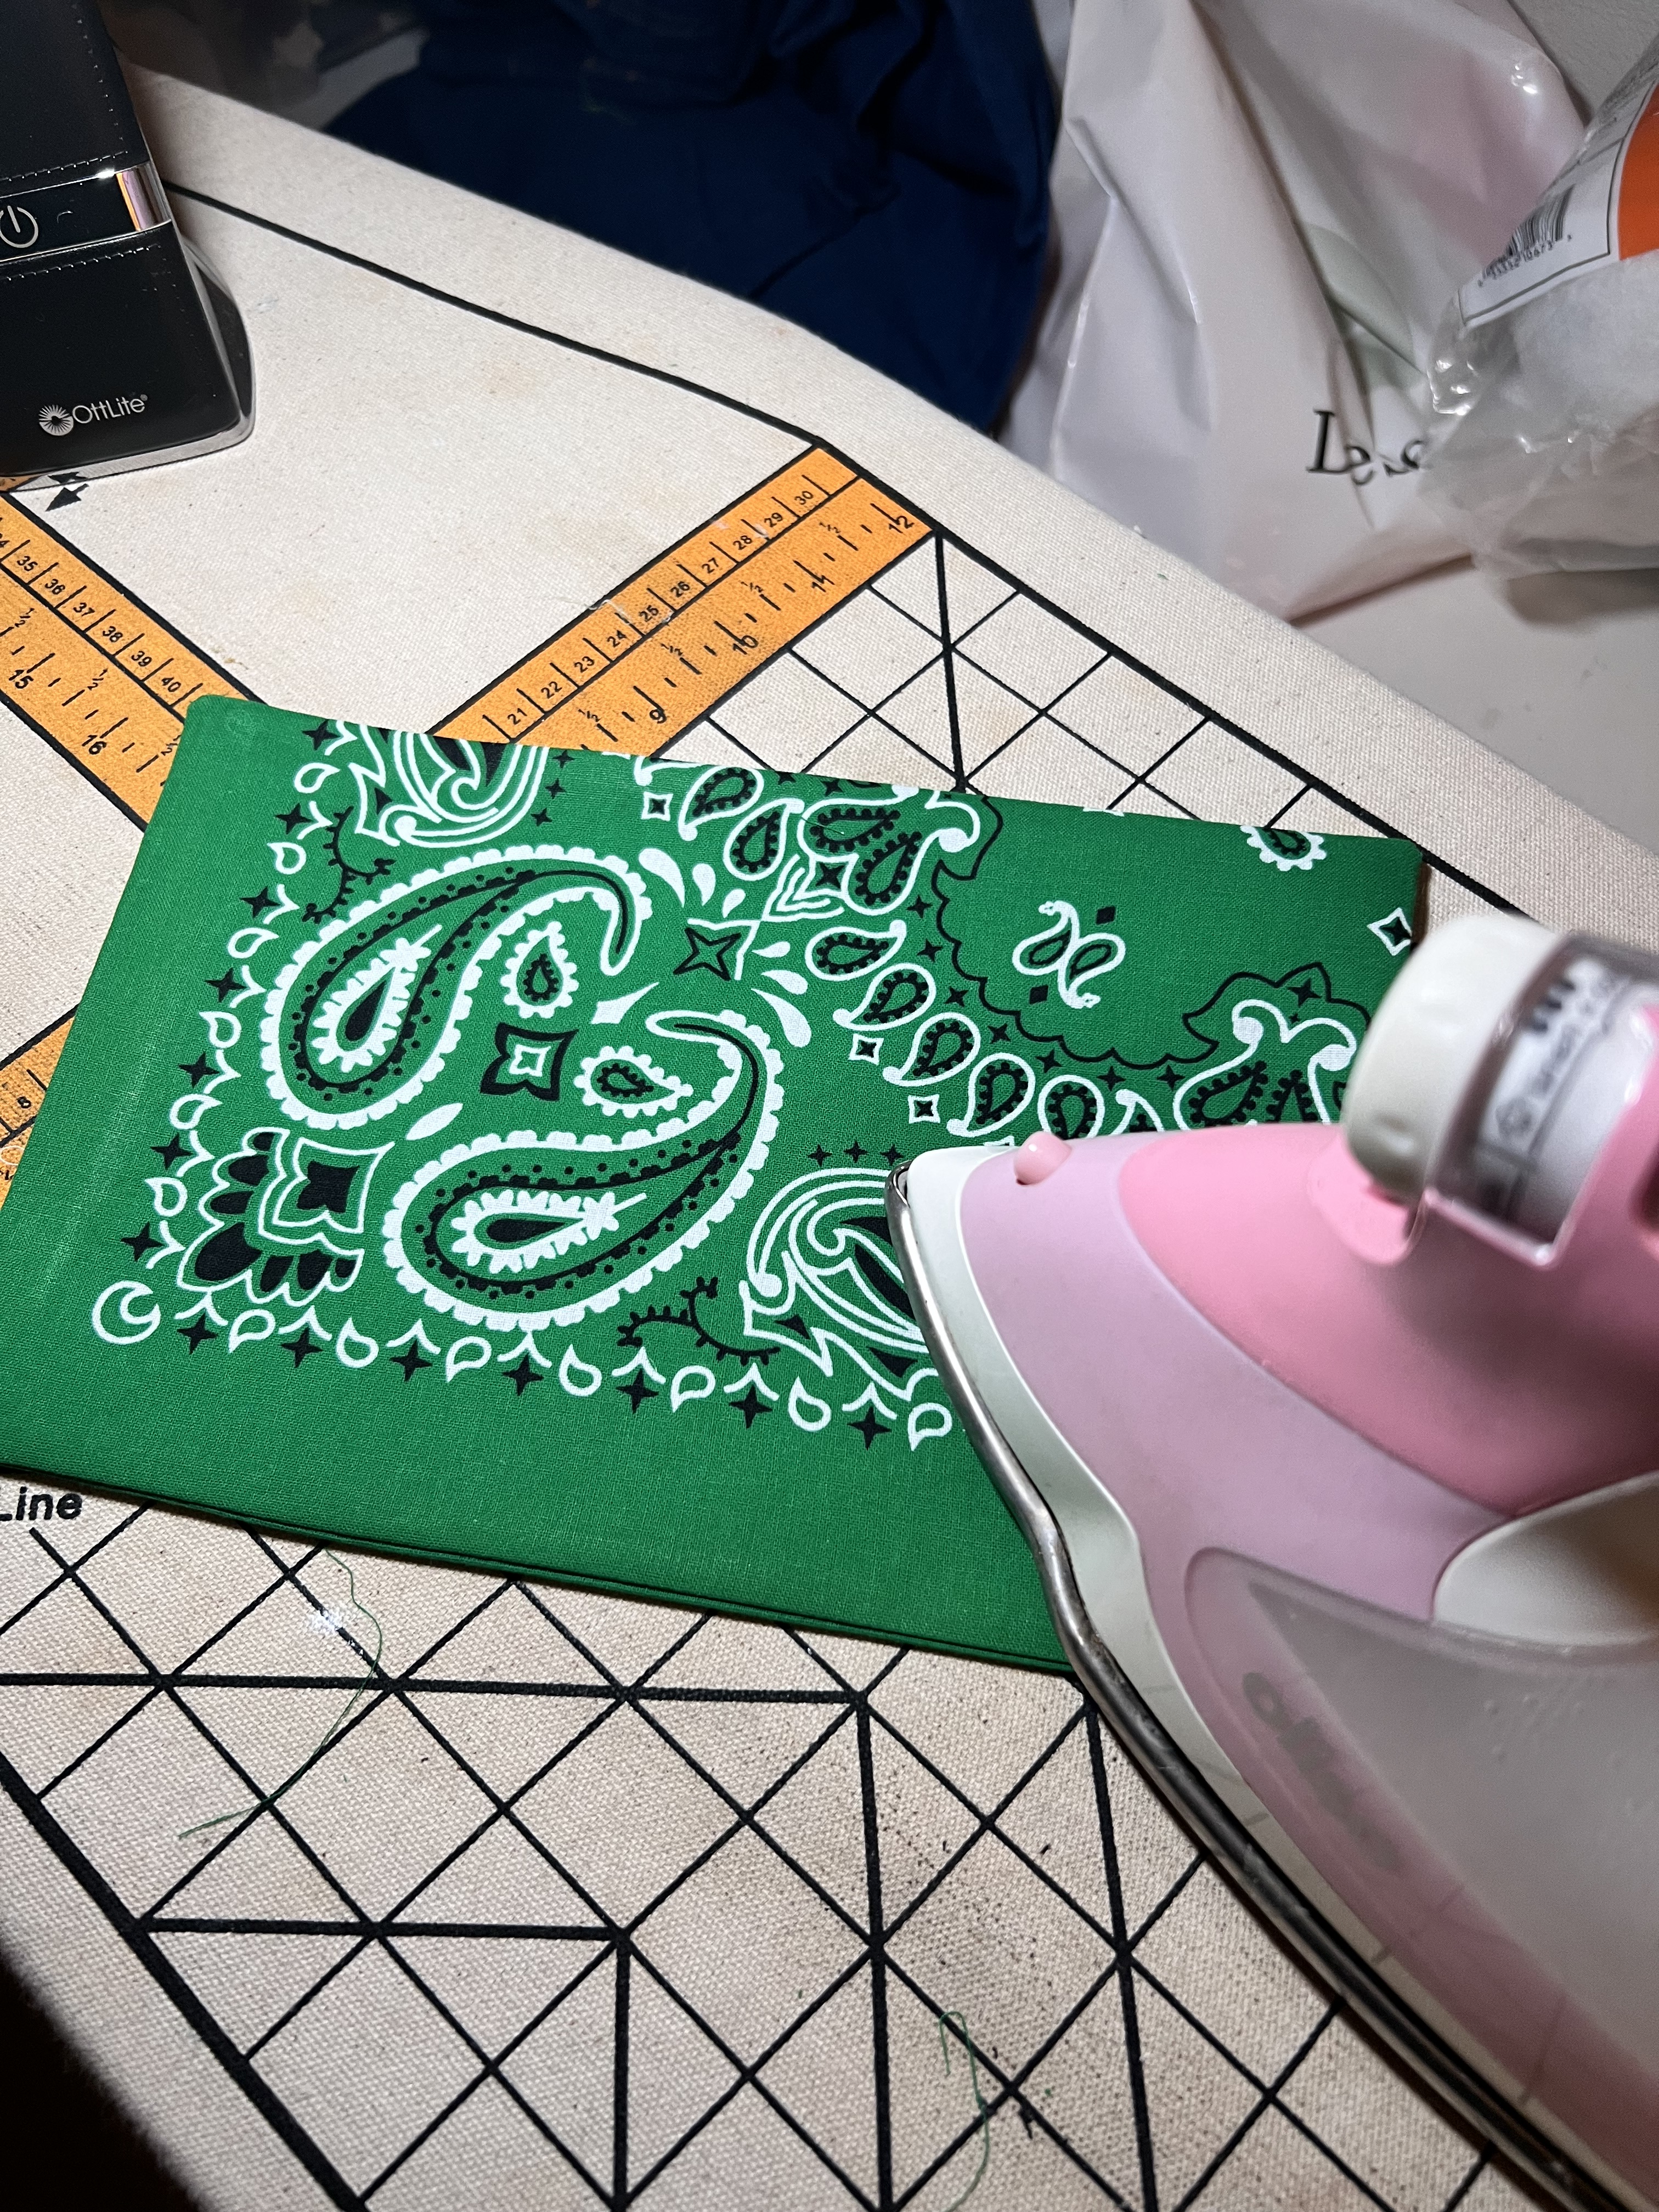
7. Prepare the strap pieces. Begin by pressing the wrong sides of the straps in half. Open and fold raw edges in again just next to the folded crease we just made. Then, fold all the edges in and in half again. Press and pin along the open edge.

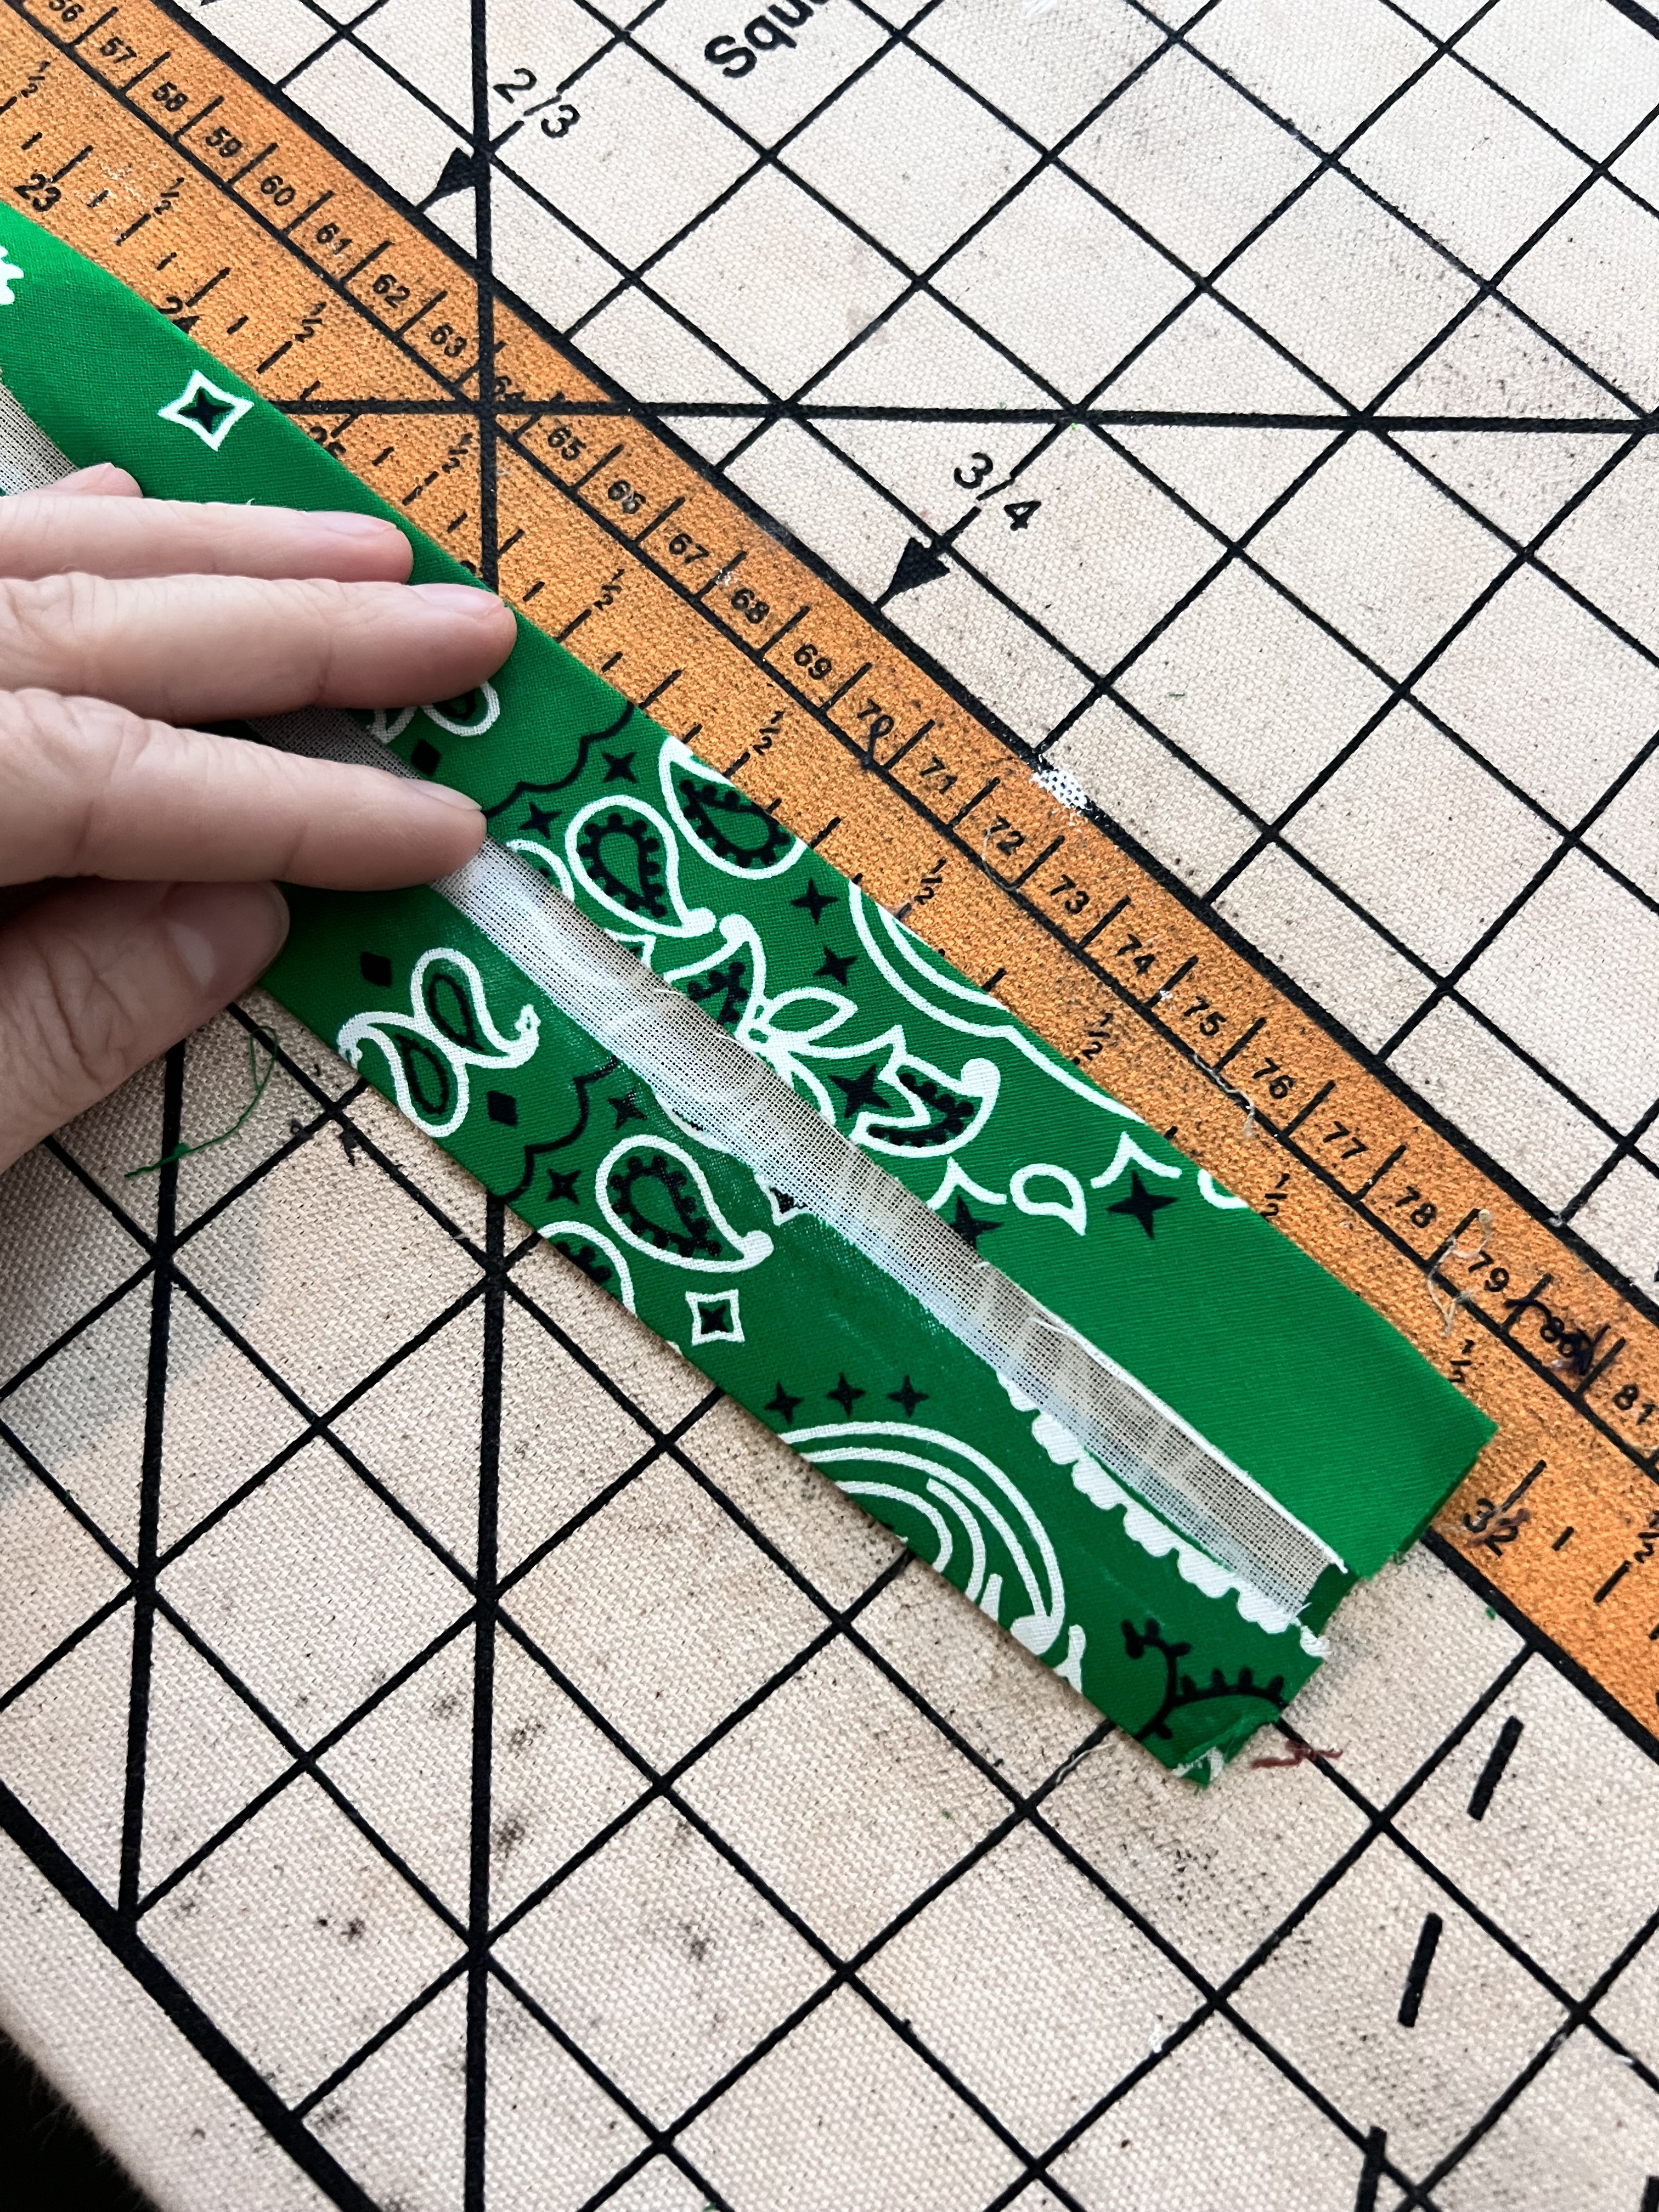


8. Edge-stitch along both sides of the strap to finish. Repeat for the other long strap and two short straps.
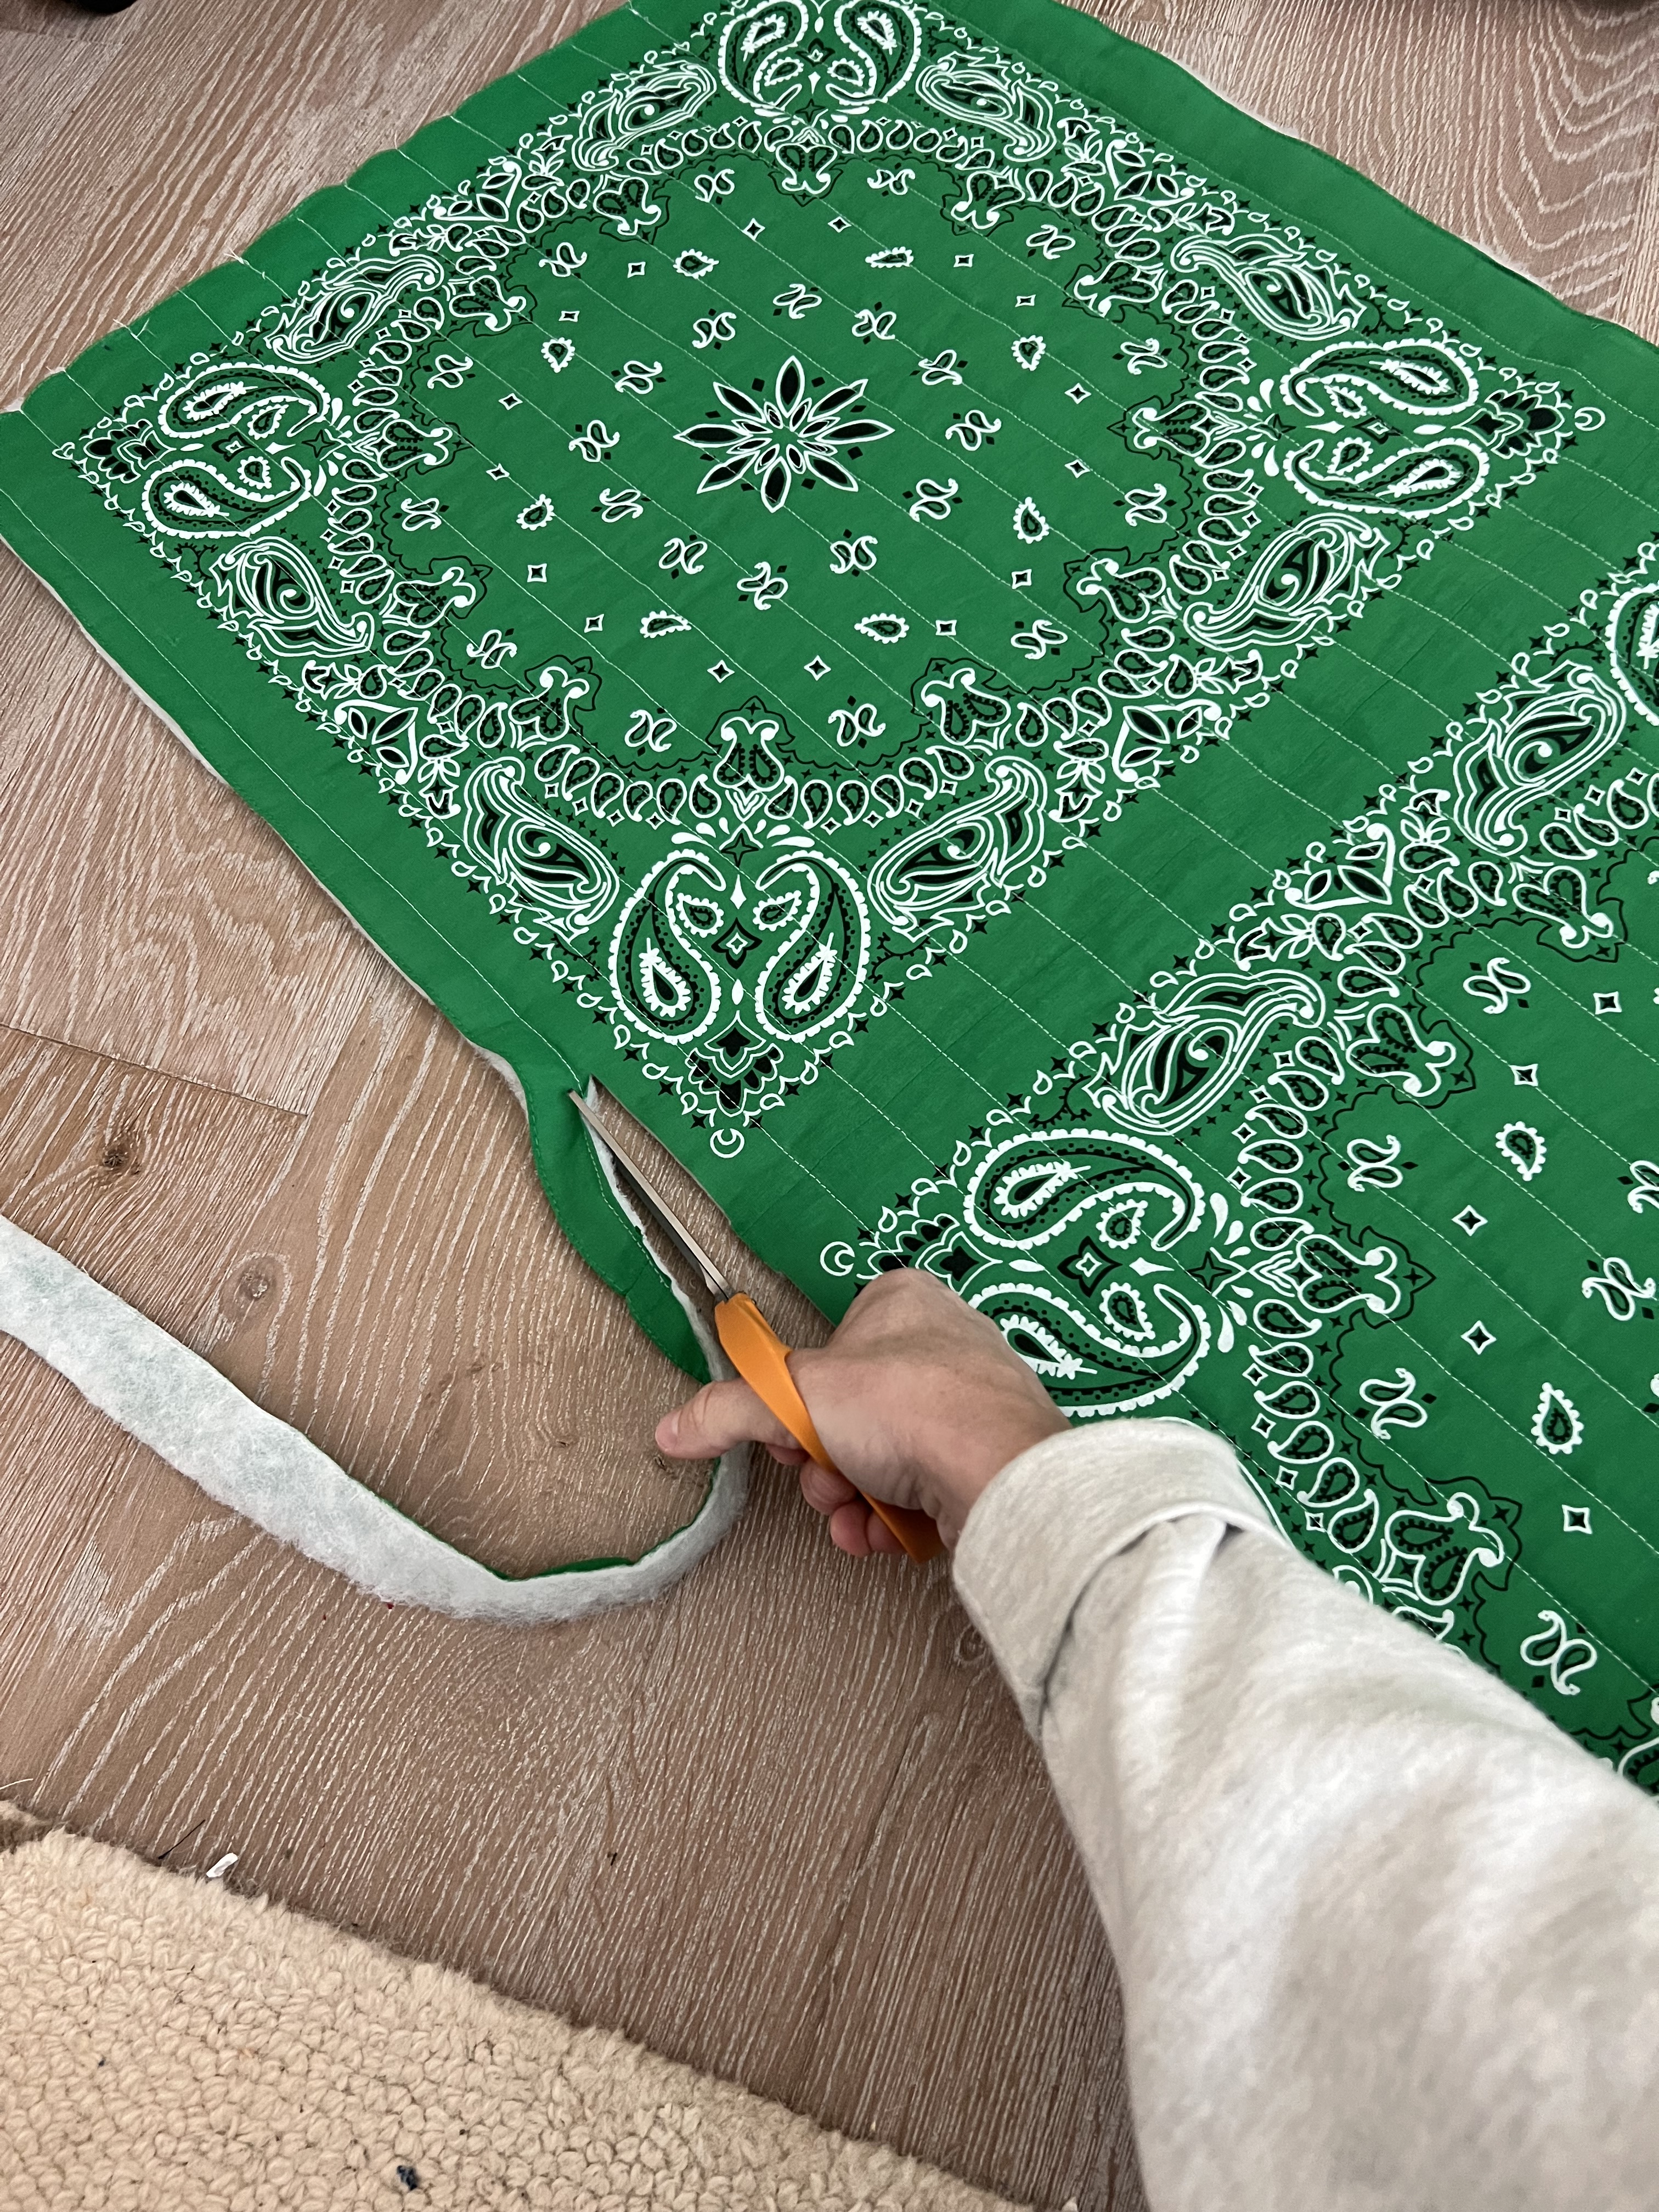
9. Trim around all 4 sides of the two bag main and lining pieces leaving 1/2″ along the edge where the bandana pattern ends as shown below.
10. If you would like to add any embroidery, do so at this point. I used sticky fabric solvy to use as a marker for my letters. I chose to do my first and last name initials, but you could do anything here! I hand traced my letters onto the solvy, and stuck them where I wanted them on the main front of my bag as shown below.


. 11. Using an embroidery hoop, embroidery thread and needle, use your letter guides and satin stitch your letters onto the main bag front. Use warm water to remove the sulky product. Let bag air dry before moving onto next step. I found giving it a good press once dry was also needed.

I really like using the sulky sticky paper product. It added stability to the embroidery process, worked really well for tracing the letters and was easy to remove. It’s a really great product!


12. Grab the two short straps and pin in place along the top raw edge and bottom edge of the bag main front (quilted) piece. Mine are spaced 2 3/4″ apart. Pin the inside lining of the back right sides to the bag main along the top edge. Sew at 1/2″. Repeat for the bottom edge of the bag.


13. Press the seam to the bag lining side. Now, understitch the seam on the lining side to help the seam lay towards the inside lining.

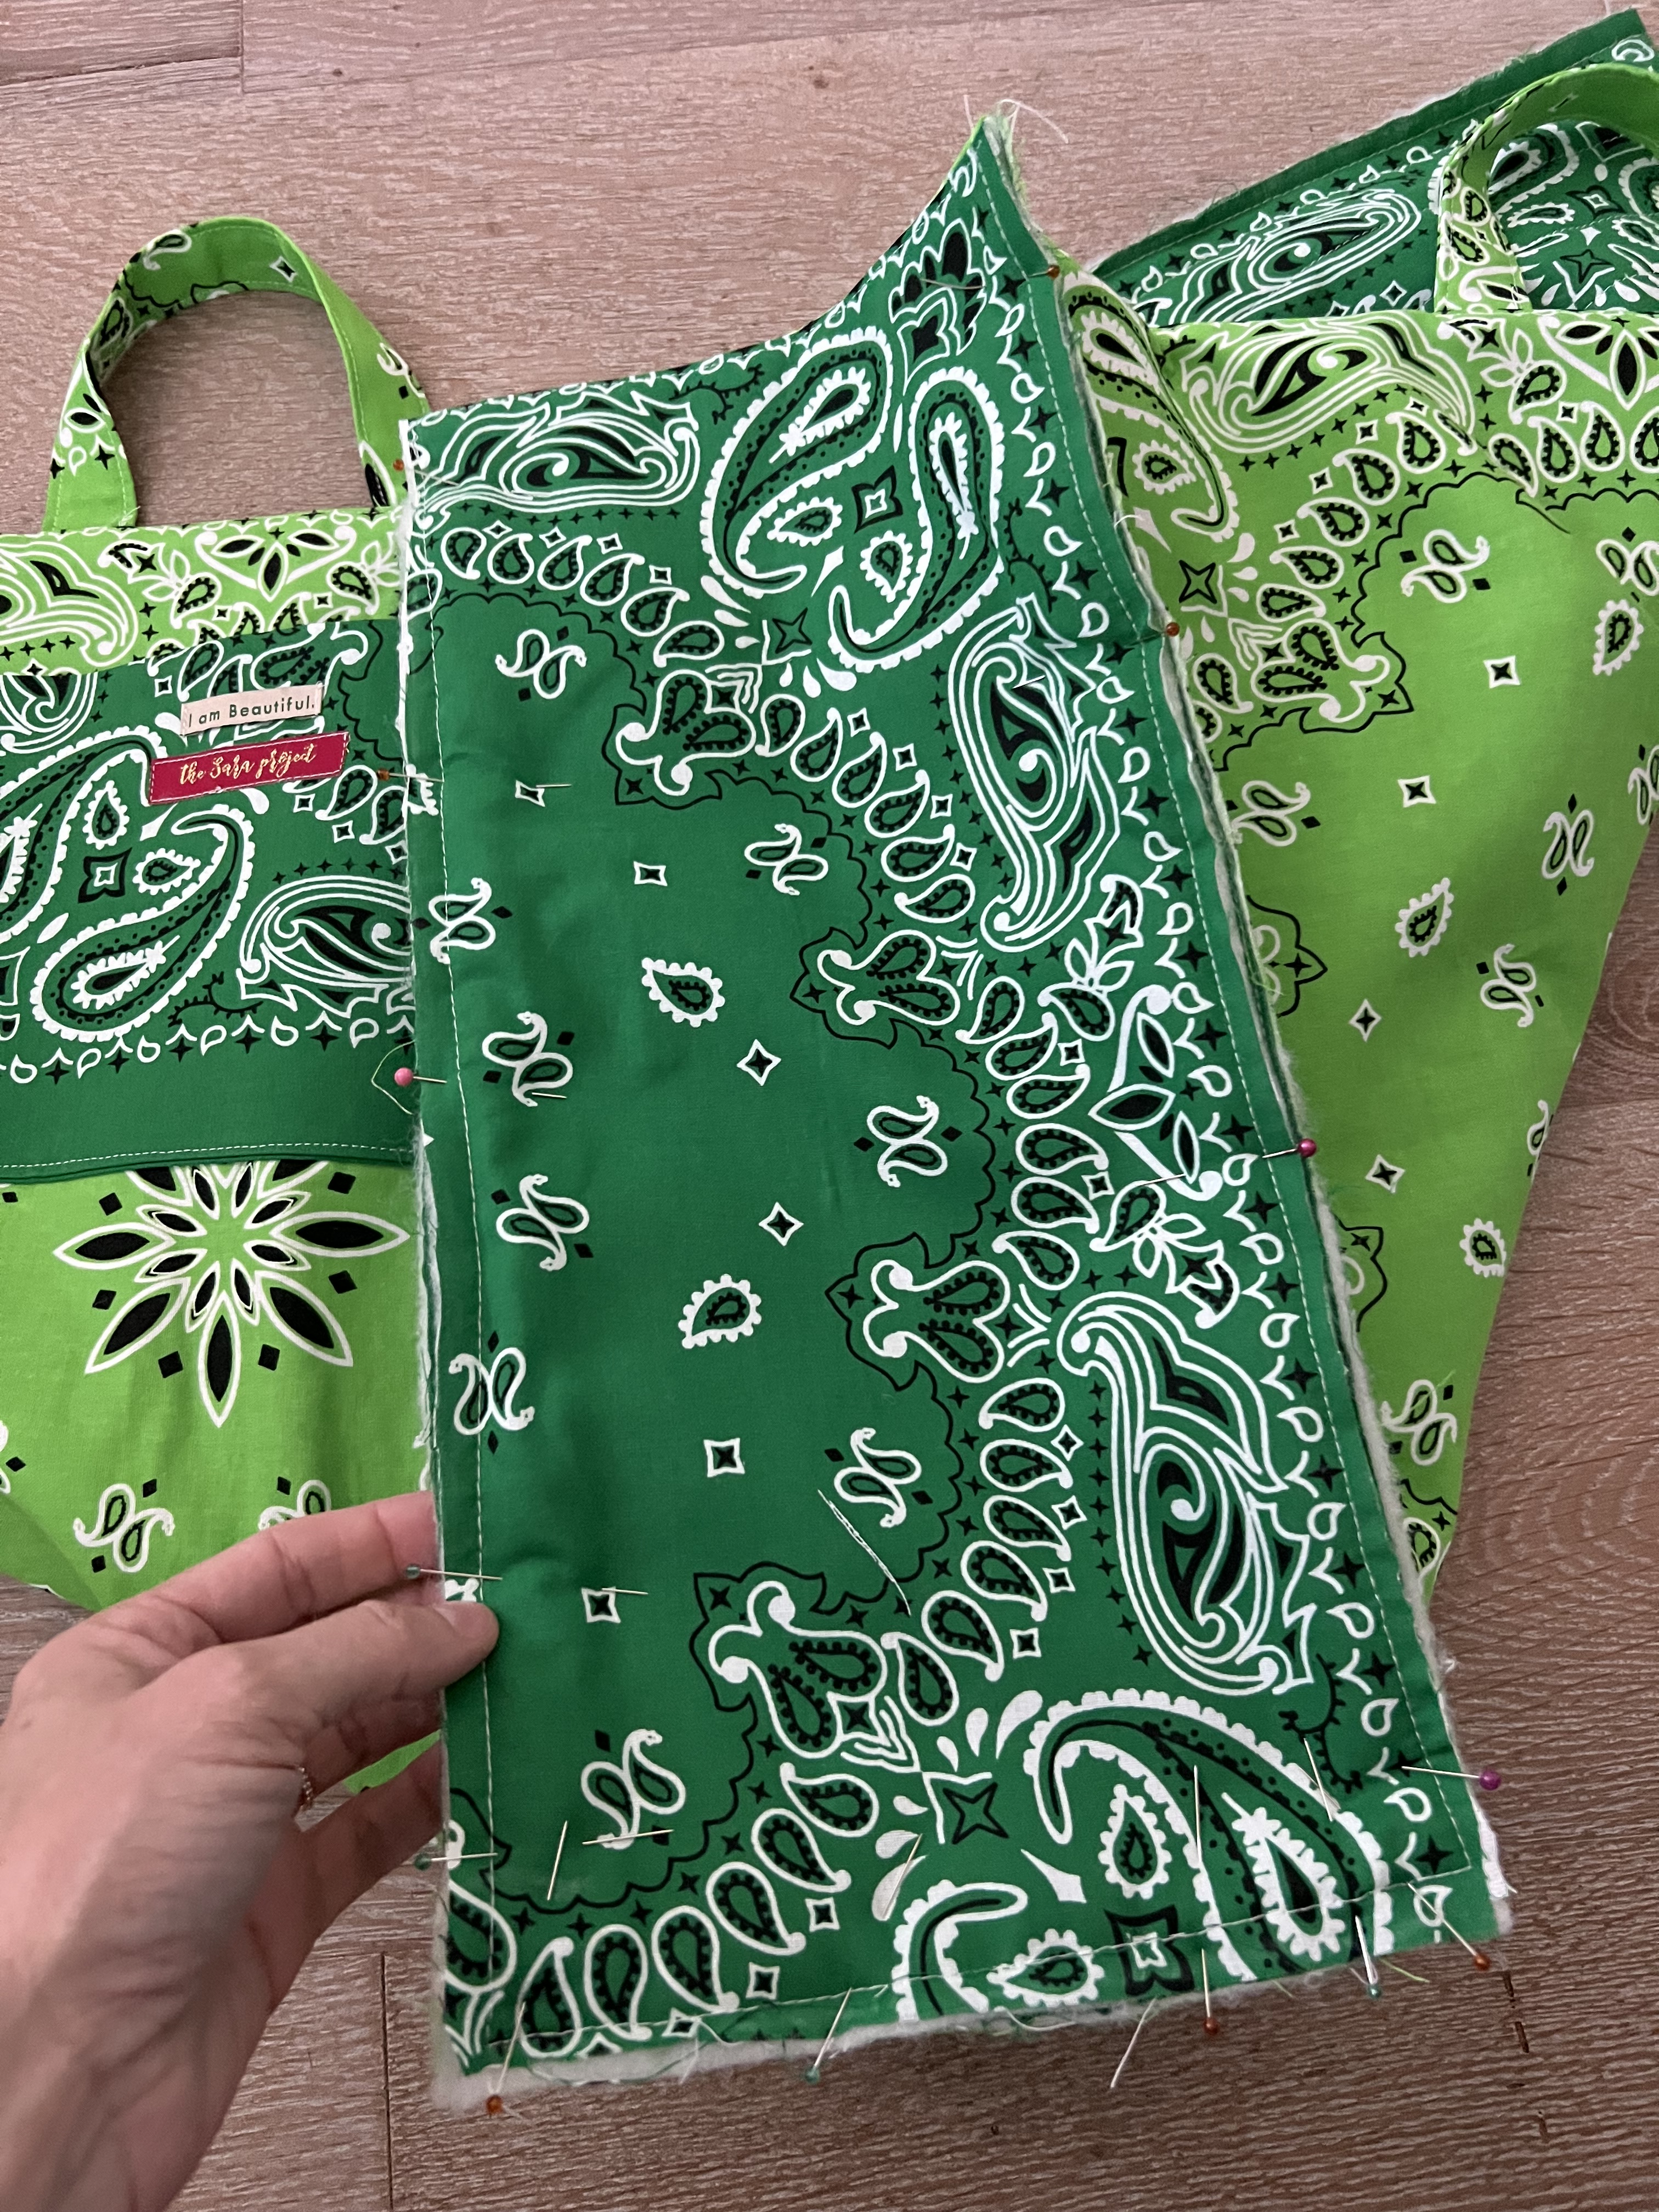
14. Now grab your four main and lining side pieces. Pin the two side pieces right sides together and pin along ONE edge. (This will become your top edge). Sew at 1/2″, press seam to lining side and under stitch just like we did in the steps above. Repeat for the other side piece.


15. Attach the sides to the bag main by pinning right sides together along the side and bottom edge of the bag. Sew along the edge at 1/4″, pivoting at the corners. Repeat for the other side panel.

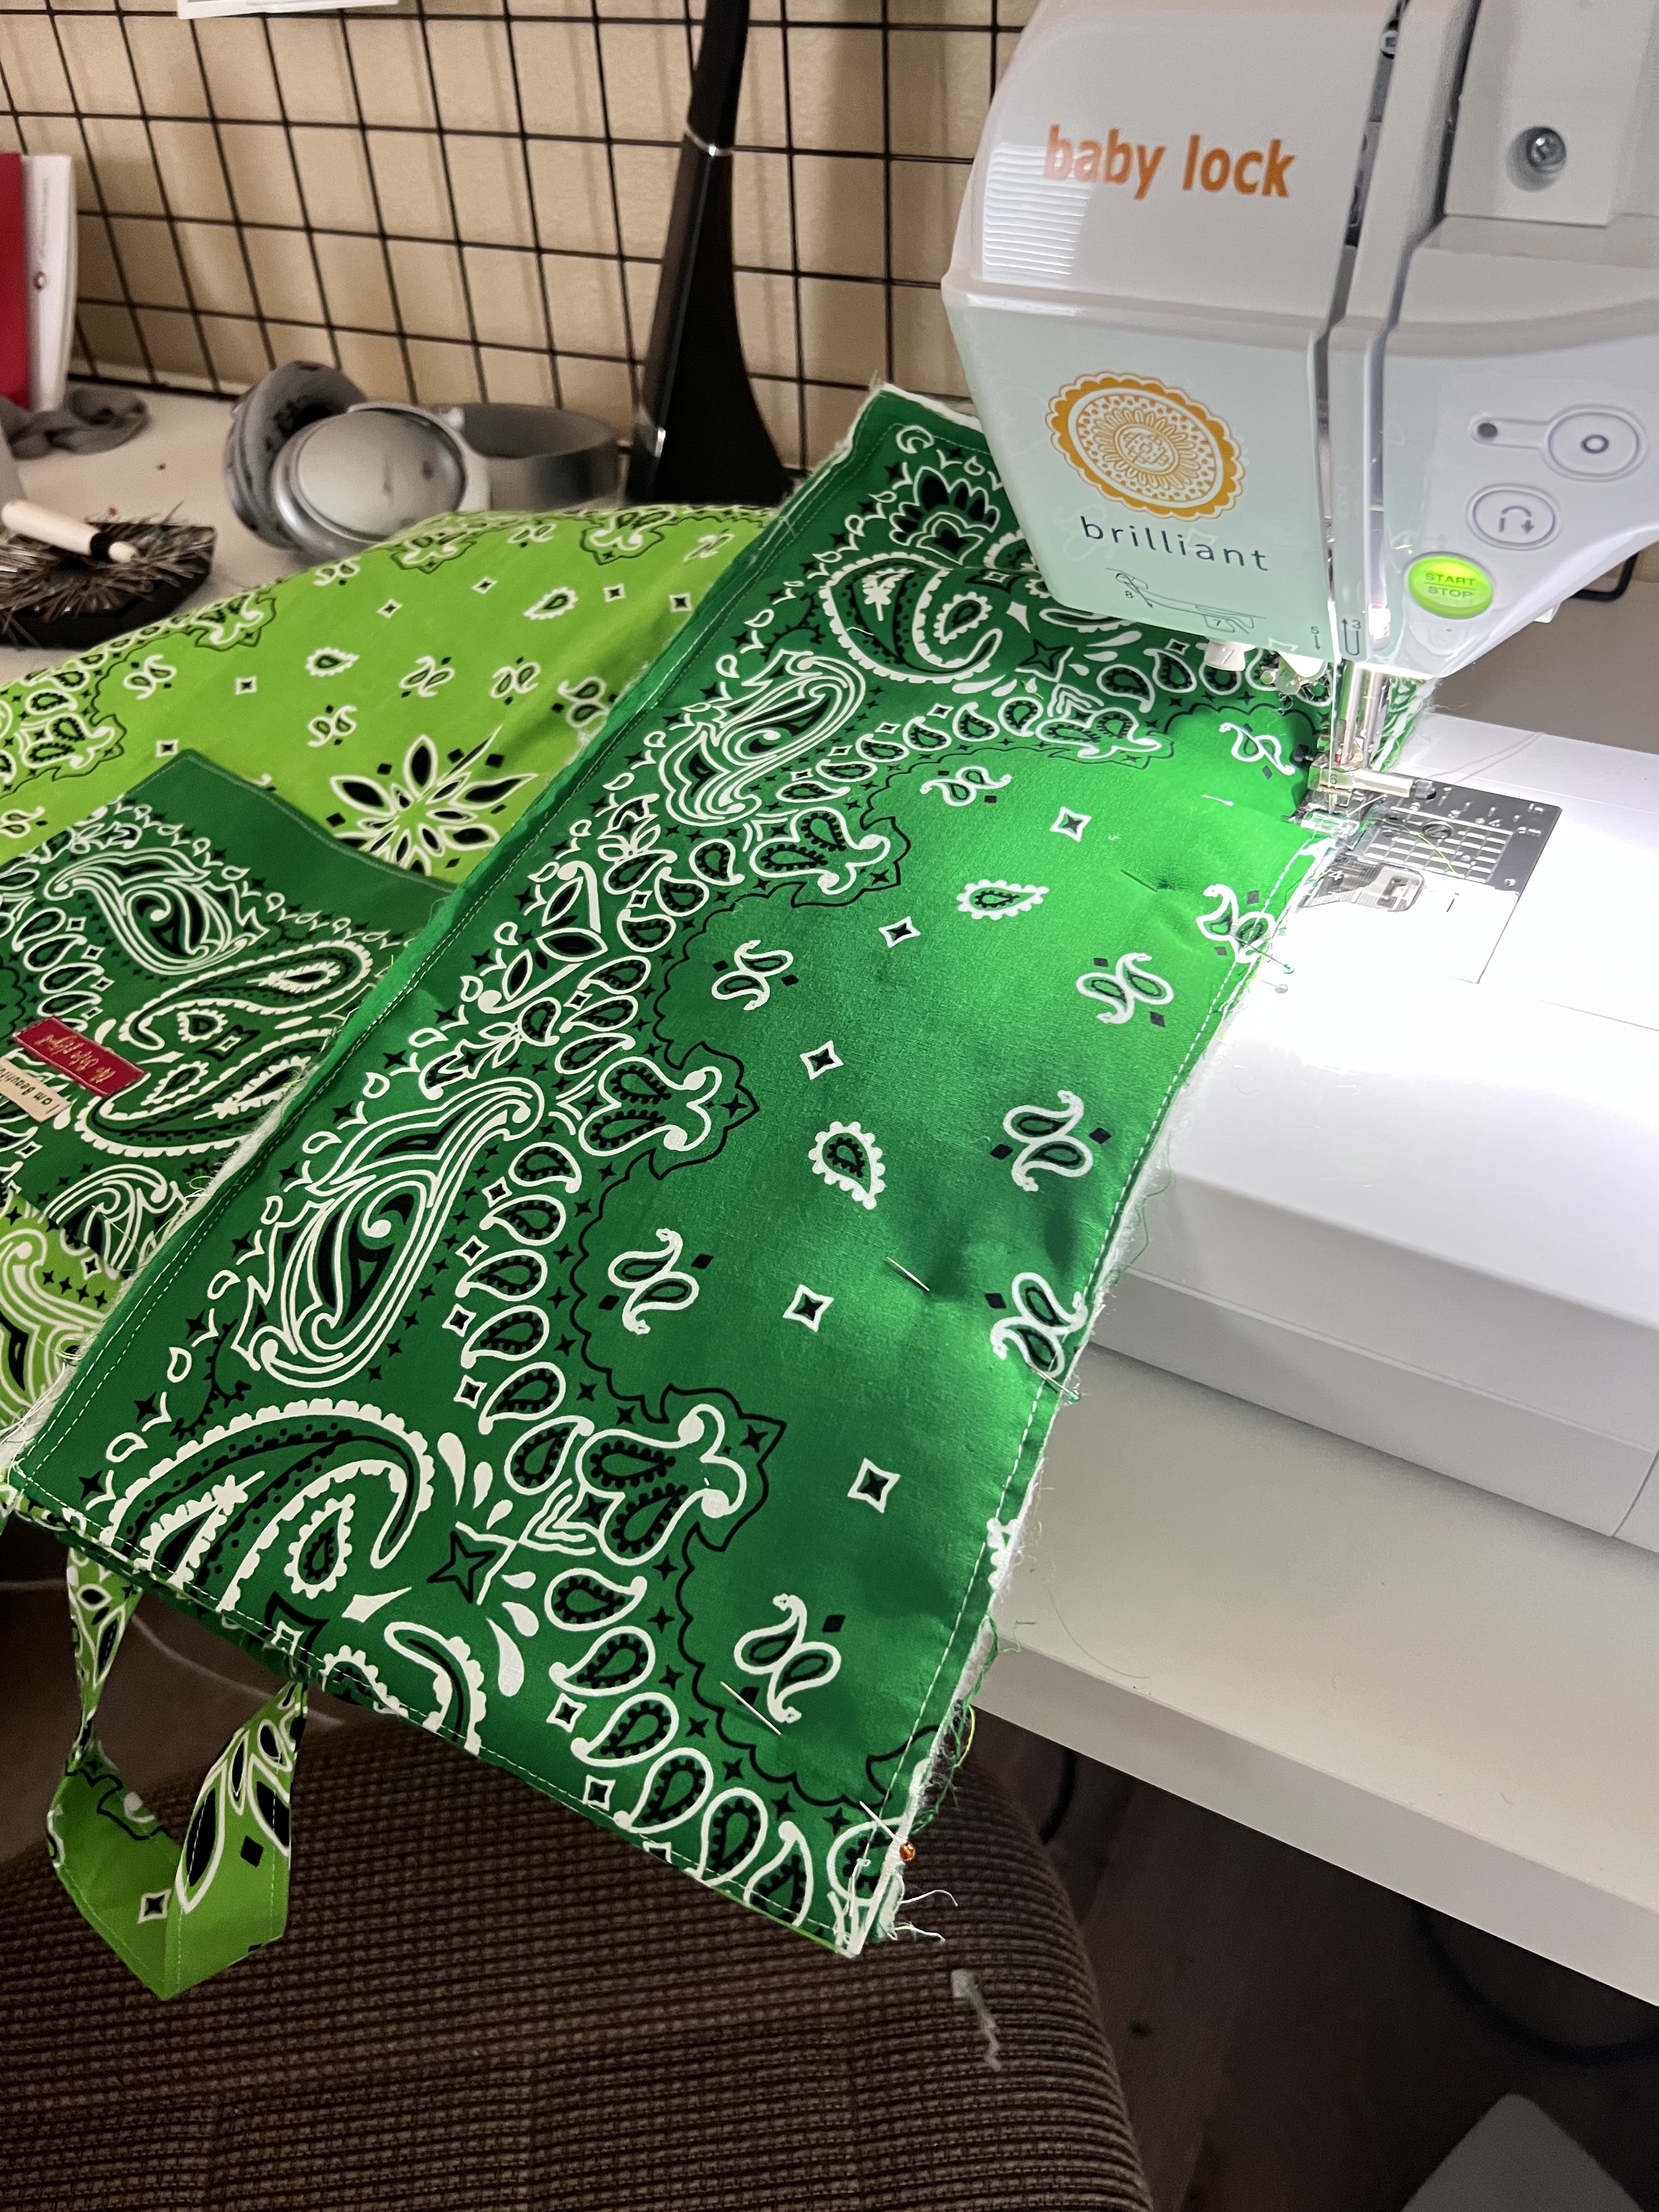
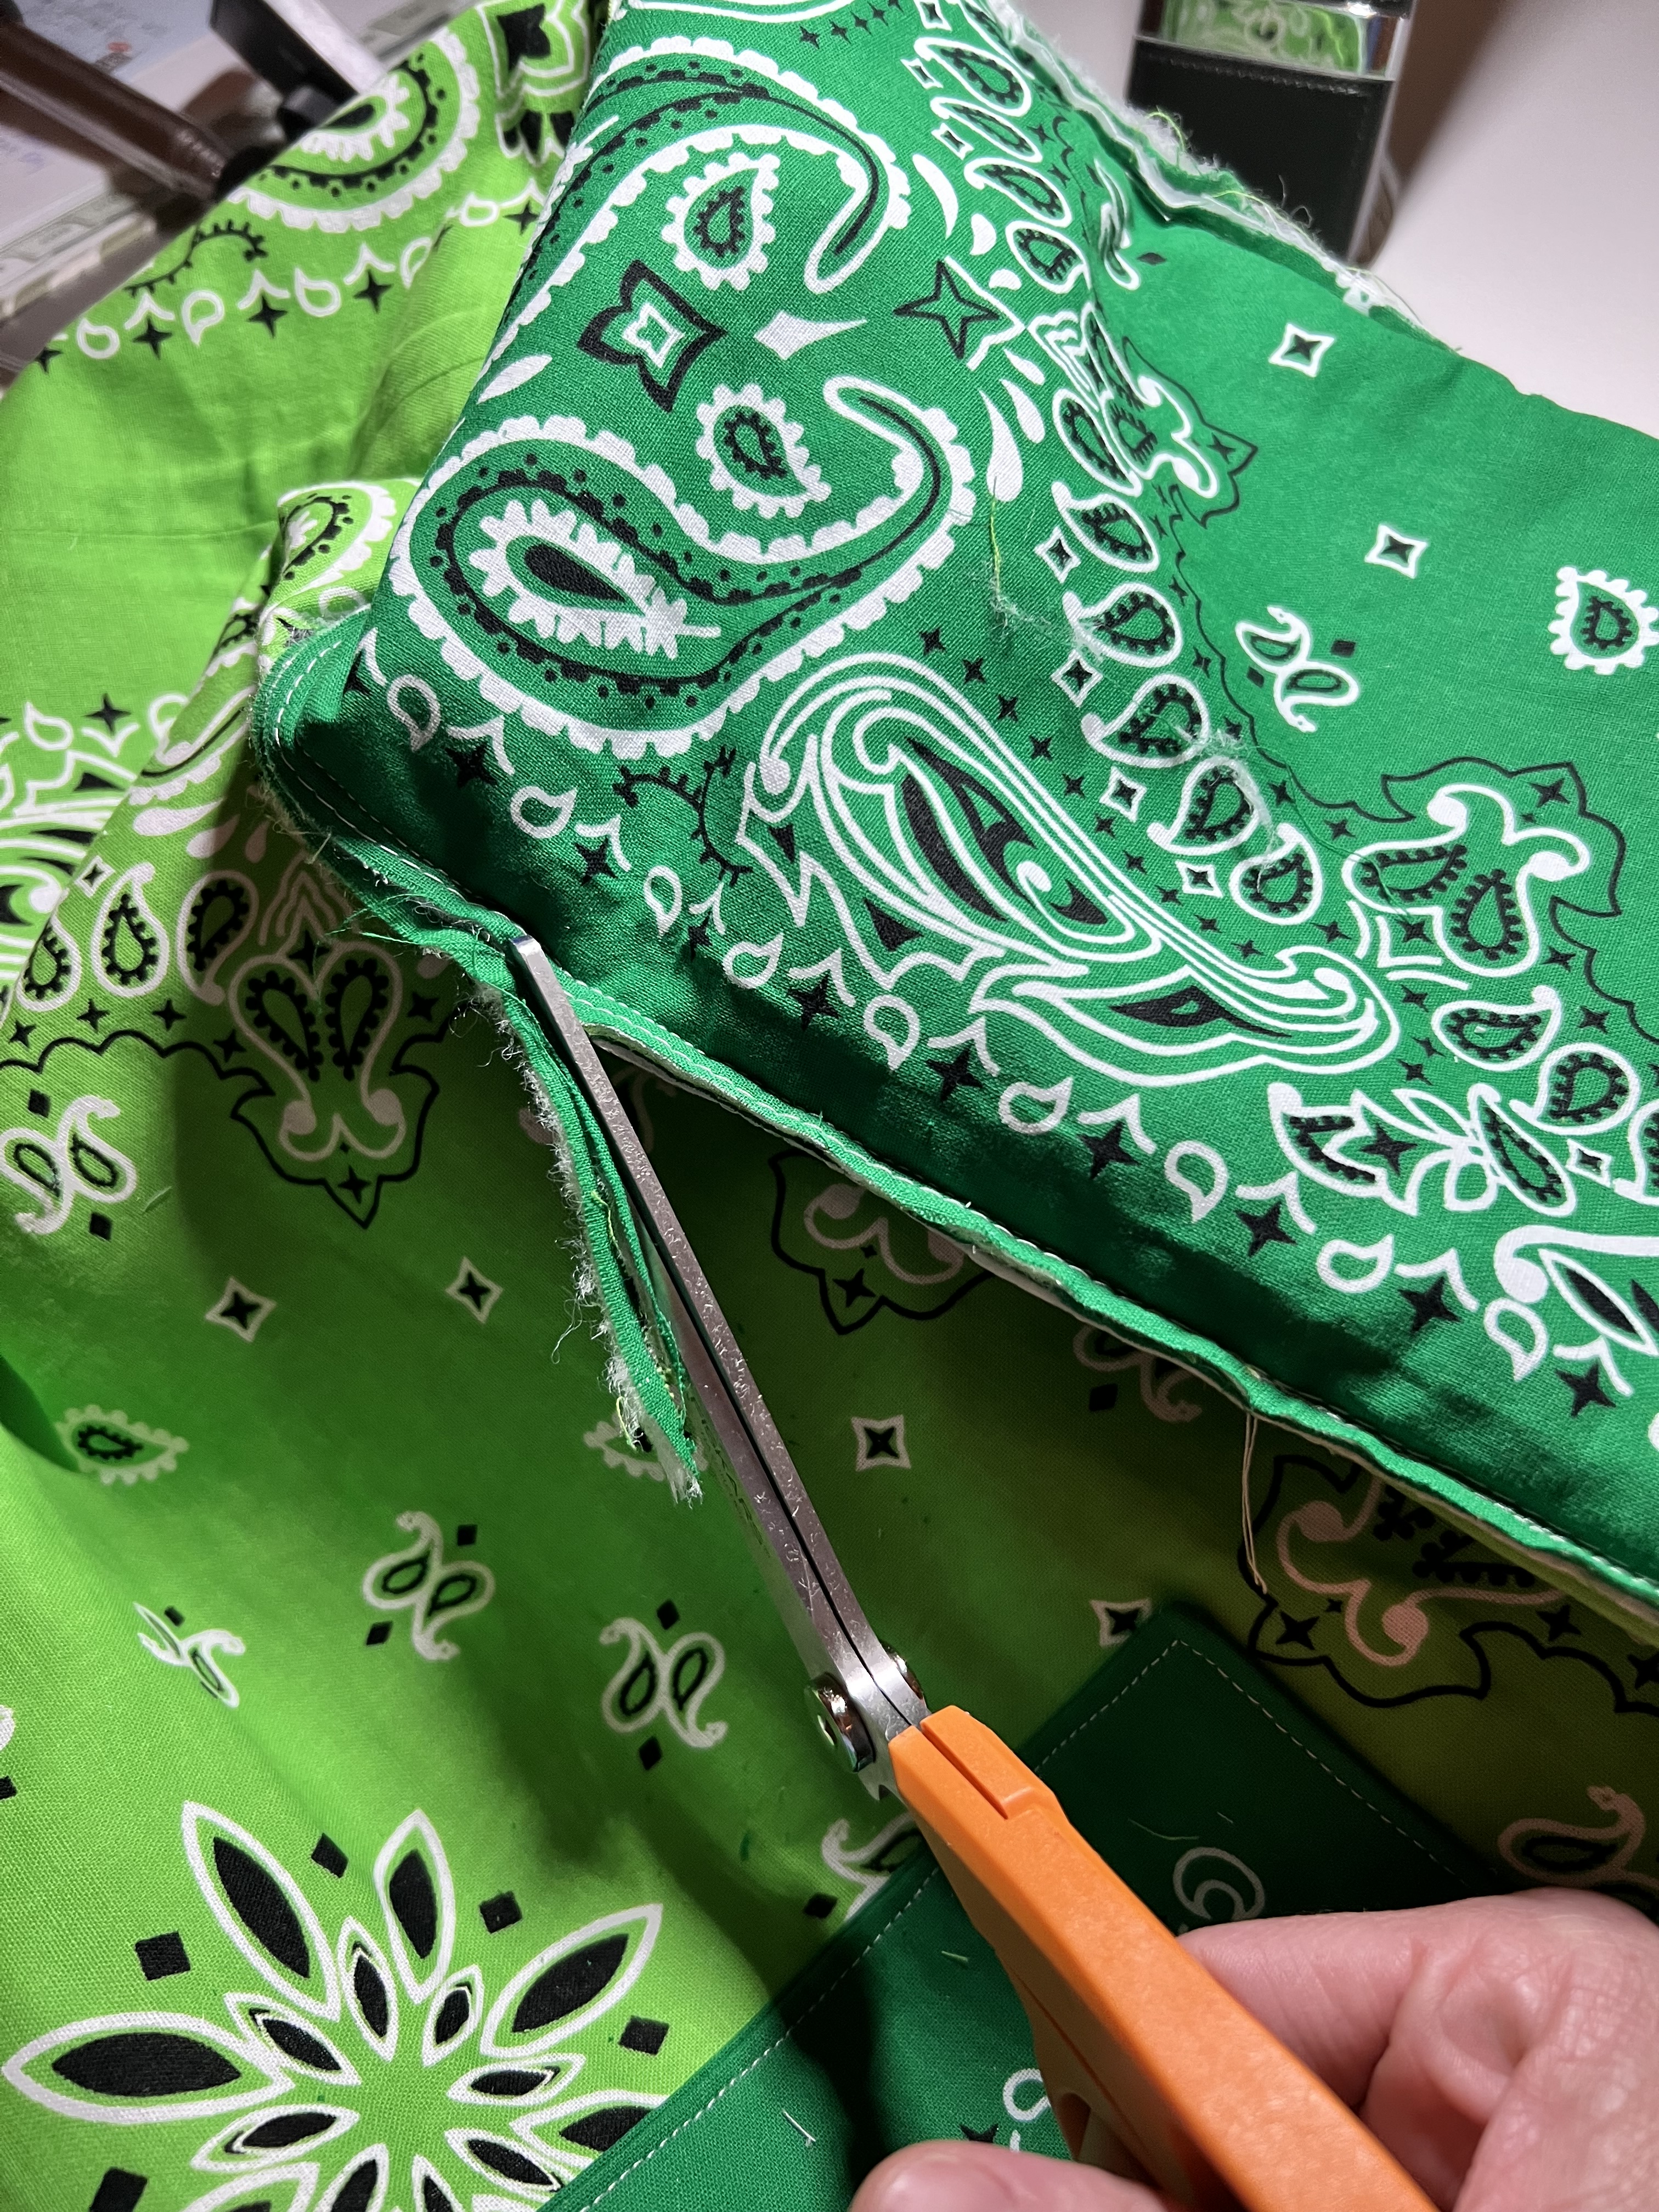
16. Trim all of your edges down a bit. Top stitch along the top of the bag at about 1 1/2″ from the top finished edge.

17. Flip the bag right side out. Pin along the seam of the bag side edges. (The seam allowance will be sandwiched inside). Sew at 1/2″ all along the side panel, pivoting at the corners. Use your hand wheel on any super thick parts. Finishing the bag this way gives it some structure and stability. Repeat for the other side panel edges. Then repeat again along the two front bottom edges of the bag along the bottom crease- Pinning and sewing at 1/2″. Make sure the inside lining is pinned and laying nicely before sewing.


Make sure your seam caught the seam allowance edge enough that none of the seam allowance is sticking out within the inside lining seams of the bag when you open it up. Unpick and resew if needed until you have a clean finish.
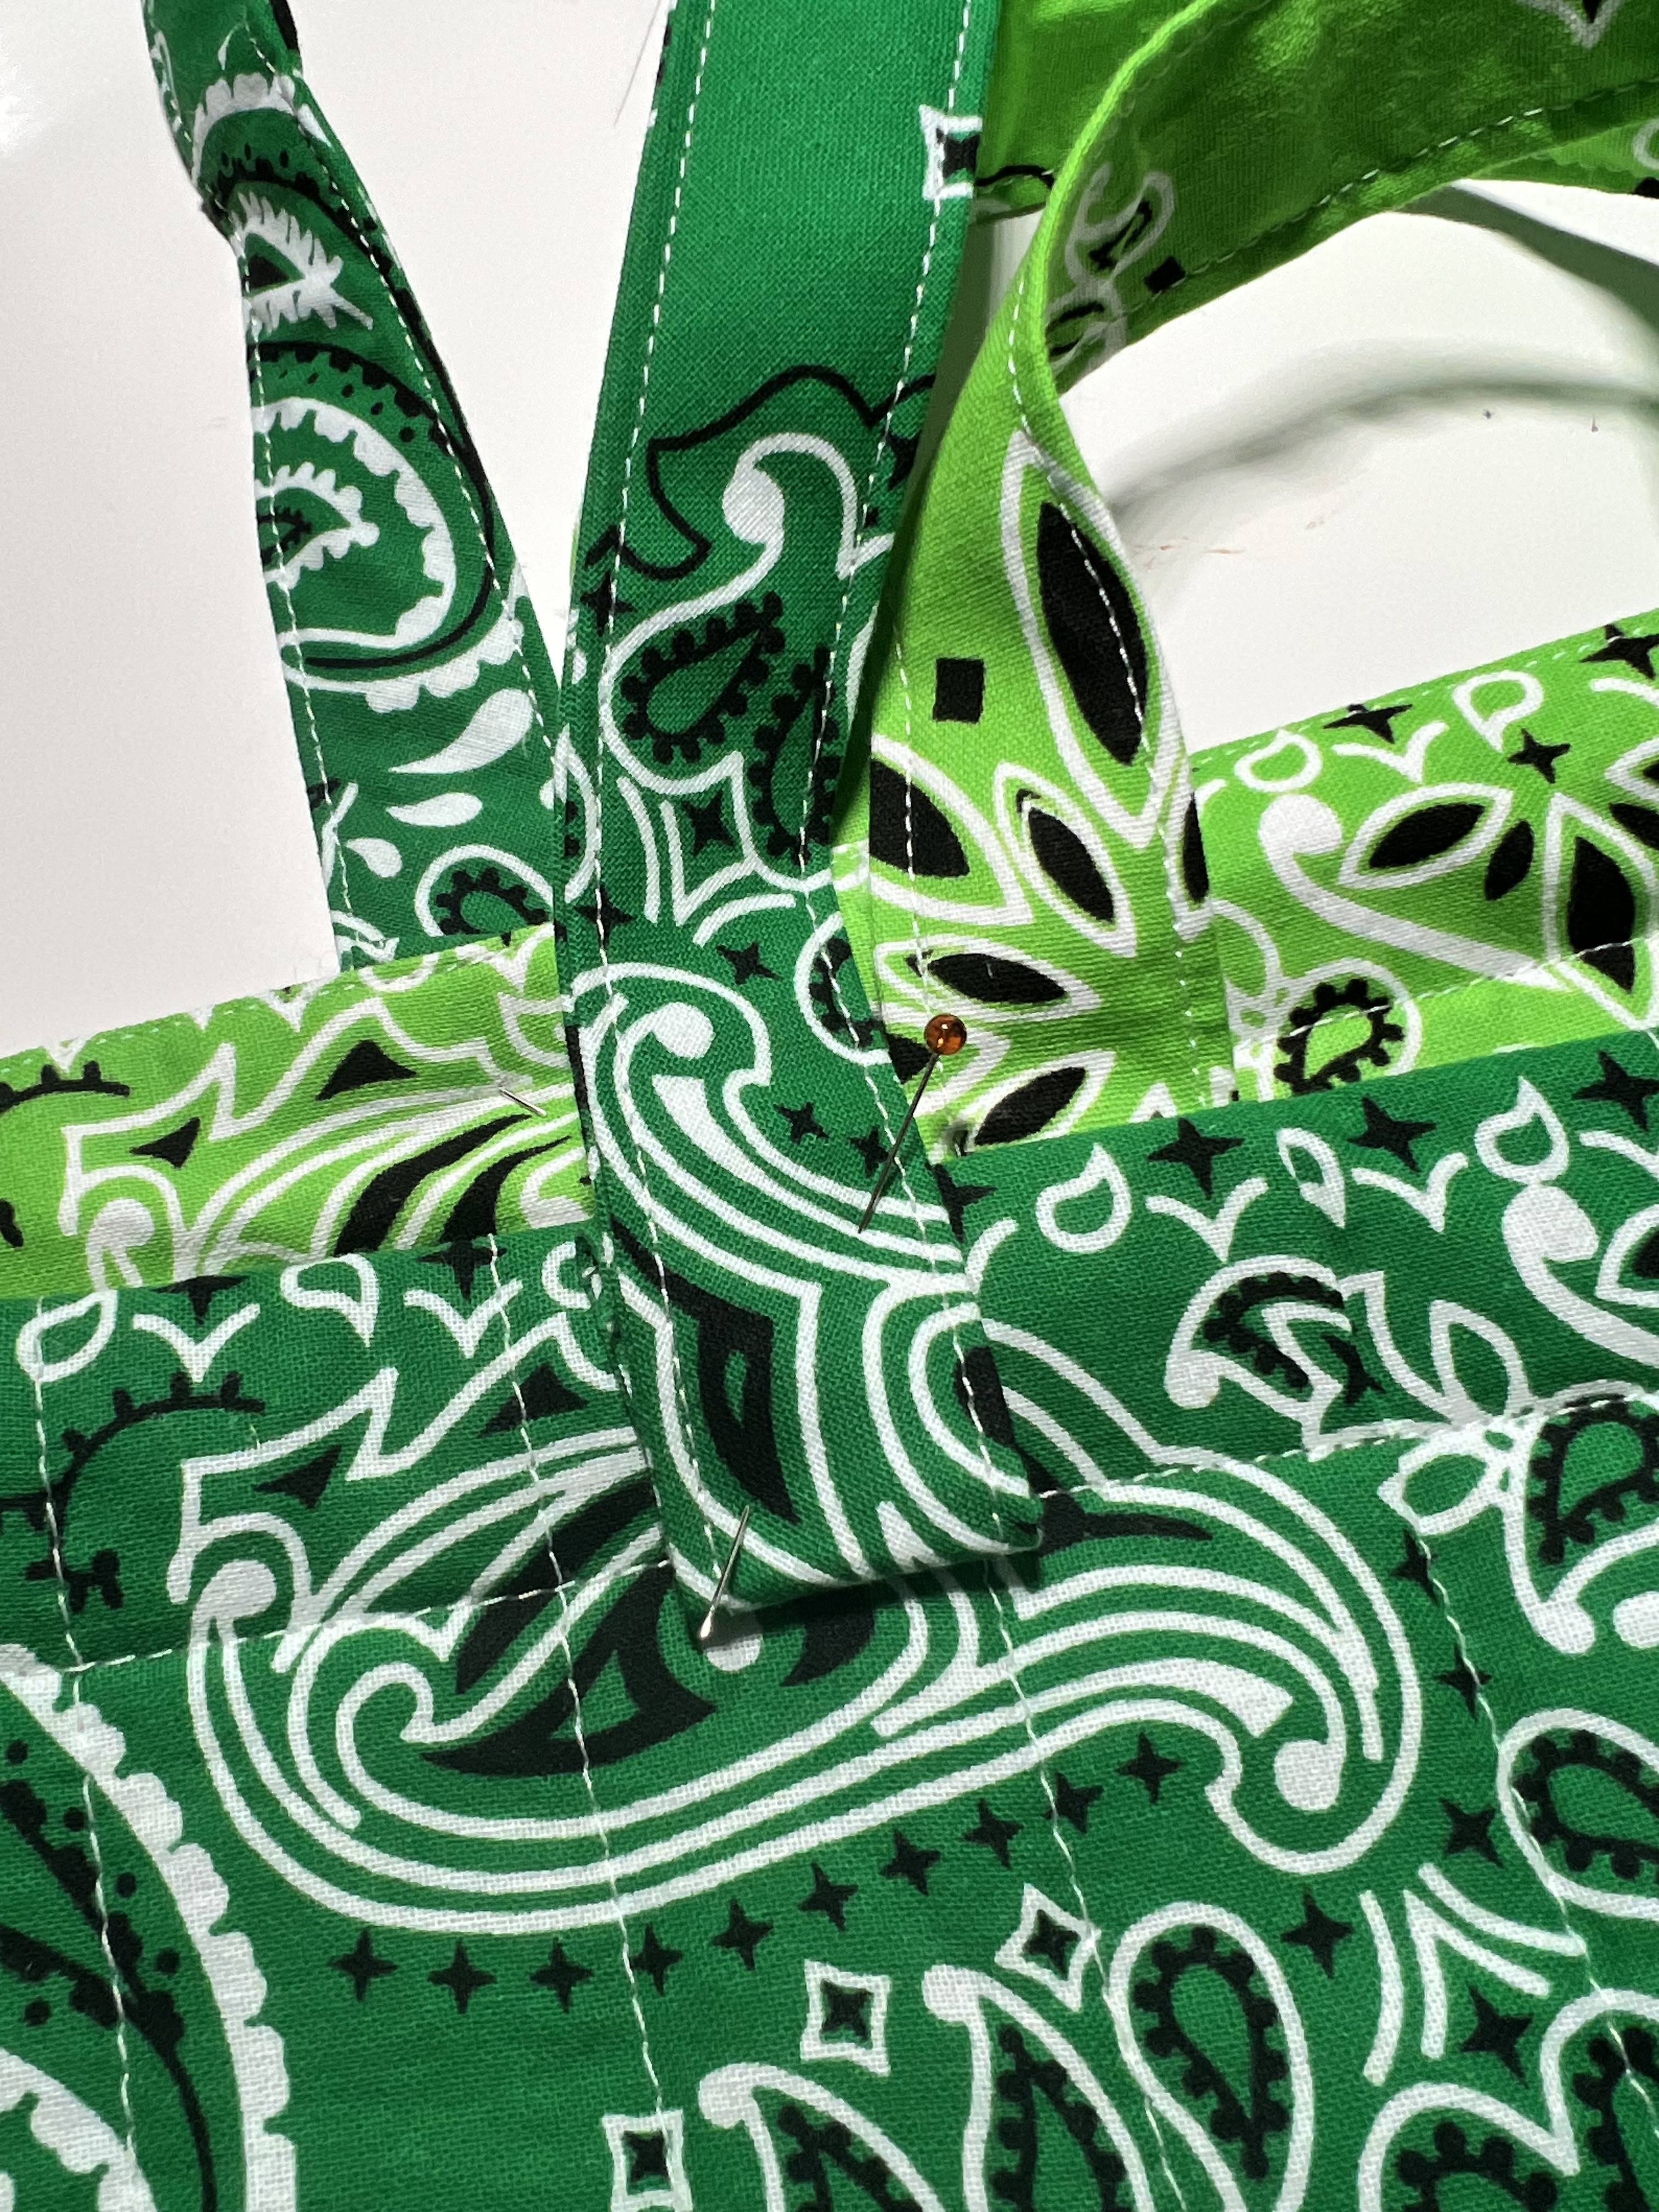
18. Grab your two long straps. Fold each raw edge in at 1/4″ to the back side of the strap. Pin right next to the outside the short strap. Pin and edge stitch creating an X for extra stability.


Trim off any loose threads. And you did it!! Woo hoo!!!

I hope you love your bag as much as I love mine. Thanks for being here. If you have any questions leave a comment and I’ll get right back to you. I would love to see your finished bags- tag me or send me a DM on instagram over @thesaraproject_.
Happy sewing and see you soon!
-Sara


Leave a comment