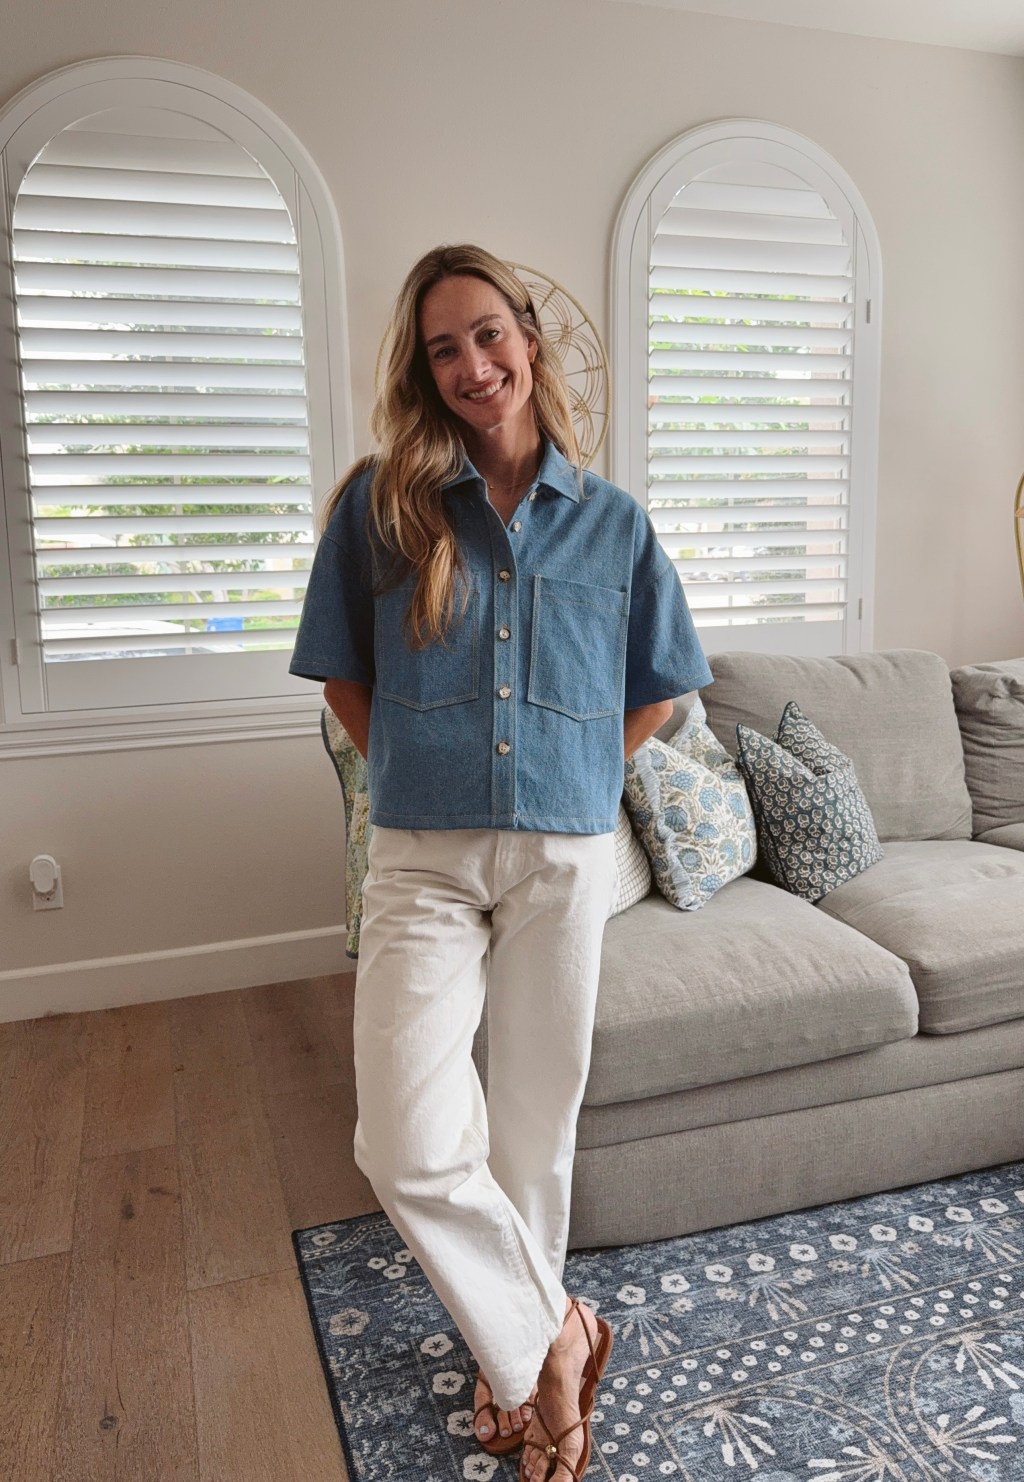
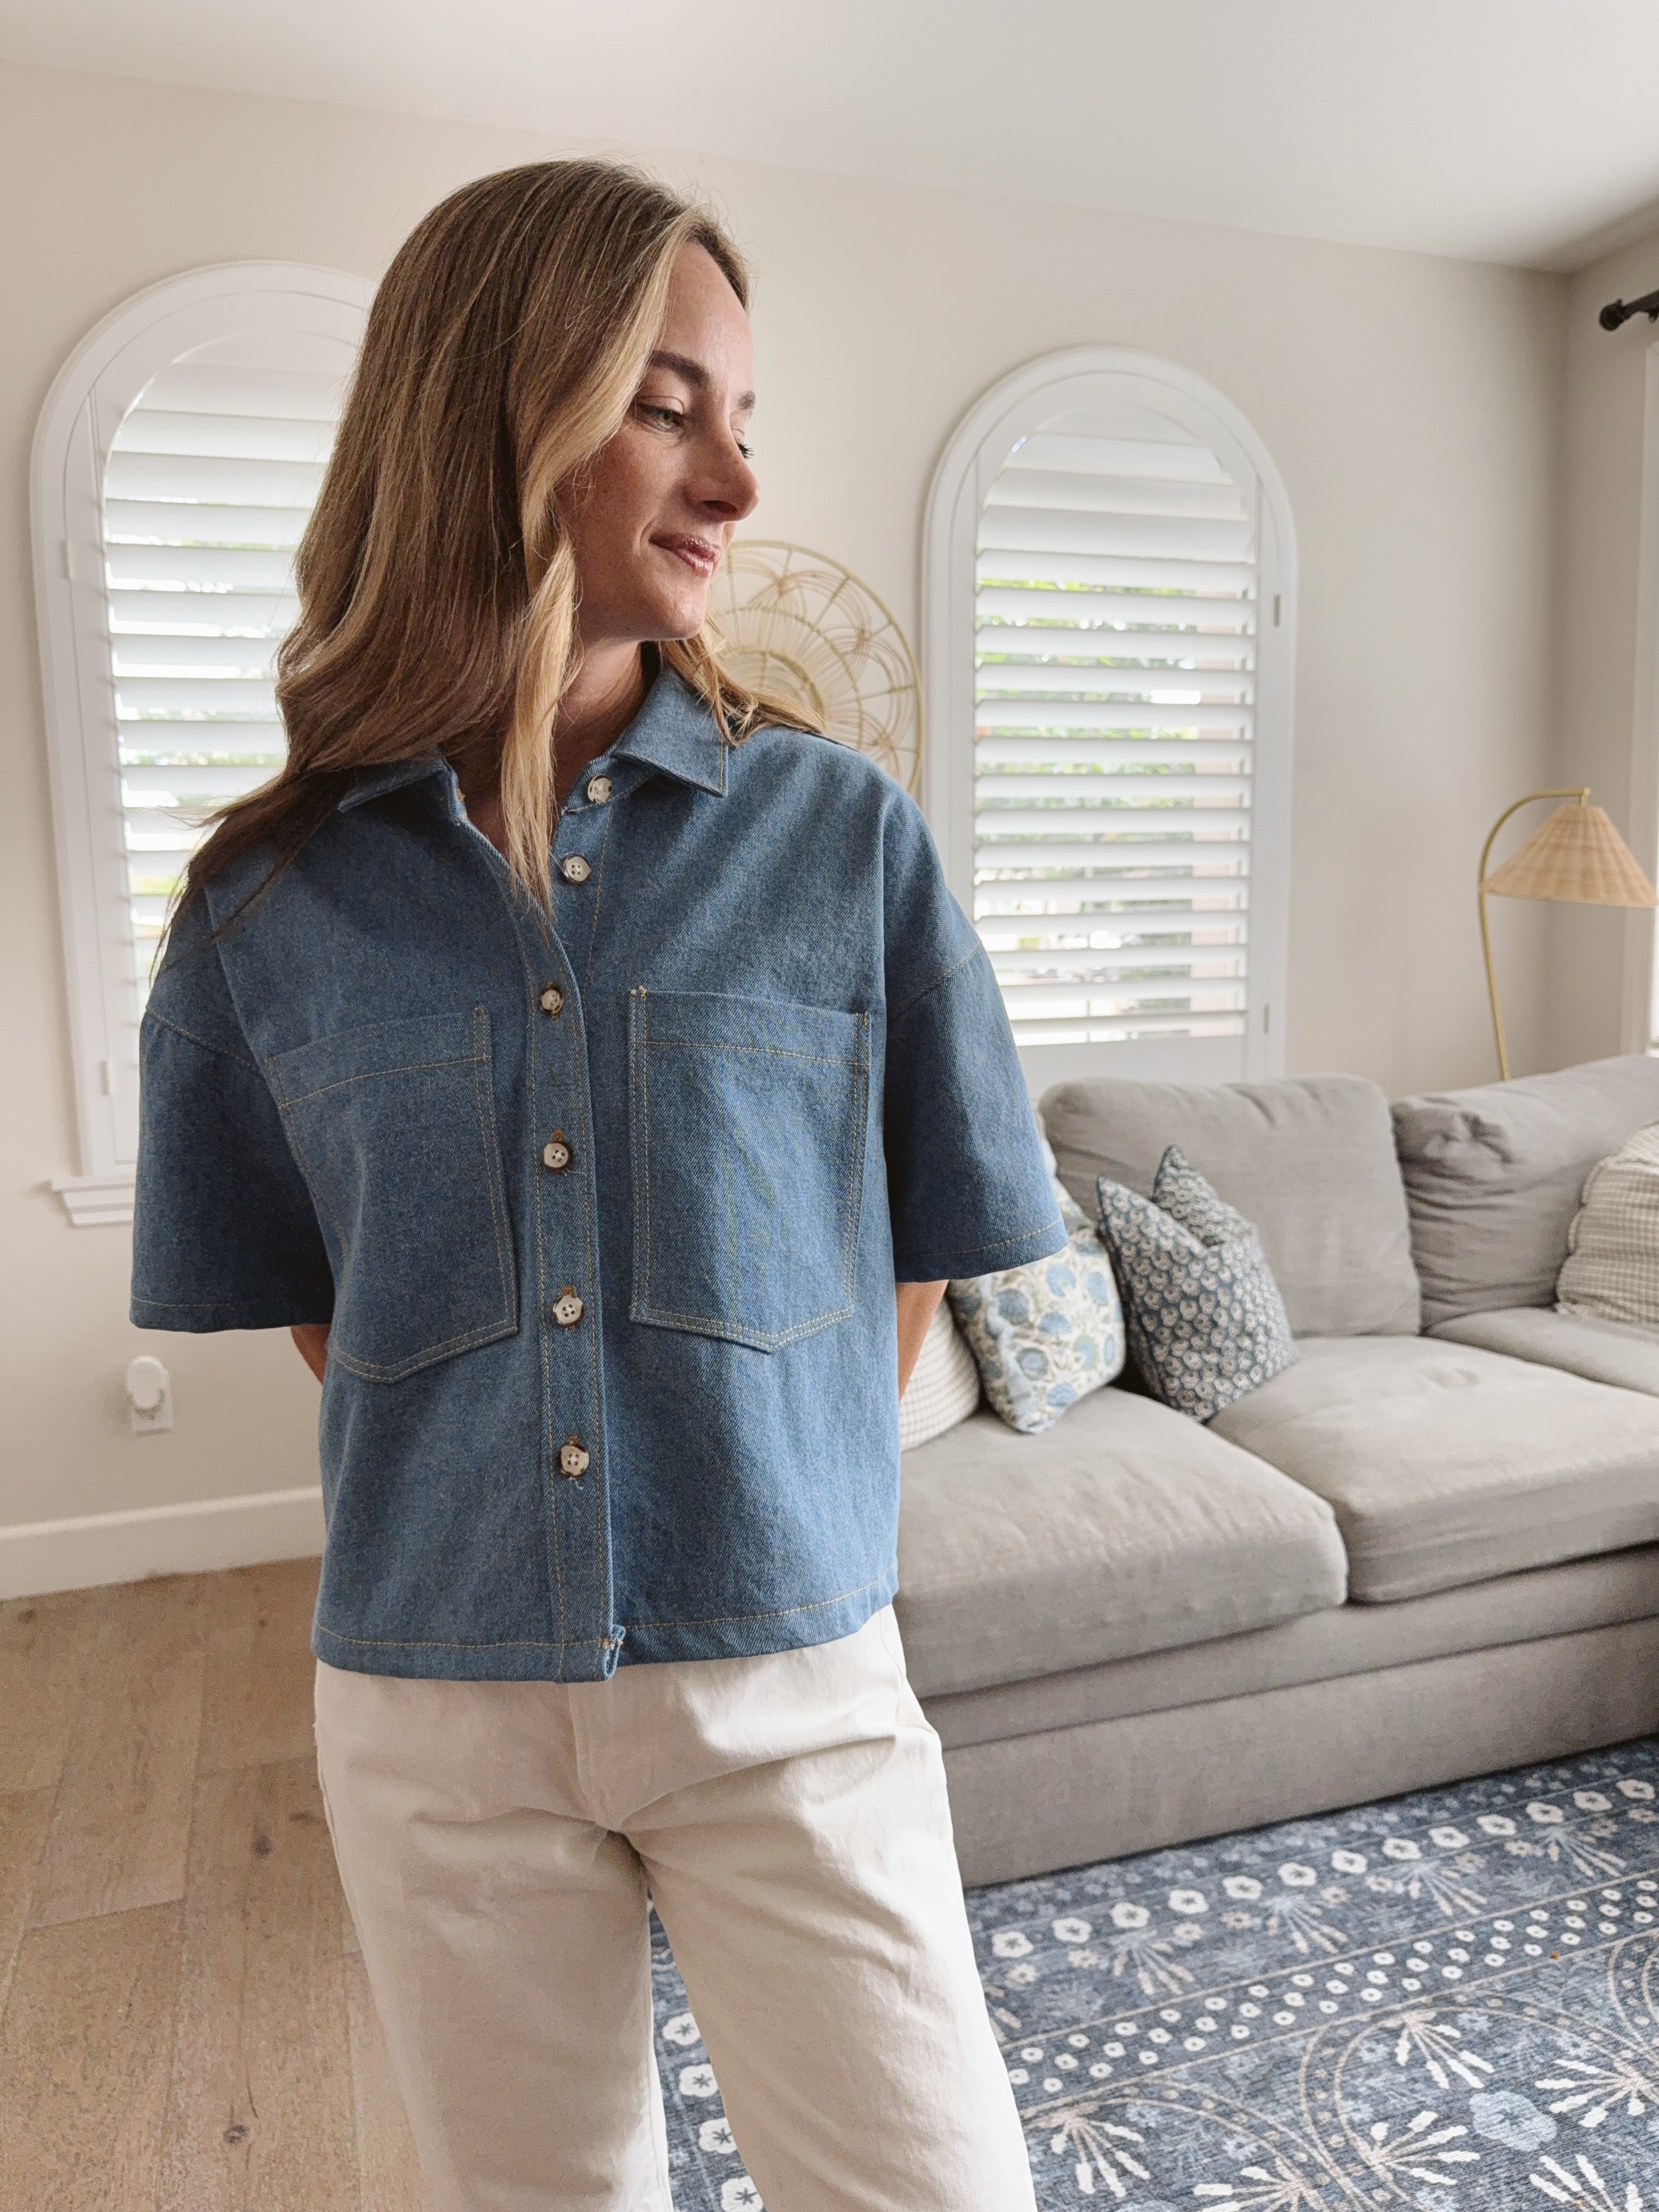
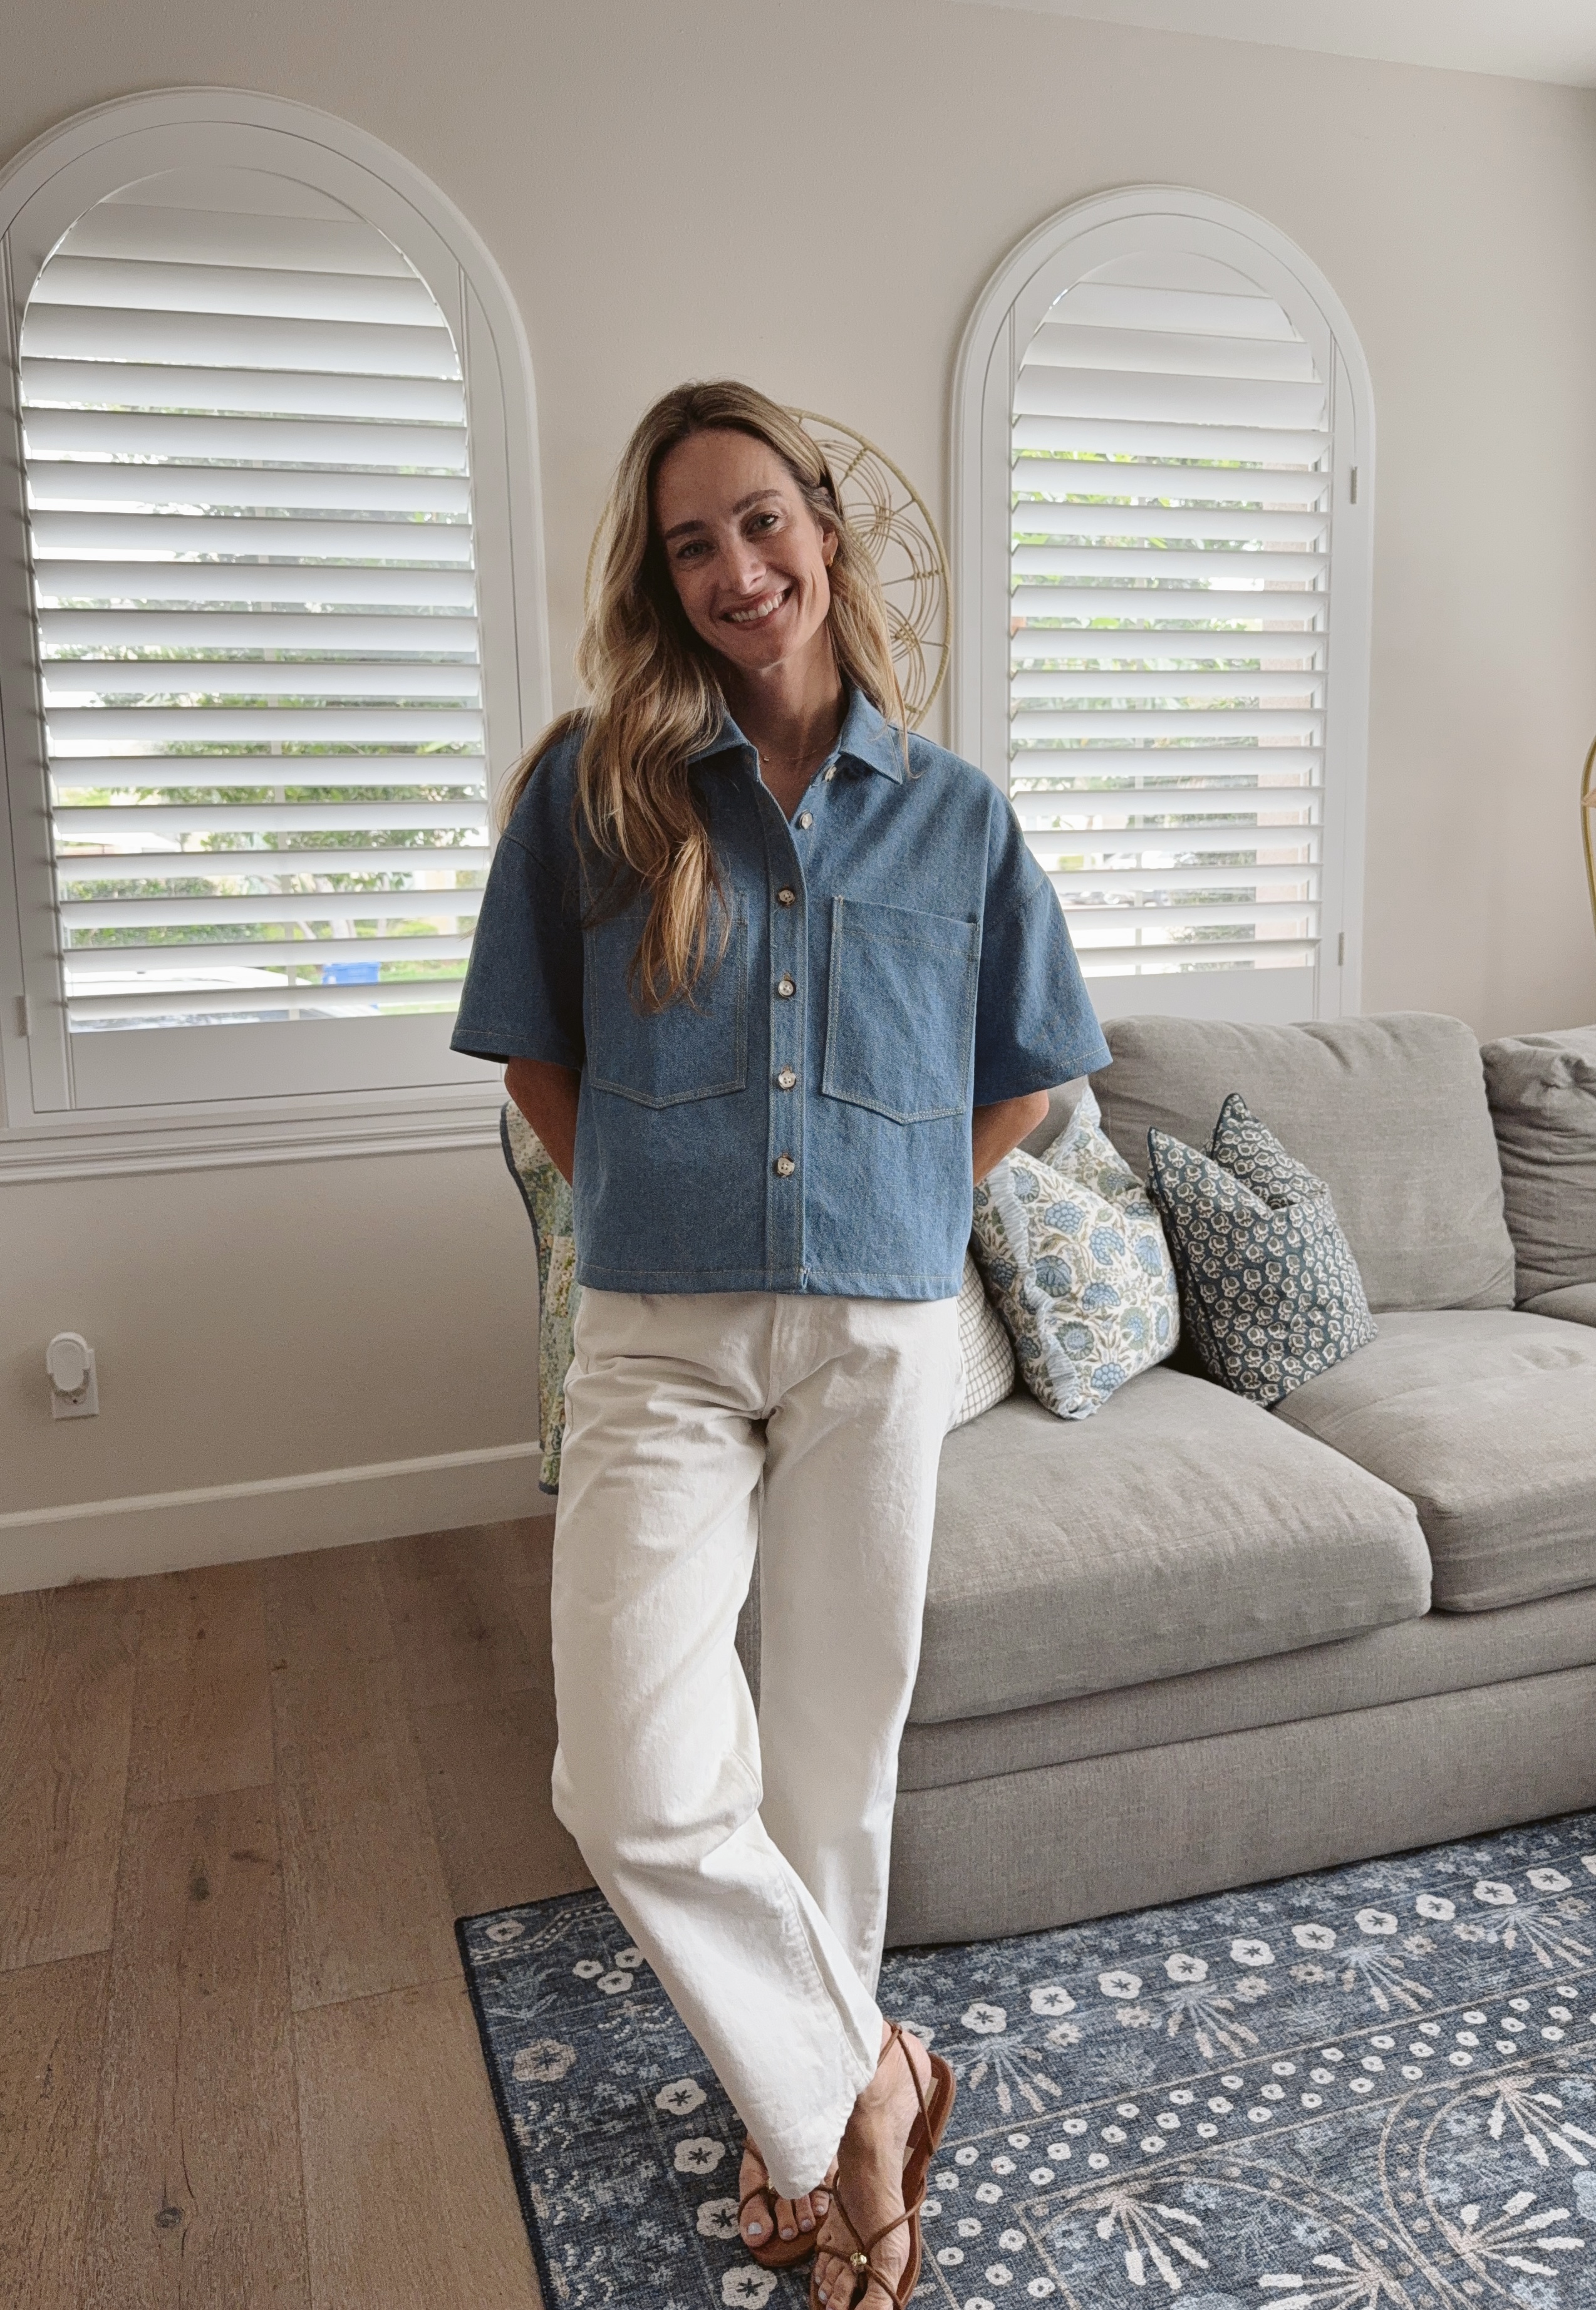
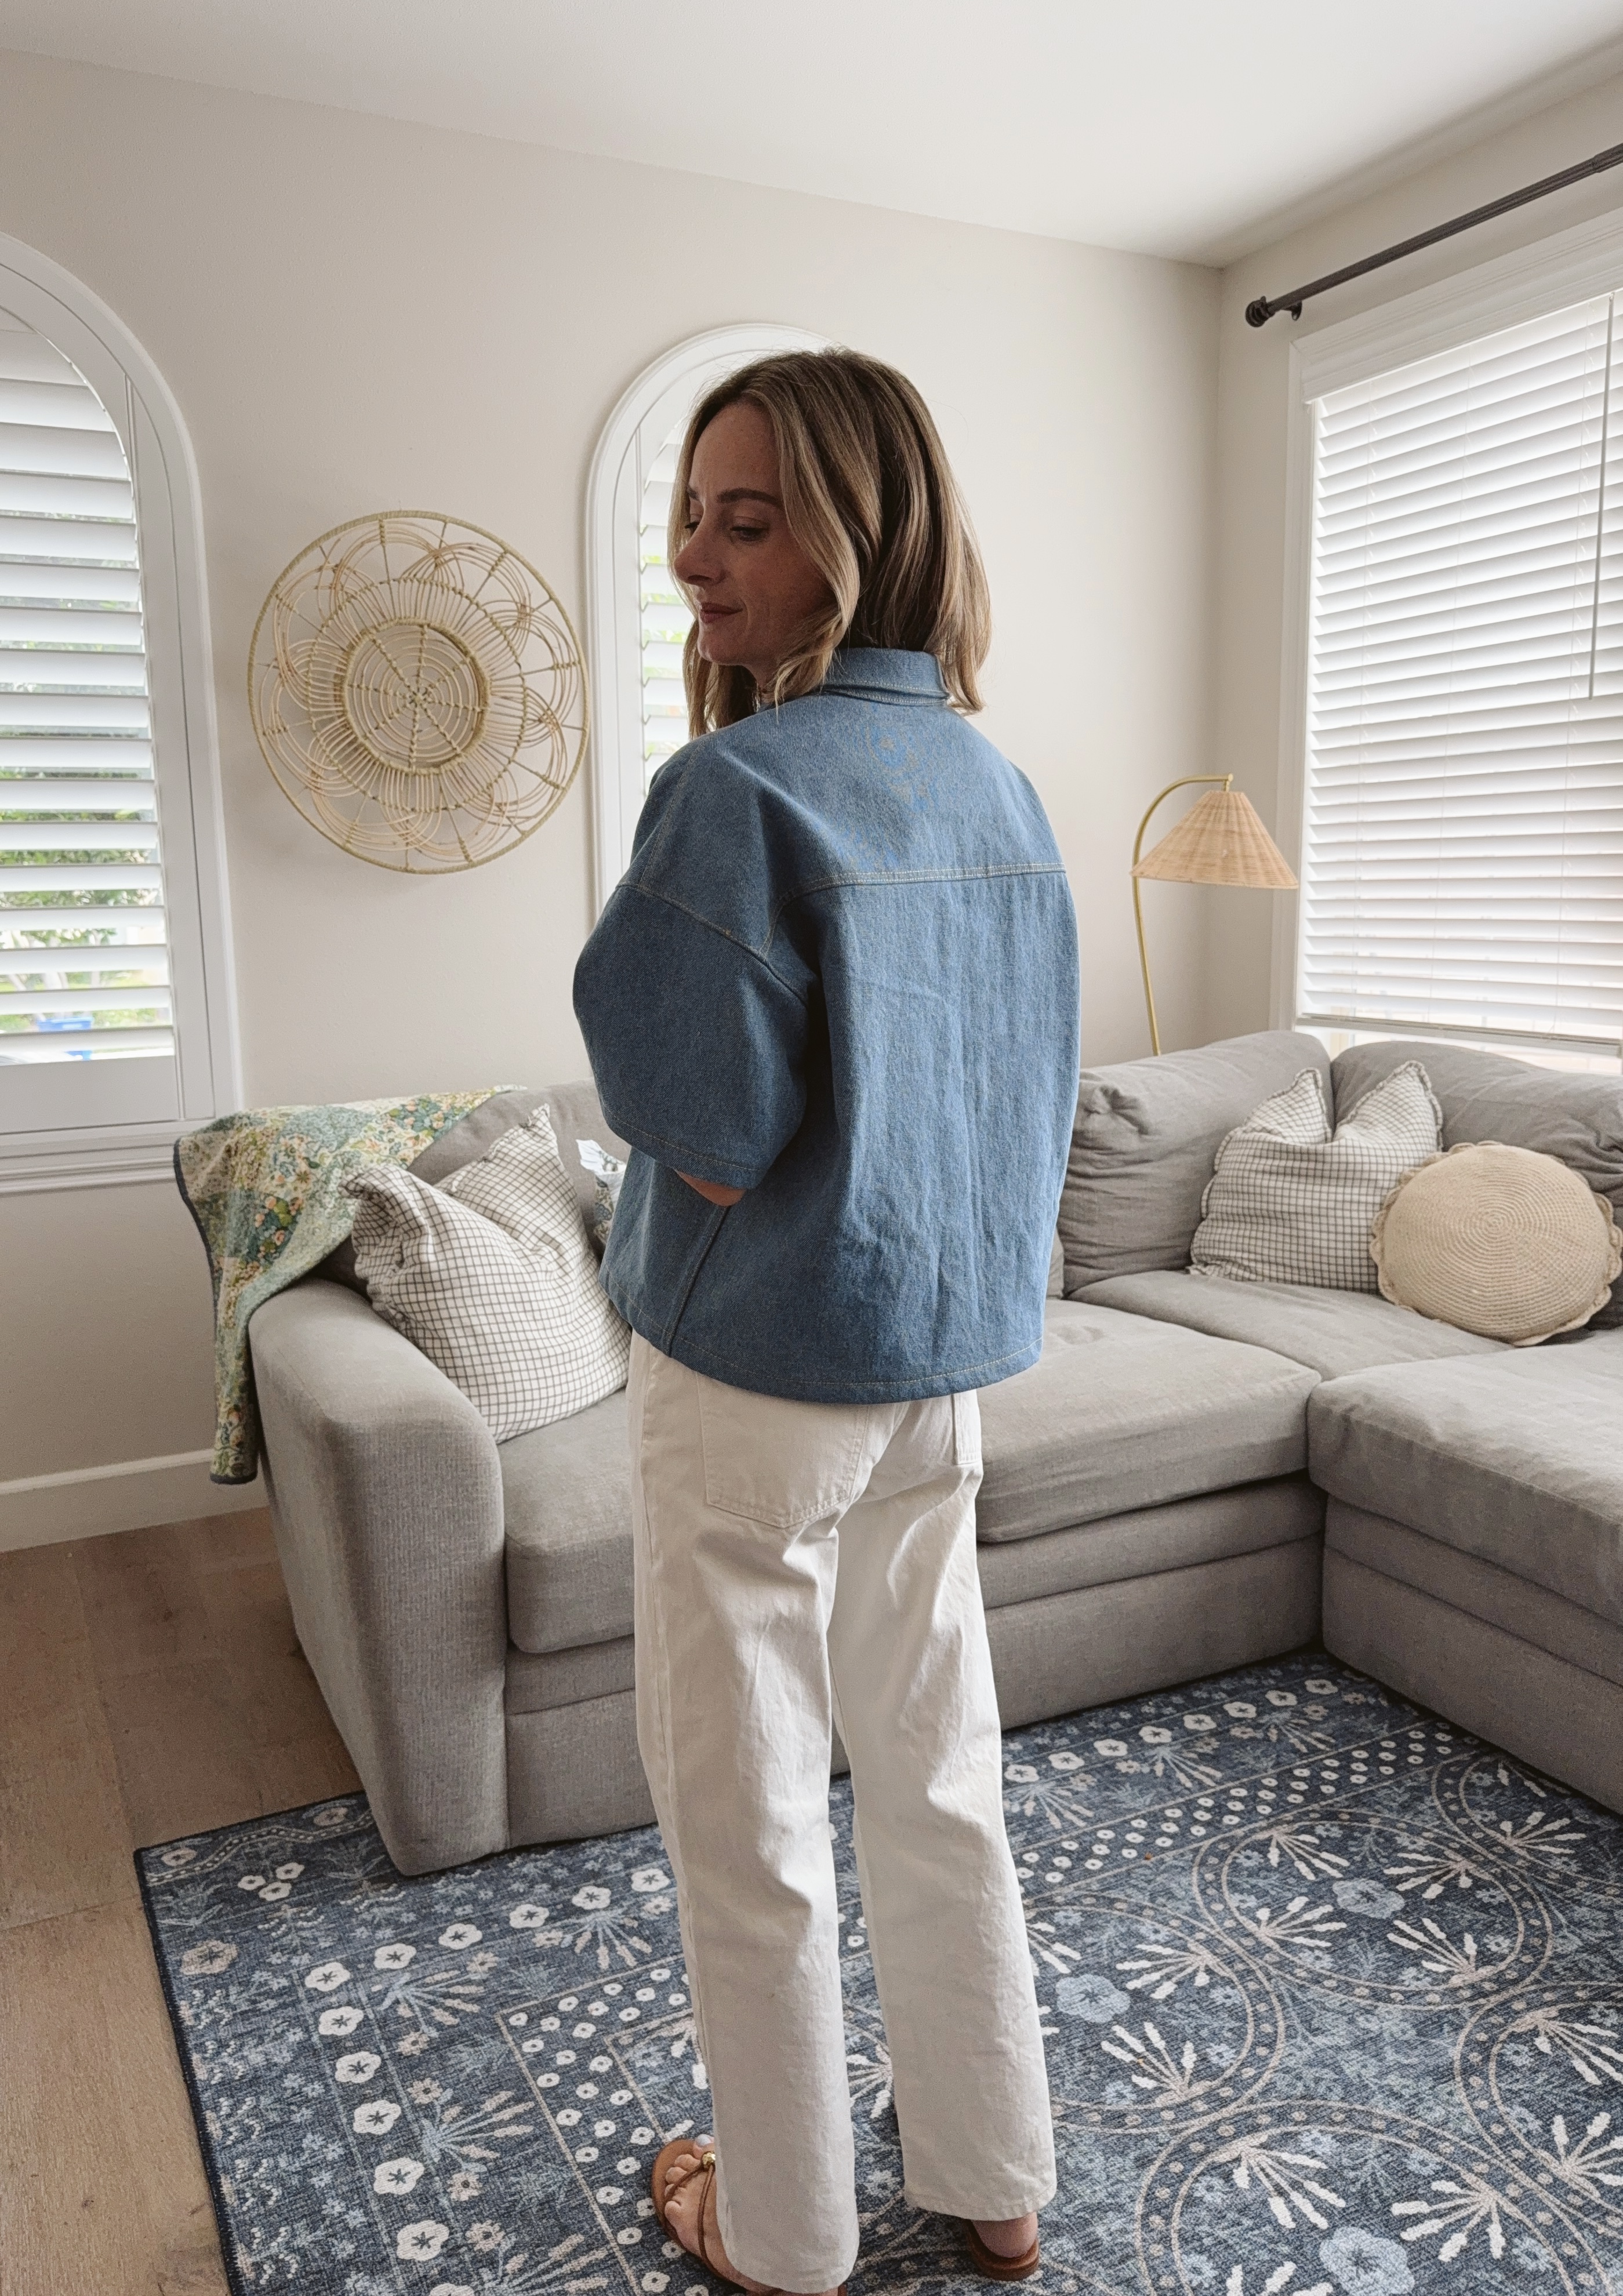
I have been eyeing structured short sleeve denim tops for over a year now, so when I saw me and the Kiddos new Easy Rider shirt pattern I knew I needed it! My style has been slowly moving towards more classic pieces as I’m getting older, and I knew this shirt would be something I would reach for often with endless ways to style it!
I used 3 of my Baby Lock machines to create this shirt! Party is all here! I will never stop singing the praises of my Accomplish II sewing machine. This denim fabric is slightly on the heavier side and this machine had NO issues plowing through the thick seams. I was impressed. I also used my Baby Lock Celebrate serger for two steps, and my Baby Lock Brilliant sewing machine for the button holes (also a very smooth experience). Sewing with denim is no walk in the park but my Baby Lock squad made it feel enjoyable and easy. I love love love these machines!
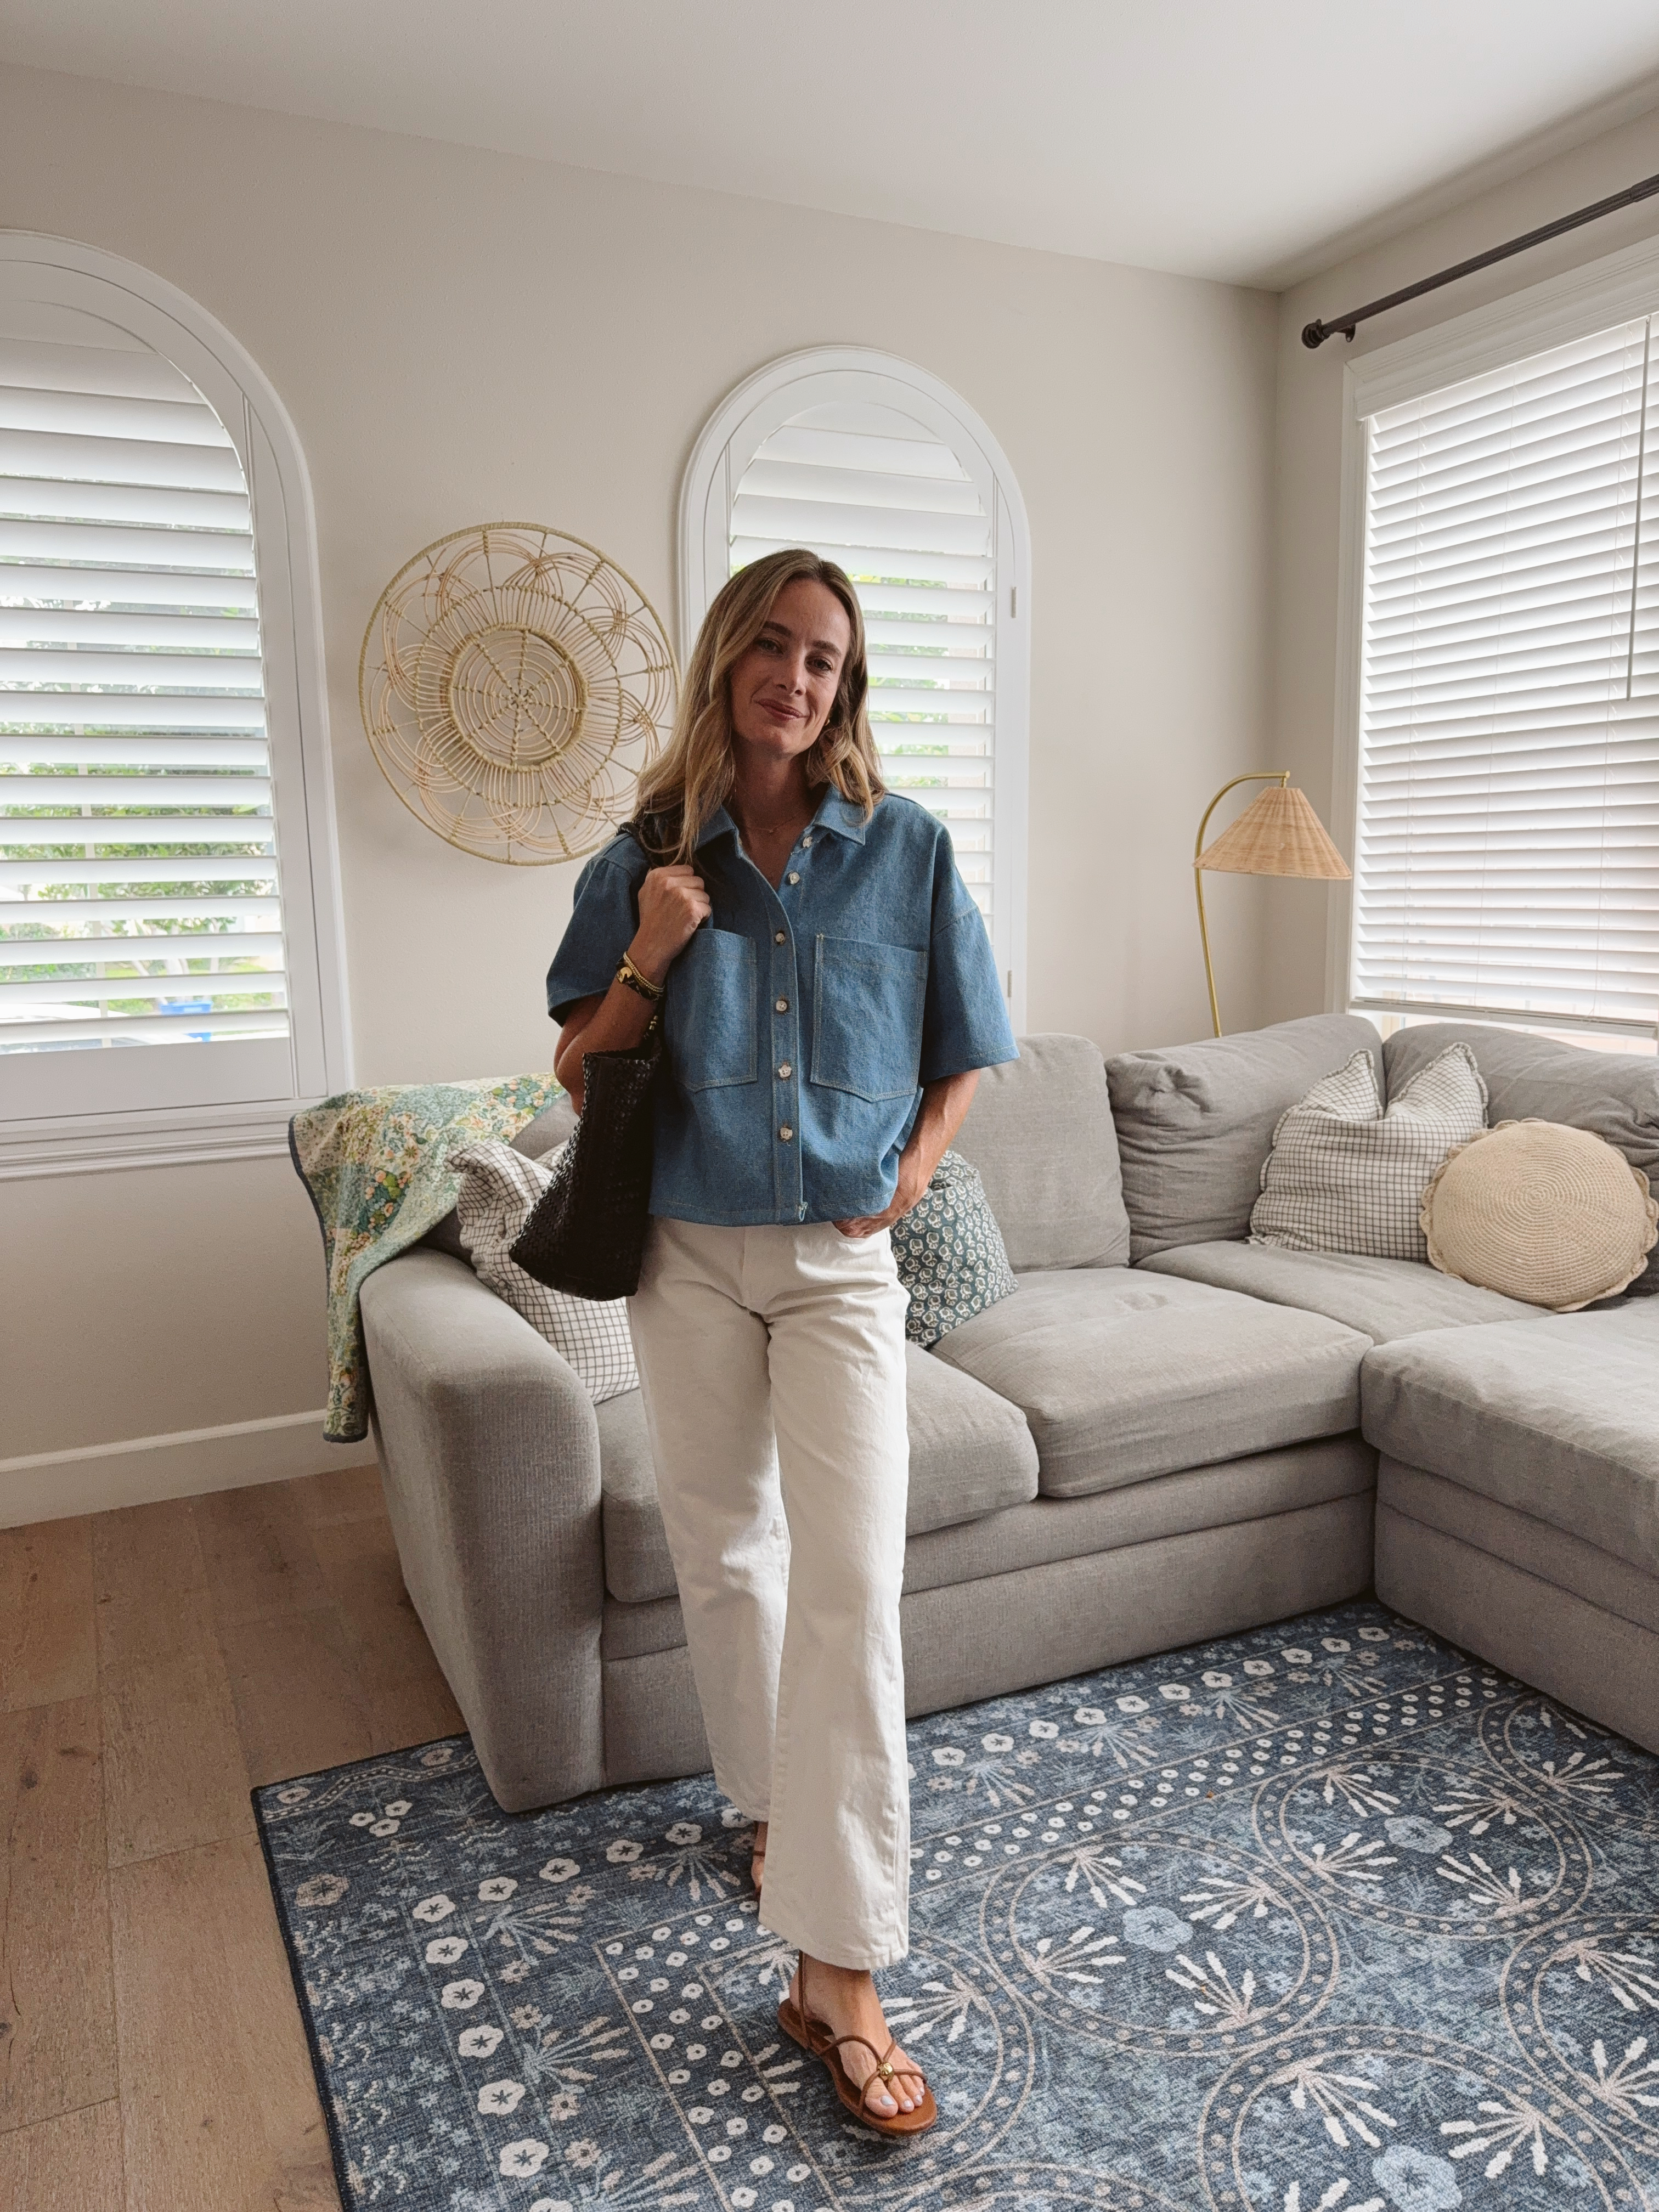
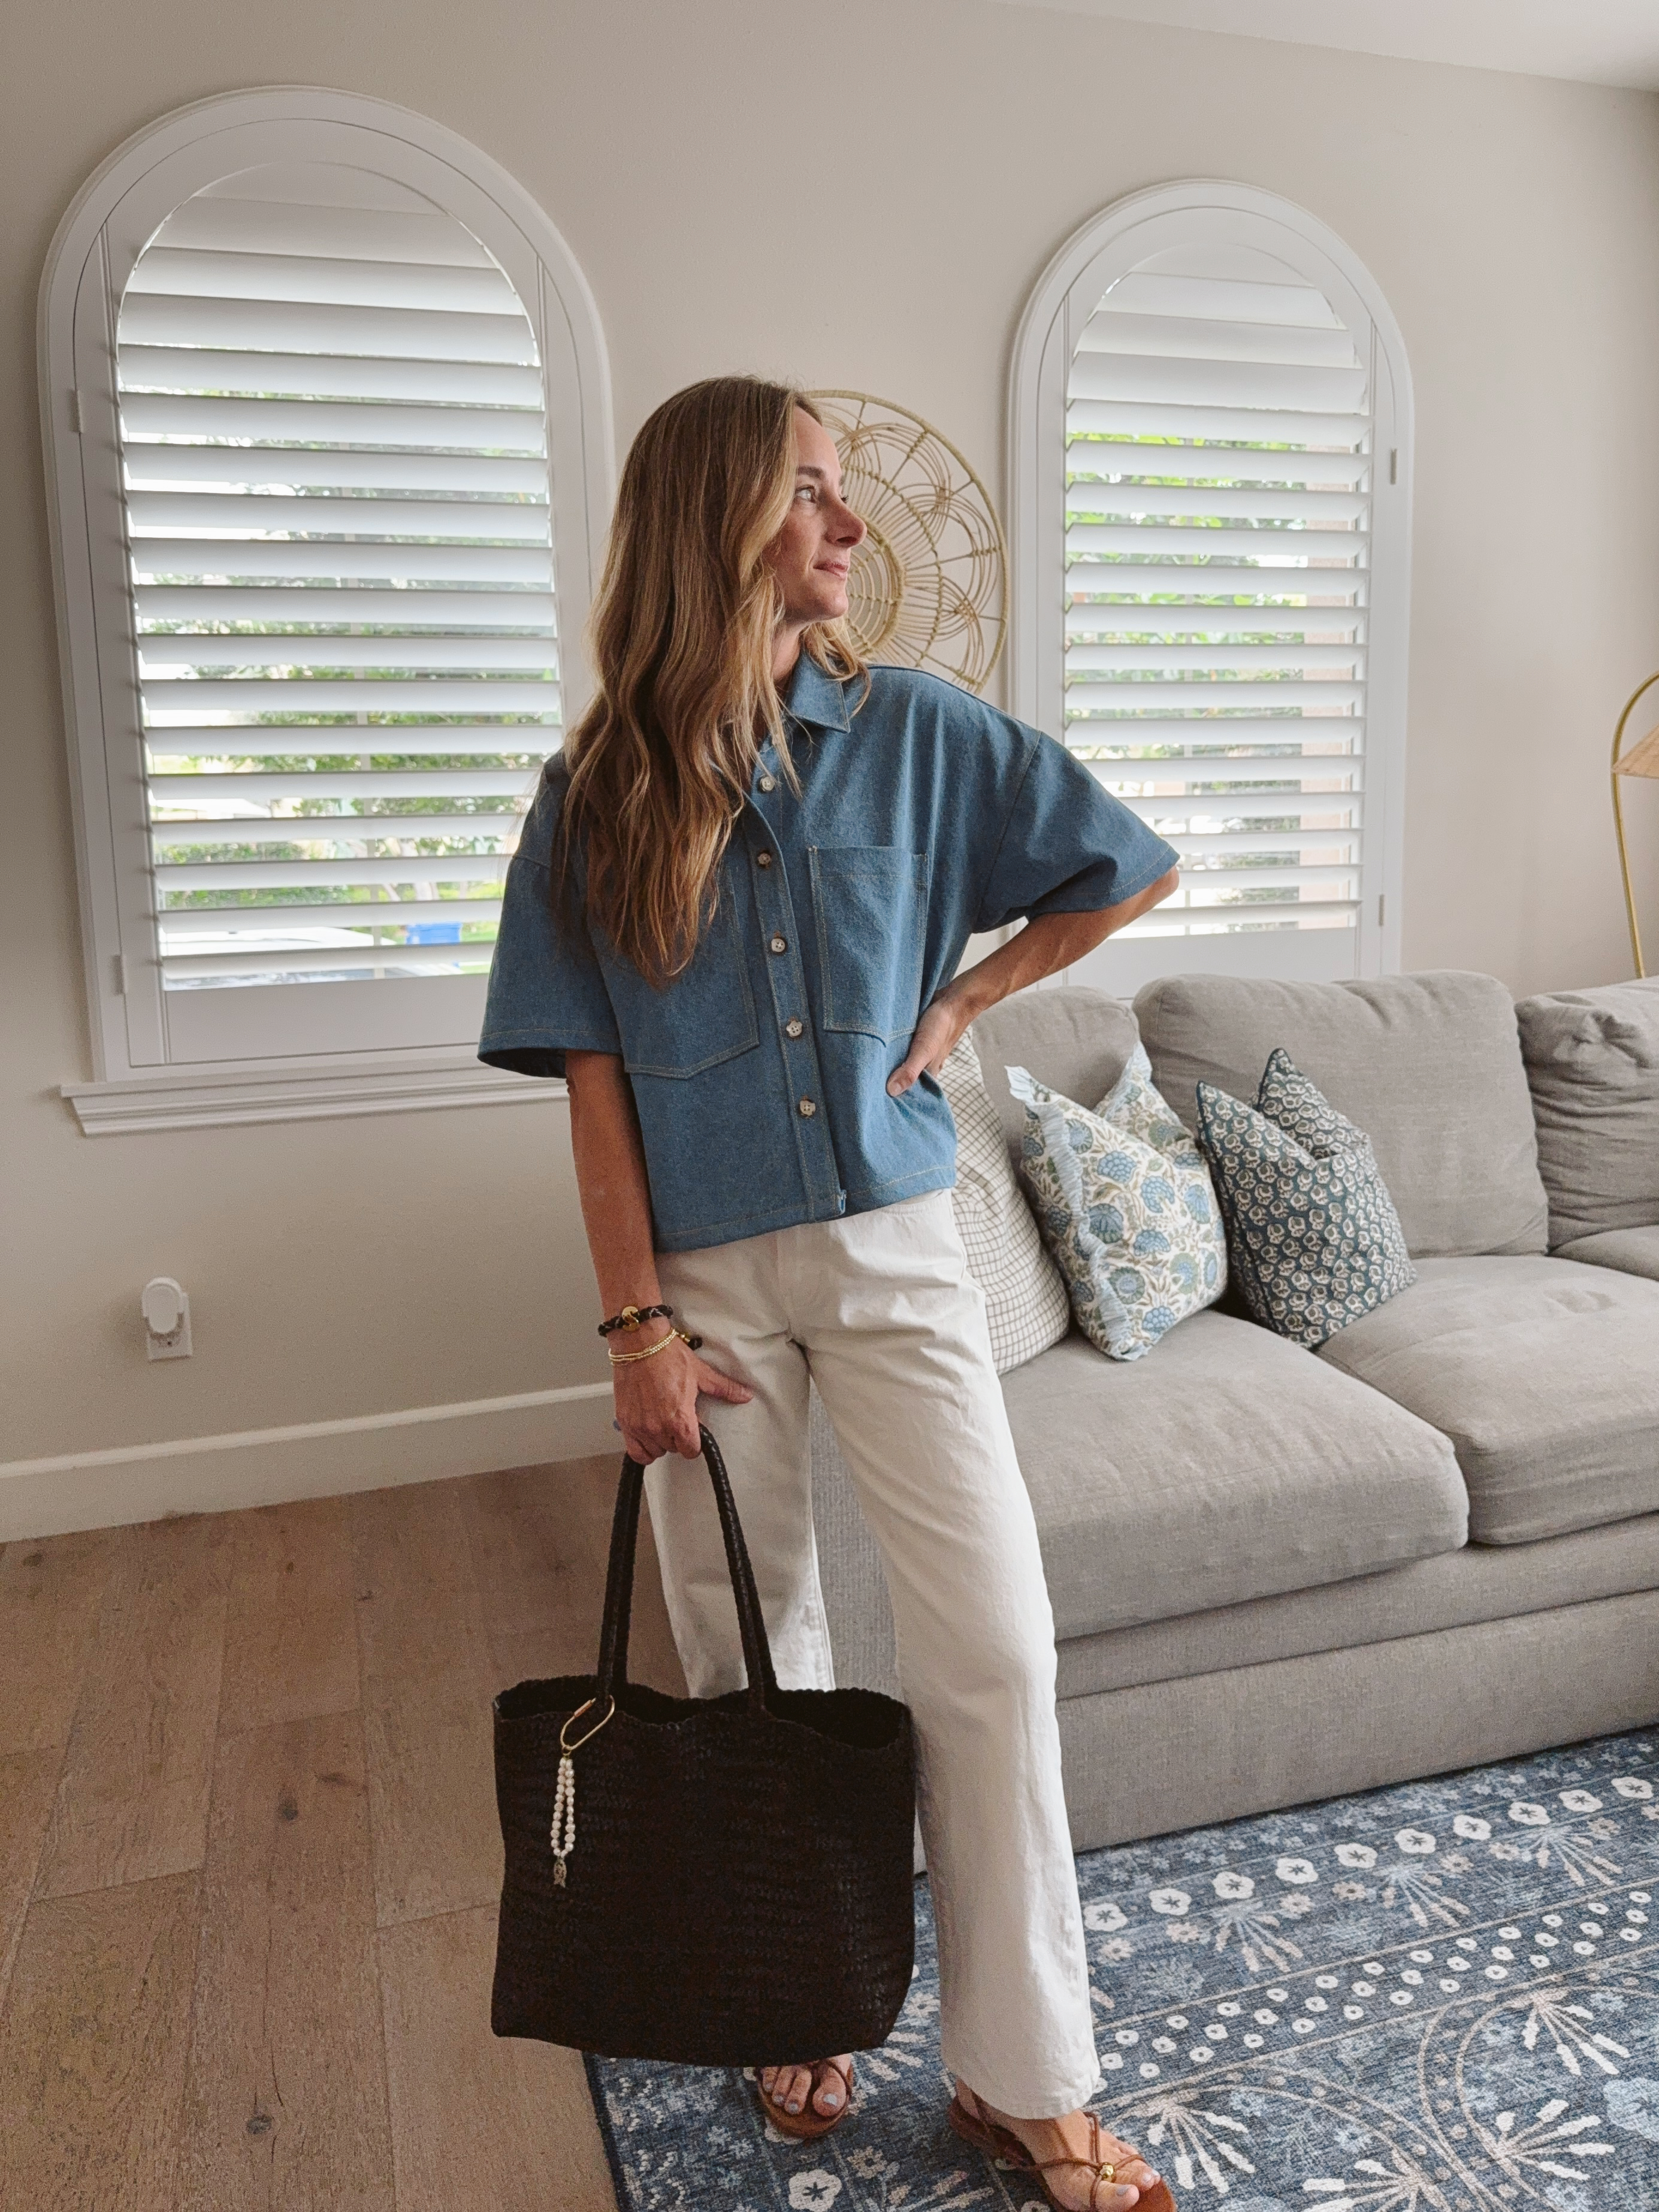
For this project I used the Easy Rider Shirt by Me and the Kiddo Patterns. I sewed up size B with no mods in view A with the straight back option. I used a mid weight denim from my fabric stash I think I picked up from Joanns. The whole process was very enjoyable and easy to follow along. I was nervous the top was looking a little too oversized for my frame but I am actually really happy with the fit! I’m always telling myself, “Trust the process, trust the process!!”. I’m glad I did! It’s so cute!! Size B was my intended size based of the pattern measurements. I would recommend NOT sizing up and sticking with your true size.
Sewing with denim can be a little tricky! I thought I’d share some of my tried and true tricks for making the process a little easier!
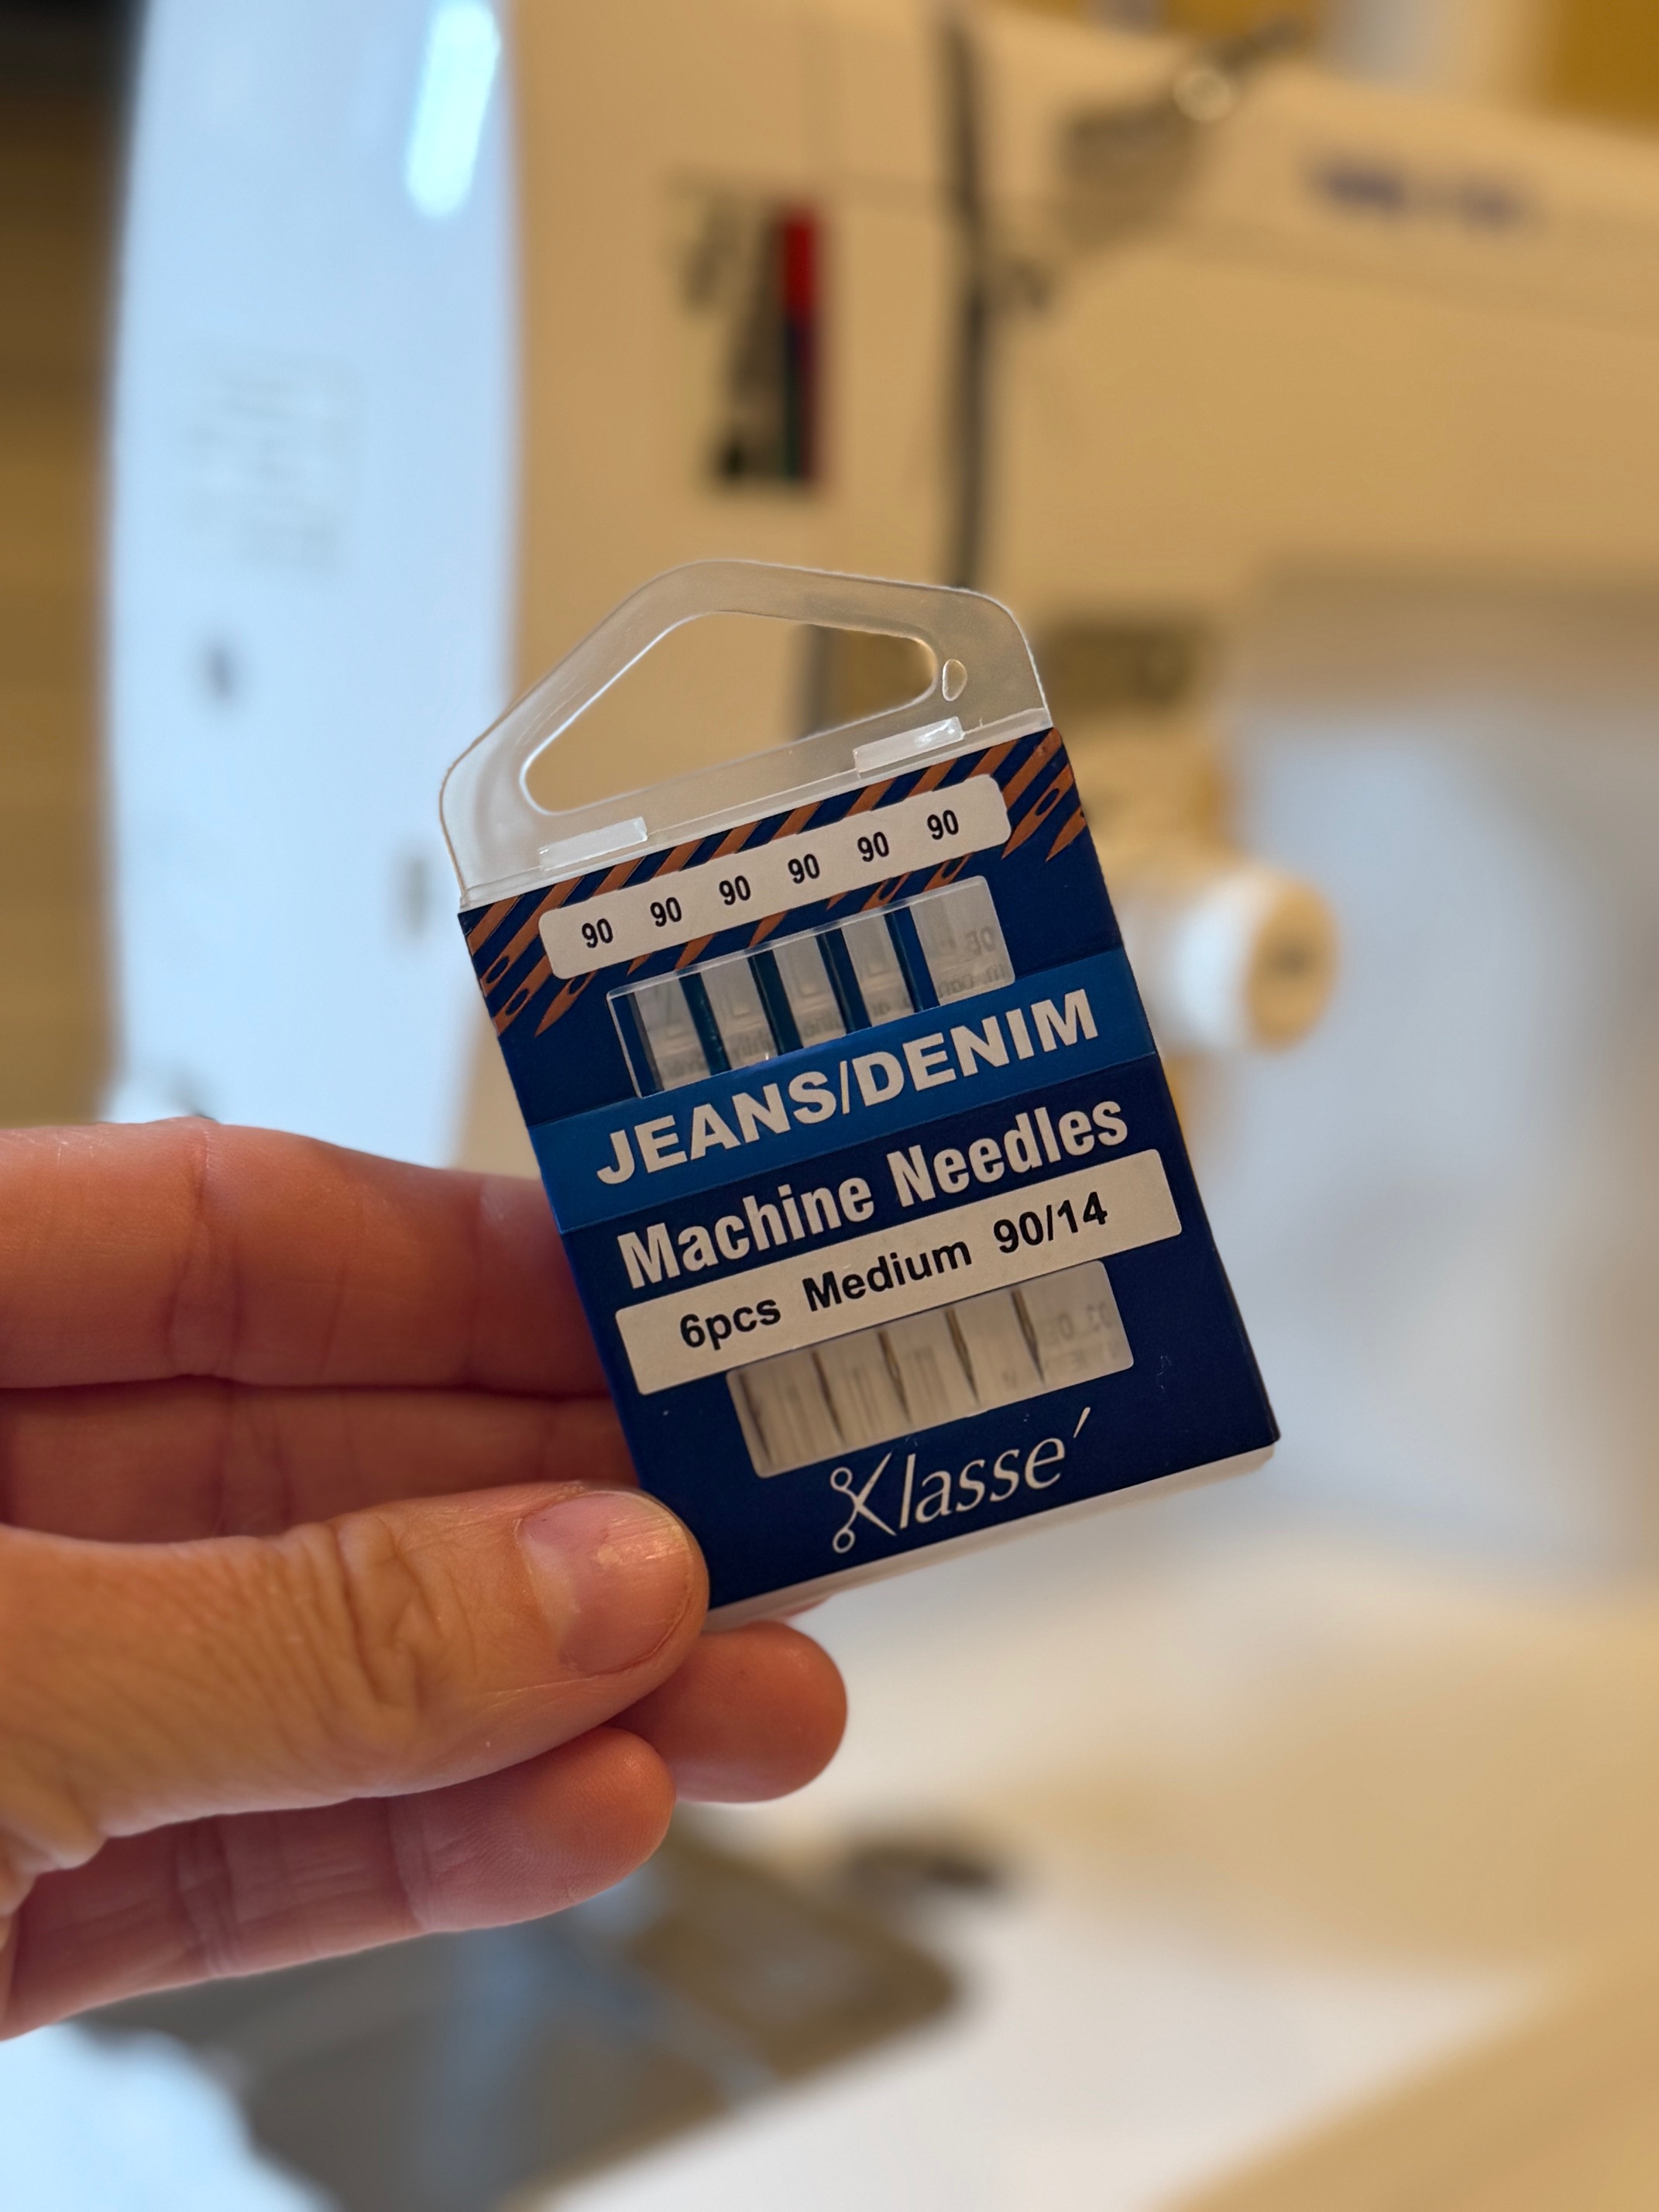
- ALWAYS use a denim needle!
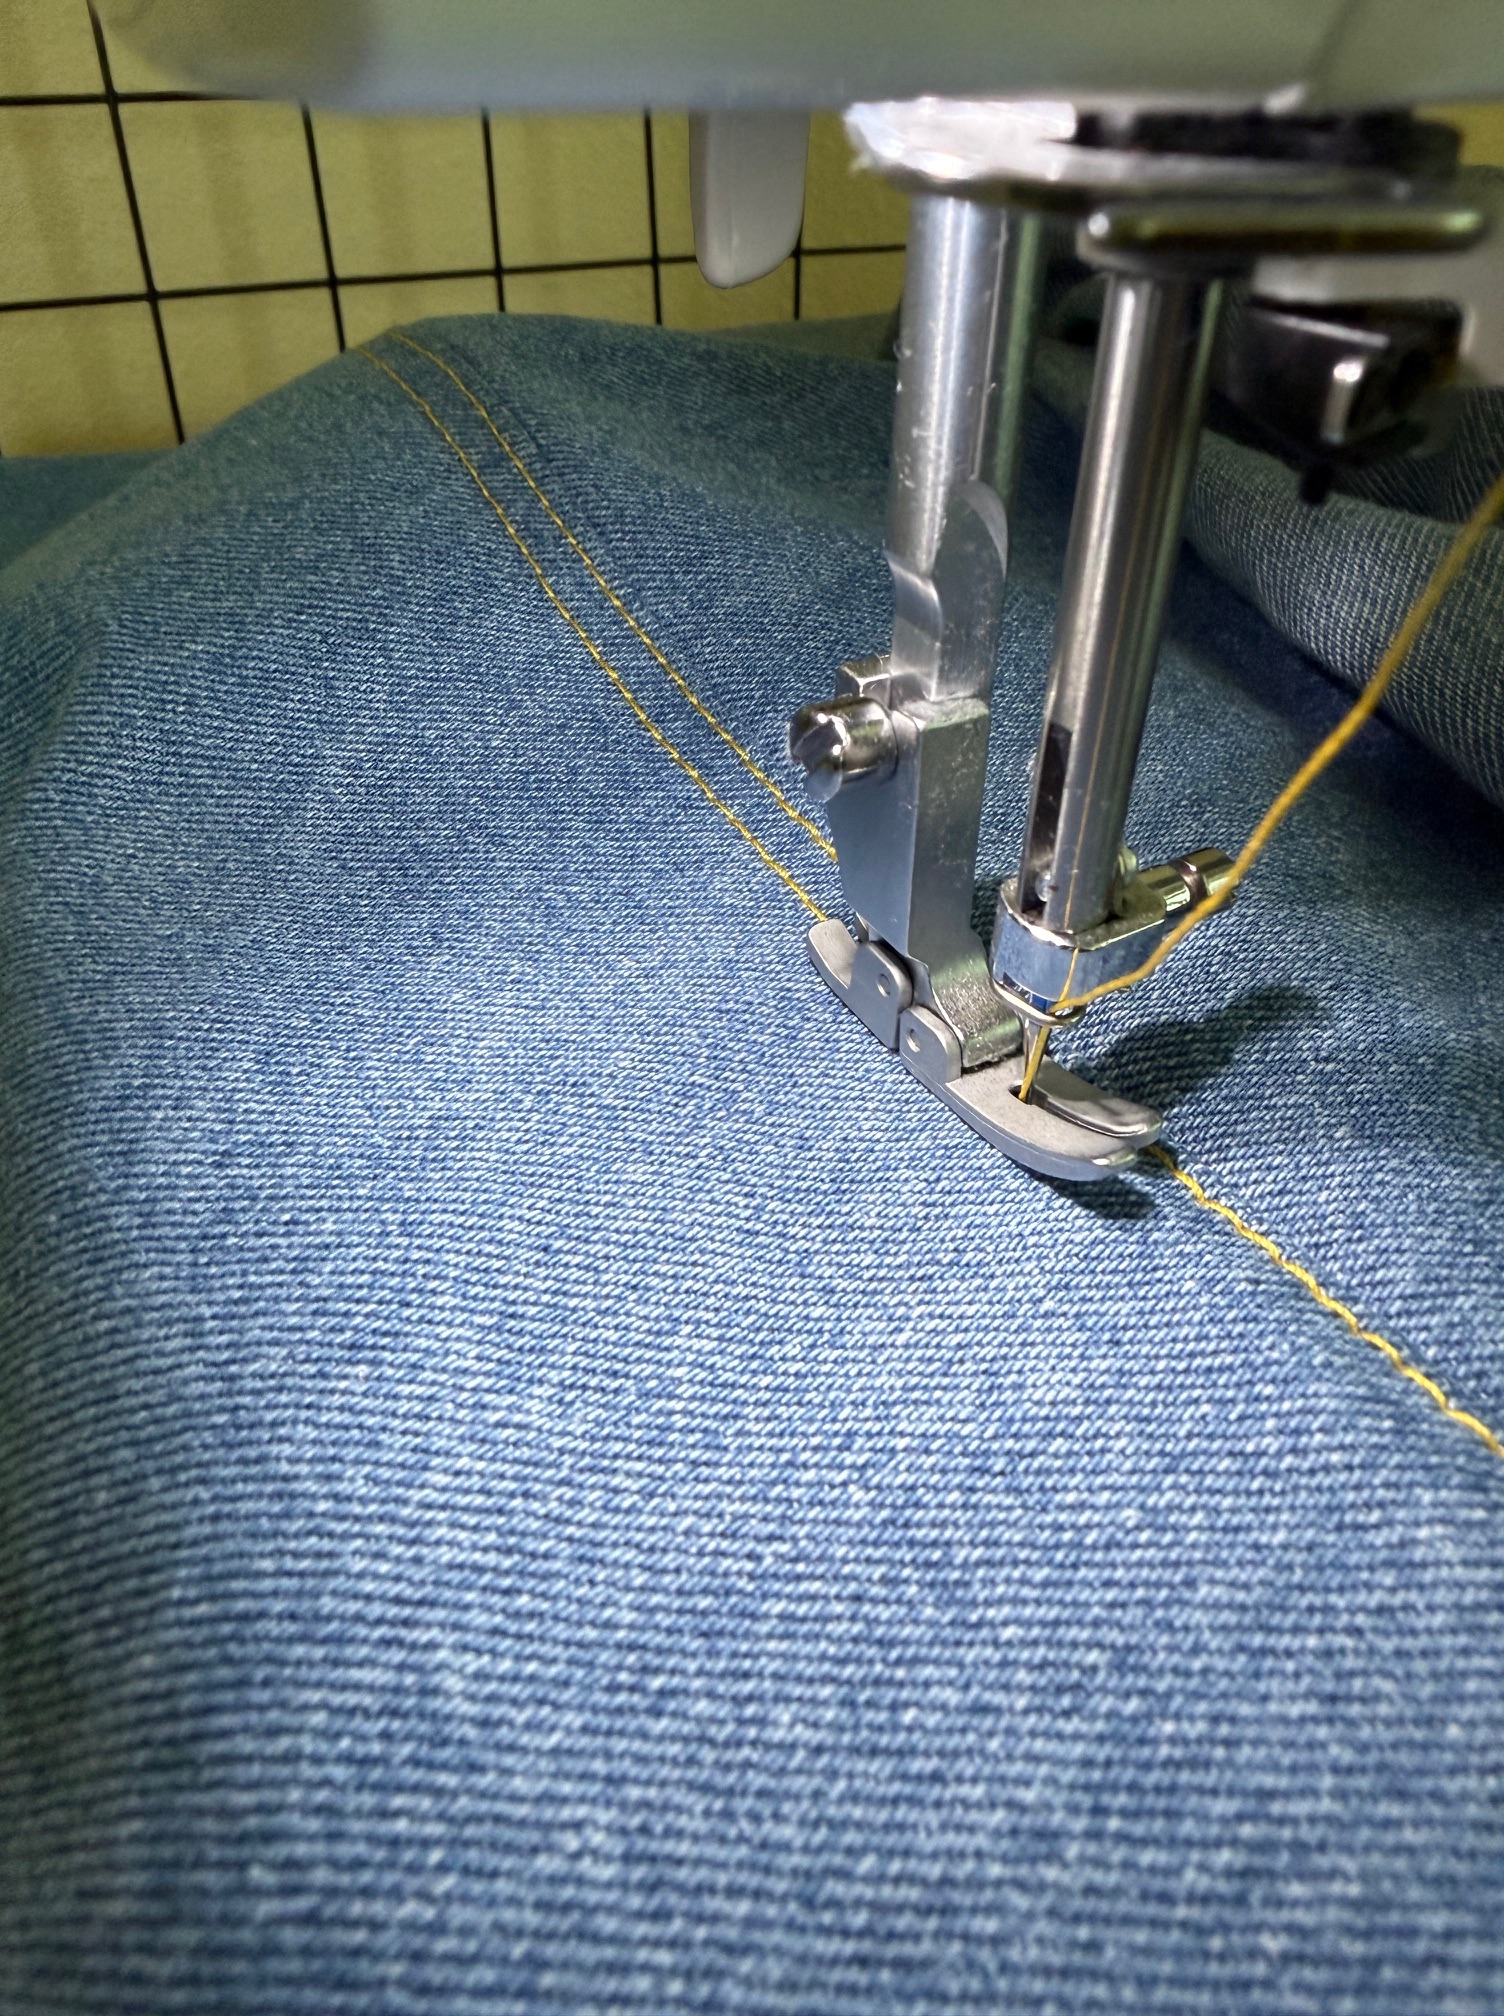
2. Use a wider stitch length! Especially with top-stitching thread. I find 3.0-3.5 mm to be just right. I use the top-stitching thread on top with regular poly thread in the bobbin for all of the top stitching details with a wider stitch length.
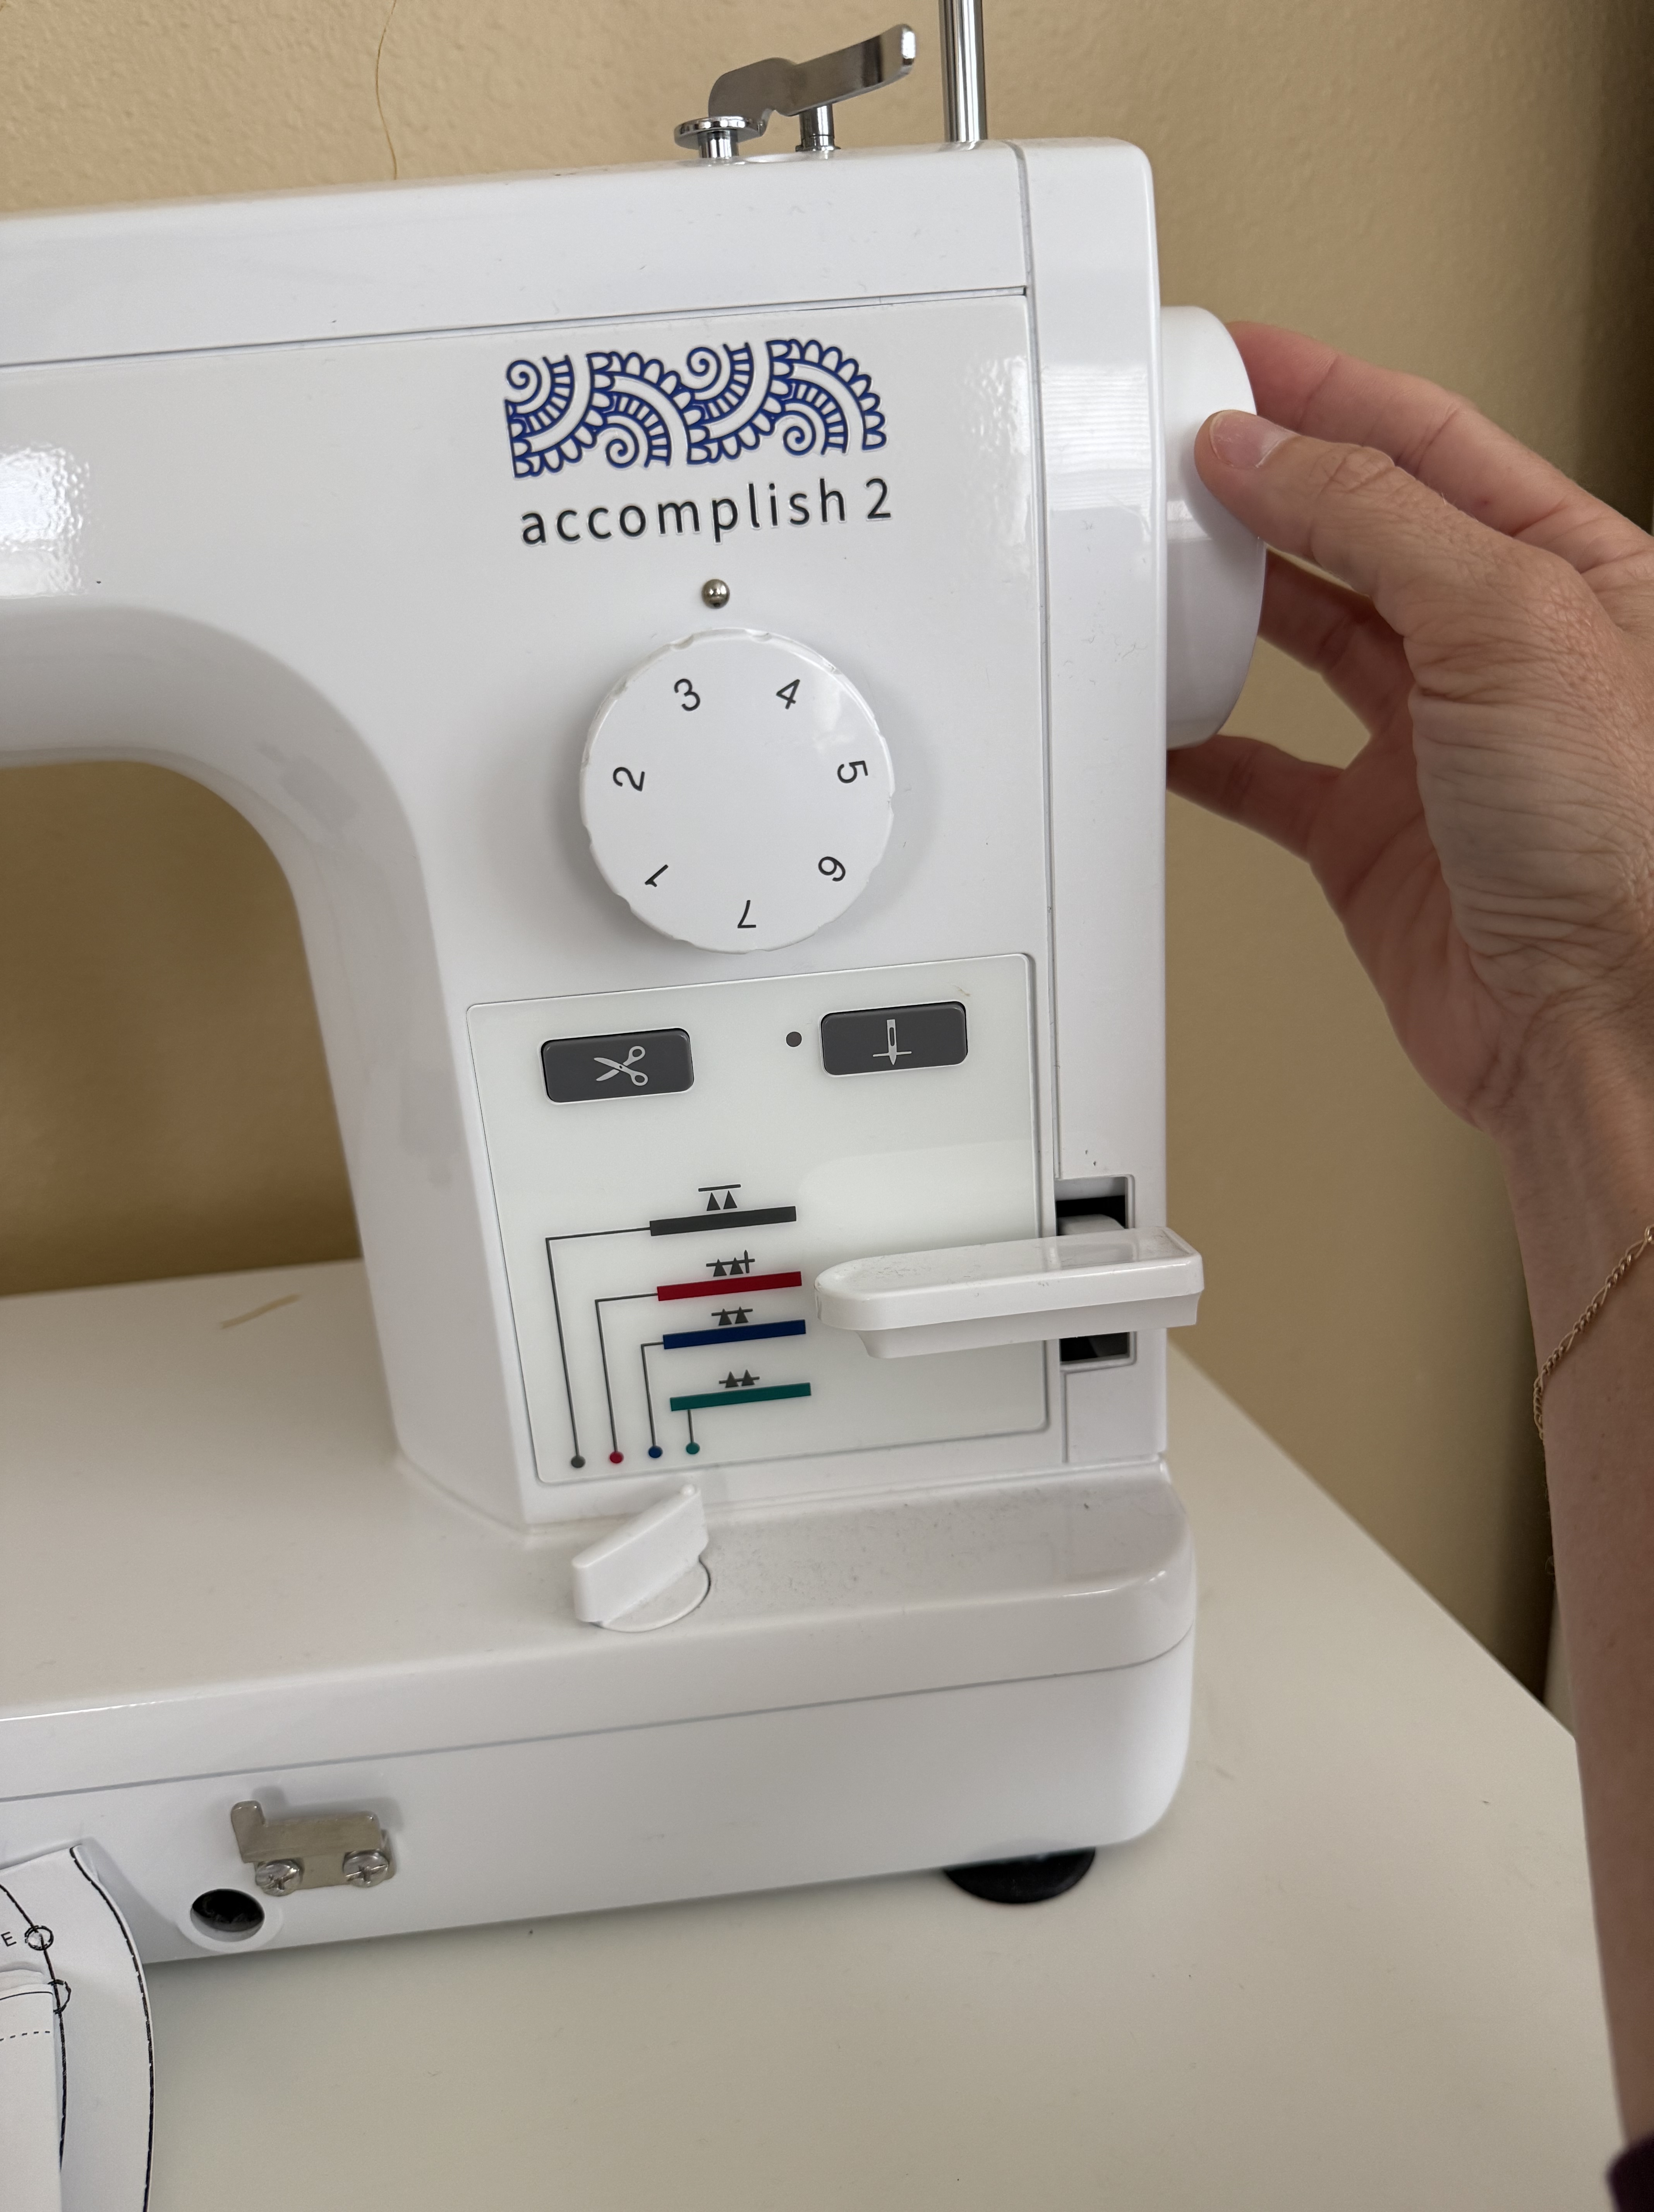
3. Go slow over the super thick intersecting seams. If you are a little nervous, use the hand wheel! This is my favorite trick, and saves a needle from breaking! I only go a few stitches just over the thick parts with my hand wheel, and then resume sewing like normal.
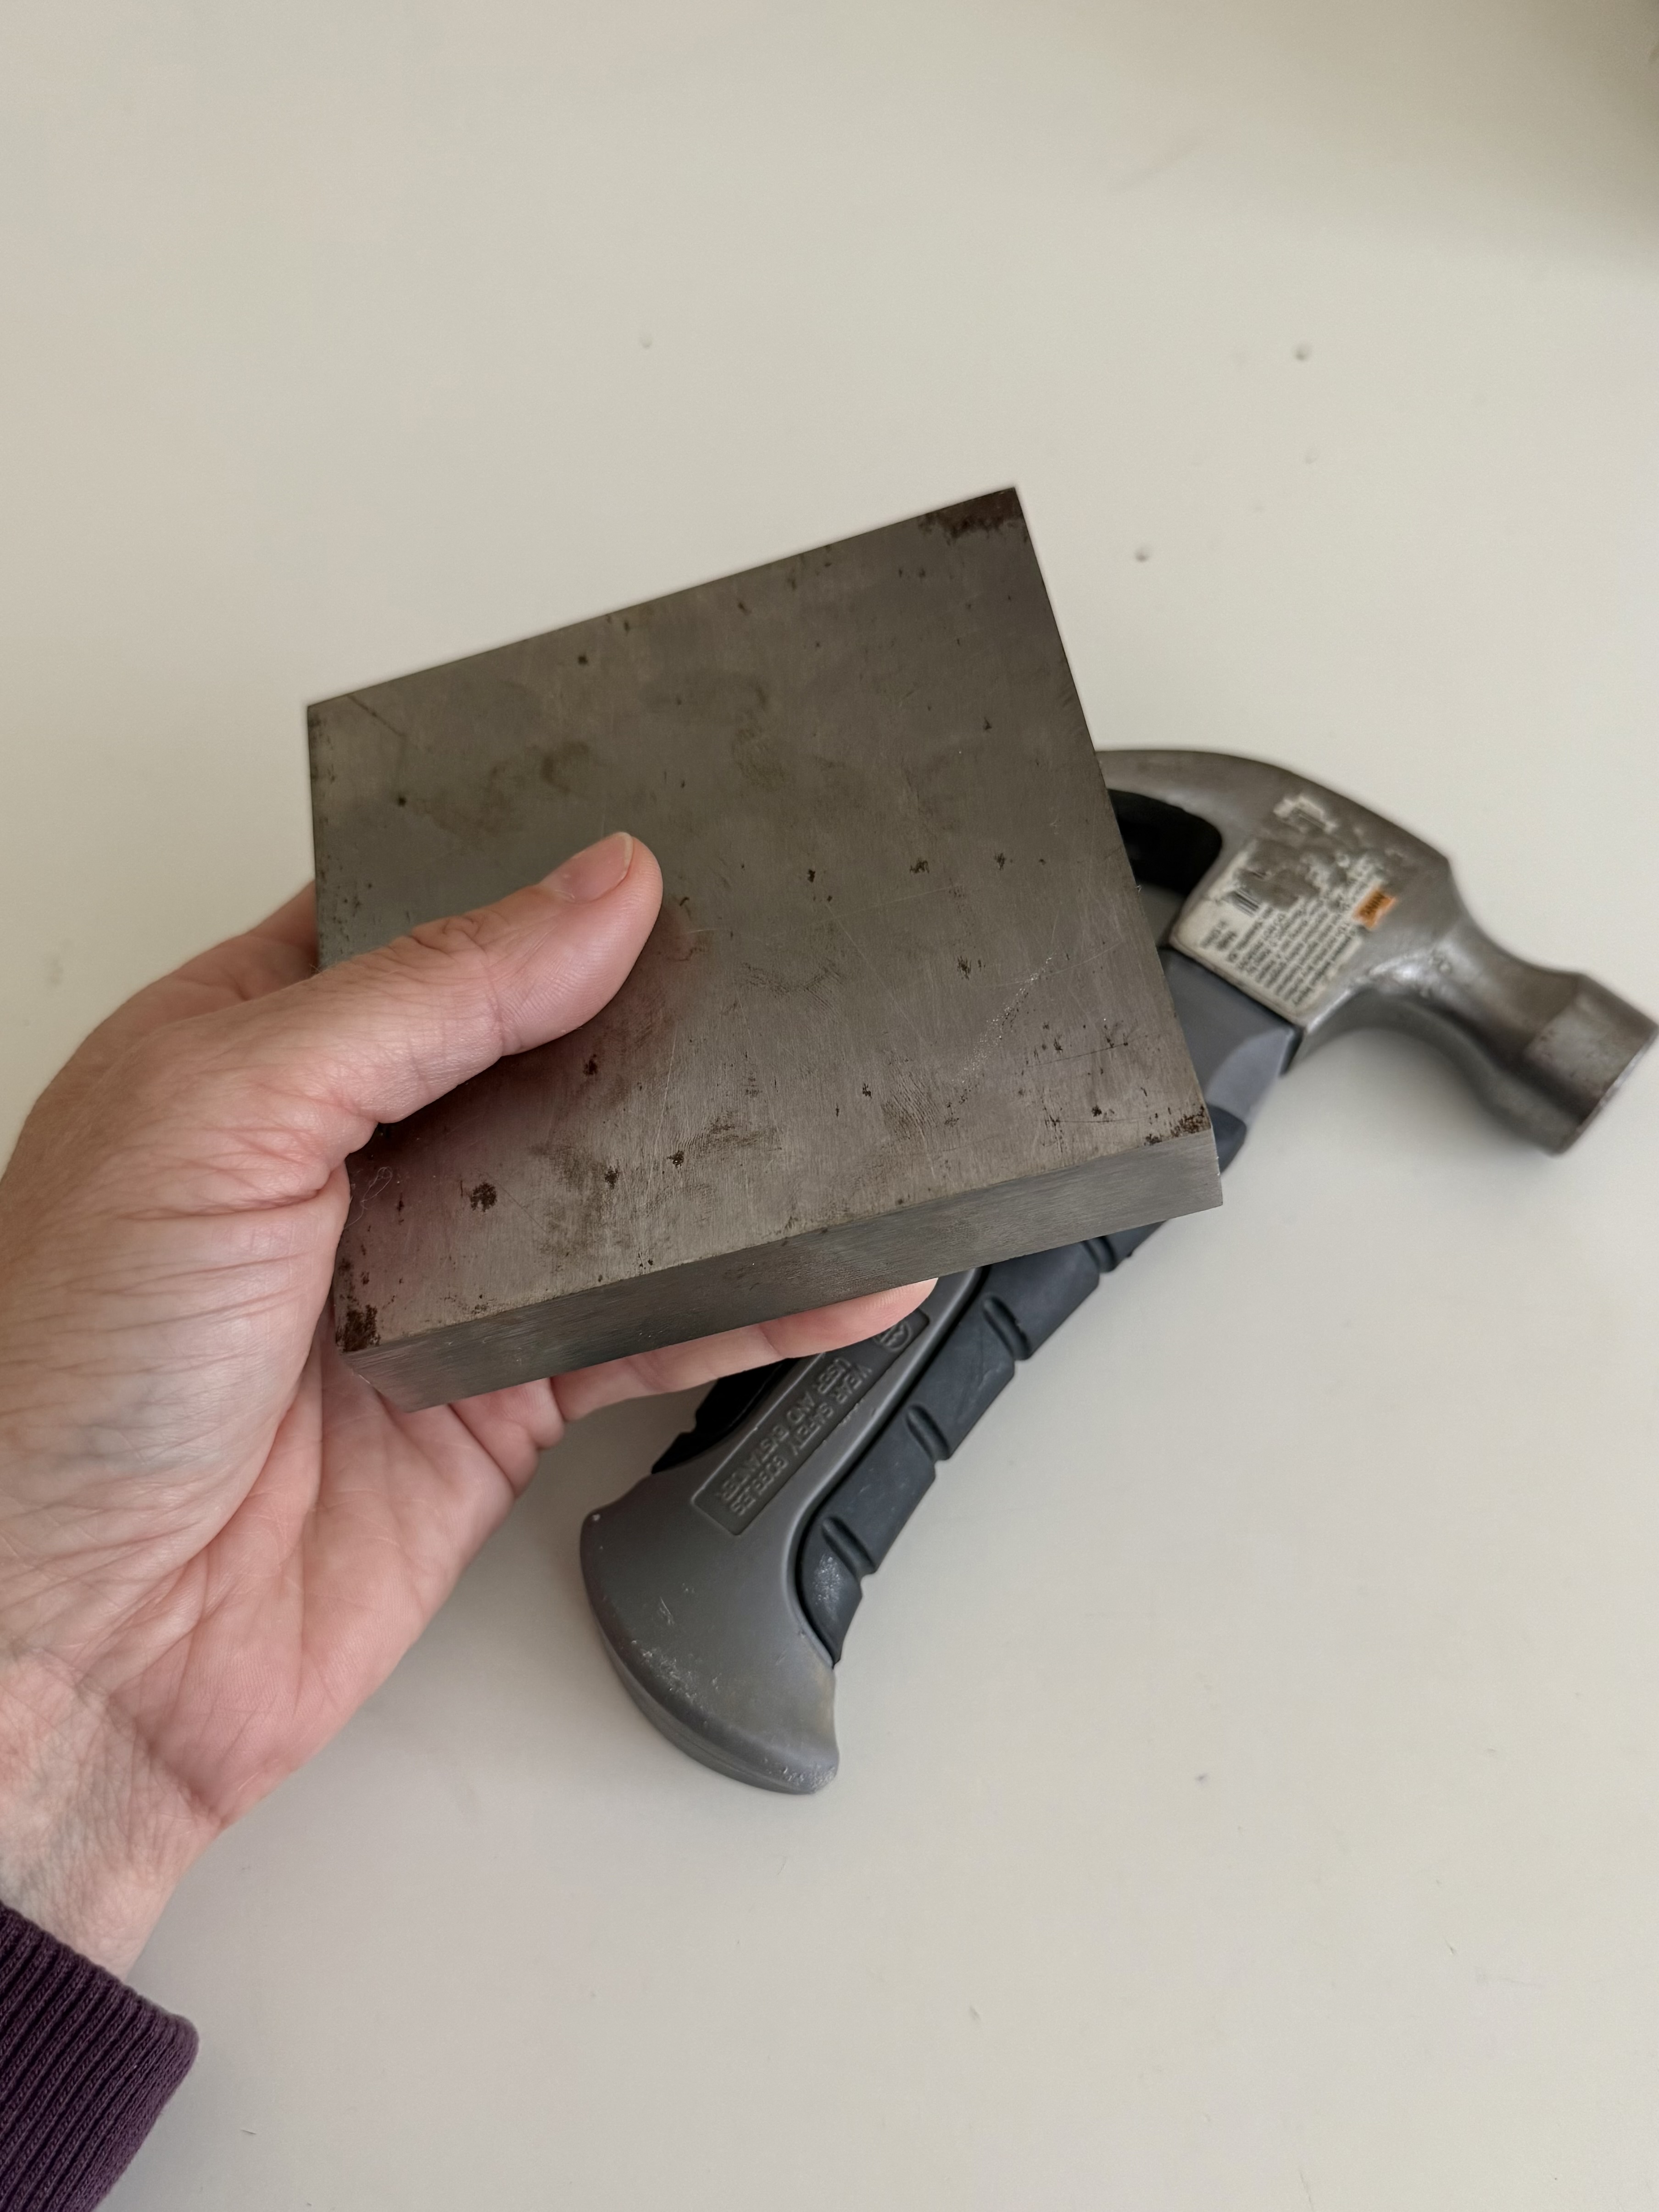
4. If the seams still feel a little too thick, you can use a hammer to flatten them out a bit. I did this to a few seams throughout this project. It worked really well! I invested in this bench block a few years ago and I love it for when I need to hammer anything for sewing. It gives you a nice durable surface to hammer on without ruining your flooring etc. It’s come in handy many times!
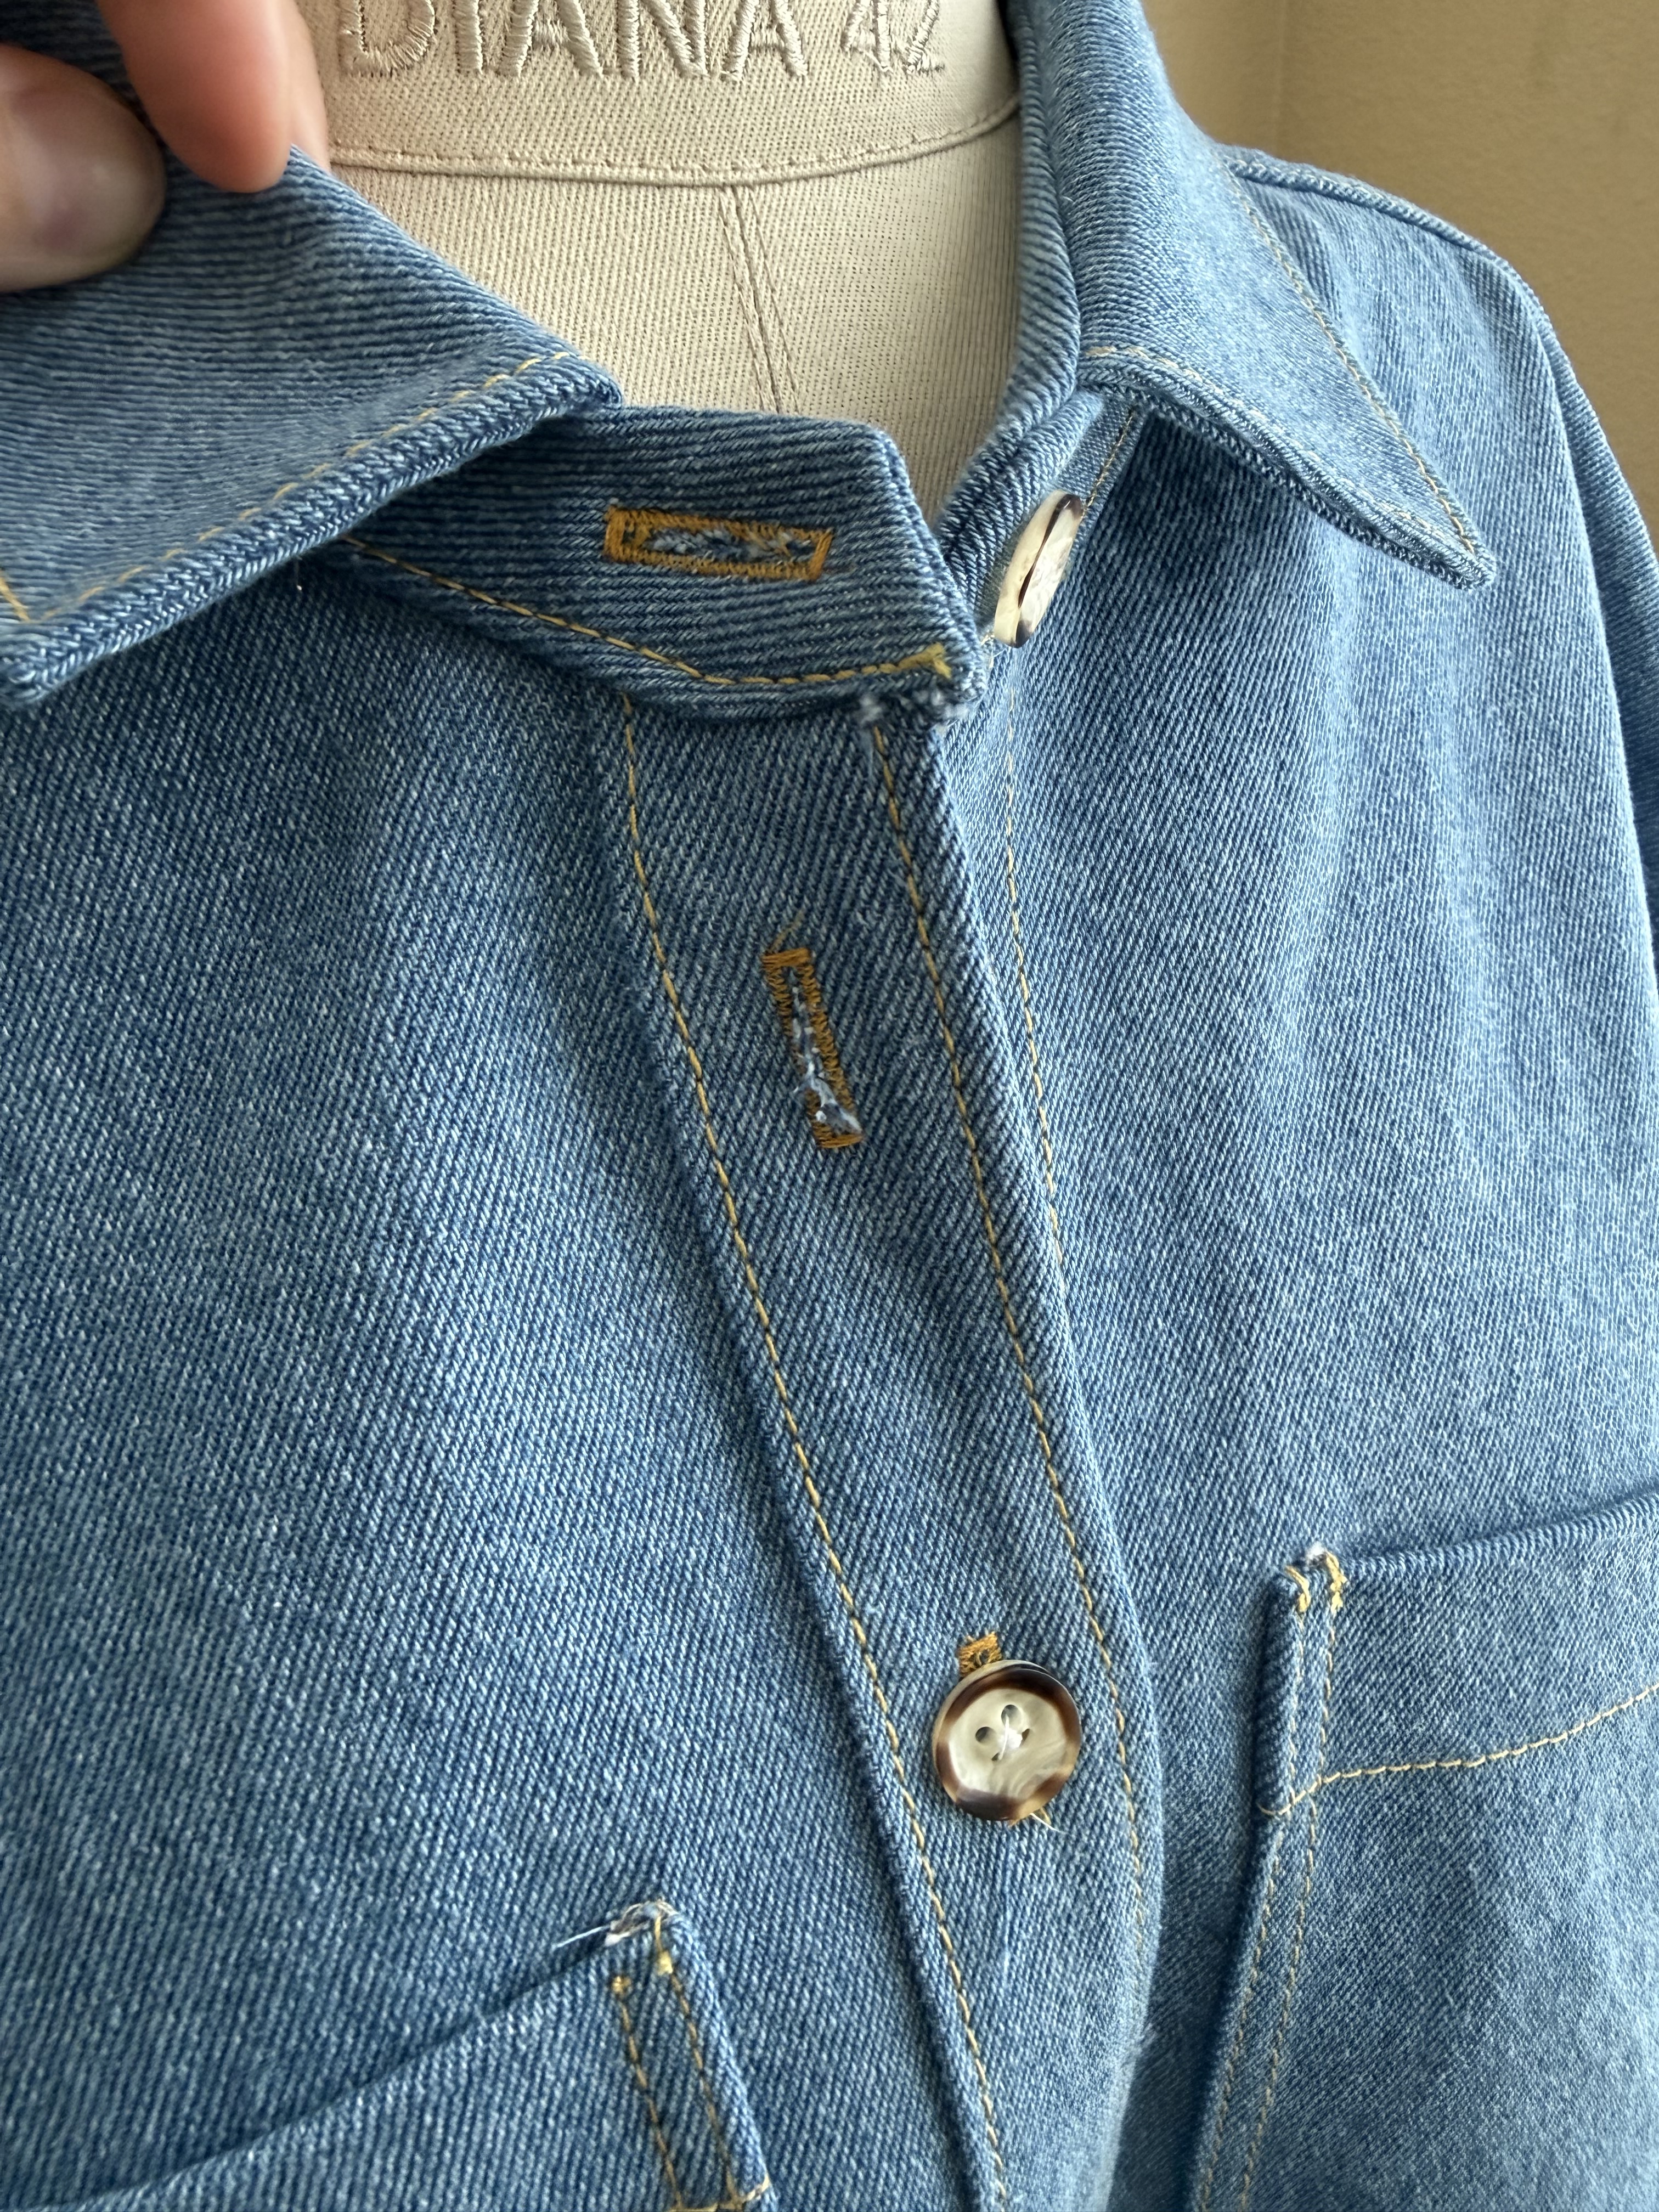
5. When top stitching, go slow! I LOVE using contrasting thread on my denim projects for all of the topstitching, but you will be able to see every little detail so you want to try to get it as perfect as you can! Go slow, and mark with chalk if you need to!
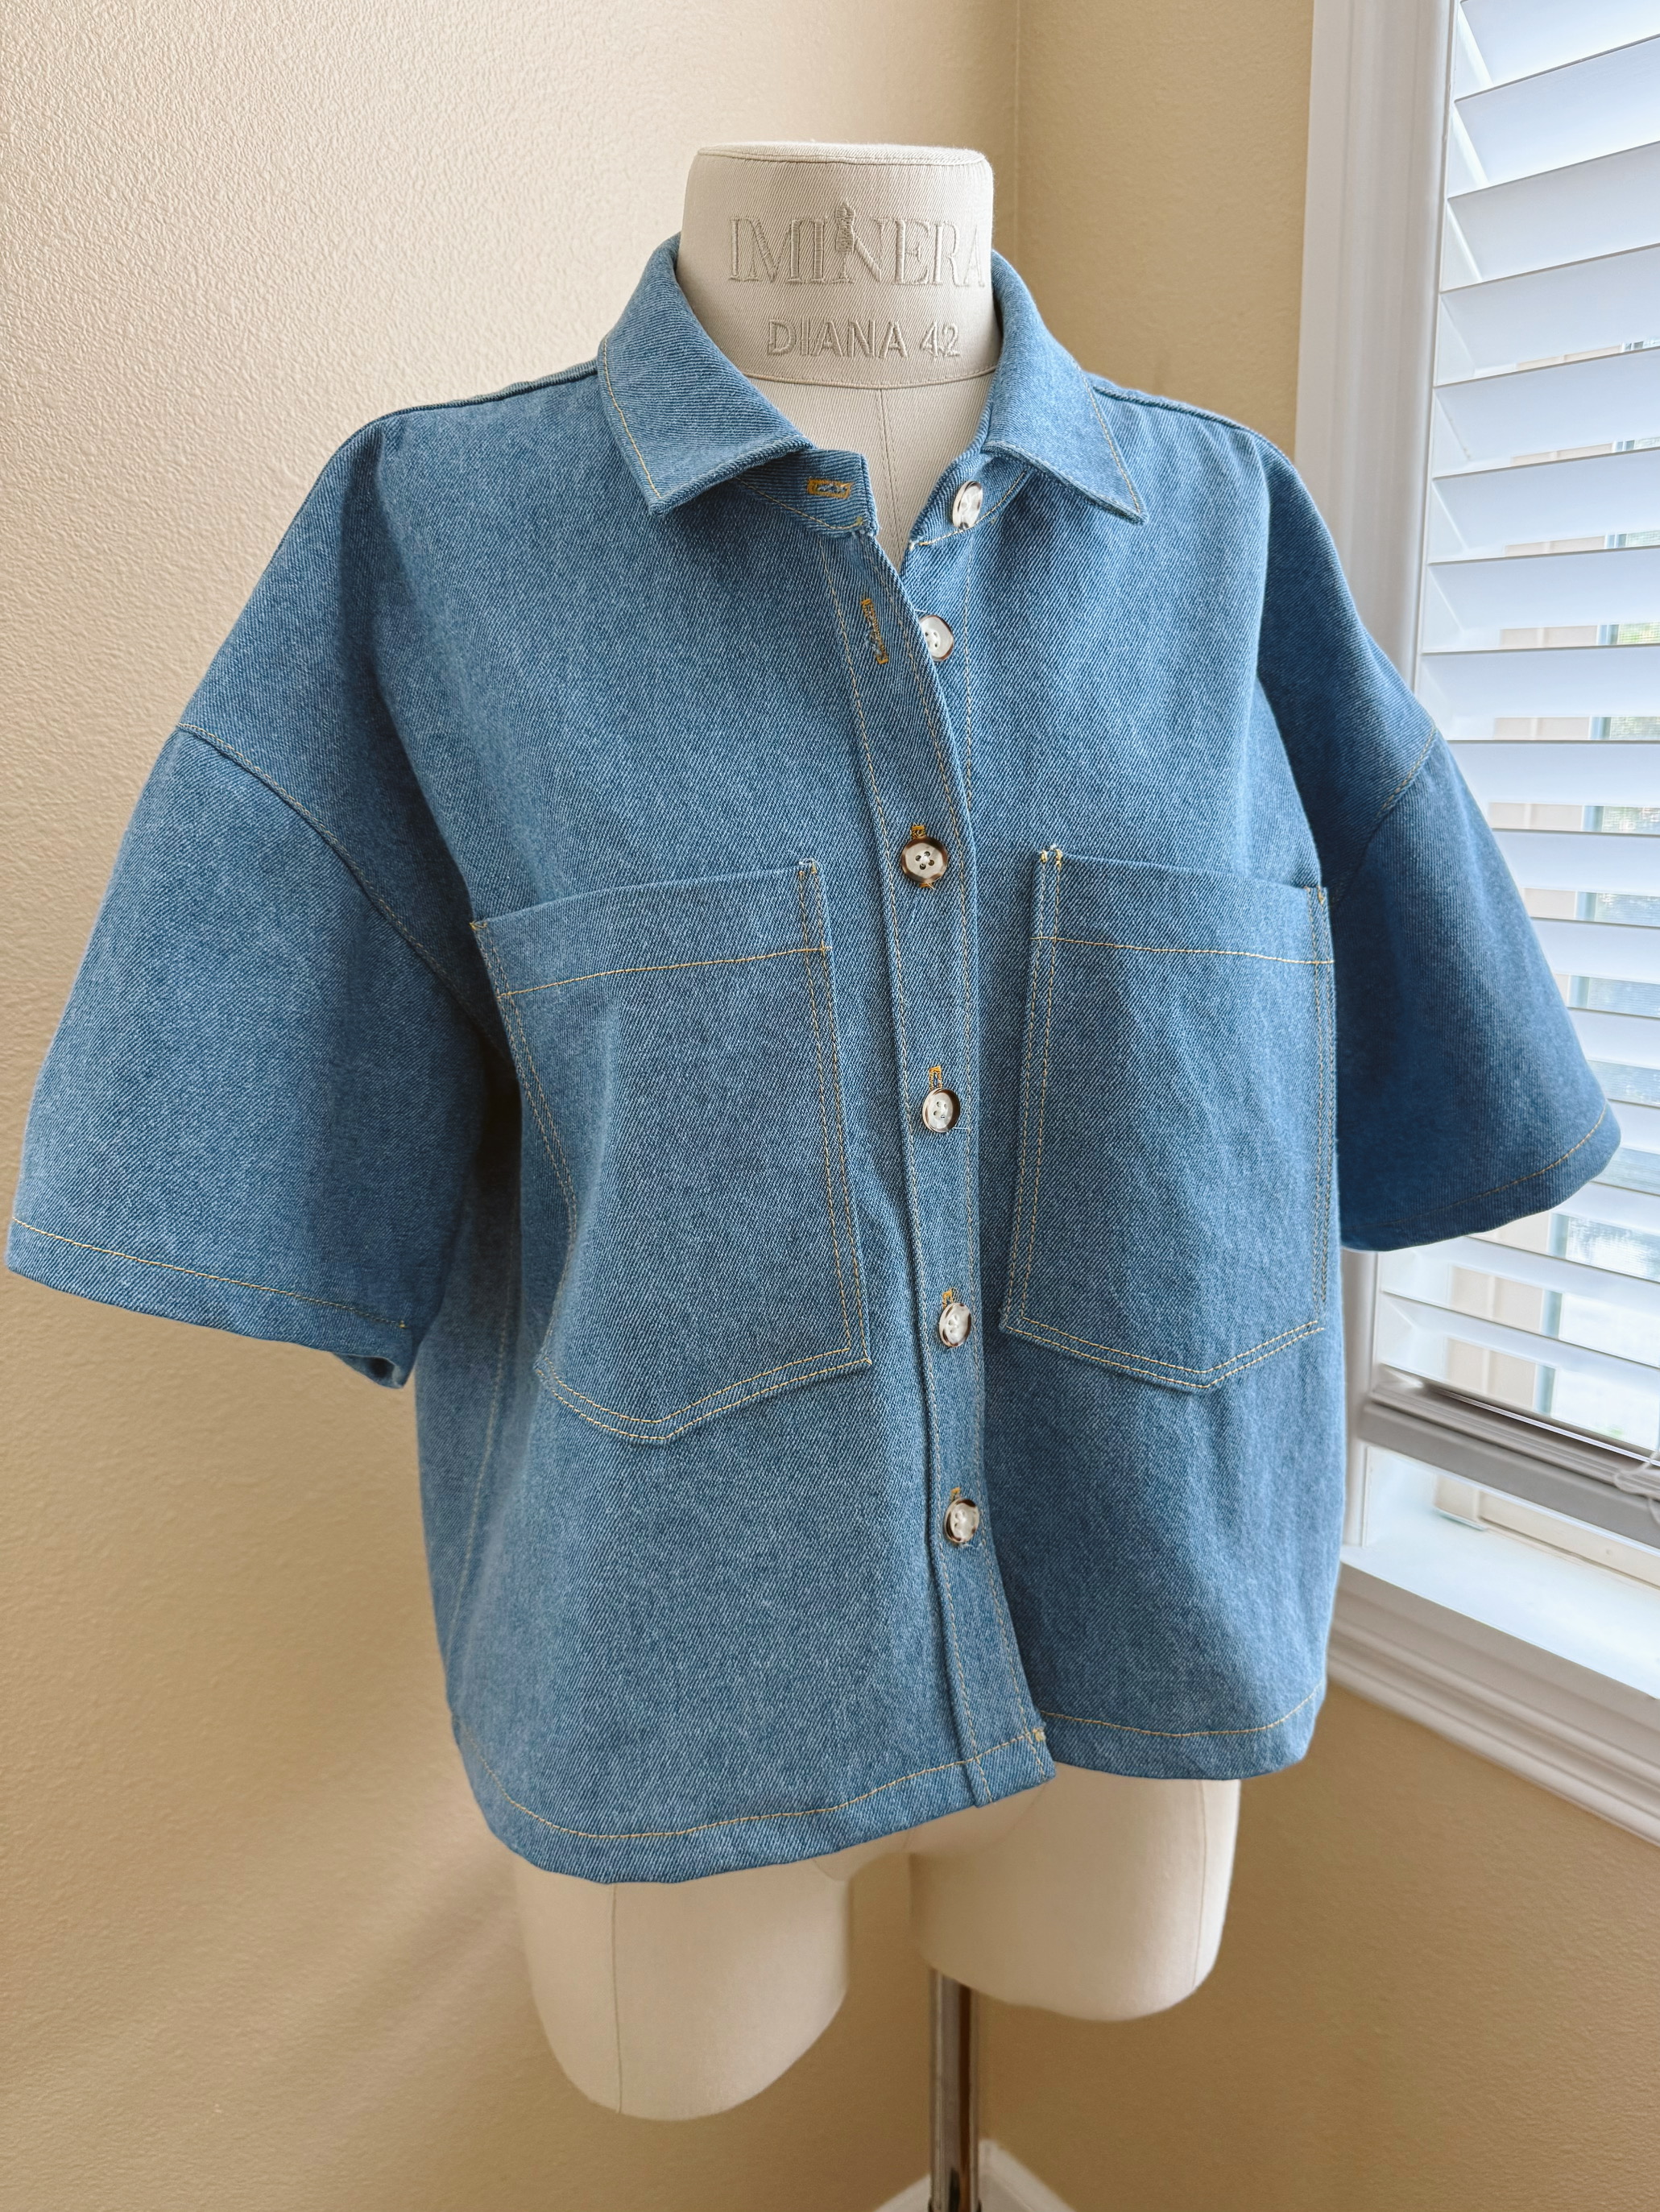
6. I always use regular poly thread for my buttonholes in the same color as my top stitching thread. I found it can be pretty tricky to sew buttonholes with top stitching thread. This little trick works really great and you honestly can’t even tell the difference!
Don’t let denim projects intimidate you! Just go step by step, a little at a time! I’m excited to make this top again in view B with a lighter weight fabric. It’s so so fun and classic!
Thanks for reading along and I hope these tips are helpful to you! Happy sewing!
*This post is sponsored by Baby Lock and contains affiliate links.
You can shop everything else I am wearing with my new denim top here!




Leave a Reply