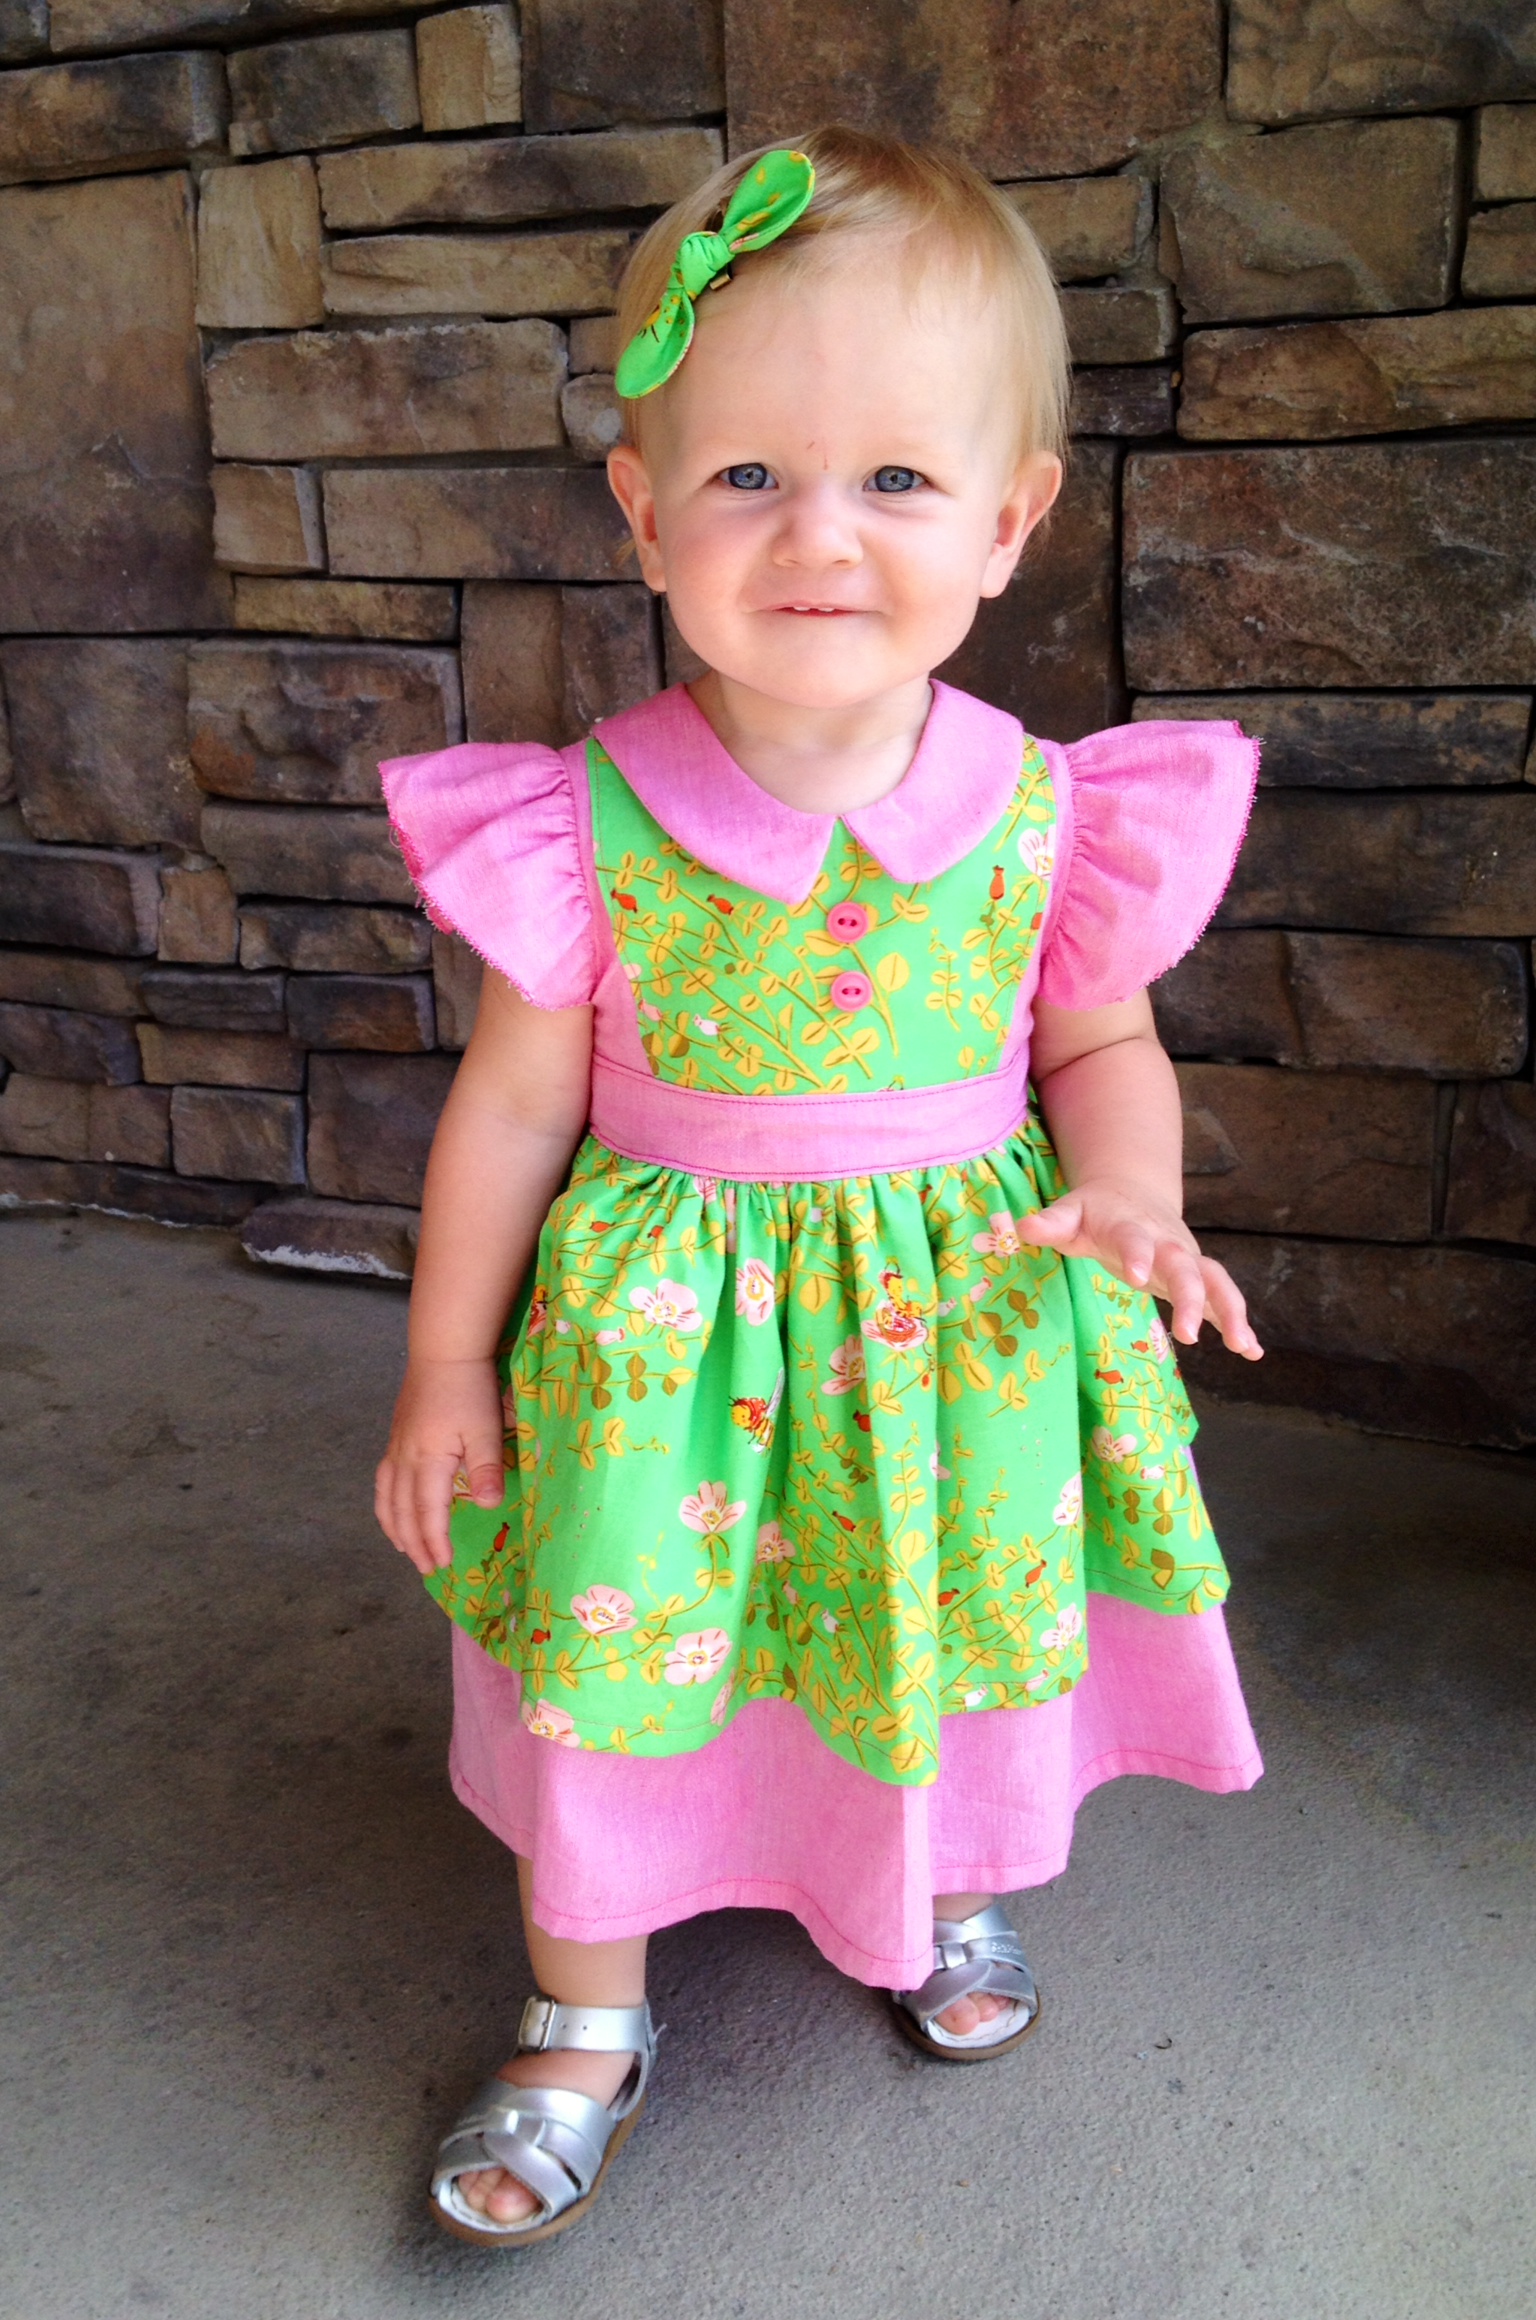
 I created this knotted fabric bow to go along with a dress I recently made for my daughter. This bow takes minutes to put together, and is a great accessory for any baby girl. Here’s how I made it:
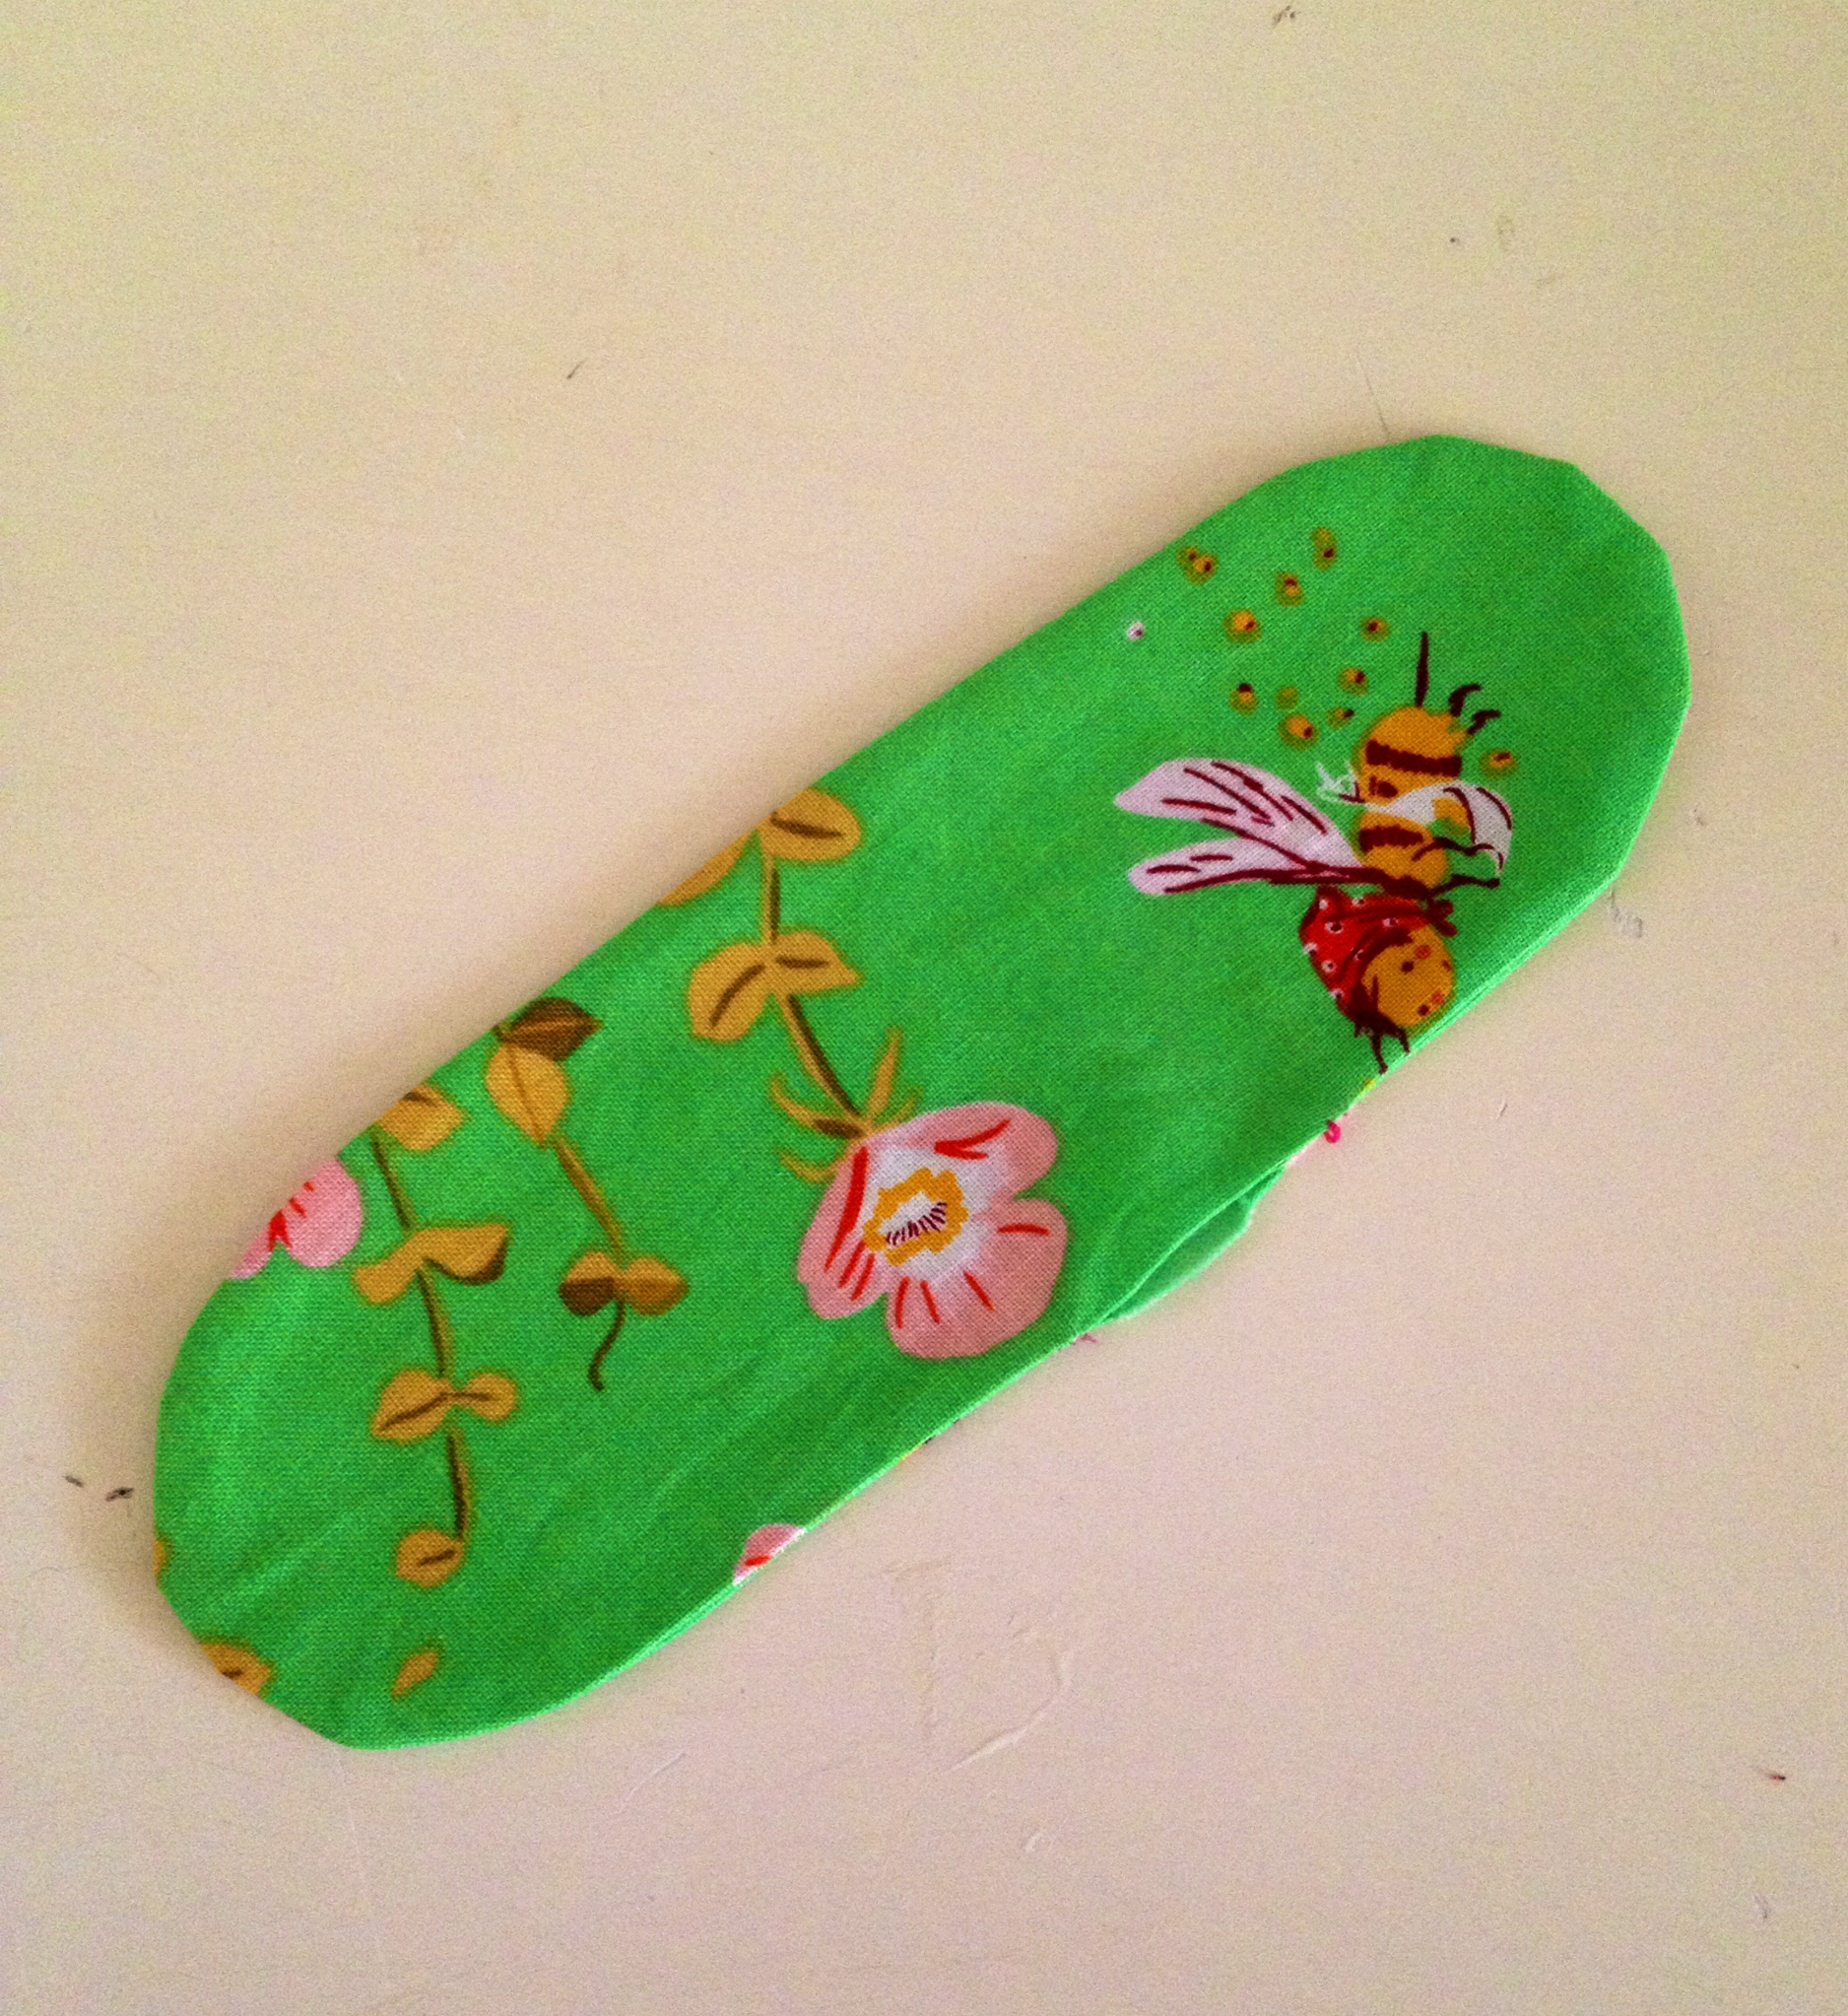
1. Create your pattern. My pattern is 6″ long x 2″ wide with rounded ends. Cut 2 out of your fabric.


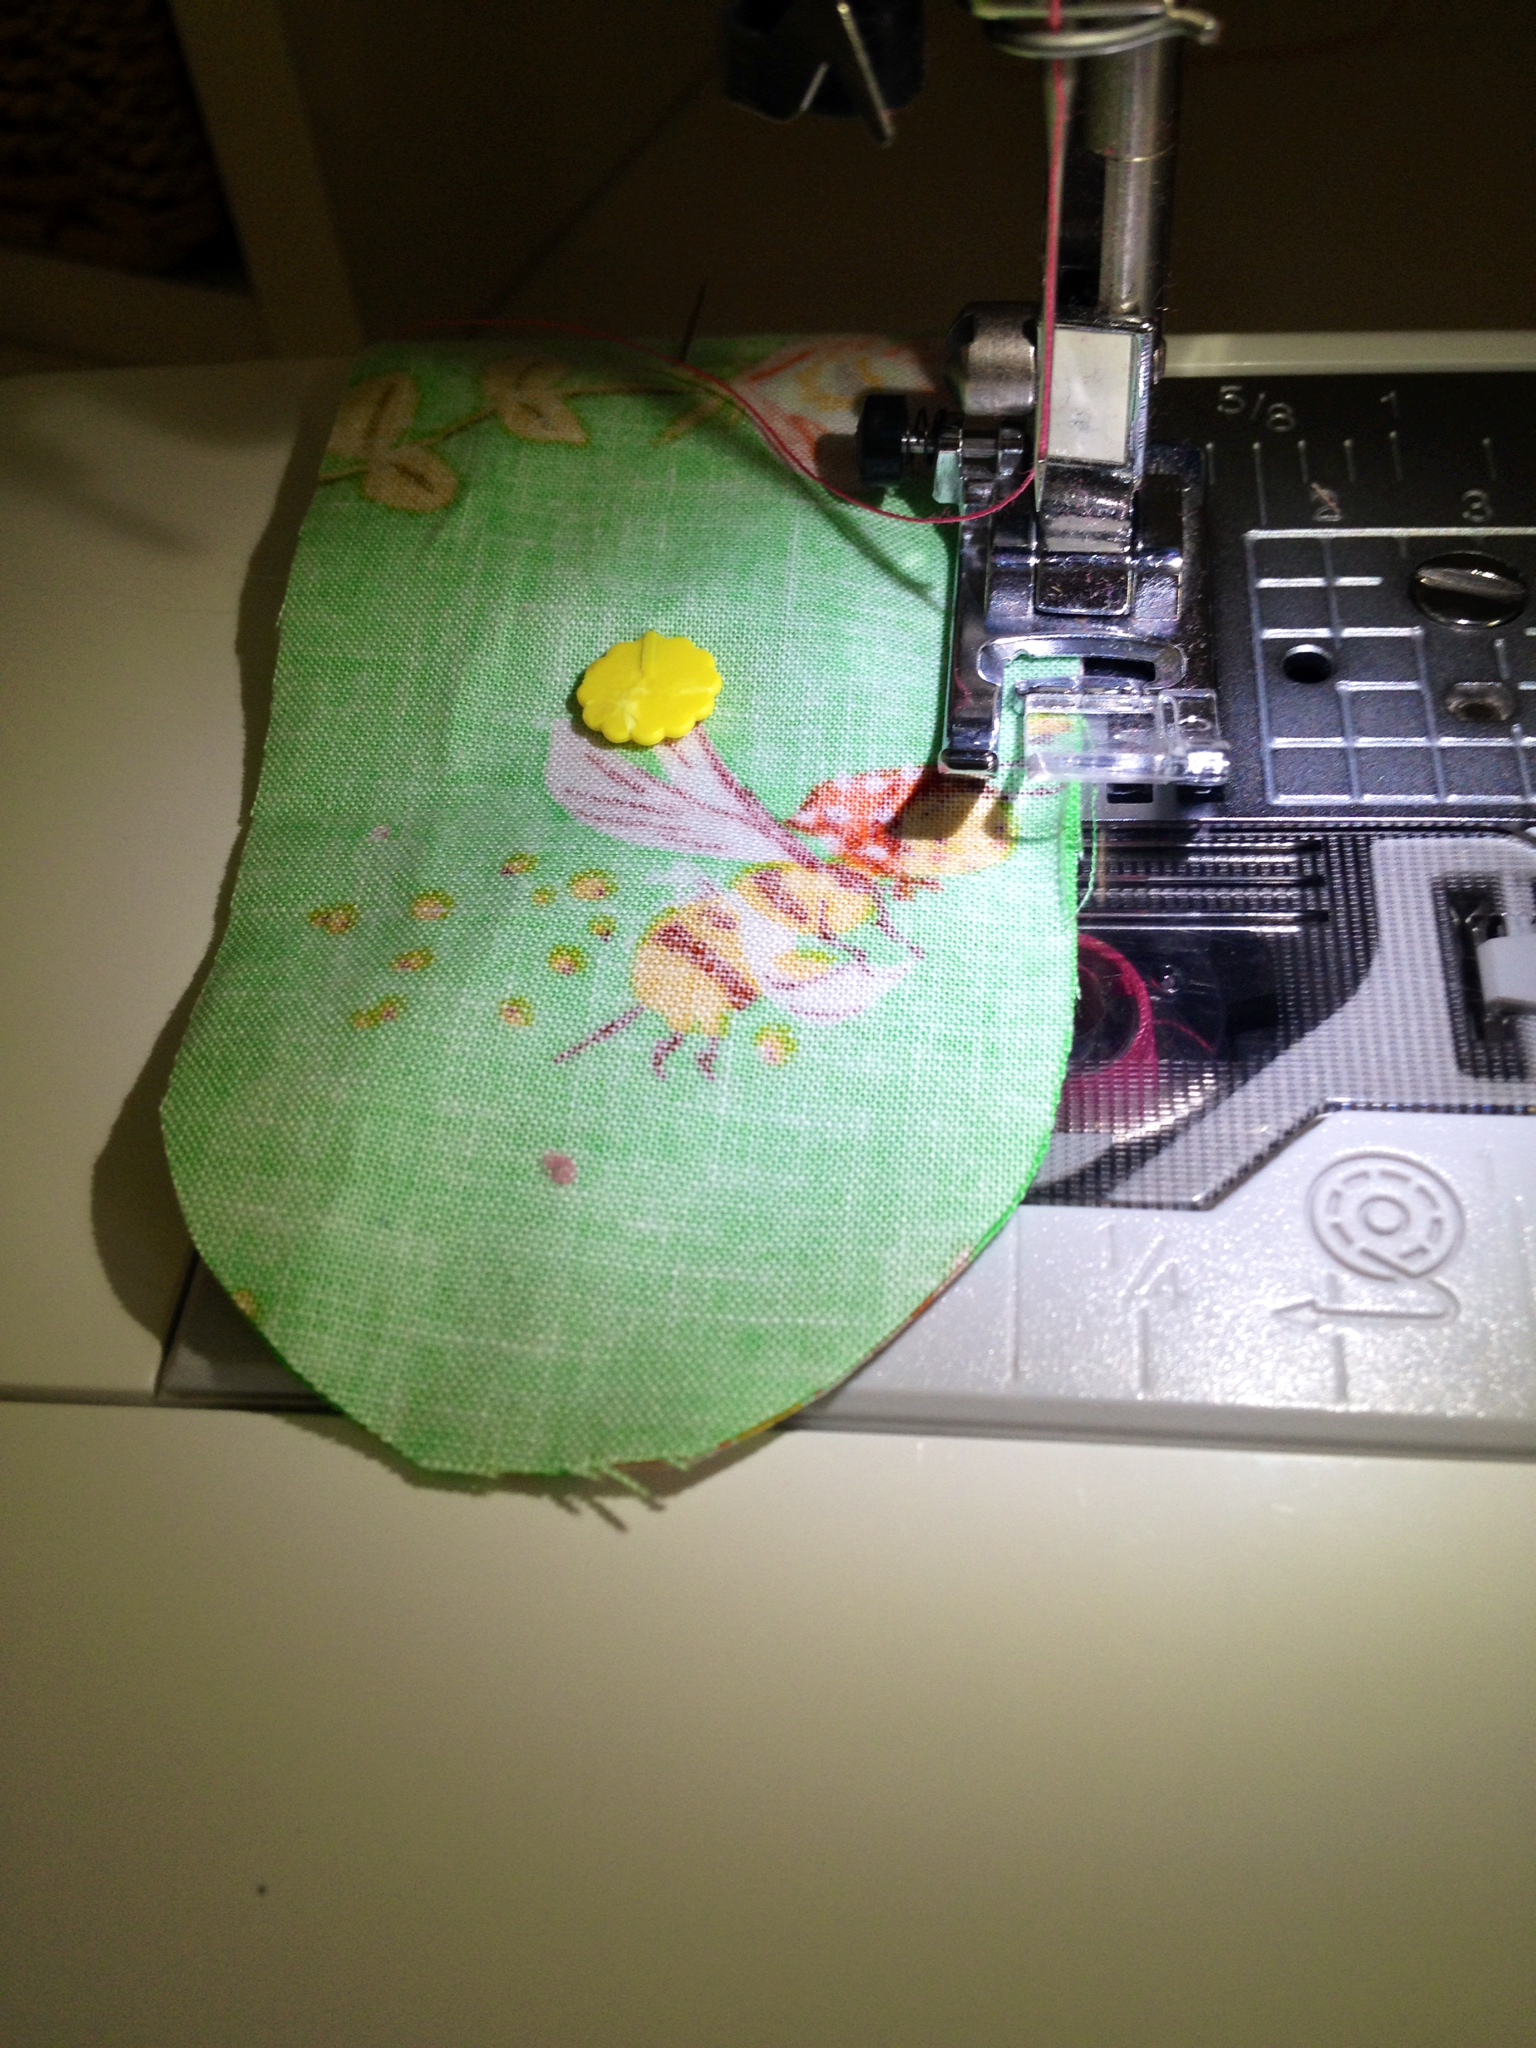
2. Place fabric pieces right sides together. Pin. Sew at 1/8″ starting in the middle of one of the long sides, and sew all the way around stopping about 1/2″ to 3/4″ from where you started.


3. Turn fabric right side out through the 1/2″ hole we left along the long side. Really push out the seams, and then iron.
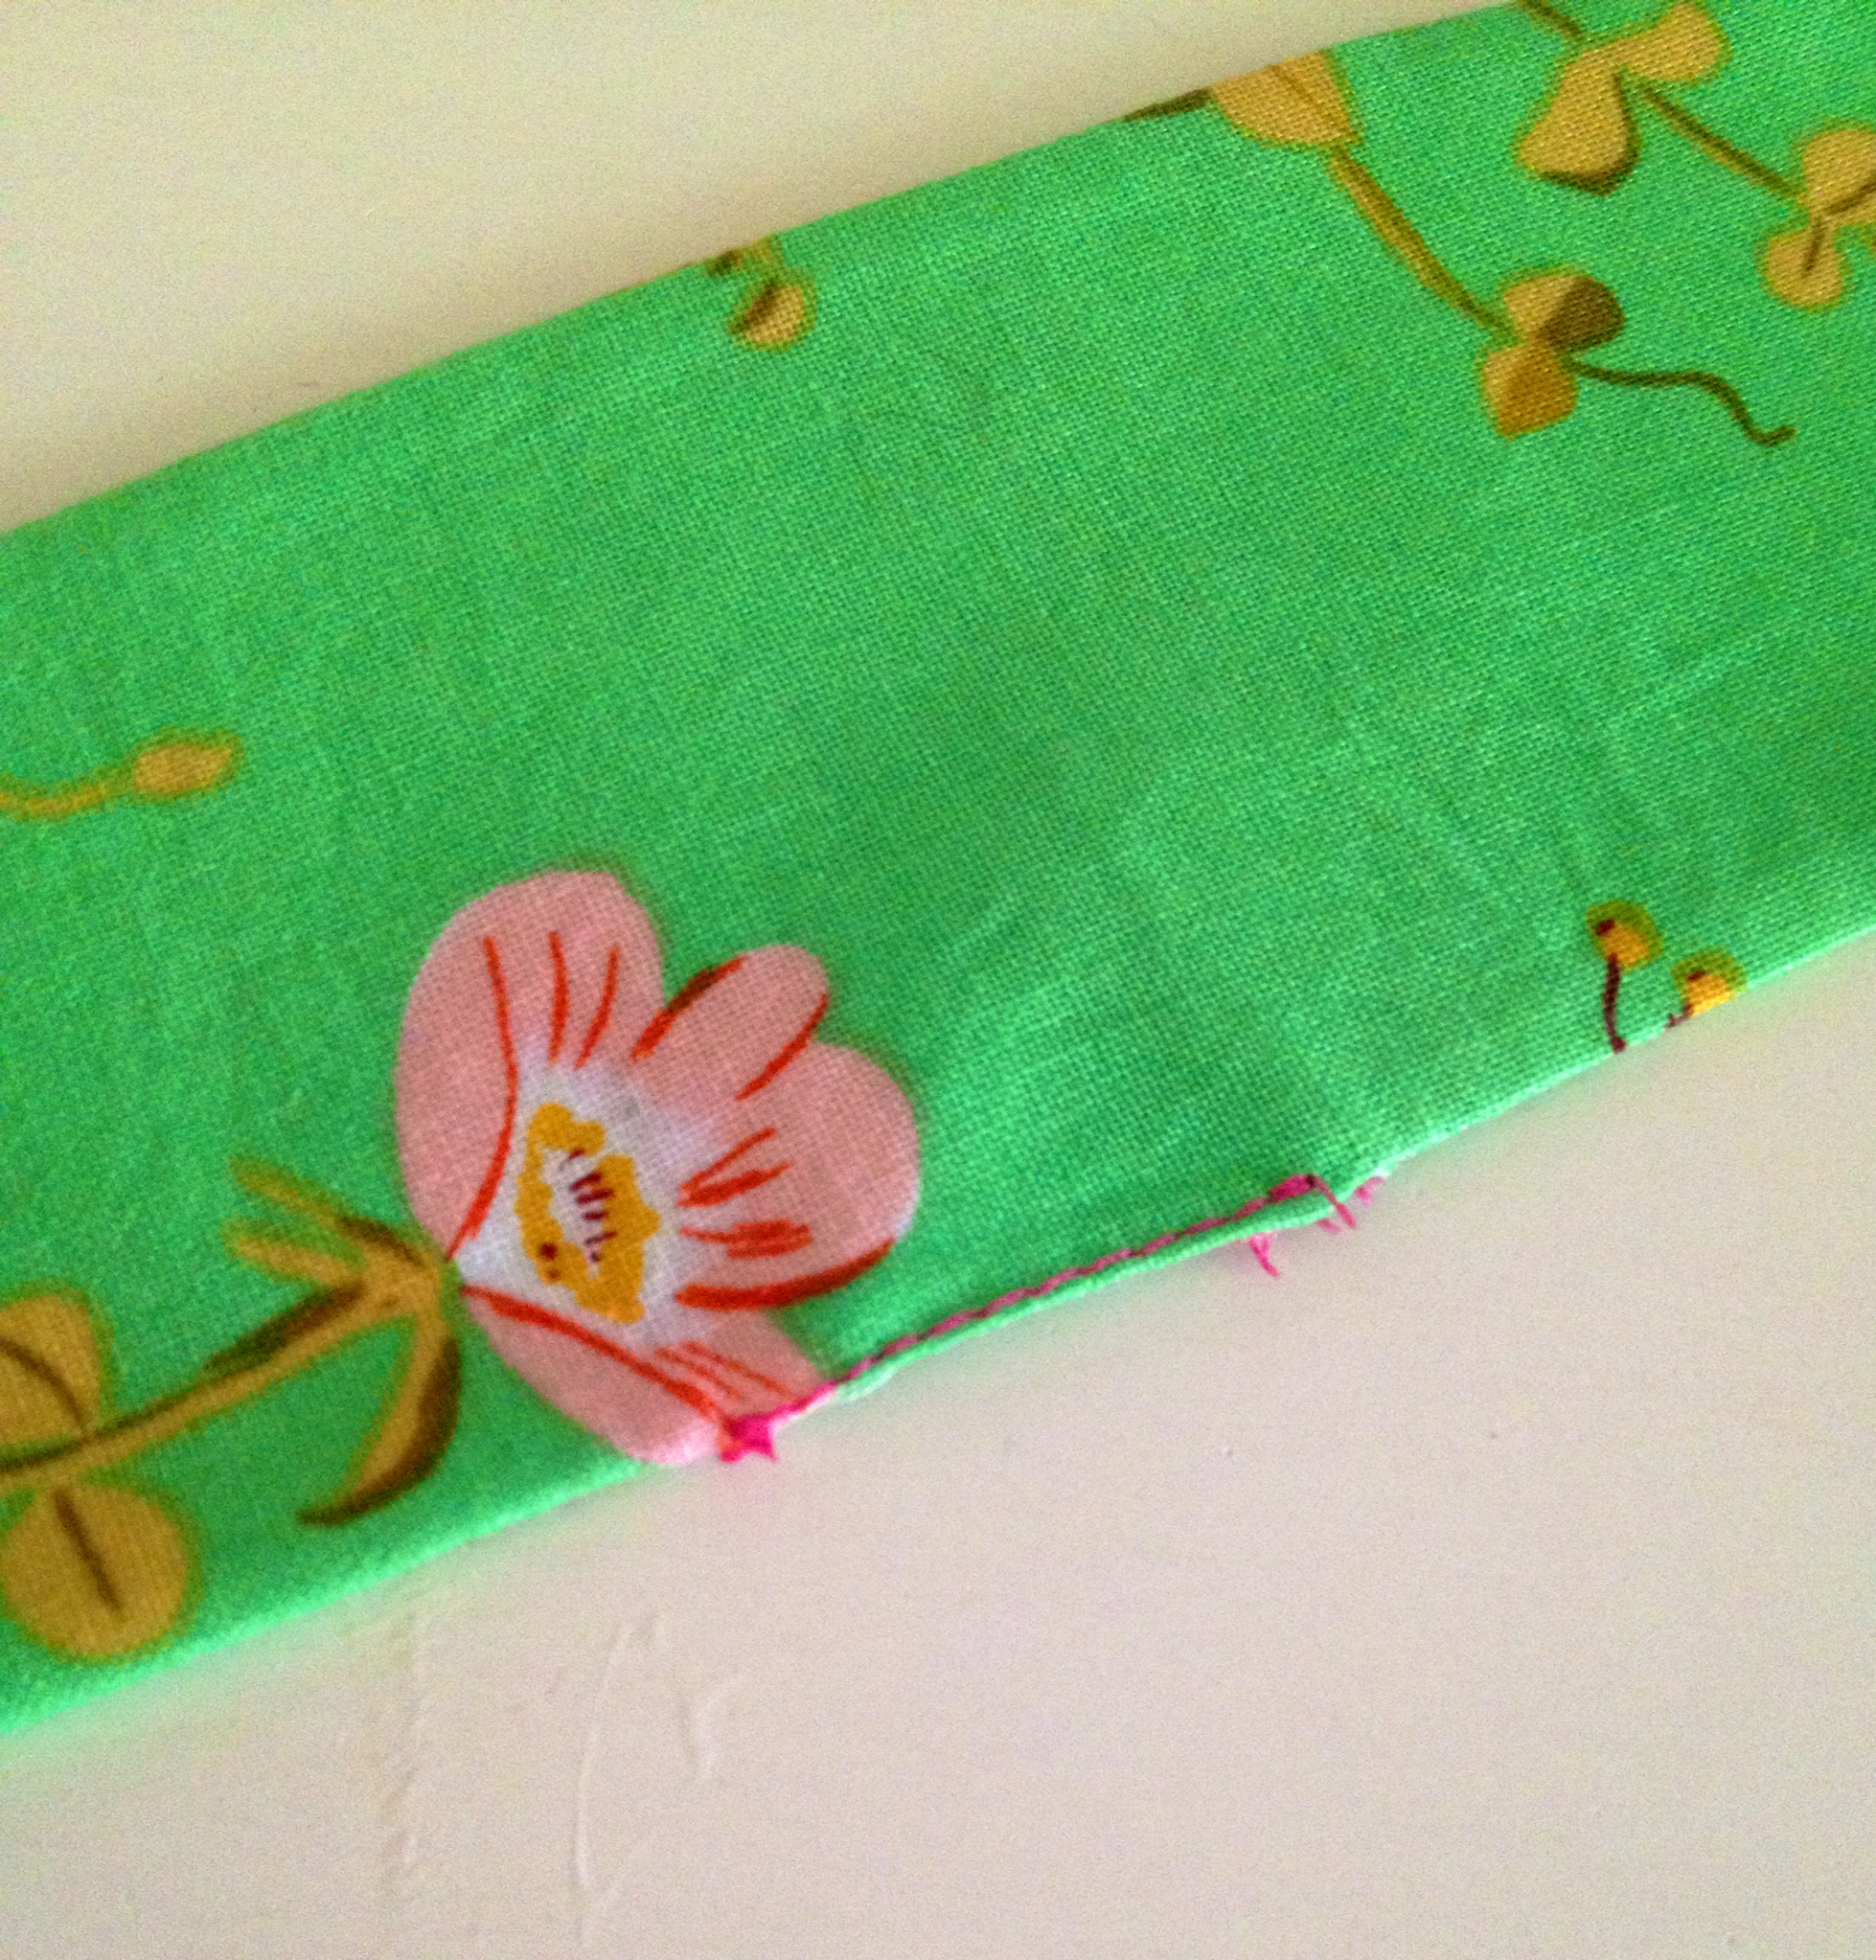
4. Now we need to sew the hole closed that left. Sew right along the edge of your bow just where the hole is. You won’t see this seam because the knot will hide it.
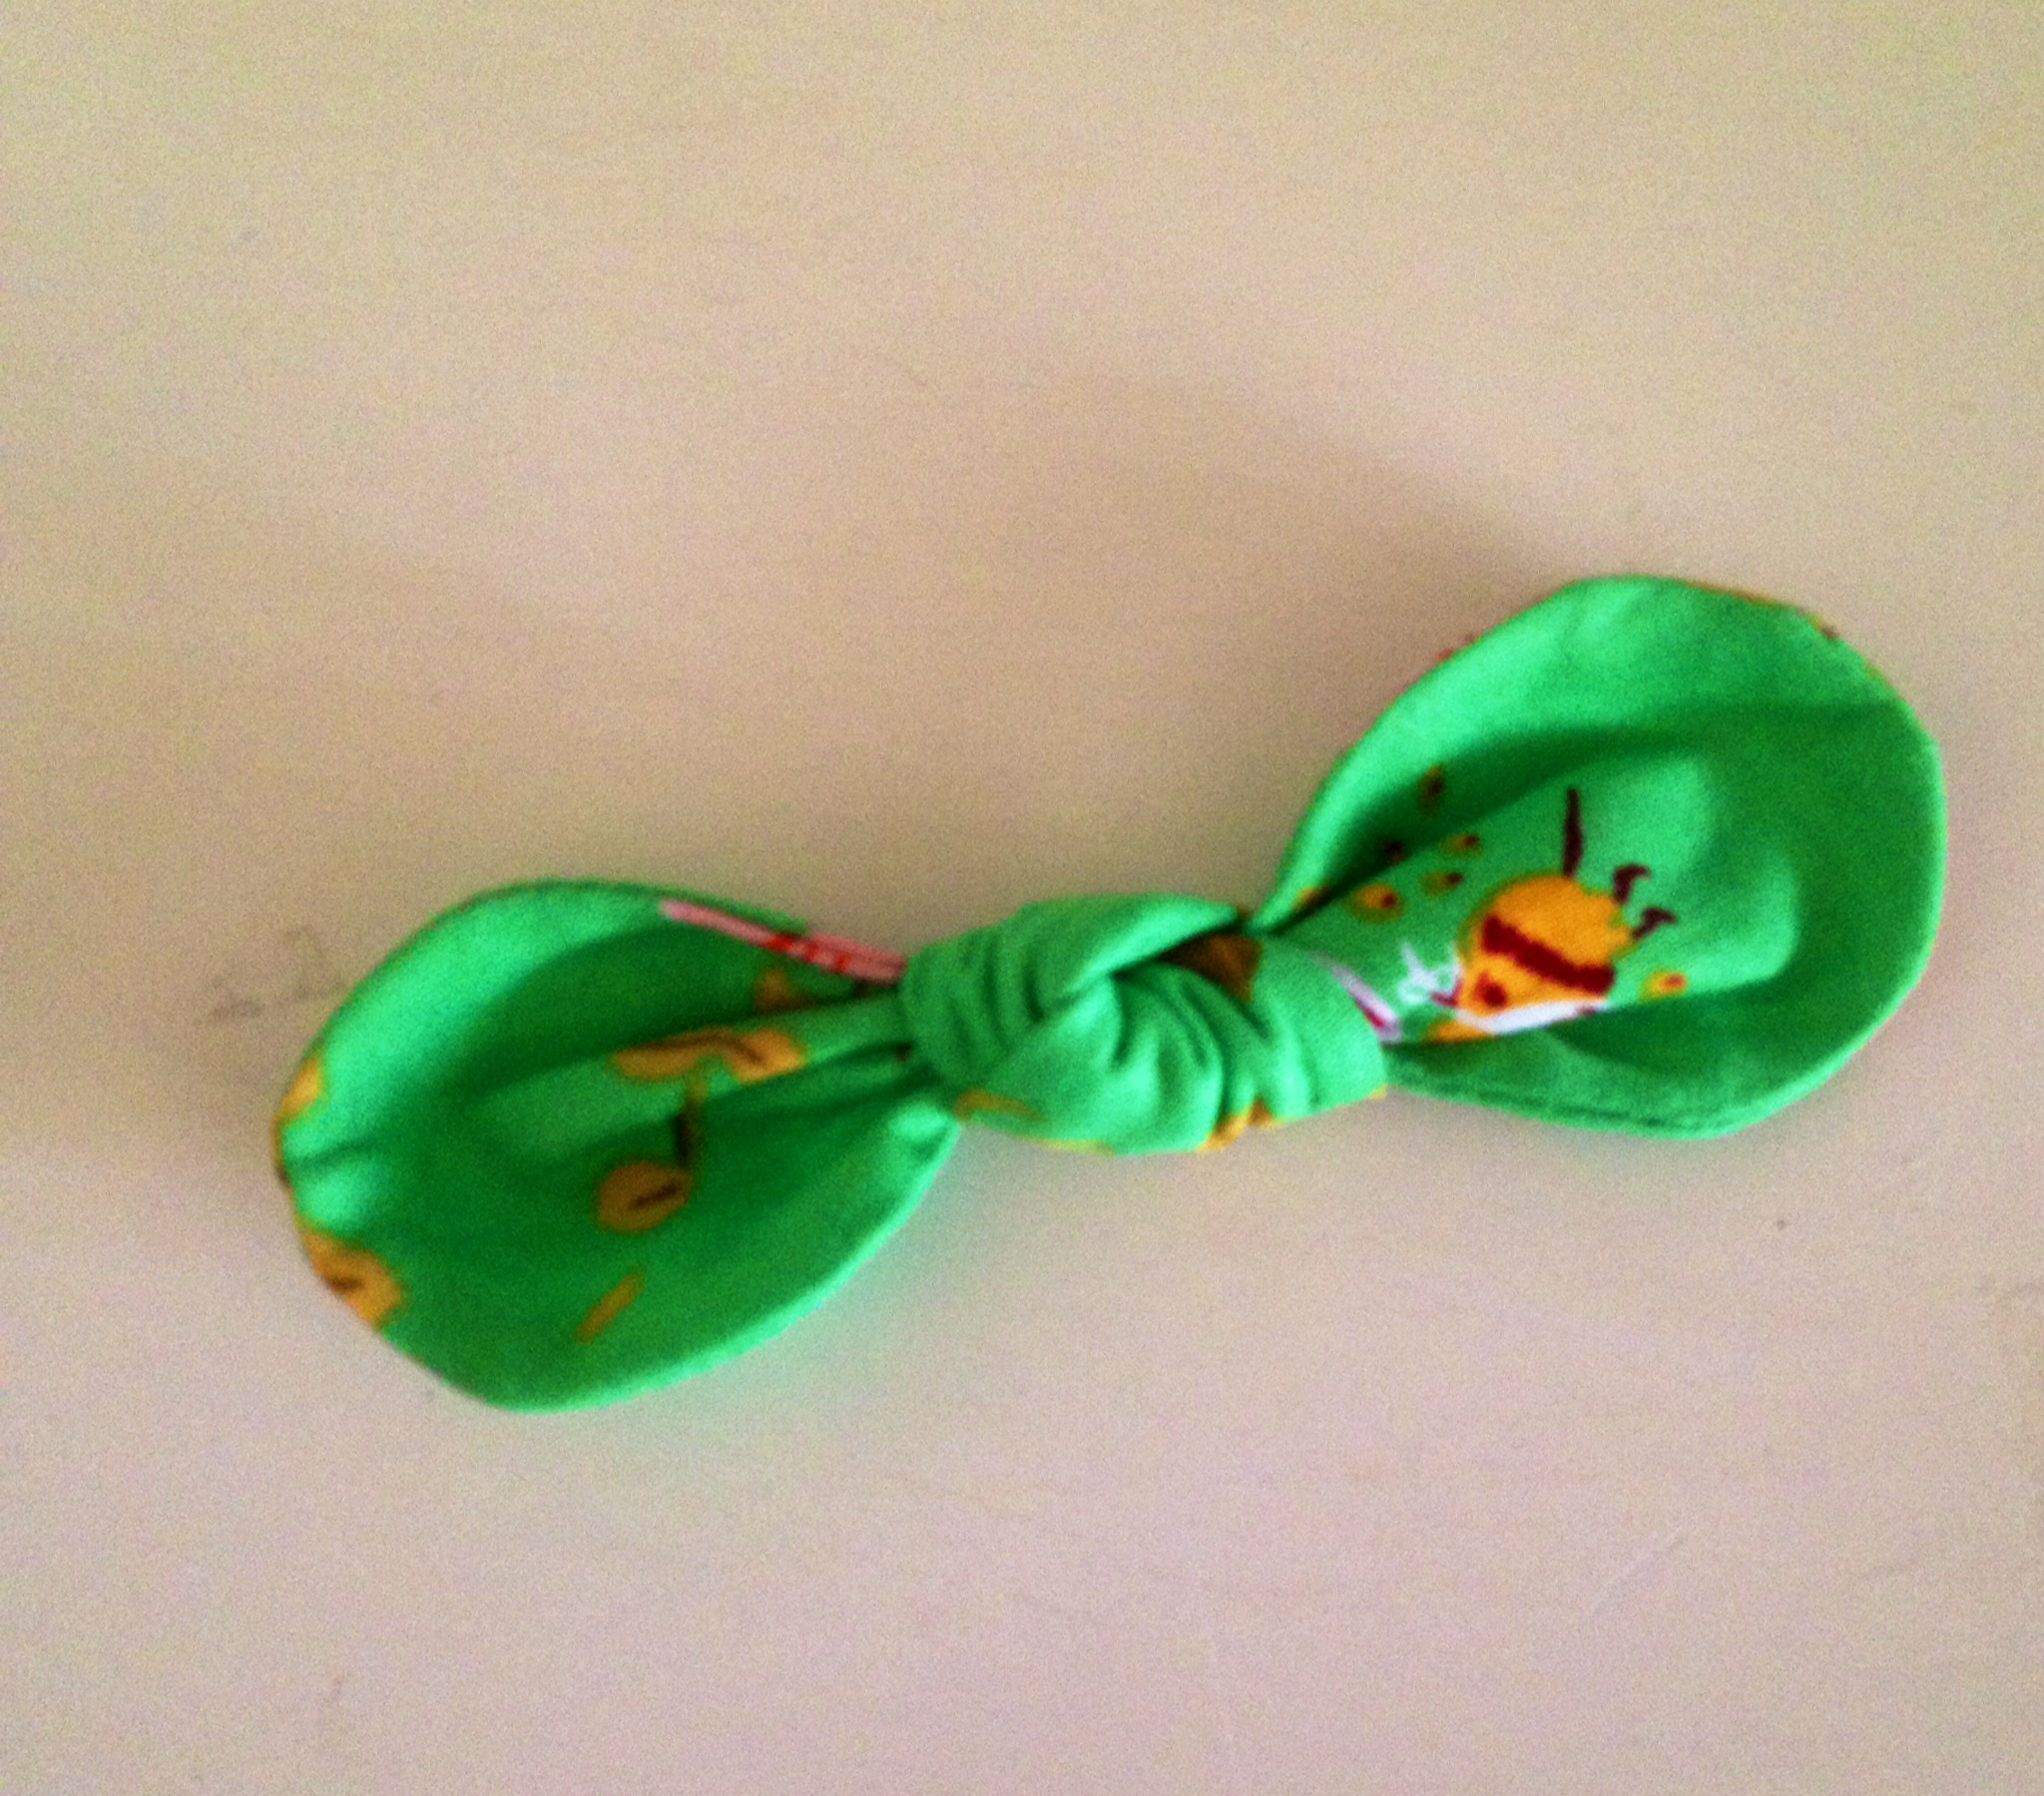
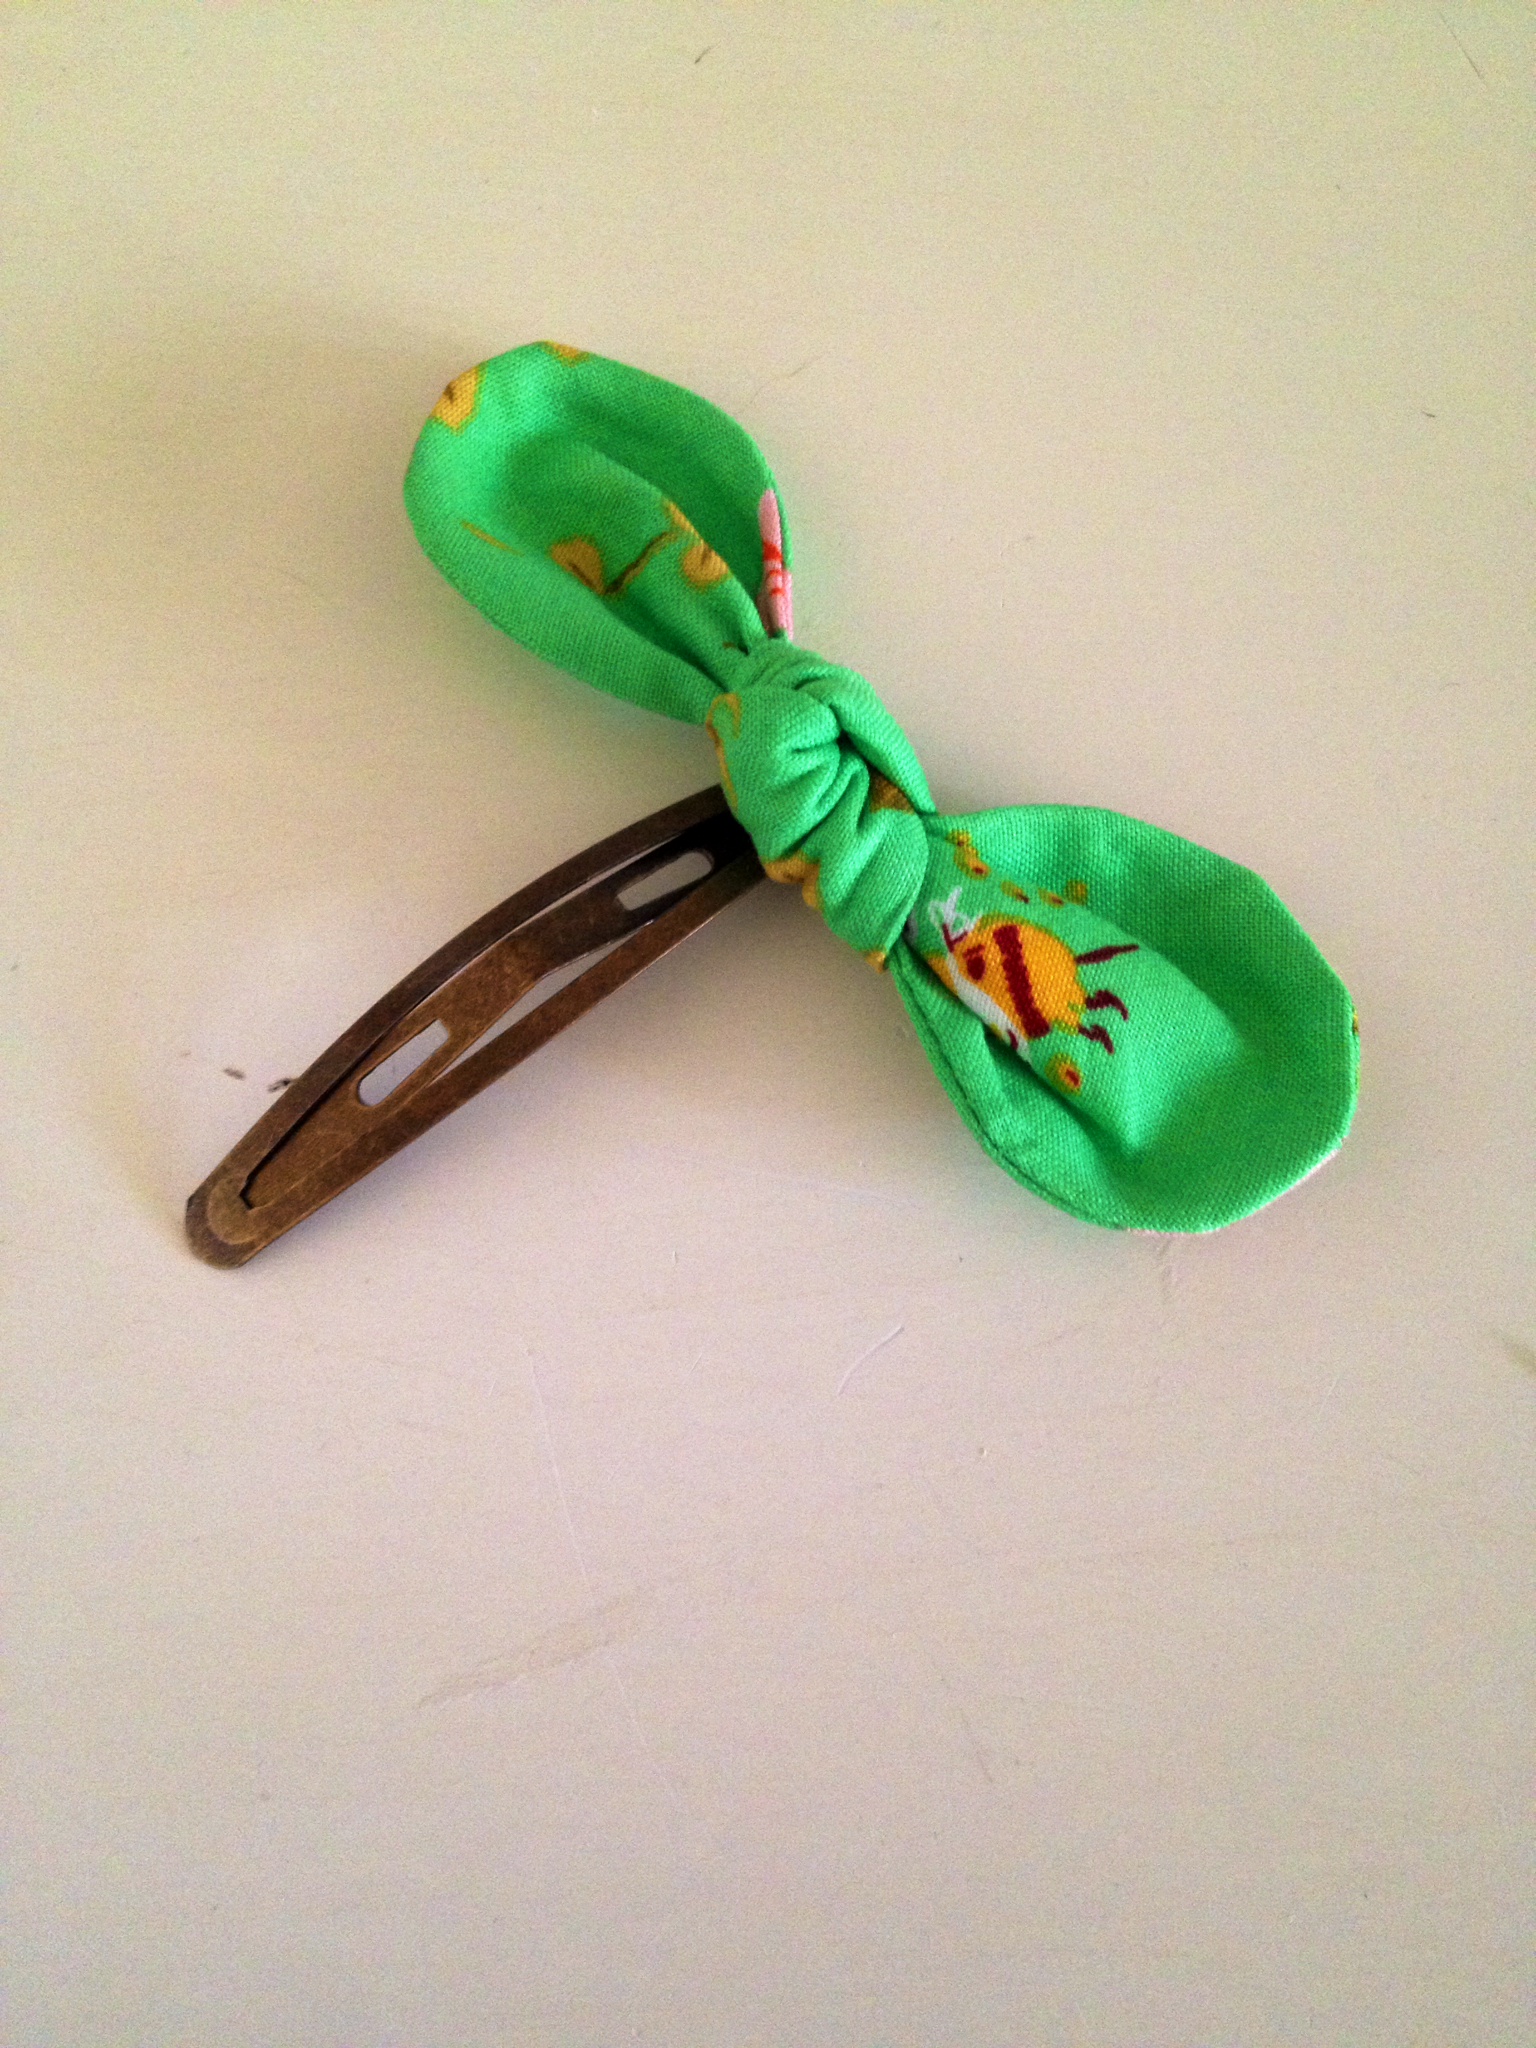
5. Fold fabric in half long ways (this will make it easier to tie your knot). Tie a knot, center it in the middle of your bow, pull tight, adjust bow as needed.
6. Now we need to attach the bow to a clip. You can use any basic hair clip. I used thread to sew my clip to my bow by sewing around the bottom side of the clip, tightly securing the bow to the end of my clip. You could also just hot glue your bow to the clip. *A little tip I learned to keep the clip from slipping out of my baby’s fine hair is to put a little hot glue on the bottom inside part of the clip while holding the top part away. Once the glue dries, you’re all set. The sticky plastic of the hot glue keeps the clip right in place on your baby’s head. That’s all there is to it!! 🙂 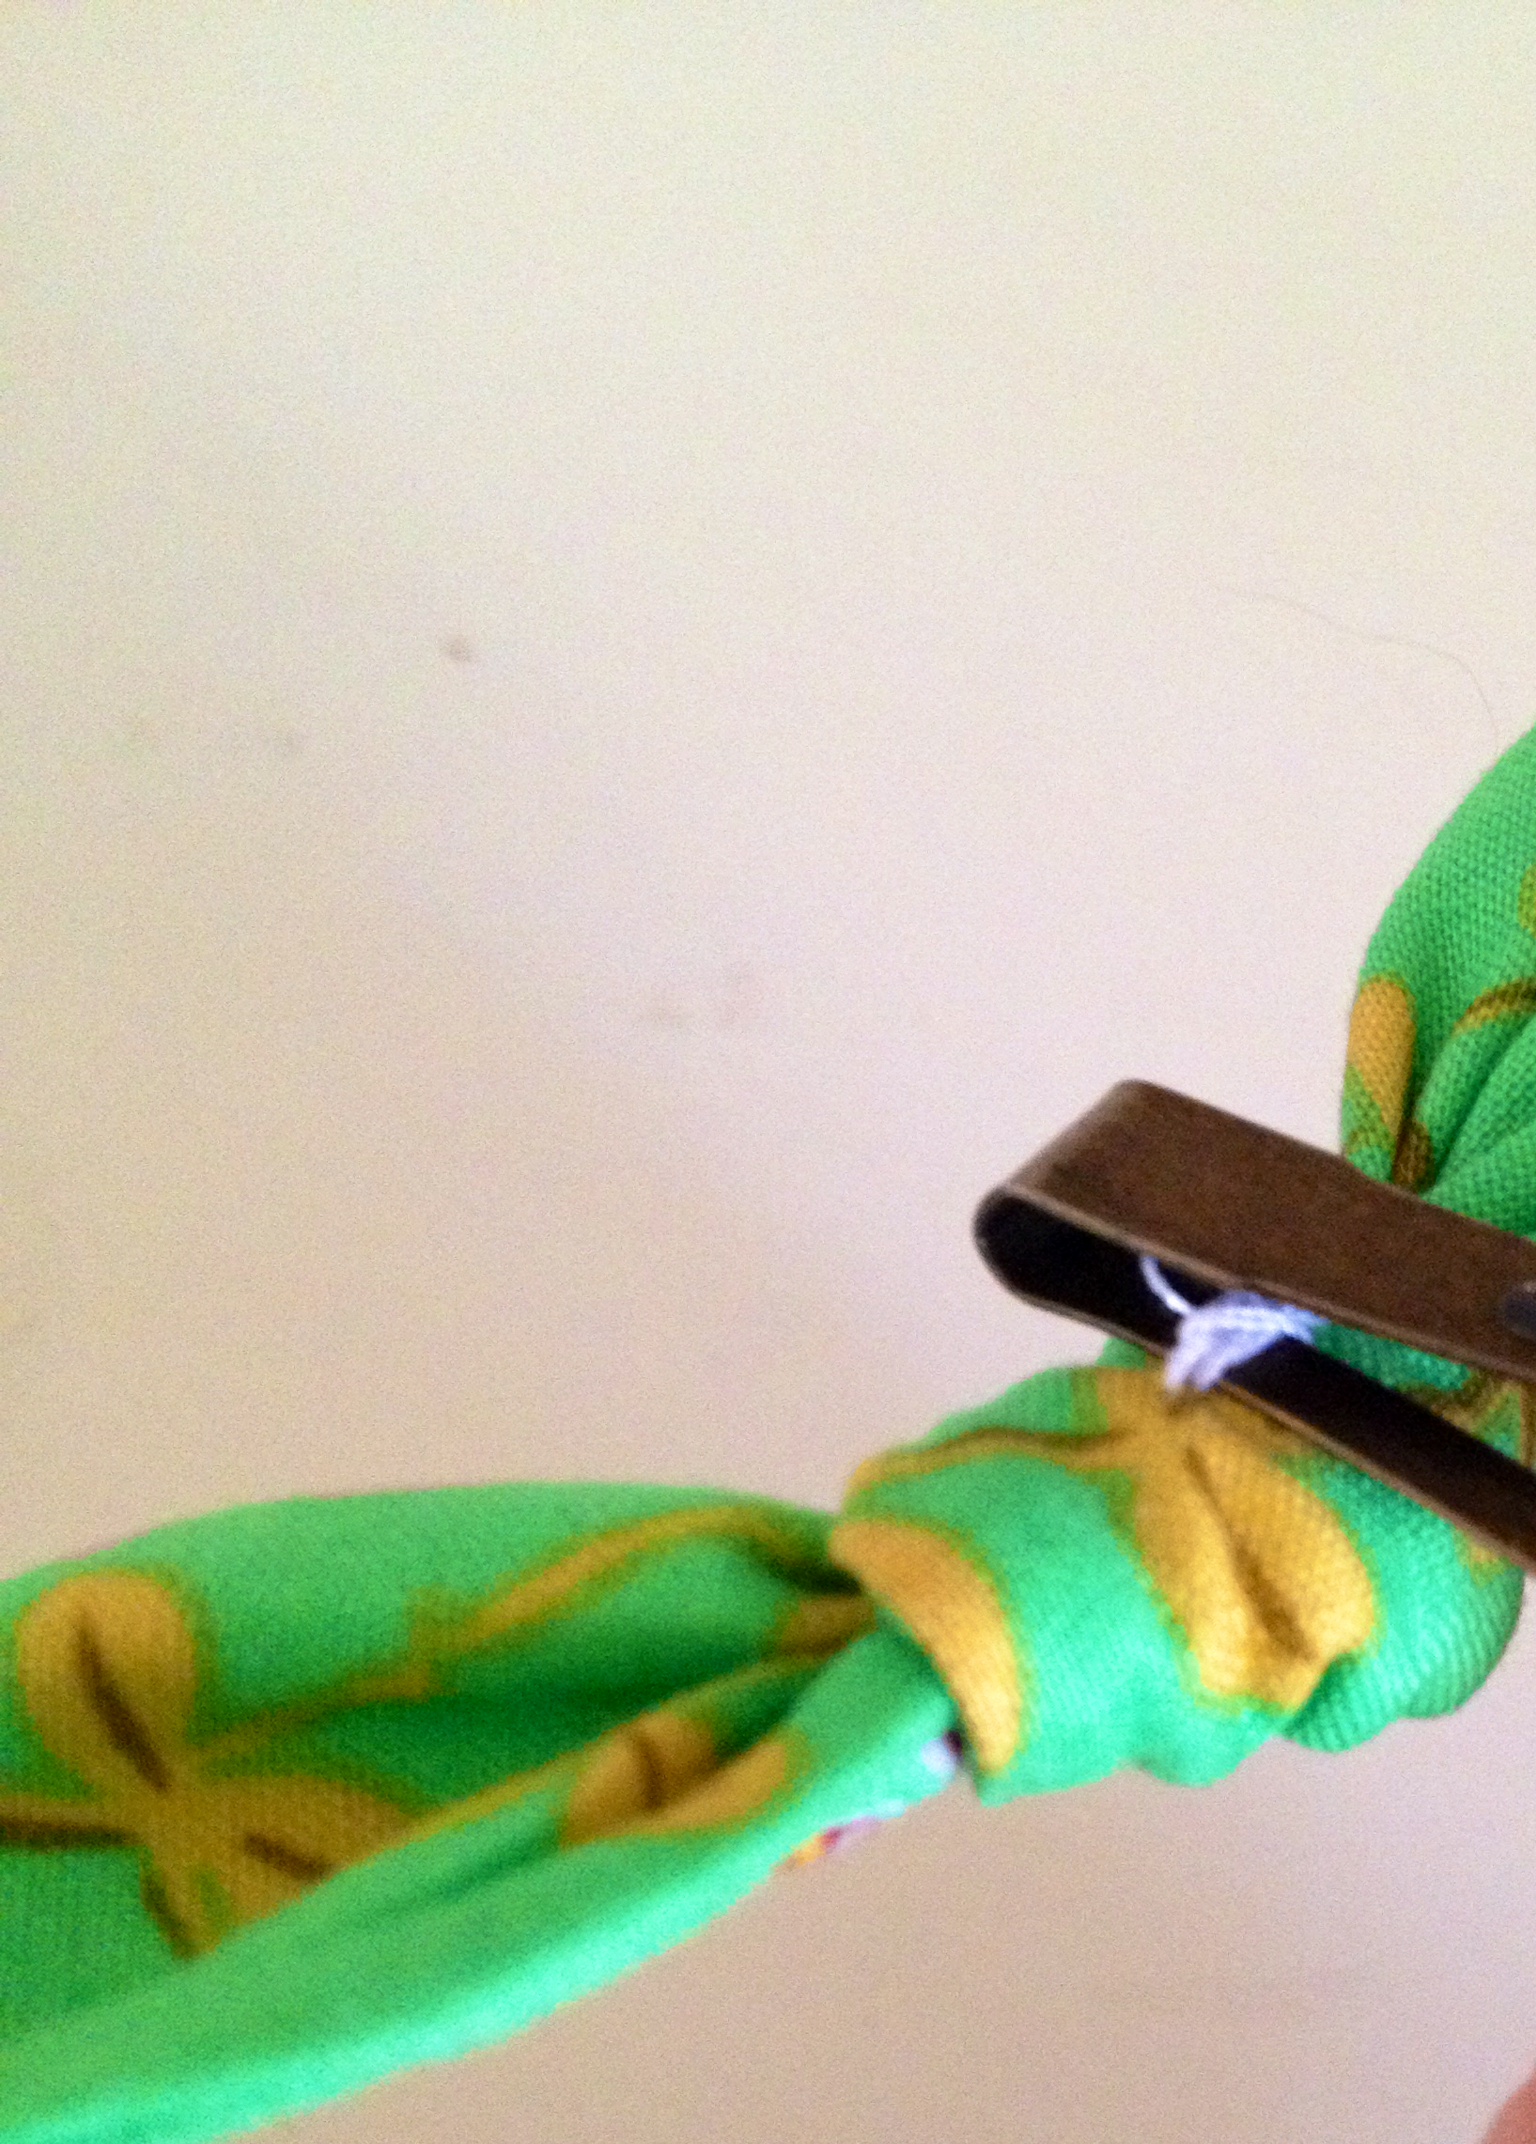


Leave a comment