
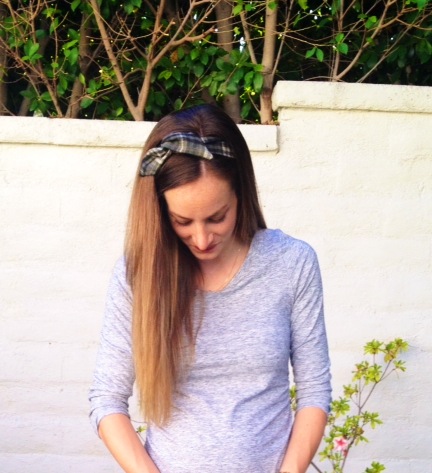
I recently found these head wraps at Nordstrom and Forever 21 and instantly knew I had to make some for myself. These are great because you can use scraps of fabric you may have lying around your house. They are easy to make, and stay in place all day because of the wire inside. You simply wrap the headband around your head with the ends on top and then twist the two ends around each other. (They are so comfy too!!). Here’s how I made them:
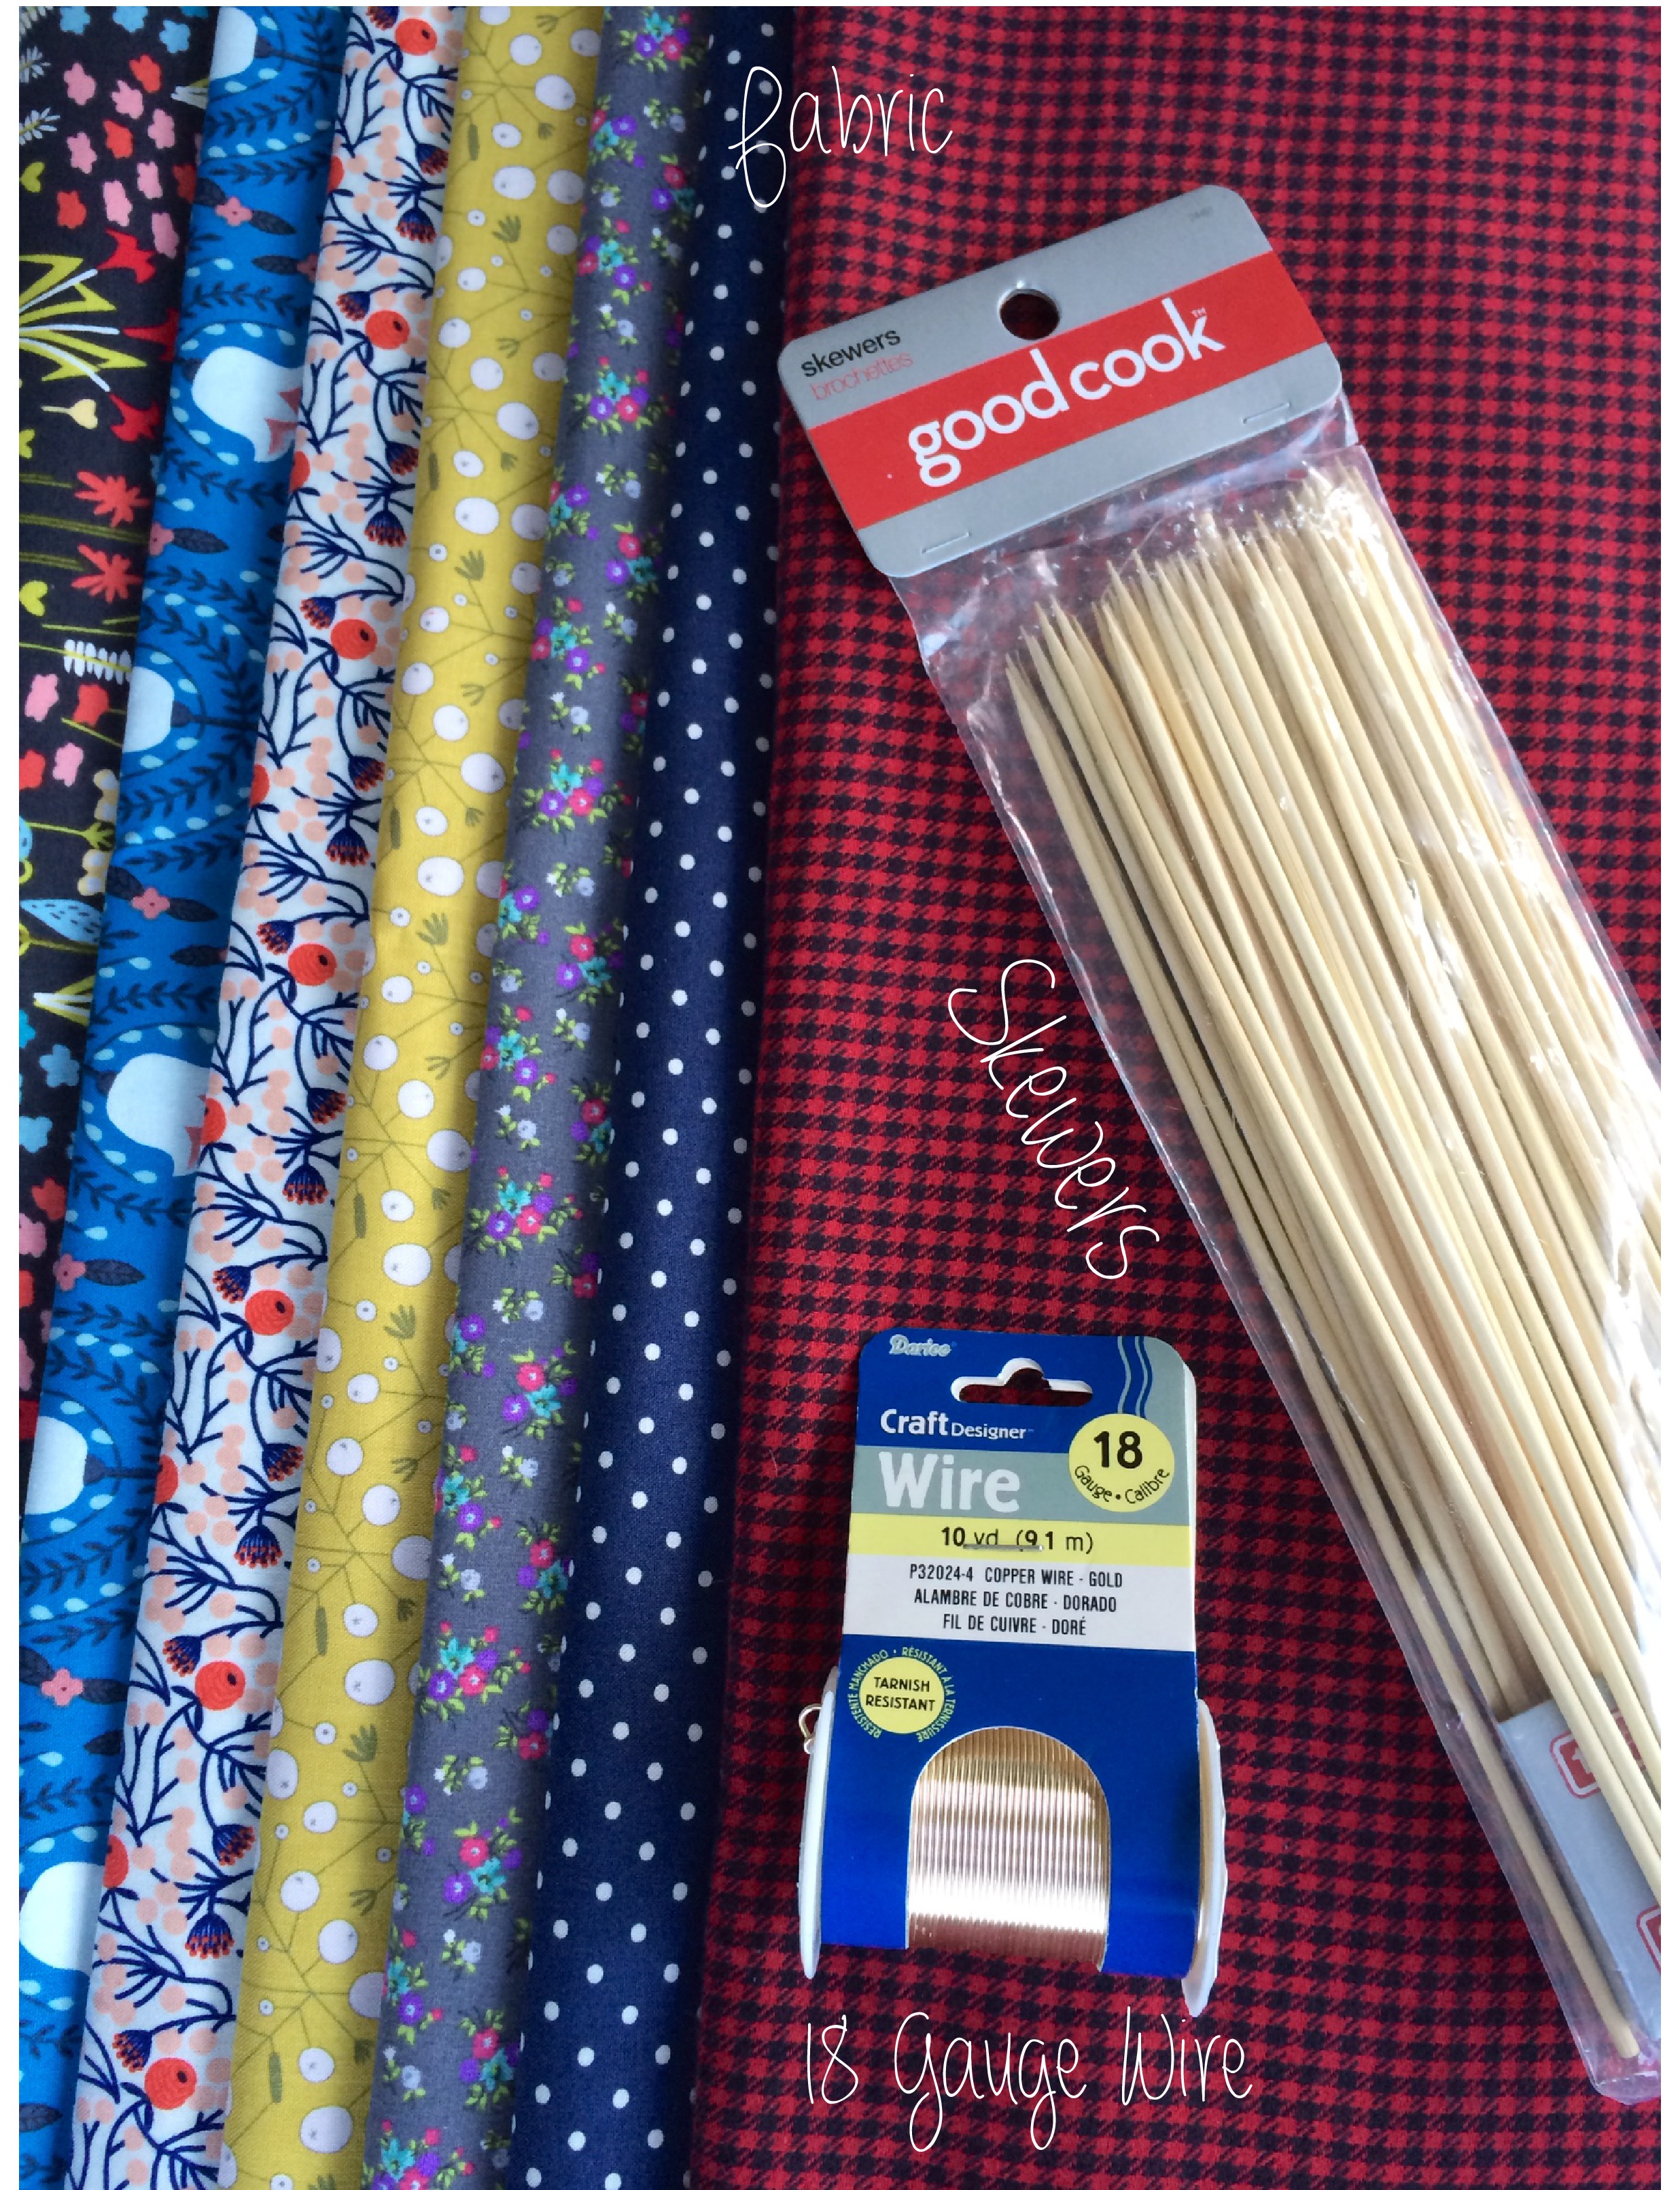
Supplies:
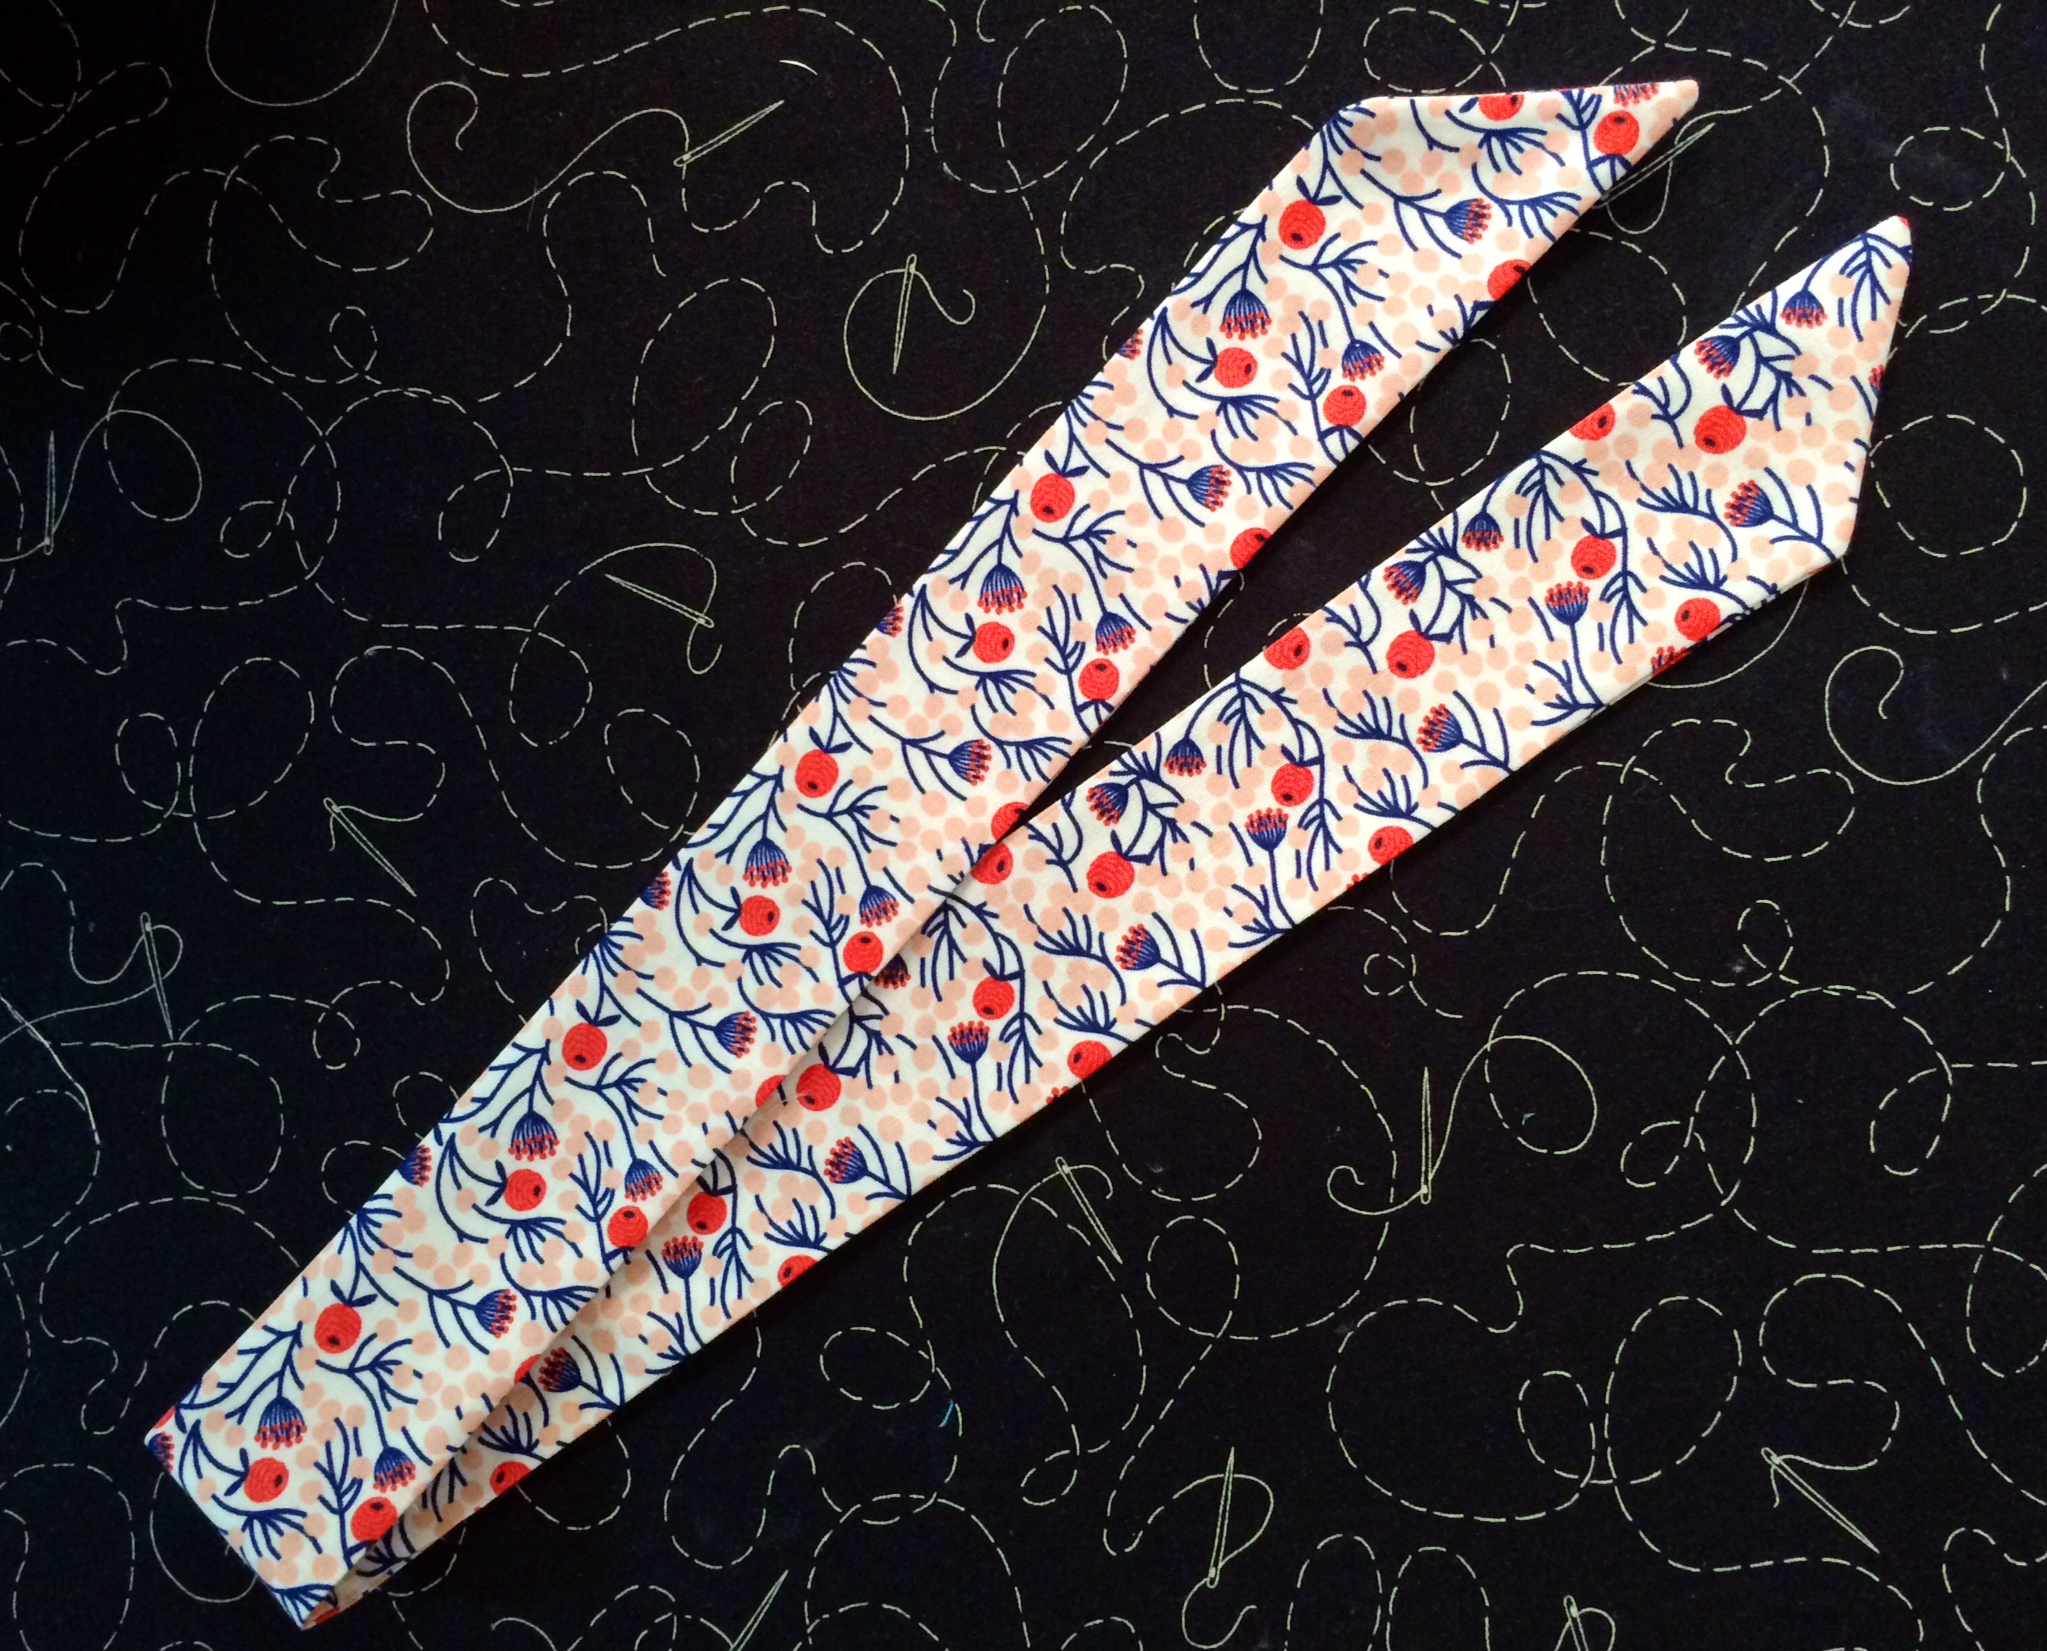
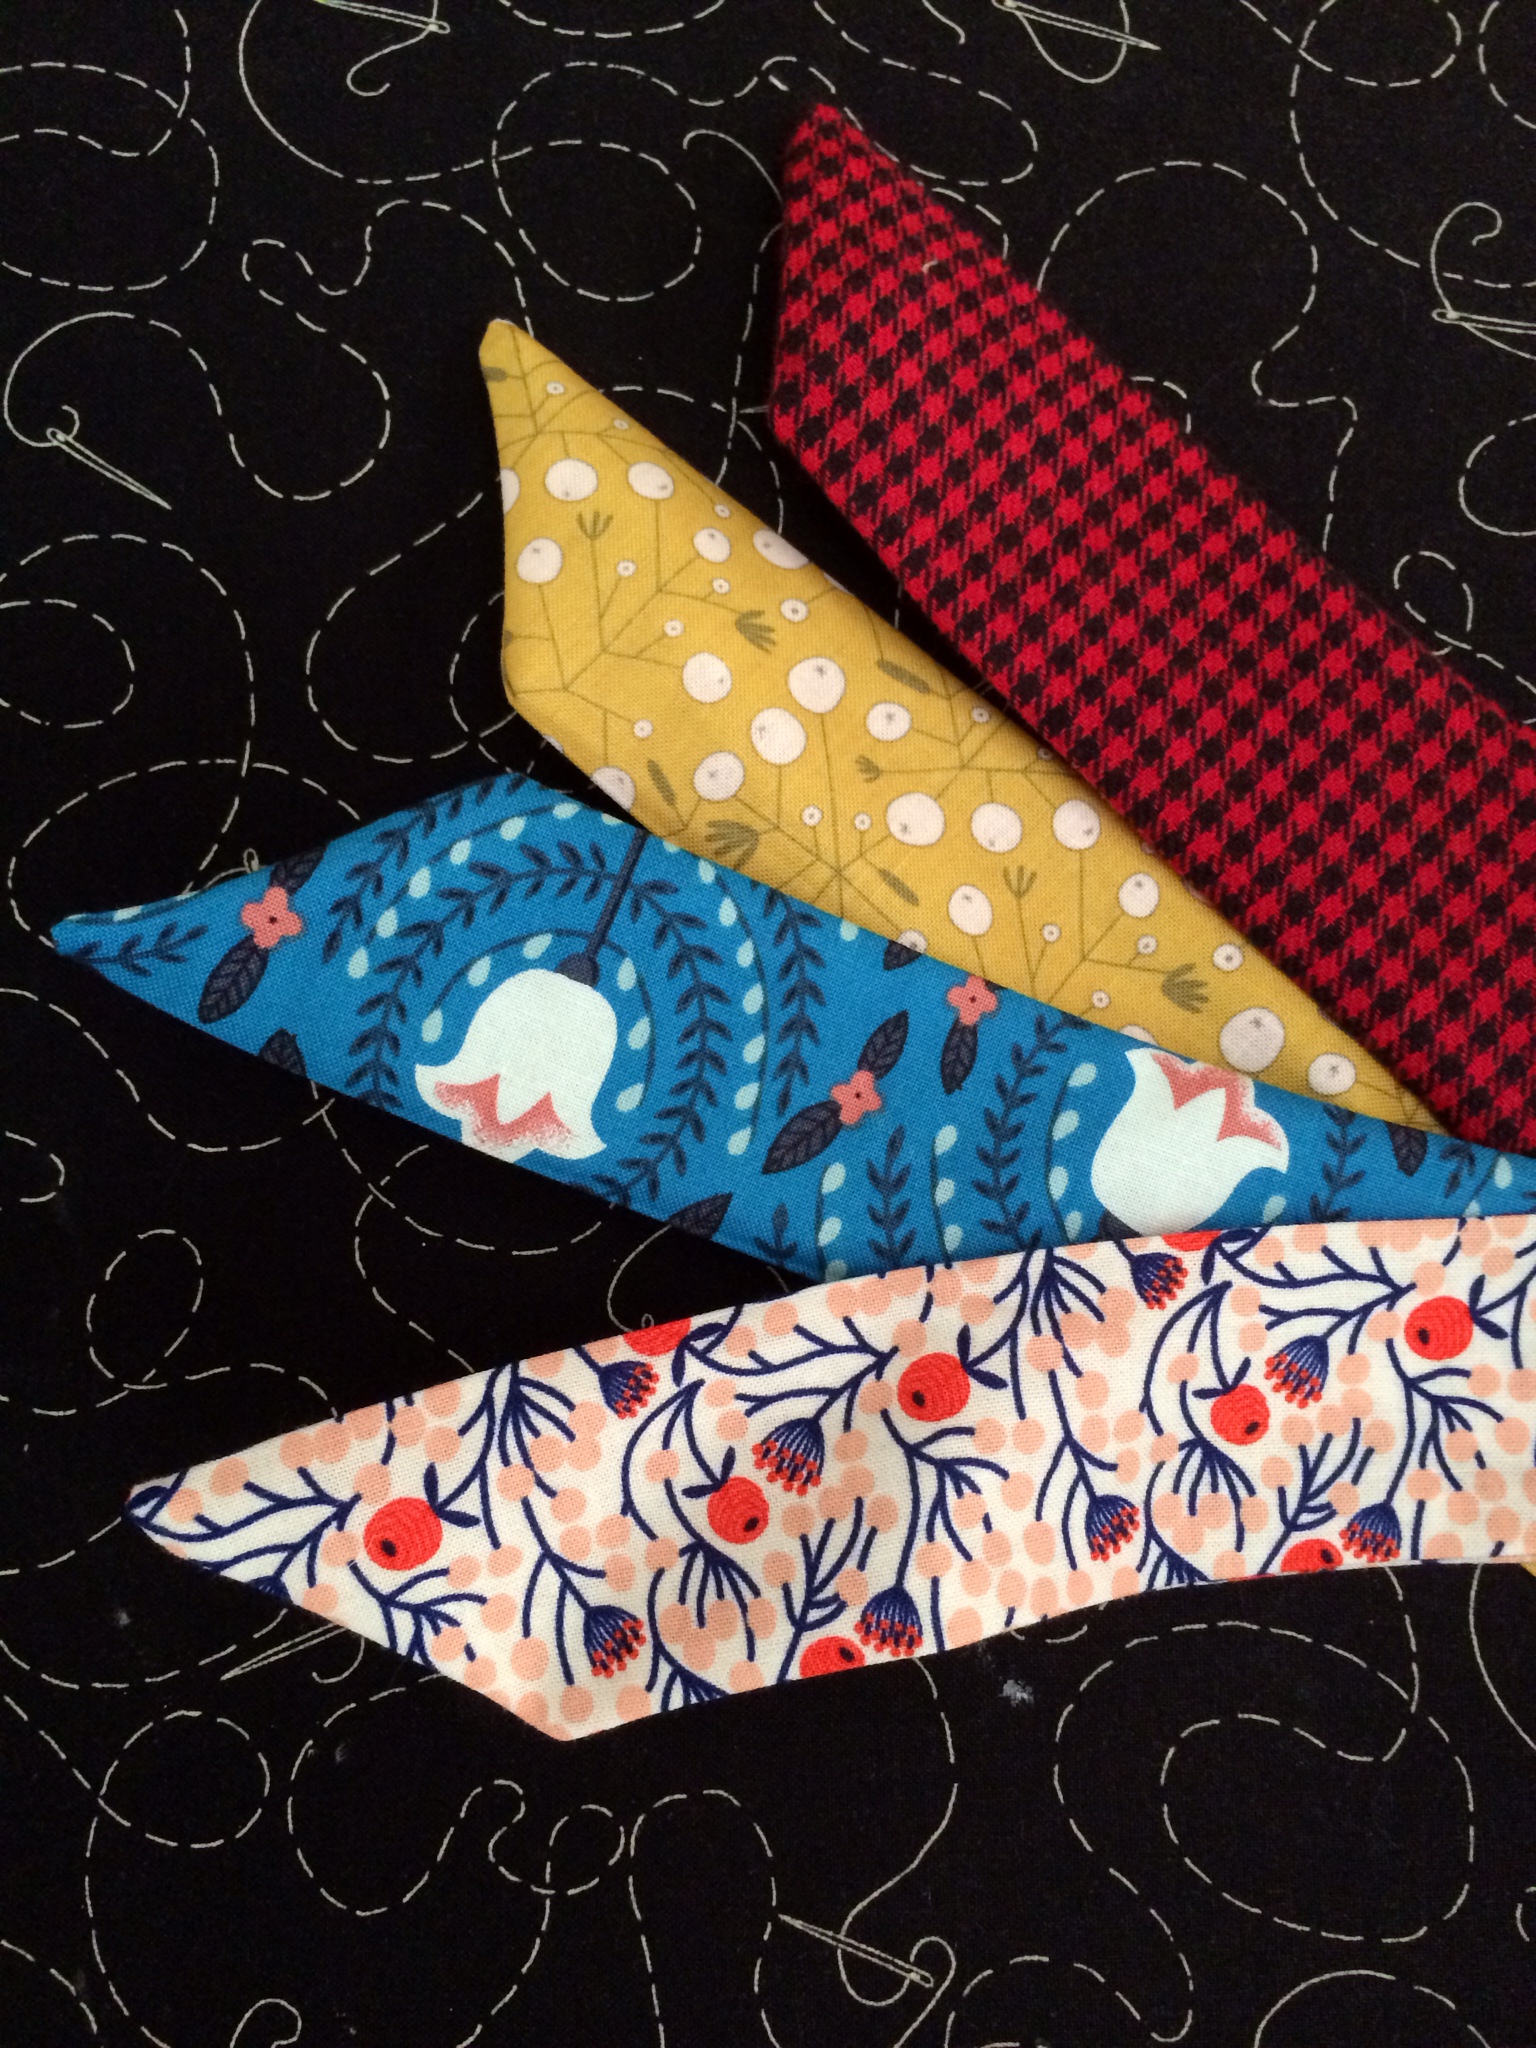
-Fabric: 4″ X 30″ (You could add or subtract from the length depending on what size you need). The fabric pictured below was purchased at Joann’s.
-18 Gauge Wire (I’ll show you how I measured it later on in this post). You can find this at Joann’s as well.
-Skewer or Pencil (long pointy object to turn out your corners).
1. Cut out your fabric. I cut my strips 4″ X 30″. You can play with the length depending on what you need. I cut my fabric with a mat and rotary, but you could also just use scissors.

2. Once you have your strip of fabric cut out, fold it in half and iron it RST. 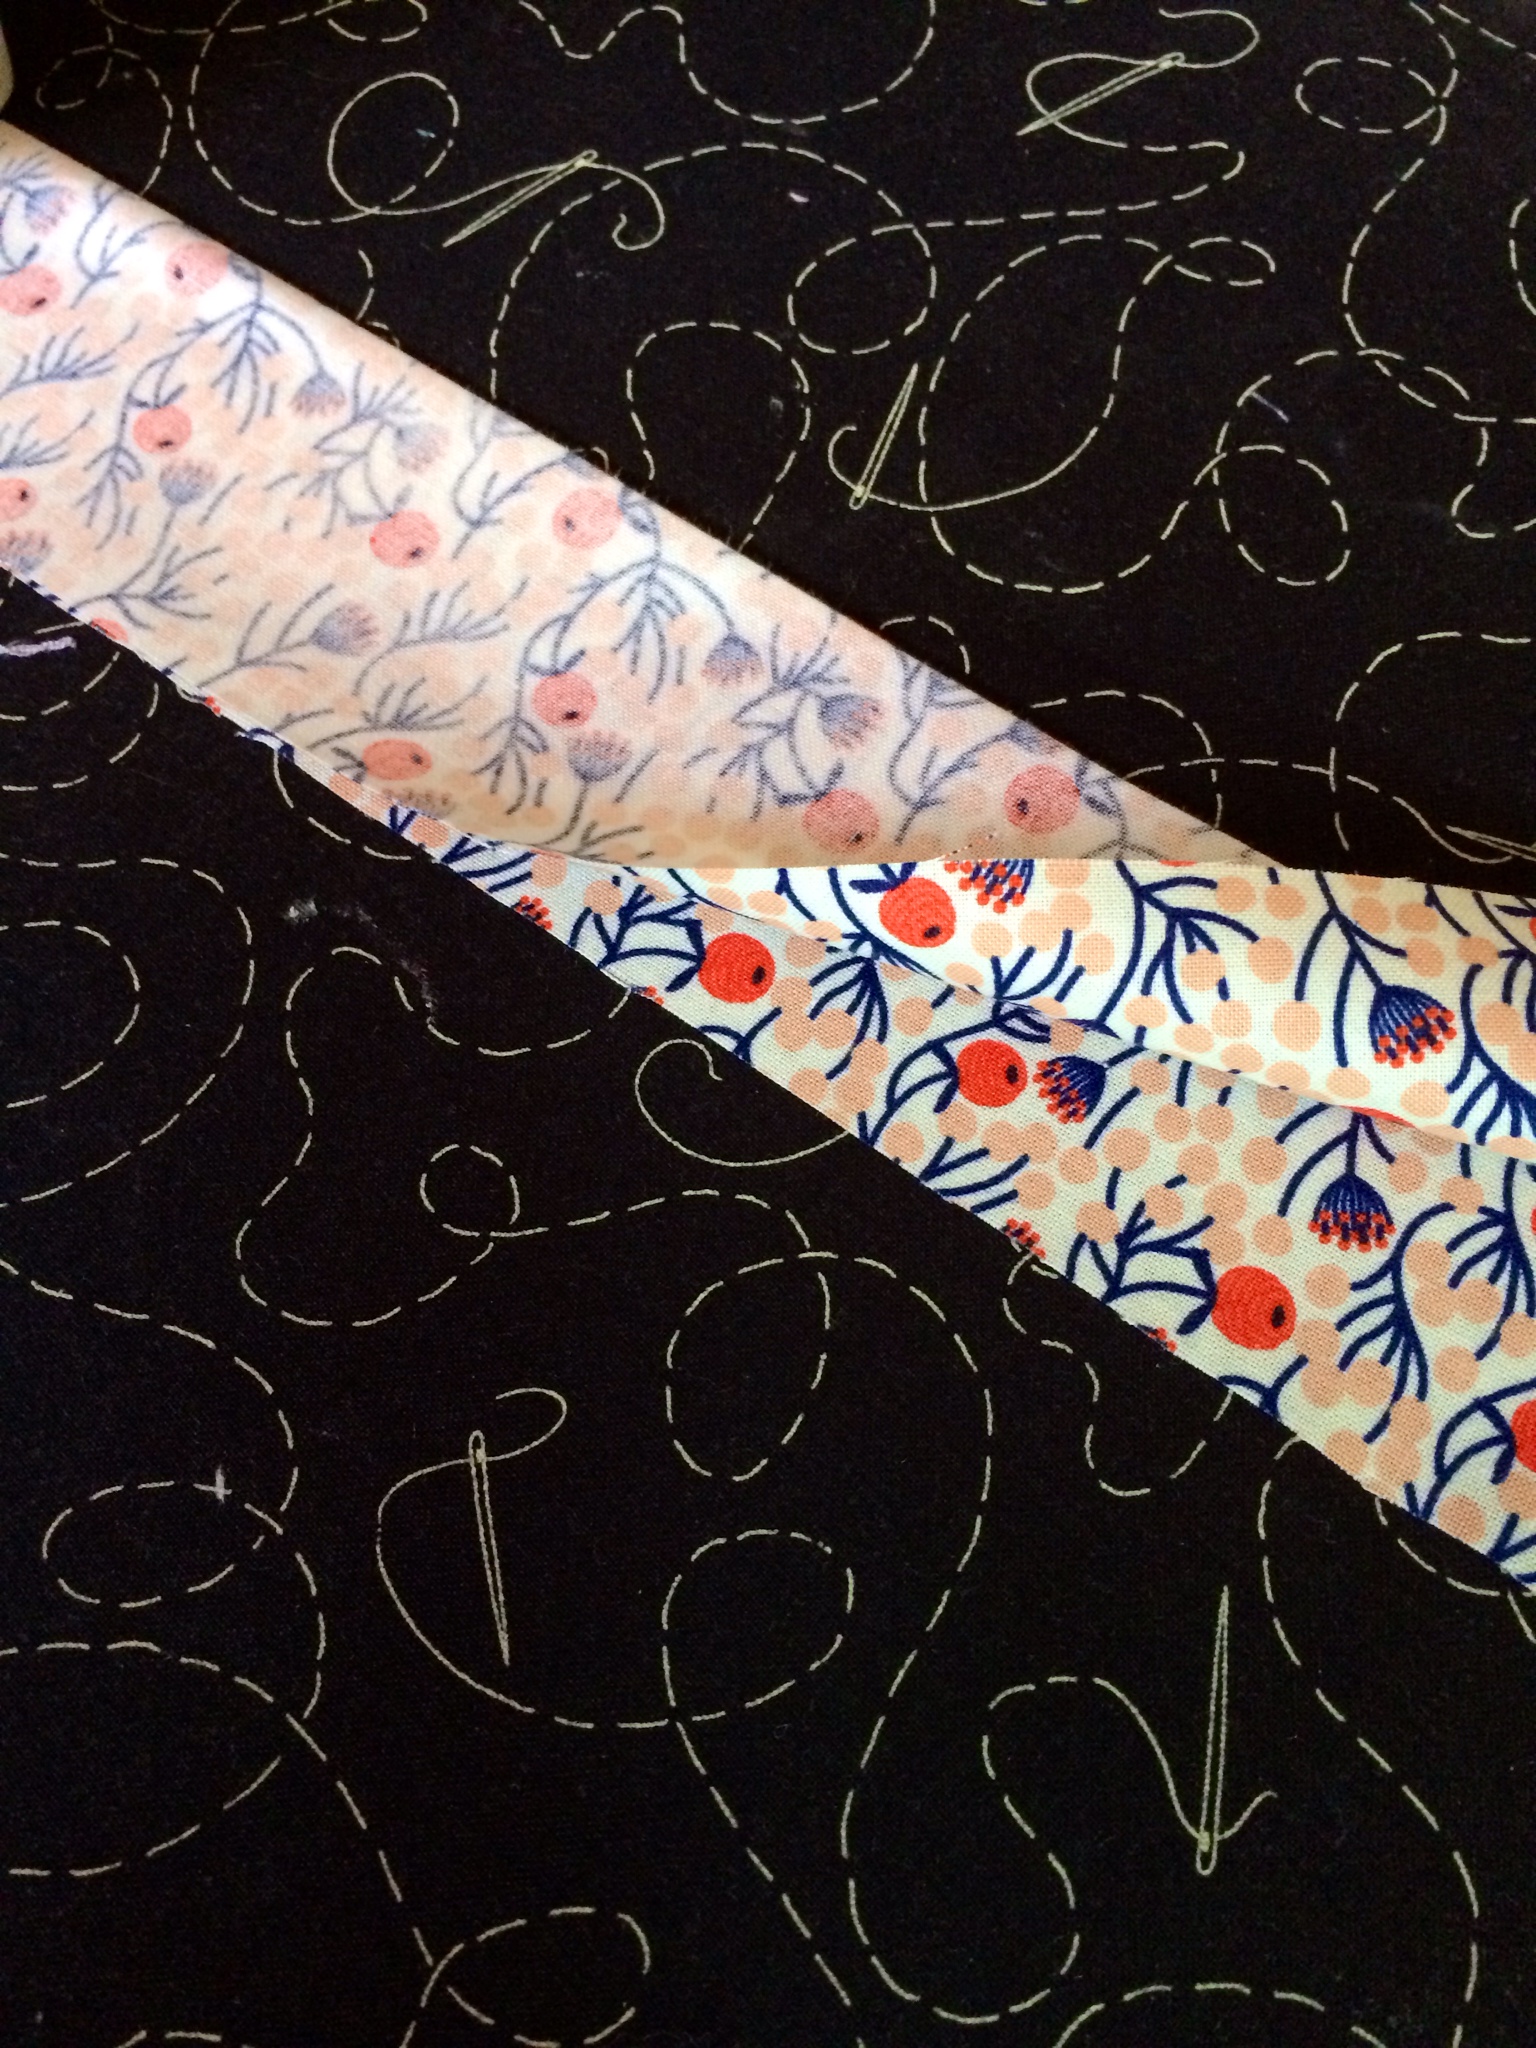
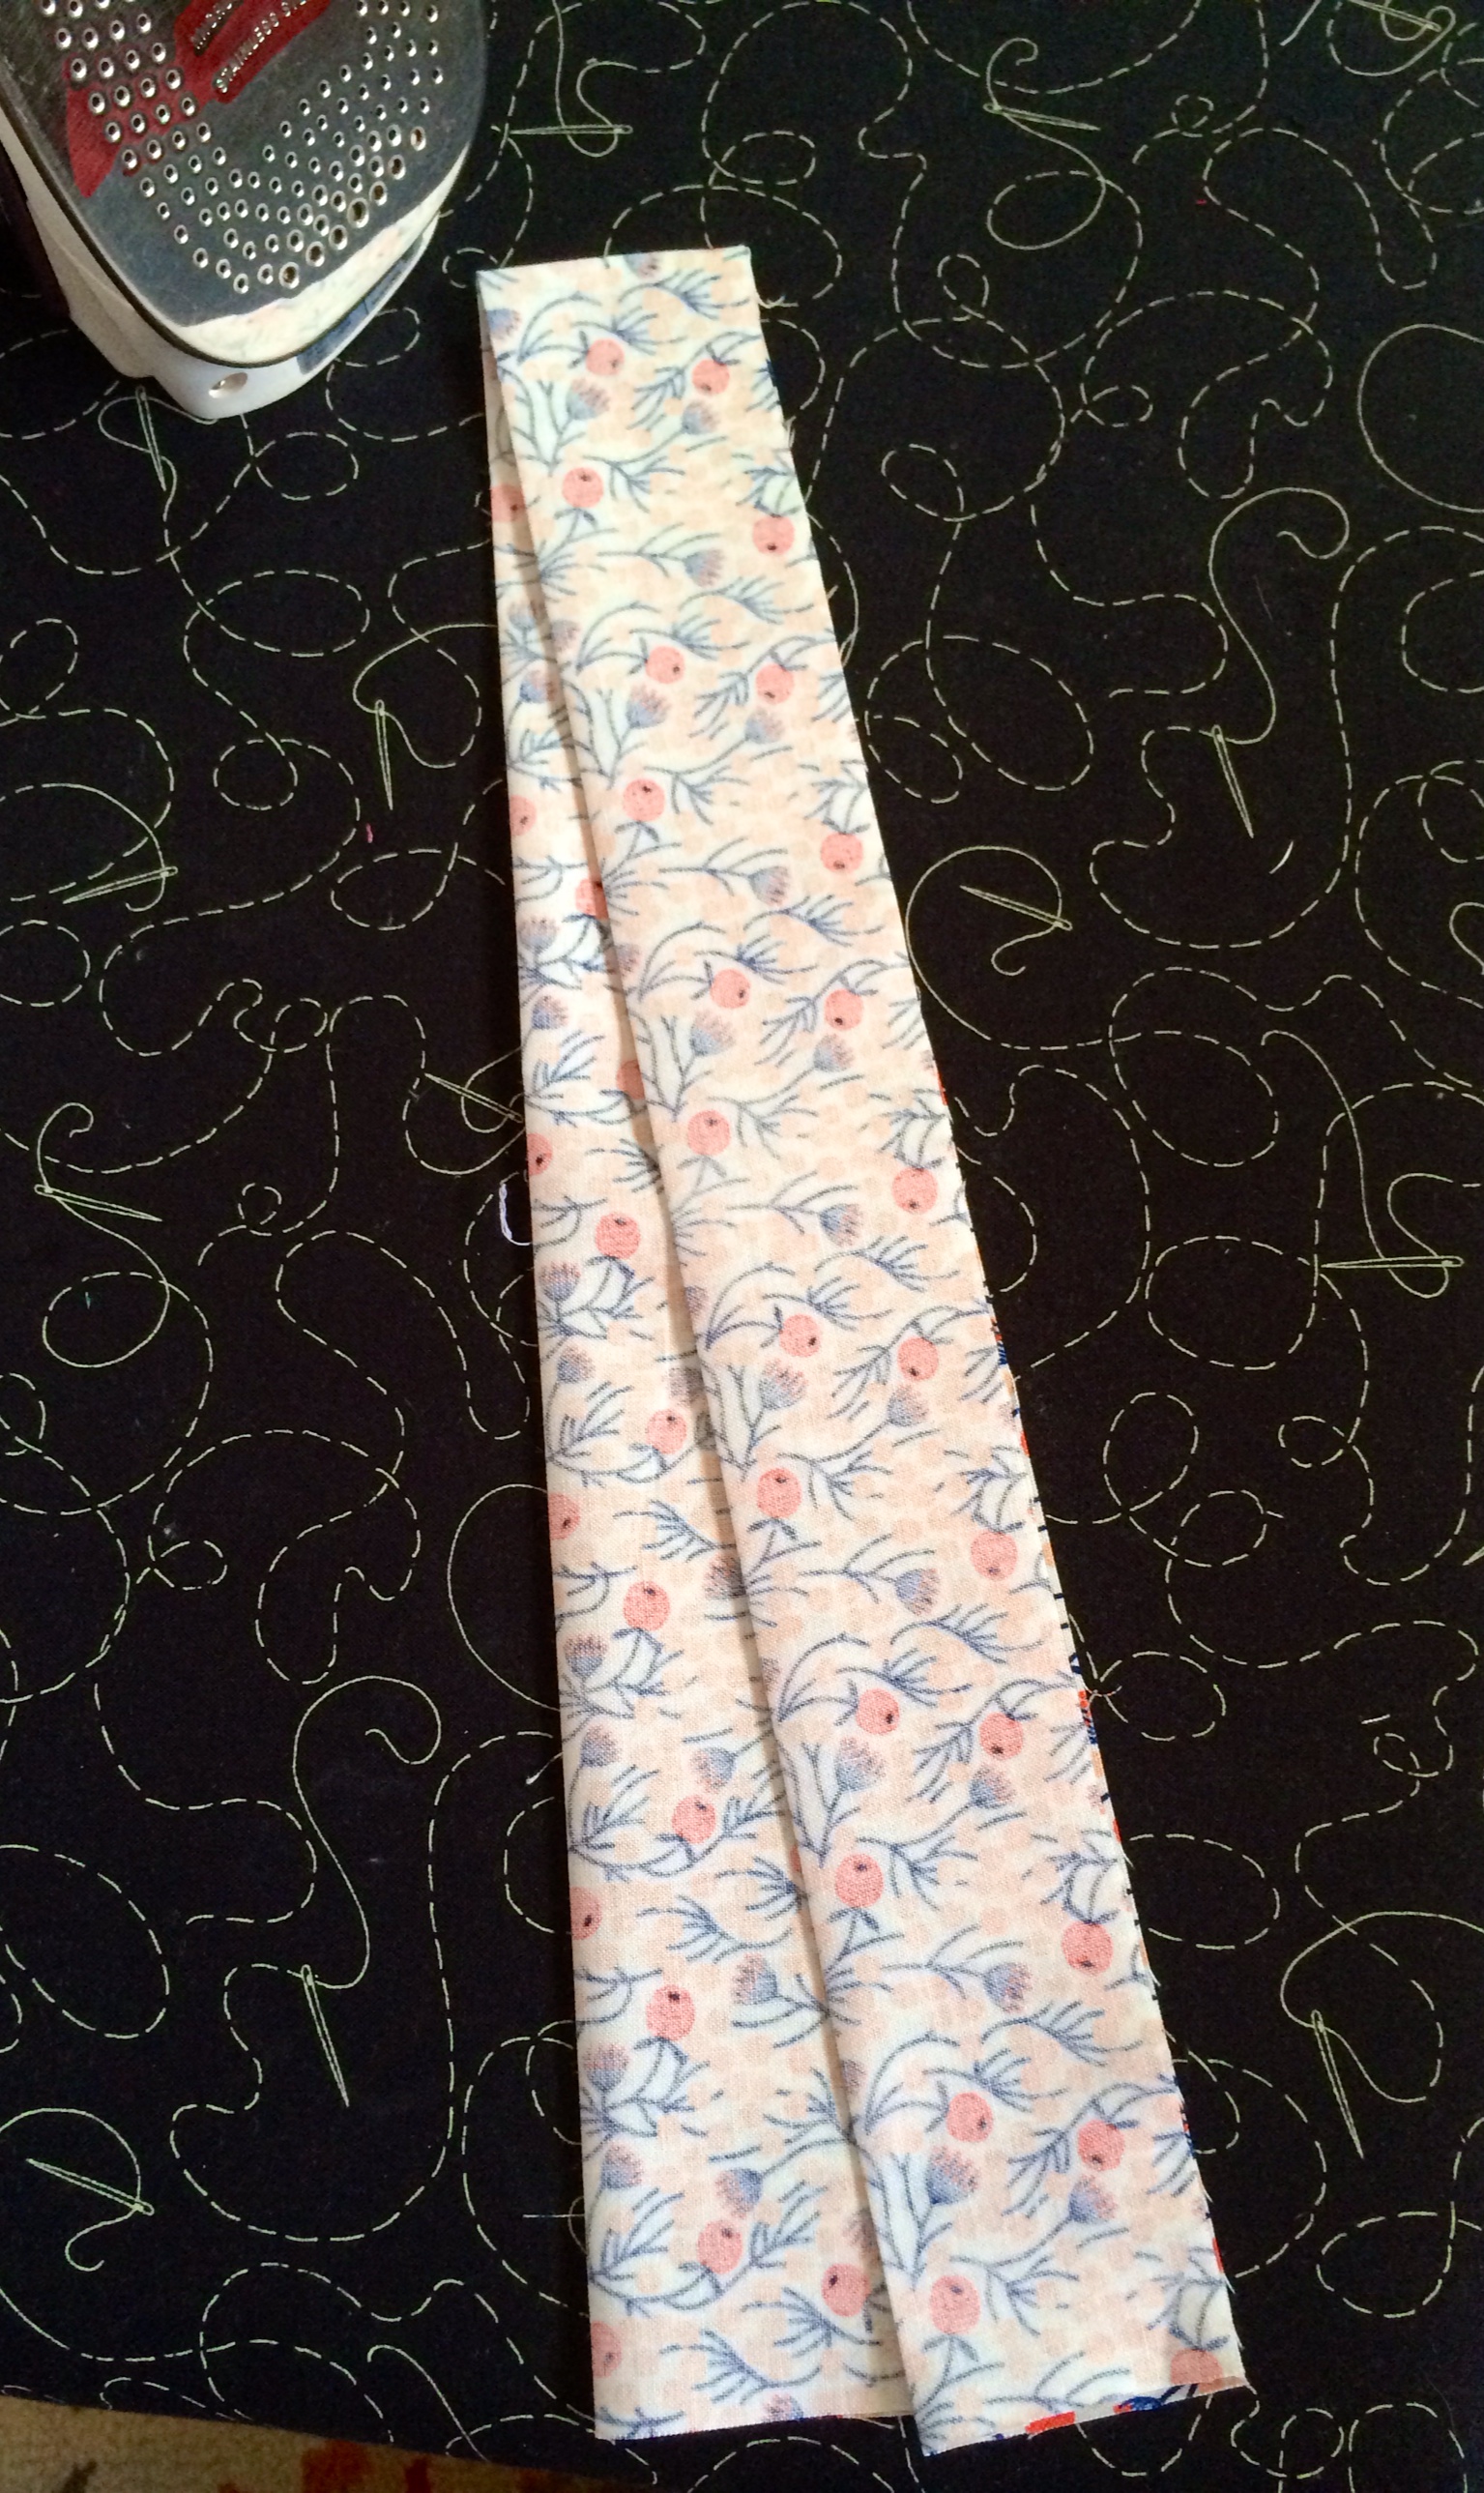
3. Fold your strip in half long ways now, and iron again.
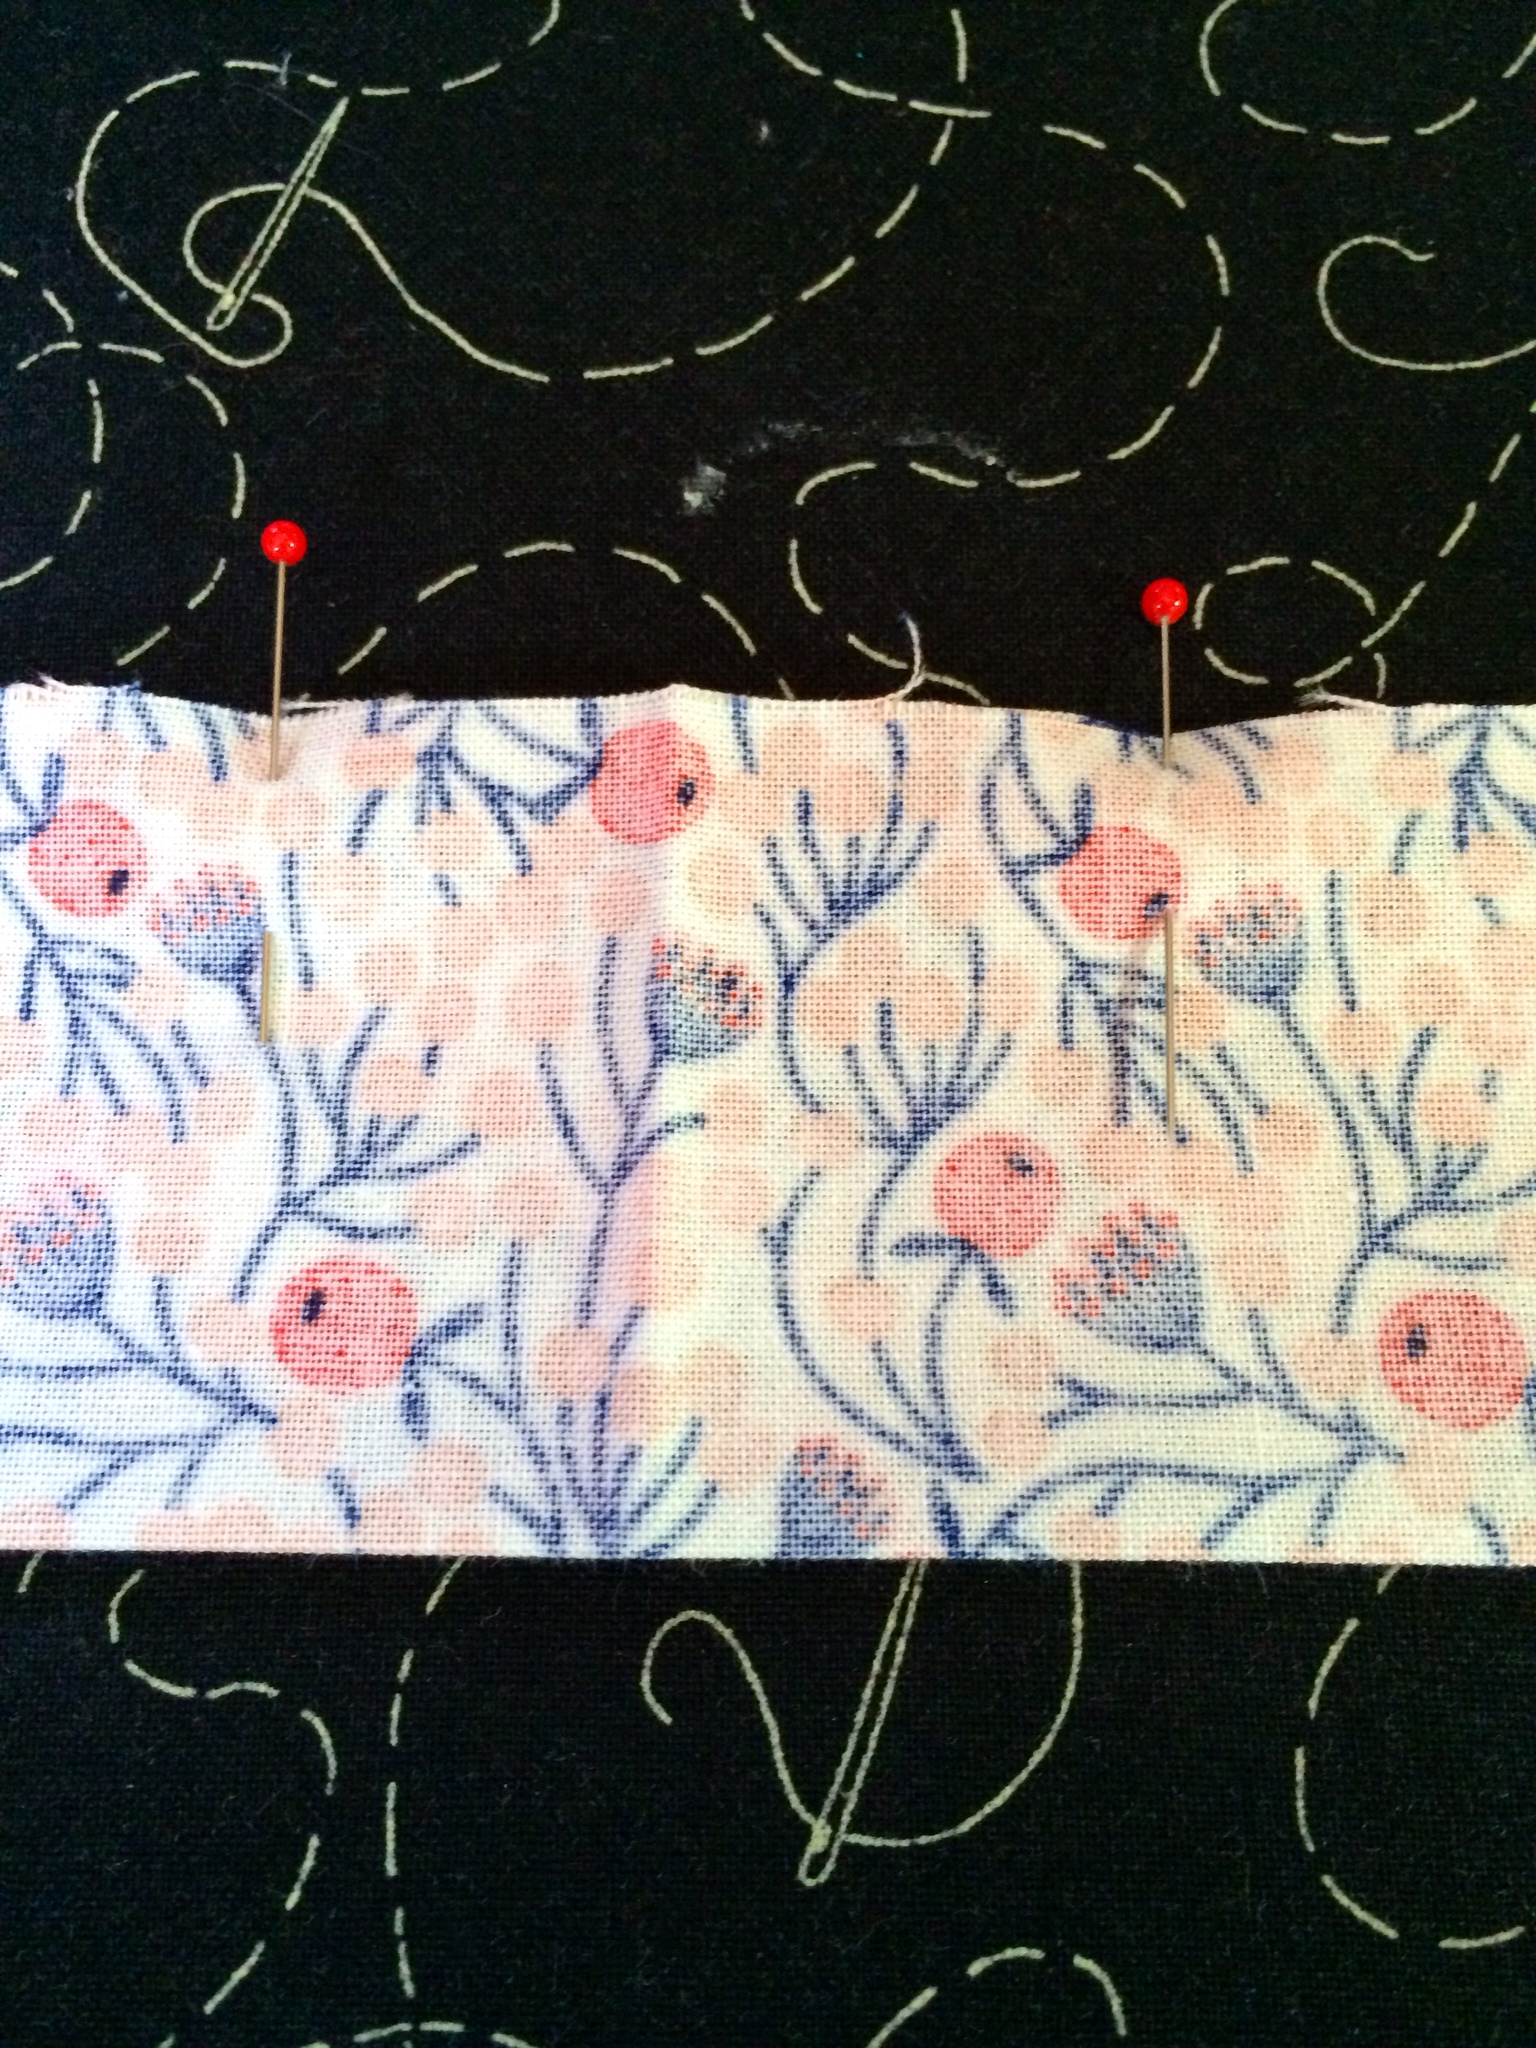
4. Open up your strip after you iron, and mark 1″ away on each side of the center crease you just made using two pins. You will stop at each pin and leave the center open when sewing.
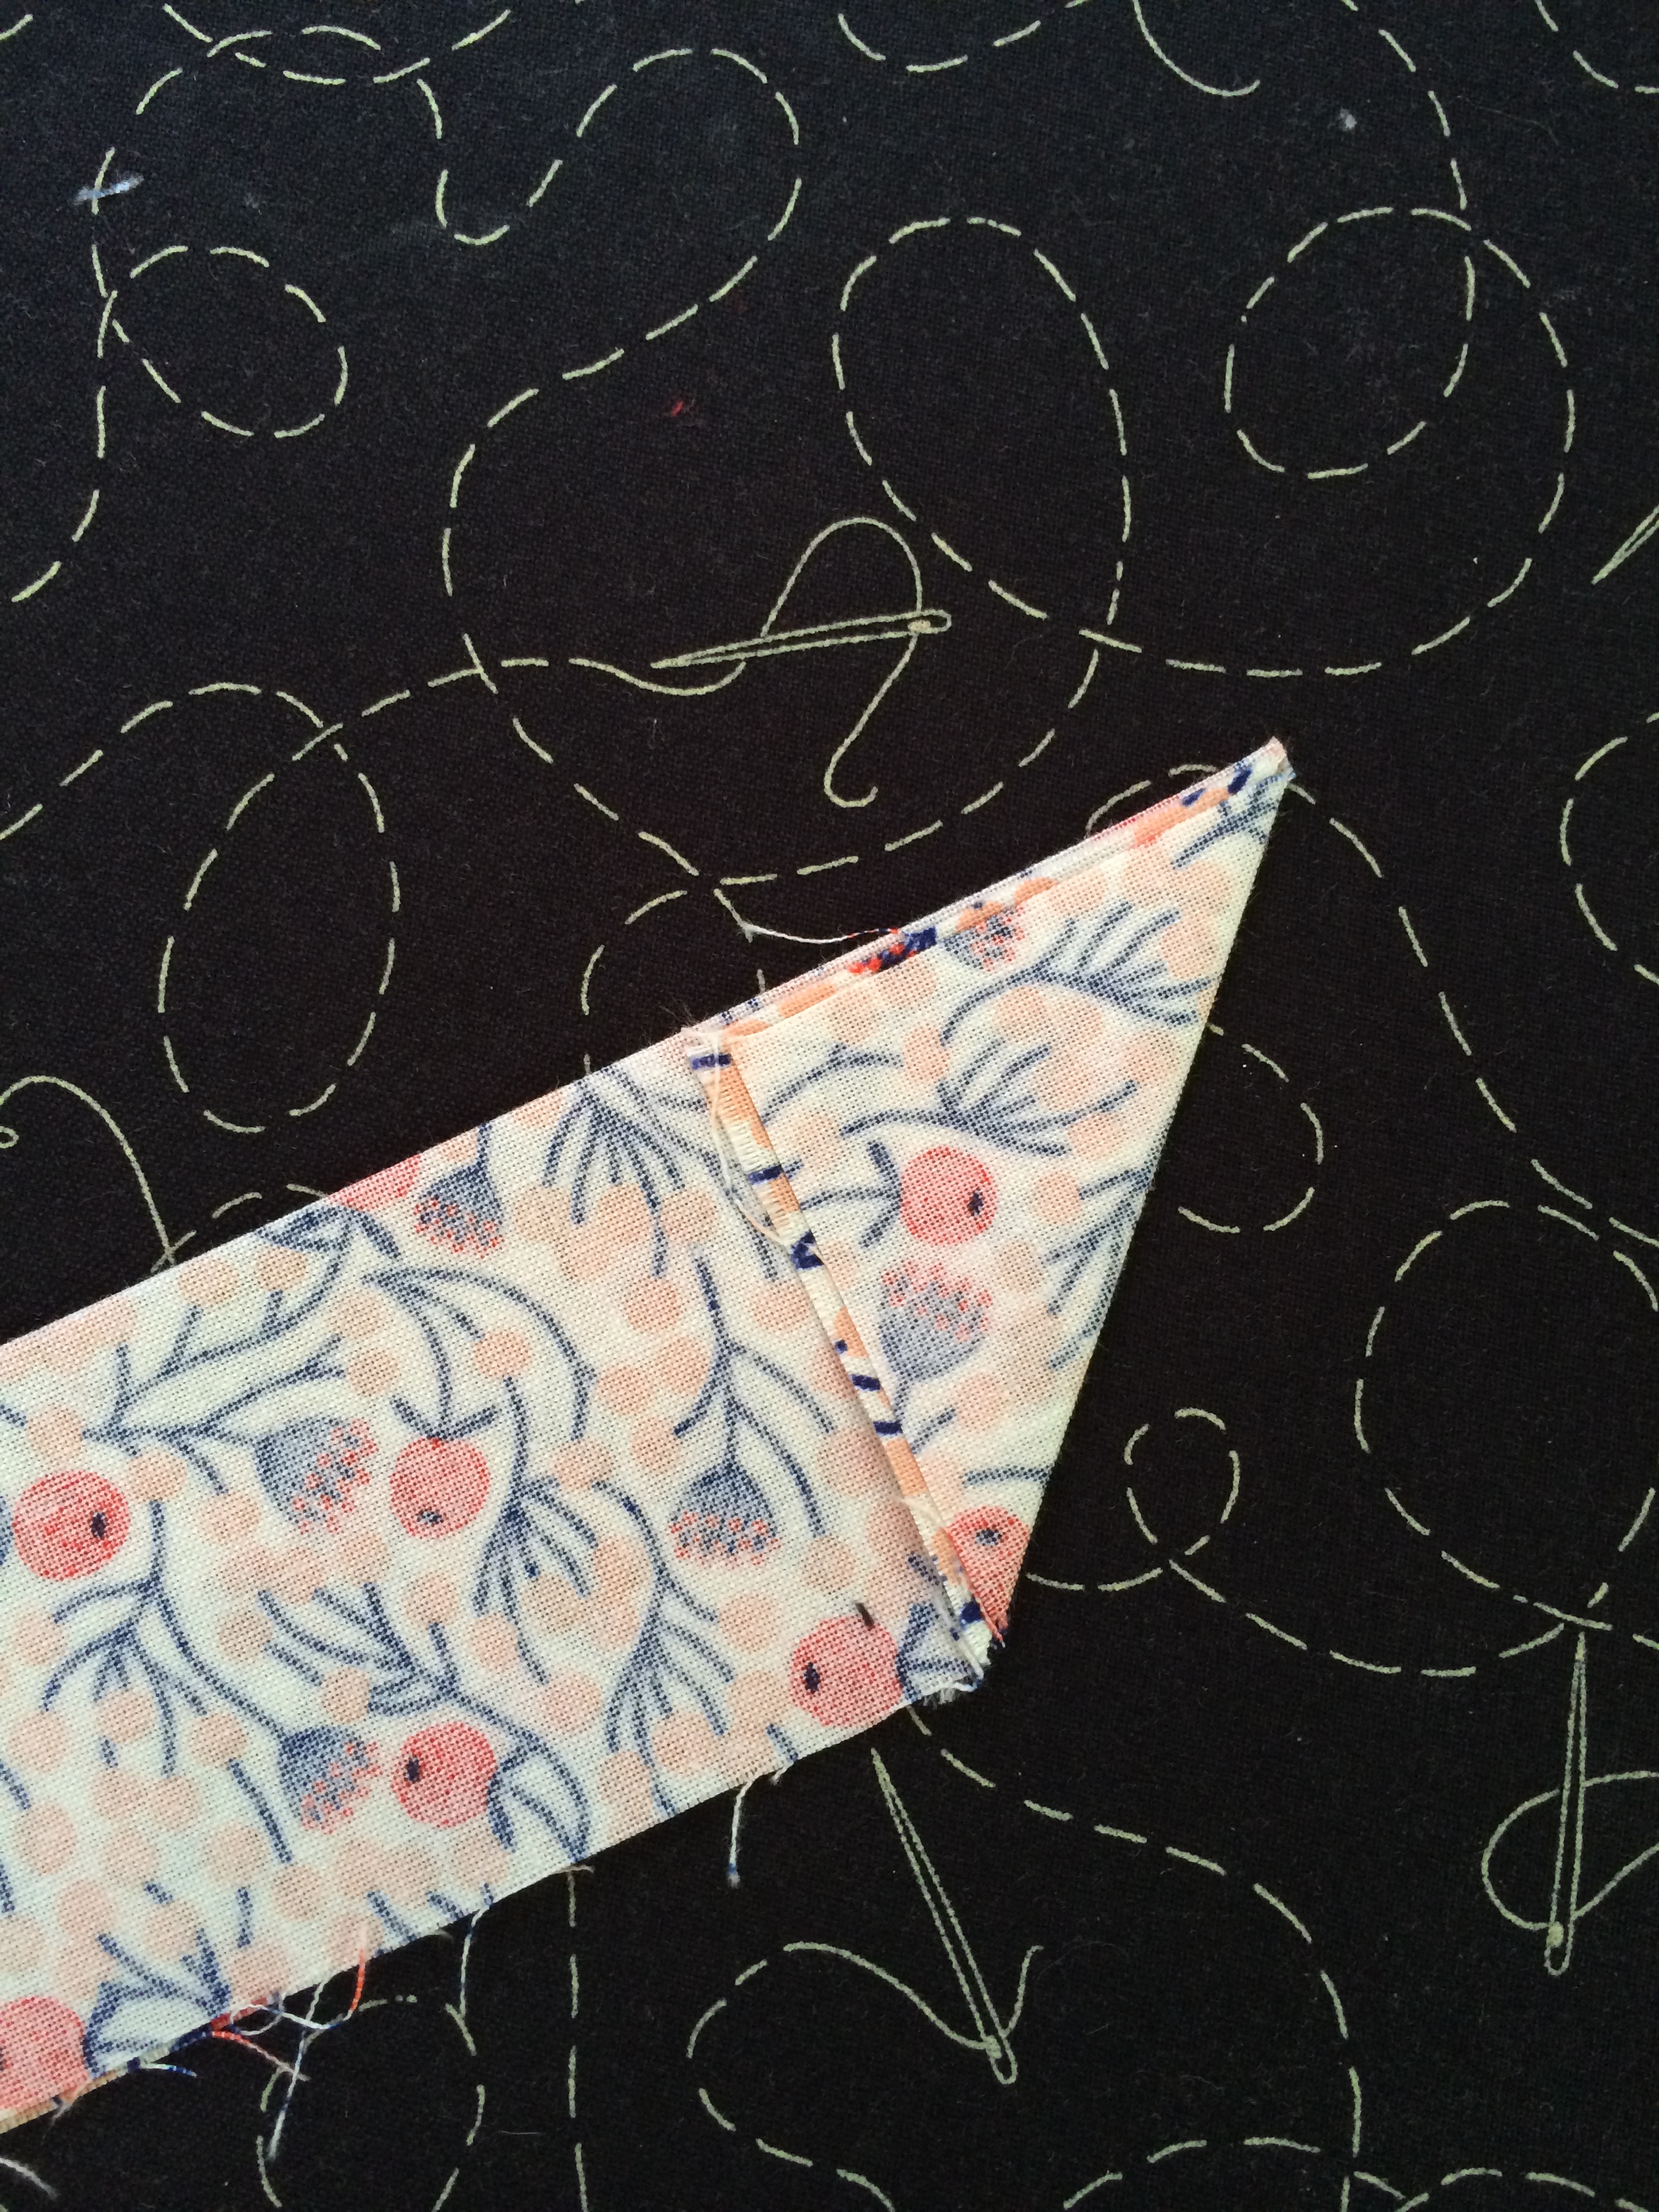
5. Now we need to prep the ends of the head wrap. Fold each end up to the folded edge making a triangle. Iron to make a crease.
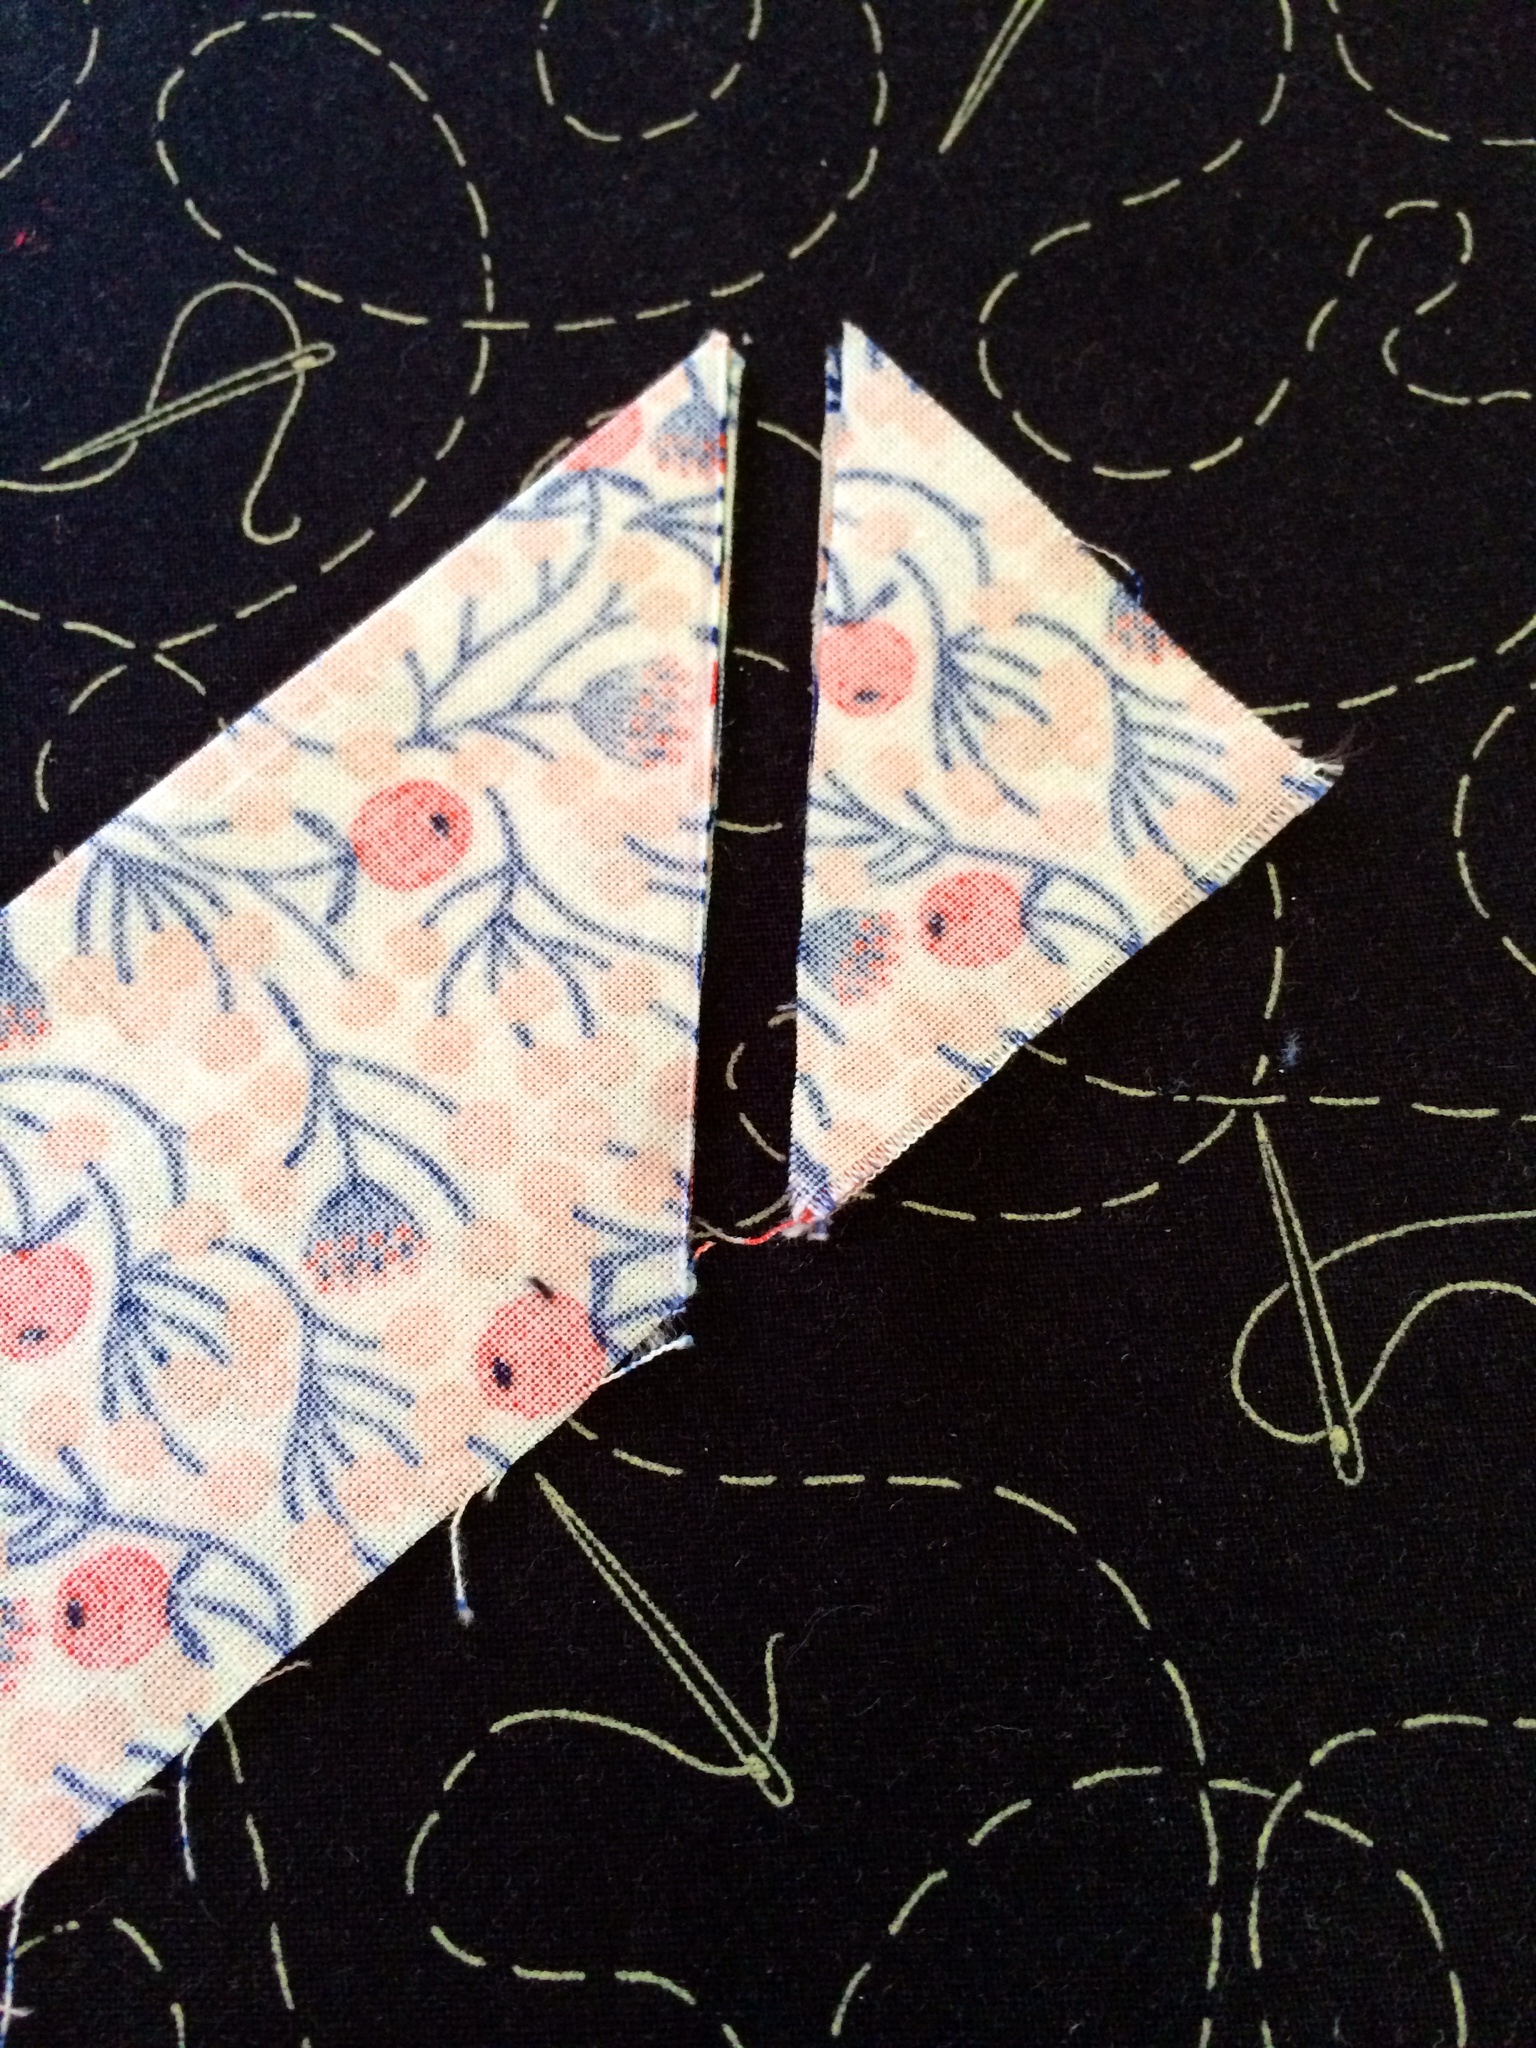
6. Cut down the creased edge we just created. It should look like this:

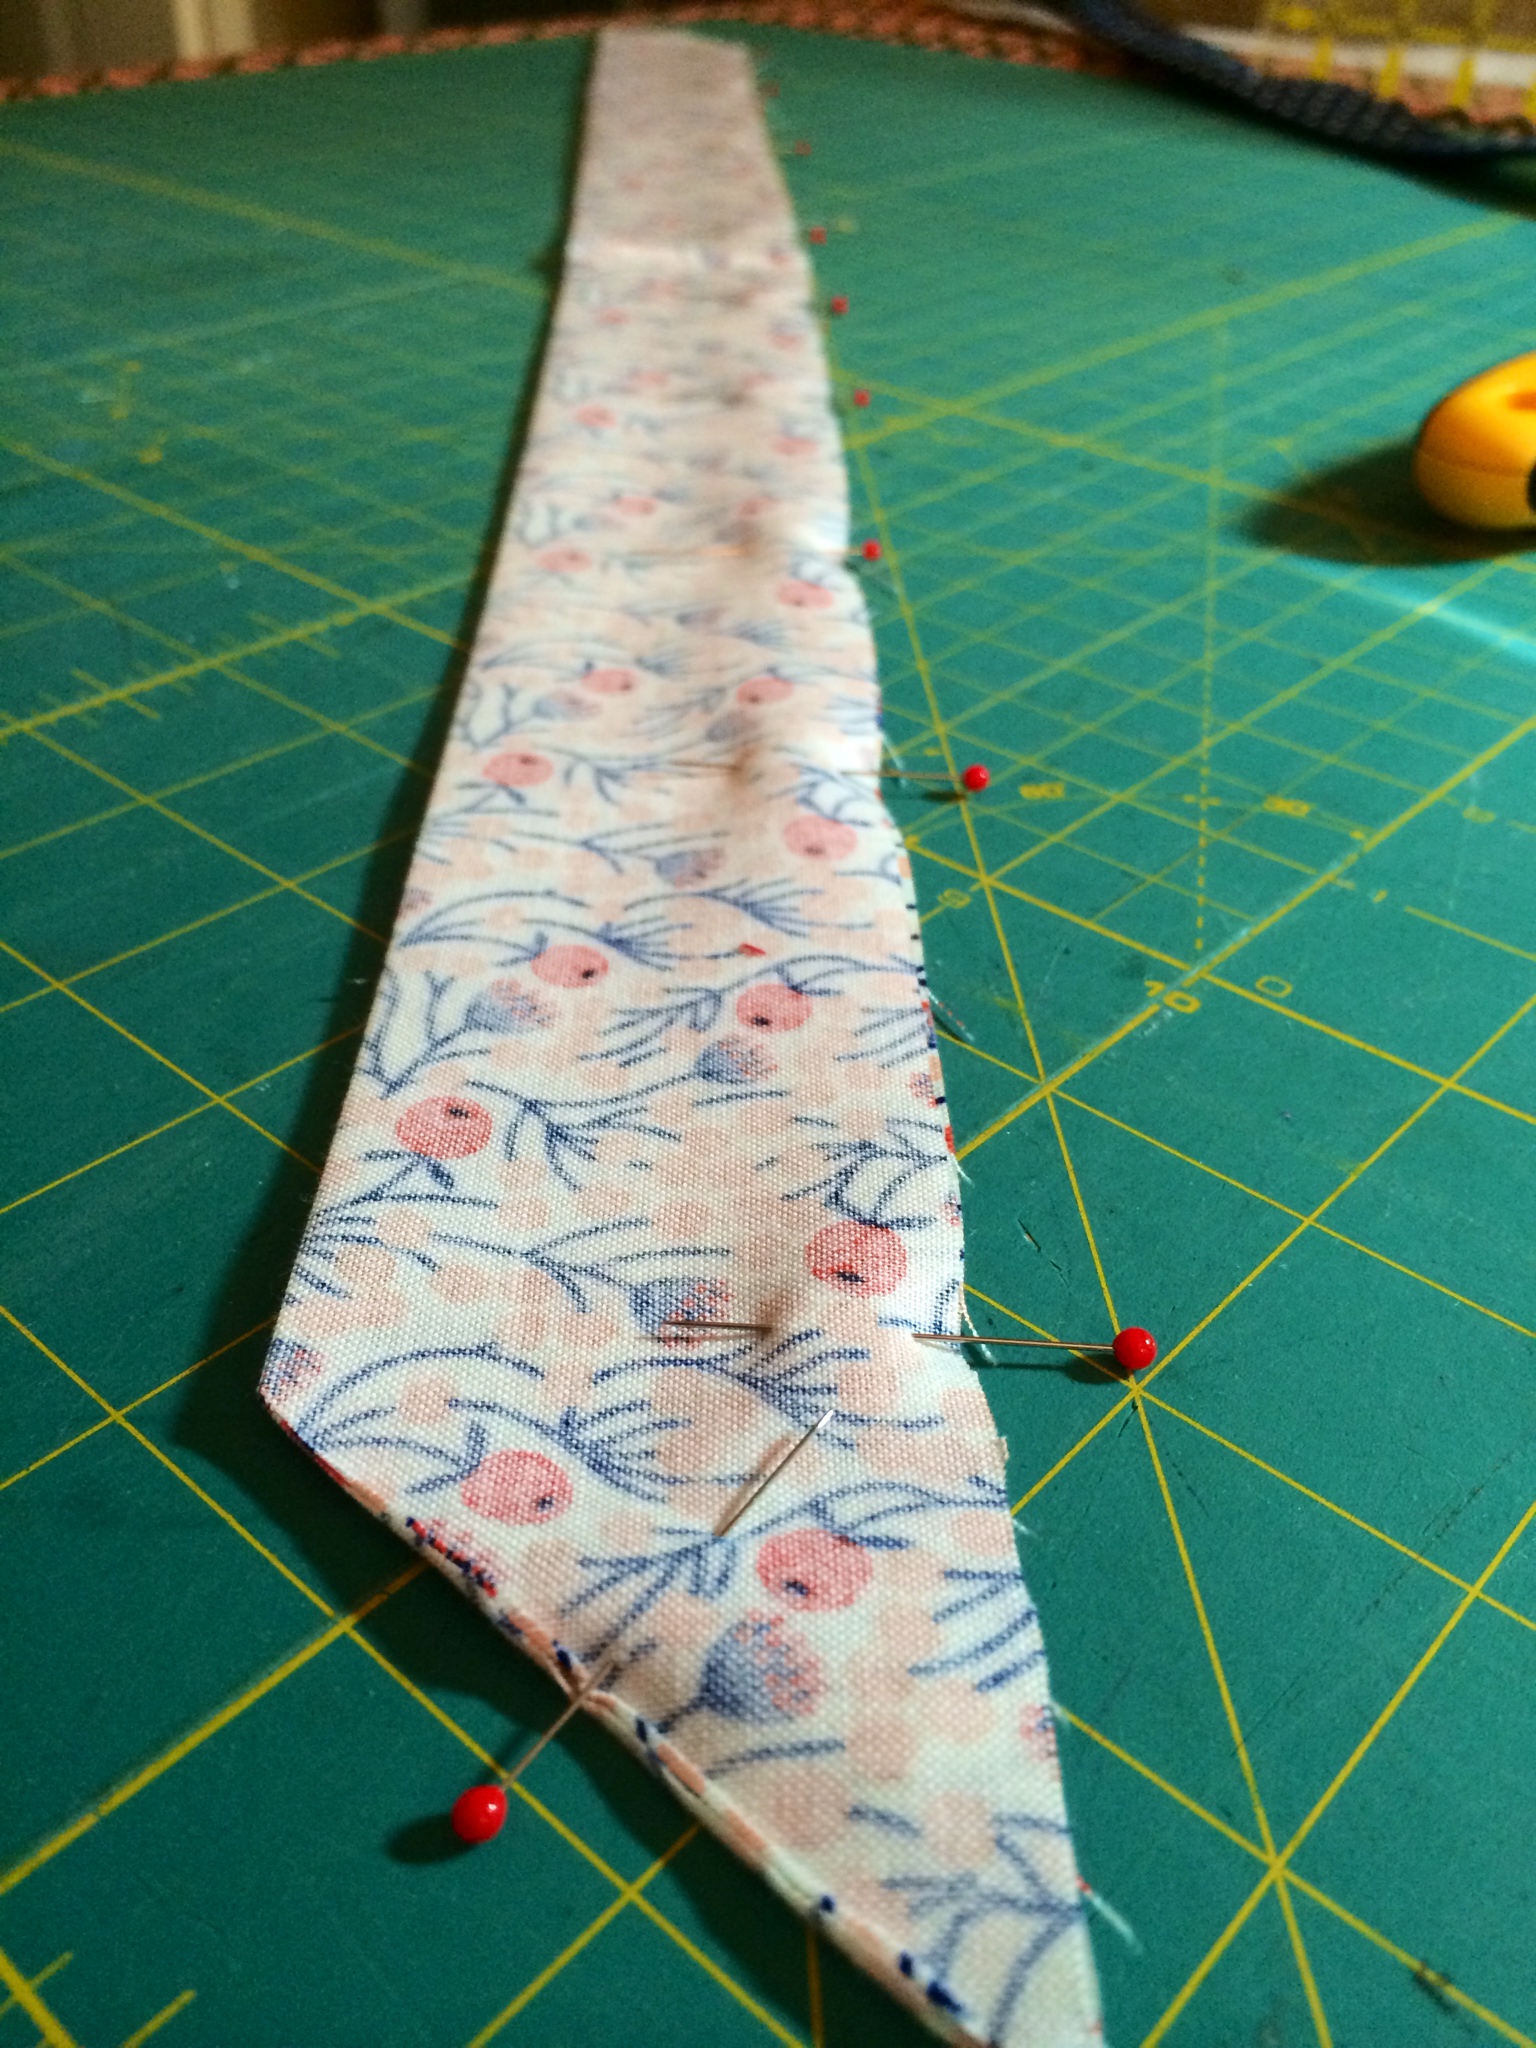
7. Pin all your edges together, RST. Sew at 1/4″ from corner to corner on the open edges. (Make sure to skip over the 2″ marked edge in the middle in order to leave an opening for the wire).
8. Once you are done, make sure to trim the corner tips before turning it RSO.
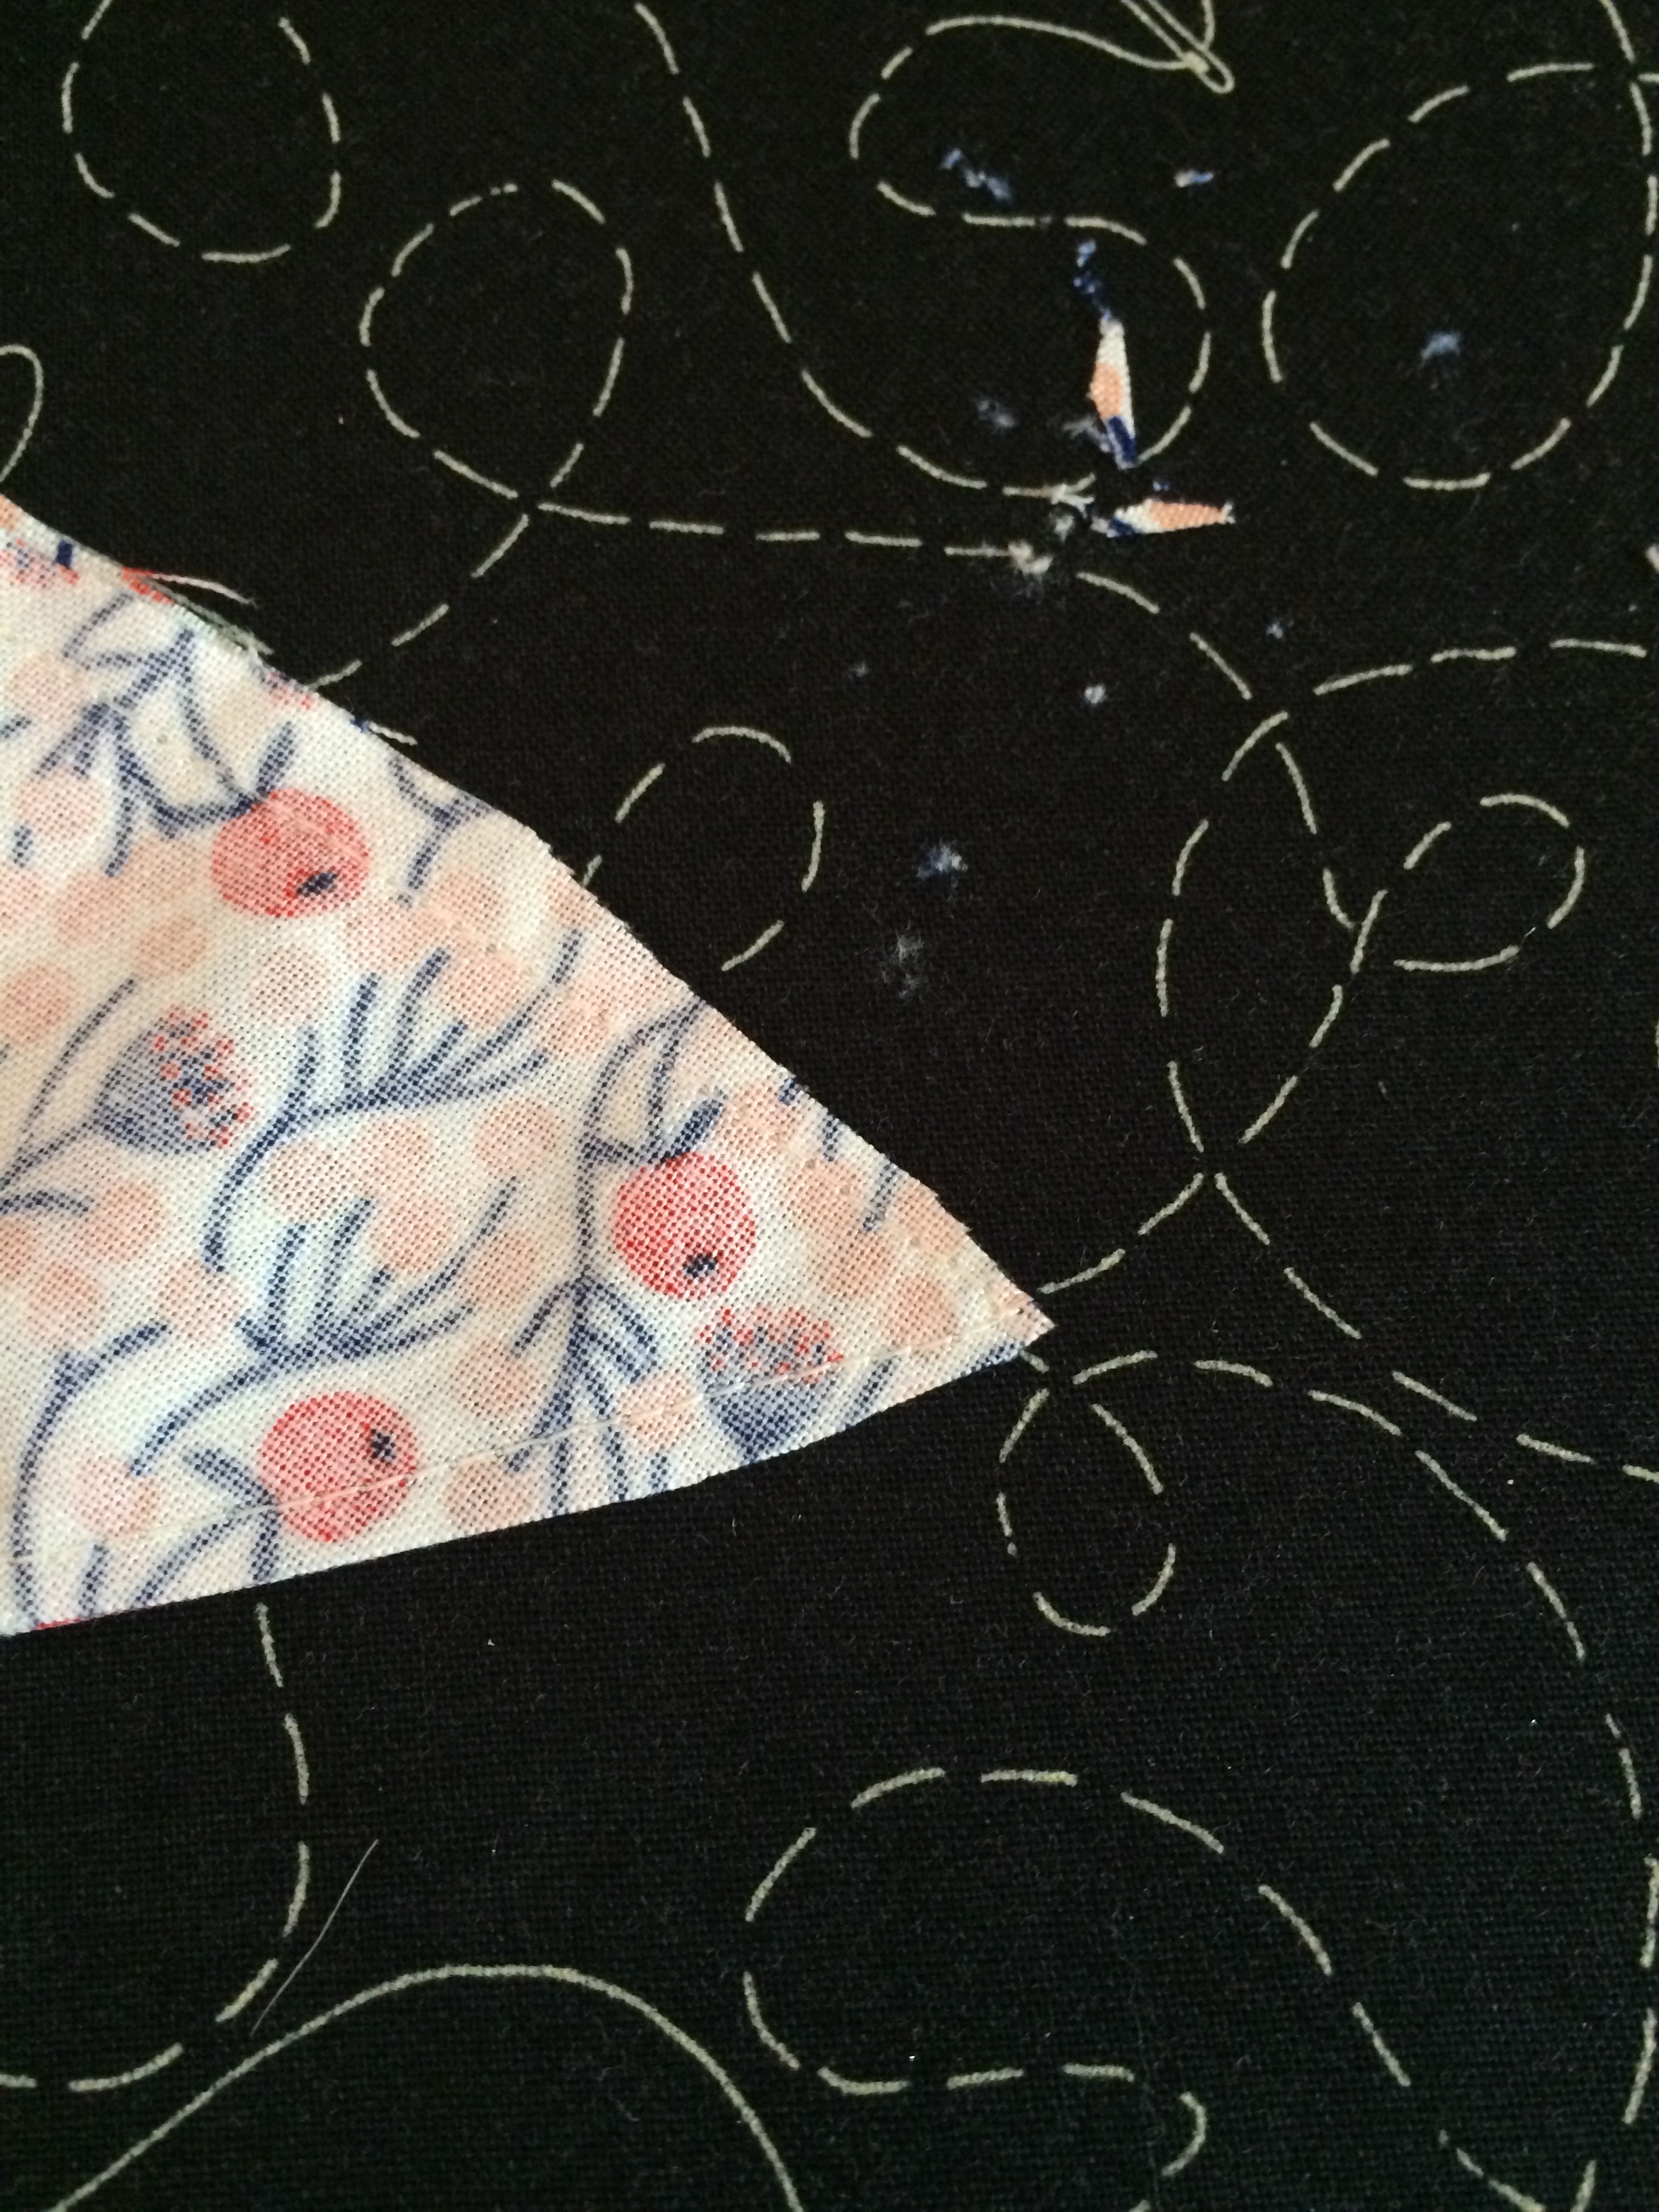
9. Flip your head band RSO. Make sure to push your corners out using a skewer, pencil, etc.
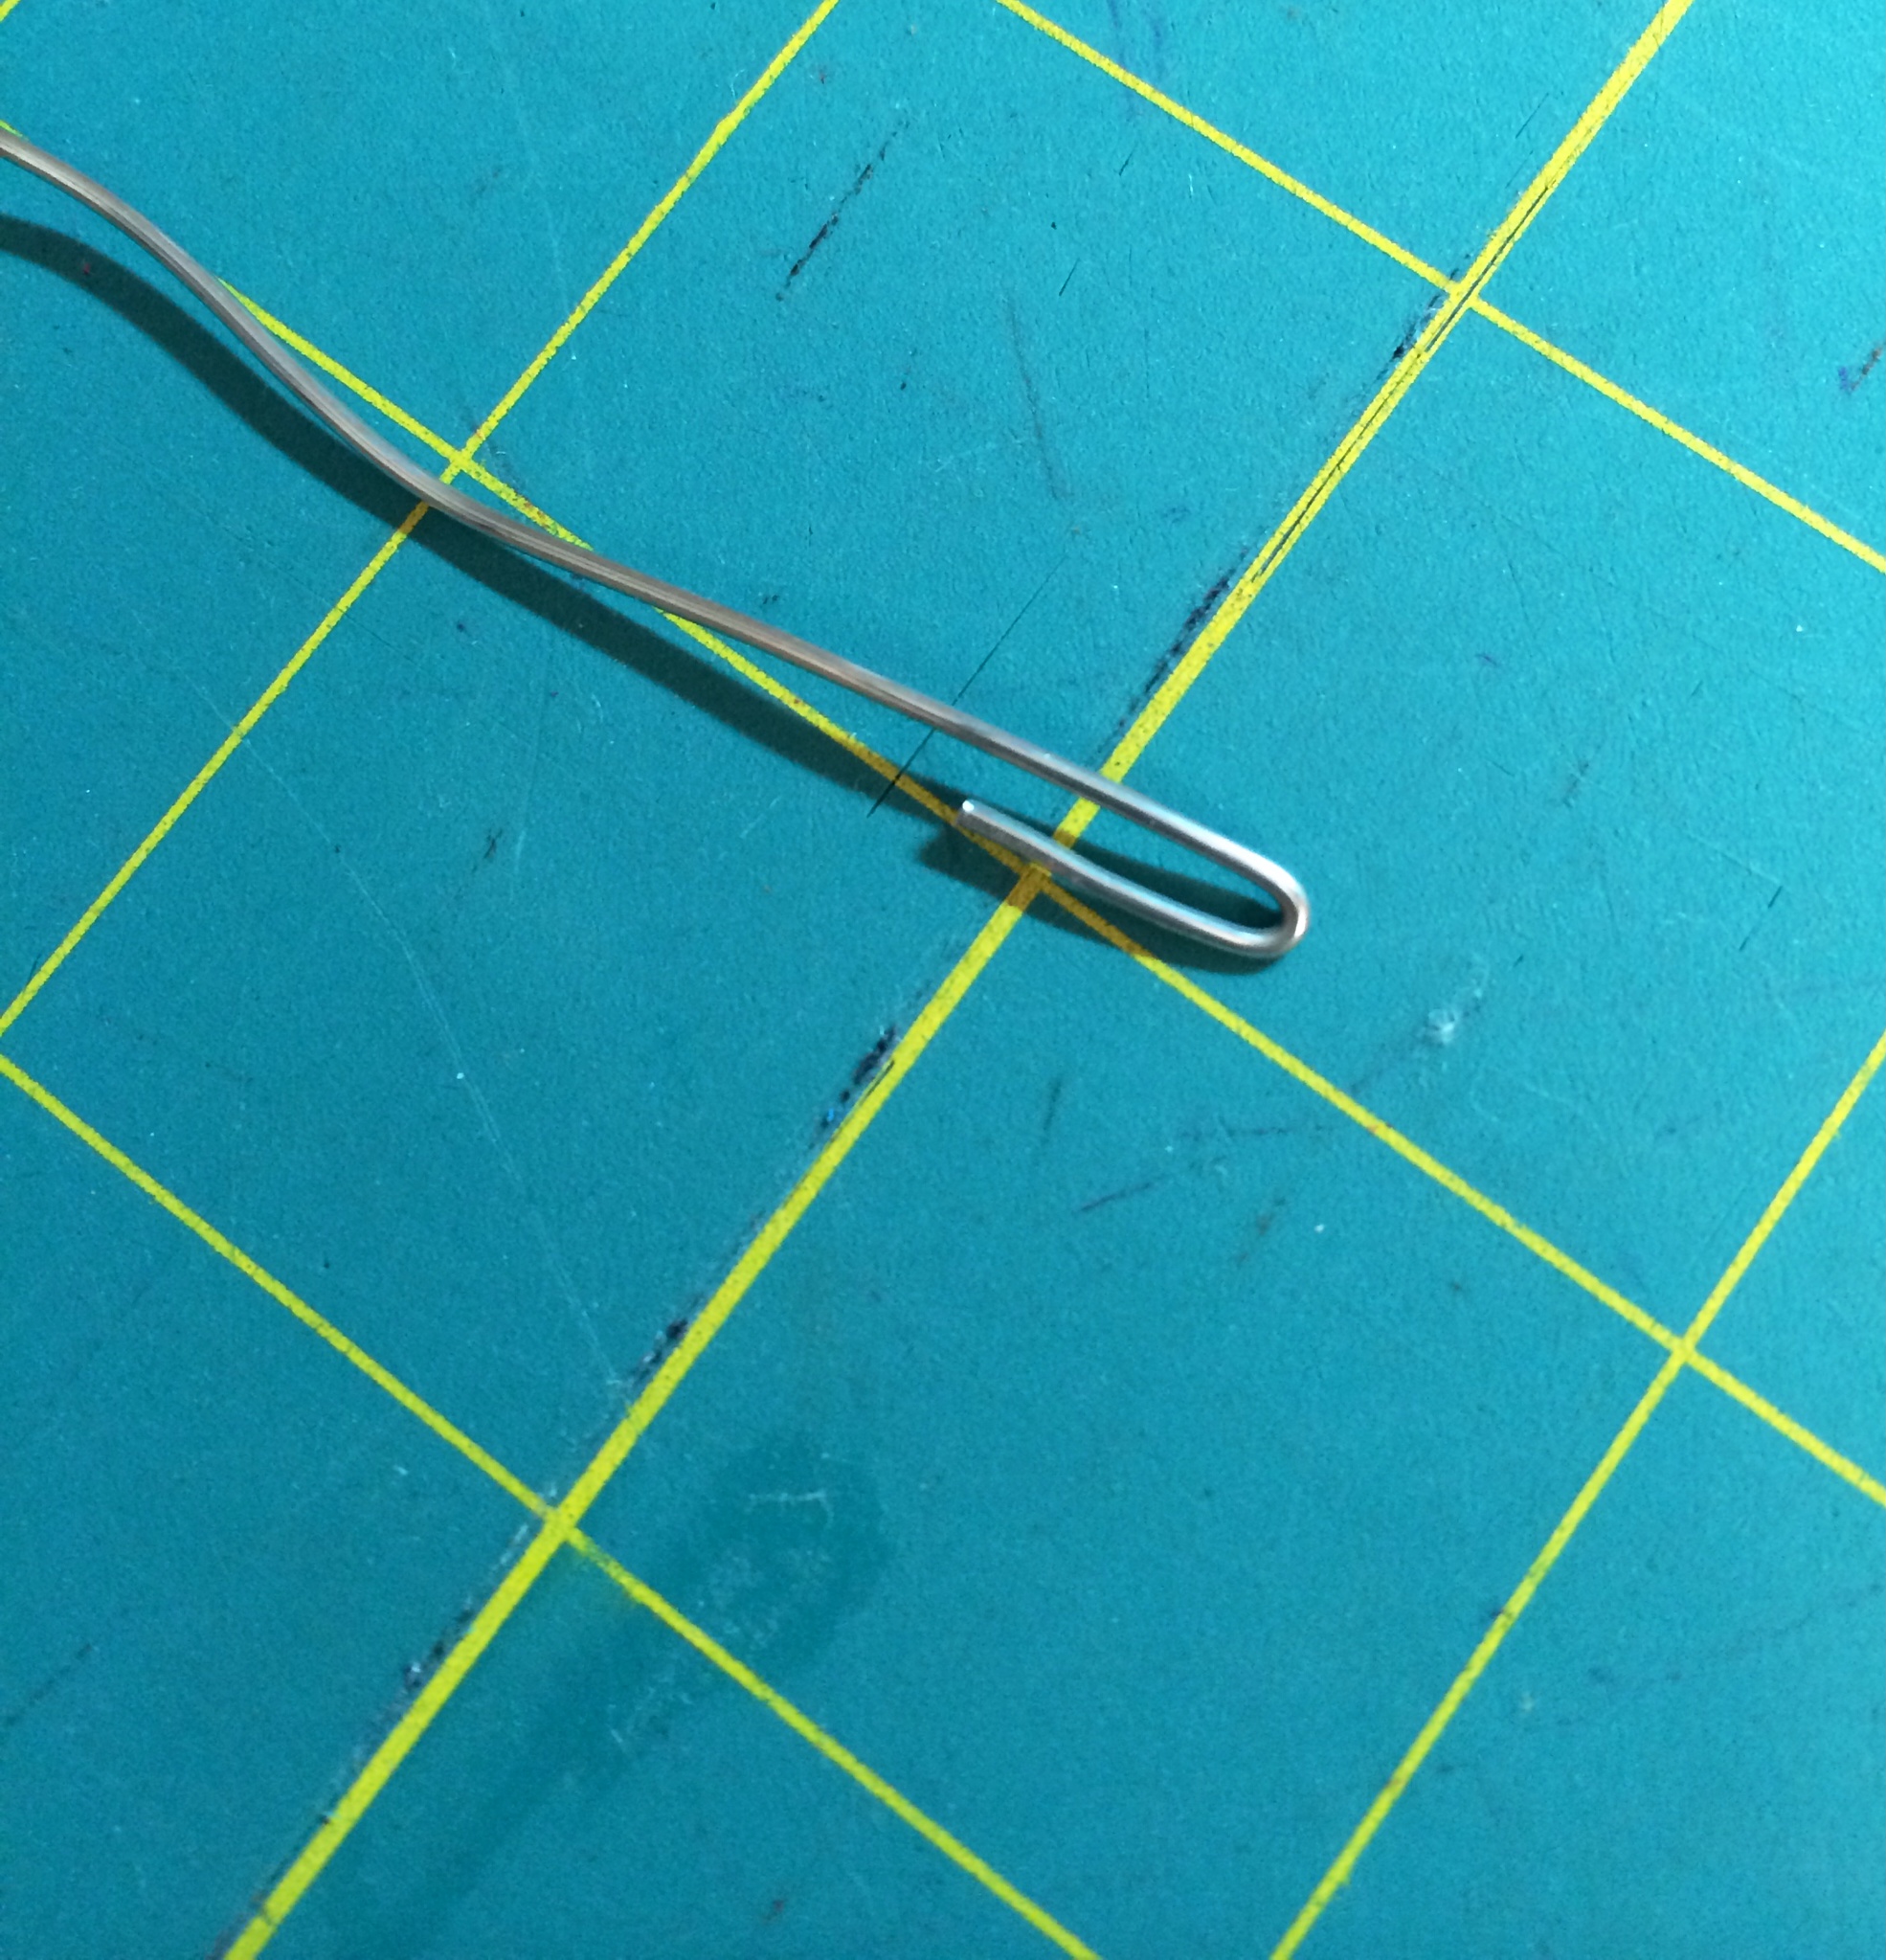
10. Cut your wire. I measured the wire by stretching it from end to end on the headband and then make sure to add an extra inch. Cut.

11. Fold each end of your wire into a loop.
12. Slip your wire into your headband through the 2″ middle opening.
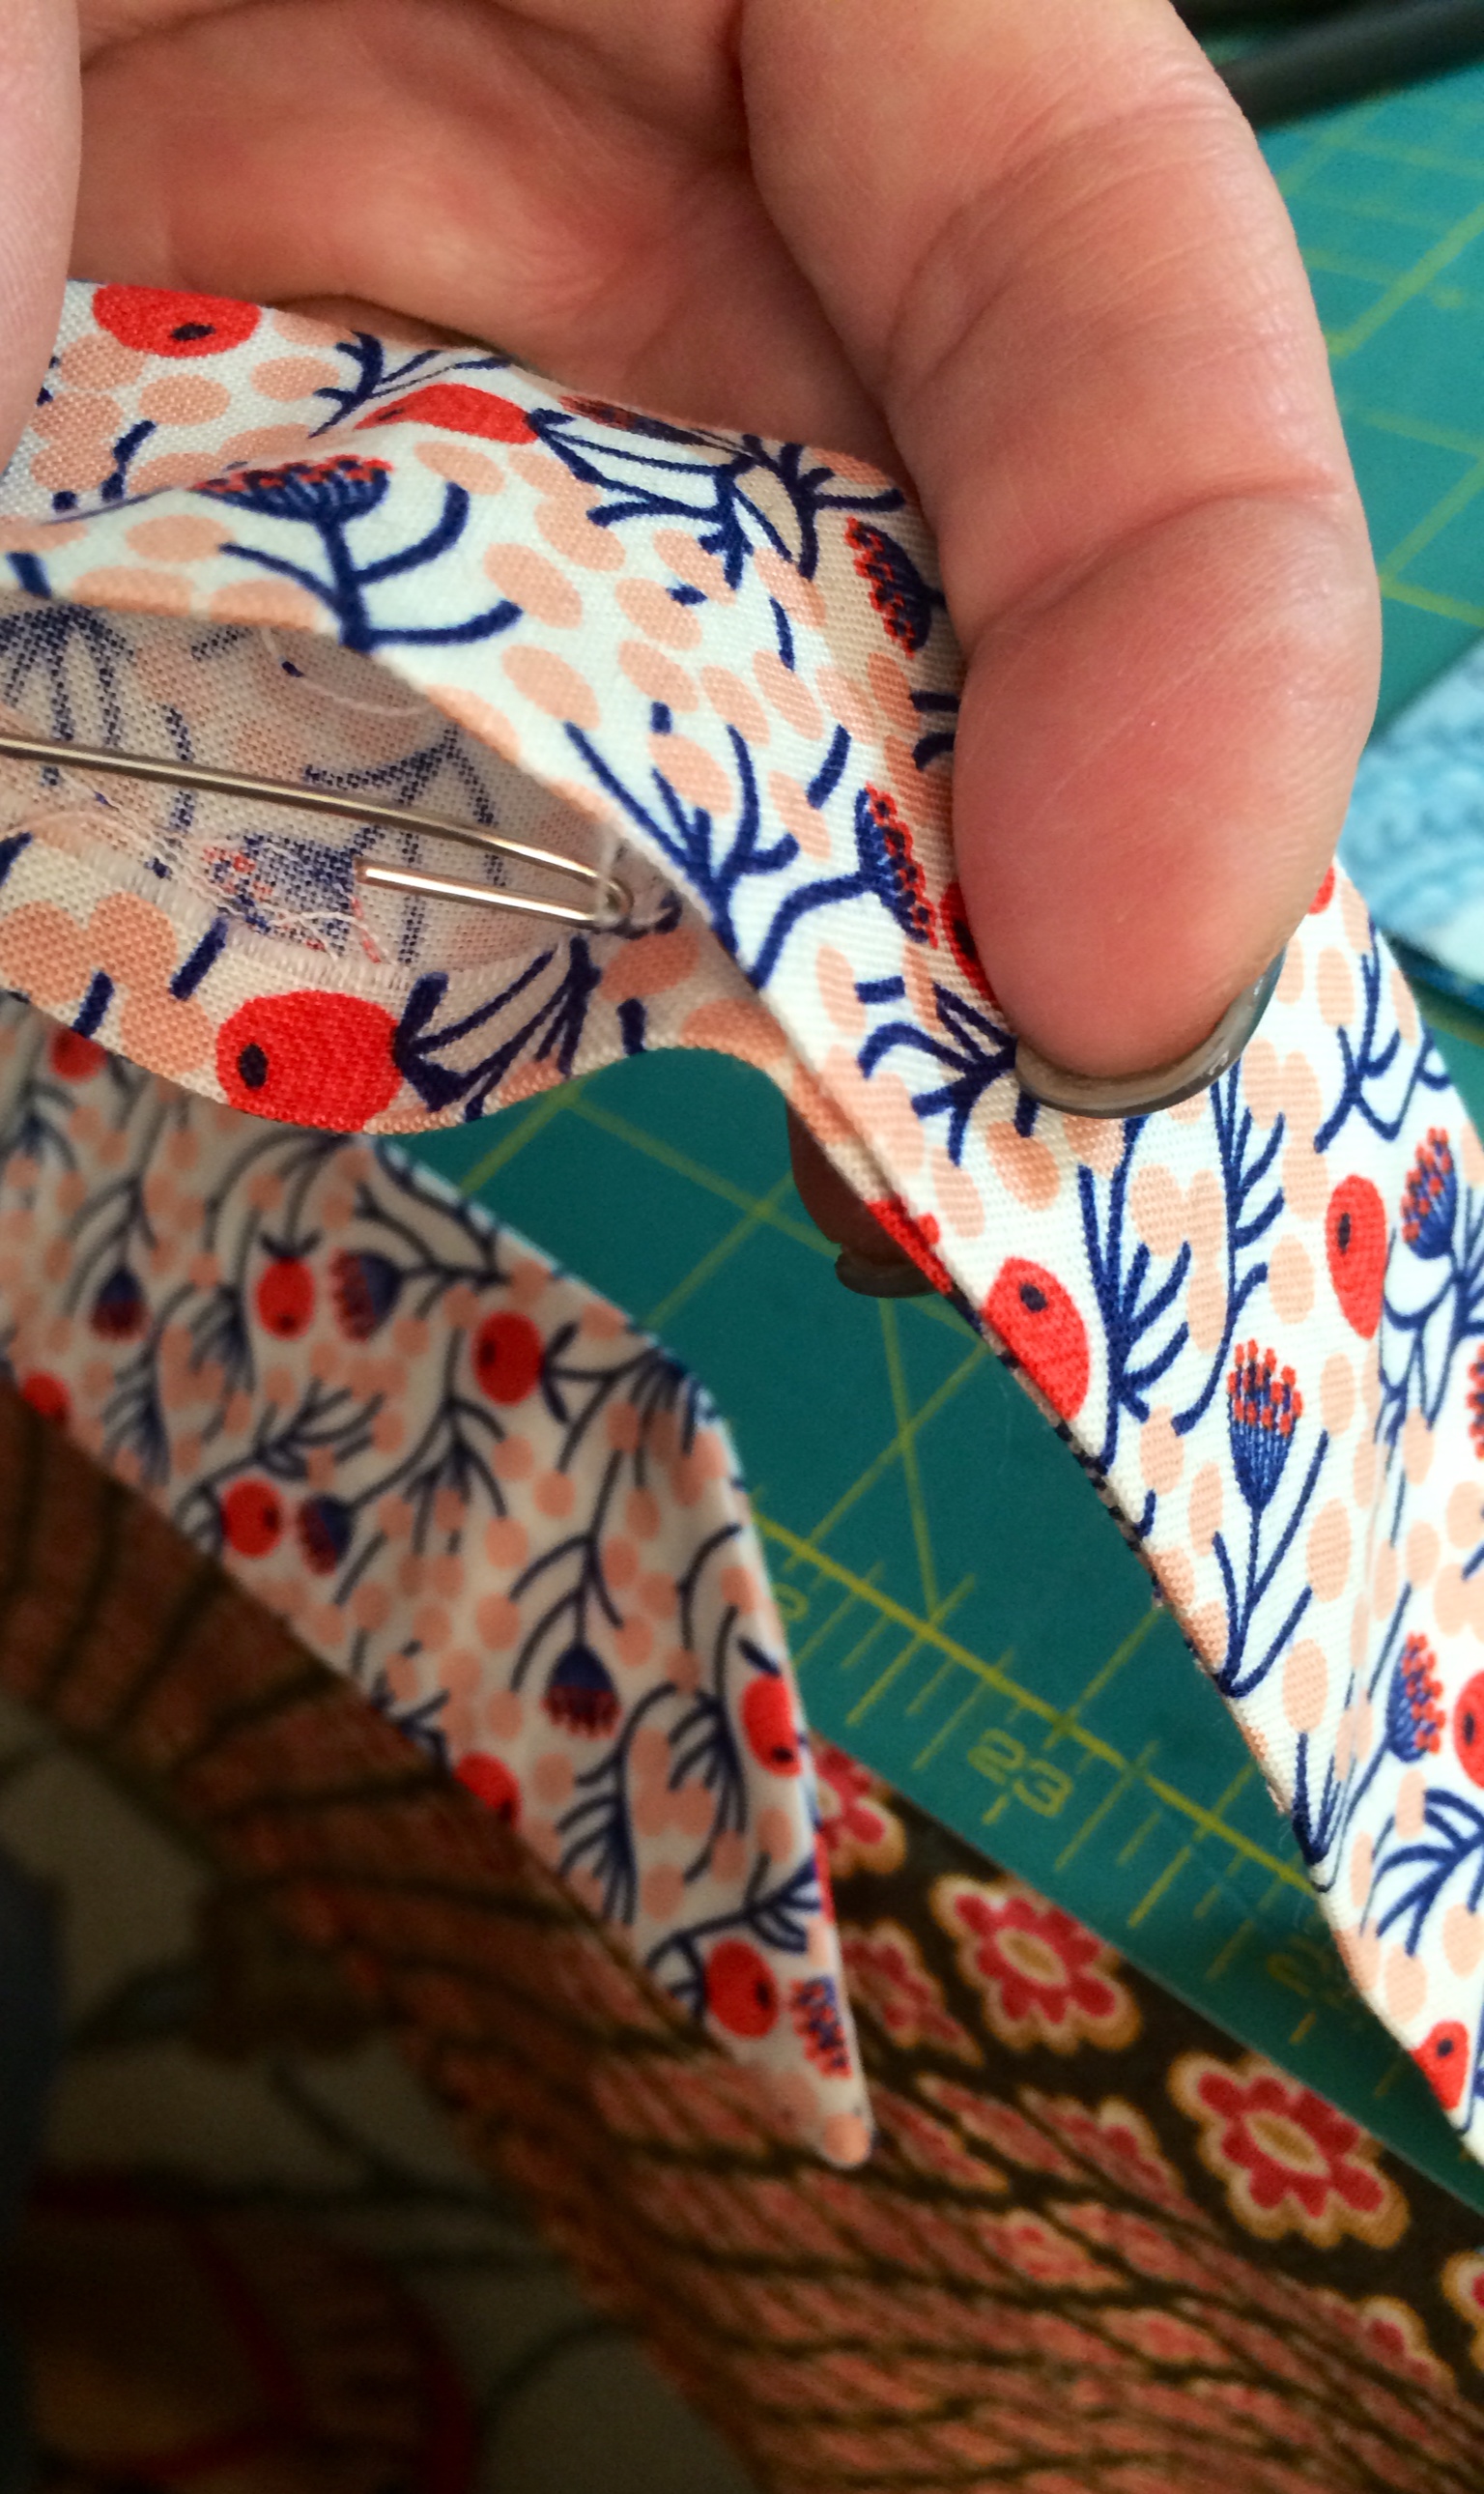

13. Pull your wire to each corner, and sew the opening closed. I used my sewing machine and made a small seam. You could also slip stitch the opening closed to hide stitches if you prefer.
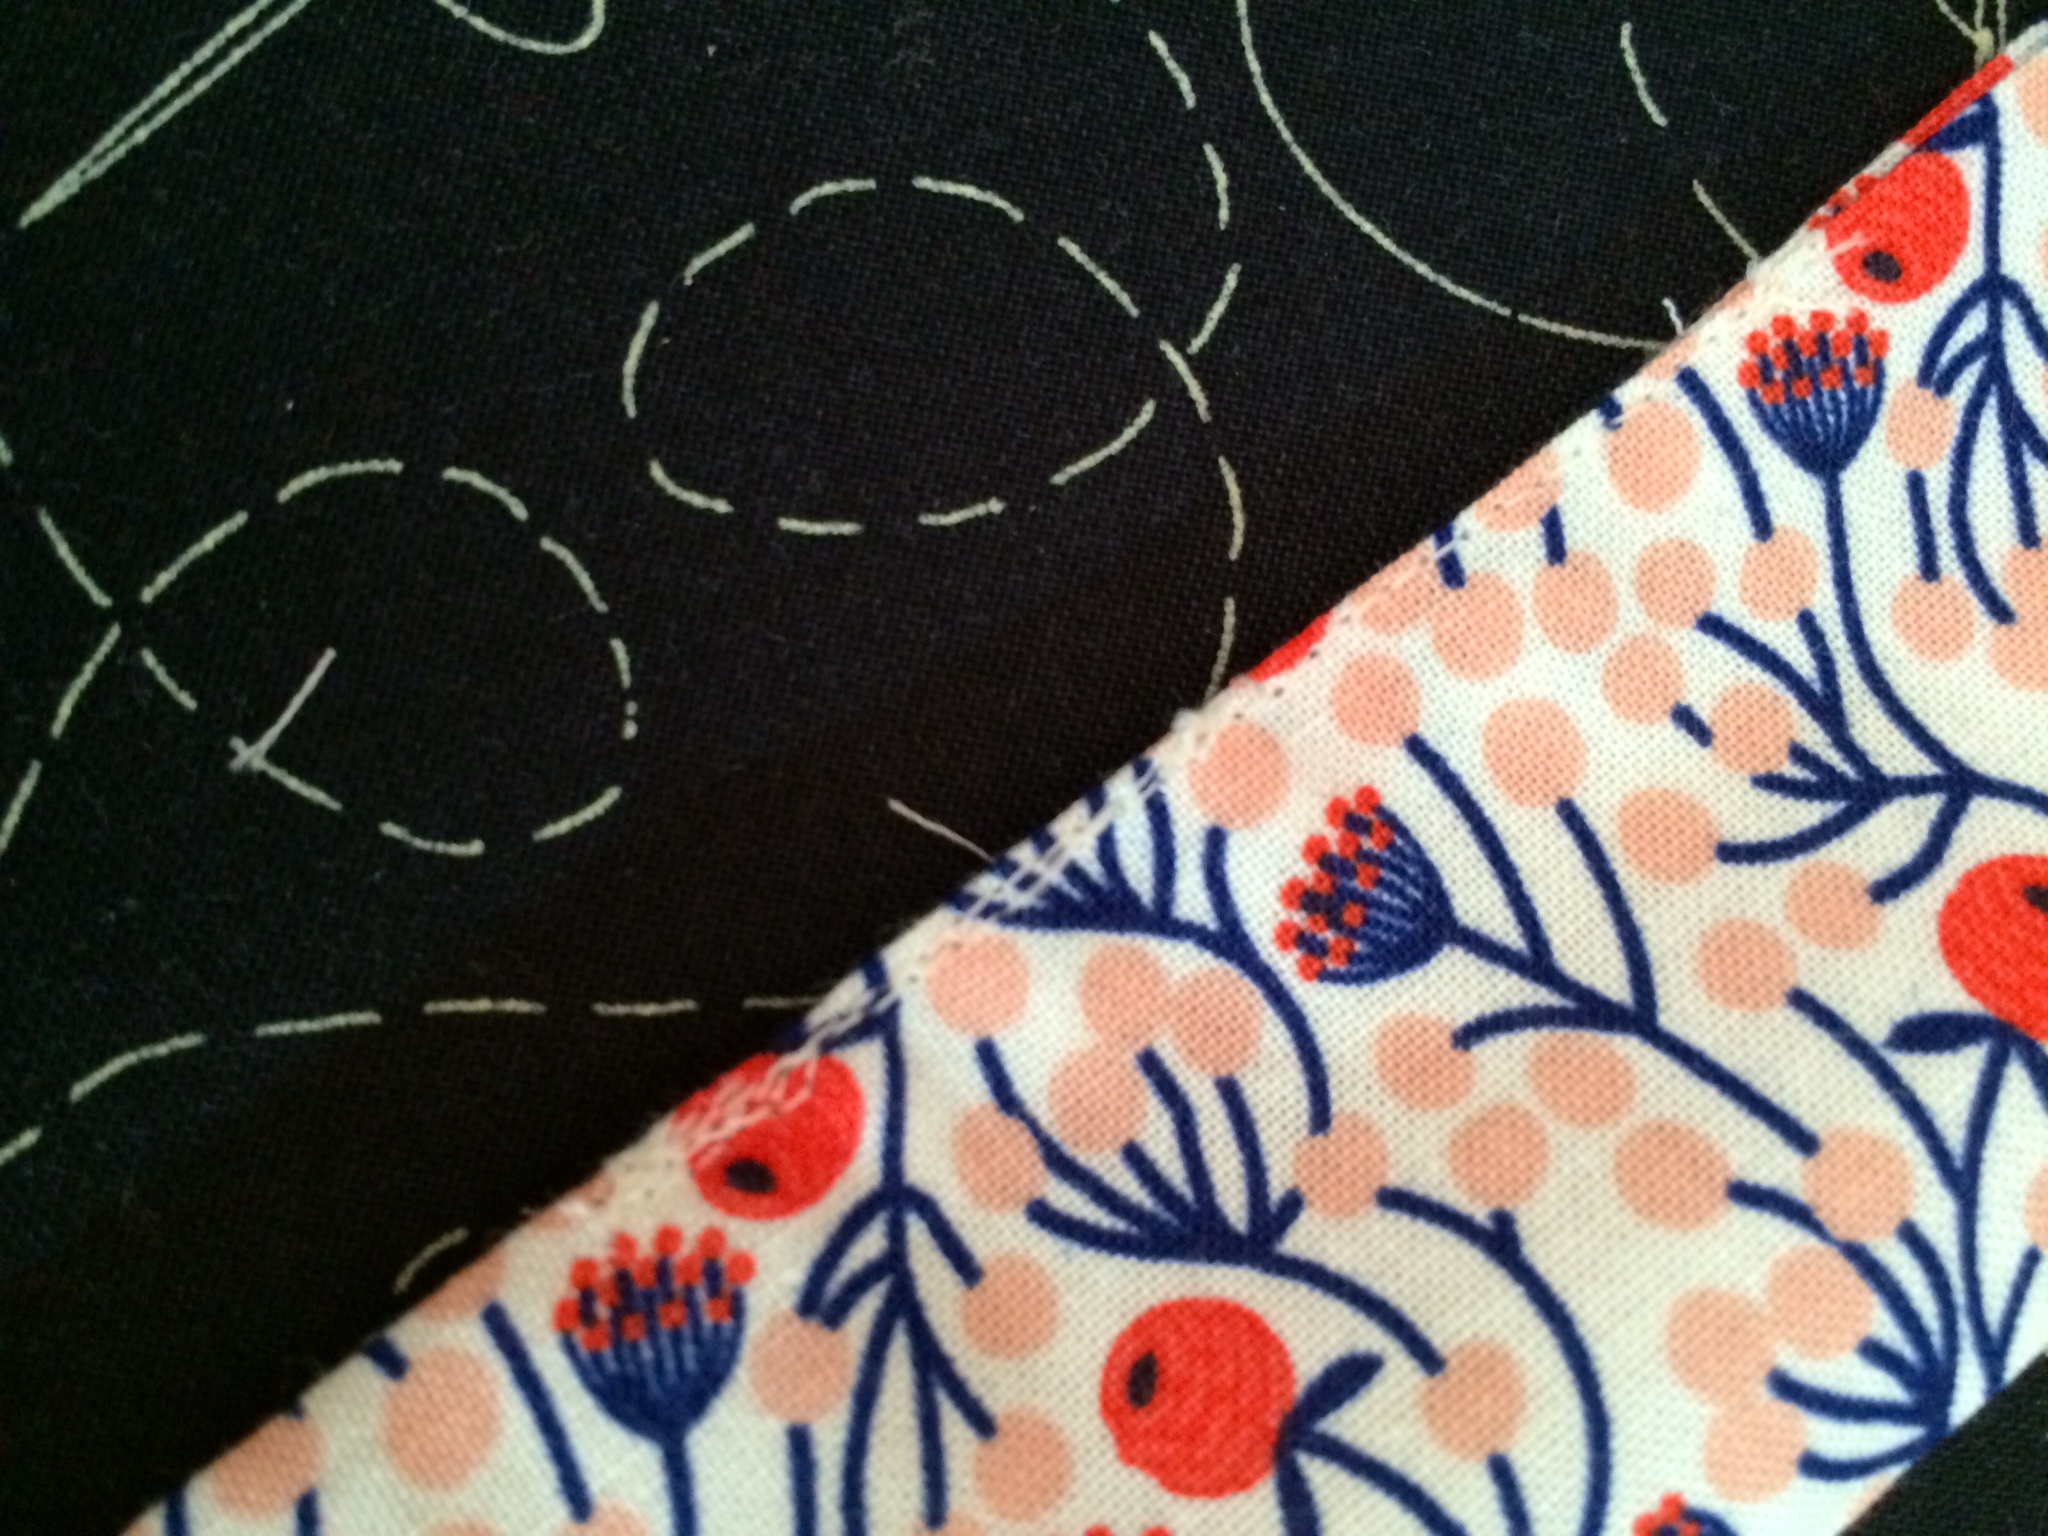
All finished!!


Leave a comment