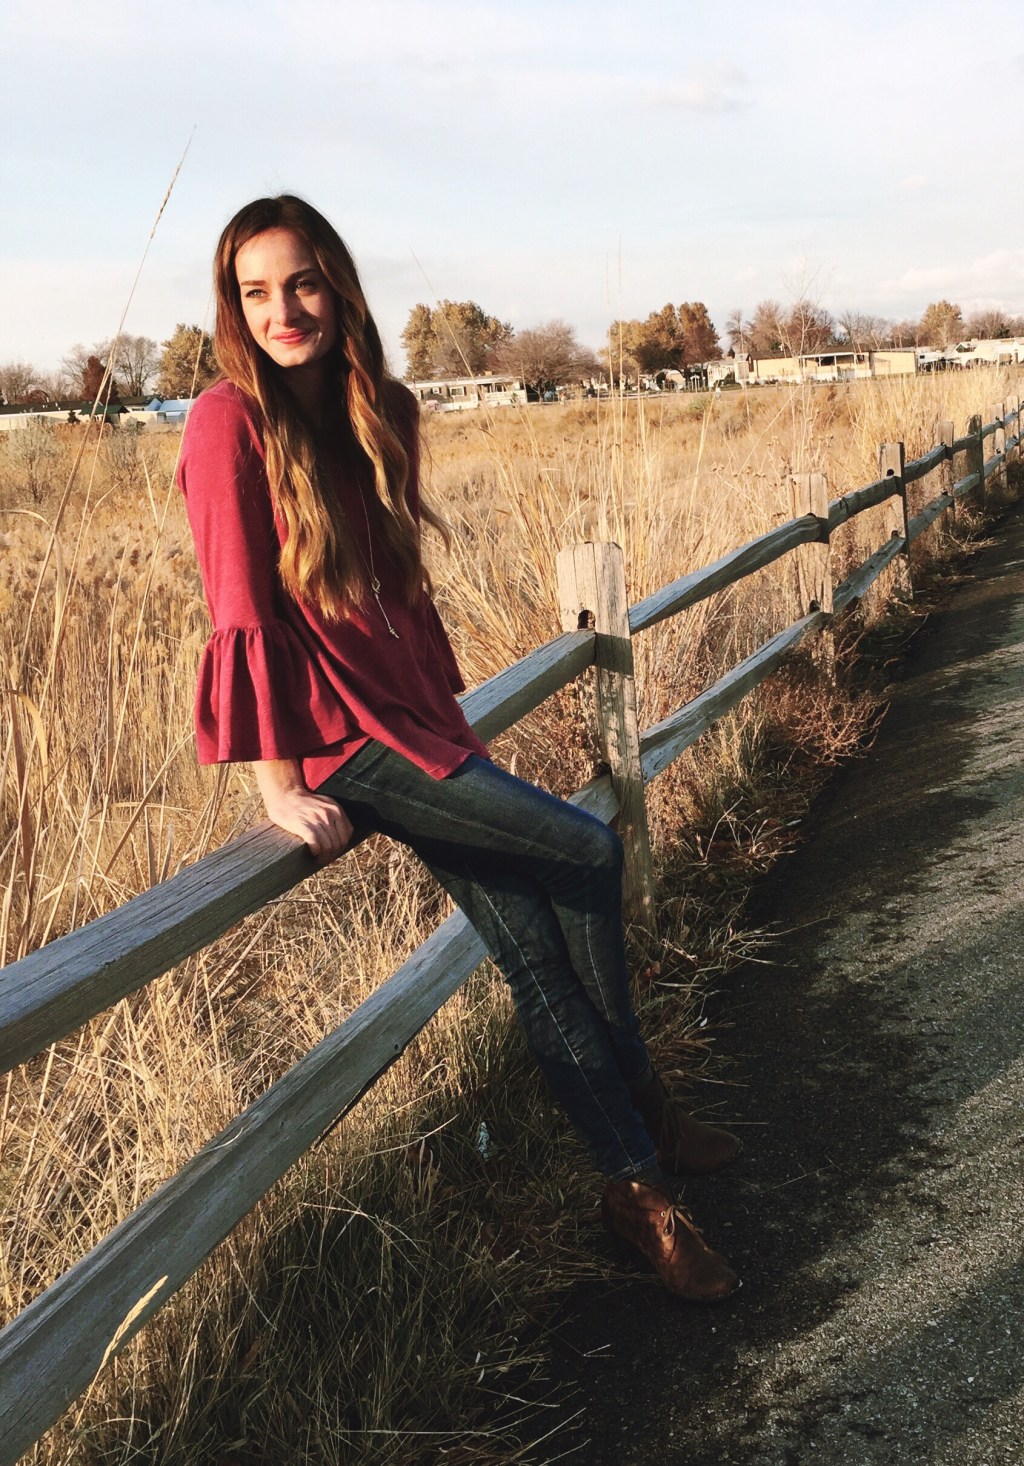


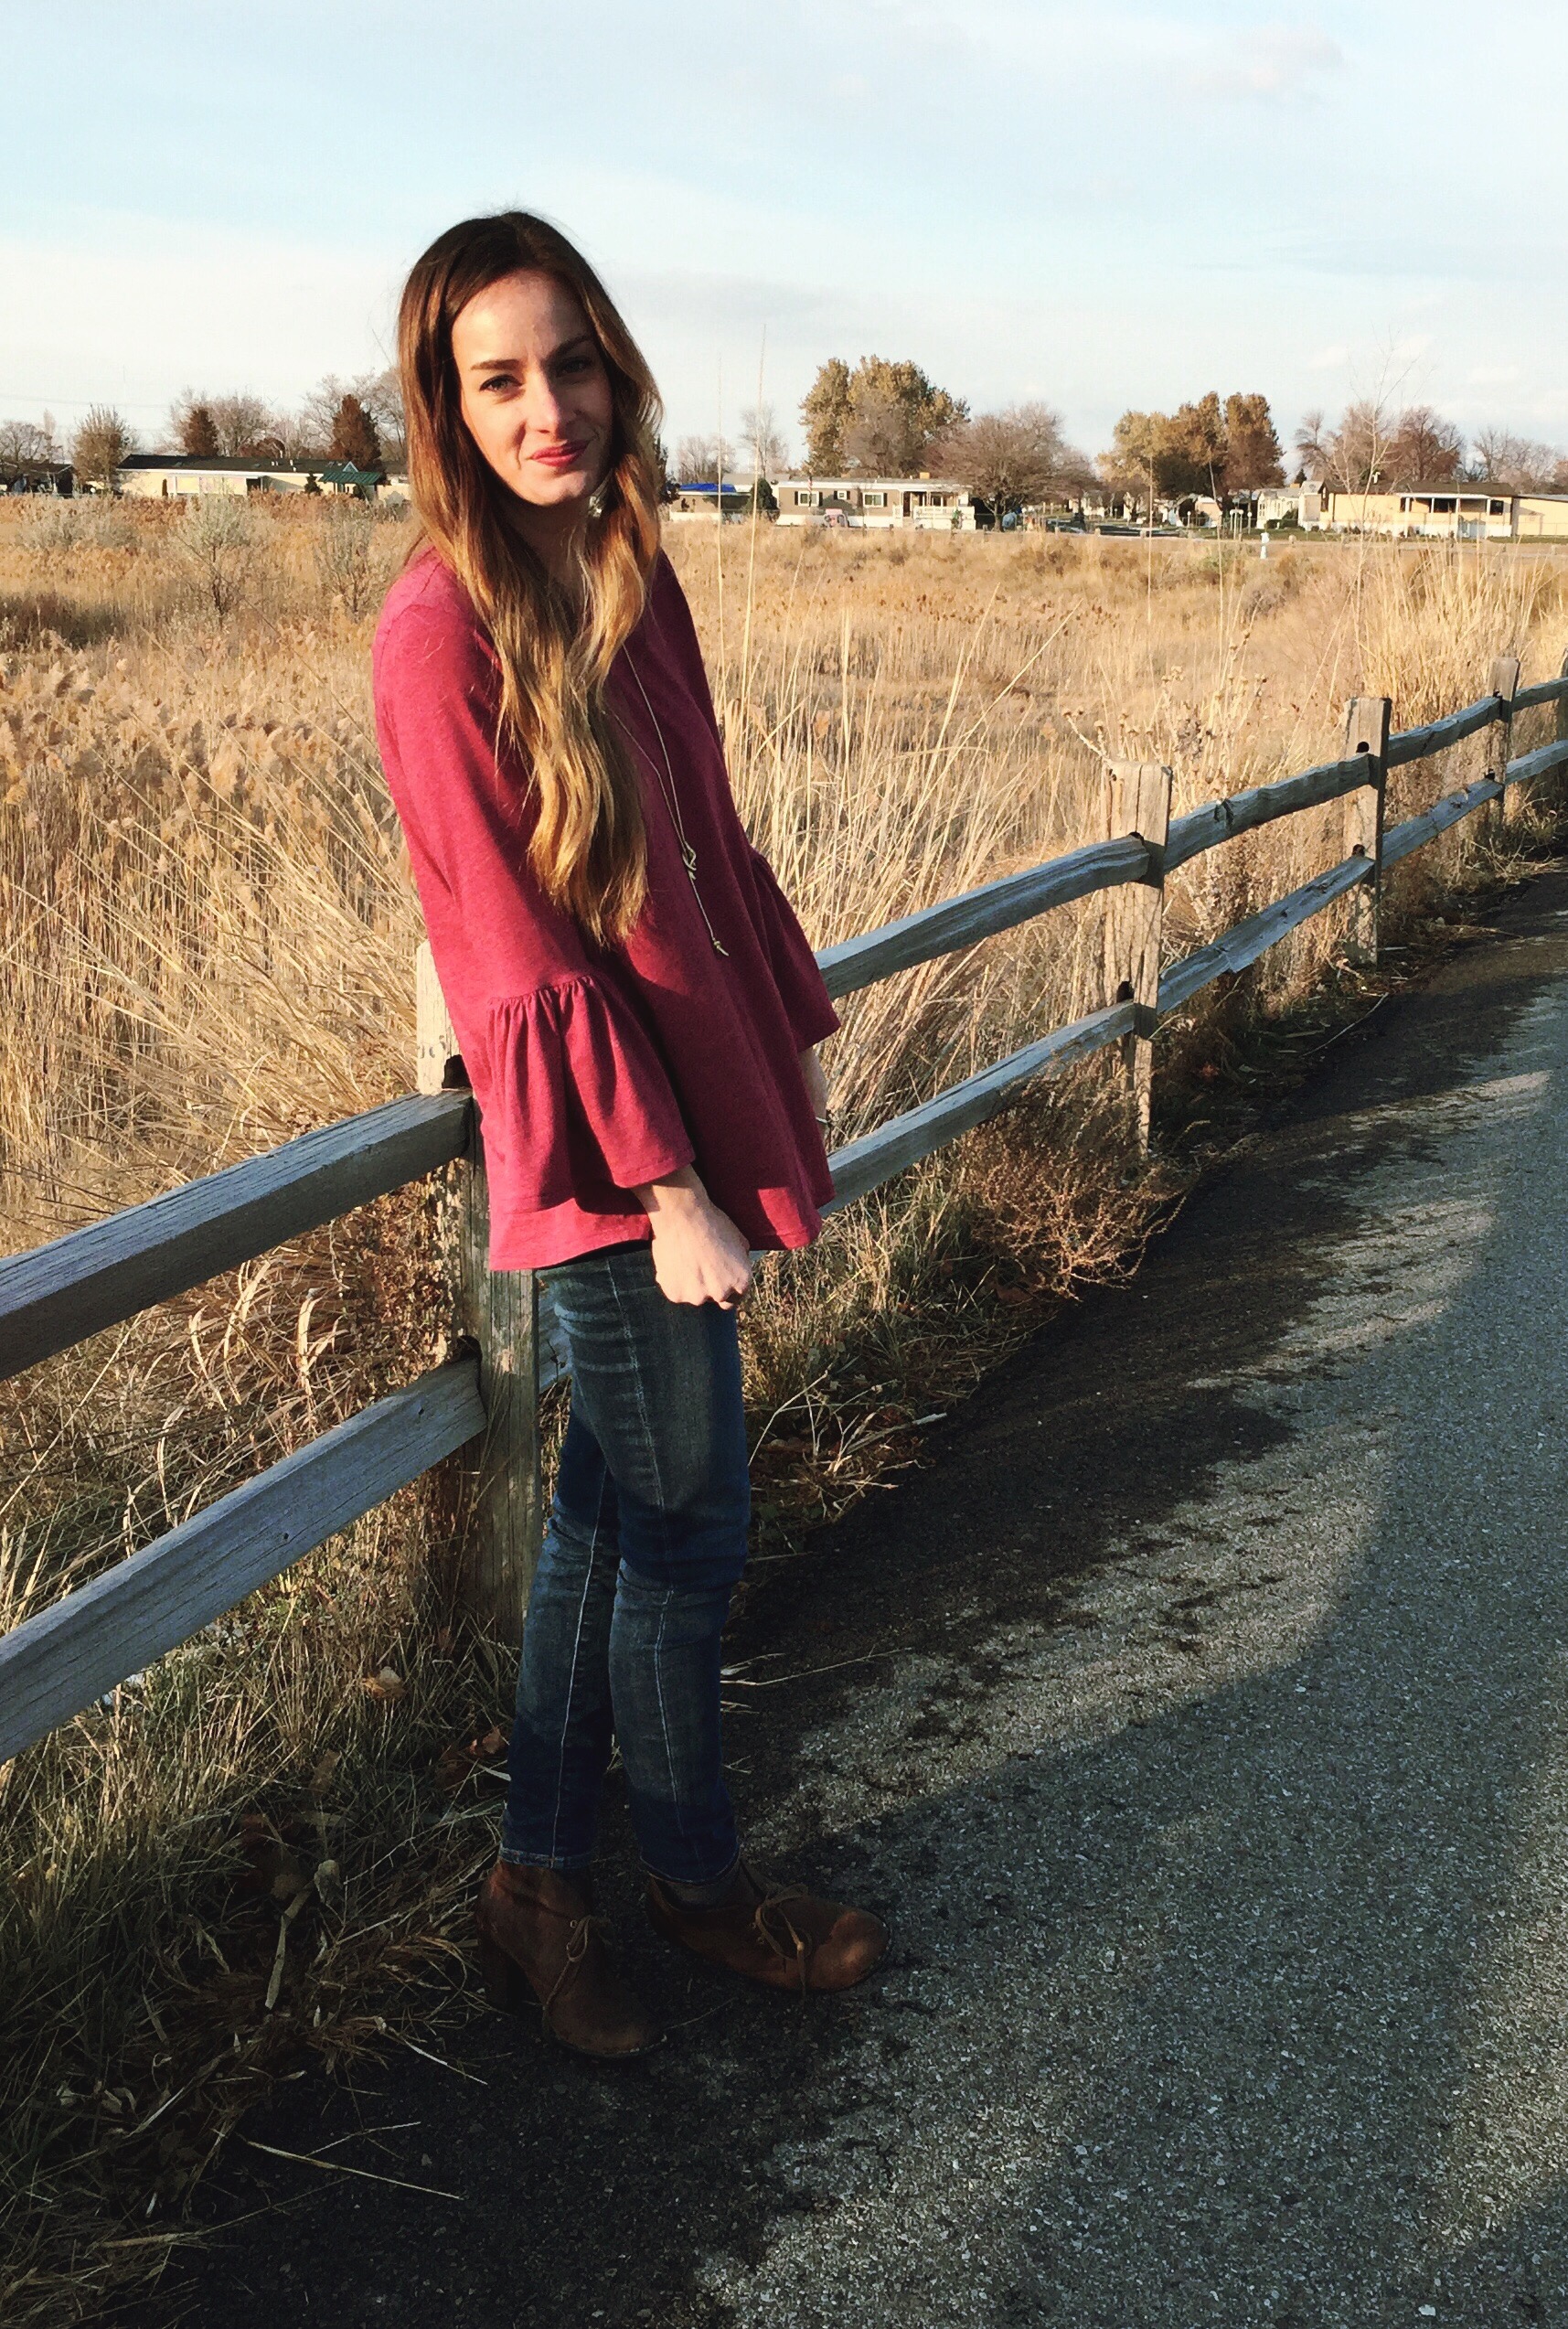
While making my Birkin Flares one post back, I knew I just HAD to make a shirt to go with them. I was inspired by the flares on my jeans to create the sleeves of this simple knit shirt. I also read in a few magazines about flares and ruffles trending, resulting in this top. I wanted to design my sleeve to hit right above my wrist, so you could still see my bracelets and jewelry, and also be a little bit warmer with a longer sleeve. I apologize for the photo quality, it was 20 degrees outside for one, and I had to have my sister take these pictures with my iphone. My poor siblings. Anyways… what will you need?
Supplies:
-1-1 1/2 yards jersey knit (I had mine on hand)
-matching thread
To create your pattern, grab a loose top you already own to base your pattern on. Lay out your shirt folded in half, and trace your front and back pieces, adding a swing shape from the under arm to the hemline. This will be a straight line. I also added a curved bell shape along the bottom of my shirt so it would be subtly longer in front and slightly shorter on the sides. Do the same for your sleeves, measuring from your shoulder to right above you elbow. Remember to add 1/2″ seam allowance around every edge that will be sewn to another edge.
You will also need to create a neckline facing to finish off your neckline. It will be a straight line. Measure your neckline along the shirt front and back patterns, and subtract about 1″. This will be your length measurement. (You will be cutting this out along the fold, so make sure your pattern piece measure half of the total length you will need. If you just measure your two pieces you don’t have to worry about this. Hopefully that’s not too confusing. For your width, decide how thick you would like your neckline facing to be when finished, and add 1″ for seam allowance. I wanted mine to be 1/2″ when finished, so my width was 1 1/2″ in total.
To create your bell flare sleeve pattern (bottom half of your sleeve), measure the total width of the end of your sleeve piece you just made (where your elbow hits), and multiply it by 2. I also gave my pattern piece more of a curved bell shape along the bottom.
Here’s a few pictures of how my pattern pieces look to give a visual:

Notice the fold lines on EVERY piece. Also, notice where you will gather you bell sleeve.
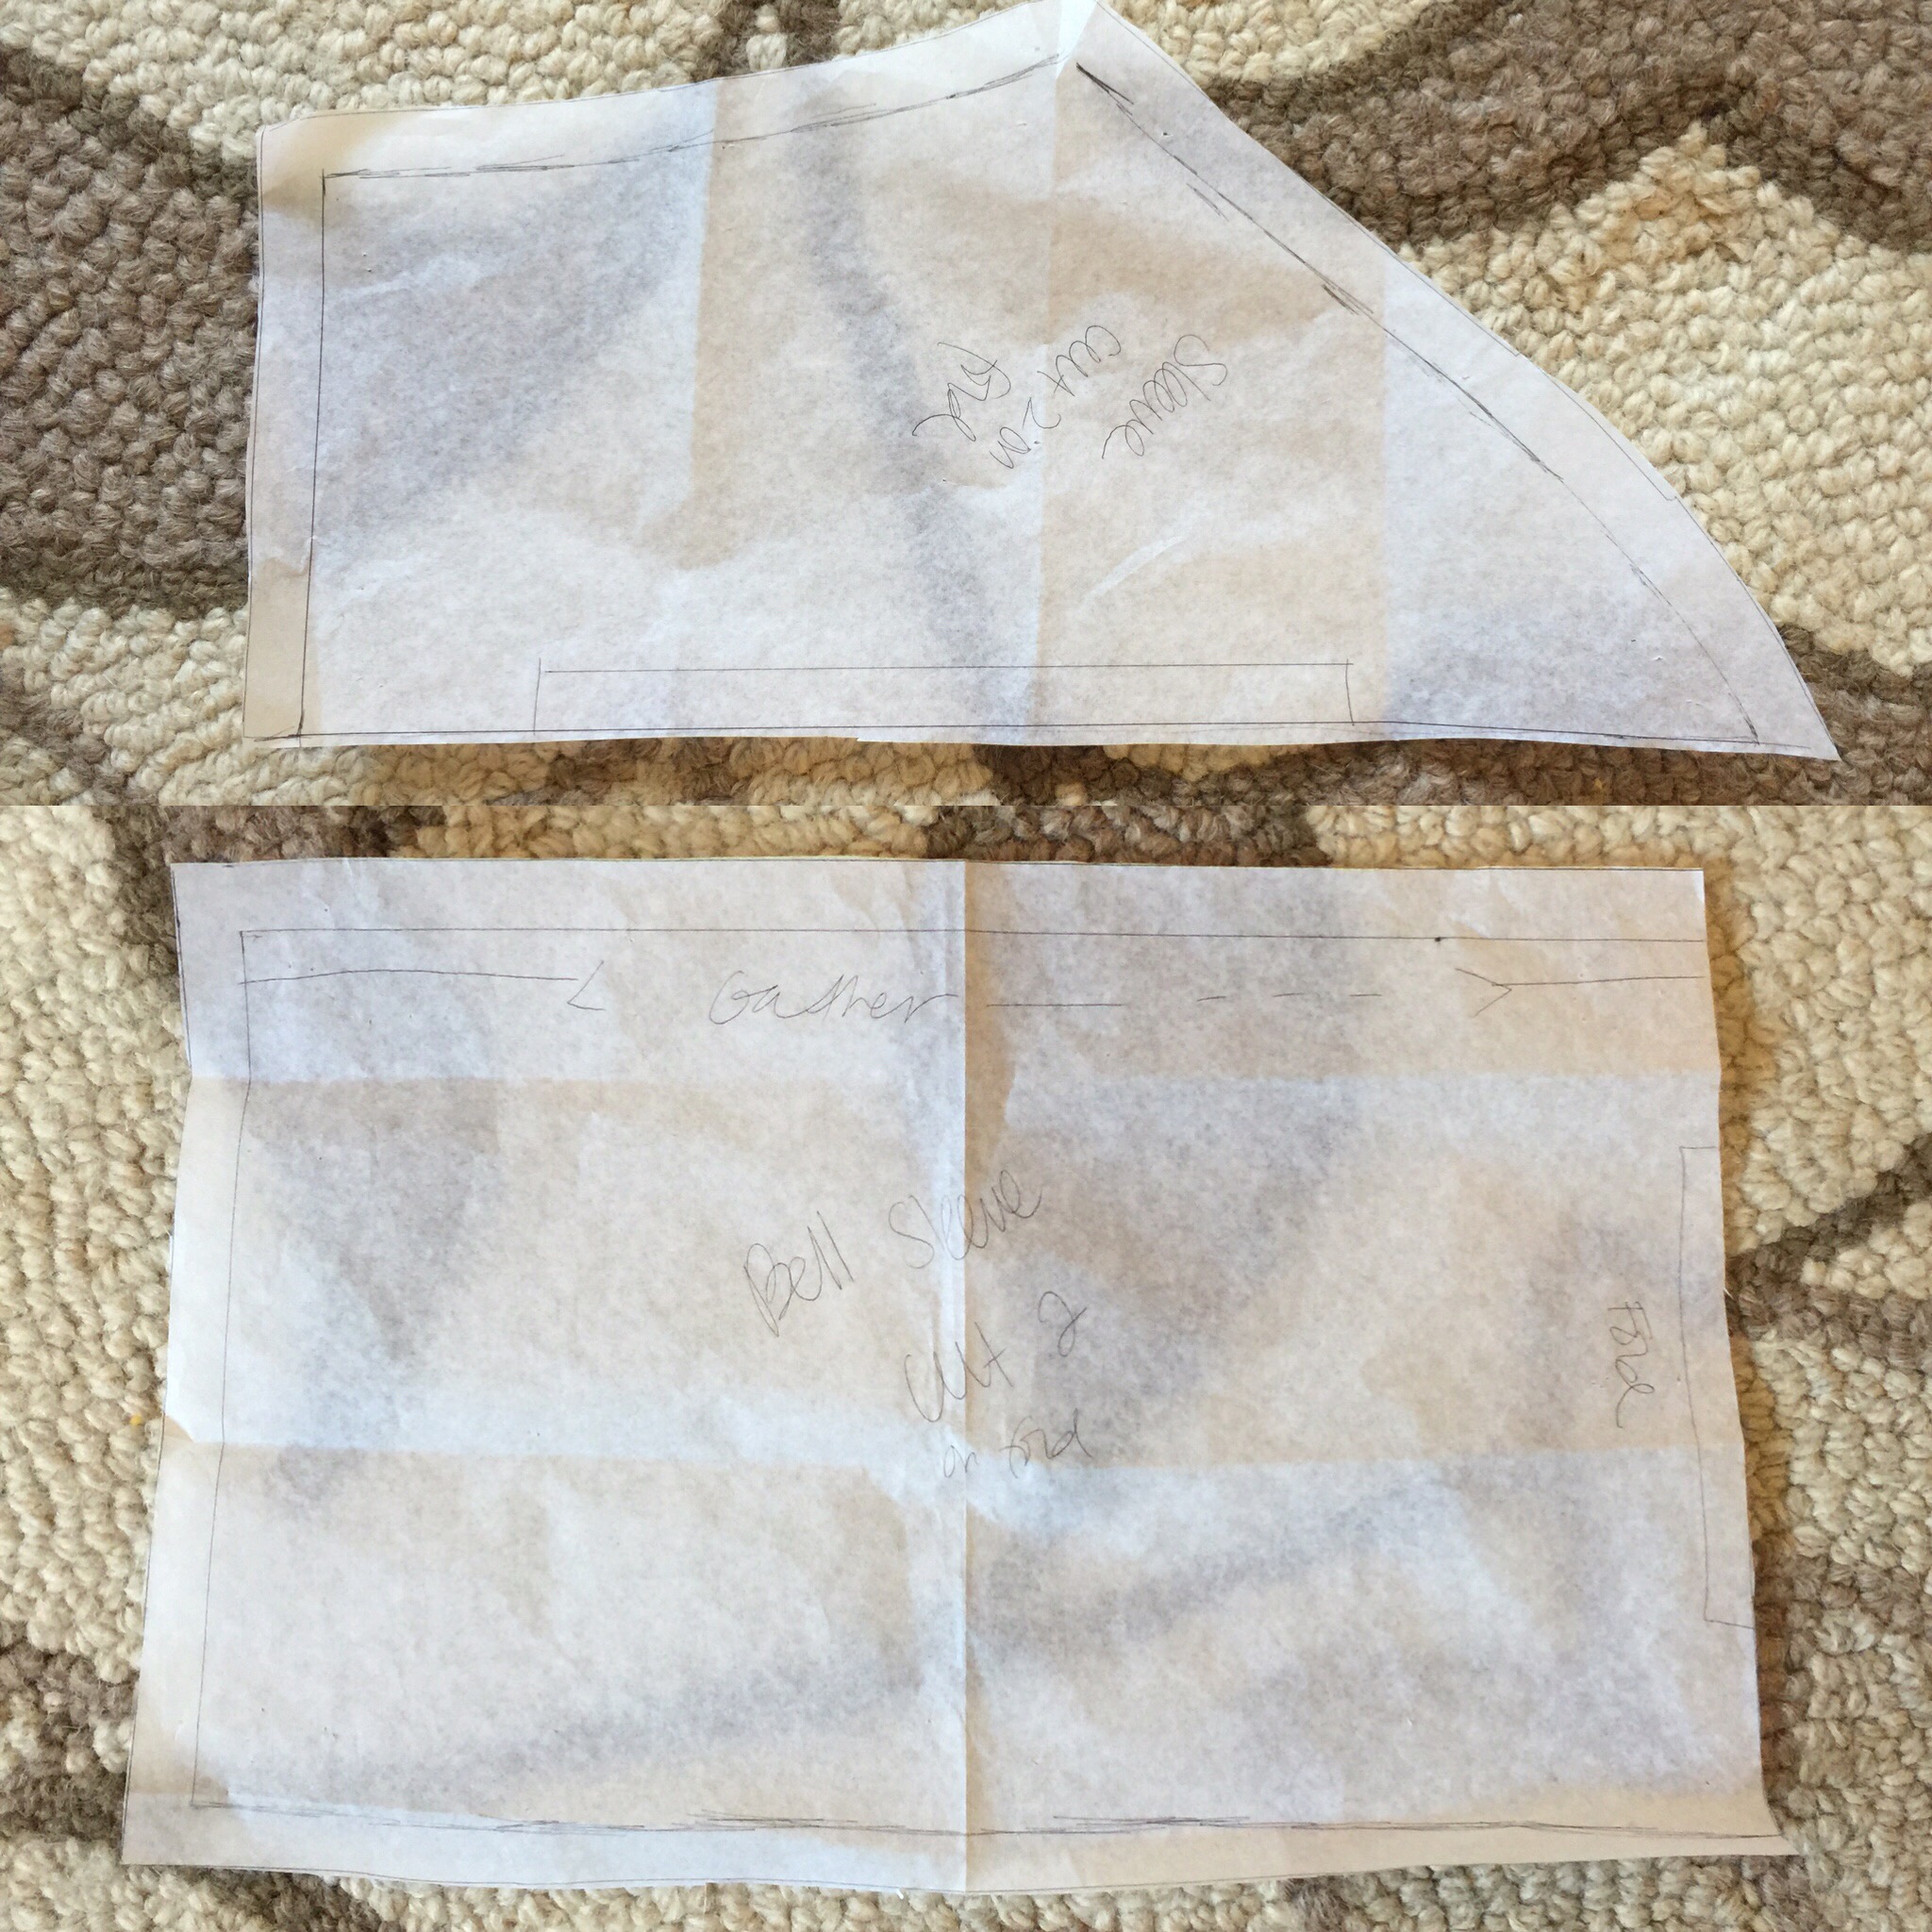
You can see my shirt’s original edge, and the swing edge I added..

Lets begin! (I apologize for terrible lighting- night time sewing woes).
- Pin shoulder pieces right sides together (RST). Sew at 1/2″. Iron seam open. If you have a serger you can just serge edges together to finish your seam. Unfortunately I do not own one, so I just left my edges raw, you could zig zag them too.

2. Pin your sleeves to each underarm RST, look for the corners on both under arm and sleeve to match up just right. Sew 1/2″. Trim seam allowance.

When you’re done it will look like so..

3. Pin shirt front and back together at side seams all the way up to the sleeve edge. Sew side seams and underarm in one go at 1/2″. Iron open.


5. Prep your neckline facing. Iron it in half long ways wrong sides together, then pin two edges together and sew at 1/2″.

6. Pin neckline facing to right side of neckline, you might have to stretch it a little to fit just right, pin evenly around neckline, sew at 1/2″. Trim and iron.


7. Pin the two edges of your bell sleeve right sides together and sew 1/2″.

8. Sew two rows of basting stitches at 1/4″ and 1/2″ along the bell sleeve top edge. (This is folded in half in the photo below).

9. Pin sleeve and bell sleeve RST (two seams lining up and centers lining up). Gently pull basted threads to gather the bell sleeve evenly until it fits just perfectly into the sleeve. Sew 1/2″, trim and iron.

10. Hem the bottom of your shirt and the edge of your bell sleeves. You’re done!

If there’s any confusion, don’t hesitate to leave a question! 🙂


Leave a comment