


This post contains affiliate links. The Indigo Smock Dress pattern was kindly gifted to me from Tilly and the Buttons for this post. This is a paid and sponsored post with Baby Lock. Baby Lock sewing machines were gifted.
Hello everyone!! It’s been a while but here I am, still sewing! Today I have a sew along for you! I chose to make the Indigo Smock Dress by Tilly and the Buttons– but make it maternity! Yes, that’s right. Baby #4 is on it’s way. I always struggle with dressing my body during pregnancy. It’s constantly changing and my minimalist wardrobe struggles to make it work. I’ve decided to make a few items that will work for maternity but that I know I will continue to love and wear afterwards. I love this dress pattern for both of these reasons!
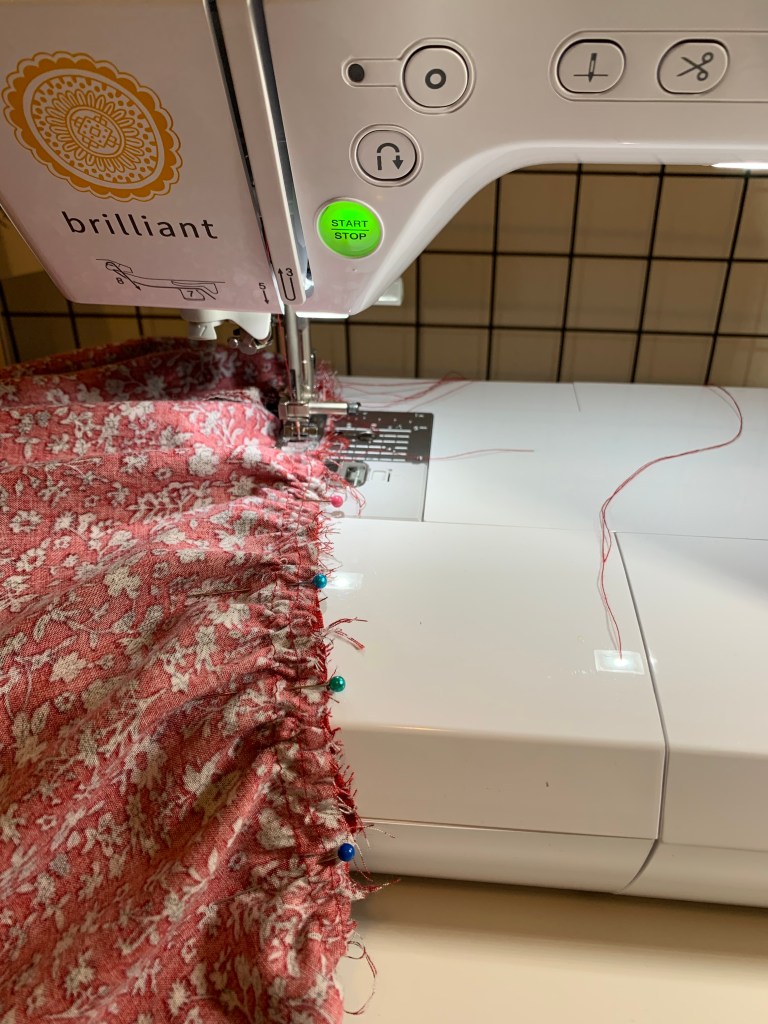
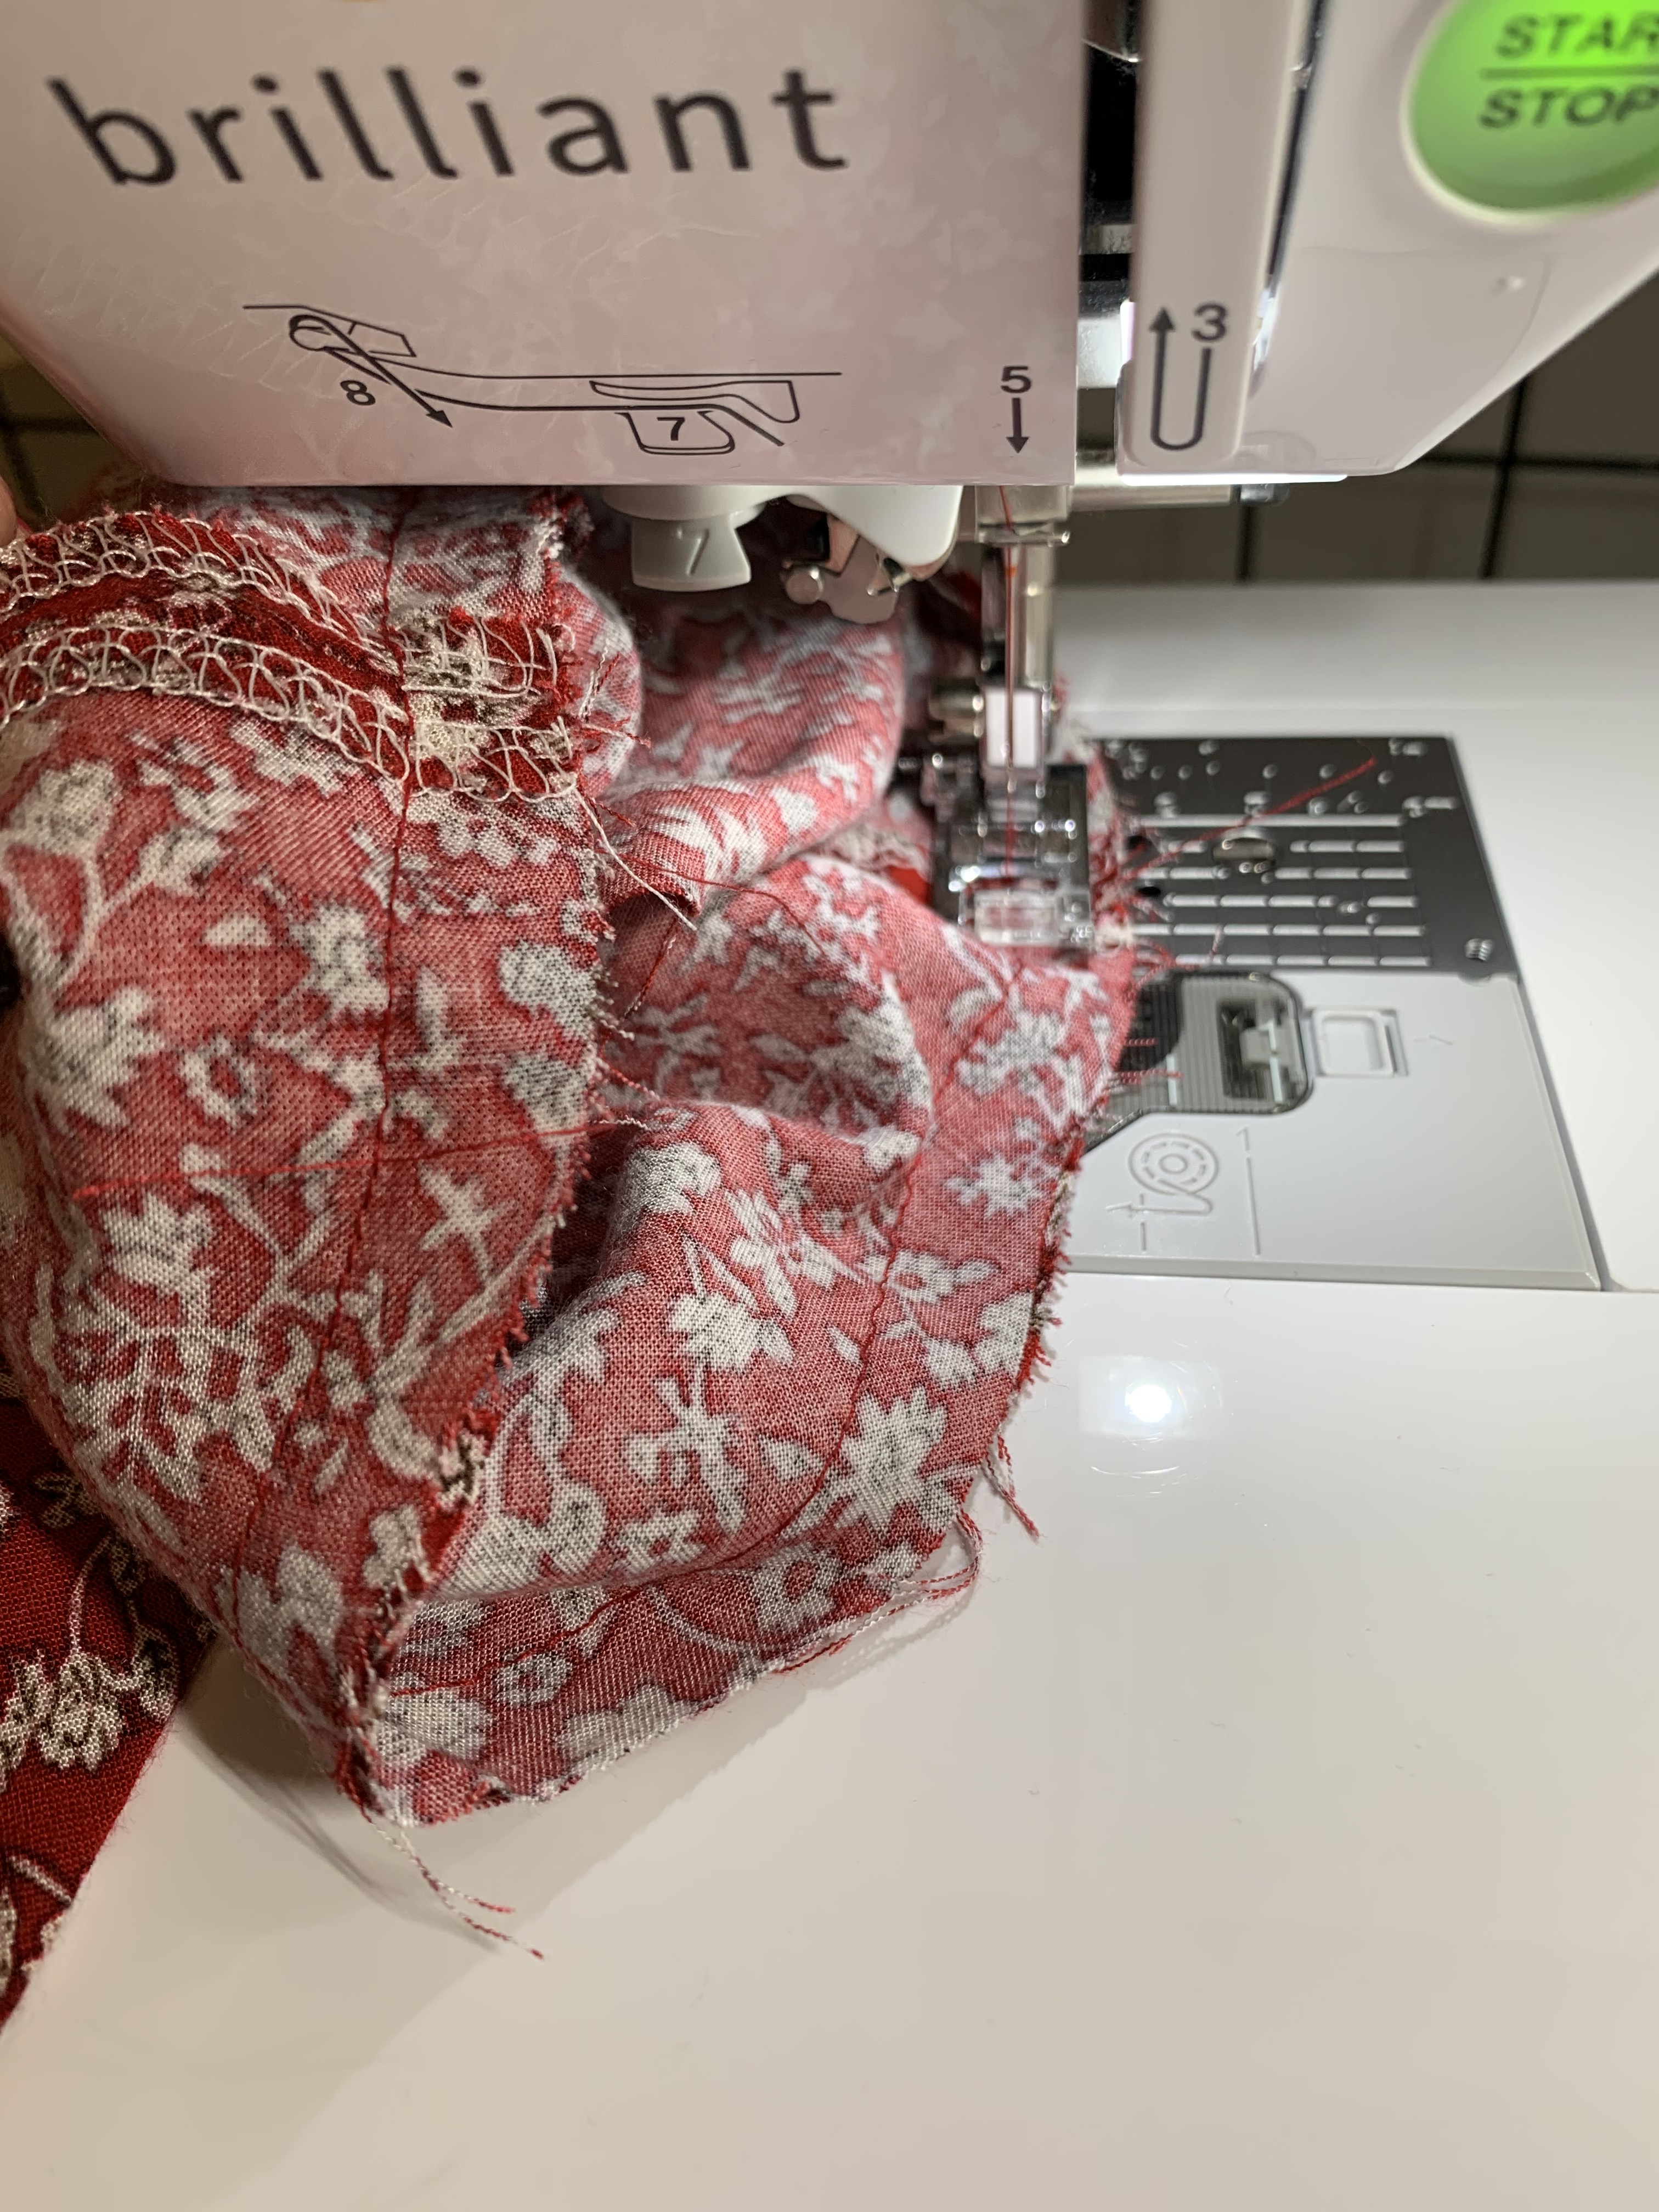
I sewed this dress using my Baby Lock Brilliant sewing machine and my Baby Lock Celebrate serger. Both of these machines are fabulous! The Celebrate serger is a game changer for me- the quality is amazing.
I used this gorgeous red and white floral rayon dead stock fabric I bought in LA maybe two years ago. I’ve been saving it for just the right project. My baby is due very early fall so I know I needed something light and breezy but that will have room to grow that will last through the whole summer. I used just under 4 yards of fabric.
As far the the Indigo Pattern goes, I sewed up a size 2, and didn’t make any adjustments. I also added the extra tier and short sleeve pattern from the add on pack. I reaaallly wanted to do a statement sleeve on this one, but I know I’ll wear it more if I kept it simple. I’m planning to add this into my regular weekly rotation with some white sneakers or sandals (once the weather warms up just a little more).
Let’s jump into the tutorial!
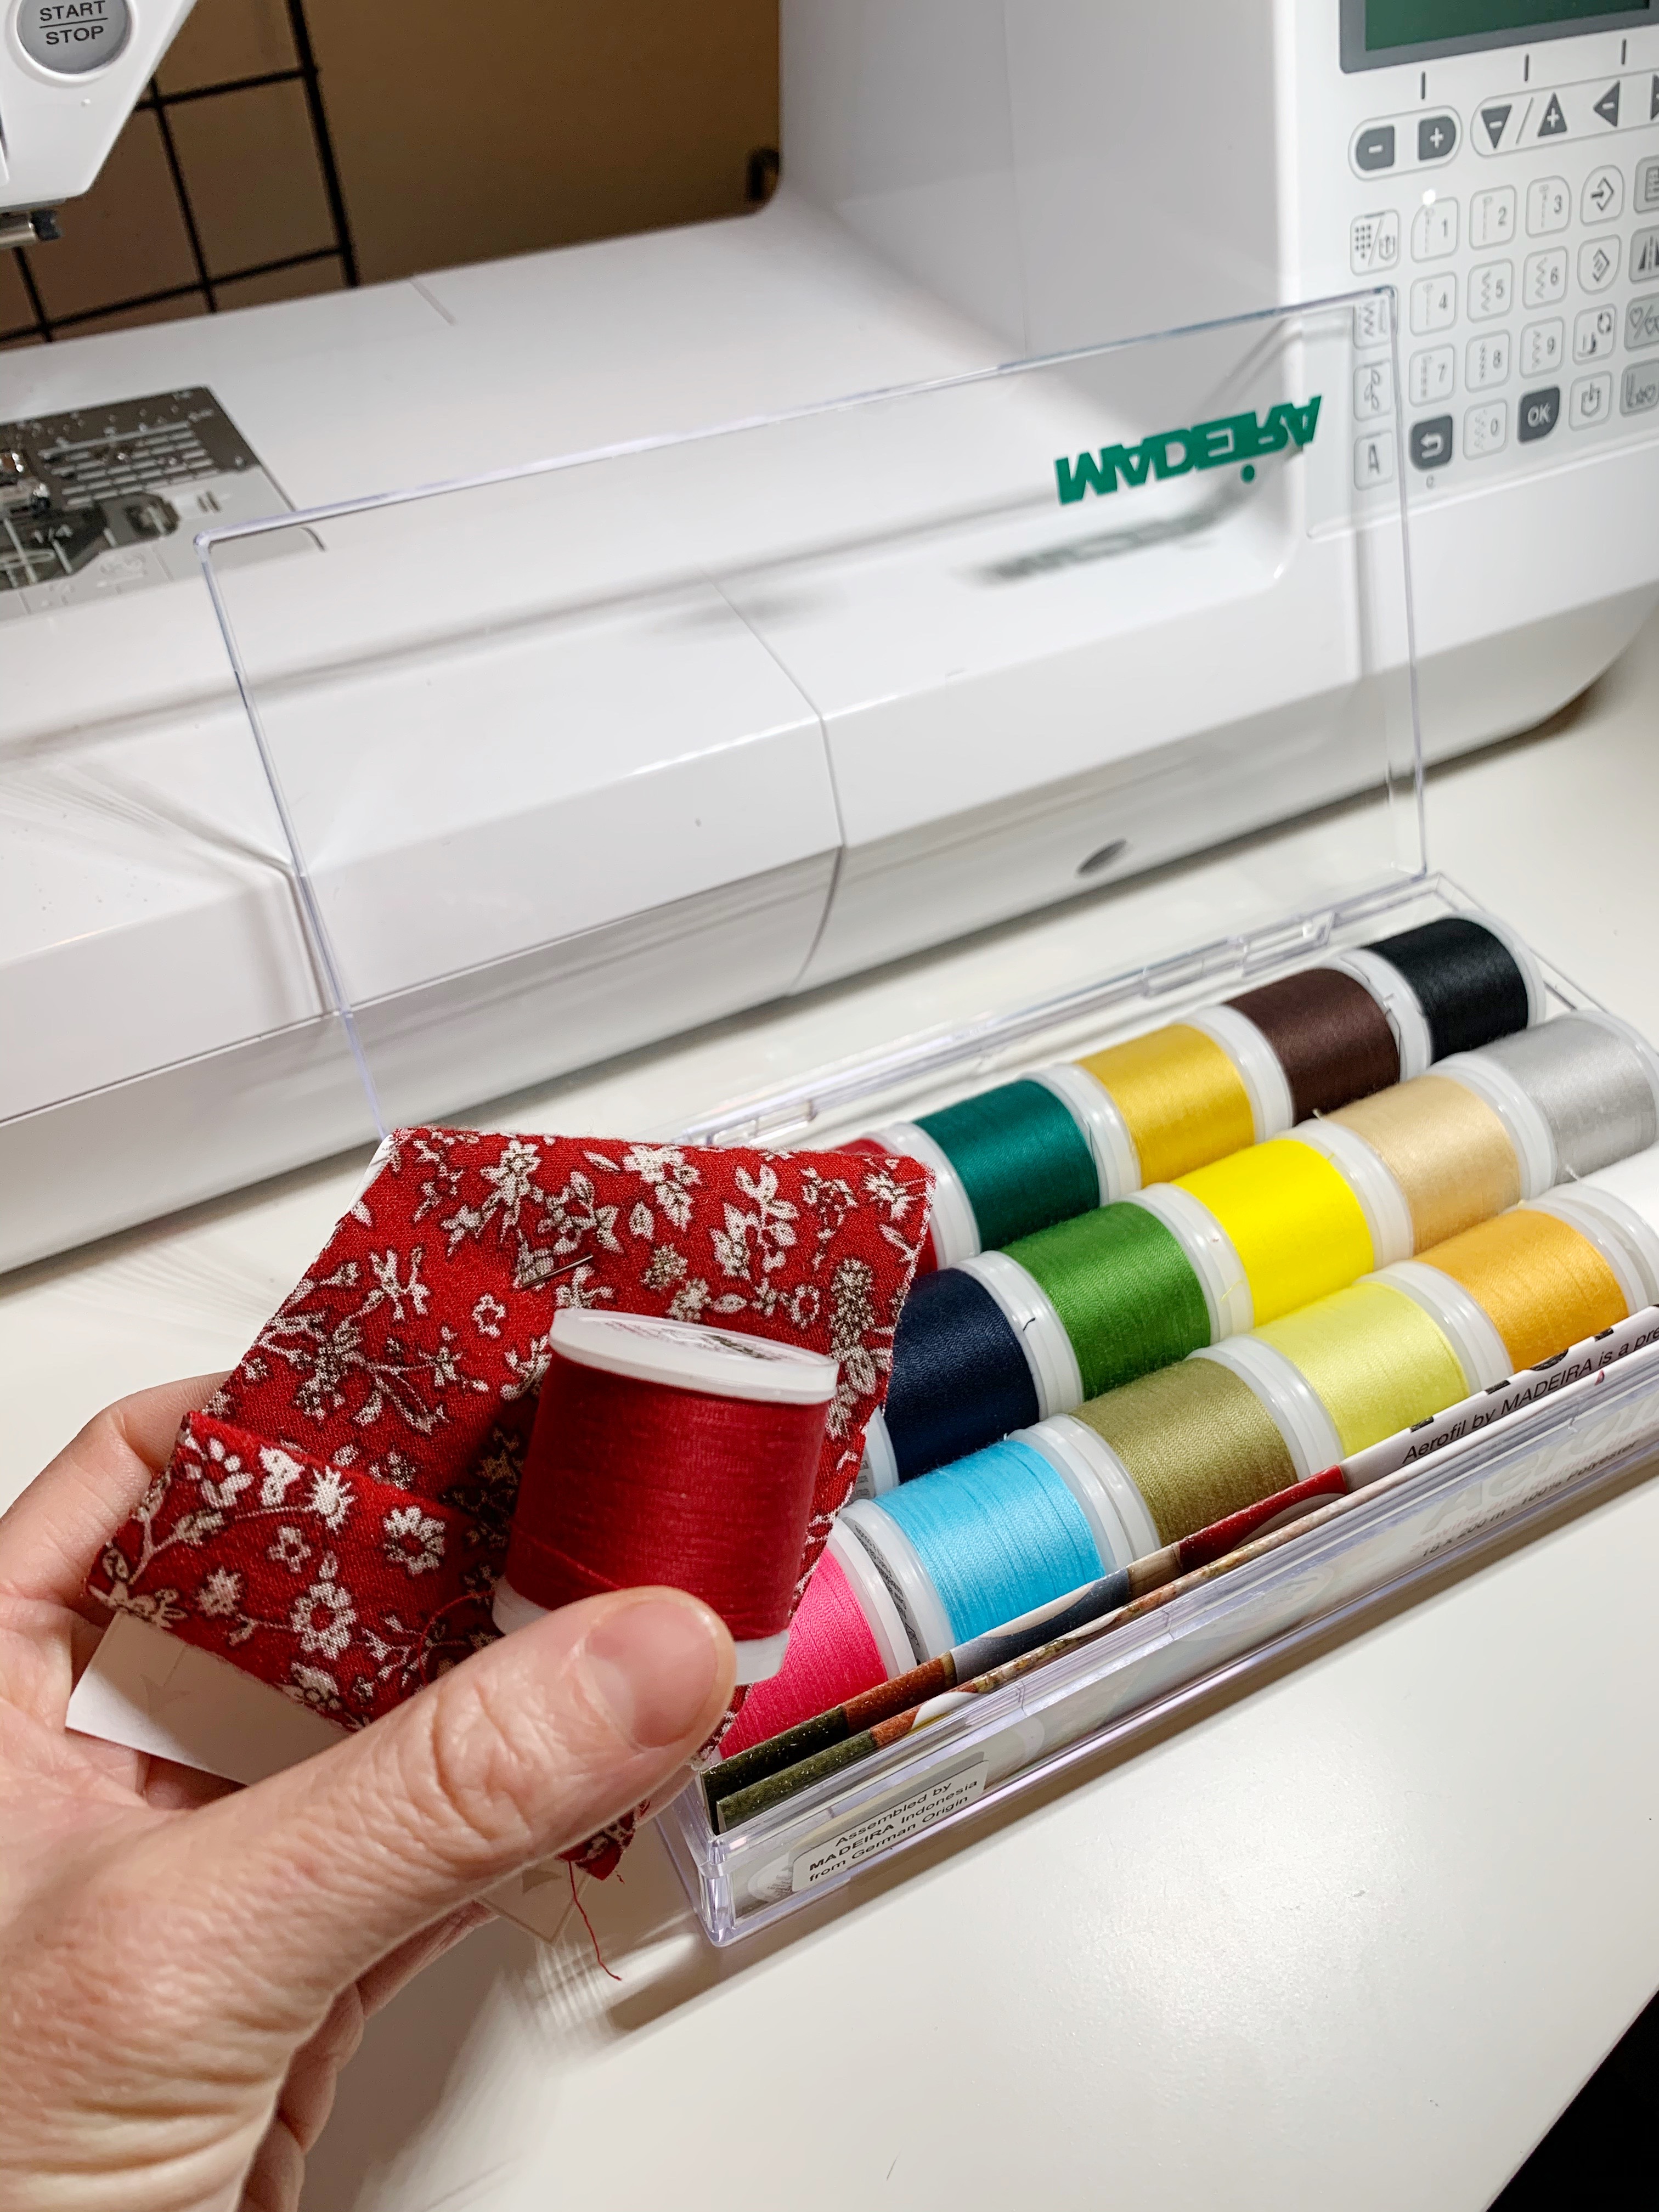
First of all, you’ll need matching thread! I used this 100% Polyester Madeira Aerofil thread. They kindly gifted this thread box set to me, and I love that I can have so many color options on hand for almost any project. Also- the quality is AMAZING. I also used Madeira Cones in my serger.
Step 1: Prepare your pattern pieces and cut out your dress! I love using 3/4 washers (picked up from my local hardware store, and my Fiskars table top scissors.


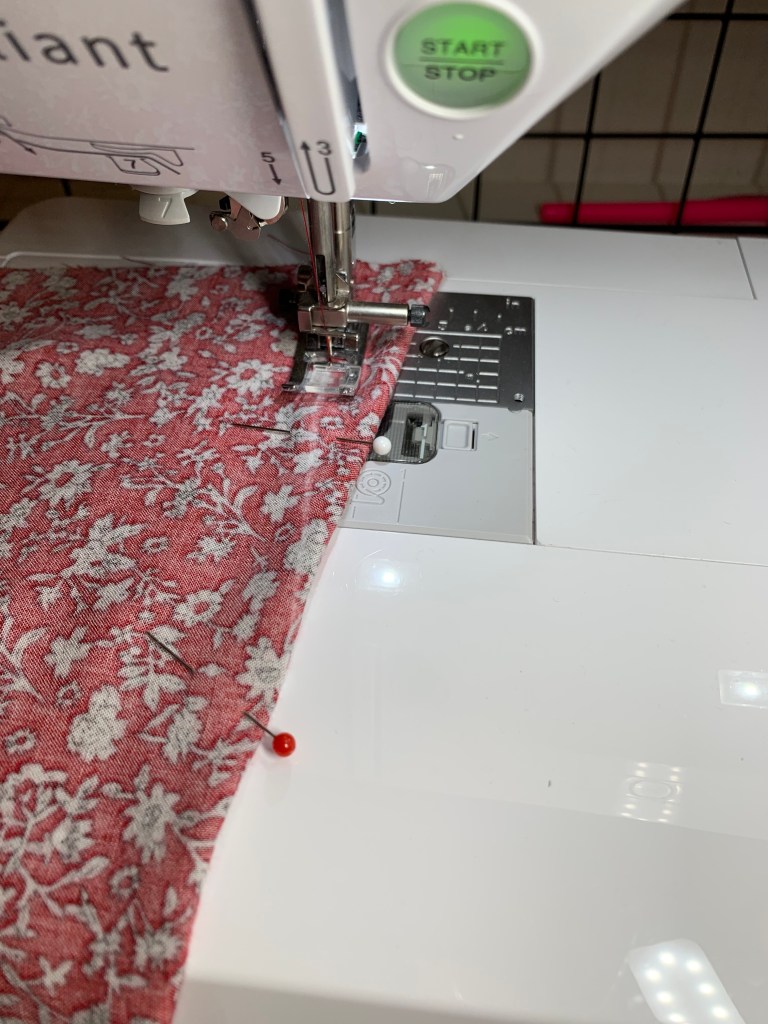
Step 2: Stay stitch the neckline from shoulder to center on the front and back bodice pieces to help prevent it from stretching out while sewing.

Step 3: Cut out interfacing pieces similar in weight to the fabric you choose to use. Apply it to your fabric facing pieces.

Step 4: Sew the darts! I cut out the dart on my paper pattern piece, lay the pattern piece over the bodice and trace along the lines of the dart using chalk. Align the edges of your dart lines, right sides together, and place a pin at the point and create a crease using your fingers. Starting at the edge, begin sewing (back stitch) and continue sewing all the way to the dart point- keep sewing right off the edge and hand tie a knot to finish. Press the dart down towards the waistline.

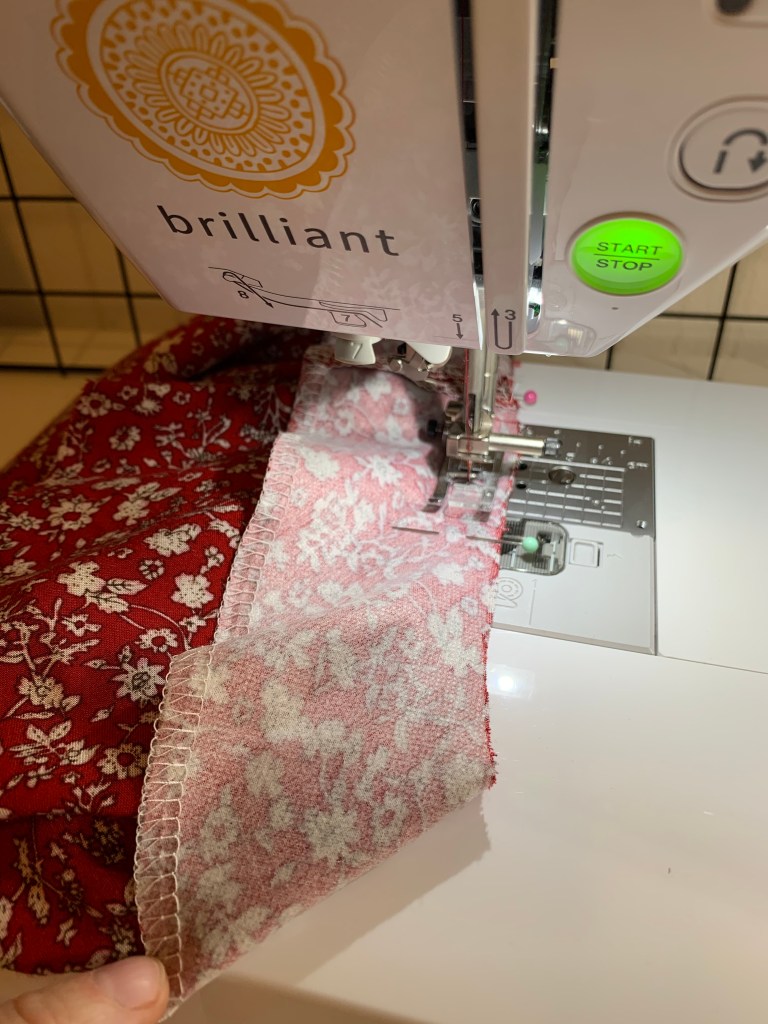
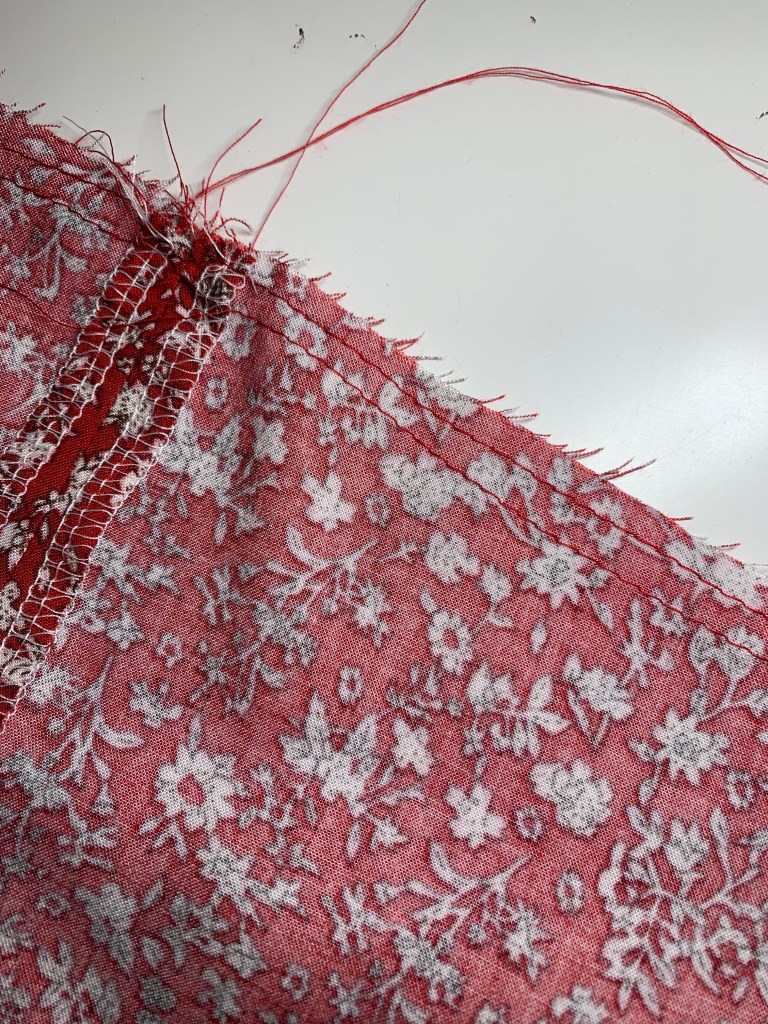
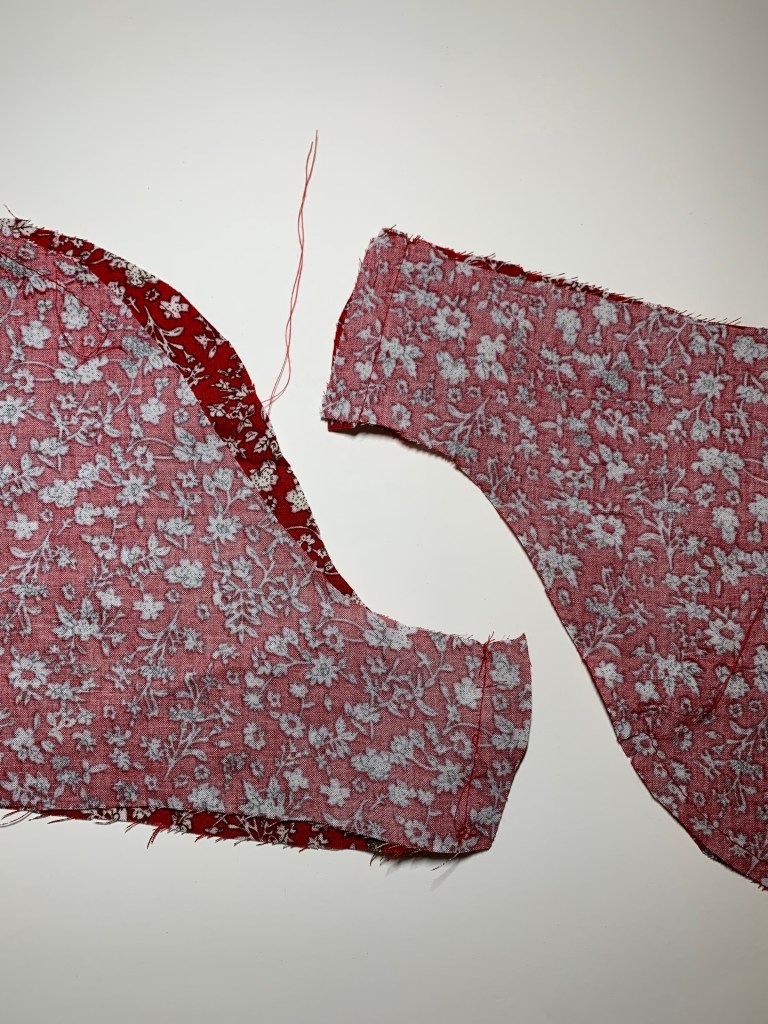
Step 5: Lay the front bodice over the back bodice right sides together and pin the shoulder seams. Sew at 5/8″, press open and finish the seam allowances using your preferred method, I used my Baby Lock Celebrate serger.


Step 6: Grab your facing pieces. Pin edges right sides together, sew, press open and finish edges. Finish the outside edges of your facing.

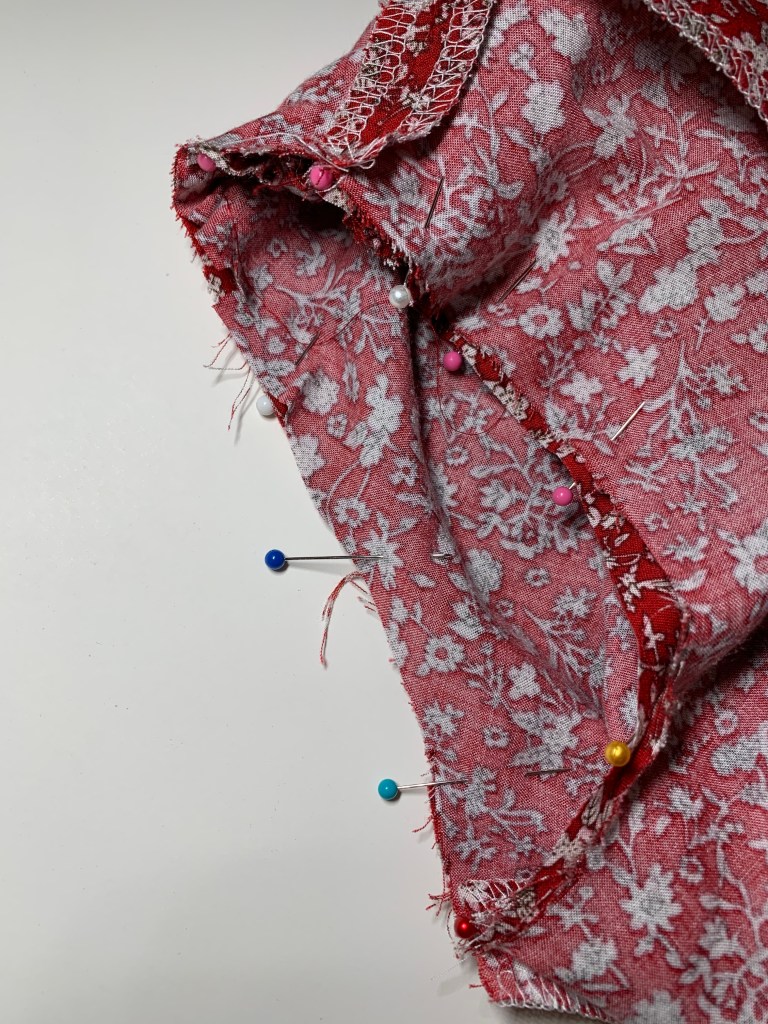
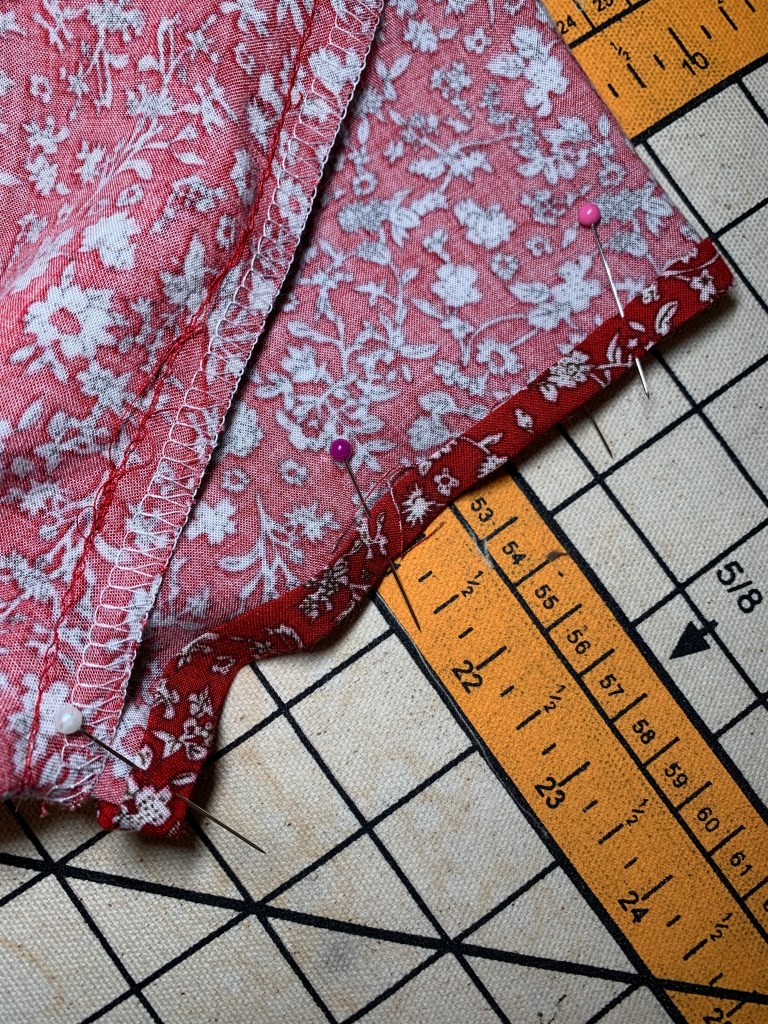
Step 7: Pin the raw edge of the facing to the bodice neckline, right sides together. Make sure to match the seam lines, and notches. Sew at 5/8ths. Trim seam allowance.


Step 8: Snip in the neckline seam (but not through the stitches) every two inches.
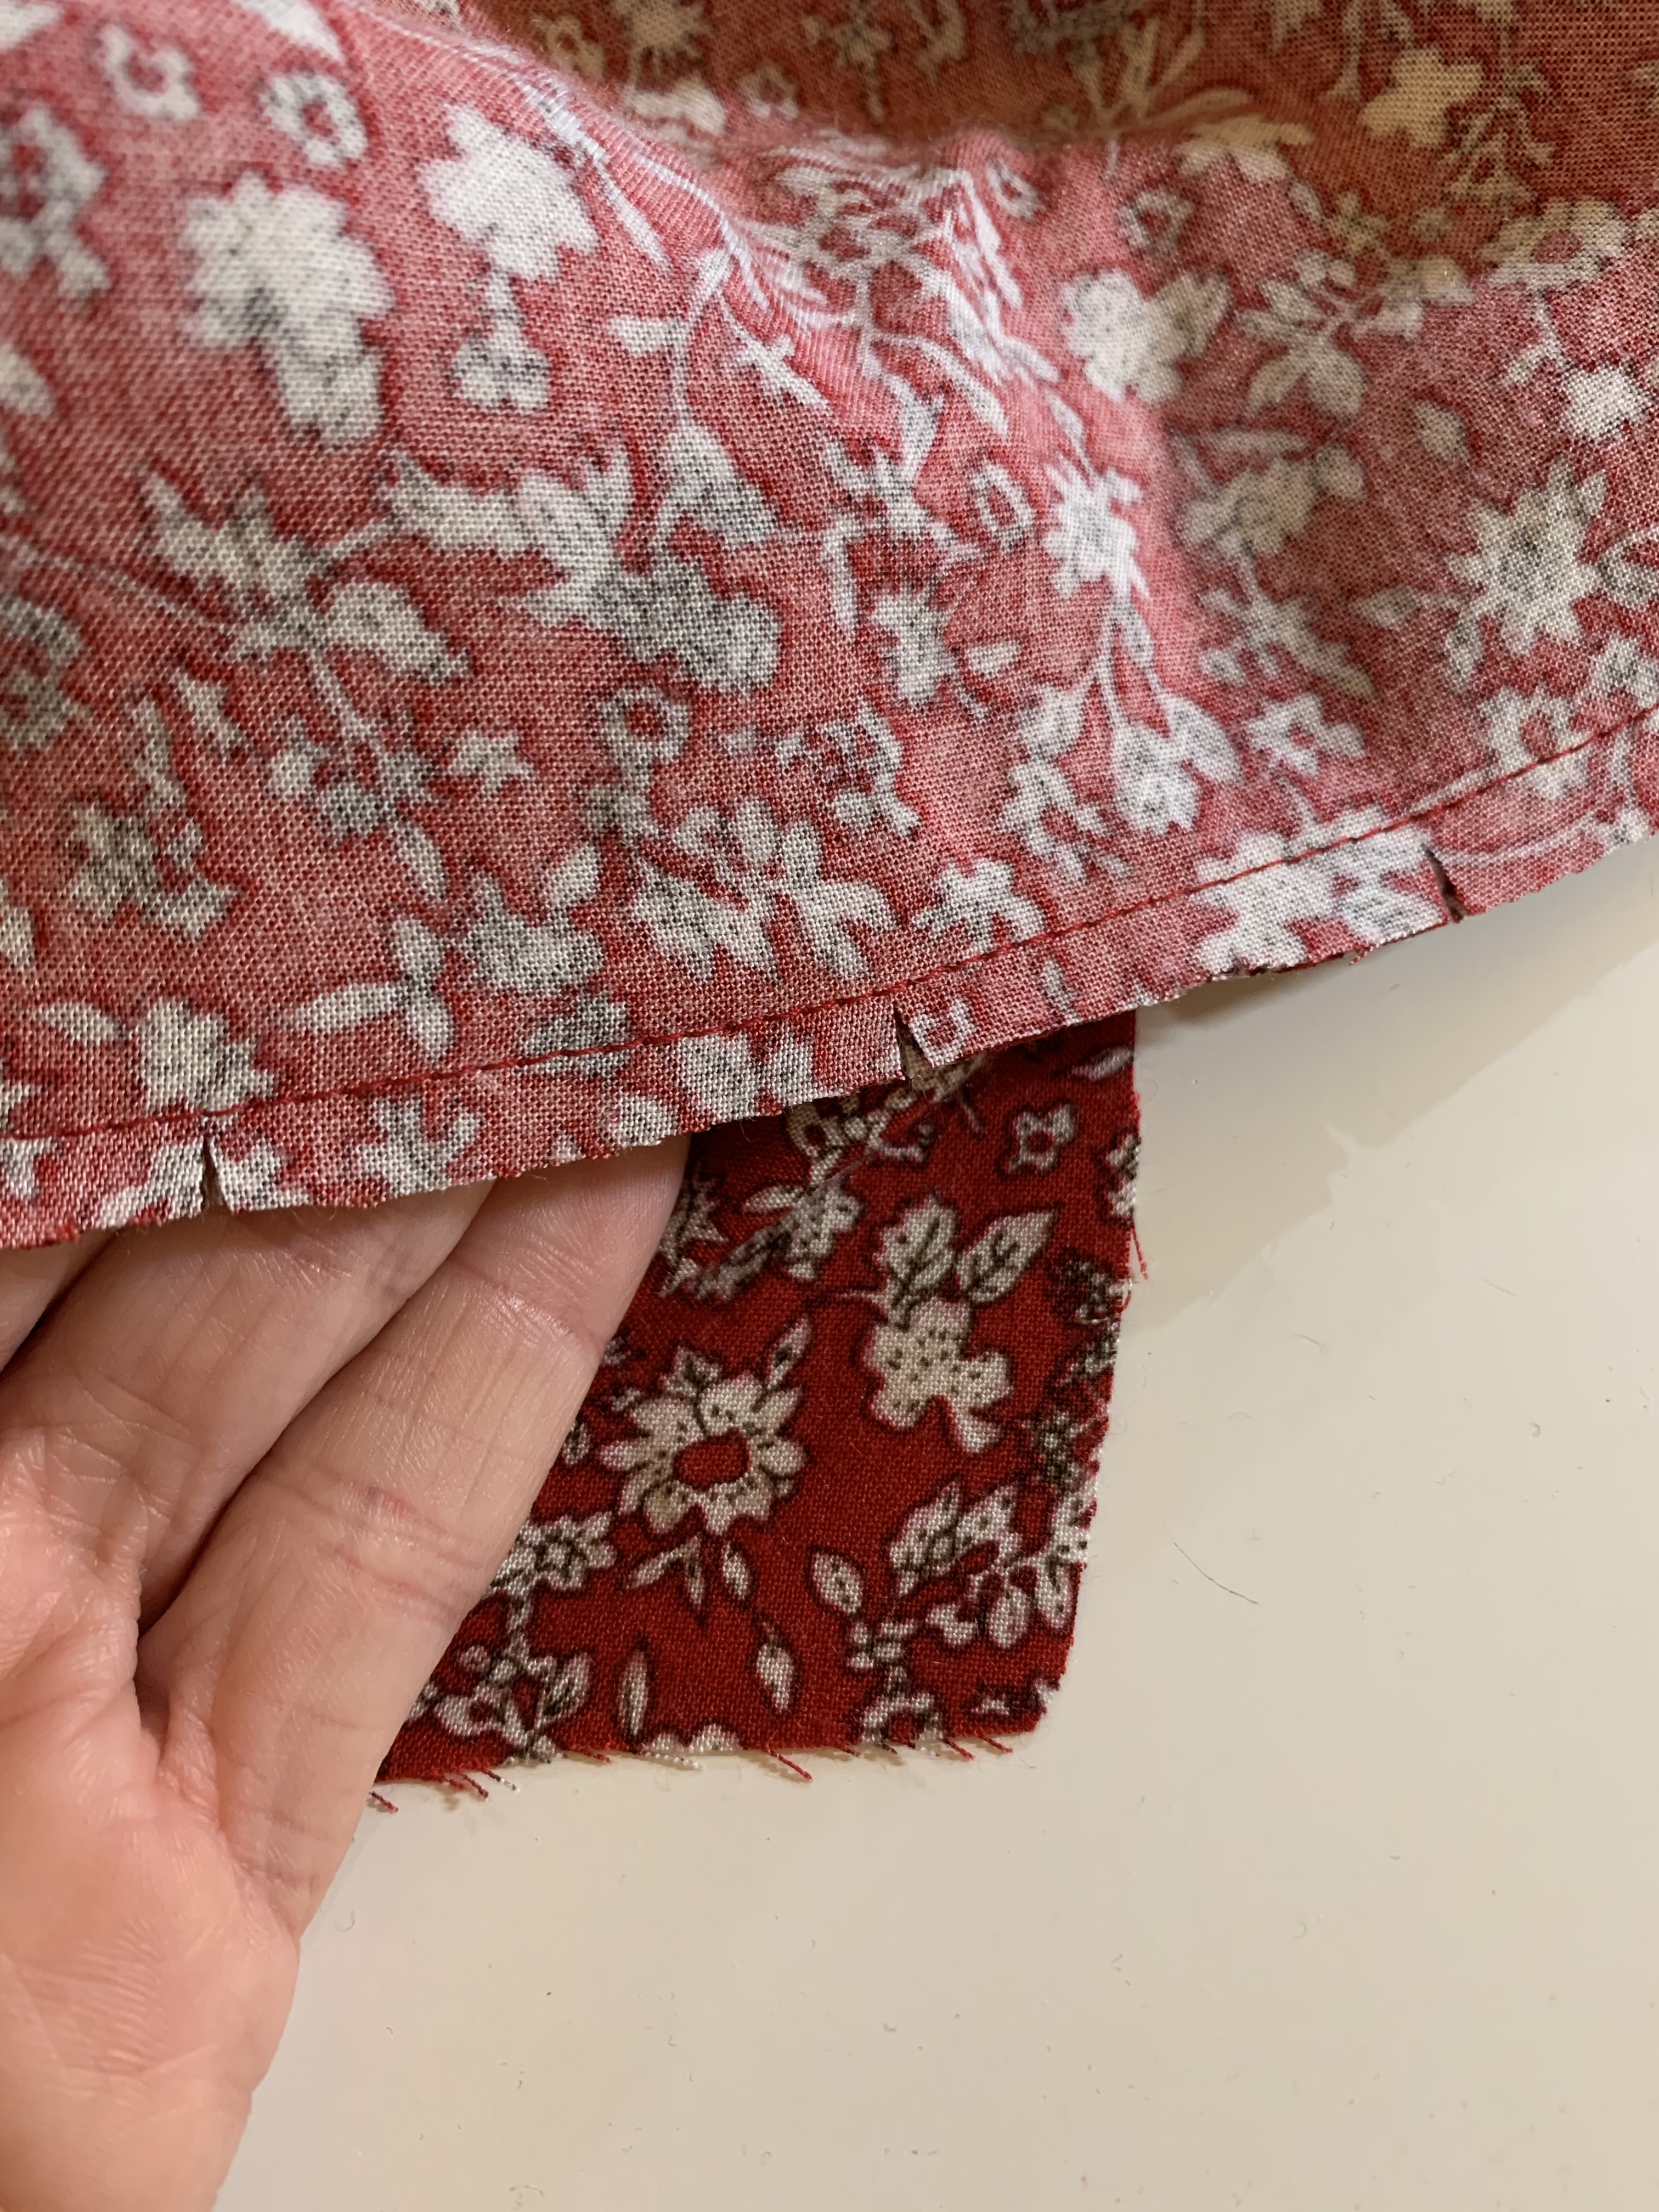
Step 9: Pull the neckline facing away from the neckline and undertstitch right along but not on the seam line.


Step 10: Press the facing under the neckline. Secure the facing by stitching along the shoulder seams, or stitch in the ditch.

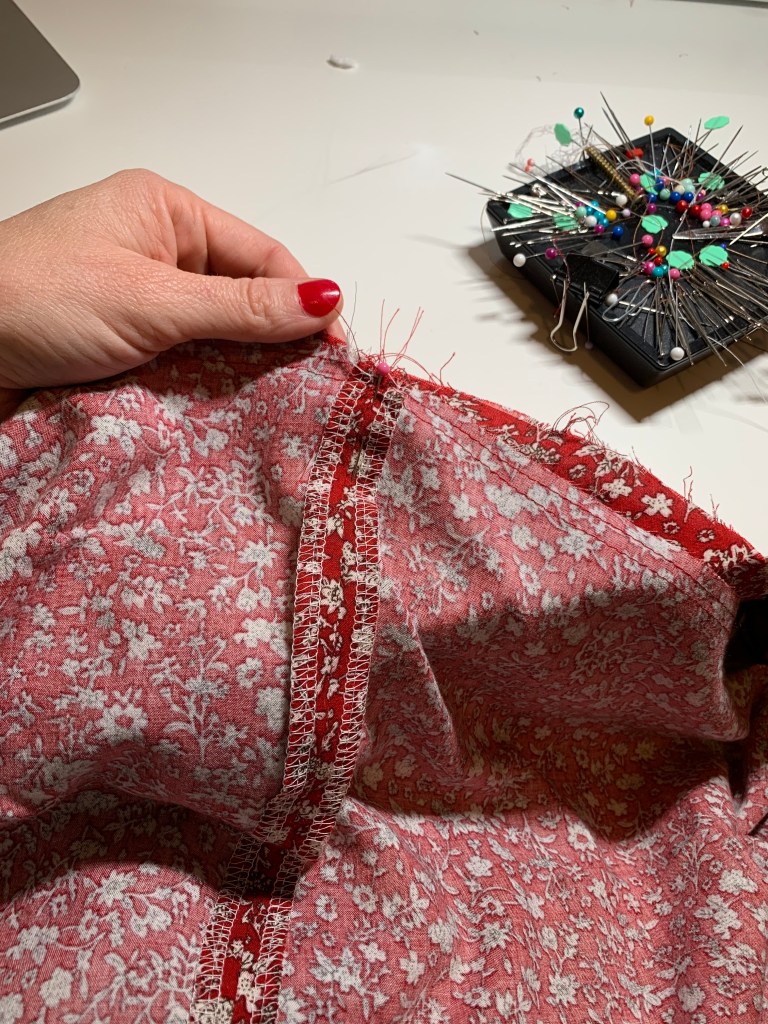
Step 11: Pin bodice side seams together, sew, press open and finish.

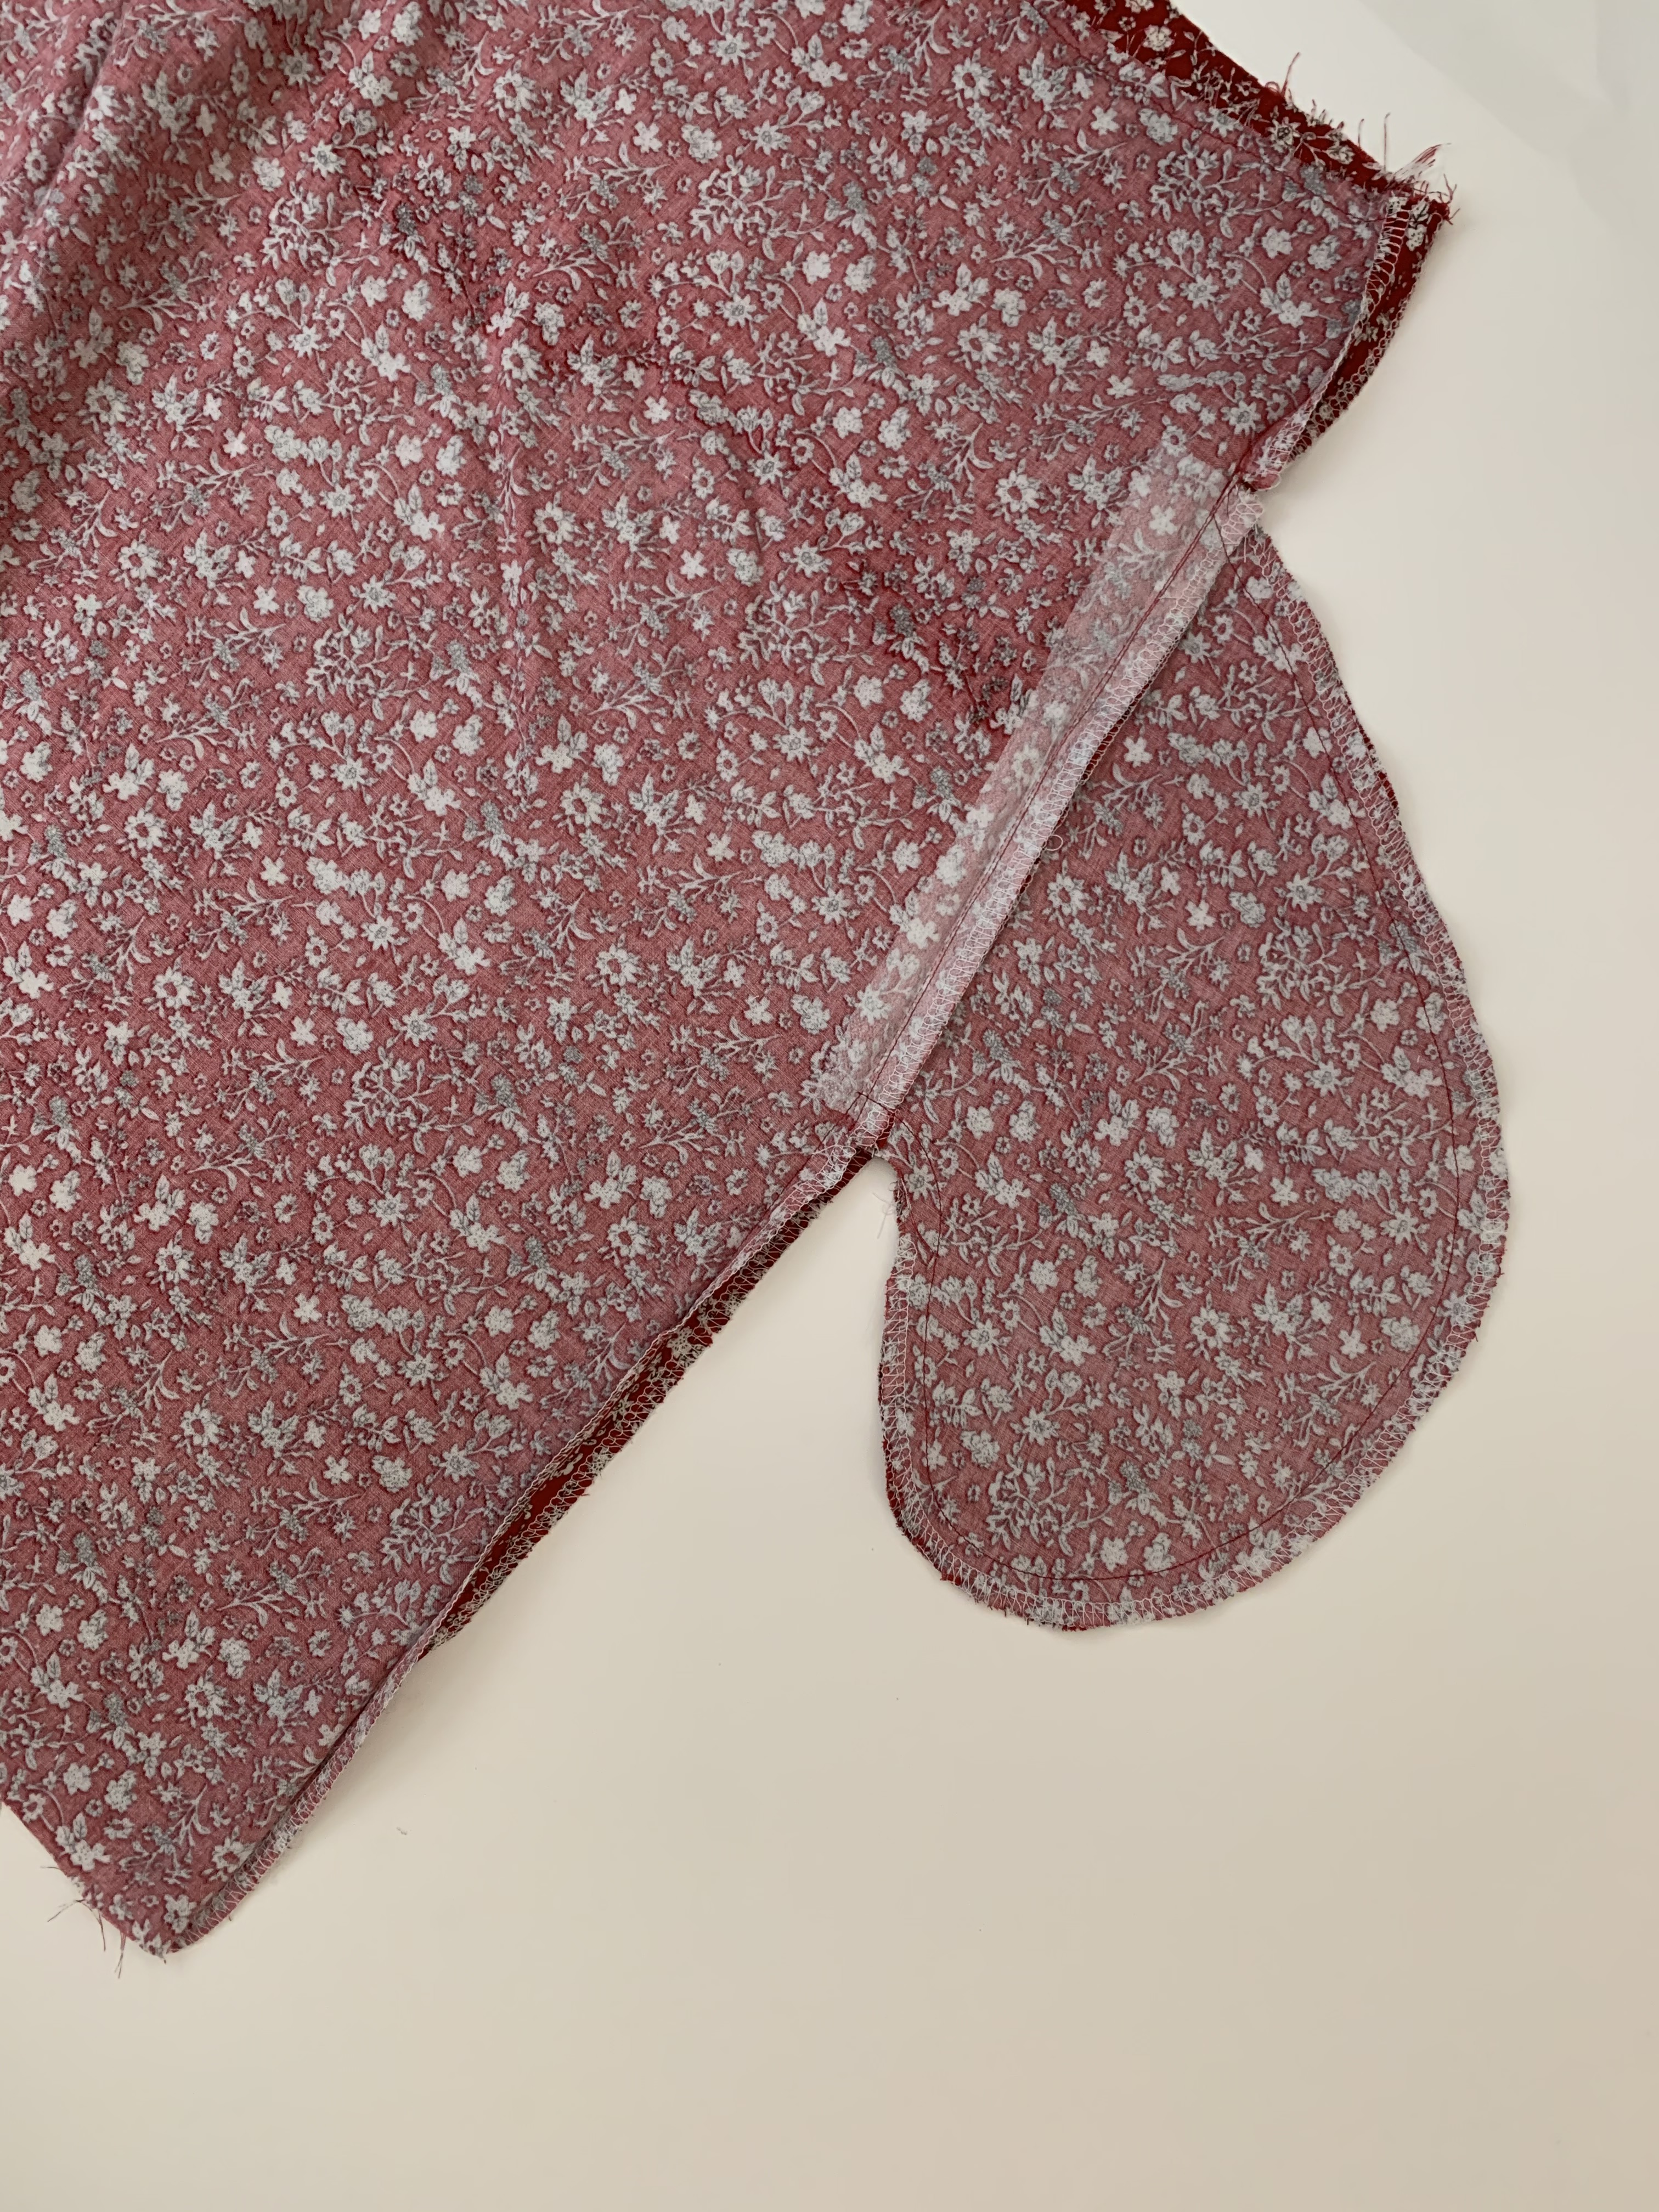
Step 12: Pocket time! Iron on the pocket interfacing strip just under the first pocket notch.

Step 13: Finish all edges of the 4 pocket pieces. Finish skirt front and back side seam edges too. Pin pocket right sides together on the front and back skirt pieces matching the pocket notches. Sew all four pockets on front and back skirt pieces.

Step 14: Press the pocket bags away from the skirt, and understitch.

Step 15: Place front and back skirt pieces right sides together, pin along the skirt and pocket edges, and sew. Clip in to the seam allowance right above and below the pock bag (but not through the stitching). Press the pockets towards the front skirt.
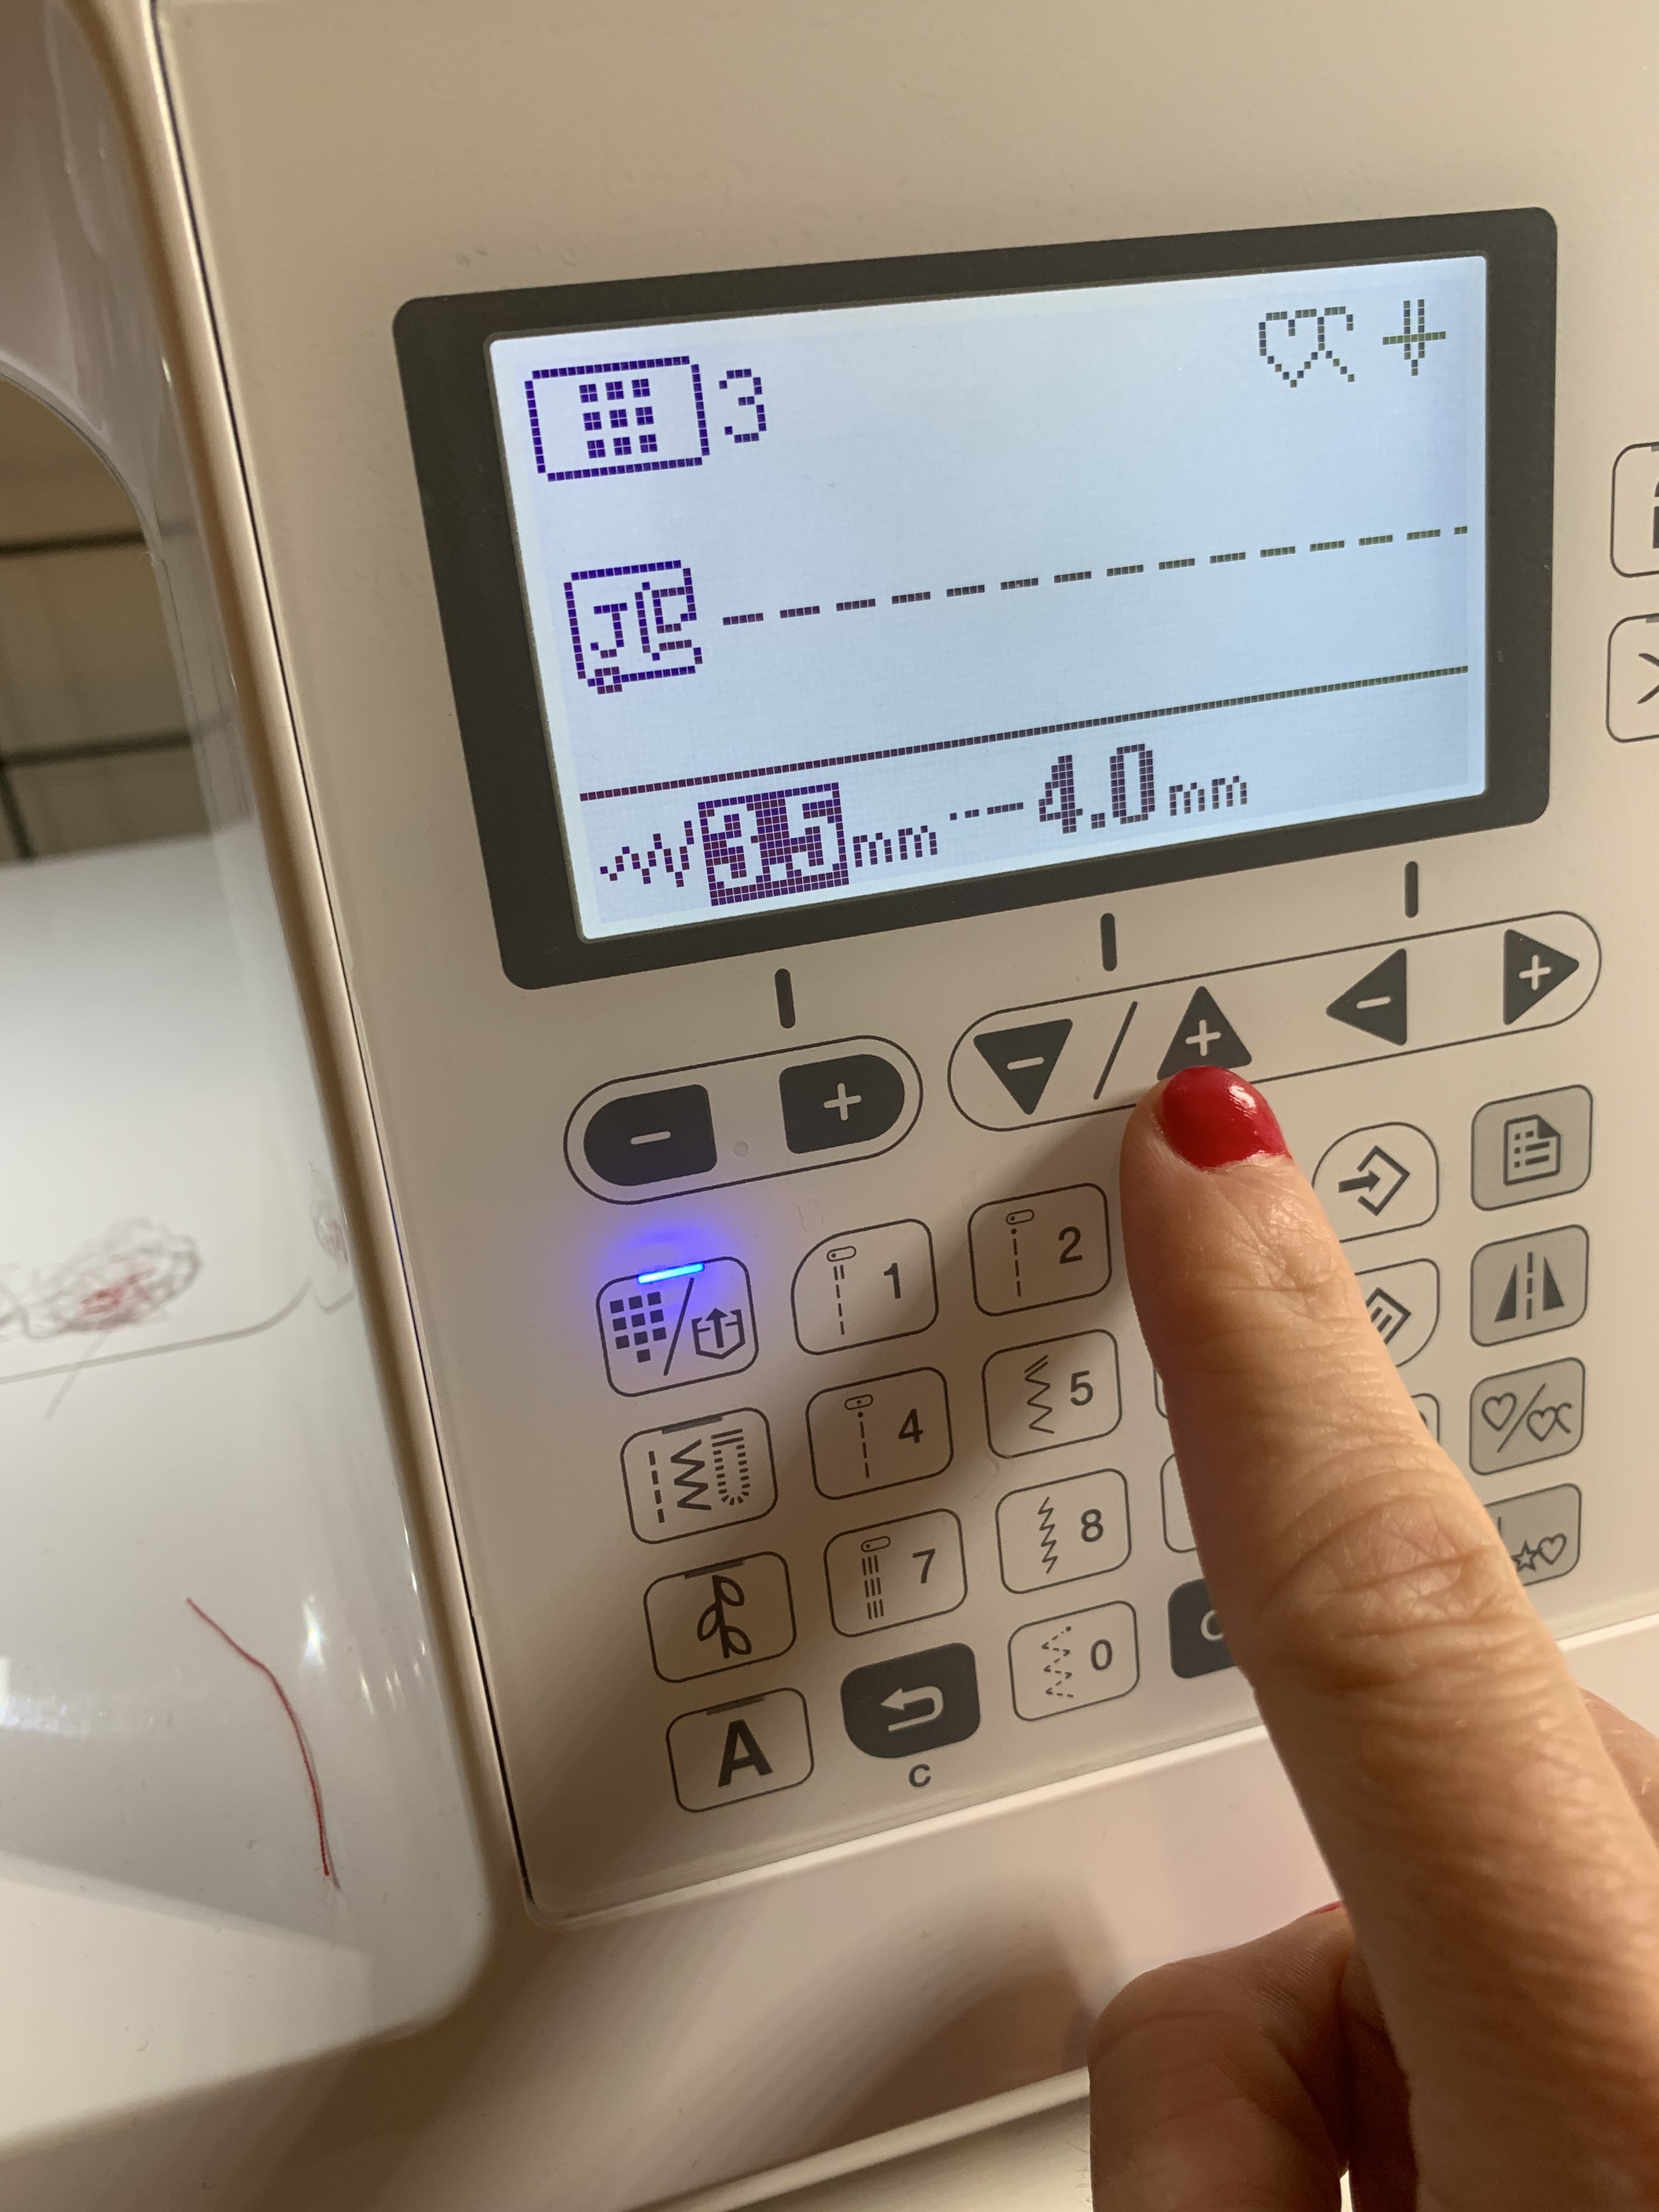
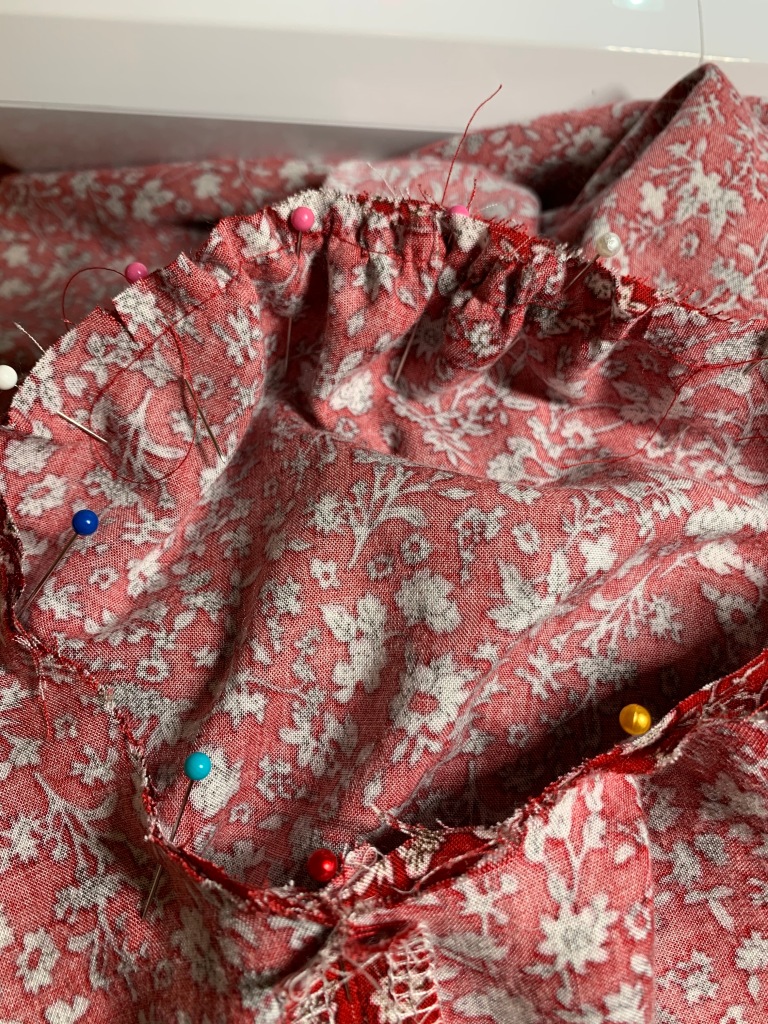
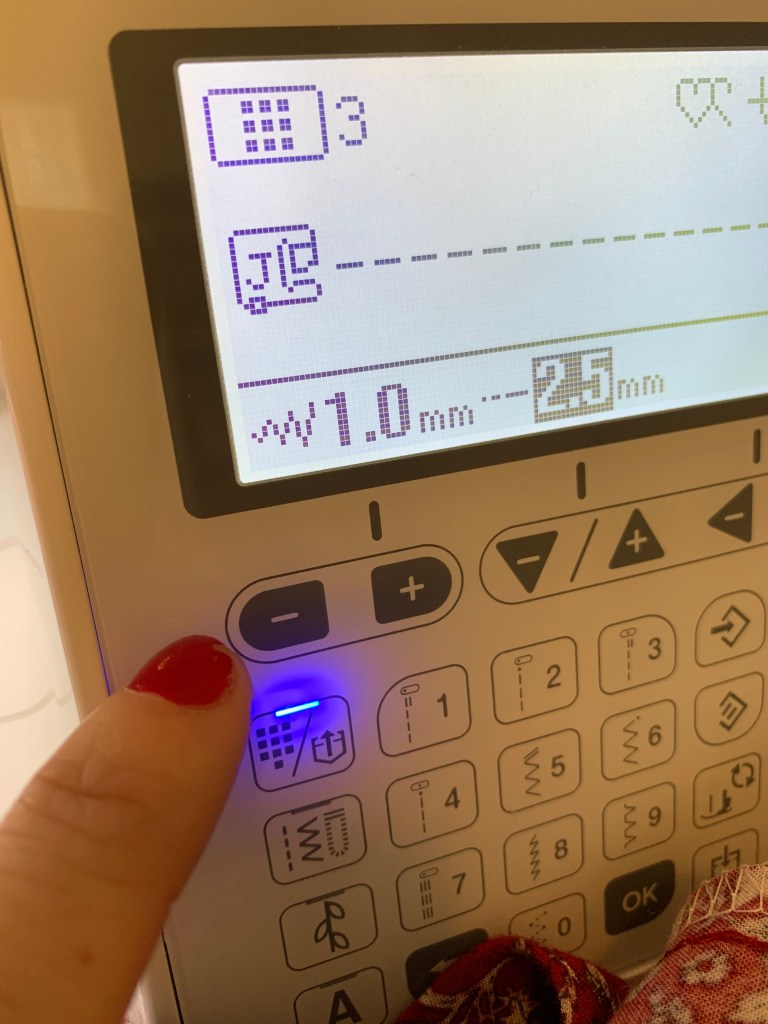
Step 16: Sew two rows of gathering stitches along the top of the skirt piece at 1/4″ and 1/2″ using a 4.0 stitch length. Pin the bodice and skirt pieces right sides together matching seams. It’s also smart to match the centers of the front and back bodice and front and back skirt to get an even distribution of gathers.

Step 17: Gently pull your gathering threads and evenly distribute the gathers until the bodice and skirt edges match in length. Pin in Place. Sew. Finish the edge and the press the seam up. (See tip below).


Tip: Want to make your gathers look professional? Press them! I always lightly press the seam edge and just so ever slightly press/ steam the gathers as well. I see so many beautiful gathered dresses and skirts that aren’t pressed- its makes such a huge differences to do a good steam and press here!
Step 18: If you would like to add the additional tier, follow steps 16 & 17.
Step 19: Sleeves! First, make sure you have marked your notches for the front and back of the sleeves. Sew two lines of gathering stitches between the notches.


Step 19: Sew the edges of each sleeve right sides together, press open, finish.

Step 20: Insert the sleeve into the armsyce. Match notches, seam lines. Pin from under arm to the notch on either side of the sleeve. Pull gathering threads to ease in the top of the sleeve, matching center sleeve and shoulder seams. Pin in place.
Note here: For me personally, the sleeve sewn in at 5/8ths did not sit properly on my shoulder, it was hanging off too much. I would suggest basting the sleeve in first- and adjusting accordingly as needed. From the neckline to shoulder edge, my shoulder length on my dress has a measurement of 3″ to wear the sleeves sit.
Once you get the sleeves right, sew them in at a regular stitch length (5/8ths) , and finish.
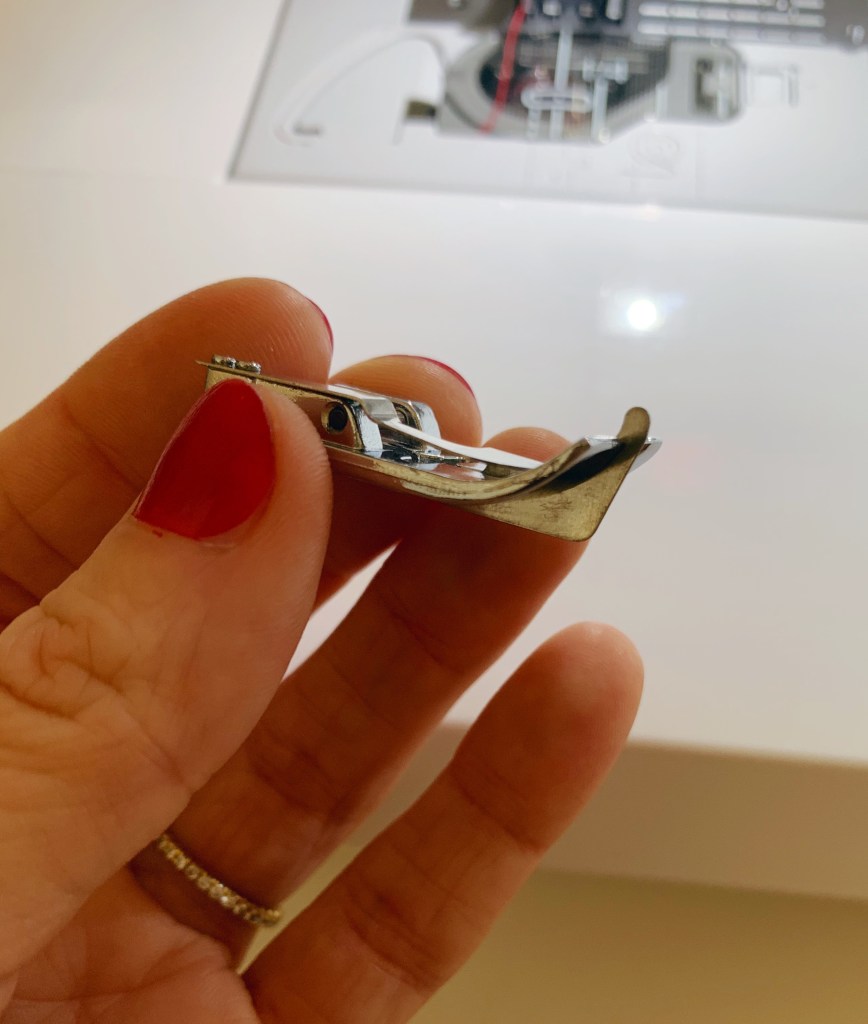
Step 21: Hemming the sleeves and dress hem. Simply press the sleeve edge in at 1/4″ and again at 1/4″, and pin. Press the skirt hem-line to your desired length- I pressed mine at 12″ and 1/2″ again. Using foot R, (you will need to move your needle over to the left slightly) sew along the edge of your pressed edge to finish the hems.


Congratulations! Your dress is all finished.


Leave a comment