
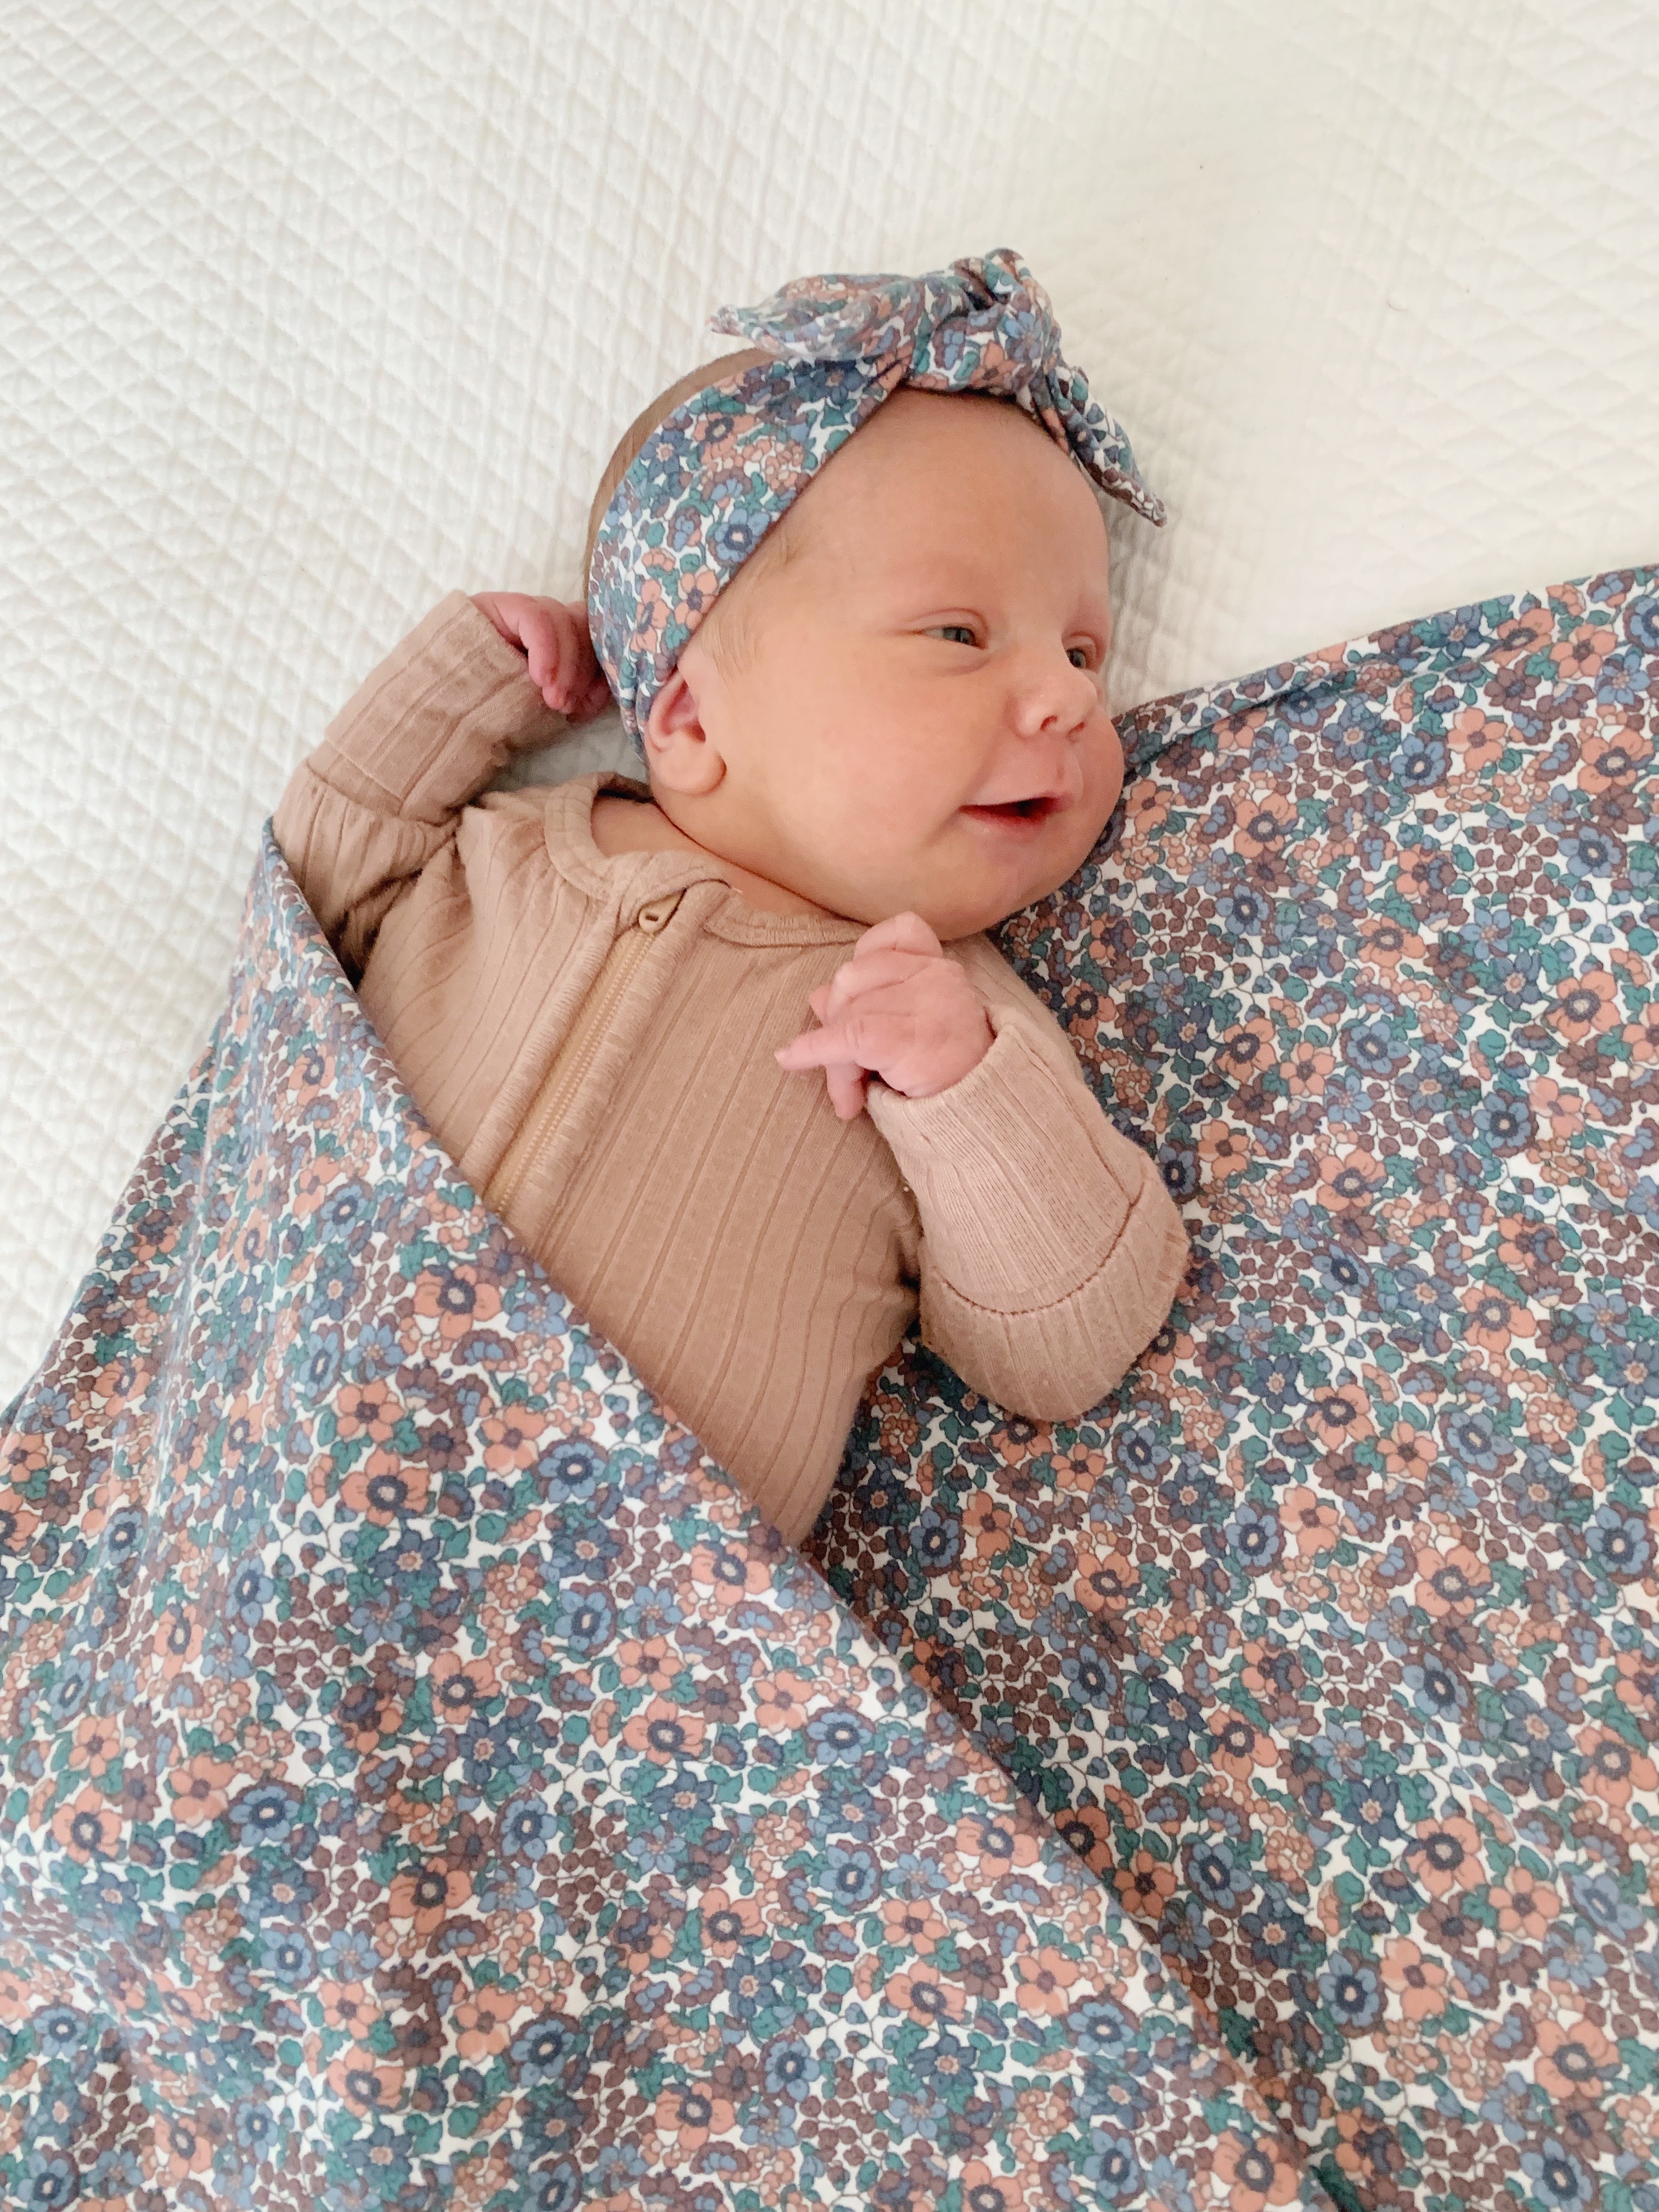
With a new baby girl in our family, I need ALL the bows!! I happen to have some knit scrap fabric on hand and decided to try my hand at making some. I LOVE how they turned out, and I’m excited to show you how I made them. This is a super quick project and would make a great gift to match an outfit or baby swaddle. For this project, I used my Babylock Brilliant Sewing Machine and Celebrate Serger.

Let’s jump right in to the tutorial.
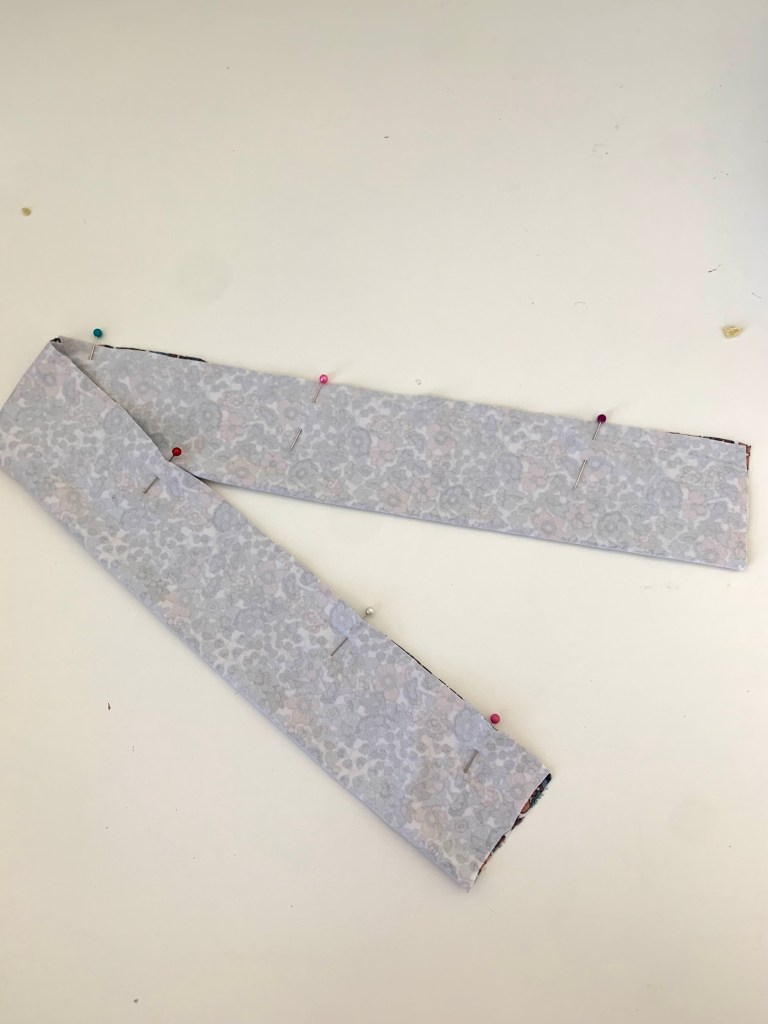
First things first, we need to cut out the fabric. I cut out a rectangle 25″ wide by 4 1/2″ long. This particular bow is meant for a newborn or 0-3 month old baby, head circumference being about 13 1/2″-15″. You could add a few more inches if you are making one for an older baby. These are very forgiving and easy to alter as you go to get the right size.
Once your fabric is cut, pin the long edge right sides together. Sew using a zig zag stitch or serger at 1/2″.

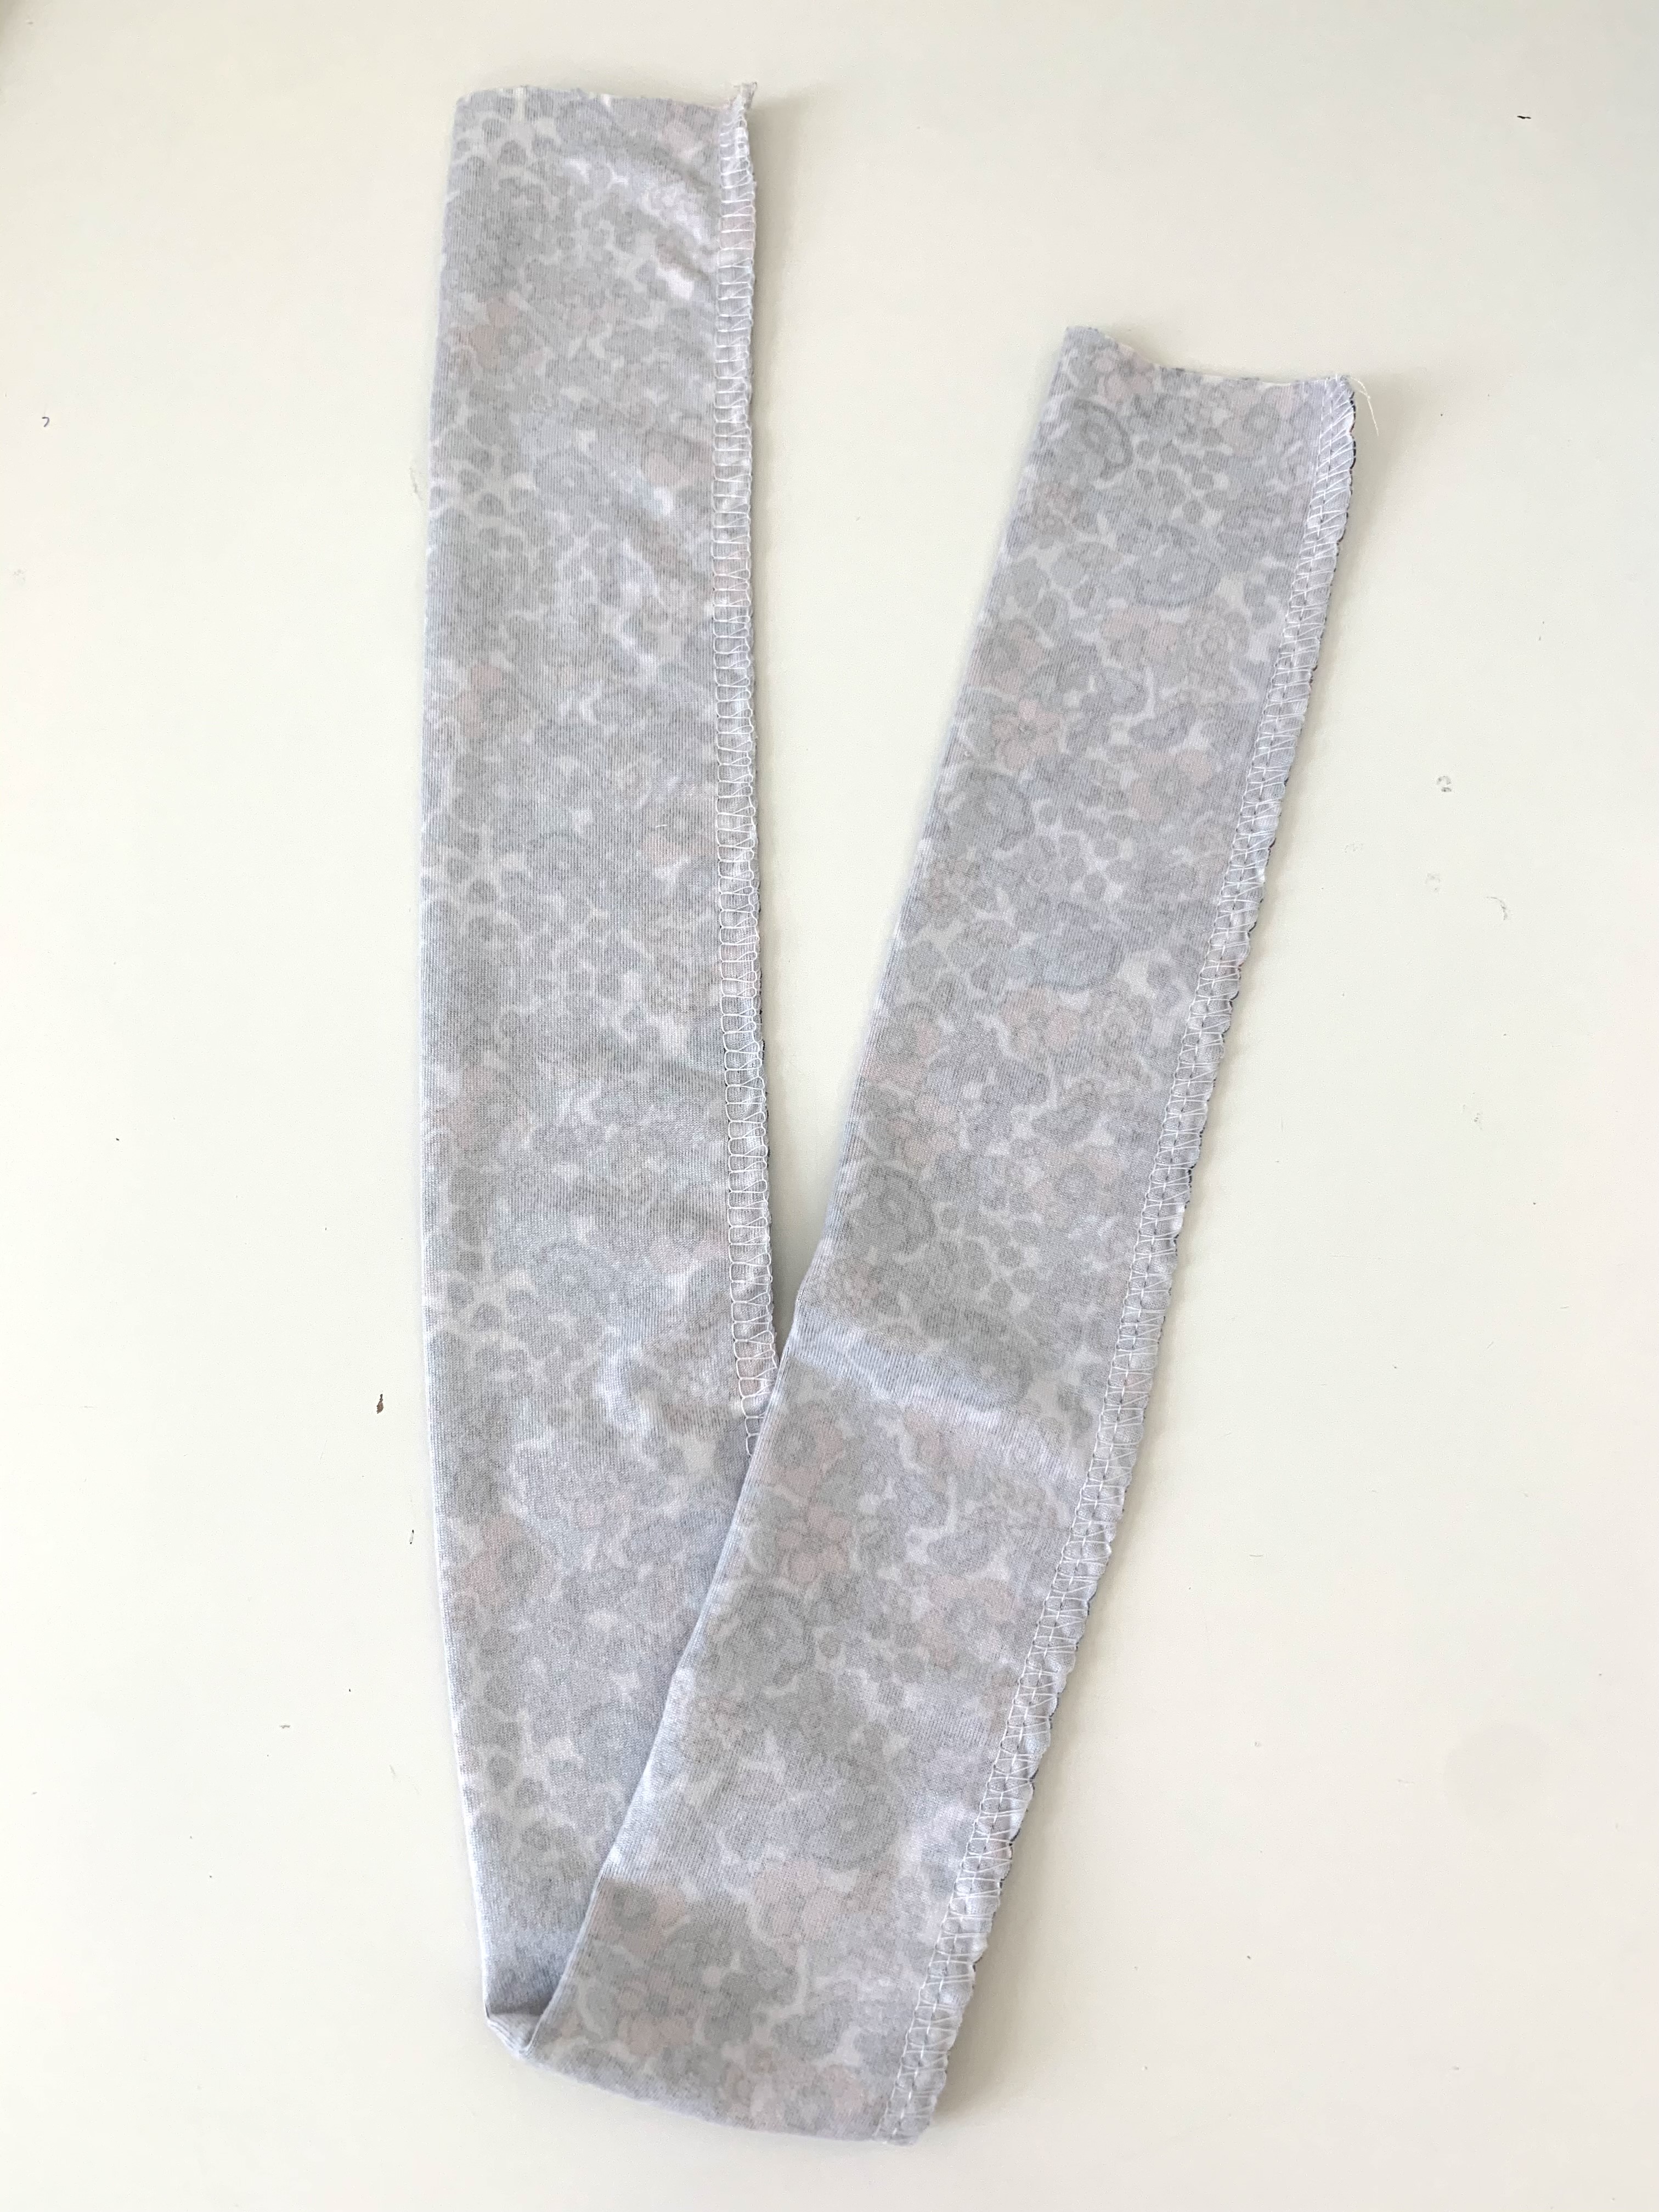
Now, flip the tube right sides out, and press with the seam going down the middle of one side.

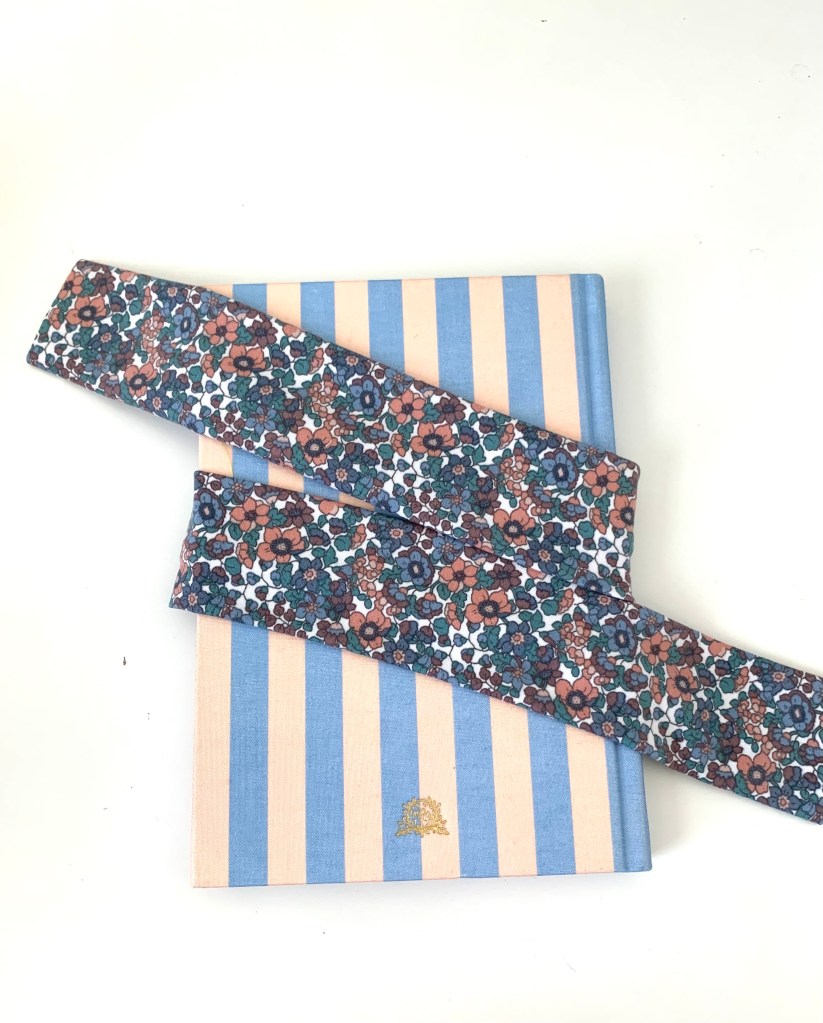
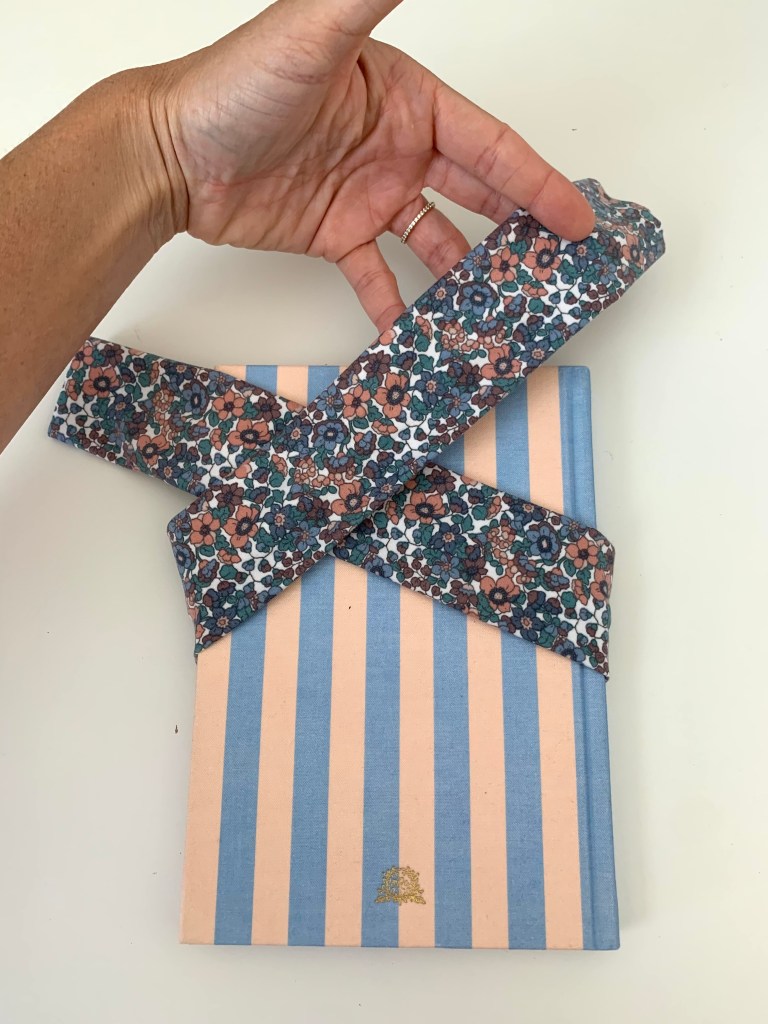
Now it’s time to make the knotted bow. Grab a book or something similar that is about 6″ wide to help you tie the bow. I used a journal I had lying around. Follow these images to help with tying. Also, make sure to keep the seam side from showing on the right side of the bow. It might take a few tries to get it just right.


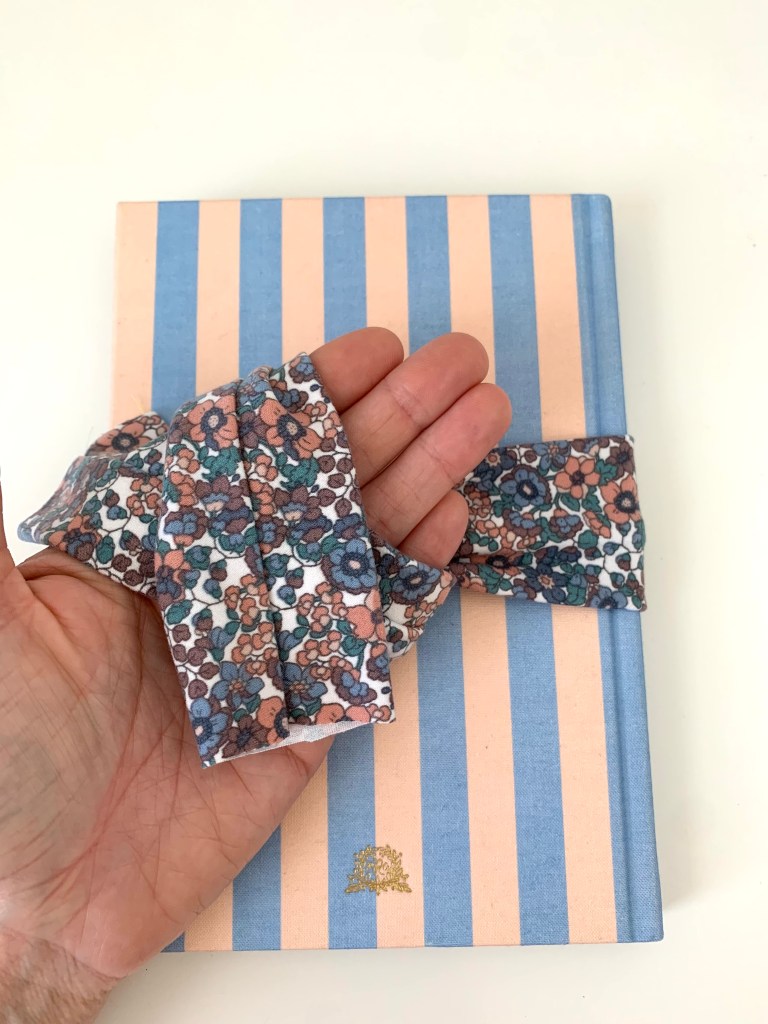
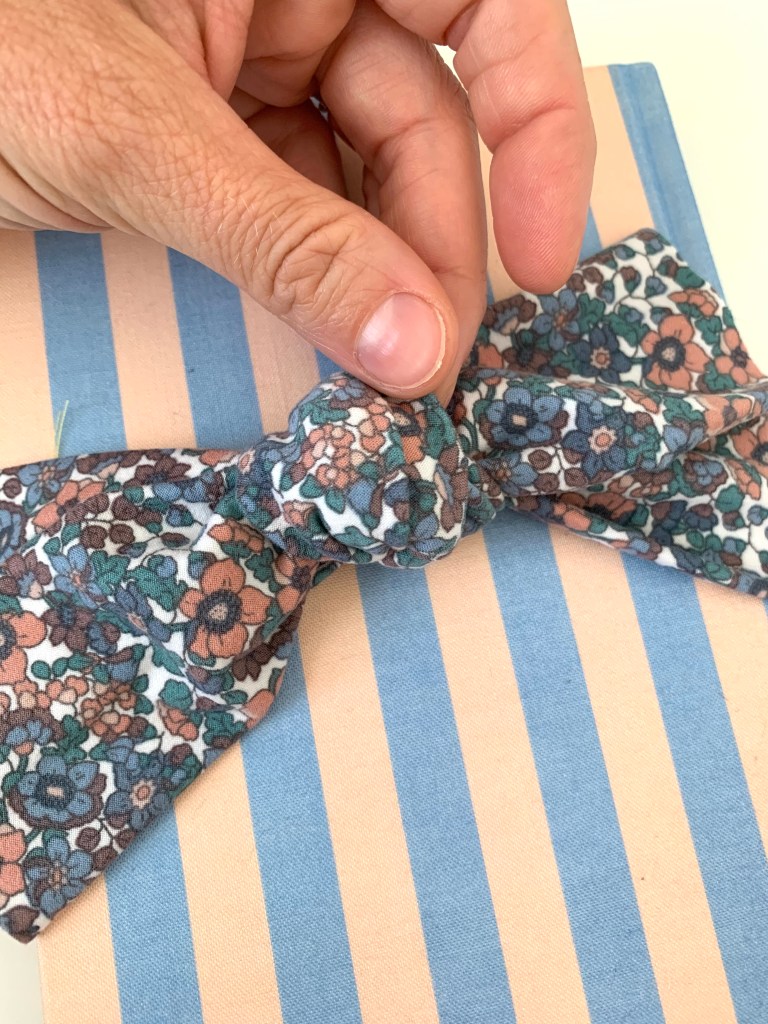
Once you have a knot you like, you can pull the top part of the knot forward (as shown in the last picture) for a more chunky look. Don’t pull the knot too tight.
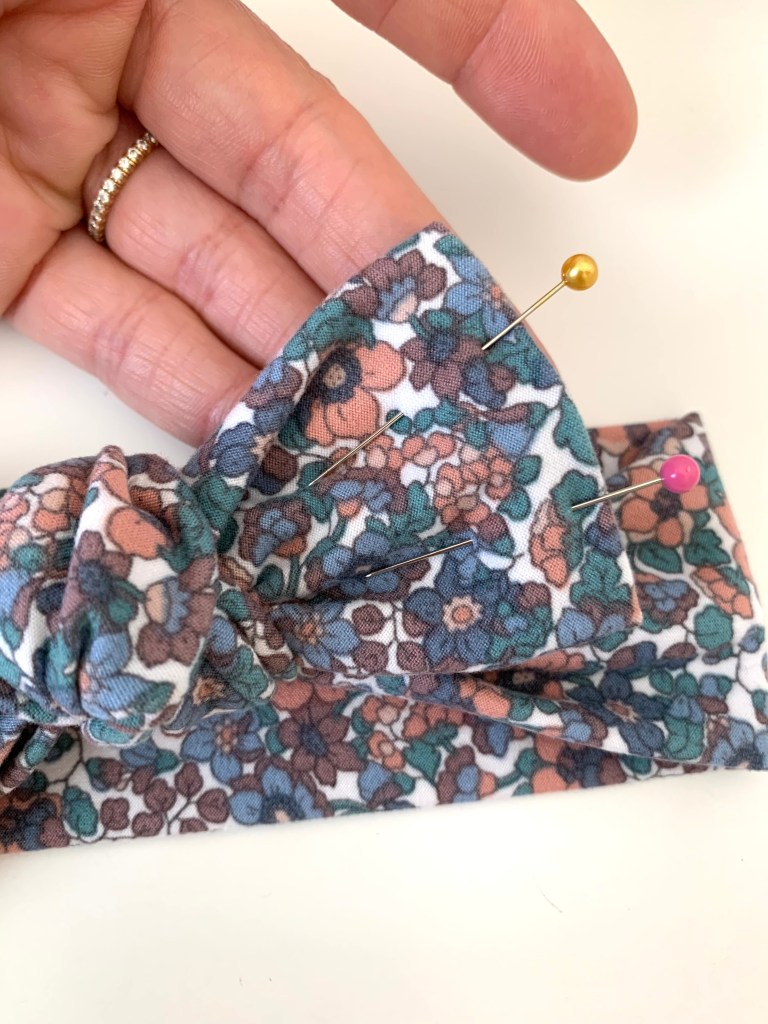
To finish the raw open edges of the bow, fold the ends inside the open end at about 1/2″ and pin in place. I ended up cutting off about 1/5″ off the edge to have a shorter bow, this is why I like to save this part for the end after I’ve tied the knot. Play around with the bow size and length here.

Using an edge stitch foot or foot R if you are sewing with a Baby Lock Machine, (make sure to move the needle over to the right), sew along the open edges of the bow, making sure to backstitch at each end.

I really love how forgiving these headbands are size wise. You can always re tie the bow looser or tighter if you need, and I like that I can adjust it the very end to get just the right size. That it!
I also made a matching knit swaddle to go with my bow. You can find the tutorial here! Happy sewing!


Leave a comment