

This post is sponsored by Baby Lock sewing but all opinions are my own.
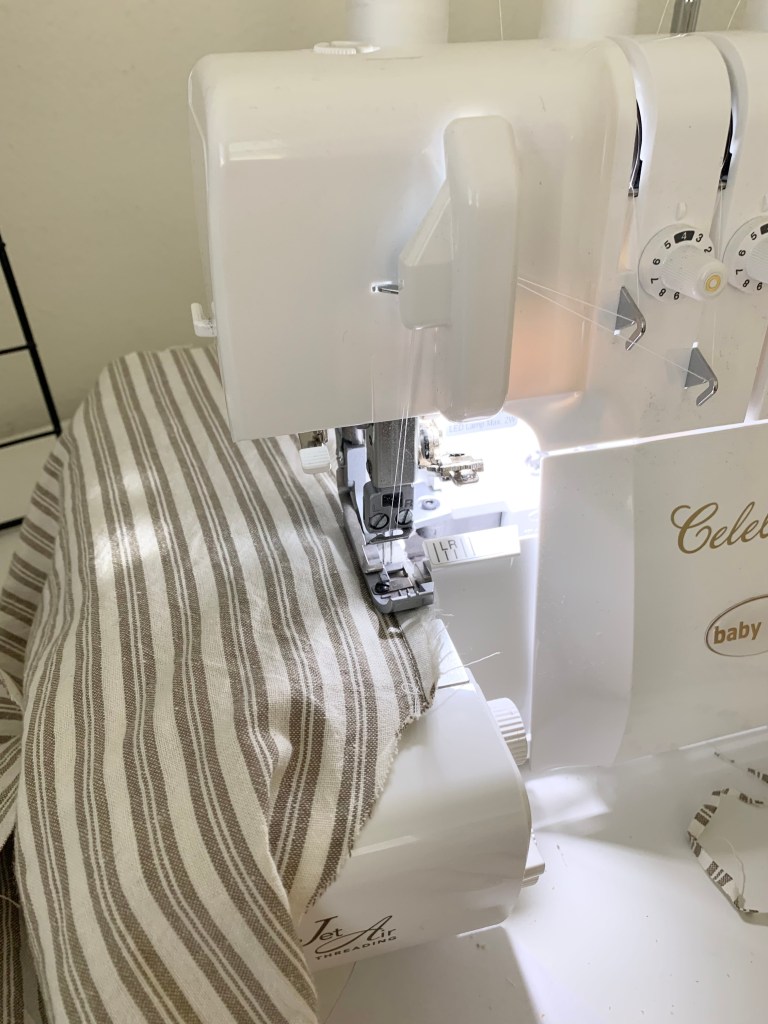
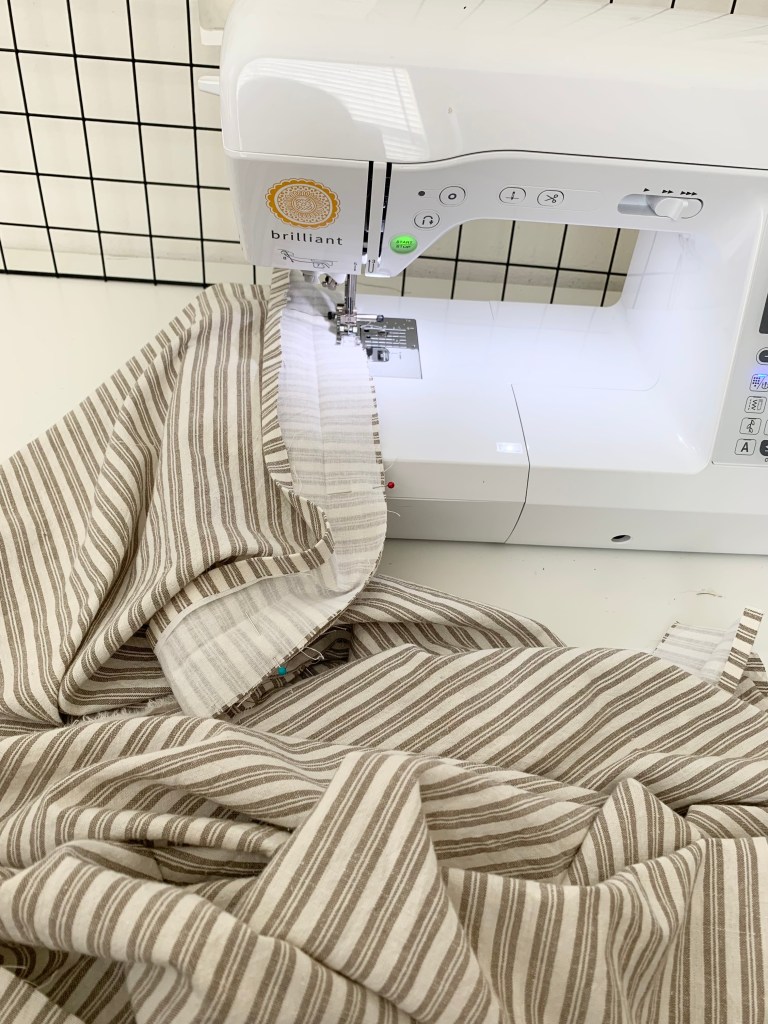
For this project, I used the Baby Lock Brilliant Sewing machine and the Baby Lock Celebrate Serger. Can’t say enough good things about these machines!
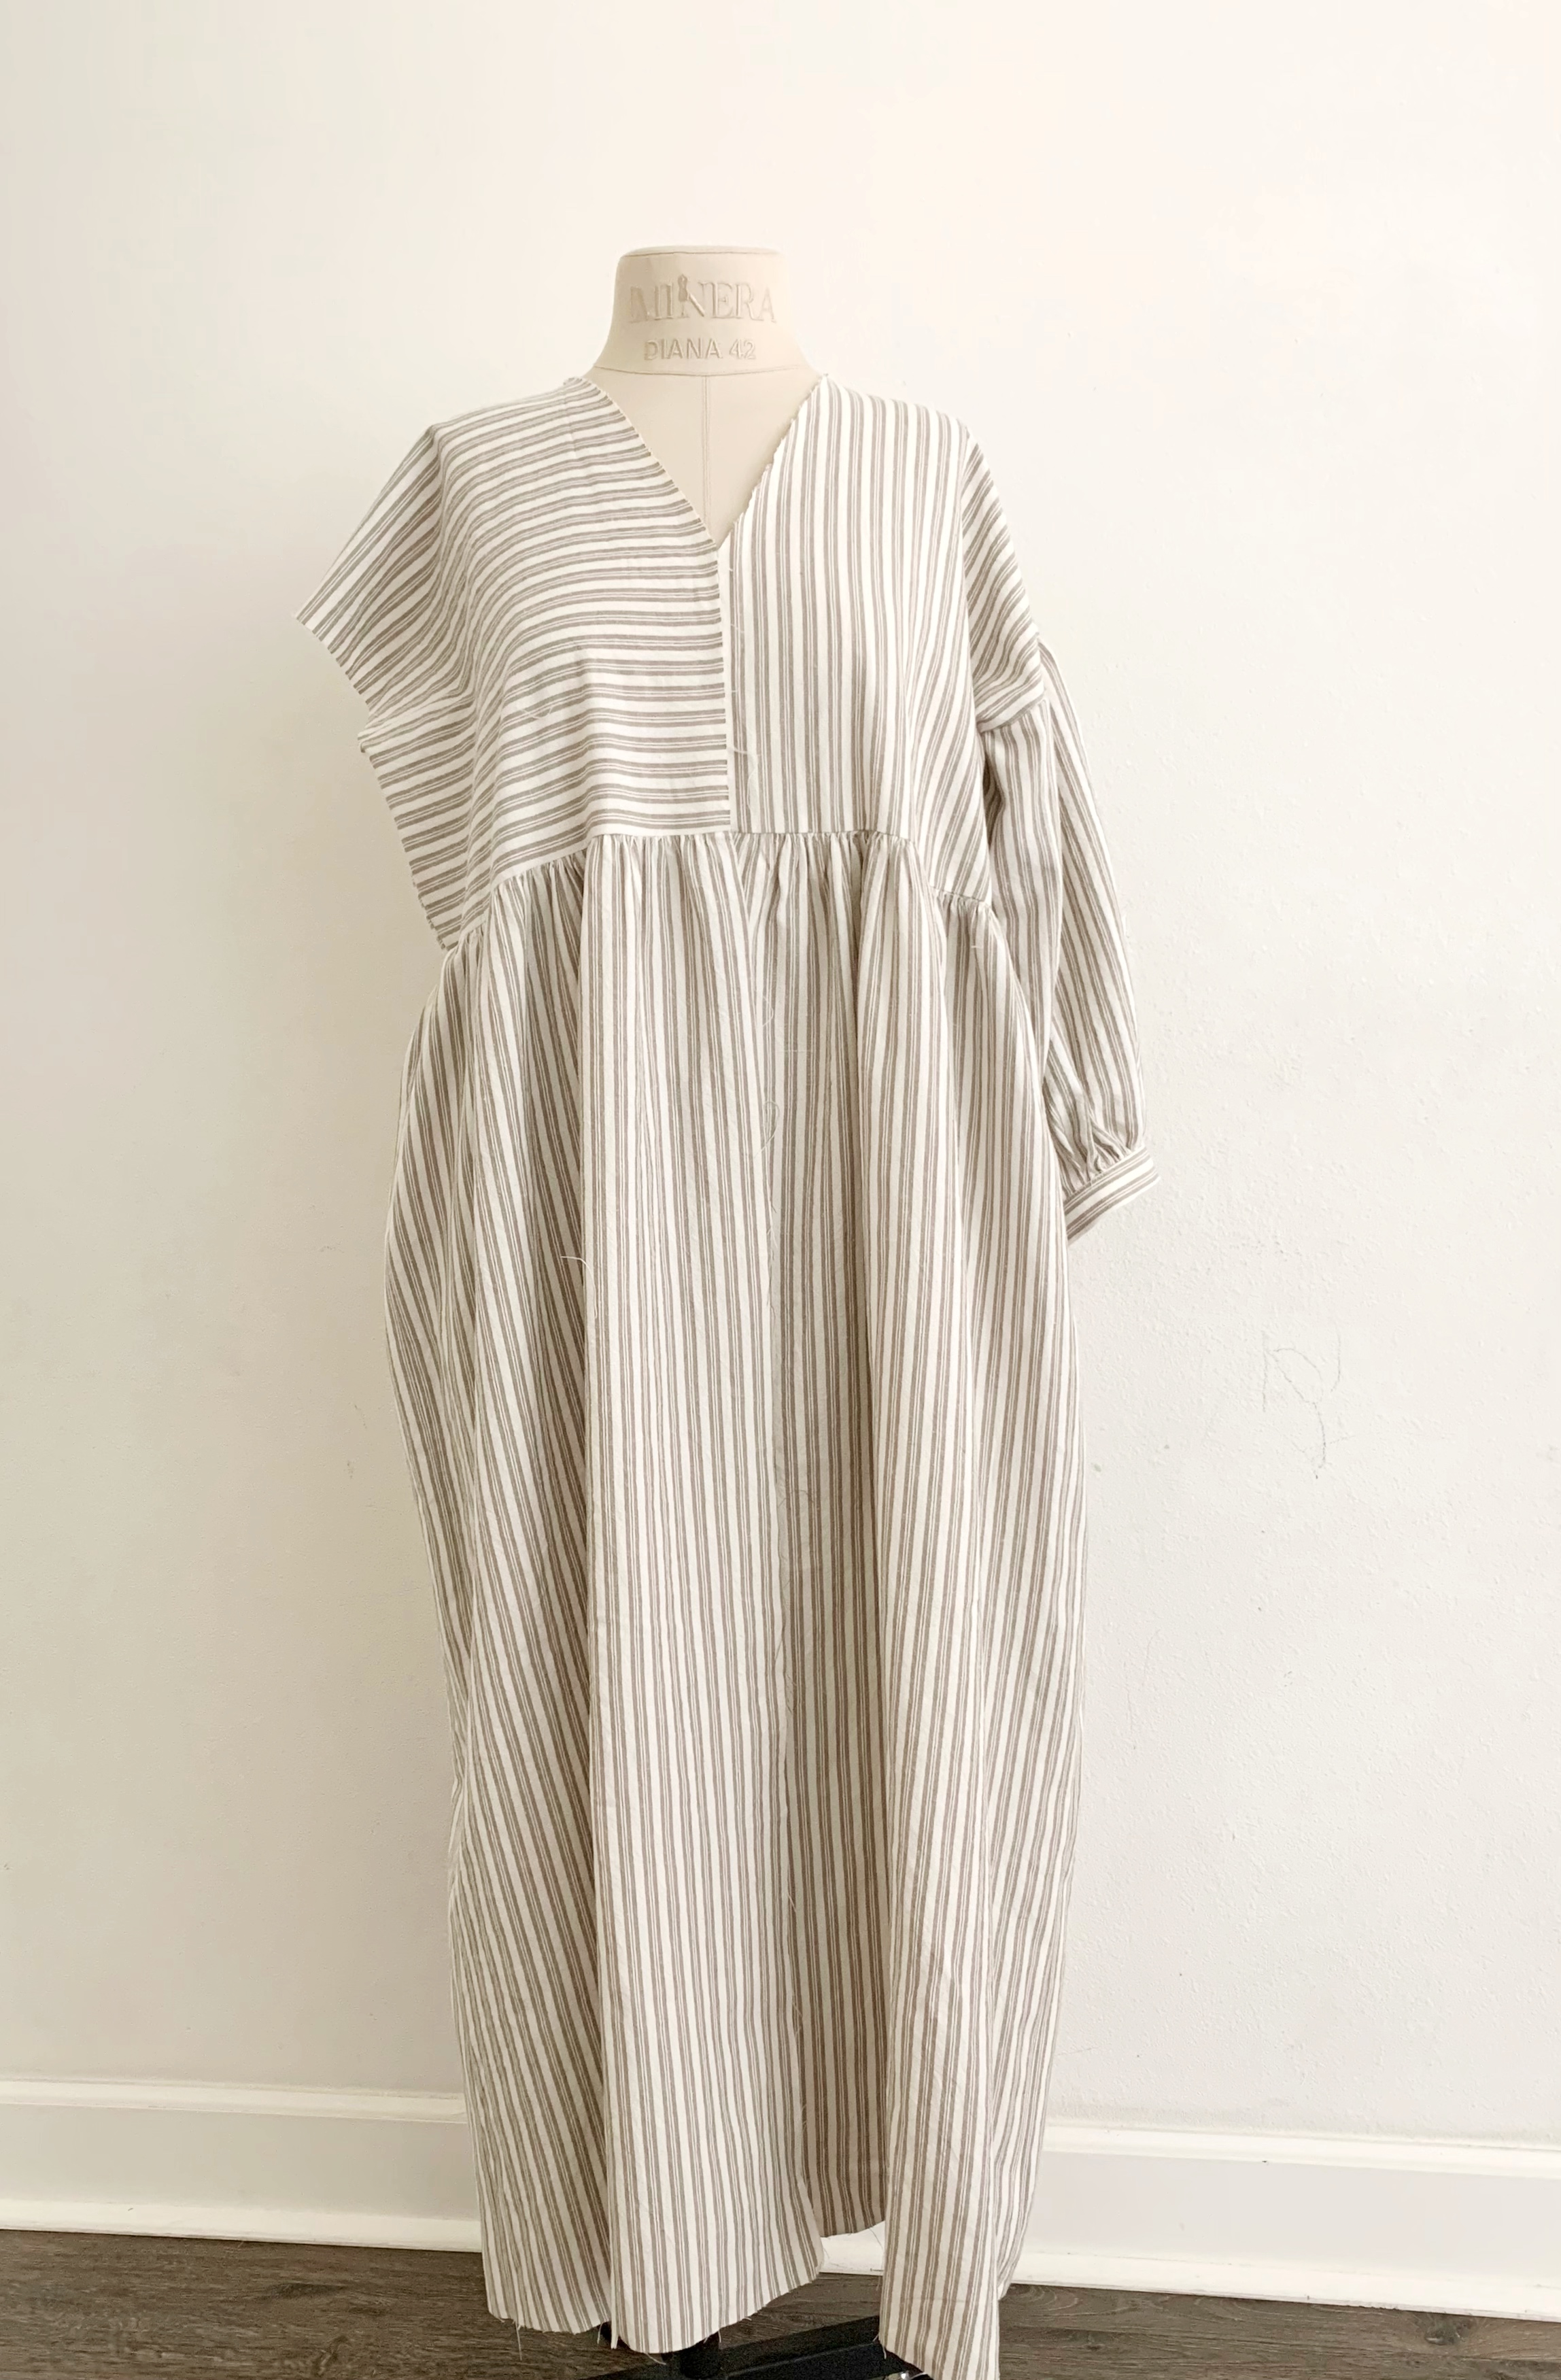
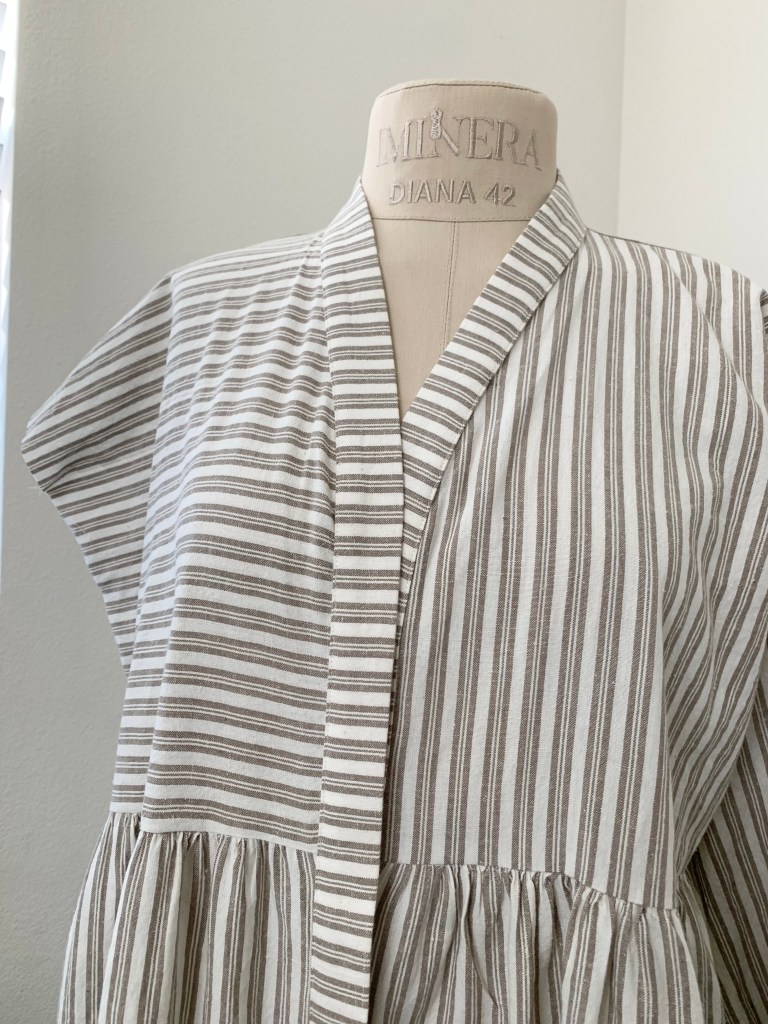
I’ve been looking for a dress that would work for the end of my pregnancy but that would make a great postpartum dress as well. It needed buttons for nursing, loose, comfortable fit and something fun for the beginning of fall. The ZW Gather Dress has everything I was looking for.
Now, when it came down to picking a fabric, I kept picturing this dress sewn in a dreamy neutral linen check or stripe. I couldn’t find quite find what I was looking for, and that was also affordable. When I was about to give up, I remembered Hobby Lobby sells fabric and thought I would pop in to see if they happened to have what I was looking for. YOU GUYS!! Hobby Lobby! Who knew!? They had exactly what I had been searching for and guess what…. it cost me $19 for 4 yards of fabric. I chose this really beautiful linen/cotton blend neutral stripe fabric, and I am soooo happy with the finished result.
This pattern calls for fabric that is 53″-61″ wide. The fabric I purchased was 43/44″ wide. I knew I was going to play with the stripe placement a bit, so the original cutting format the pattern calls for was a bit different for me, and I was able to create and cut out my pattern pieces for 53″ wide fabric. The pattern walks you through how to figure out your pattern sizing based off of the width of your fabric. I found it helpful to draw out and create pattern pieces for this dress since I would be playing around with the striped direction, but it’s intended to not need a paper pattern, but to draw the pattern pieces directly on the fabric.
This pattern is also intended to have zero fabric waste (which is really awesome!) but since I didn’t follow the exact guidelines i had a few scraps left over from 4 yards. I also omitted the pockets so that could have helped minimize the waste too.
I have a smaller frame so I didn’t mind making my dress based off of 53″ wide fabric. To be honest, it feels a little too wide even based off 53″, I may try to take it in a little sometime in the future- I just couldn’t quite tell how it would fit postpartum while I was sewing this dress with s pregnant belly. I’m 5′ 4″ for reference with a 33″ bust and 27″ waist typically (but three weeks postpartum measuring a little bigger at the moment).
I put my dress together slightly differently than the pattern suggests, so I thought I would create a sewing tutorial for you to walk you through what I did. This dress was very straight forward to sew, and working with linen is always a delight. I also had a lot of fun playing the the direction of the stripes. Let’s get right into it!
ZW Gather Dress Sewing Tutorial:
- Create or directly mark your pattern pieces to the fabric. I based my pieces off of 53
wide fabric but used 43/44″ wide fabric. I played with my striped placement as follows:
Front Bodice: Left side cut along the vertical stripe and right side cut along the horizontal stripe. Back Bodice: Cut along the horizontal stripe Sleeve Cuff: Cut along the horizontal stripe Placket: Cut along the horizontal stripe All Other Pieces: Cut along vertical stripe
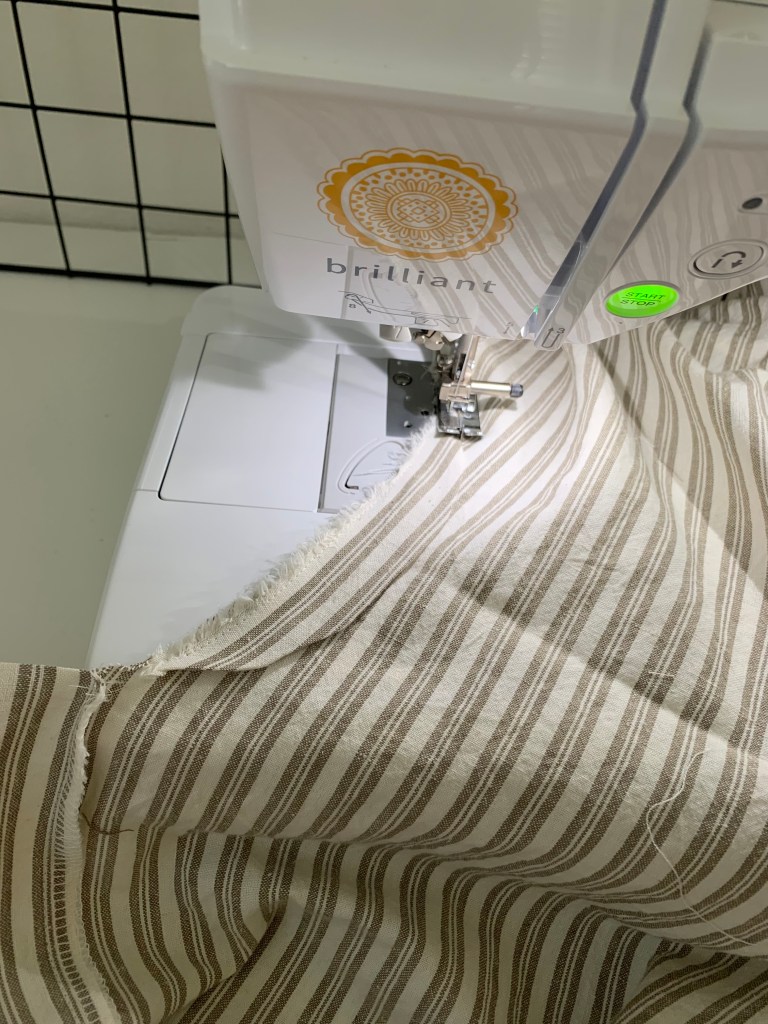
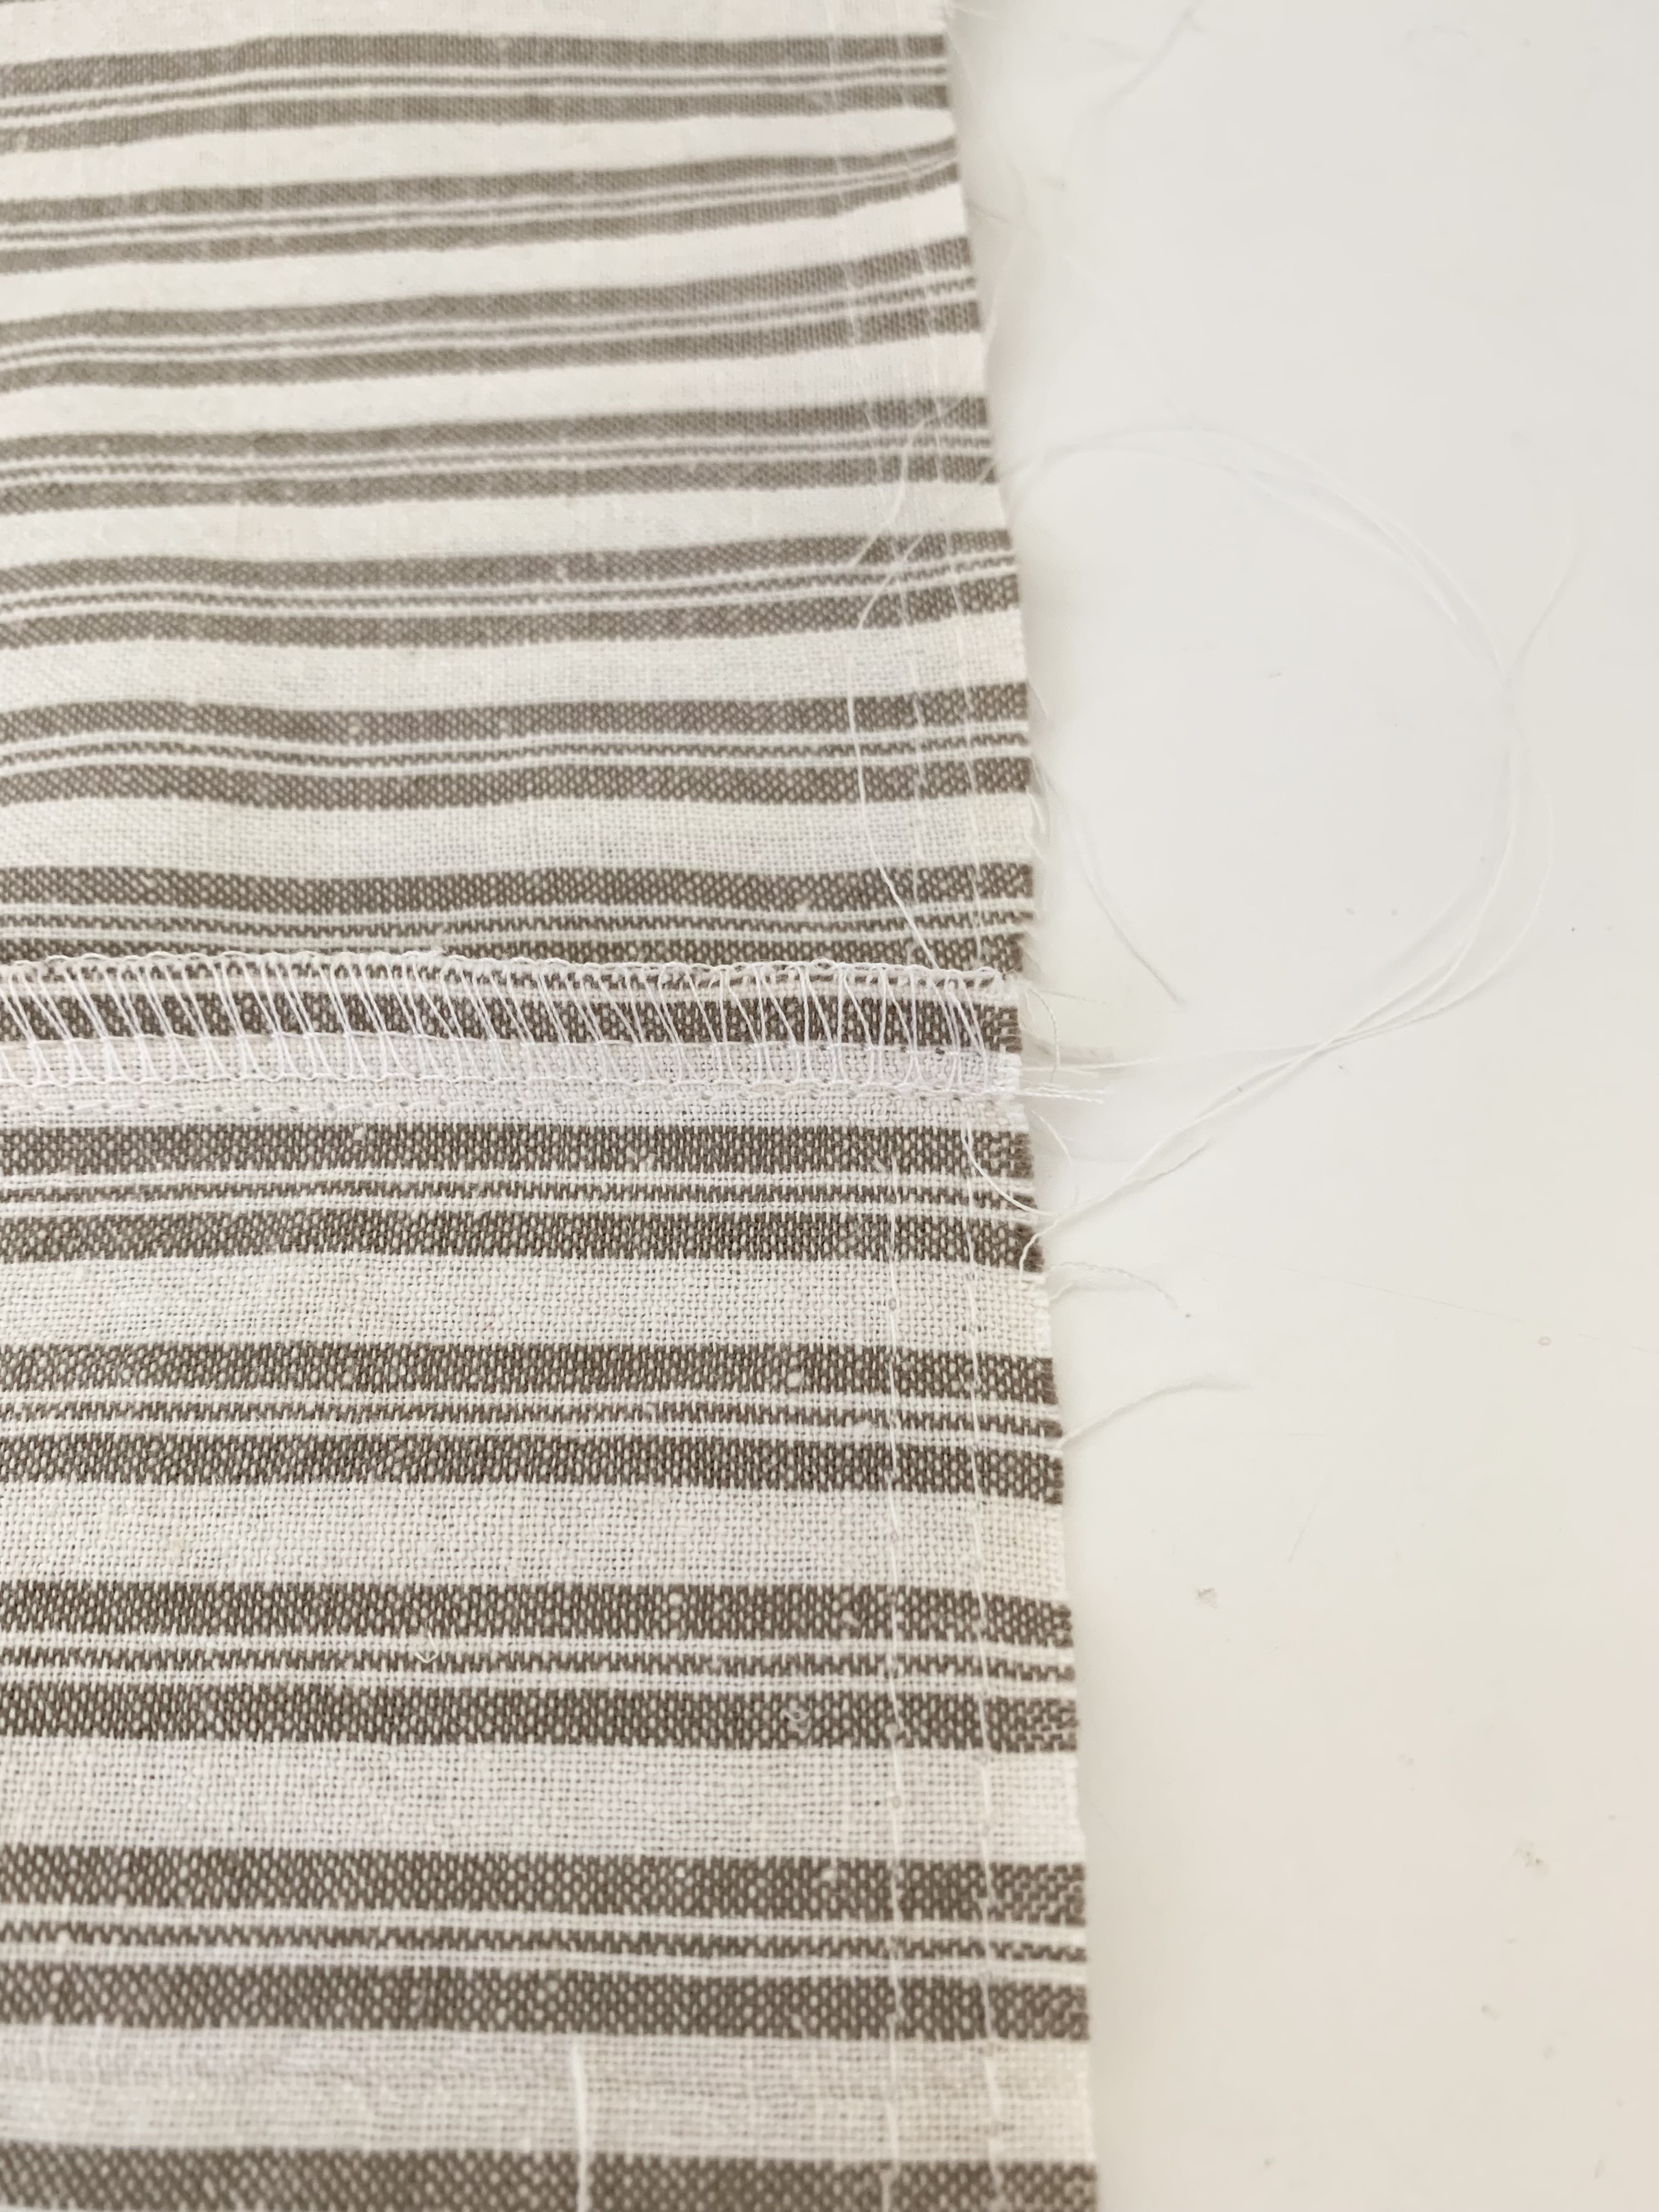
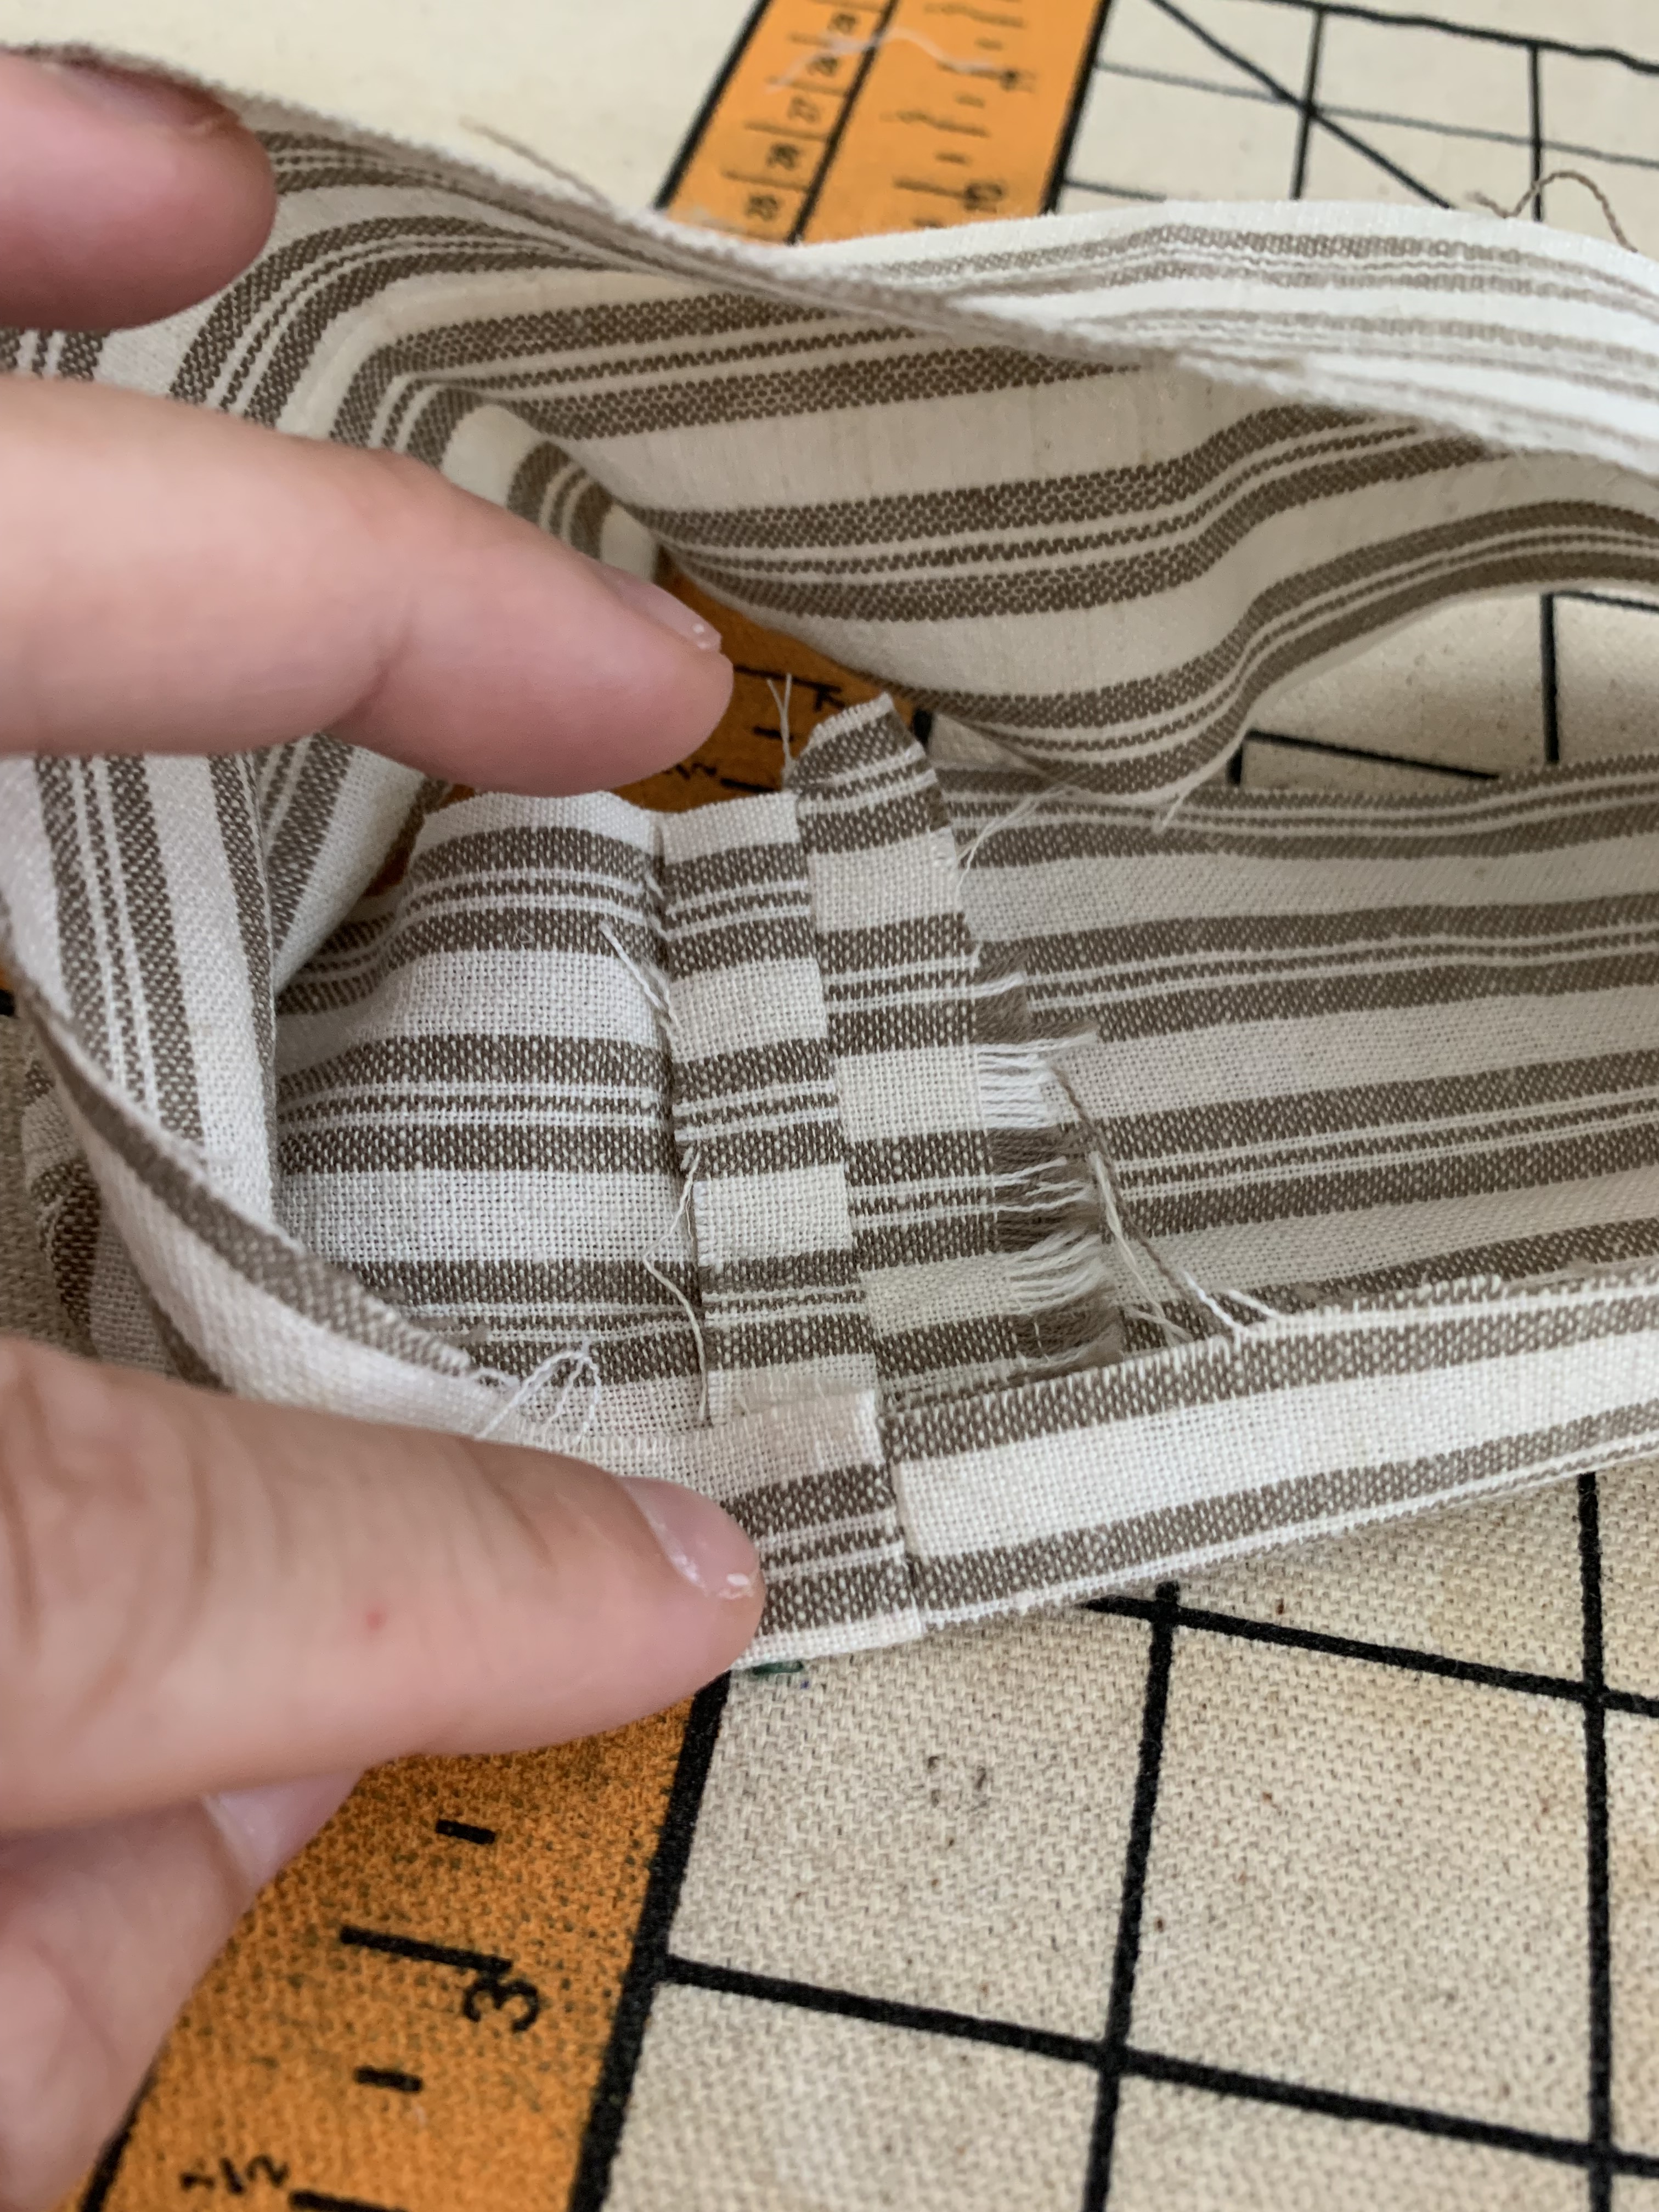
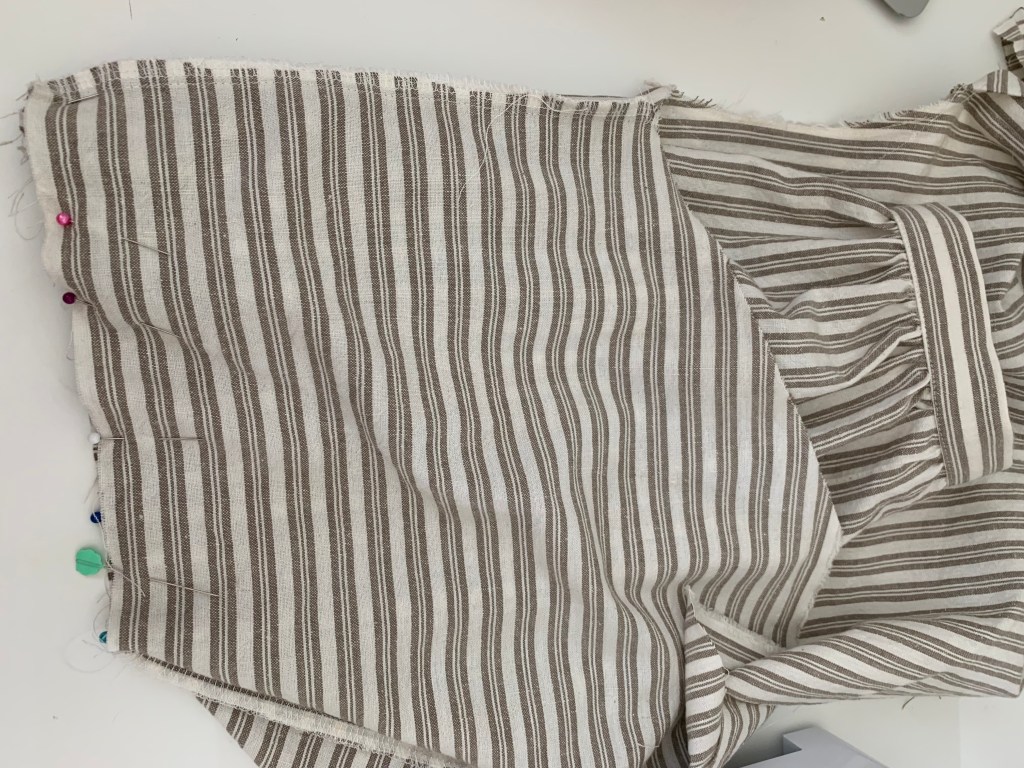
2. Pin your shoulder seams of the front bodice pieces right side to the back bodice piece. Measure 8 7/8″ down from the shoulder and pin from this point down to the waist. Sew at 1/2″ seam allowance, finish as desired (I used my Celebrate Serger) and press.


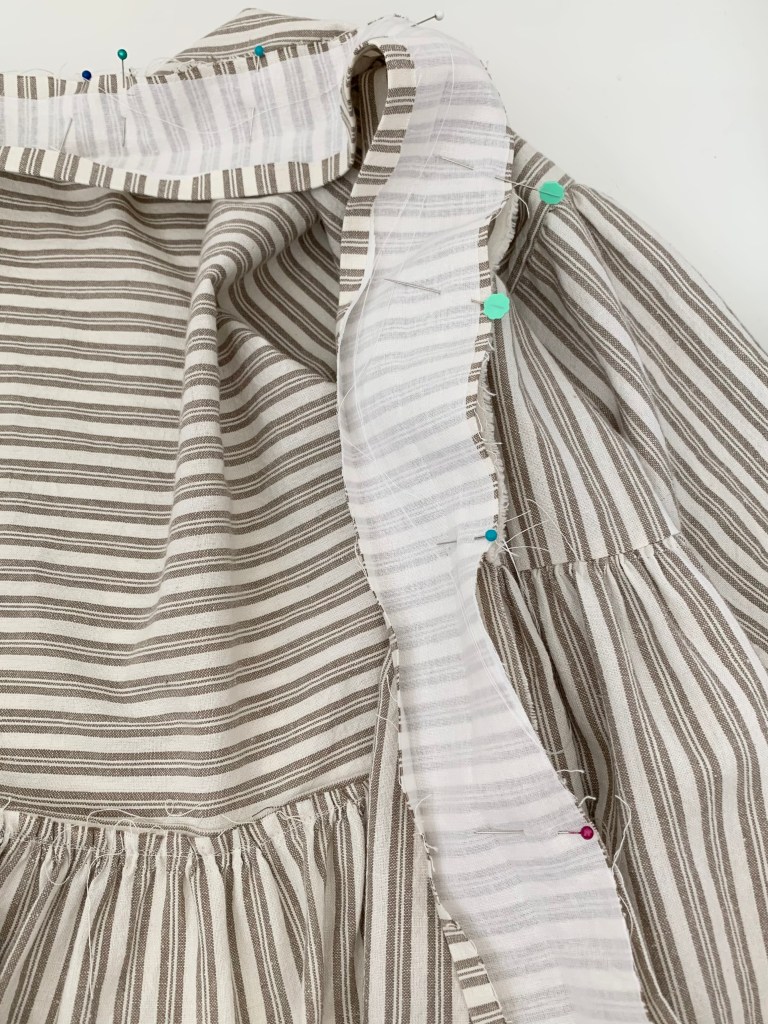
3. Next, in order to maximize waste use, the pattern has you sew the back bodice neckline cut out as a neckline facing. It helps stabilize the neckline too.. press the curved edge up 1/8″ to the wrong side, and top stitch to the wrong side of the back neckline. Make sure notches match here.

4. Sew in sleeves. I followed hack #2 laid out in the instructions for the gathered sleeve option. Pin the sleeve piece right sides together length wise. Sew at 1/2″ and finish.
5. Sew to rows of basting stitches along one edge of the sleeve at 1/4″ and 1/2″. Remember to lengthen your stitch length to 4.0.
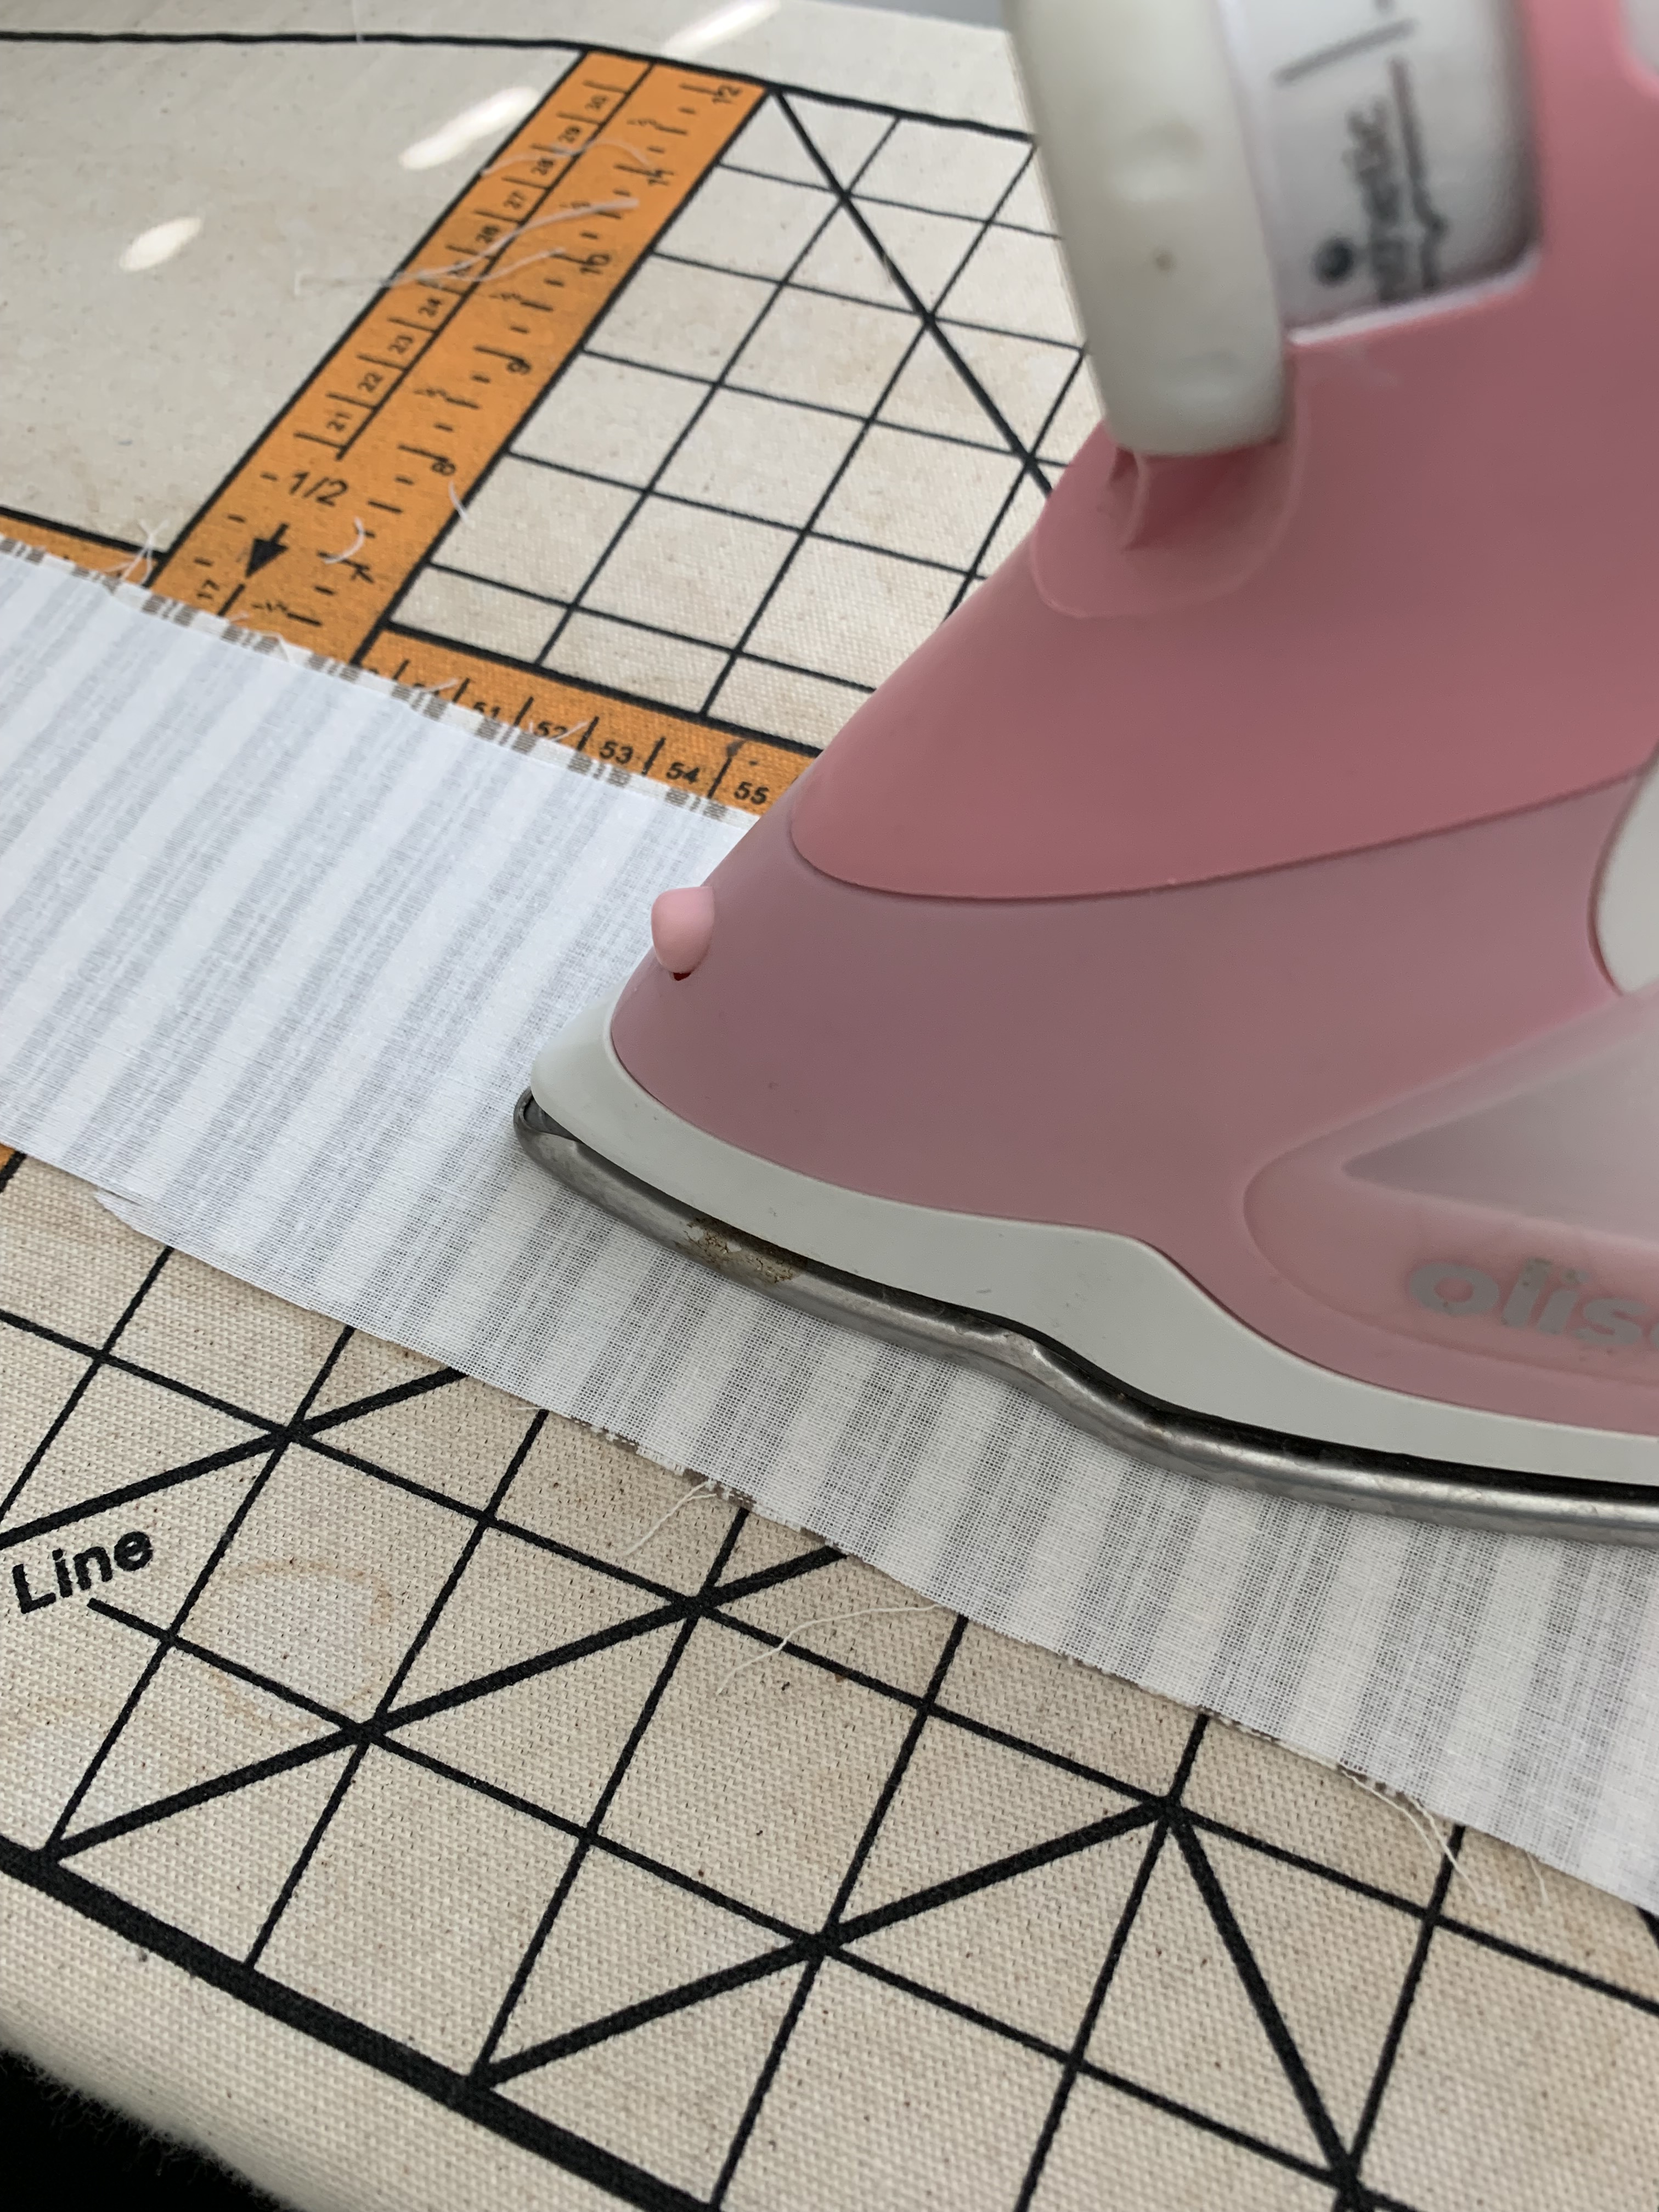
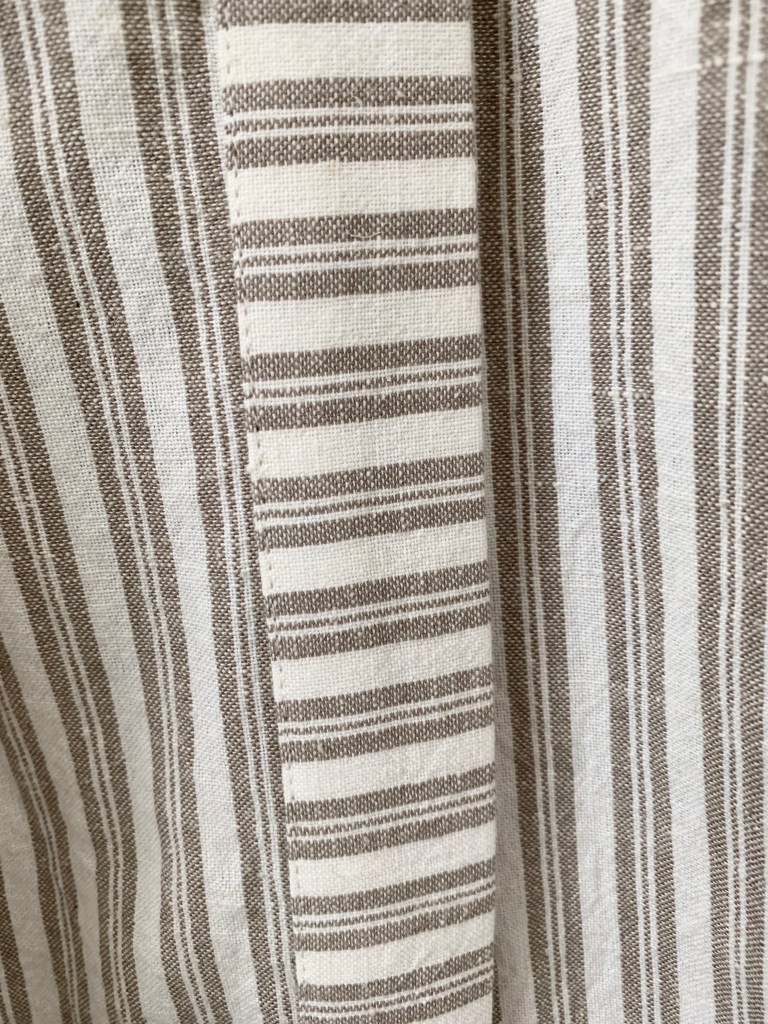
6. Now we need to prep the sleeve cuff. The pattern doesn’t recommend using interfacing unless you are using a light weight fabric. I ALWAYS recommend using interfacing. My fabric is considered medium weight and I used a light weight interfacing to add a little more stability. After you apply the interfacing, sew the two long edges right sides together.
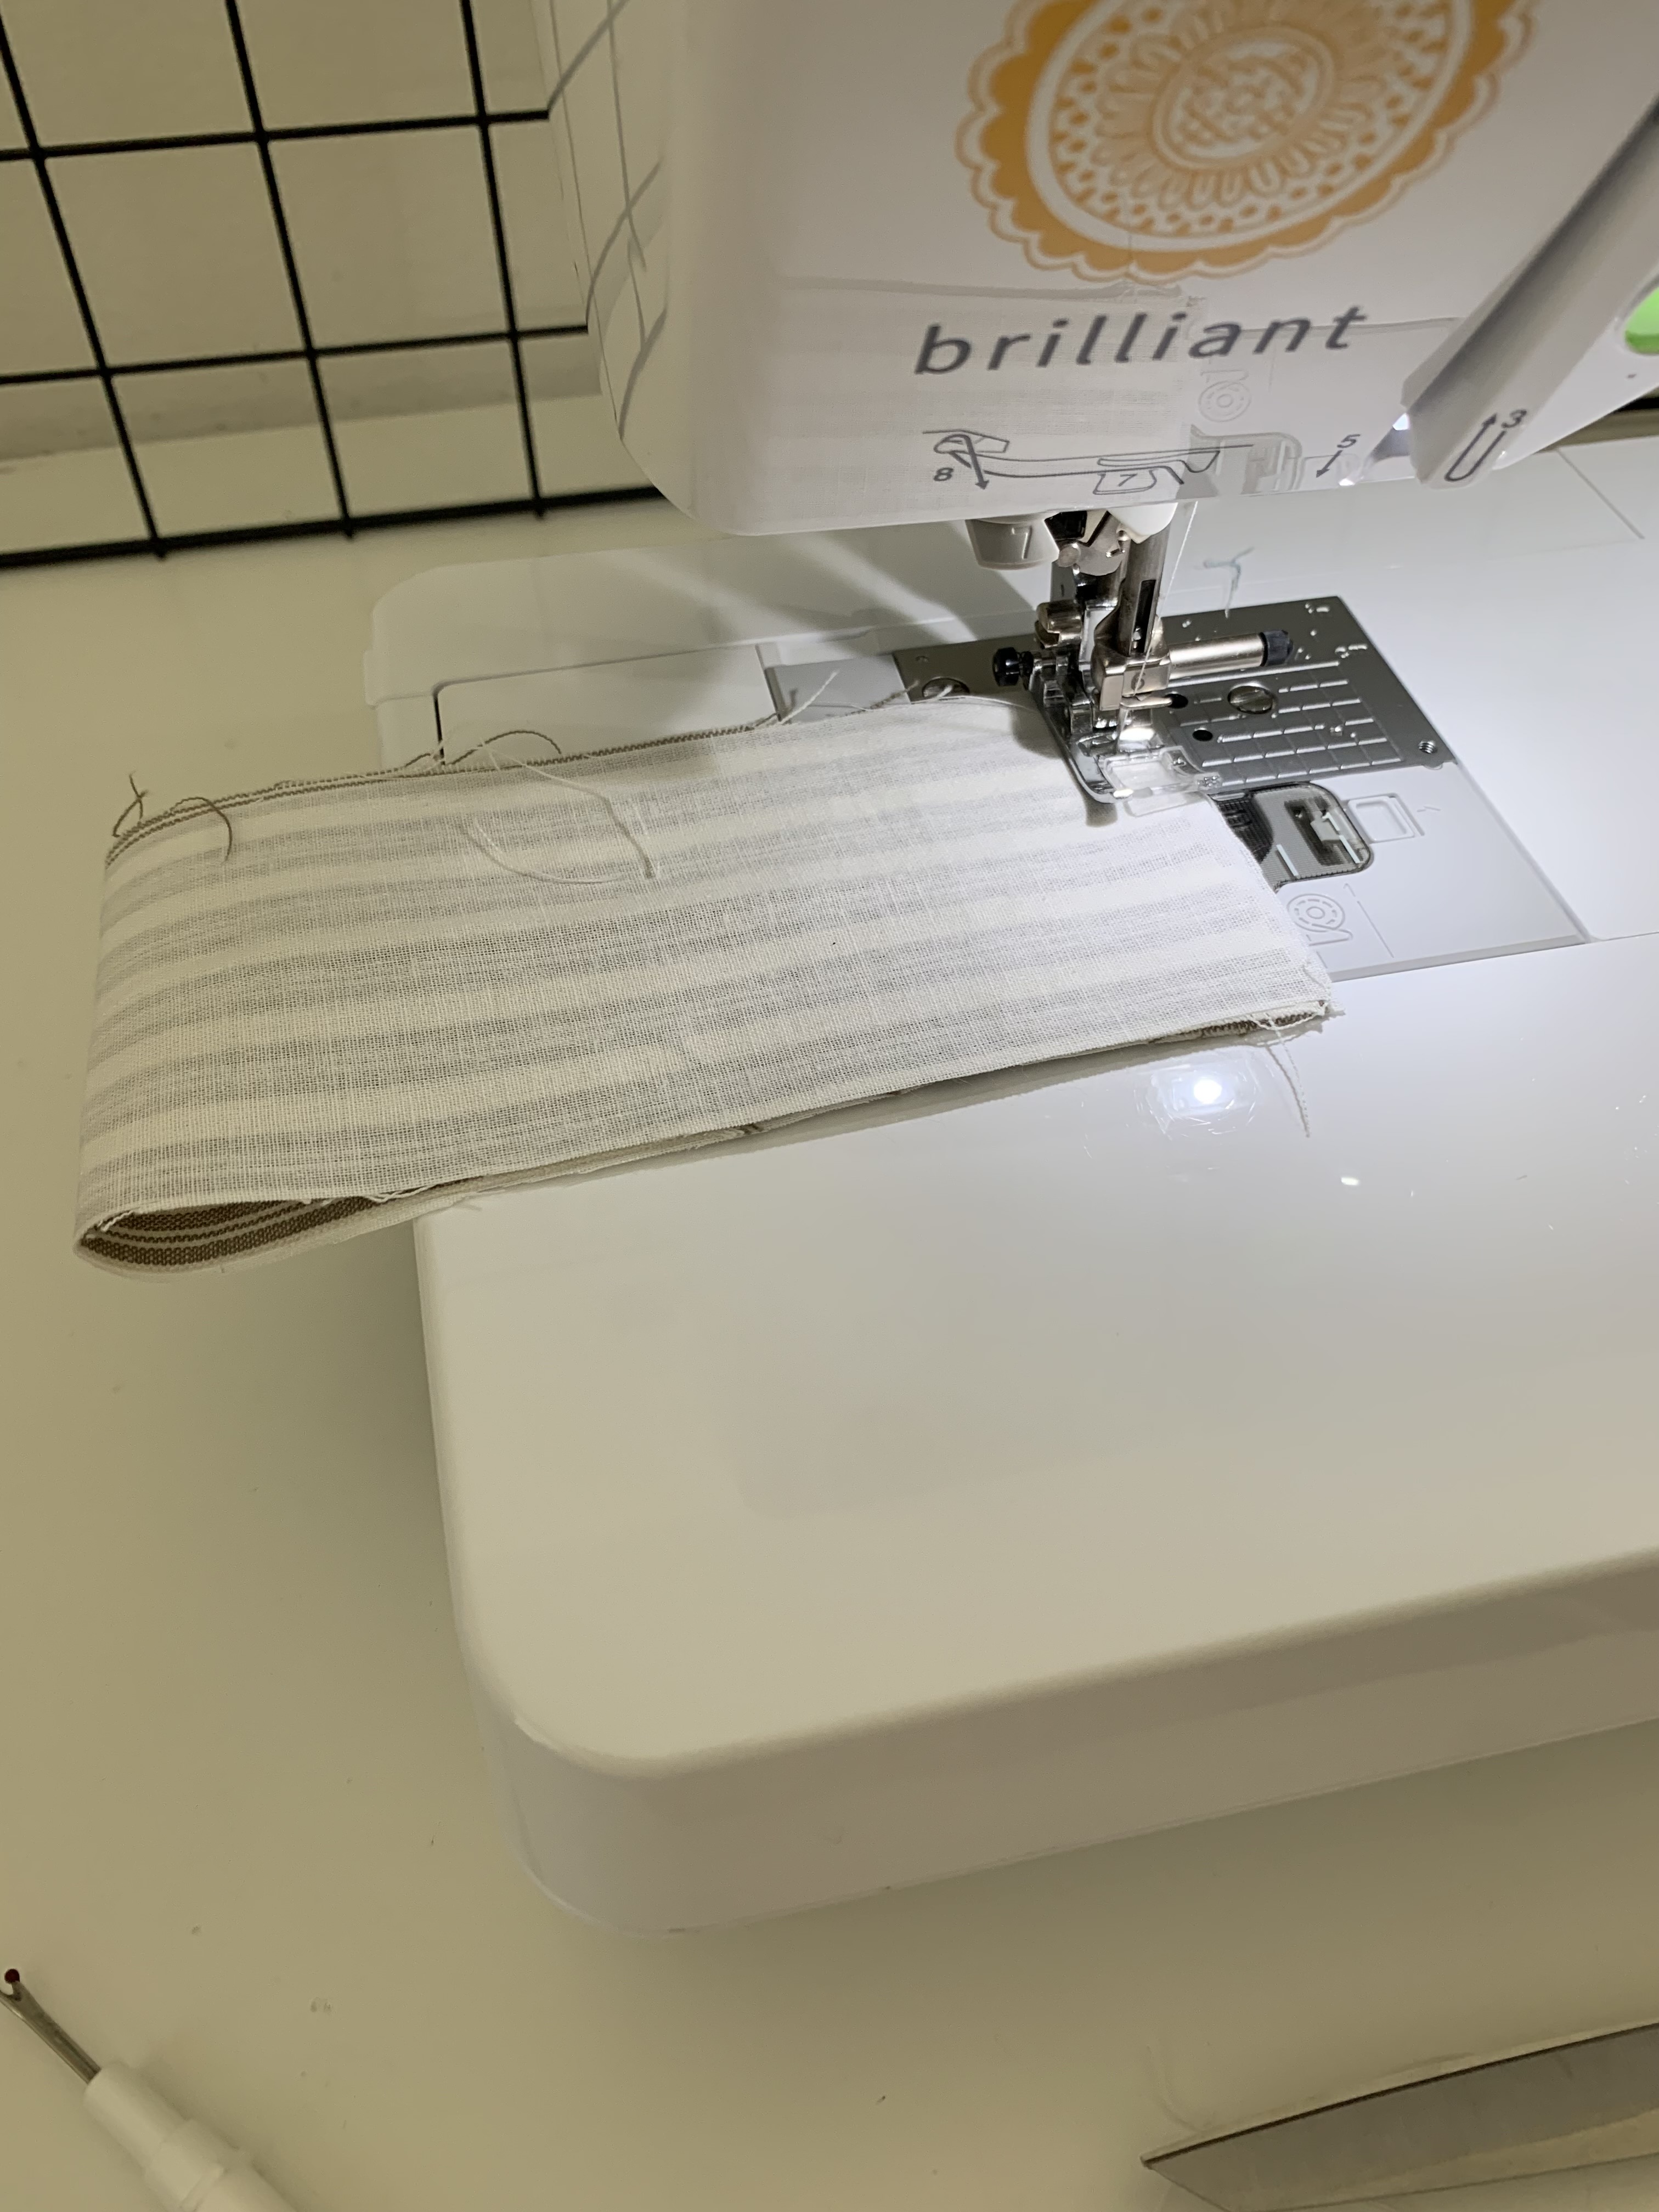
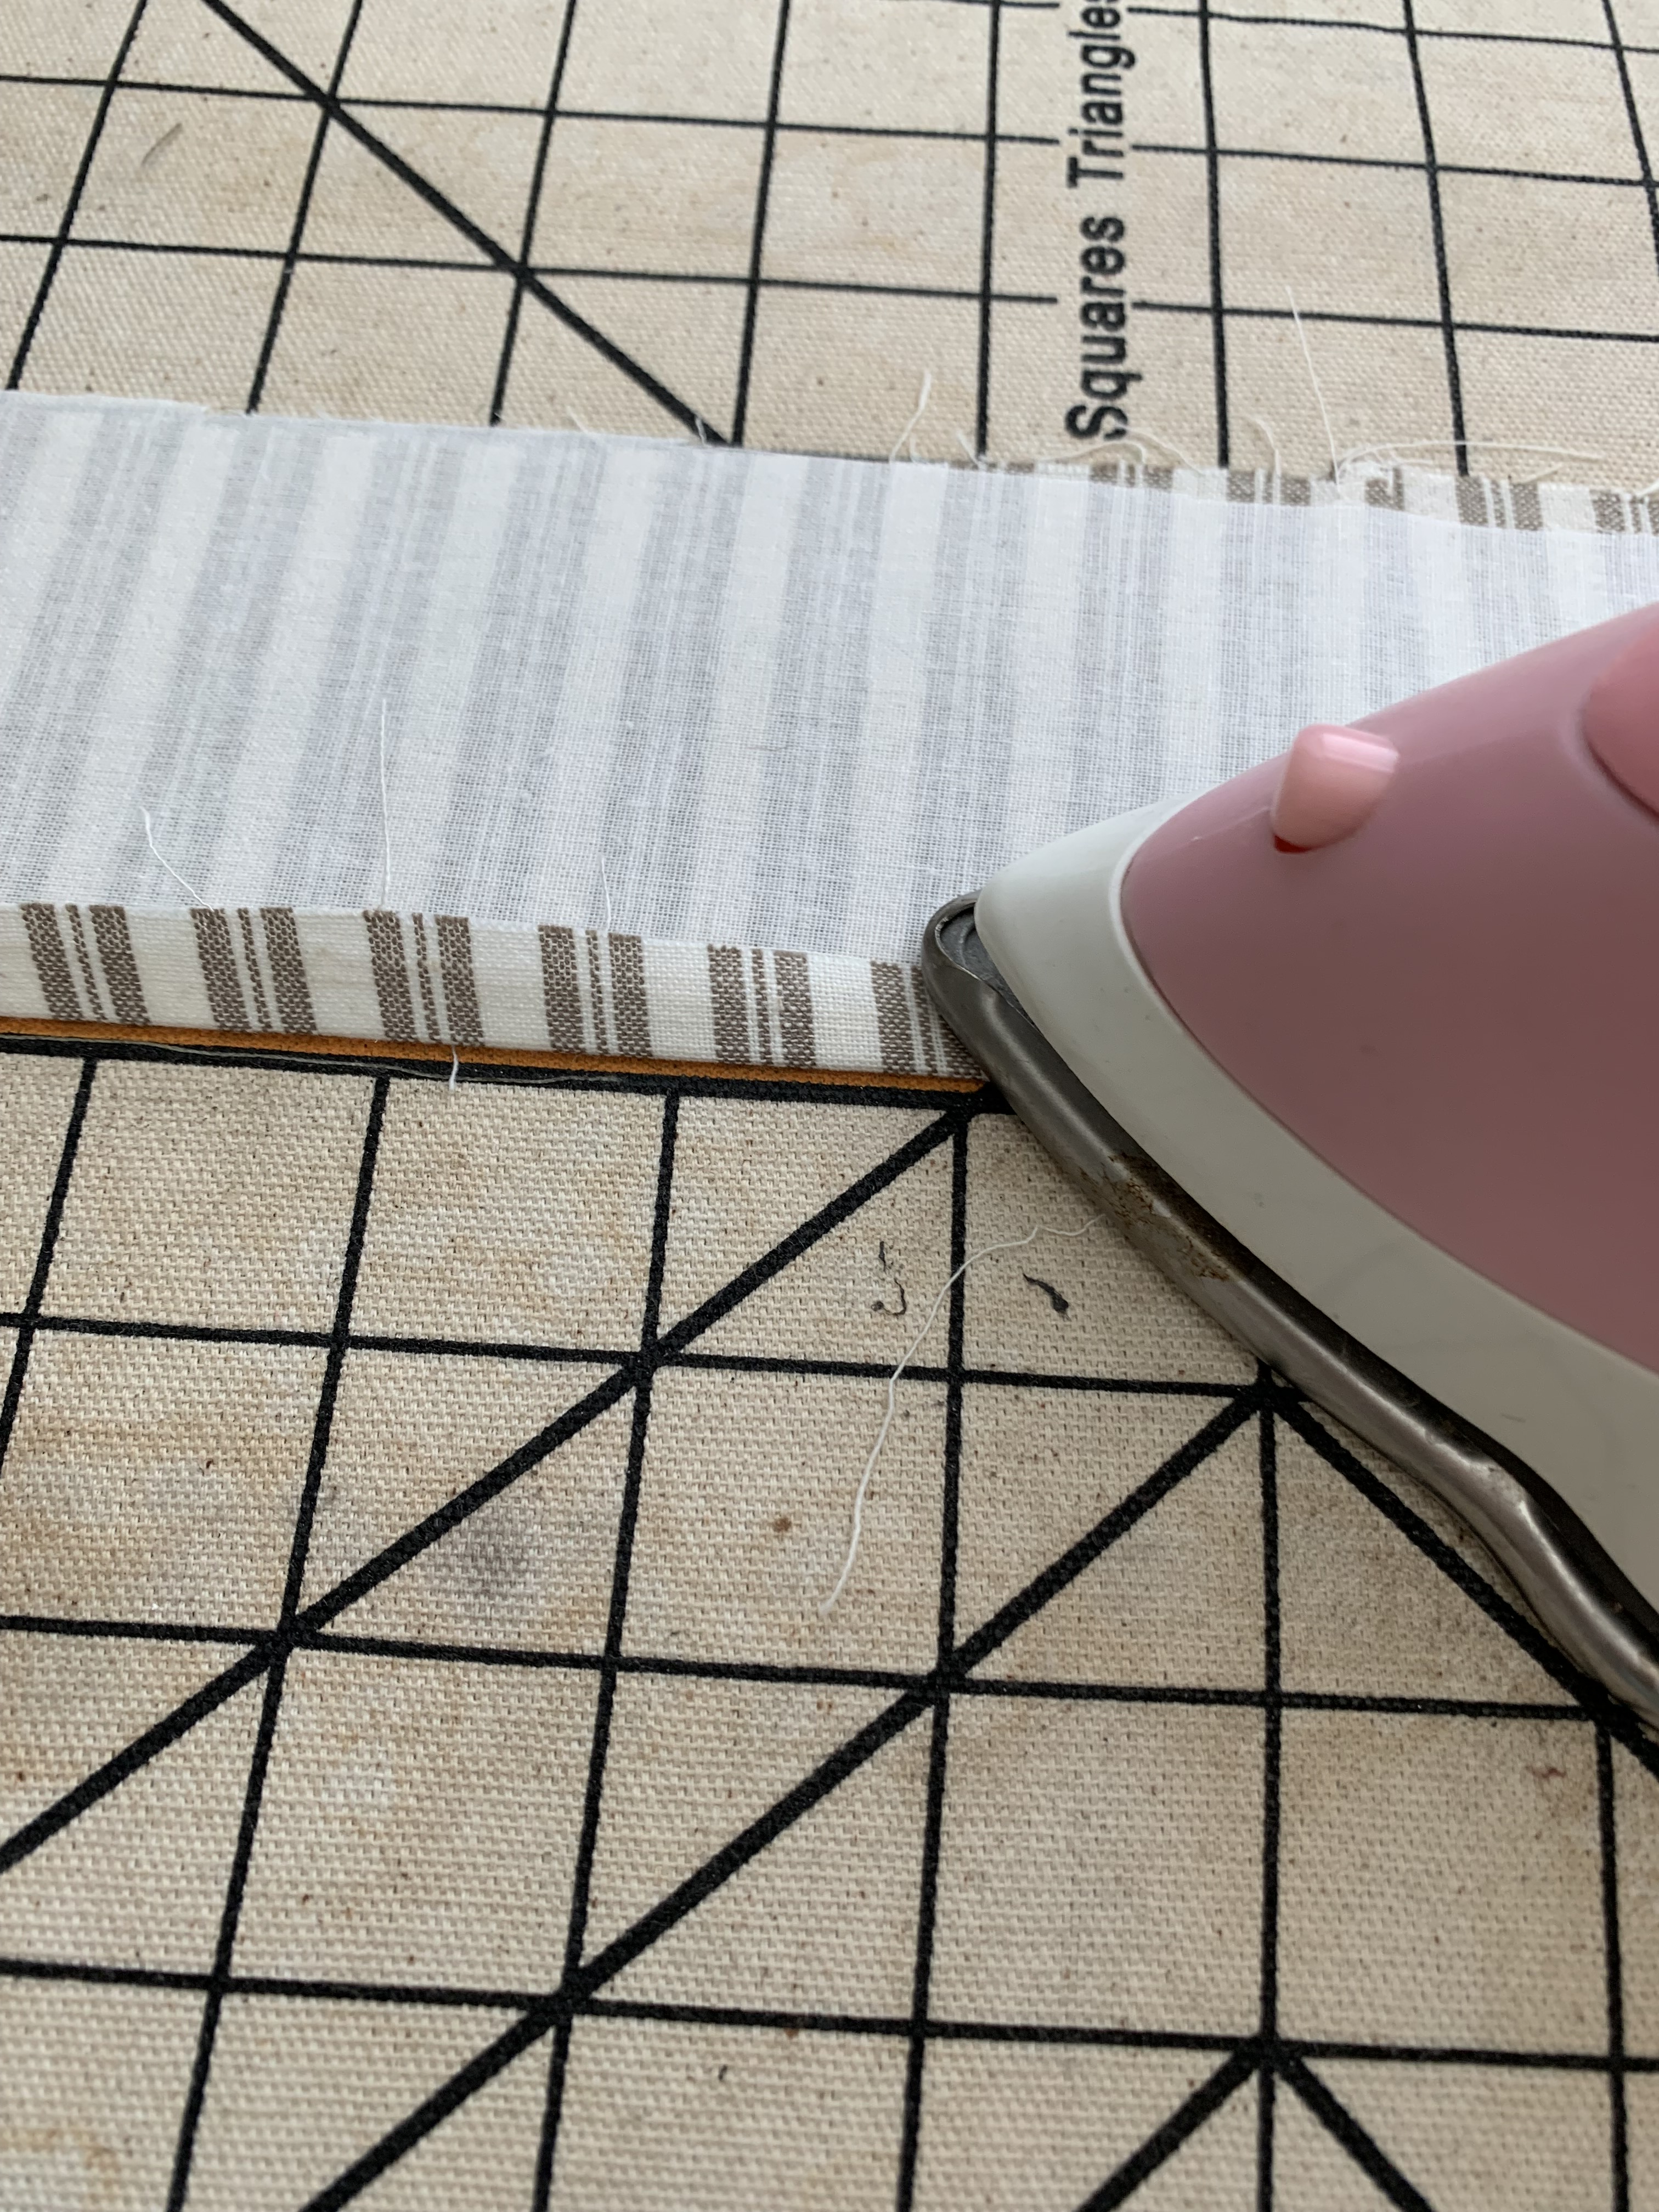
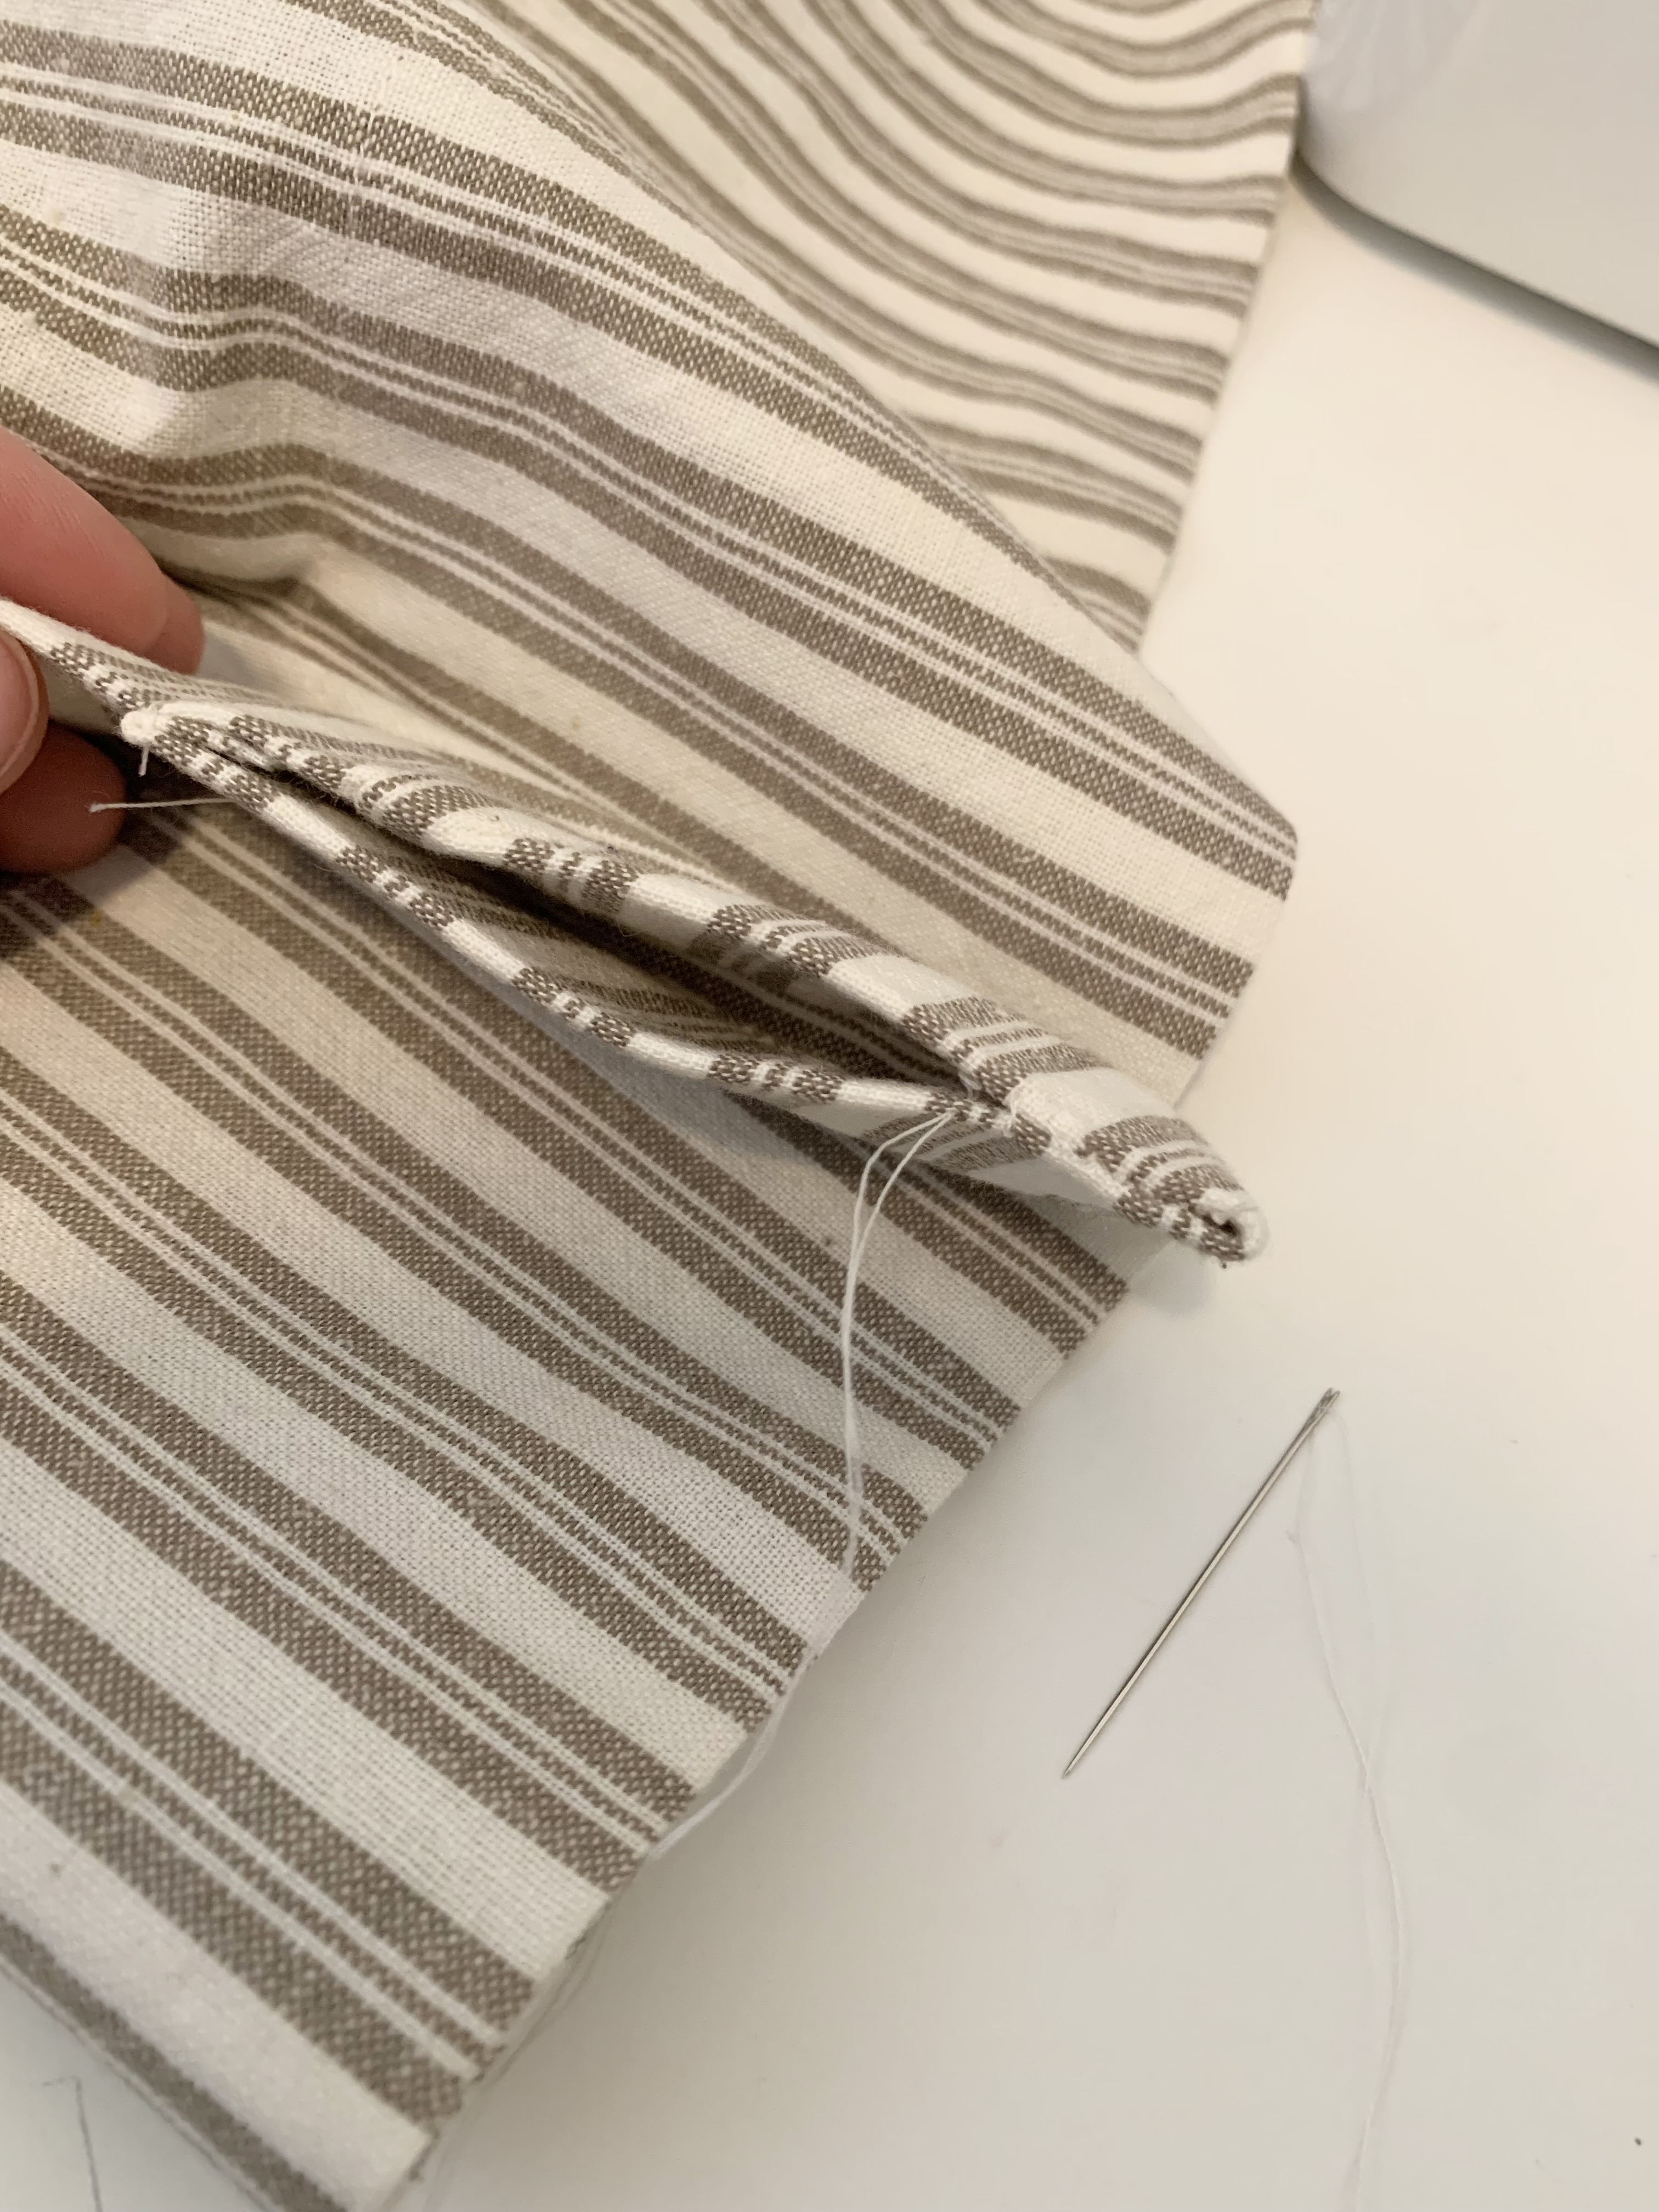
7. Press the cuff loop in half wrong sides together. (I went back and added interfacing after the next two steps, so the next two photos should have interfacing attached).

8. Now press one edge in at 1/2″.
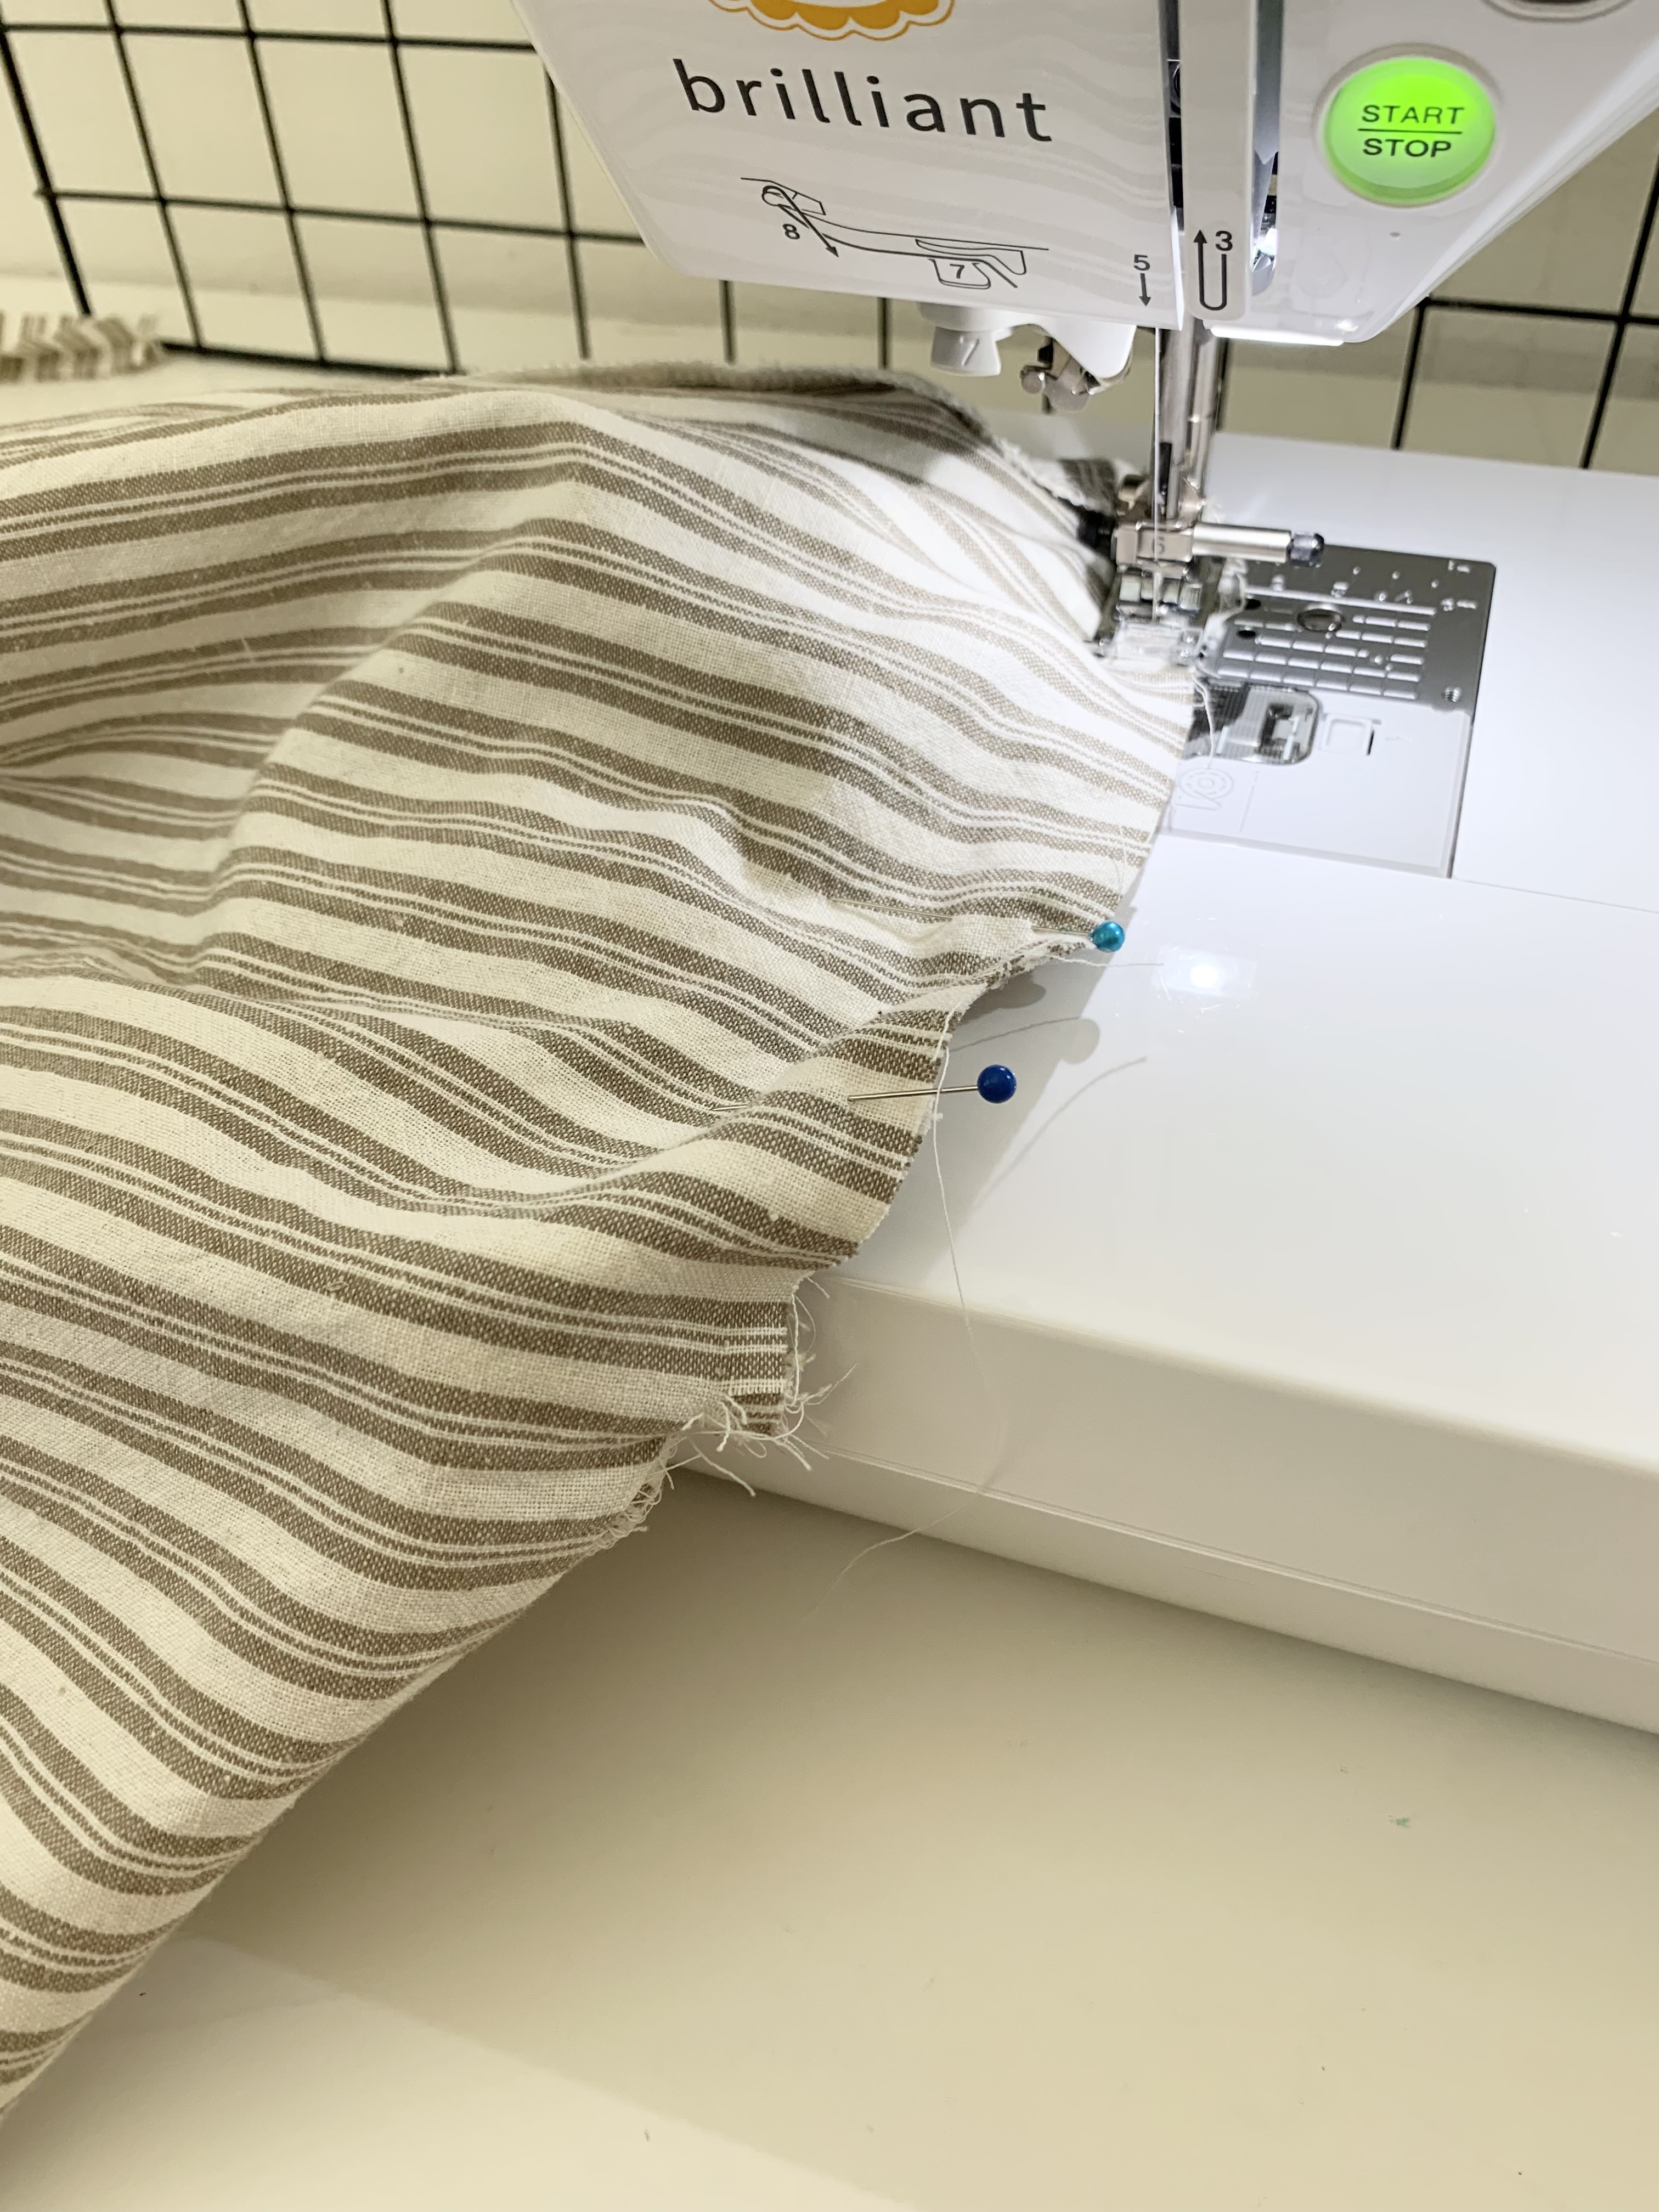
9. Now pin the unfolded edge of the cuff into the basted side of the sleeve, right side of the cuff to the wrong side of the sleeve. Match seams and centers. Gently pull basting threads and distribute gathers evenly until the sleeve fits just right into the cuff. Pin in place, and sew. Press the seam allowance toward the cuff.
10. Turn the cuff over to the right side of the sleeve, and pin just over the seam line. Top stitch in place to finish. I used foot R and moved the needle over to the left 3-4 times.
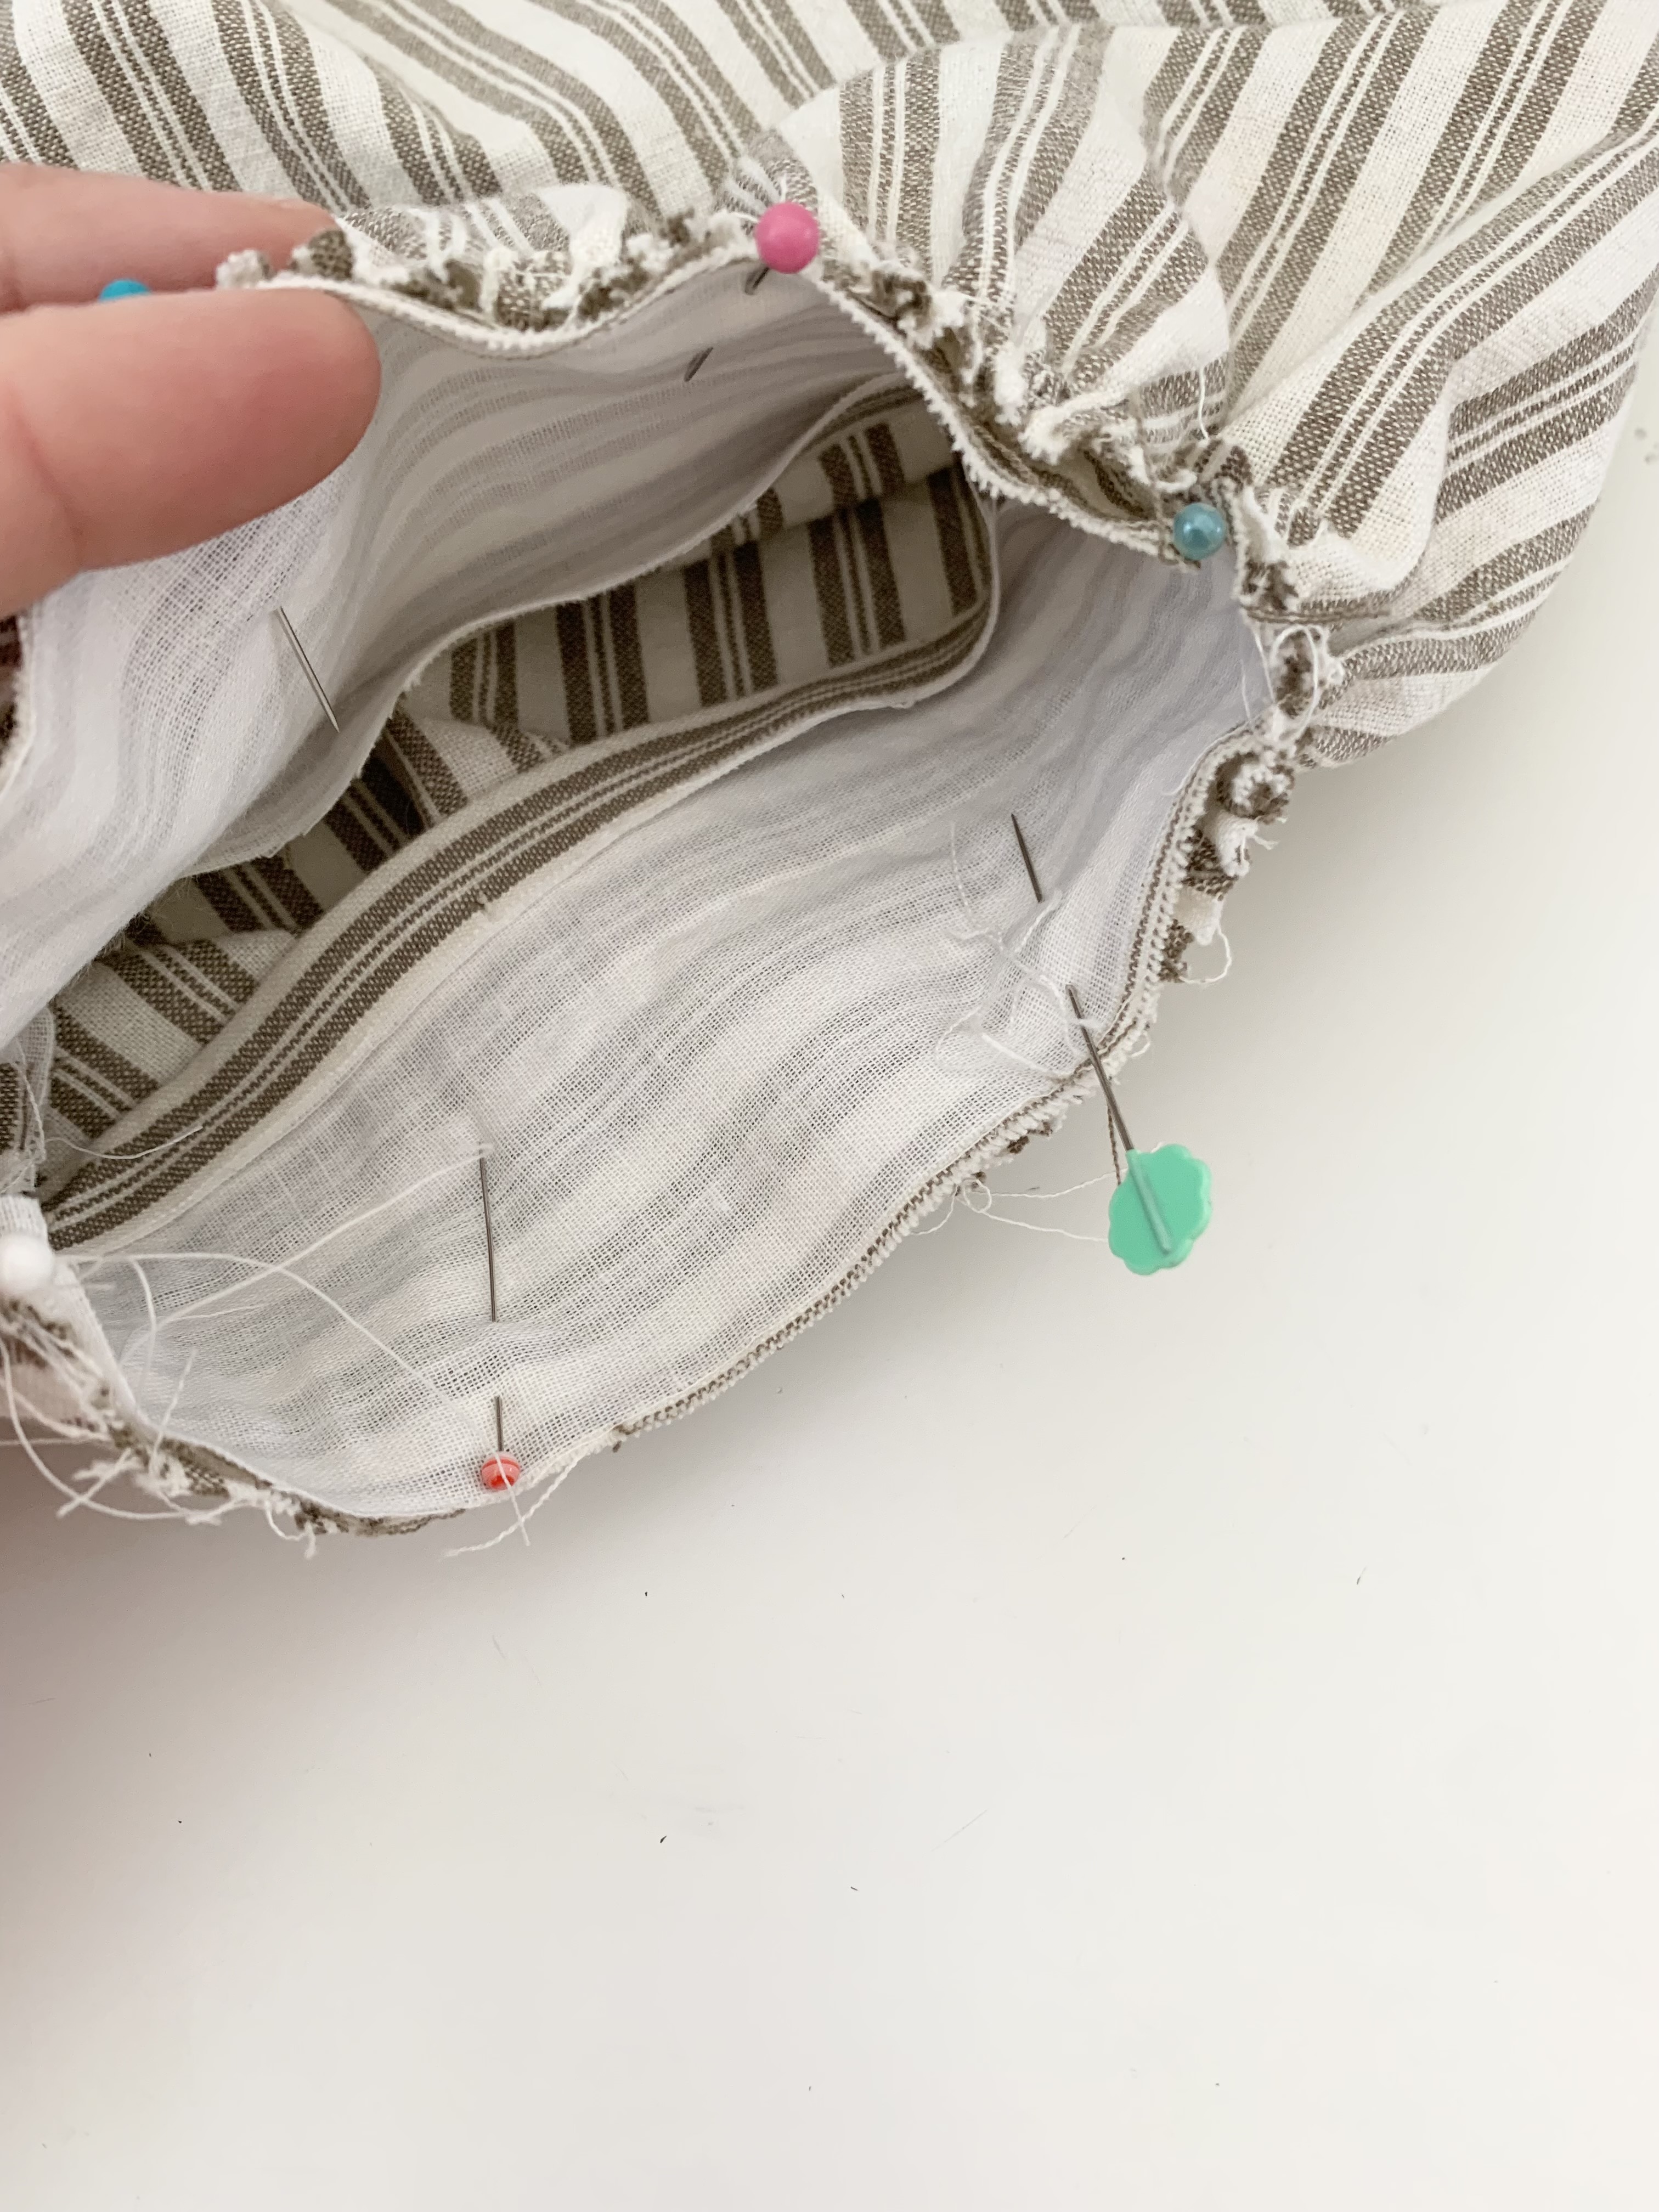
11. Now we will insert the finished sleeves into the armhole. I found my sleeve didn’t fit into the armhole, so I added one row of basting stitches to the sleeve to help ease it into the arm hole. Pin the sleeve right sides to the arm hole, match seam lines and centers, pull basting thread to ease sleeve in.
12. Sew sleeve into arm hole. FInish seam as desired.
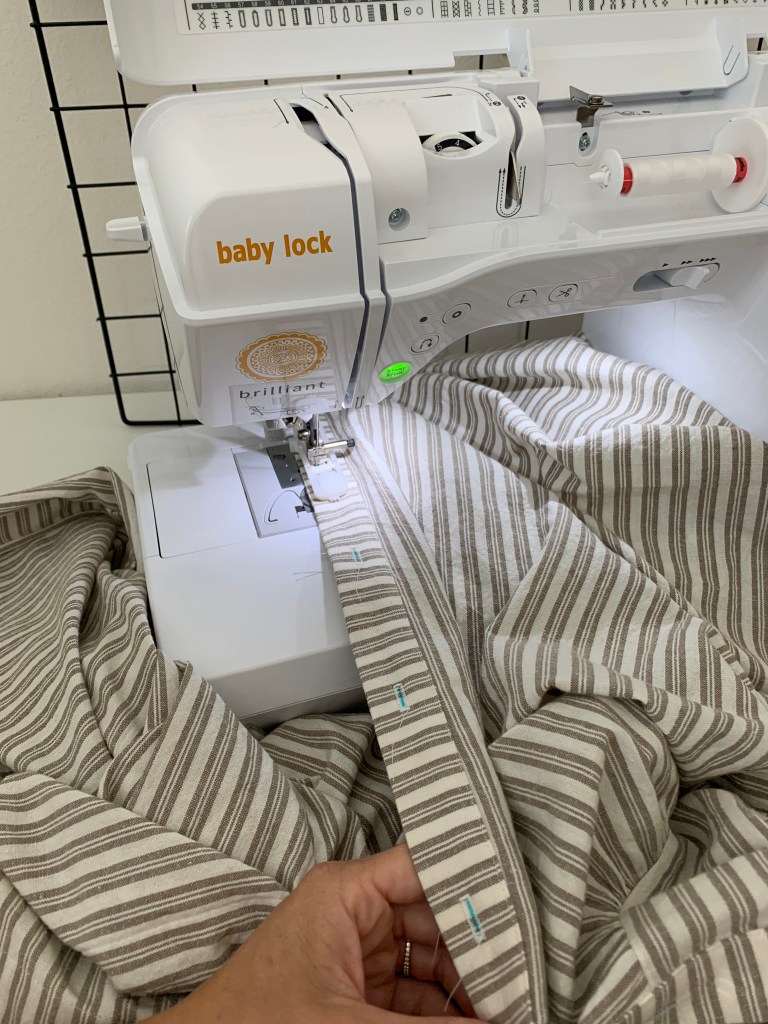
13. Next we will attach the skirt piece to the bodice. Pin the front skirt pieces right sides together to the back skirt piece along the side seams, sew and finish.
14. Sew two rows of basting stitches along the top of the skirt at 1/4″ + 1/2″. Remember to change the stitch length to 4.0.
15. Pin the skirt to the bodice edge right sides together, matching side seams. Gently pull basting threads and evenly distribute the gathers. Pin in place. It also helps to knot the ends of the basting threads to hold the gathers along the edges, otherwise you might have less gathers along the edges, and in this case the edges are front and center on the dress waist seam.
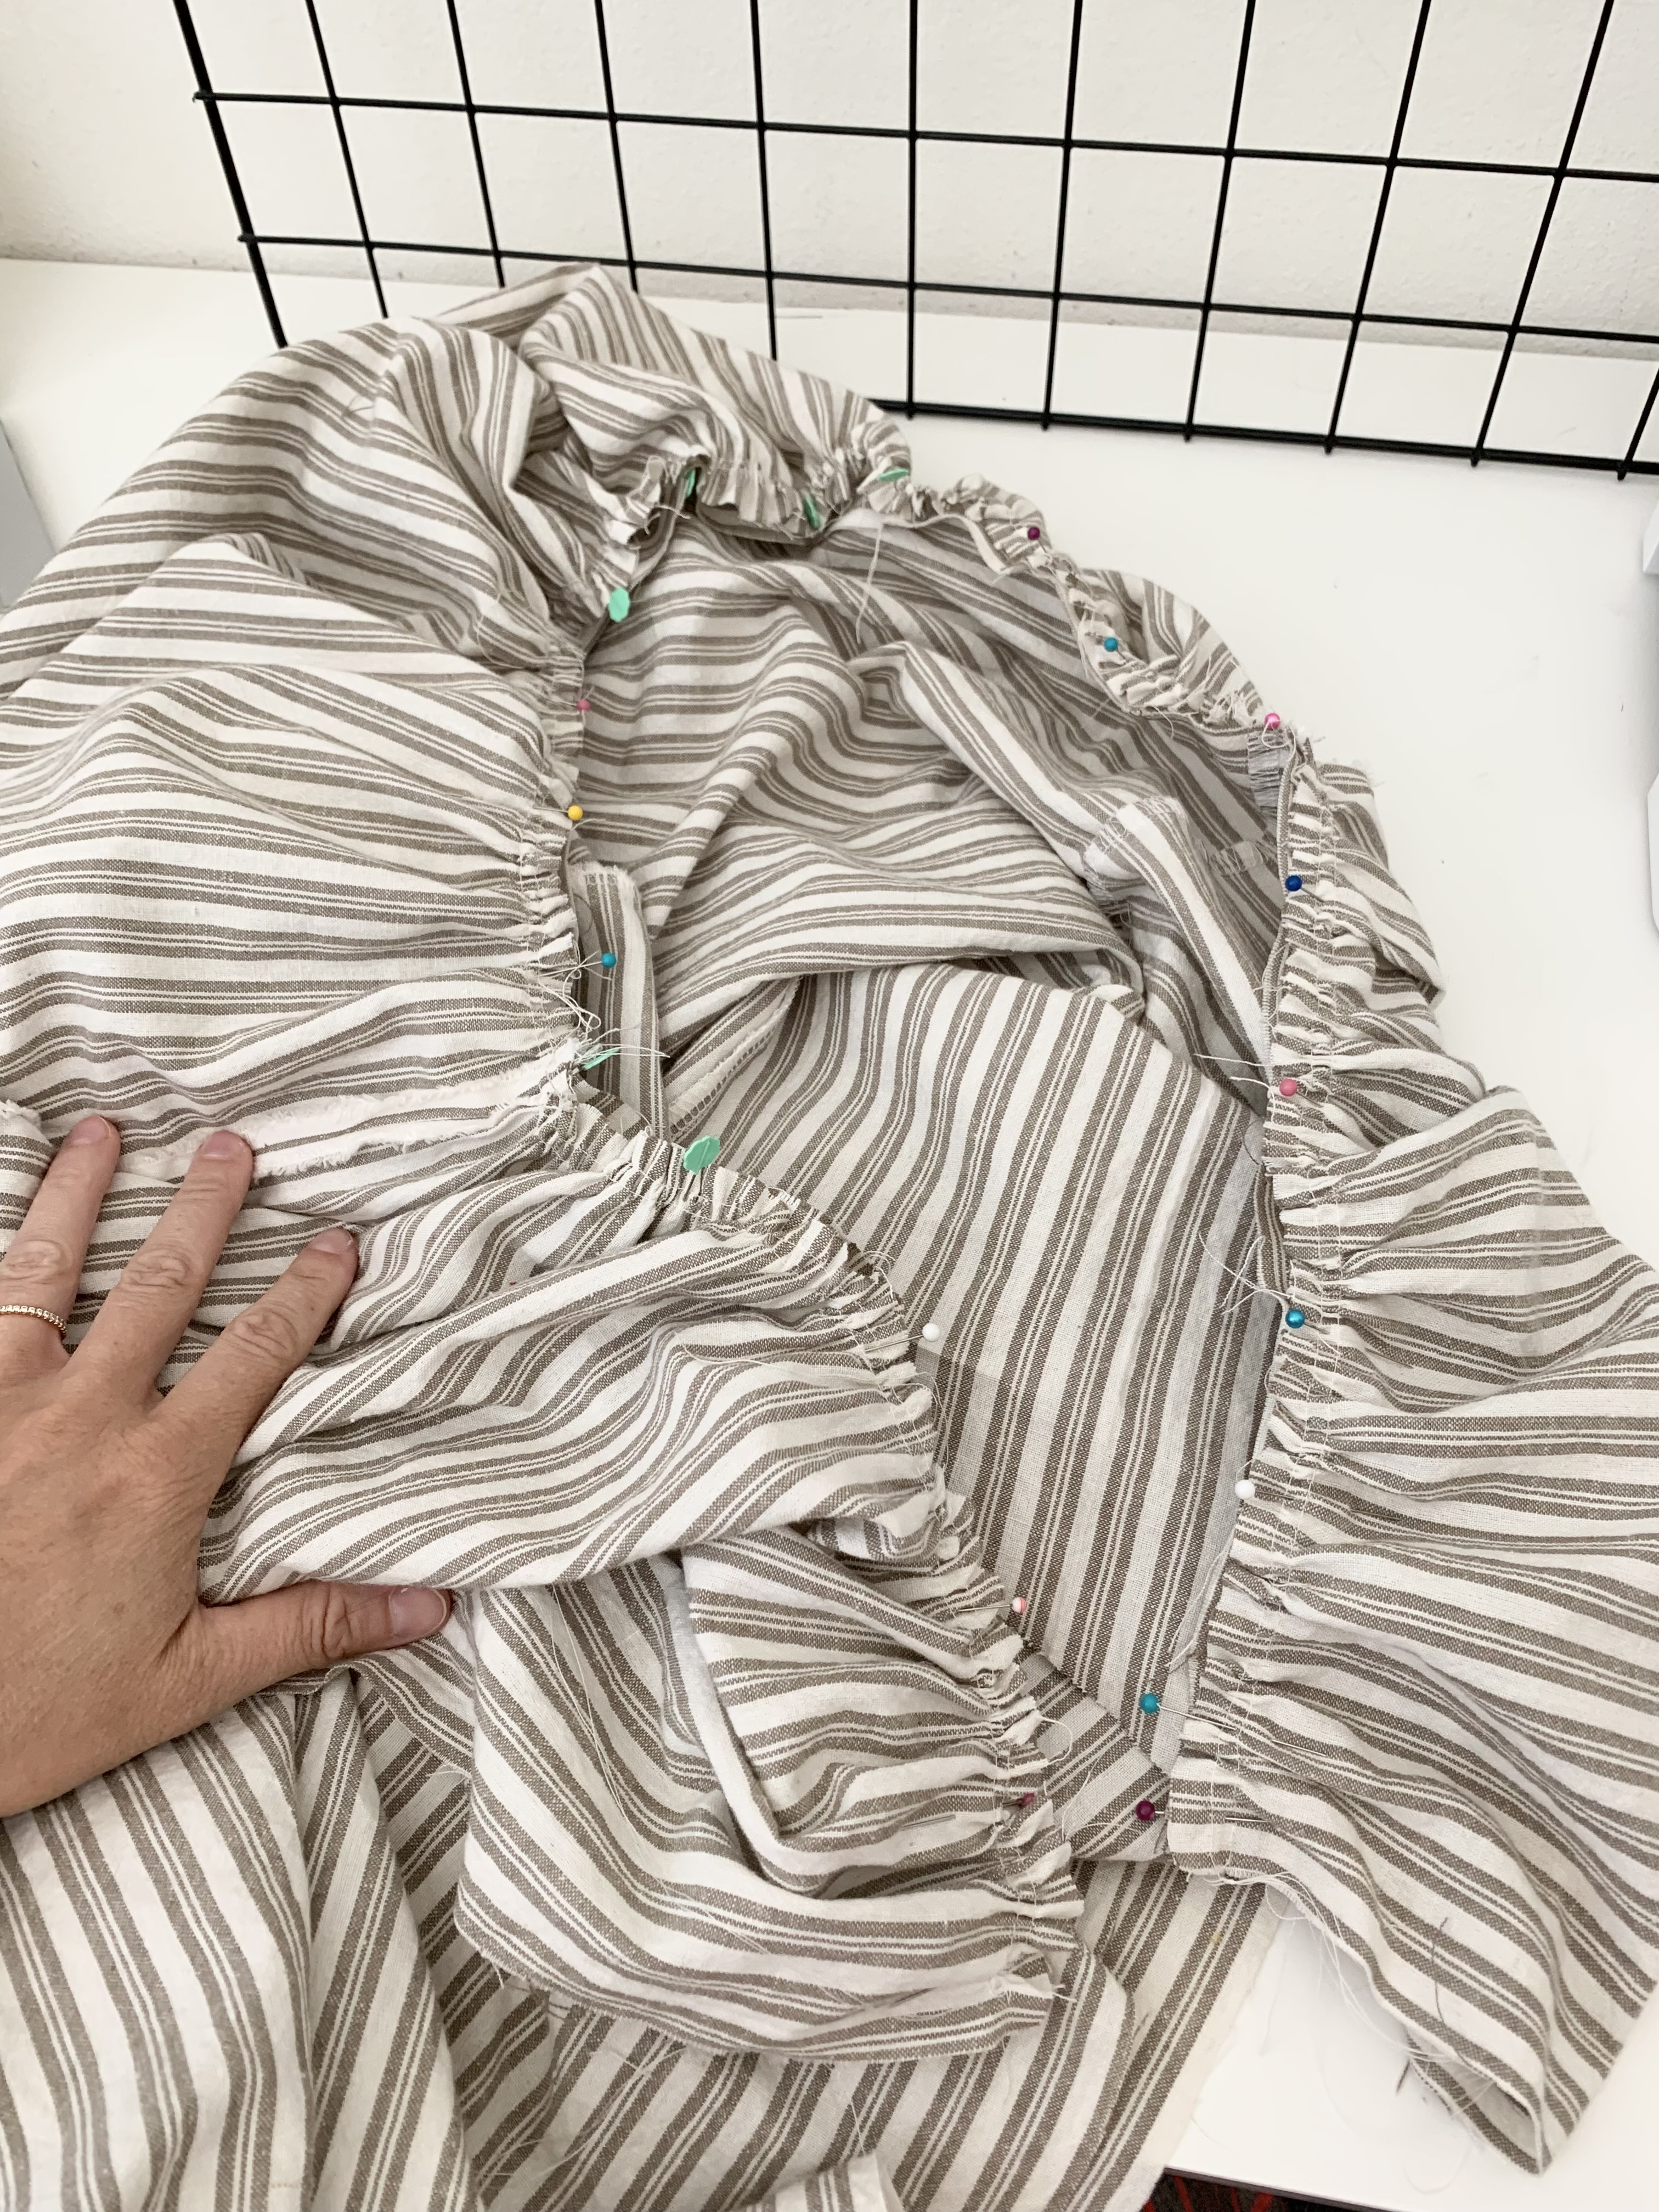
16. Sew the skirt to the bodice. Check gathers to make sure they look even, and finish the seam allowance.

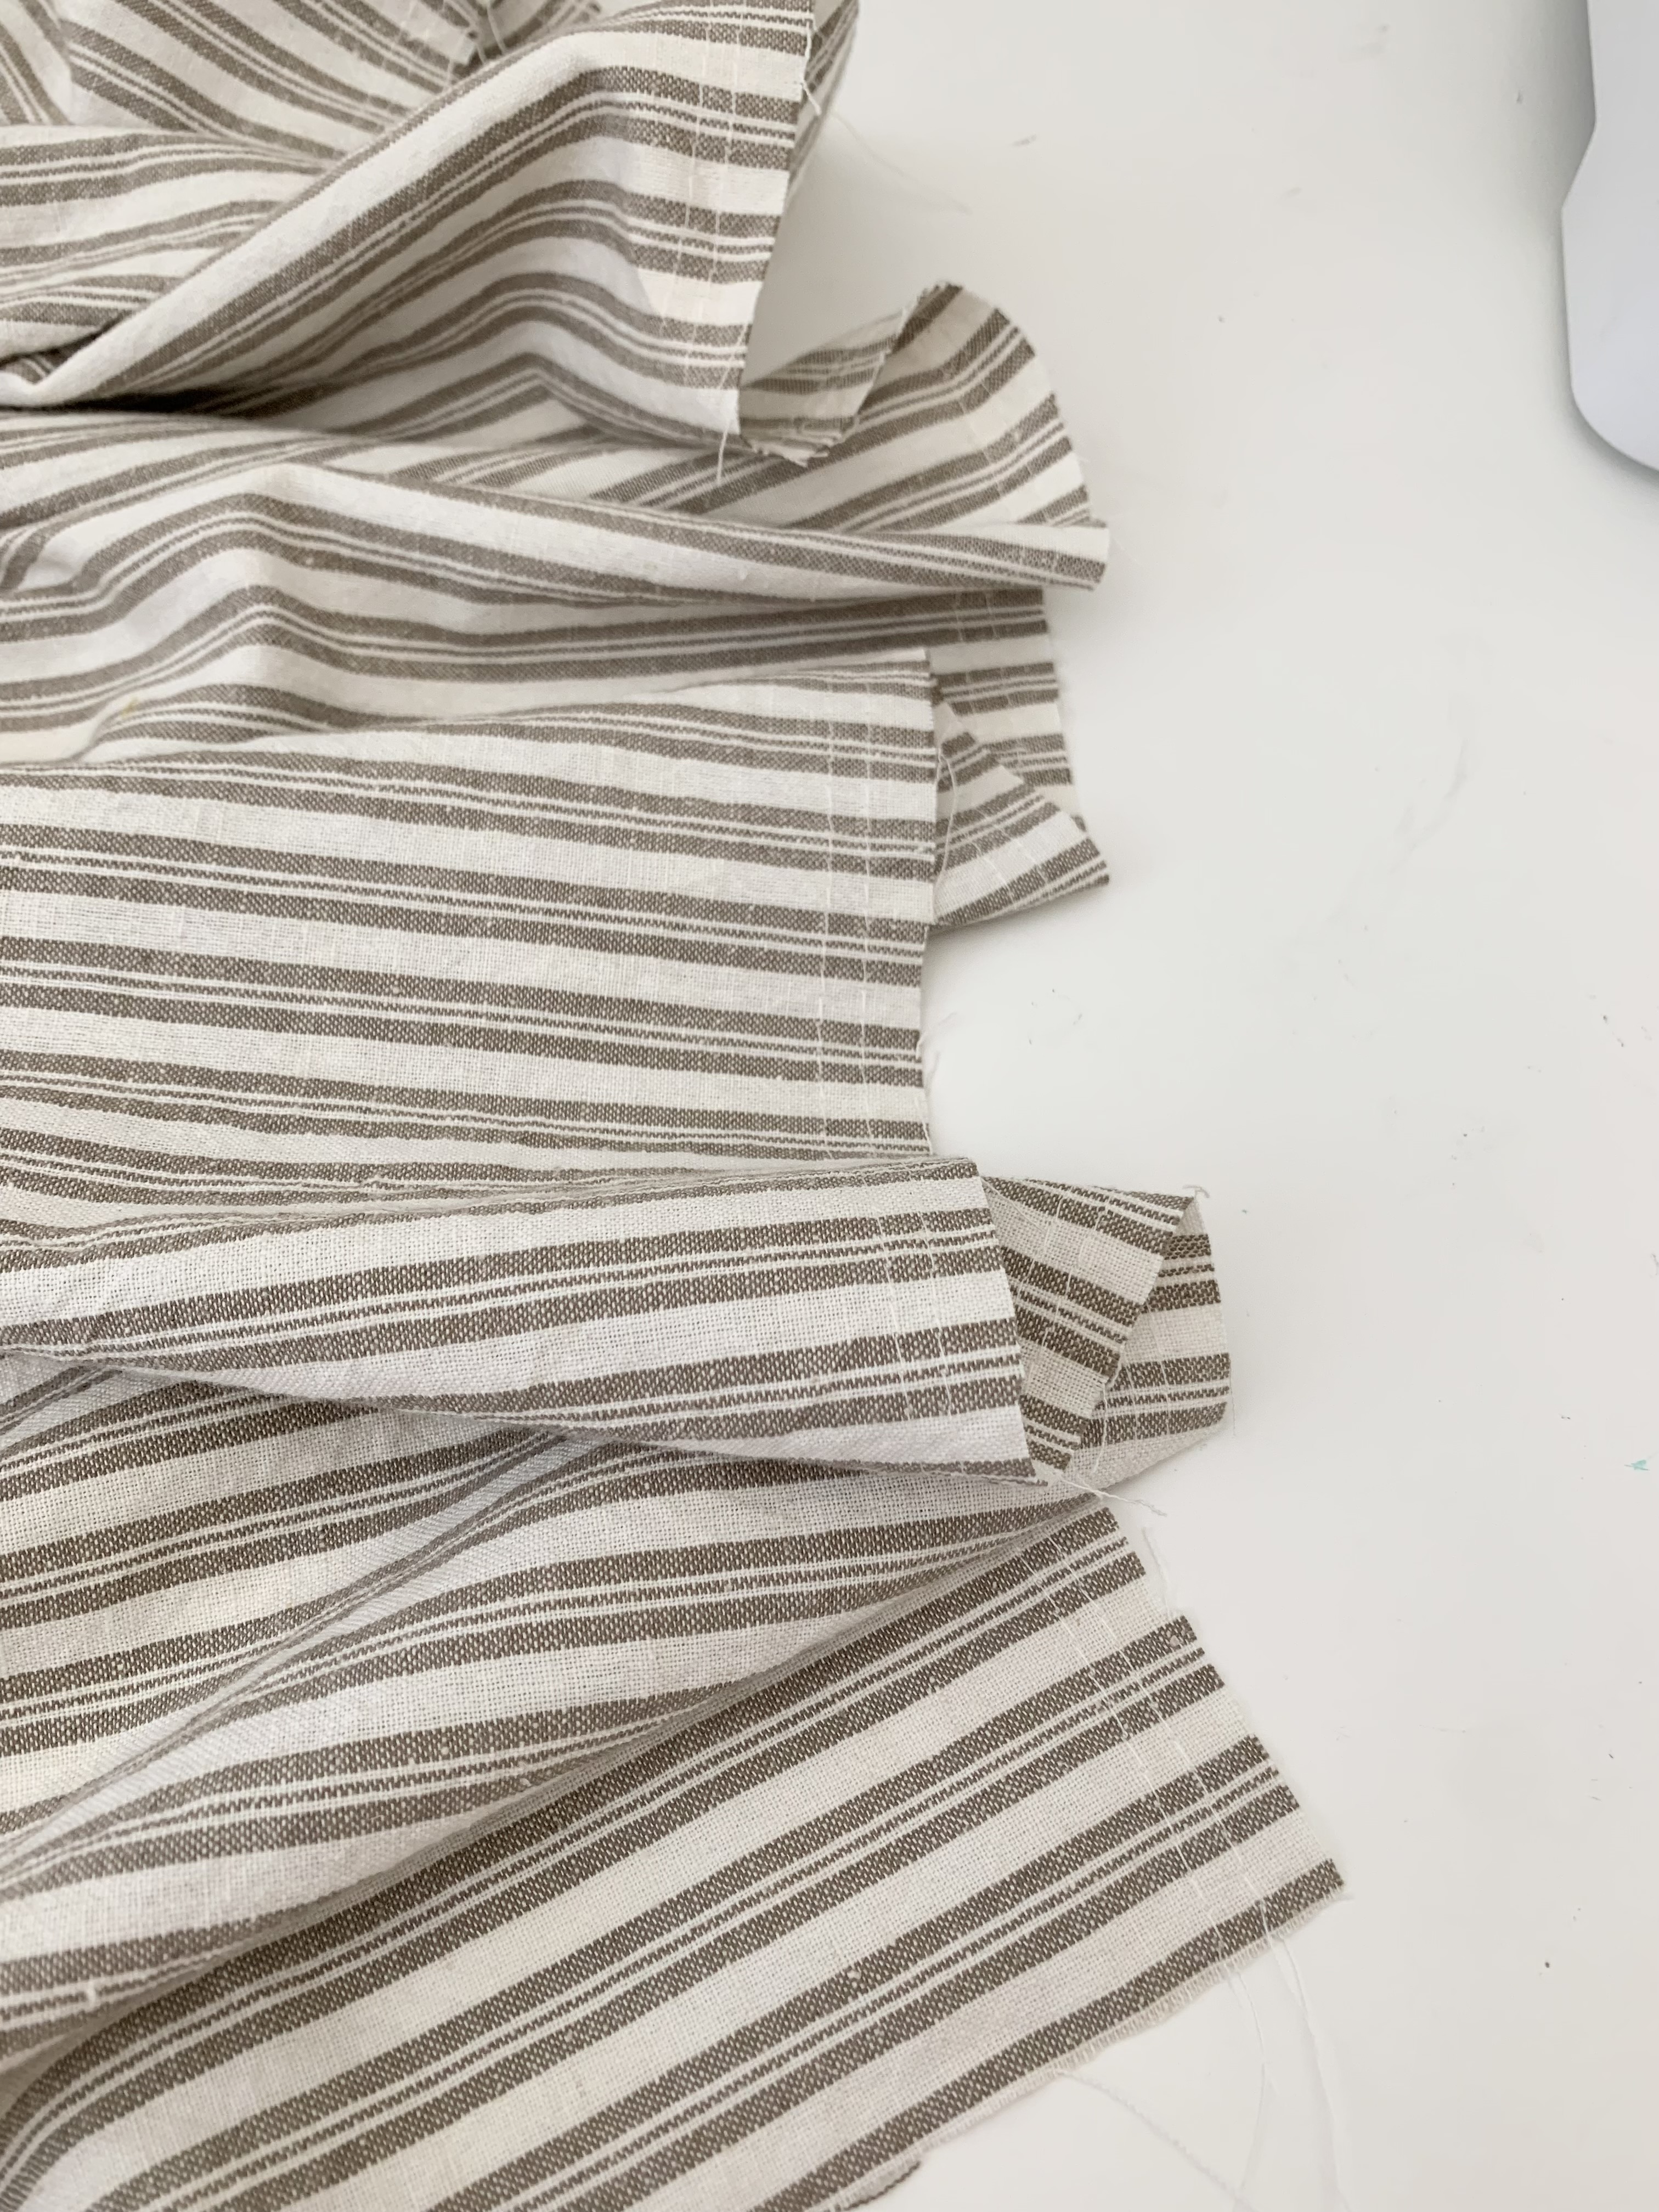
At this point the dress looks like this (I was undecided on my sleeve style so I waited to sew the second sleeve in until the end):
17. Now we will prep the placket. I had to piece my placket together, but I was able to match the fabric pattern so you can’t even tell. Apply interfacing.
18. Sew two of the placket edges right sides together.

19. Press on long edge in at 1/2″.
20. Press the placket in half wrong sides together.

21. Matching the seam line to the back neck center, pin the unfolded edge to the wrong side of the dress. Sew at 1/2″.
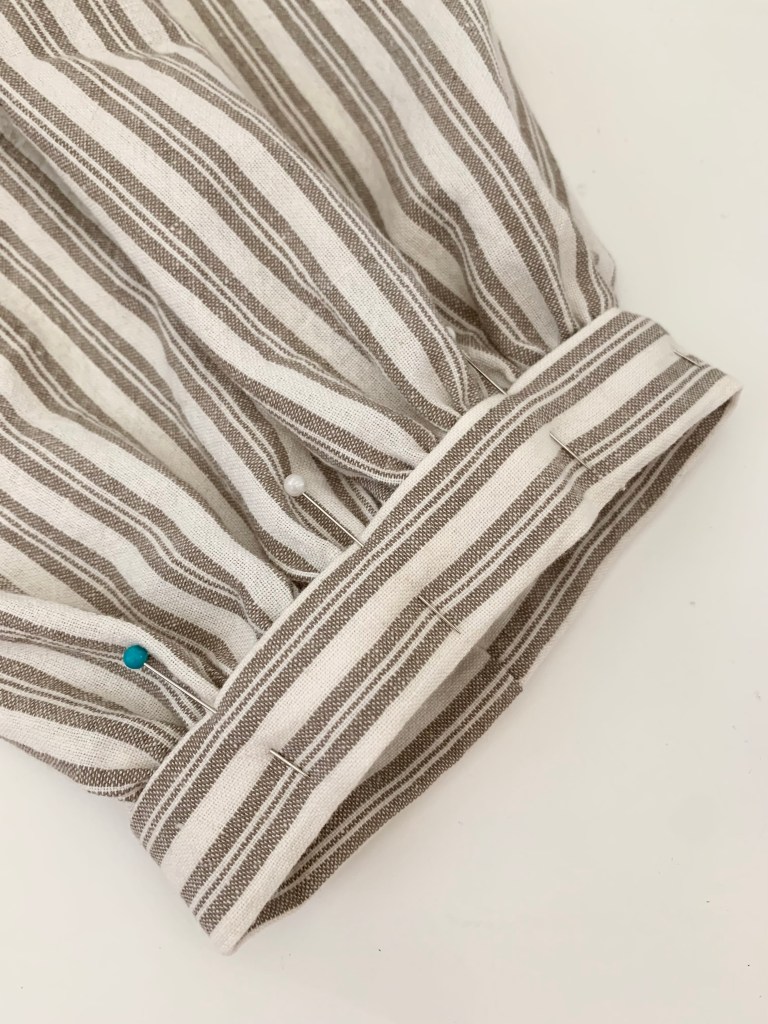
22. Just like we did with the sleeve cuff, press the seam allowance toward the placket. Turn the placket over to the right side of the dress and just barely cover the stitching, pin in place. Top stitch along the whole placket to finish. Also your placket should line up to the bottom edge of the skirt. Don’t mind that mine is slightly shorter. Give the placket a really good steam press.


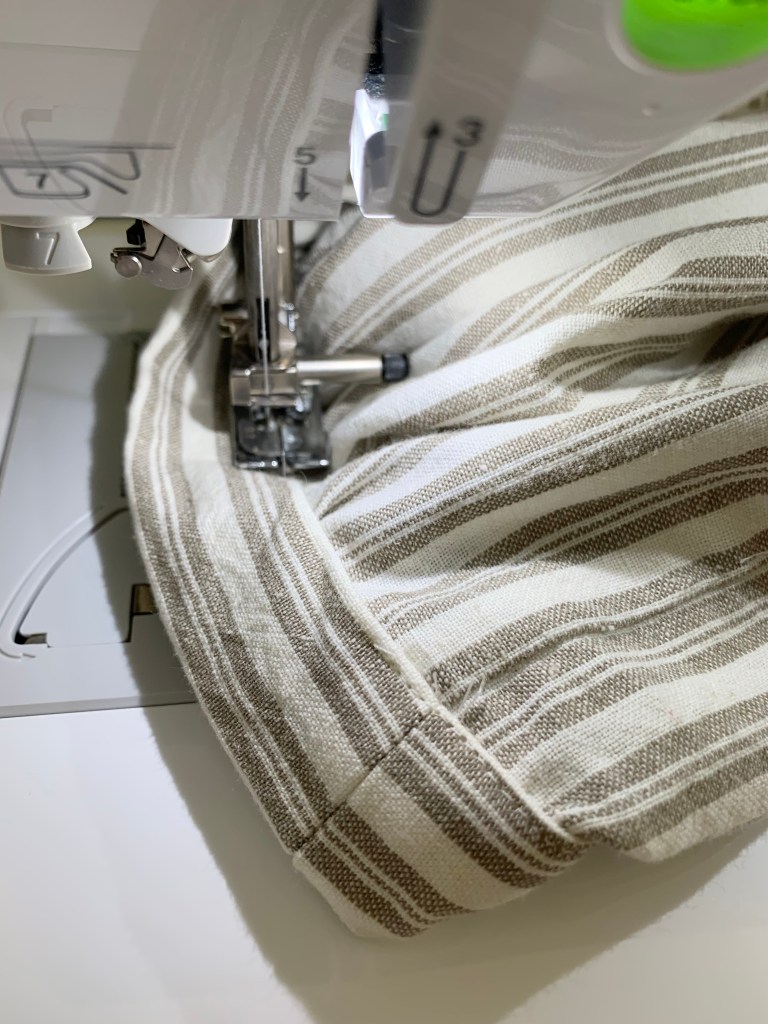
23. Now let’s finish the hem! Press the skirt edge up at 1/2″ to the wrong side of the dress. Press again at 3 1/2″, and pin in place. Topstitch along the folded edge to finish. Give the hem a really good steam press.
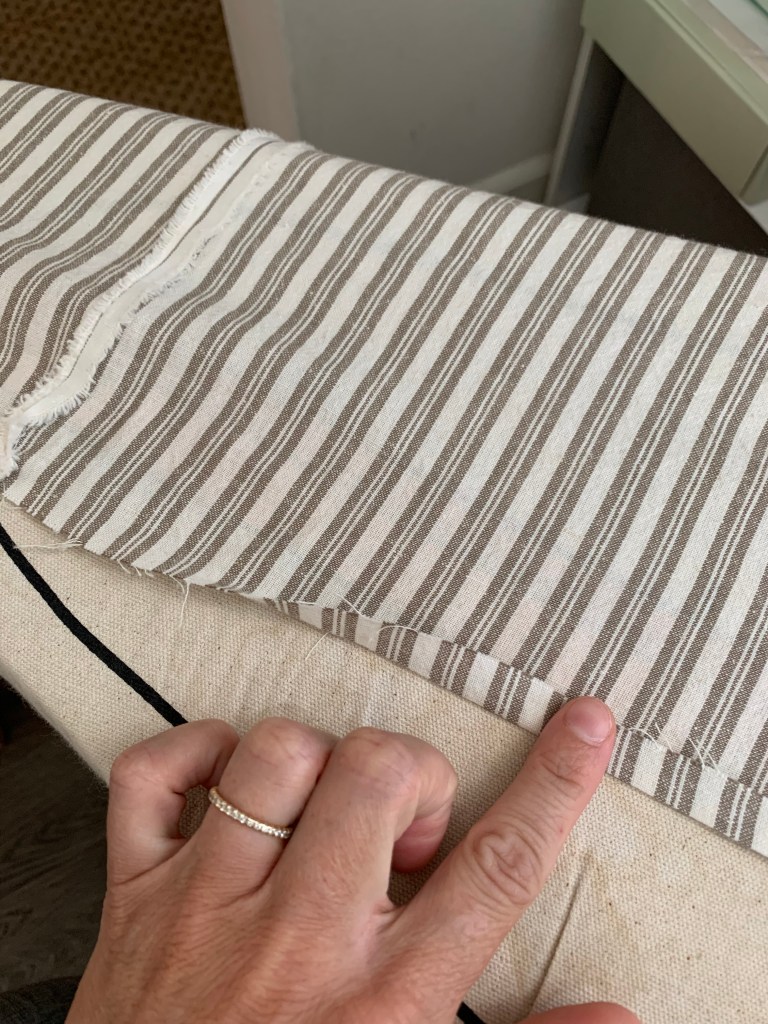
24. Hand sew or edgestitch the open edge of the bottom hem closed.
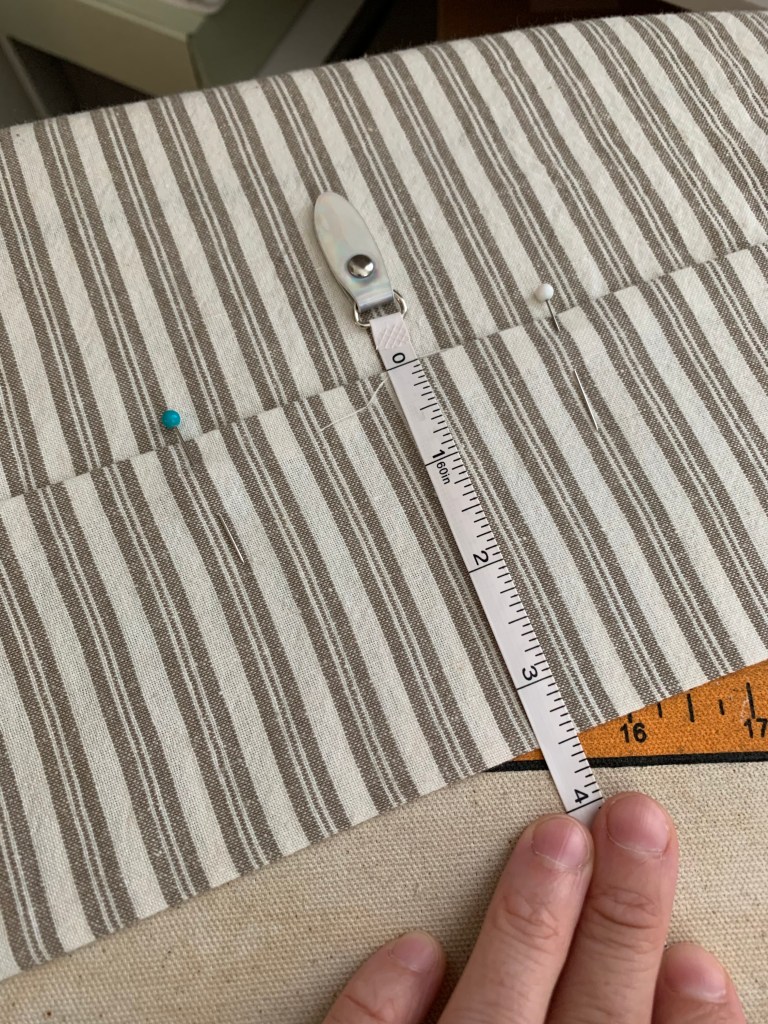
25. Last off, button holes and buttons! Mark your buttons holes along the right side of the dress placket, starting with the waist button hole. (I used a water soluble marking pen) Add one button hole above it by 9 cm. Add 7 button hole marking below the waist button hole marking, each also 9 cm apart. Sew button holes.
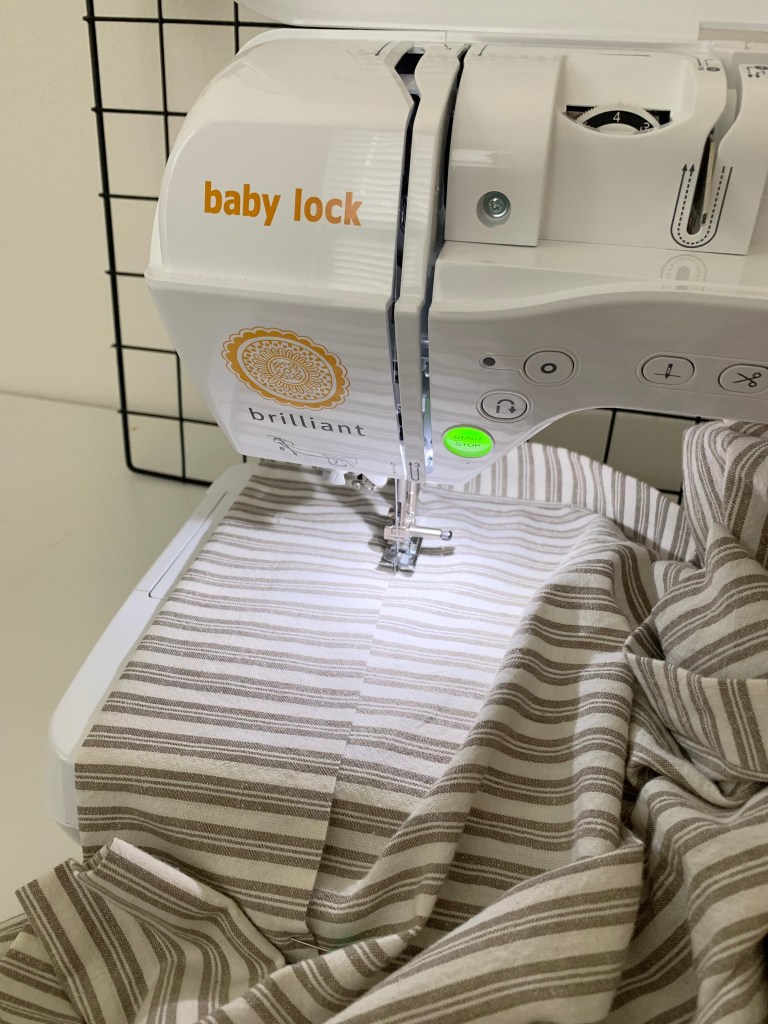
Note: I love how EASY it is to sew button holes with the Baby Lock Brilliant sewing machine. Button holes always feel like such a head ache, but not with this machine! Perfect button holes every time.

26. Cut button holes open using a seam ripper or preferred tool. Place the right side of the placket evenly over the left. Pin mark where the buttons need to be sewn on the left side of the placket. Remove right placket leaving pins in place on the left side. Sew buttons in place.
27. Remove any basting stitches showing on the right side, clip any threads and give the dress a good steam press.


All finished! Give yourself a pat on the back, and go play around with styling your dress! Sandals or white sneakers, simple gold jewelry, apply some lip color and let your hair down- you’re ready to go! I hope you love your dress as much as I do!


Leave a comment