

This post is sponsored by Baby Lock, but all opinions are my own.
Hello and happy spring! I decided to sew matching Easter outfits for myself and my two daughters this year. I made this adorable bubble romper for my 6 month old daughter using the Oh Me Oh My Ruffle Romper pattern. This pattern is really fun to sew and I have made it a few times before! It’s a great pattern to add to your collection, makes a great last minute baby gift and comes in many sizes. This pattern offers really great step by step photo instructions in it’s pattern instruction PDF. I made a few changes to this version so I thought I would share what I did differently, and allow you to follow their instructions for the remainder of the romper.
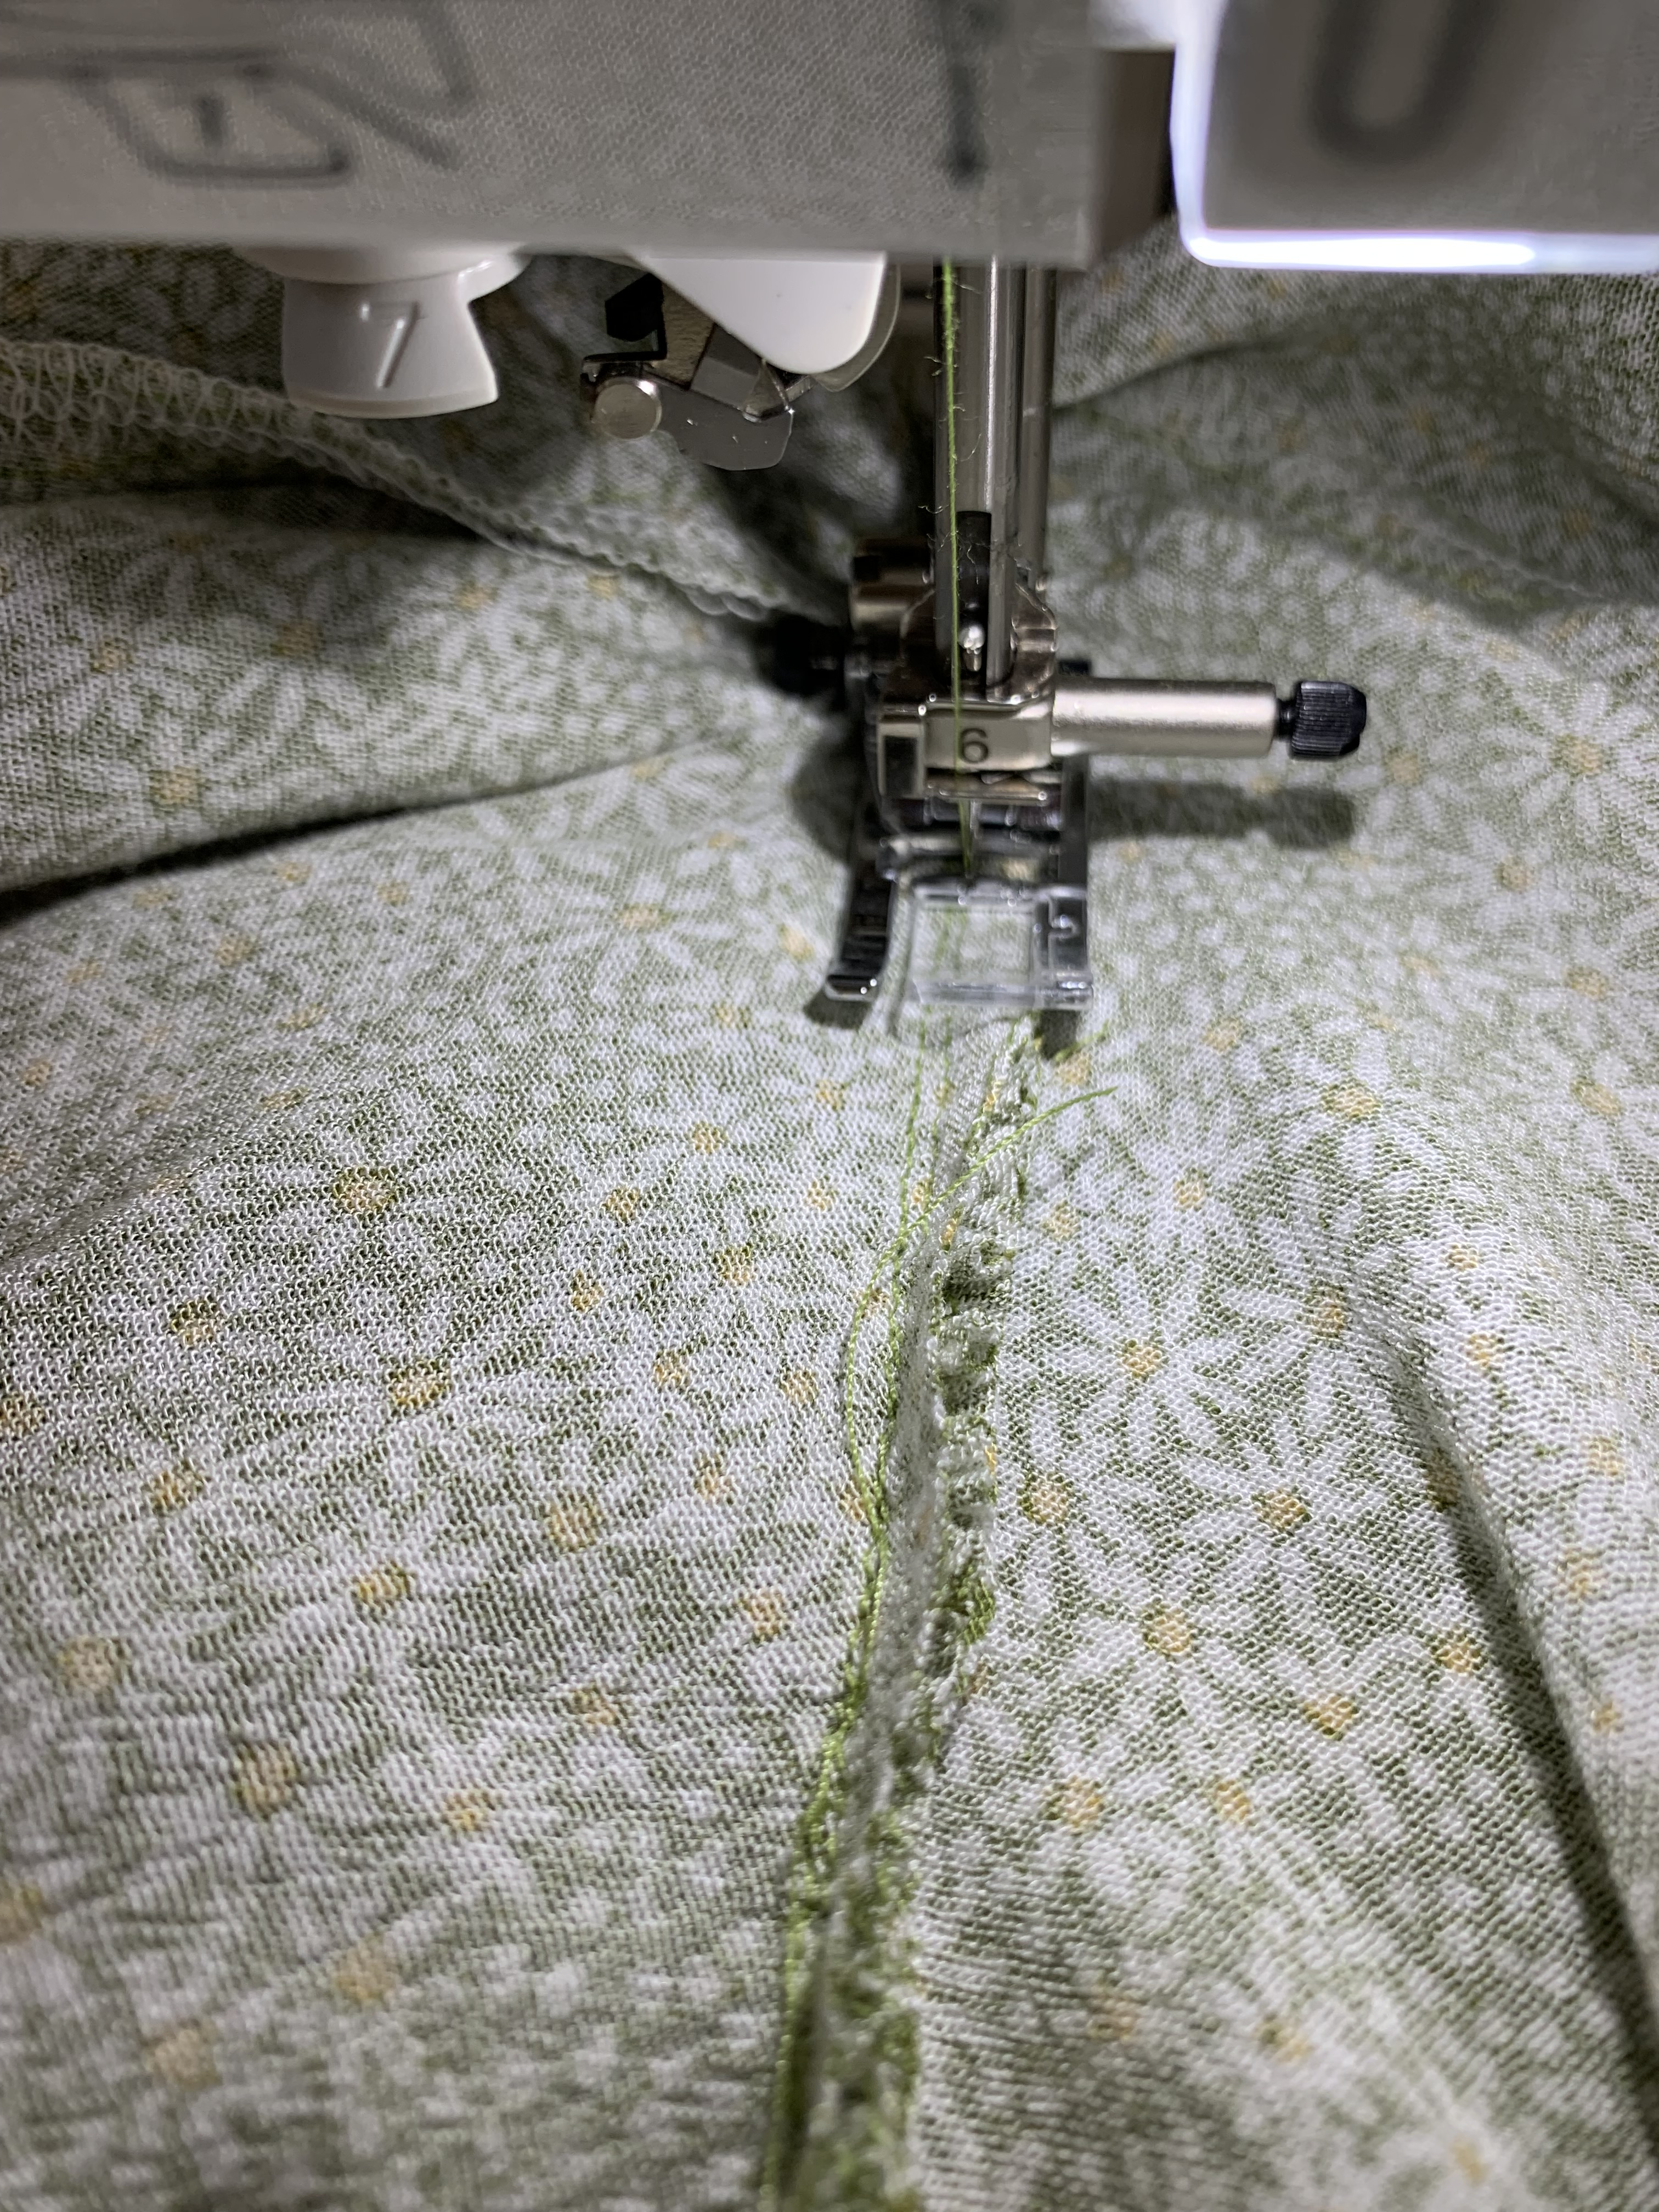
I used my trusty Baby Lock Celebrate Serger and Brilliant sewing machine to create these looks. I have been using these machines for over a year now, and I have really enjoyed using them! I especially love how easy it is to sew buttonholes with my Brilliant sewing machine. My green daisy fabric is from my local Joann’s store.
To begin, before cutting out the pattern pieces, I taped the two front bodice pieces together and omitted the side seam ruffle pattern piece. I decided to add a ruffle collar to the neckline instead so the romper would match my daughter and I’s dresses. You will need to also cut a rectangle piece measuring 15 1/2″ x 2 3/4″ for the neckline ruffle, cut one on the fold.
Let’s begin!
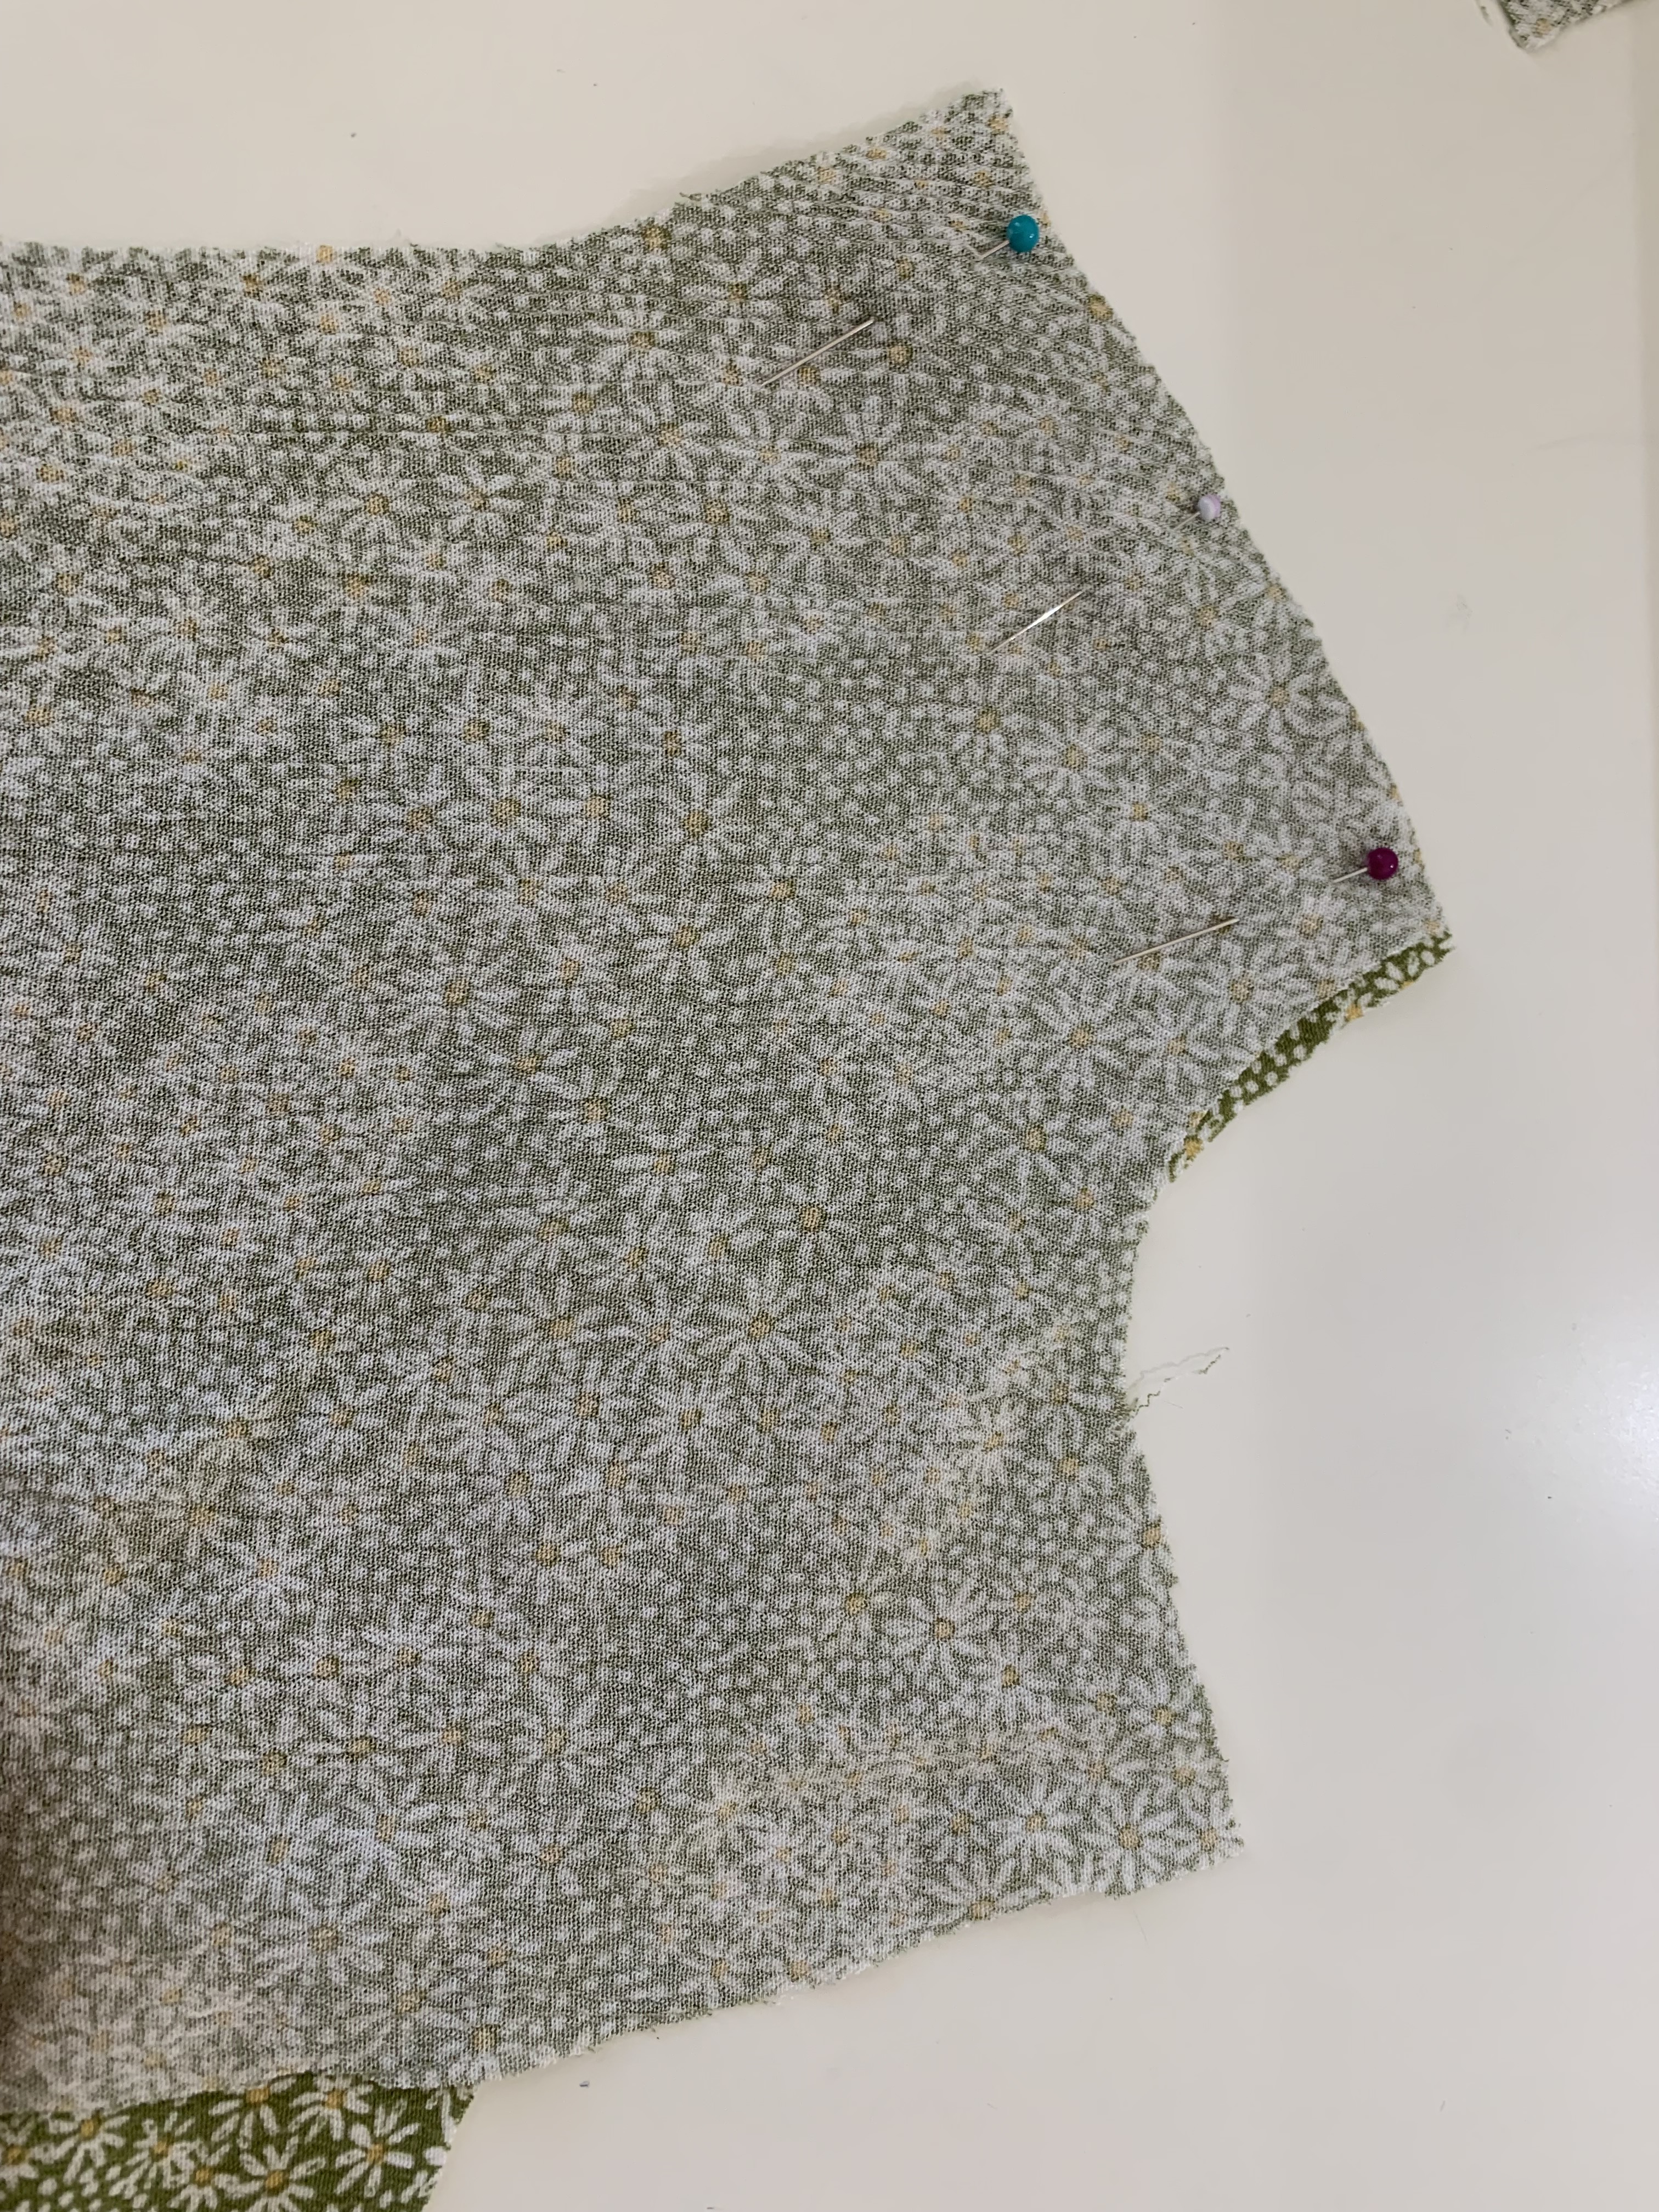
Step 1: Apply interfacing to one set of back bodice pieces as instructed in pattern instructions. After your pieces are all cut out and interfaced as originally instructed, the first thing to do is stay stitch the neckline edges. Begin sewing 1/4″ from the shoulder to the center of the front bodice and stop. Repeat from the other shoulder to the front bodice center. Repeat for the back bodice. This helps reinforce the neckline edge and helps prevent stretching of the neckline- which this fabric is a little prone to do.
Step 2: Next, it’s time to sew the shoulder seams together. Pin the shoulder seams right sides together for both the bodice and bodice facing (separately). Sew at 1/2″, press together and finish as desired. I finished the seams using my Baby Lock Celebrate serger.

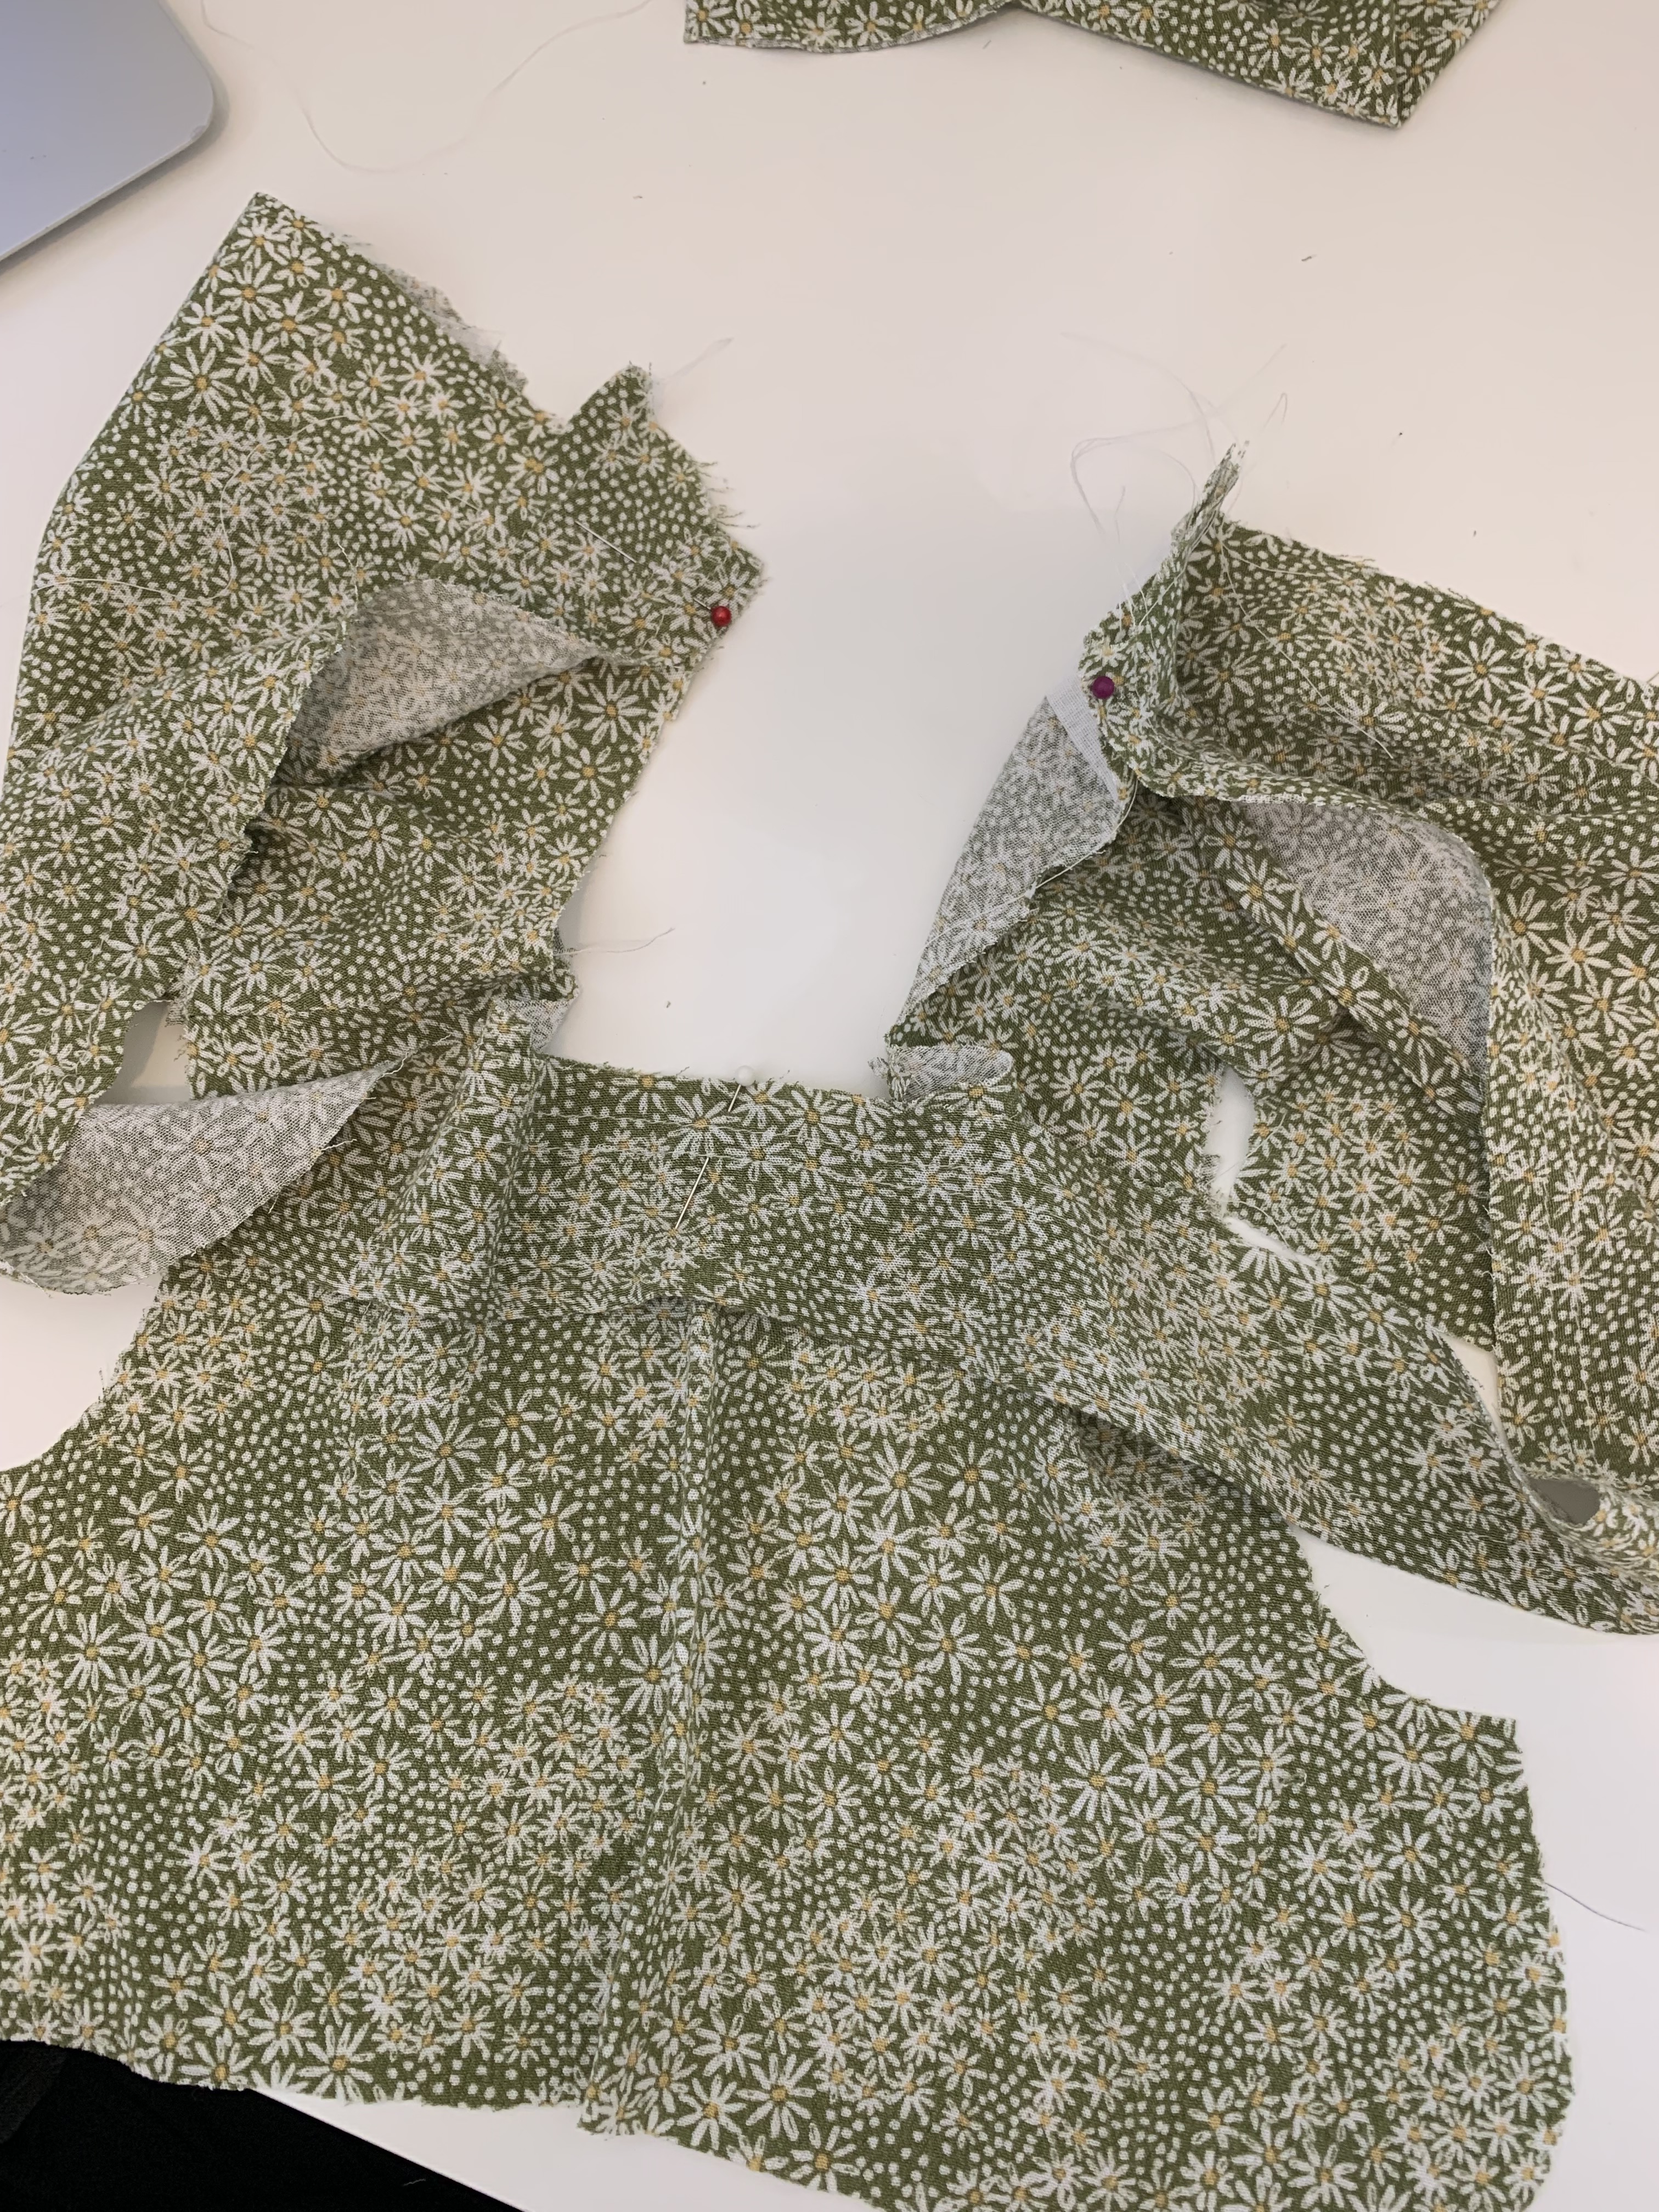
Step 3: Now we will prepare the neckline ruffle. First we will finish one long edge of the ruffle piece by pressing the raw edge in at 1/4″ and again at 1/2″. Pin and edge stitch in place.


Step 4: Next we need to sew in our basting stitches to be able to create the gathers along our neckline ruffle. Change the stitch length to 4.0. Sew two rows along the other raw edge at 1/4″ and 1/2″.


Step 5: Pin the center of the wrong side of the collar ruffle to the right side center of the bodice neckline. Pin the edges of the ruffle to the back edges of the neckline. Gently pull the basting stitched on either side of the ruffle collar until it lines up and fits in place with the neckline edges. Distribute the gathers evenly and pin in place.

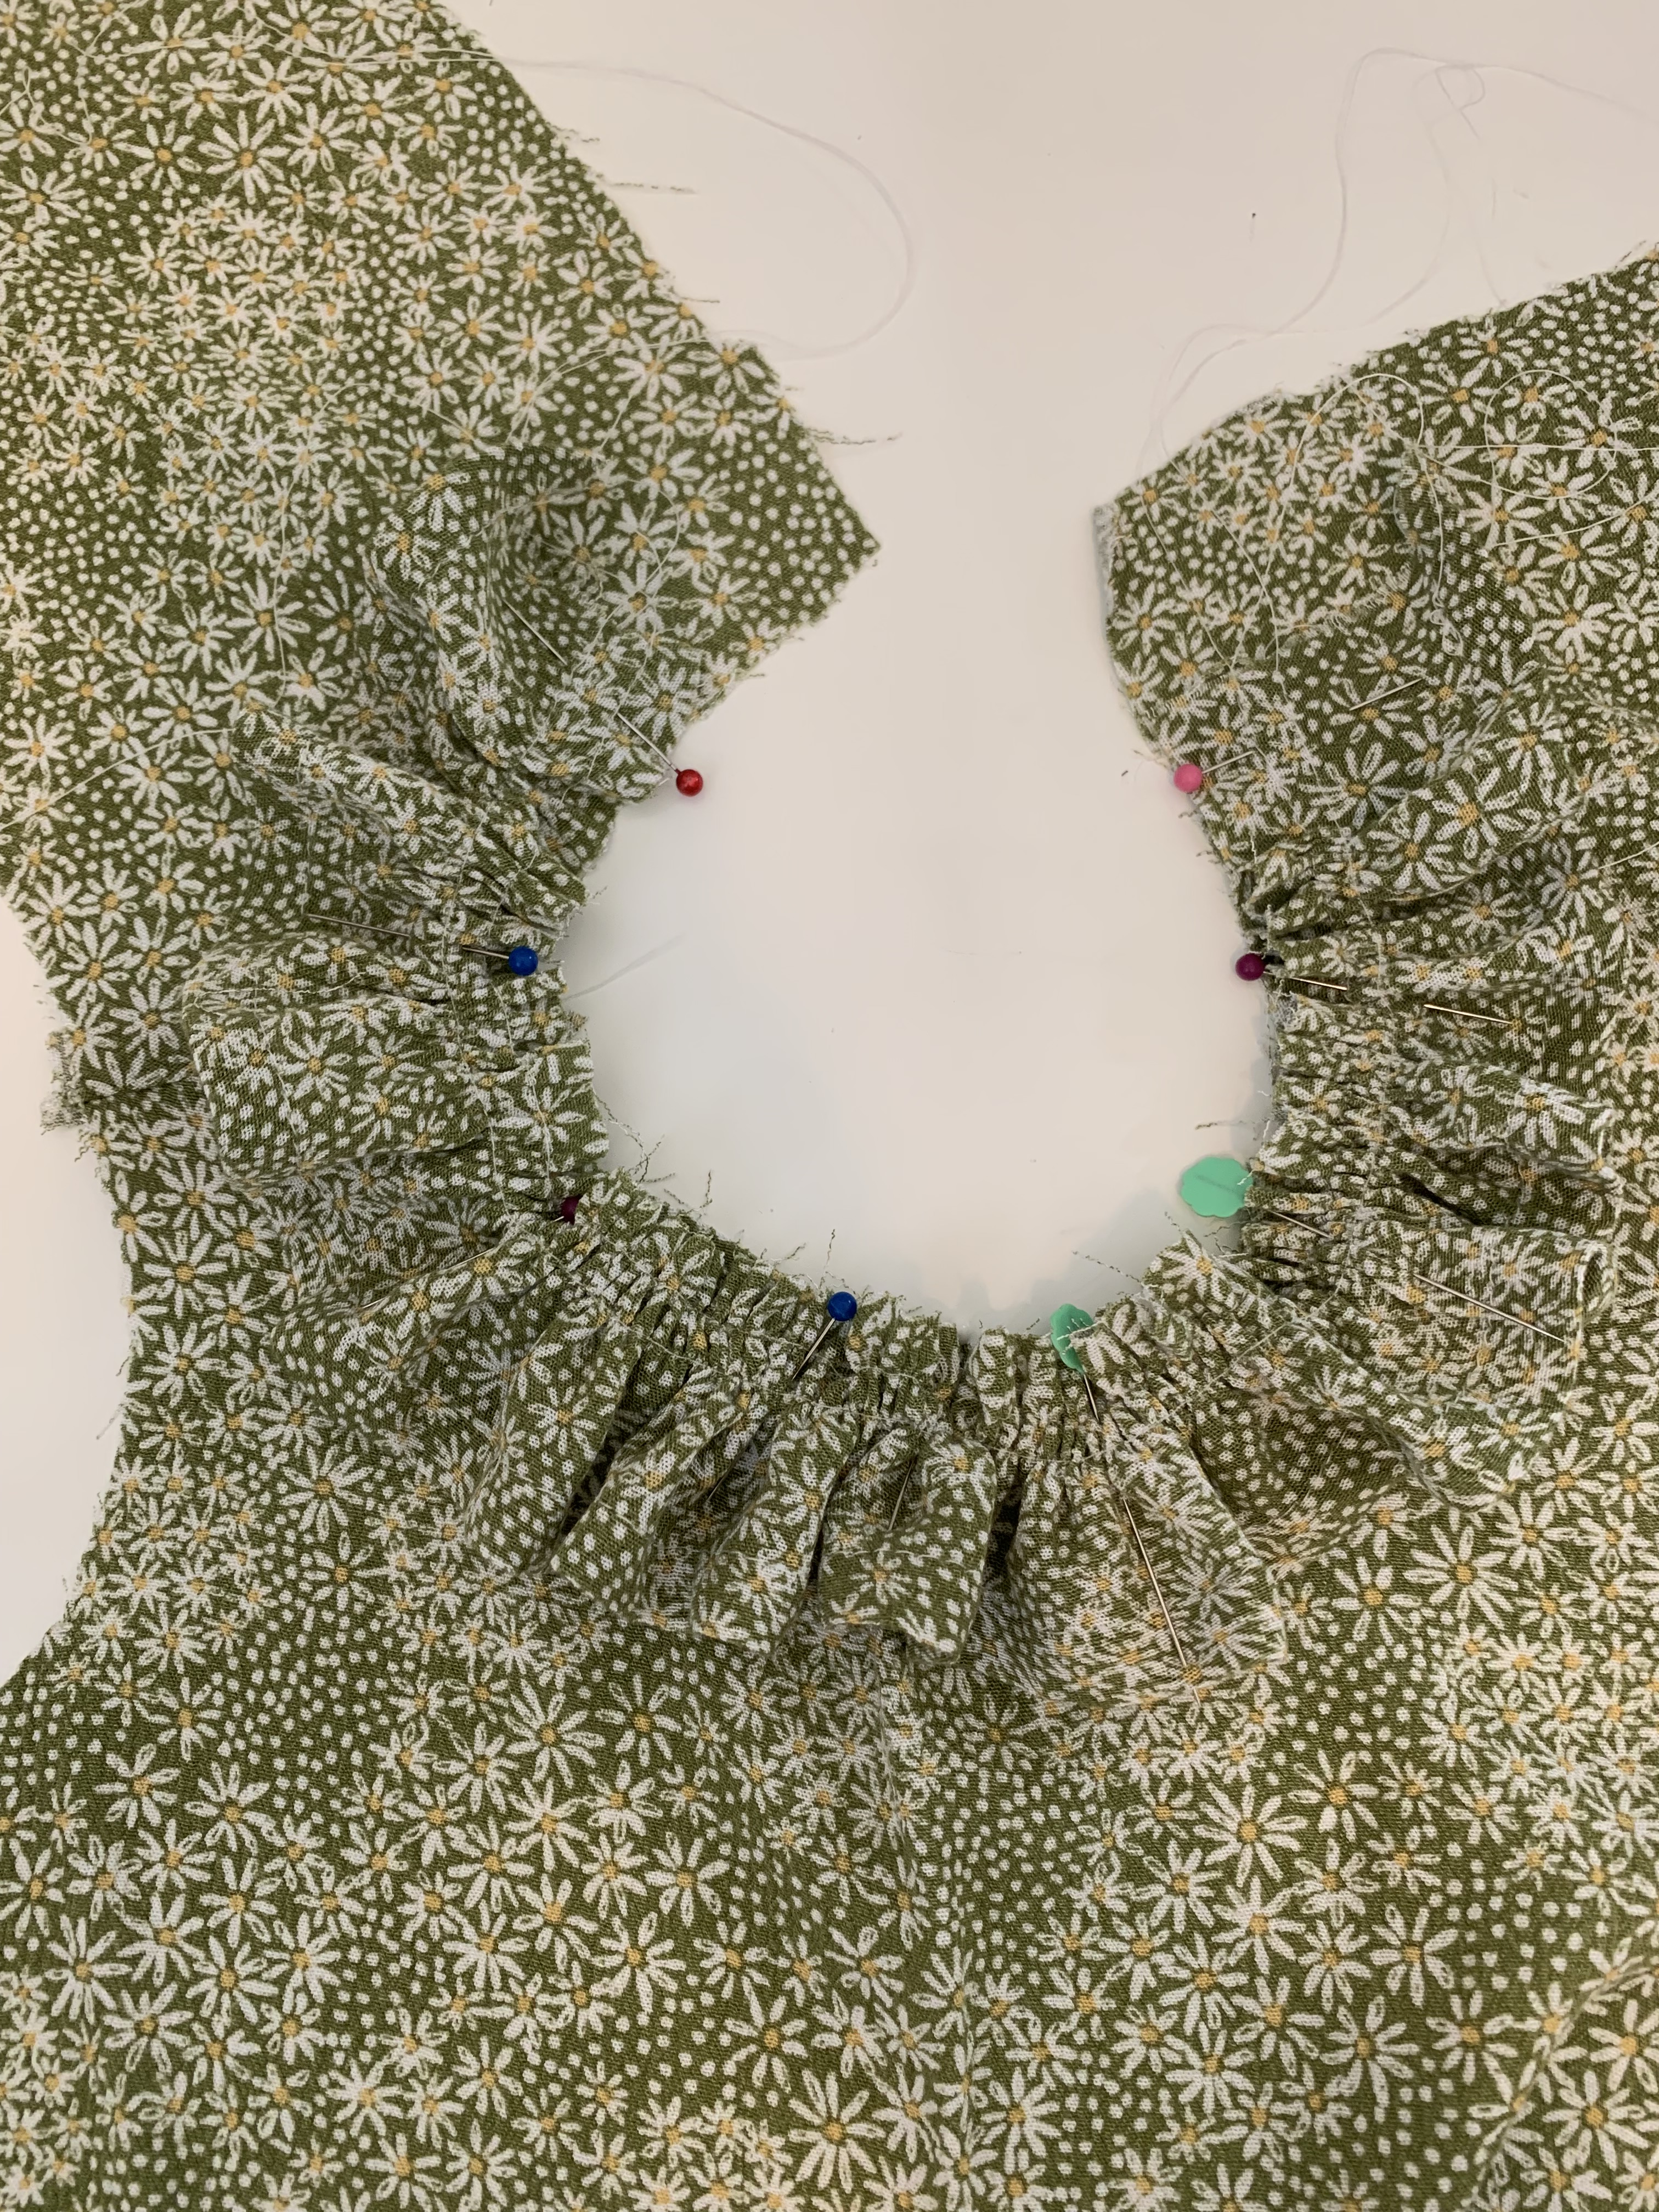
Step 6: Baste the collar onto the neckline.

Step 7: Next, pin the bodice lining right sides together to the bodice, with the gathered collar sandwiched in between. Sew together along the neckline at 1/2″.

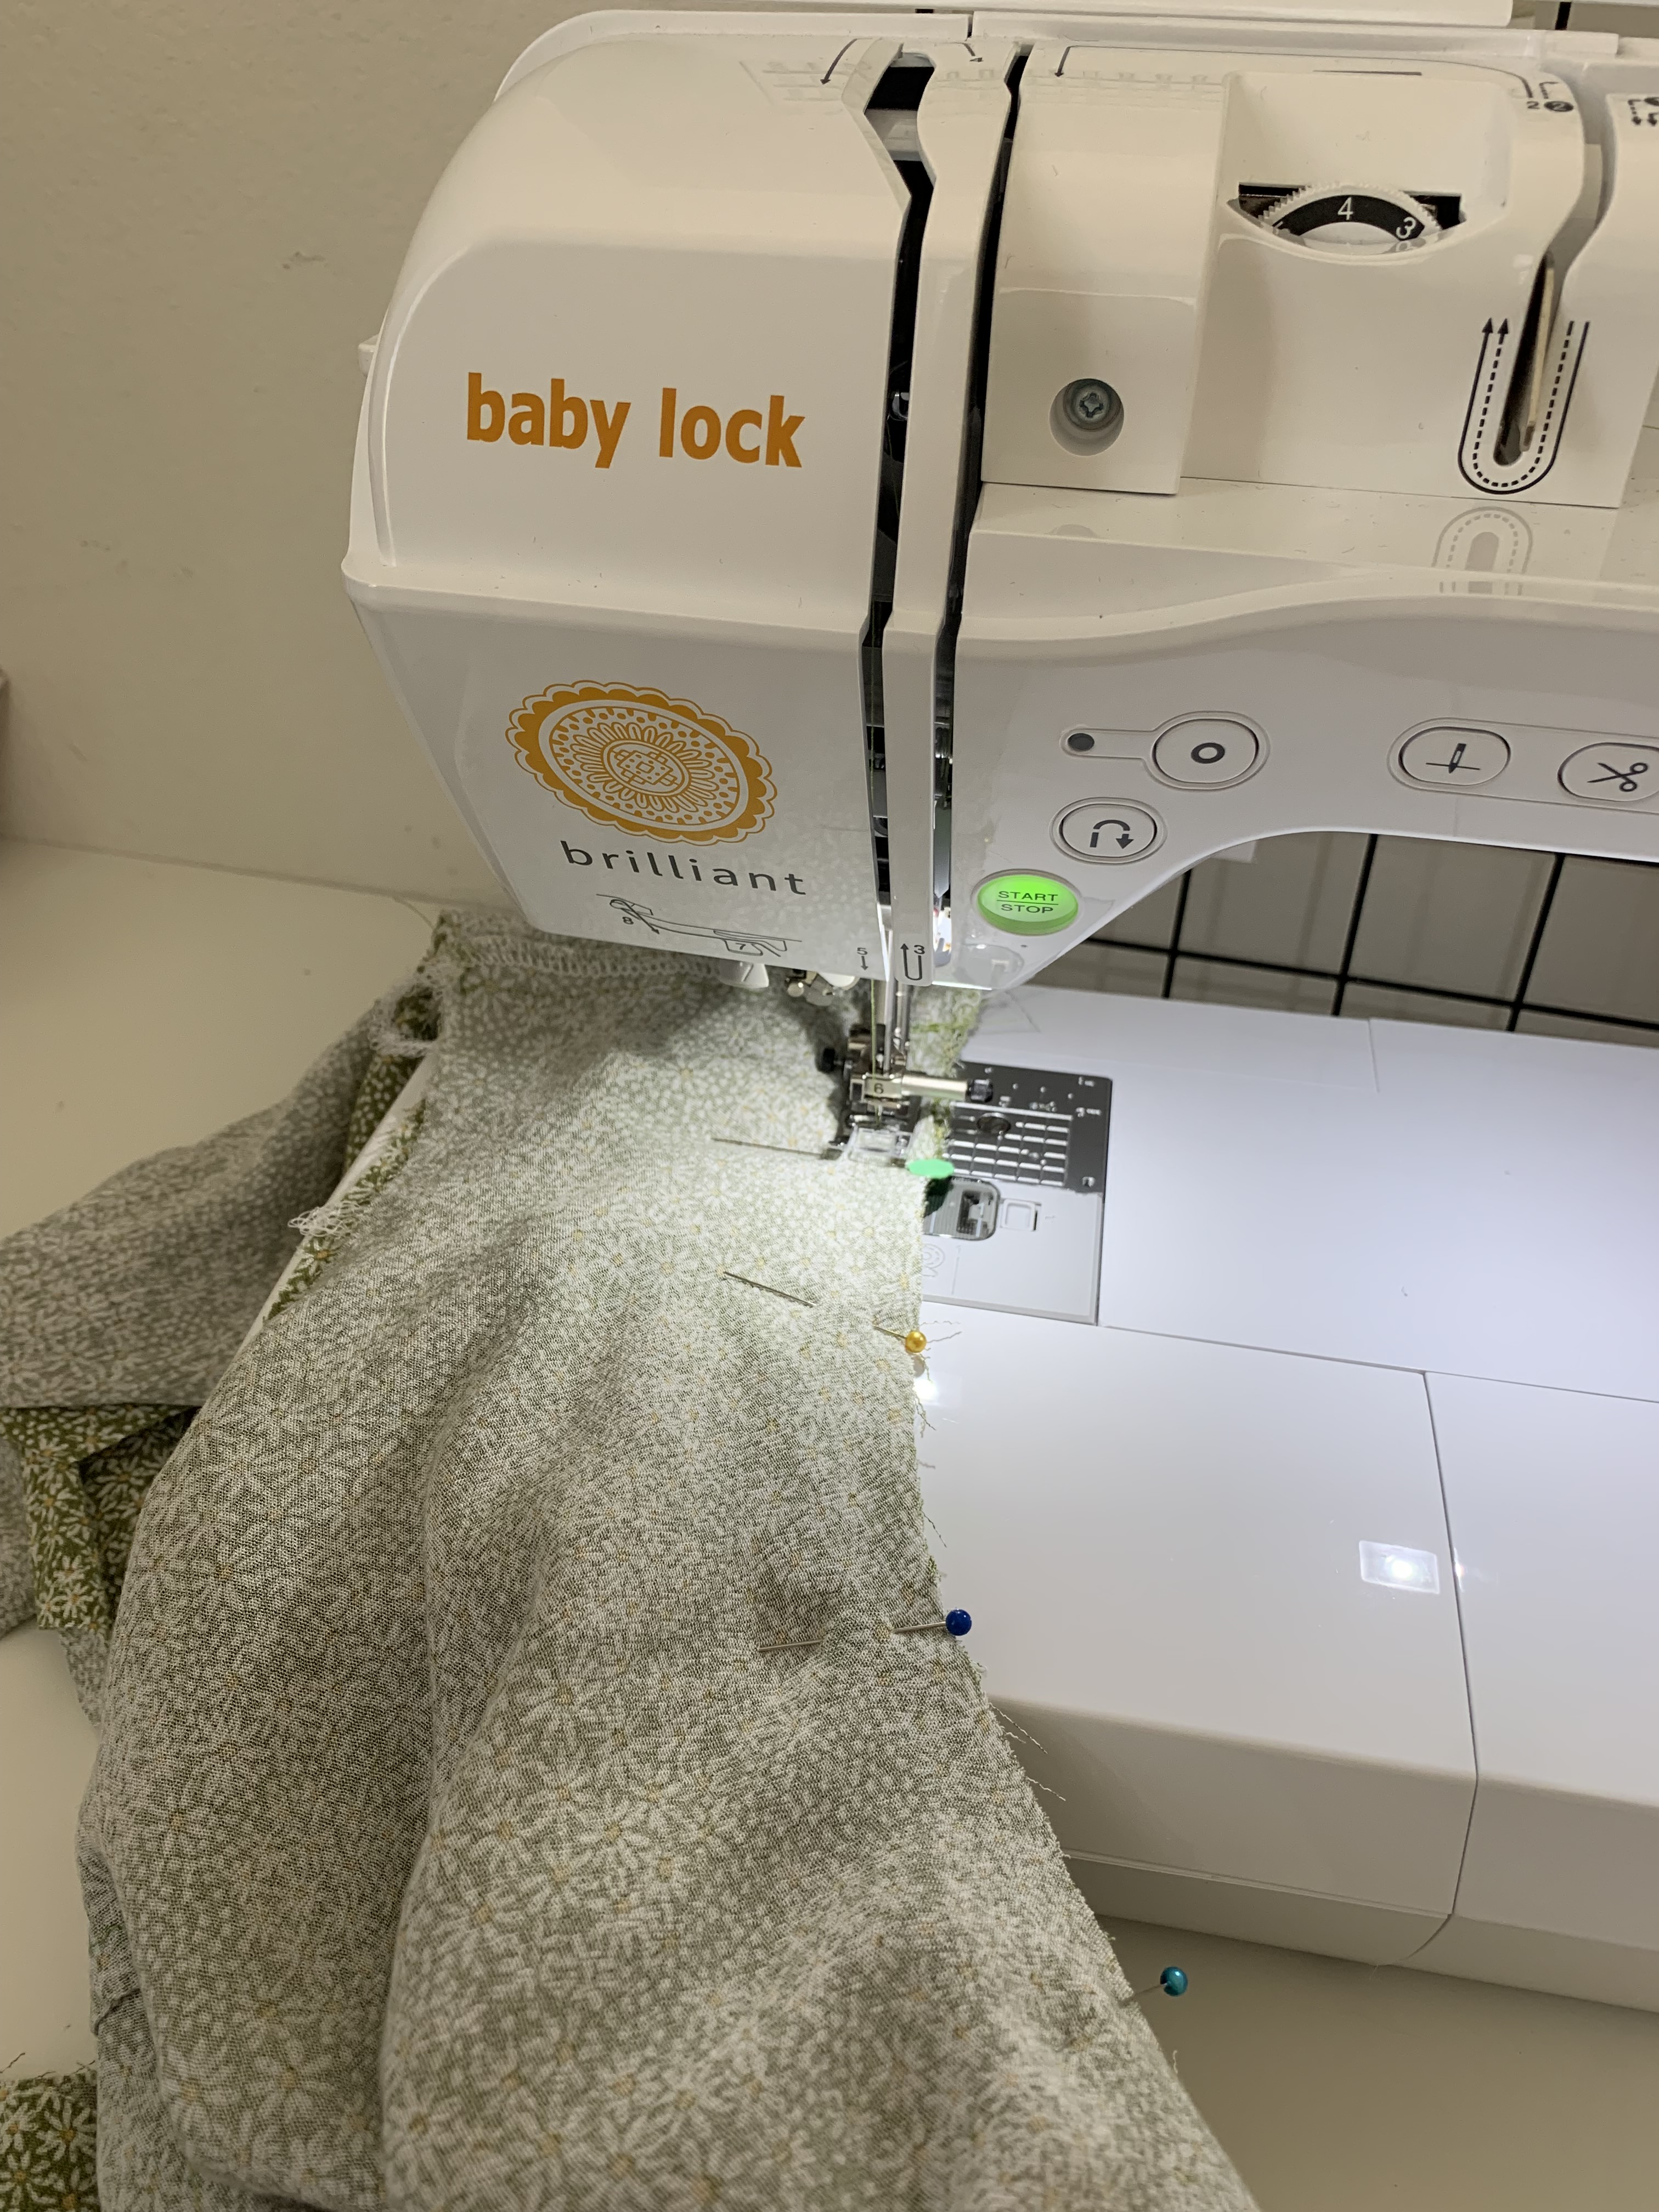
Step 8: Open up the two front bodice pieces and lay the seam under the sewing machine, and understitch the collar seam allowance to the bodice lining. This will prevent the collar from rolling out exposing the lining. Flip the bodice right sides out and gently iron the neckline from the inside of the bodice so not to flatten the ruffles.
Step 9: Next, line up the side seams edges right side together (there will be 4 pieces), pin and sew. Finish as desired.

Step 10: You can follow with the rest of the instructions beginning at page 6 as originally written for this pattern! Now we need to finish the armholes using single fold bias tape, they instruct the bias tape to be sewn in before the side seams are sewn, but I found it easier to do this when the extra bodice lining with the side seams pre-sewn and finished.

Again, I love this pattern and have made it a few times. I really enjoyed changing it up a little to customize it to my personal vision for our Easter outfits. Hope you love it as much as I do! You can find the post for our matching dresses here!


Leave a comment