


This post is sponsored by Baby Lock but all opinions are my own.
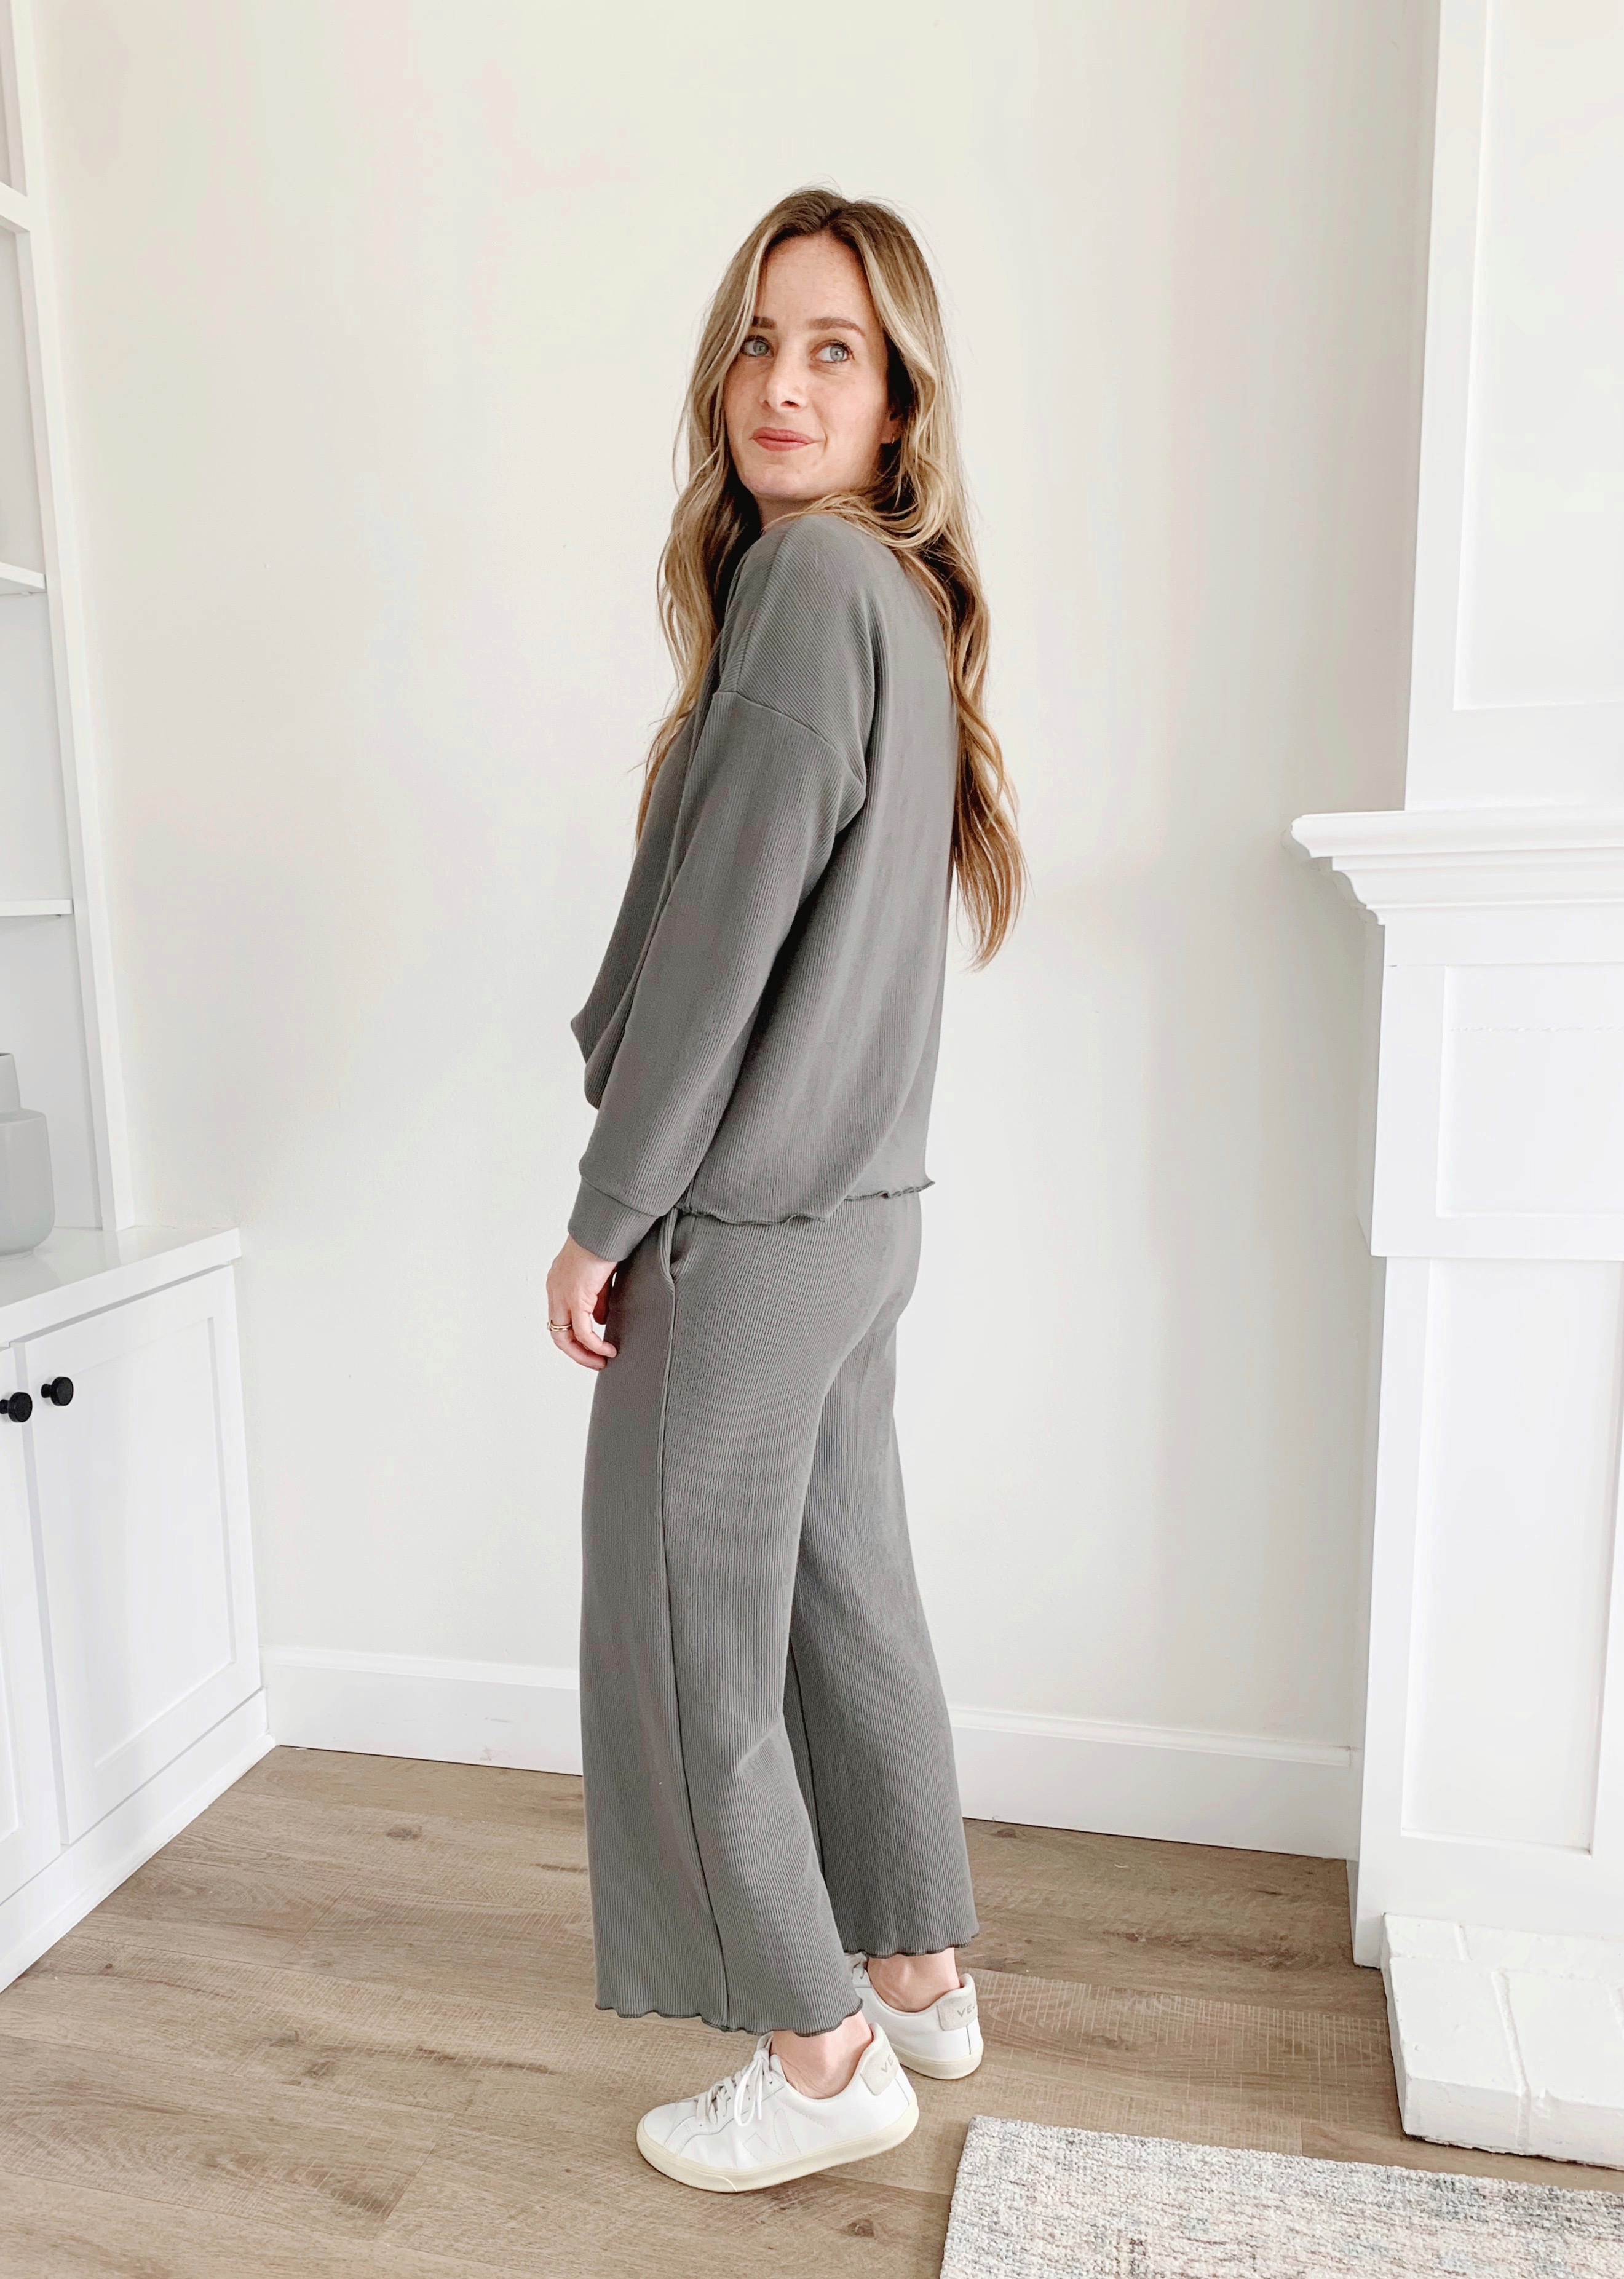
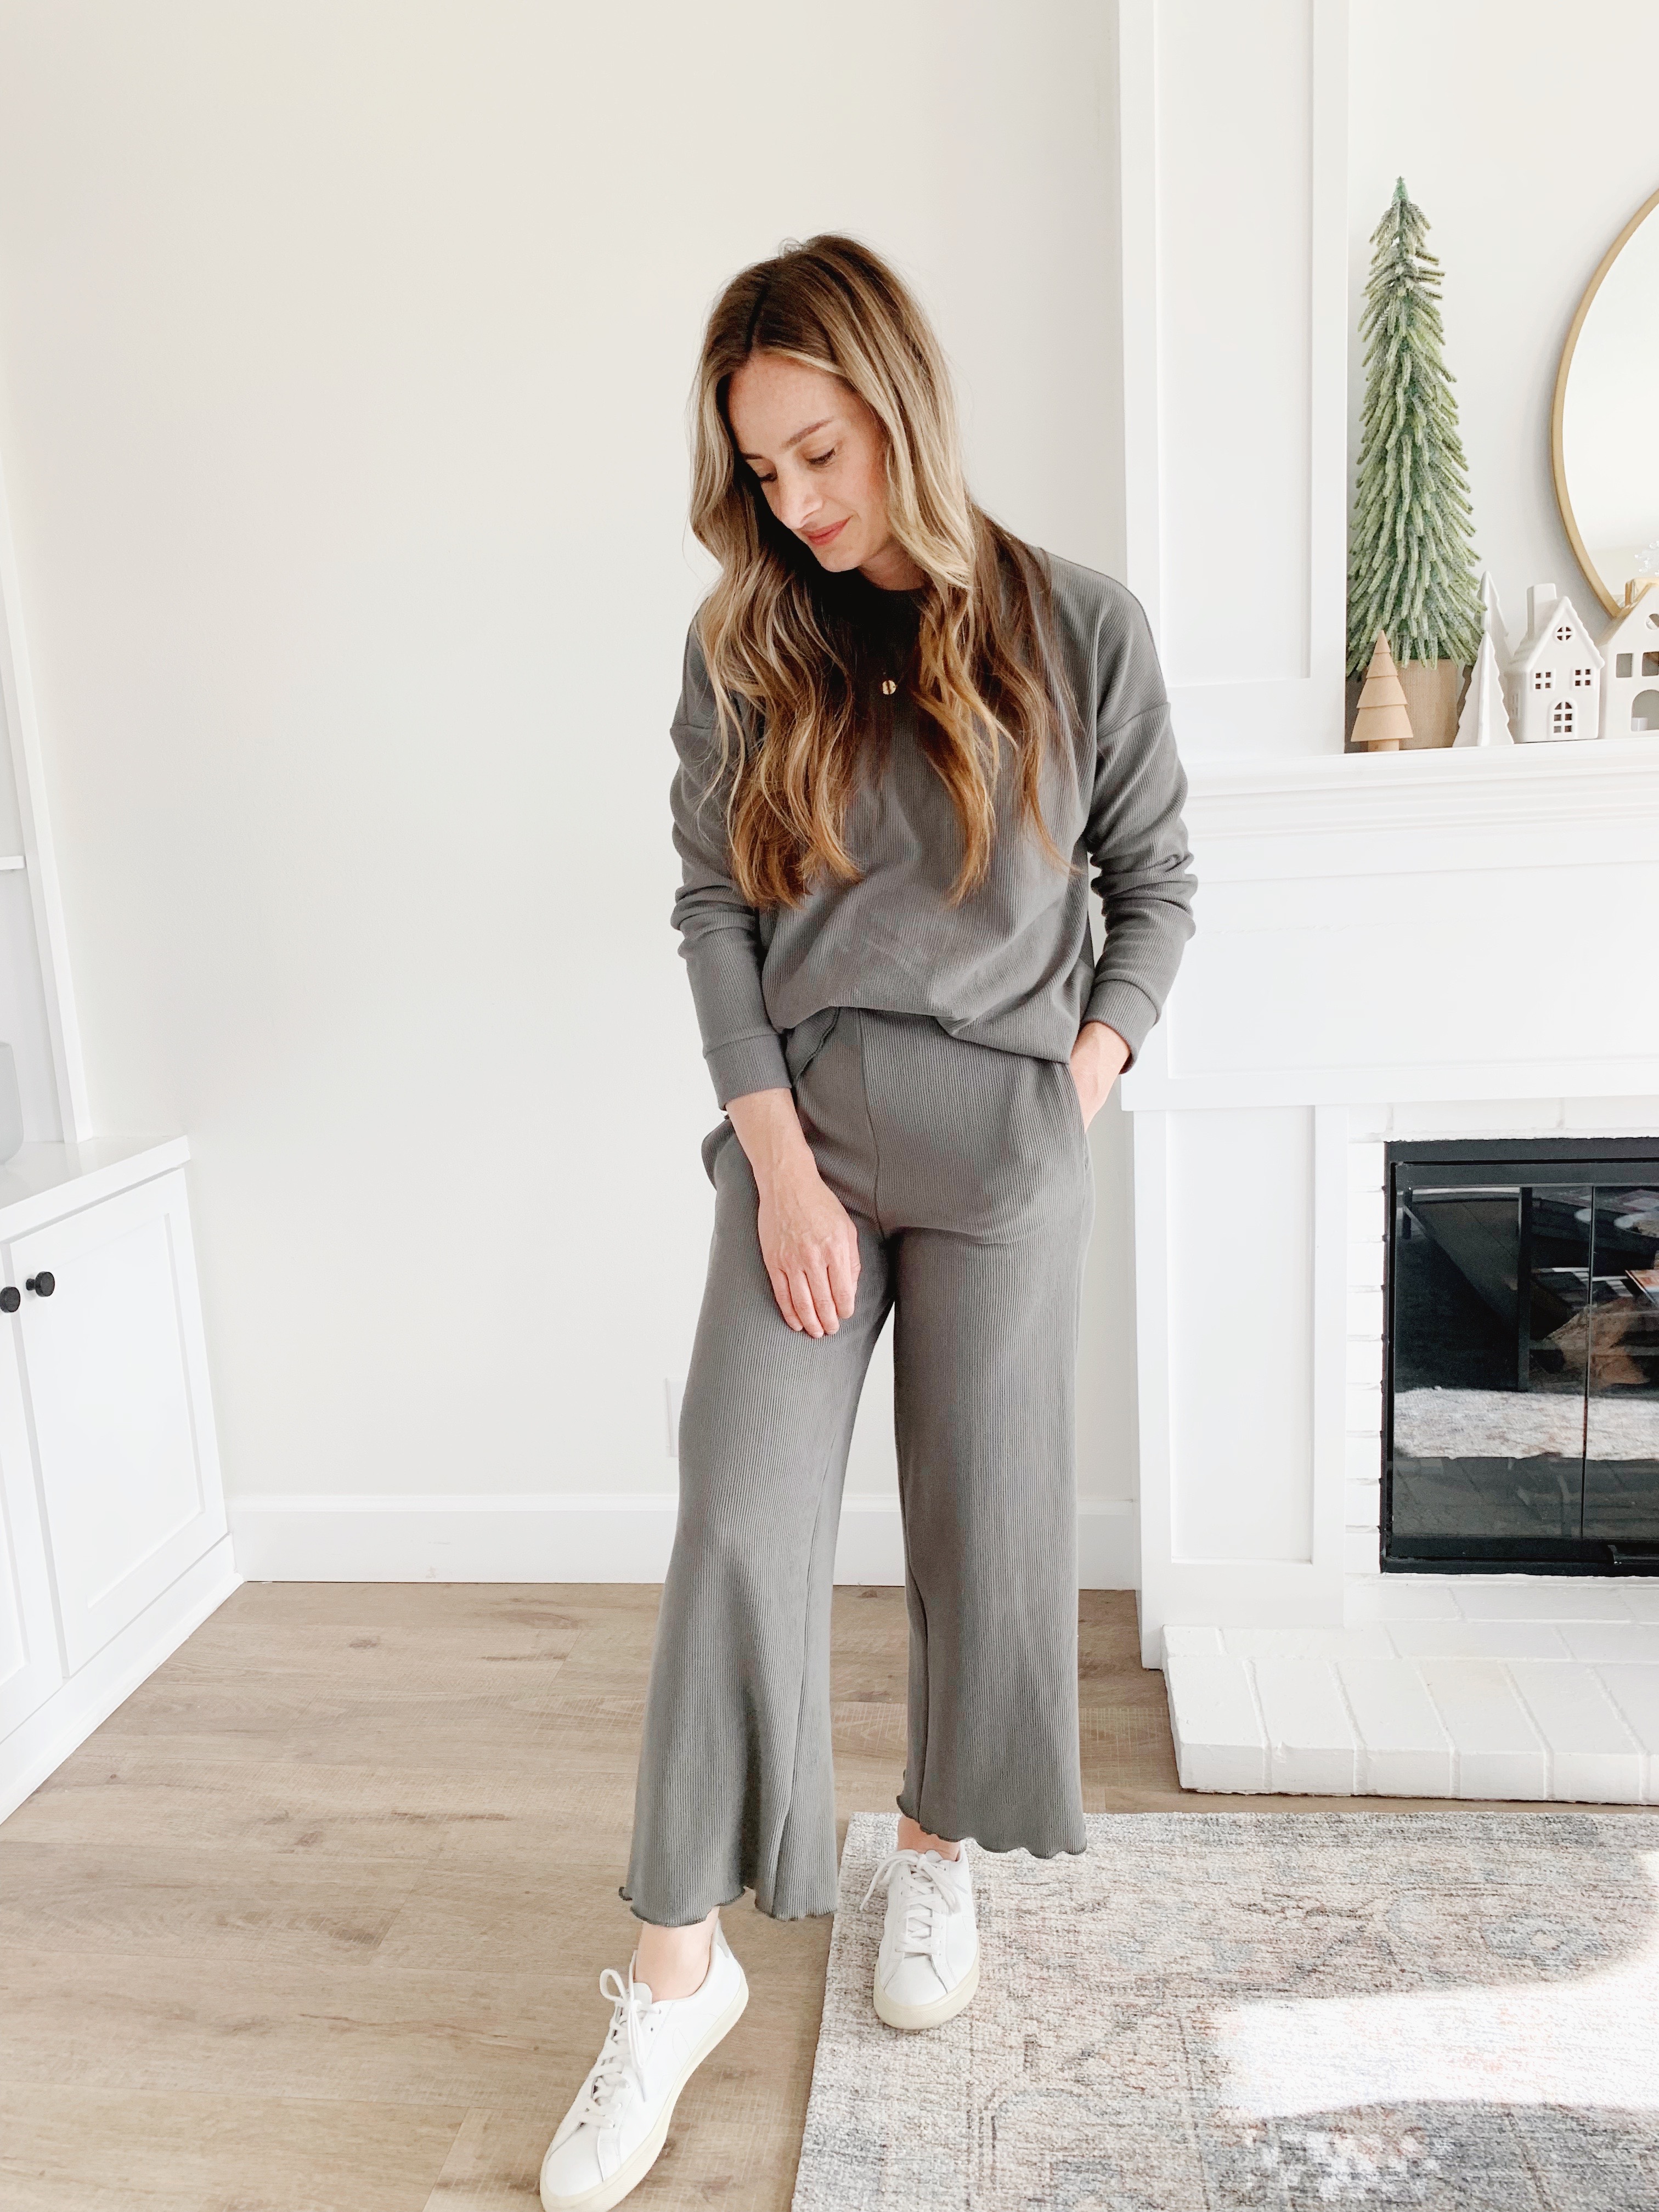
A trend I have been LOVING lately is monochromatic lounge wear sets! You can find them everywhere in all kinds of fabrications and colors. I thought it would be fun to customize my own version. Using my Baby Lock Brilliant and Celebrate machines, I created a rib knit wide leg pant with a matching oversized top. To make my lounge set even more fun and customized I added a lettuce hem to my shirt and pants. I recently bought s similar set for my daughter and instantly loved the look- so I recreated it for myself! I really love this added feminine touch to my knit set.

I used 3 1/2 yards of this amazing rib knit fabric I found at my local JOANN’s. I did end up cutting my pattern pieces out off grain so the rib would run vertically along my body. I used two patterns to create this look: The Como Knit Pant pattern by Style Arc + The Jarrah Sweater by Megan Nielsen Patterns. I ended up sizing up three times my normal size in the Jarrah Sweater to give it an oversized look.
I took pictures of the process along the way to share along with you! Let’s get started!
*Not mentioned in the tutorial, but make sure to lightly press each seam after it’s sewn. Use a press cloth if your iron leaves a permanent mark on your fabric. (Test a scrap piece first!).
Lets begin with the Jarrah Sweater.
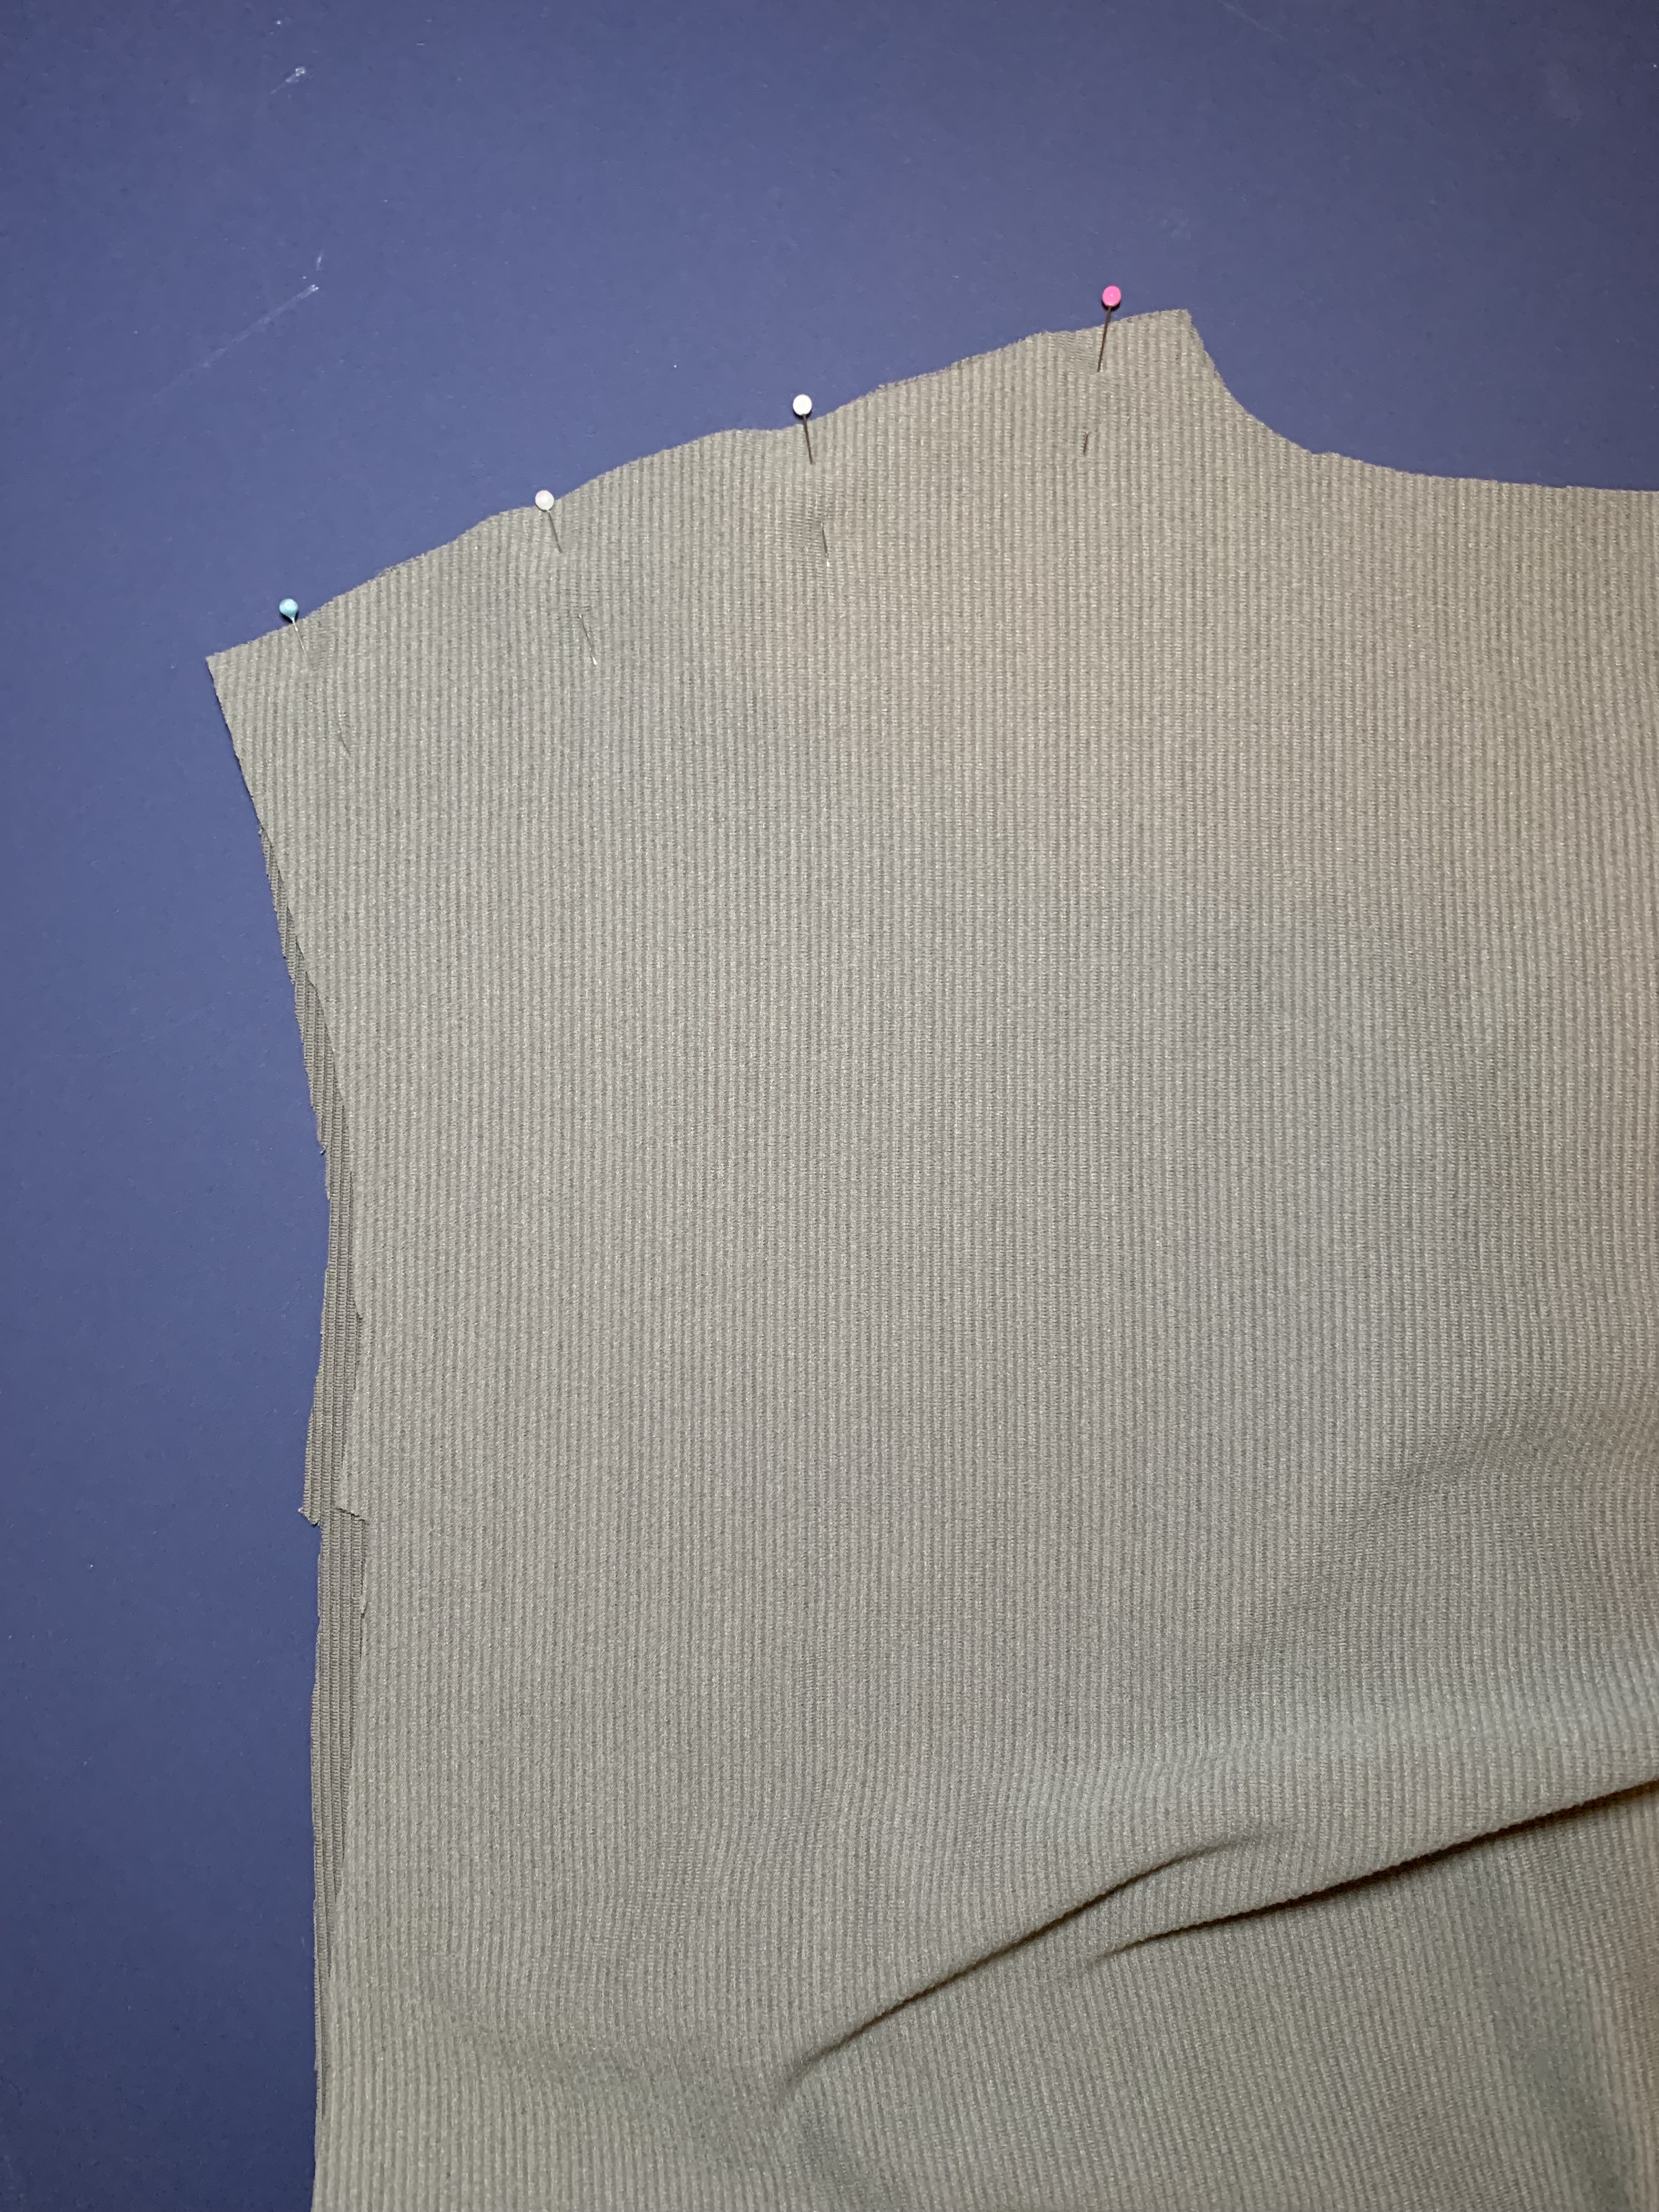
- Cut out your pattern pieces (except for the bottom band piece if you would like to hem it like I did using a lettuce finish). First, pin your shoulder seams right sides together, and sew. I used my Celebrate Serger, but you could also use a zig zag stitch if you don’t have access to a serger.
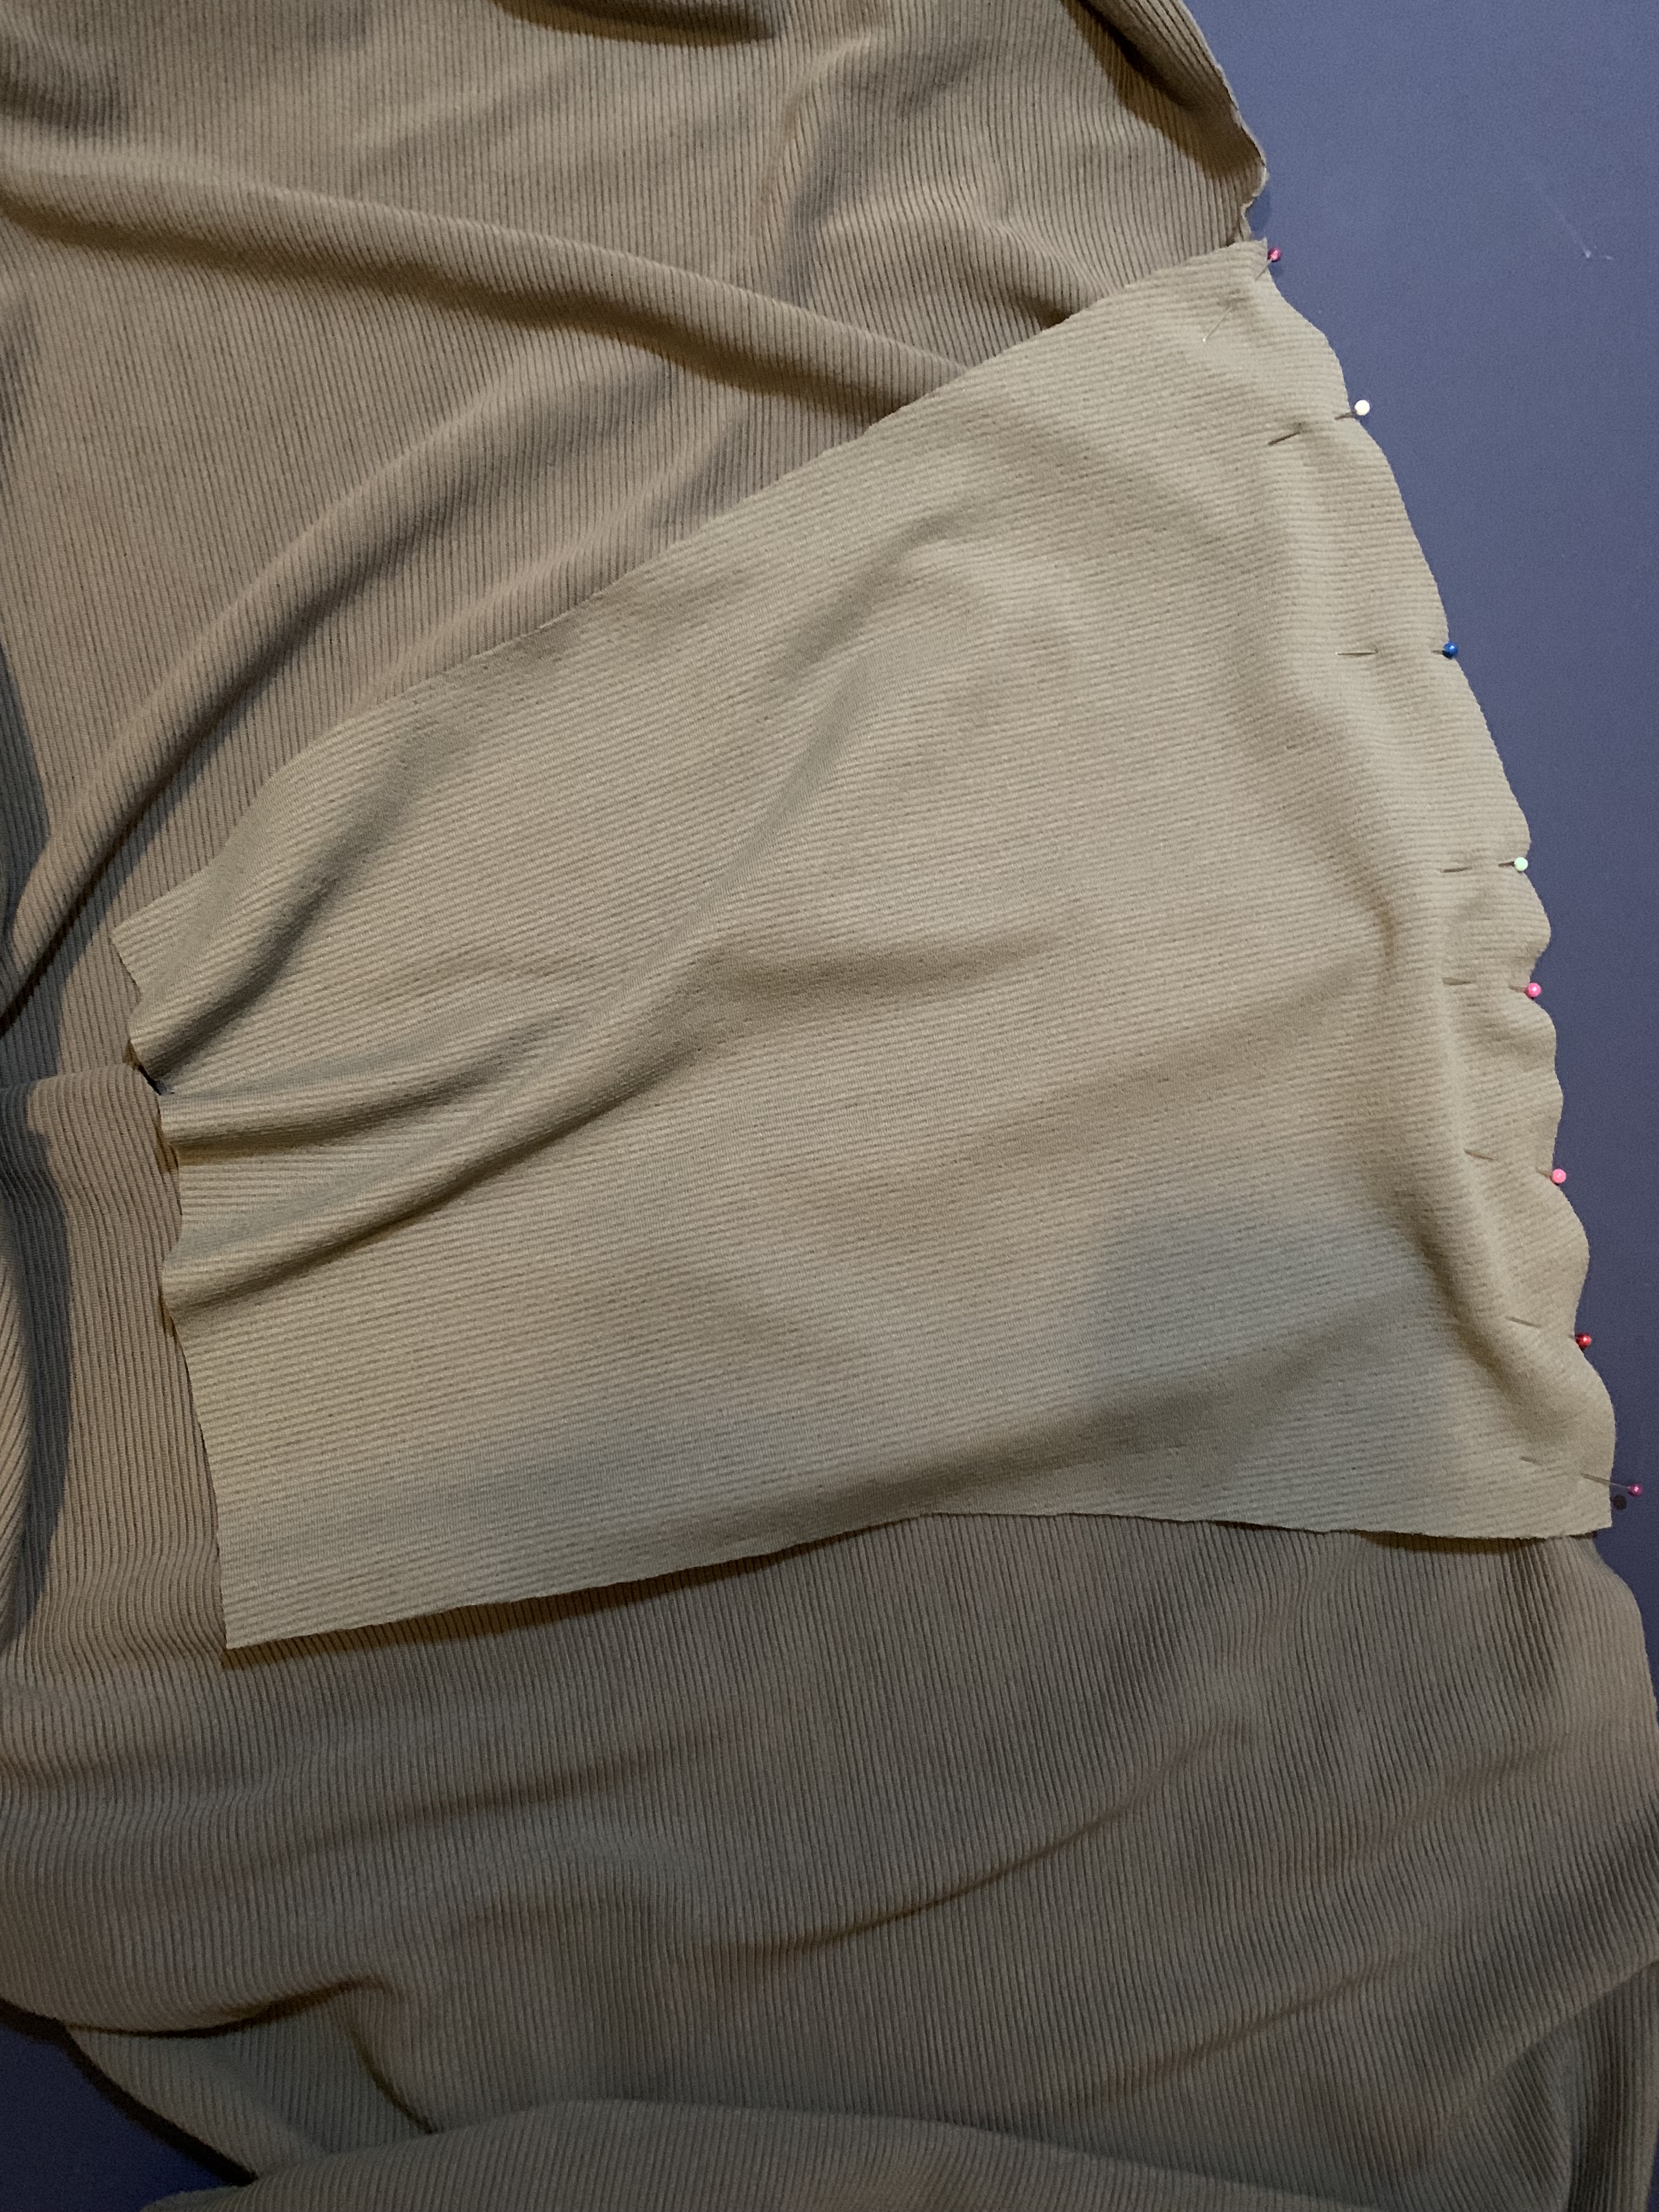
2. Pin the sleeves to the front and back bodice matching the notches right sides together. Sew together.
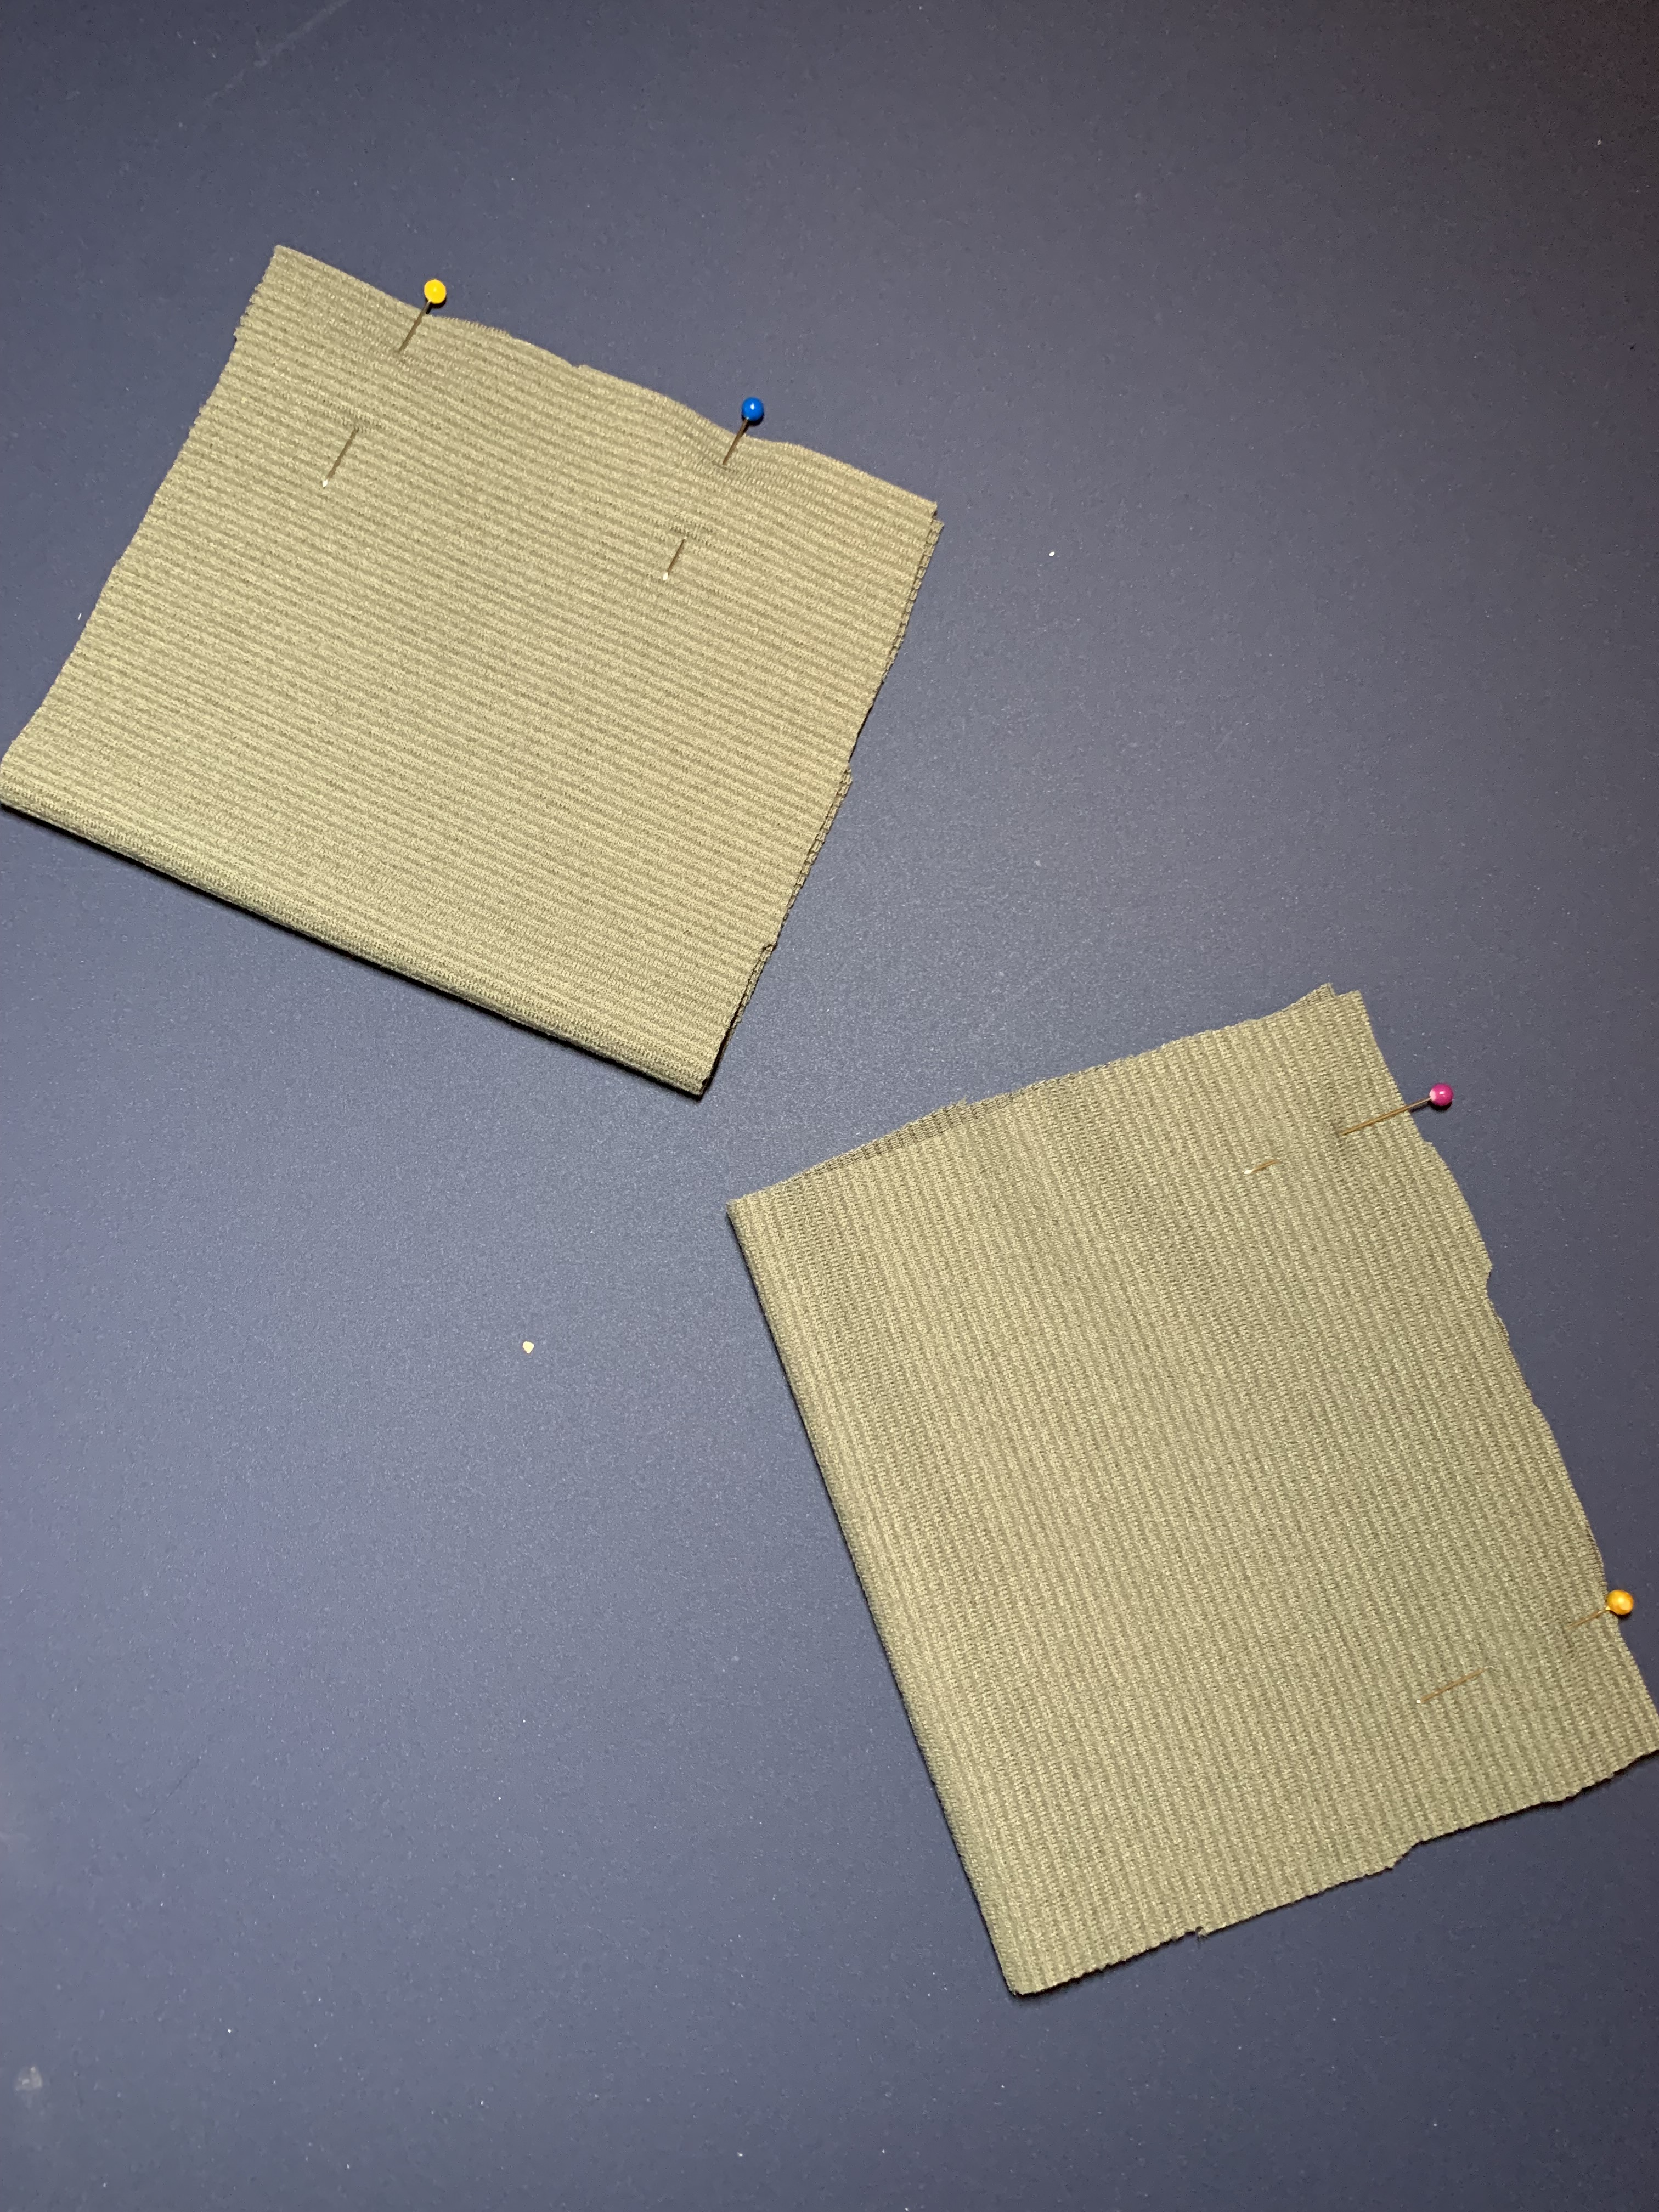
3. Prepare the neck band. Pin the long edges of the neckband piece right sides together, and sew.


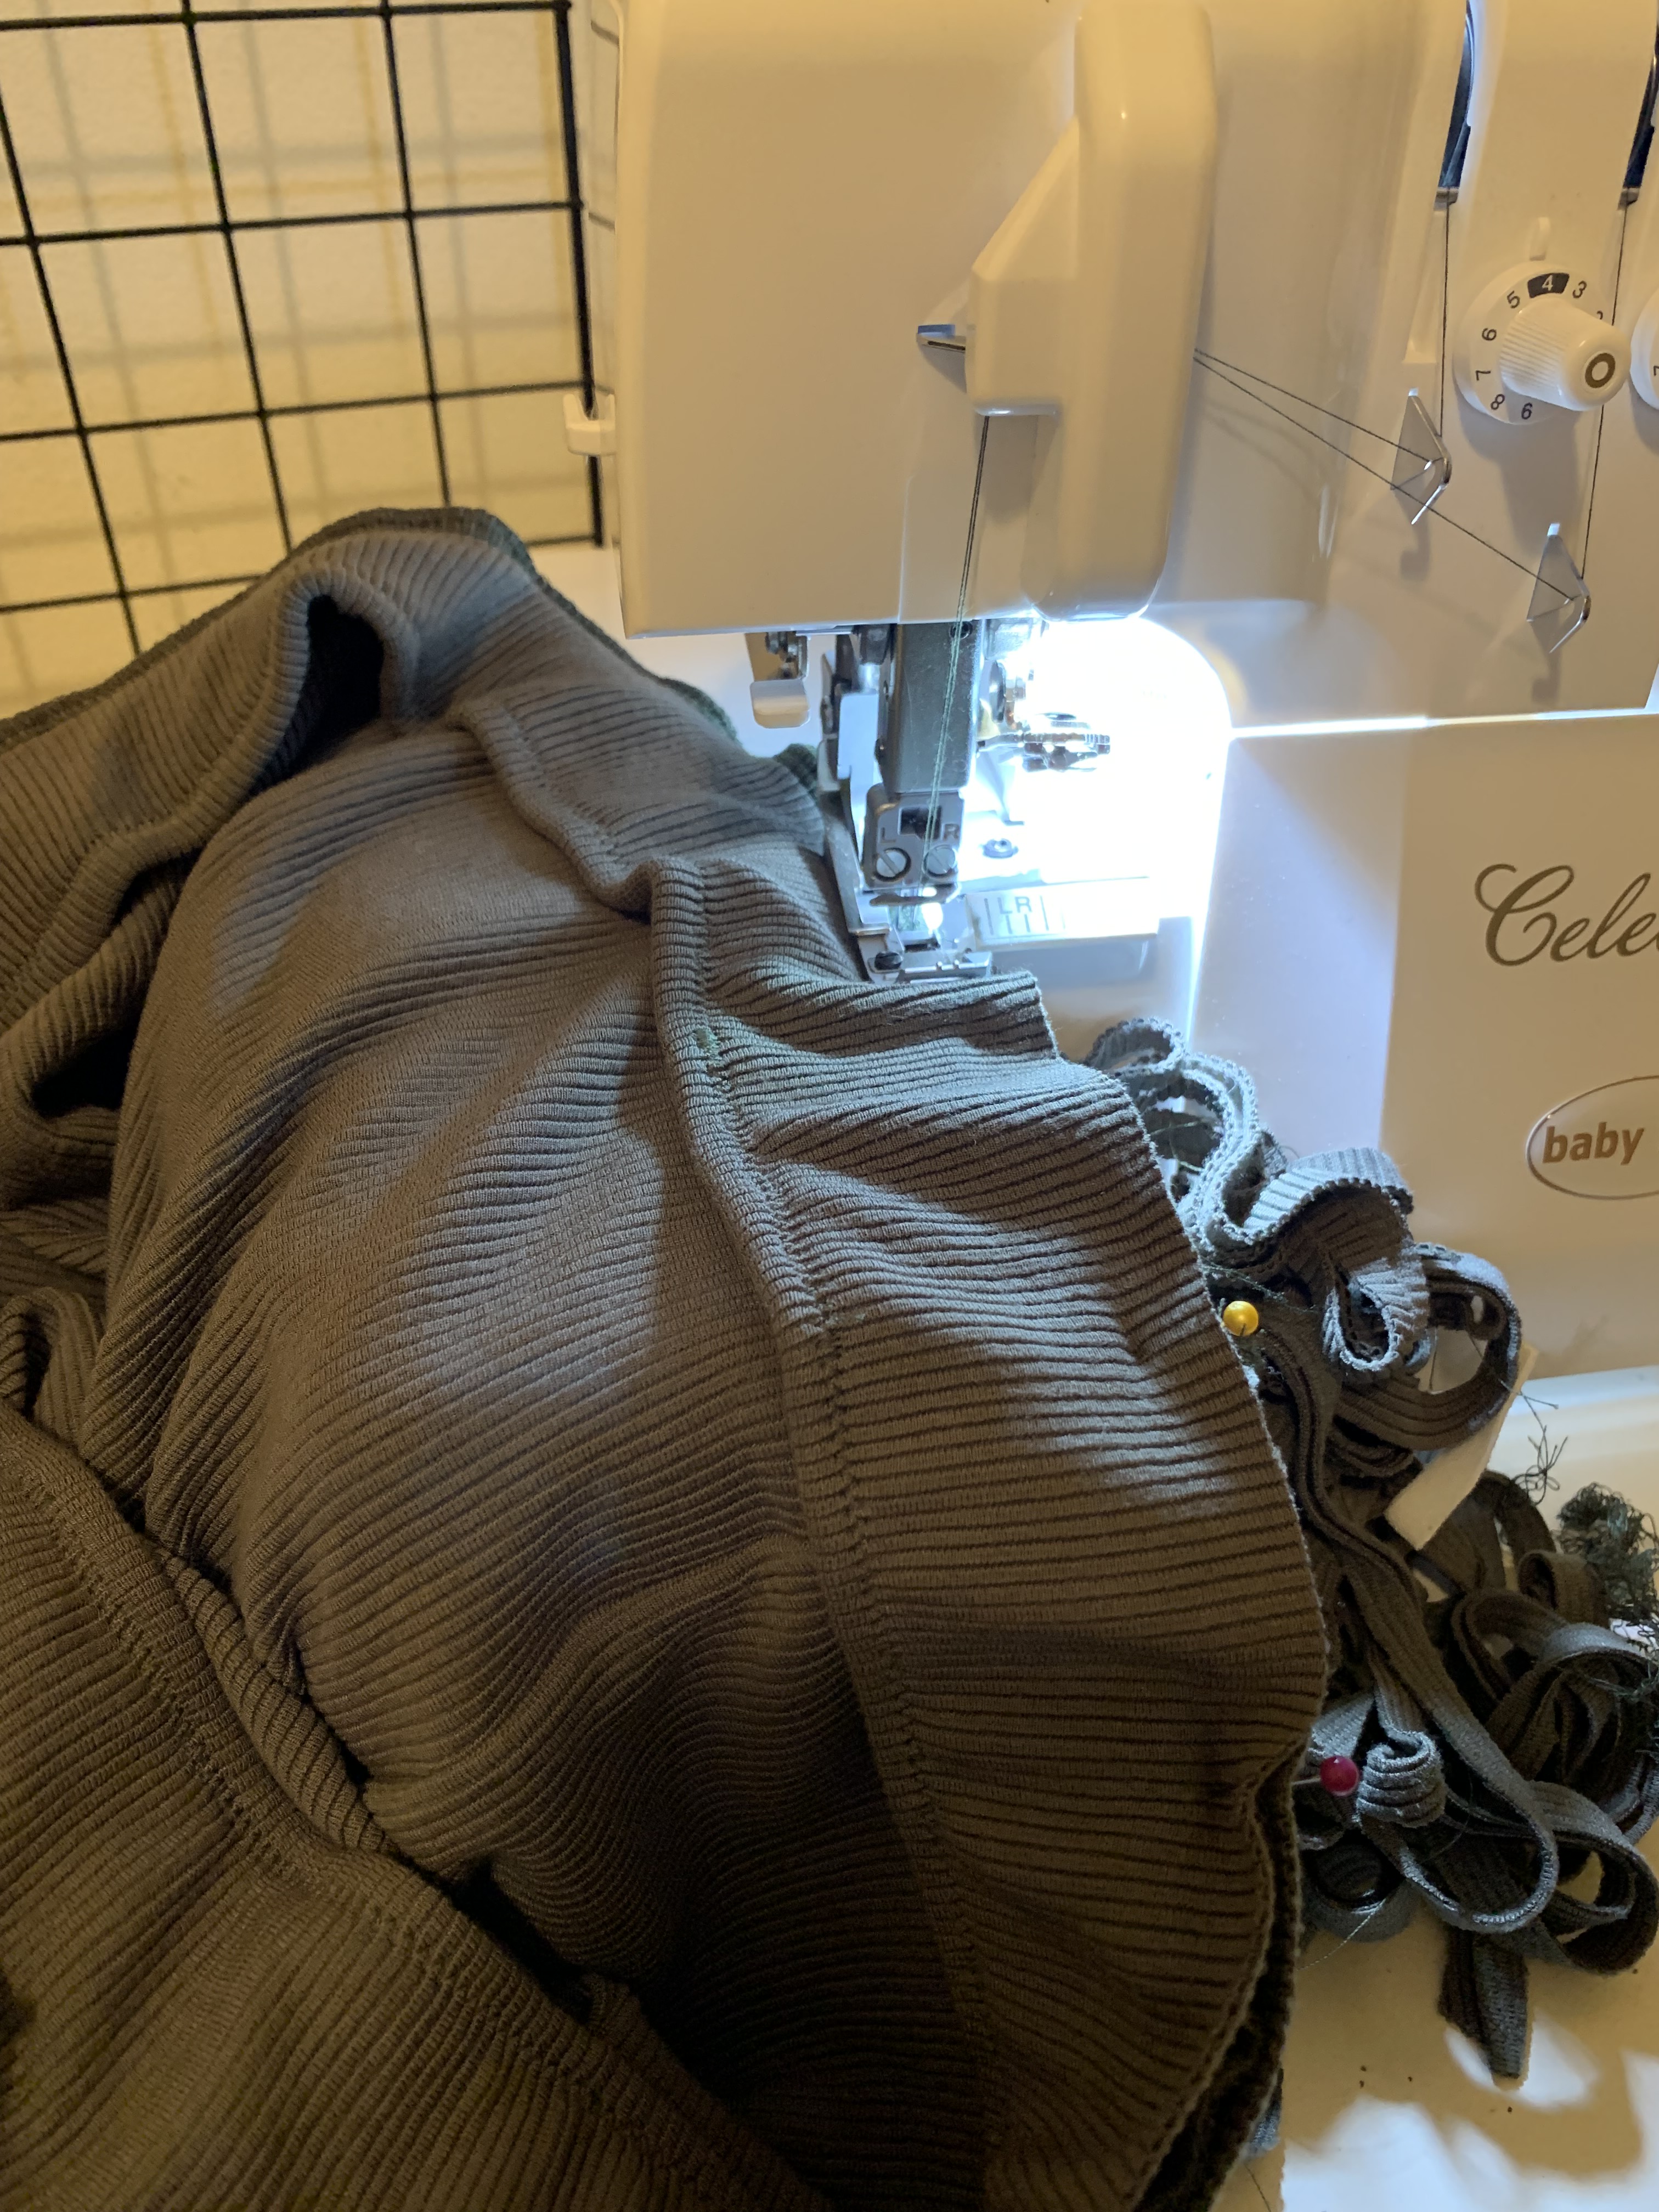
4. Fold the neckband in half, wrong sides together. Using pins as markers, quarter the neckband evenly. Do the same for the neckline. Pin the neckband into the shirt, gently easing it in. Pin in place. Using my Baby Lock Brilliant Sewing machine, I basted the neckband in first to make sure it was the right ratio and that the neckband laid nicely. Once you’re happy with the neckband fit, serge to finish.


5. Pin the the shirt right sides together along the side seam and sleeve of the shirt. Sew together.

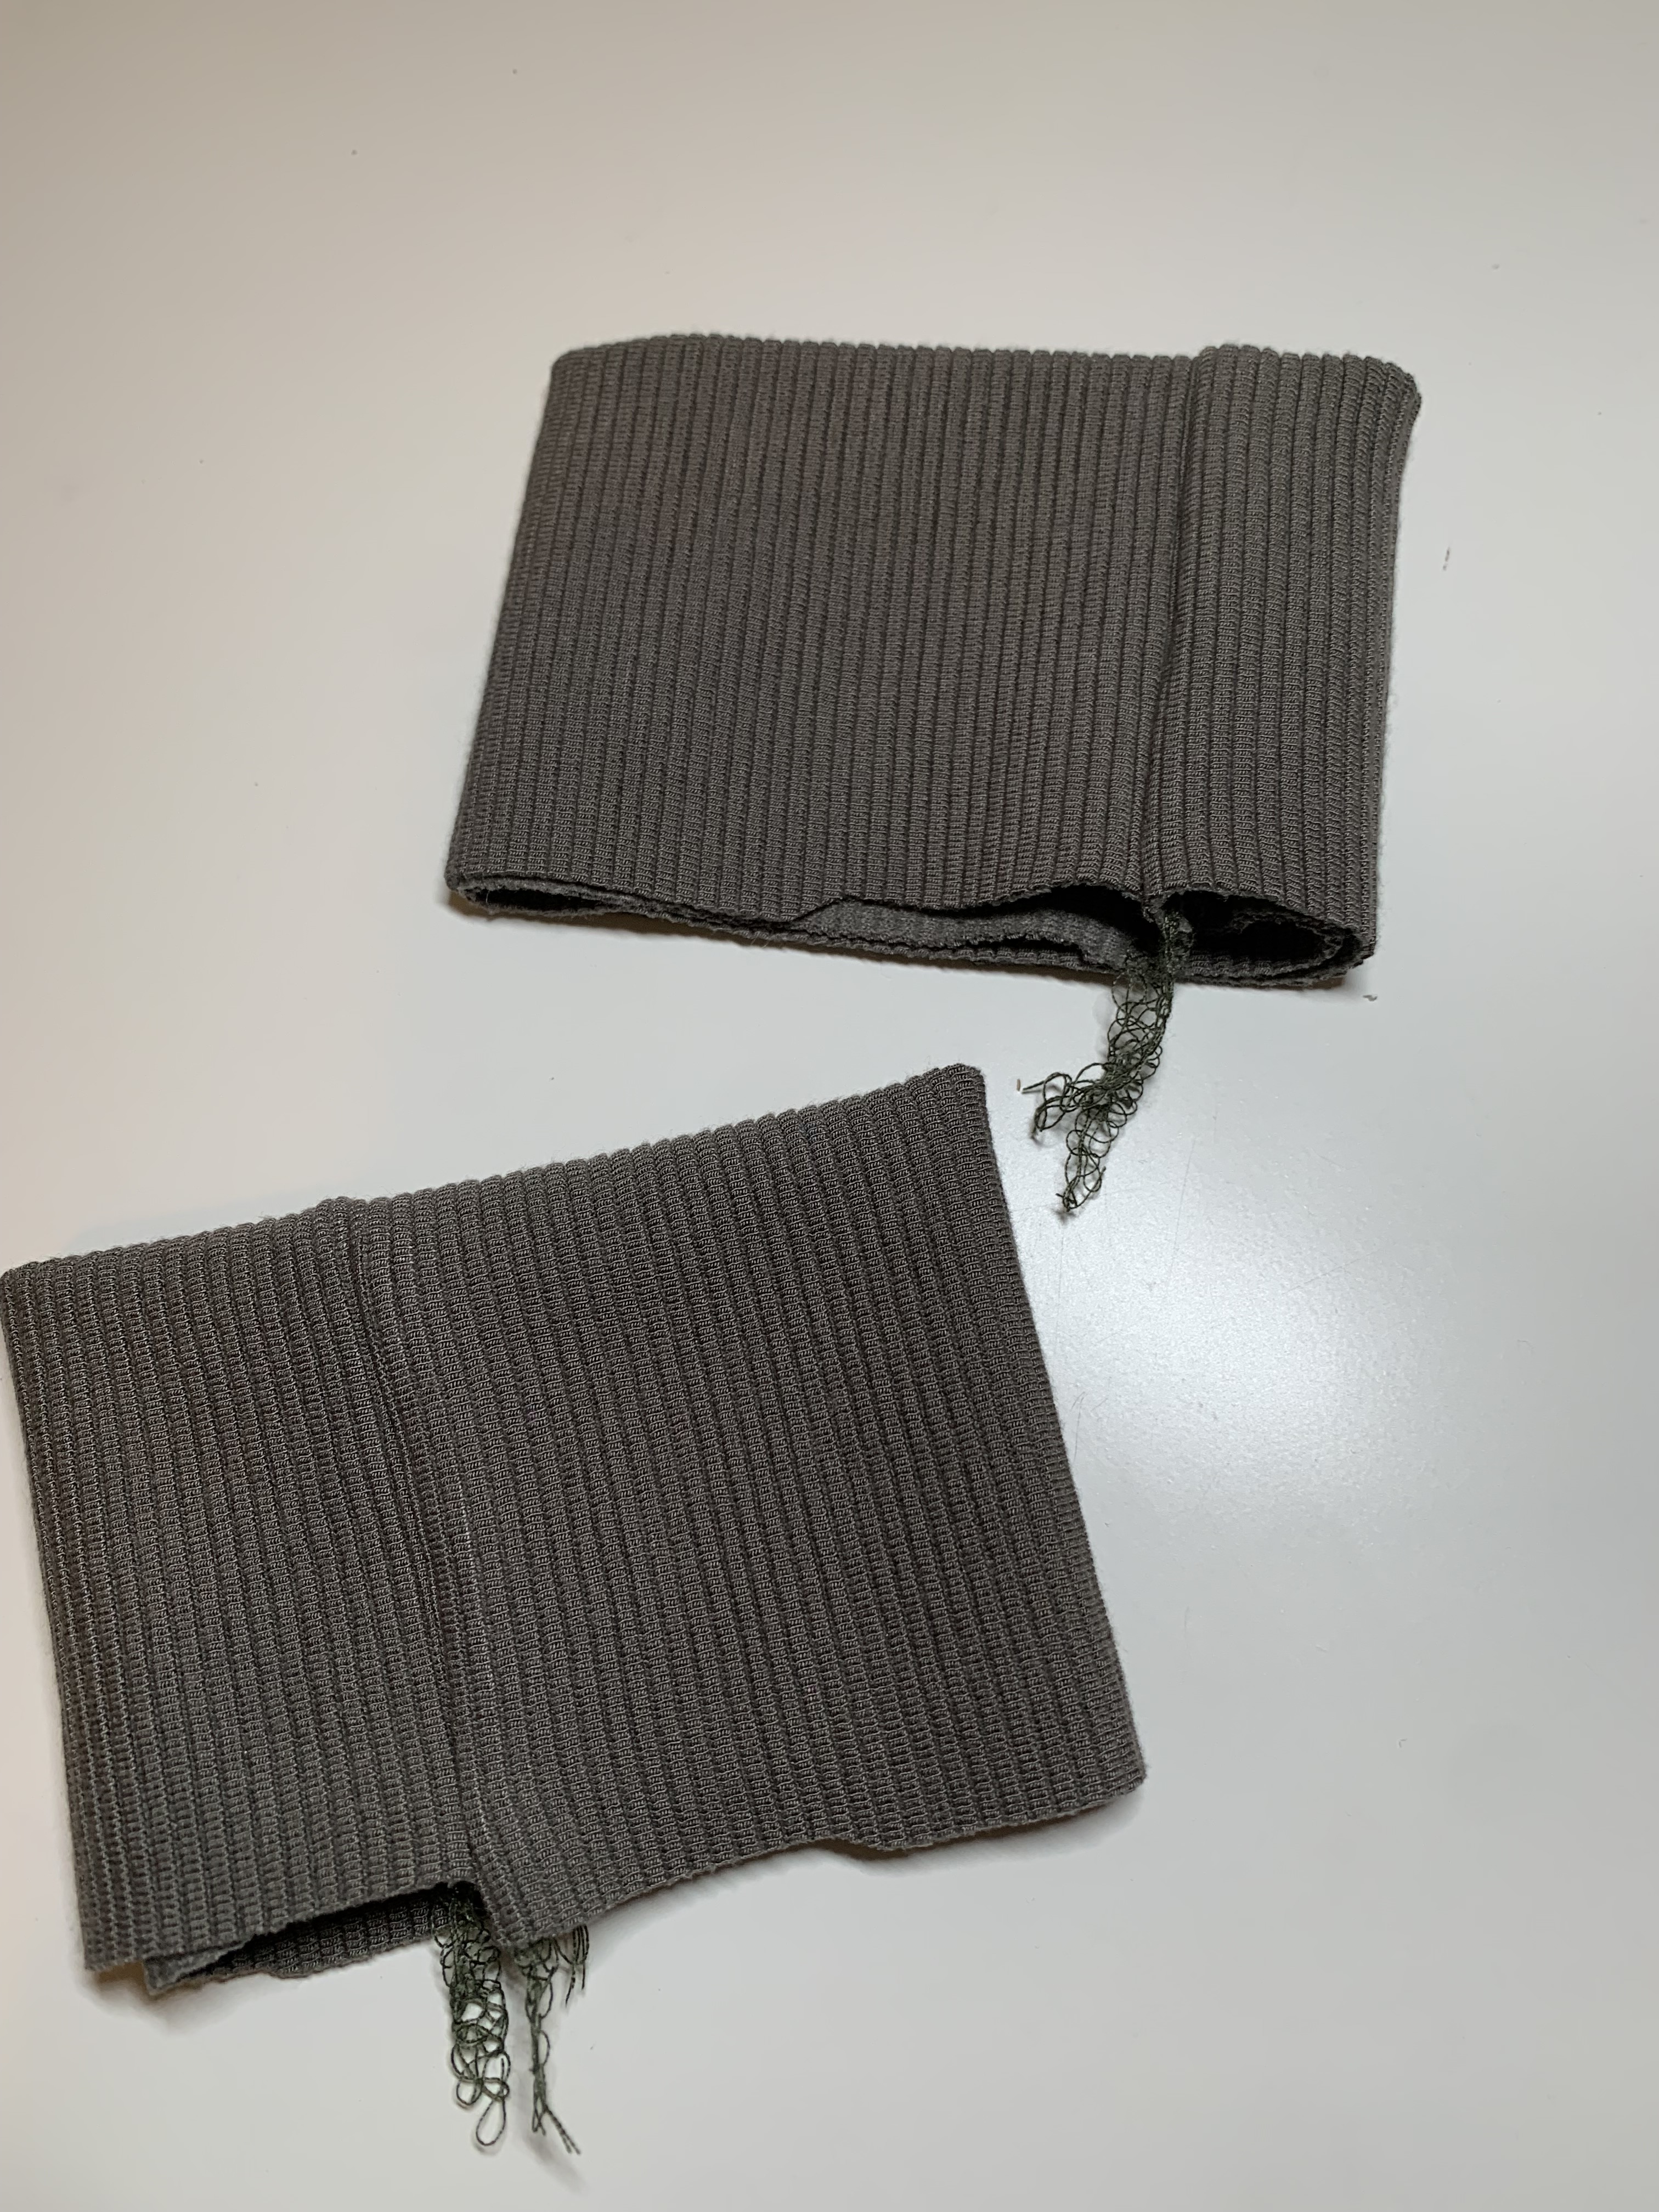
6. Prepare the sleeve cuffs by pinning them right sides together. Sew. Fold the cuffs in half wrong sides together. Just as we did for the neckband, quarter the cuffs and the edge of the sleeve. Match the cuff into the sleeve and gently ease it in while pinning into place. Sew together.

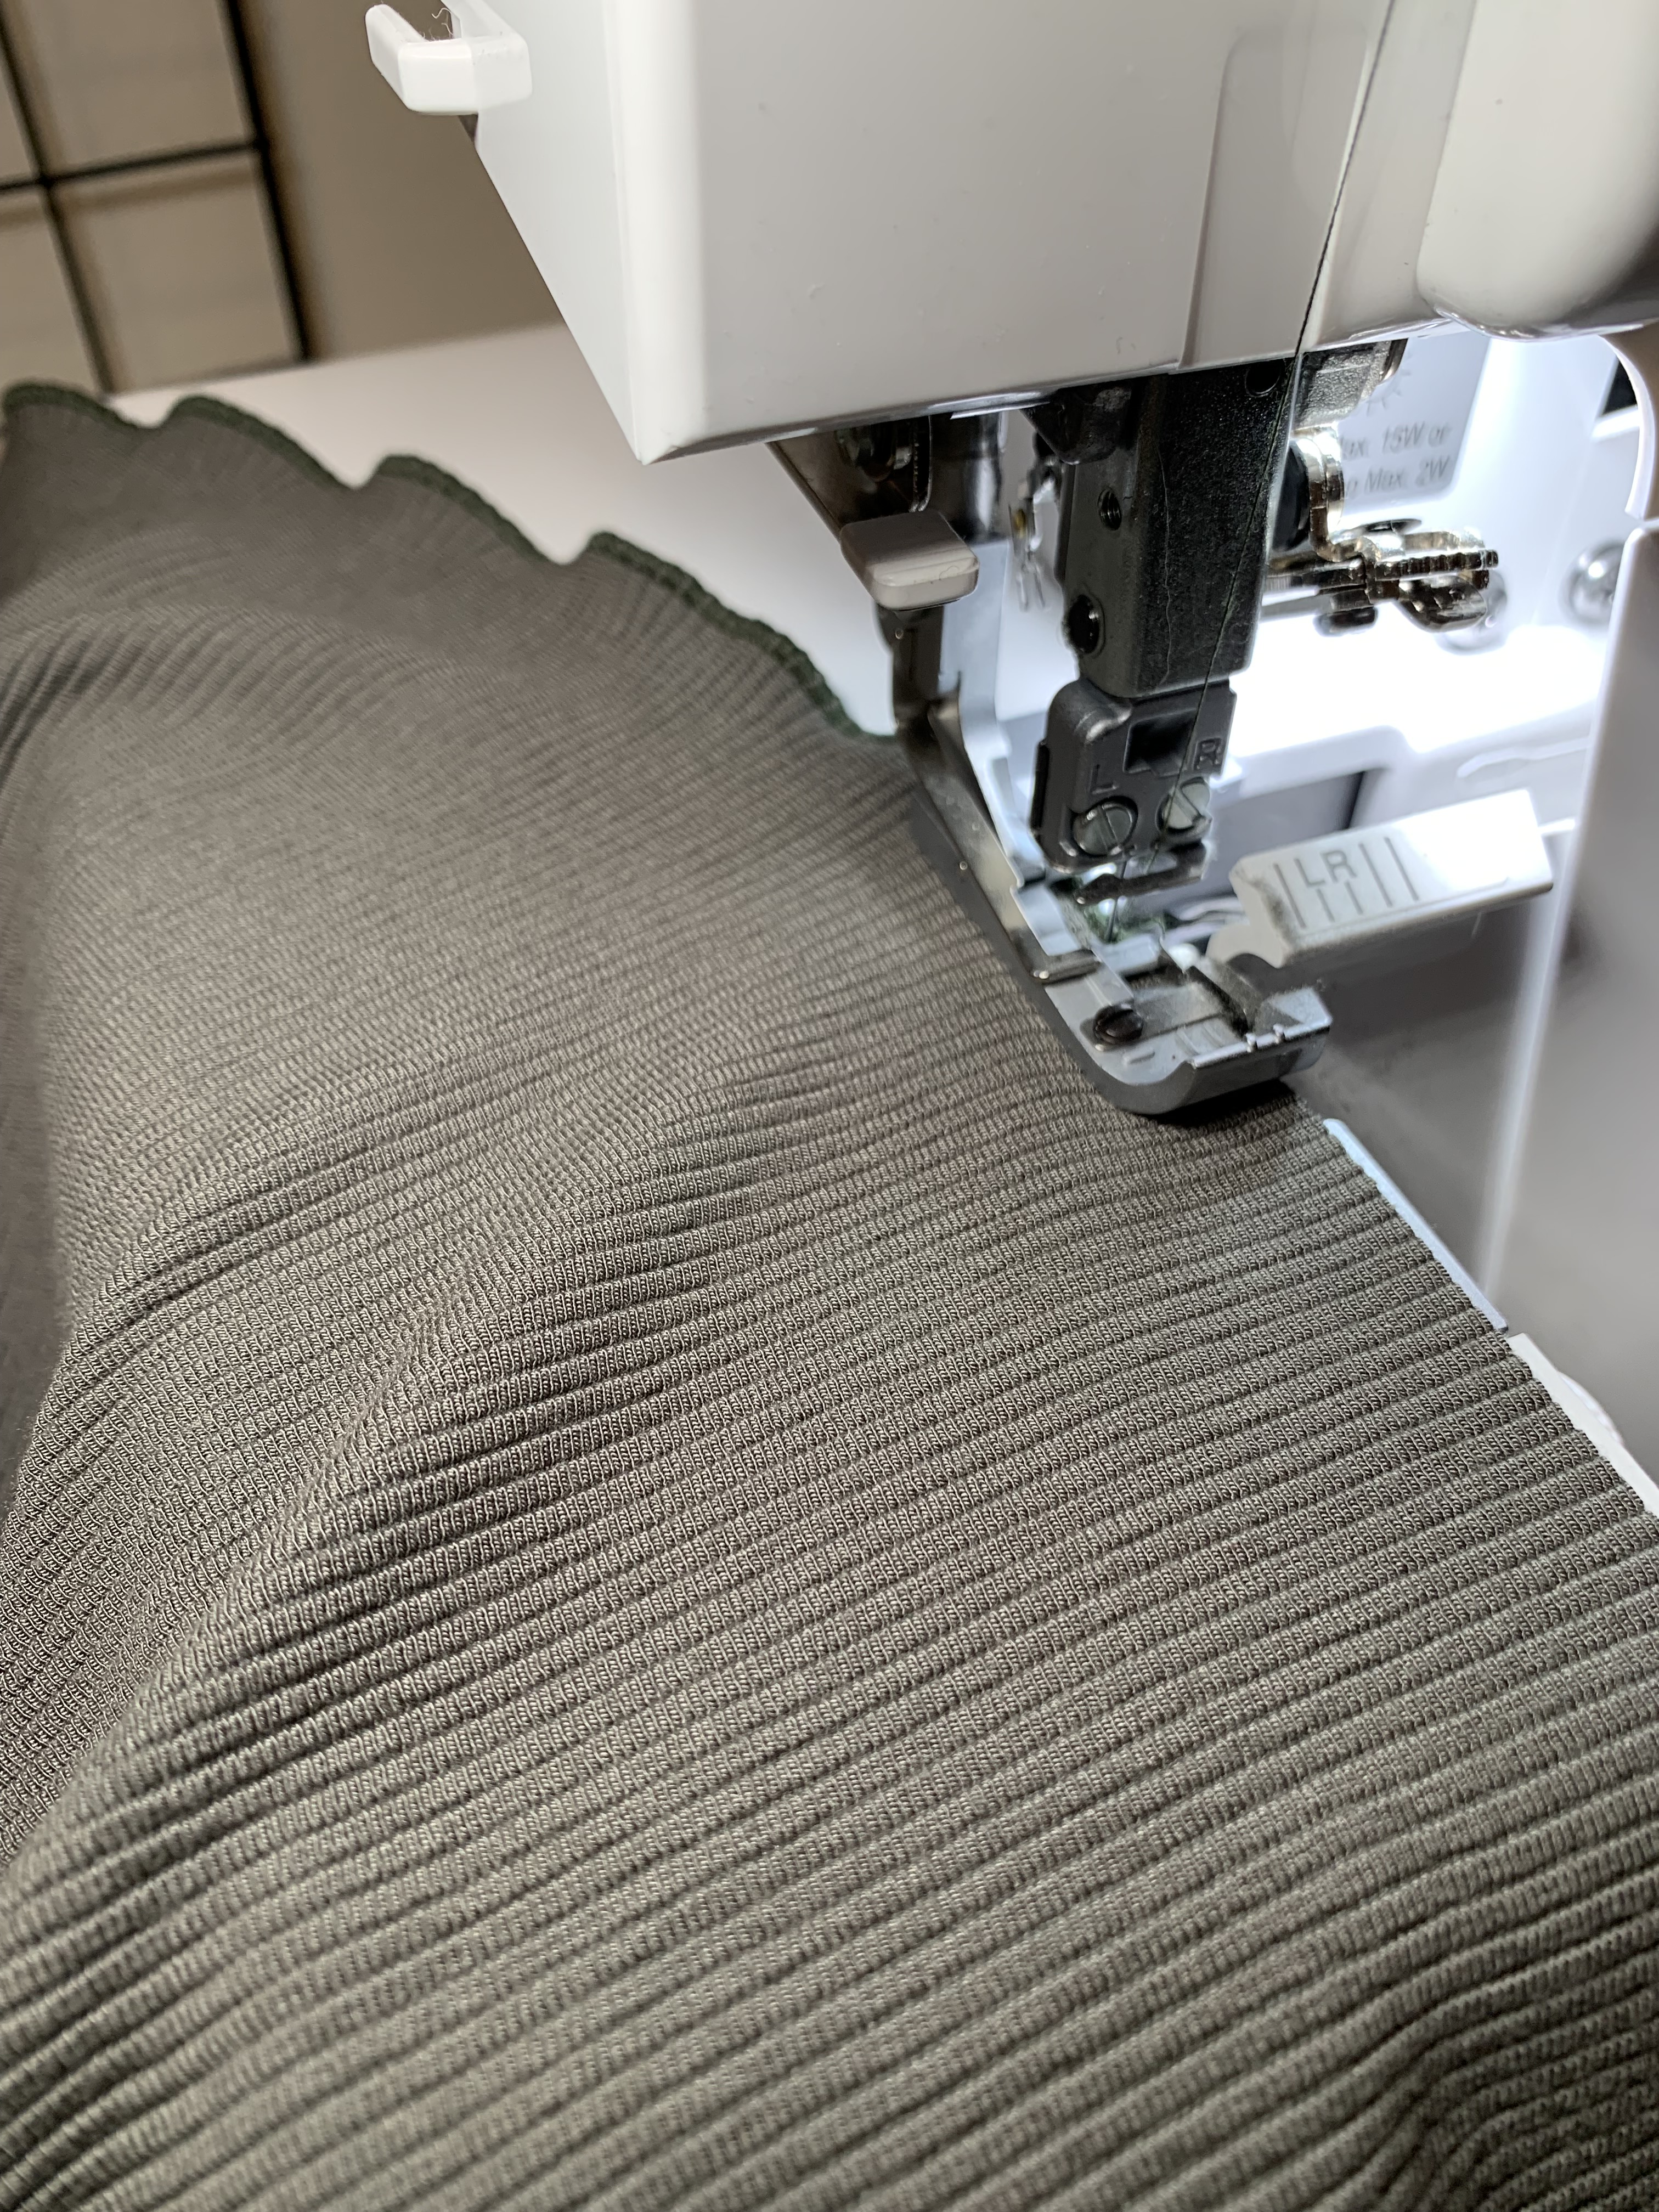
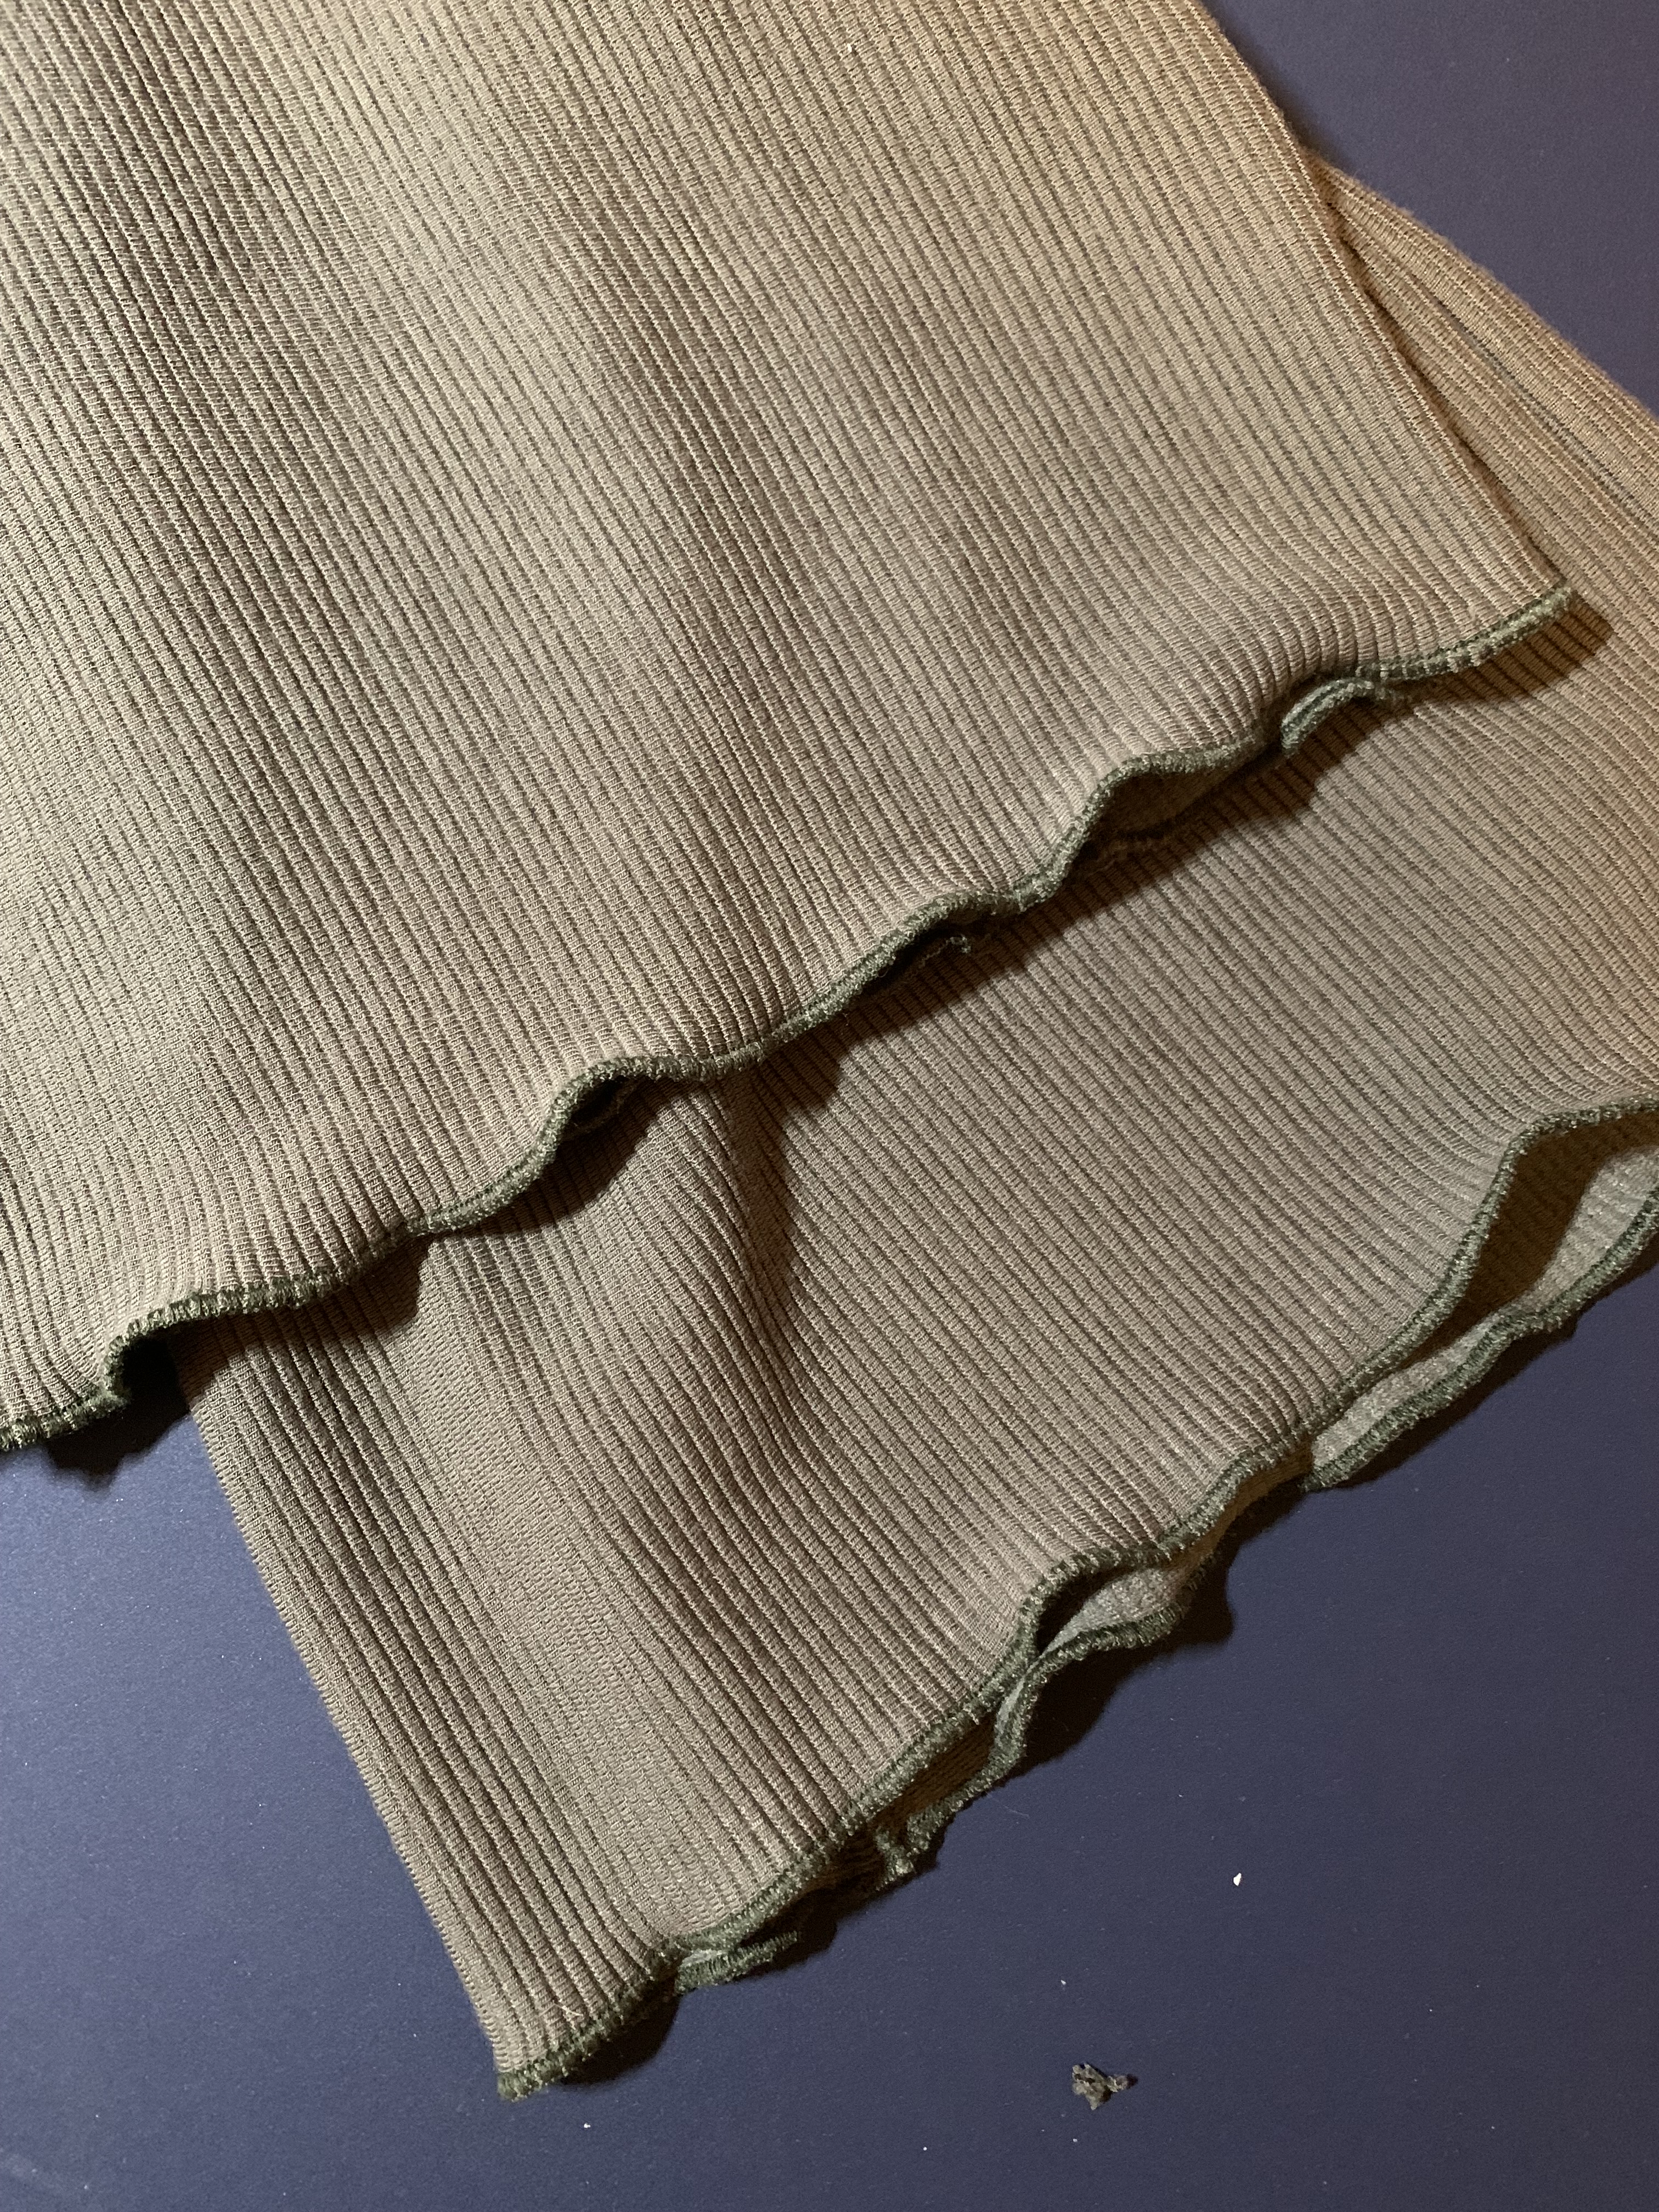
7. You can sew the bottom band on next, but I chose to leave it off and hem my shirt using my Baby Lock Celebrate serger to create a lettuce hem finish. Use your manual to adjust the machine to create a lettuce hem. (See Lettuce Edge on Page 26 of the manual). Make sure to practice on a scrap piece first! It’s super easy to do and looks so pretty!

Now let’s put our matching pants together!
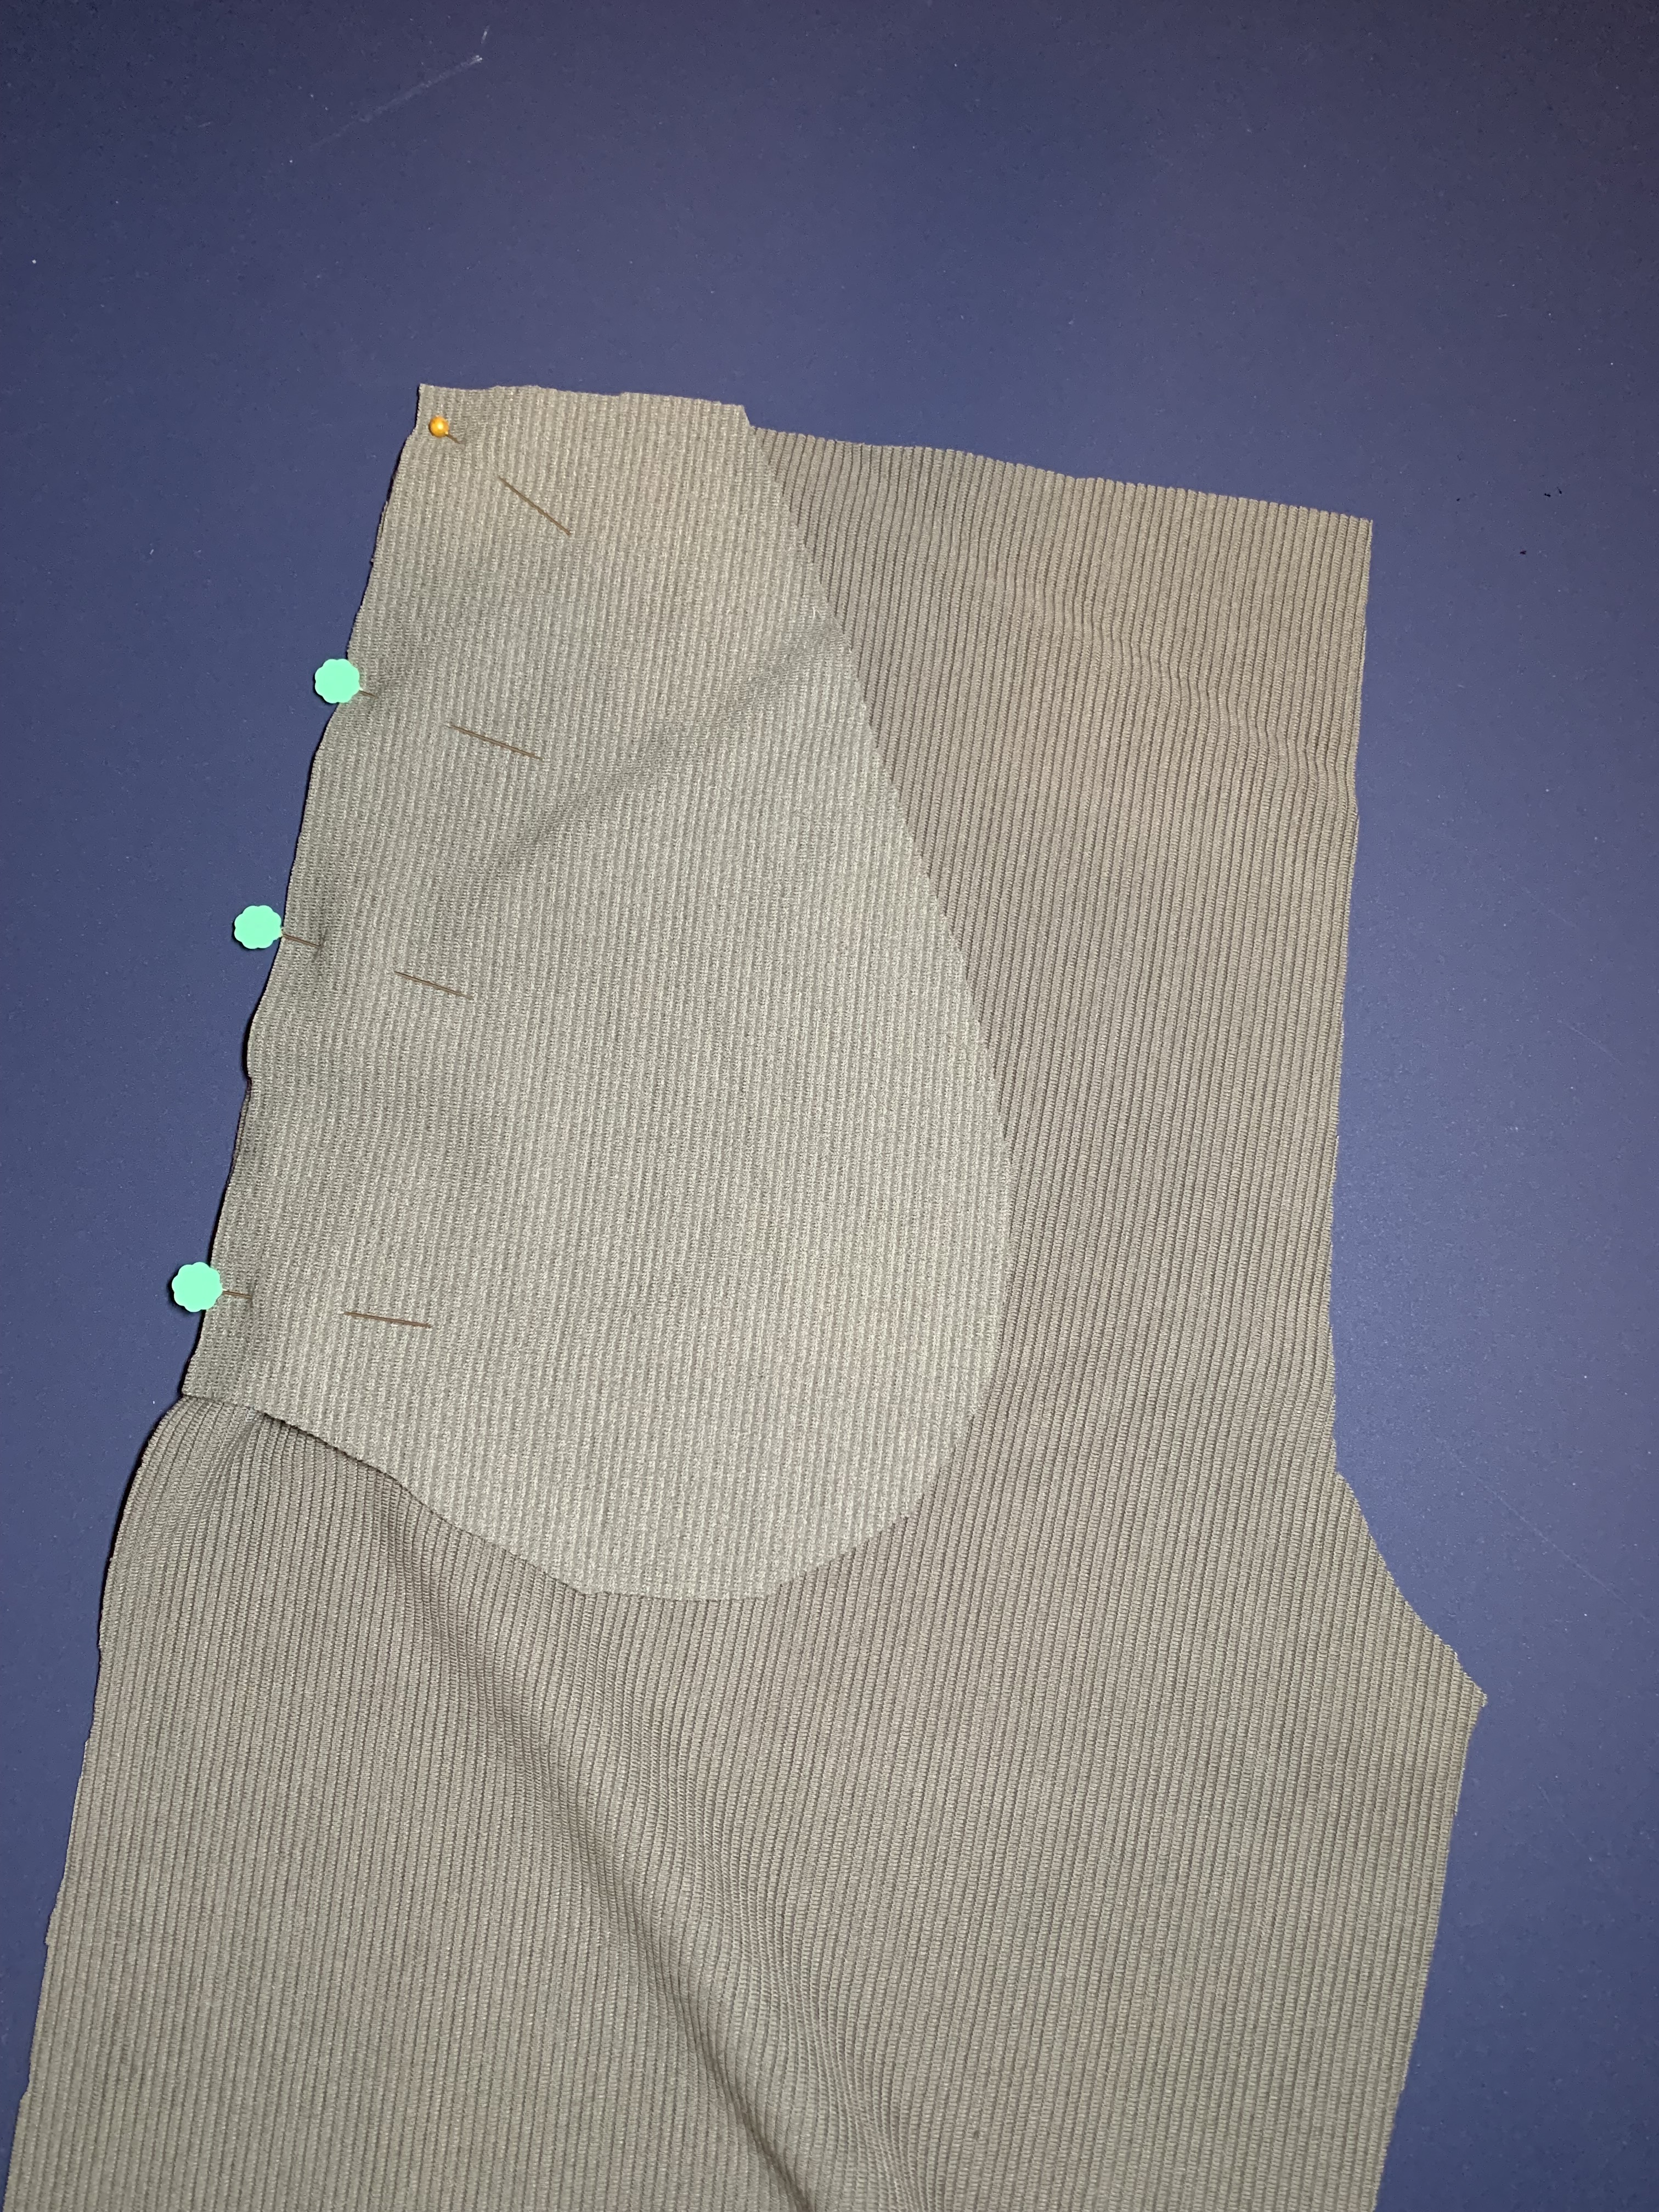
- Pin and sew one pocket to each side seam of both front and back pant pieces.

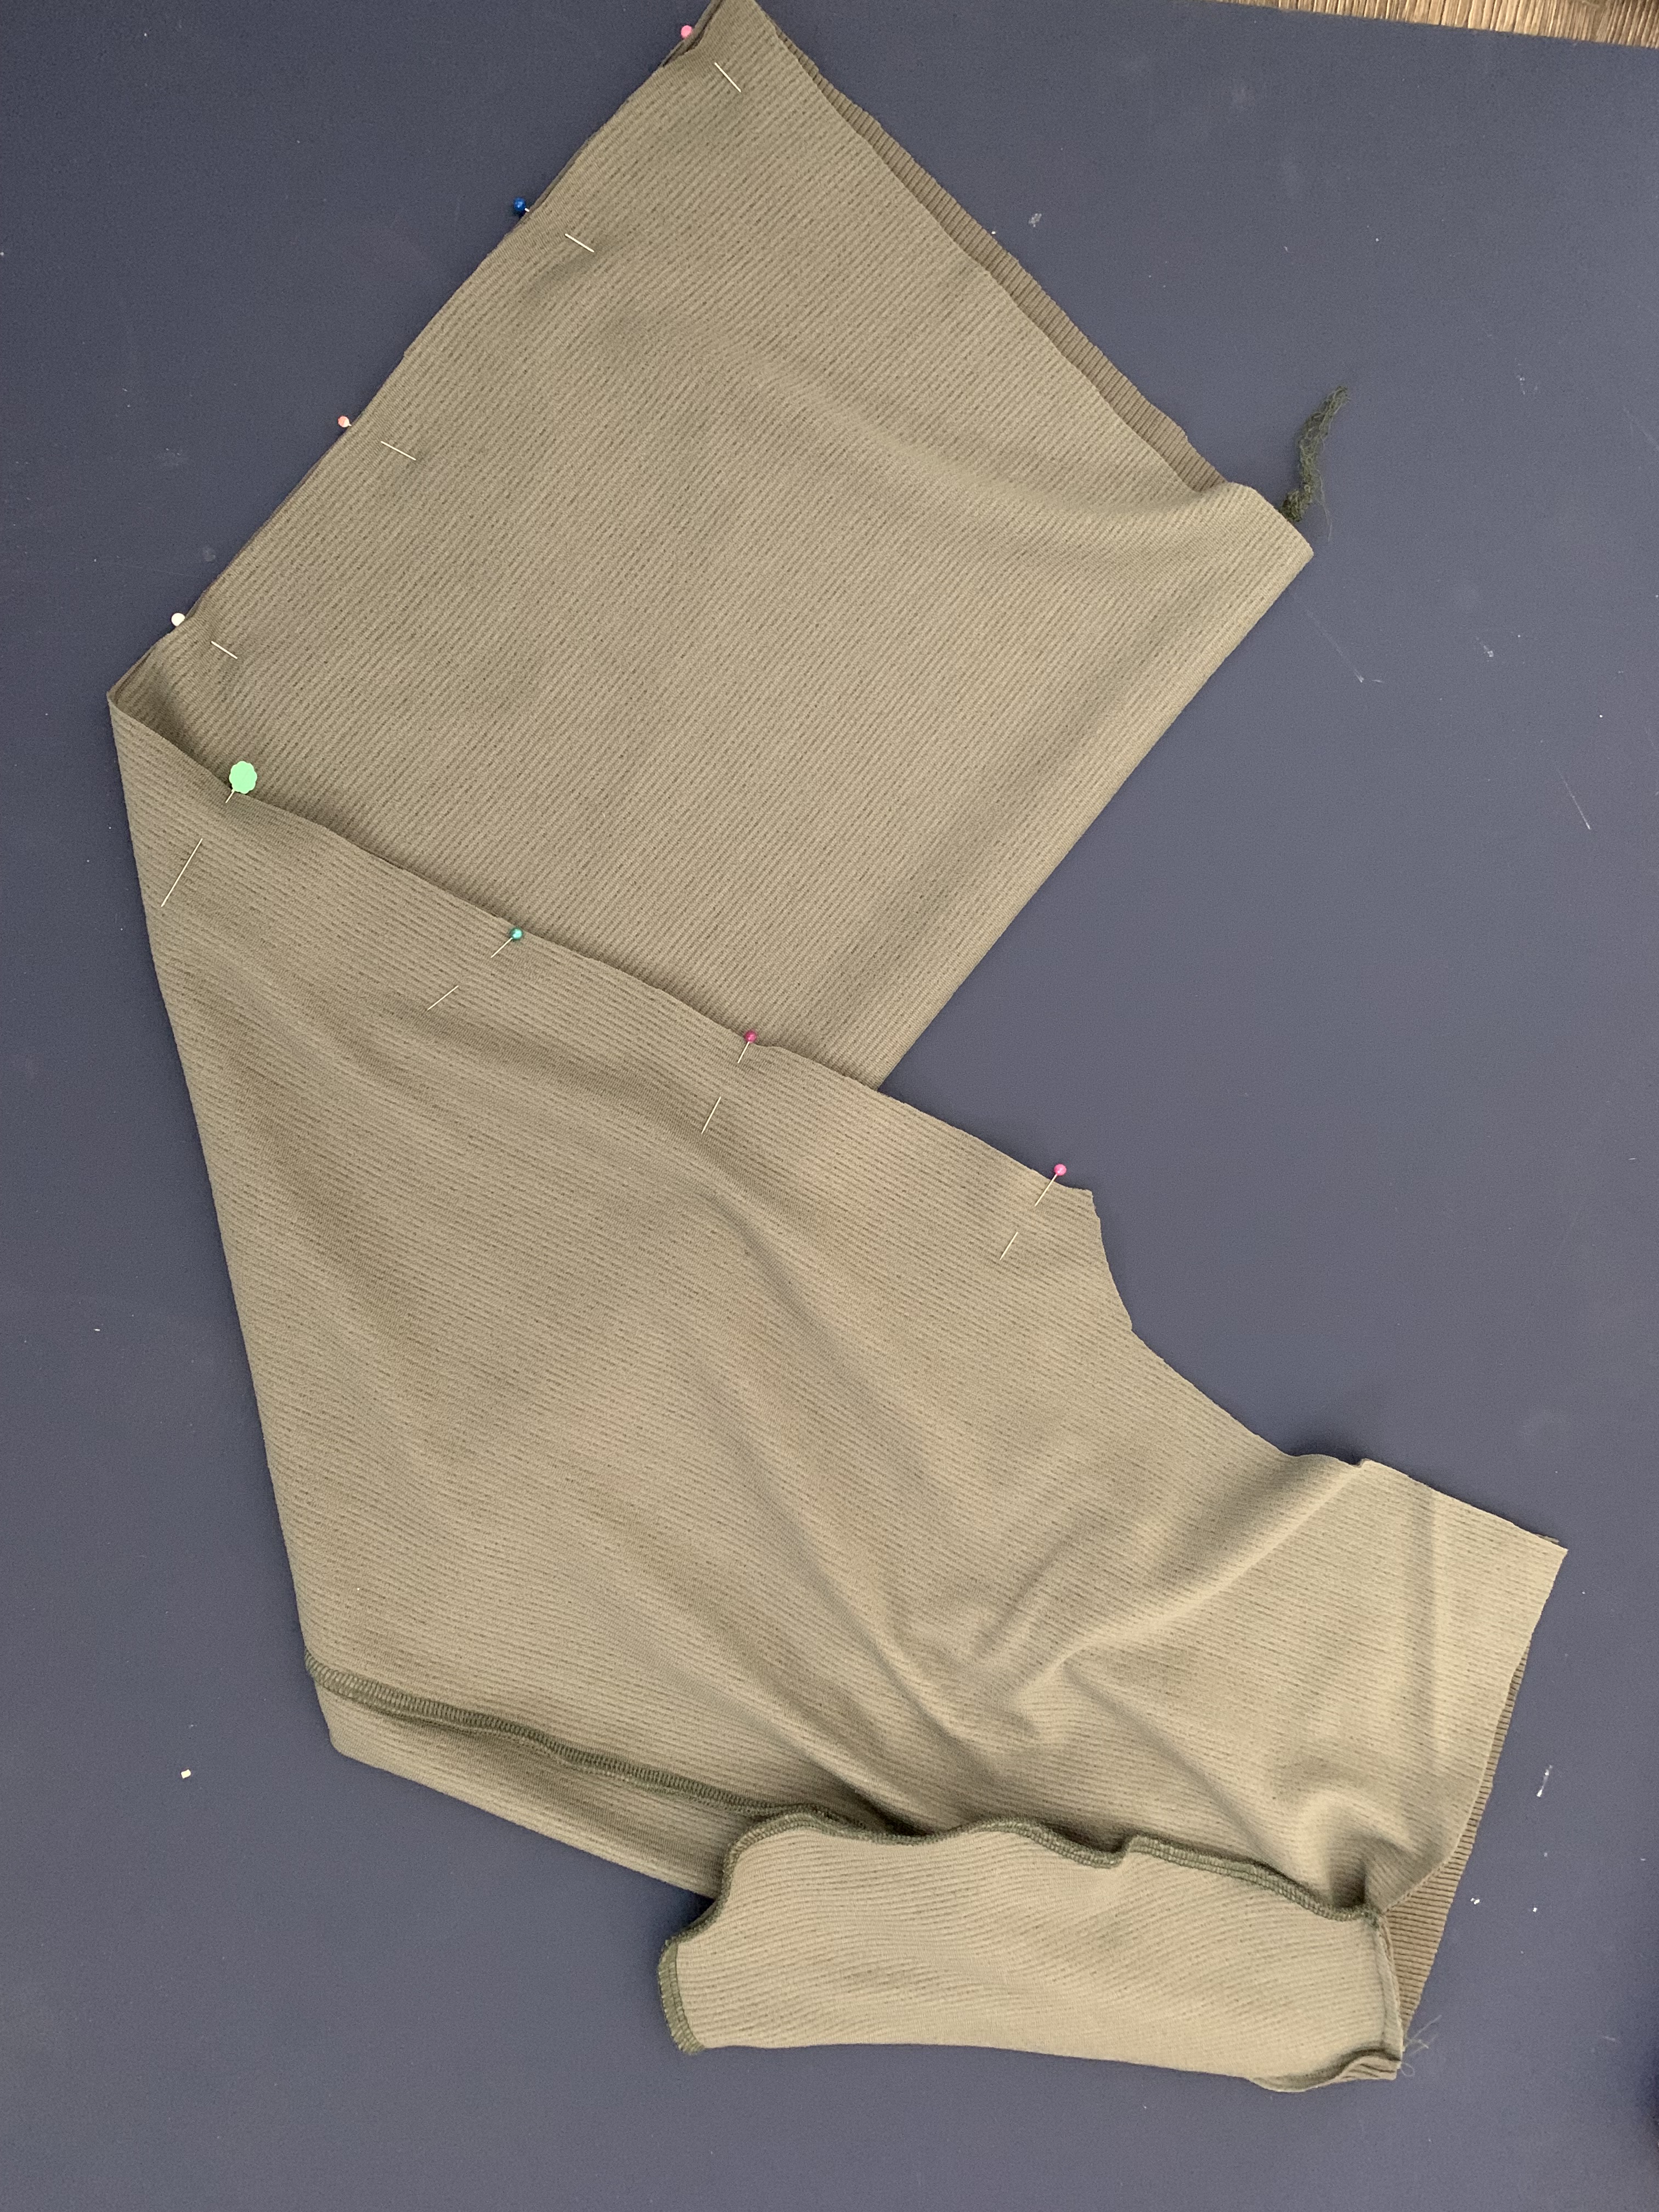
2. With right sides together, pin and sew the outer pant seams together starting at the top of the pocket bag and all the down to the bottom of the pants.


3. Using your sewing machine, tack down the bottom and top of the pocket in place.

4. Pin and sew the inseam of each pant leg.
5. Place the legs inside one another right sides together and pin the crotch seam. Sew. At this point I would suggest trying the pants on to make sure they fit well in the hips!

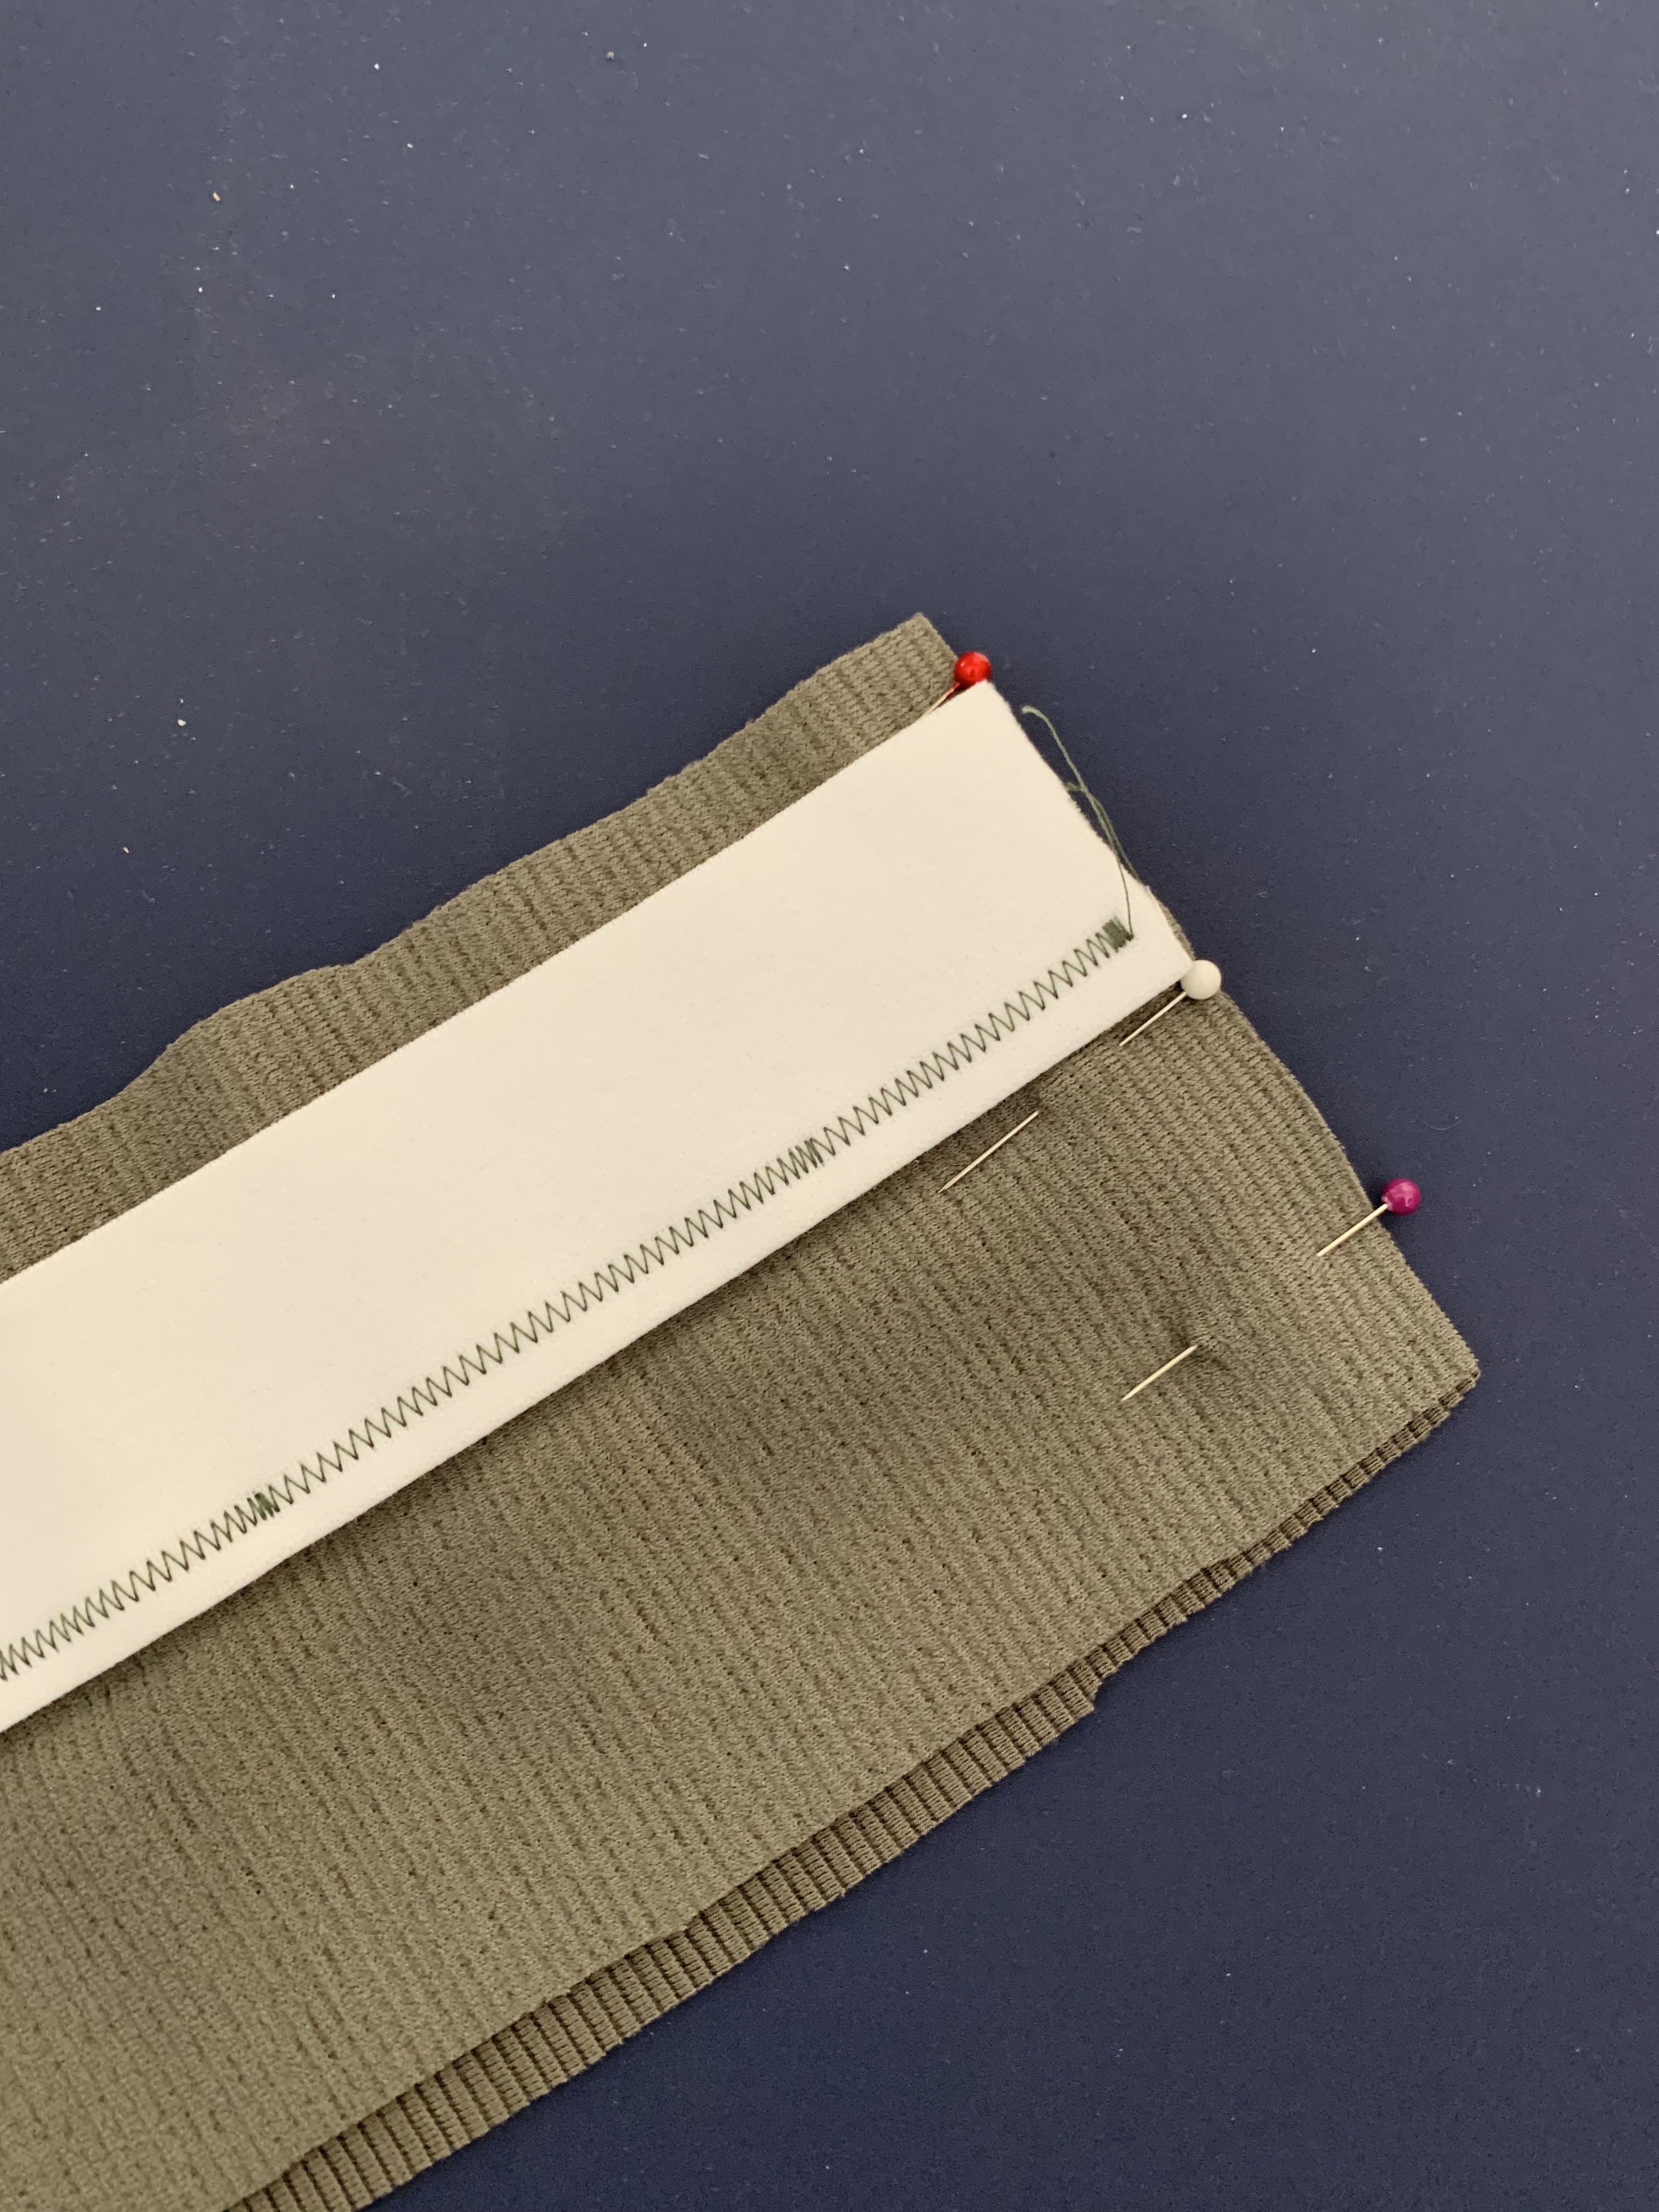
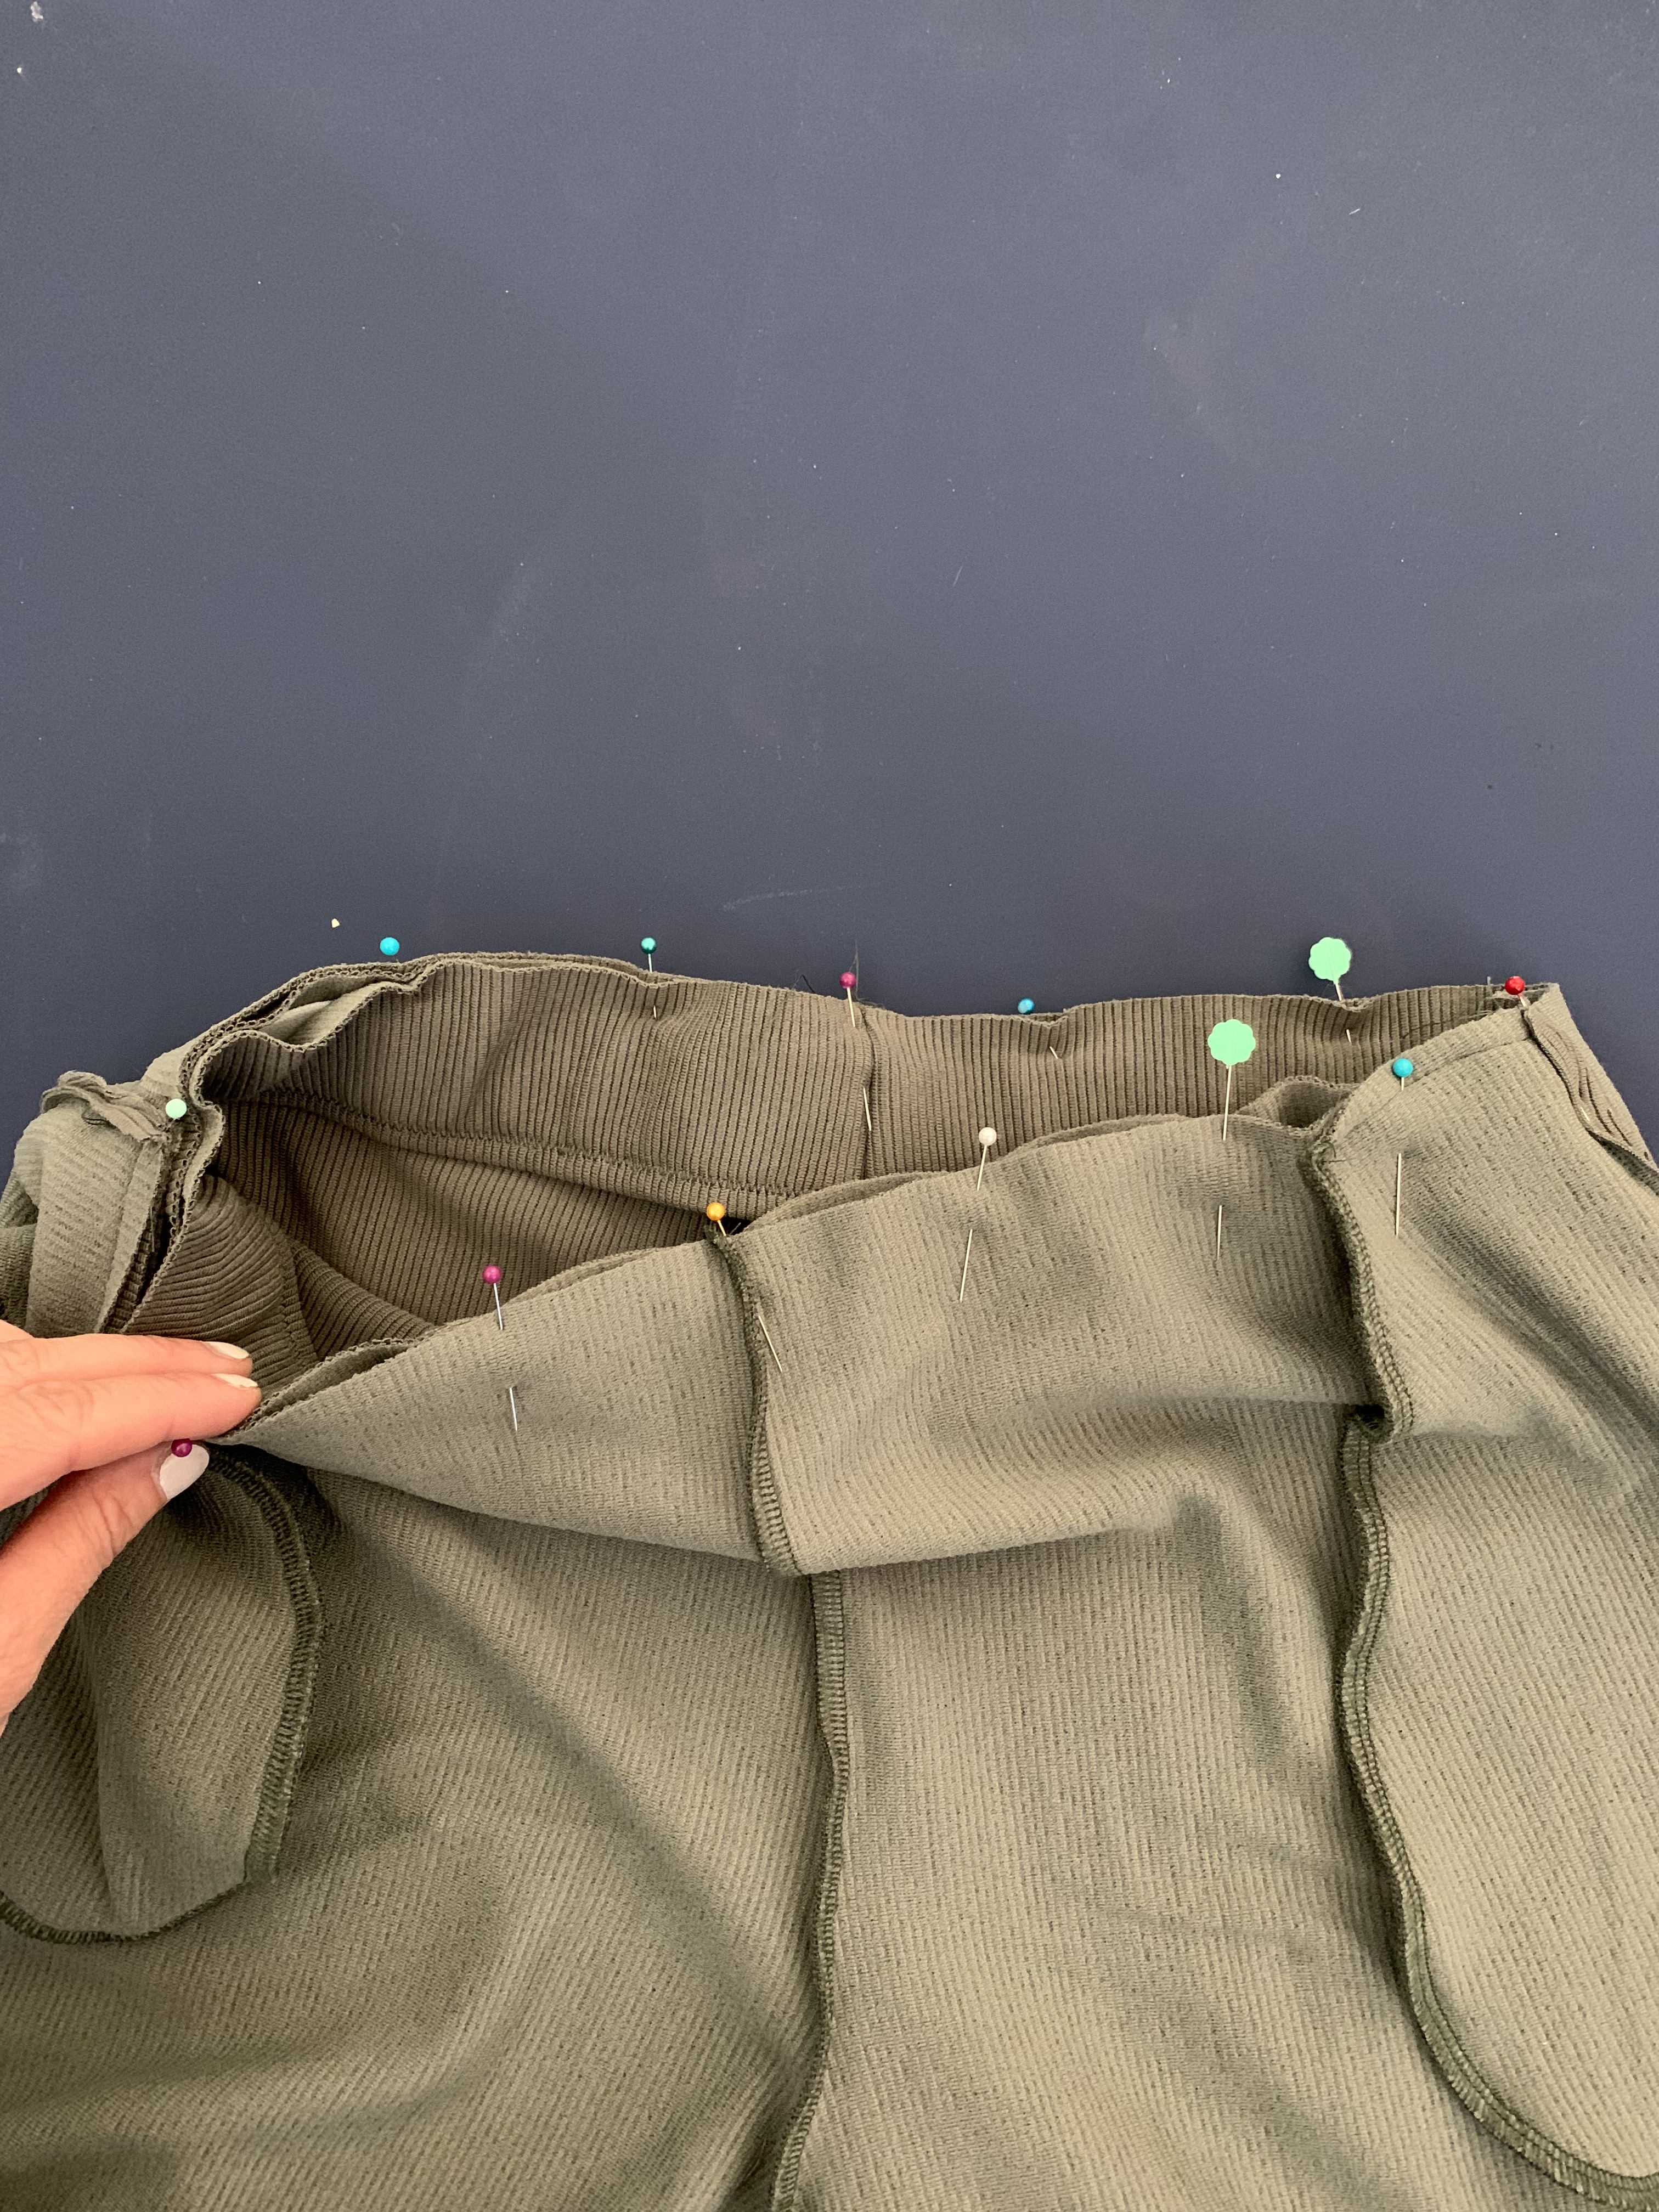
6. Prepare the waistband. Cut the elastic to the patterns suggested length for your size. Iron the waistband piece in half, then pin the elastic so the edge hits the middle pressed crease on the waistband. Pin and ease the elastic to the waistband, and sew using a zigzag stitch along the side of the elastic closest to the center of the waistband. Now, pin the waist band edges right side together and sew.

7. Using pins, mark the 4 quarters of the waist line and waist band. Match the pins and ease the waistband into the pant waist, pinning as you go. Sew.
8. Hem the bottom of the pants using a lettuce edge finish, just like we did in step 7 for the matching shirt tutorial above.
There you have it! Hope this inspires you to create your own custom matching knit set! This project was super quick to sew up, another reason why I love my Celebrate serger and sewing with knit fabrics!!!


Leave a comment