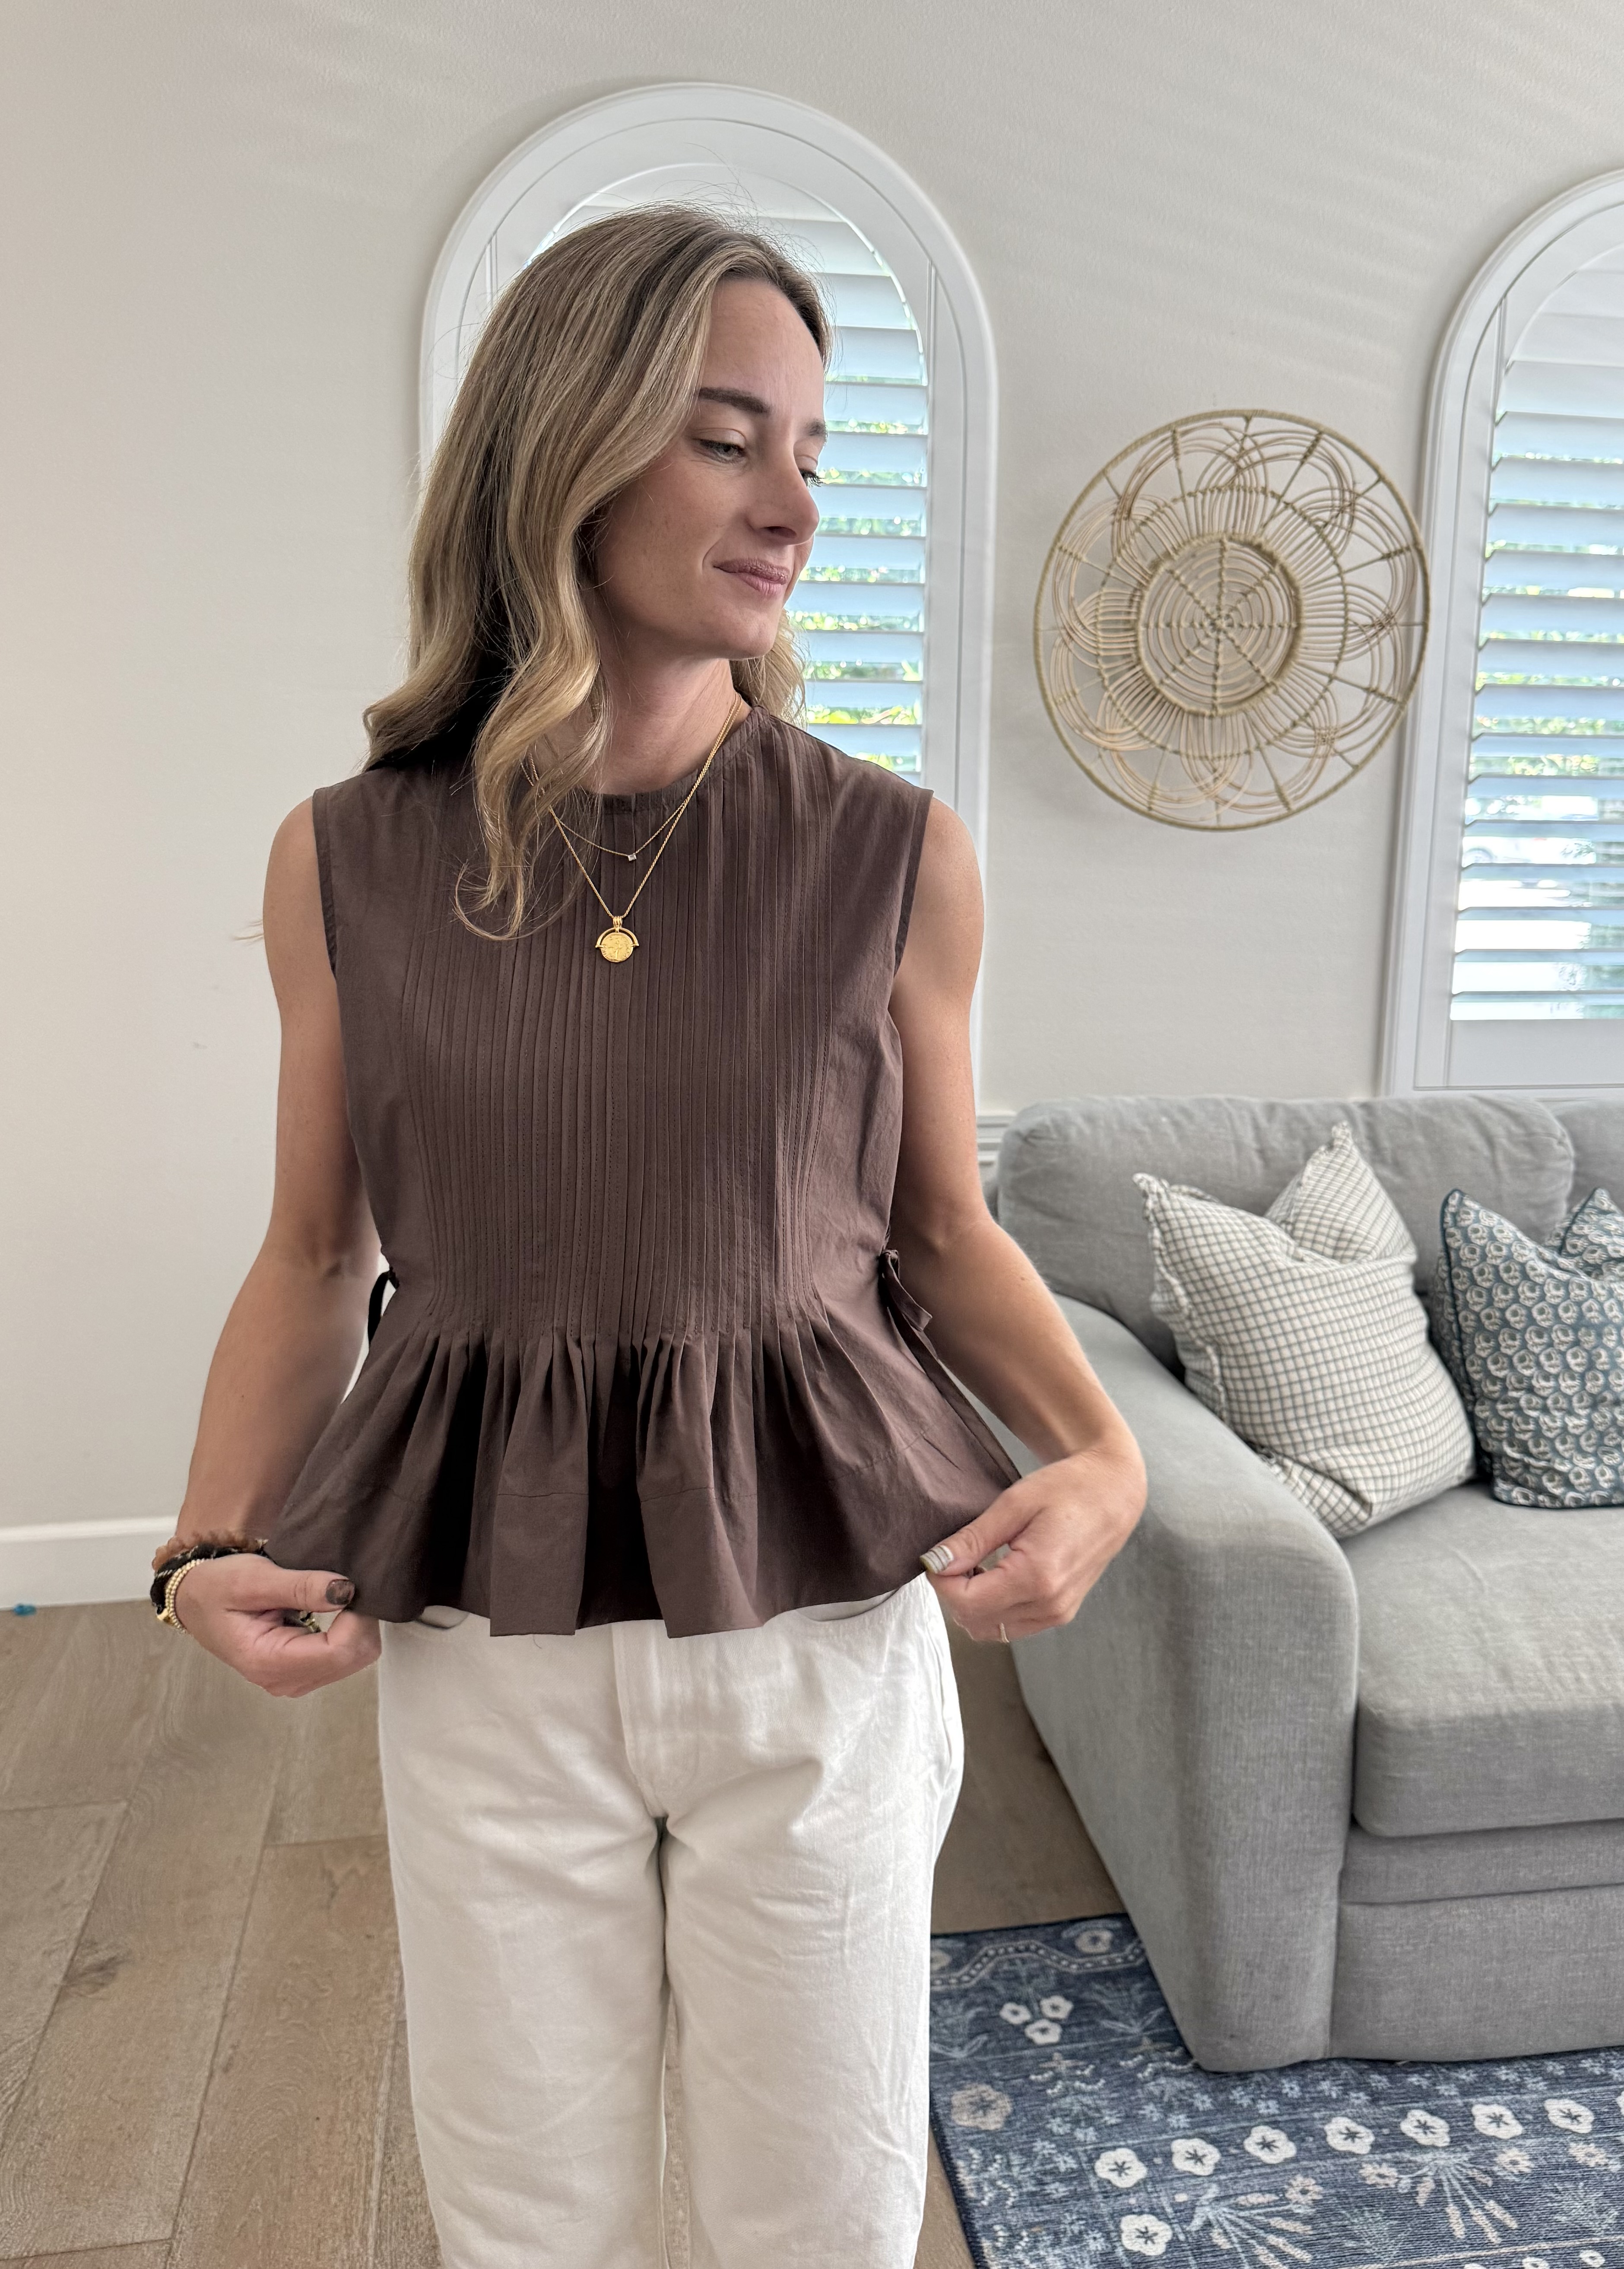
Welp, this post is all about a sewing mistake I made.
I’m a mom to 4 kiddos ages 5-13 years old, and I’m doing the best I can but sometimes mom brain happens. You know what I’m talking about. Between being all the things and trying to stay organized with the busy schedules- sometimes I do dumb things. My brain gets tired.
All of my kids are in school full time for the first time in 13 years, and to kick it off right, I wanted to make something a little more challenging and time intensive, because I don’t have to feel so rushed now!! Right?! Wrong. I’ve had my eye on the Frux Studio Garden Blouse and this felt like just the right time to tackle it. So, I did!
I jumped in with both feet. I did have a deadline I was trying to make so I did need to work through it somewhat quickly. The week I was planning on sewing up the blouse in order to meet my deadline, well, things went unplanned . I found myself with sick kids at home from school. and many other time restraining things that came up. Needless to say I jumped into my project a little preoccupied and distracted. You guys, I have sewn pin tucks before!! But for some reason instead of sewing pin tucks, I created something different. If a knife pleat and a pin tuck had a baby, this would be it. I sewed the whole top up, and didn’t even realize. I finished it! I loved it! It’s beautiful!
Then… it dawned on me. I totally sewed it wrong! I made up my own new technique somehow, but I actually realllly love the outcome! So it’s okay!
I ended up using the same amount of space each pin tuck was originally designed for, so the top turned out great in the end. It’s what we call a happy accident. So let’s get into the details of this blouse!
For a little tank top, this project was many hours long. I was overwhelmed at the beginning when I saw the pattern piece with all the pin tuck marks, but one step at a time you guys, and it’s so doable. Shout out to my trusty Baby Lock Accomplish II sewing machine for helping me confidently create what I’m calling a pink tuck pleat. It made this project and the millions of pin tucks sew so smoothly. The way this machine feeds fabric evenly and efficiently through the feed dog is so amazing. The stitches are perfect every time, and the way it sews right through heavy seams no problem is a game changer. I LOVE THIS MACHINE!
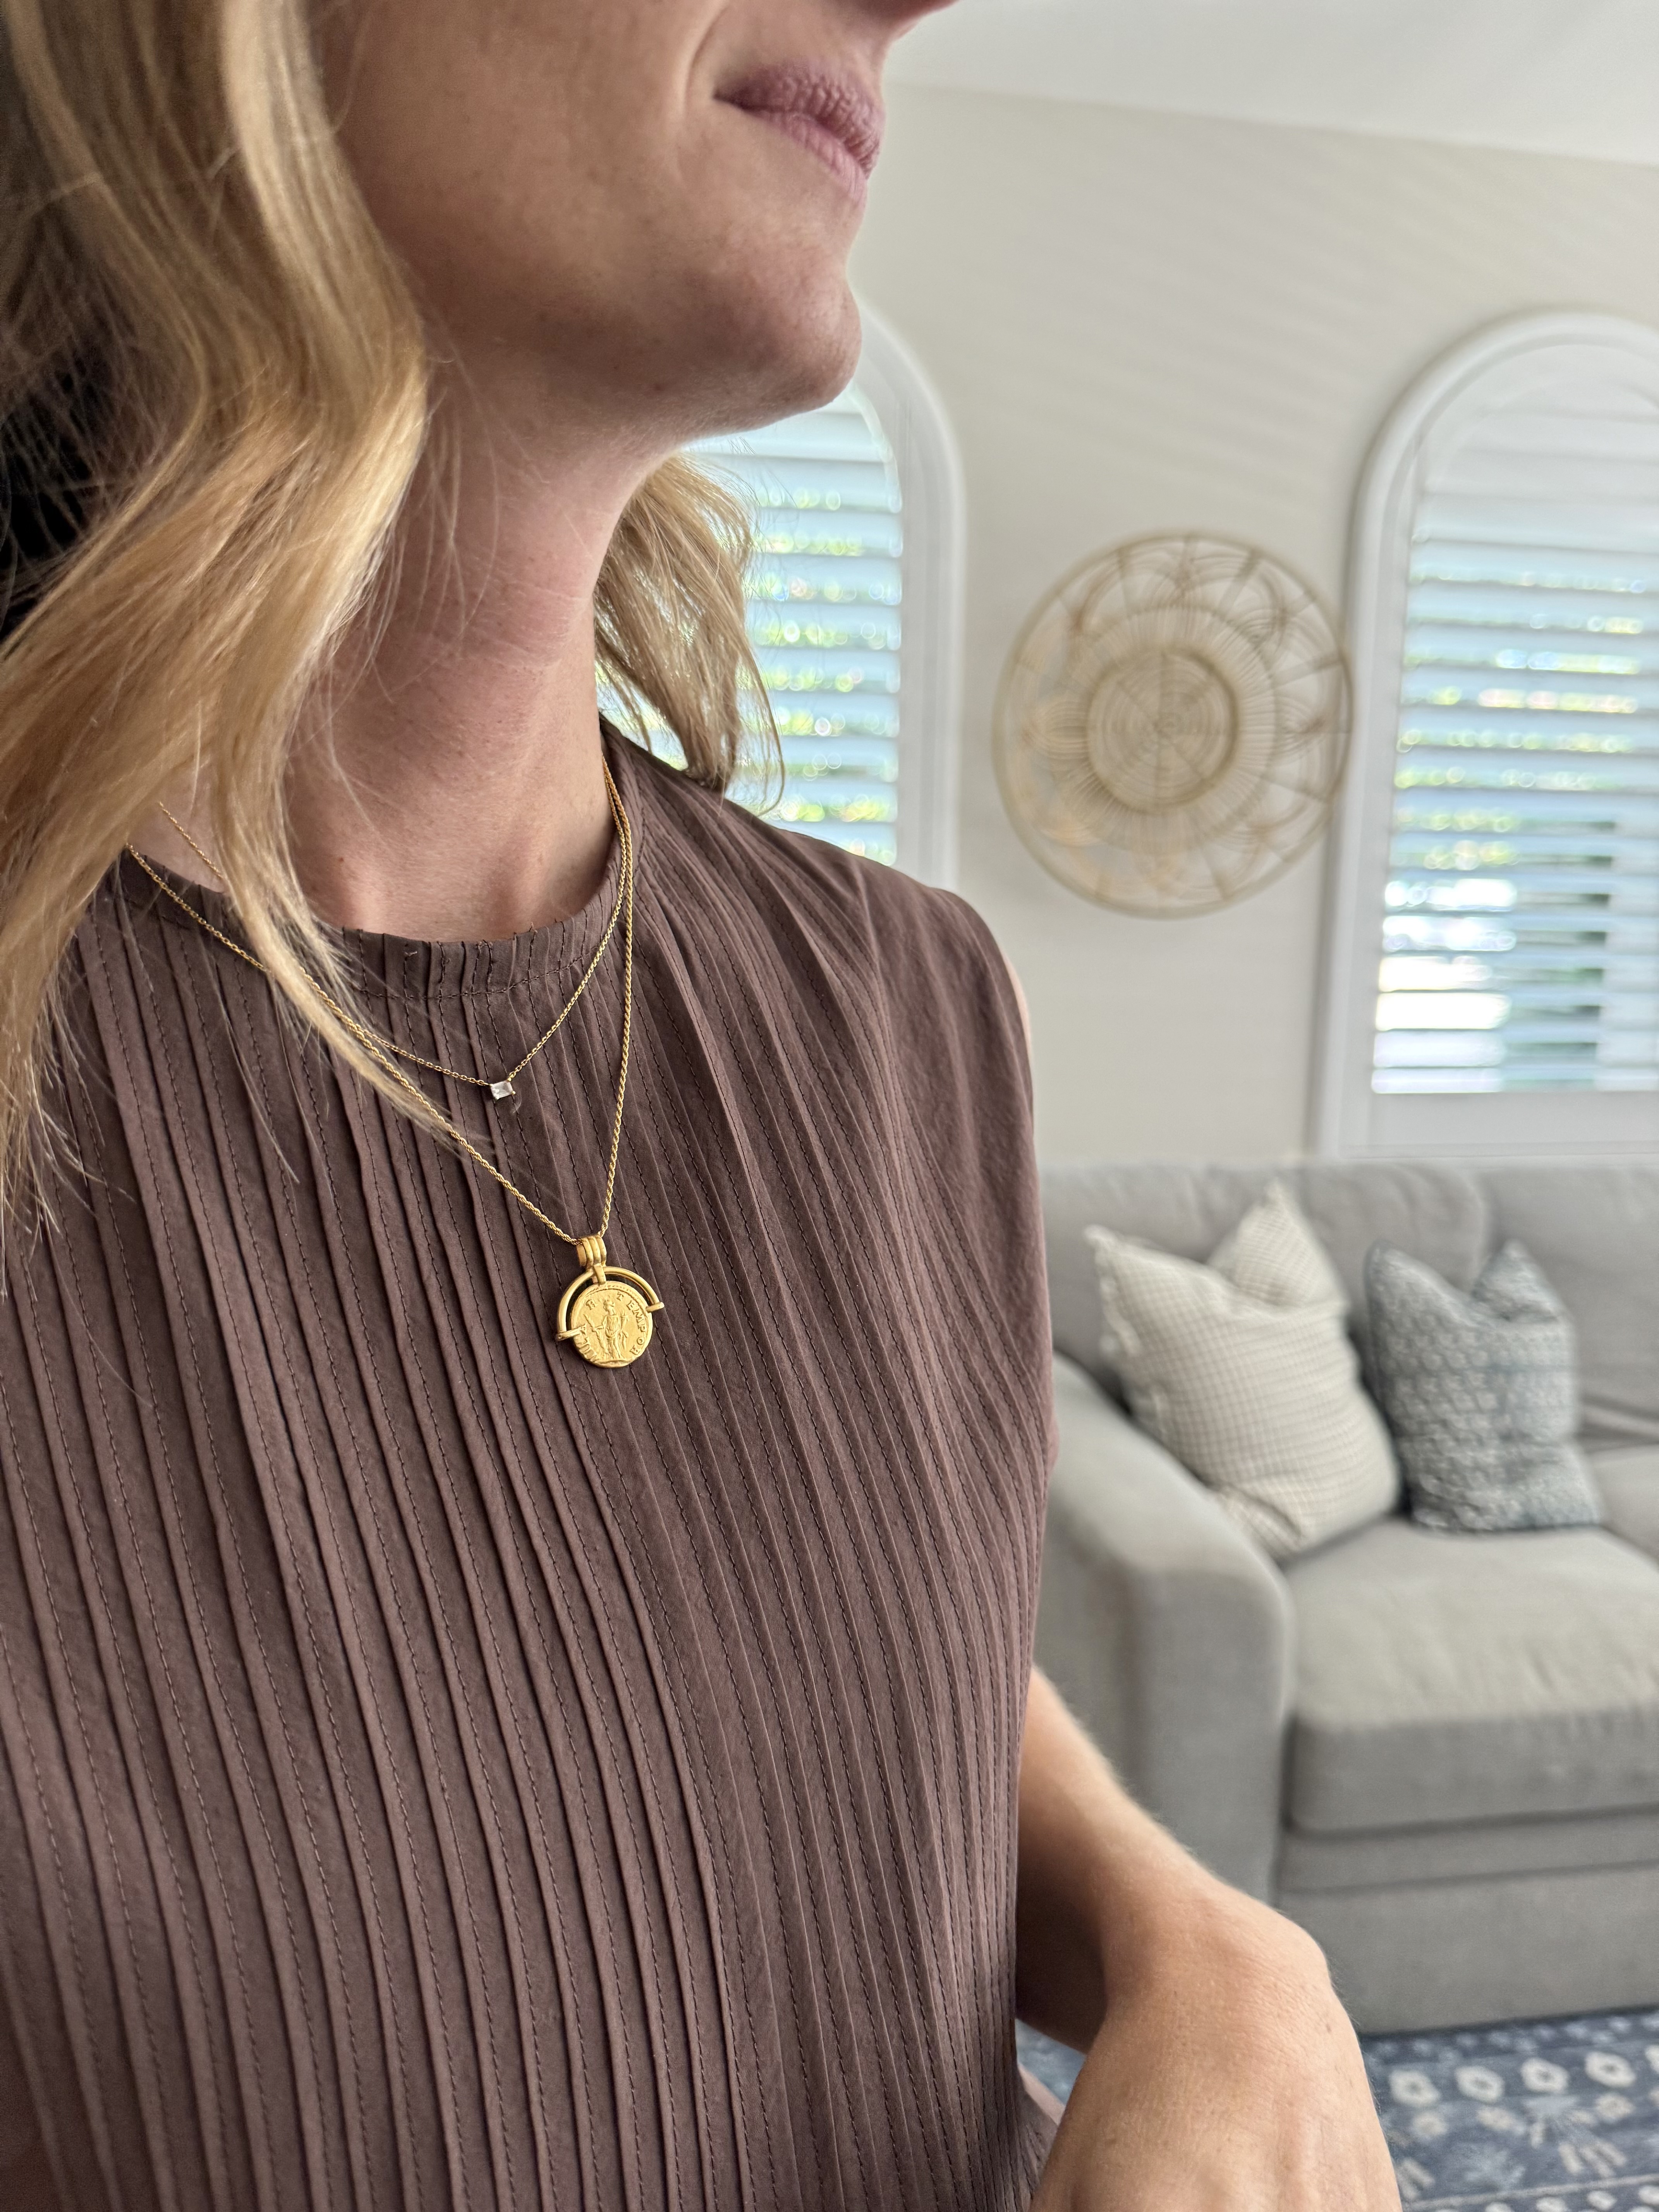
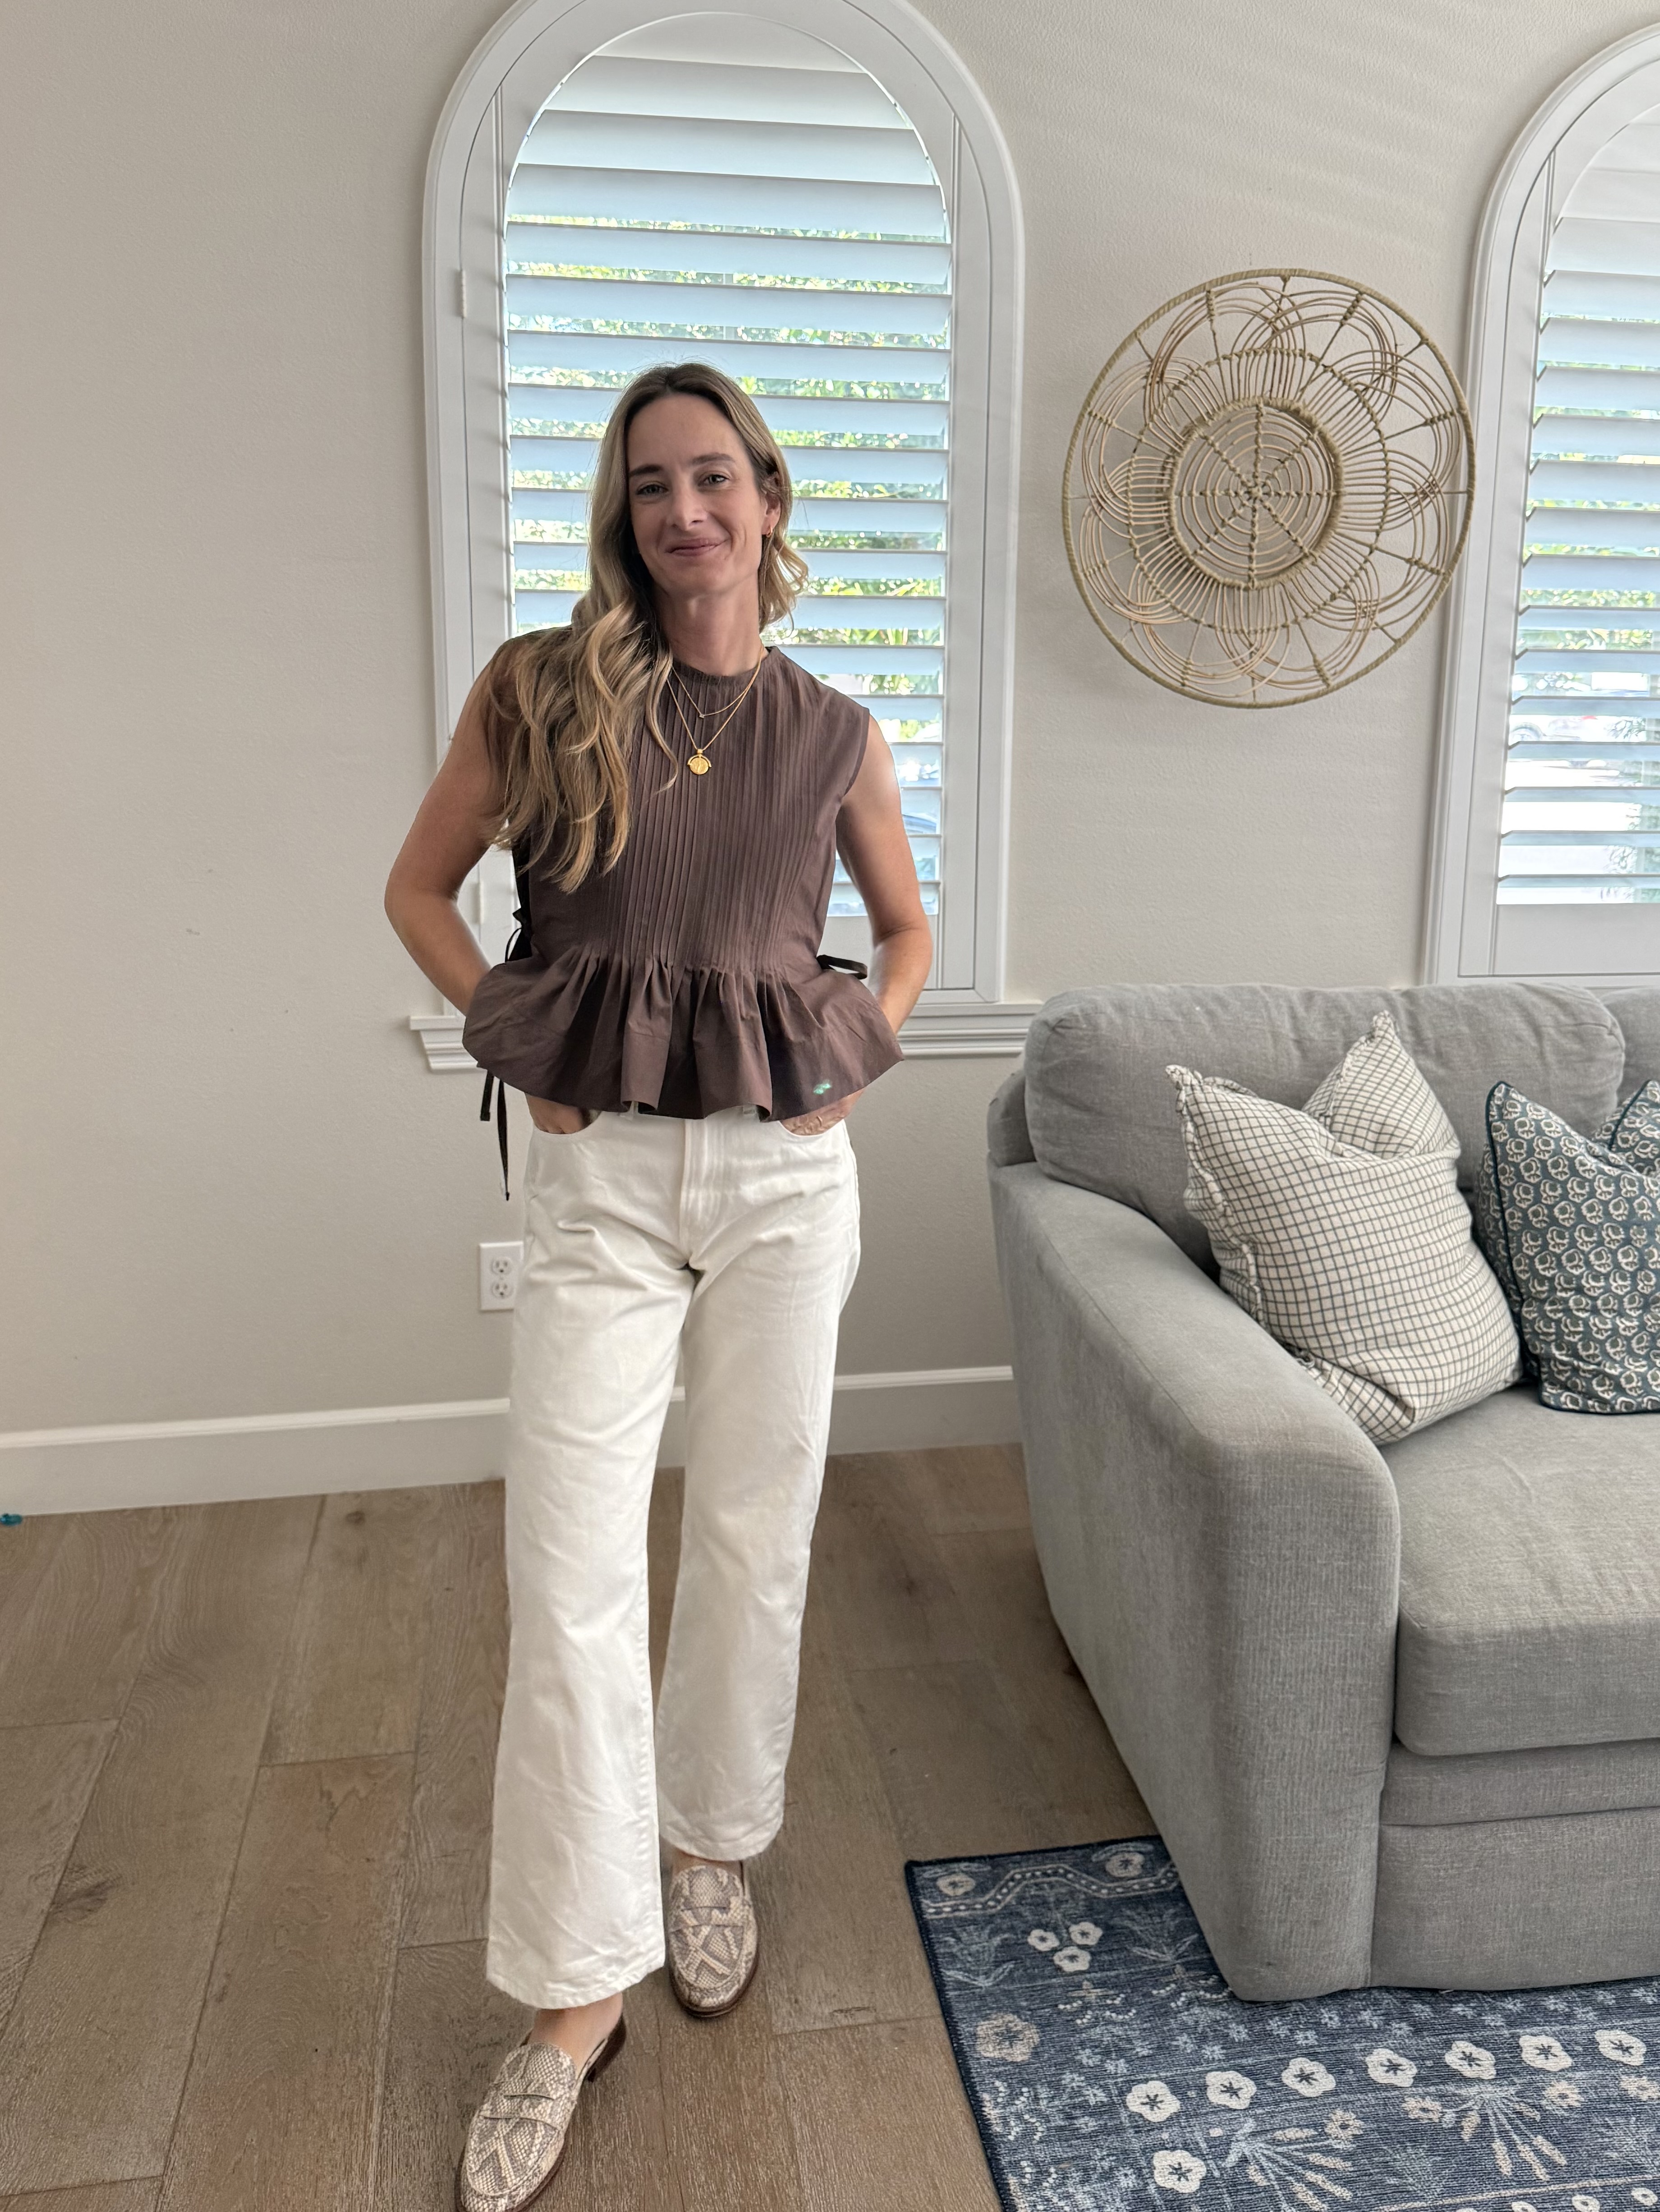
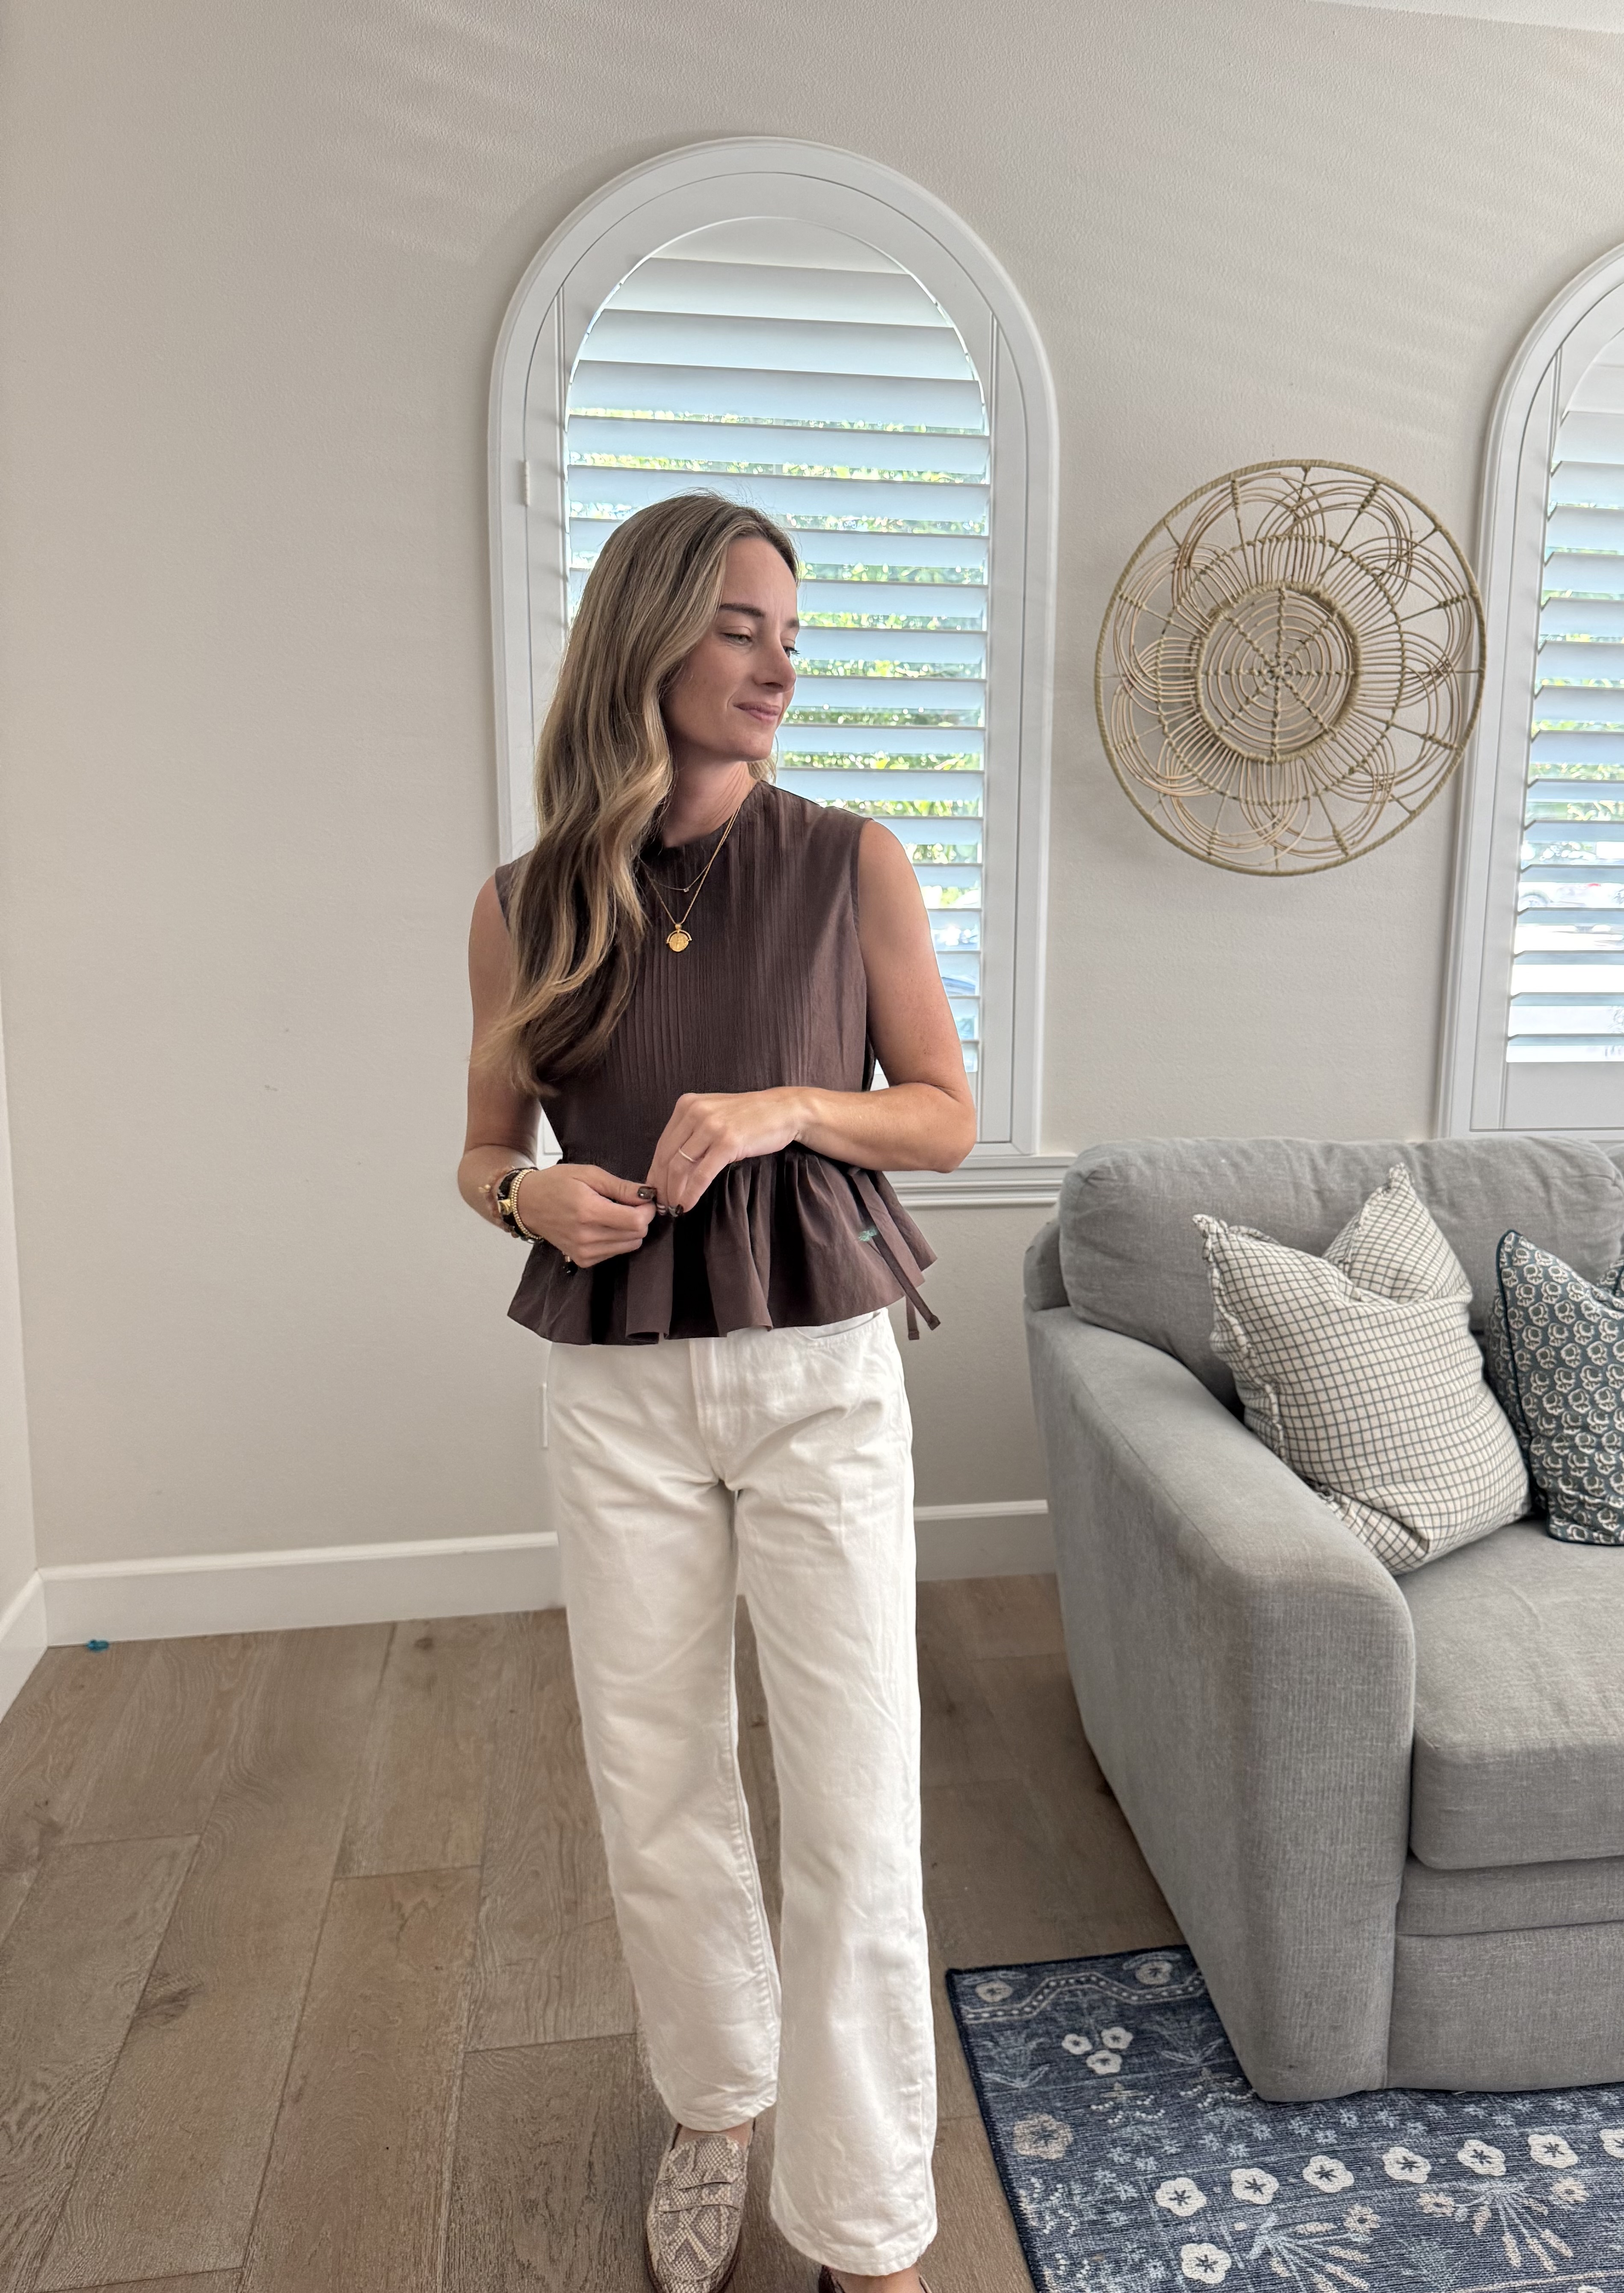
This patten is so beautifully crafted, and well instructed. (Just make sure you’re sewing your pin tucks correctly before you begin! If you’re not sure how I would recommend watching a quick Youtube video). I made the size 4, no mods. The fit and length are perfection. I used a chocolate brown cotton poplin from Matchy Matchy Sewing Club. The results are stunning. I think I need to make the dress version very soon.
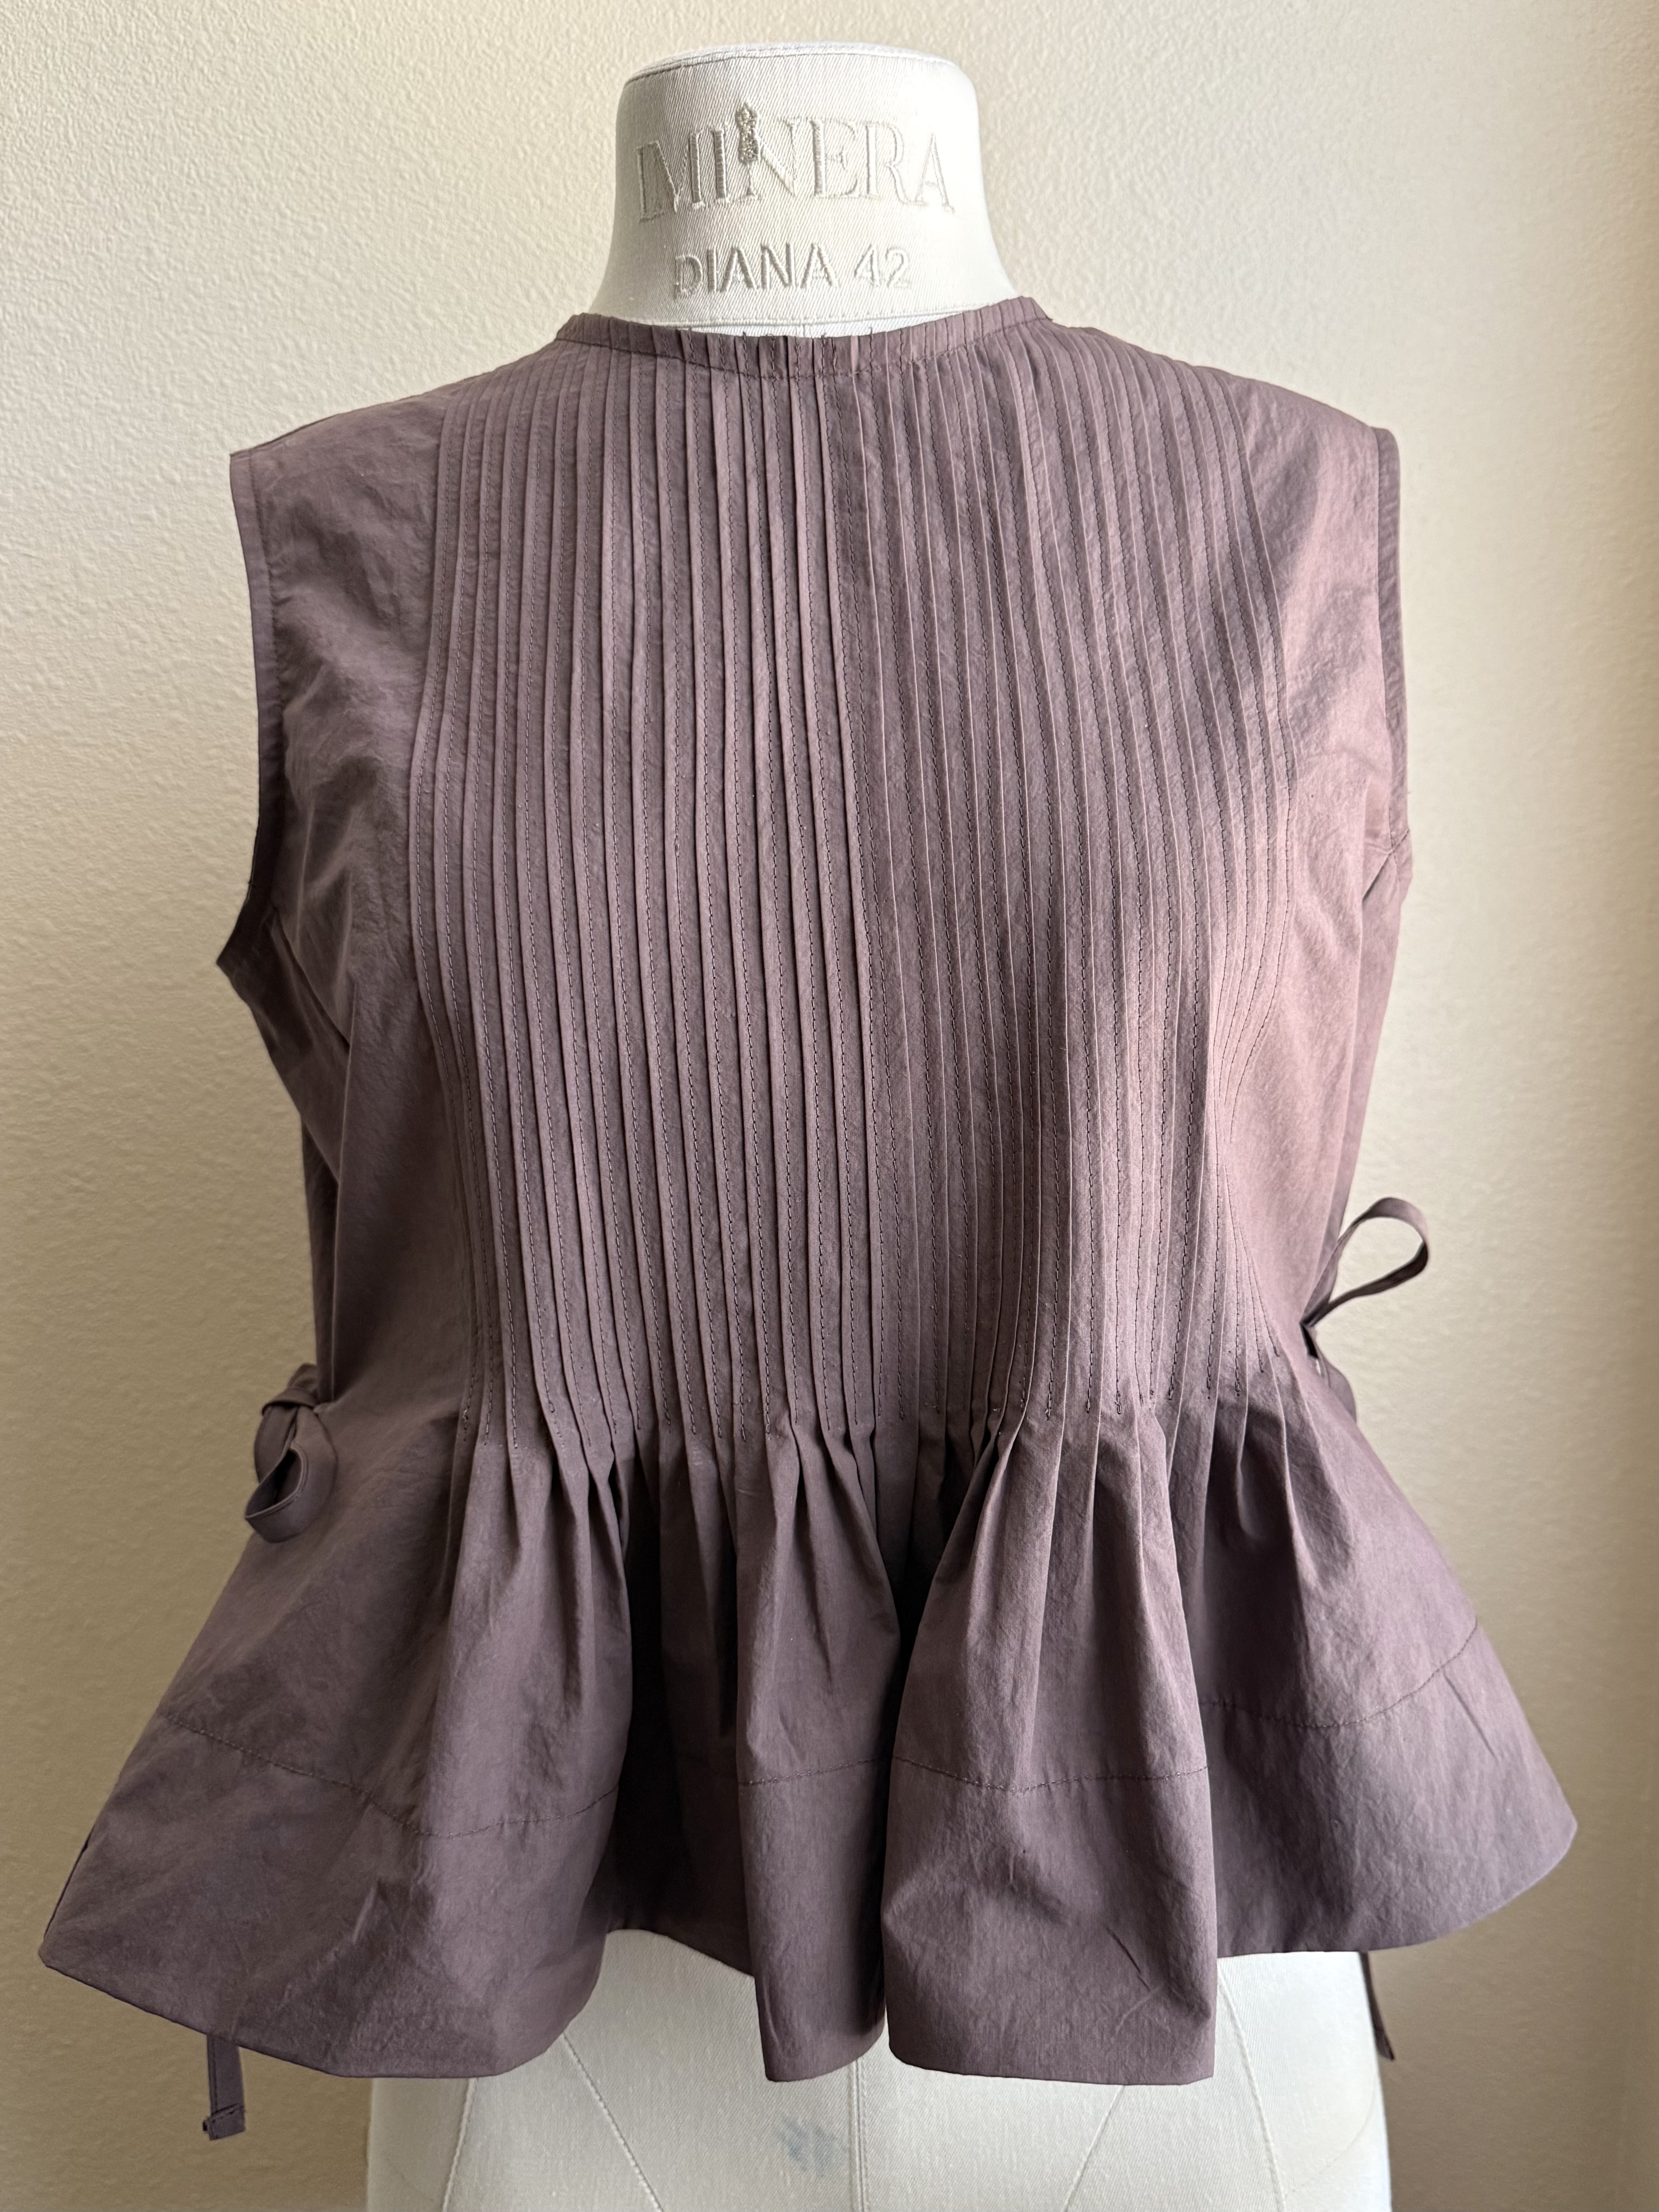
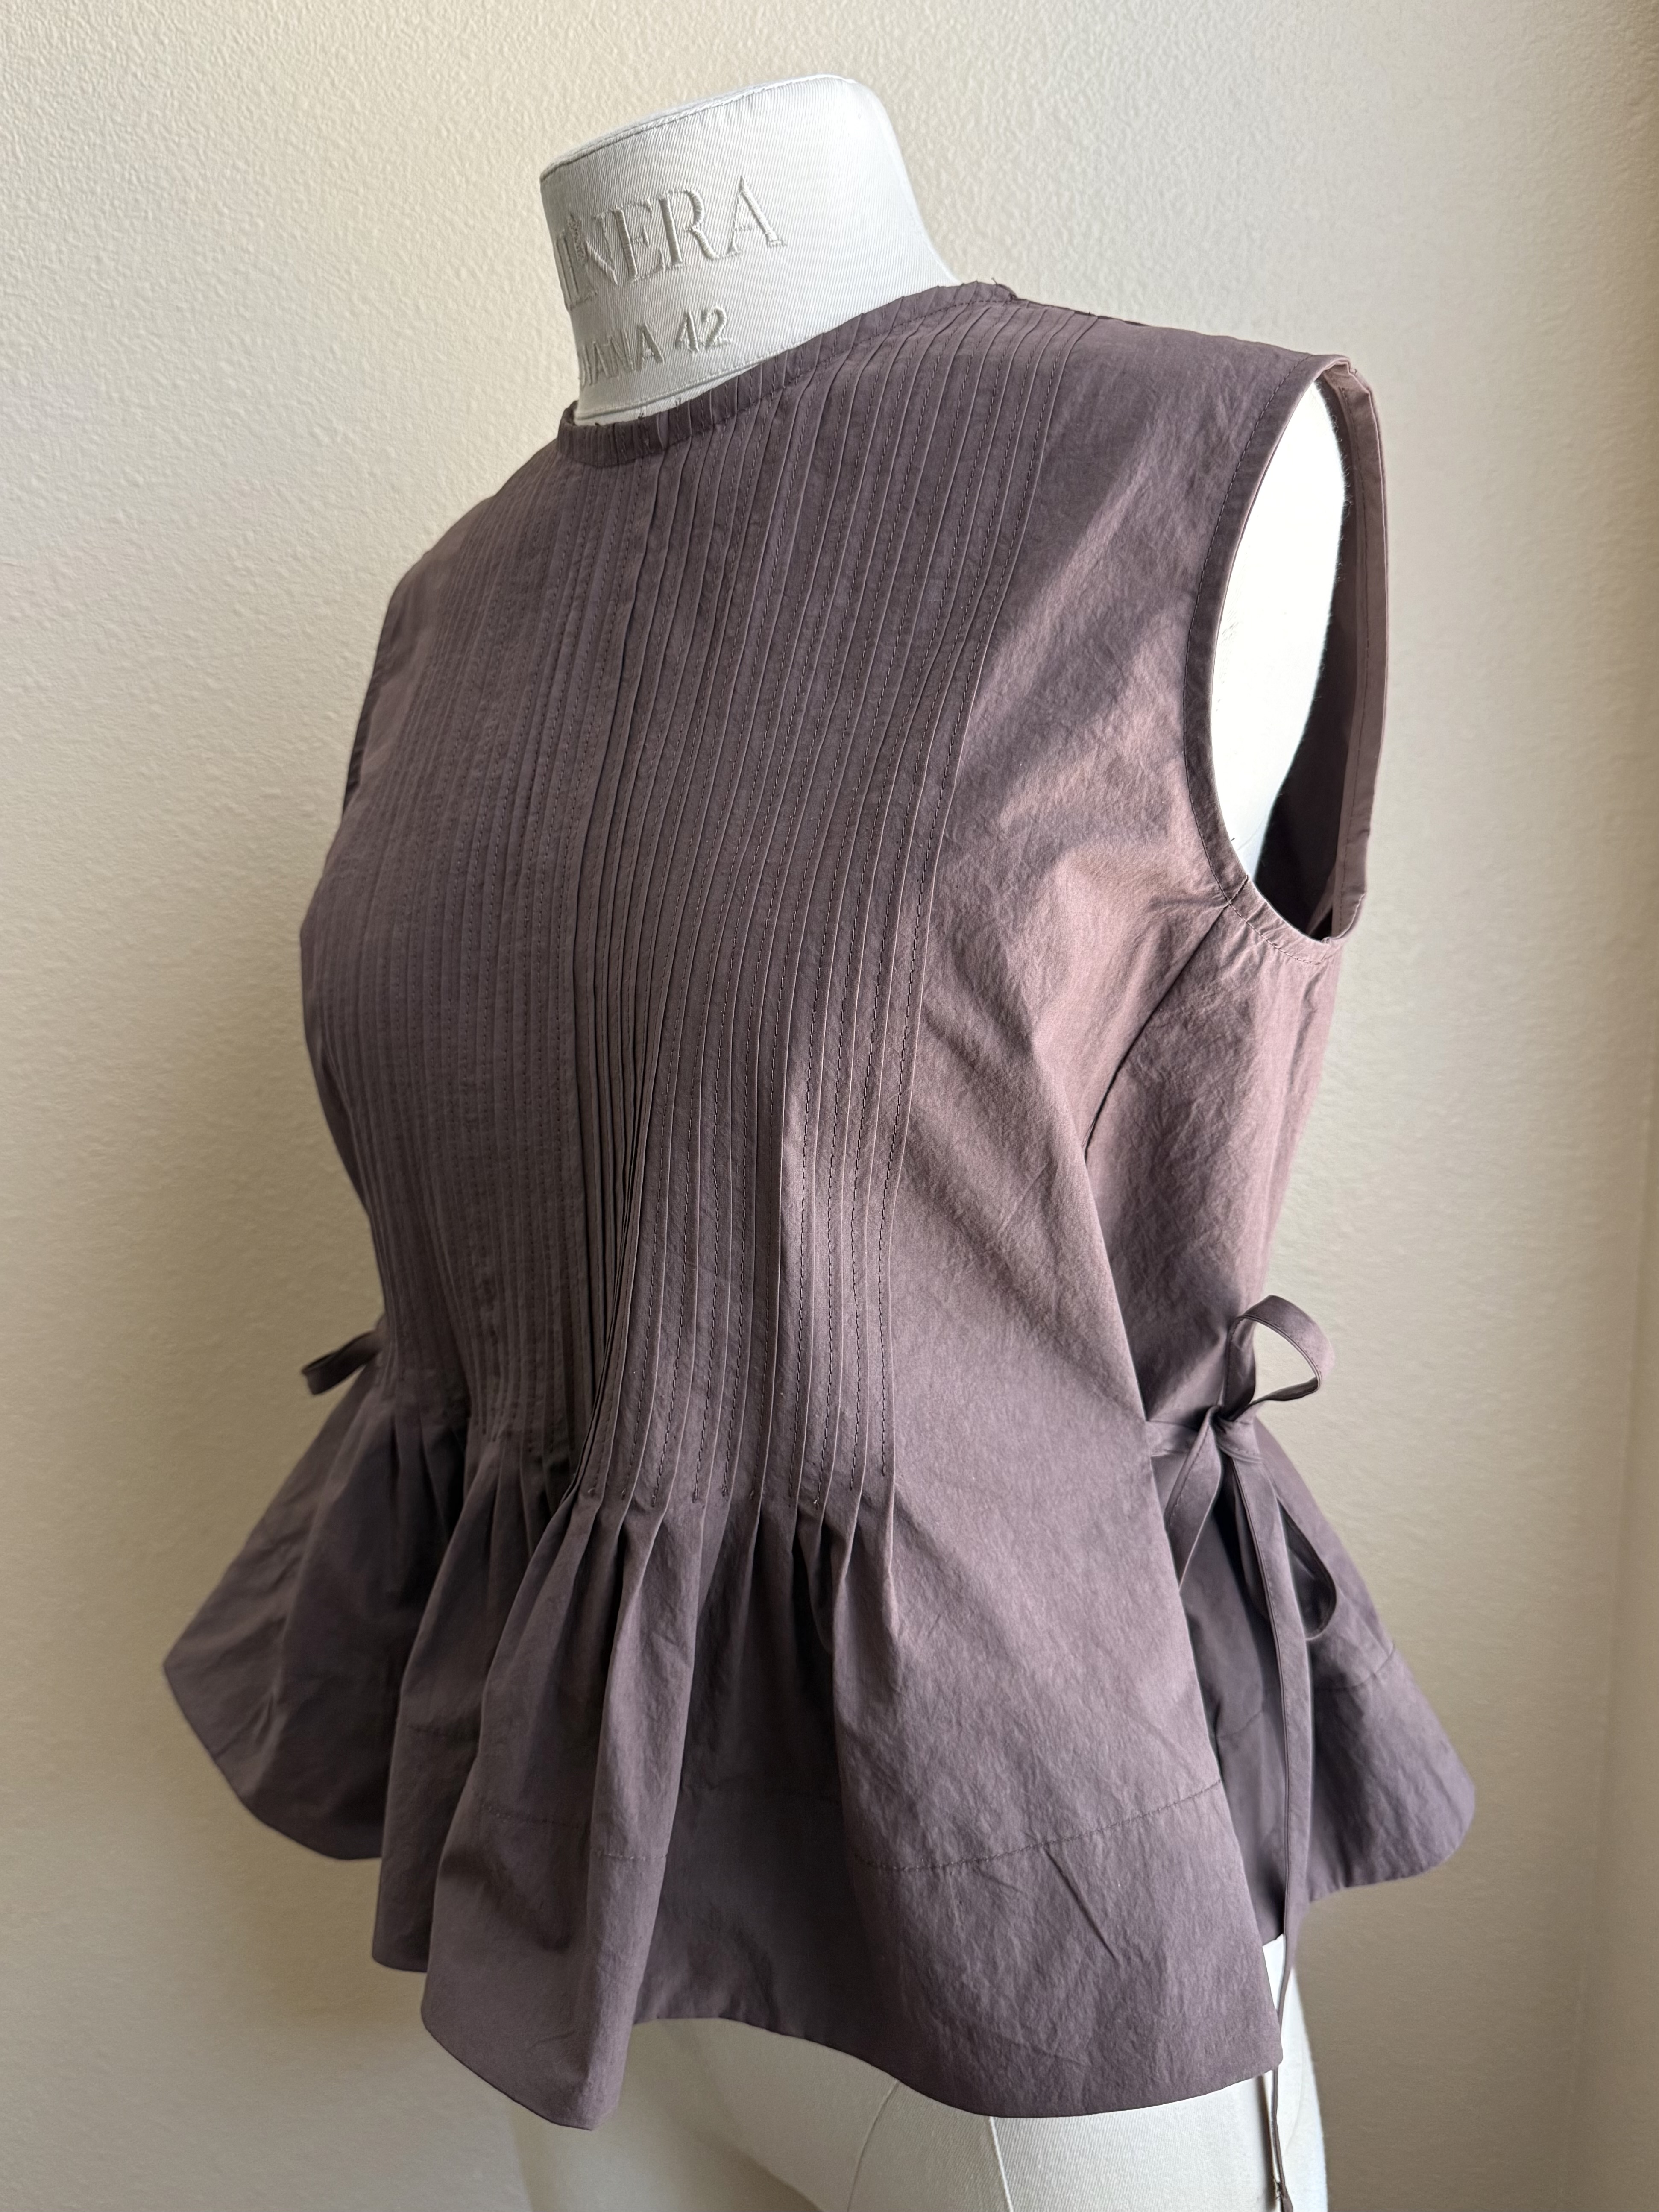
I thought I would share a few tips if you are thinking about taking on this project yourself or sewing anything with pin tucks, or my newest creation, pin tuck pleats ha ha.
Tips for Sewing for Sewing the Garden Blouse:
-Pick a light weight fabric that holds a crease or sharp fold easily like linen, cotton or lawn. Poplin worked really well for mine.
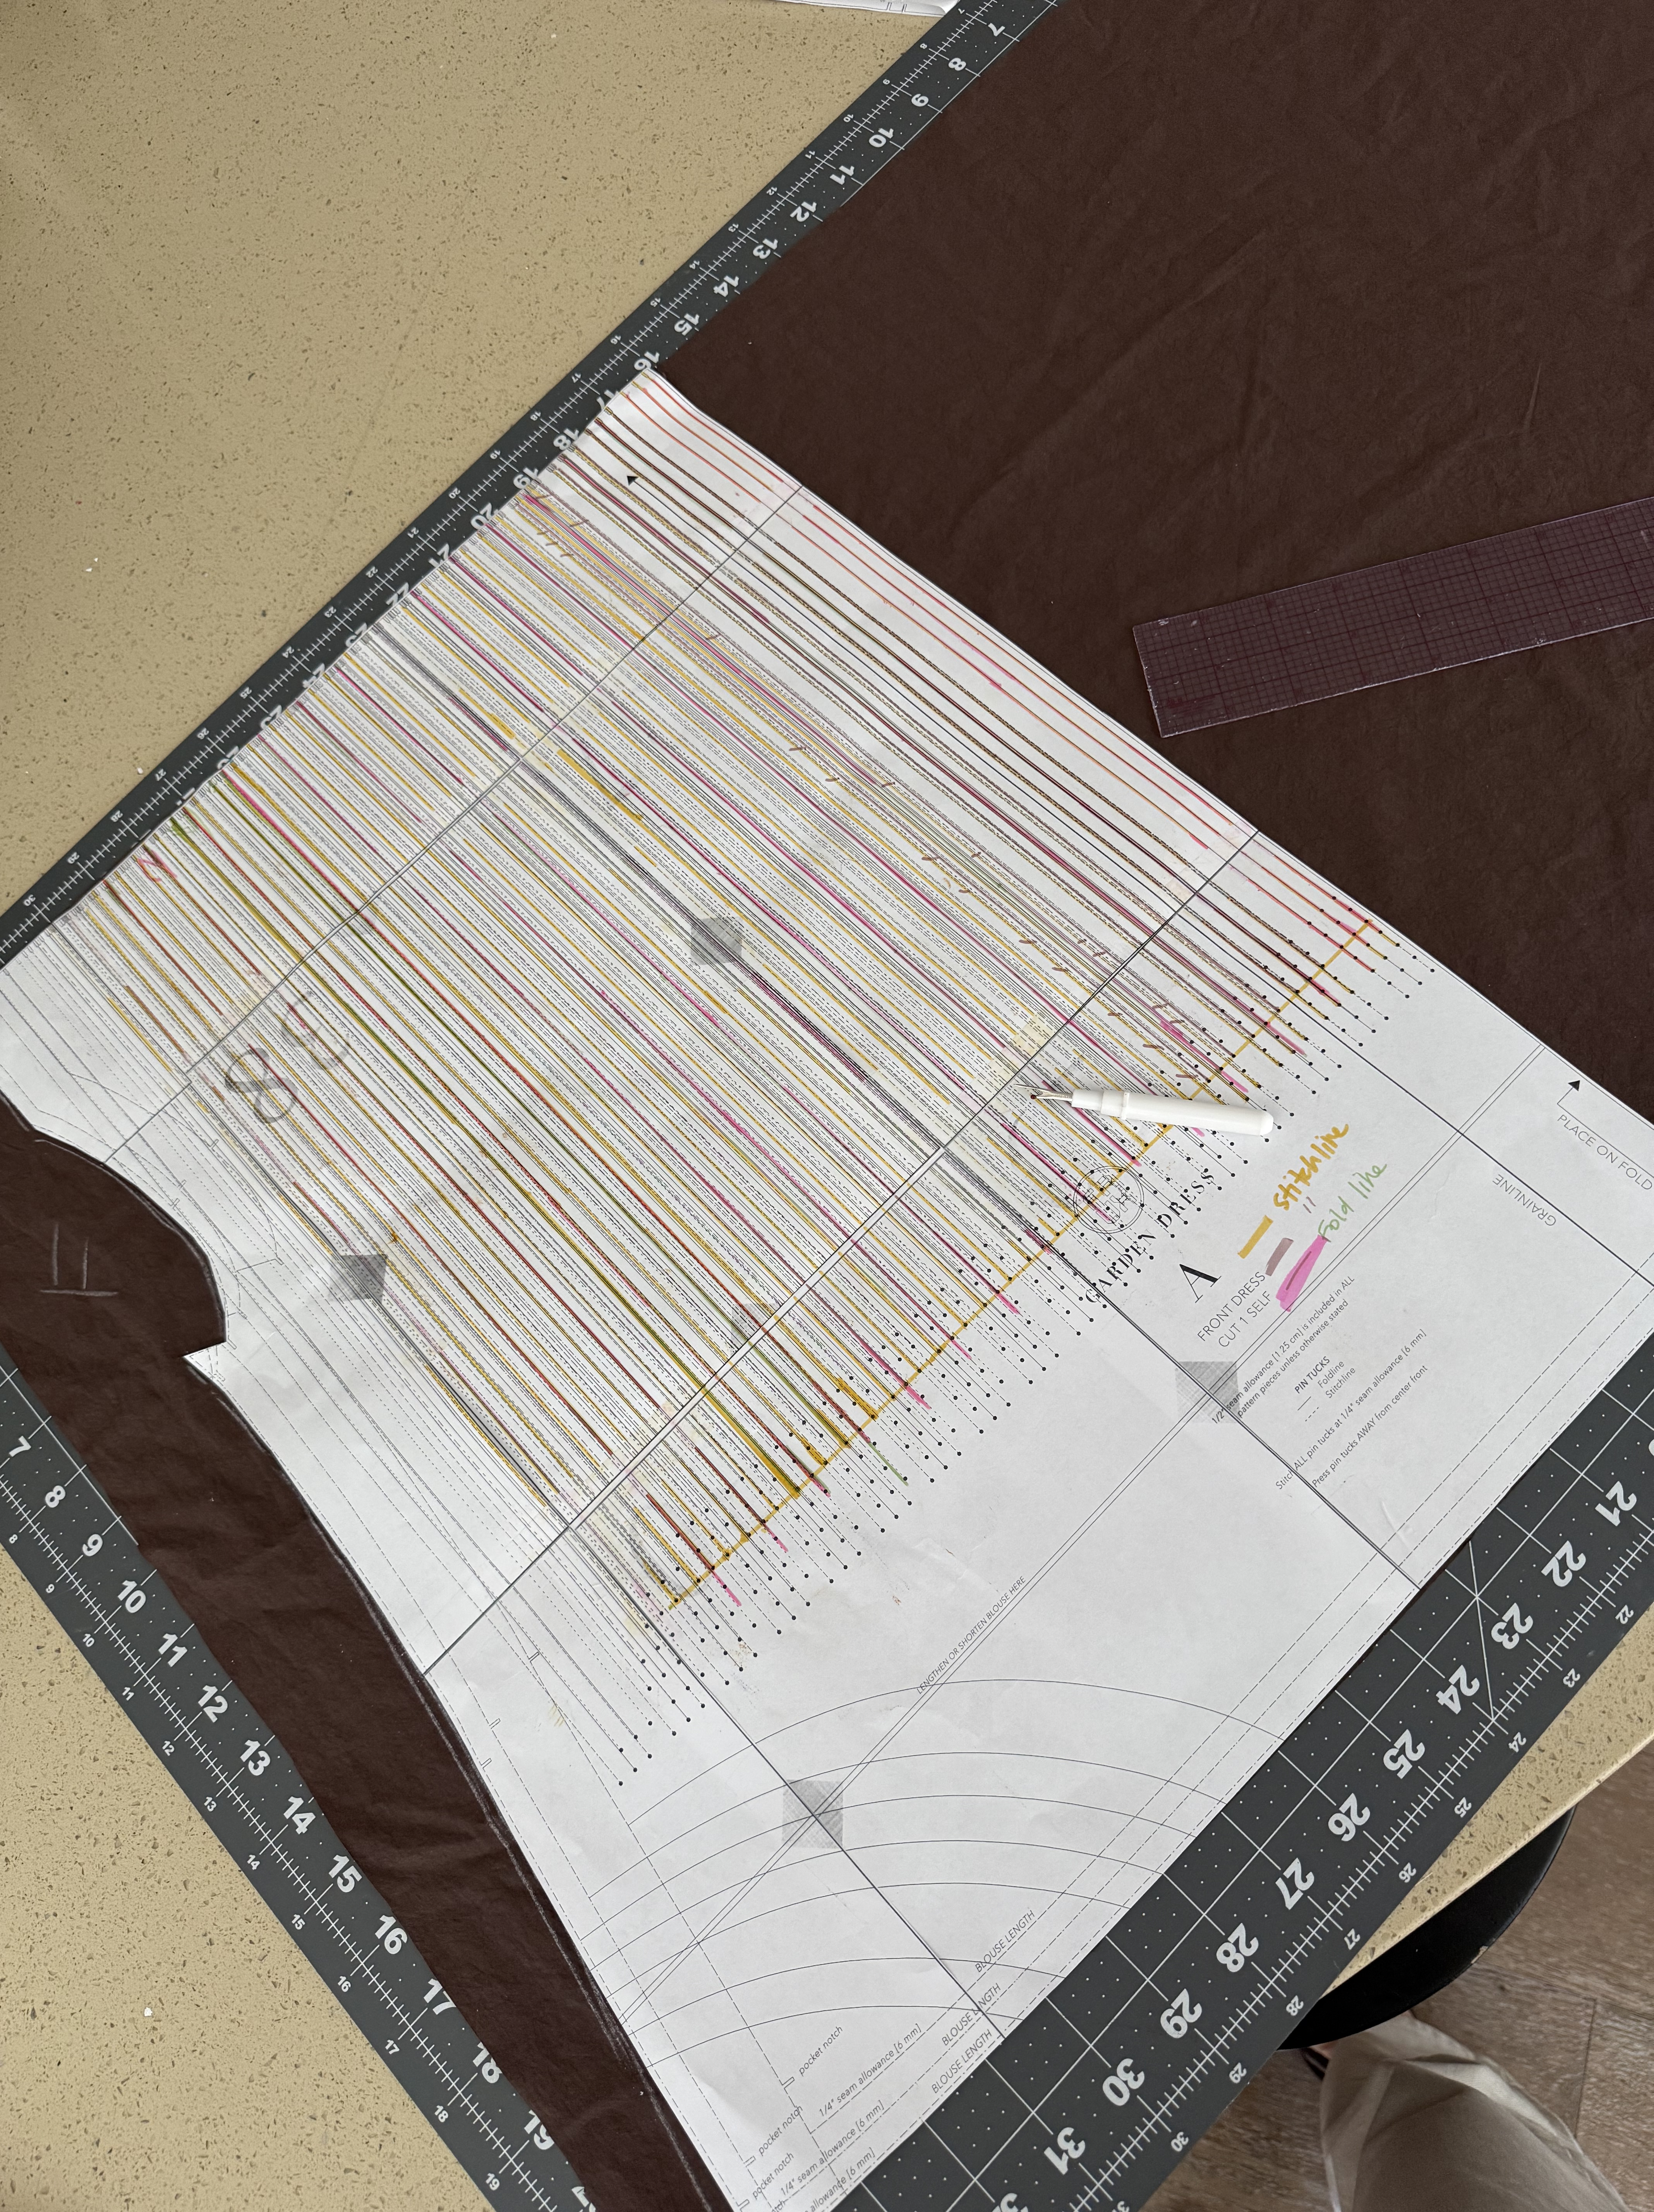
-Highlight pin tuck lines on the pattern pieces for your size to make marking easier. This helped make the marking process go so smoothly.
-Use a thin marking tool for pin tuck lines. Use something that disappears with heat. This makes removing all the marks super easy when pressing at the end.
-Do not press your tucks until they are all finished, hand press only or you will lose all the markings.
-Cut out the exact pattern piece at the end of the pin tuck sewing process. Leave extra room at the side seams to allow for any errors or loss of fabric as tucks are made. I had to use the extra space for my top. The Garden Blouse pattern walks you through how to do this as well.
-Go slow!! Take your time marking and sewing each individual pin tuck. Try to keep it as accurate as possible. It’s well worth the effort in the end.
-Always sew from the middle of the garment outward instead of starting from the edge, this will help keep the project symmetrical.
For my blouse, I sewed the pleats a little differently. Instead of creasing the fabric and sewing along the fold as you would do to sew a traditional pin tuck, I folded the pleat or tuck like a knife pleat, pinned and topstitched the tuck down giving it a slightly different look. You can see in the photo below what this looked like.
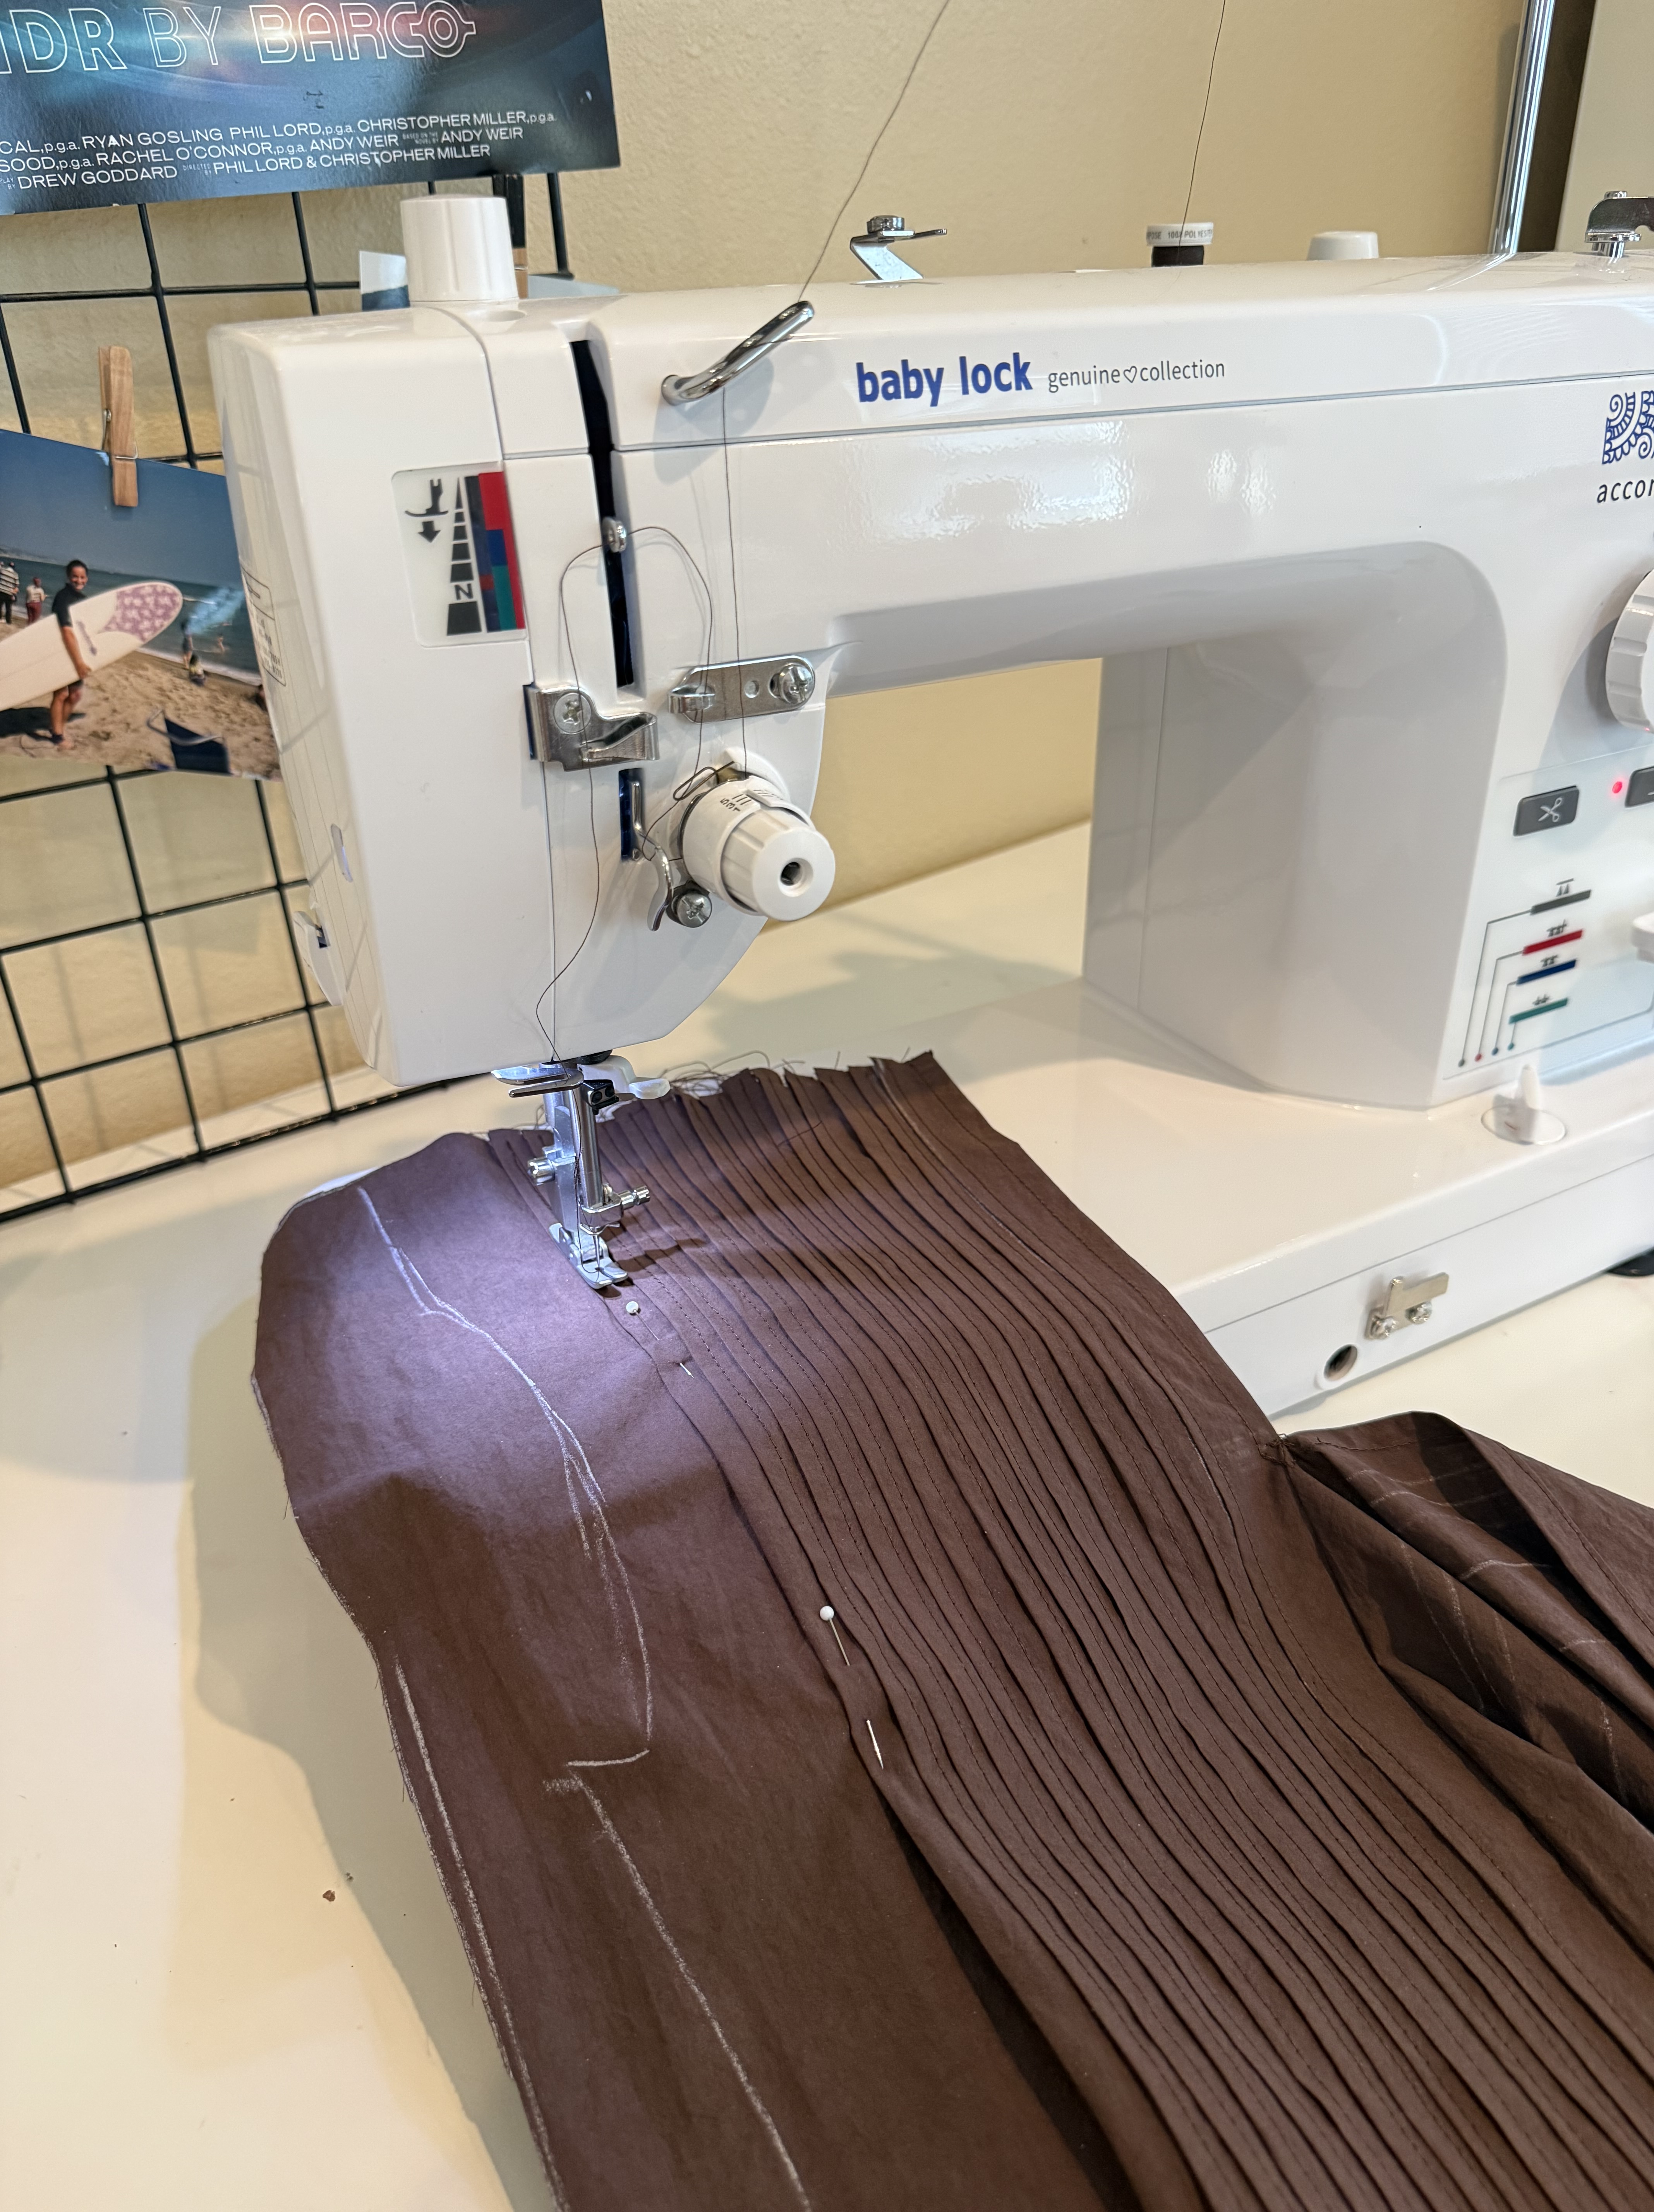
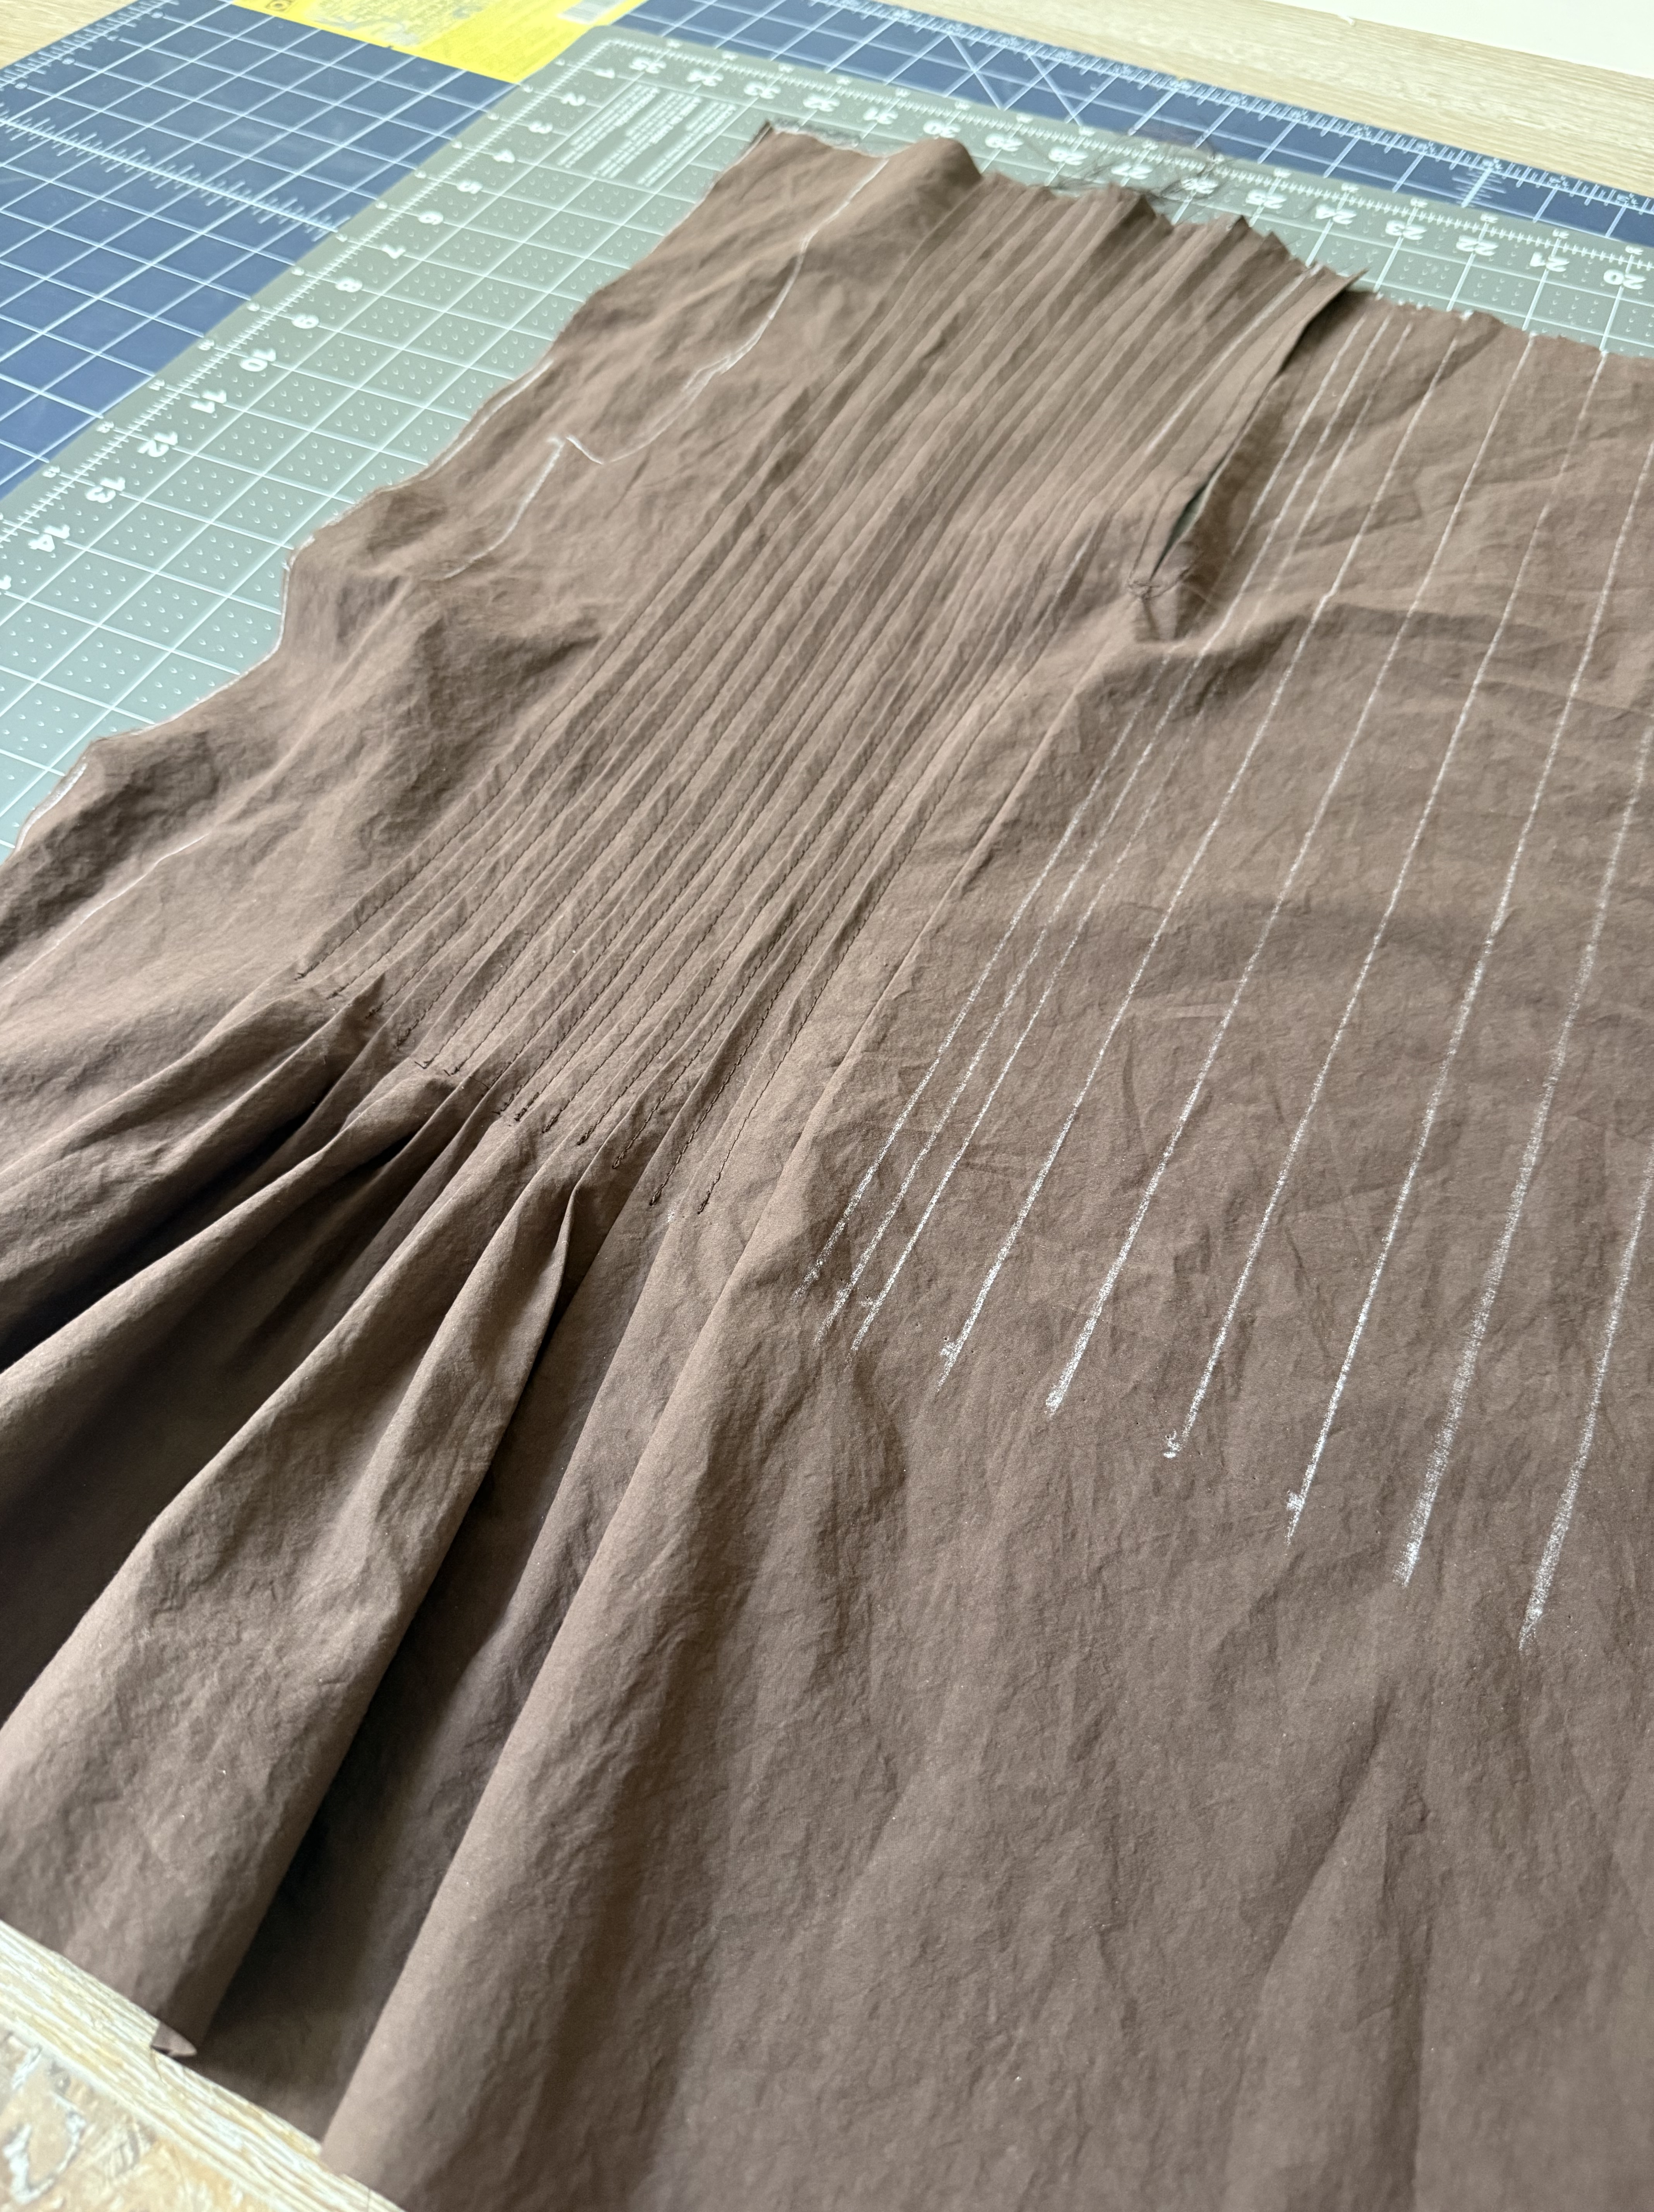
Instead of folding along the “fold line” and sewing along the the folded edge at 1/4″, I folded the stitching line over the fold line, making something like a knife pleat, and stitched it down from the edge on top of the blouse.
Although it was not intended to be sewn this way, I’m really happy with the results! It still looks complex and neat and gives the same gathering effects that the original pin tuck method provides. The poplin also gives the top a little more structure to the gathers at the end of the tucks. The ties on the side add to the amazing details of this gorgeous top.
In sewing, more often than not, mistakes are made. As stupid as I felt when I realized what I had done, I reminded myself that before I realized I sewed the technique wrong, I was really proud of it, and loved the outcome! So this is me telling you that making mistakes in sewing is honestly the BEST thing you can do for yourself to become a better seamstress. My biggest mistakes have always been my best learning opportunities. I will never again confuse the proper way to sew a pin tuck ha ha!!!
This post is sponsored by Baby Lock, but all opinions are my own.





Leave a comment