One of my most favorite features on my Baby Lock Brilliant sewing machine is the buttonhole feature. Perfect buttonholes every time! I’ve struggled with buttonholes with other machines I’ve used in the past. I would save the button holes for the very end of the project because it would take forever to get a few perfect buttonholes- lots of unpicking included. But with my Baby Lock machine, it’s quick and painless. Finishing a project stress free is the best part of all!!
I thought I would walk you through just how easy it is to sew button holes with a Baby Lock sewing machine + show you how to sew a button onto a garment by hand properly! (The way I was taught while studying clothing construction in college).
Let’s sew a buttonhole!
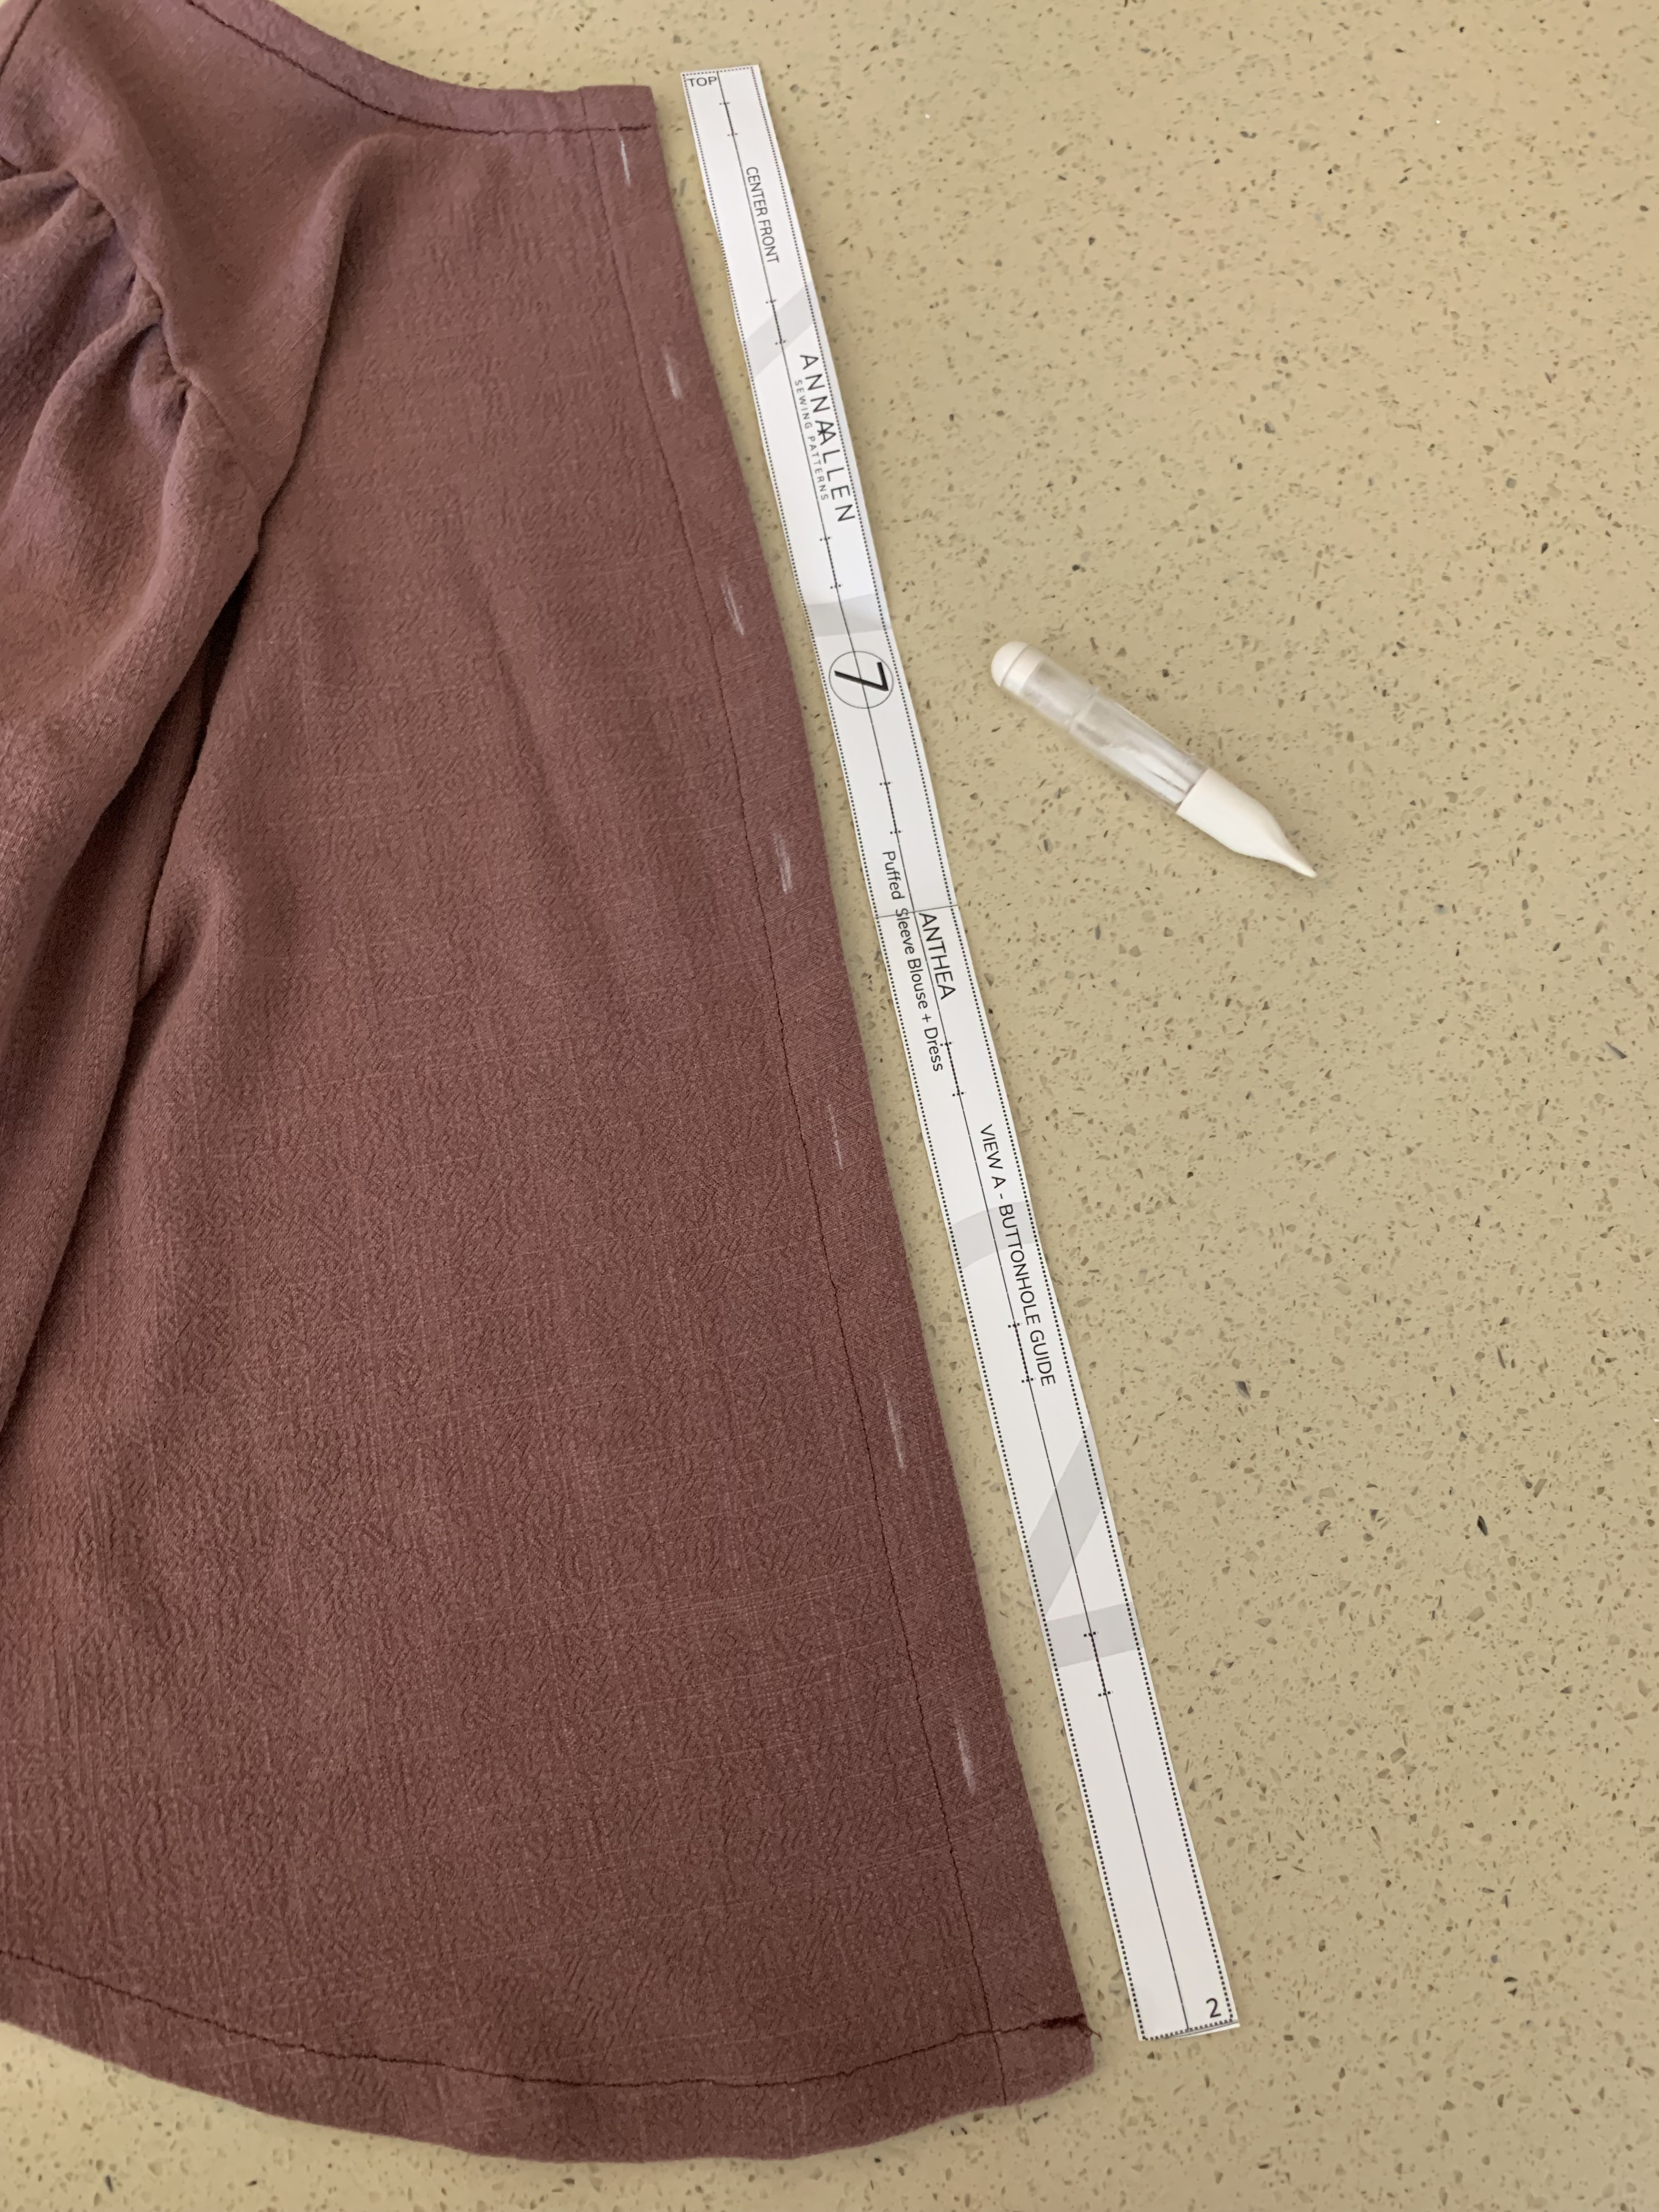
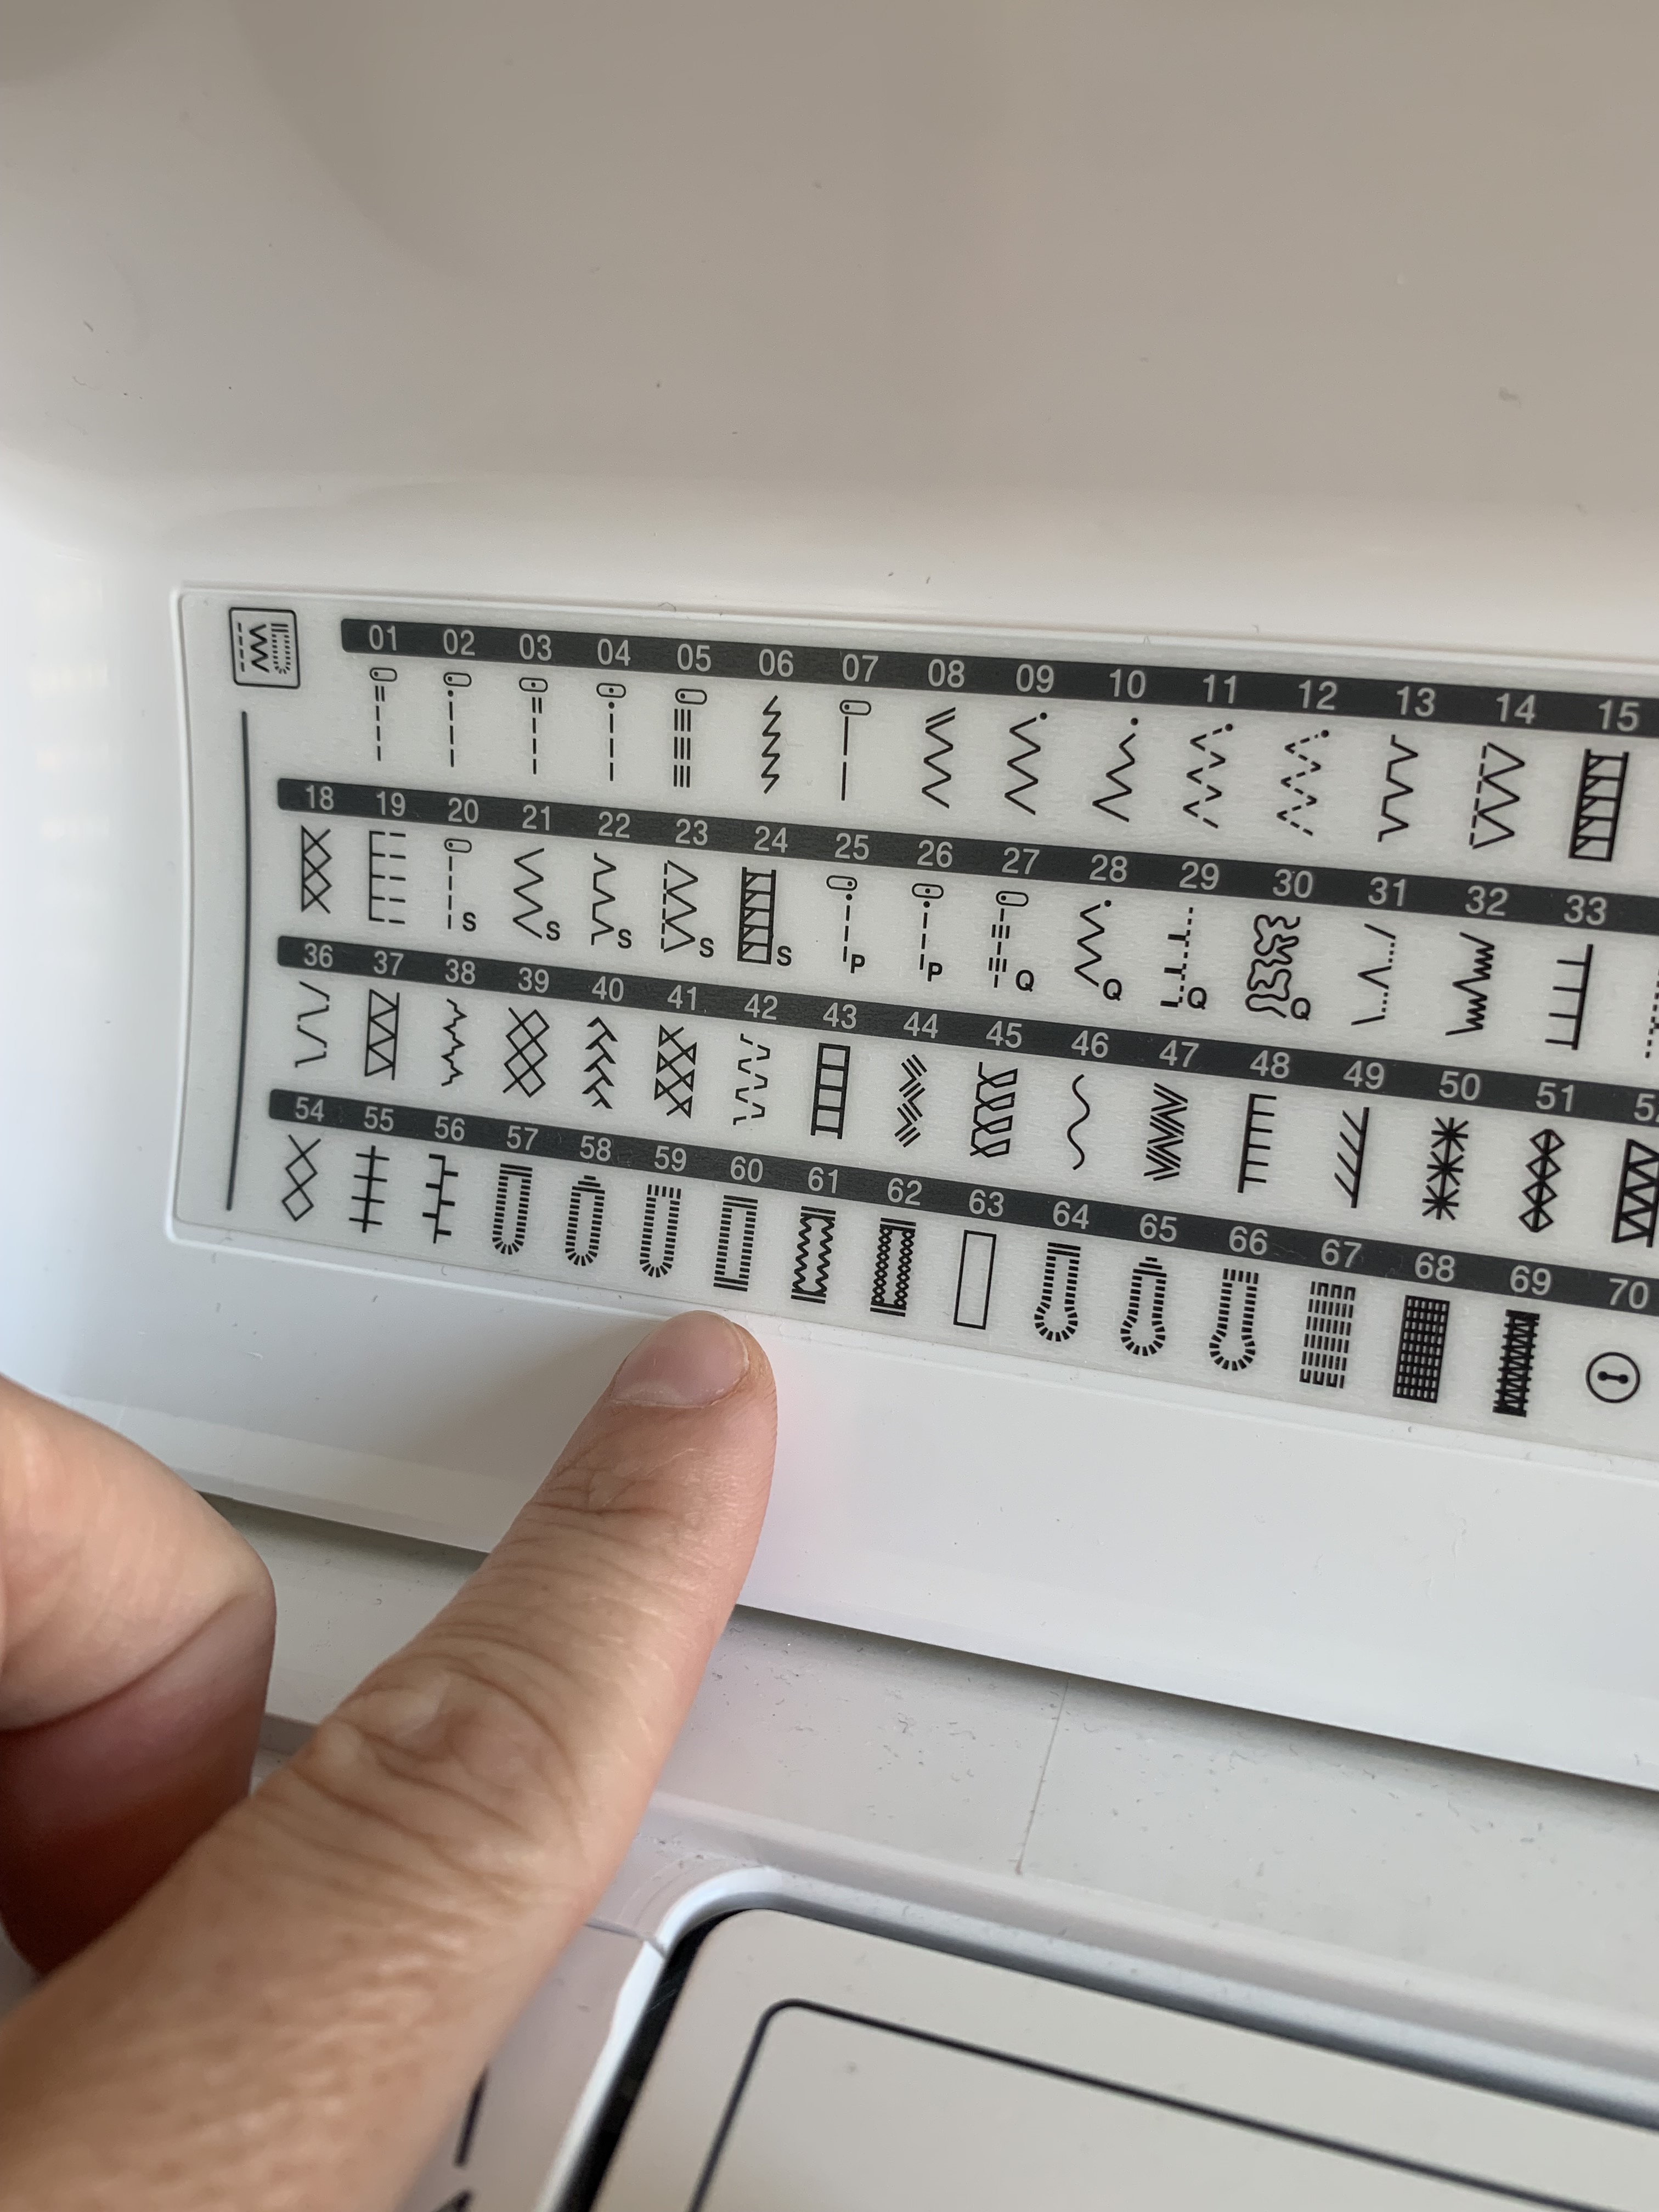
First, you need to mark your button holes on the correct side of your garment placket, for women’s garments that would be the right side of the garment when being worn. I used a clover chalk pen to mark my button holes. i Just laid the buttonhole guide right next to my placket and marked the center of the placket with chalk where indicated on the guide.
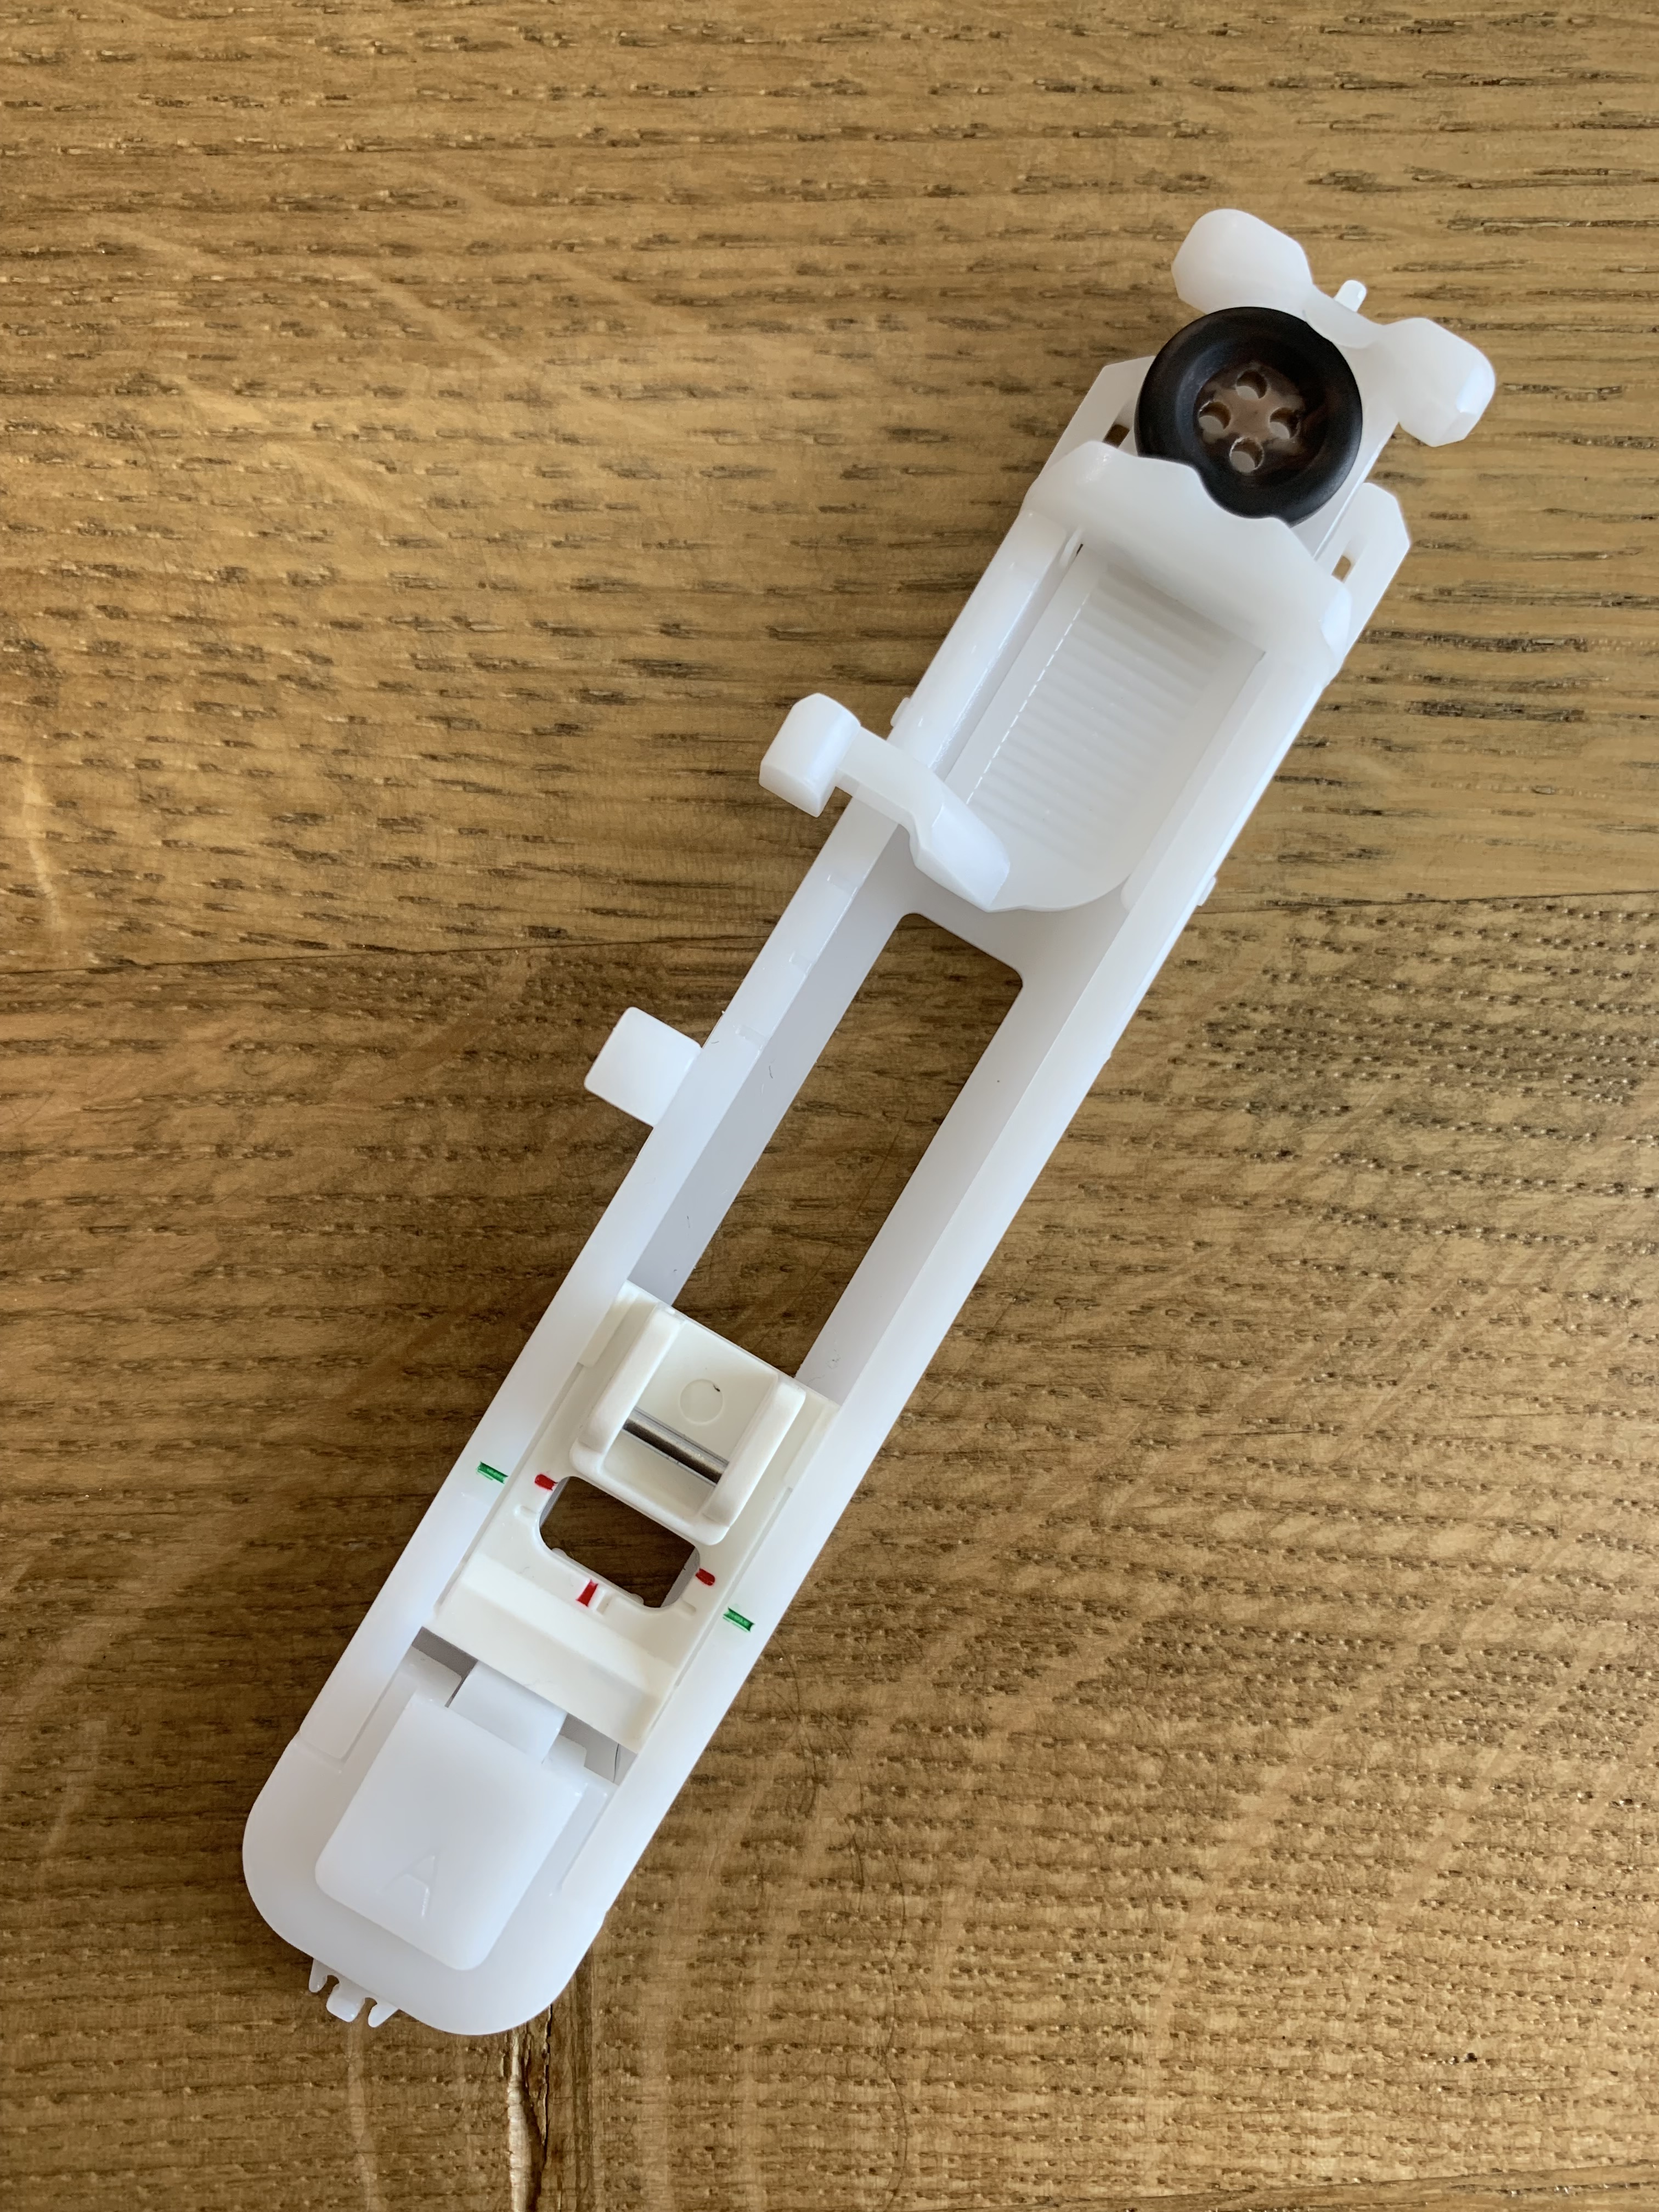
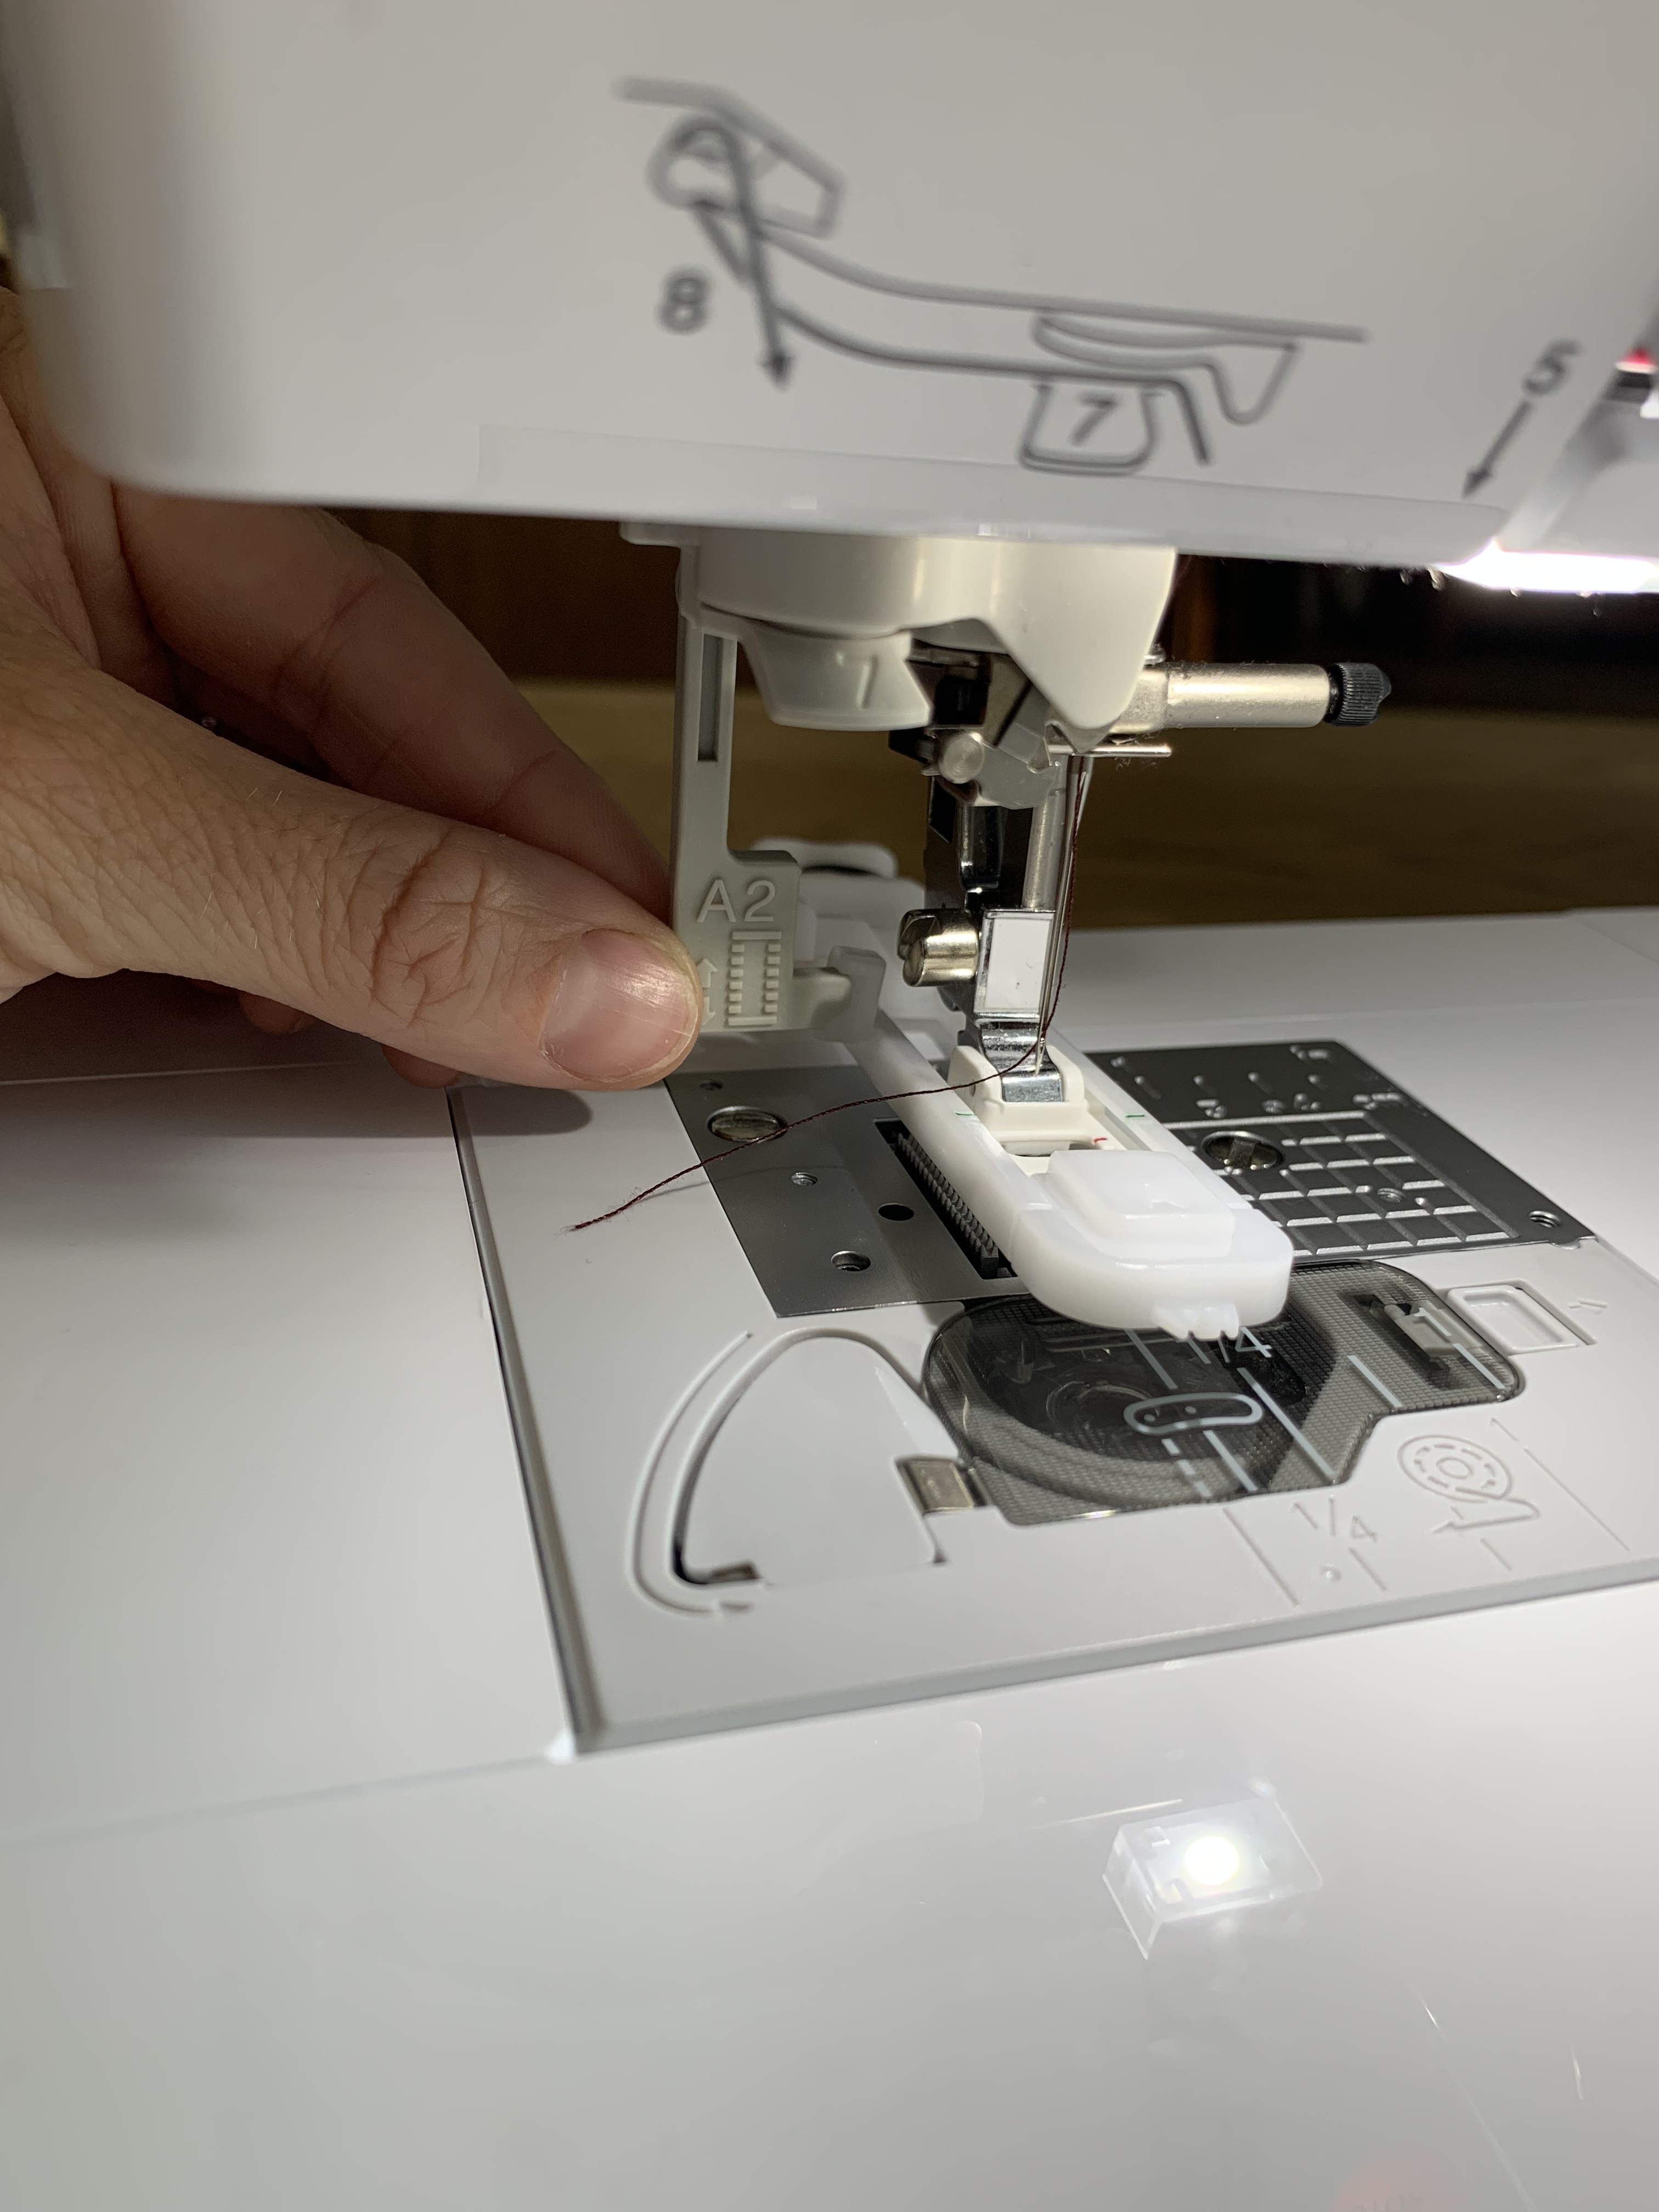
Next take out the button hole foot, pictured below. Place/ fit one of the buttons into the back insert portion of the foot. This will automatically measure out the buttonhole size you will need for your garment based on your button size. Next, attach the buttonhole foot to your sewing machine, and pull the A2 tab down. Make sure to place it behind the buttonhole foot tab sticking out.
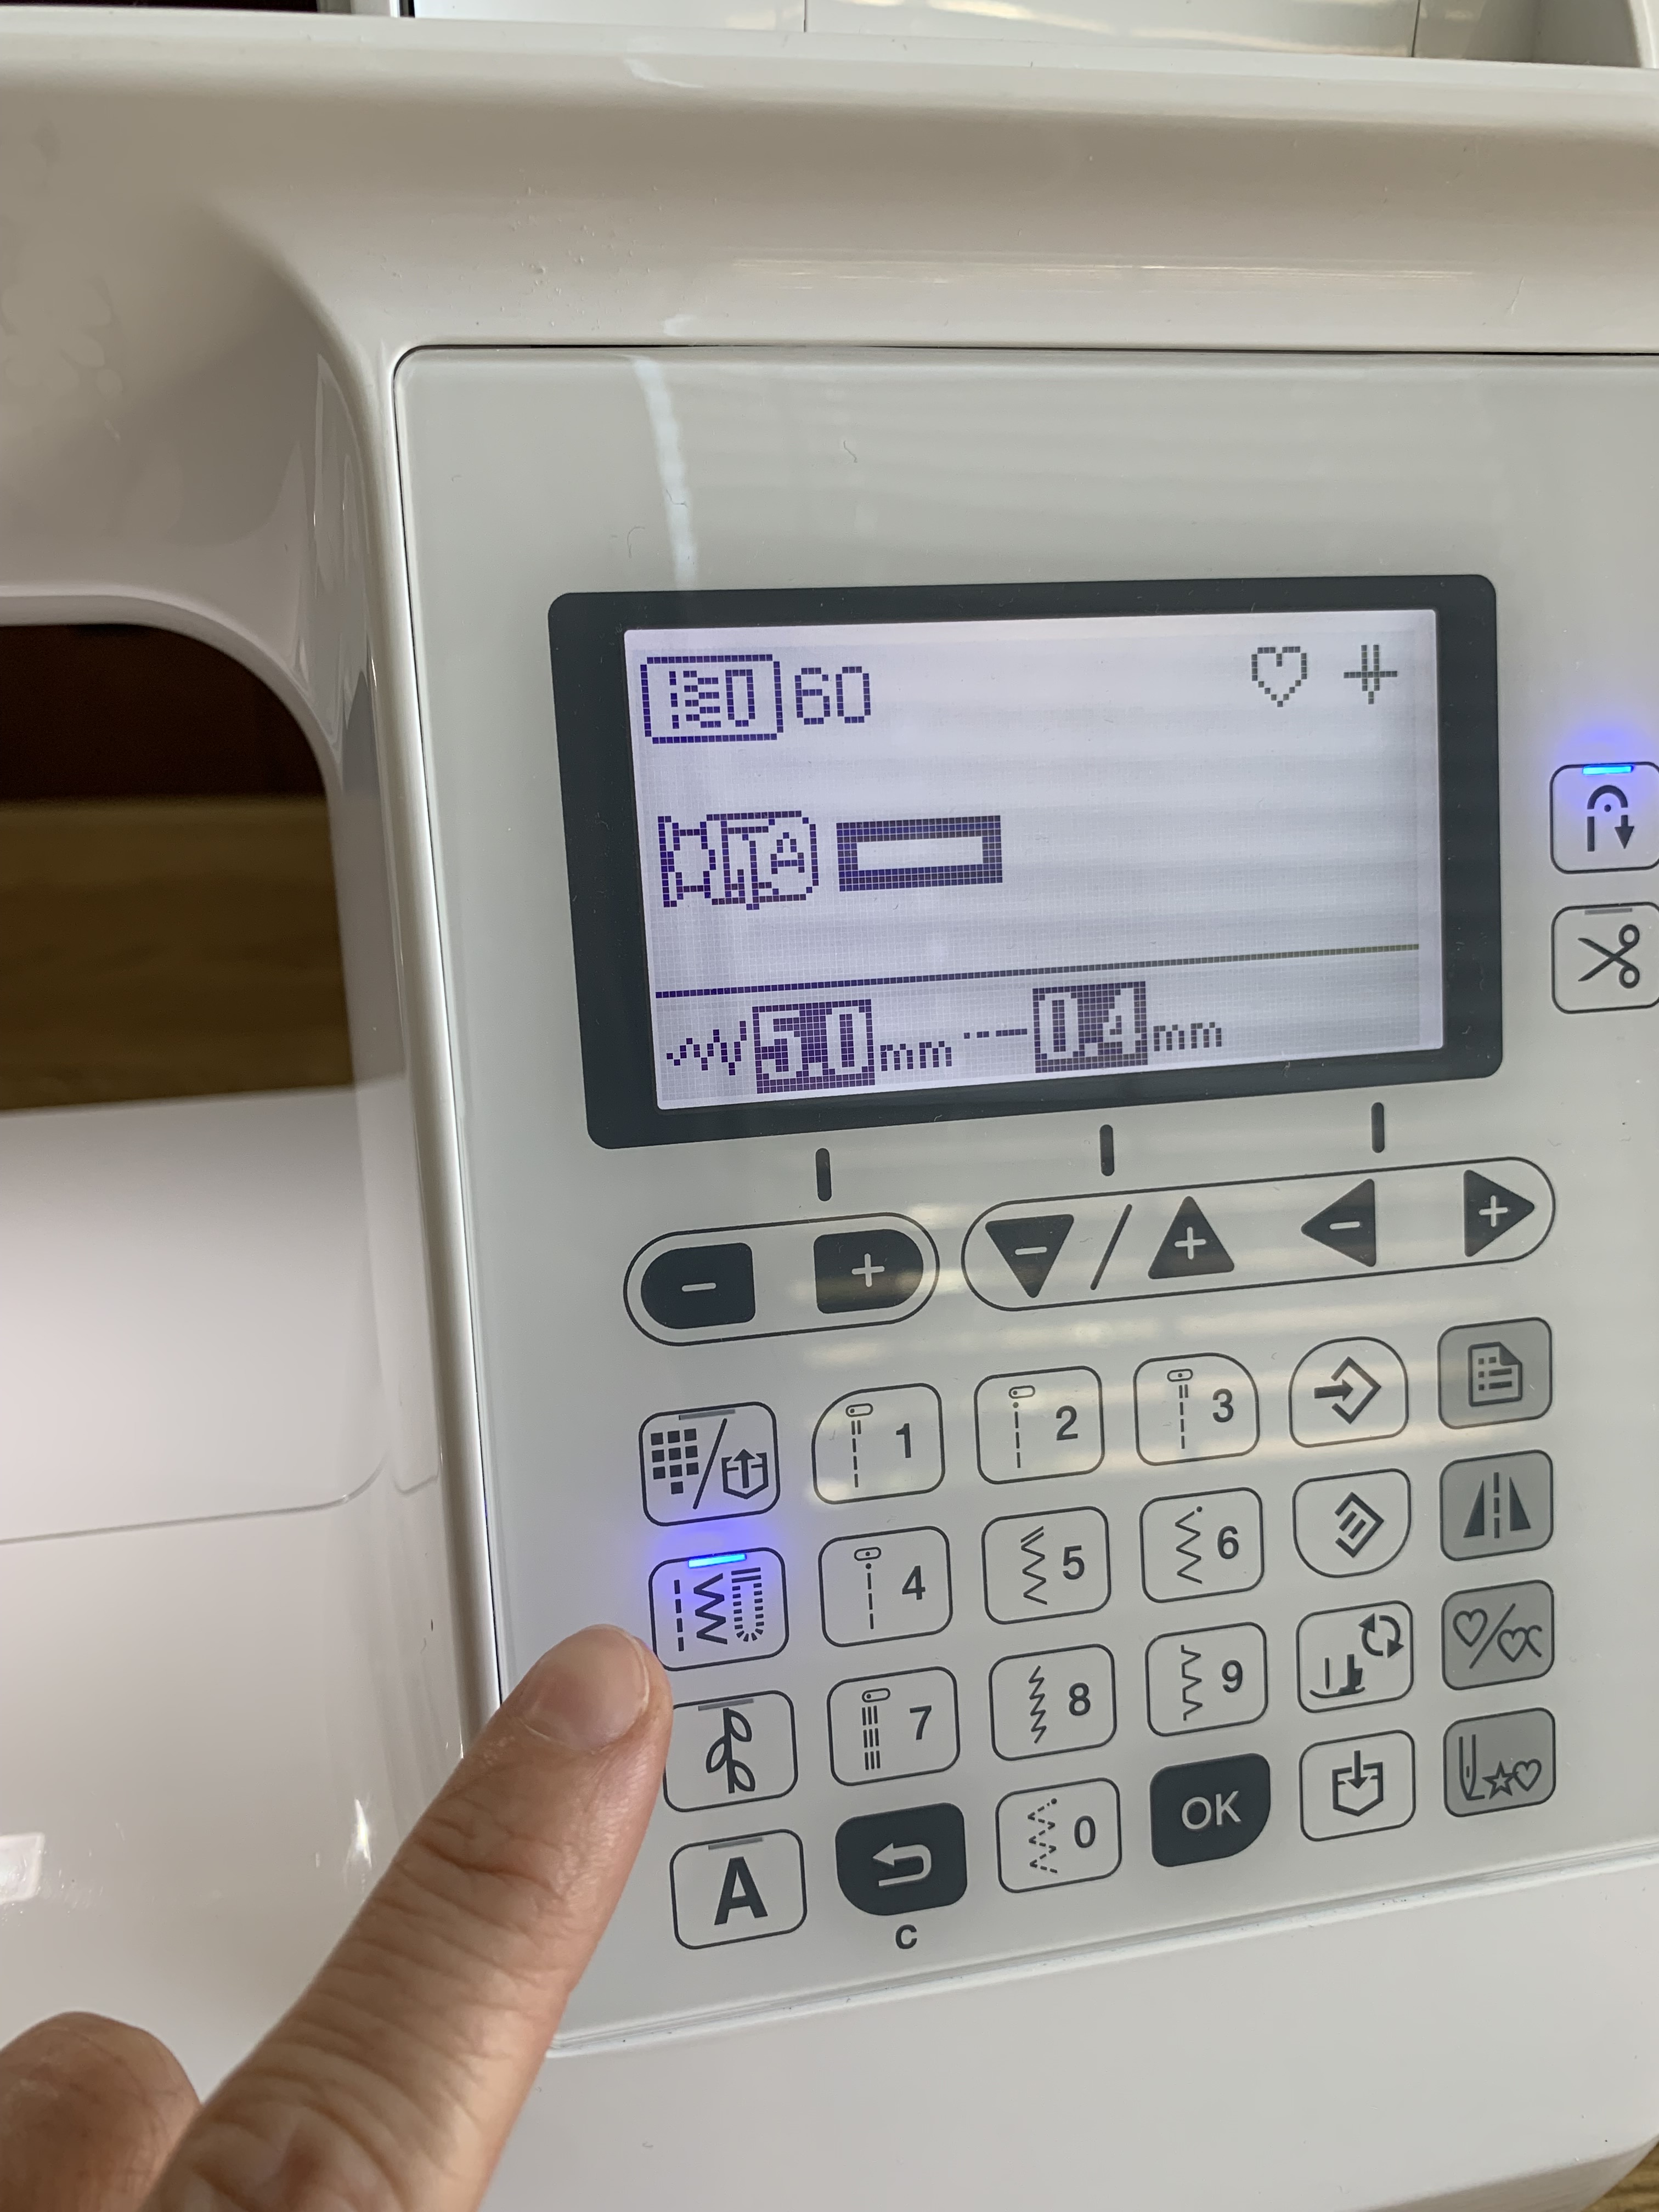
Now we need to set the sewing machine to the correct setting for buttonholes. I used buttonhole decorative stitch #60 for my project. Tap the buttonhole option on the face of the sewing machine (you can see a little picture of a buttonhole there) and type in “6-0”. Now we’re ready to sew.
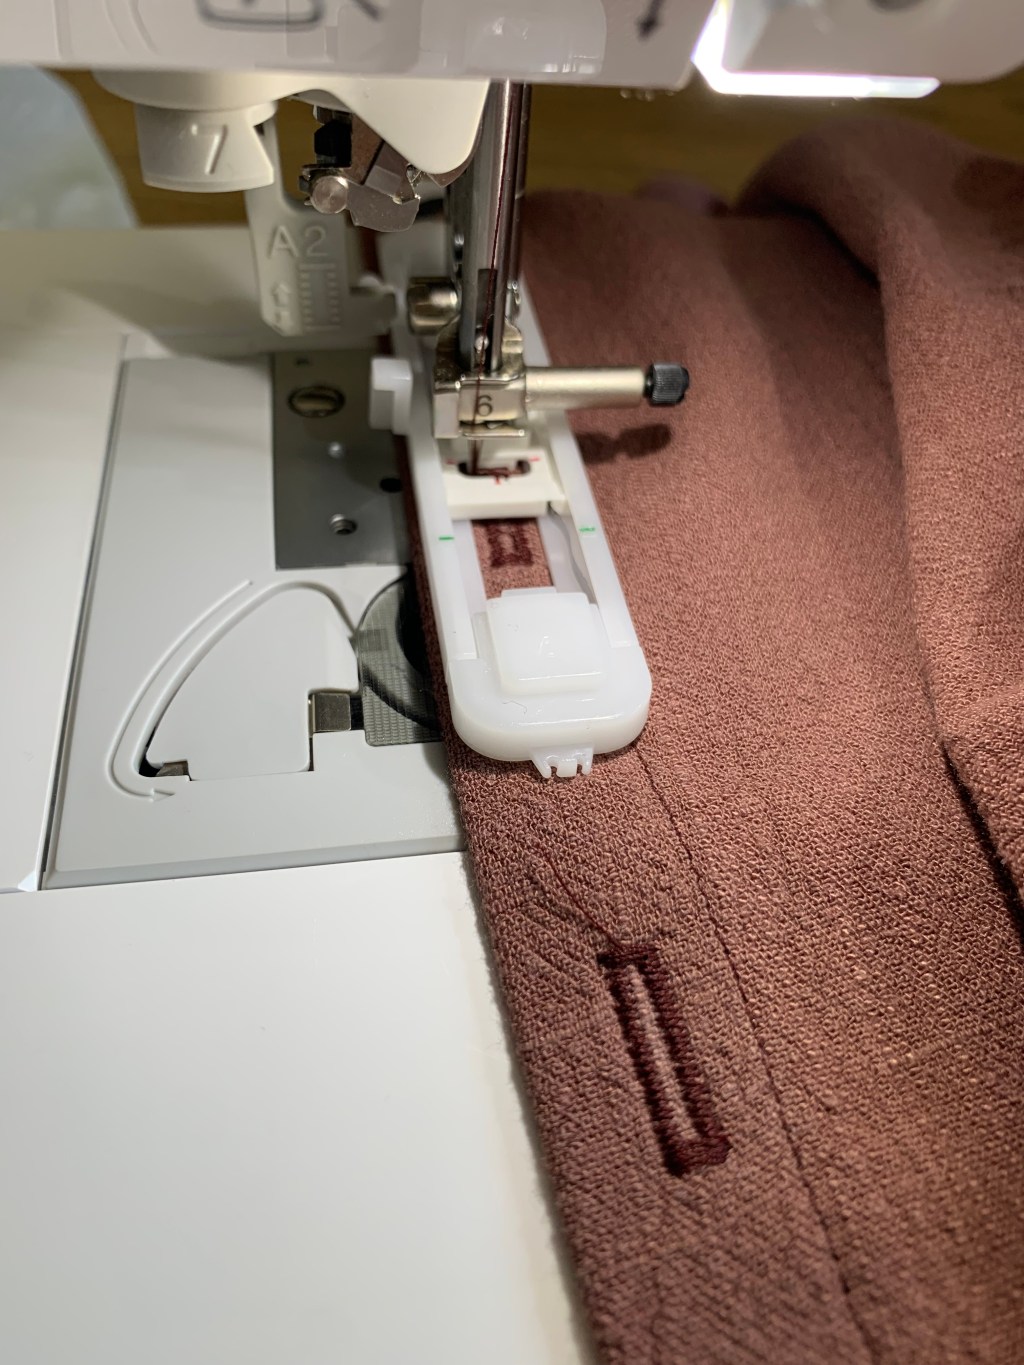
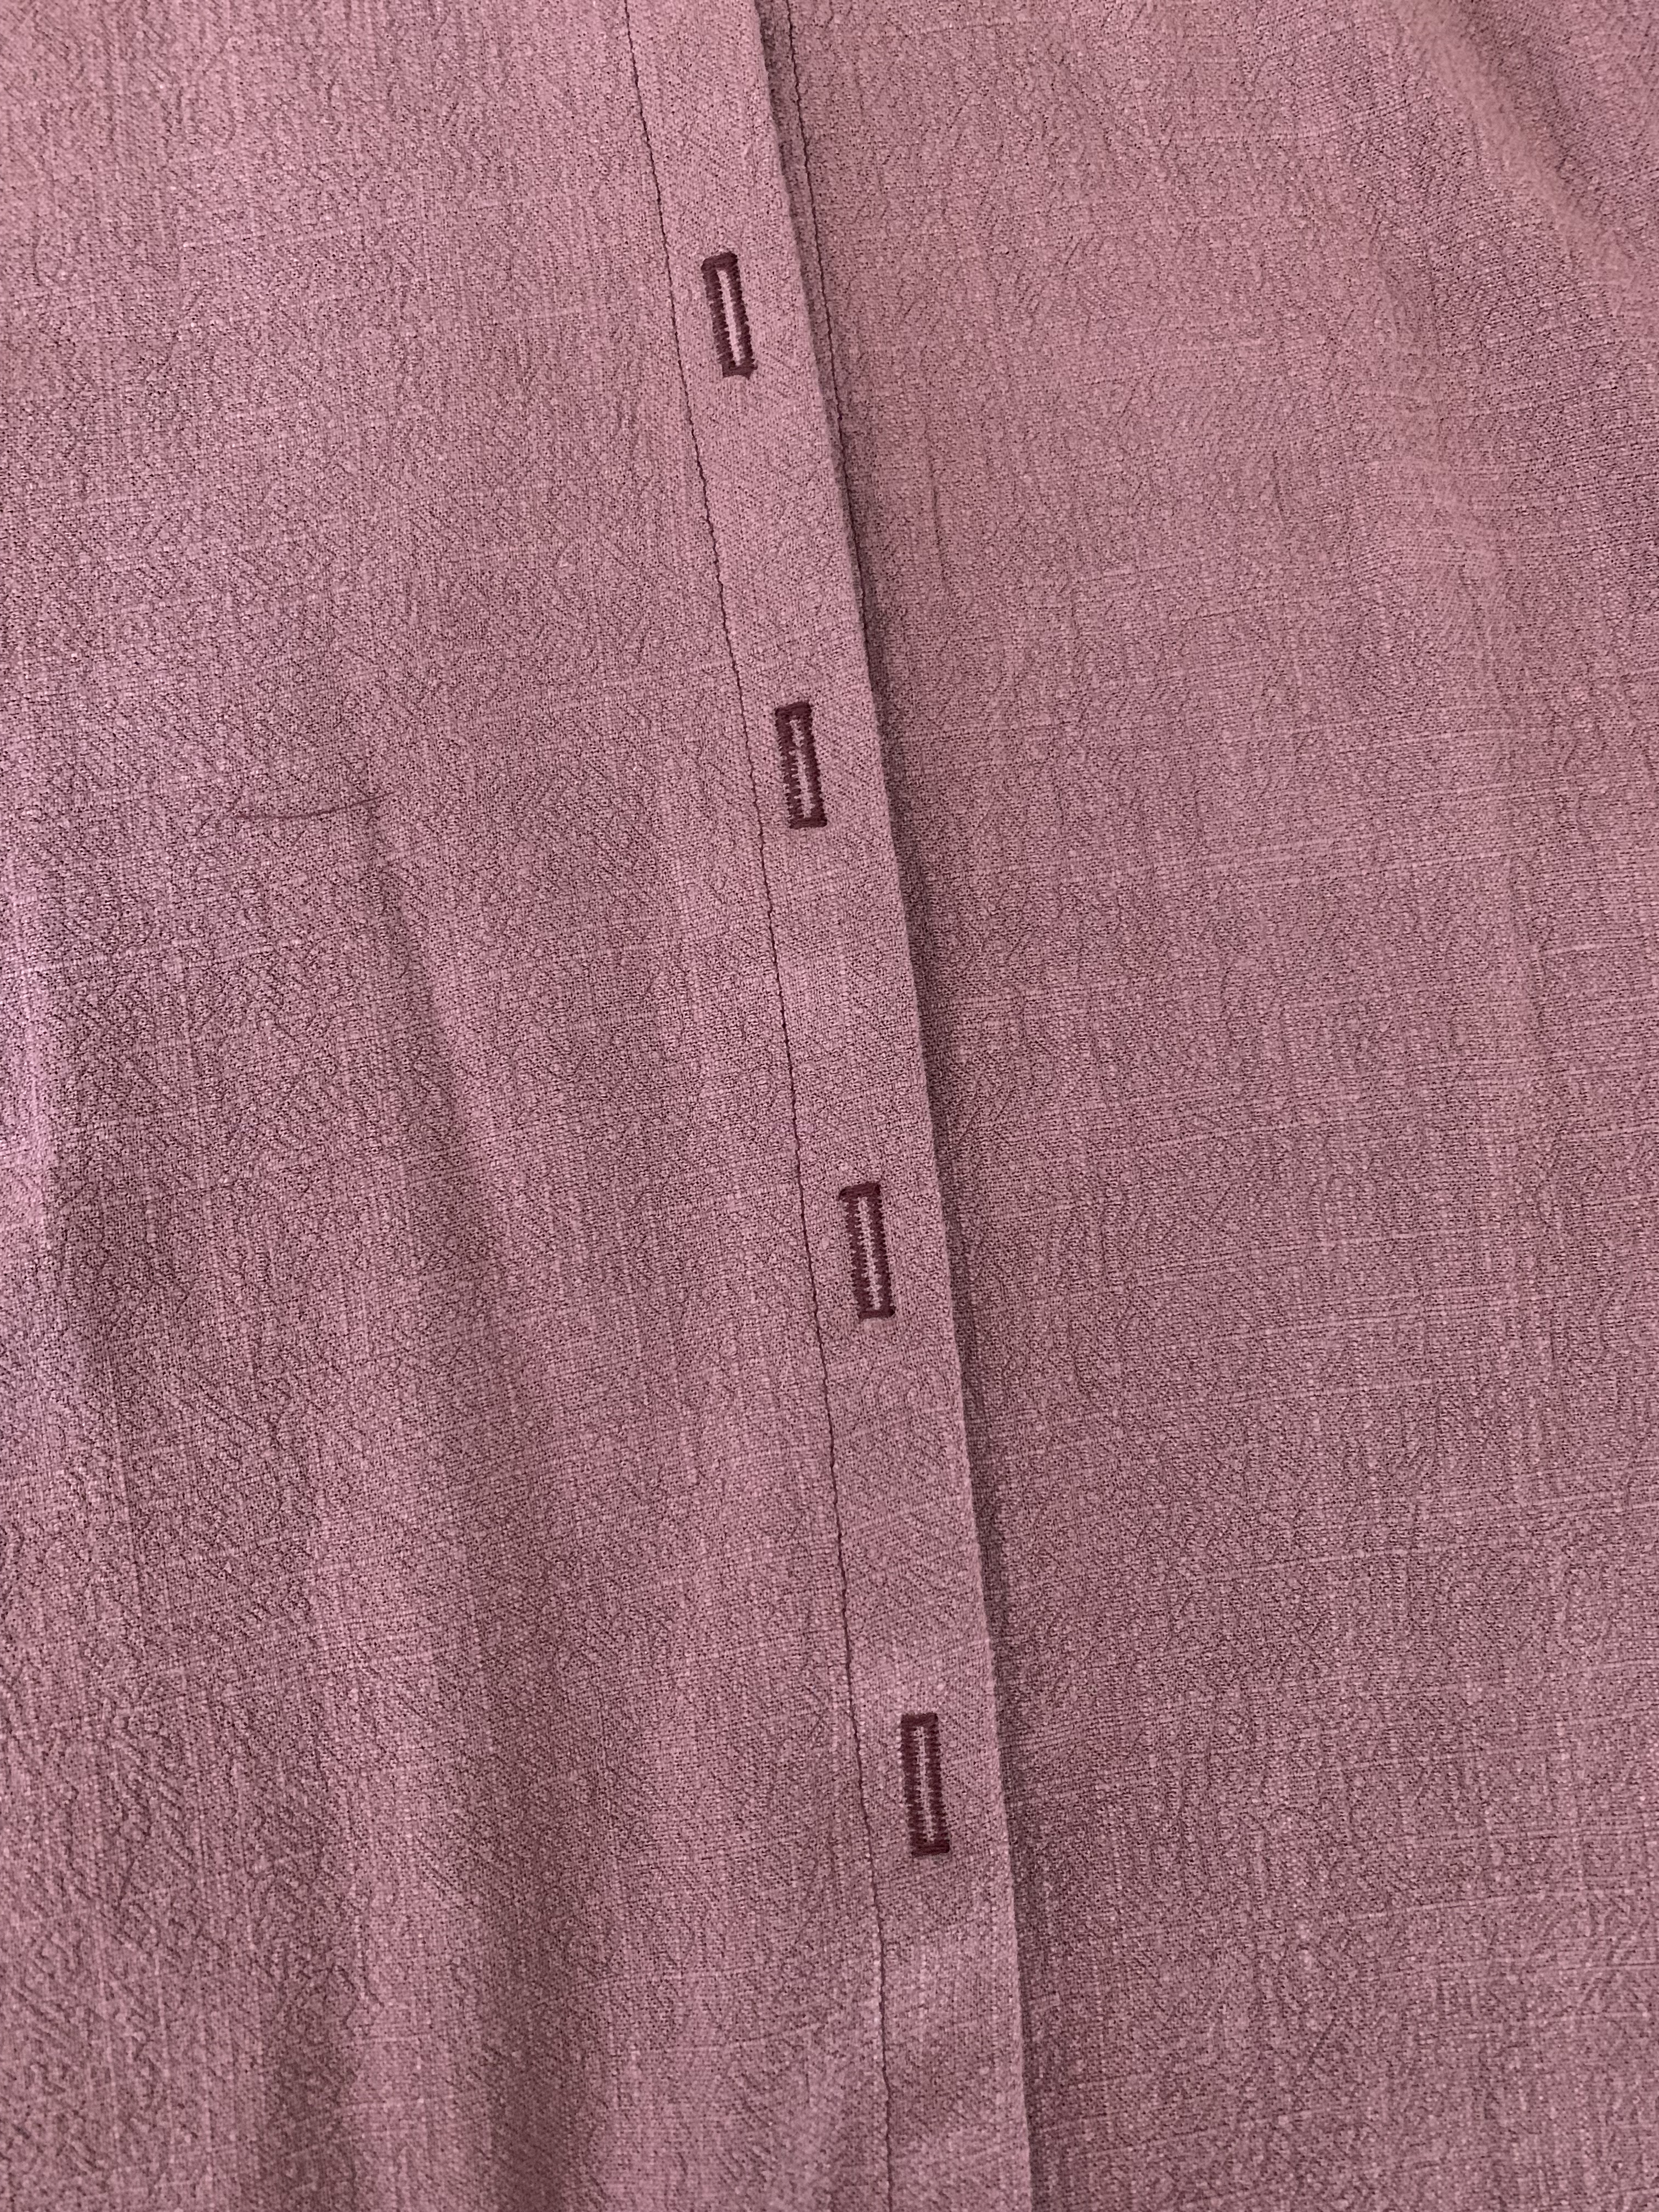
Before sewing the actual buttonholes I would recommend practicing on a scrap piece of the same fabric of your project. Once you are satisfied and have a good buttonhole, line up your buttonhole marking with the buttonhole foot and begin sewing the buttonholes. I usually line the foot up with the bottom of the buttonhole as the machine will start out going backwards. Again- try practicing first so you are prepared for how to align the foot. It’s super easy. Look how good these are! FIrst go and they are perfect. I love you Baby Lock!!

Now we are ready to sew our buttons on! I know a lot of people that prefer to do this by machine as well, but I enjoy hand sewing and still do it the traditional way. Keep reading on to learn how to sew on a button!
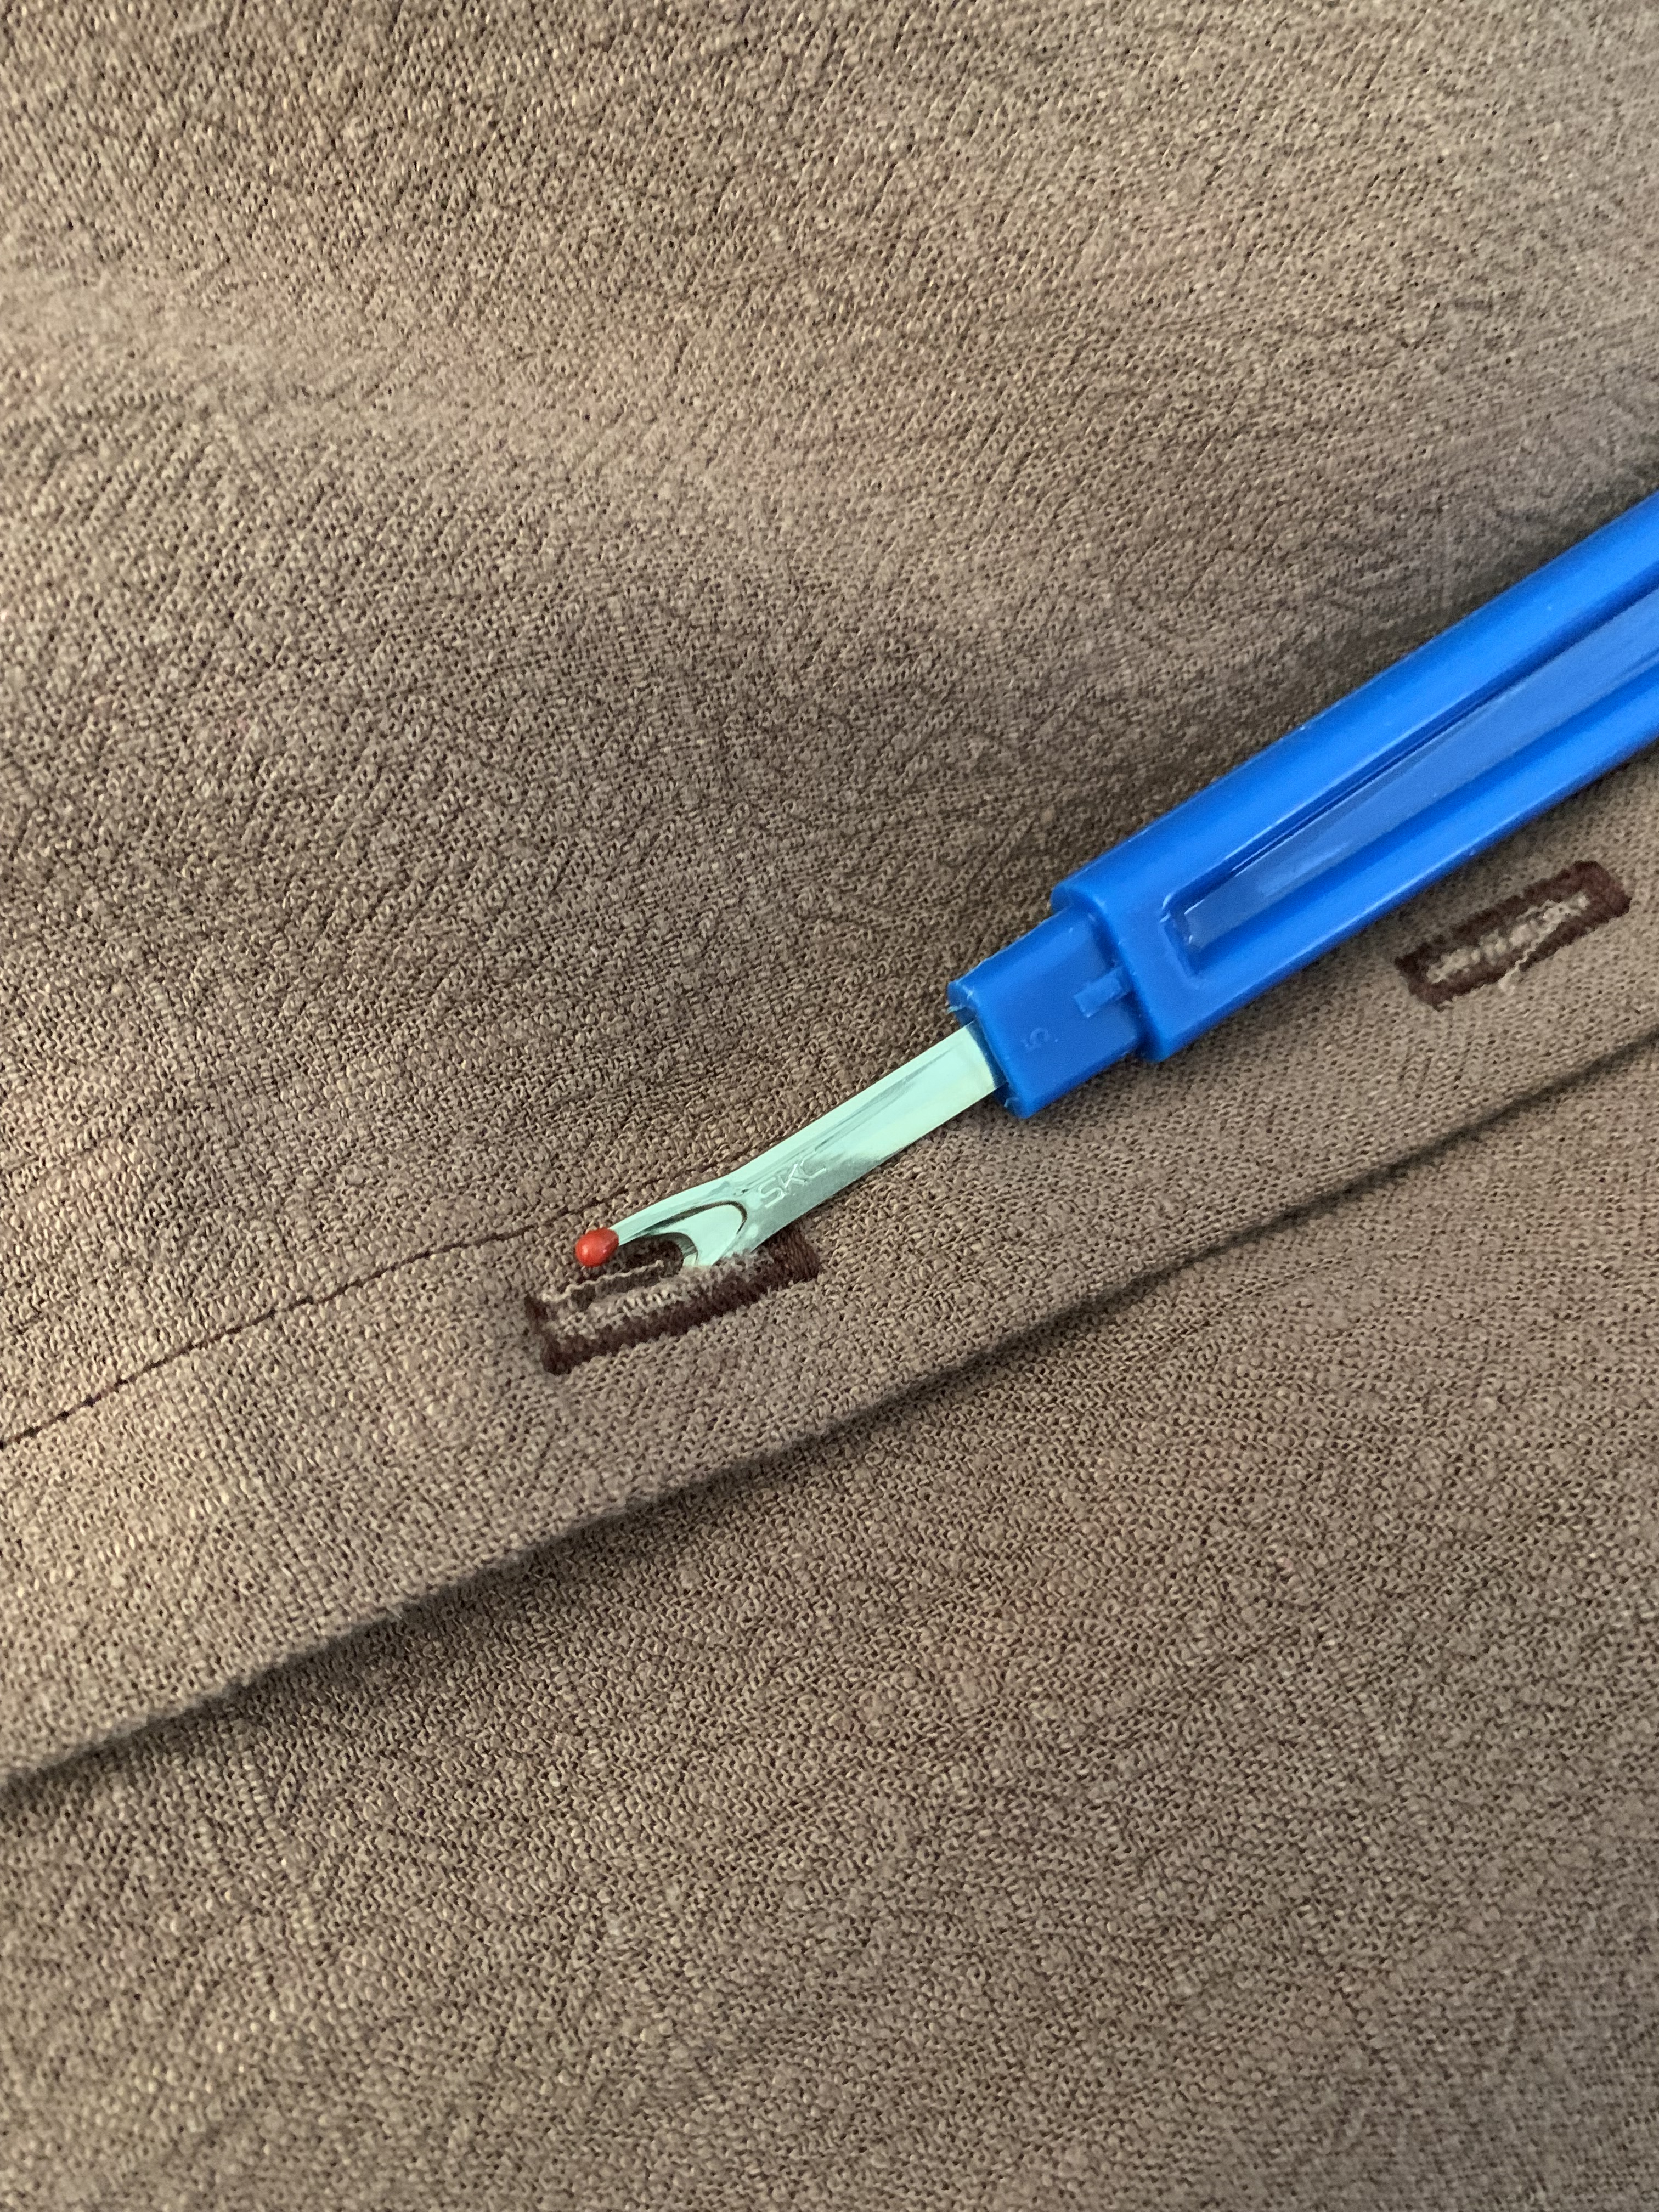
Trim any threads off the buttonholes. Using a seam ripper, gently cut open the button holes making sure not to cut the buttonholes threads. You can also use a buttonhole cutting tool if this makes you nervous! I recommend squirting a little fray check over each buttonhole after cutting open the button holes to prevent fraying.
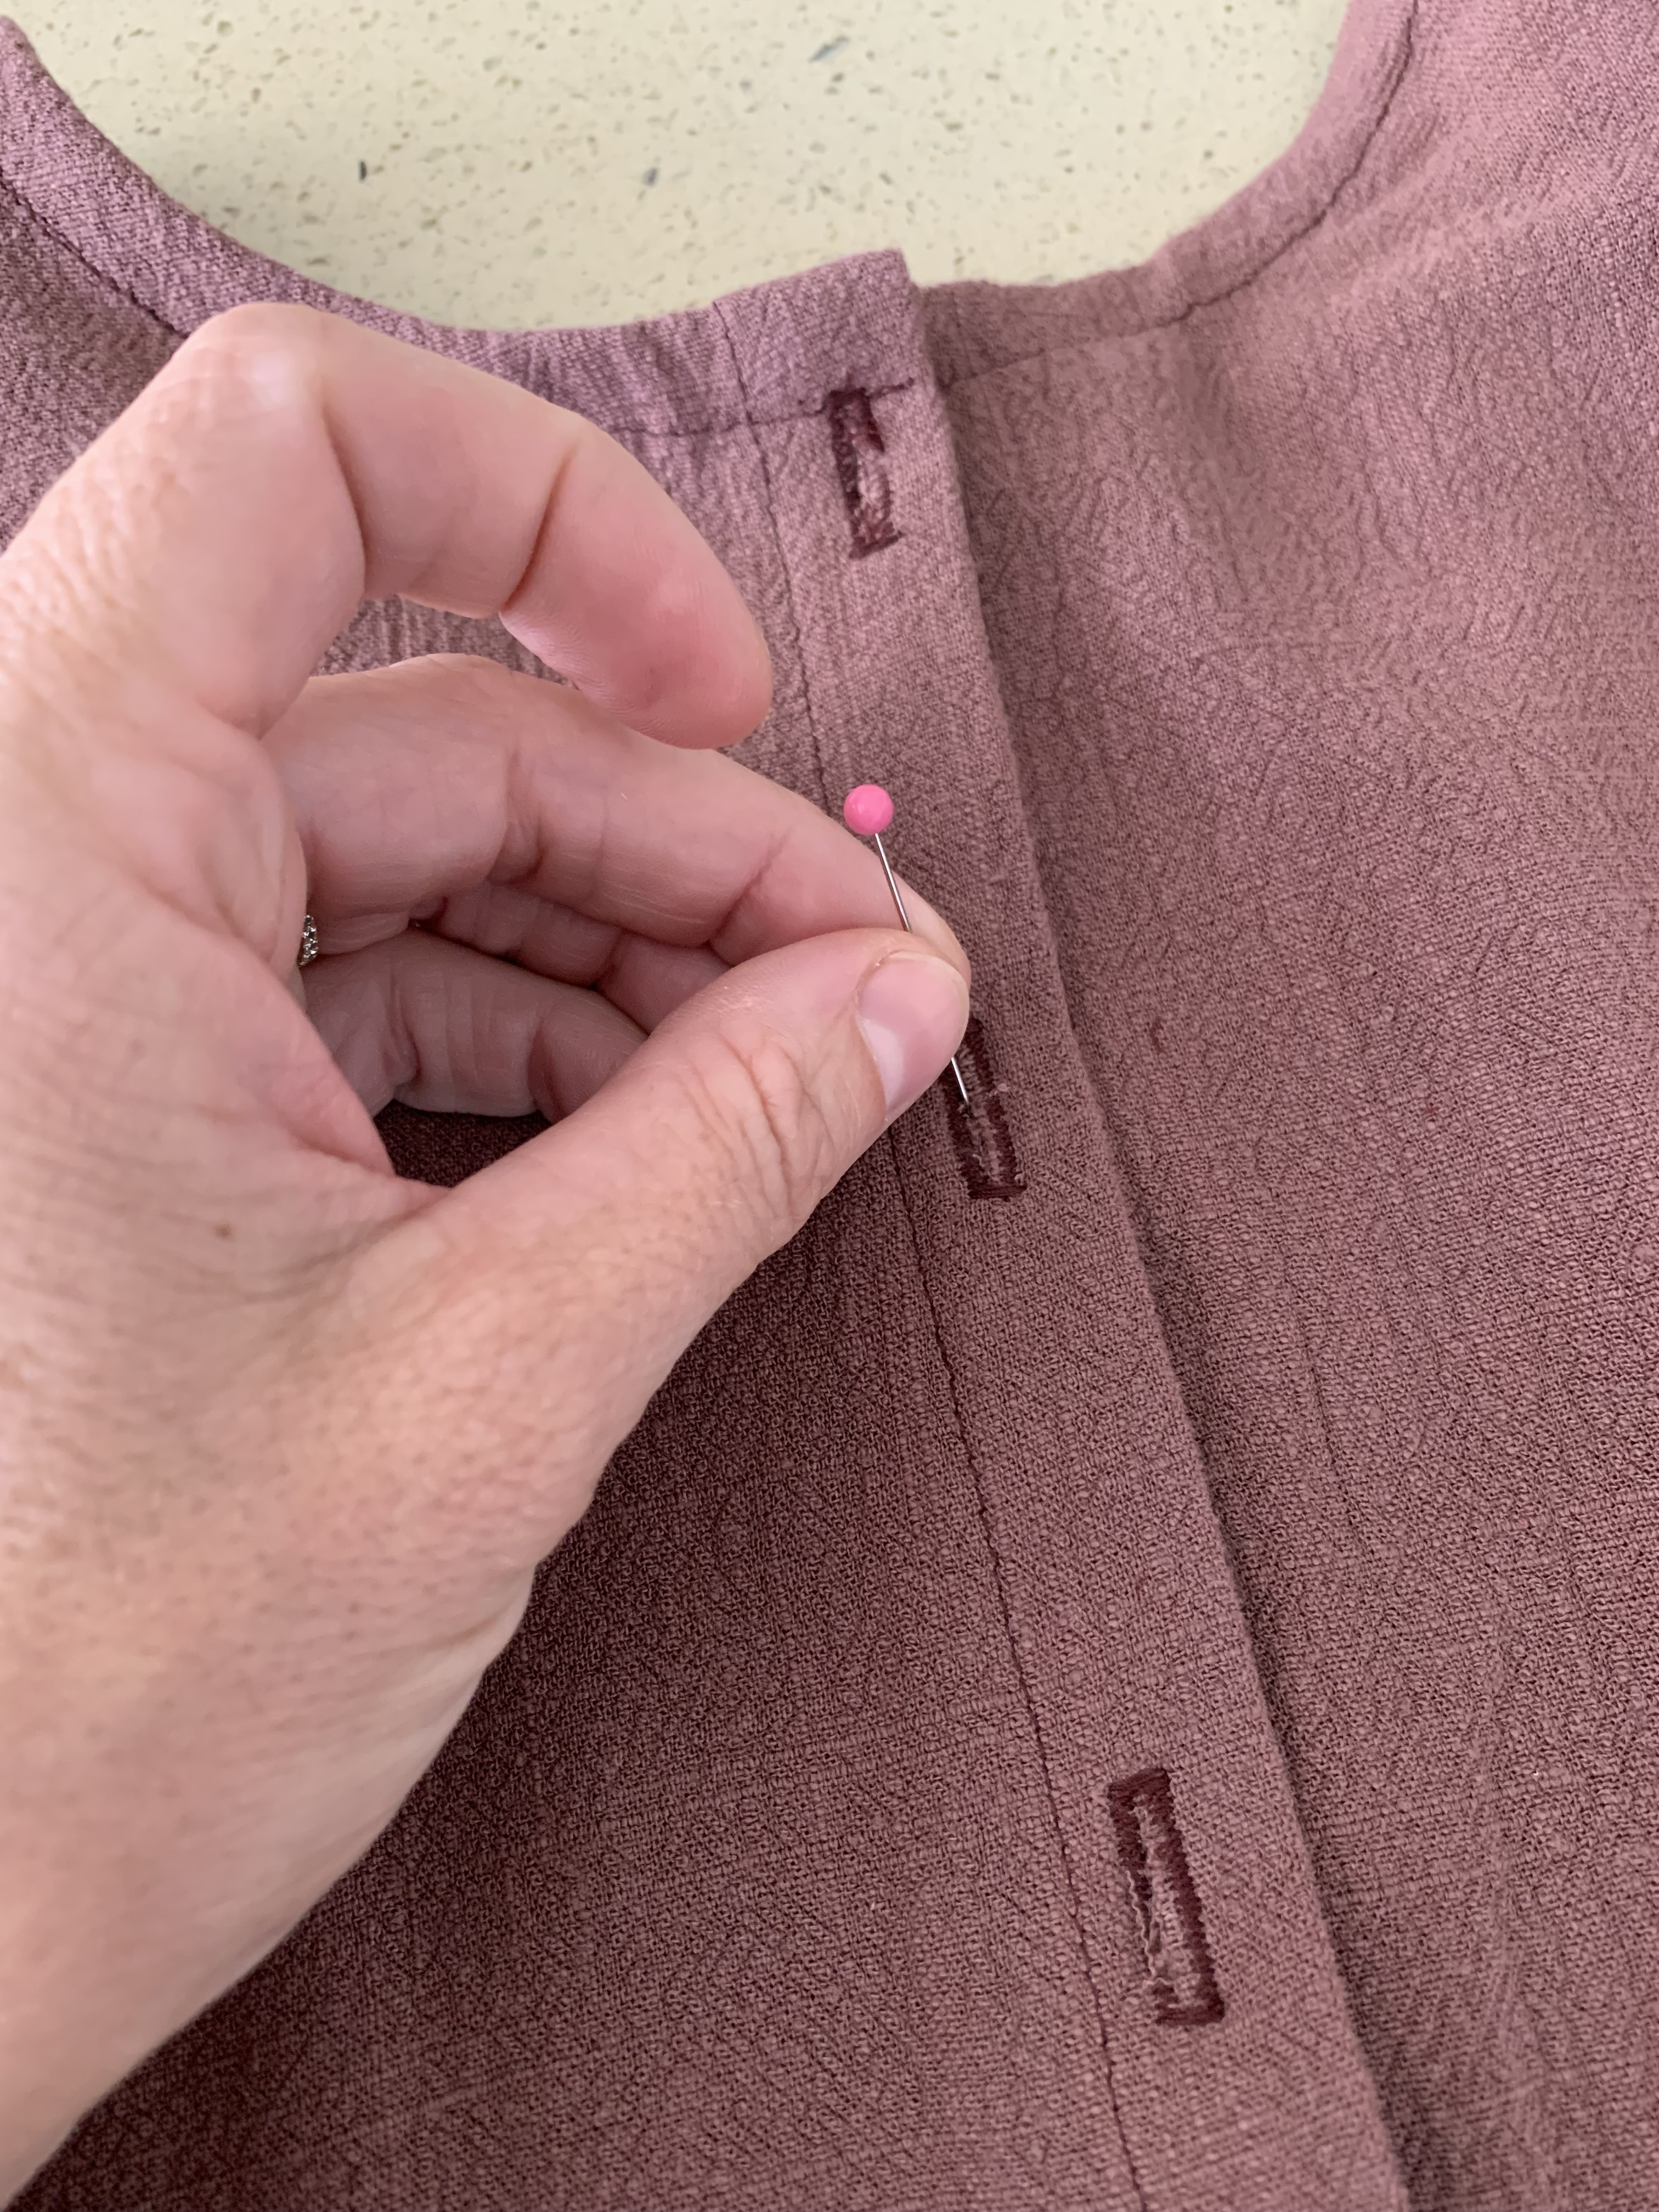
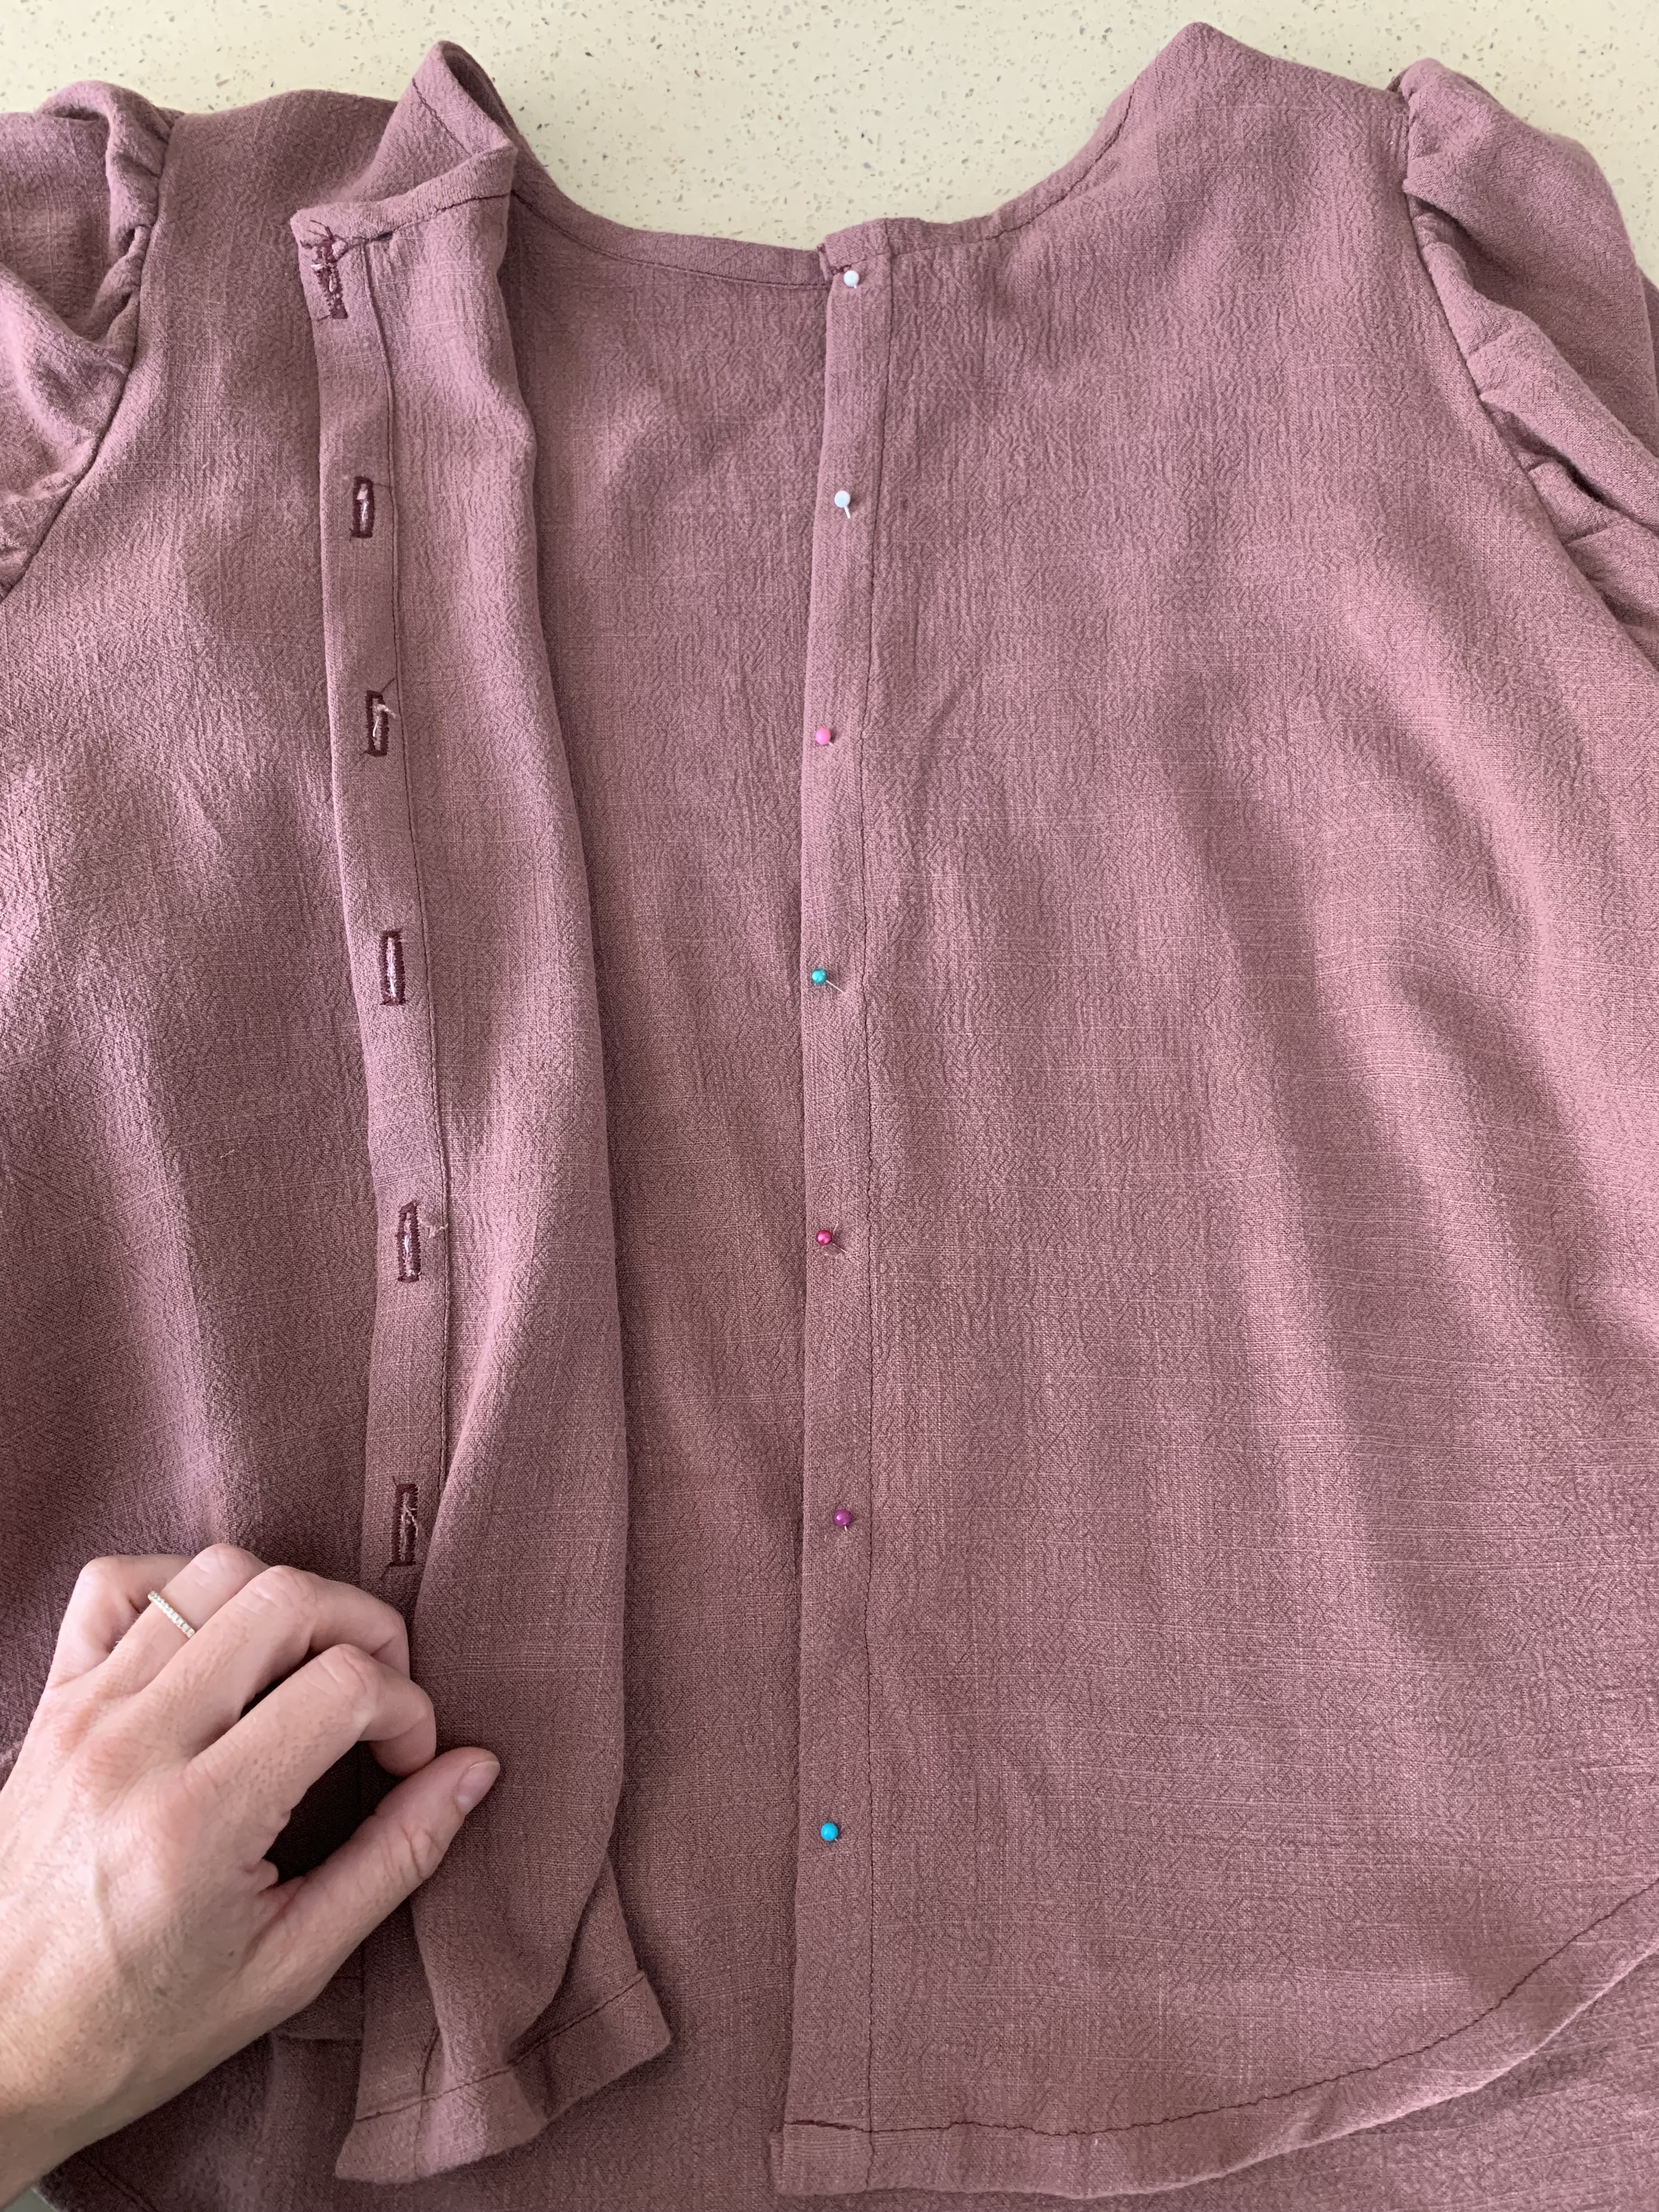
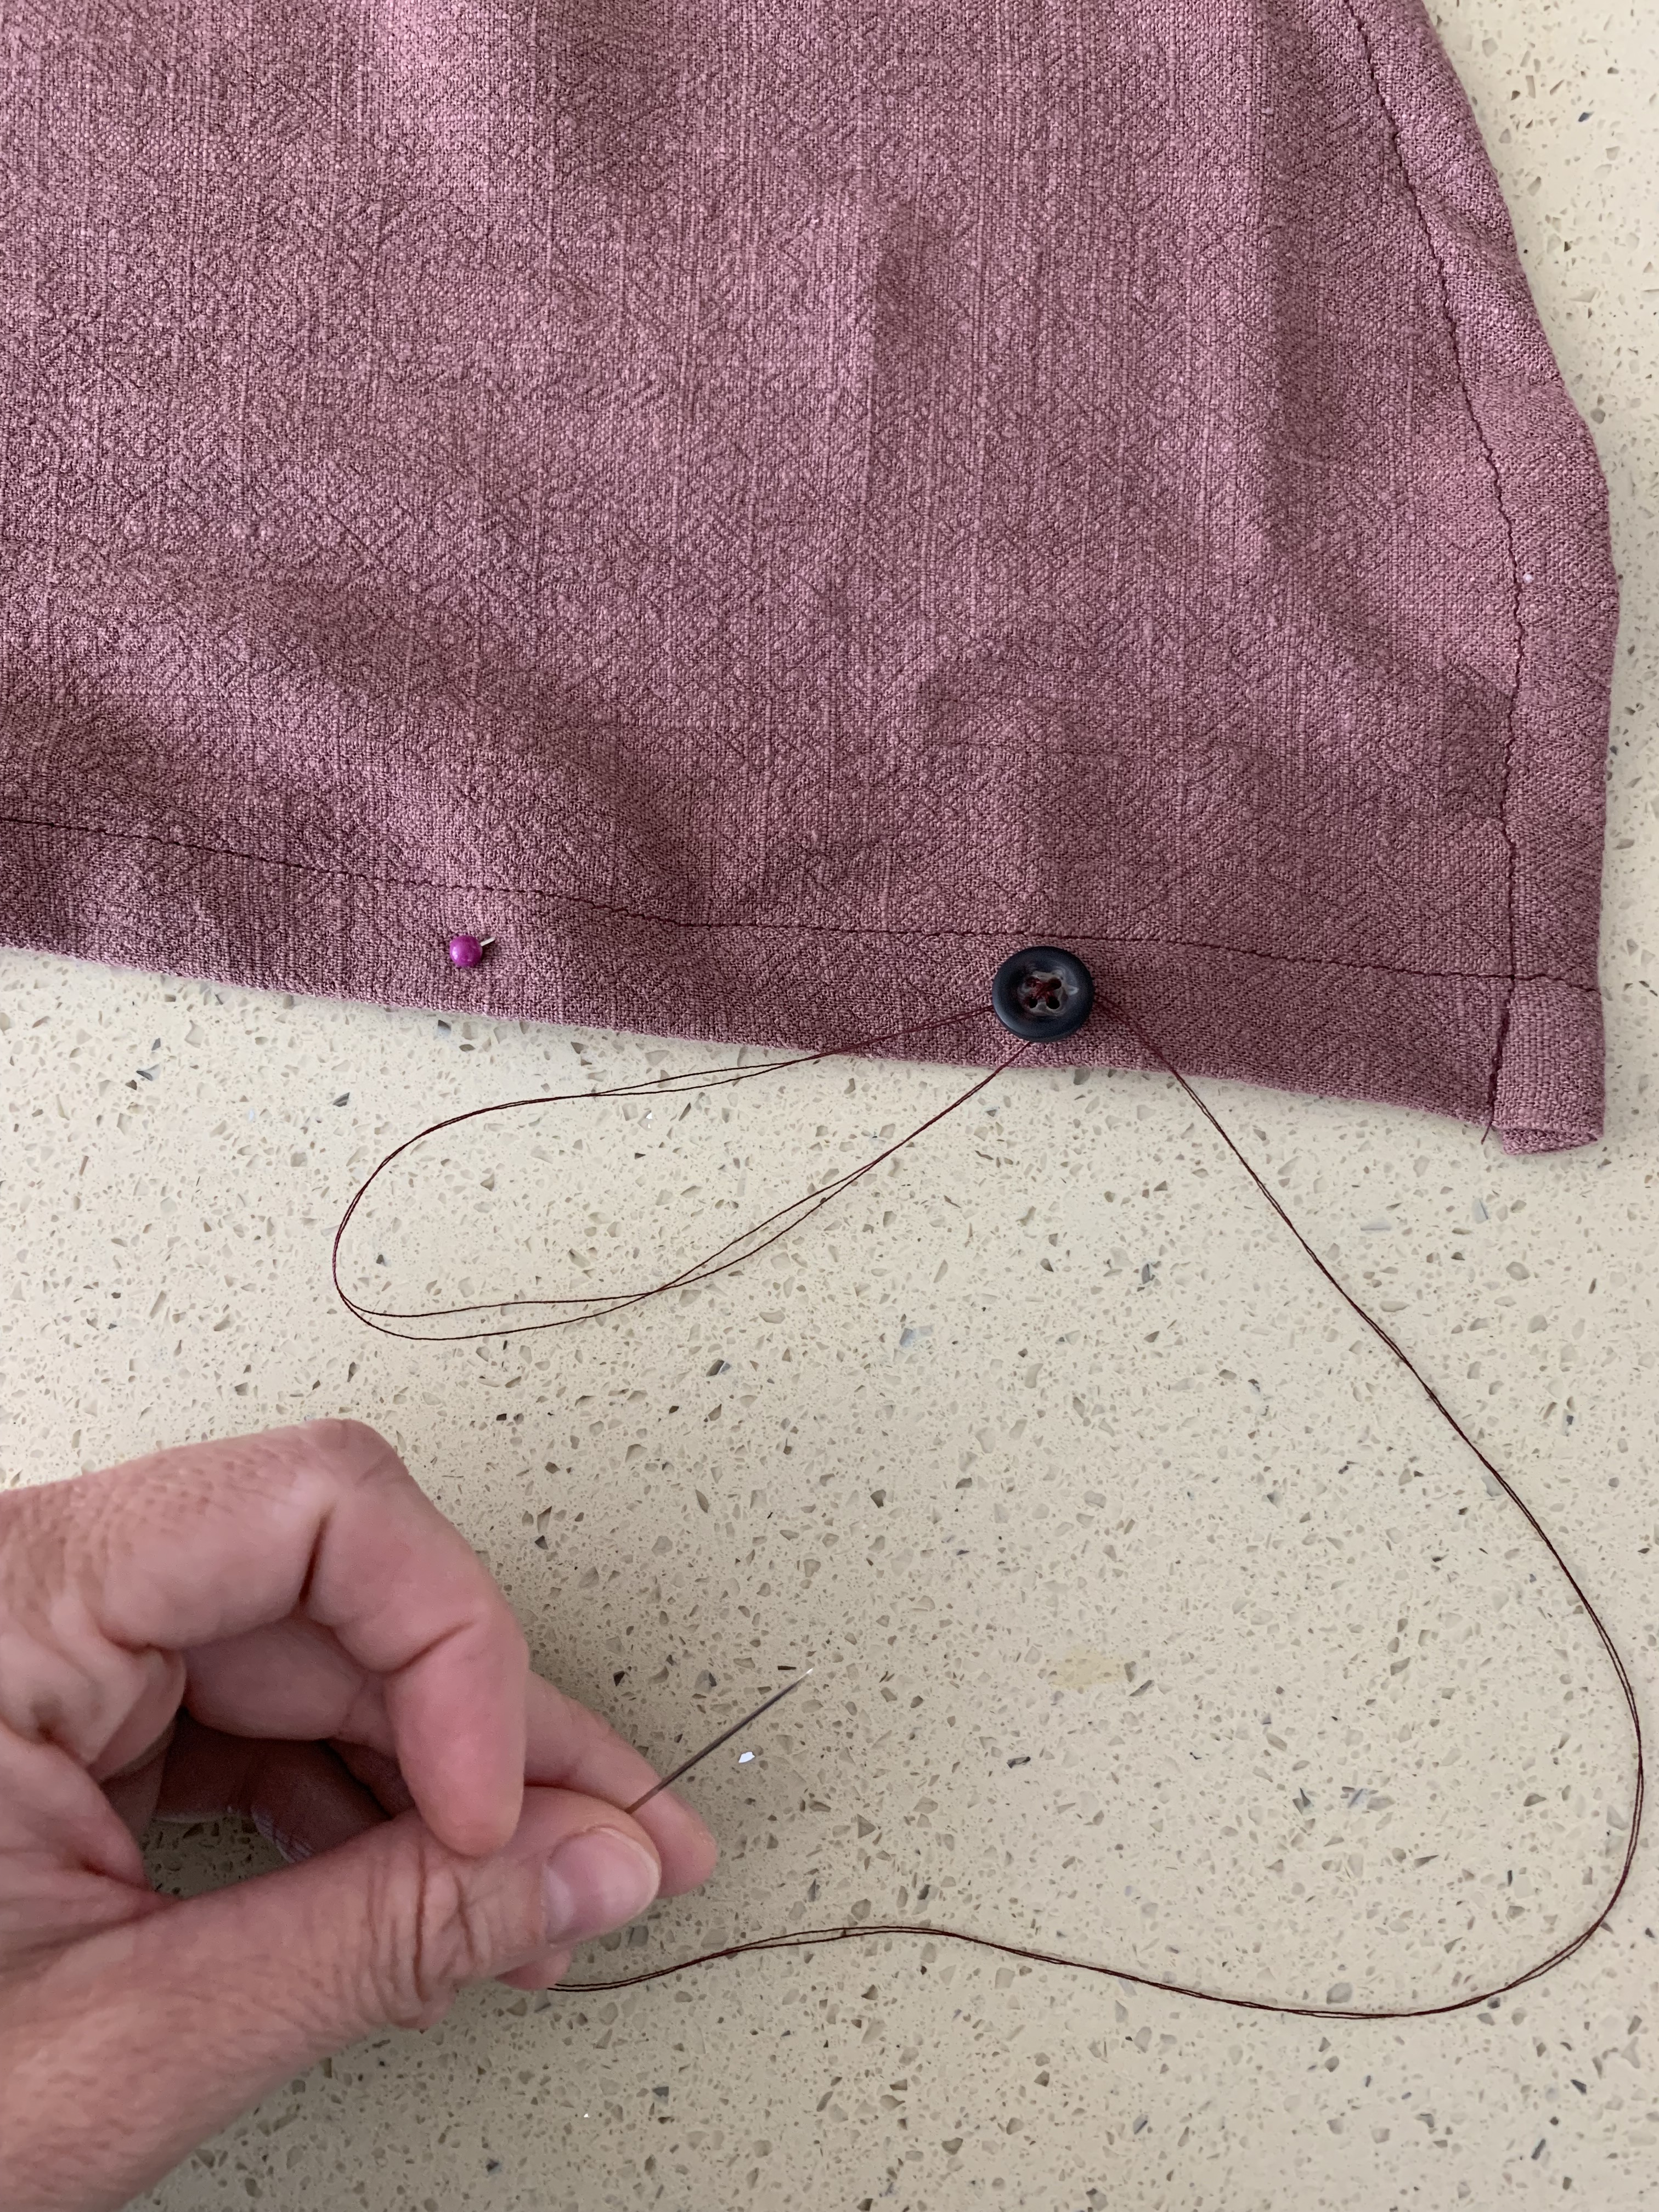
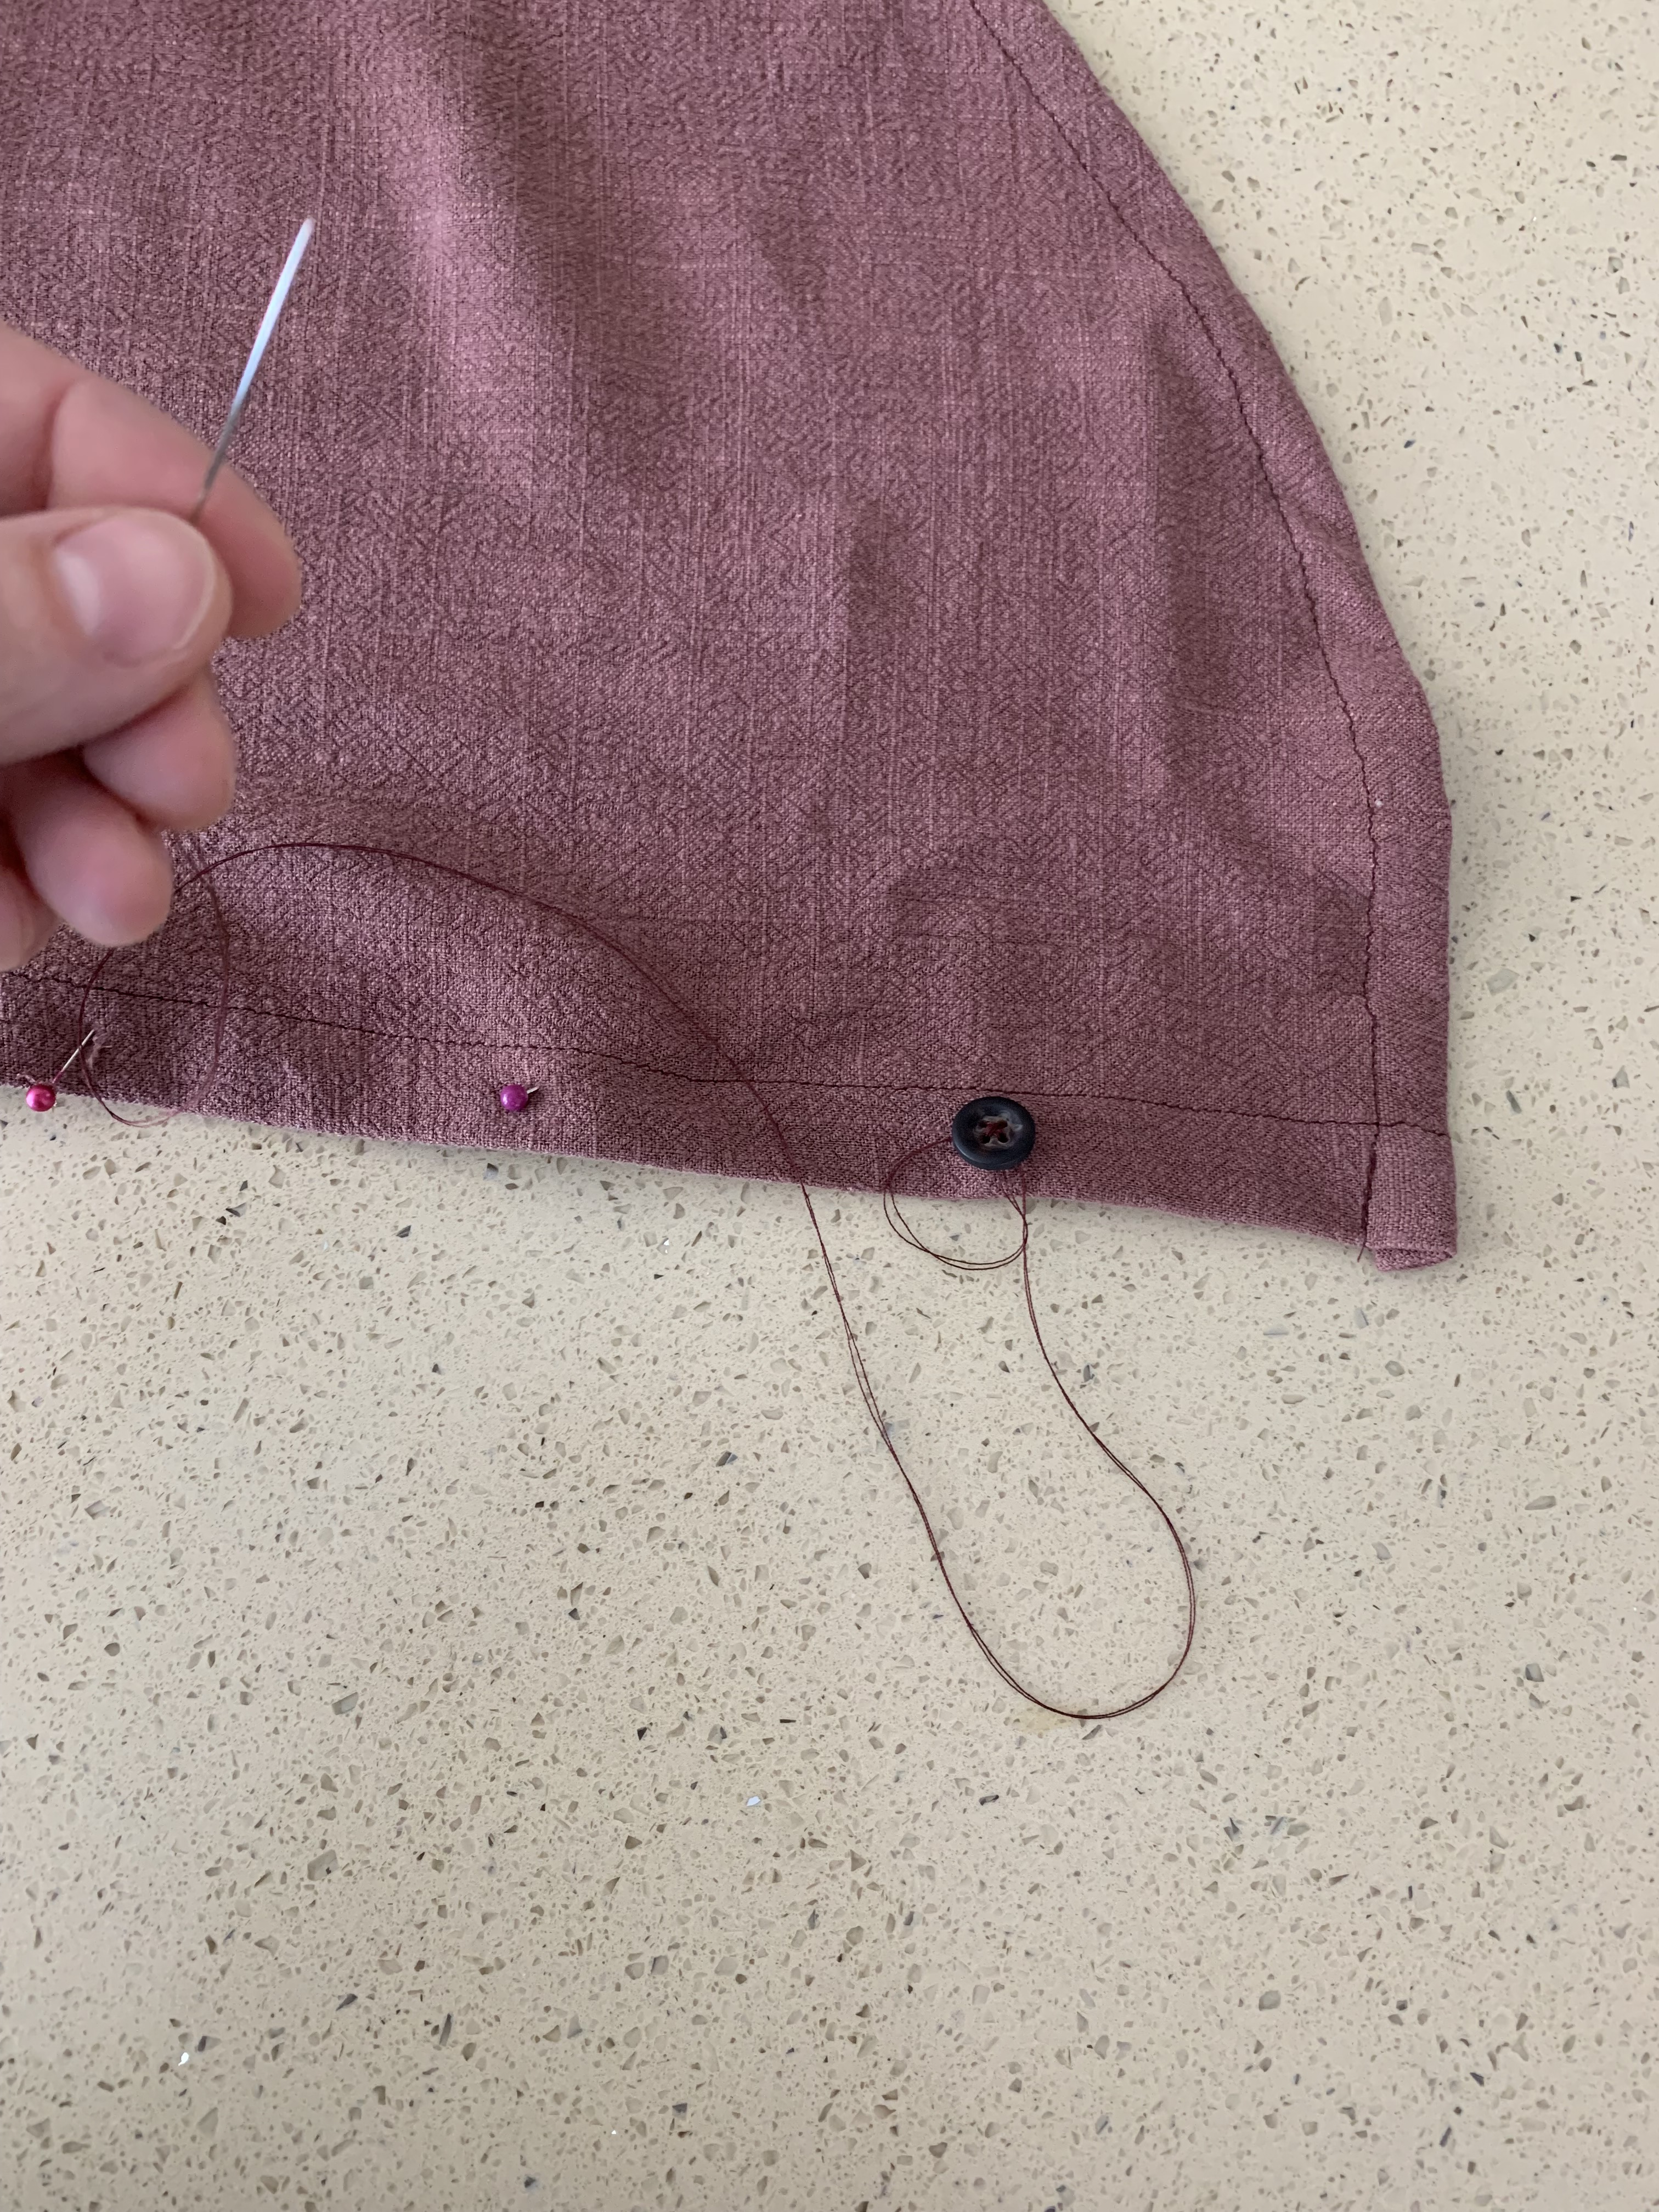
Line the garment plackets on top of each other as you would when wearing, and using pins, place a pin in the center of each buttonholes through both plackets in order to mark where the buttons need to be sewn on. Gently pull the top placket off without lifting the pins off.
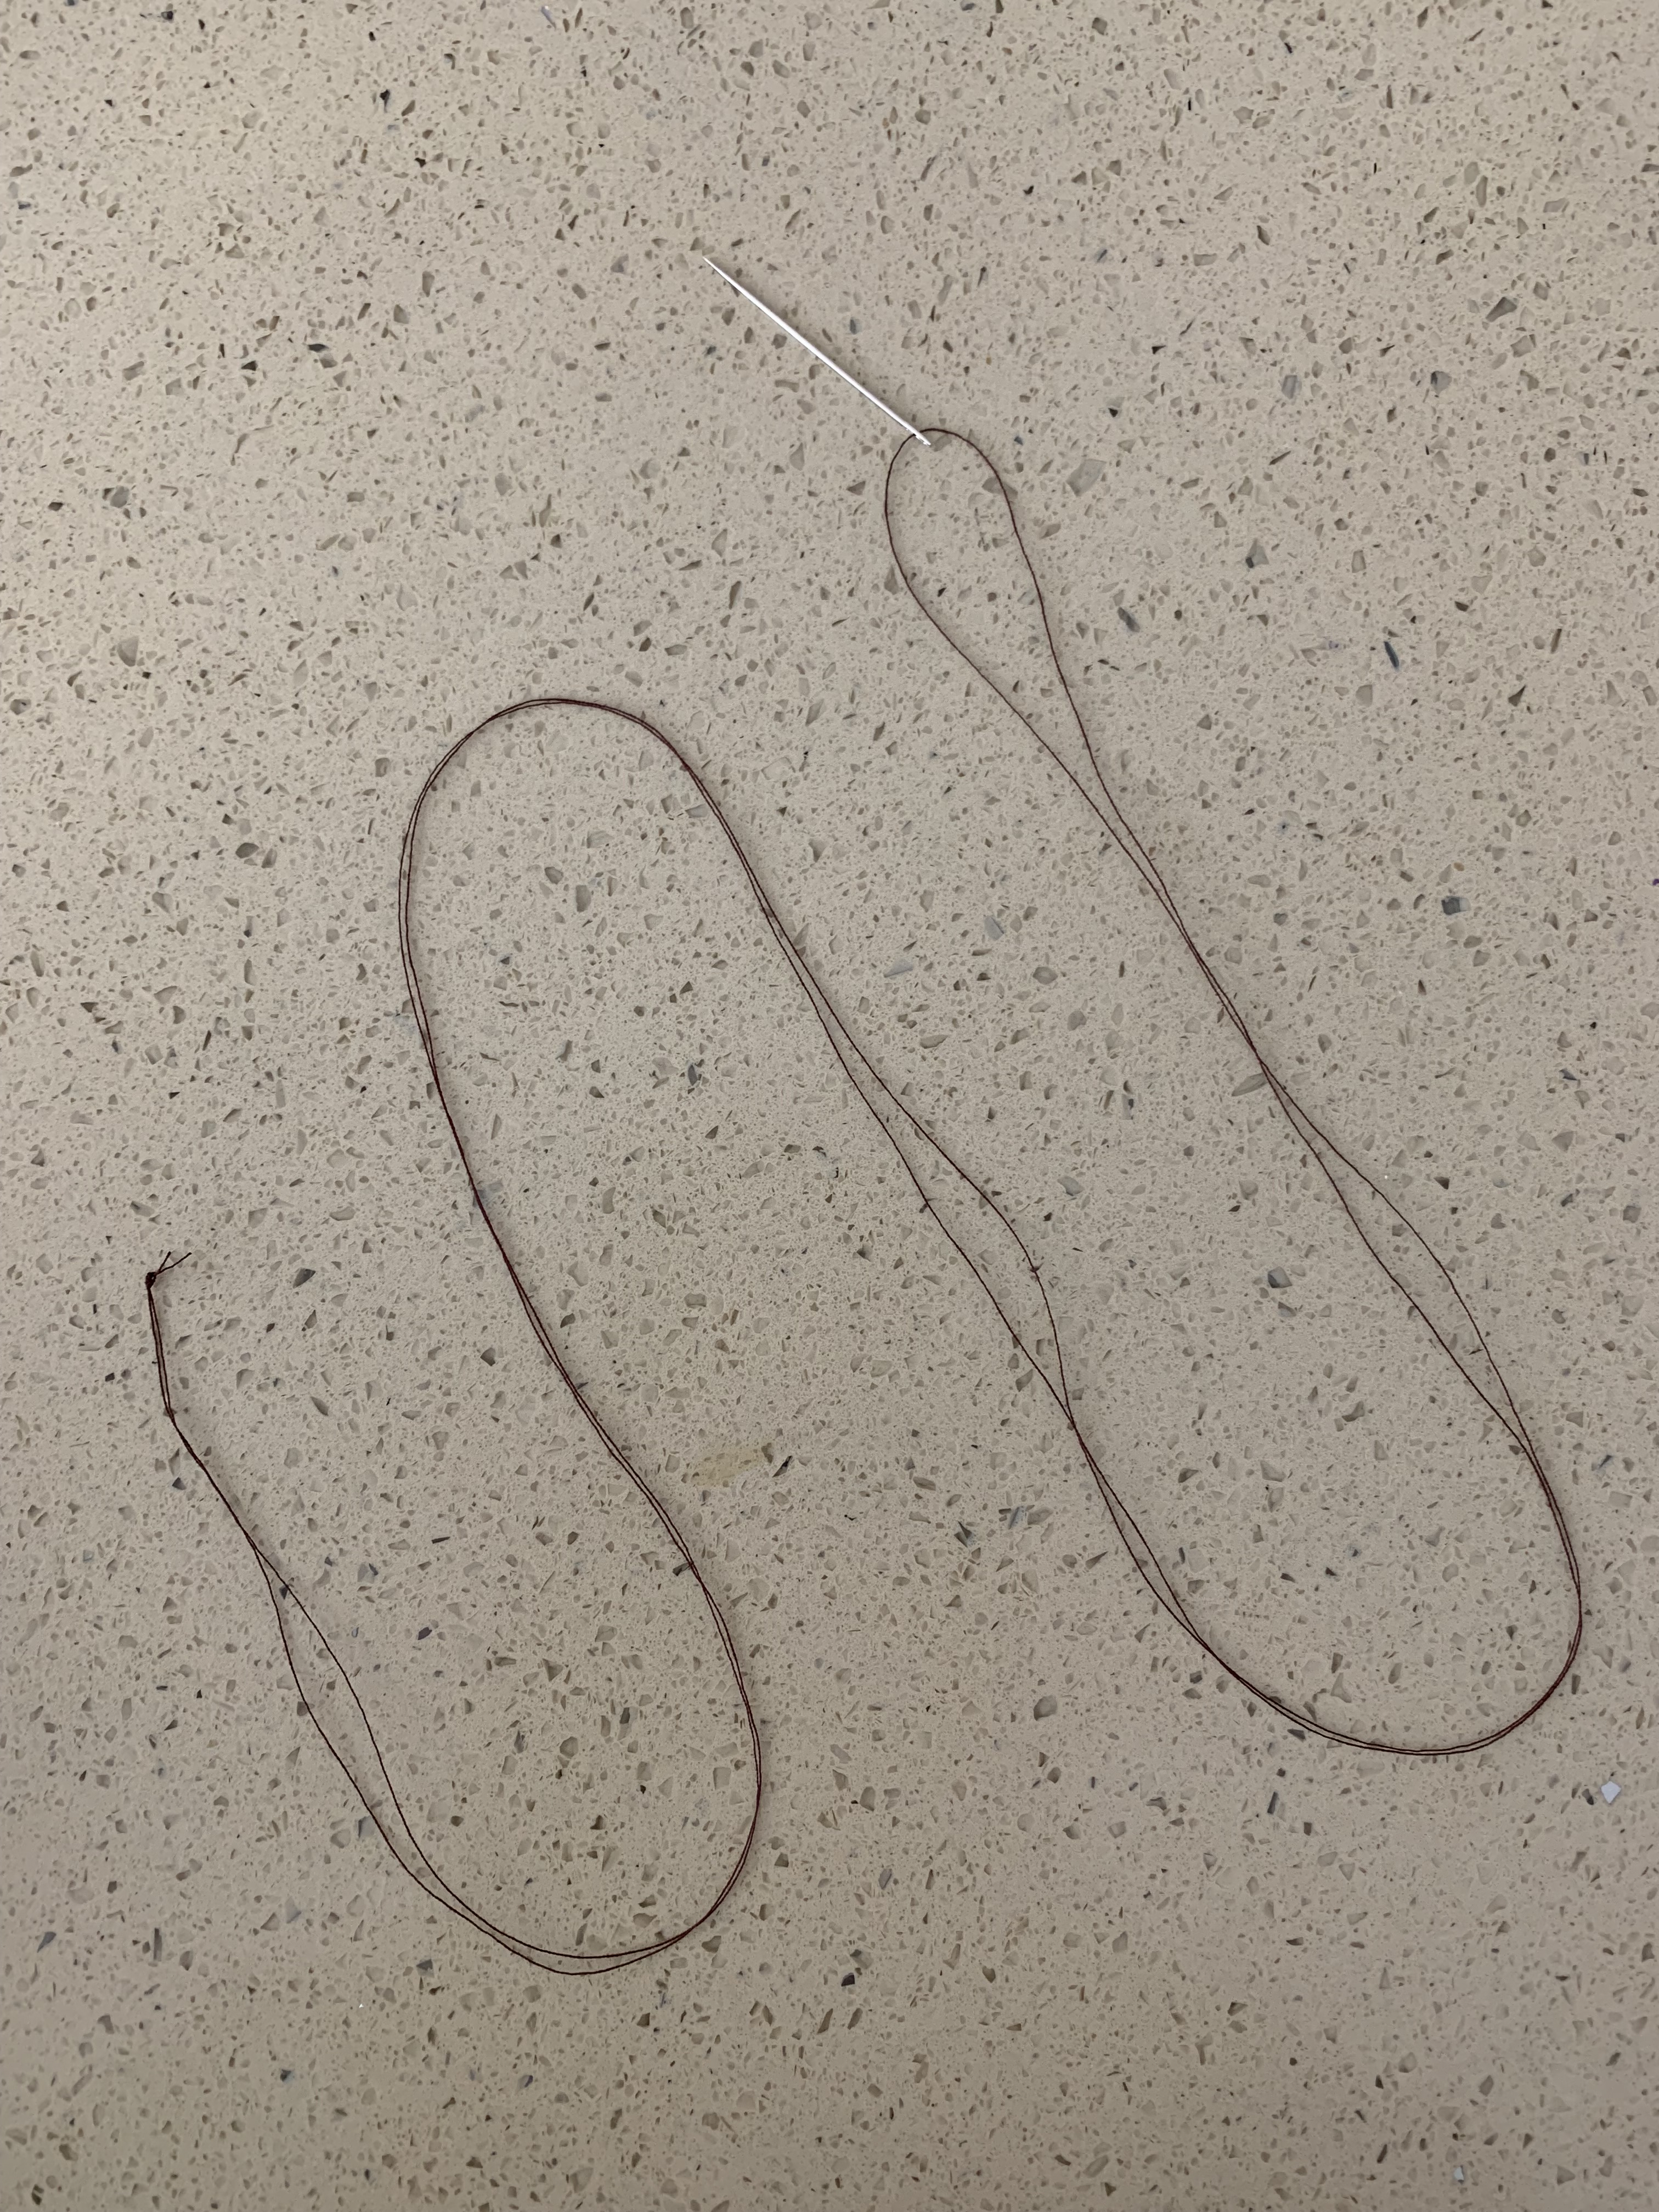
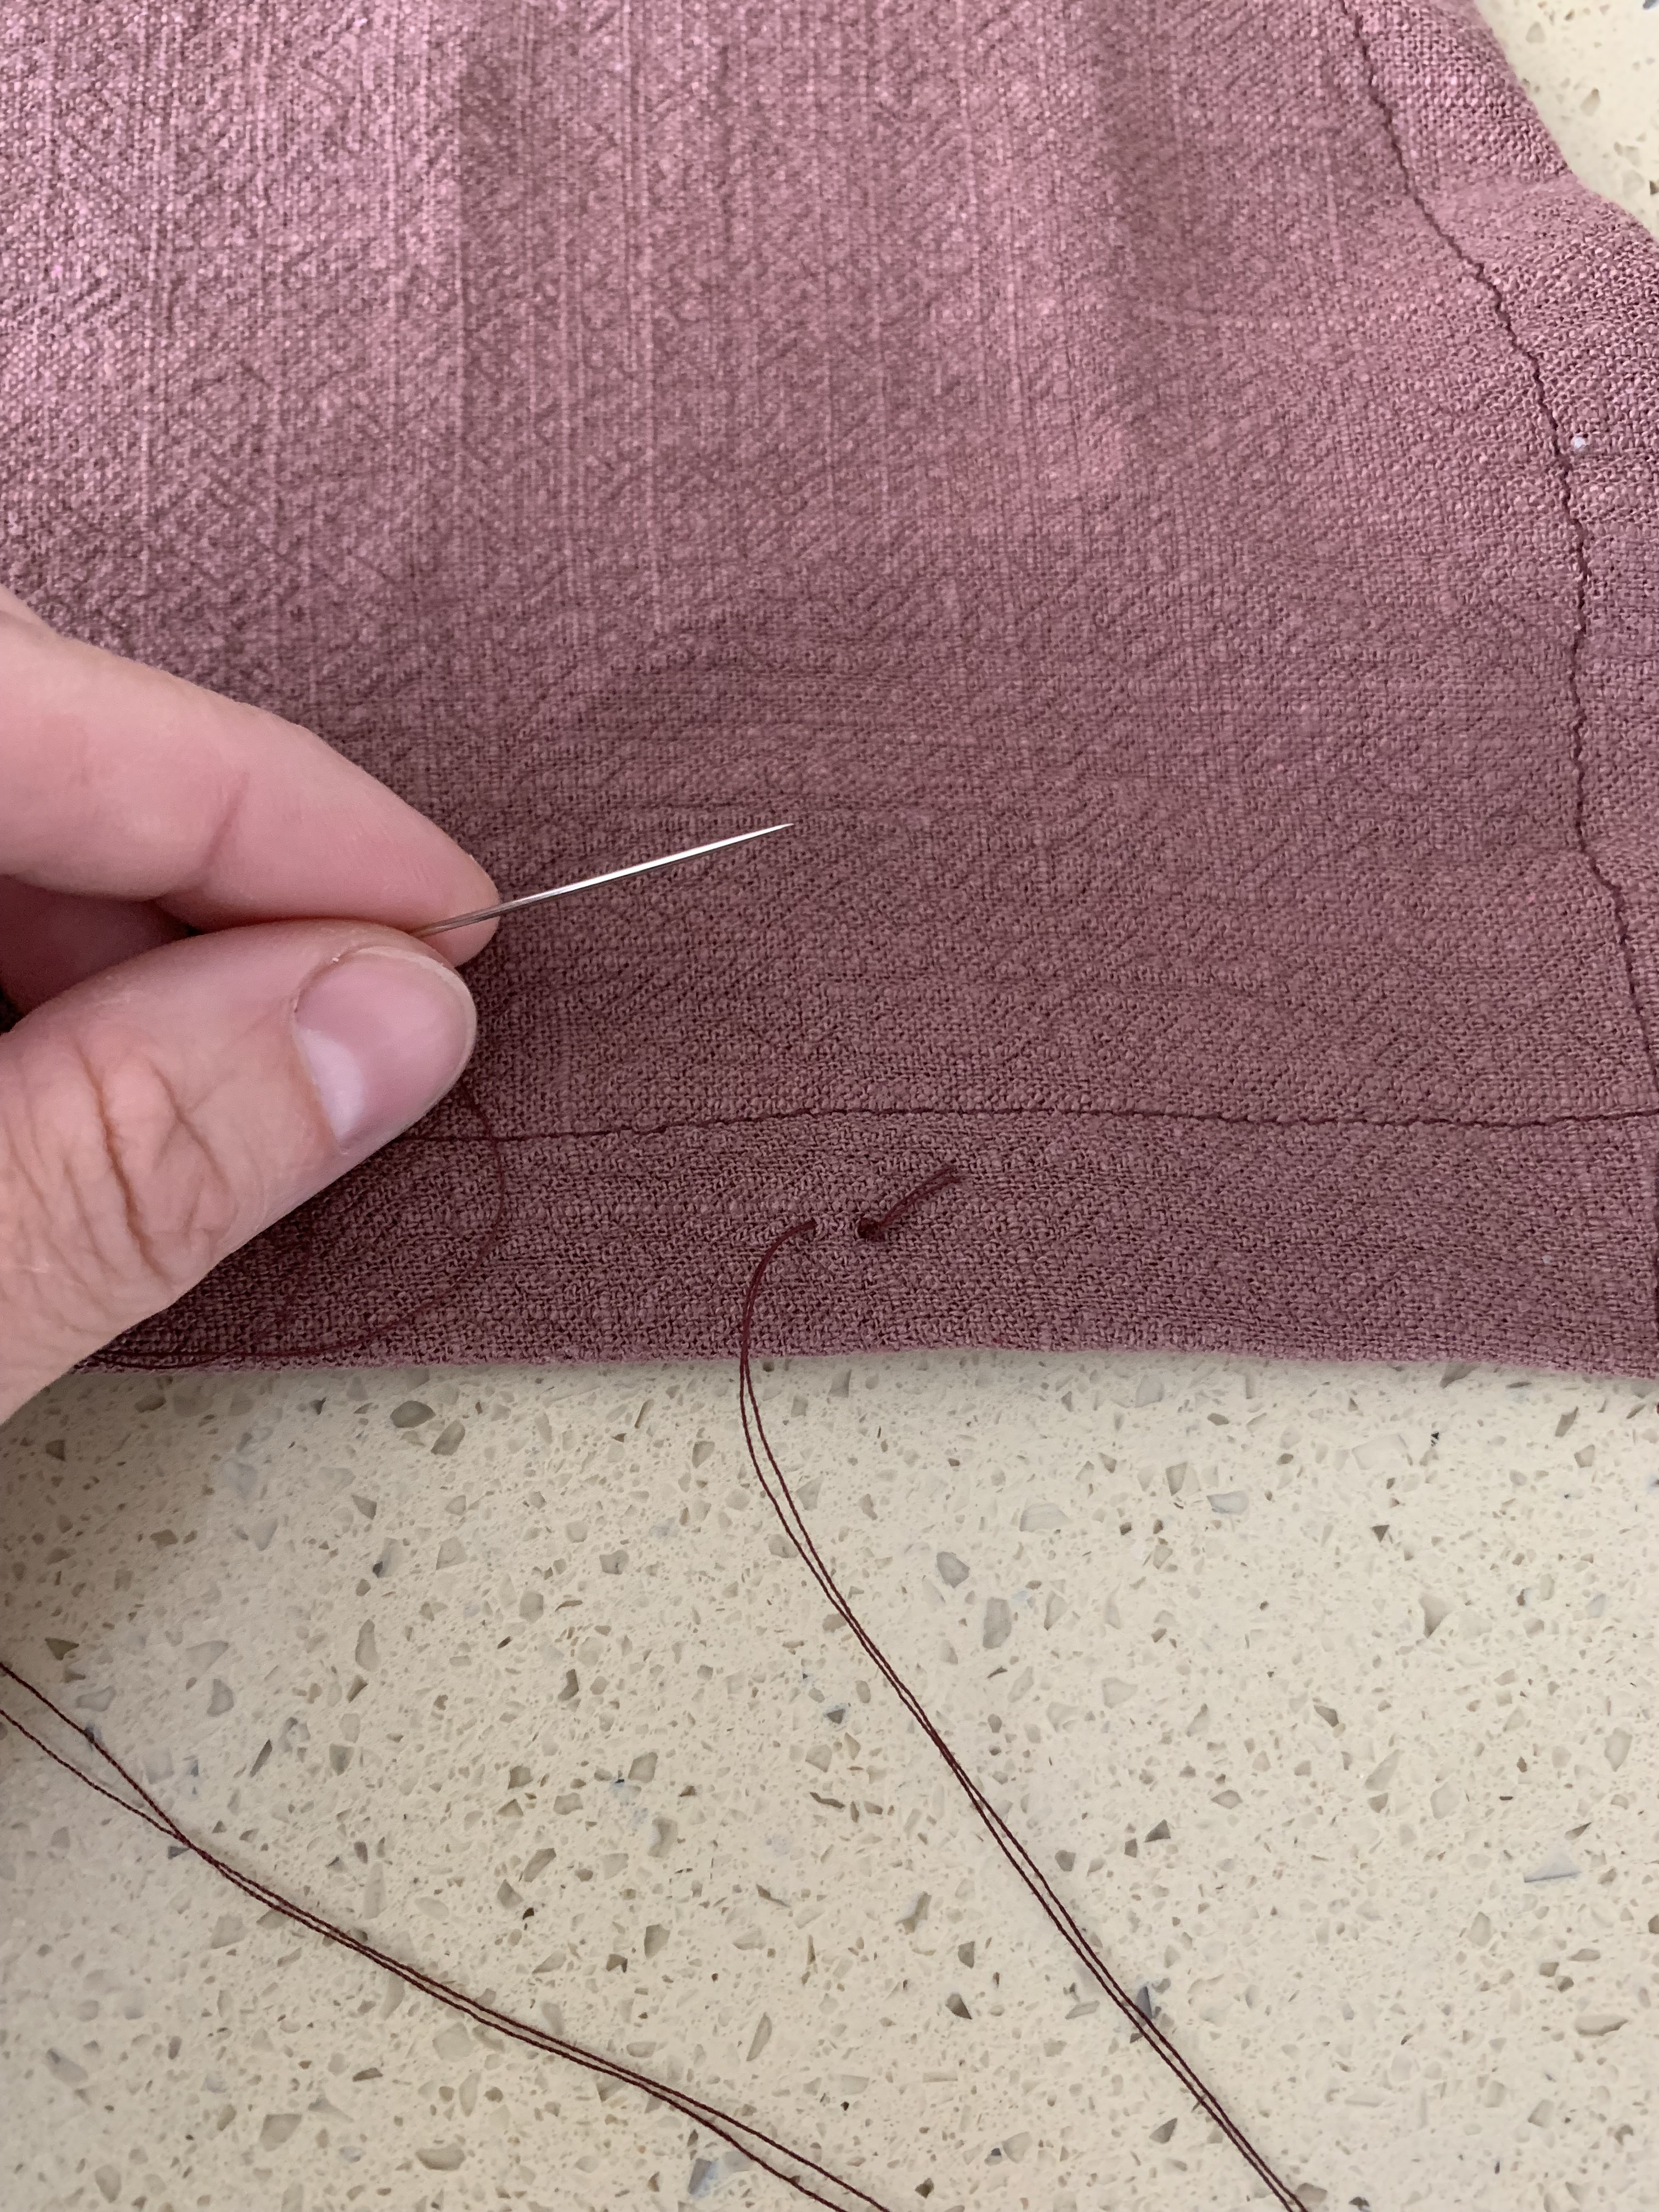
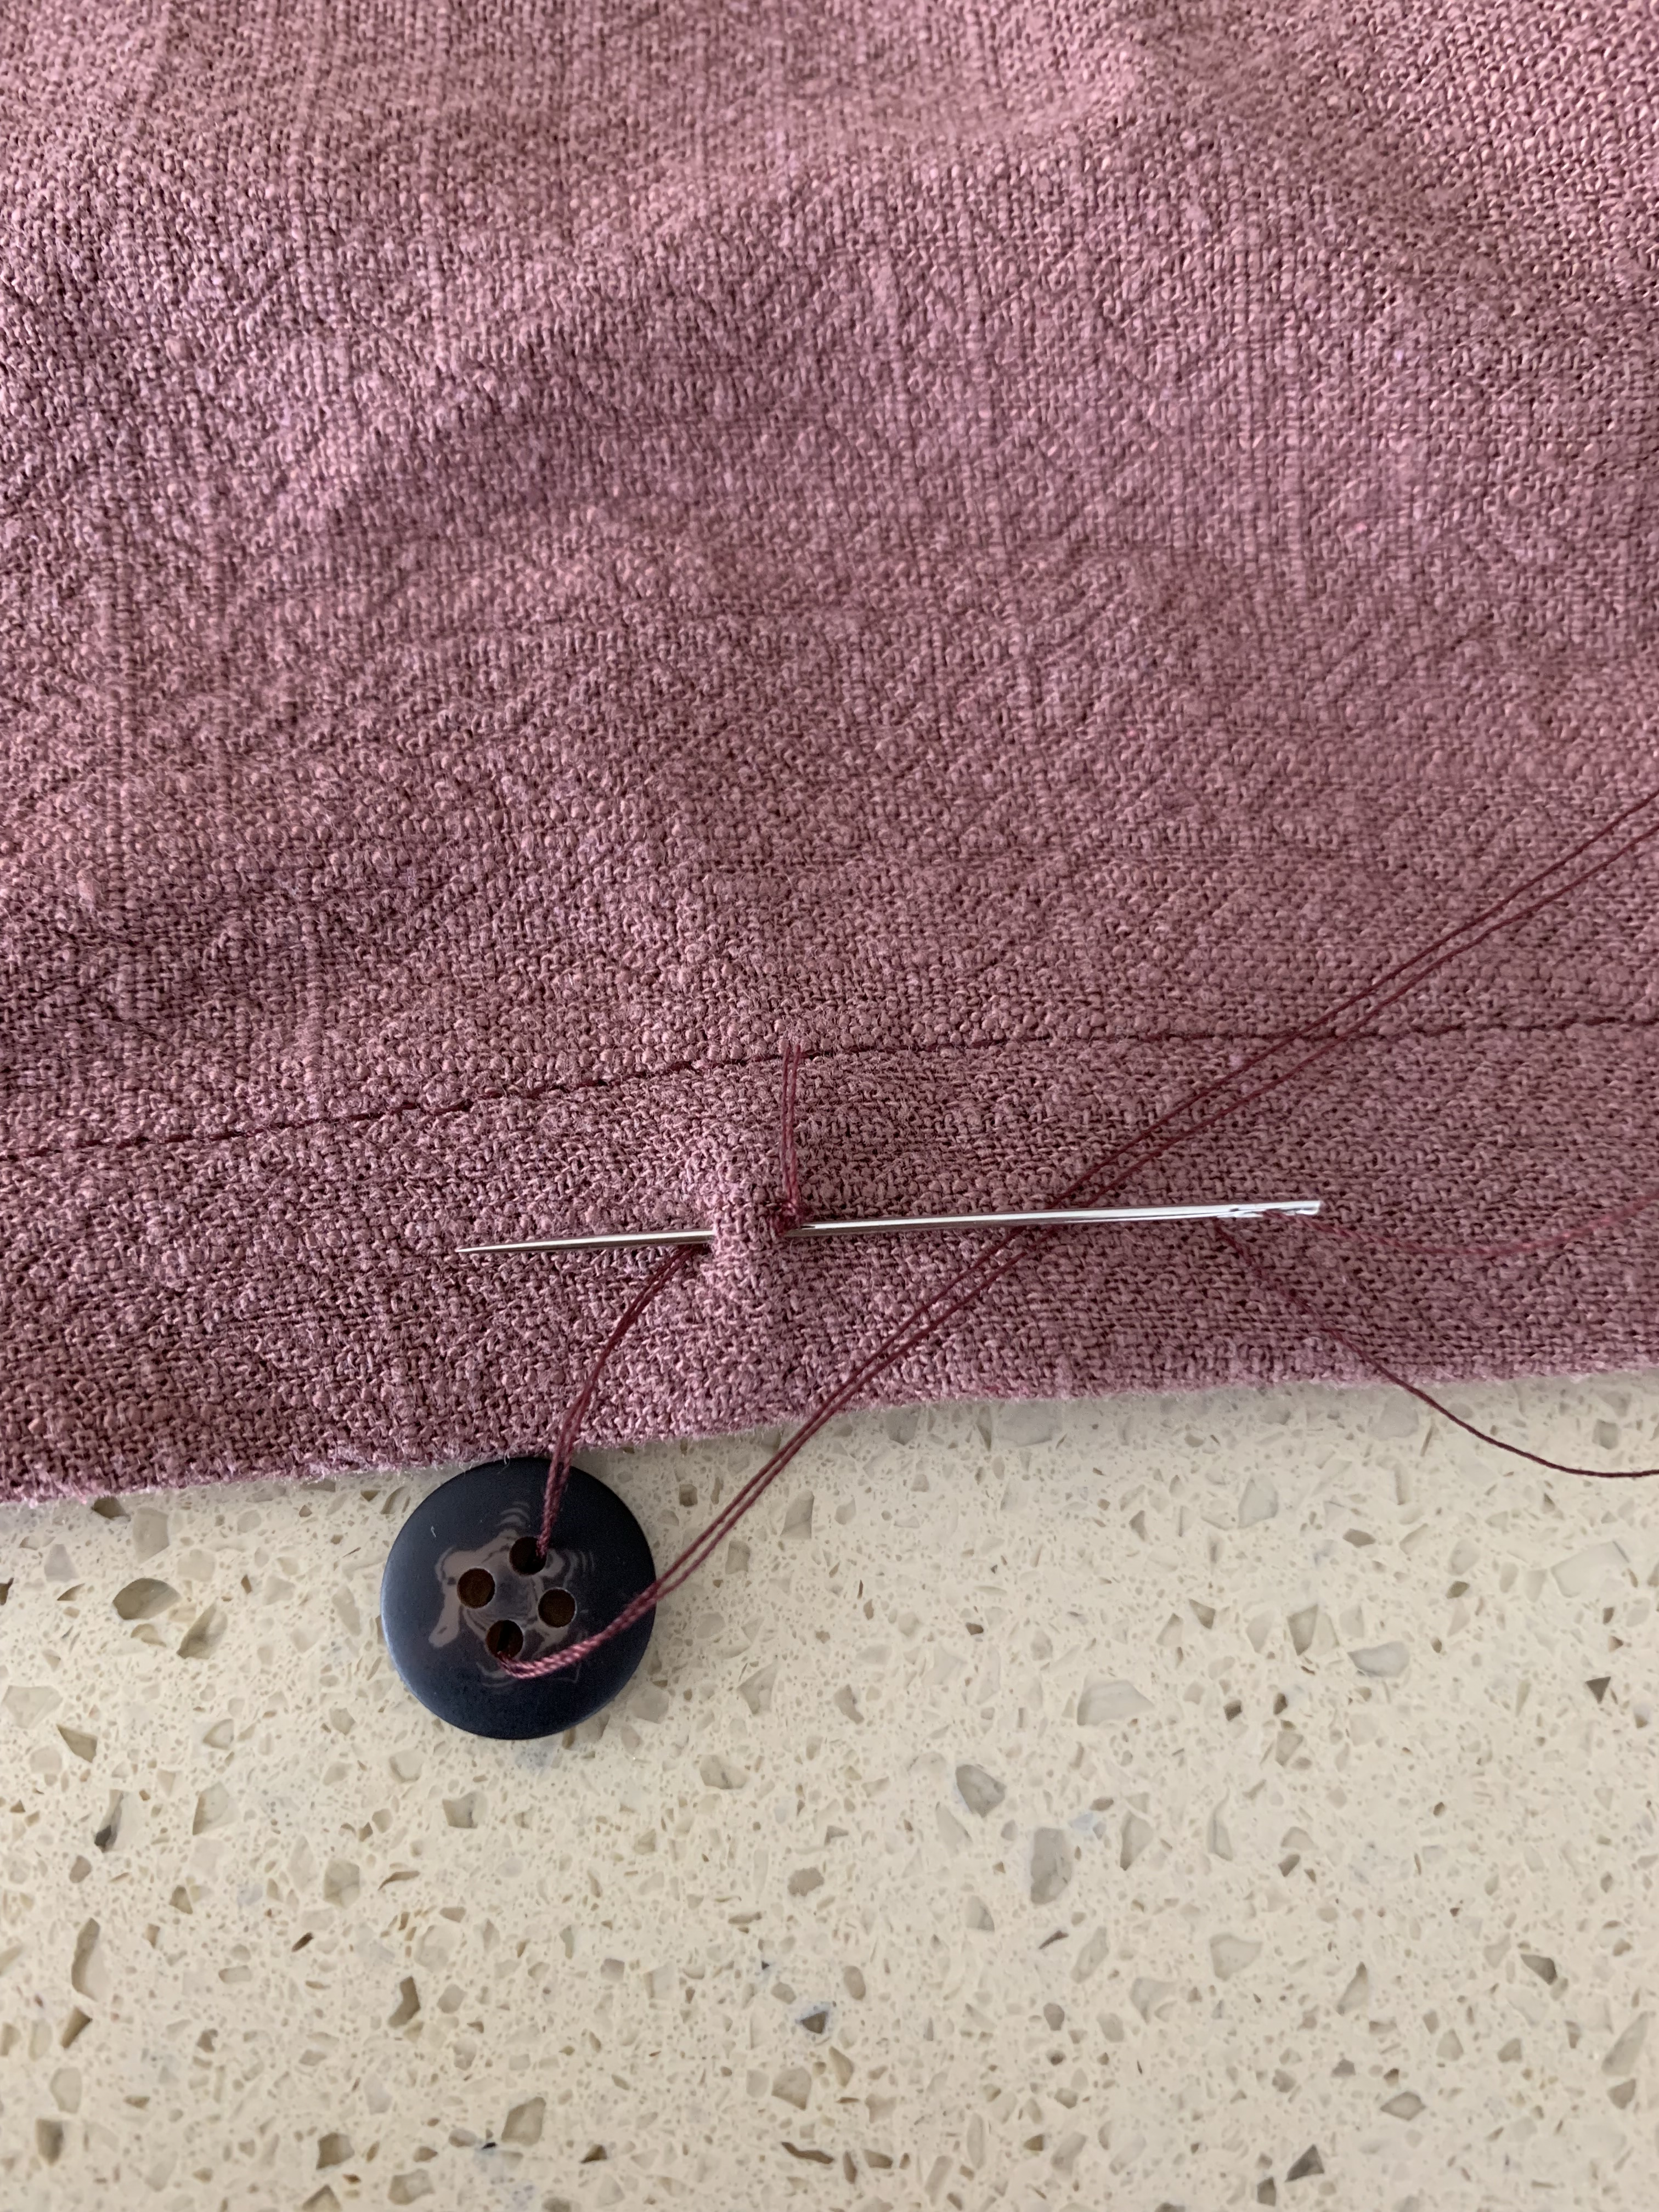
Prepare your thread and needle- double thick with a knot at the end. First, take a little bite of the fabric right where the pin mark is.

Pull the thread all of the way through. Add a button onto the thread.

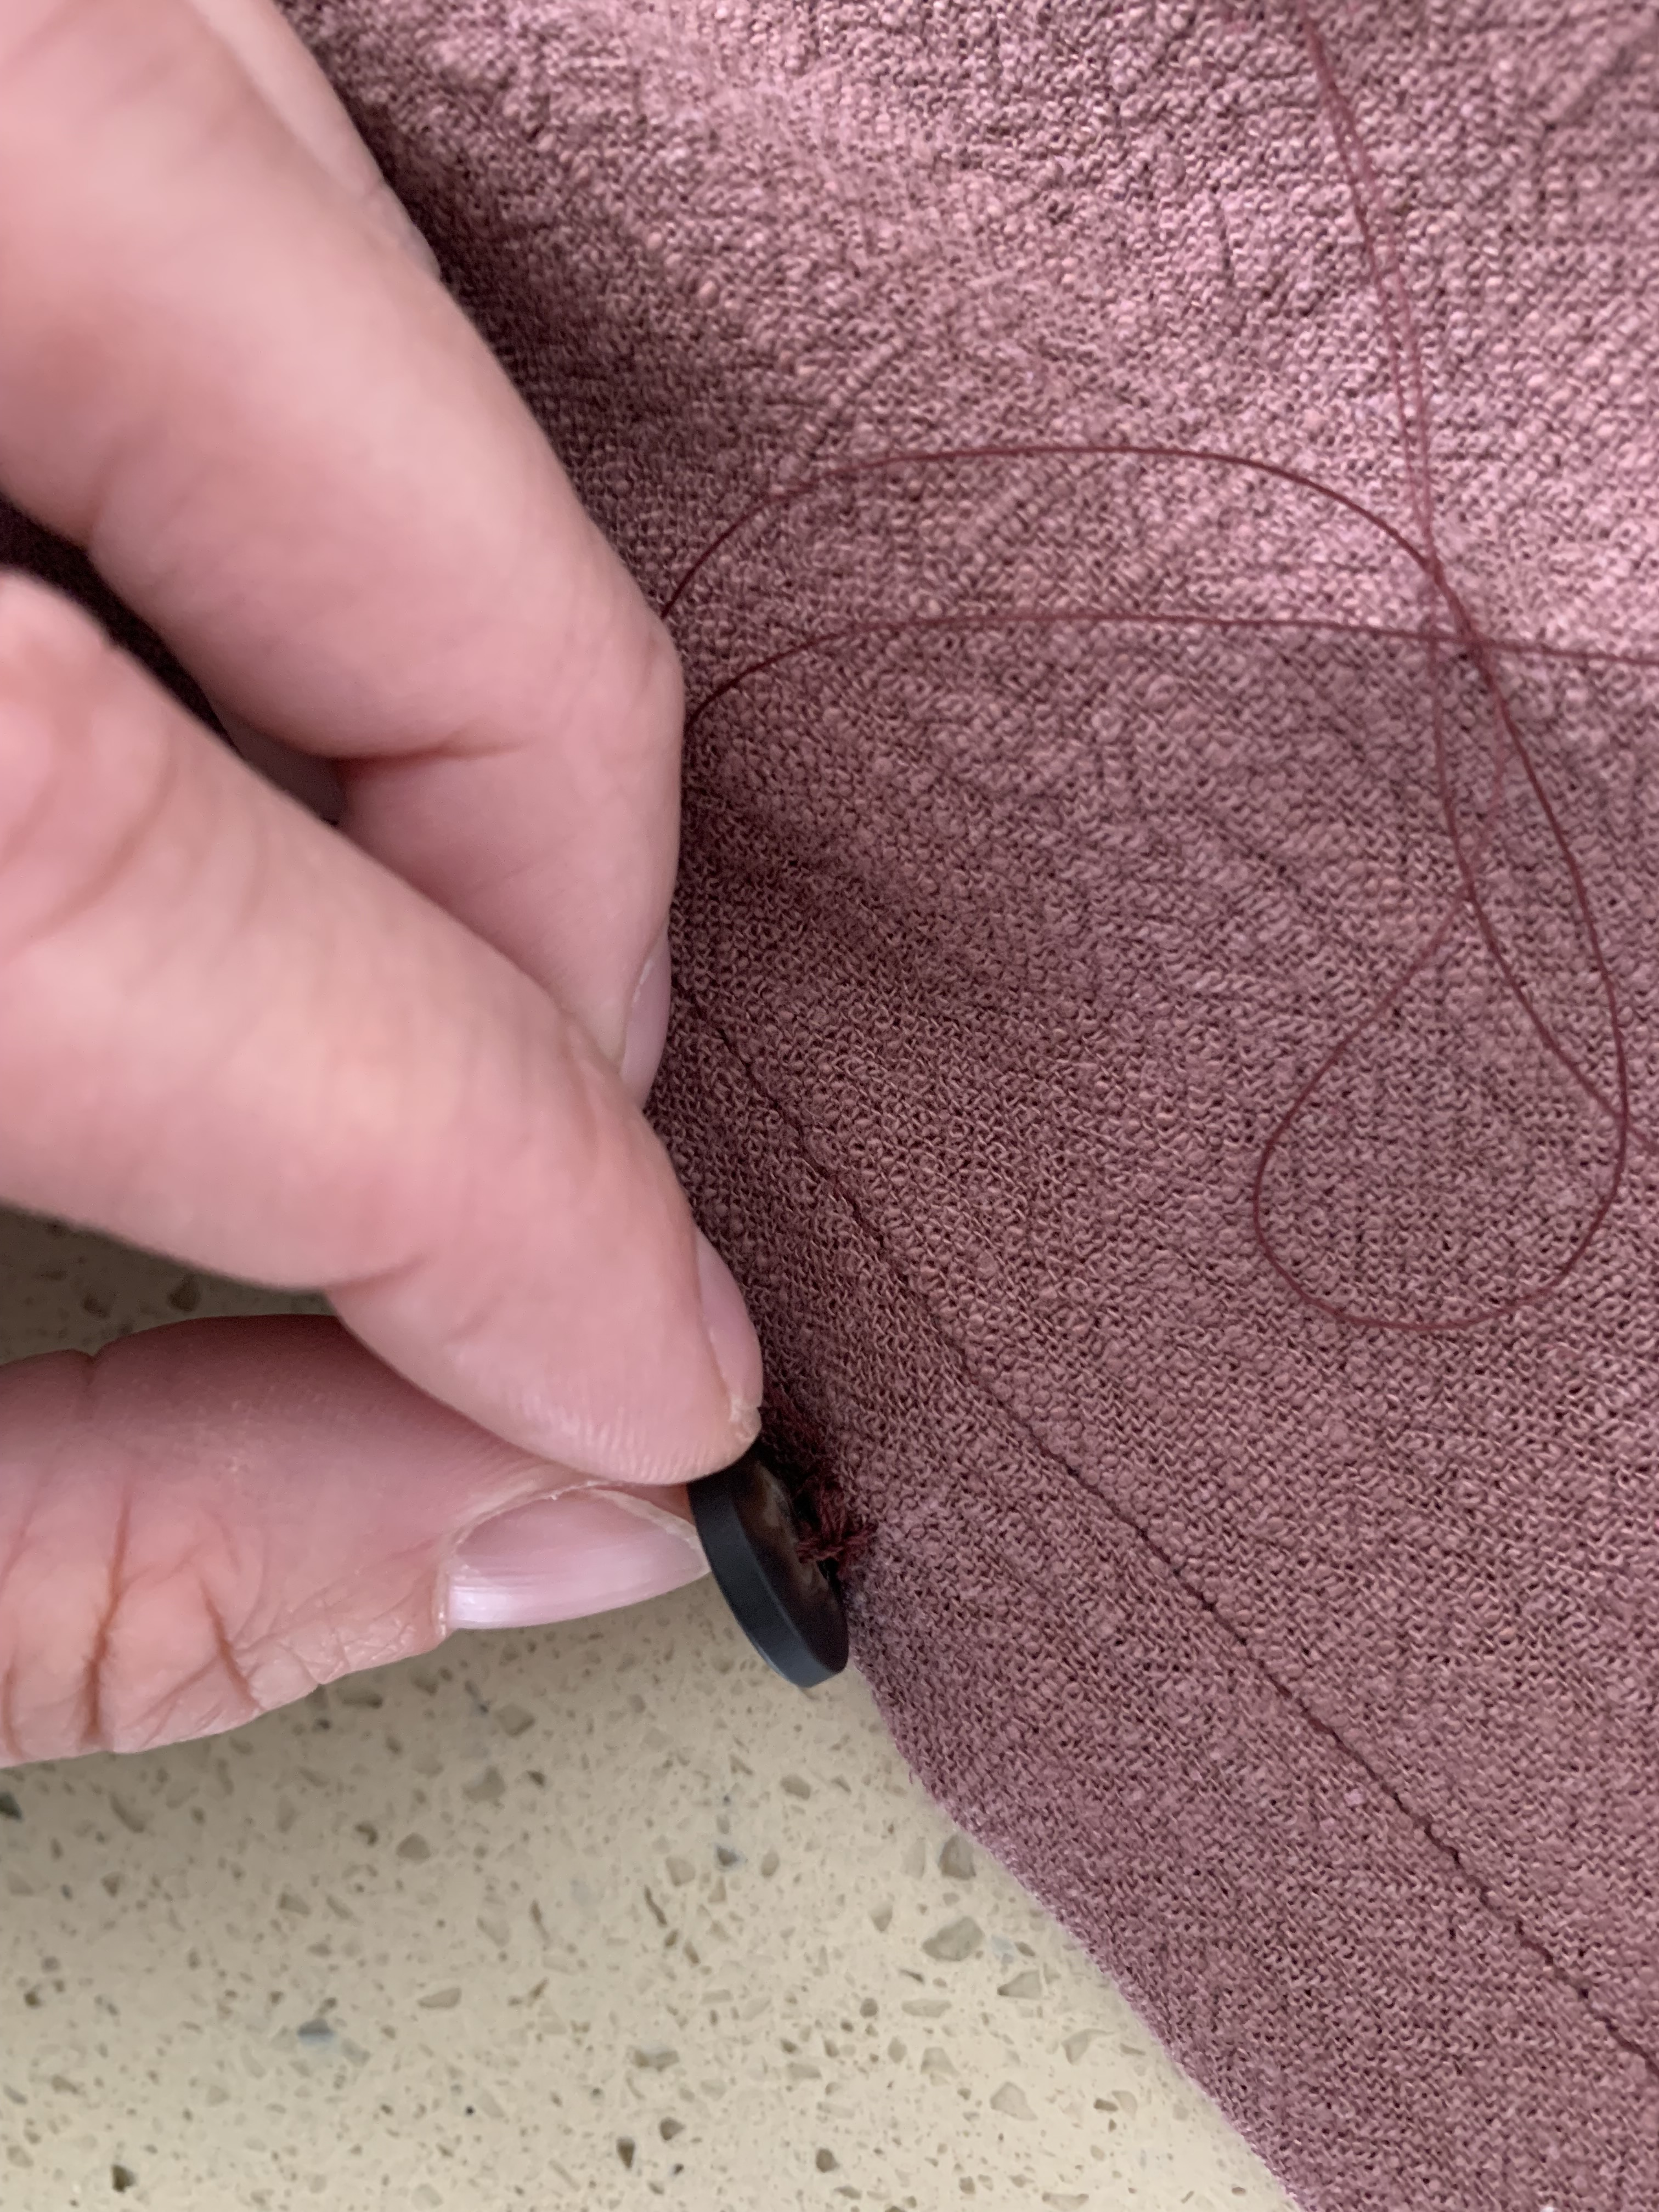
Now, thread the needle back through the same bite as before, and pull through but not all of the way. Leave a little slack and don’t pull the button tight against the fabric so we can leave enough room to add a thread shank. Continue threading the button about 4-5 times per hole set.
Once the button is well threaded, we will make a thread shank to ensure enough space for the placket with button holes between the button and placket. Create a thread loop around the button, and pull the needle through the middle on the second time around. Pull the thread tight, and create a few more loops to create a shank.
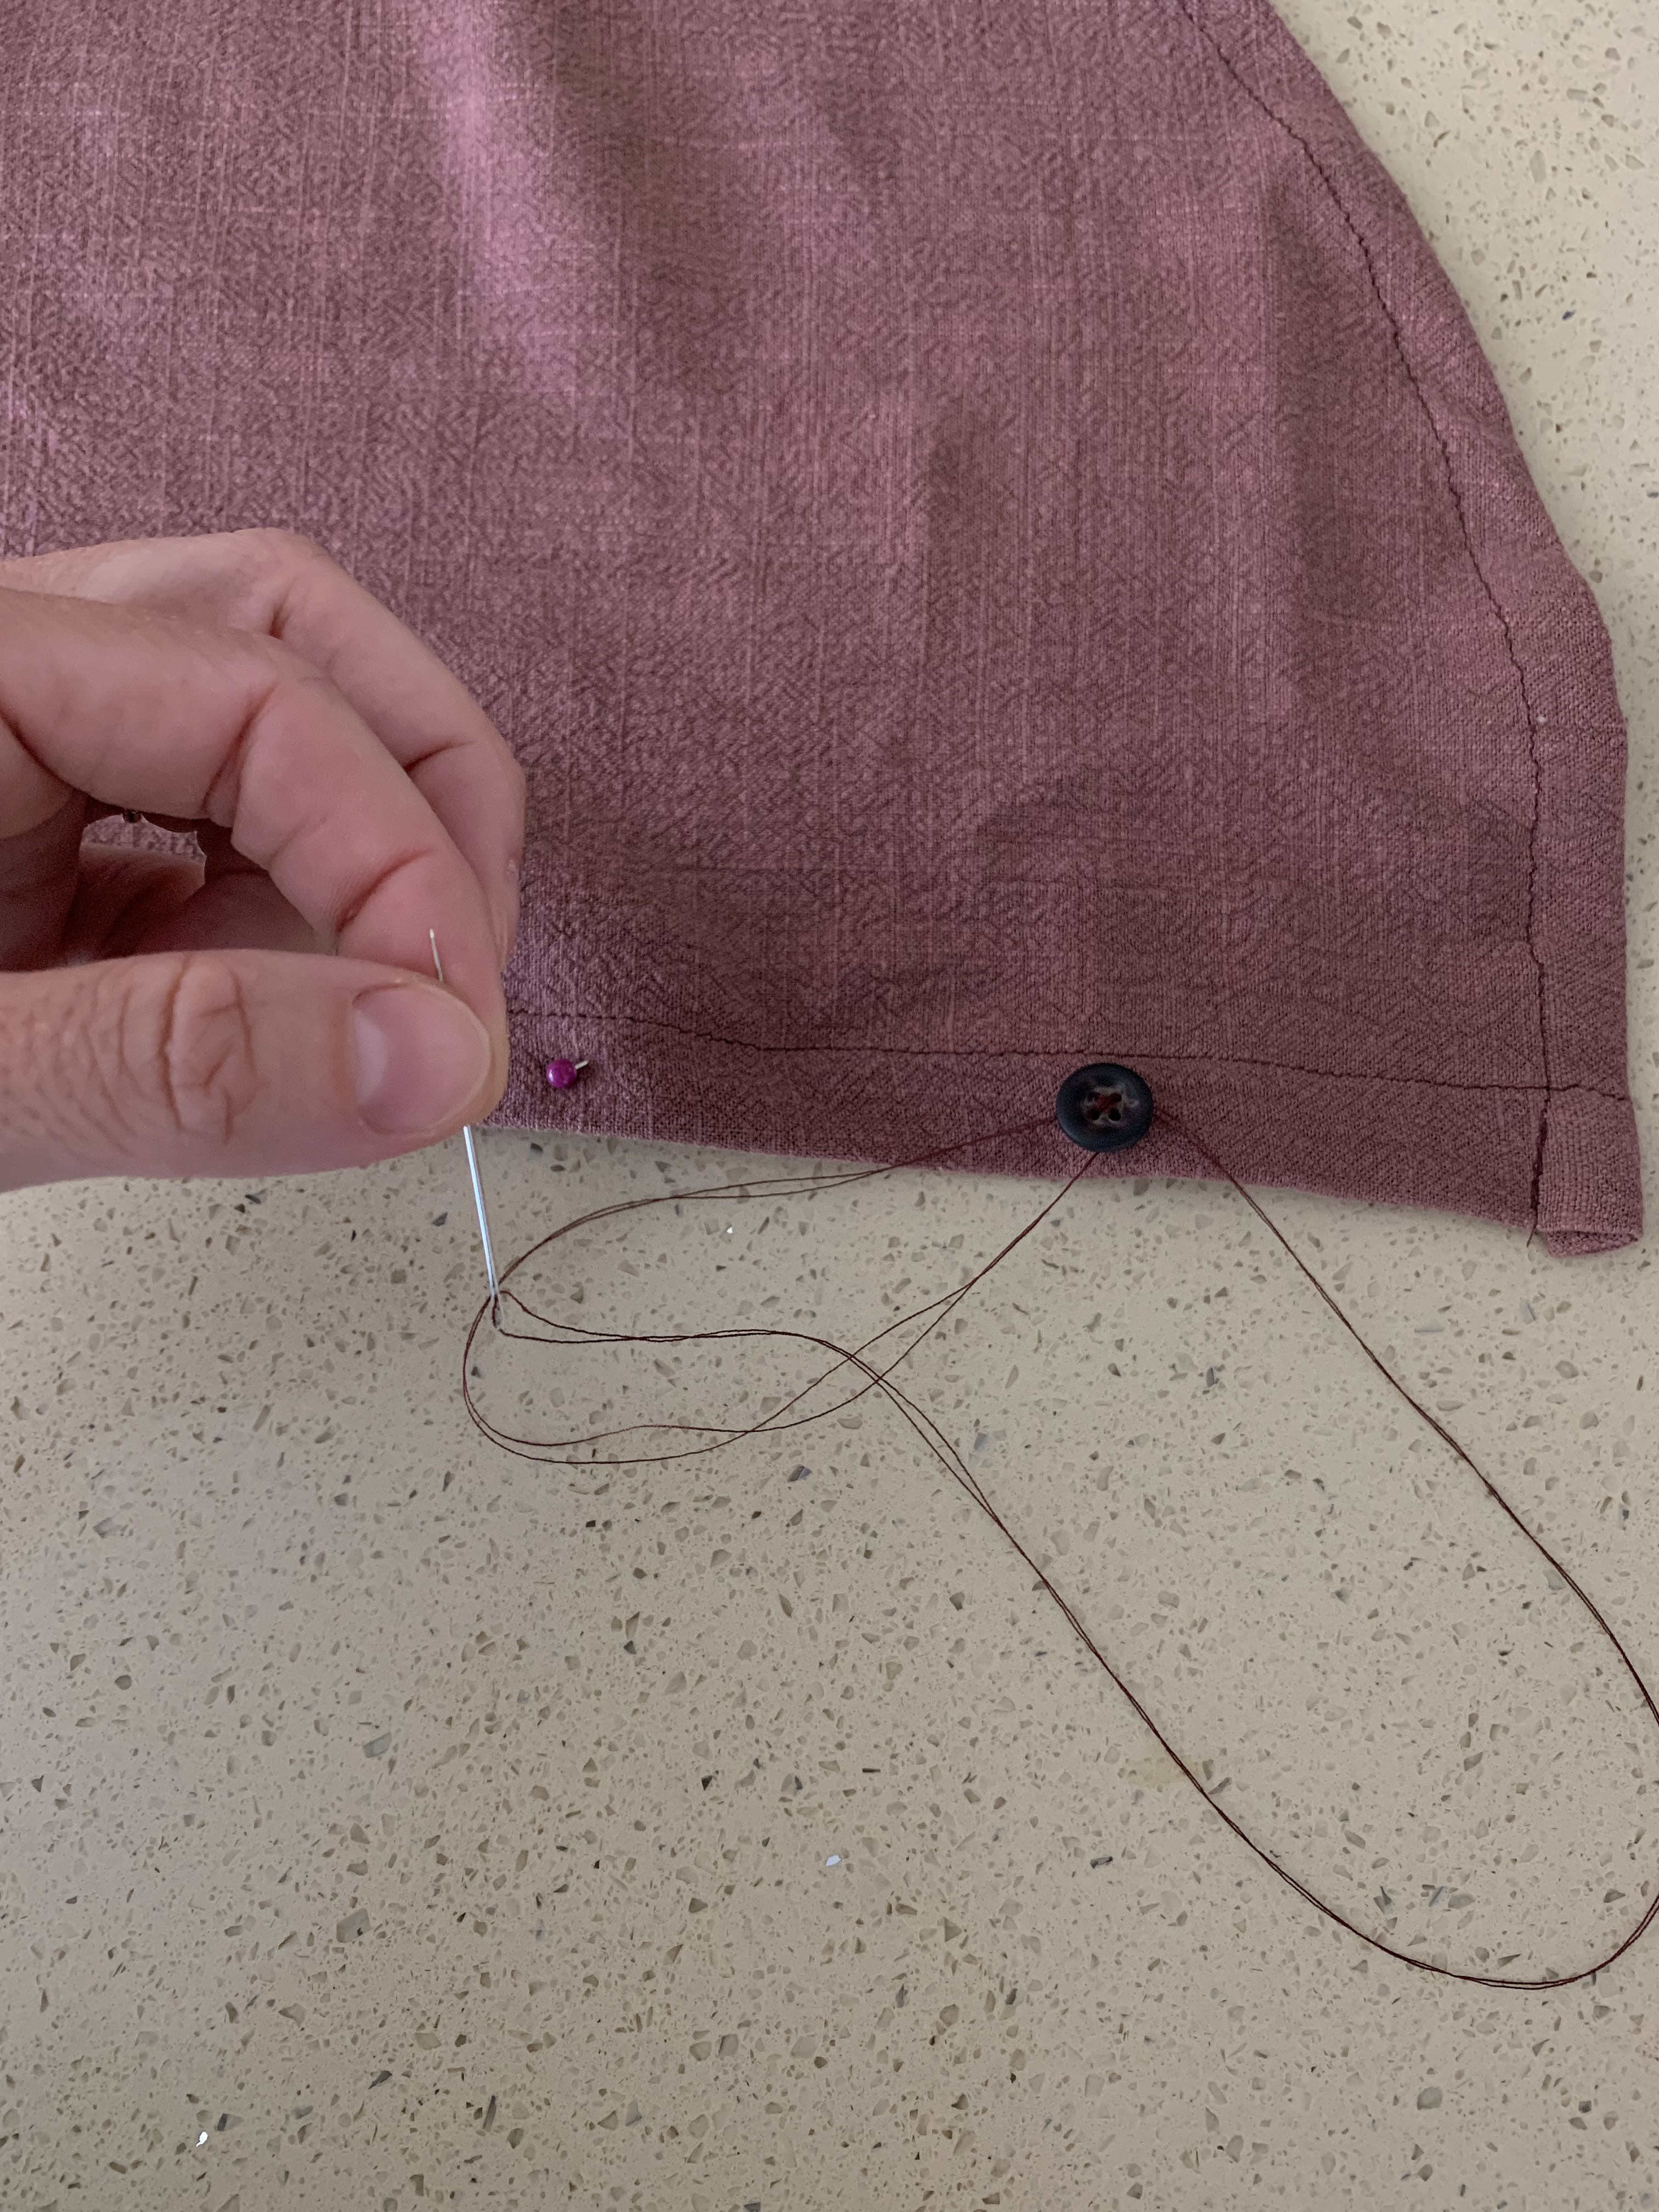
Once the shank is finished, take a tiny little bite of fabric right next to the thread shank beneath the button, and pull the thread through but not all the way leaving a little loop- pull the needle through the loop to create a knot. Cut the thread close to the knot and you are all finished!
I’ve taught a few classes on how to sew on a button and it’s surprising to see how many different ways people sew buttons on to clothing. Don’t forget the shank!! Haha. Thanks for following along with me! No need to be frustrated with buttonholes anymore thanks to Baby Lock’s amazing buttonhole technology. Happy sewing, friends!


Leave a comment