

This post is a paid sponsorship with Baby Lock. This post contains affiliate links.
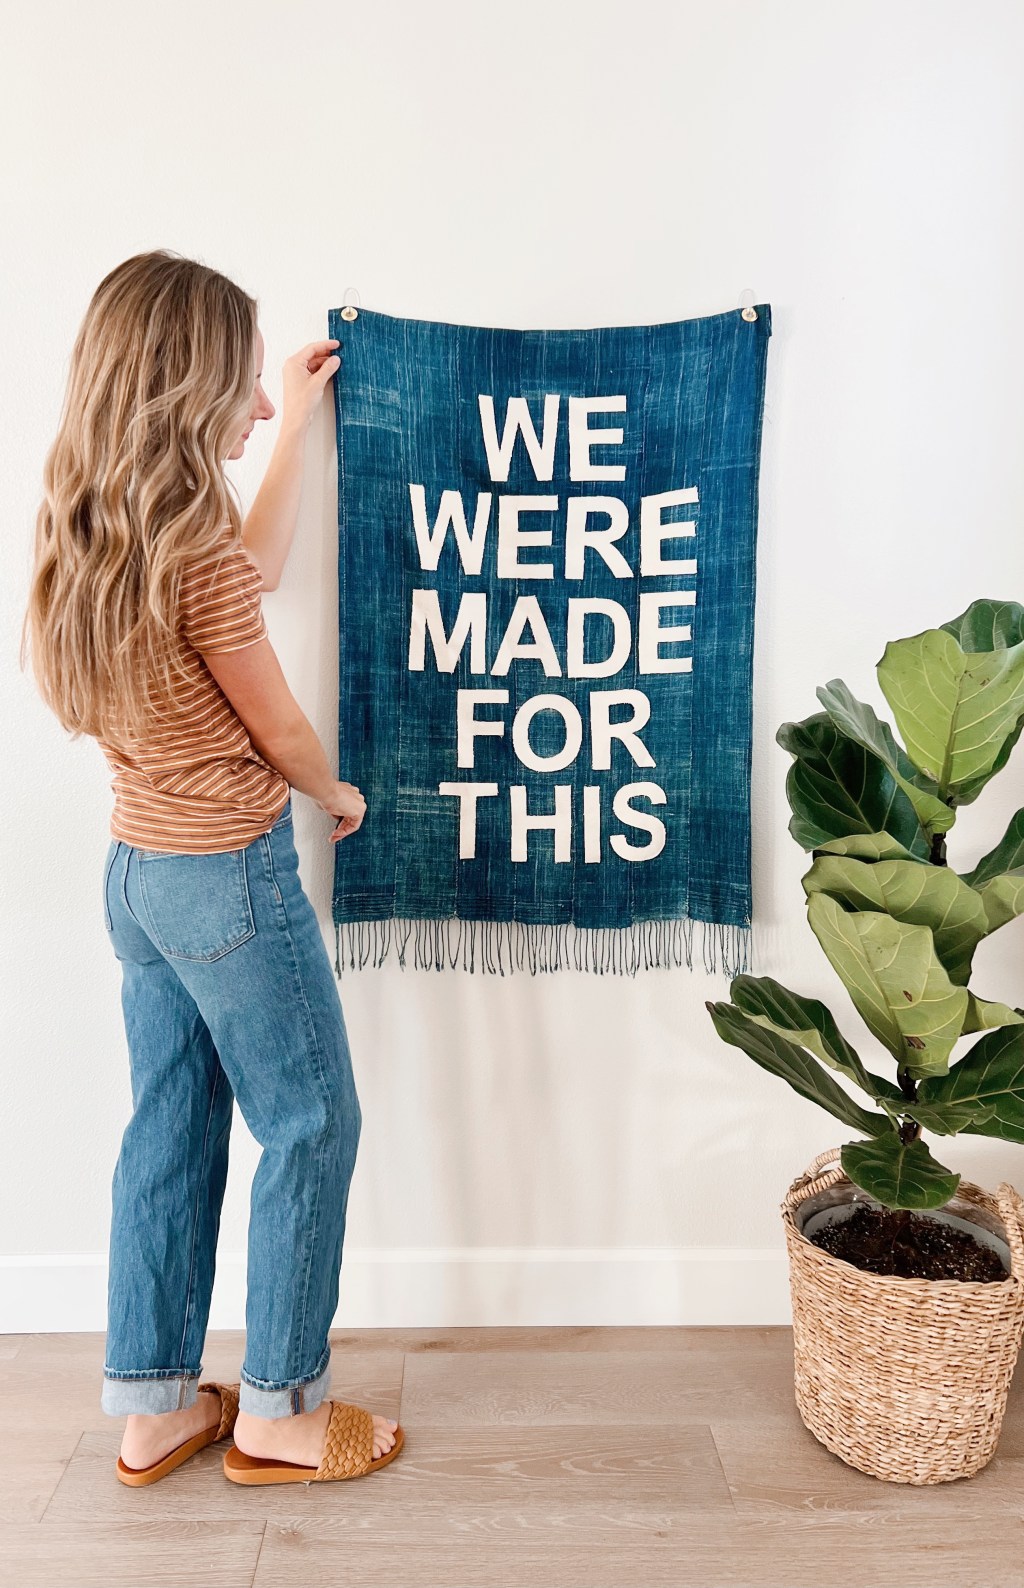
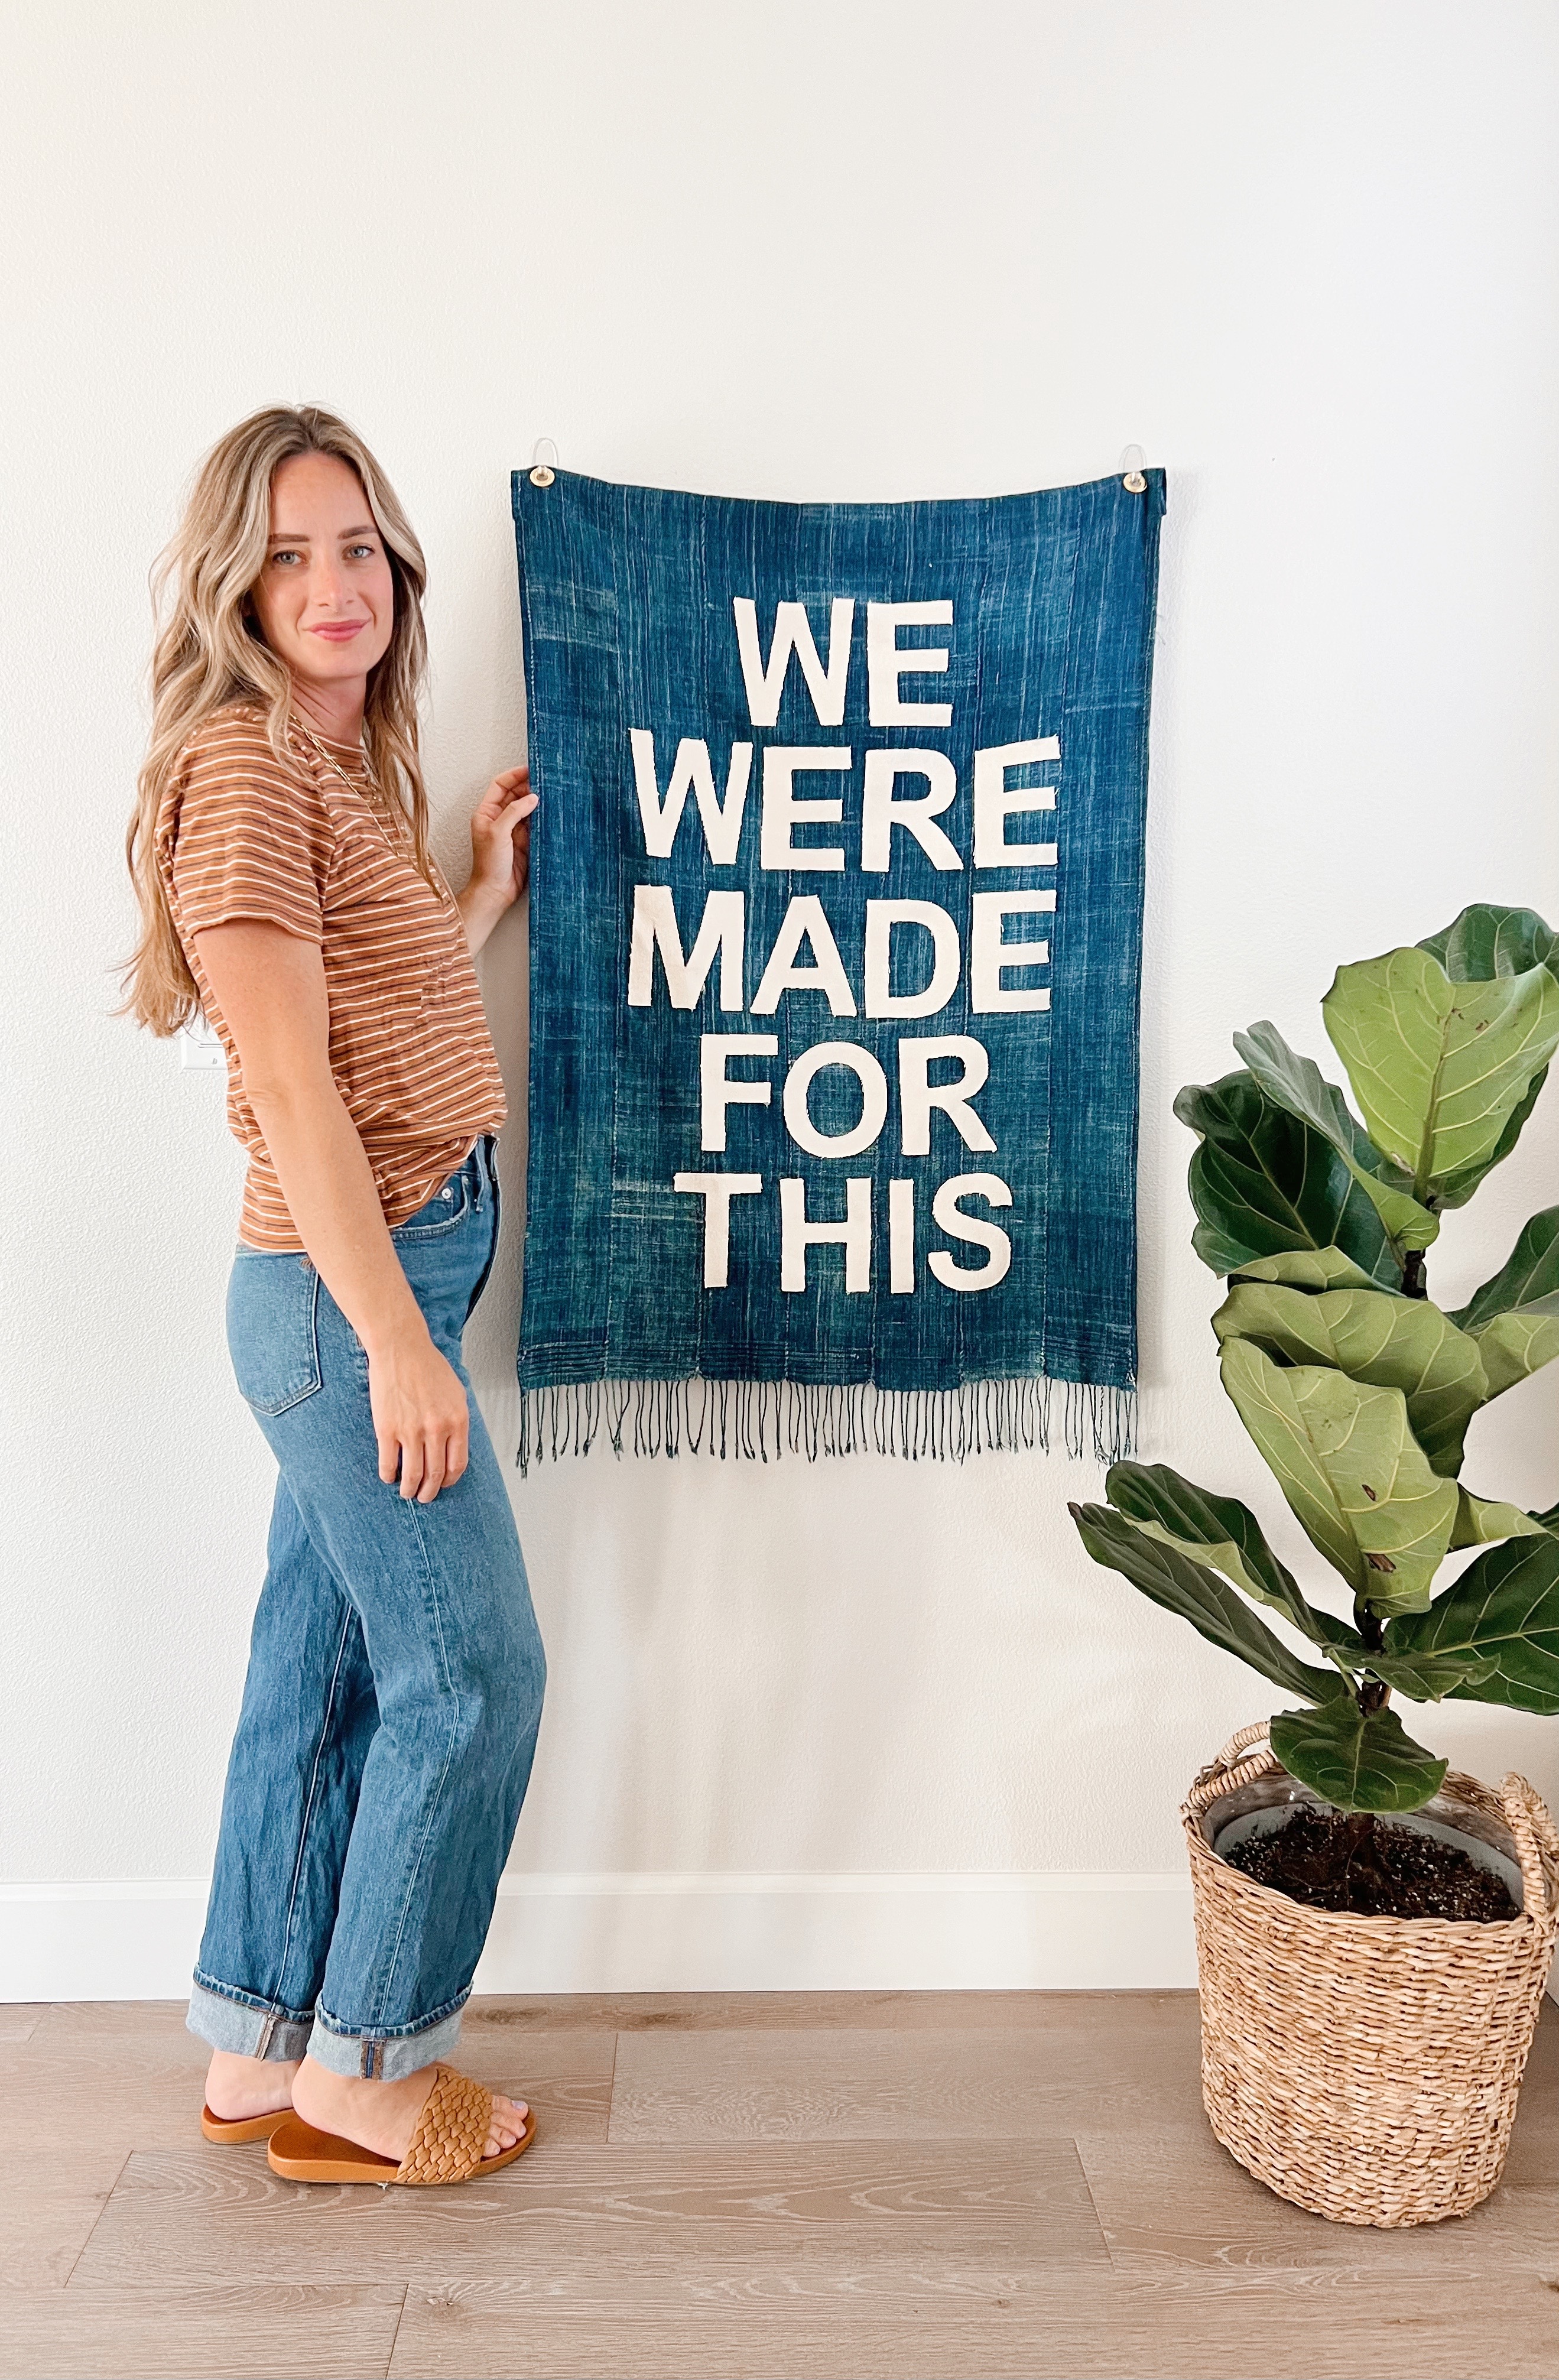
Hi everyone!! I’m back with a really fun tutorial for you all. I was recently at my friends’ beautiful beach house, and I noticed this really cool wall tapestry on her wall. It read “Pray For Surf” on a stunning piece of indigo mudcloth. I immediately asked where she got it from, and she mentioned her mom had made it. I loved it so much that I knew it had to be my next project.
I found my mudcloth remnant on etsy at this shop. You want to look for a more solid piece of indigo cloth so the letters will stand out nicely. If you wanted to make a wall tapestry that is a little more affordable as these remnants can be a little pricey, you could use regular canvas fabric and use a different color canvas for your letters. While doing some research I found some made this way too, and they were just as stunning.
For my letters I used regular beige canvas I piked up at my local JOANN store. The rest of the supplies needed will be listed and linked below:
Needed Supplies:
- Sewing Machine (Baby Lock Brilliant)
- Mudcloth Fabric or Canvas for tapestry
- 1/4- 1/2 yard Canvas fabric for letters
- 5″ letter stencils
- Clover Air Erasable Marker
- Clover Chalk Pen
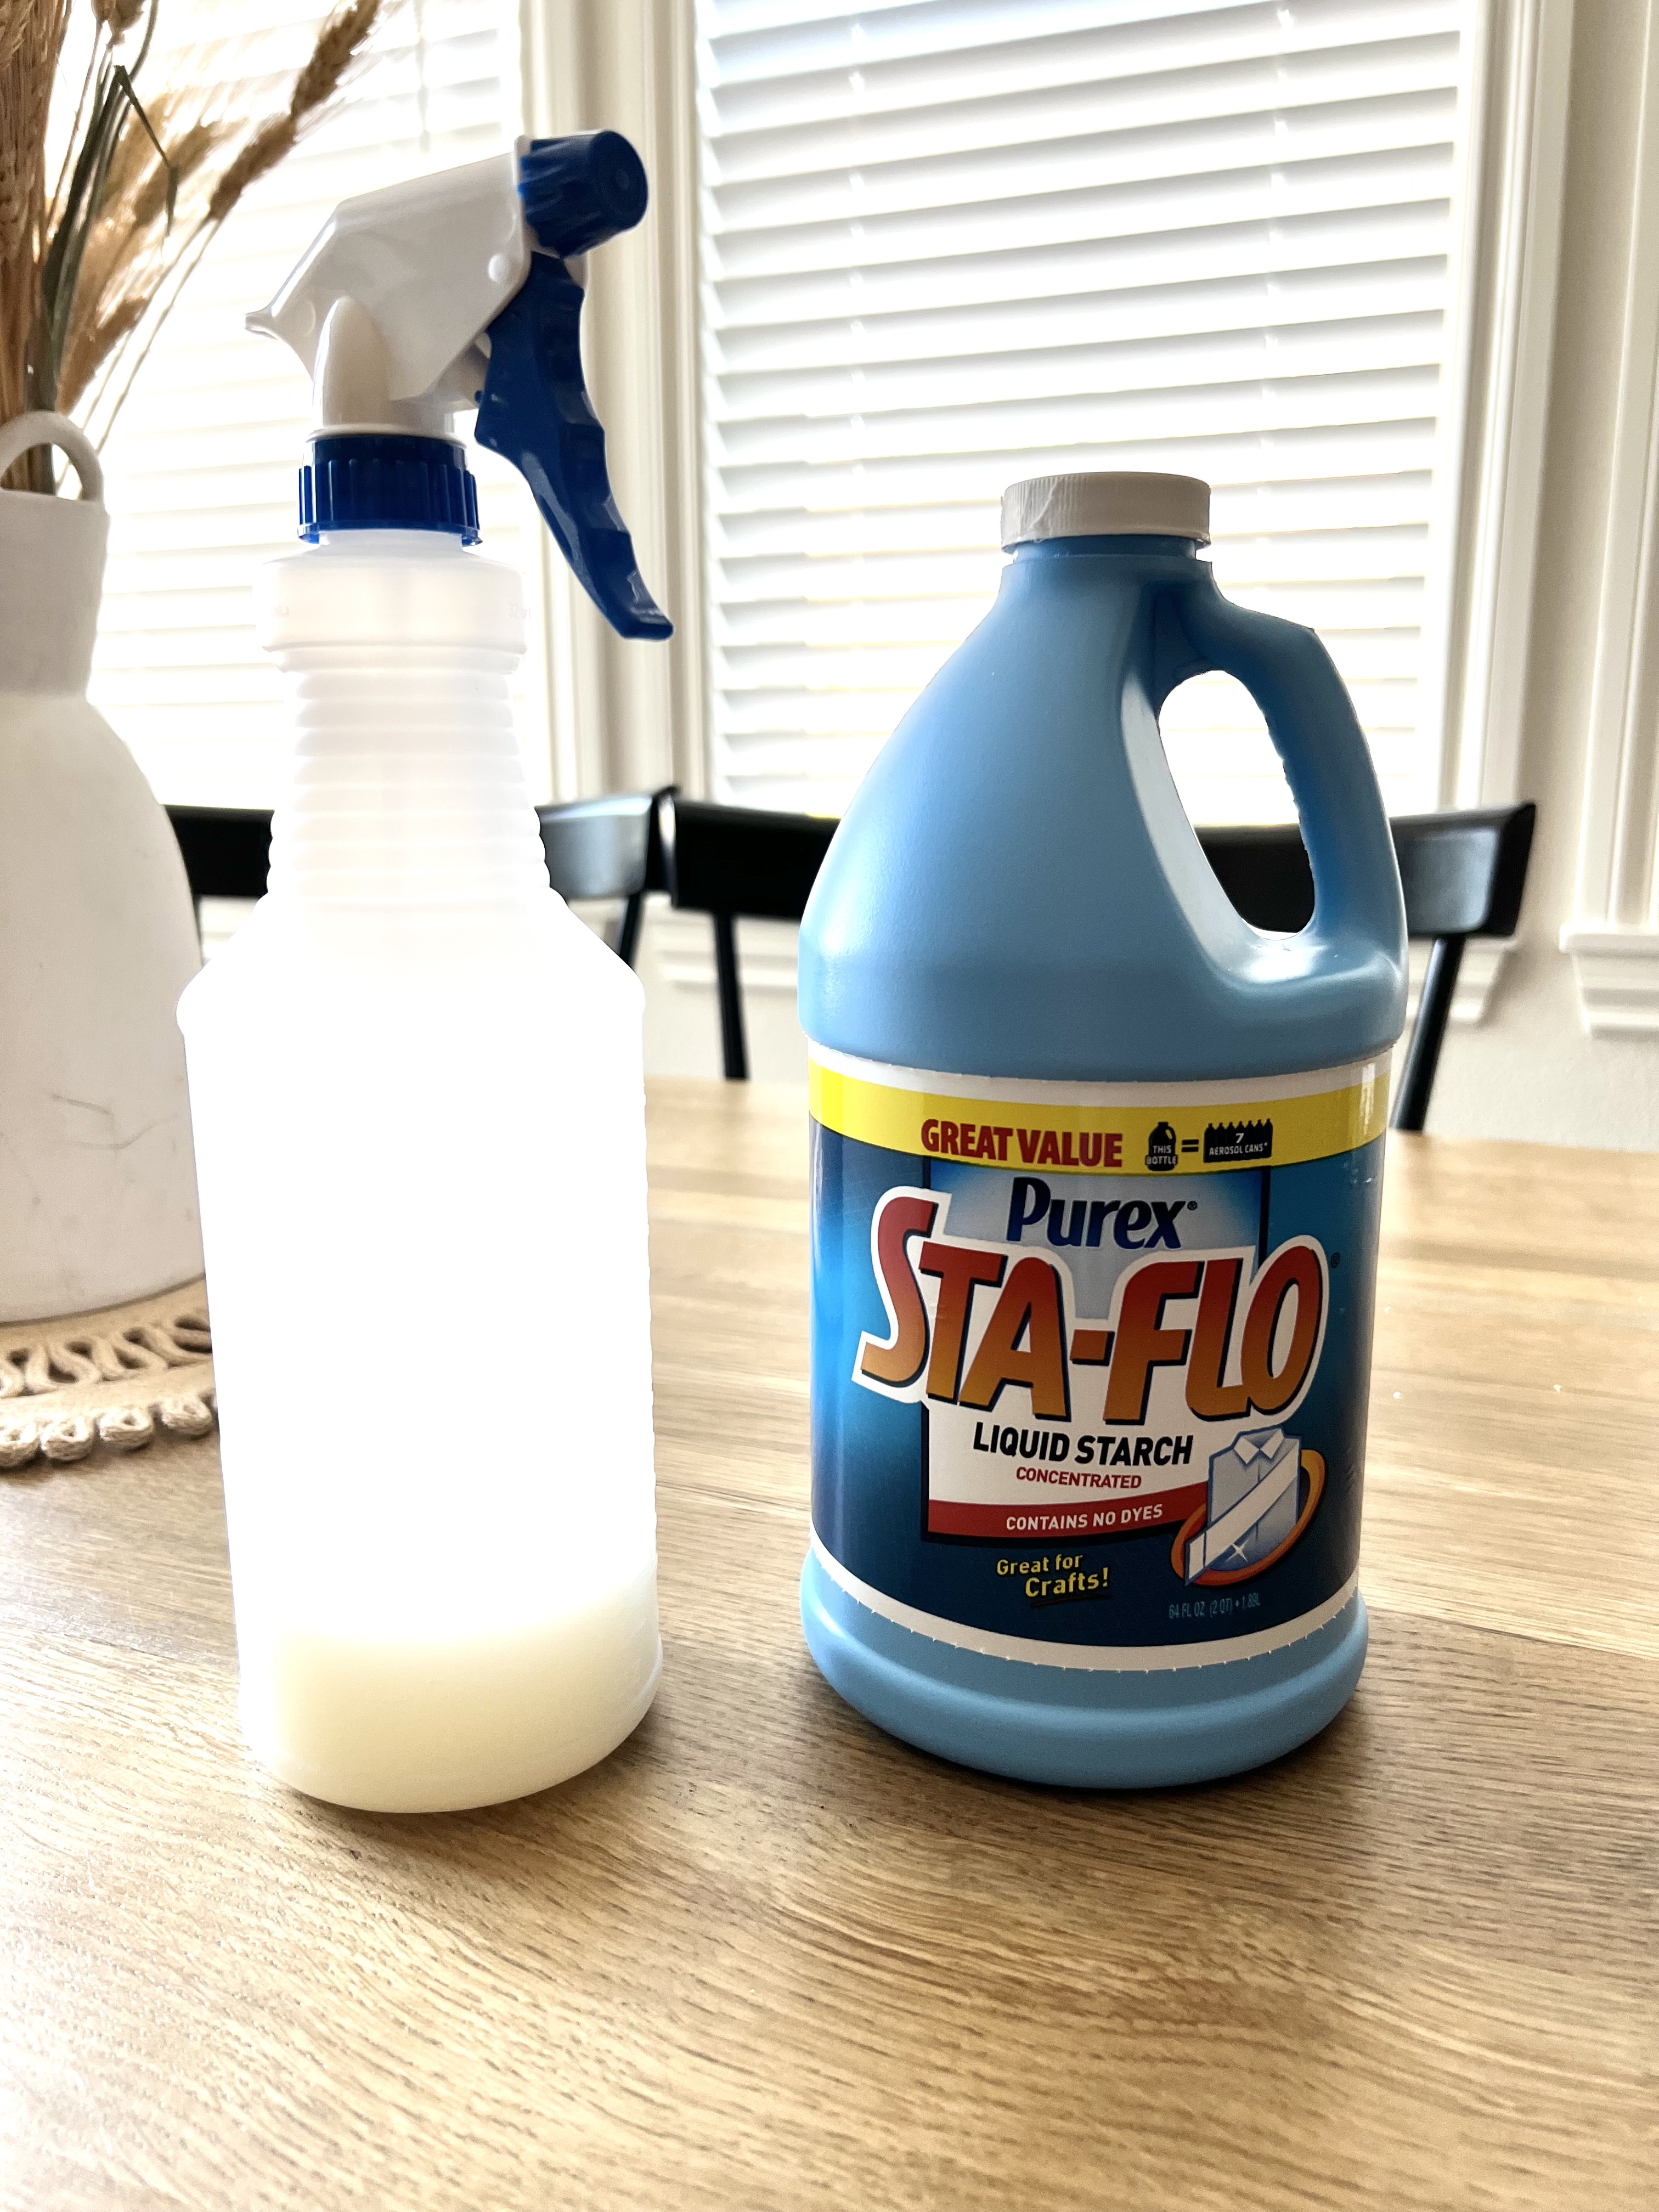
- Sta-Flor Concentrated Liquid Starch
- Empty Spray Bottle for Starch application
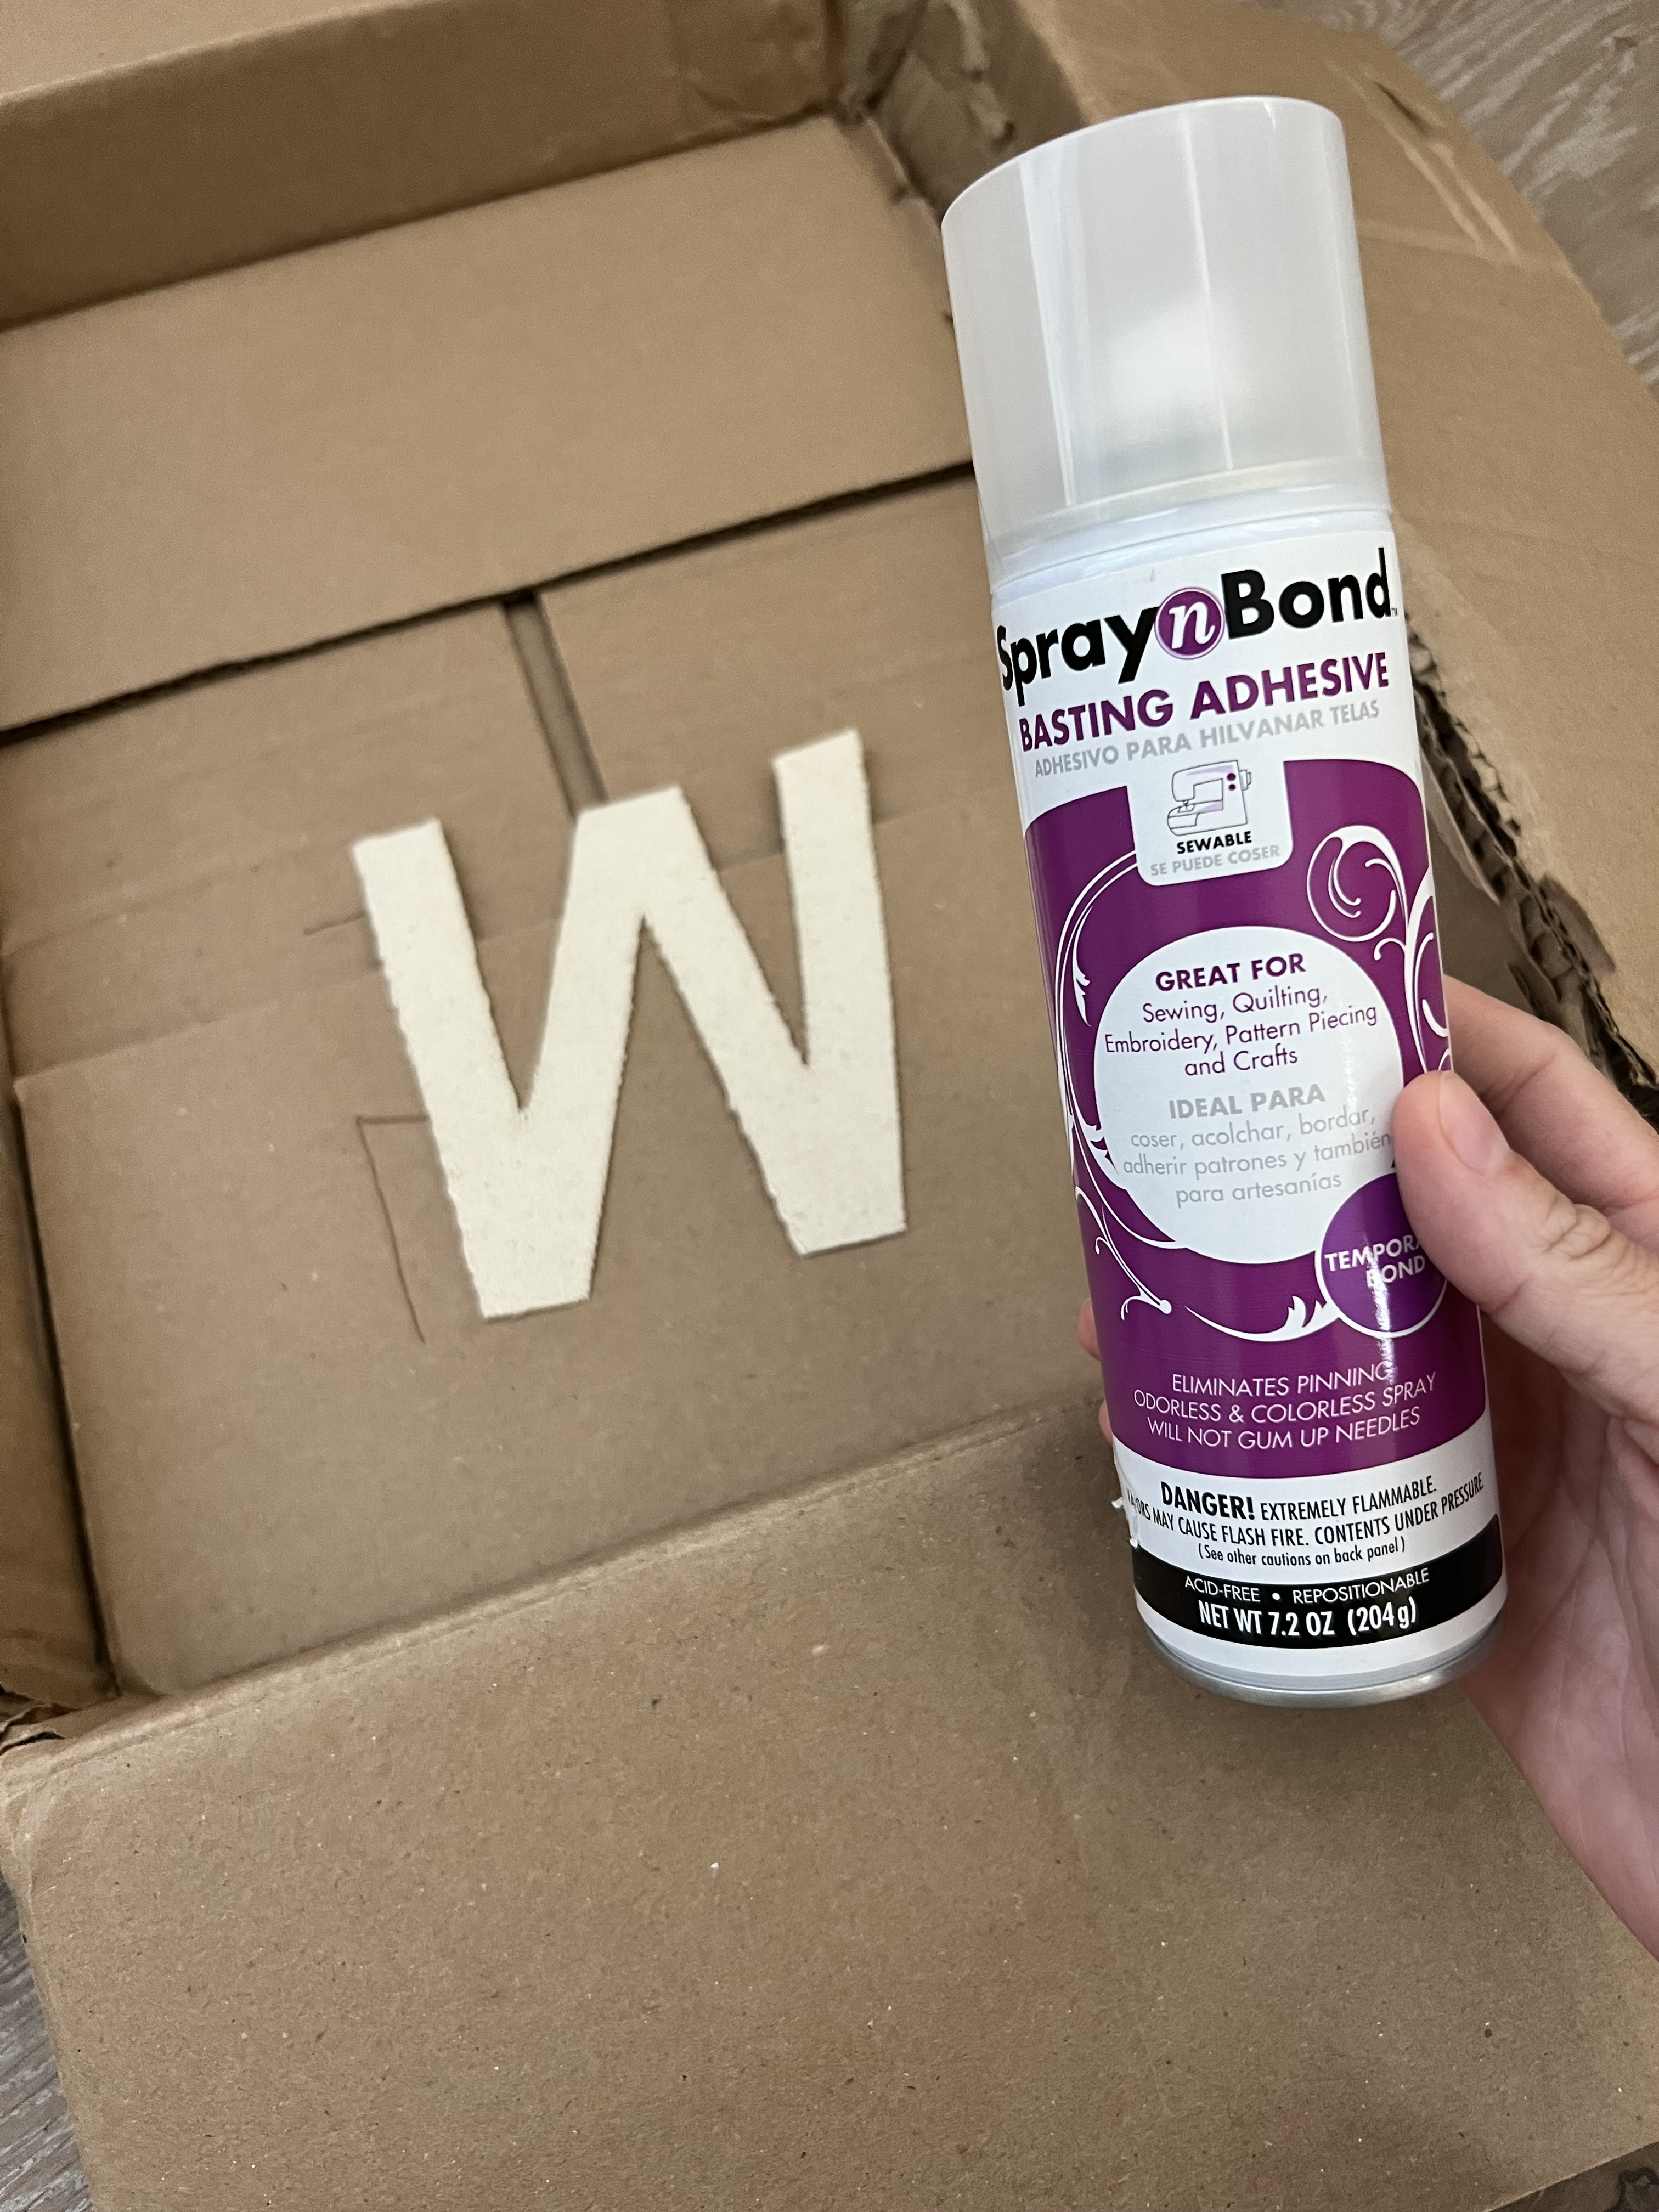
- Spray and Bond Basting Adhesive
- Matching thread for letters and tapestry
- Extra large Eyelet Kit (7/16)
- 2 small scraps of interfacing roughly 2″x2″
This is a super easy project, and it looks so good hanging on a wall. It’s fun because you can customize it to say anything that is meaningful to you. Let’s get started!!
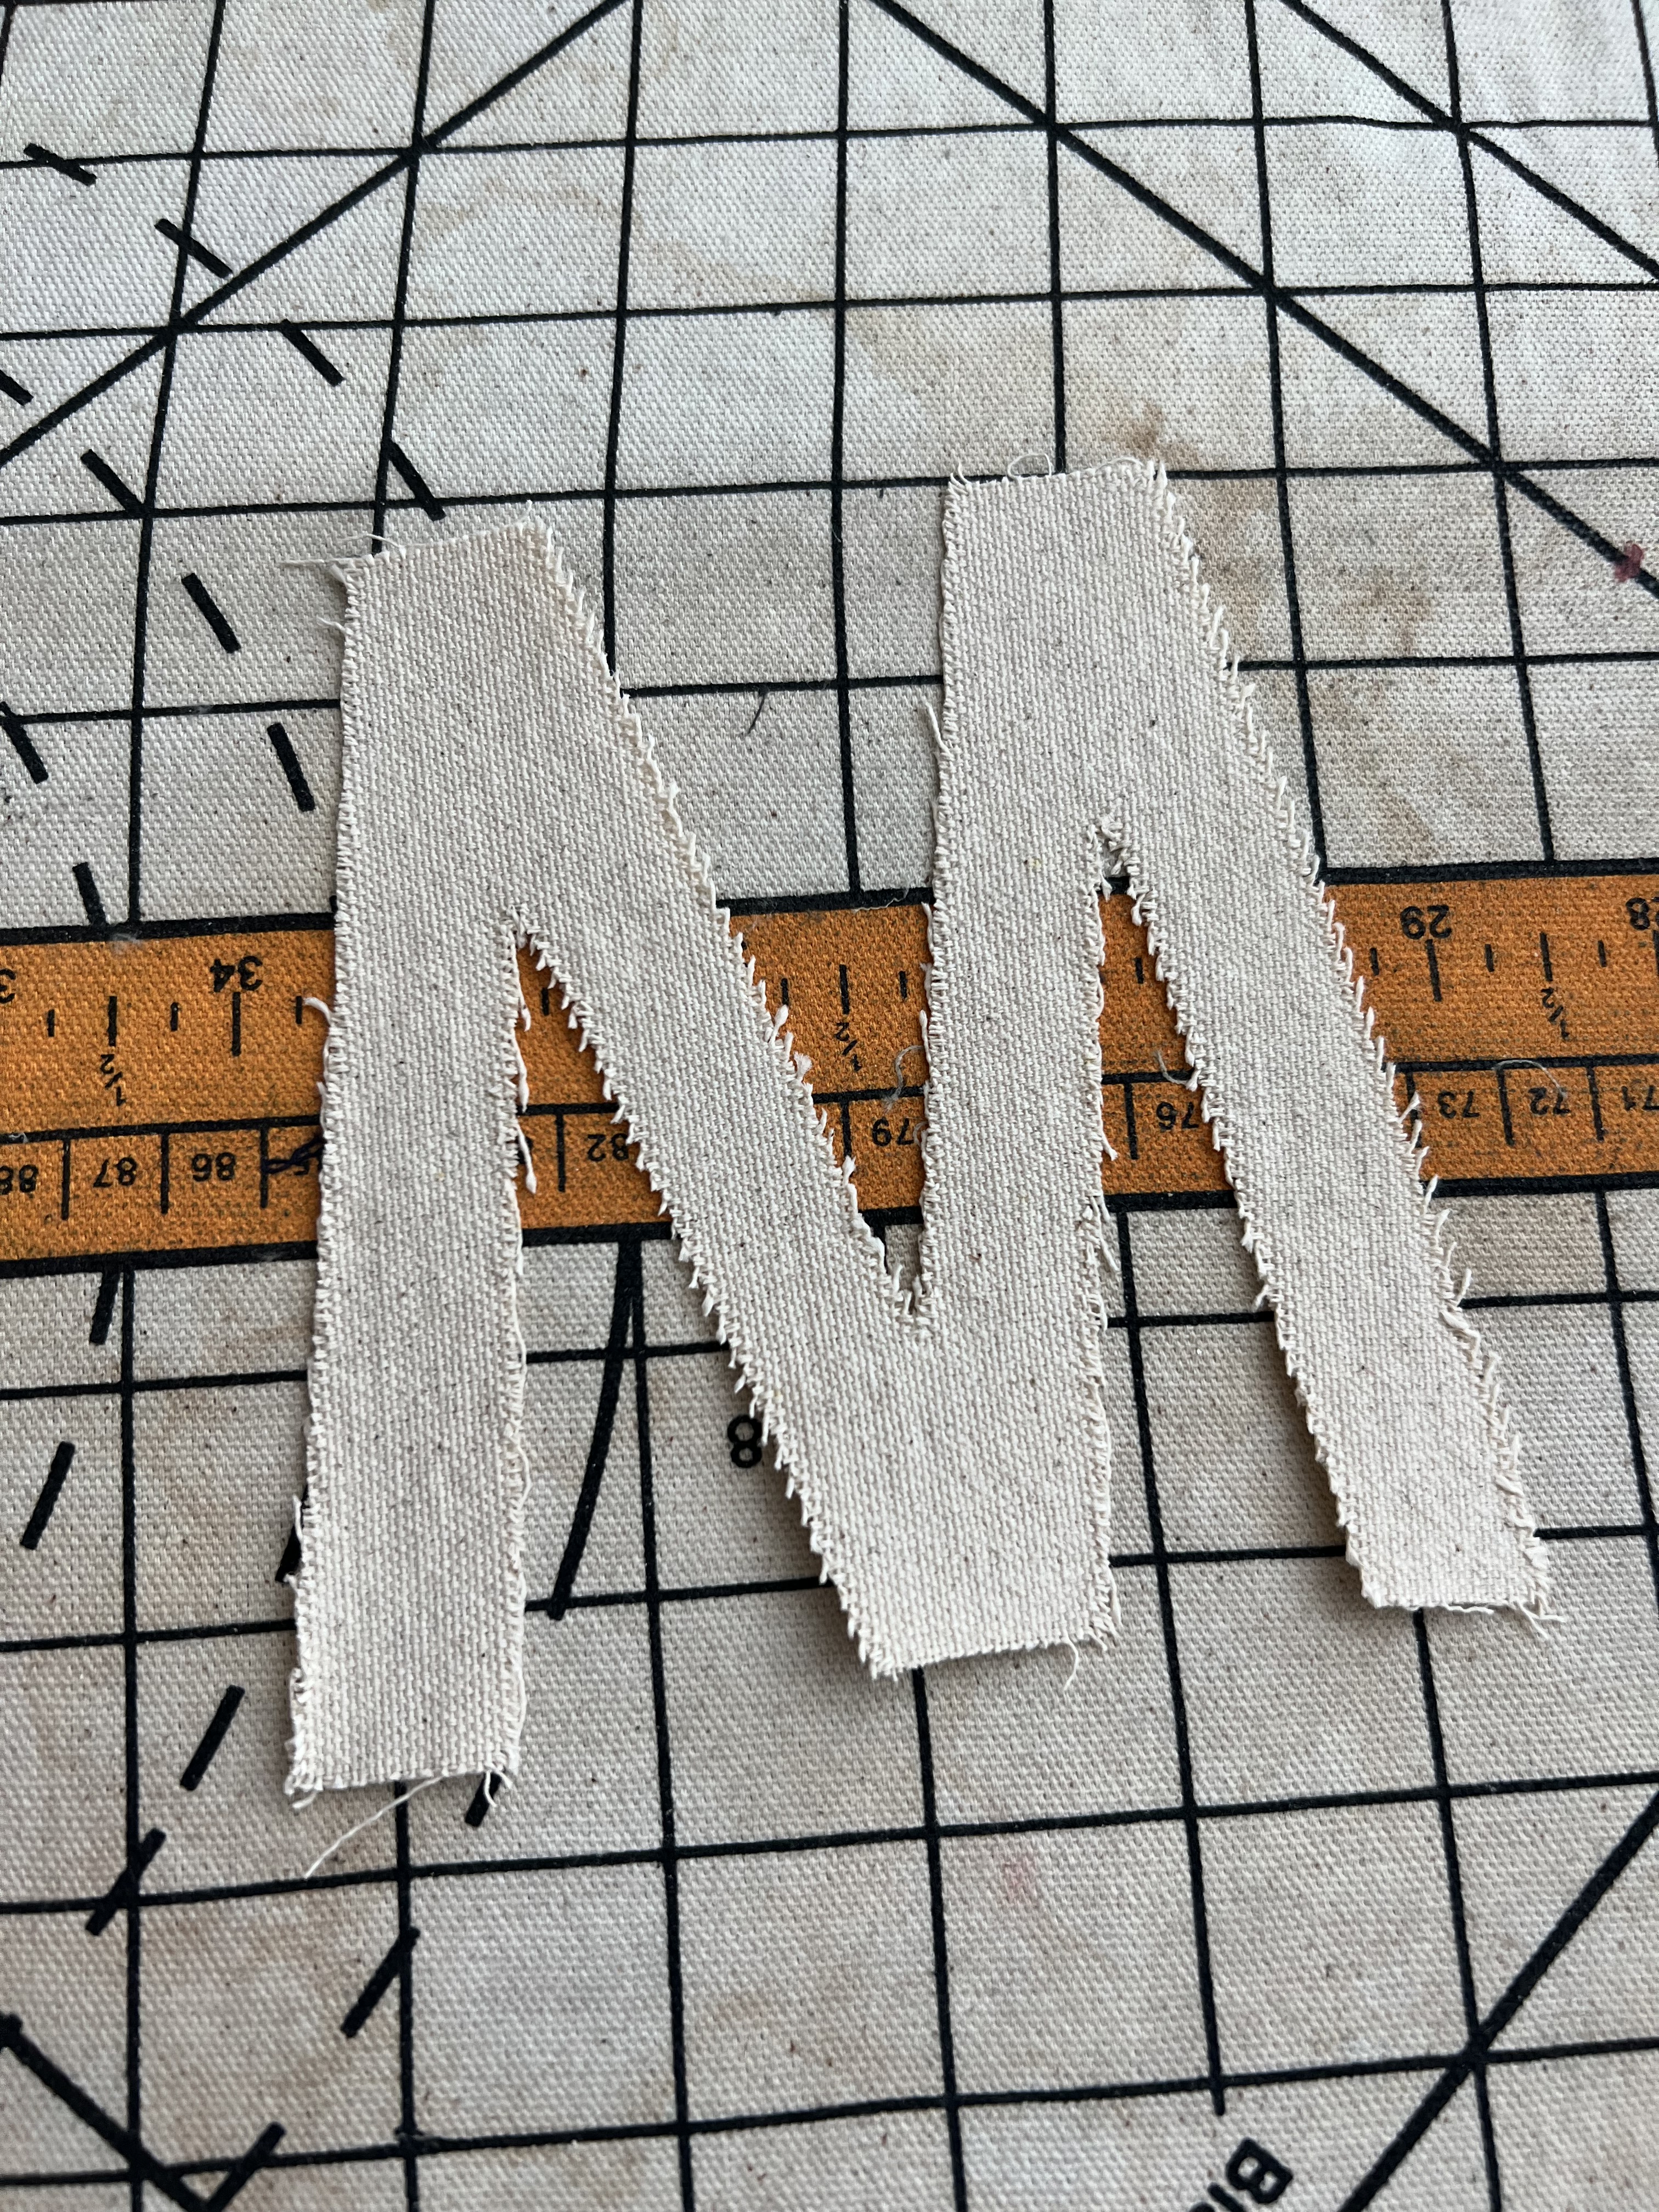
- First, using a clover air erasable marker, and 5″ letter stencils, begin tracing and cutting out the letters on the canvas fabric. The stencil will have little gaps in the letters- I connected these before cutting my letters out. Trace, and cut.

2. Once all your letters are cut out, they need to be prepped. I used Sta-Flo concentrated starch to help prevent extra fraying on the letter edges, and also to give the letters a little extra support. Using an empty basic cleaning supply spray bottle, pour the starch into the bottle. No diluting!! Lay the letter out on a baking sheet or clean surface, and generously spray the starch all over each letter. Now- they will curl up and look like you are ruining them, don’t worry!! They will be just fine.

3. Lay the starched letters out on a paper towel to dry completely. Again, they will be all curled up, don’t worry about keeping them flat.

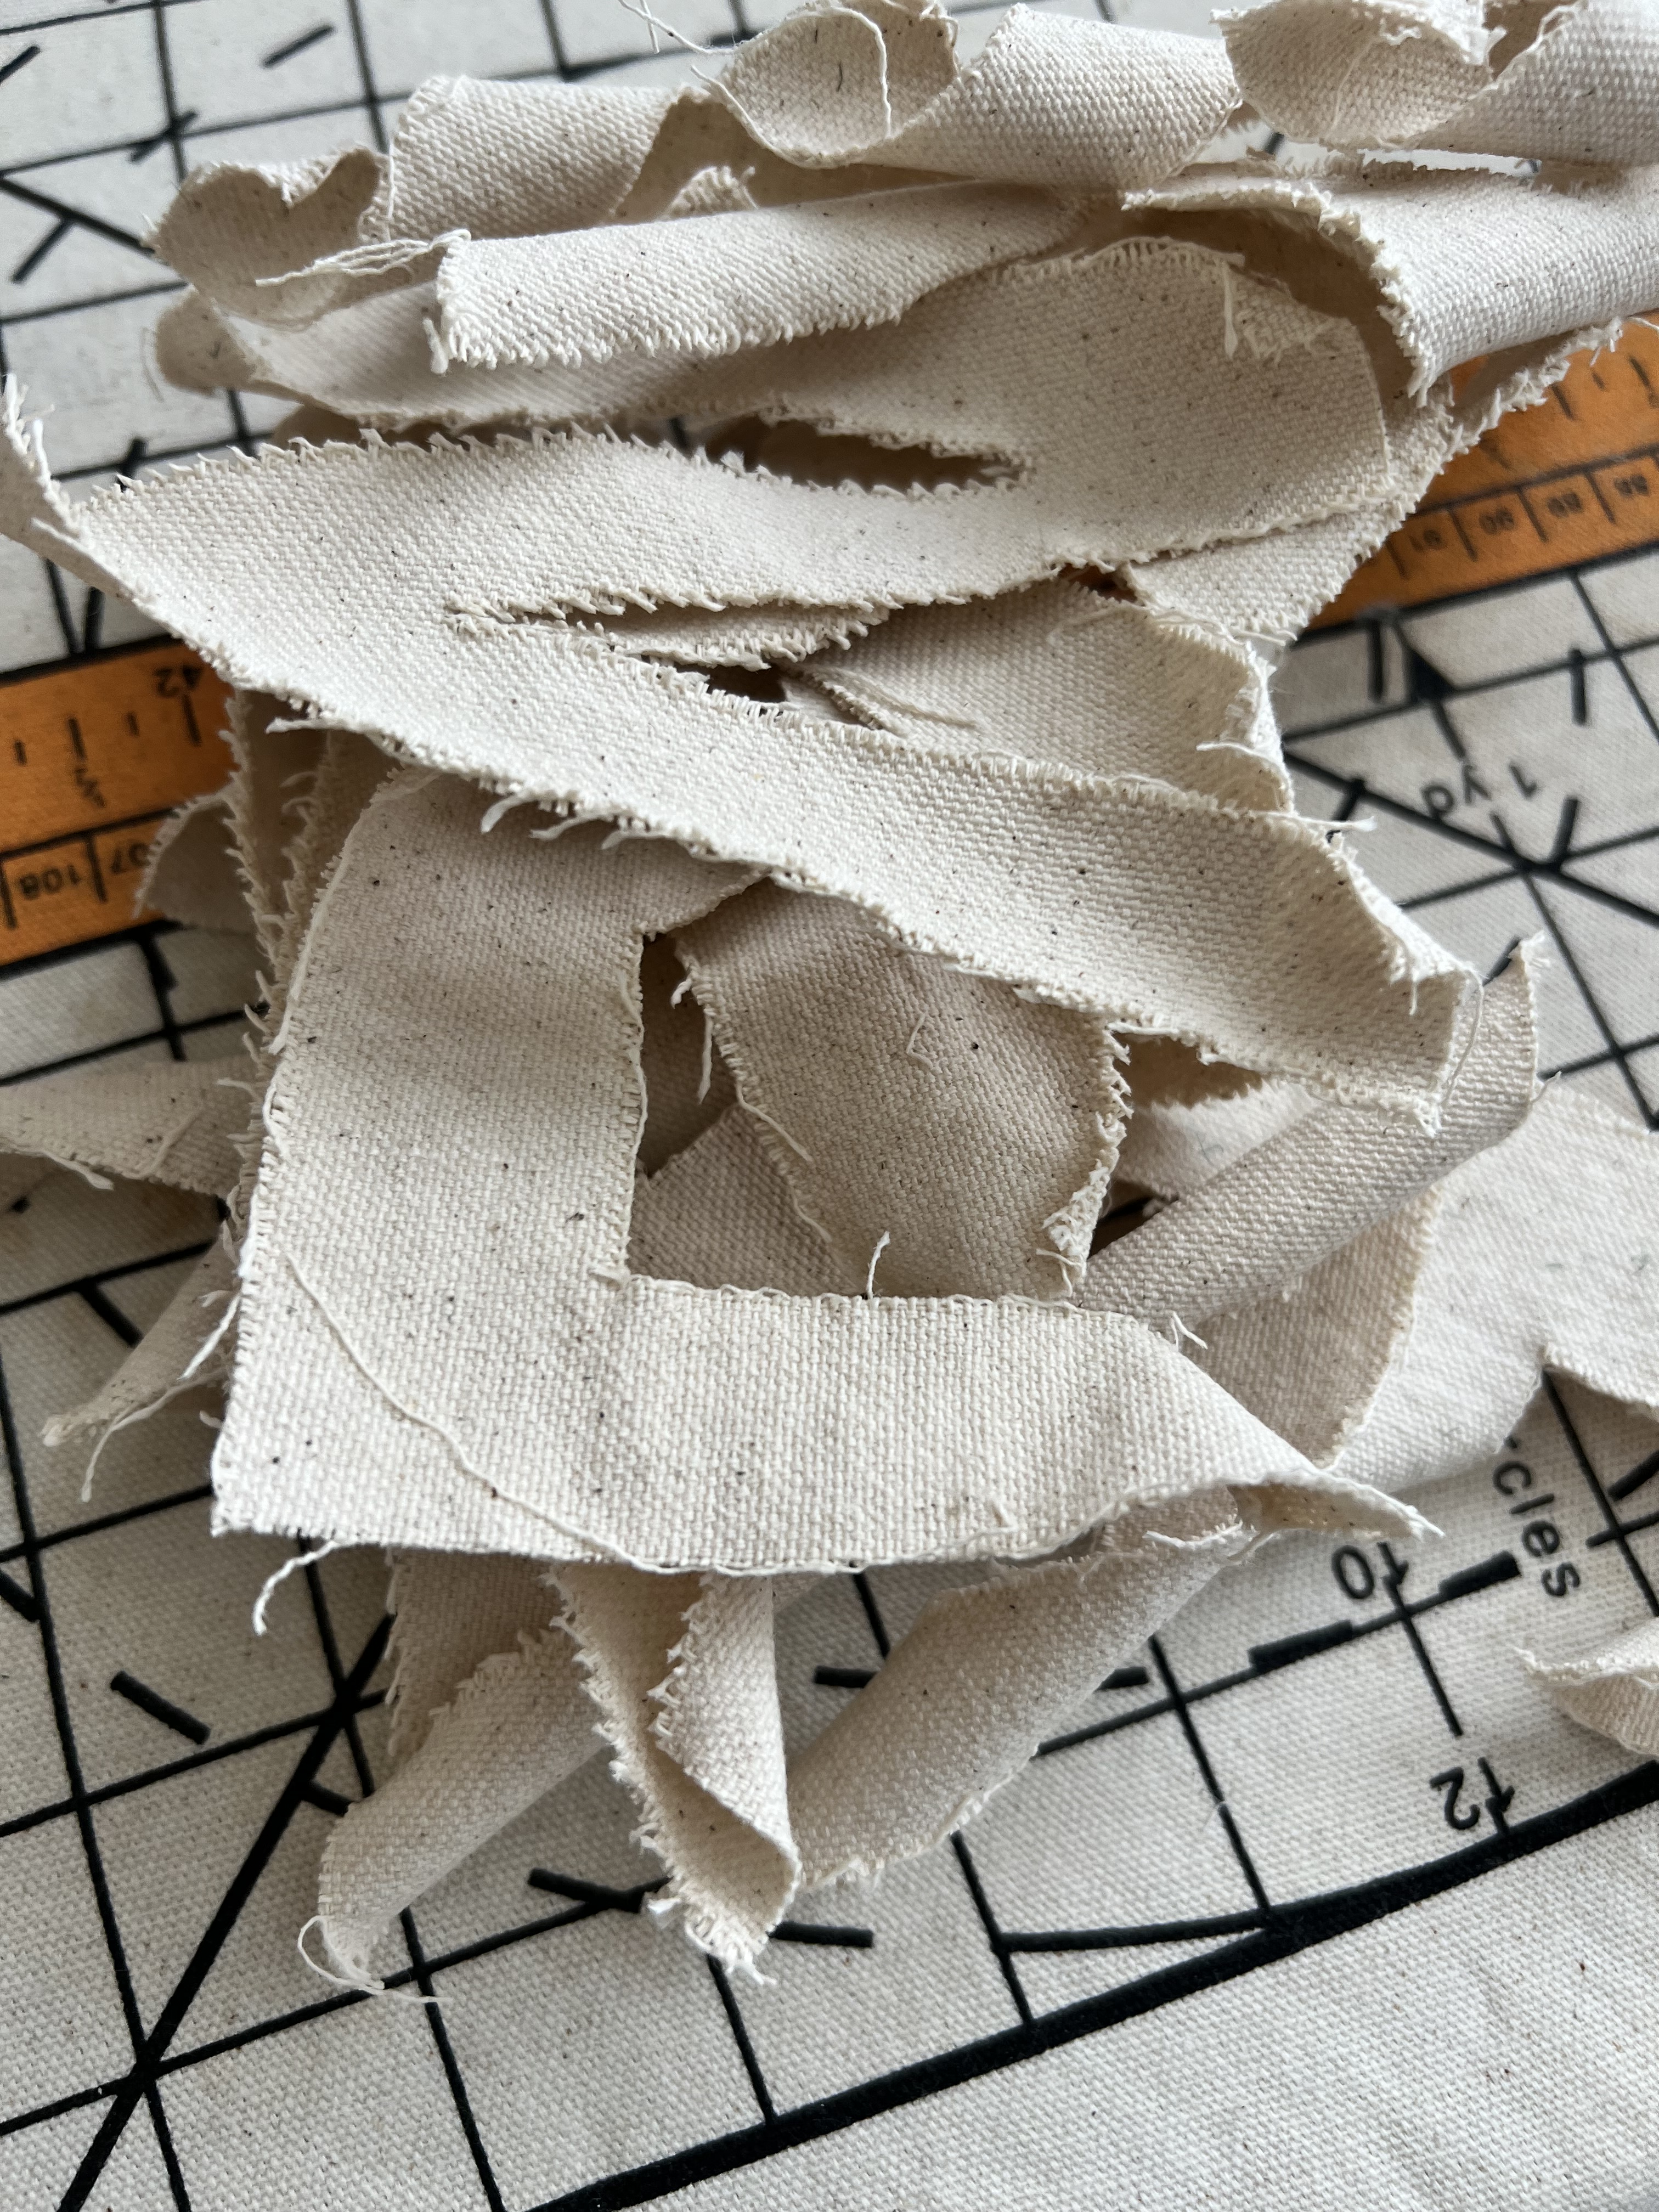
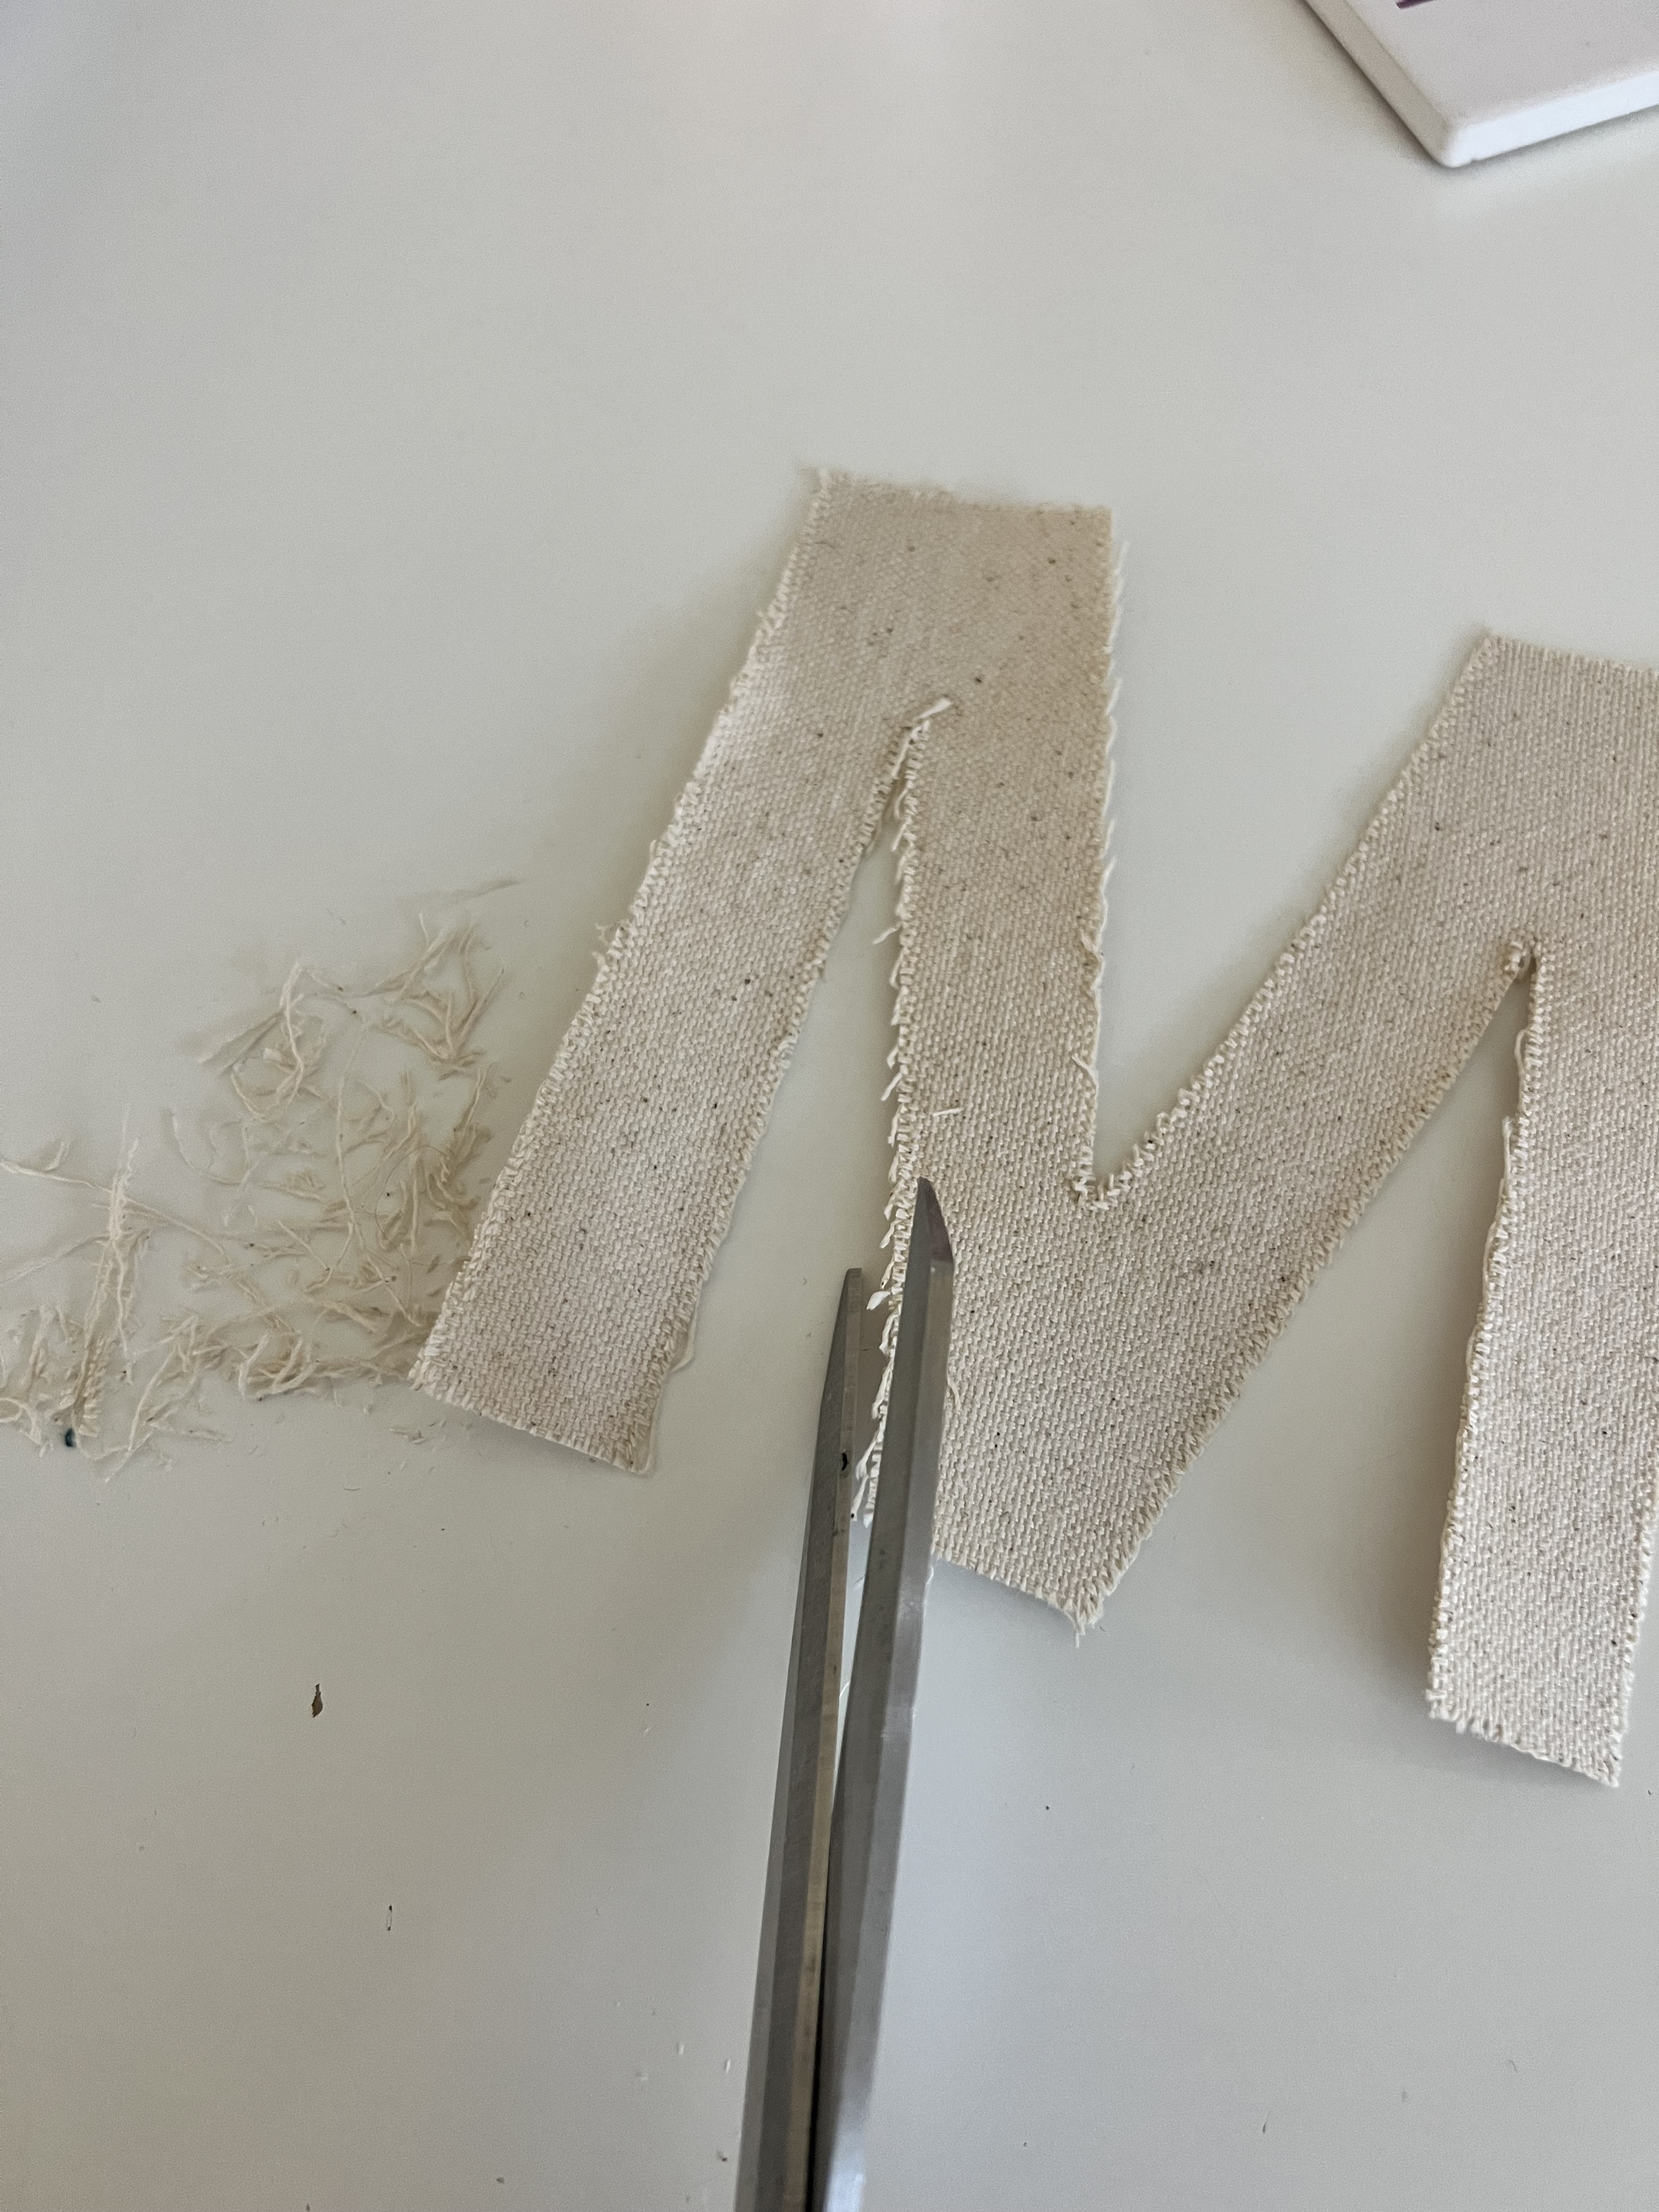
4. Once the letters are completely dry, using your iron- give them a good press with steam. They will become flat and crisp. Gently trim any fraying around the edges to clean them up.


5. Now that the letters are ready to be applied to the tapestry, we need to decipher the exact size of the tapestry. You can do whatever fits your wall or saying best. It’s helpful to lay the letters out just how you want them, and play around with the size. Mine ended up being cut to 27 1/2″ wide by 39.5″ tall. I cut the side edges and top edge, leaving the nice fray along the bottom of my mud cloth remnant as is.
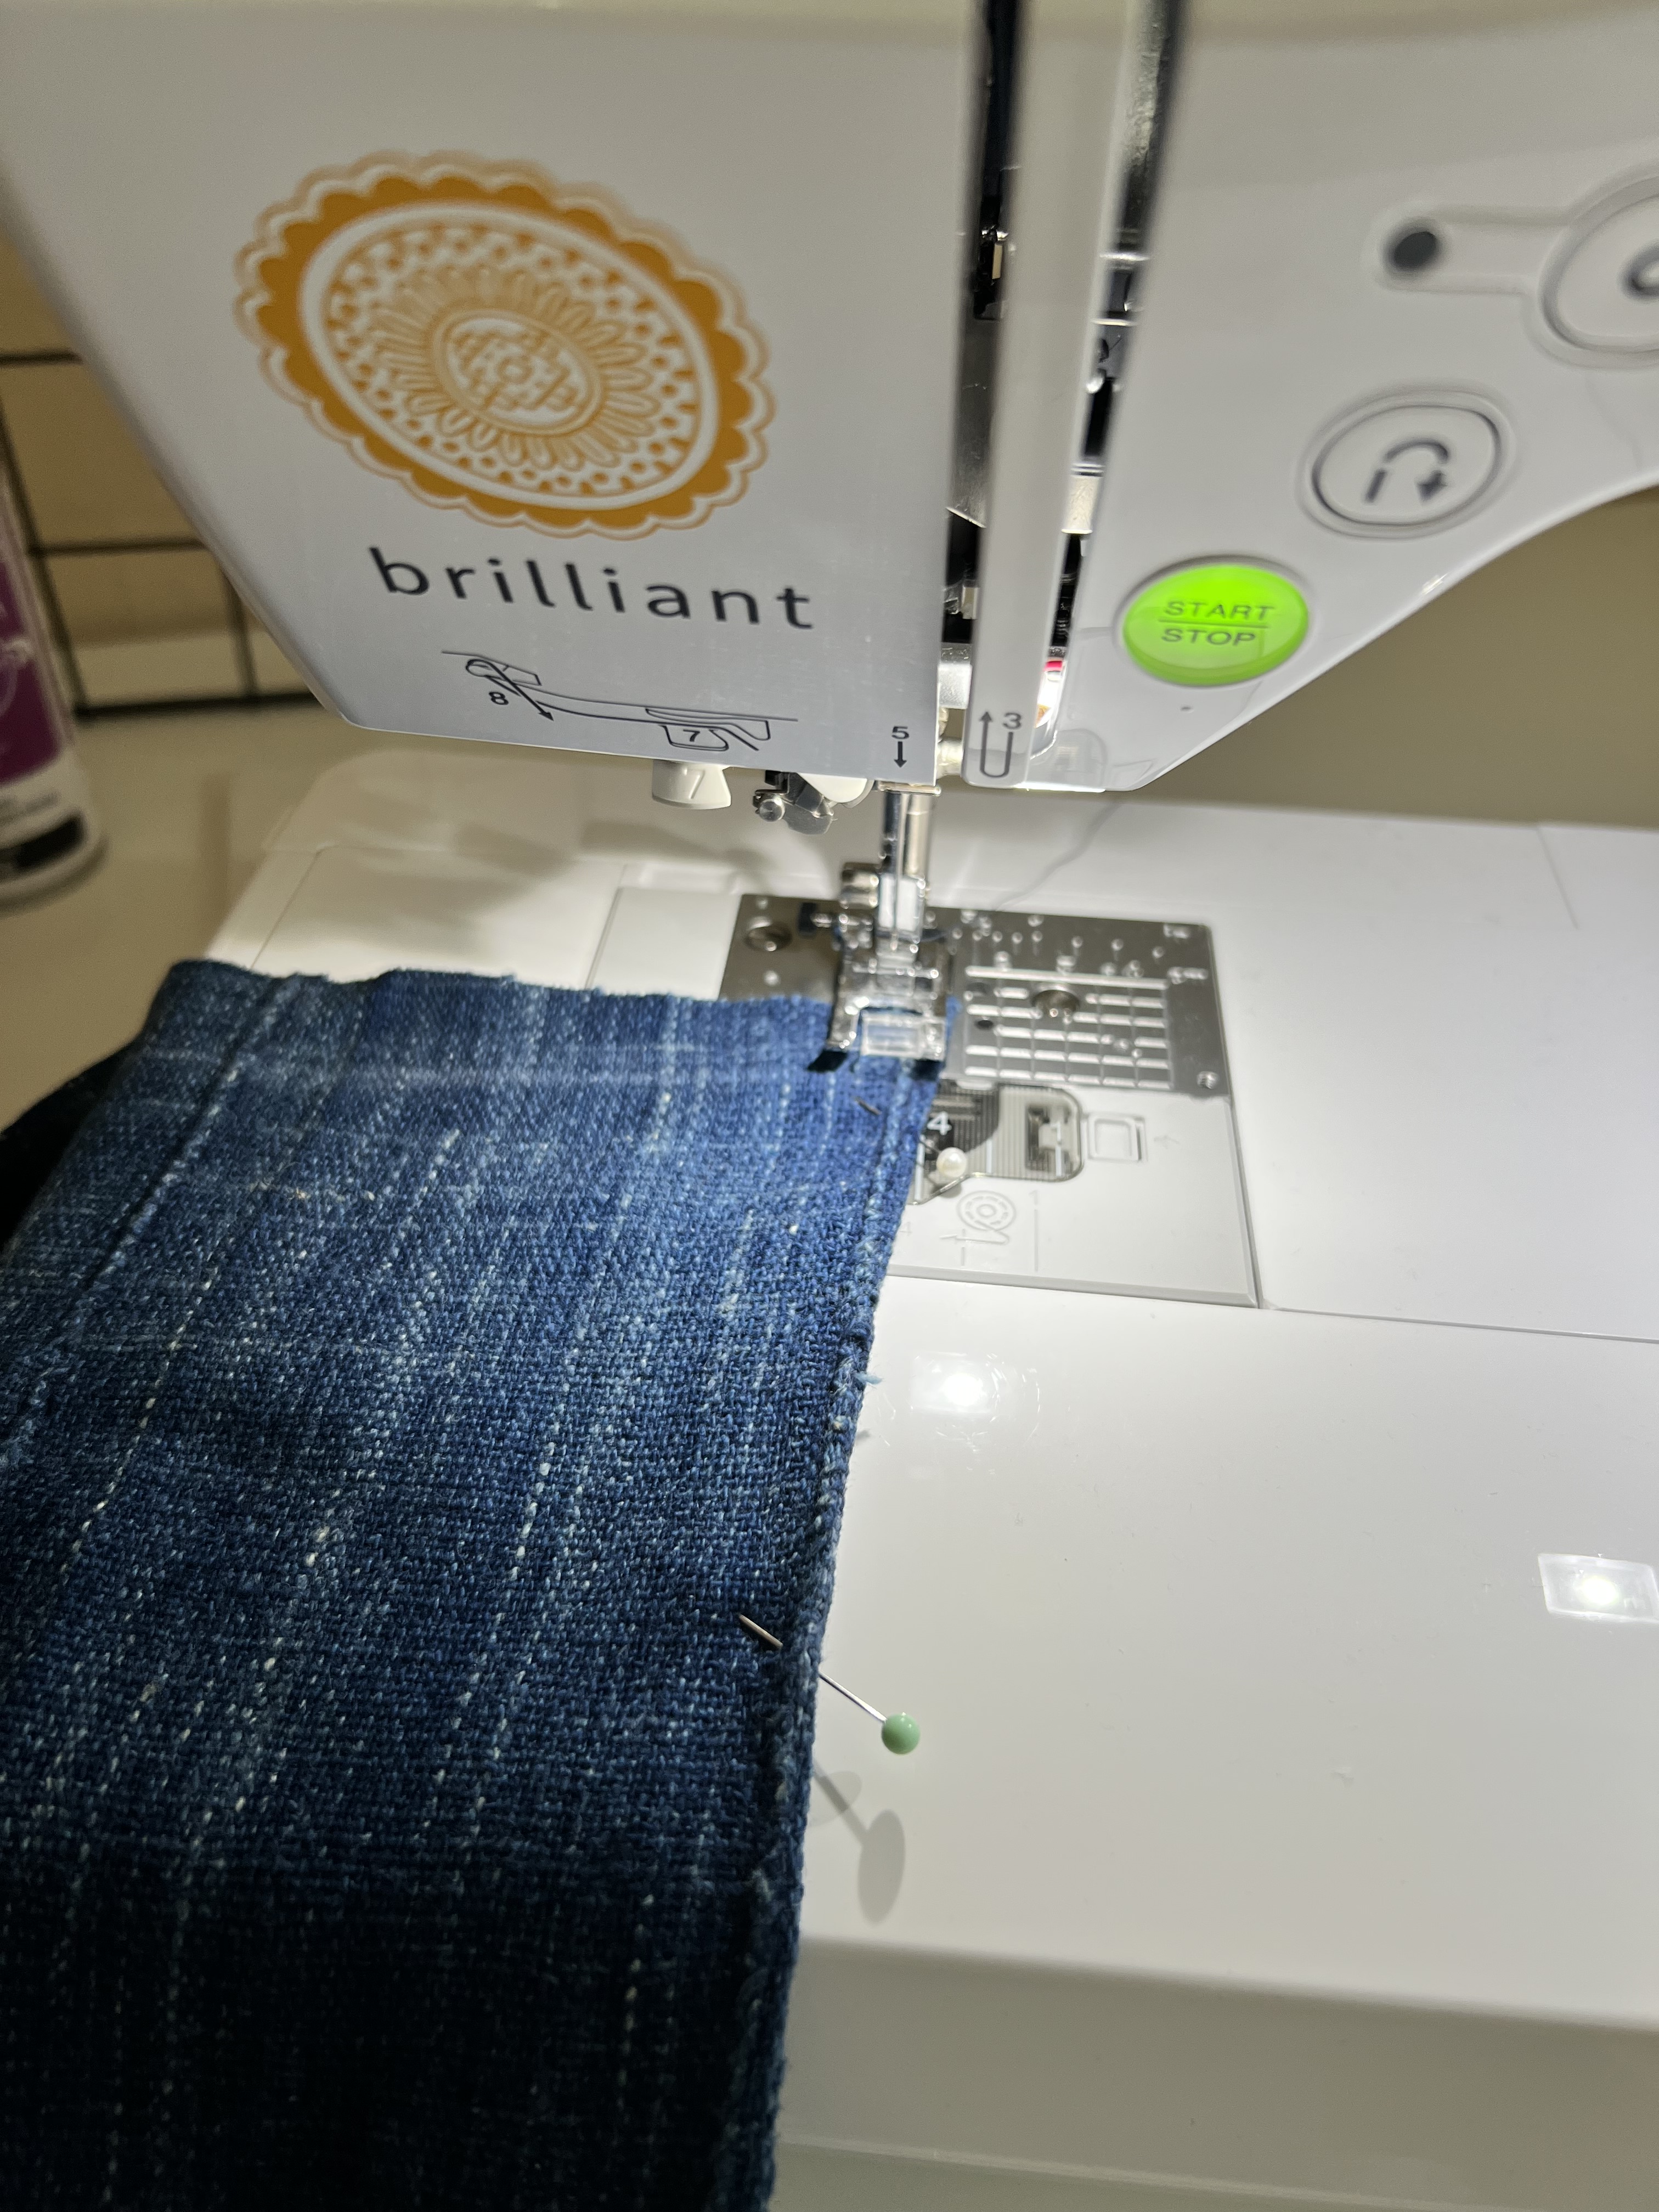
6. Once you have your tapestry cut to size, it needs to be hemmed. I hemmed mine along the side edges using my Baby Lock Brilliant machine with a simple straight edge stitch. I folded the edges in to the wrong side at 1/2″ and sewed along the frontside of the tapestry edge. I left the top un-hemmed and saved this step for the very end.
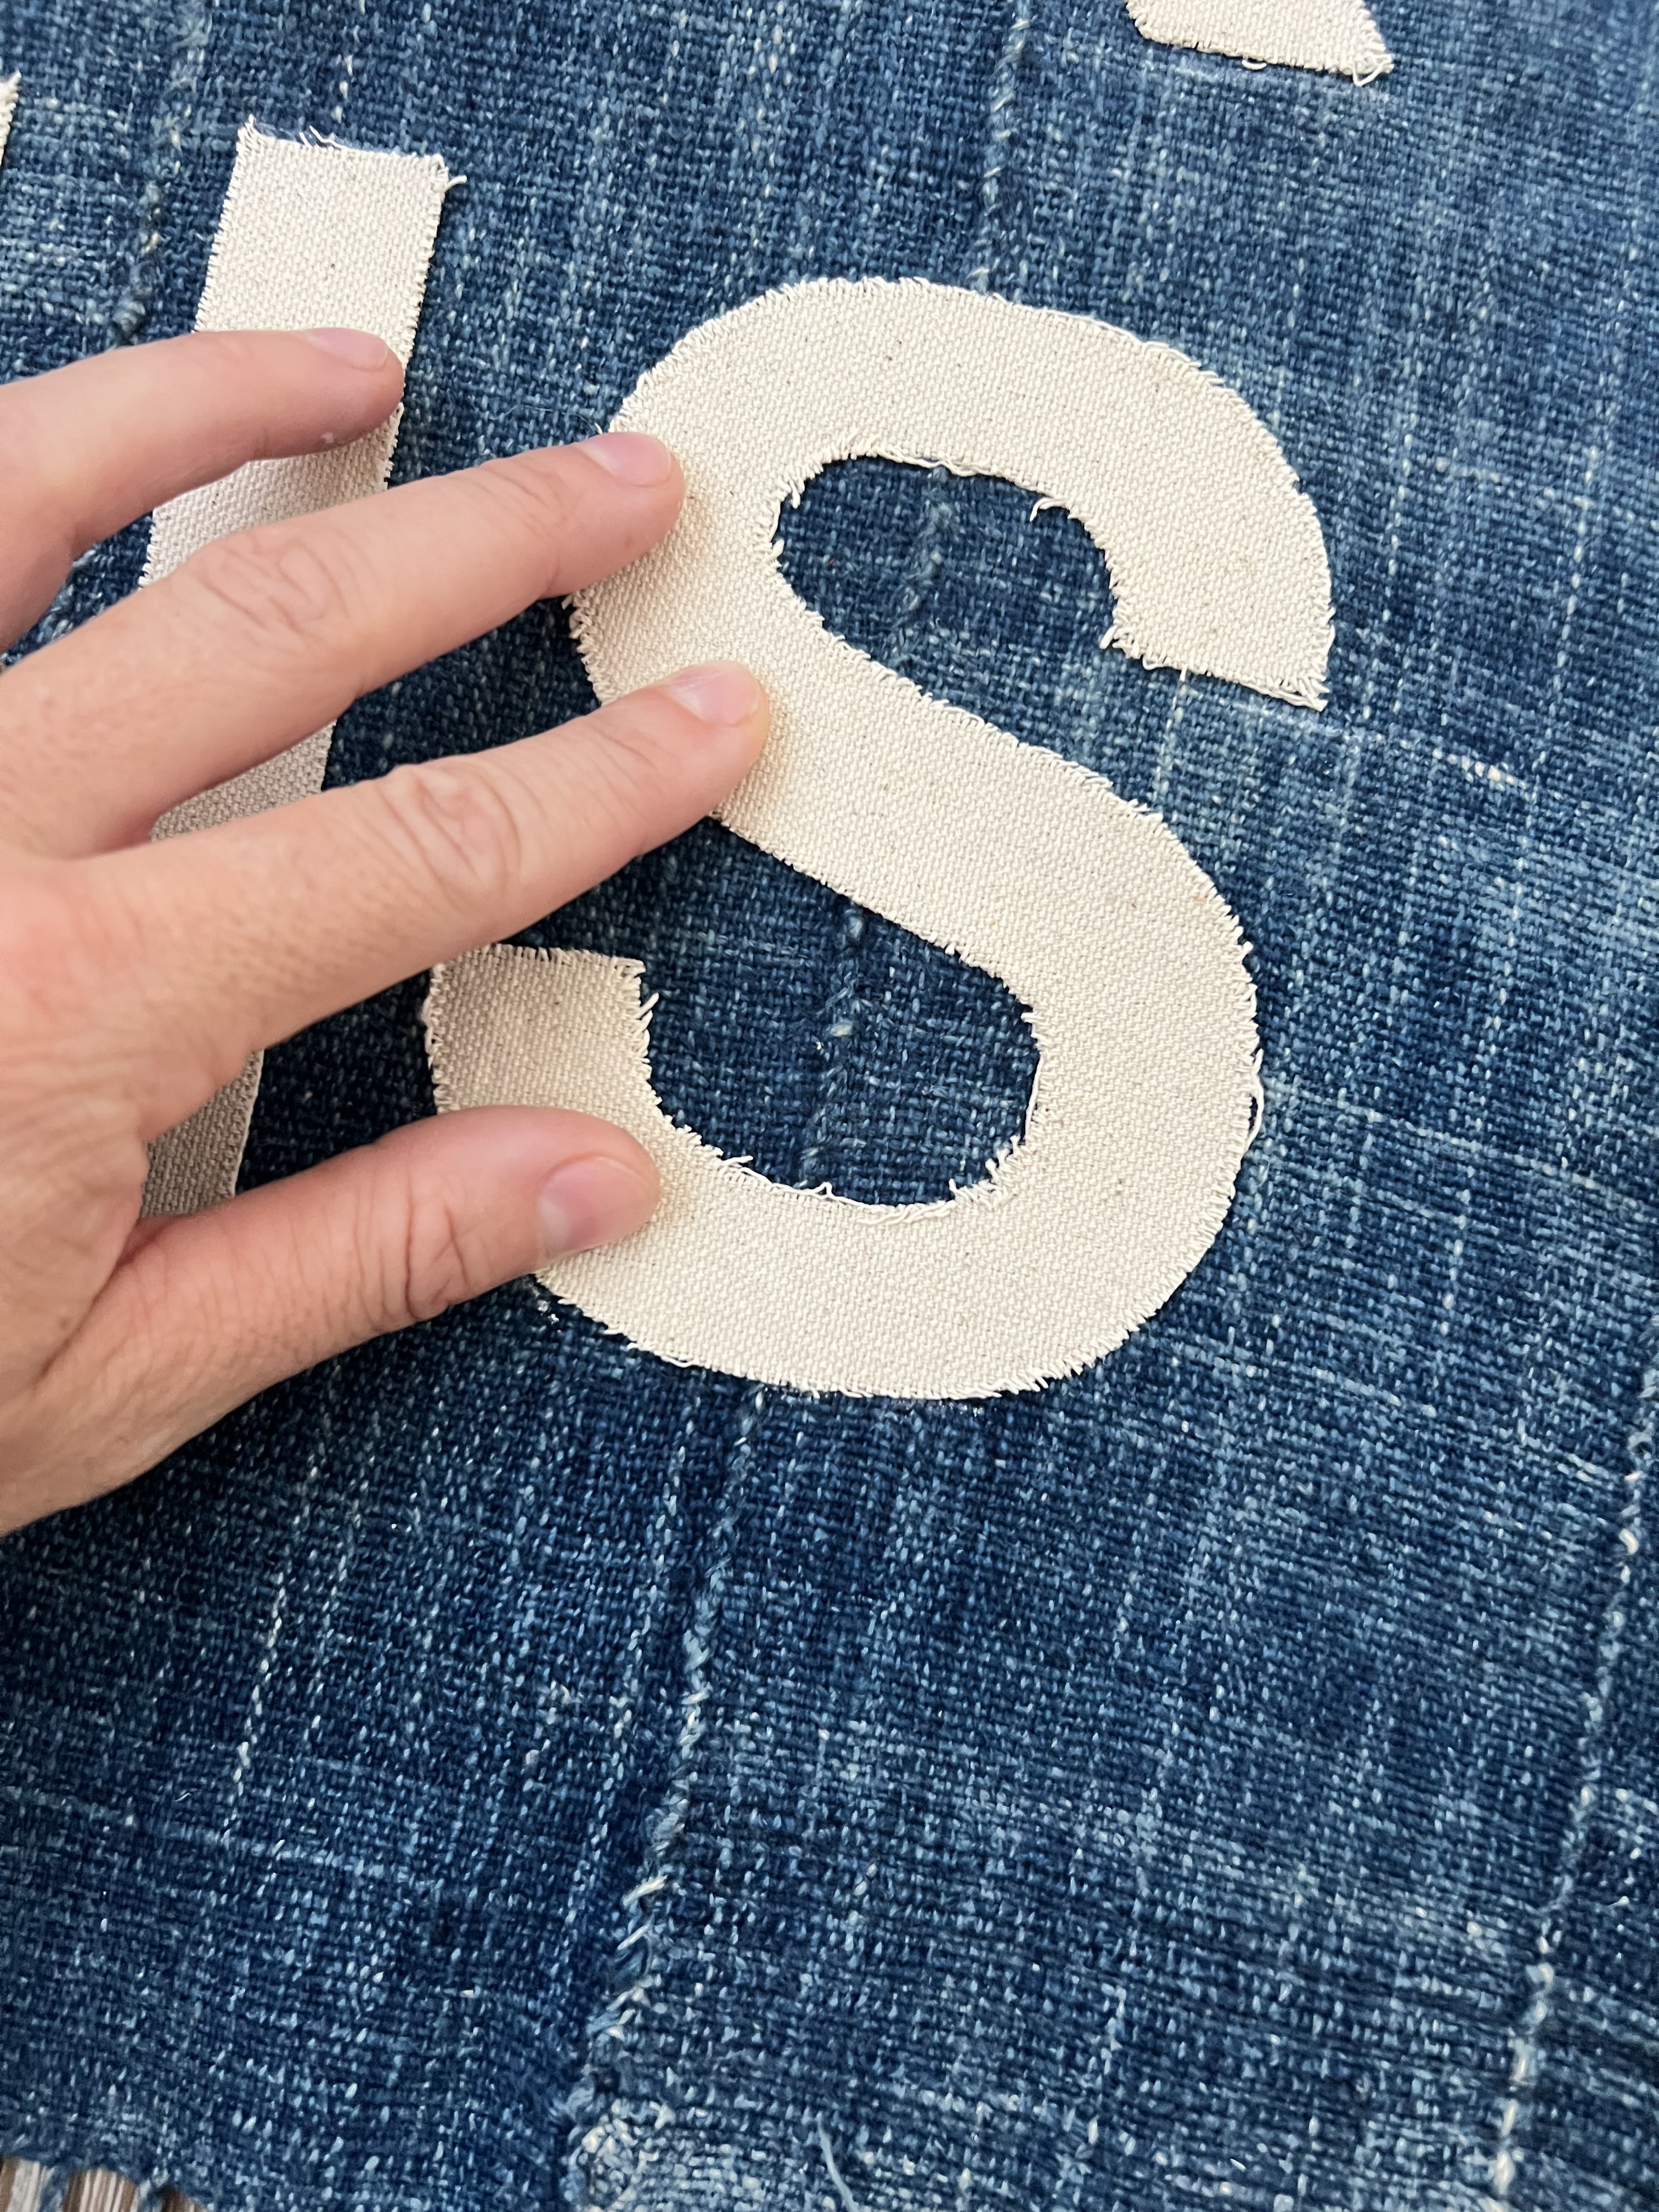
7. Place your letters on the prepped tapestry just how you want them. I centered mine. And remember- it doesn’t have to be exactly perfect!! You want it to have a little bit of that handmade charm.

8. Grab a cardboard box or newspaper and some Spray and Bond Basting Adhesive spray. I really liked using this spray (linked above in supply list) because it adheres the letter to the tapestry, drys very quickly and can be adjusted while still tacky. I adjusted a few letters many times and they stayed right where I wanted them. It also does not gum up your needle. This was much easier than pinning each letter on, and held them in the correct placement while sewing. This product is really awesome!!
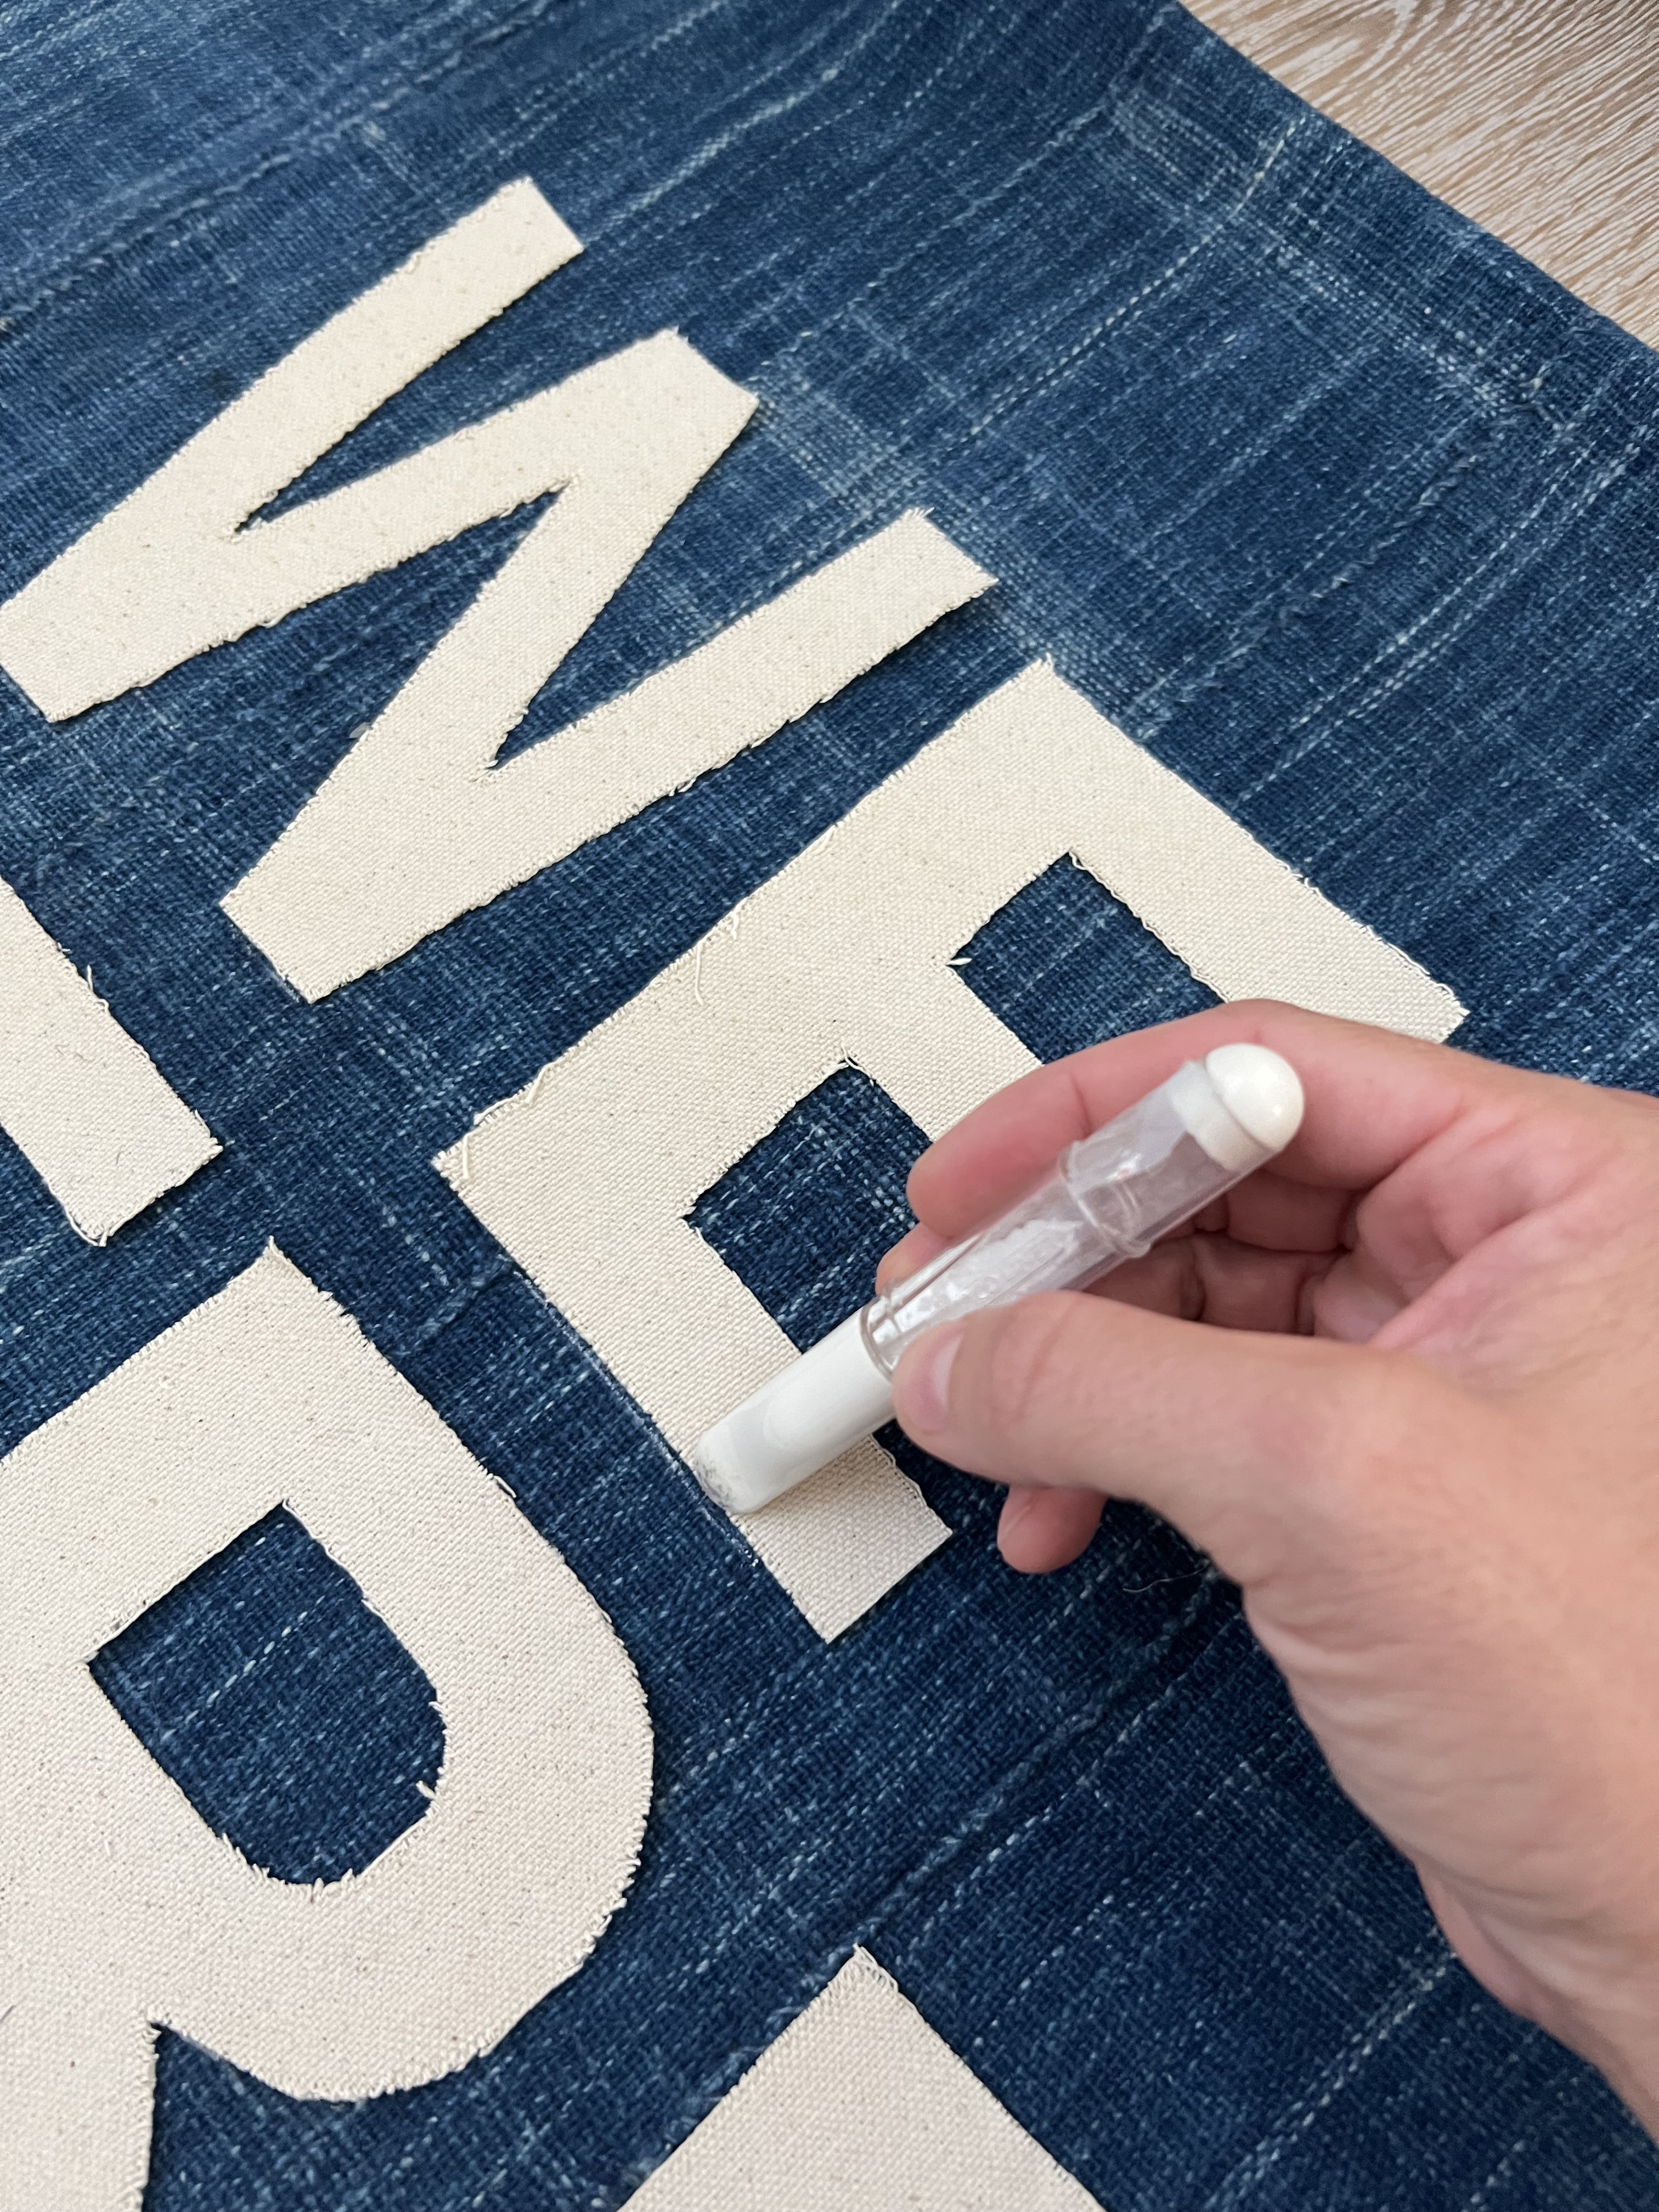
So, using a chalk pen, I marked the bottom of the letter placement before taking it off the tapestry to spray. Place the front side of your letter down on the cardboard, generously spray the backside of the letter with the spray and bond adhesive spray and stick the letter back in place to the tapestry. I did one letter at a time.

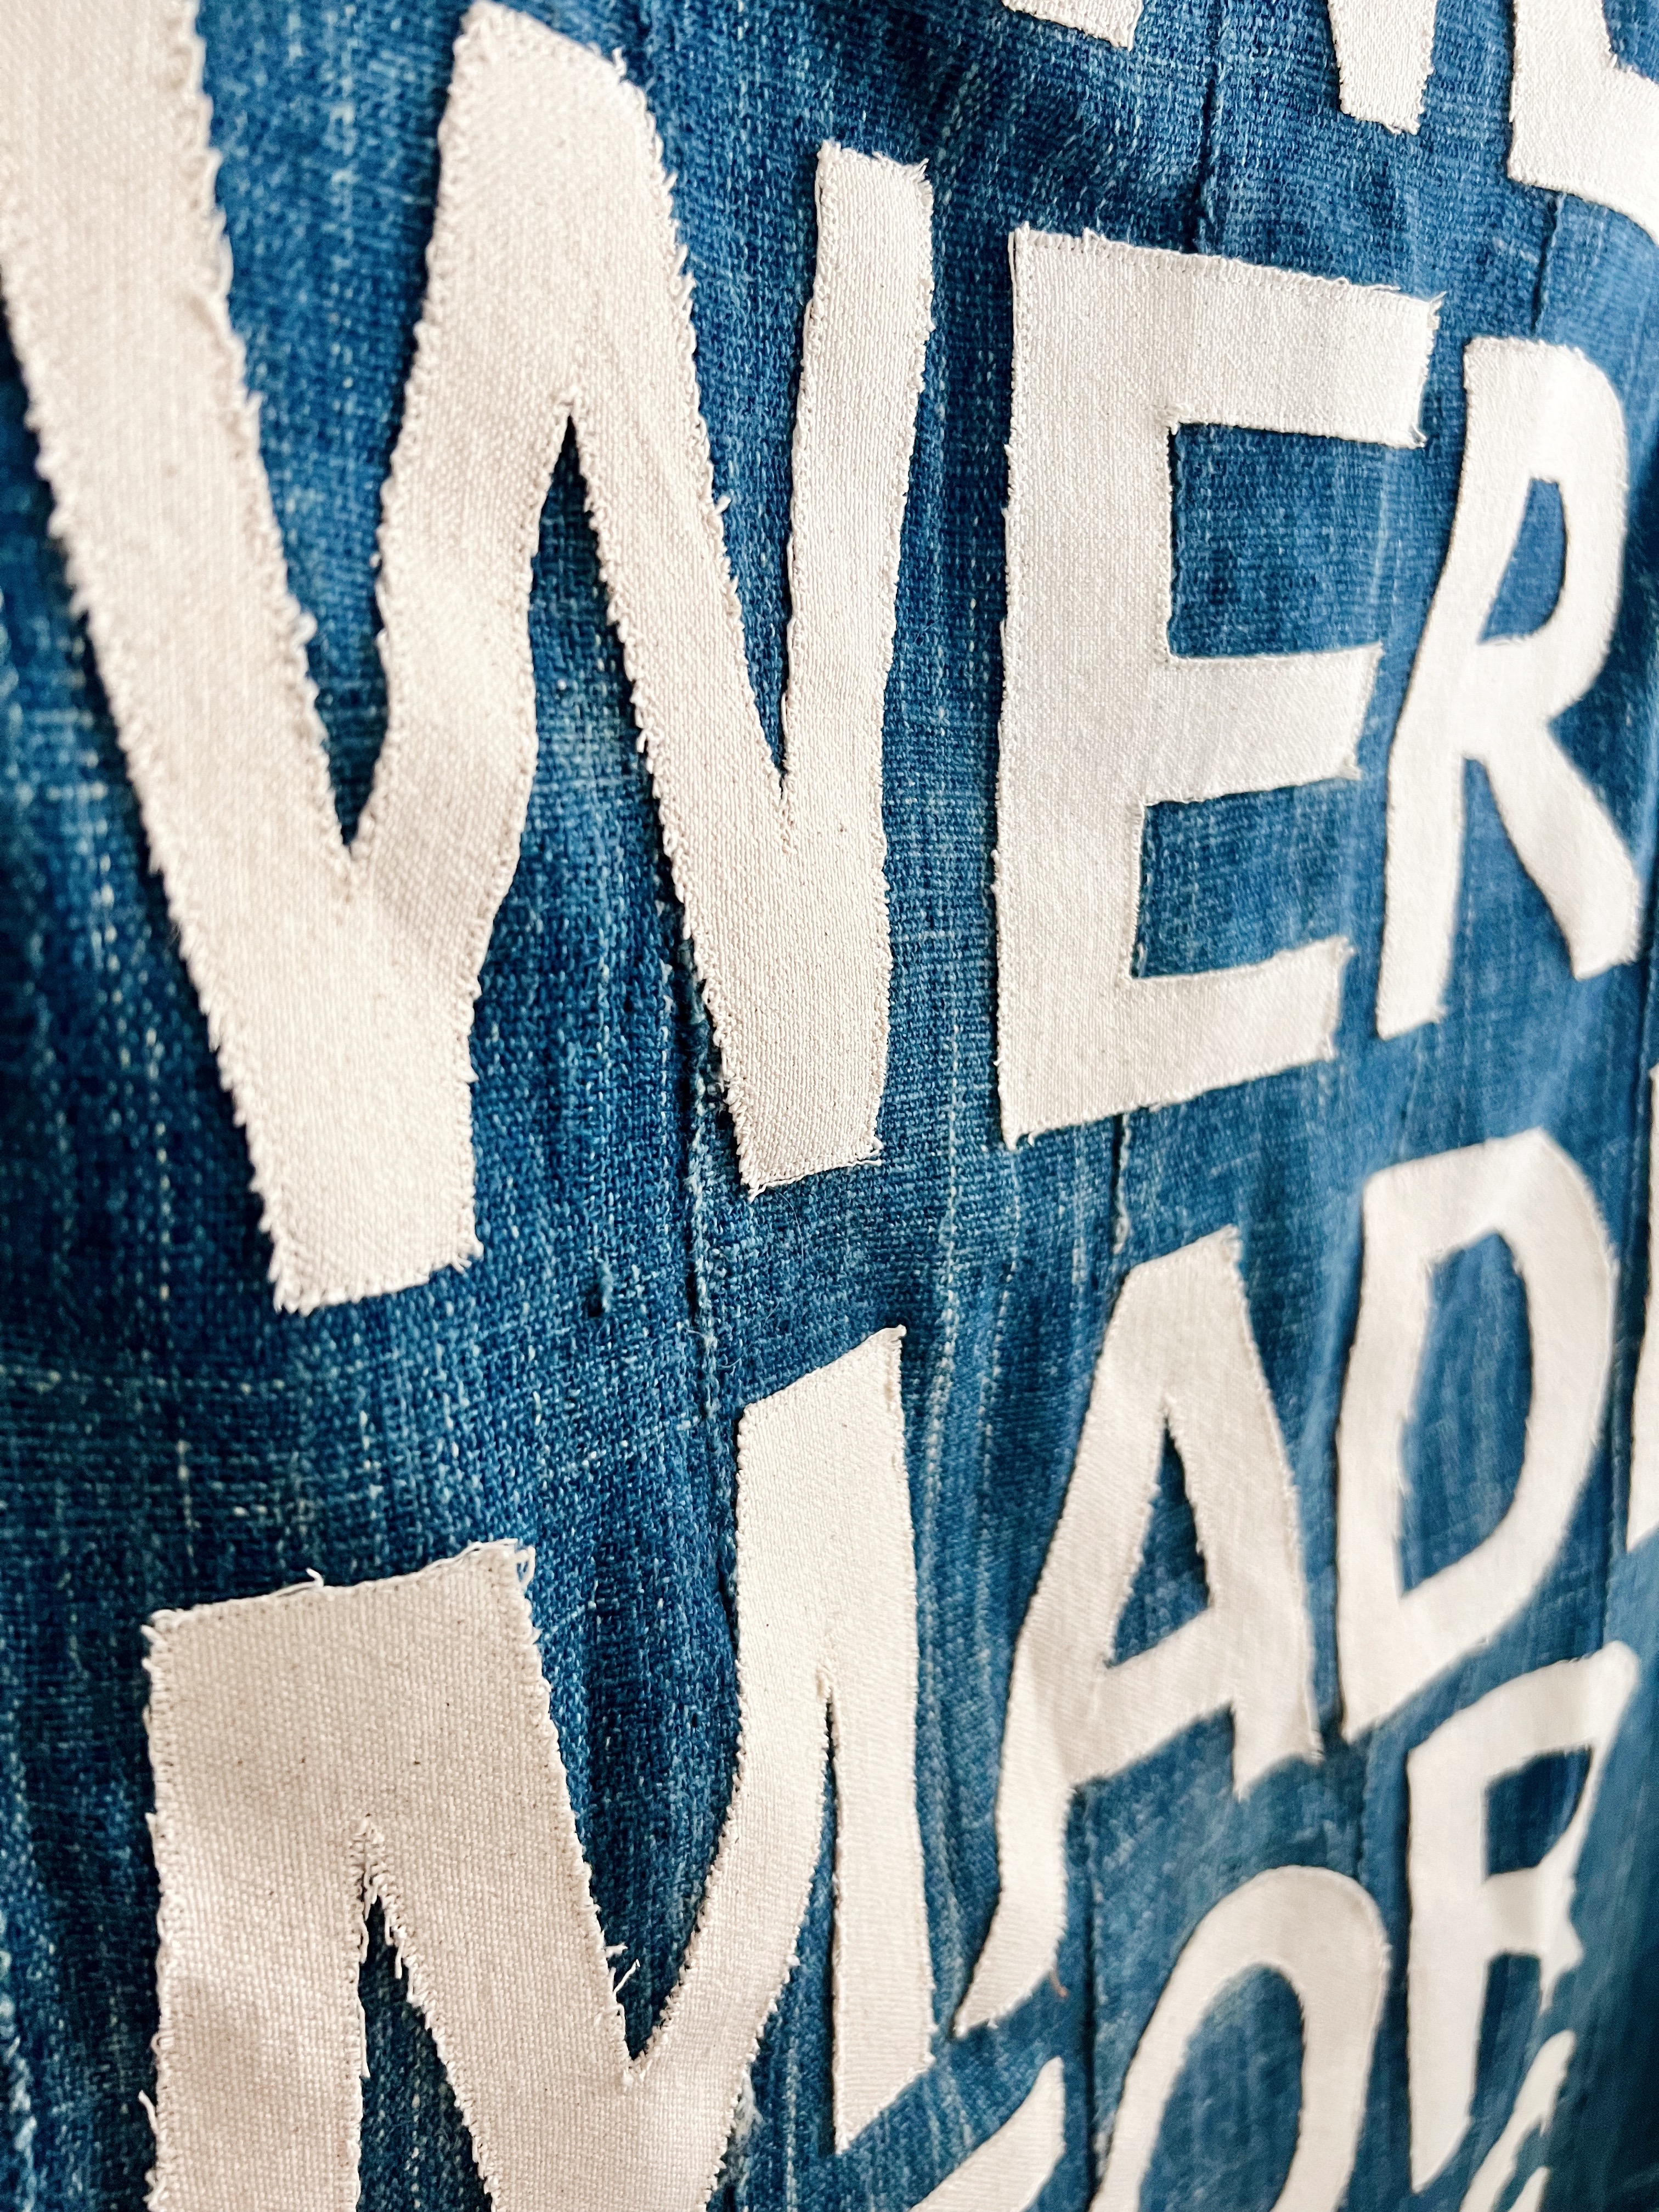
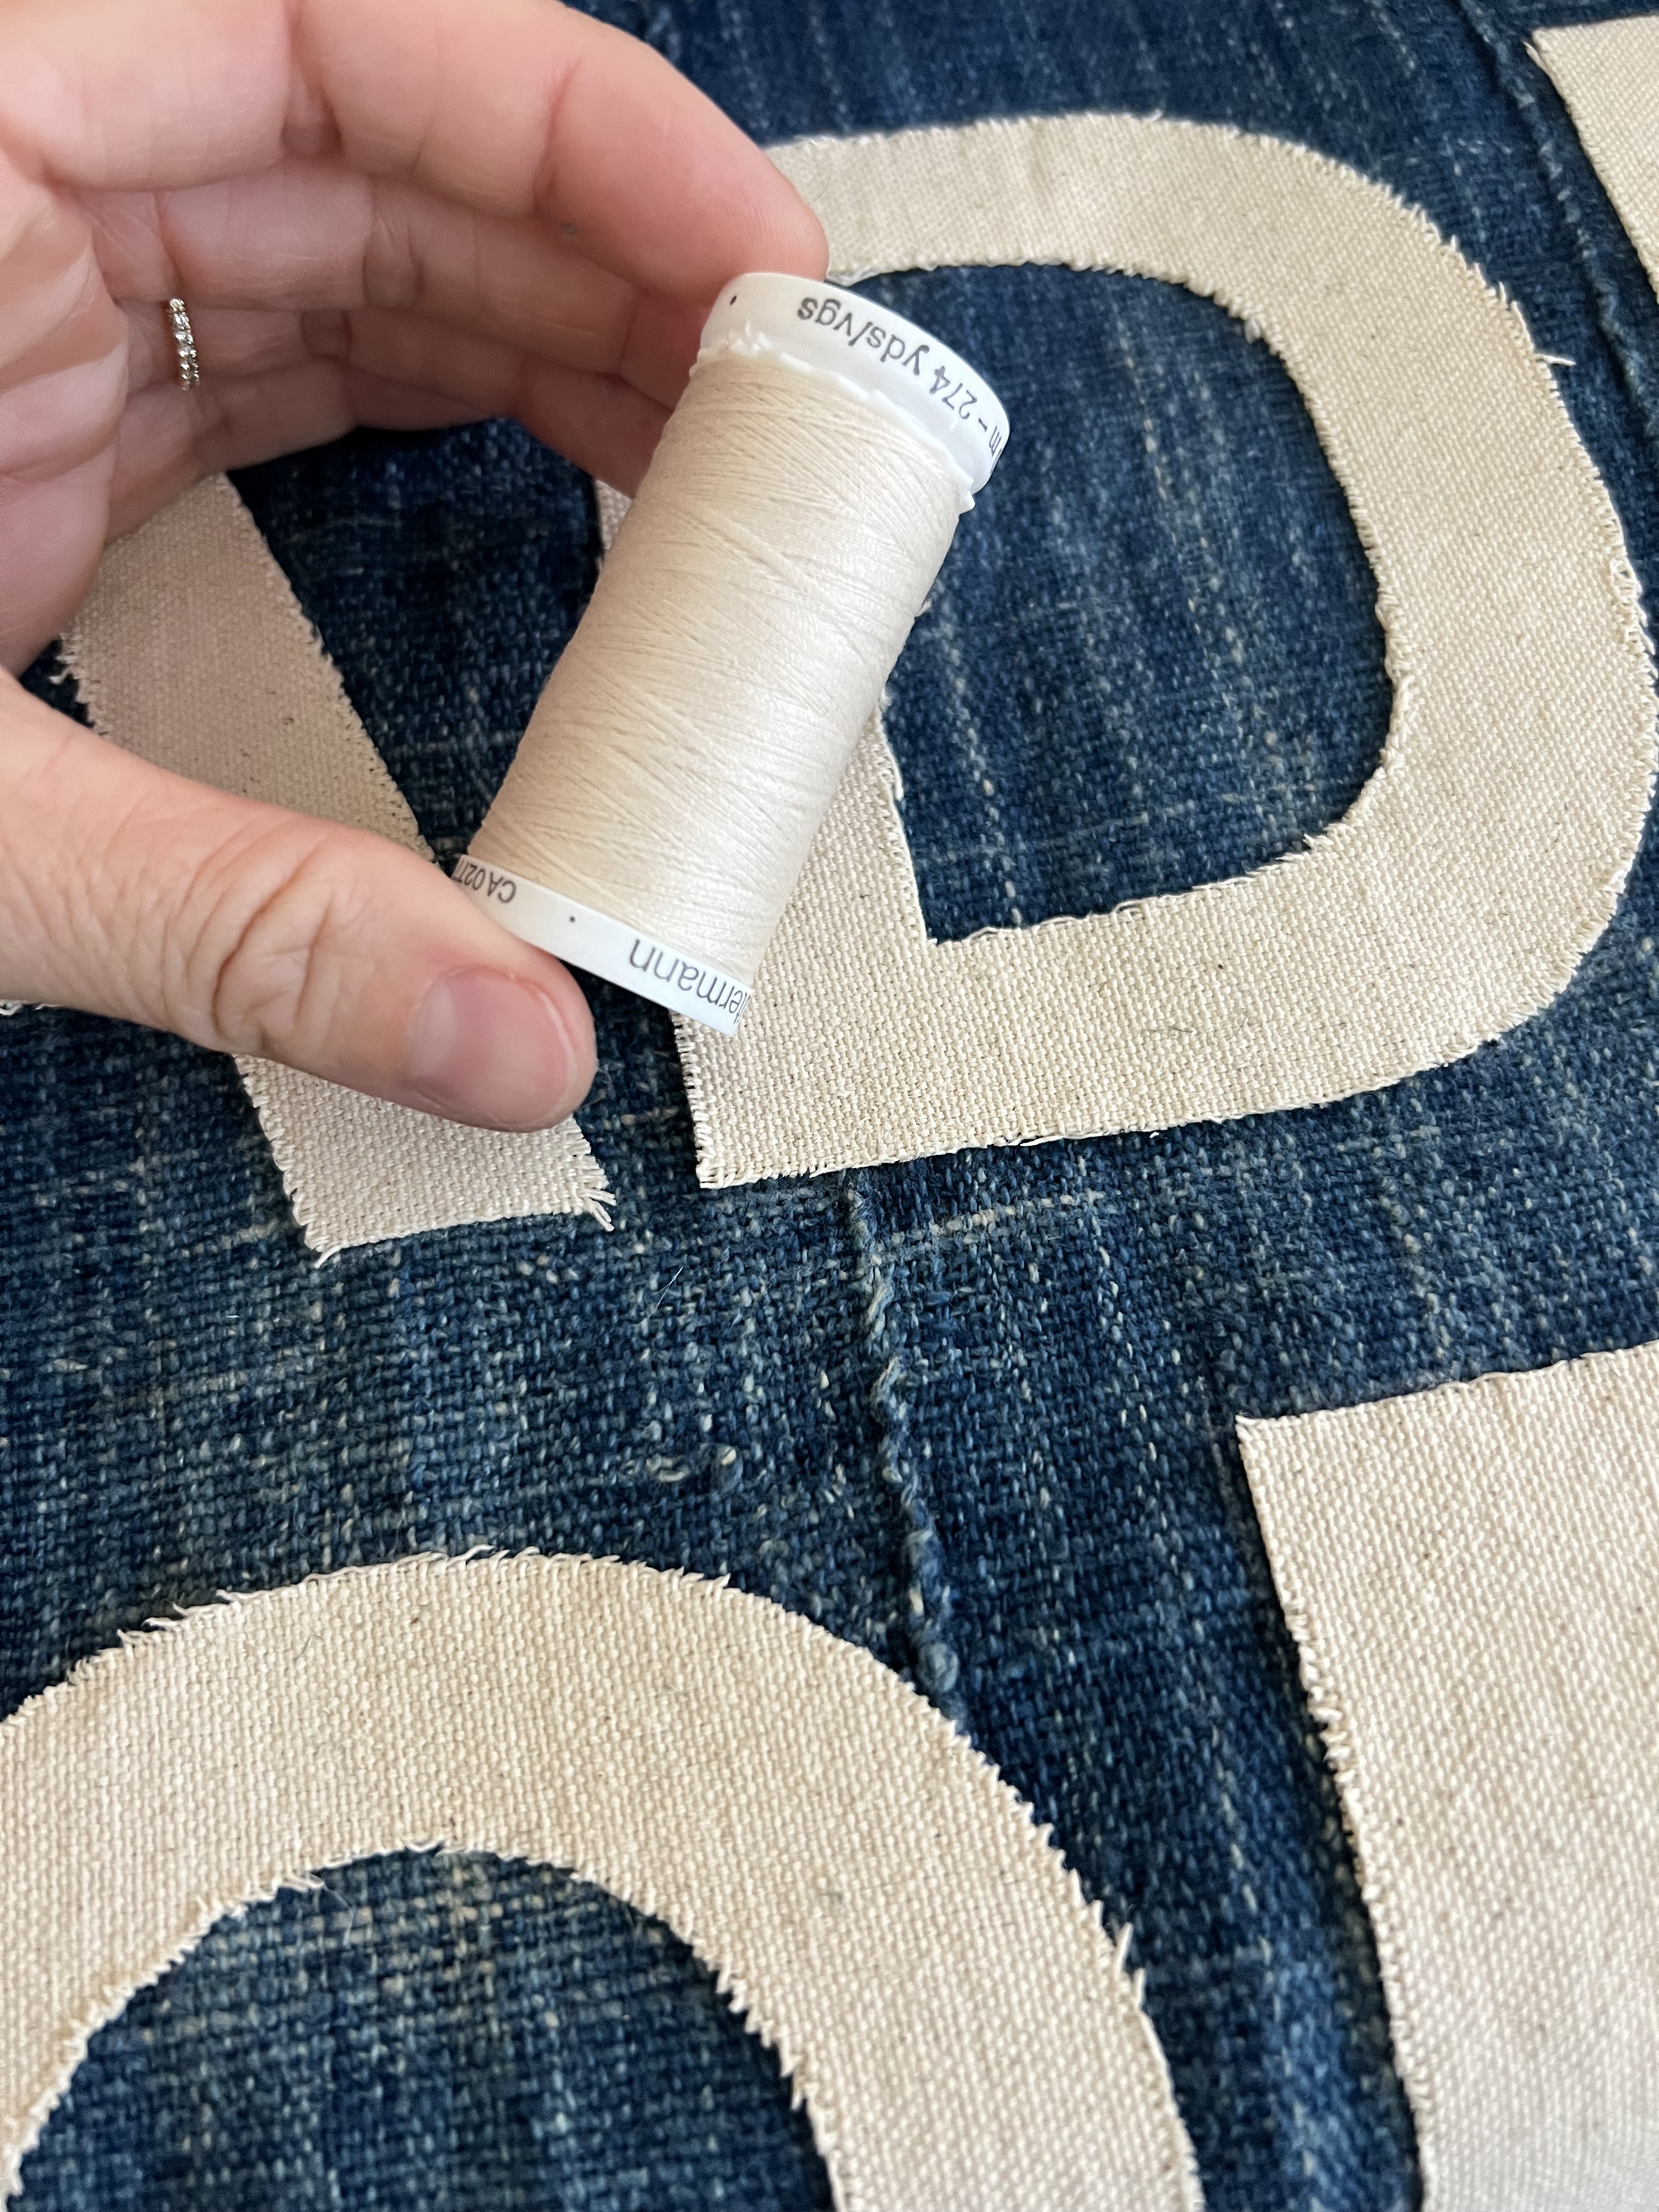
9. Once all the letters are dried and stuck to the tapestry, we can begin sewing! I used foot R from my Baby Lock Brilliant sewing machine, moved the needle over to the left set at 0.5mm, and edge-stitched all around each letter using matching thread.


10. Now we need to hem the top and insert the eyelets. First, apply your interfacing scrap to each top edge on the backside of the tapestry, about 1 1/2″ down and 1″ over from the edges.

12. Now hem the top edge by pressing it to the wrong side 1″, and then again at about 1″. Edge-stitch in place.


13. Insert the extra large eyelet right where the interfacing is on the top edges according to the package directions.

Trim off any thread or frayed thread edges on the letters and it’s all finished!! Thanks so much for following, let me know if you have any questions in the comments below. Enjoy!


Leave a comment