


This post is a paid sponsorship with Baby Lock, and contains affiliate links.
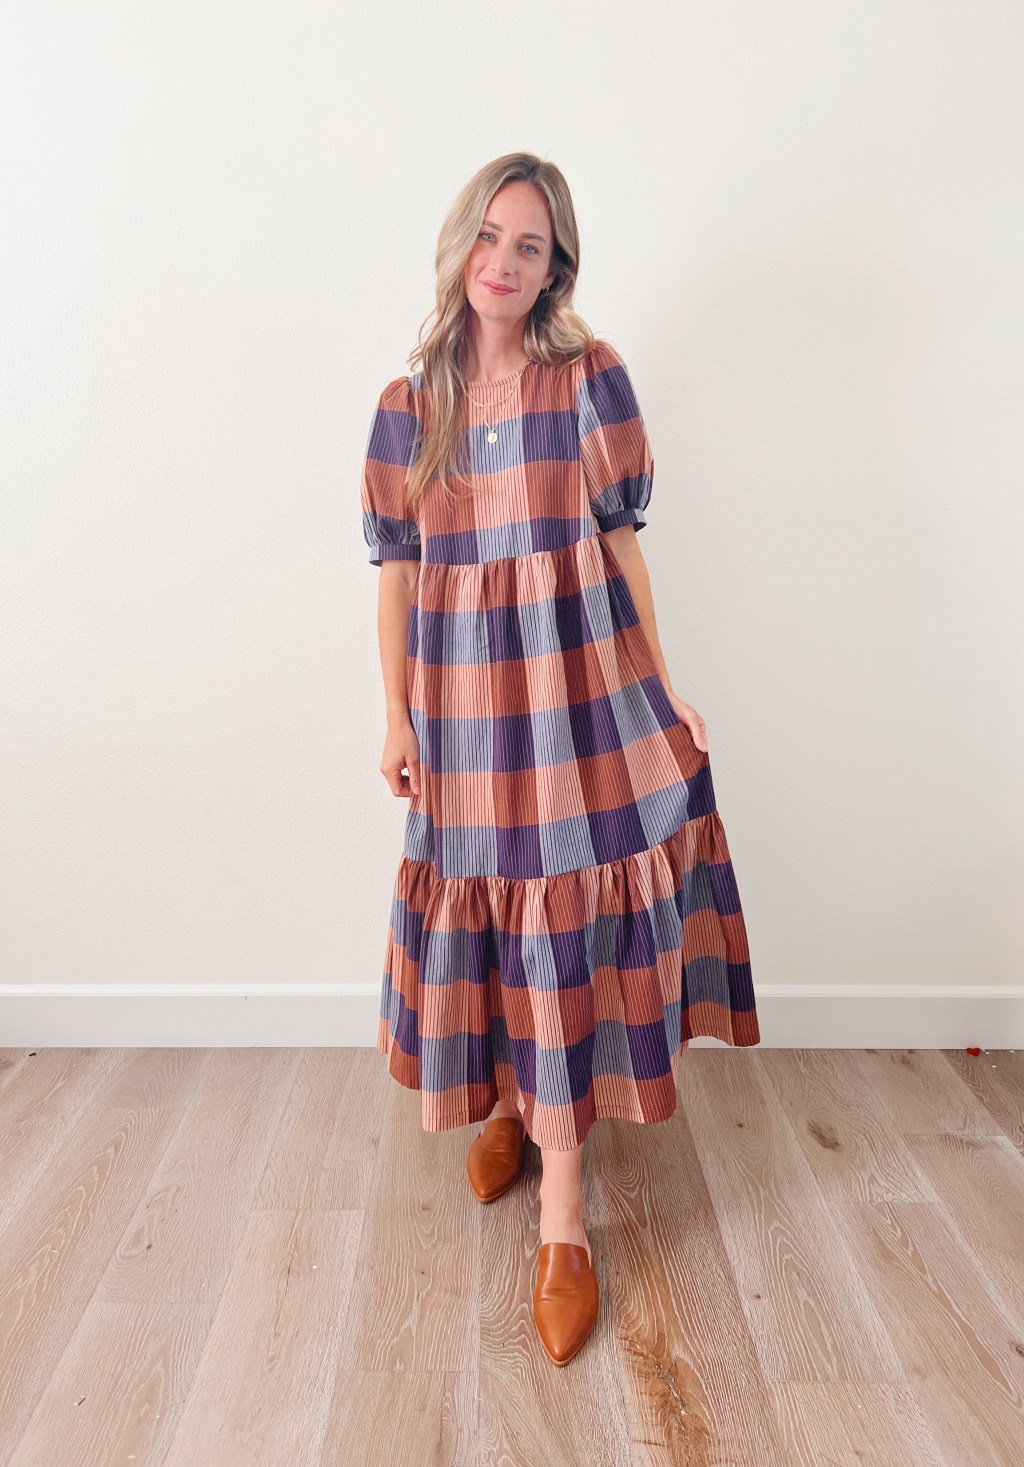
Hello, hello!! I am so excited to share my latest make with you all! I was recently scrolling through instagram and saw the New Craft House’s new pattern launch. I immediately loved their new “Everyday Dress” pattern and started looking for fabric. I found this really fun plaid yarn dyed cotton on sale at Blackbird Fabrics, and loved the colors for fall. I wasn’t sure how it would look in the bigger plaid print and how pattern matching would go but man it’s a home run for me. I love the finished result so much!!
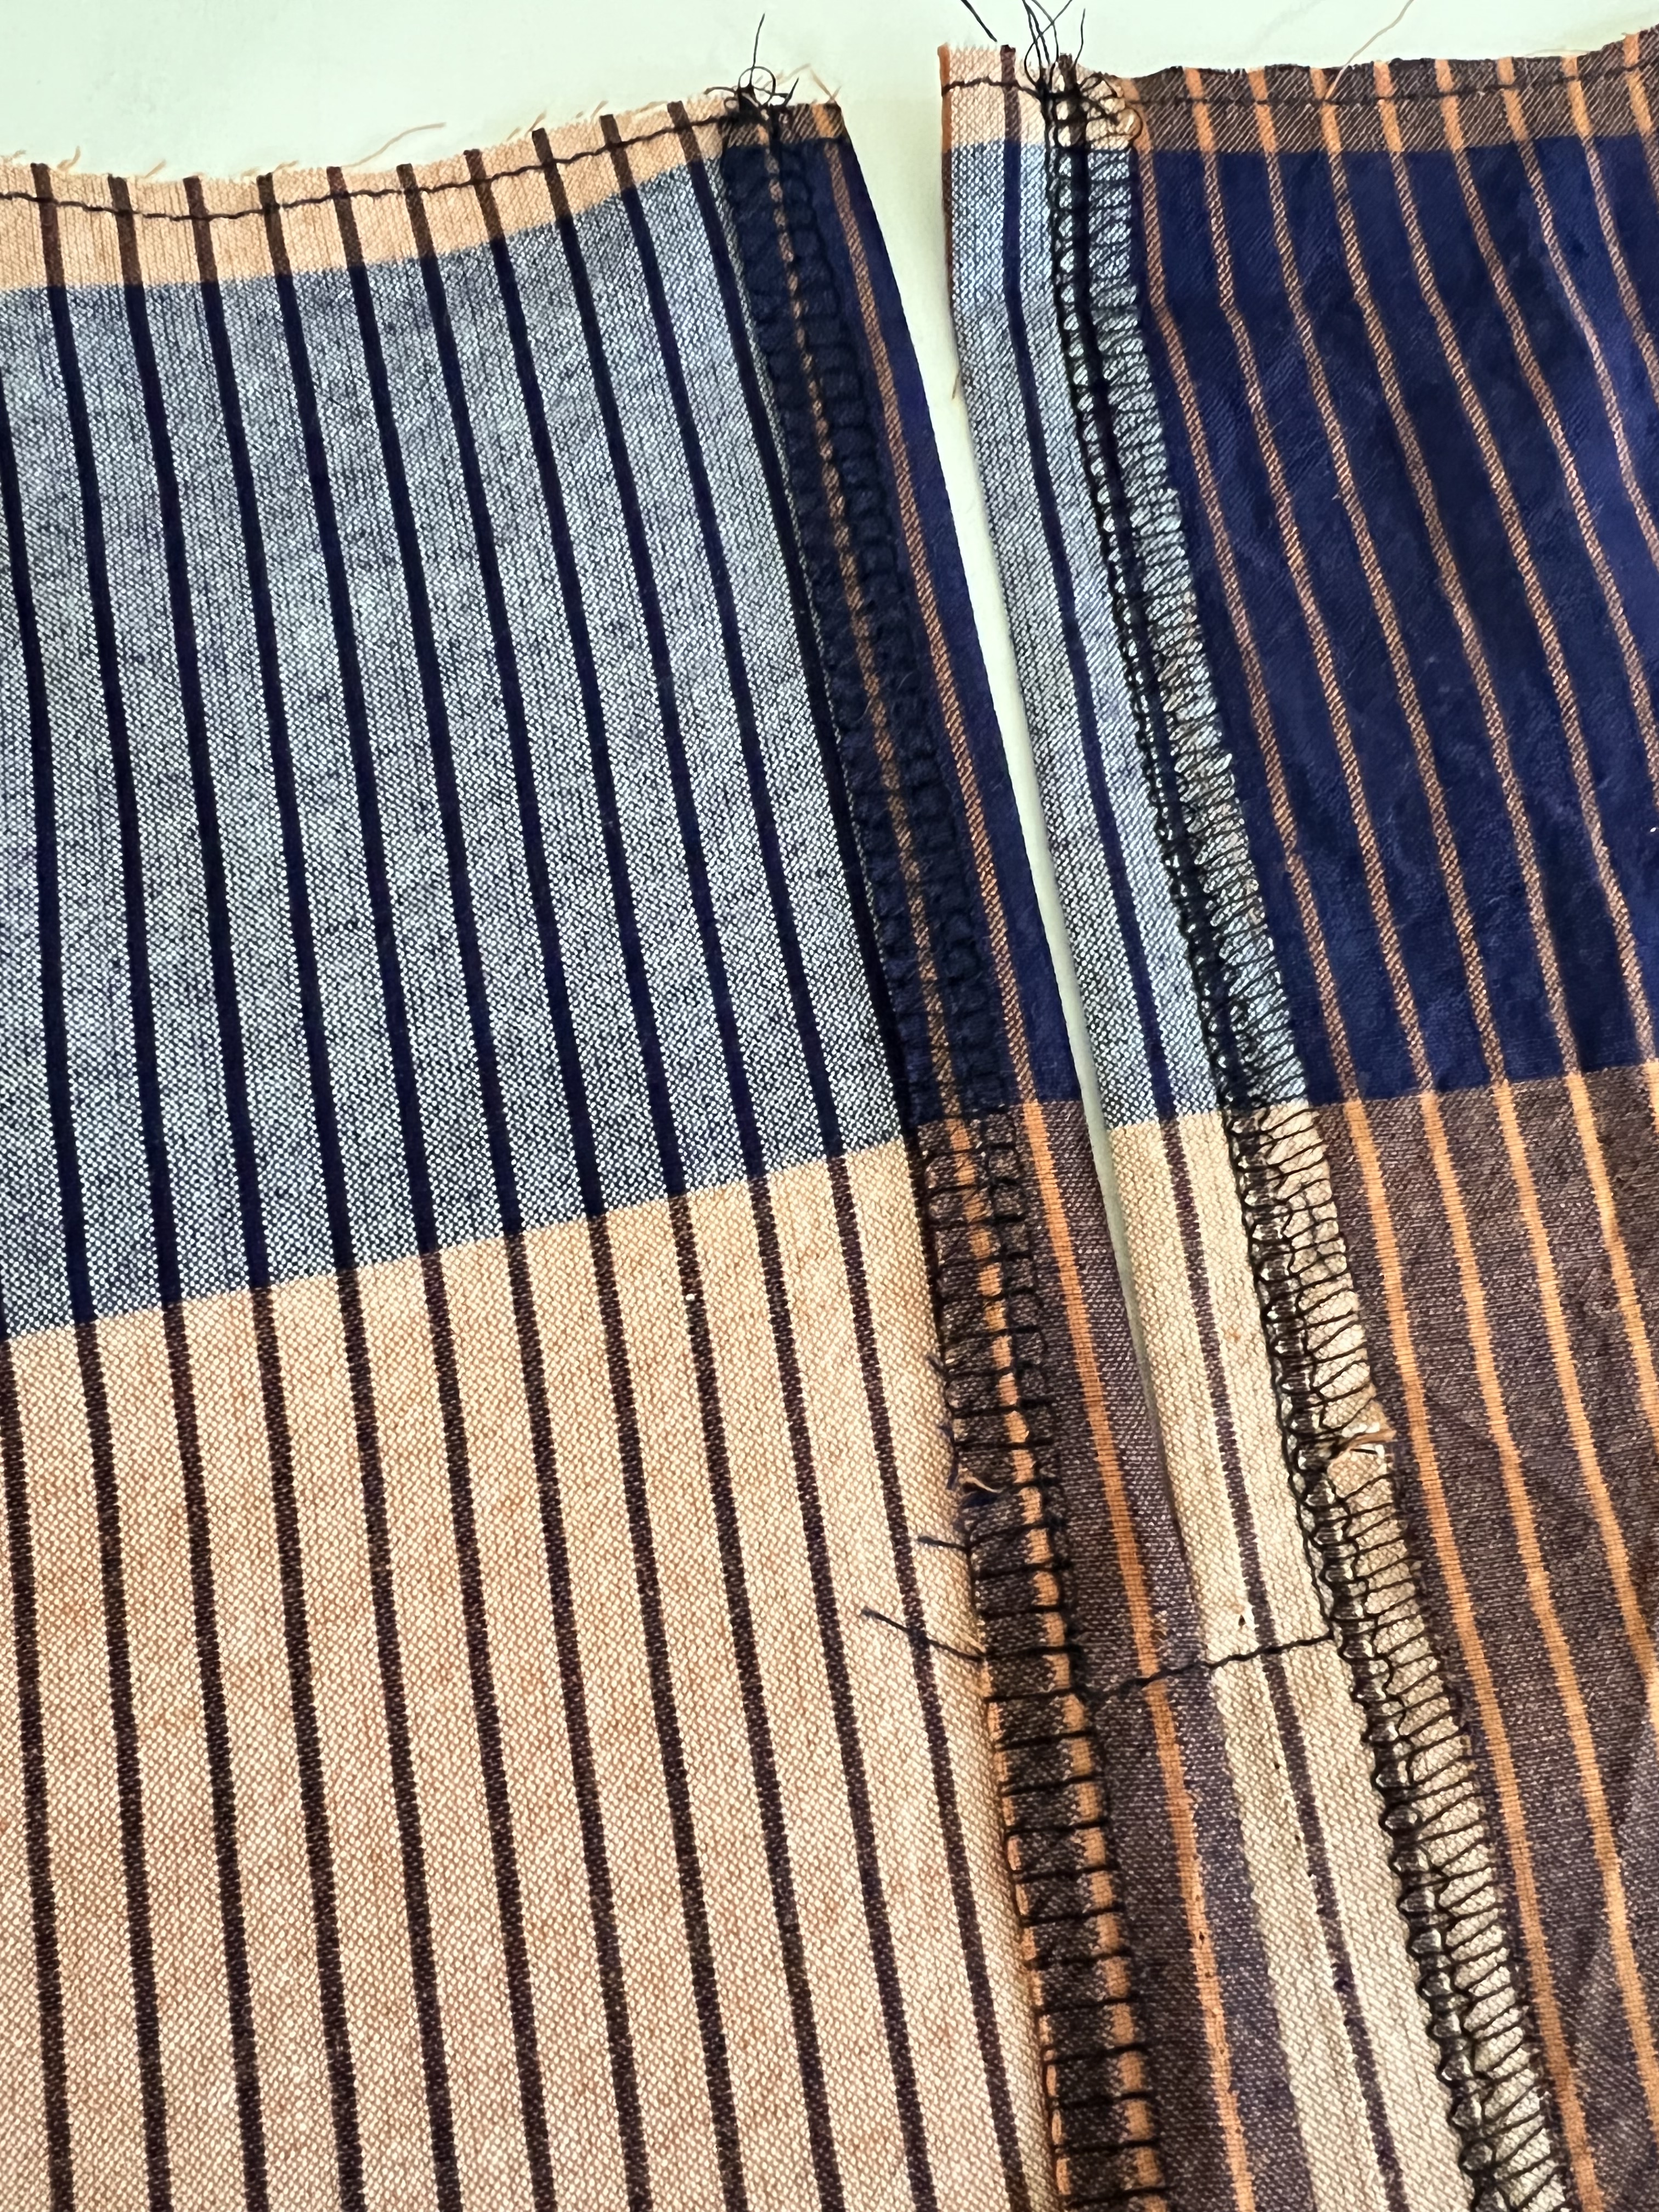
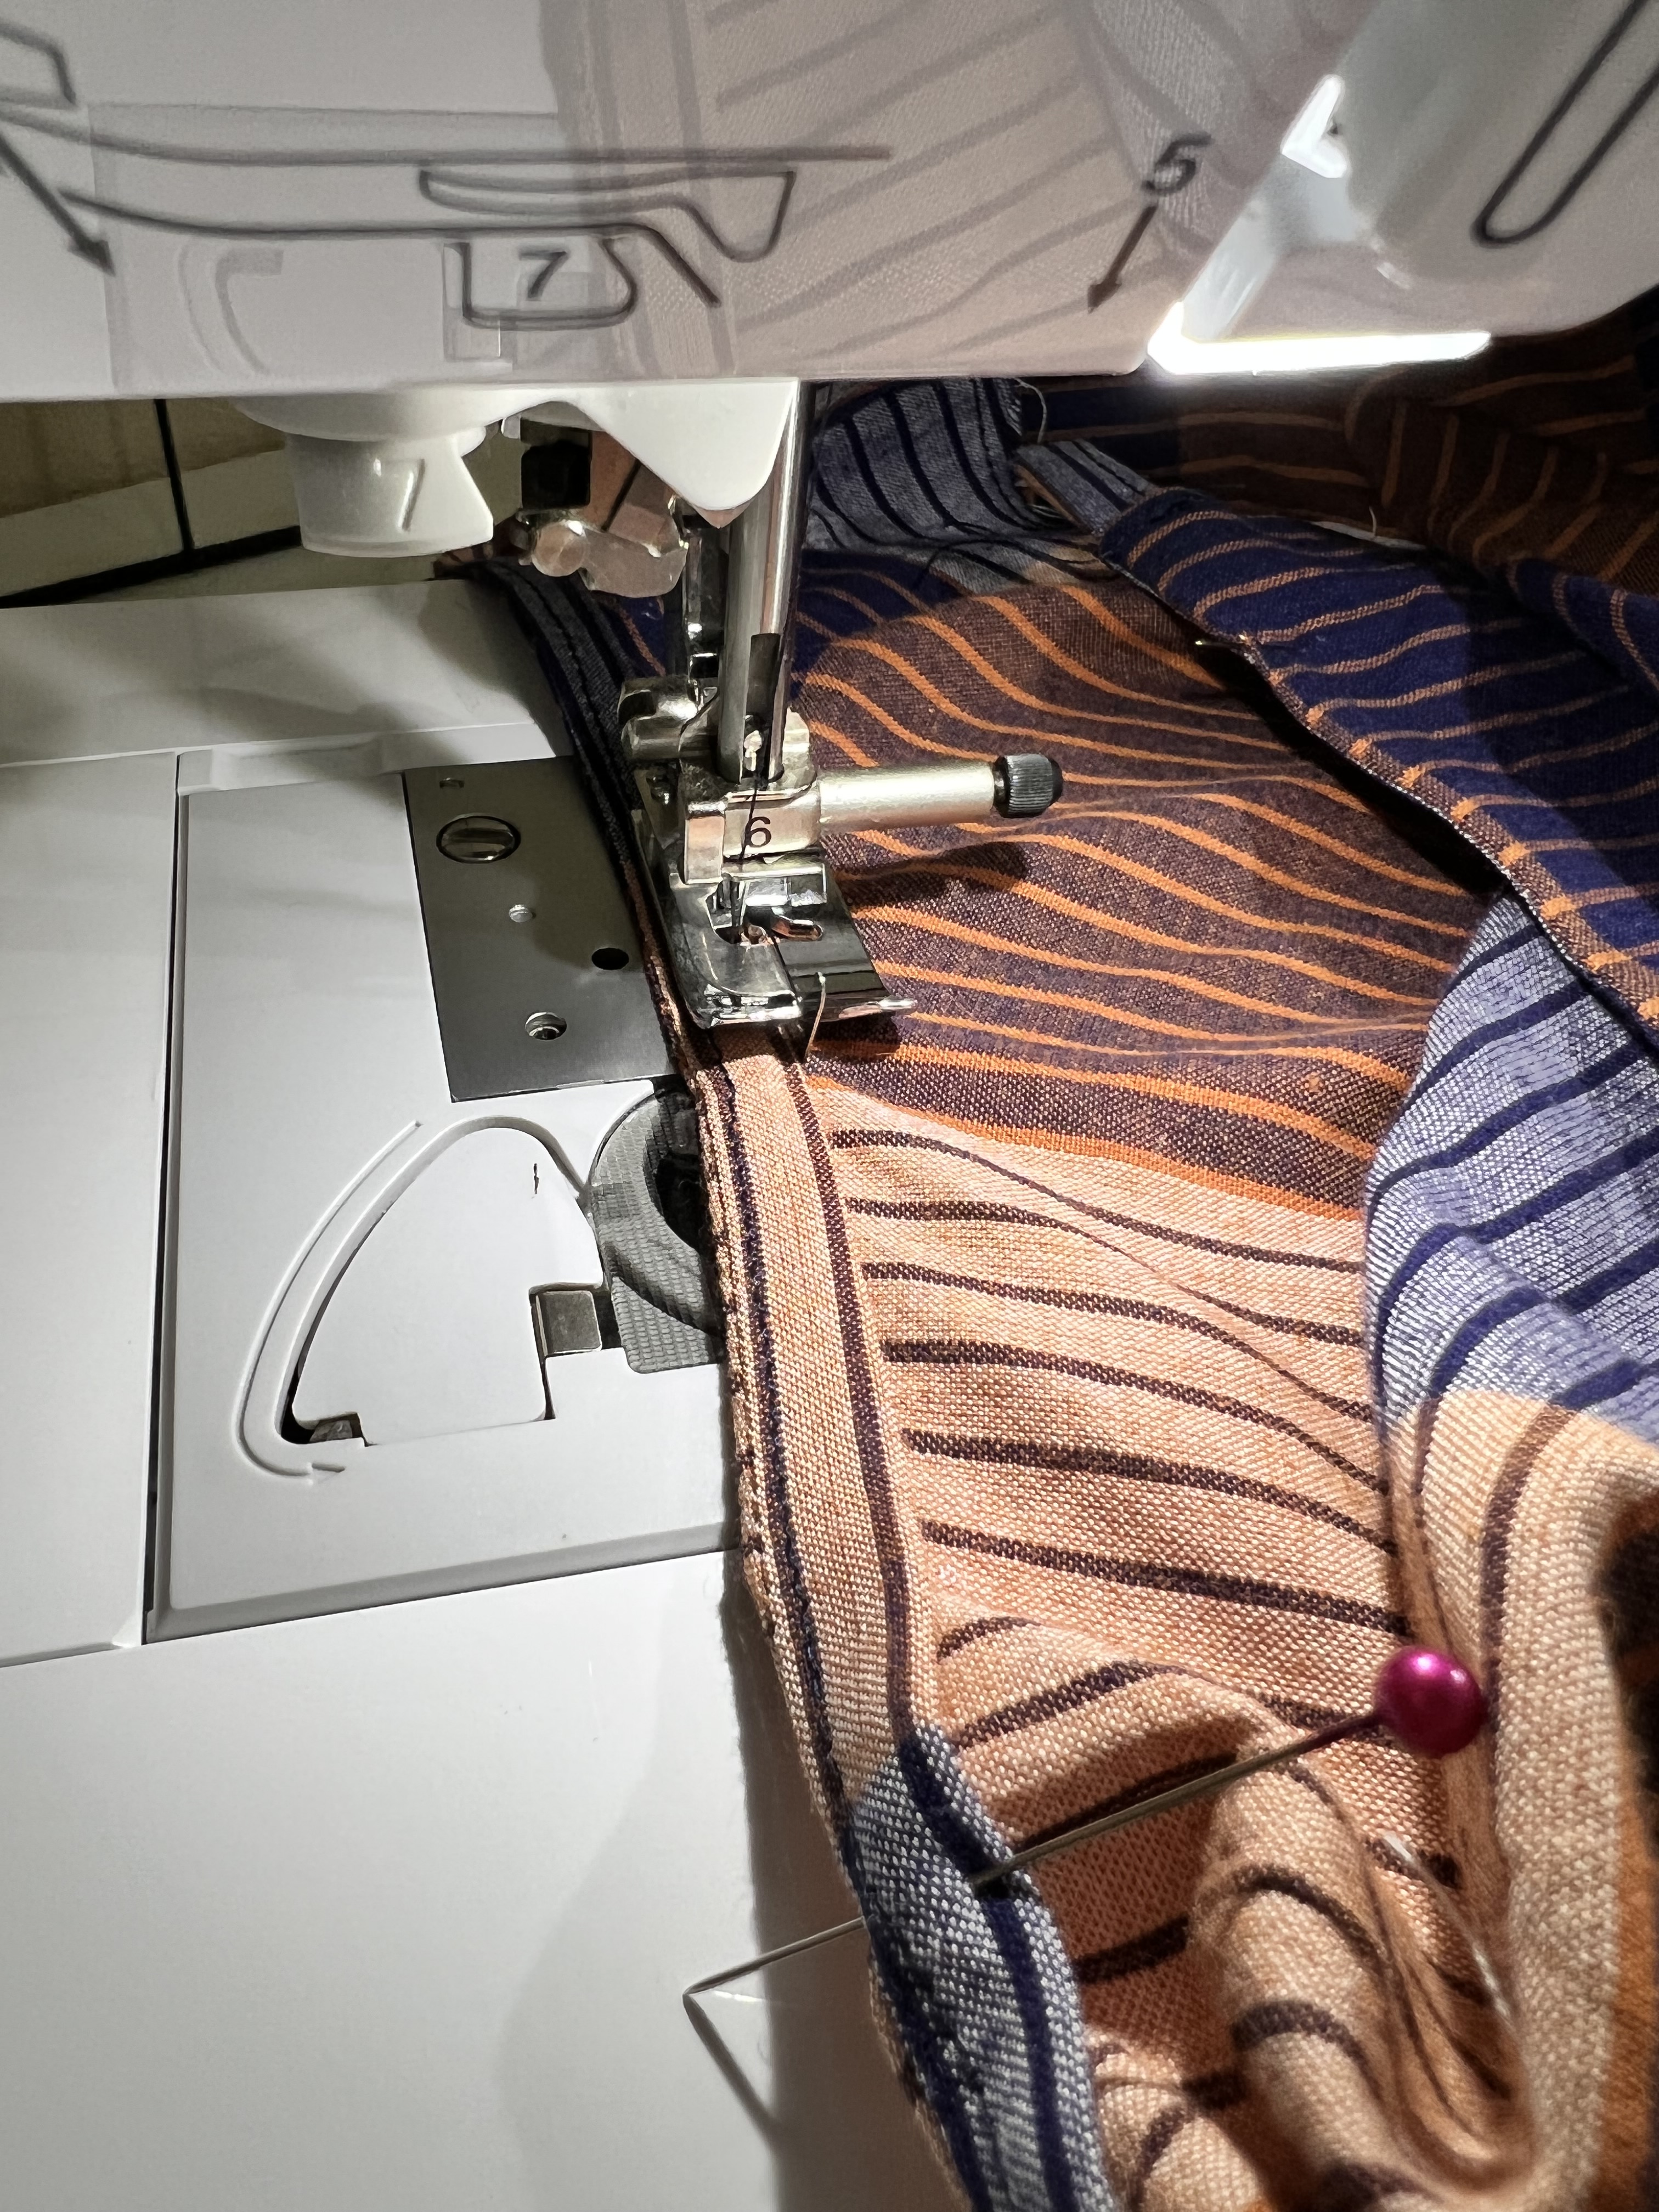
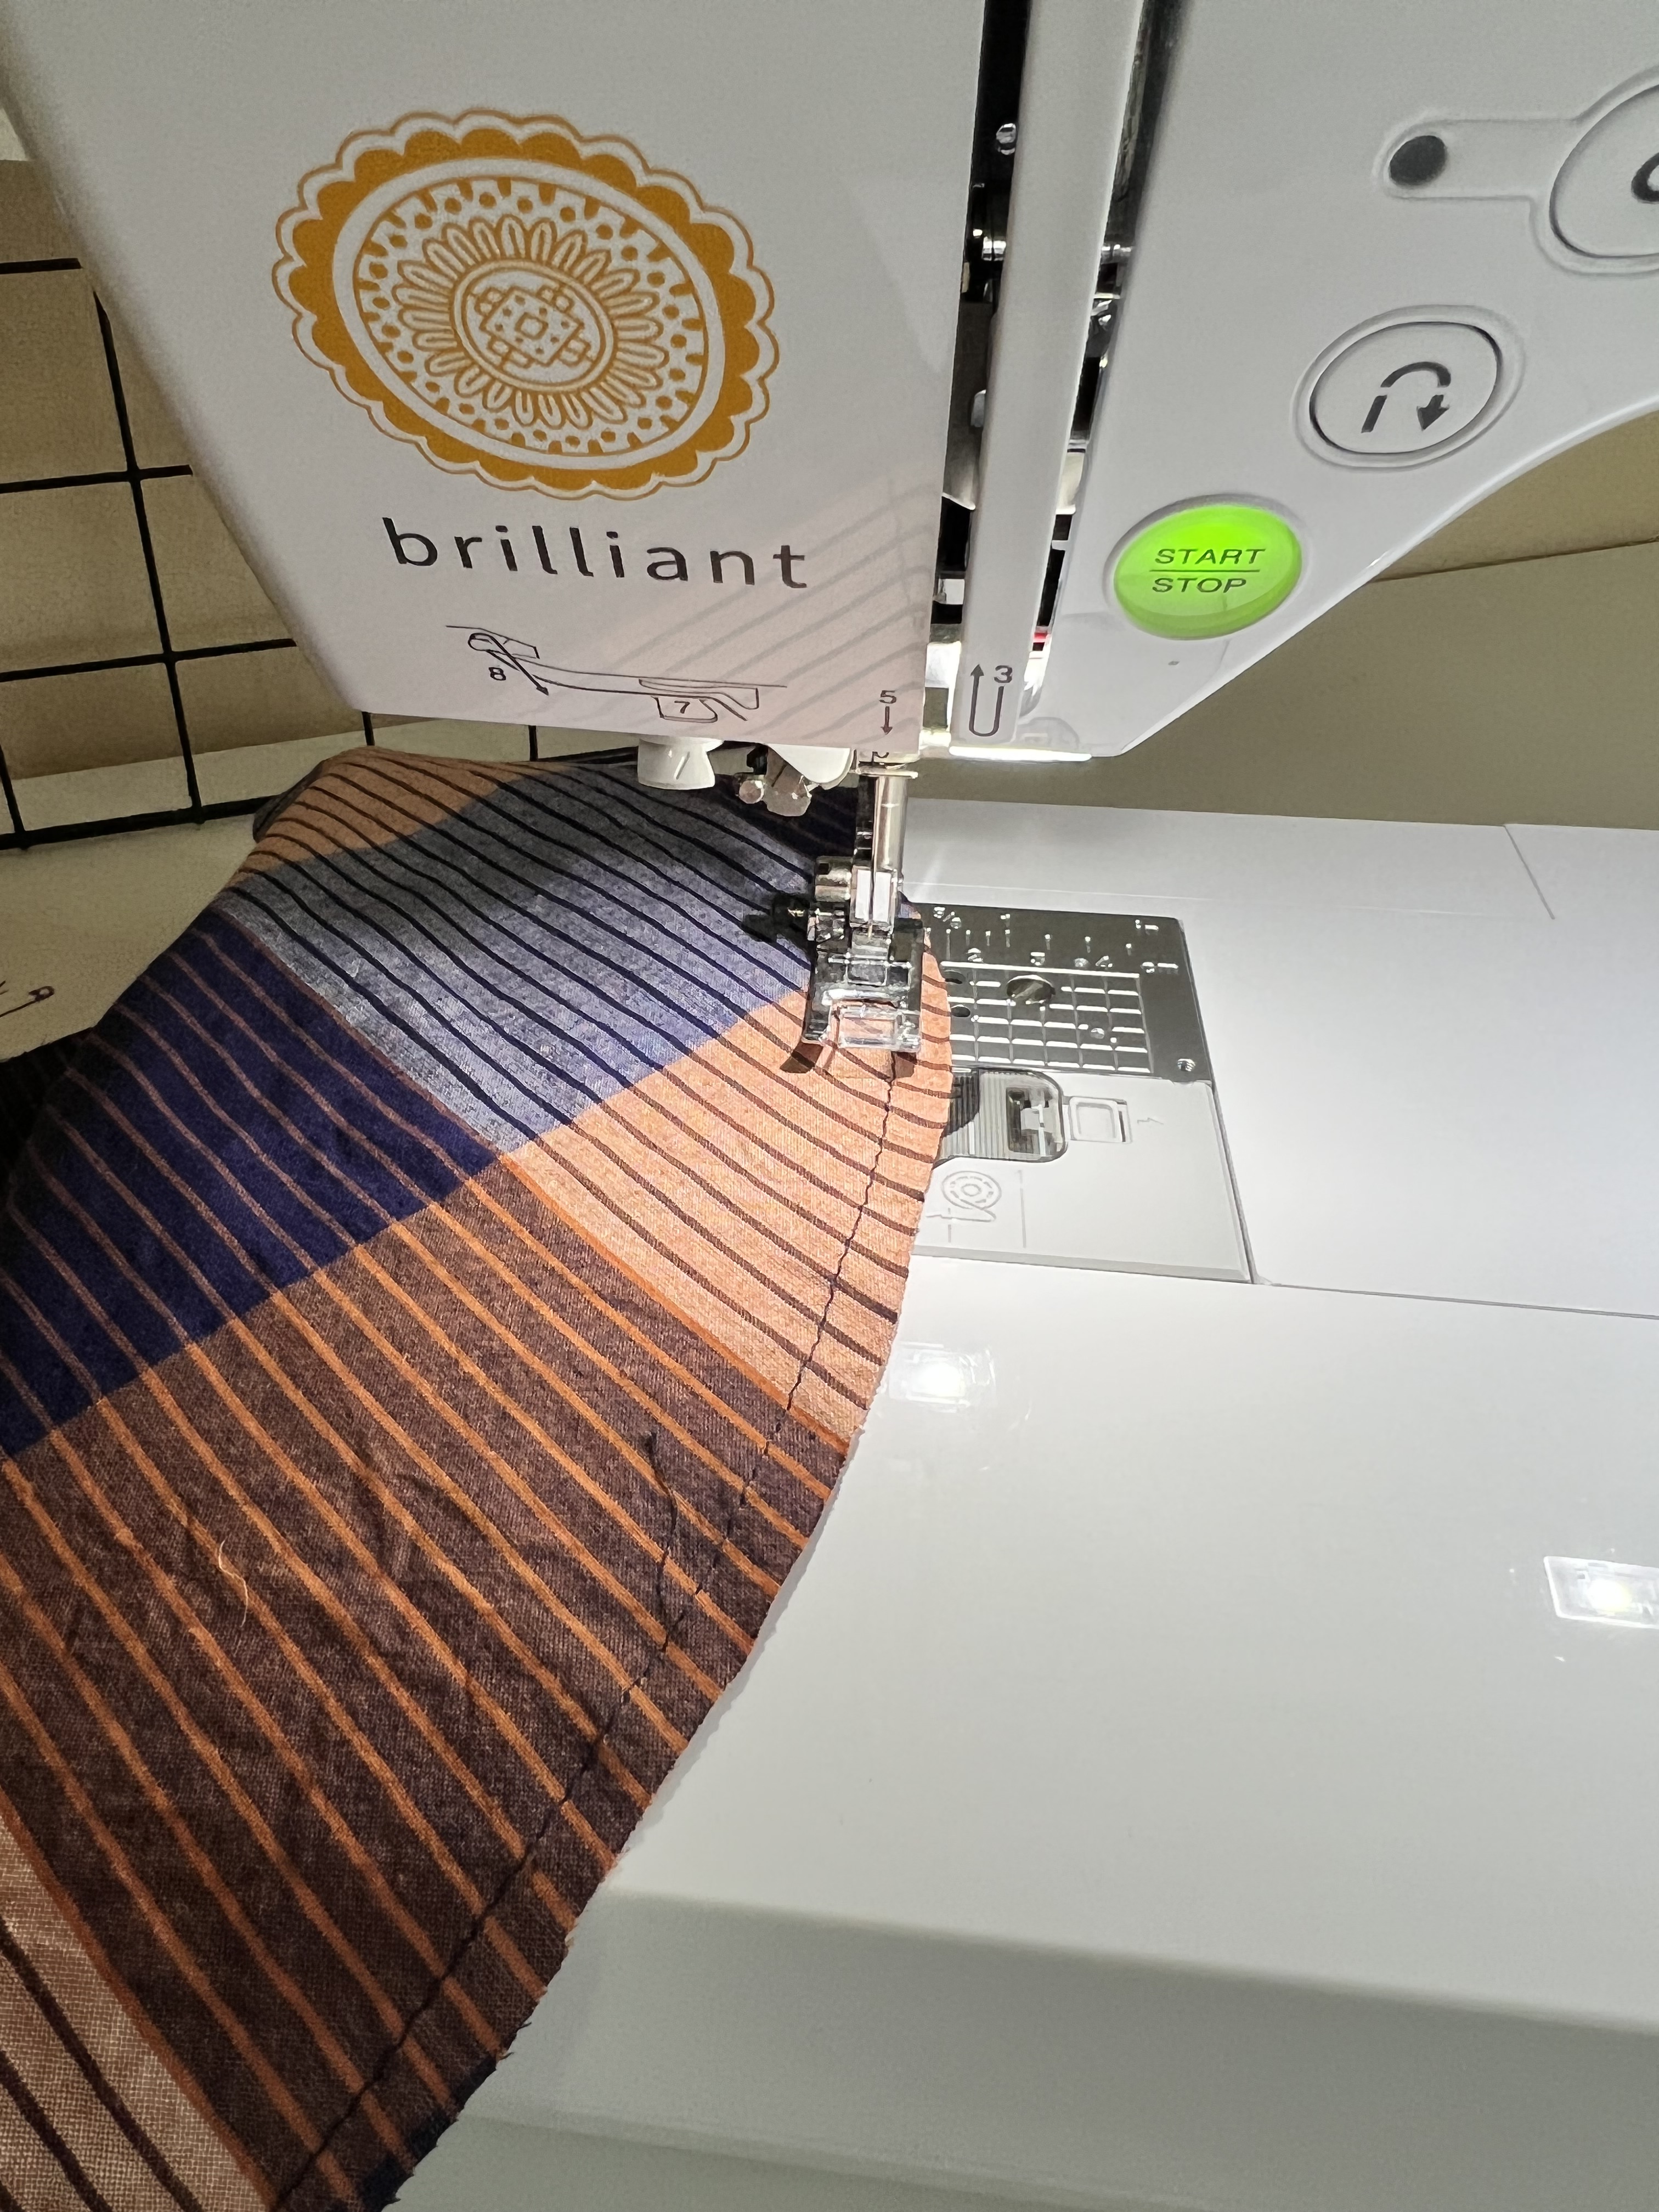
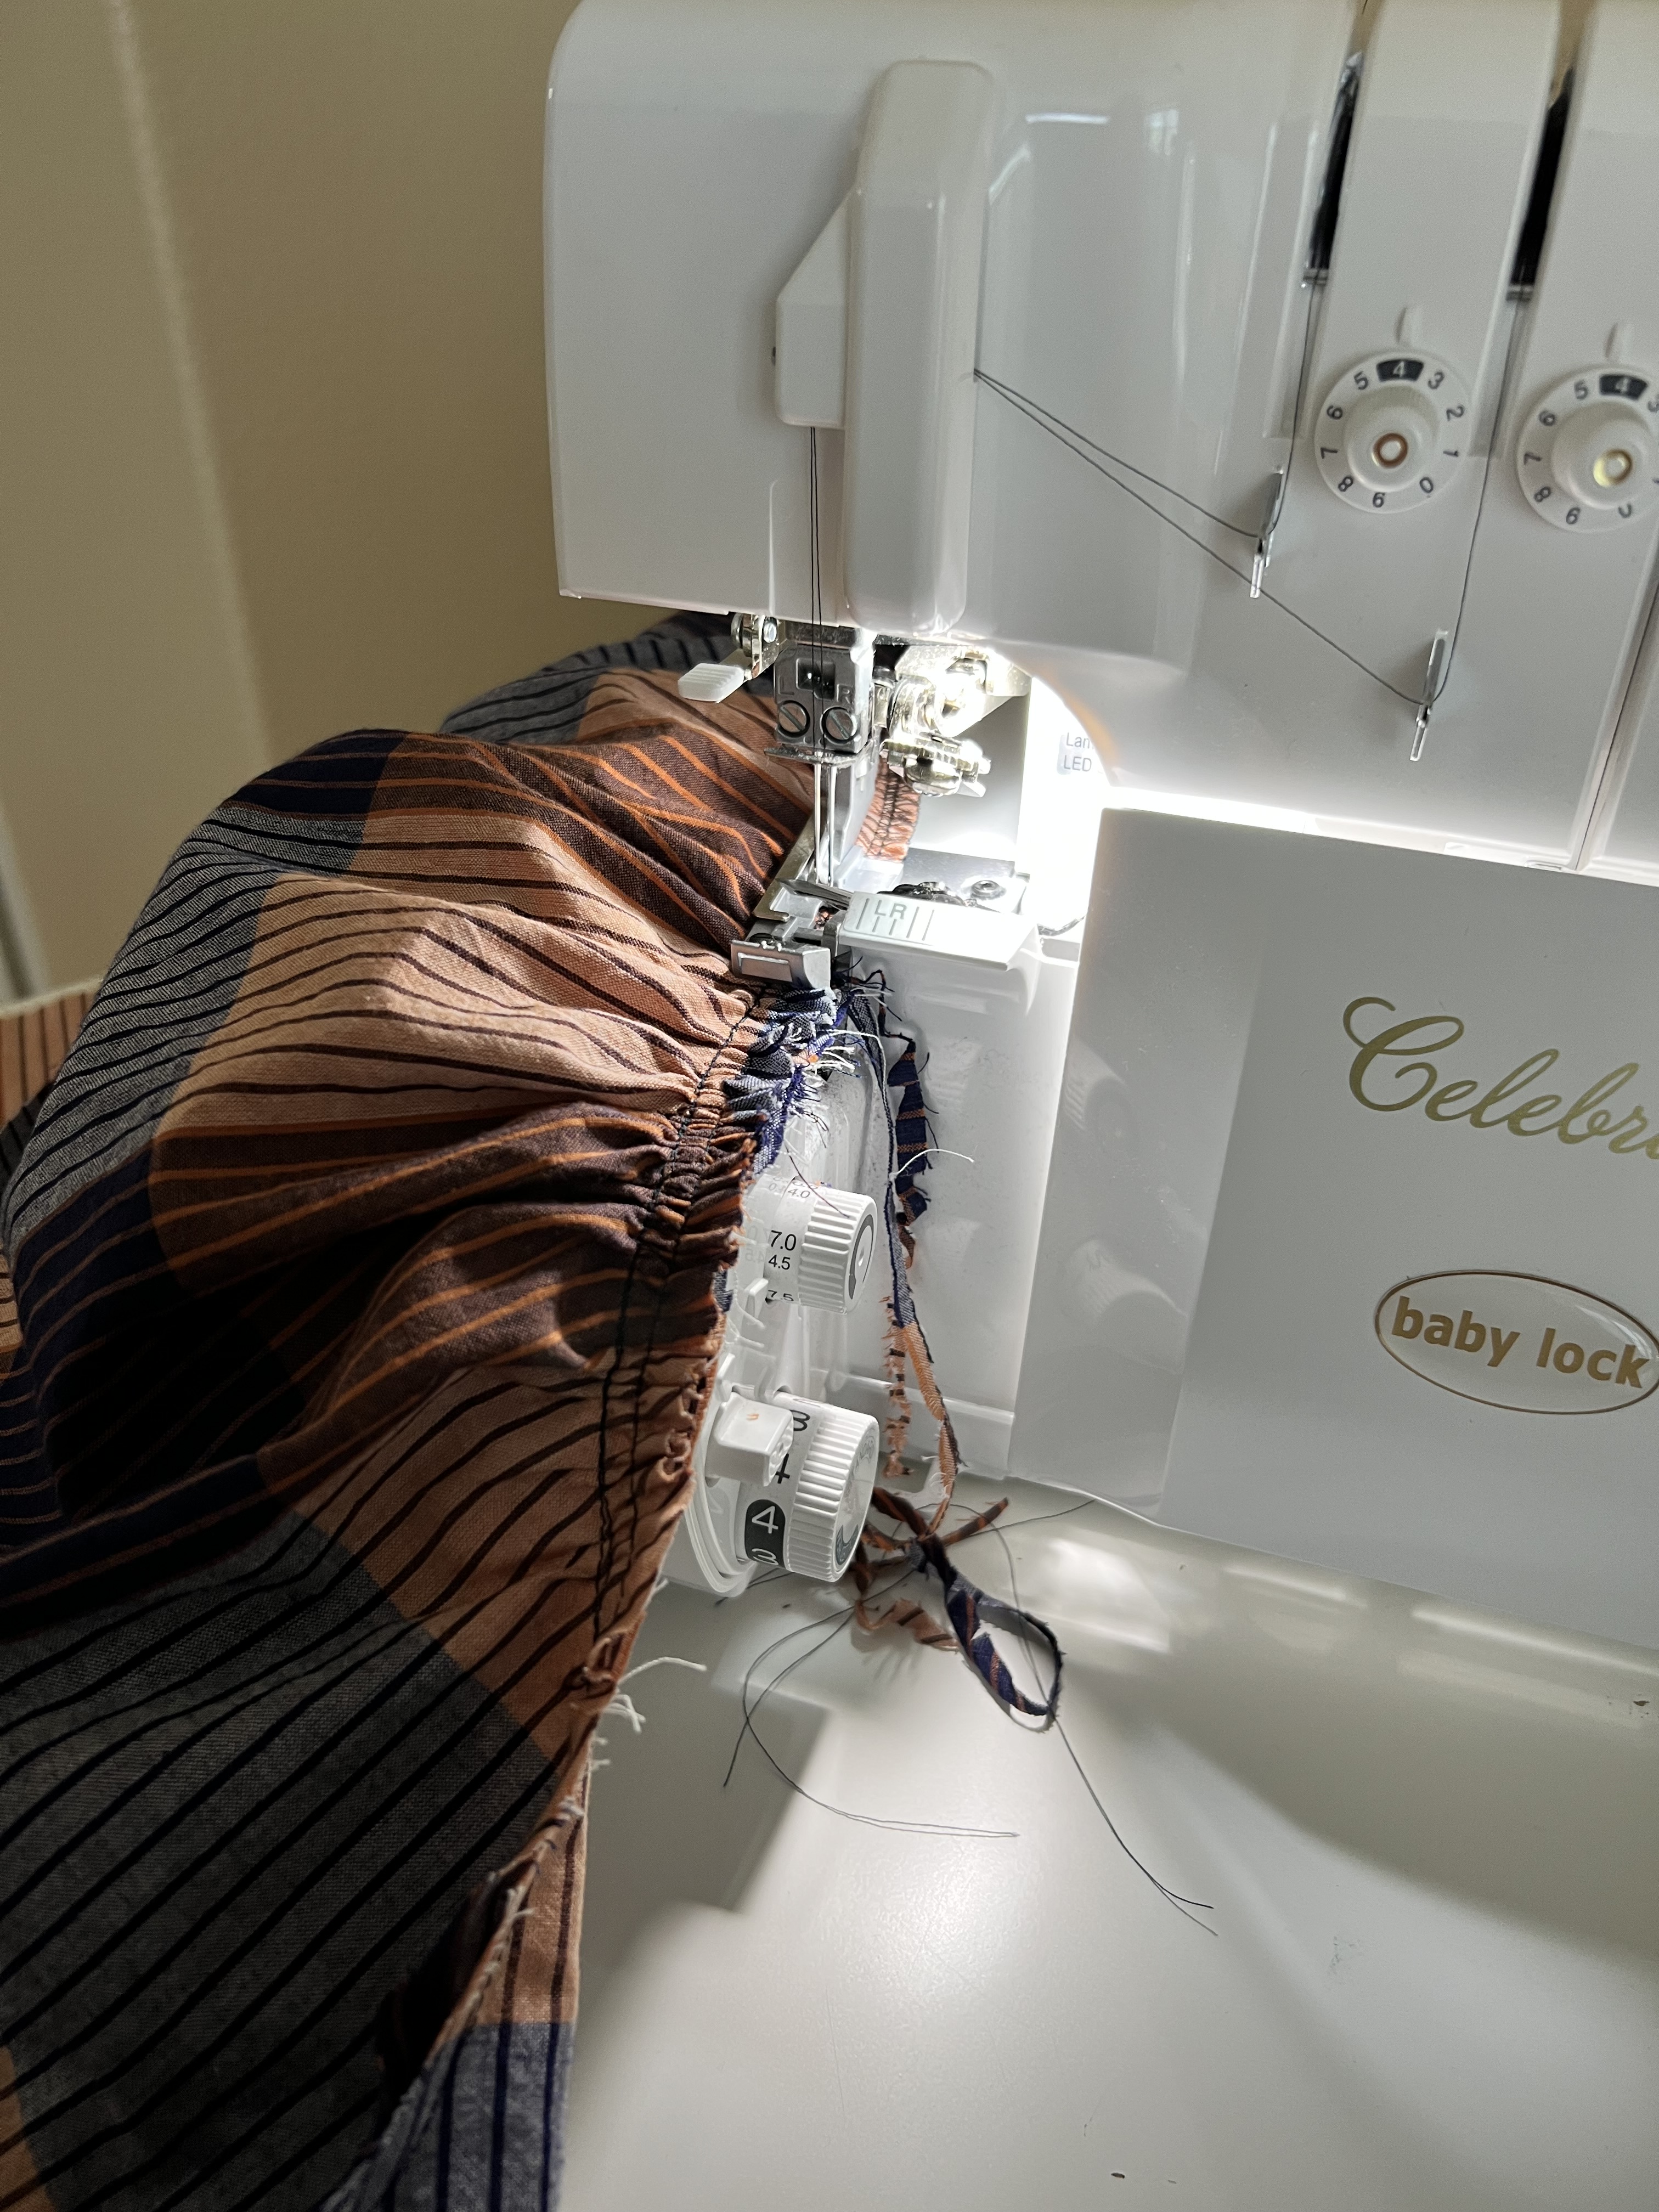
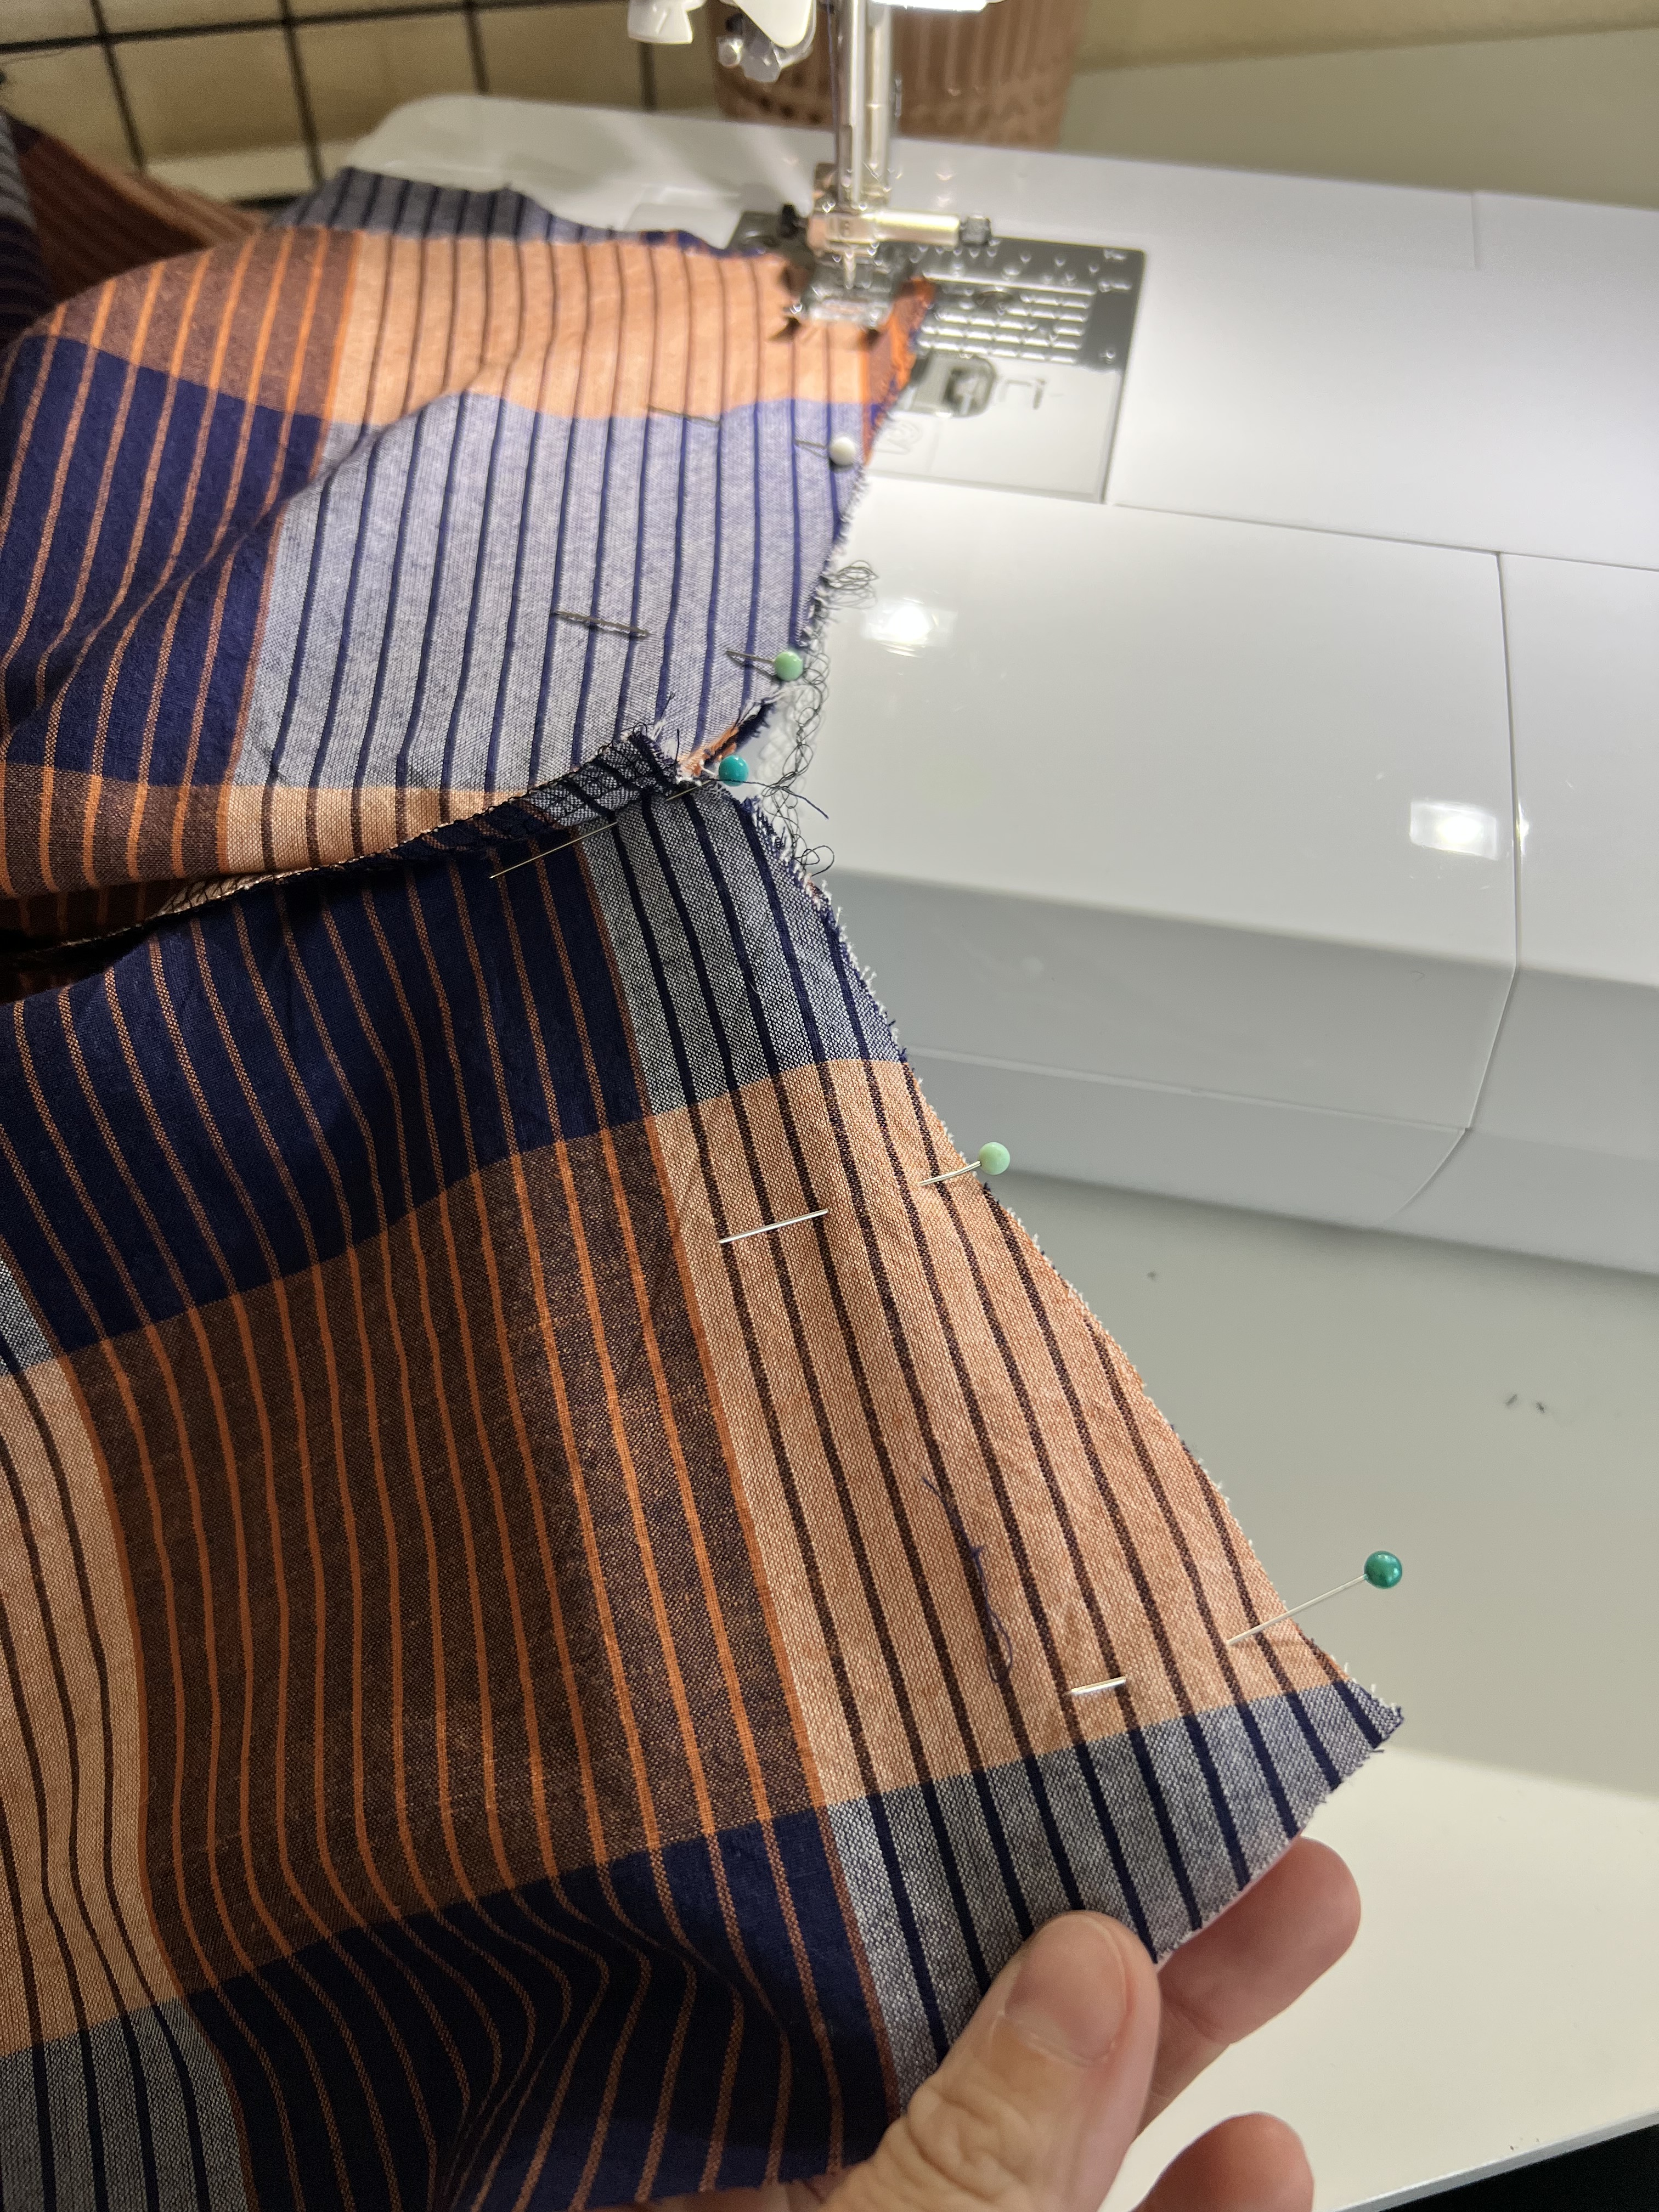
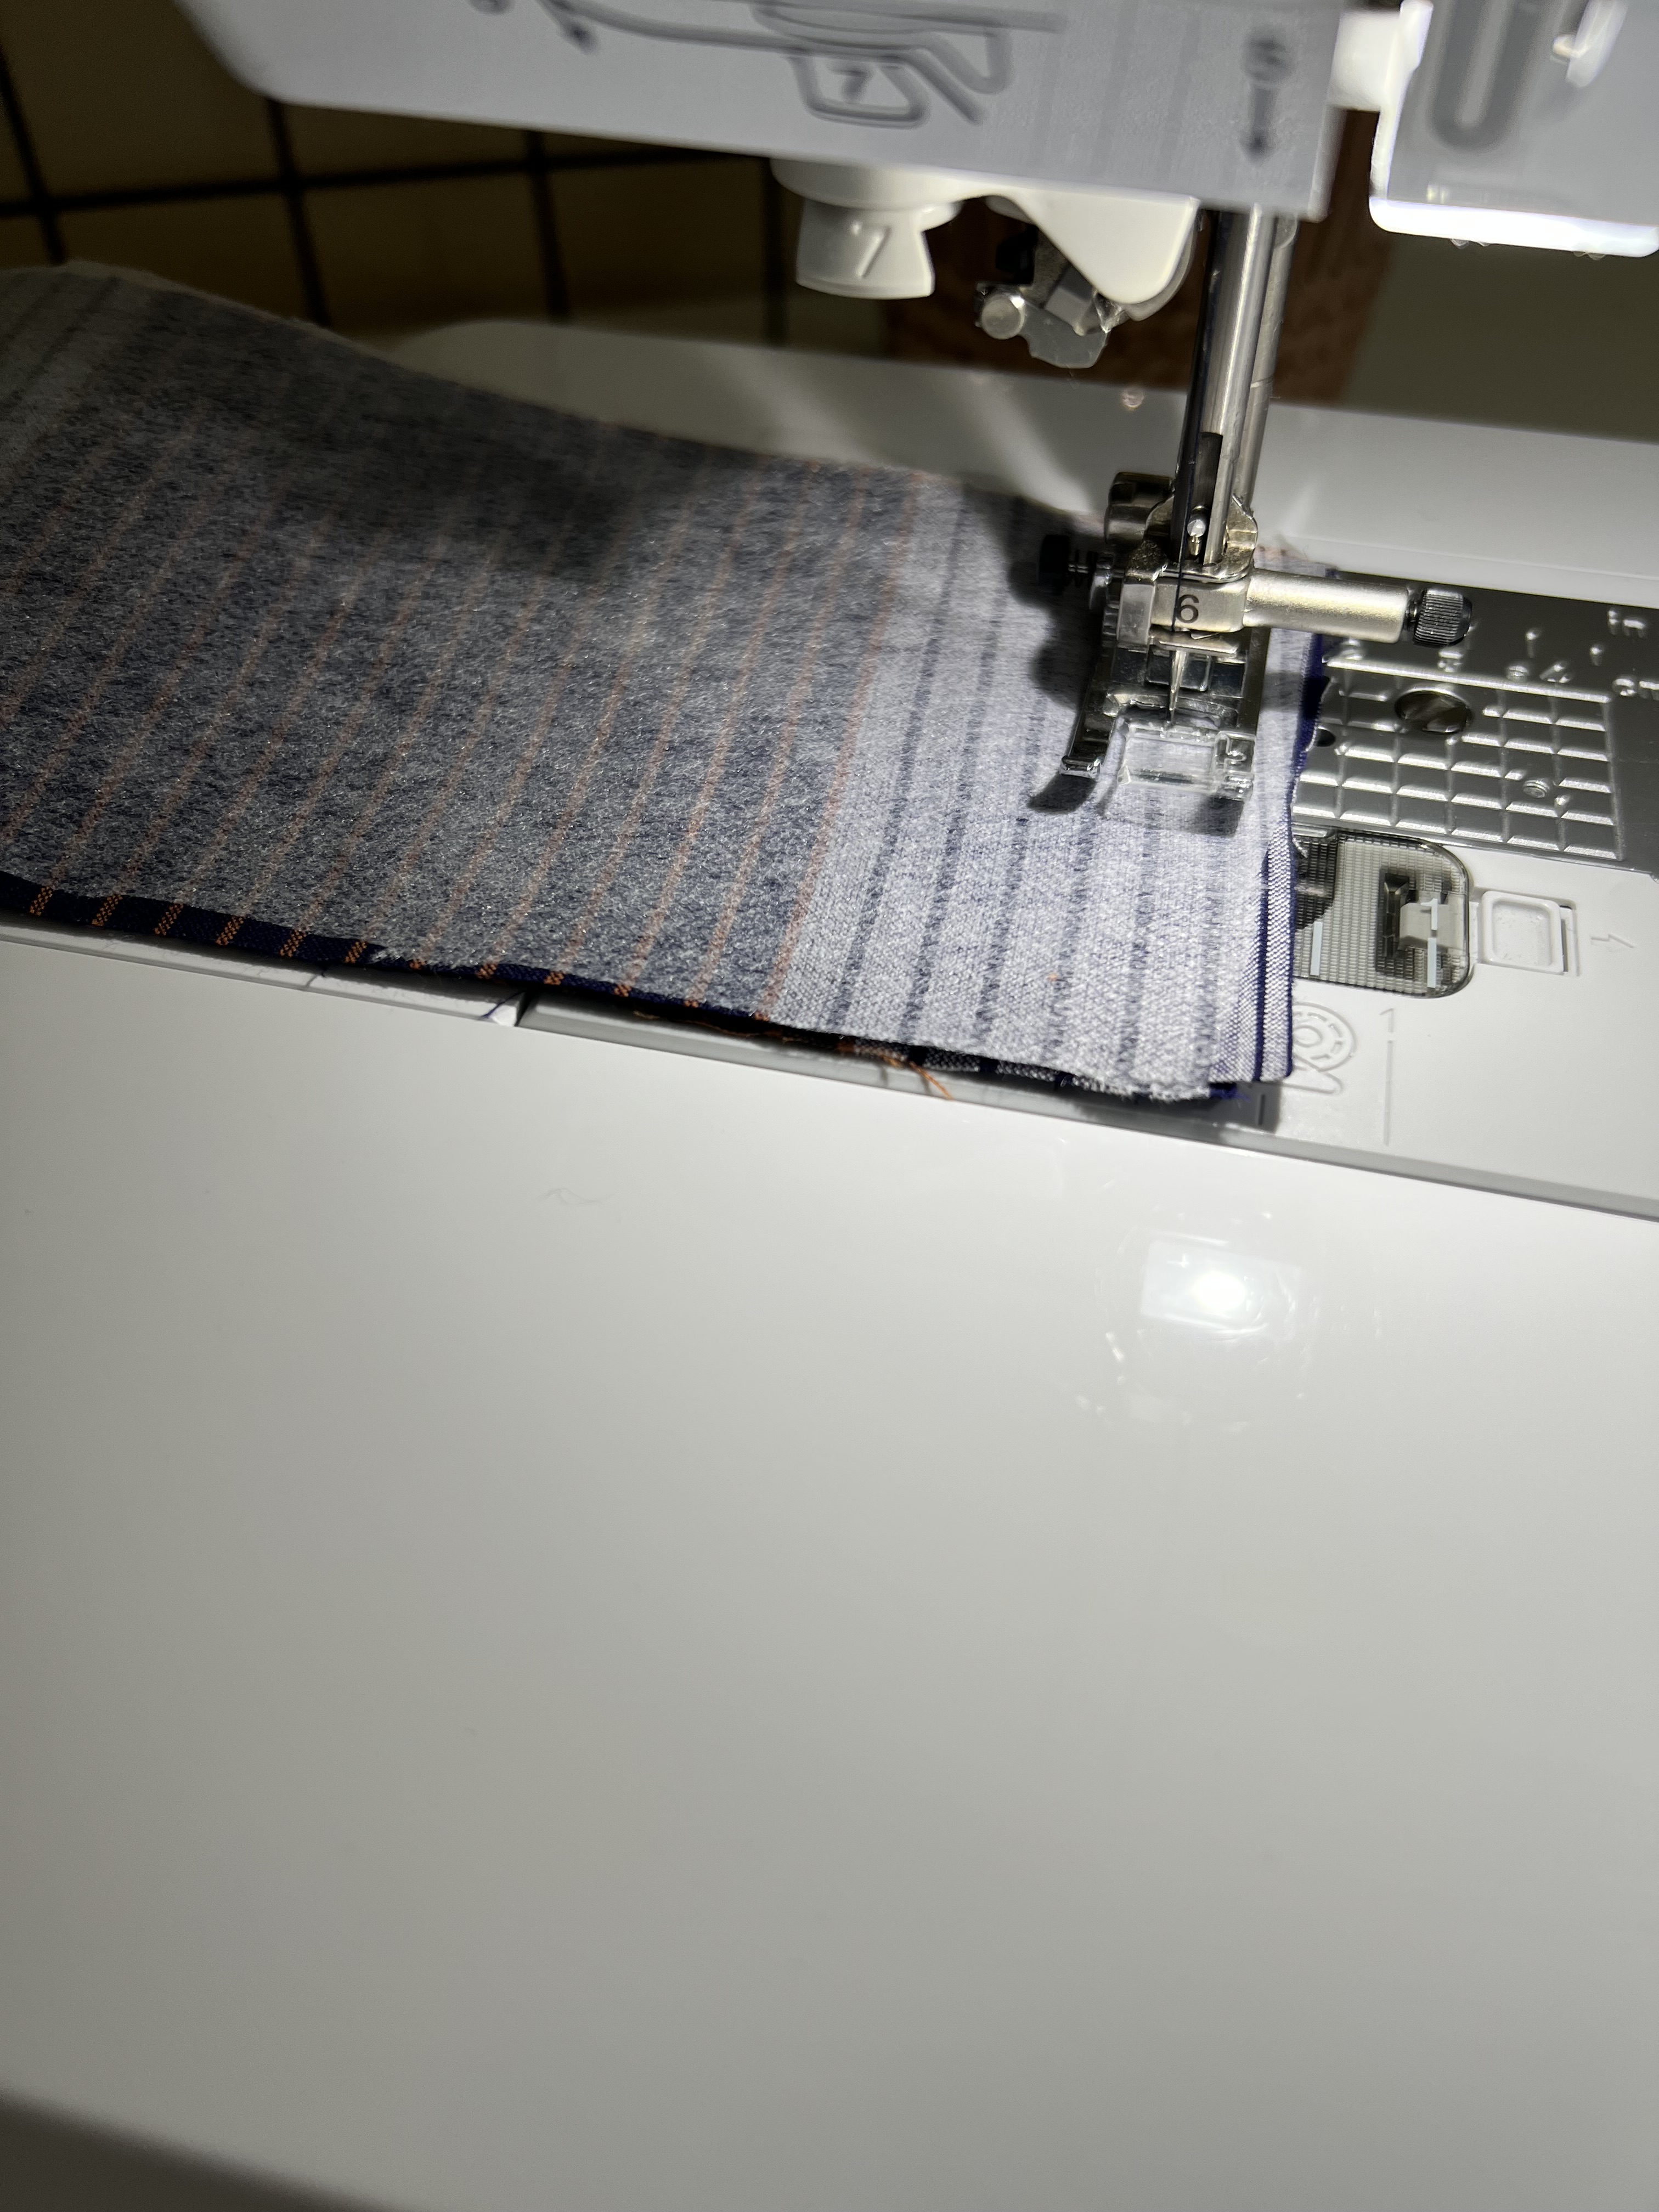
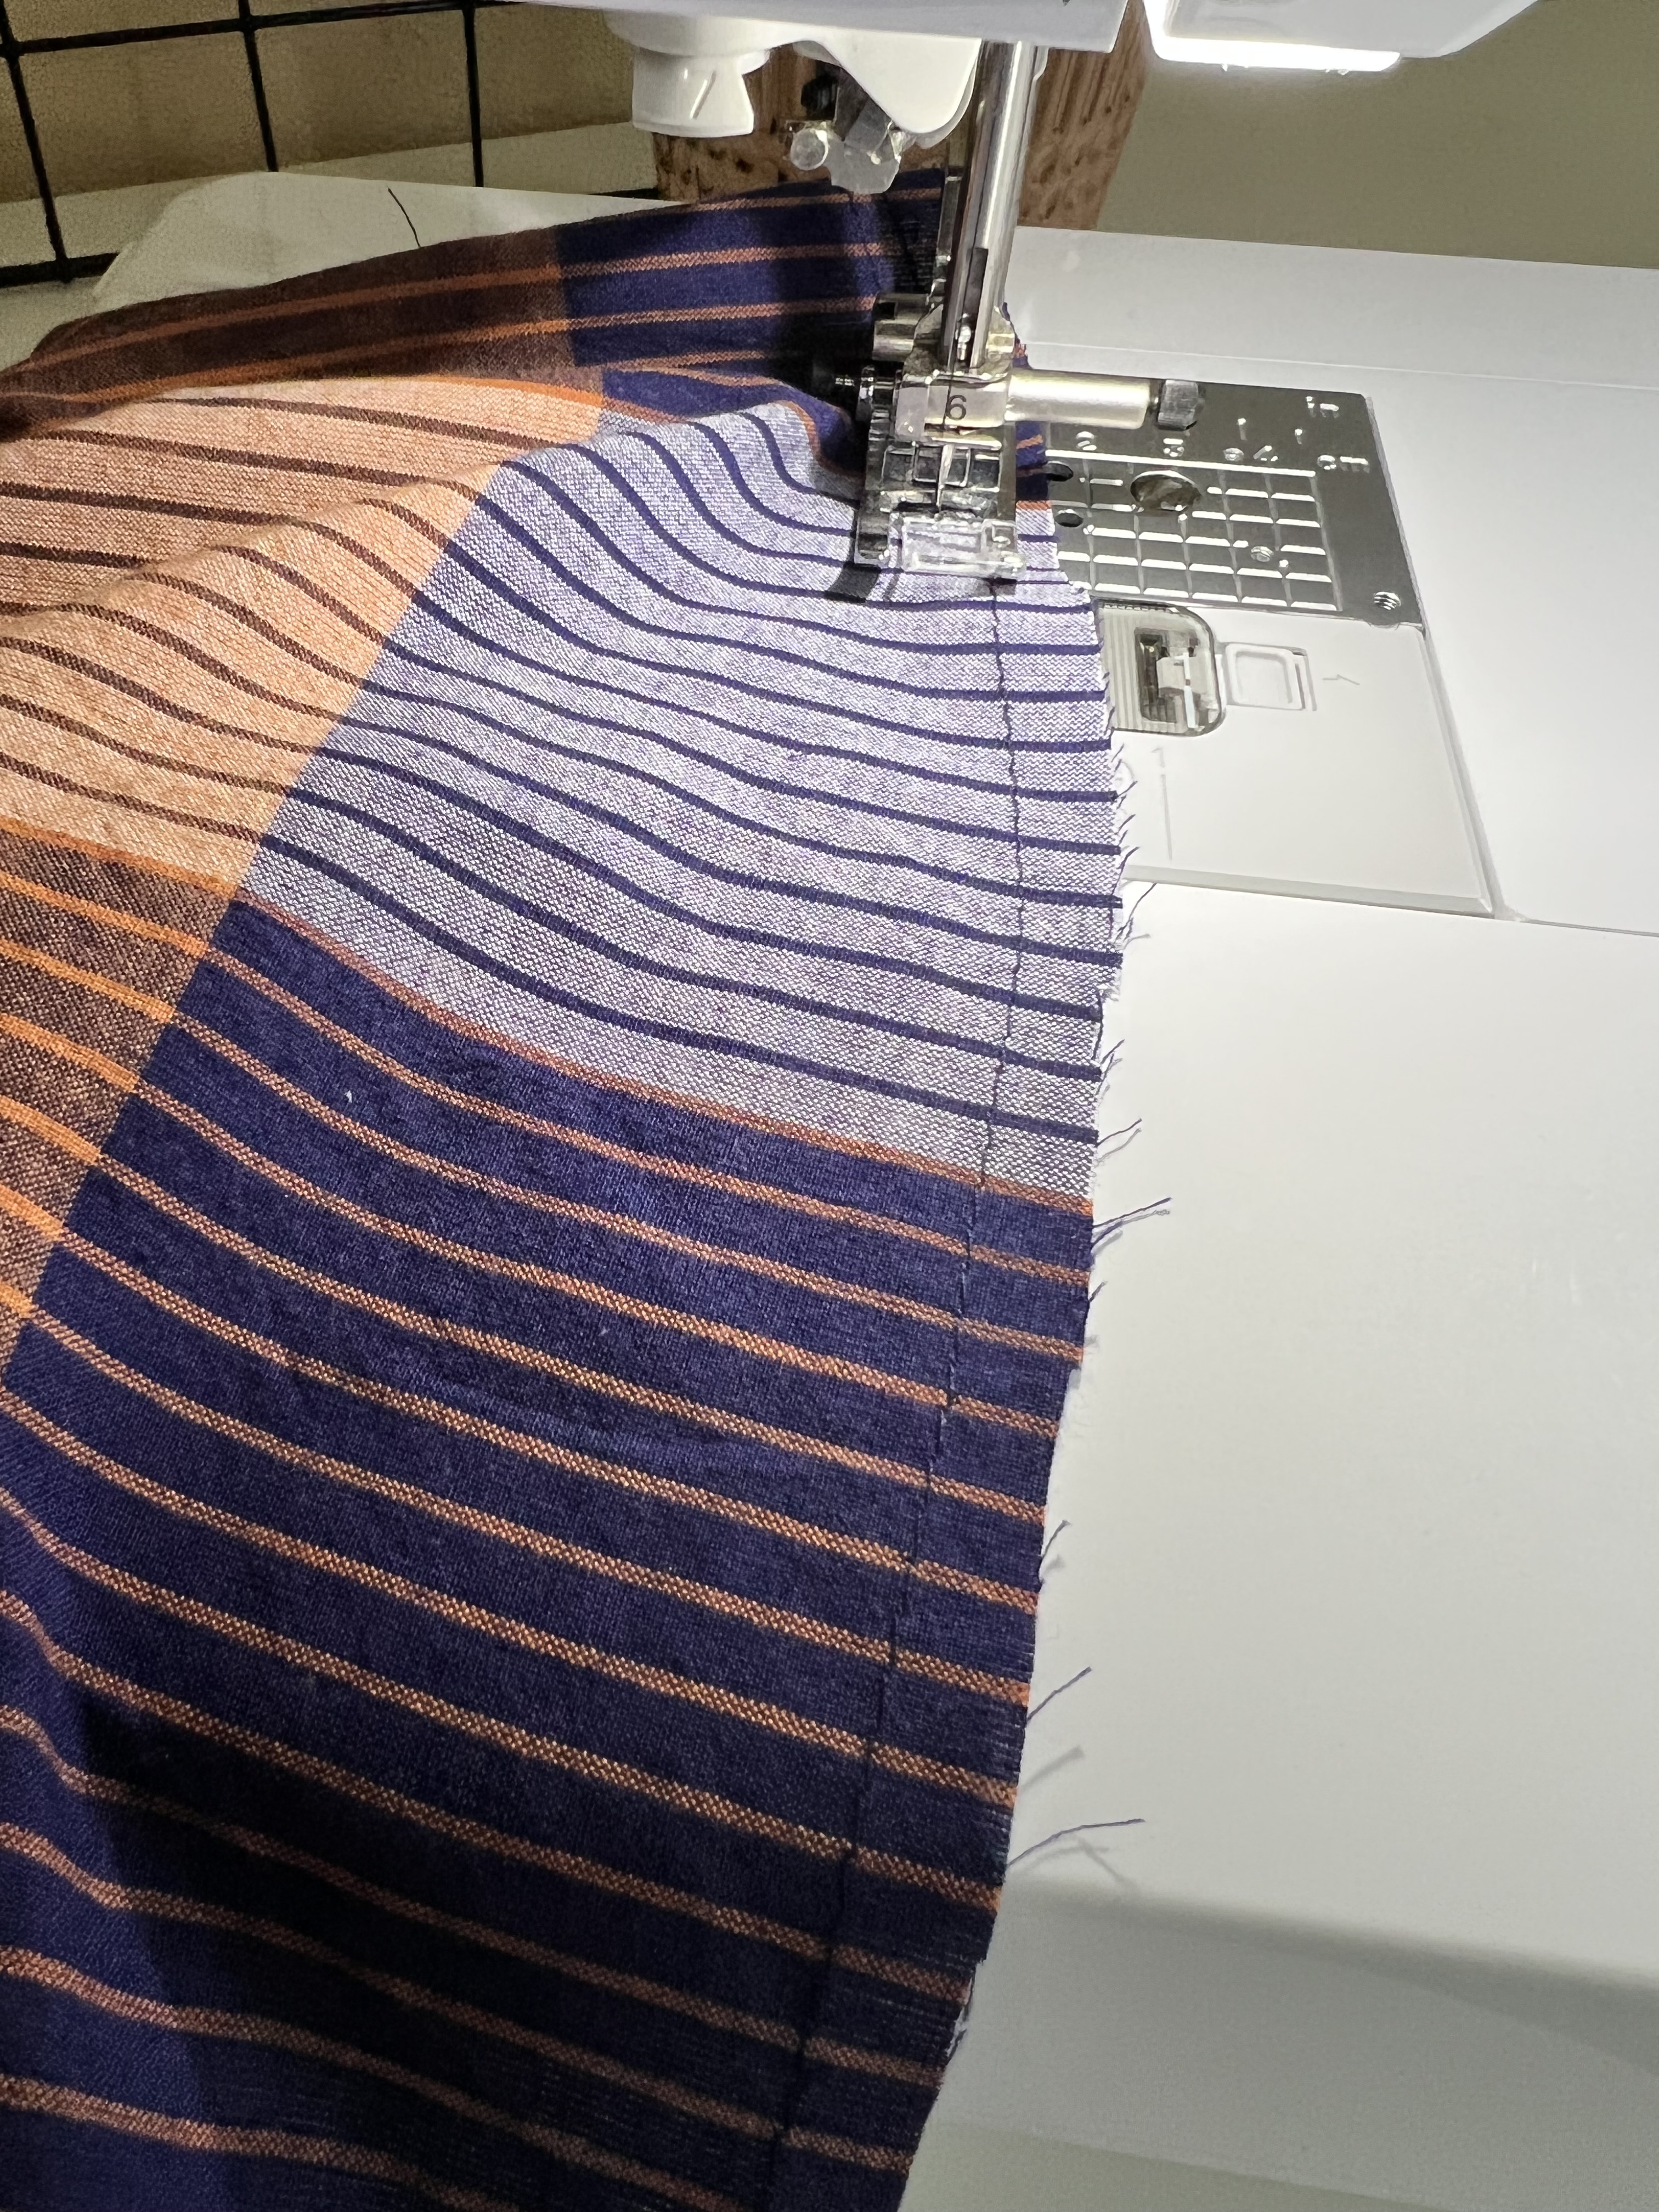
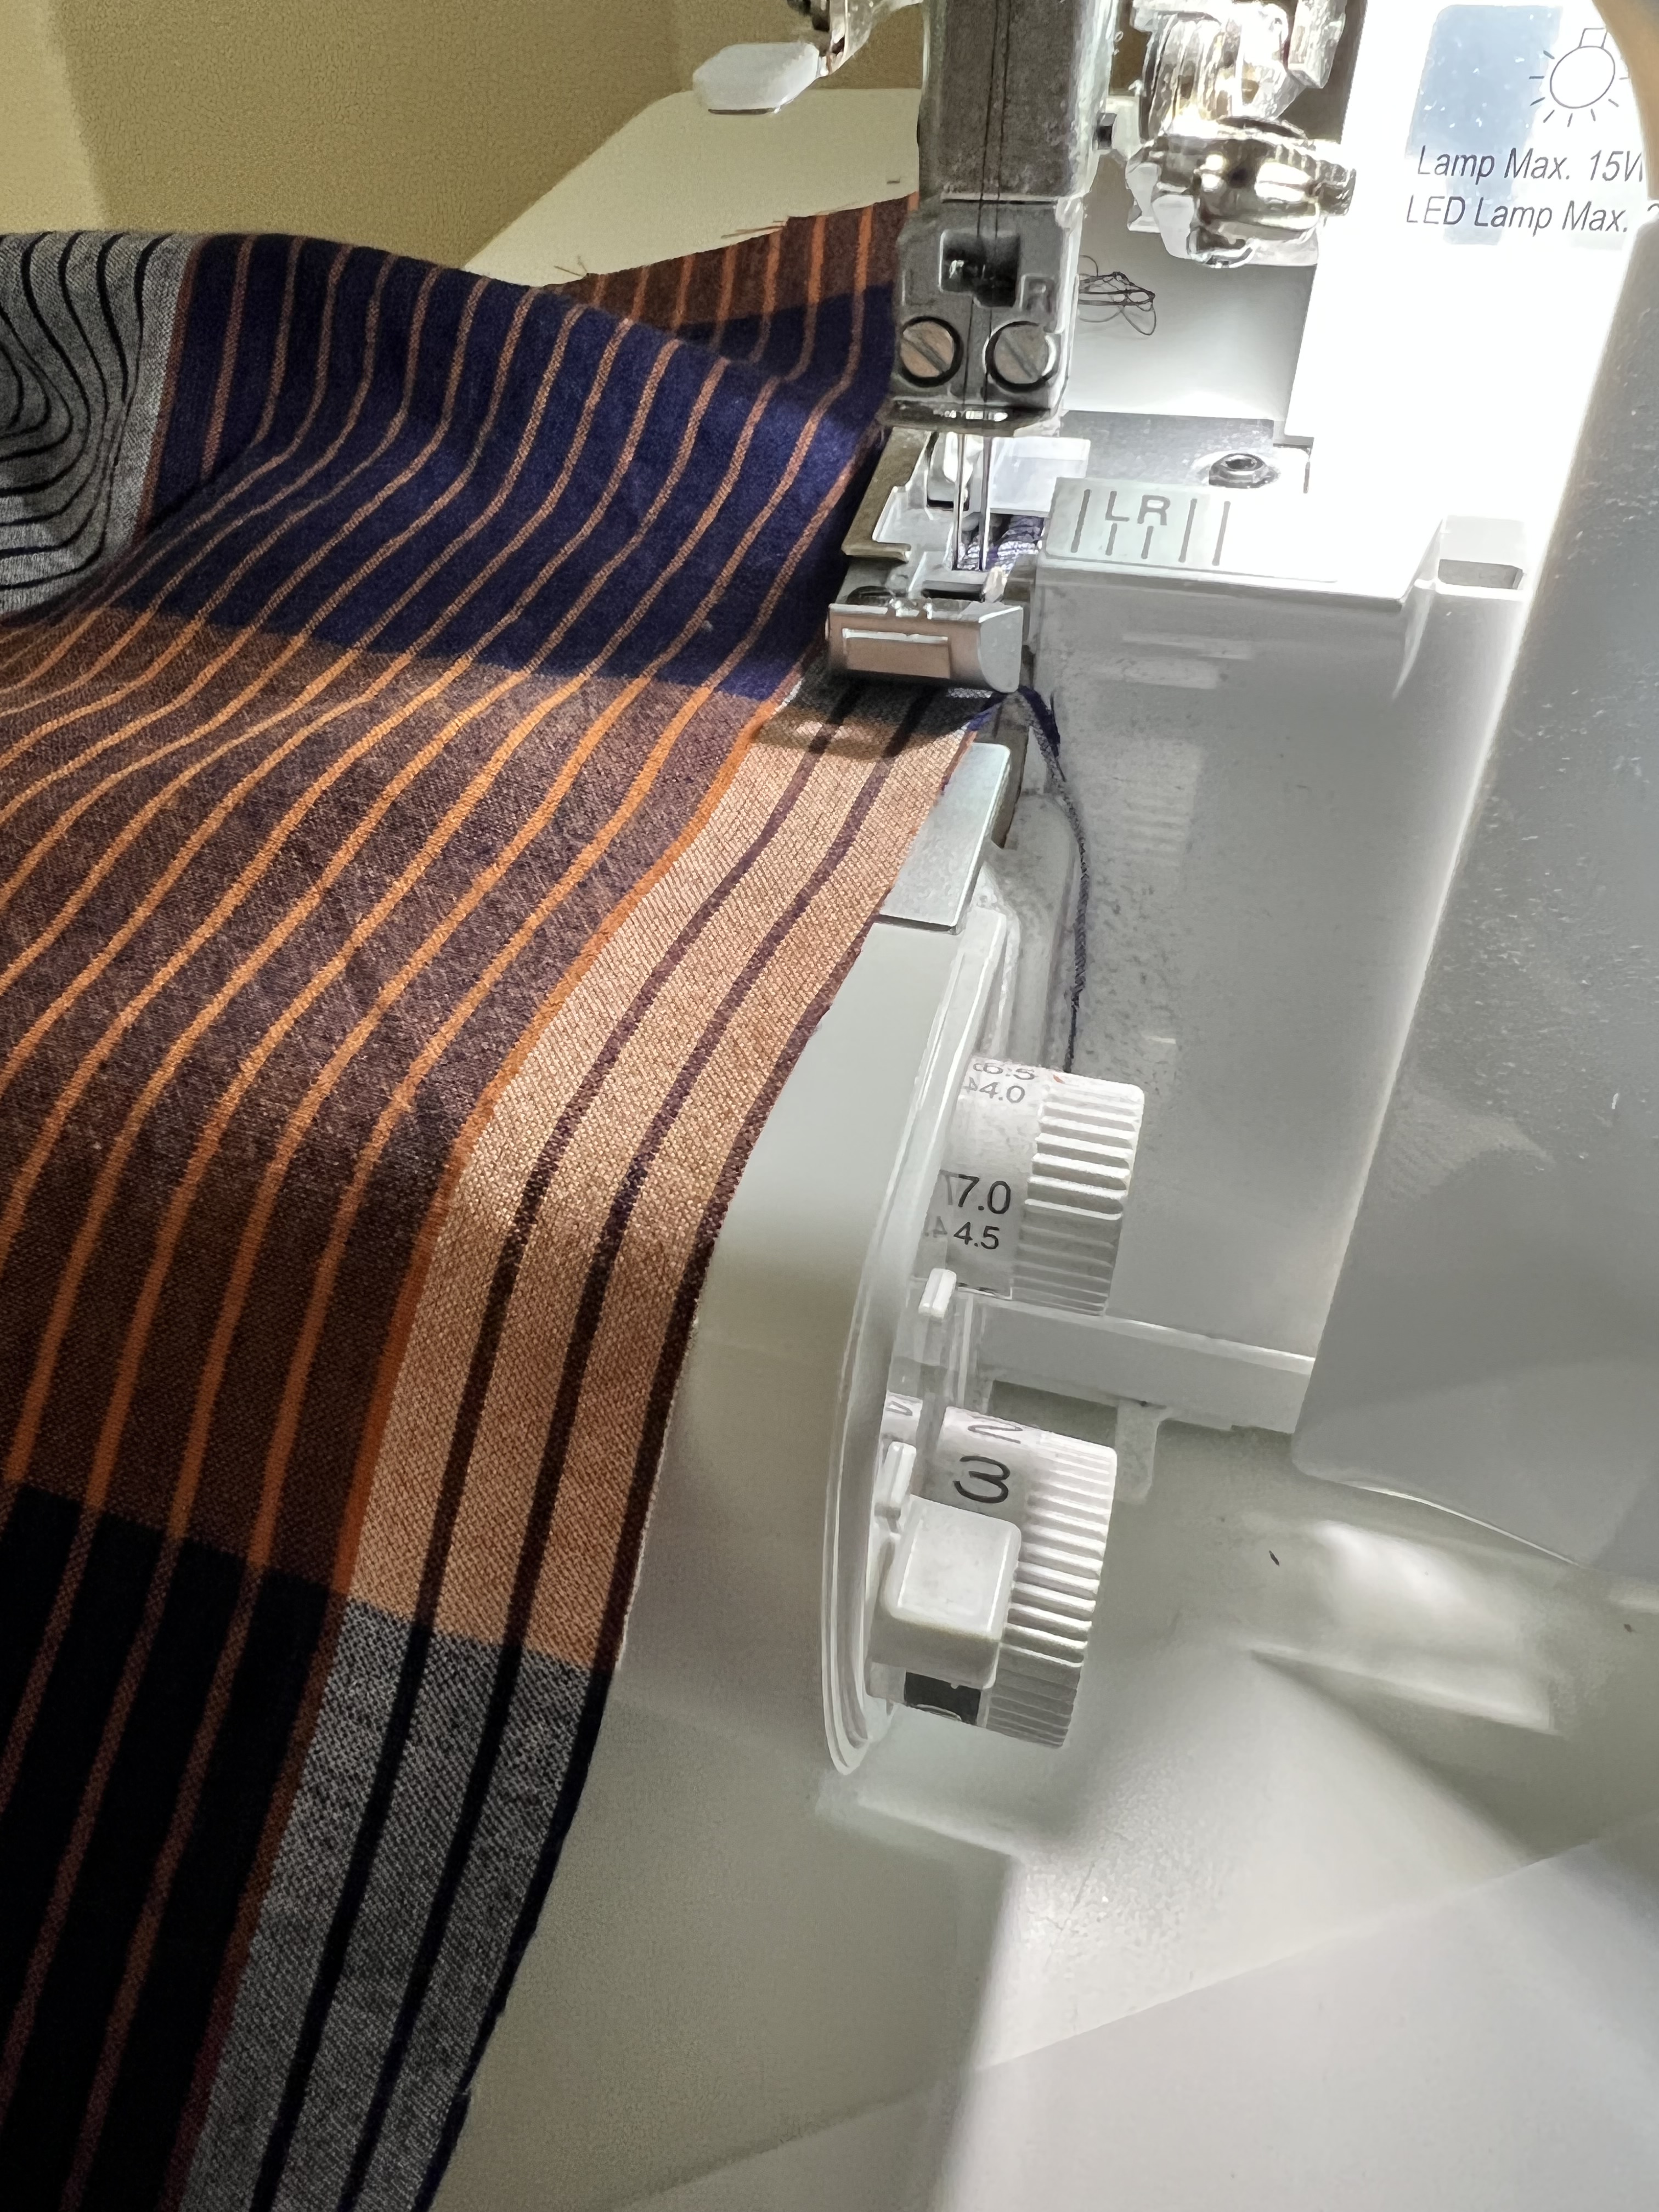
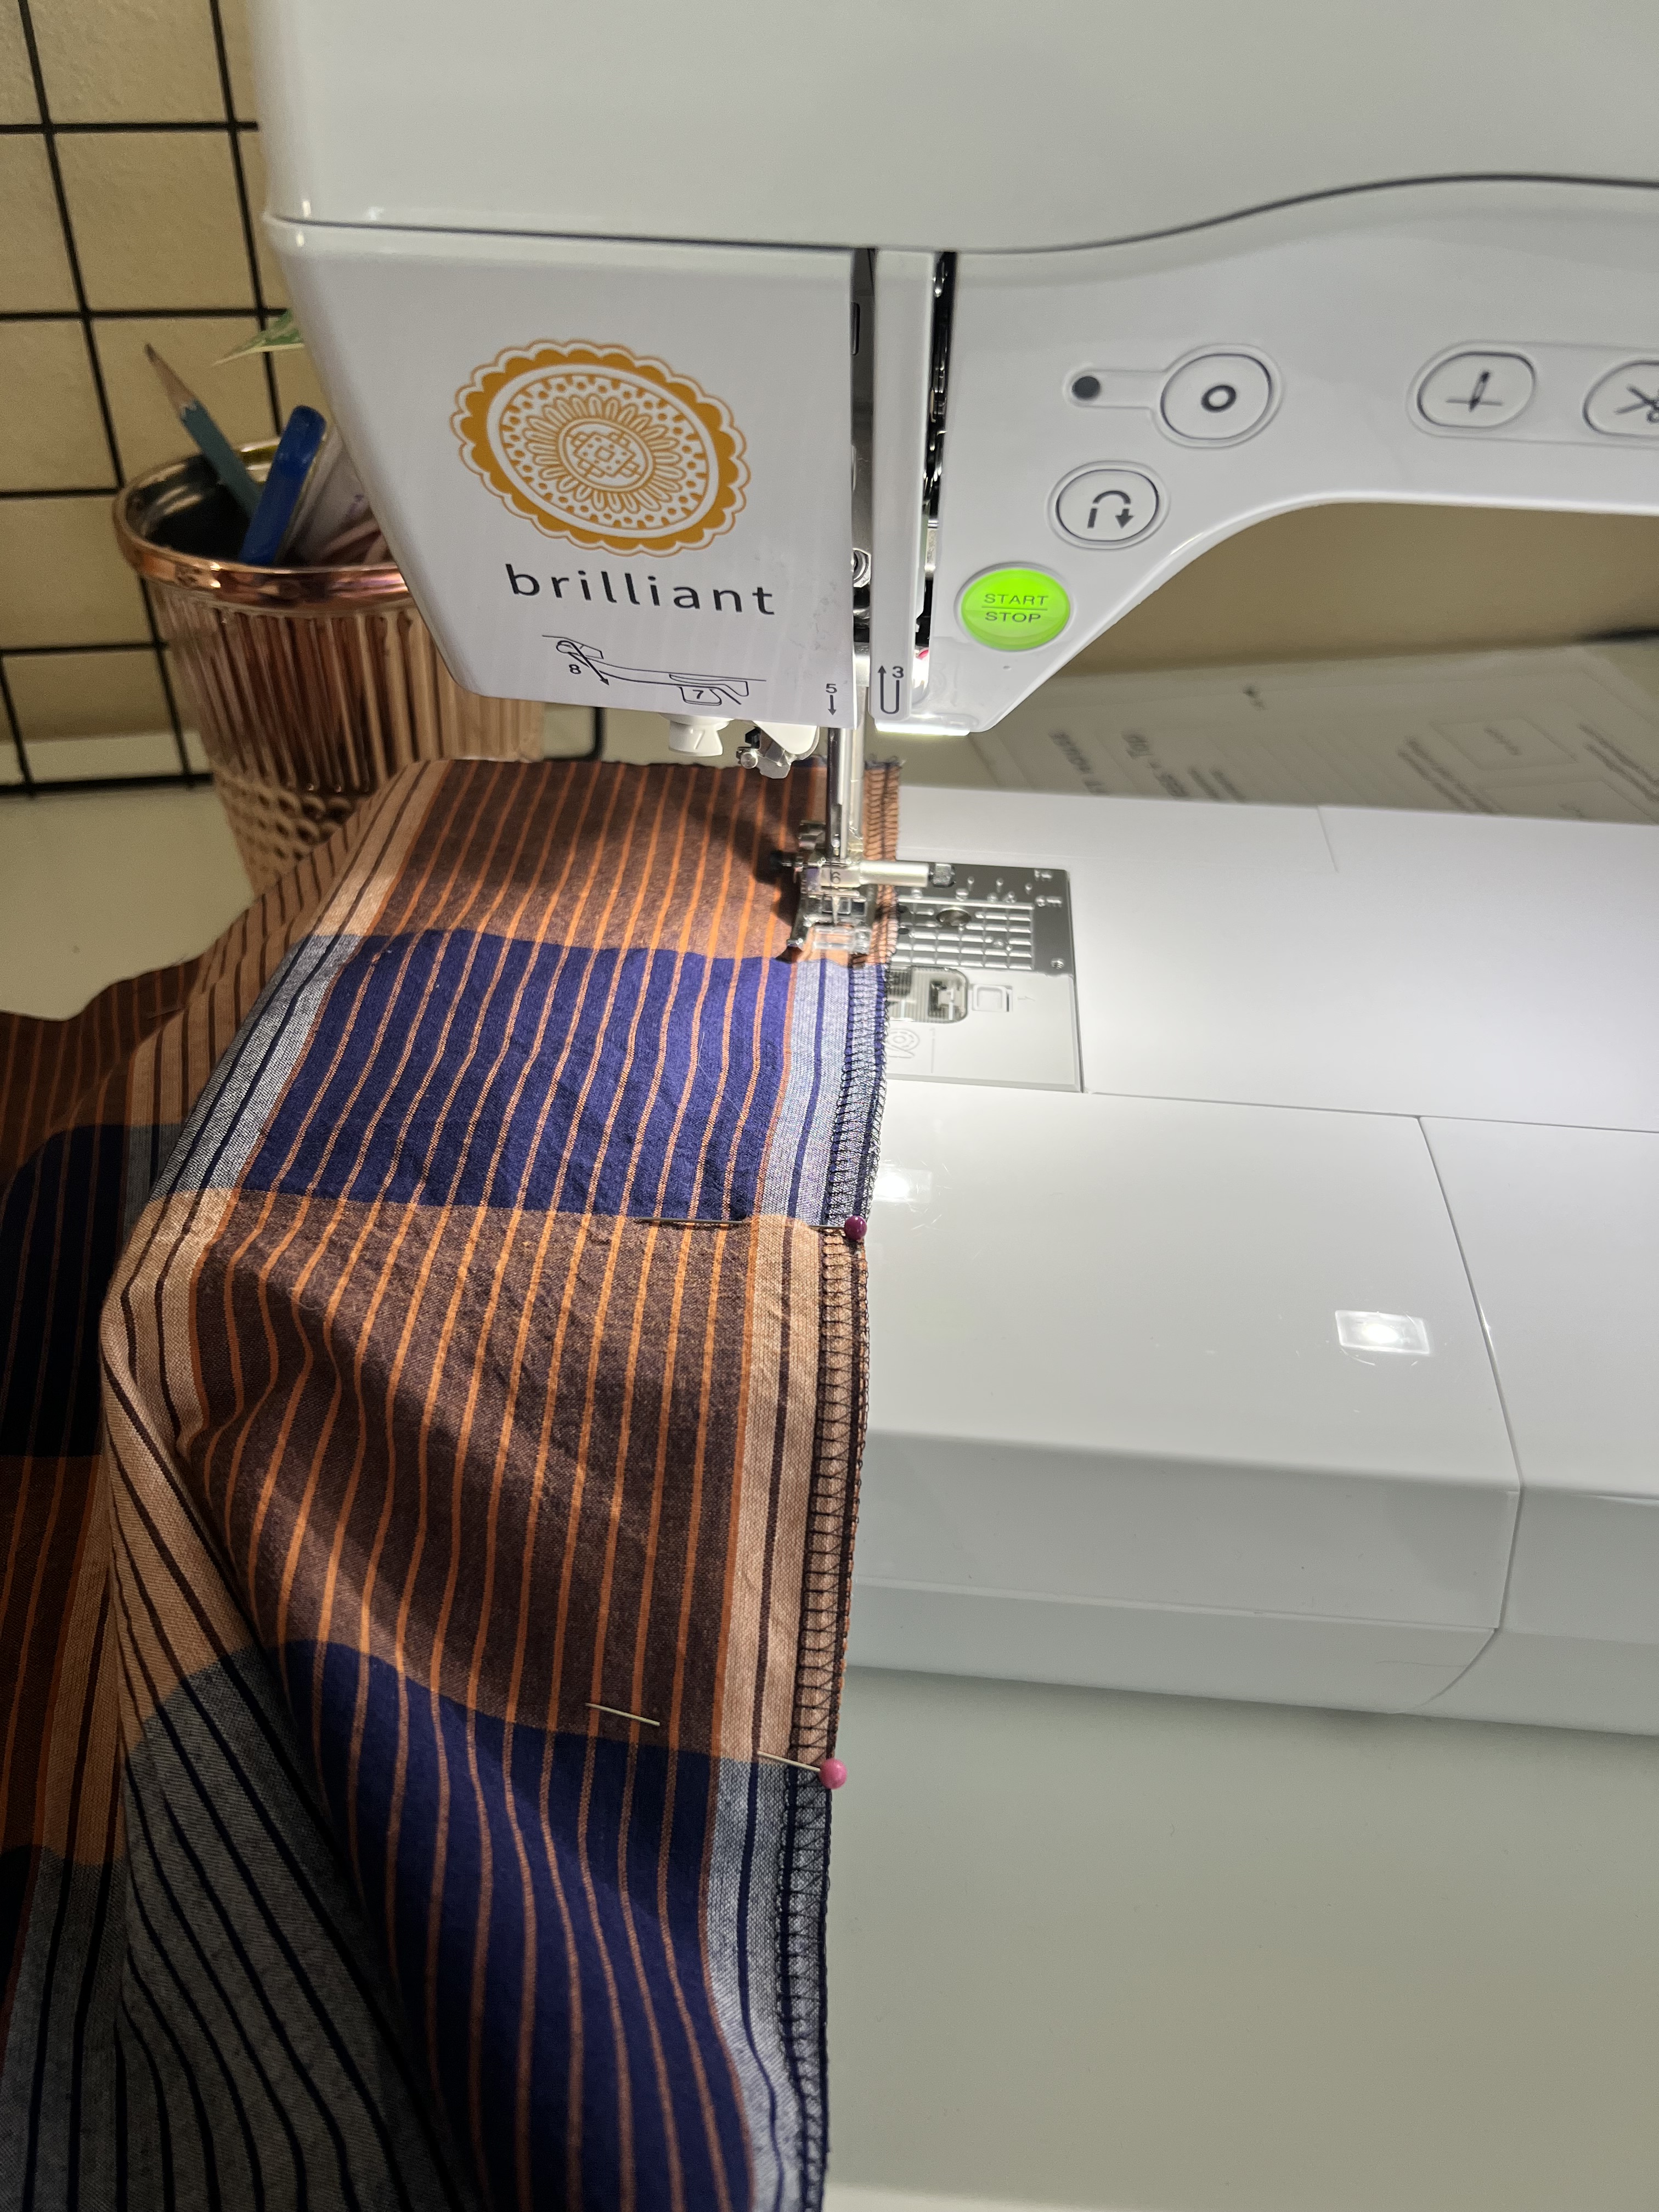
I printed the PDF version of the pattern. I cut out a size 8 with no alterations. I omitted the pockets because I don’t love the added bulk. I ordered 5 yards of fabric and used almost all of it. I was nervous this fabric wouldn’t be wide enough for the skirt panels at 43″ wide but I didn’t have any trouble at all- everything fit just fine. I did have to take some time while cutting out my pattern pieces to pattern match the side seams, and skirt tiers, sleeves, etc. Take your time thinking through where your pattern pieces will meet to the giant plaid pattern matches up correctly when sewn together. The bottom skirt tier is actually 4 panels of fabric- super proud that everything matched up pretty well. This fabric sewed up beautifully with my Baby Lock Celebrate Serger and Brilliant Sewing Machine.
Overall, I’m very happy with the fit and style of this dress. Big sleeves and gathered tiers are my jam. It was super comfortable to wear, too. I love the Madewell/ Ace & Jig vibes it gives off. I’ve been loving these amazon shoes I paired with it (size up a 1/2 size), as well as this Madewell necklace set.
If it’s helpful to any of you- I took photos of the process along the way of creating this dress, and I’ll share those now!
Everyday Dress Sewing Tutorial:
Step 1: Stay stitch the the neckline and armhole areas of the bodice pattern pieces. and finish the center back edges. I used my Baby Lock Celebrate serger to finish my back edges. You could also do a zig zag stitch.
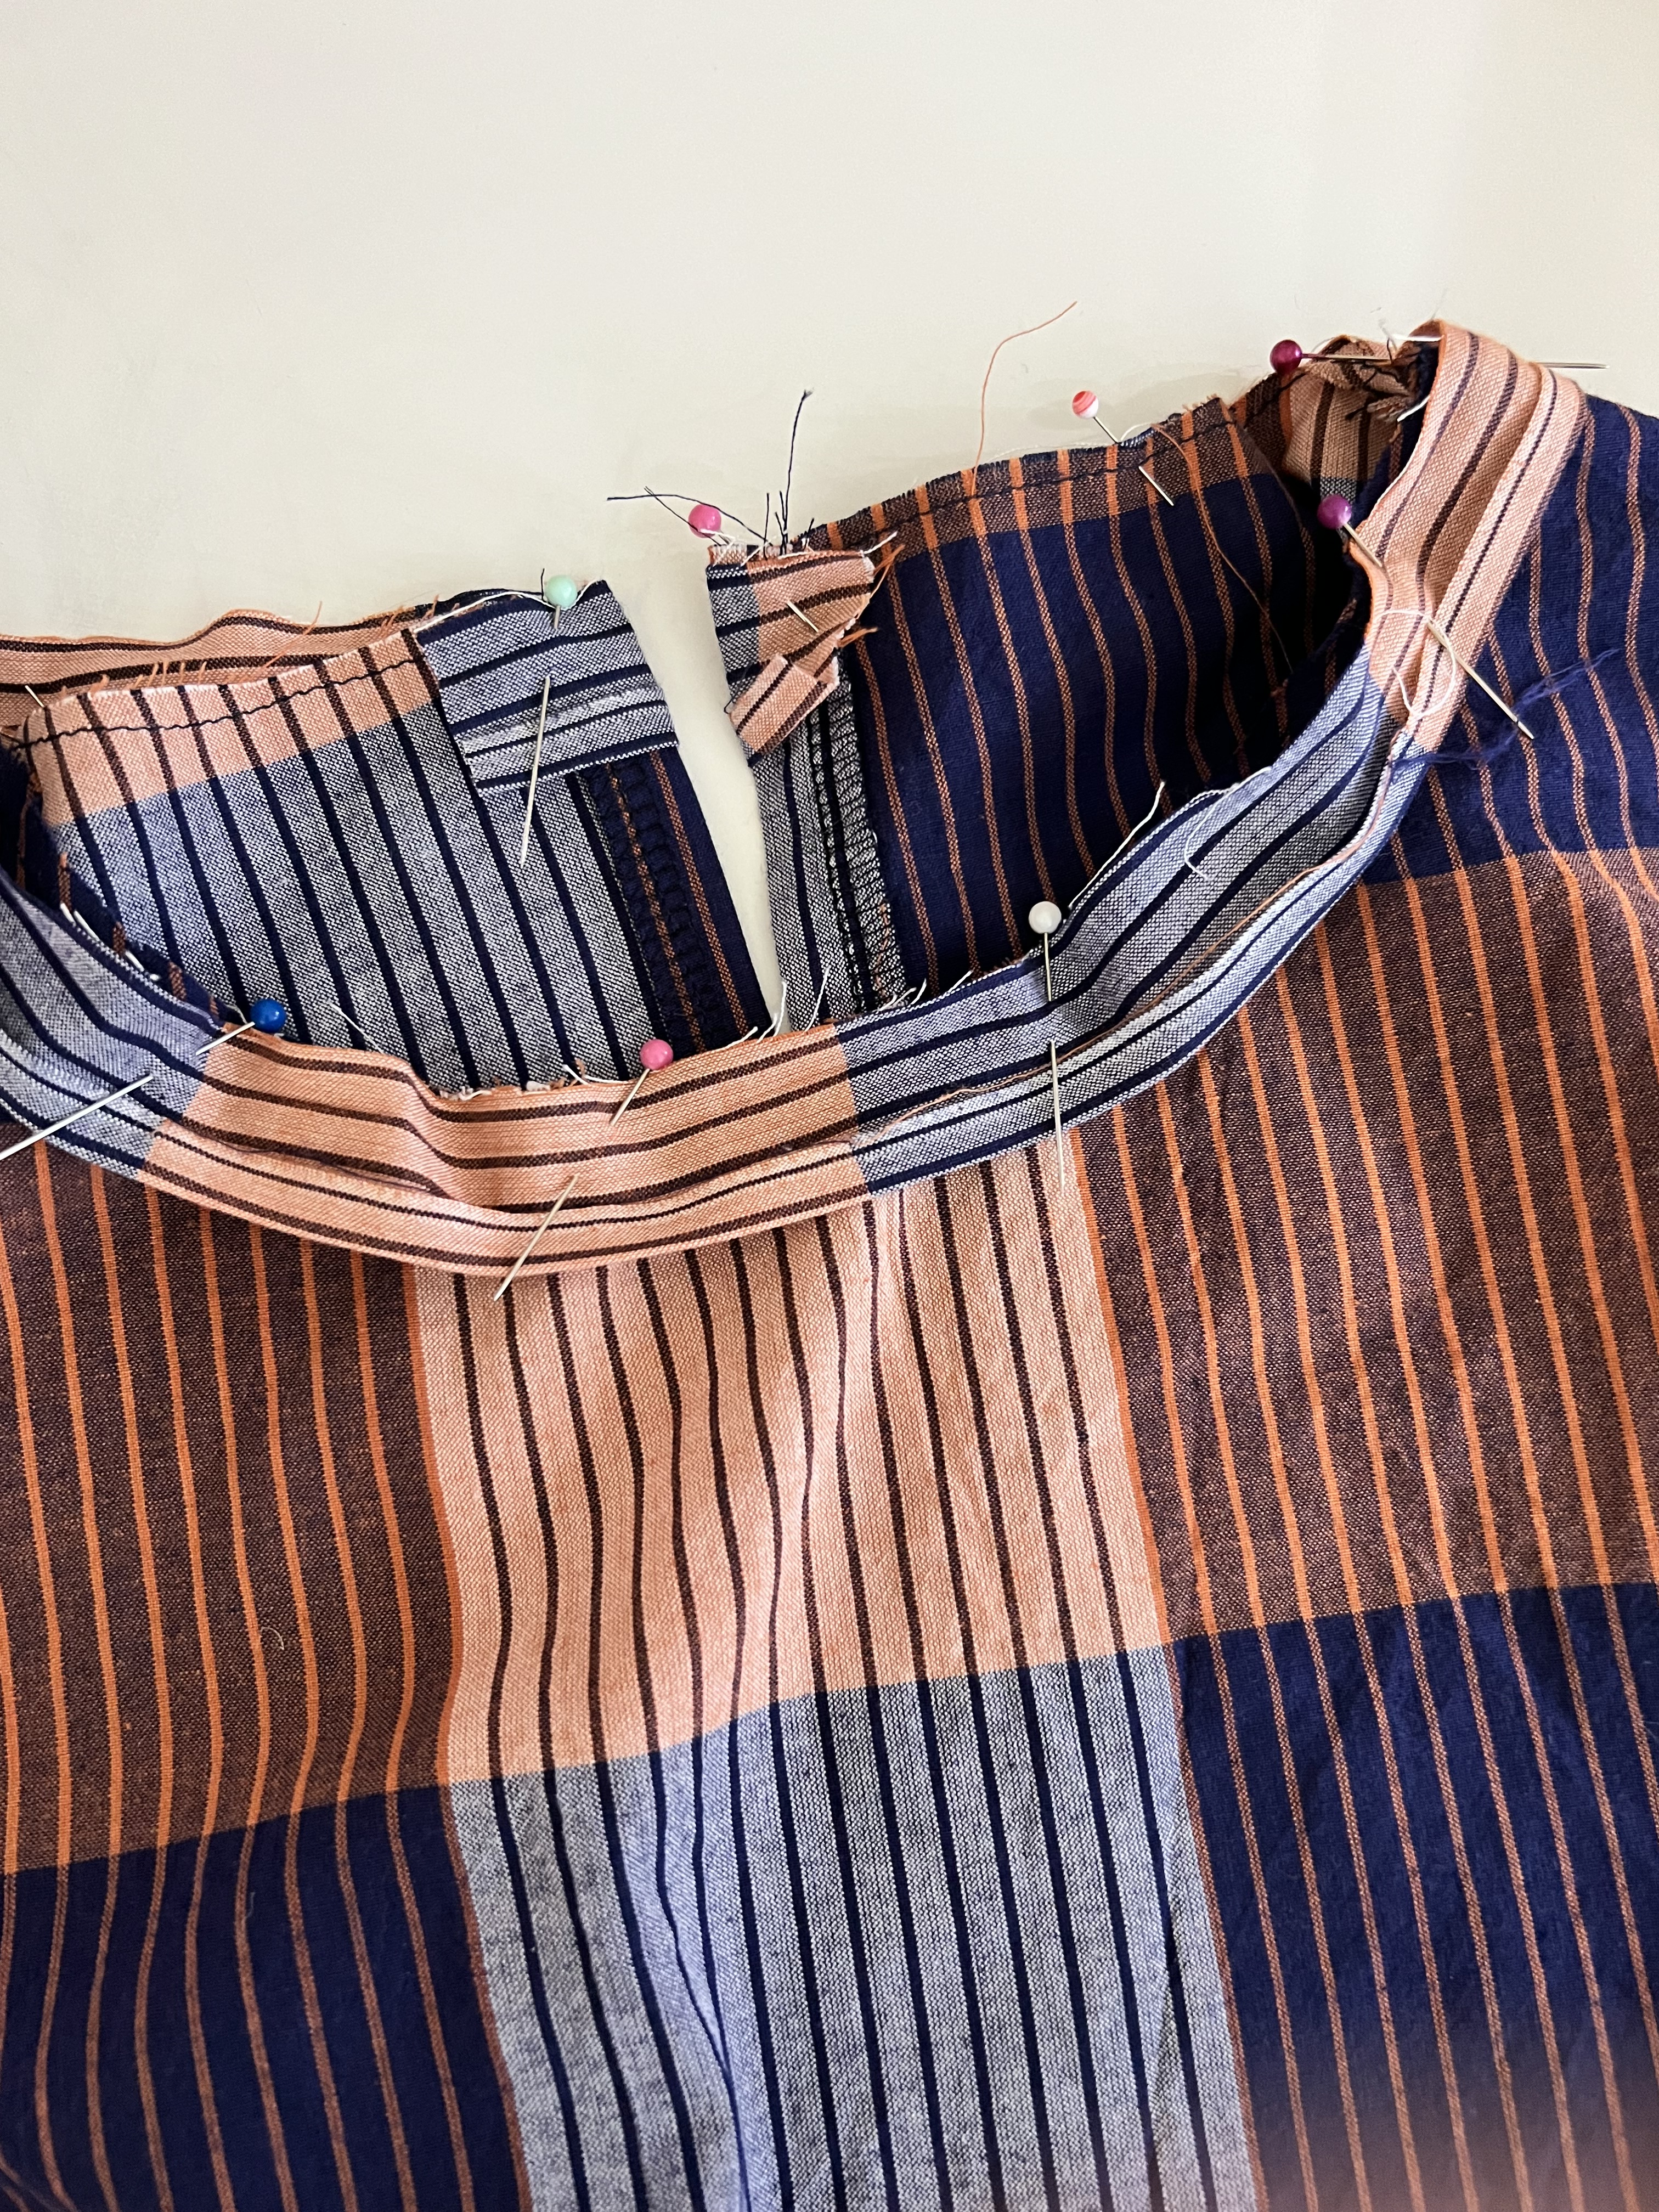
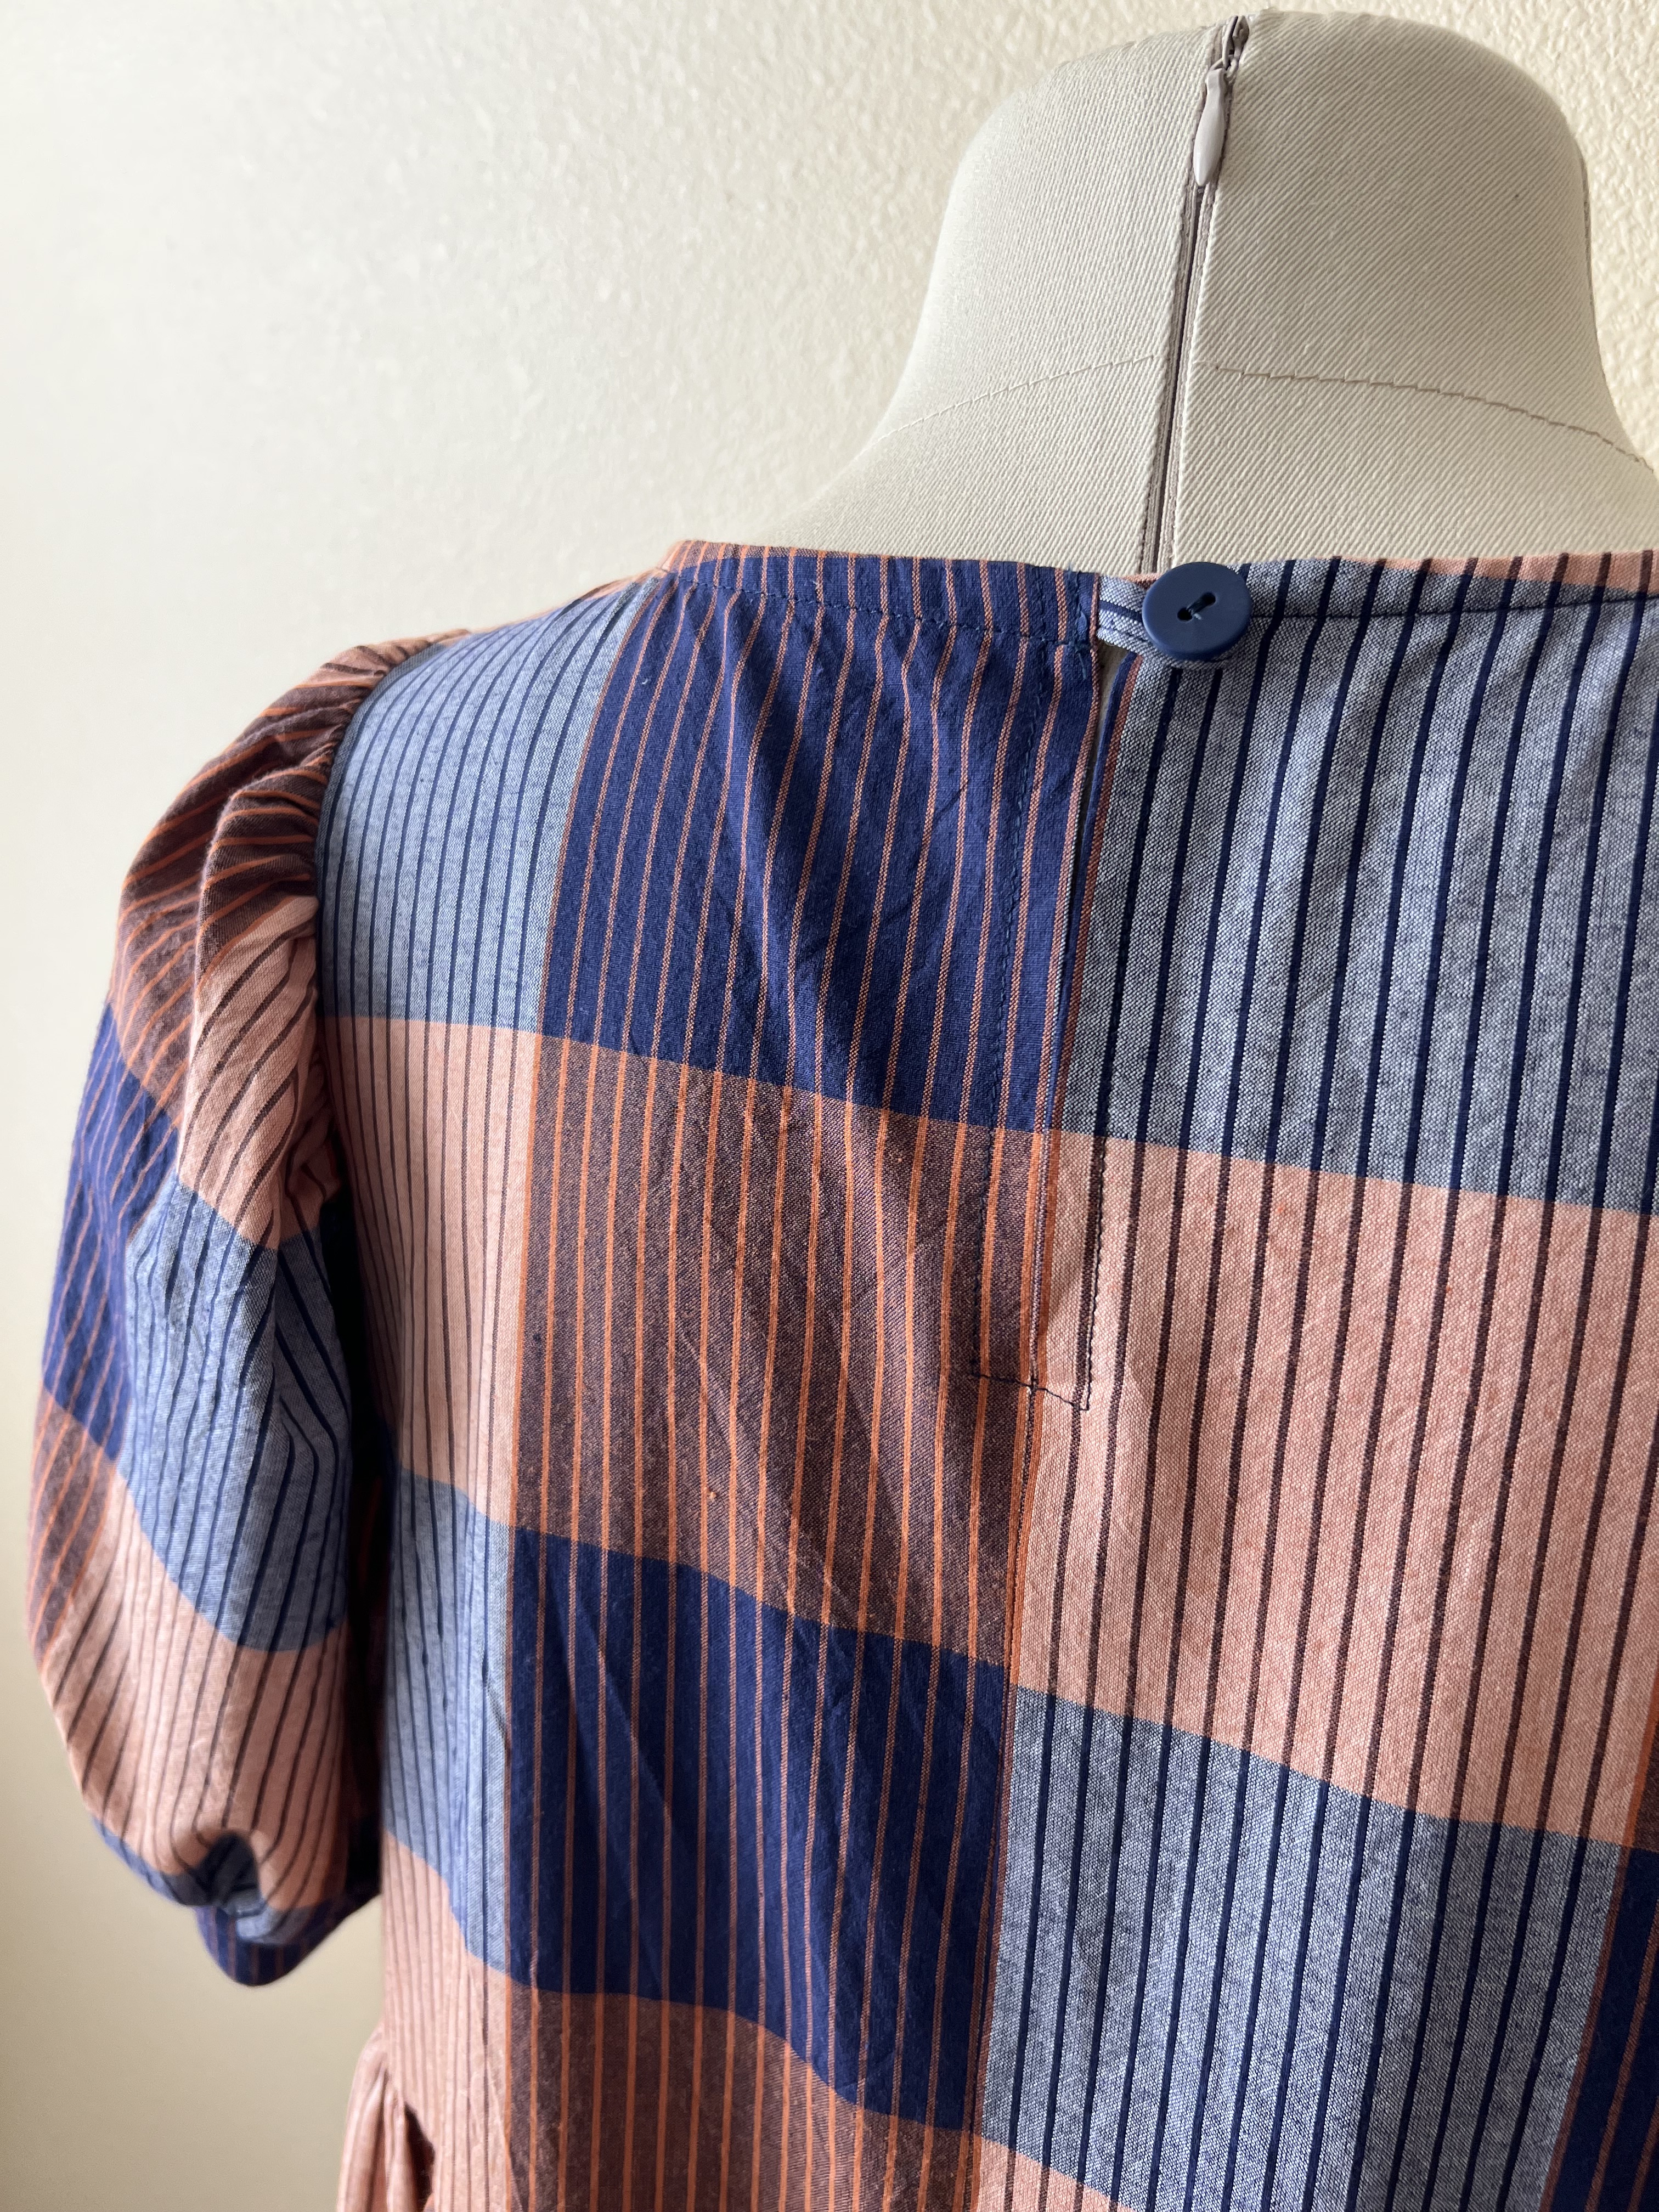
Step 2: Stitch the center back piece at 5/8″ right sides together, stopping at the notch indicating where the keyhole will begin. Press the back seam open along the whole seam up to the neckline. Stitch around the keyhole opening at 1/2″, pivoting around the bottom of the keyhole.

Step 3: Pin the shoulder seams right sides together and stitch at 5/8″. Press and finish as desired. Prep the bias binding by folding/pressing each long edge in at 1/4″ and again along the middle.


Step 4: Open up the binding and apply the bias binding to the neckline edge right sides together, leaving 1/2″ extended from each neckline edge. Fold the extended bias to the wrong side and pin. Sew in place at 1/4″ along the neck edge. Next, pull the binding up and understitch.
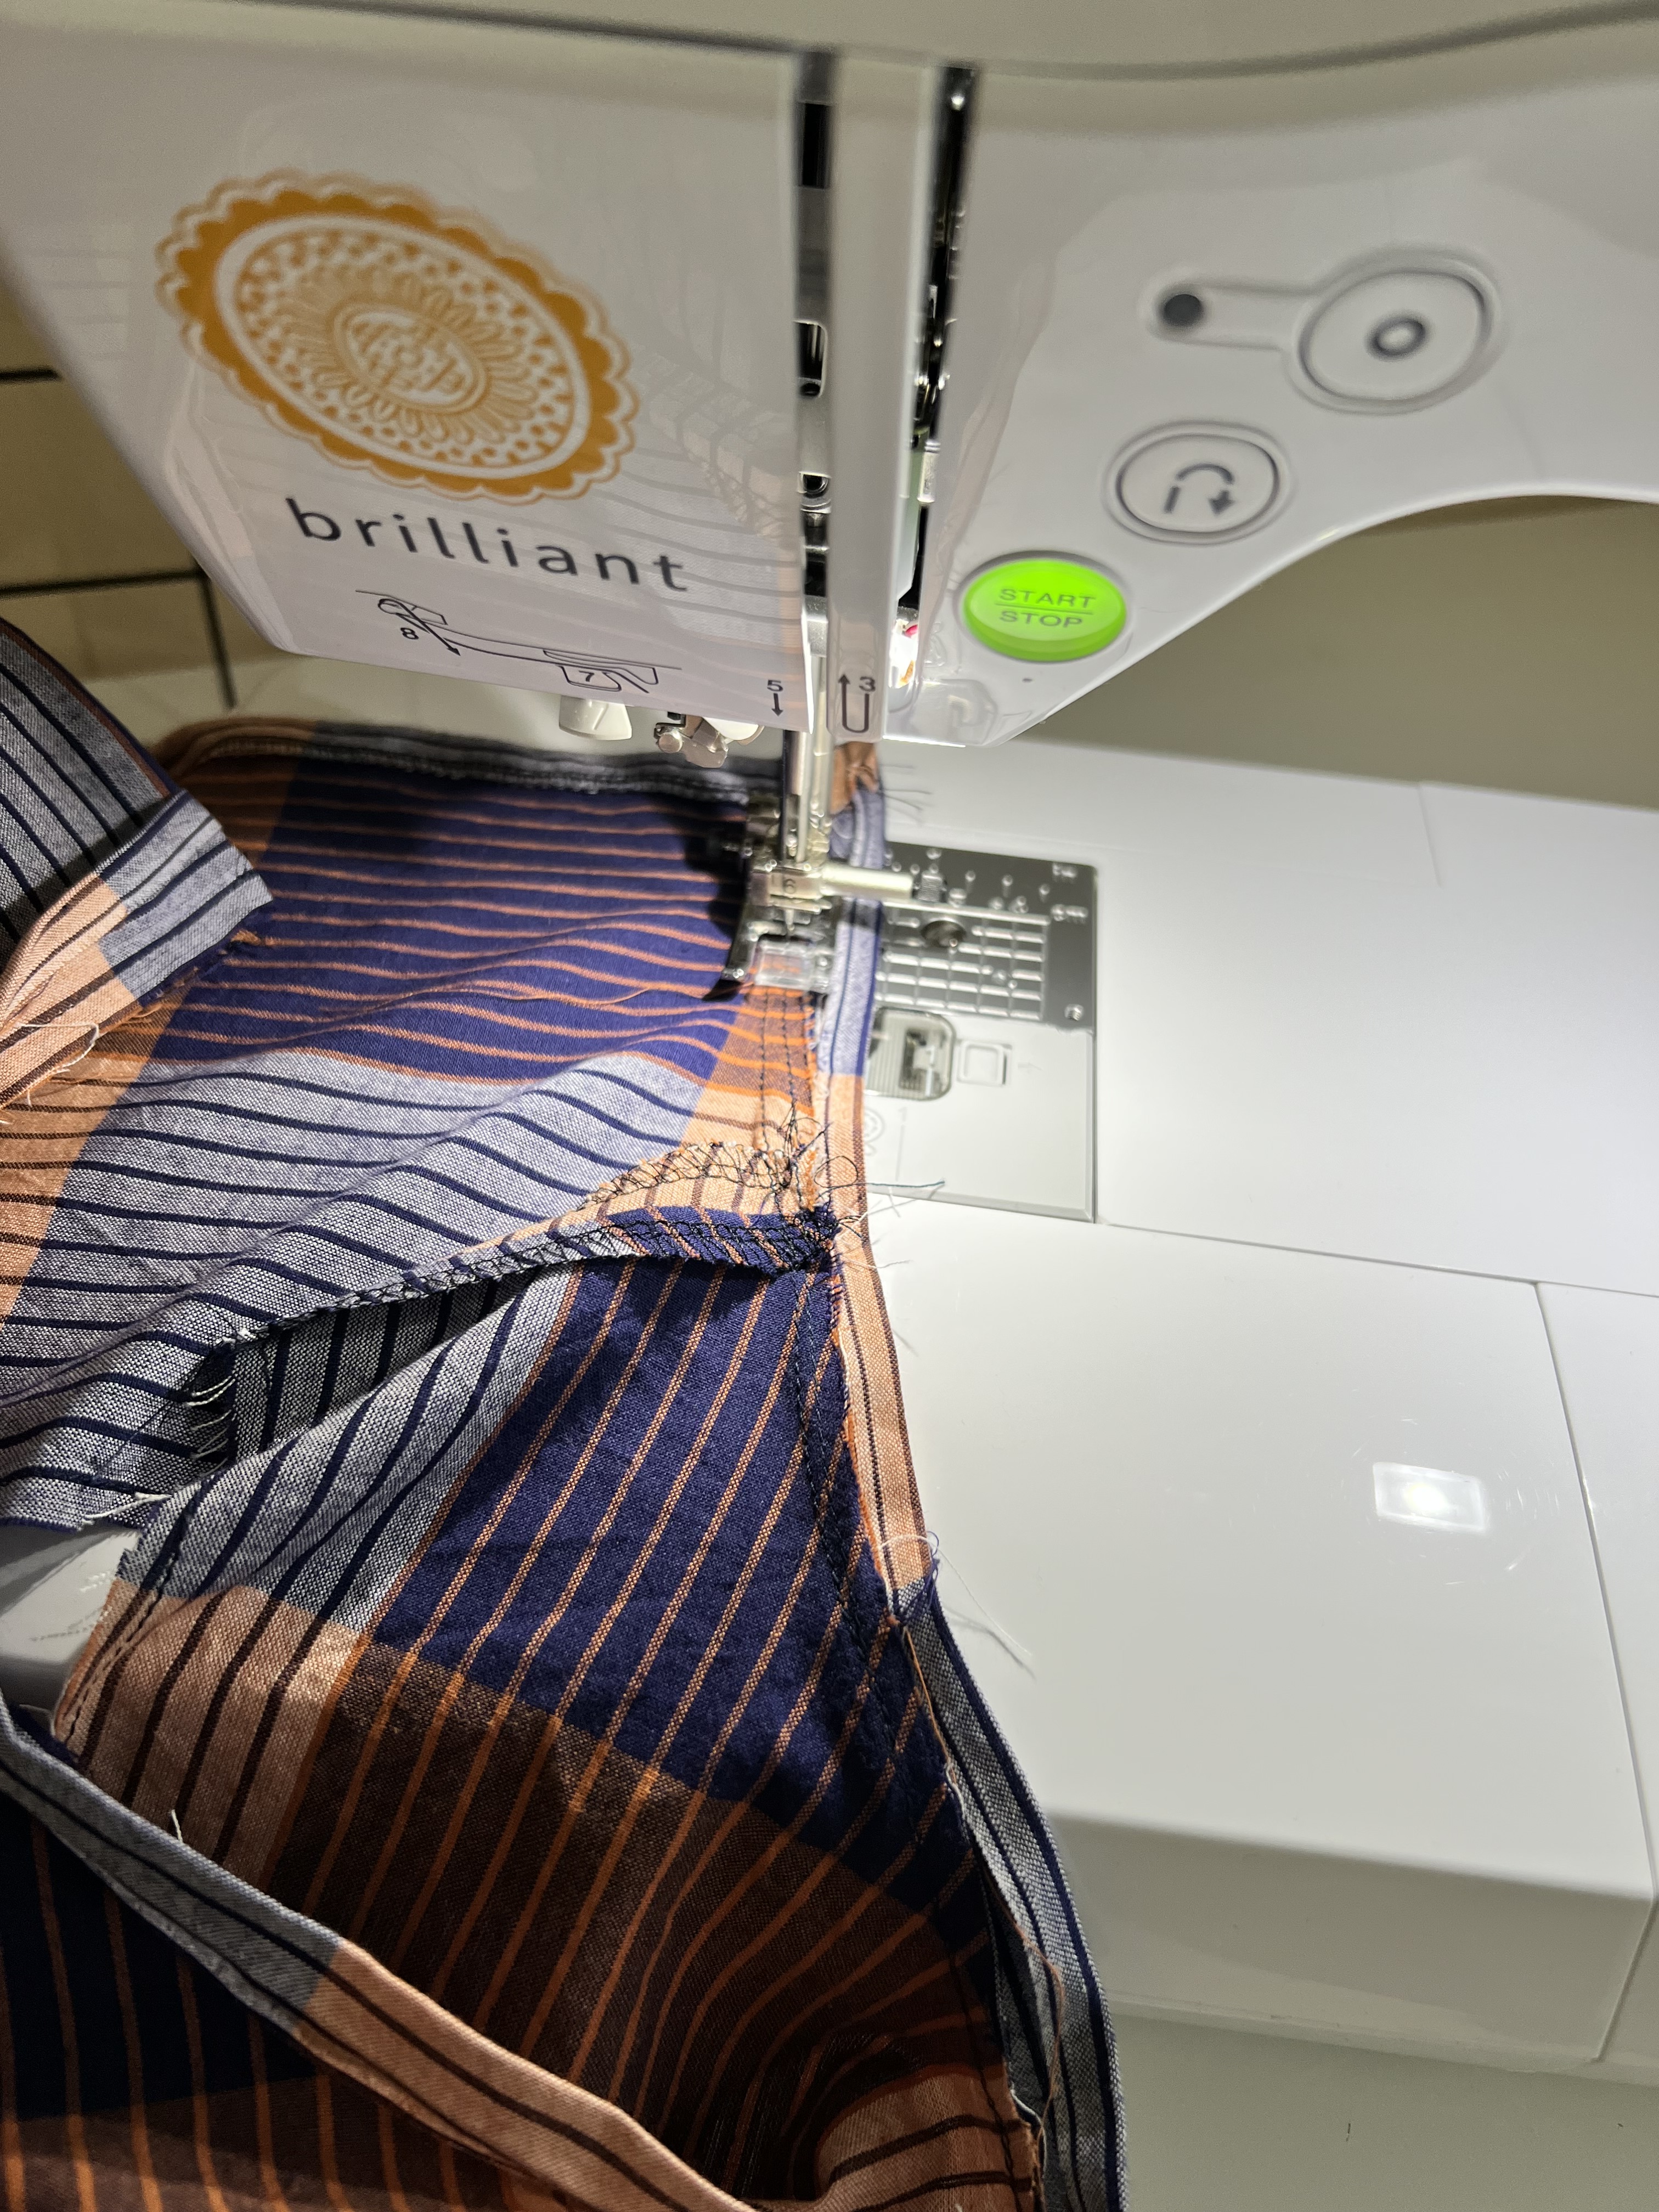
Step 5: Create your button loop (I used some extra bias binding I had) cutting a piece about 5 cm long, fold in half and pin just below the bias binding stitching on the left side of the bodice and baste in place.

Step 6: Press the binding over to the wrong side of the bodice two times, press and pin in place. Stitch along the folded edge to finish.

Step 7: Now it’s time to prep the sleeves. Create the gathering stitches by using basting stitches between the sleeve notches, sew along the edge twice at 1/4″ and 1/2″. Make sure to leave the thread tails long.
Step 8: Pin the sleeve to the bodice under arm edge matching the center notch and shoulder seams, and lightly pull the basting threads to gather the sleeve to fit in place. Make sure to evenly distribute the gathers. Sew in place. Repeat for the other sleeve.

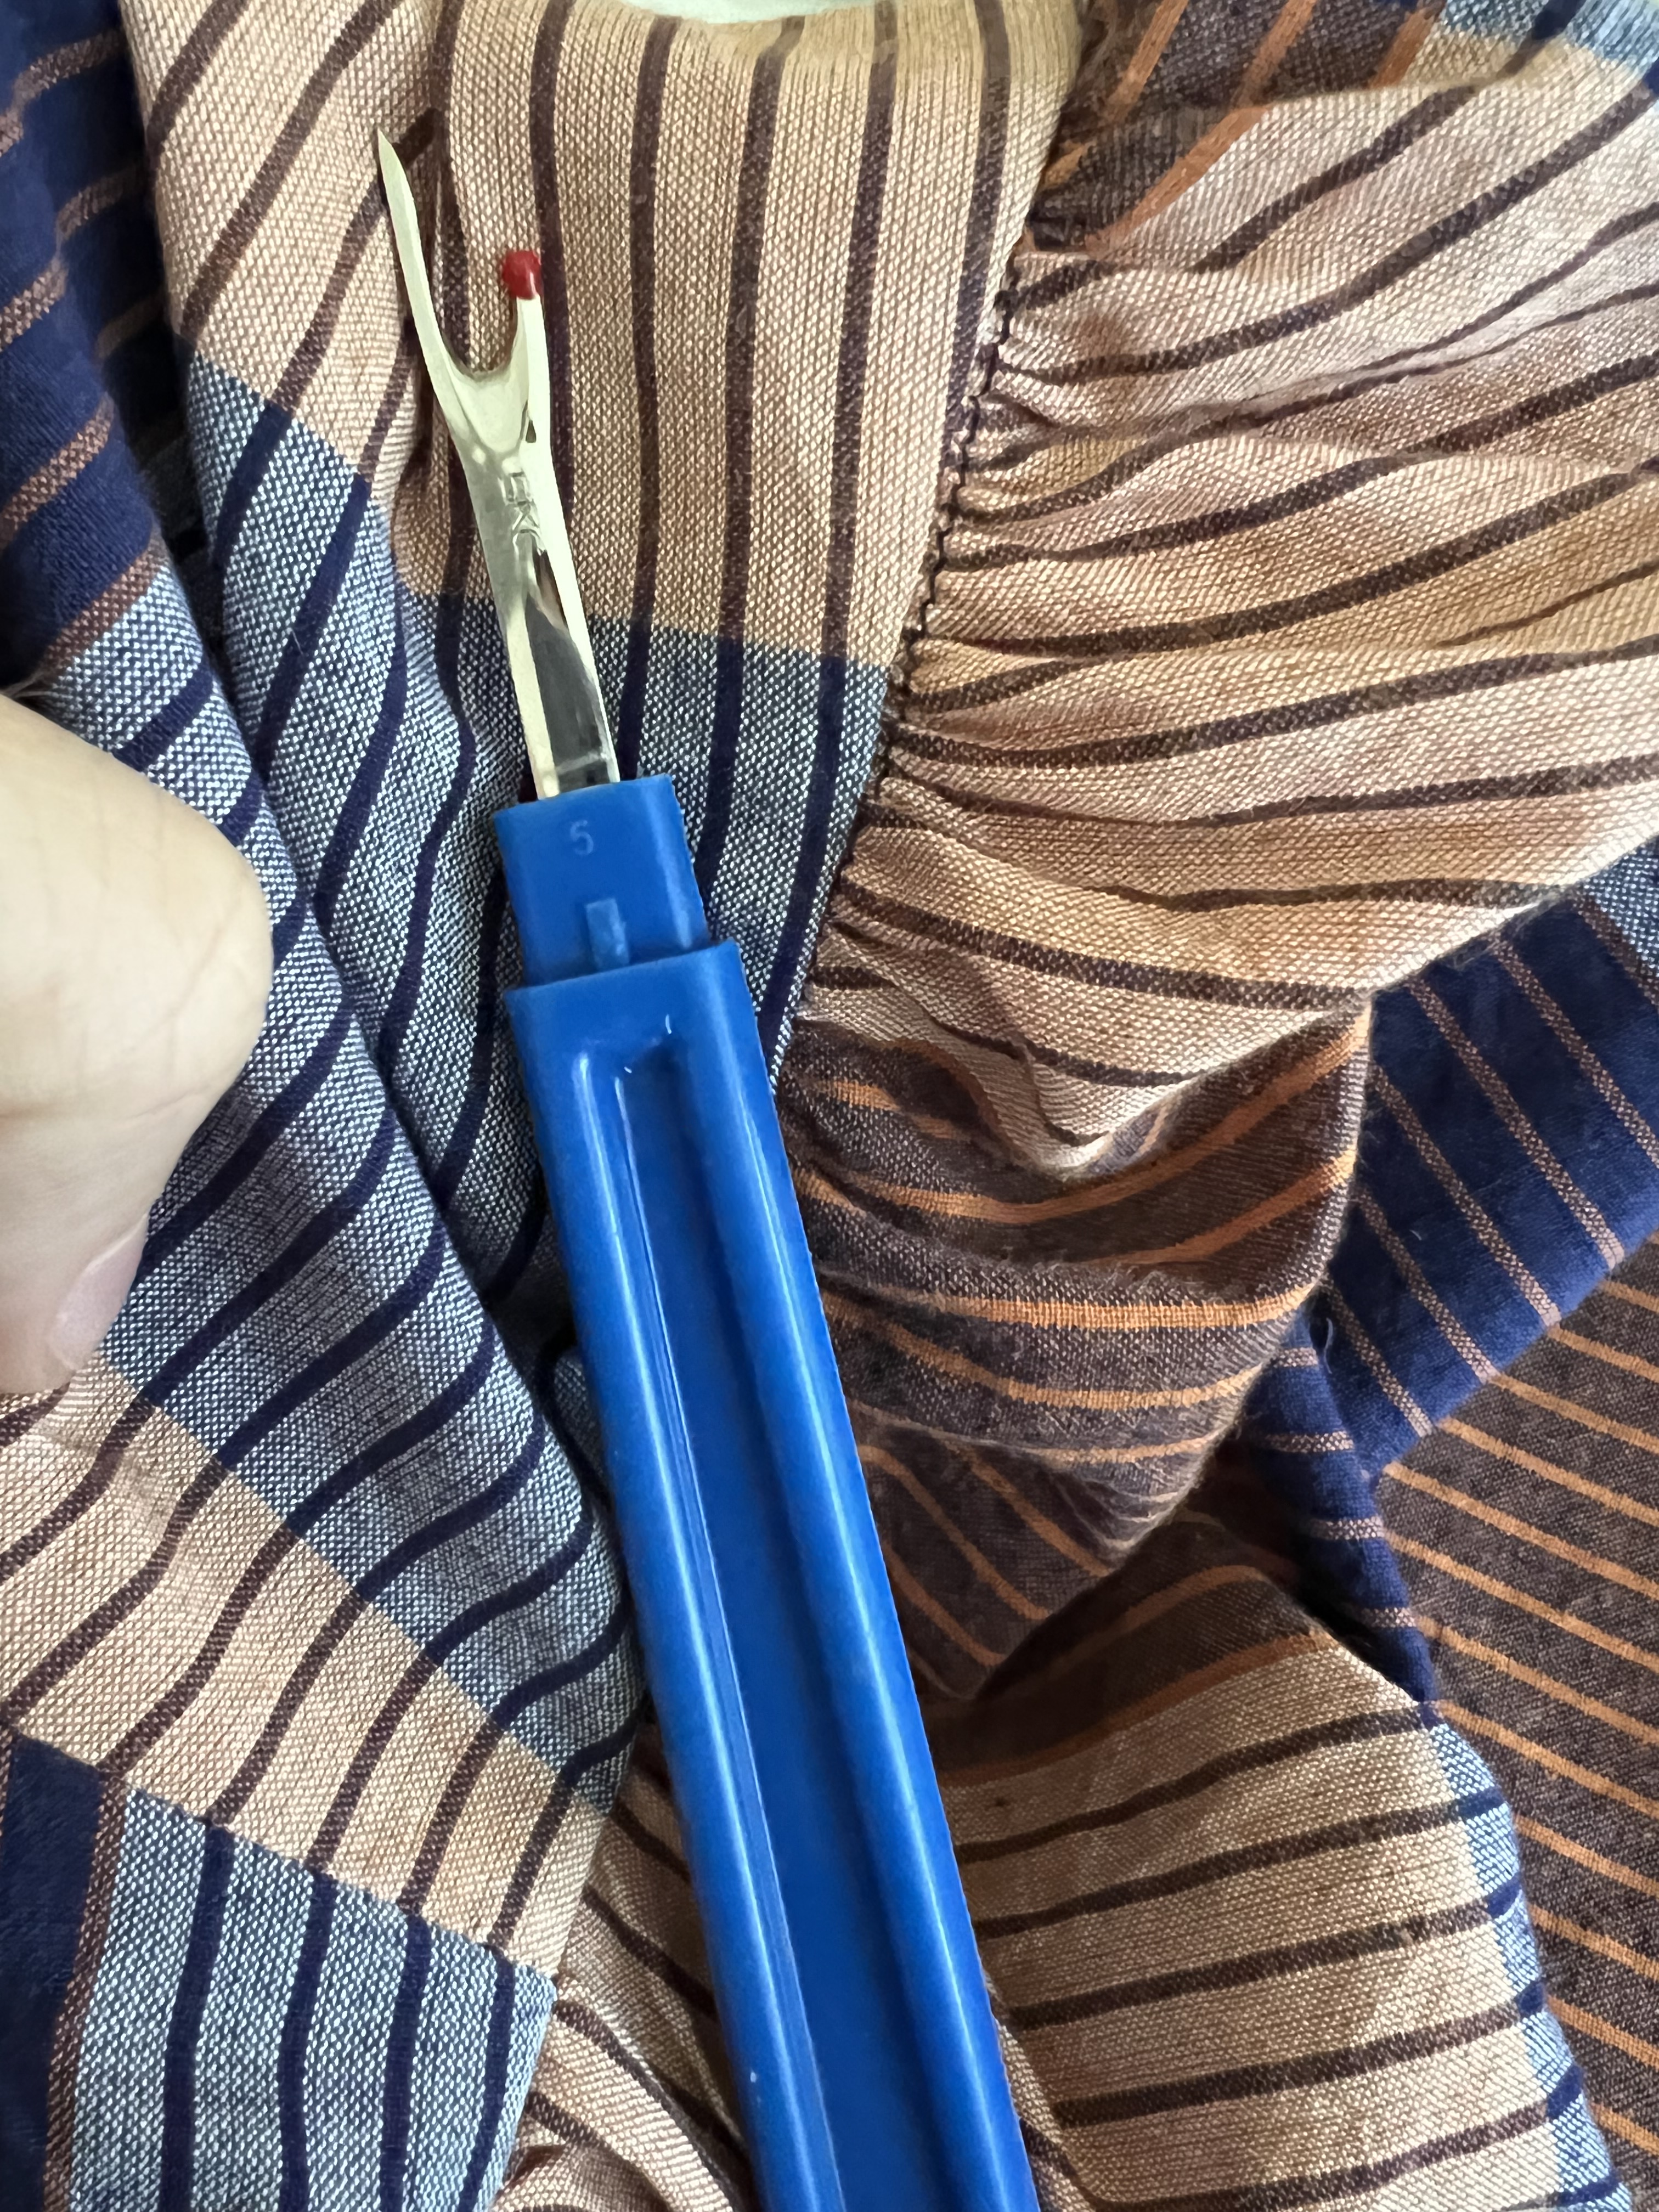
Step 9: Remove and basting stitches that still show on the right side of the bodice using a seam ripper, and finish the armhole seam as desired.
Step 10: Pin the side seam and underarm seams right sides together and sew at 5/8″. Finish as desired.
Step 11: Time to prepare the arm cuffs to finish the sleeve edges. Sew the cuffs right sides together along the short edge. Press in half wrong sides together.

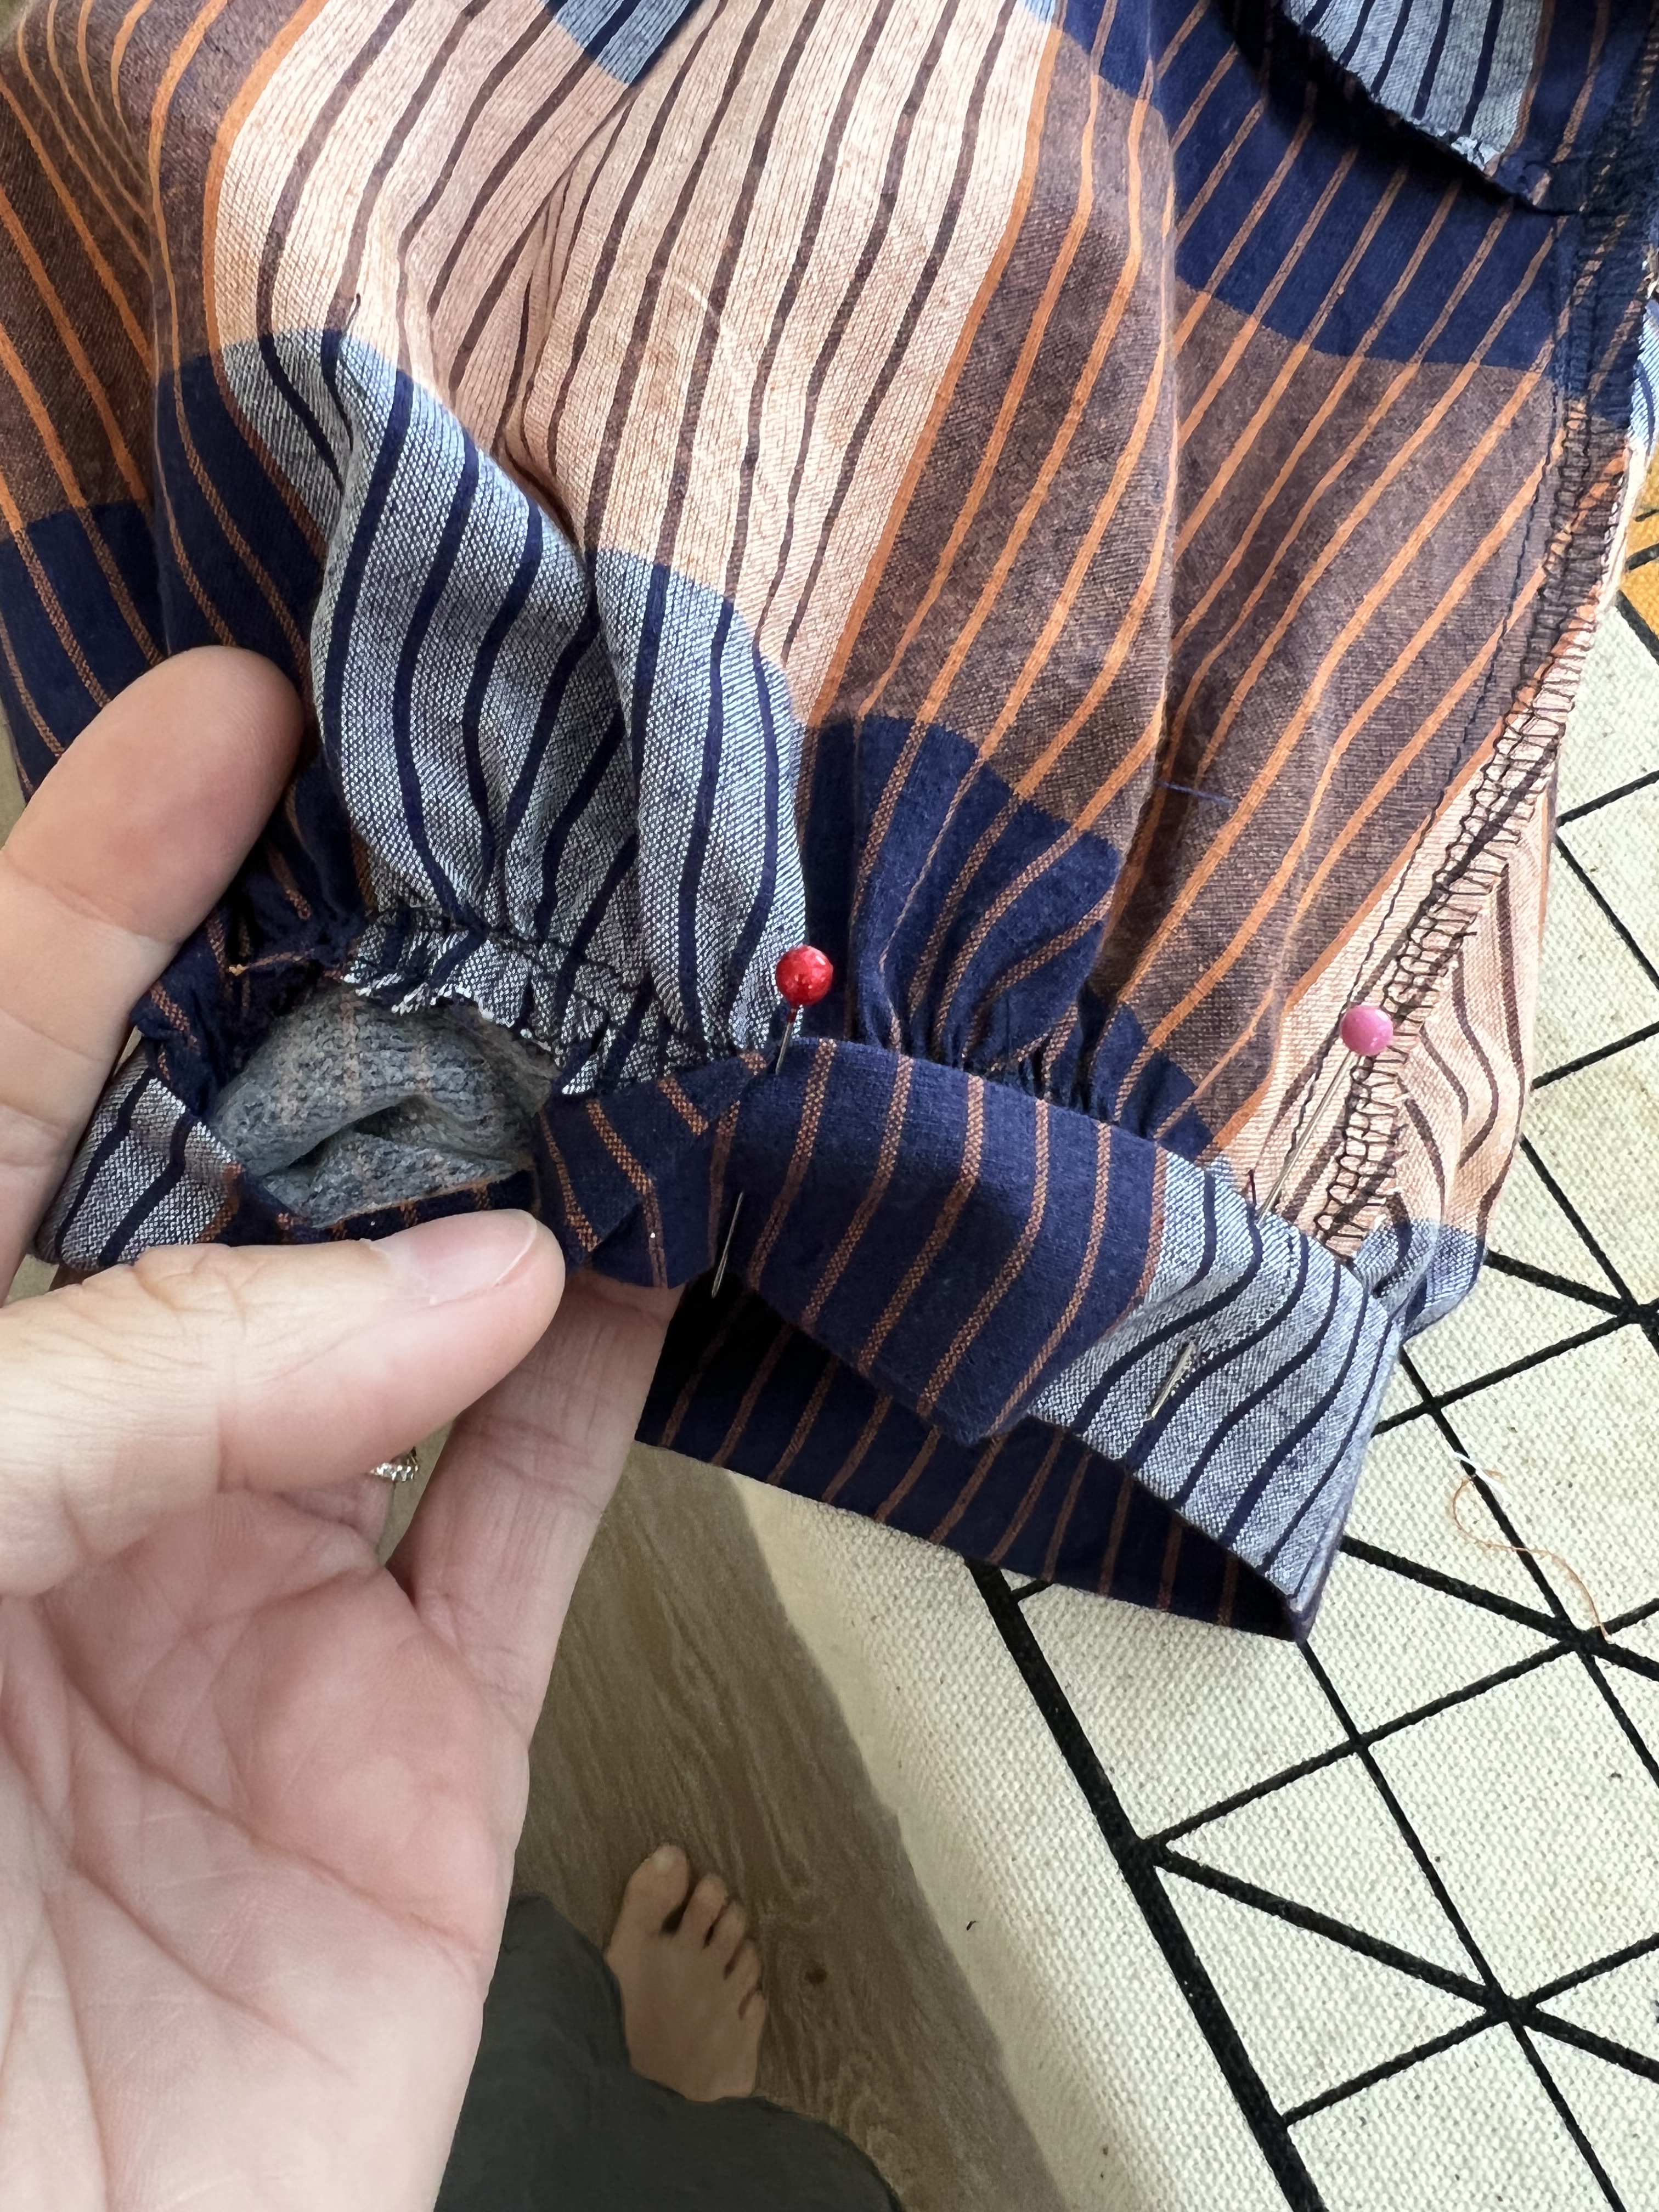
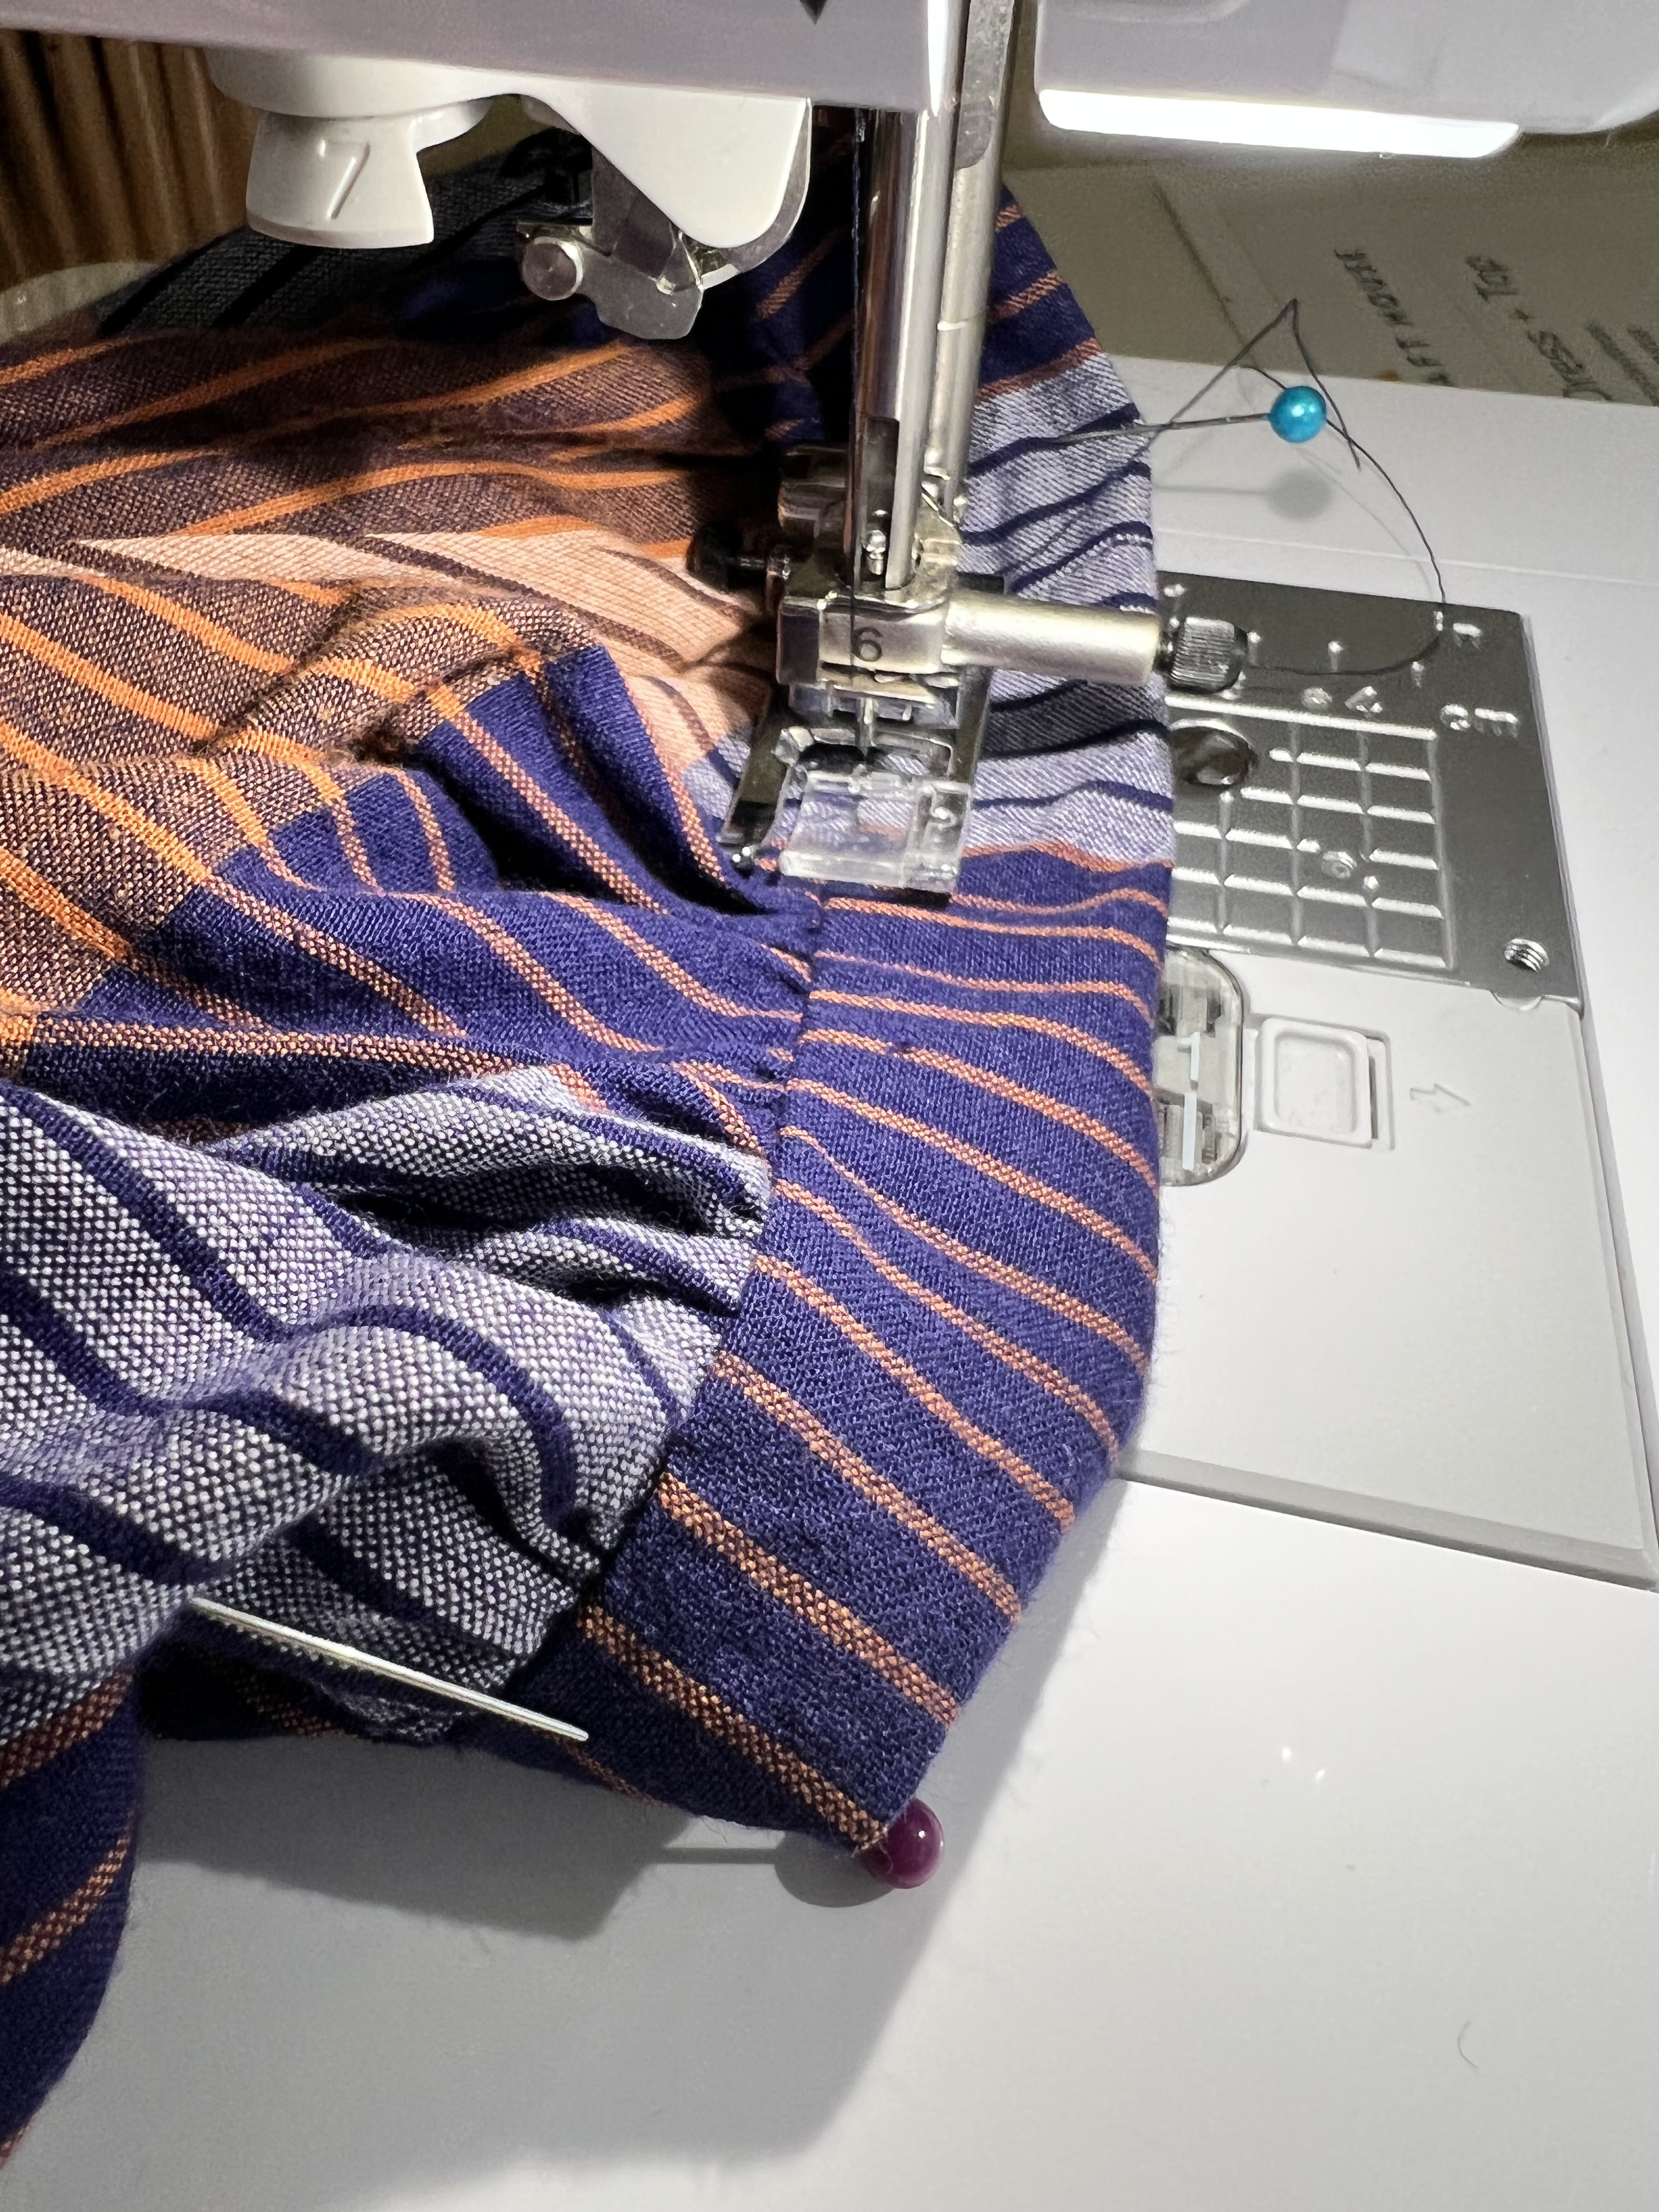
Step 12: Sew two rows of basting stitches along the edge of the sleeve at 1/4″ and 1/2″, Pin the cuff to the sleeve edge at the seam allowance, and again at the center of the sleeve and center of one edge of the cuff. Gently pull the basting threads to evenly gather the sleeve into the cuff, pinning right sides together. Sew in place.
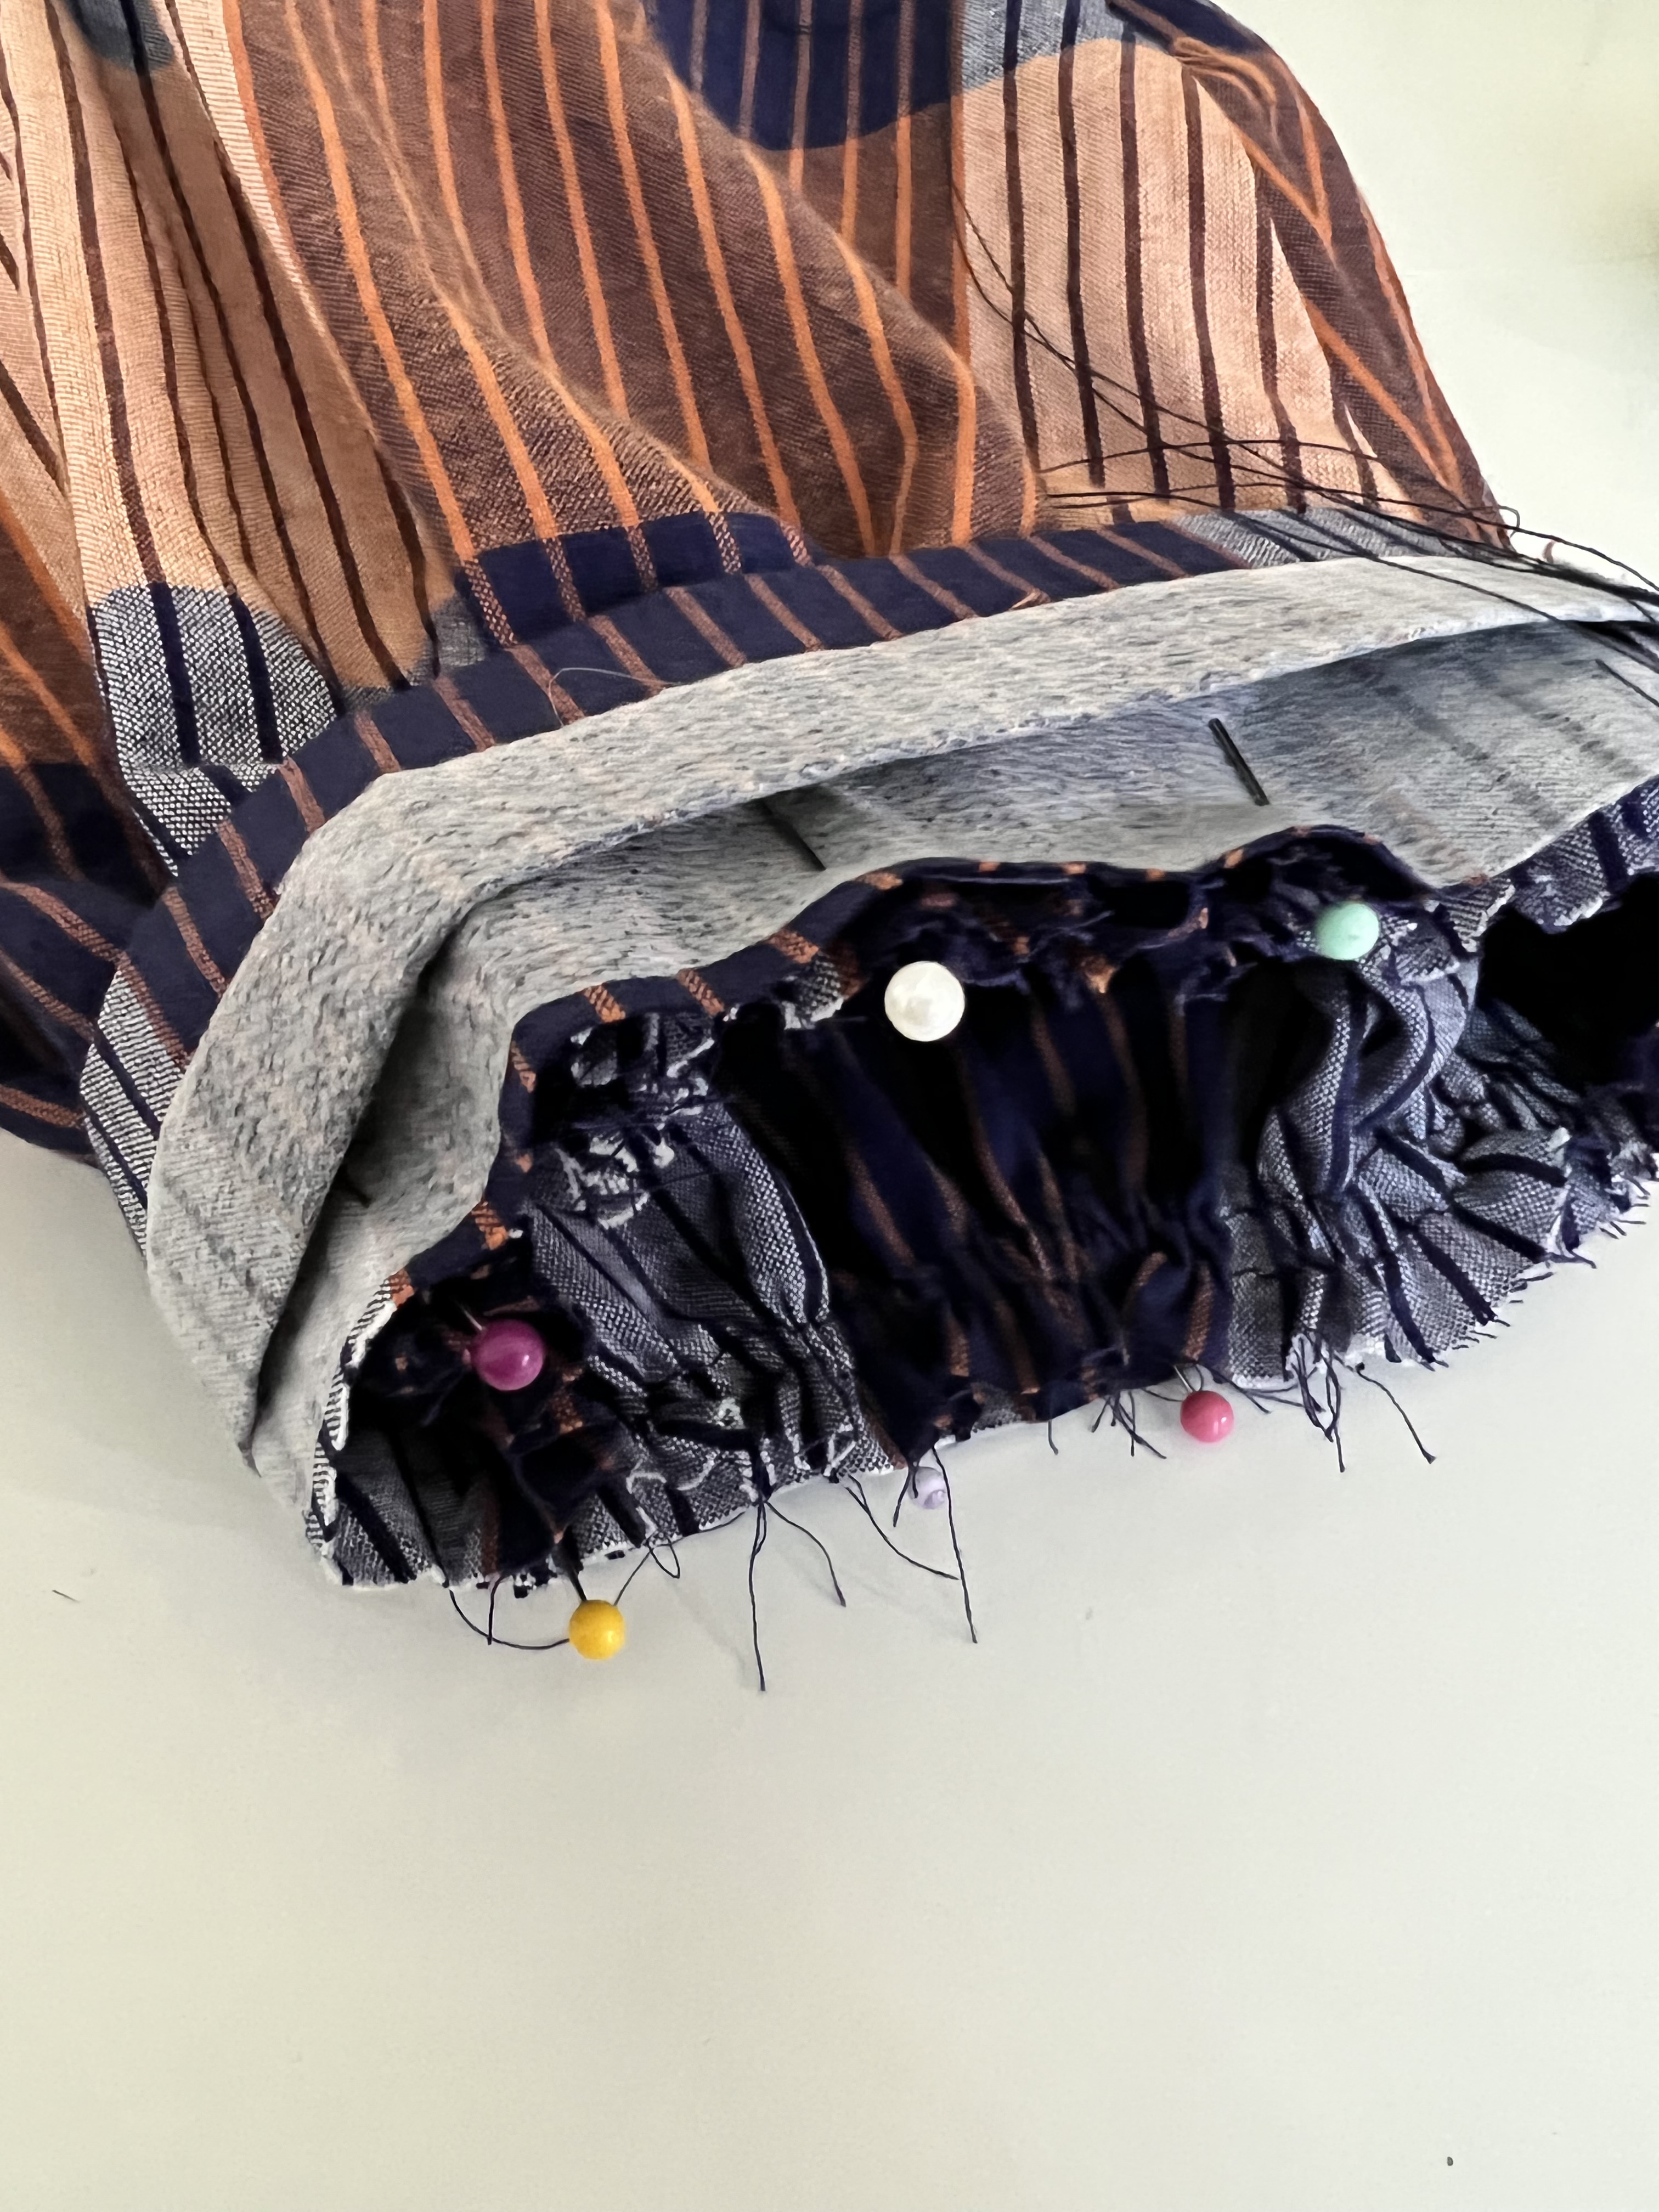
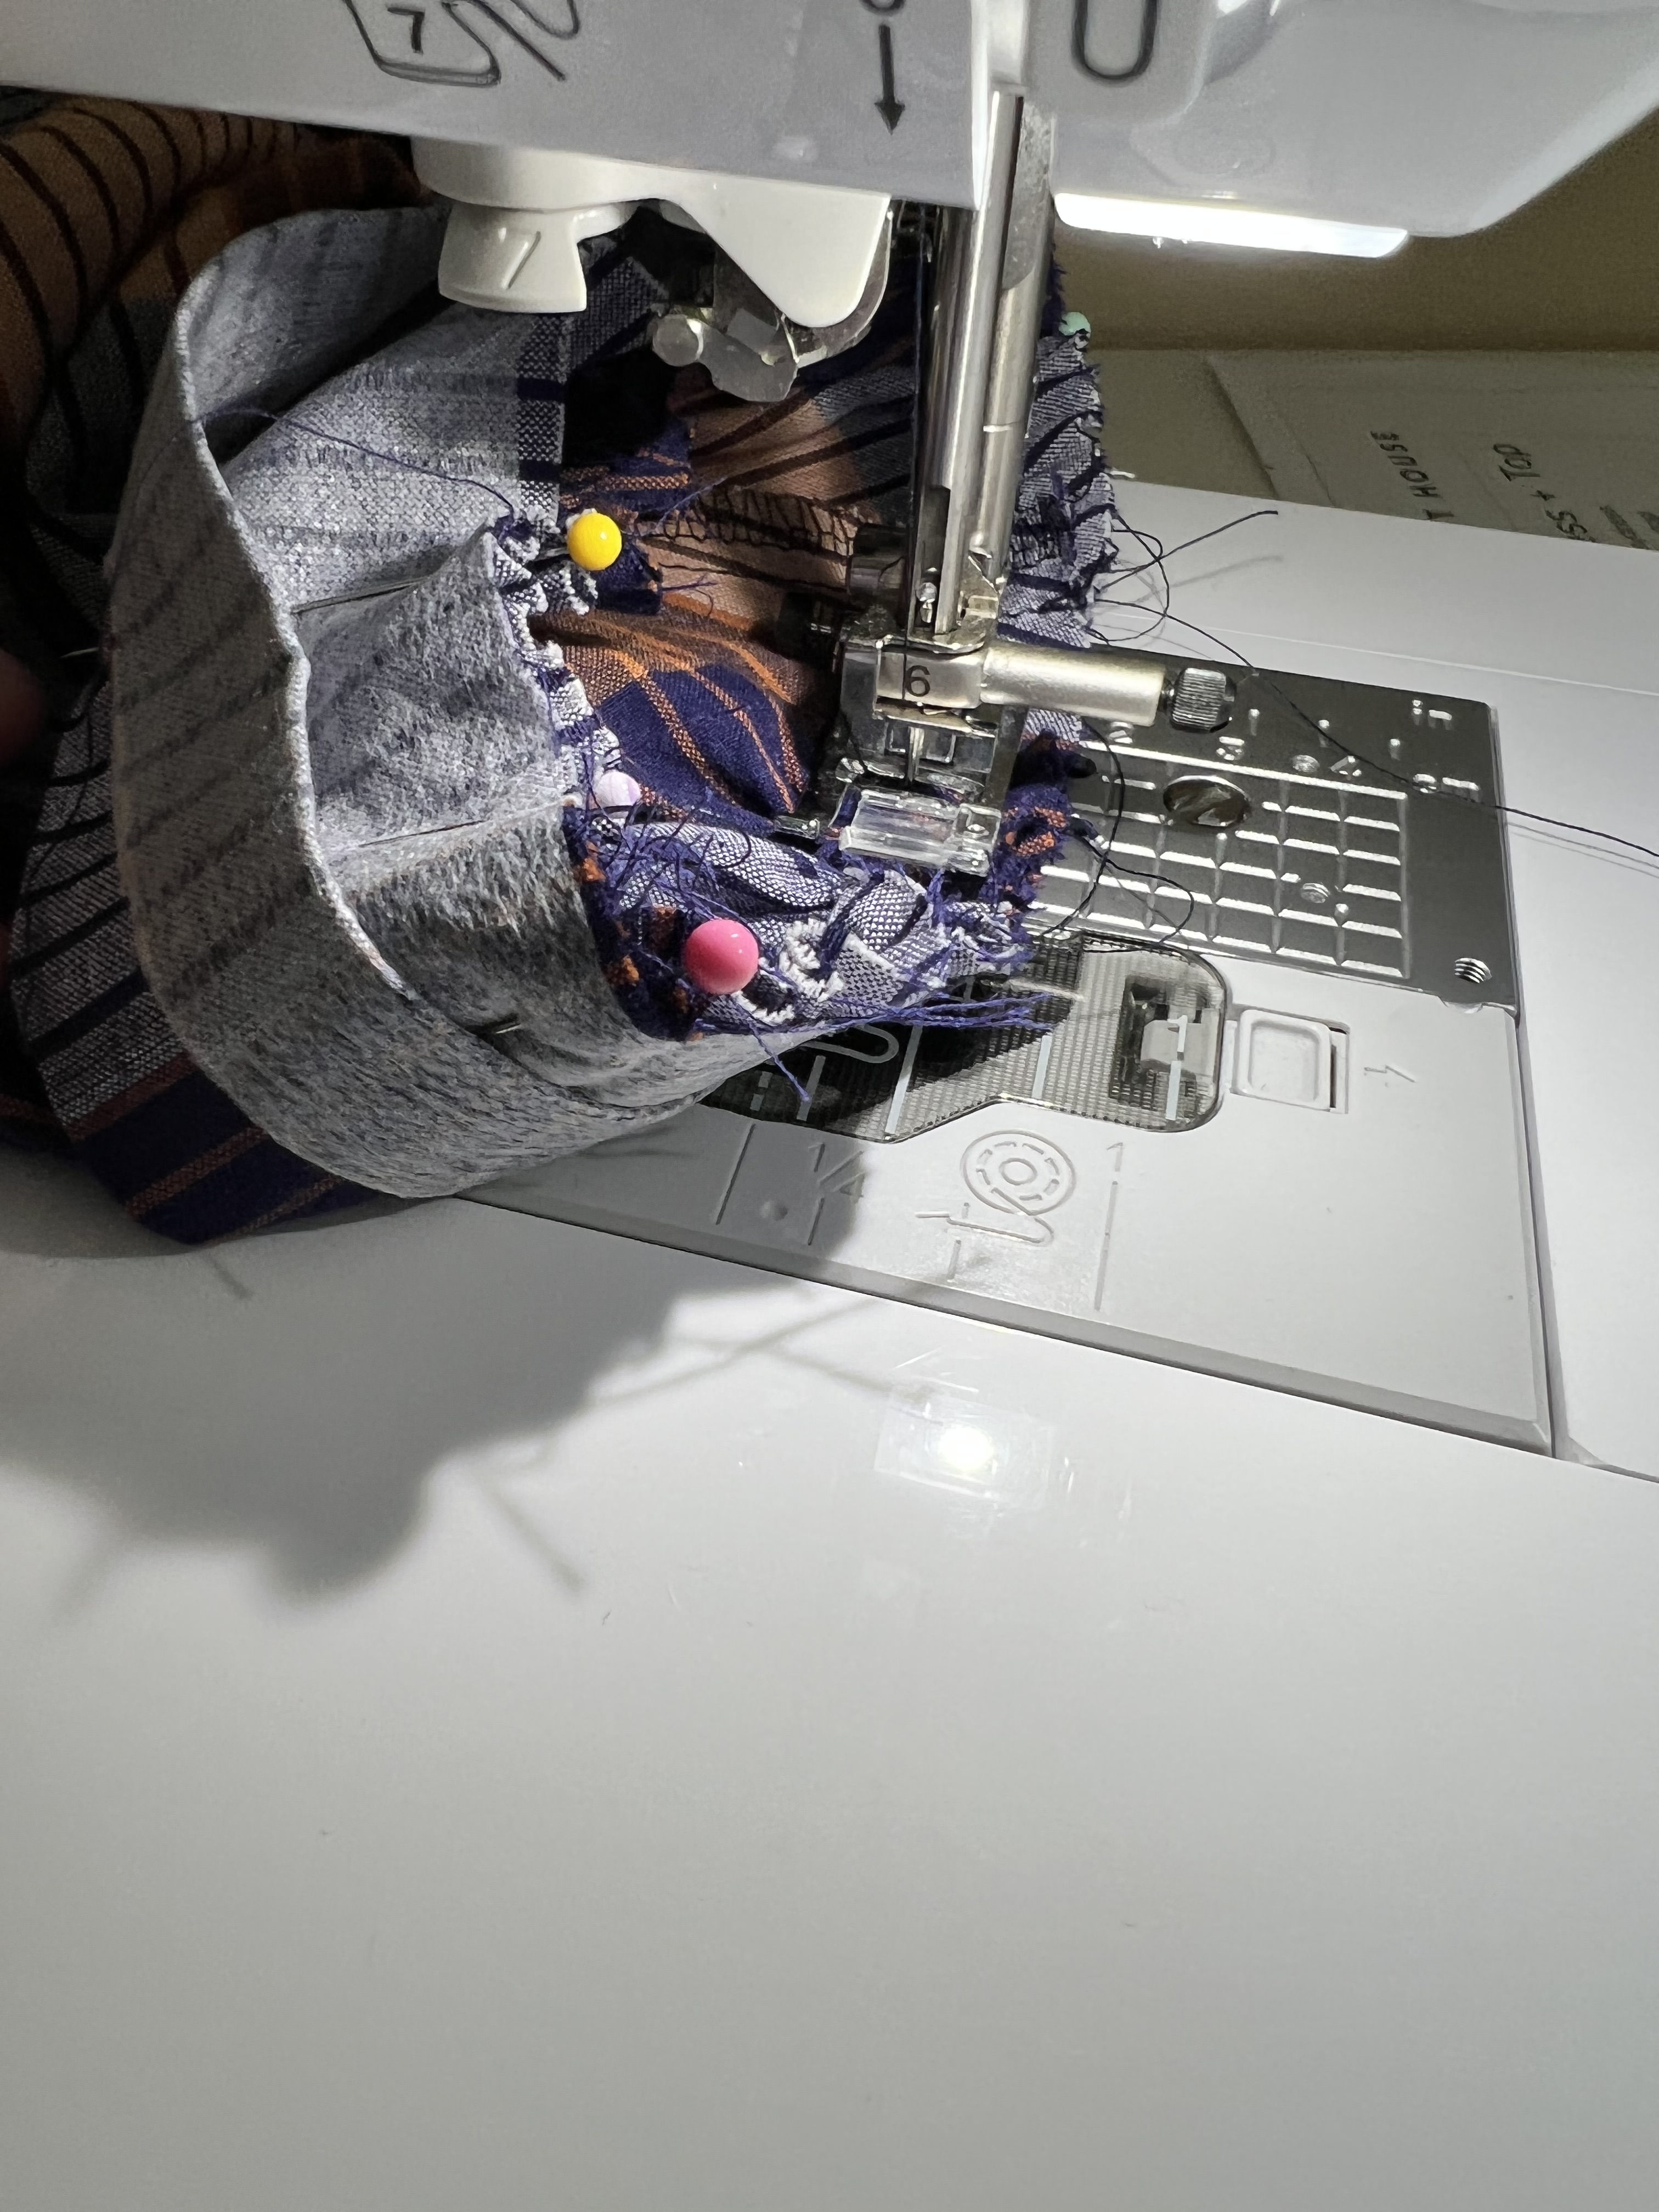
Step 13: Fold and press the other edge of the cuff at 1/2″, and fold over to the wrong side of the sleeve just covering the stitches by about 1/4″, and pin in place. Stitch in the ditch along the front side of the cuff attaching the back edge of the cuff over the previous set of stitches to finish.
Step 14: Following the pattern directions, insert pockets at the this point if you would like. Taking the skirt pattern pieces for tier one, finish along the side edges.
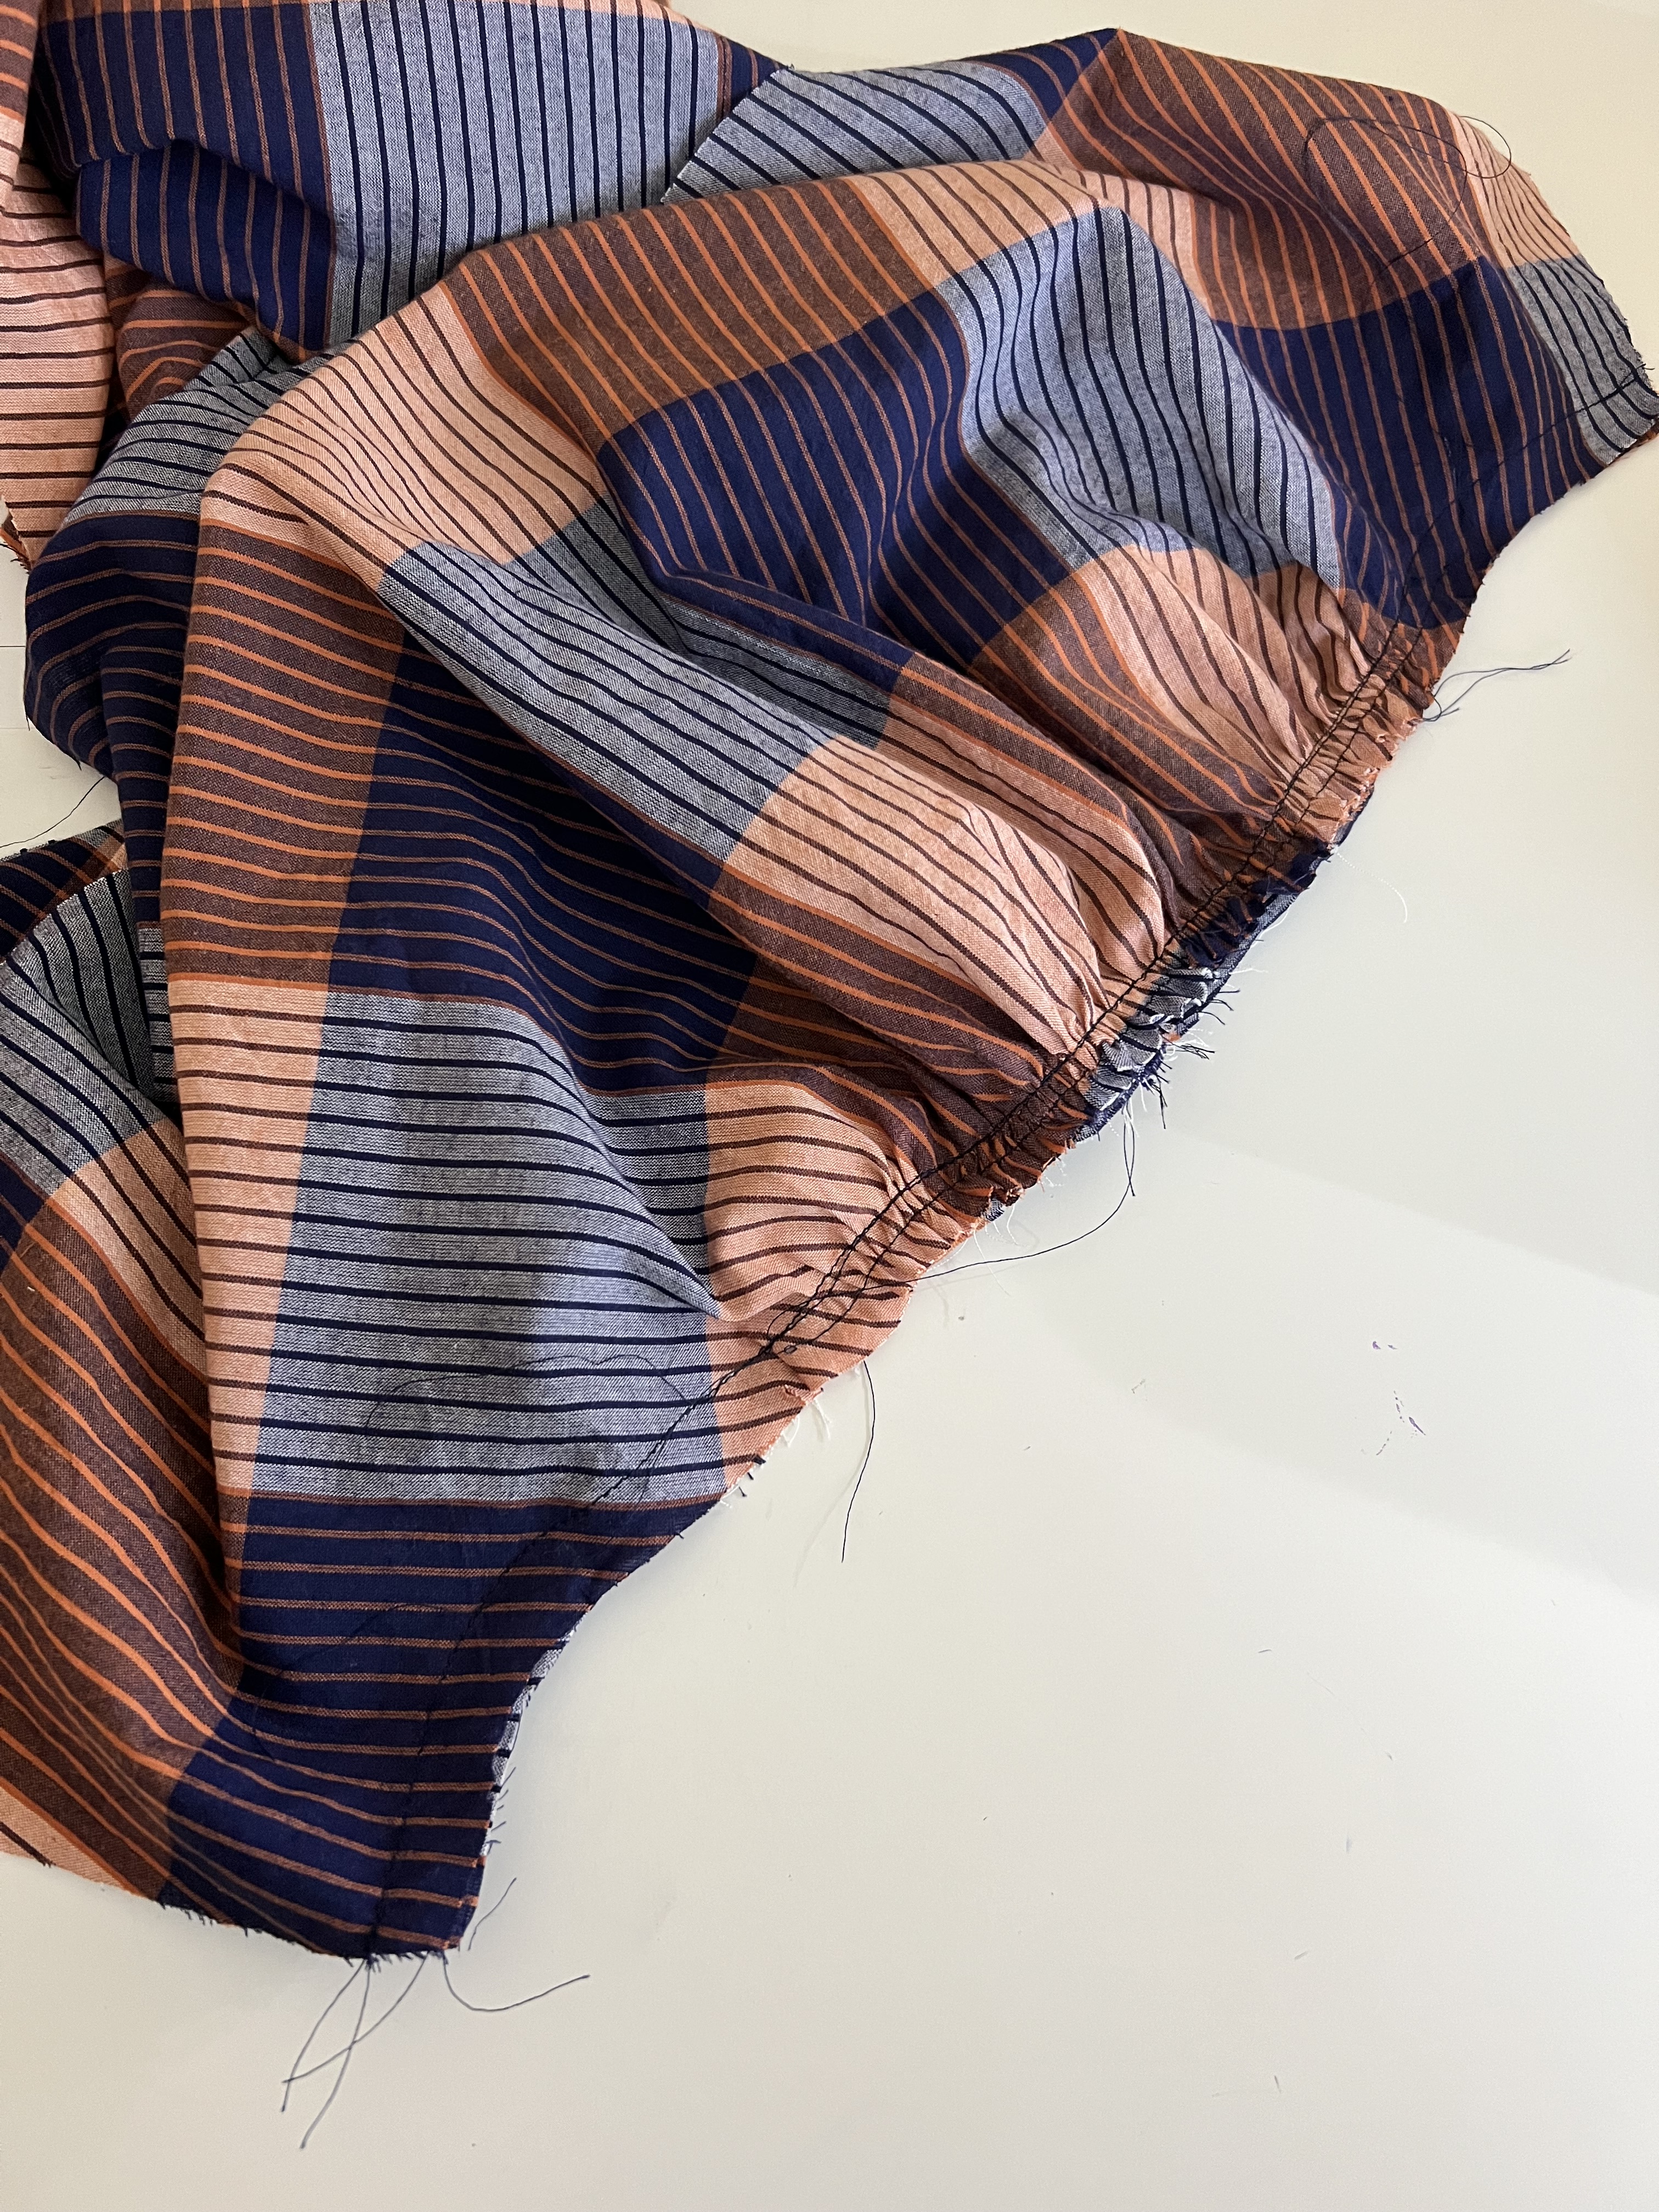
Step 15: Pin the two skirt panels right sides together and sew. Along the top edge of the tier, sew in two rows of gathering stitches at 1/4″ and 1/2″, Pin the skirt side seams to the right sides of the bodice side seams, as well as skirt center back and skirt center front to the bodice center and back and center front, and evenly distribute gathers (Pin in quarters to make distribution even). Pin, sew in place and finish.


Step 16: Repeat step 15 for the bottom tier. Note that the bottom skirt tier is made up of 4 panels. Make sure to offset the 4 skirt seams off-center so the seams don’t run down the center front and back of the dress. Step 34 in the pattern instructions has a really good illustration for this to give you a better visual of what this looks like.
Step 17: Sew a button on the top right bodice edge, aligning with the loop closure.
Step 18: Hem the dress! I pressed the edge in at 1/2″ and then again at 1″. Pin and edge stitch in place.

Congratulations! Your New Craft House Everyday dress is finished! I hope you love it as much as I do! If you decide to make one, I would love to see your dress! Make sure to tag me on Instagram so I don’t miss it! Happy sewing everyone!


Leave a comment