


This post is sponsored by Baby Lock, and all opinions are my own.
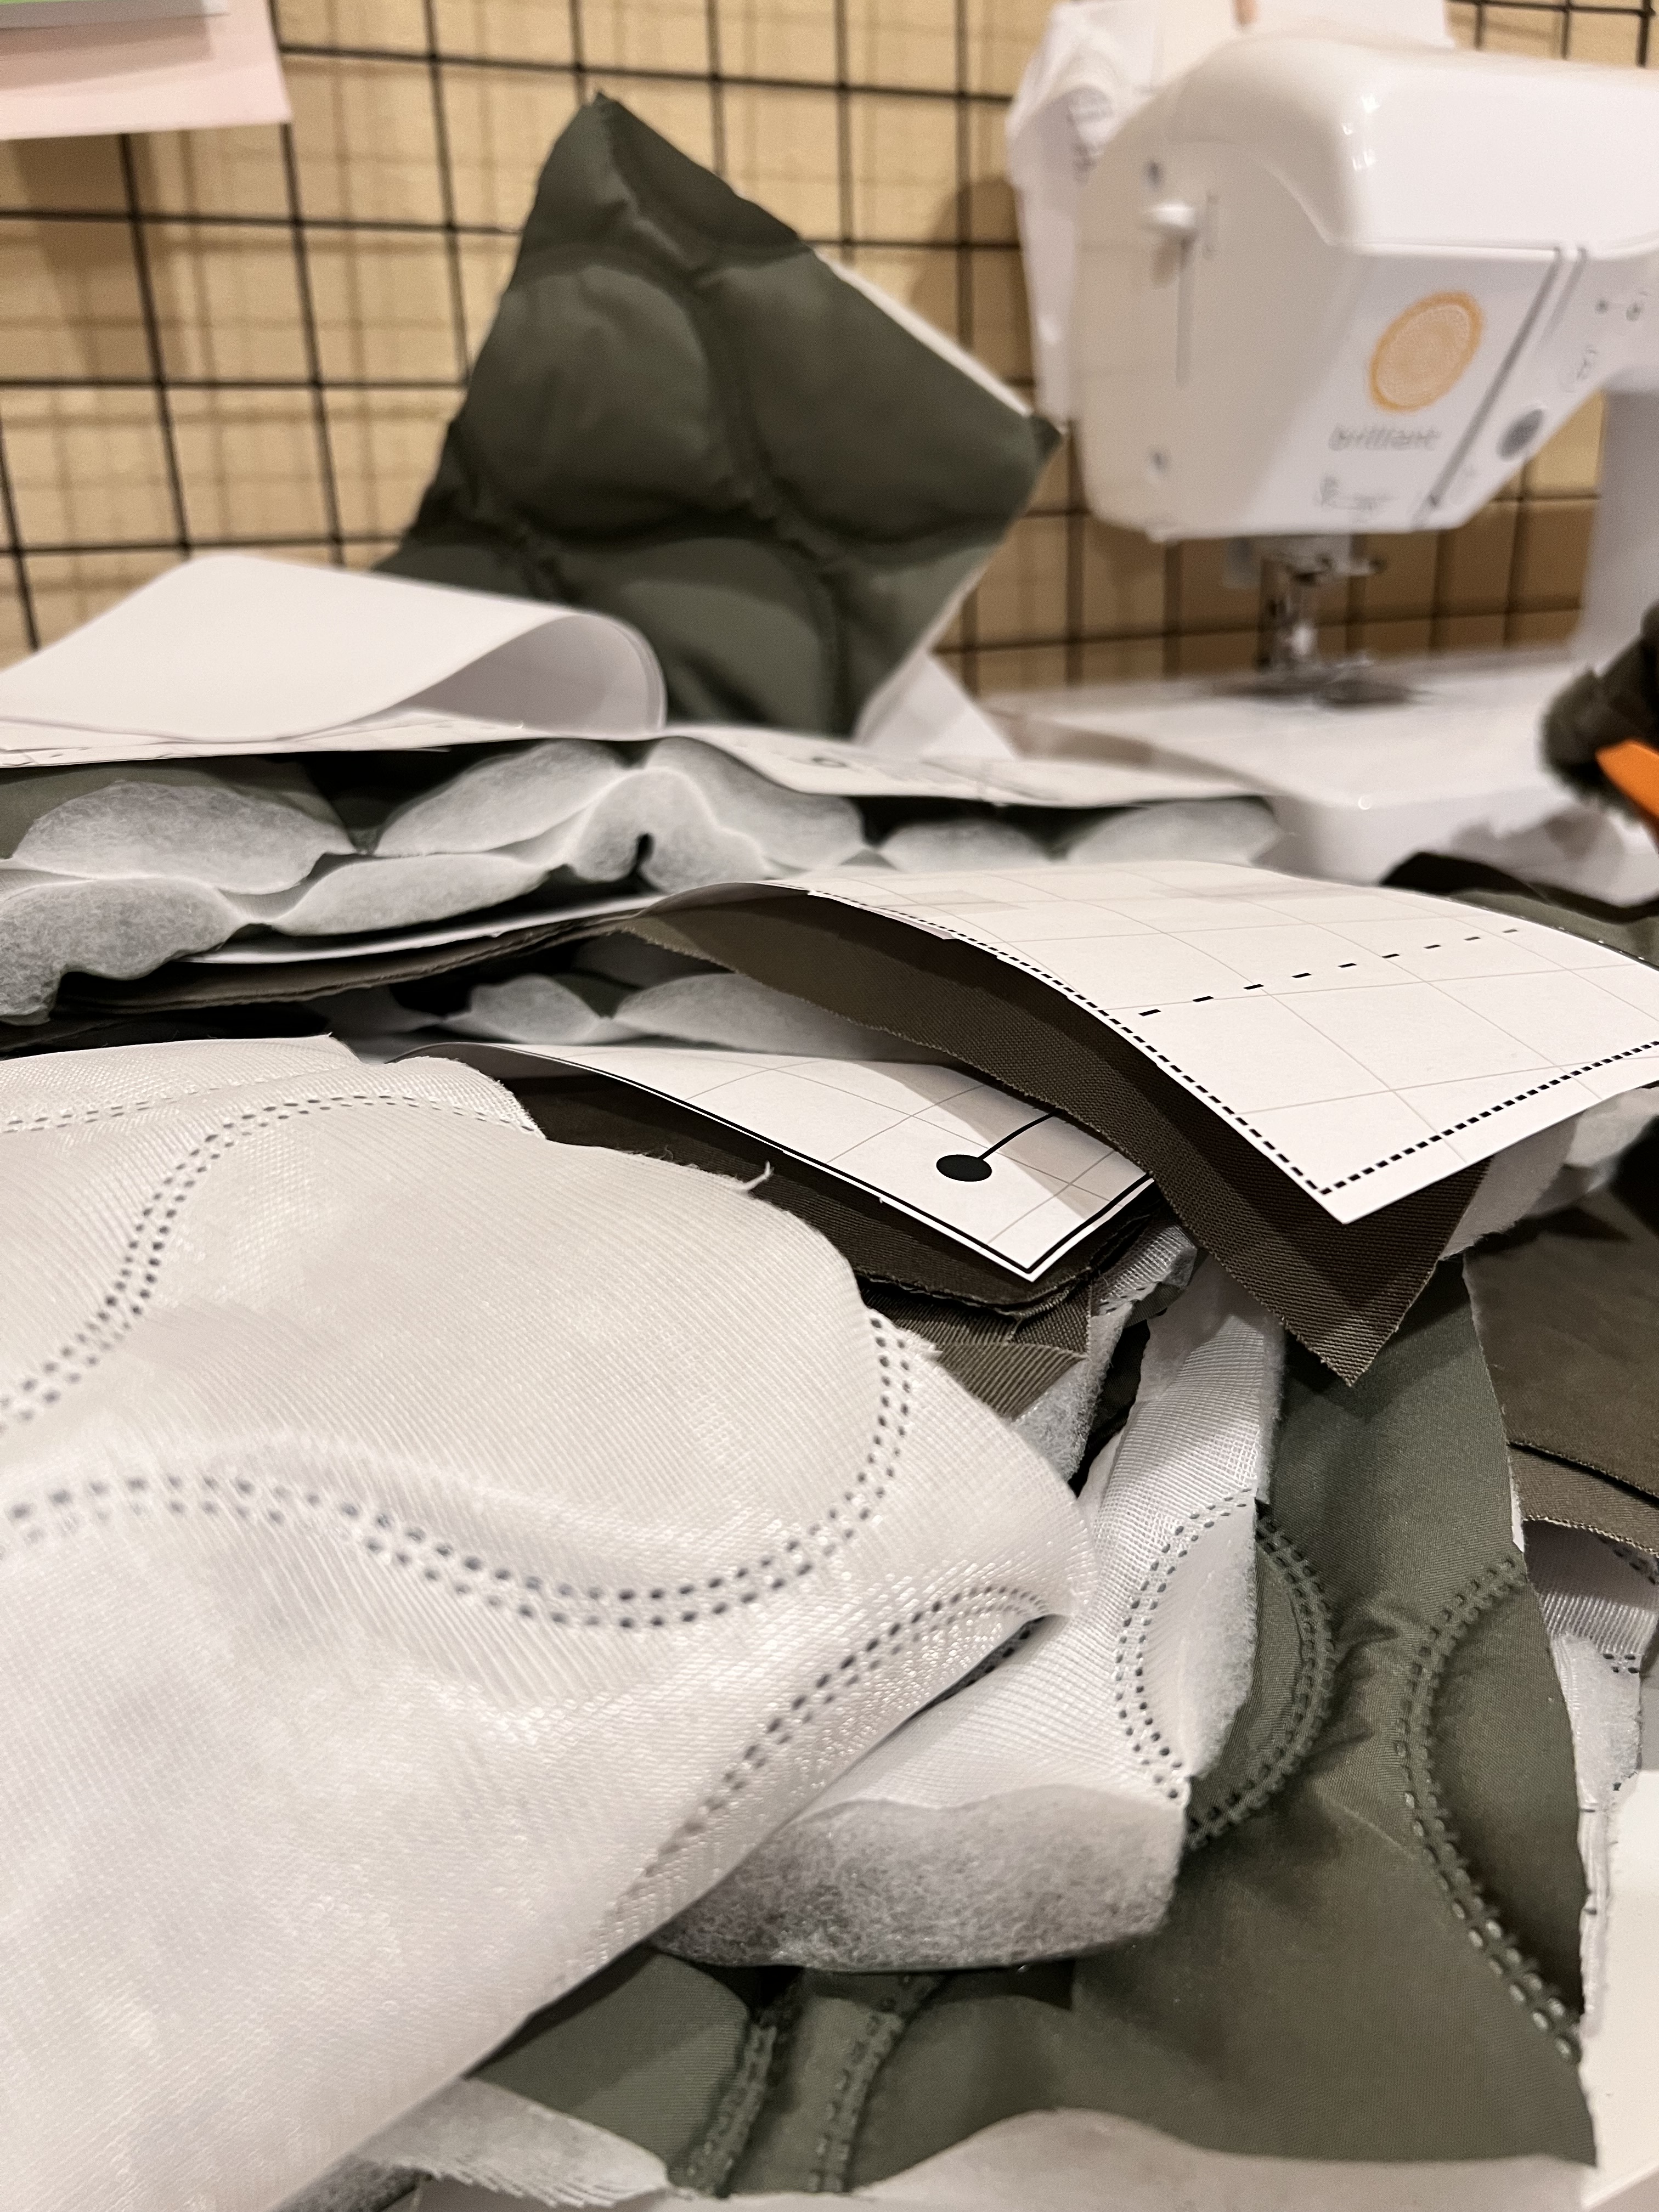
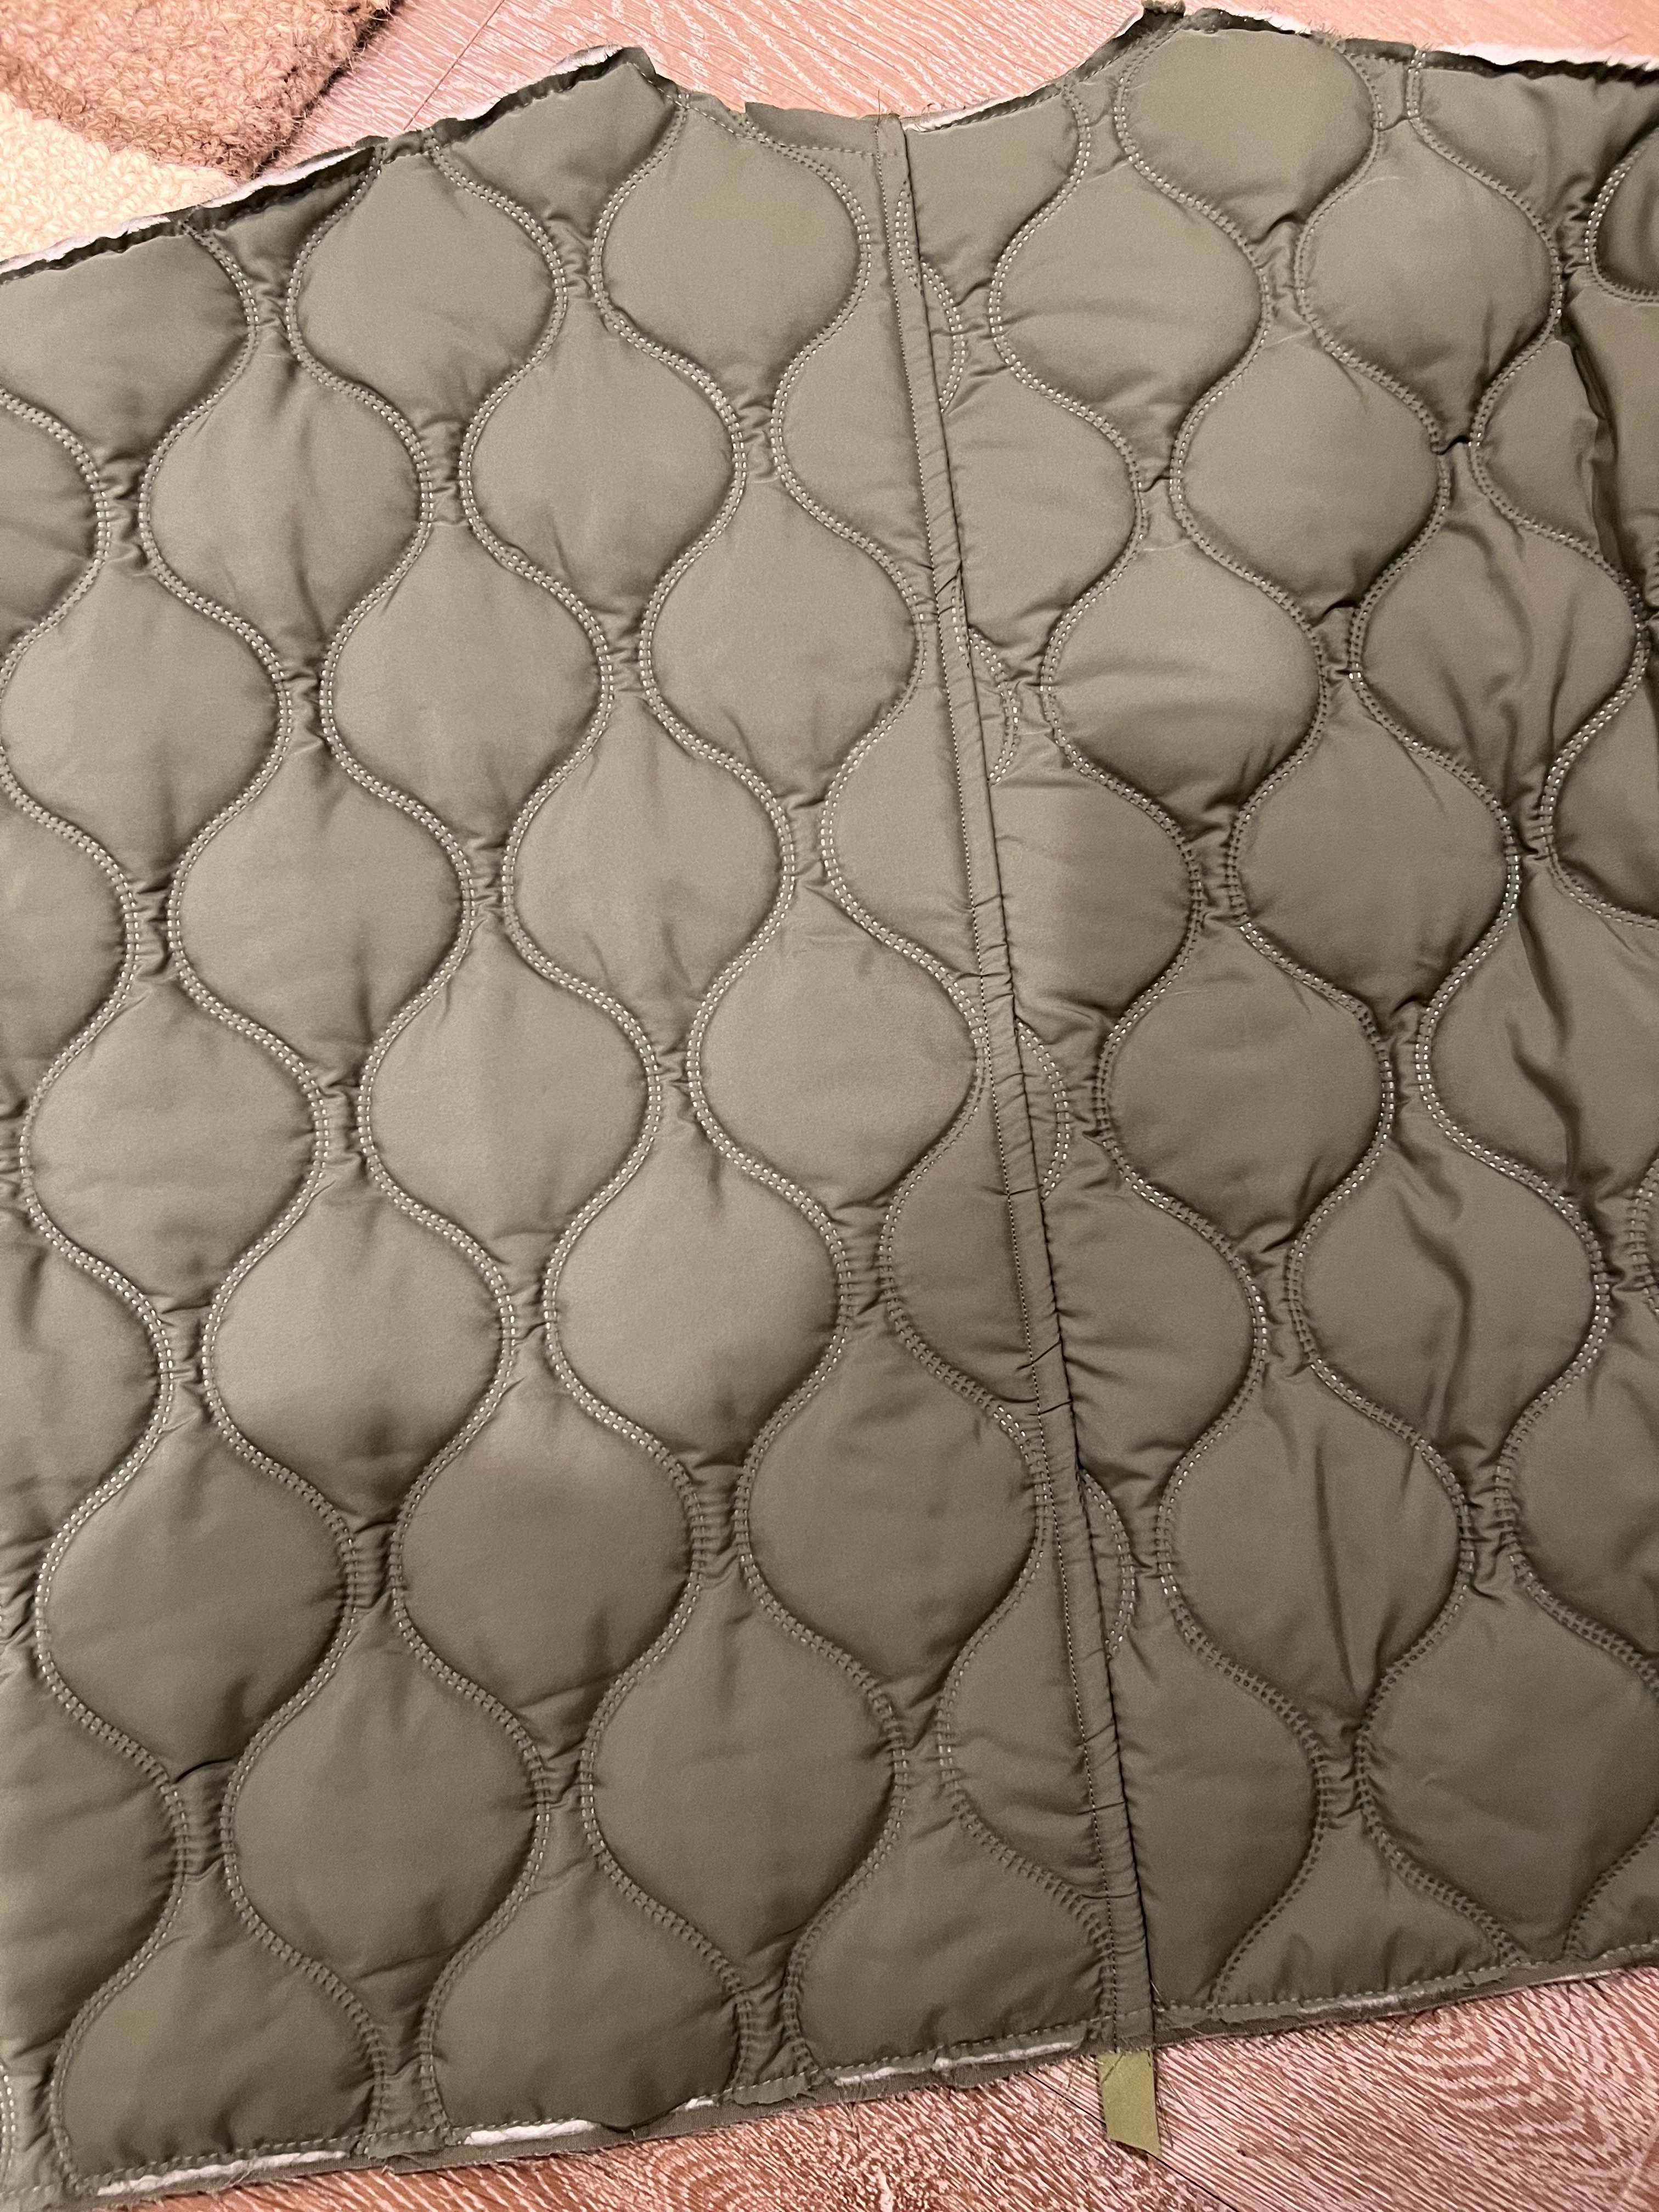
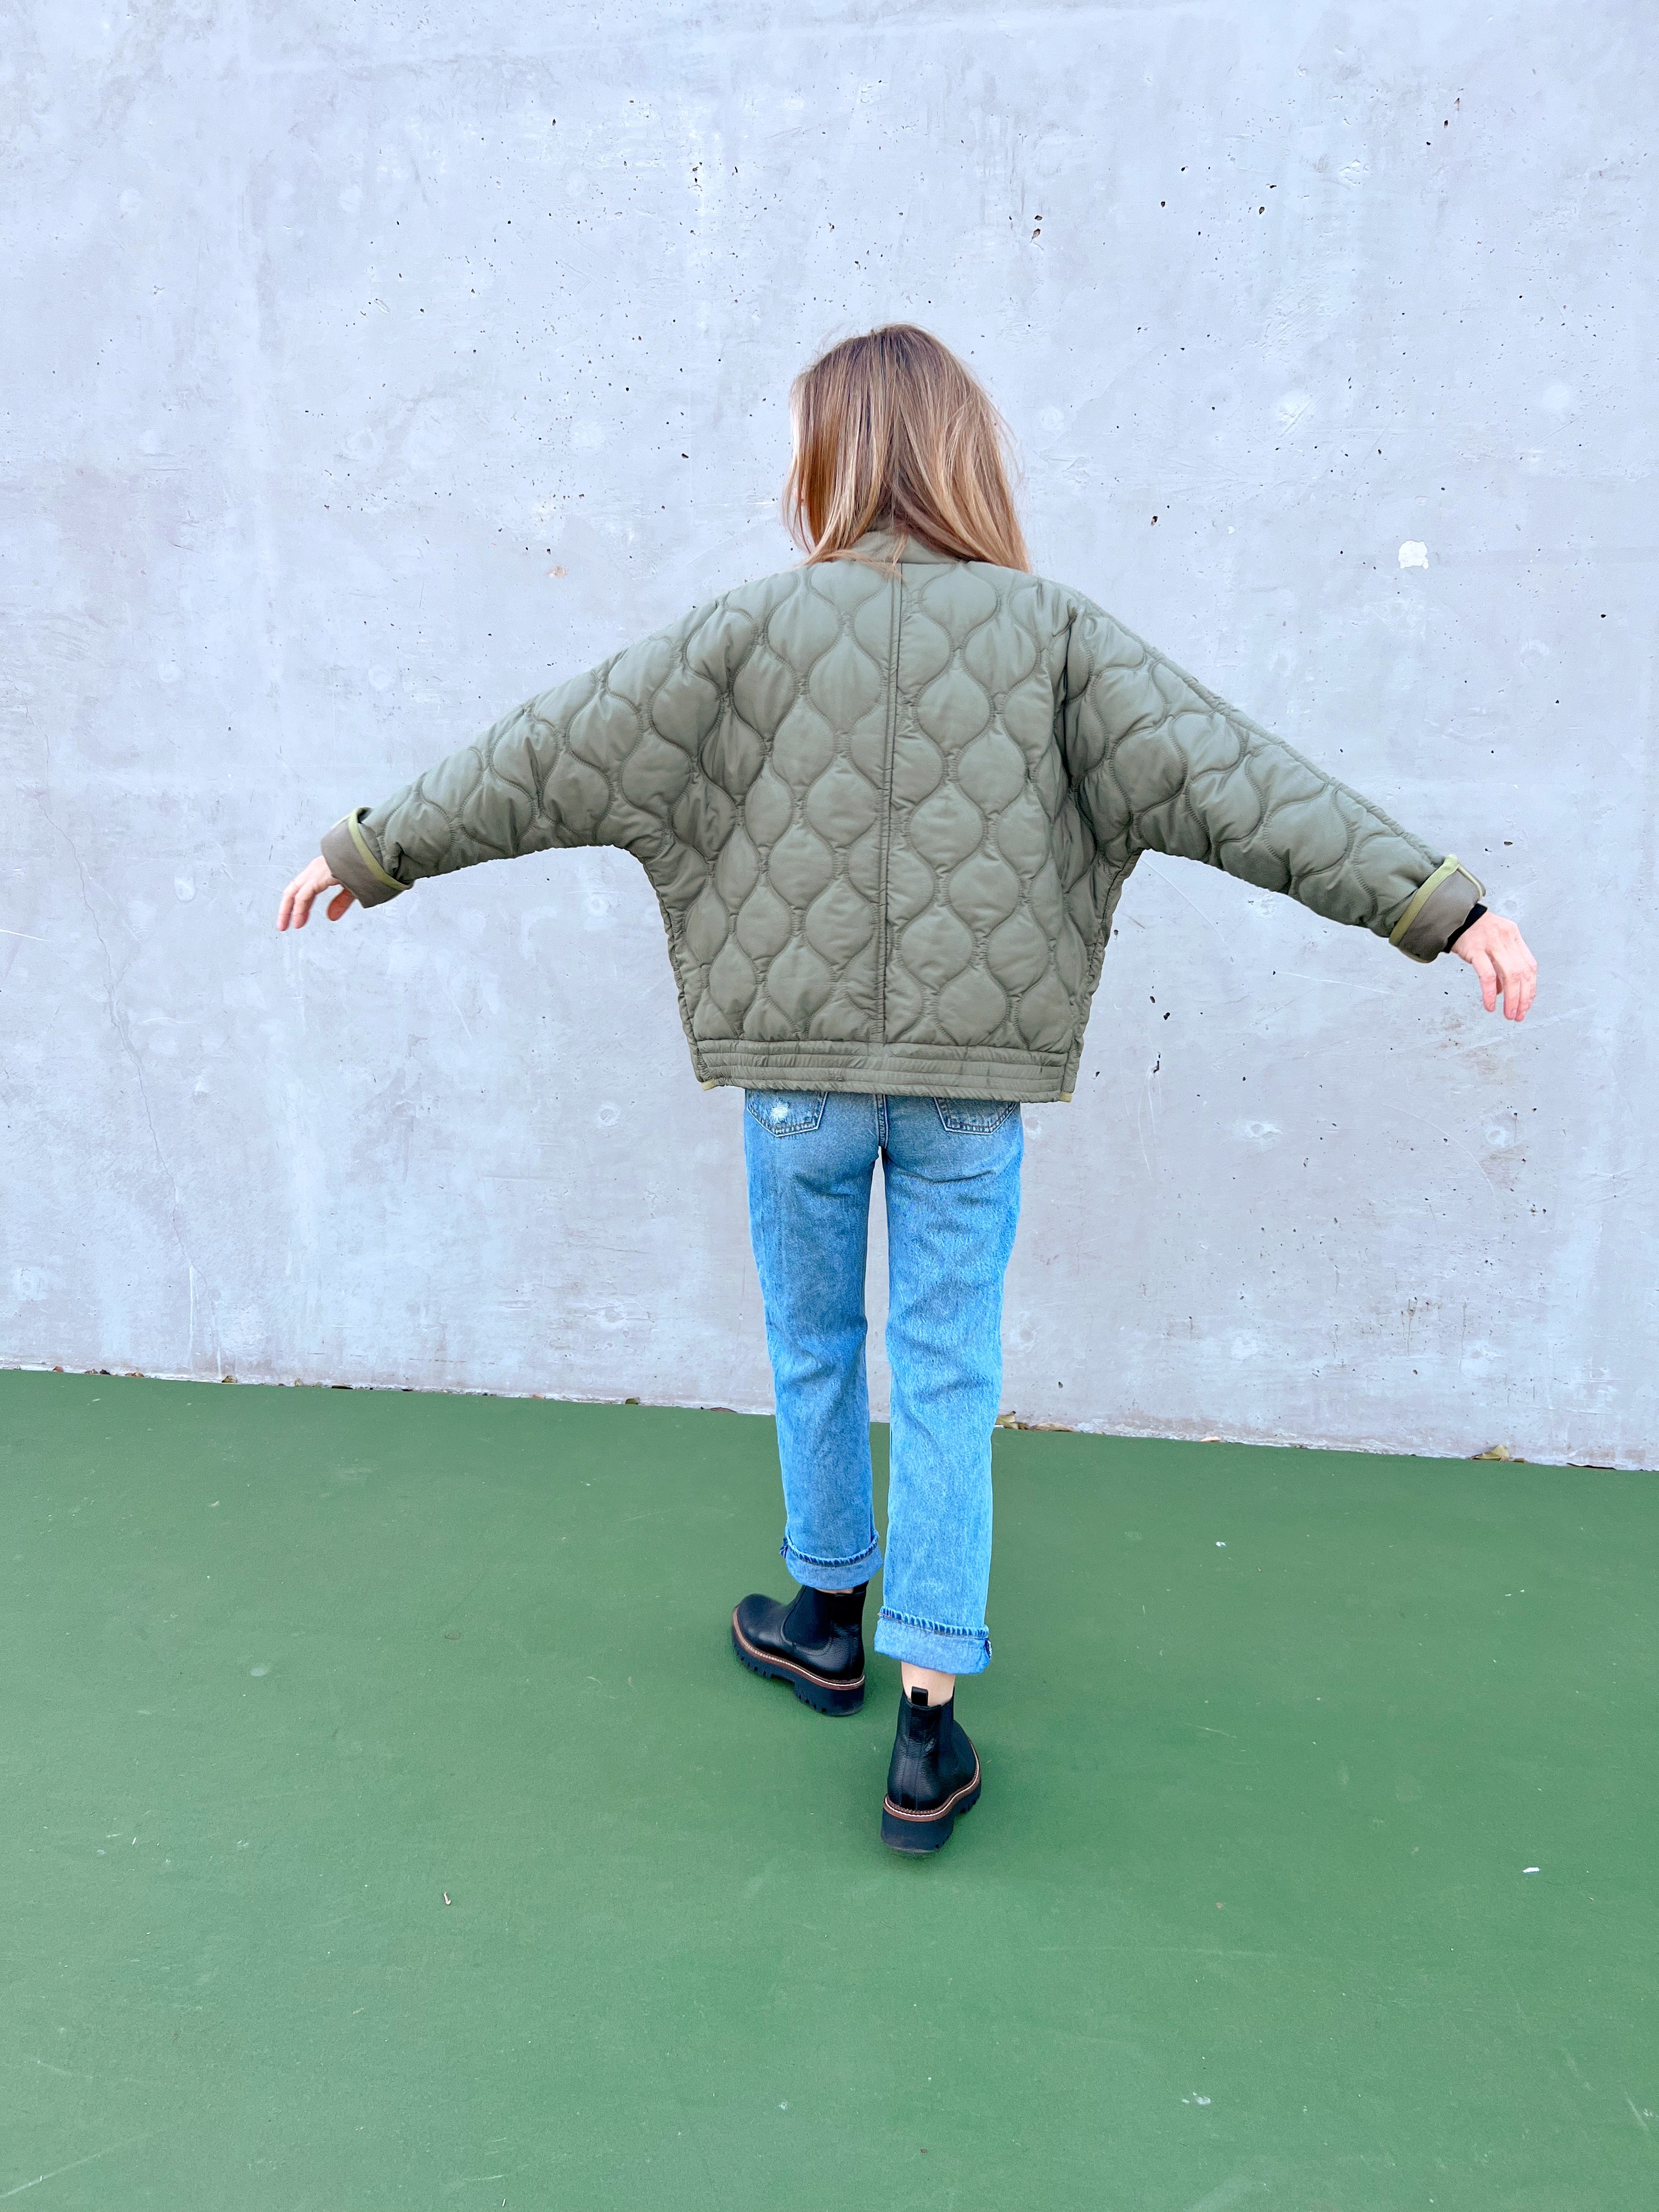
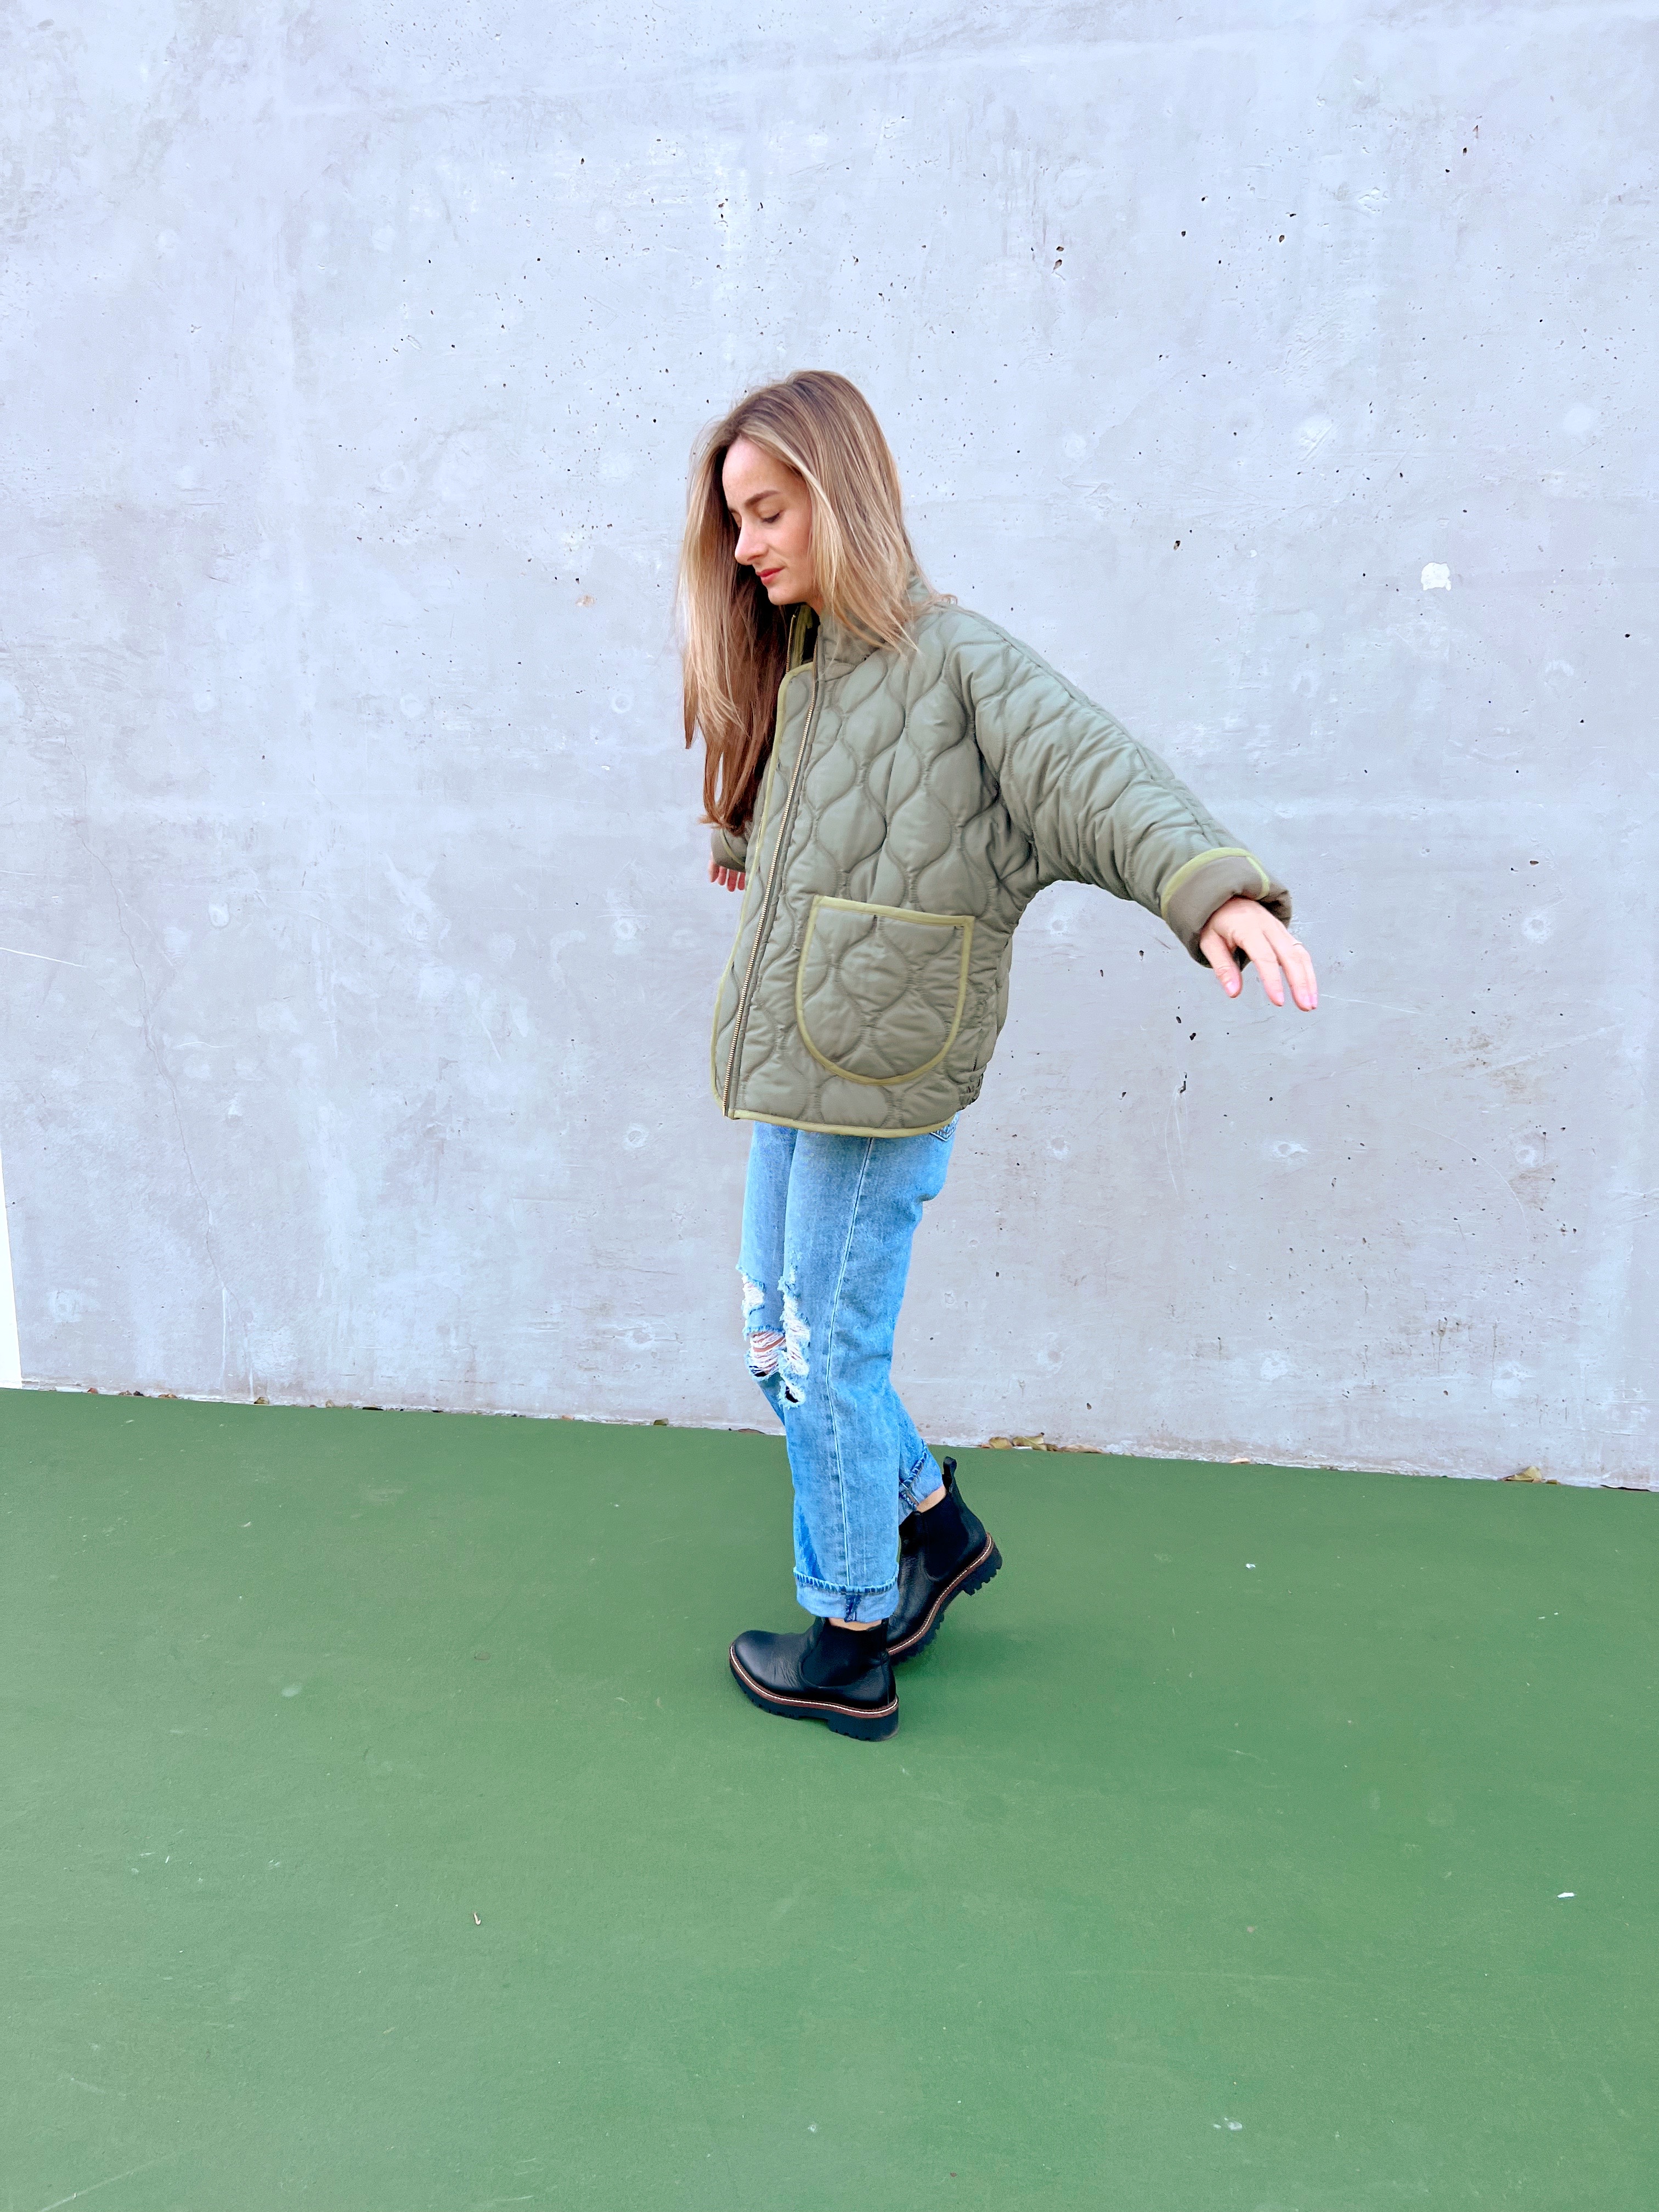
Back with another fun project for you all, and one I’m very proud of!! I give you my latest make, the Grace Jacket, a Dolman Quilted Jacket by Kdornbier Designs sewn on my Babylock Brilliant machine!. It all started with this quilted puffer fabric from JOANN. (Also comes in black!). Boy oh boy is it good!! This quilted pattern is EVERYWHERE right now- you can probably find something similar at almost any store. It was love at first sight and I knew I had to make something with it. I googled quilted jacket patterns after I couldn’t really find exactly what I was looking for- and I found the Grace Jacket pattern on Etsy! This is a new-to-me designer and I was VERY excited to find this pattern. The instructions were great, and jacket was enjoyable and straight forward to make. I spent a lot of time thinking about the design factor of this coat: if this fabric would work or not, the fit, etc. I was really unsure if this would work out how I pictured but it did and it’s even better than I imagined.
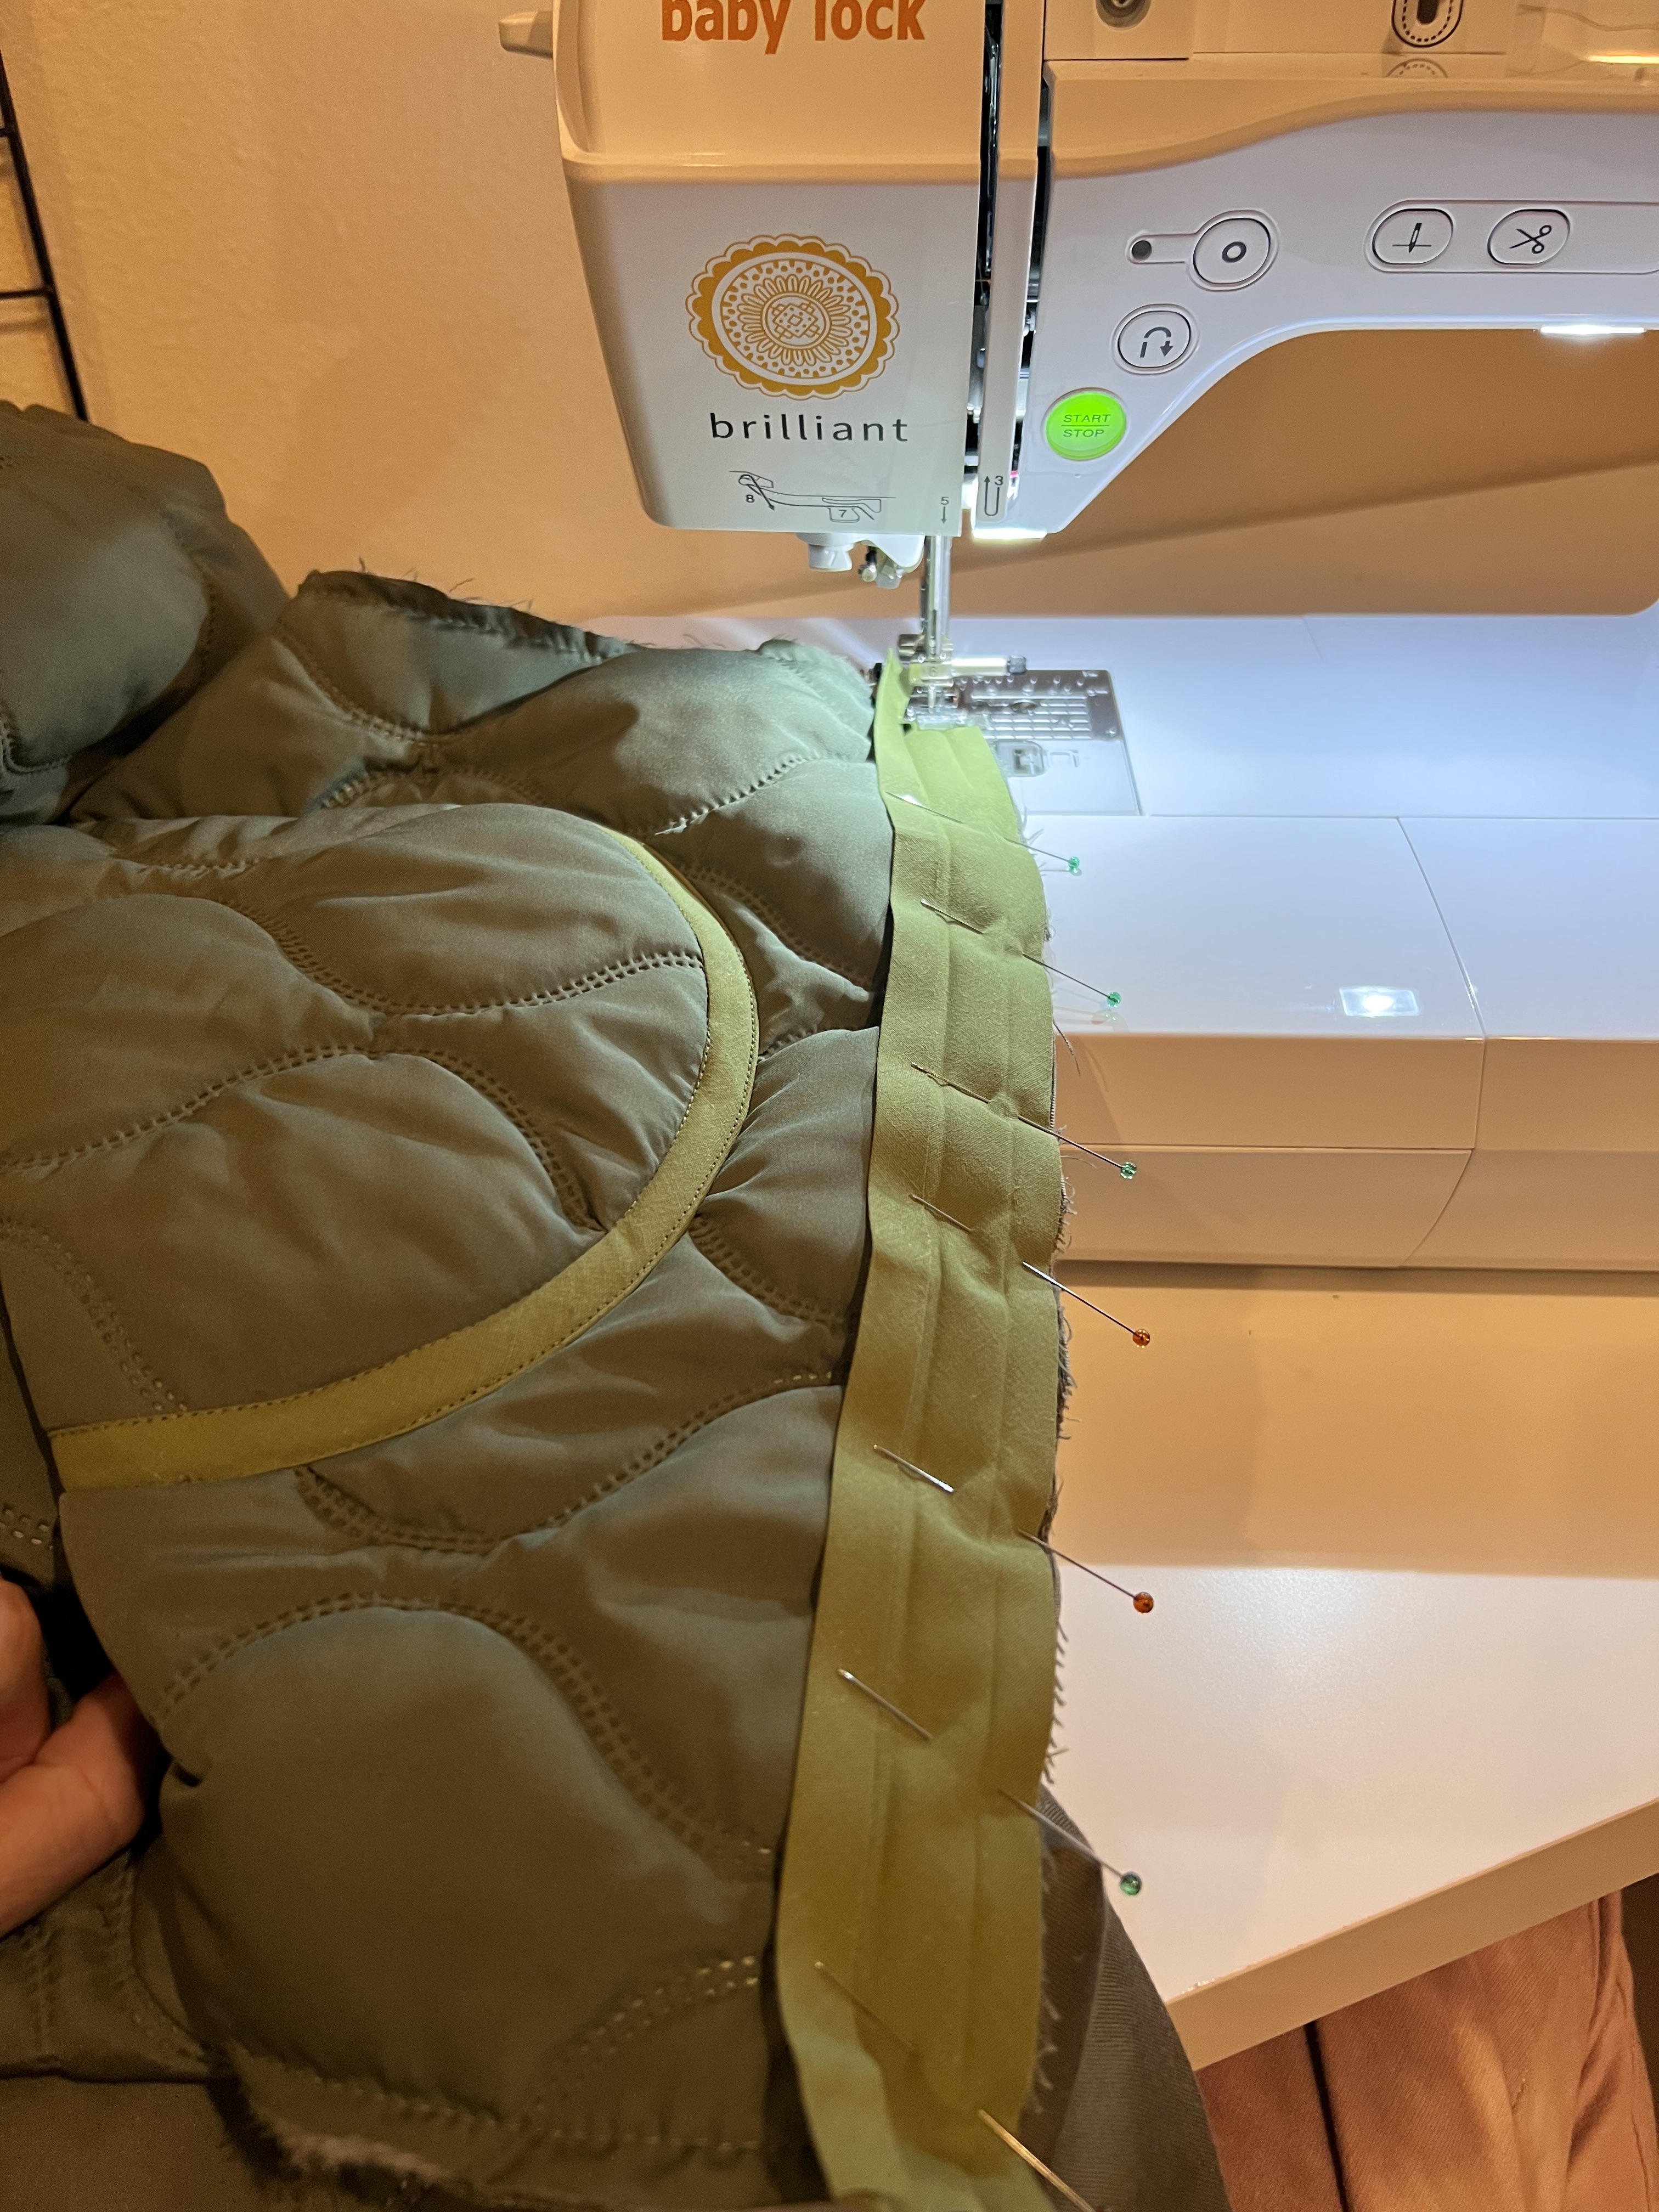
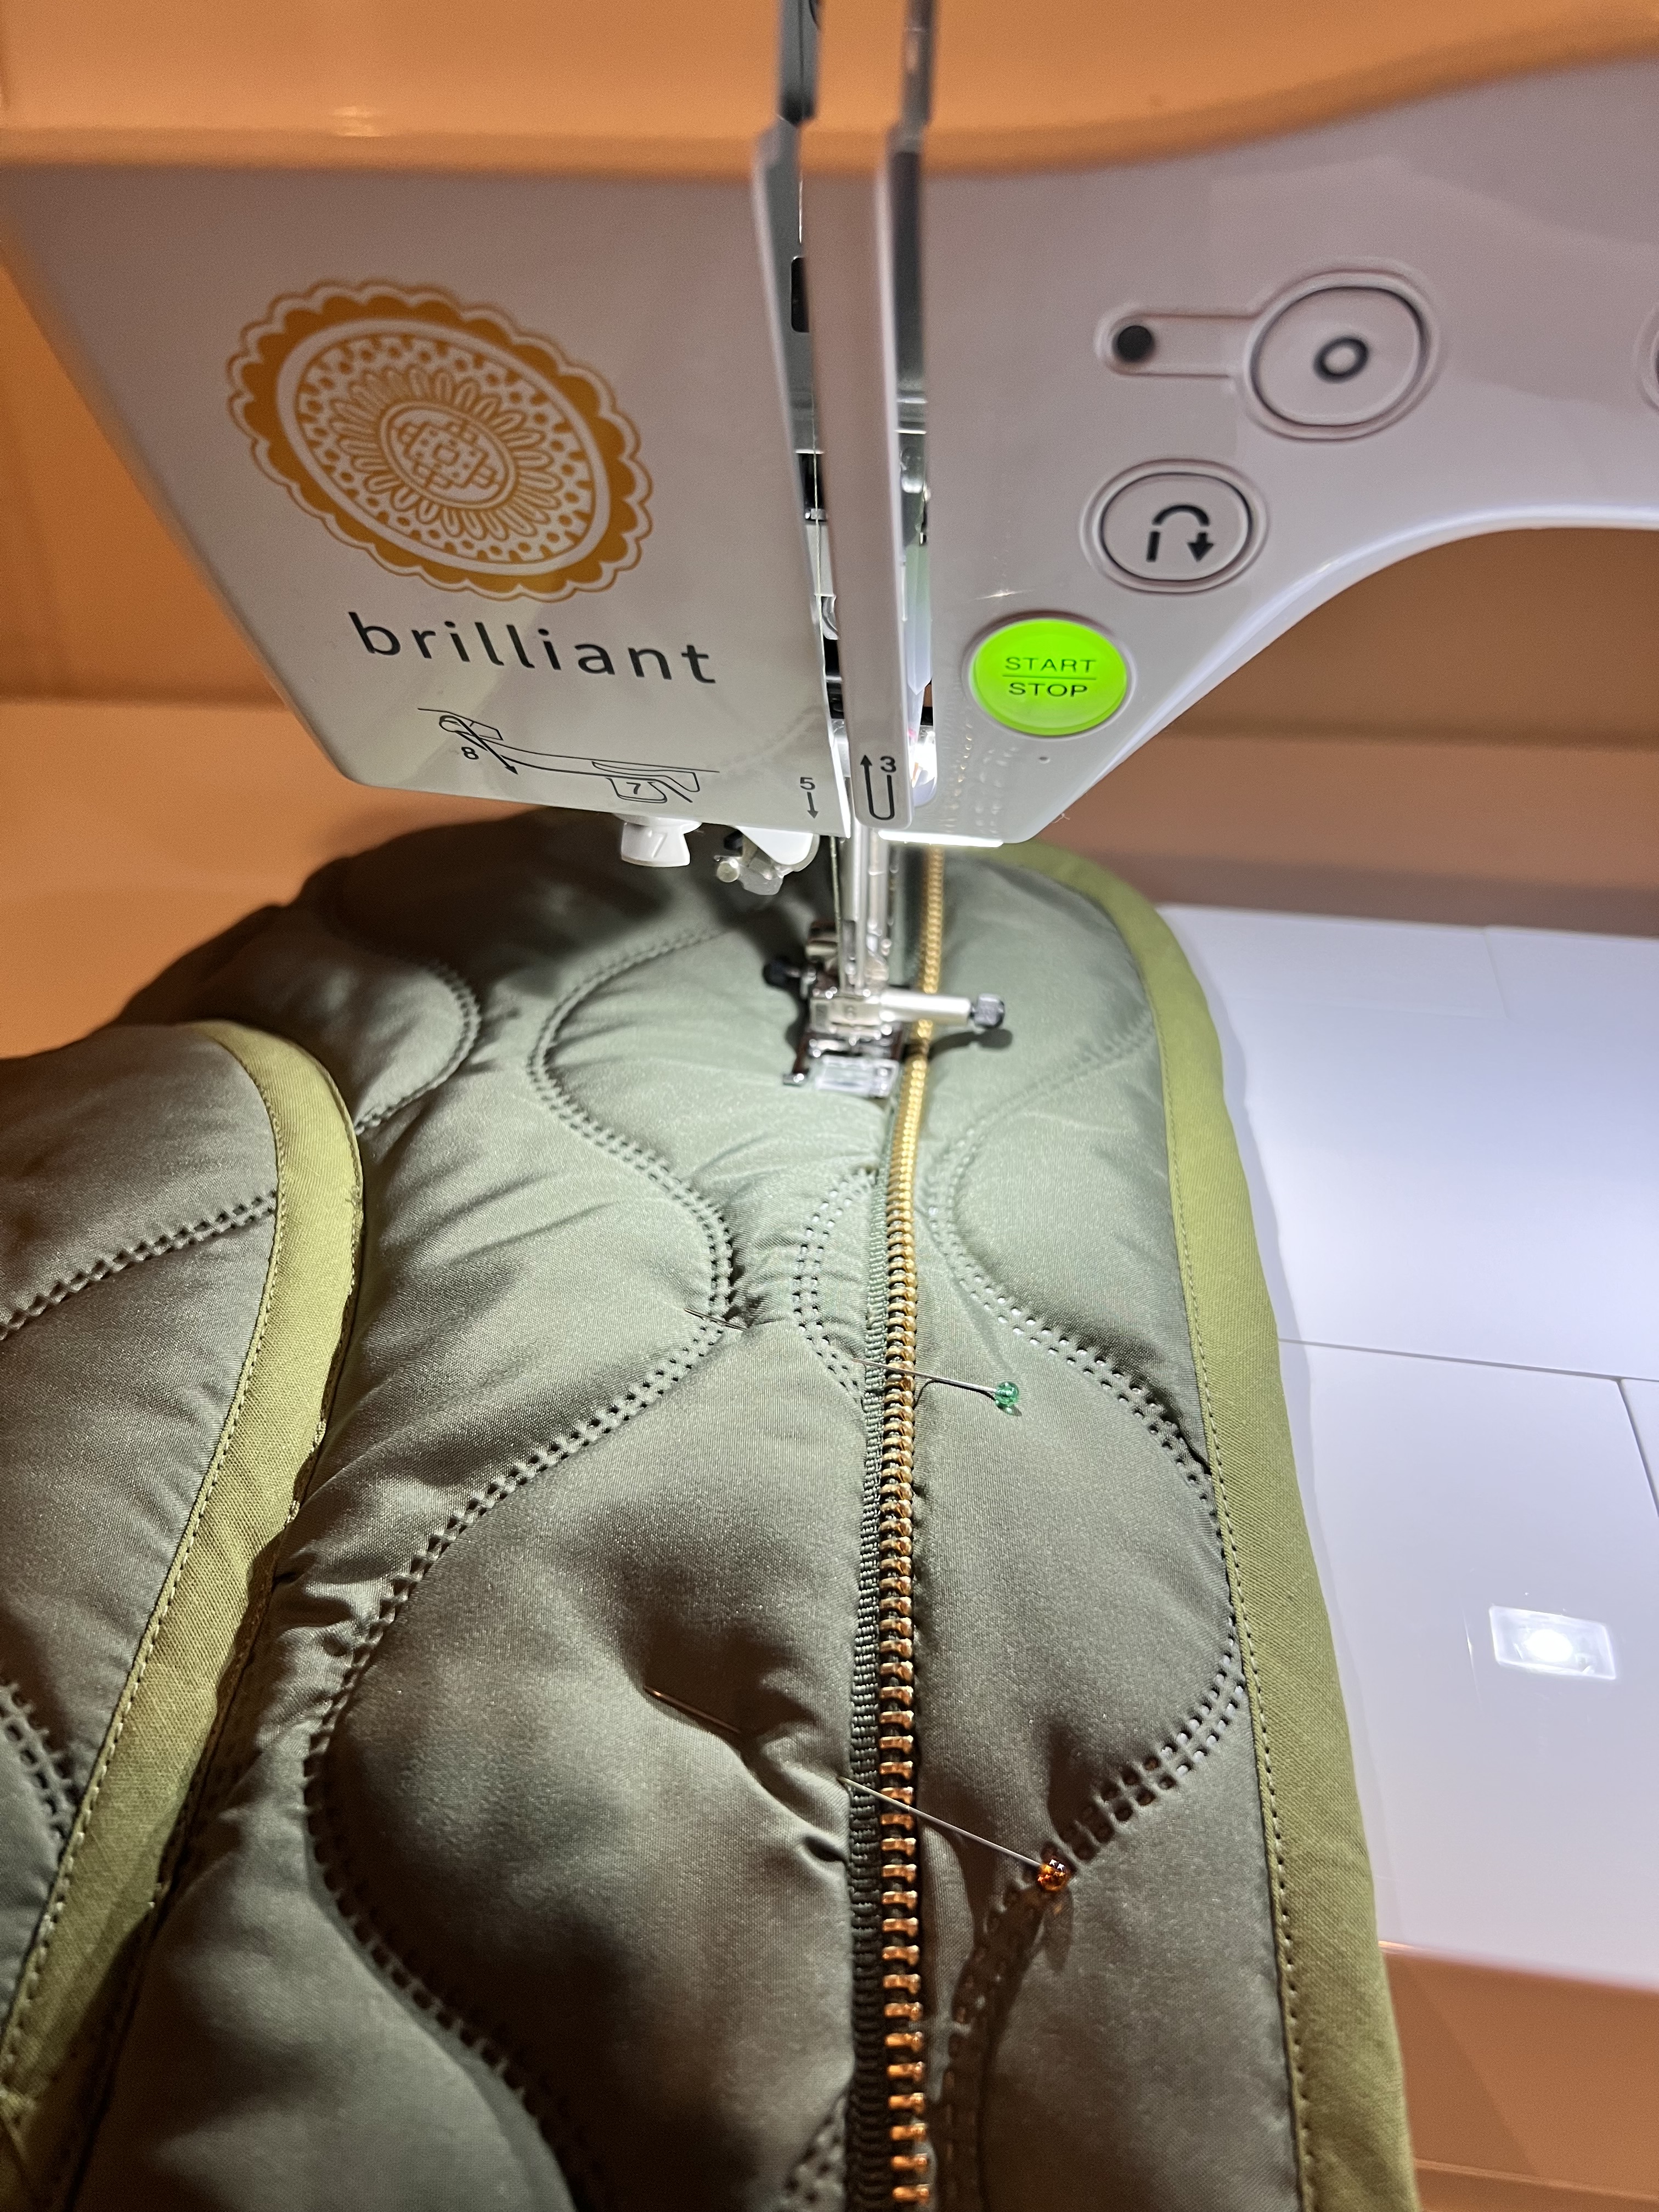
I mainly used my Baby Lock Brilliant sewing machine because most all seams were finished with bias tape, so I didn’t need my serger. This machine handled the thick seams and bias tape finishes like a champ!!! I’m super impressed.
For supplies, I used 2 yards of the puffer fabric, 2 yards of stretch twill for my lining, 15 yards of pre-made extra wide double fold bias tape by Wright’s PC206 Leaf , a zipper I ordered off amazon, and matching thread! I will note that I did not pattern match the quilted puffer jacket with my pattern pieces, you will need more than 2 yards of fabric if you decide to pattern match. I sewed between a XS and S size wise, and I ended up taking in the underarm another 3/4″ or so for a better fit. I extended the sleeves 1-2″ so I could roll the cuff and have the sleeve hit at my wrist. I also added patch pockets instead of using the welt pocket. I followed the pattern directions and was very impressed! It was very easy to follow along, and overall I really enjoyed the whole process of making this jacket.
I took photos along the way to share a little tutorial with you all. Let’s jump in!
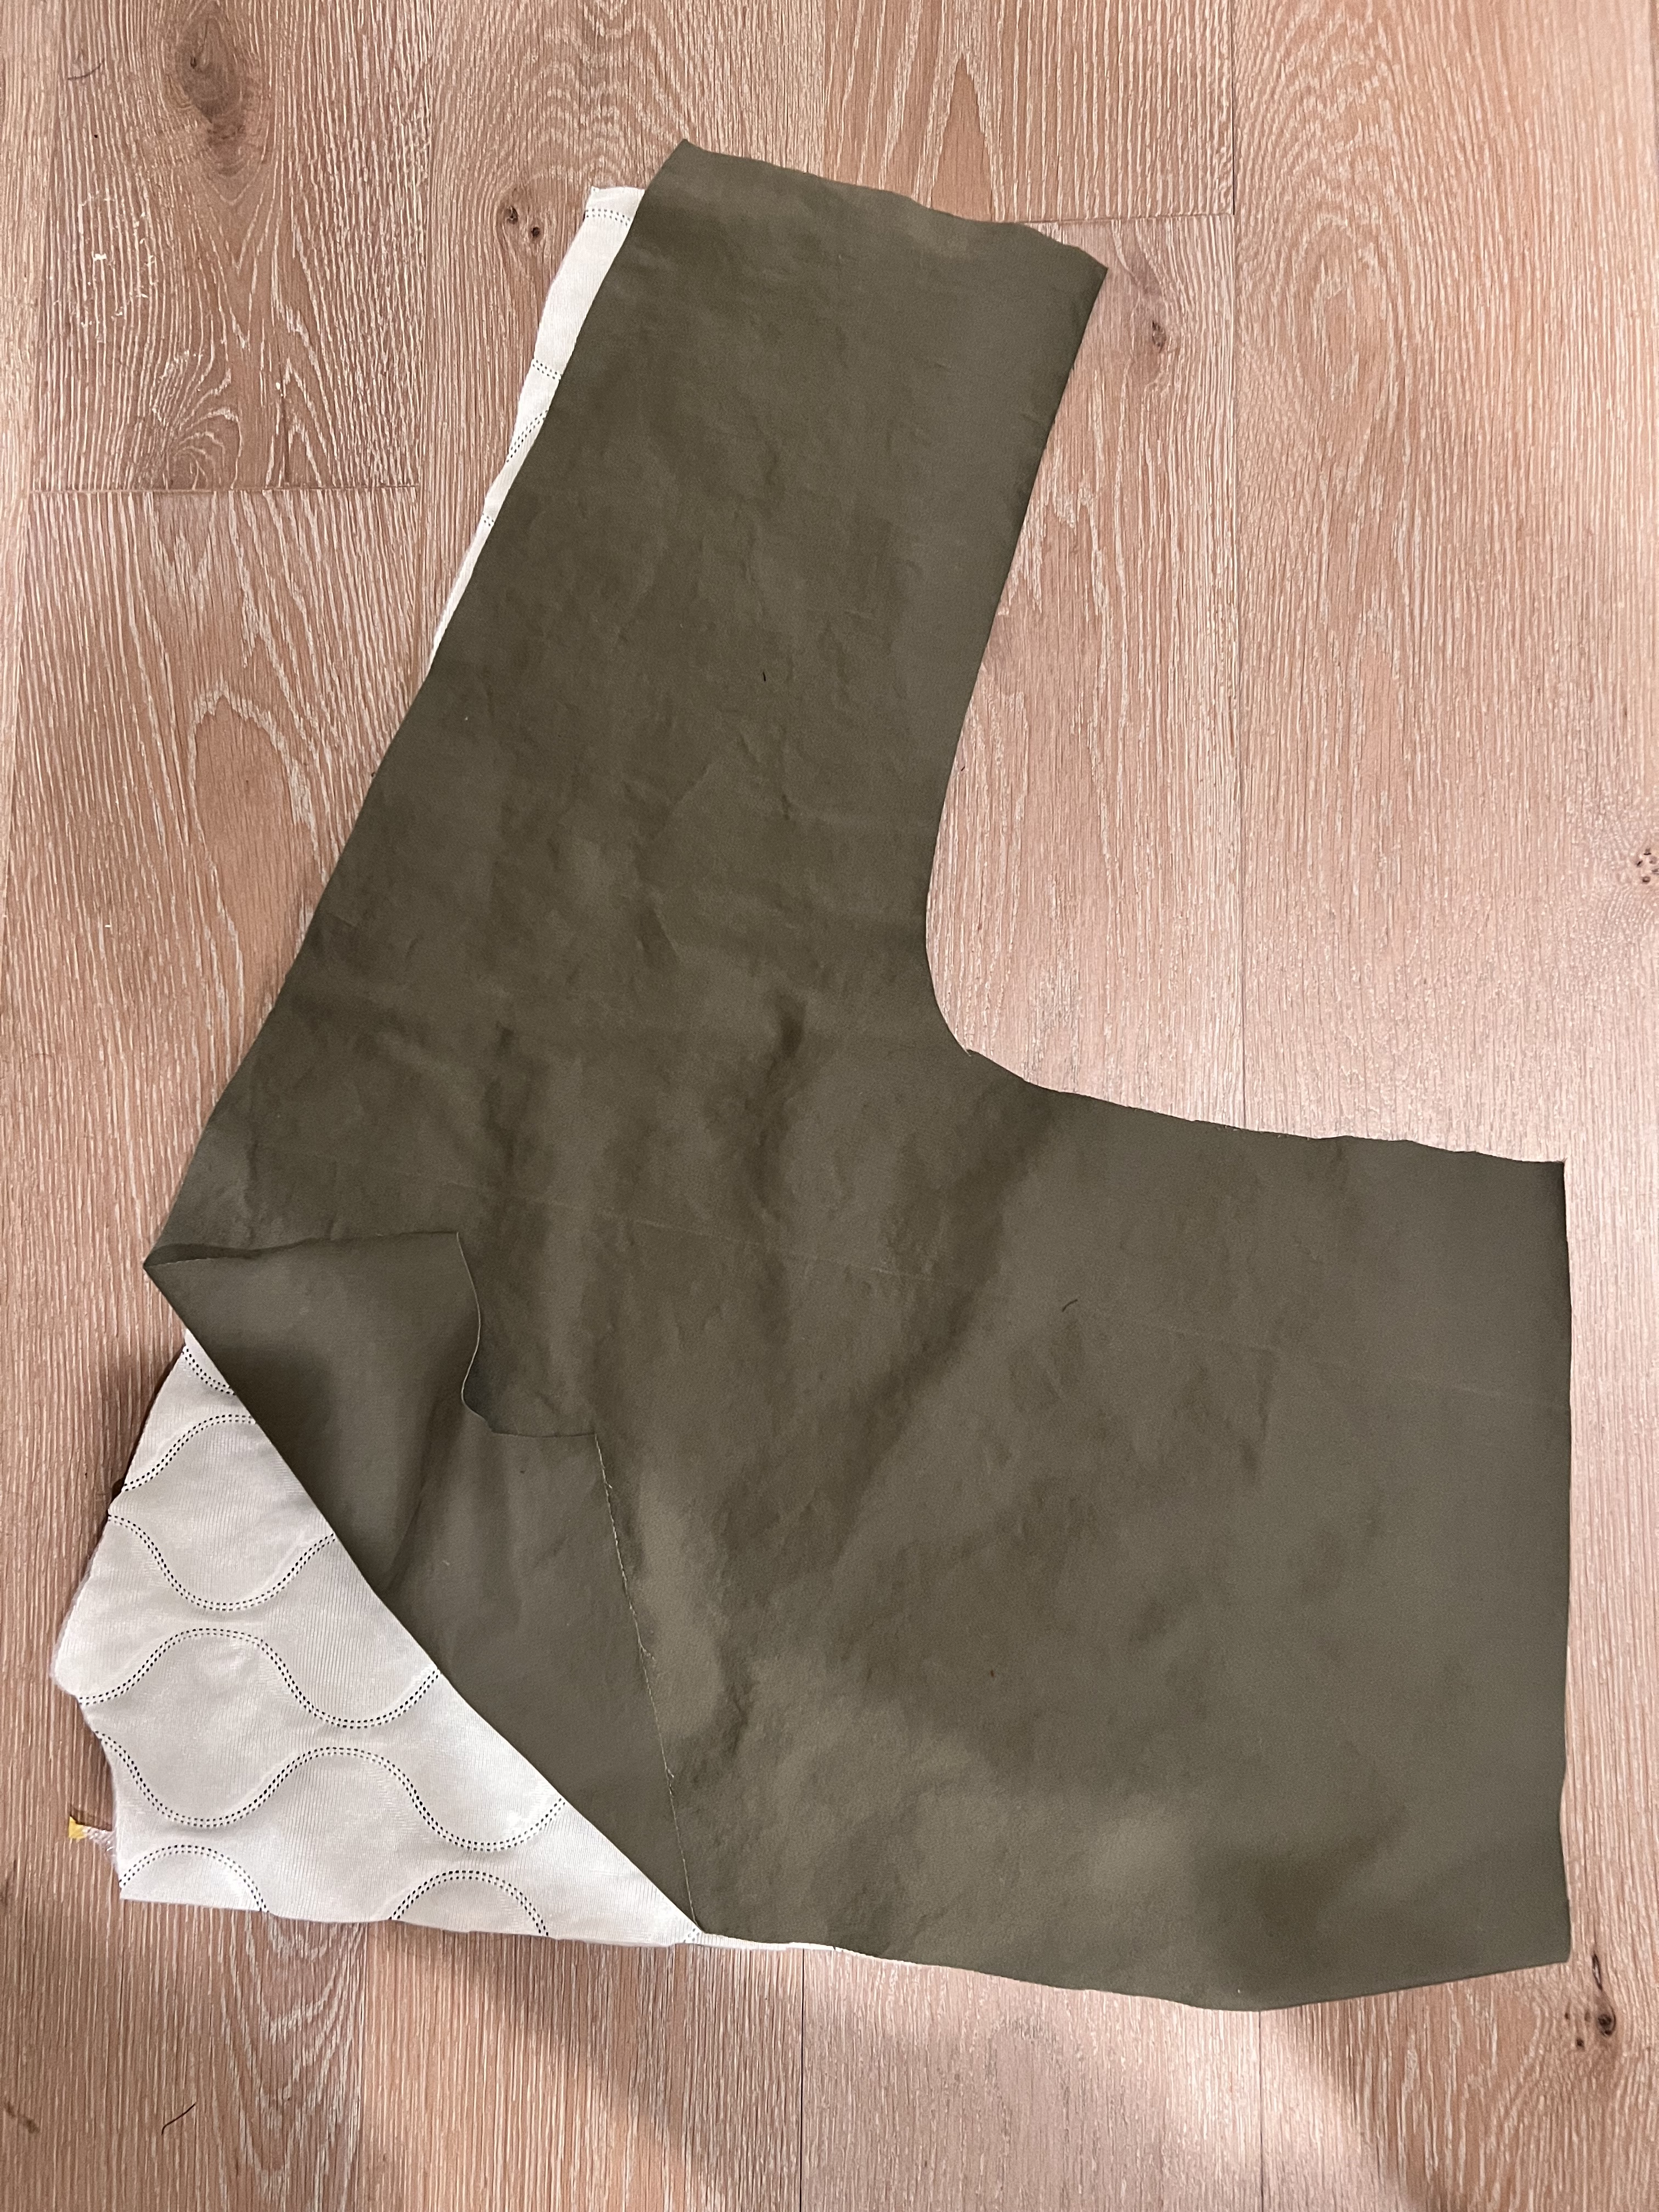
Step 1: Cut out the pattern pieces. Again, I sewed between a size XS and S. The fit is pretty roomy even made up in this thicker fabric.
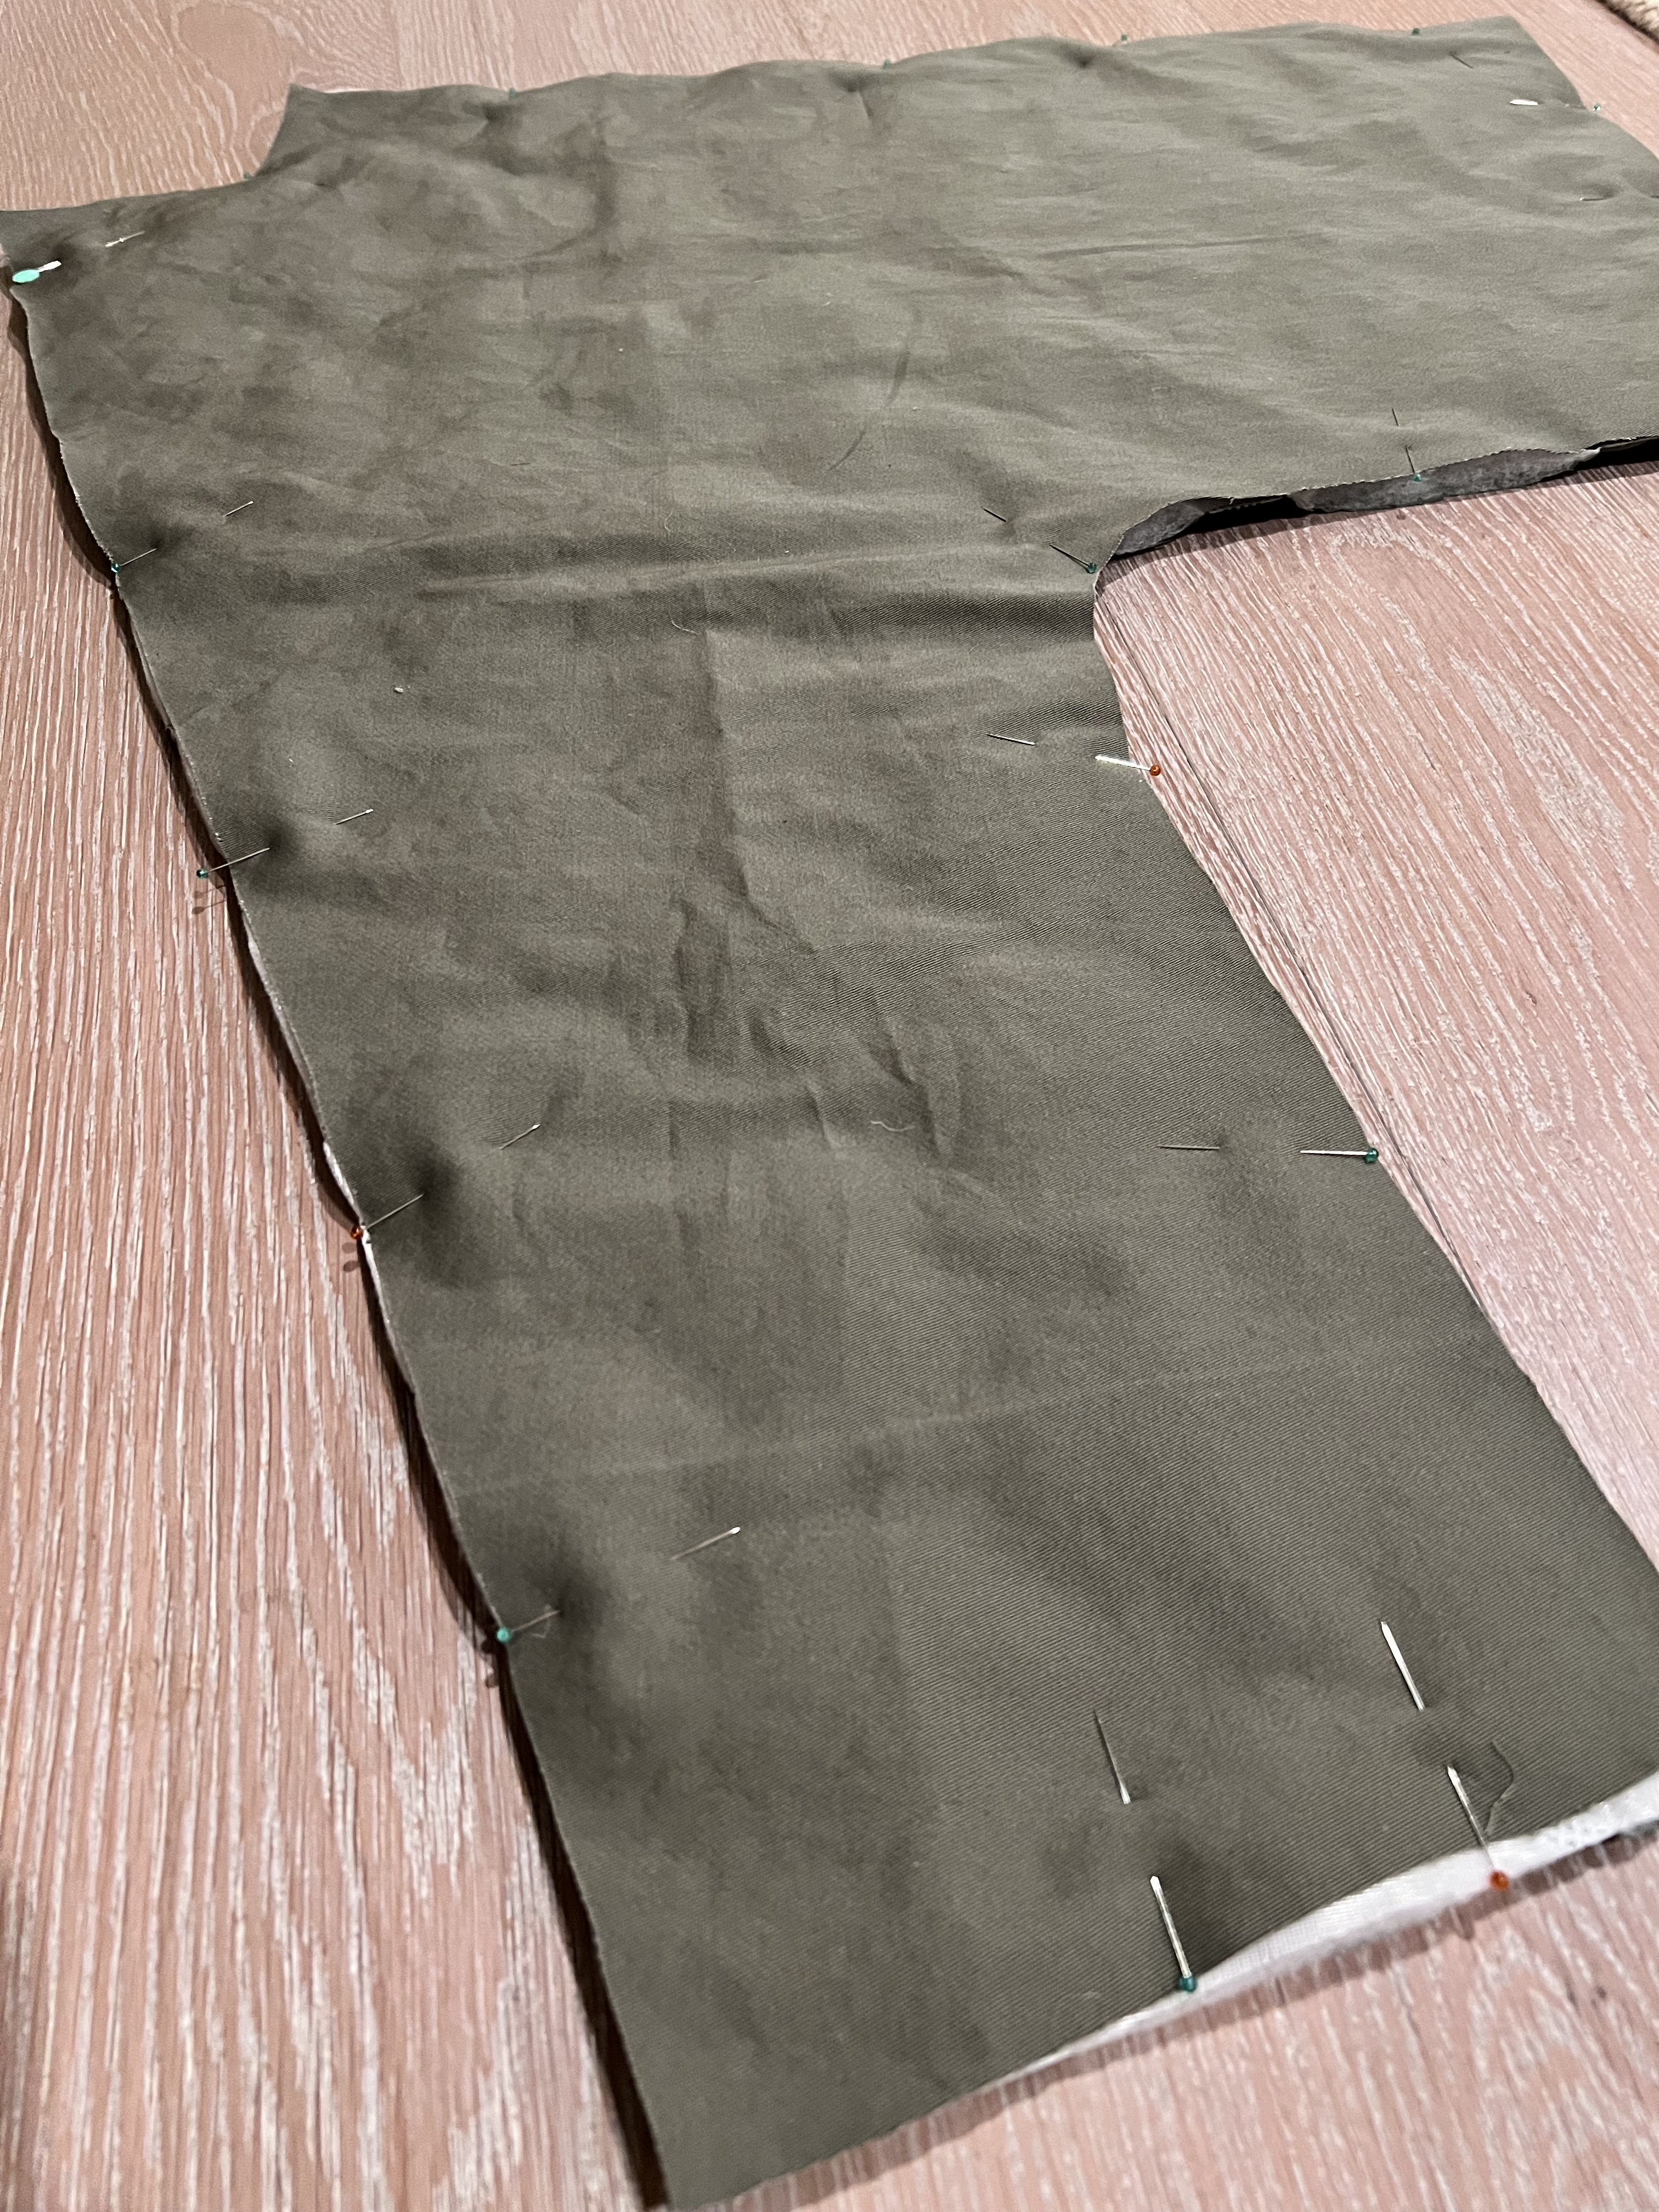
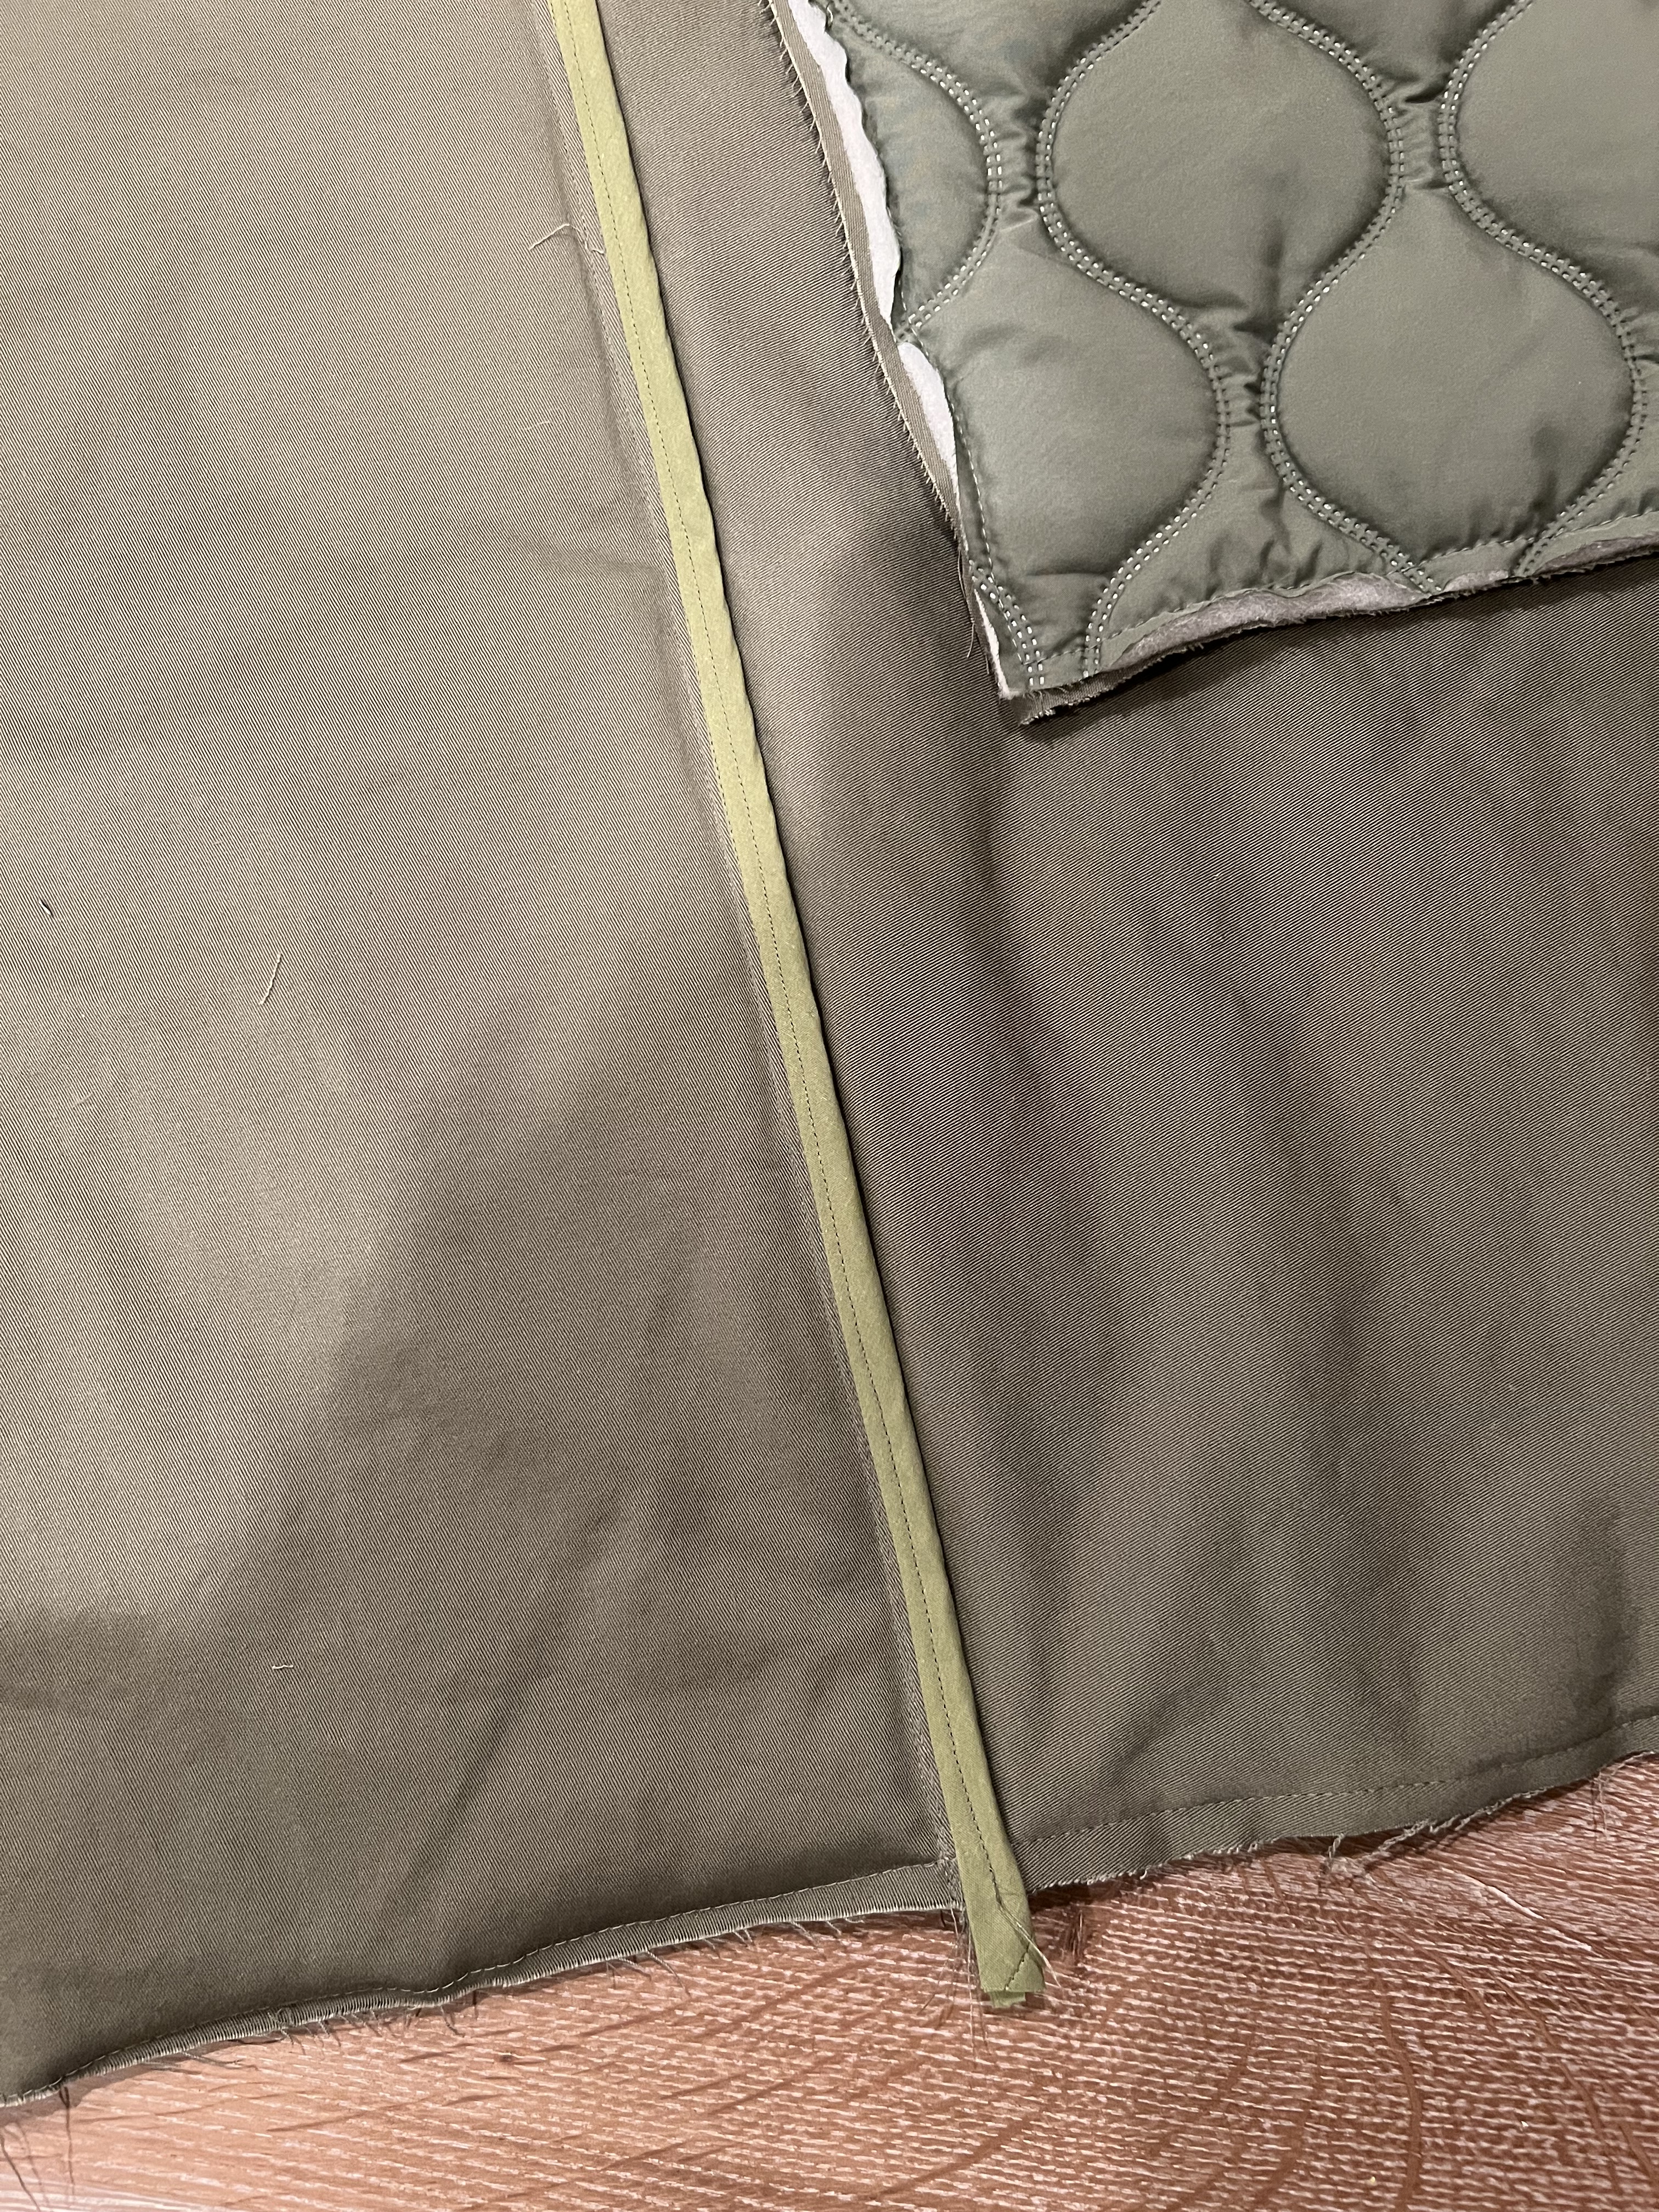
Step 2: Attach the lining pieces. I basted the pieces wrong side together all around the edges at 1/4″.
Step 3: Patch pockets! My pockets measured roughly 7 1/2″ wide by 8″ long. Second, baste the lining to the pocket wrong sides together.
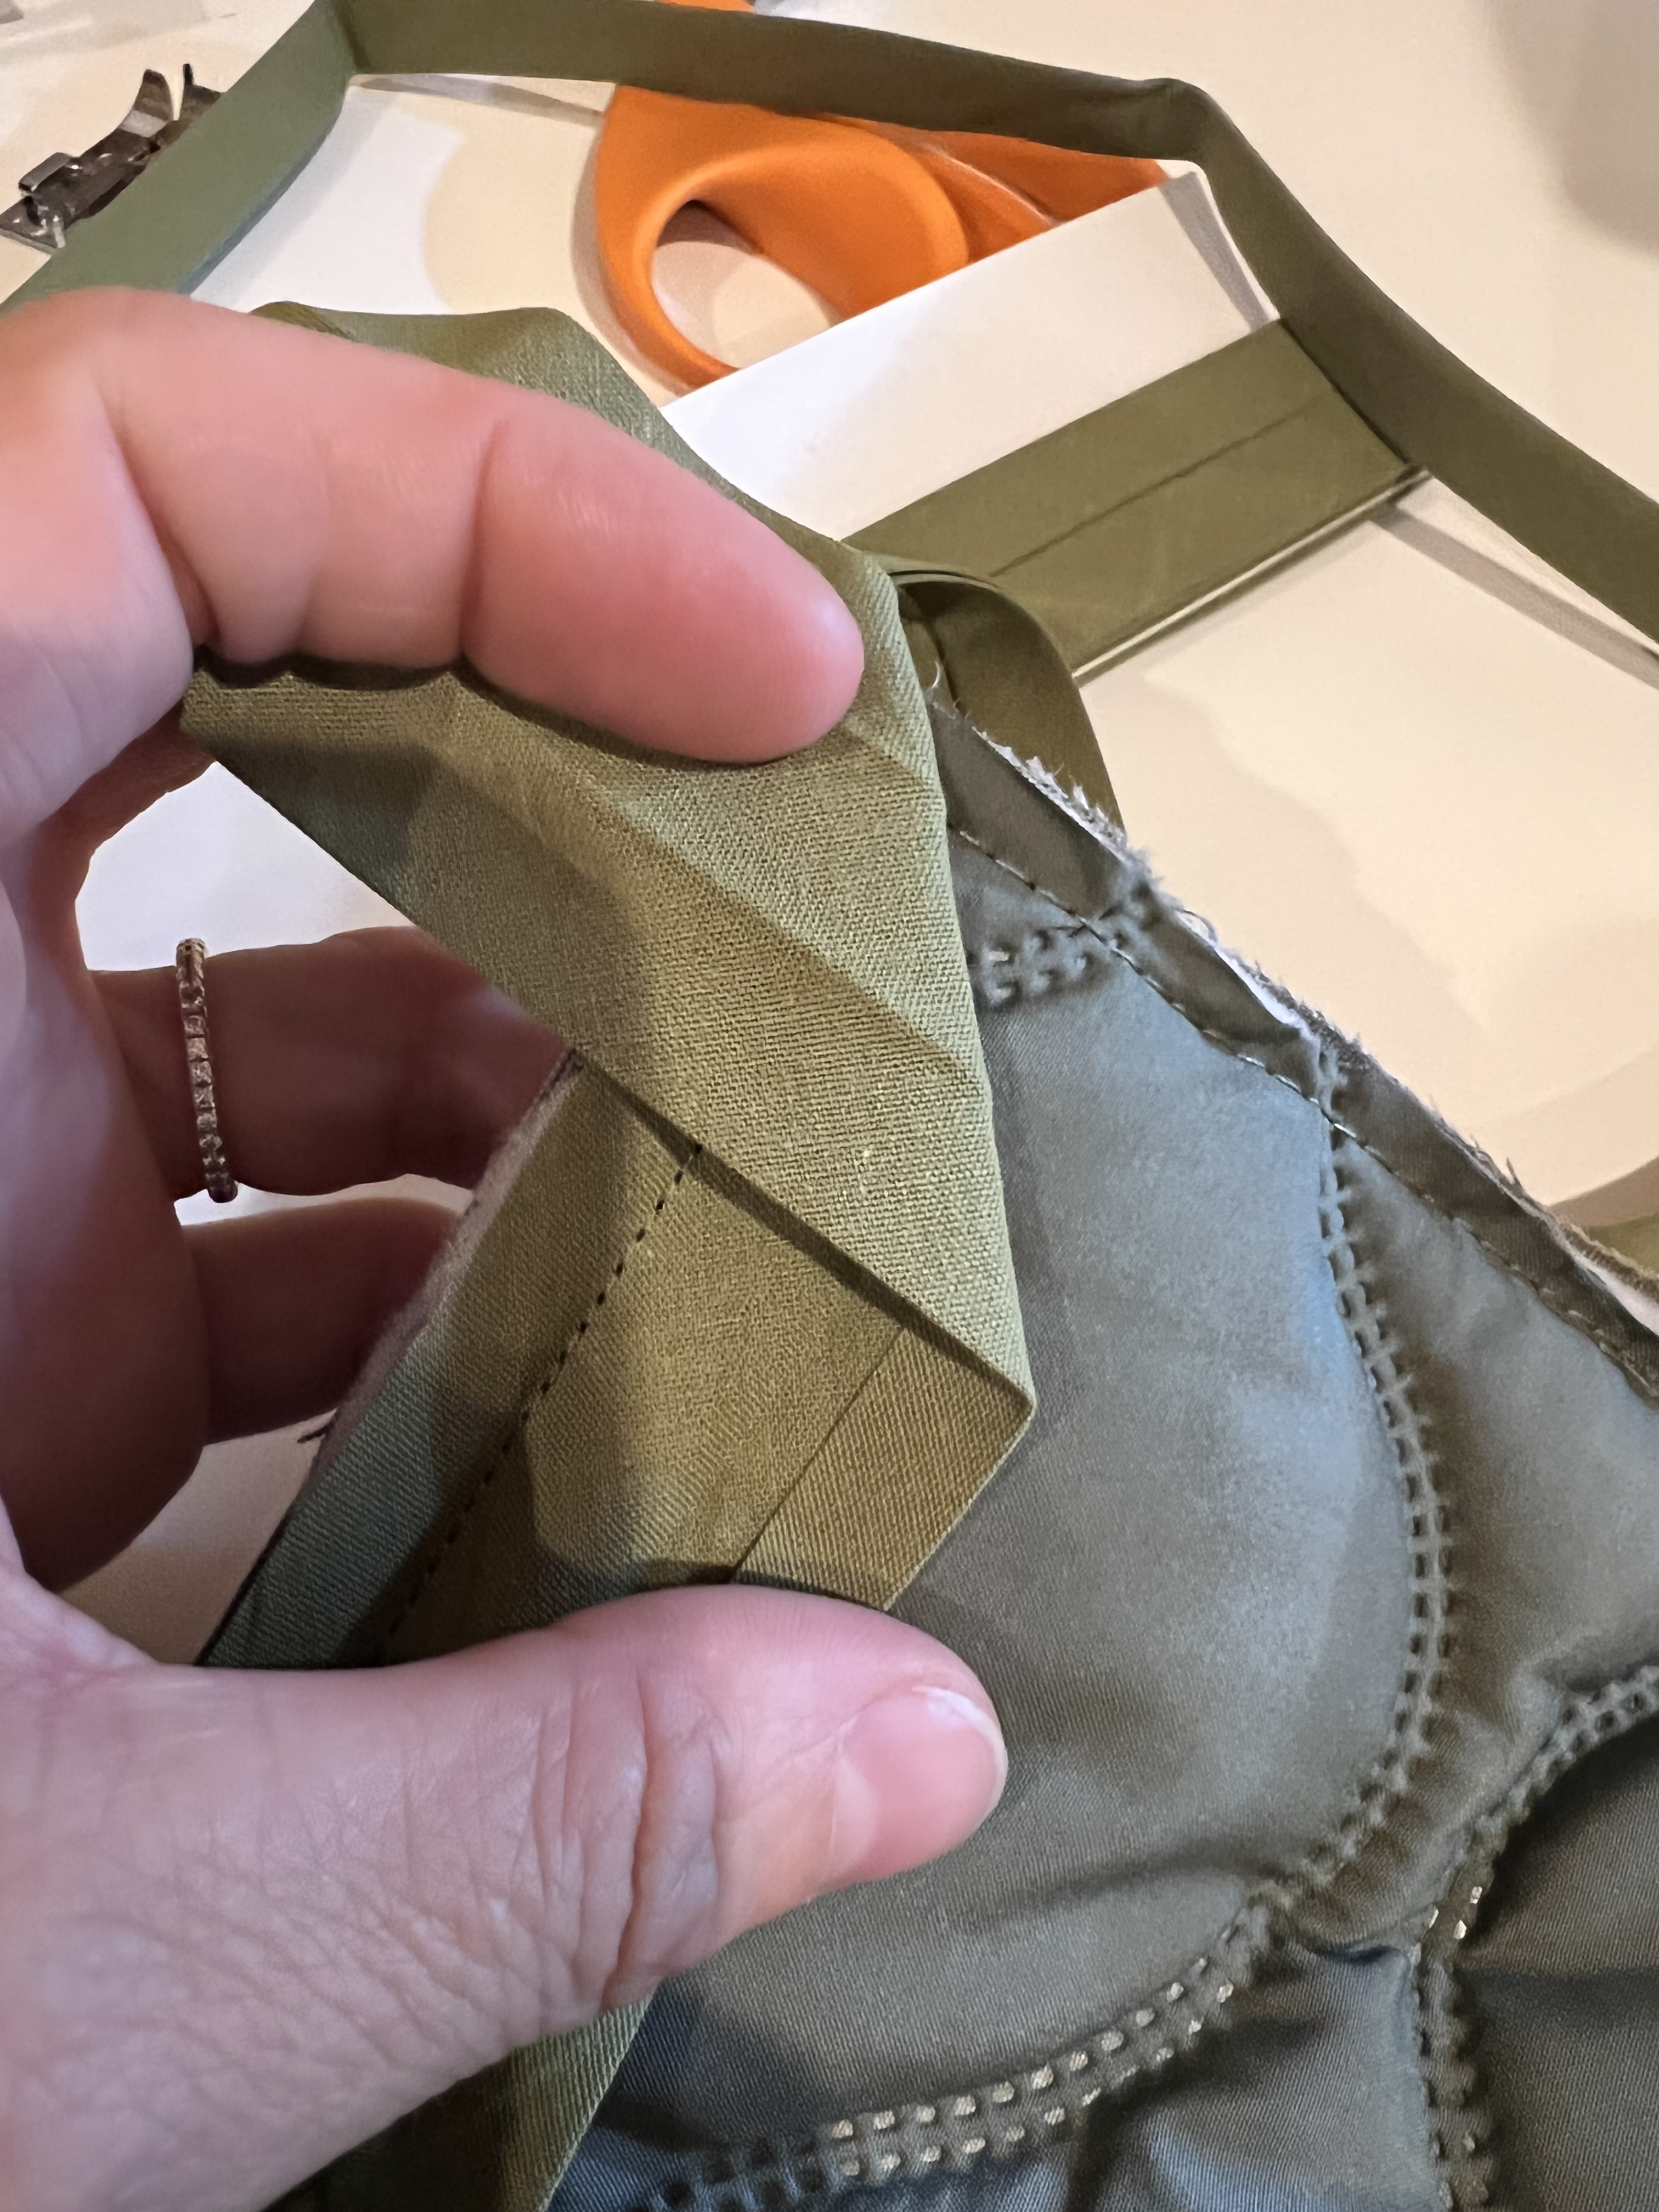
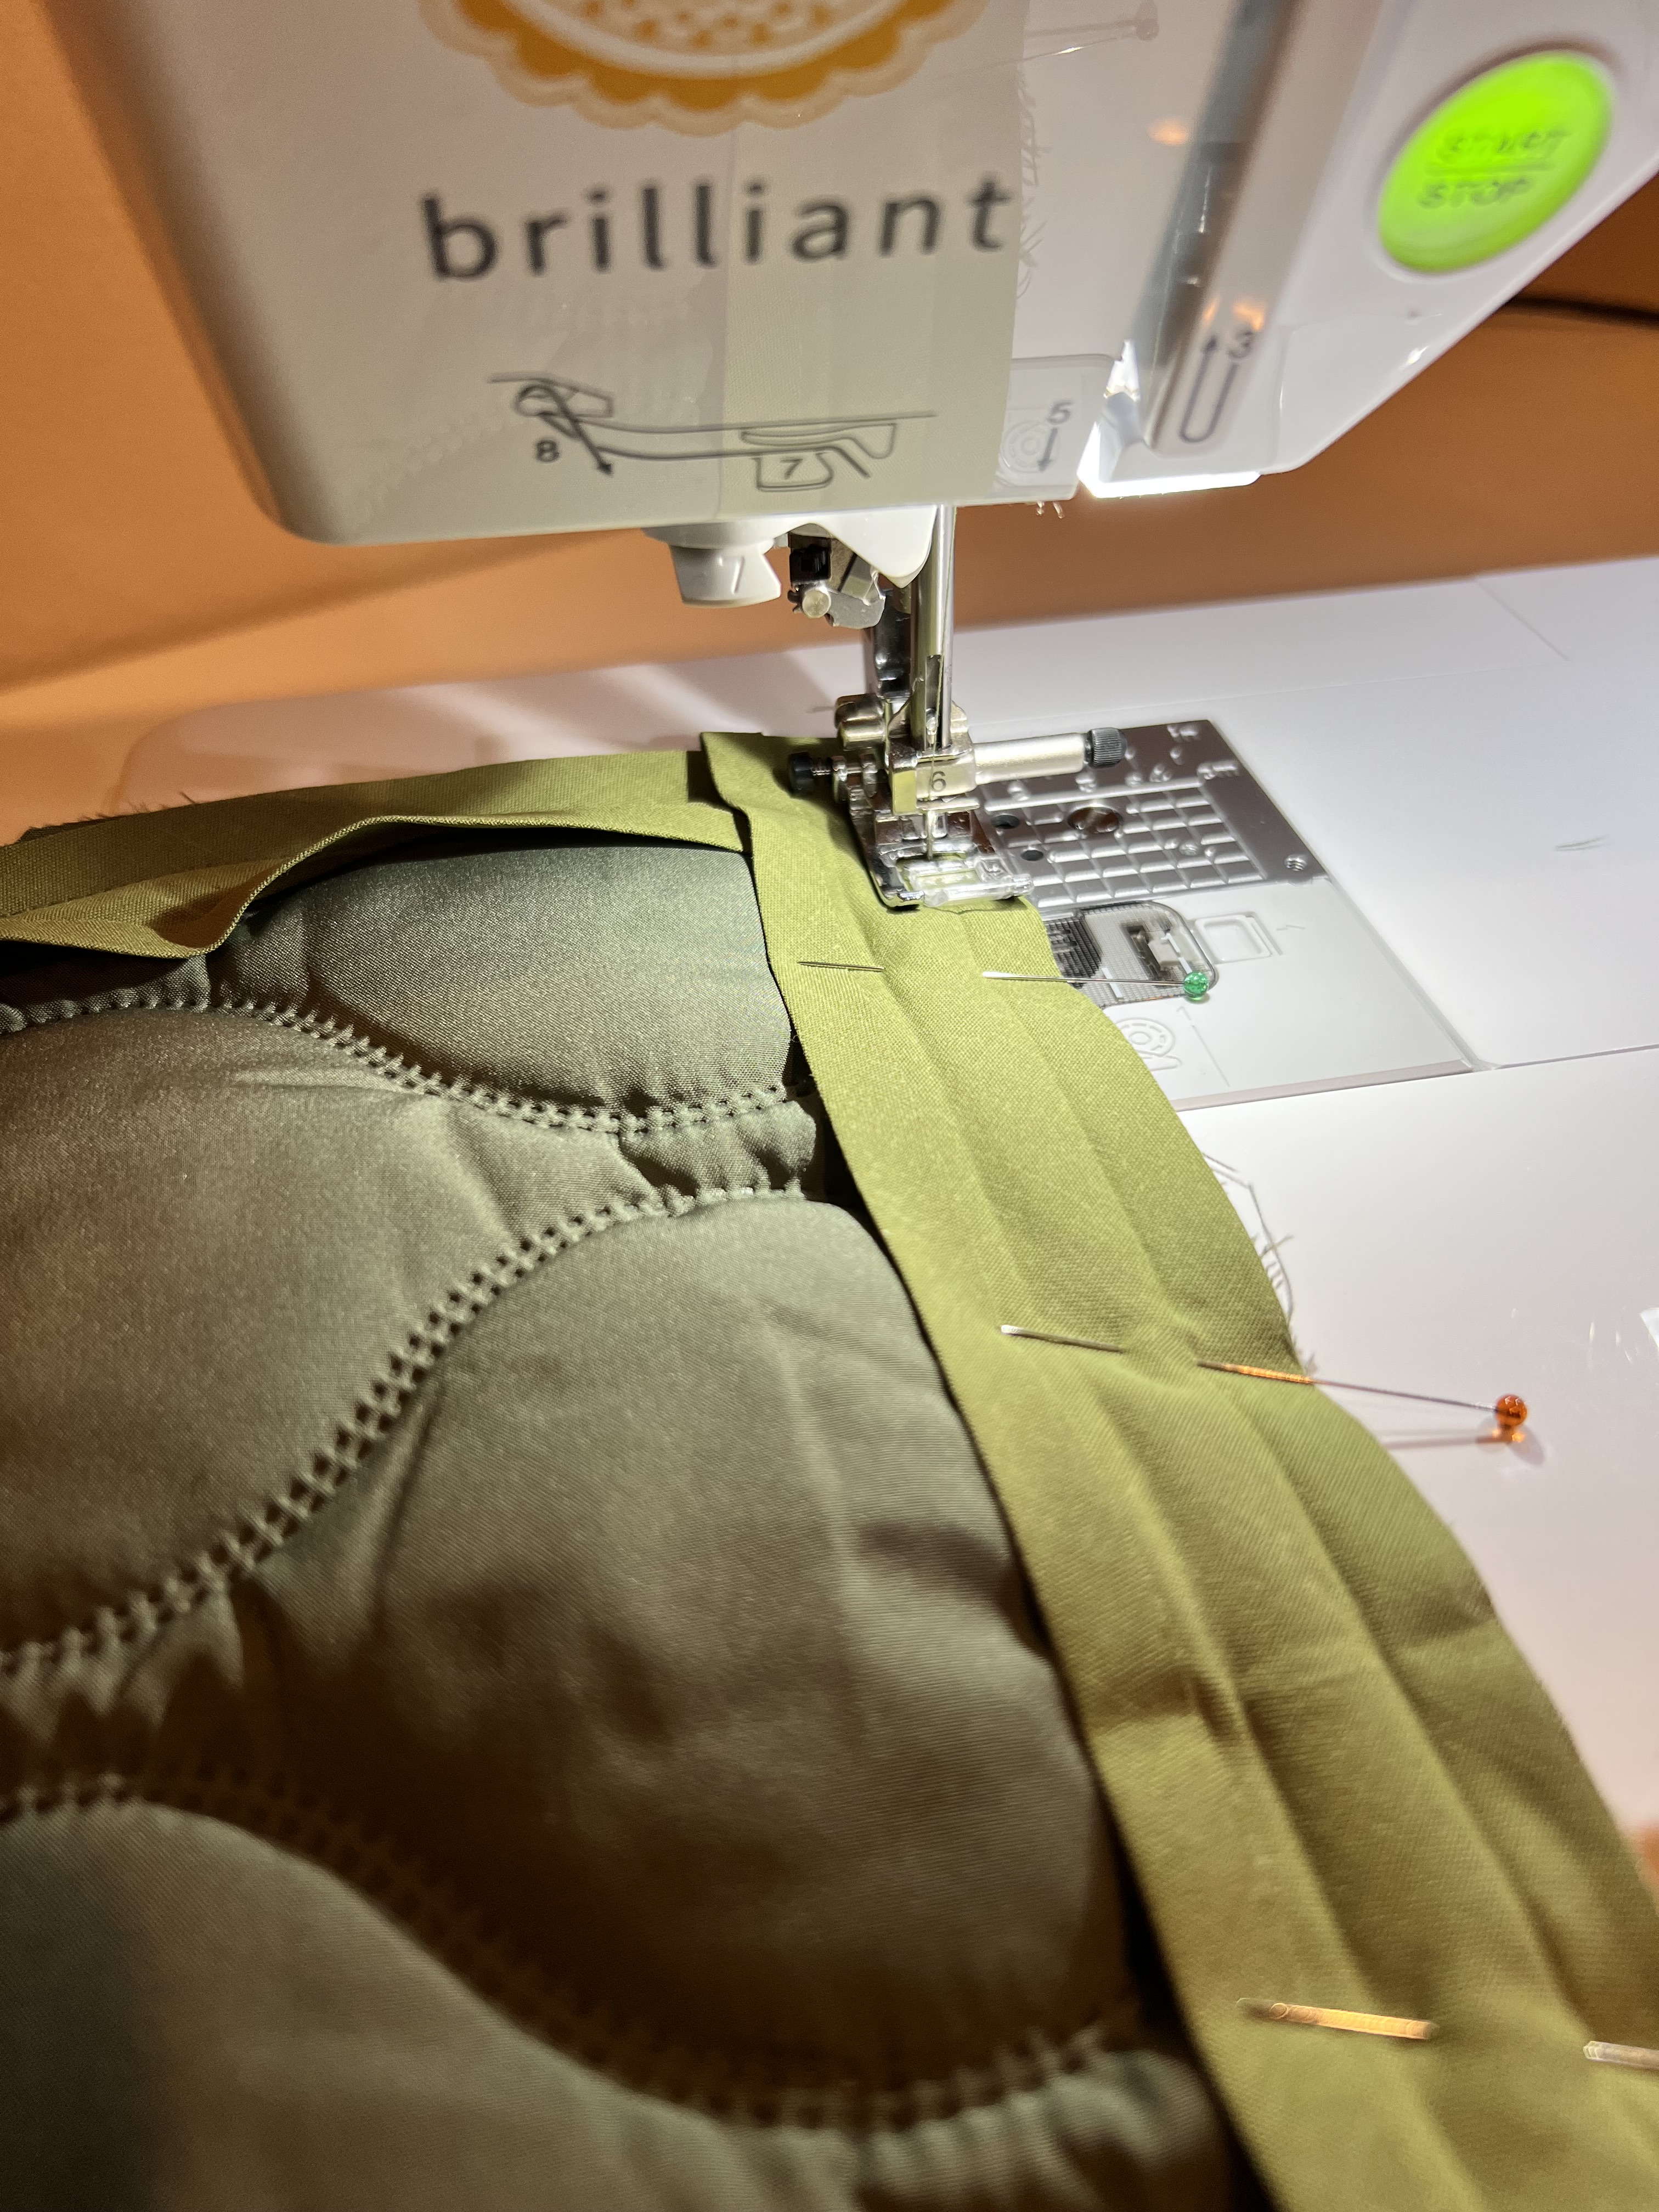
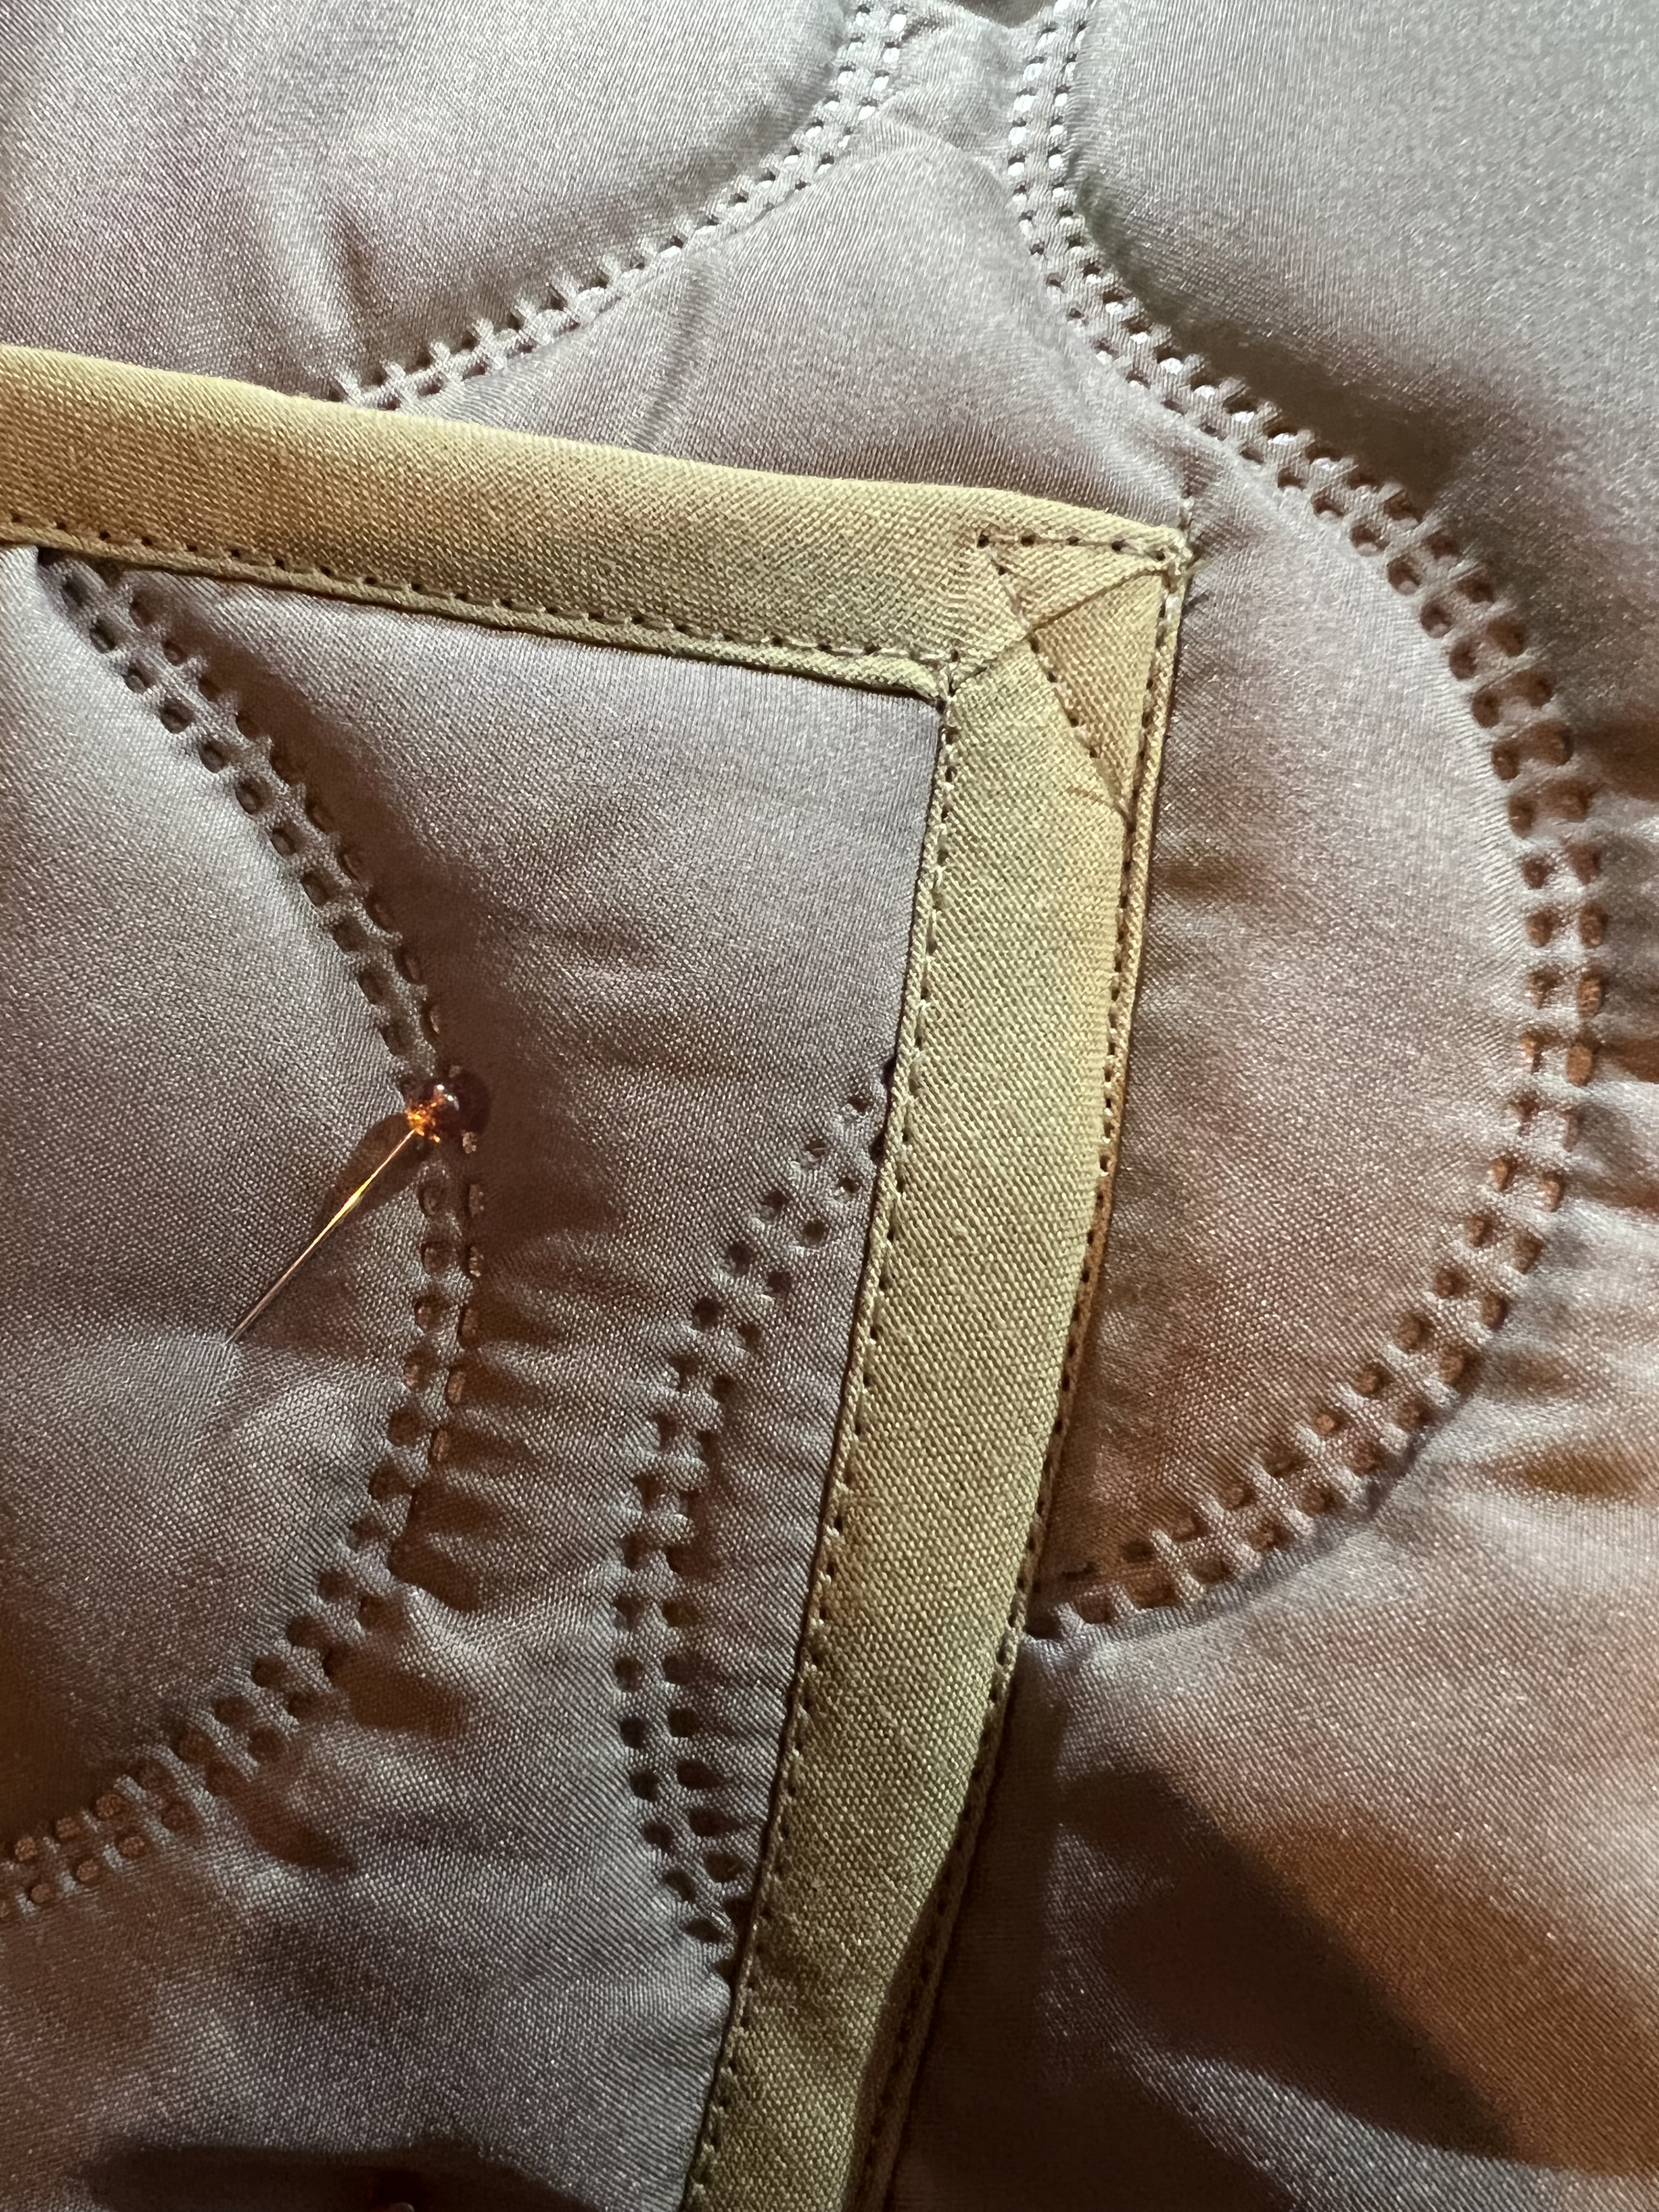
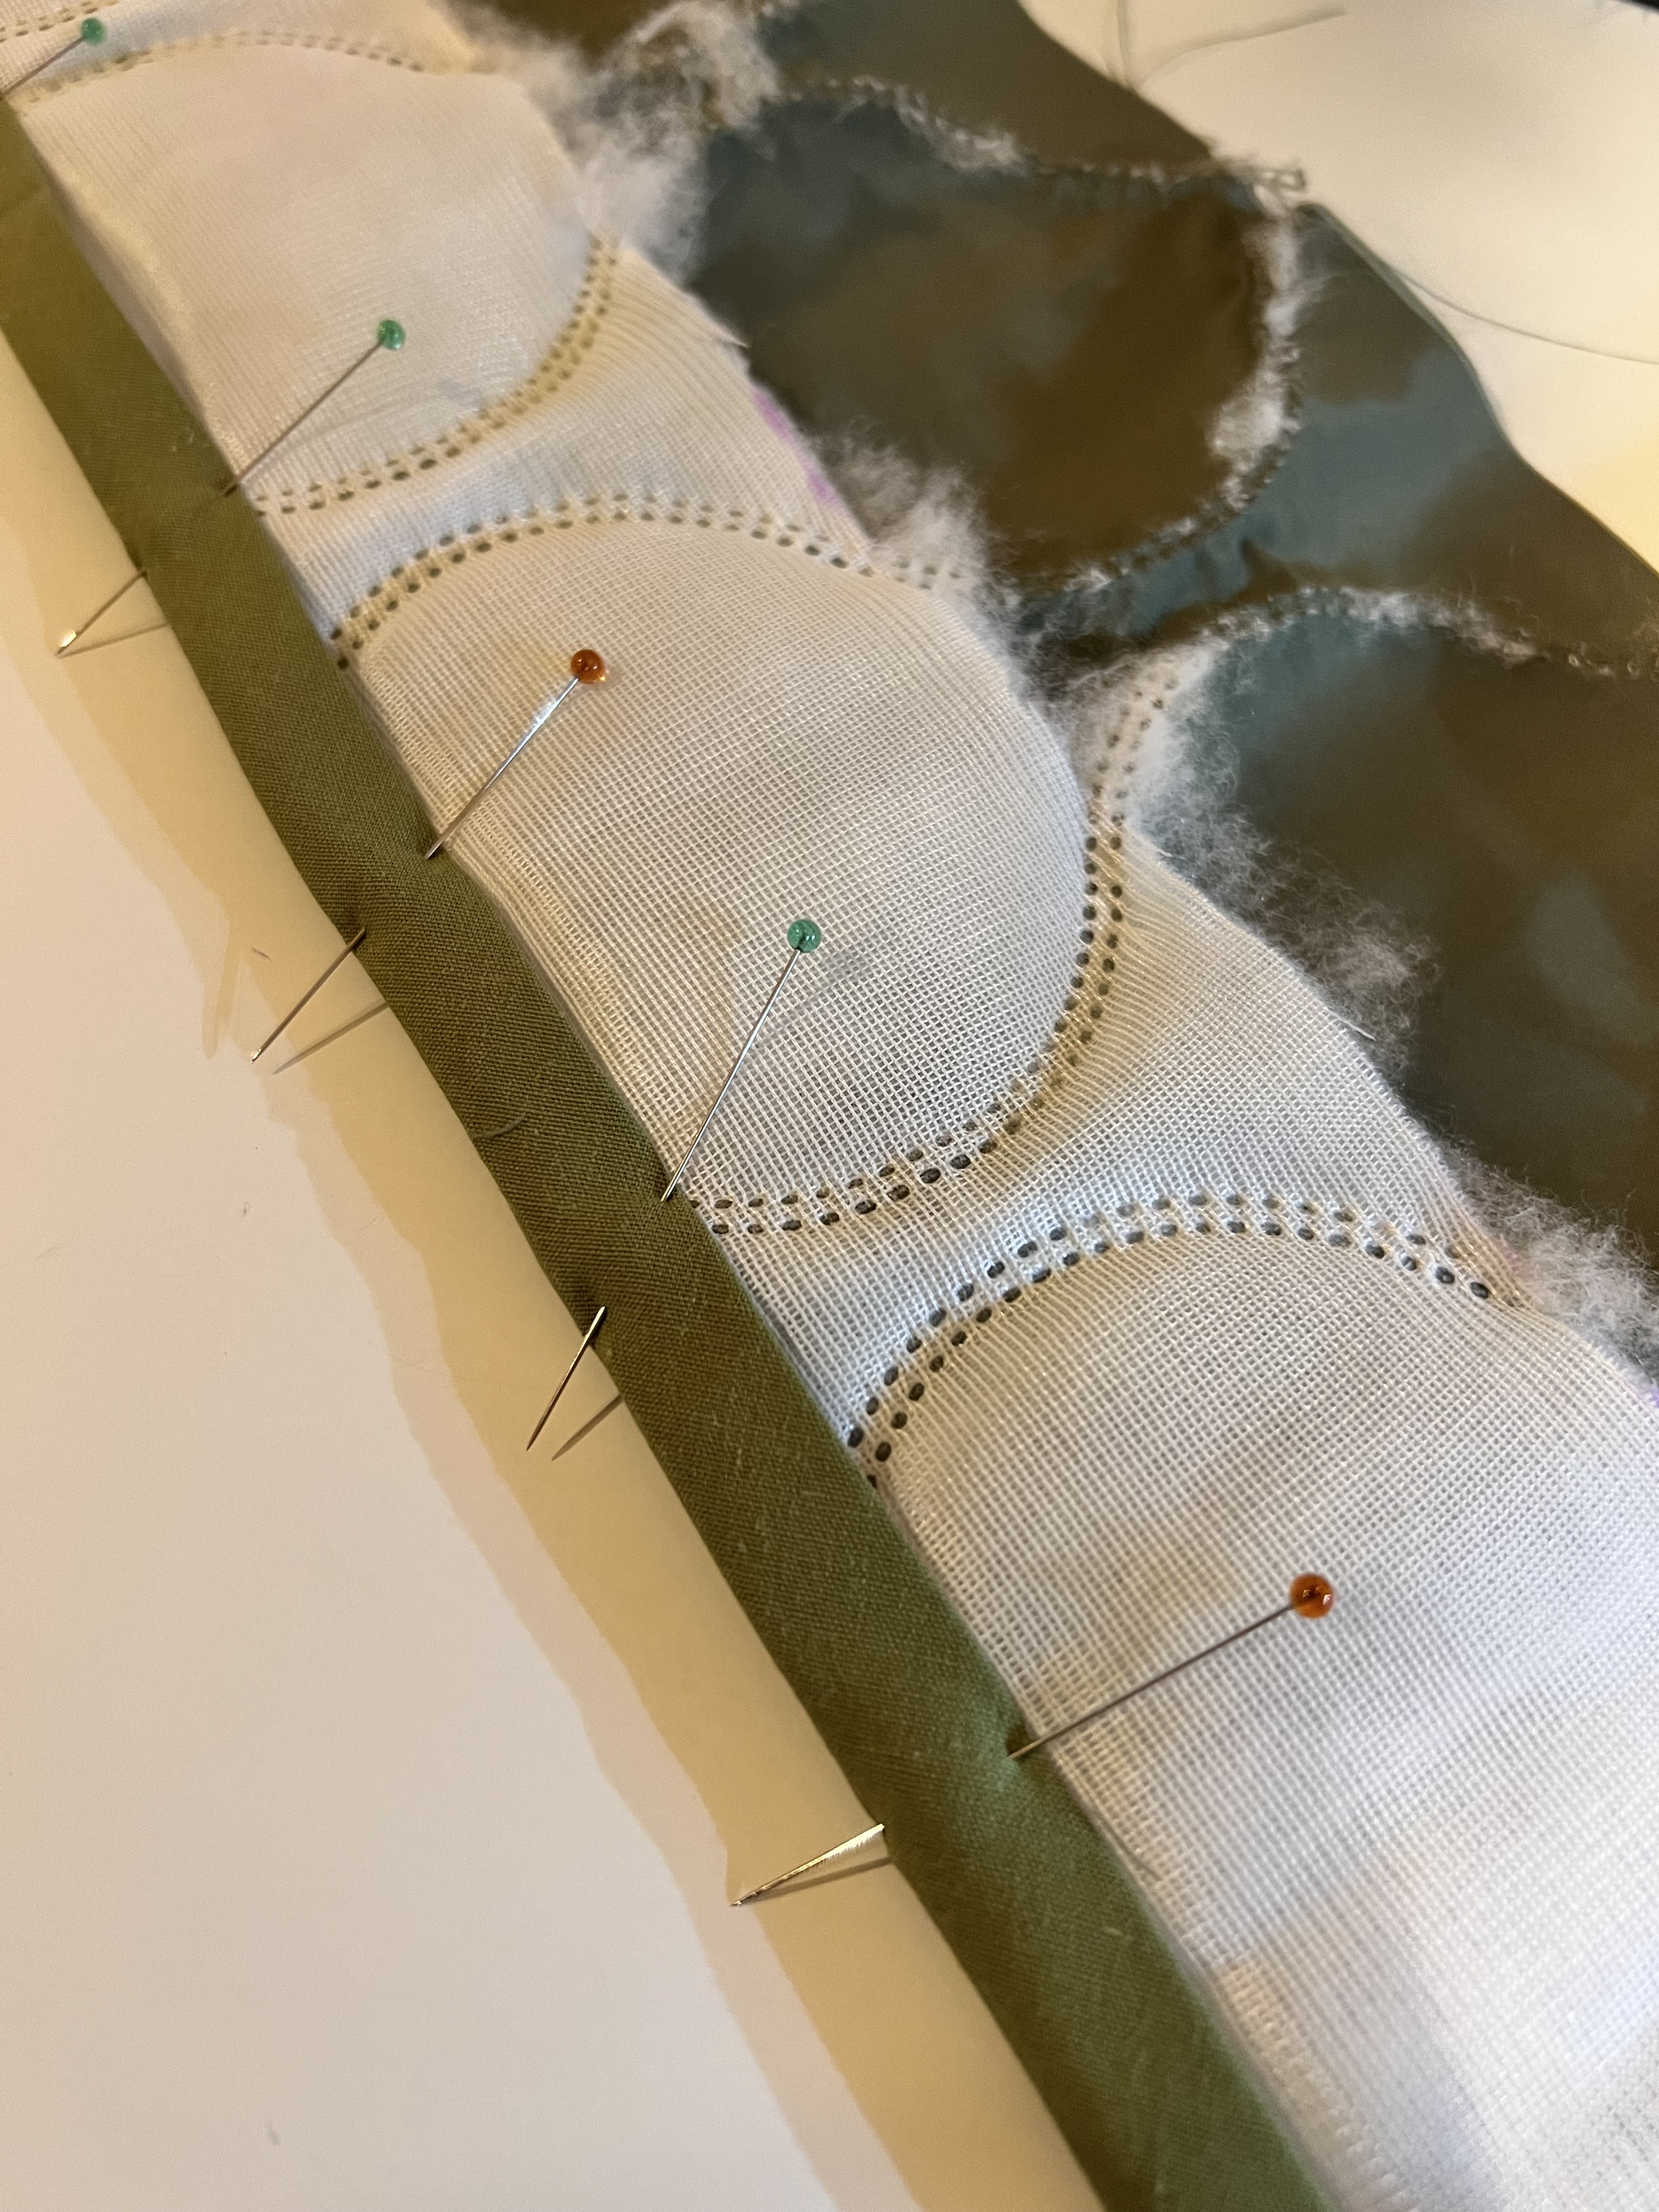
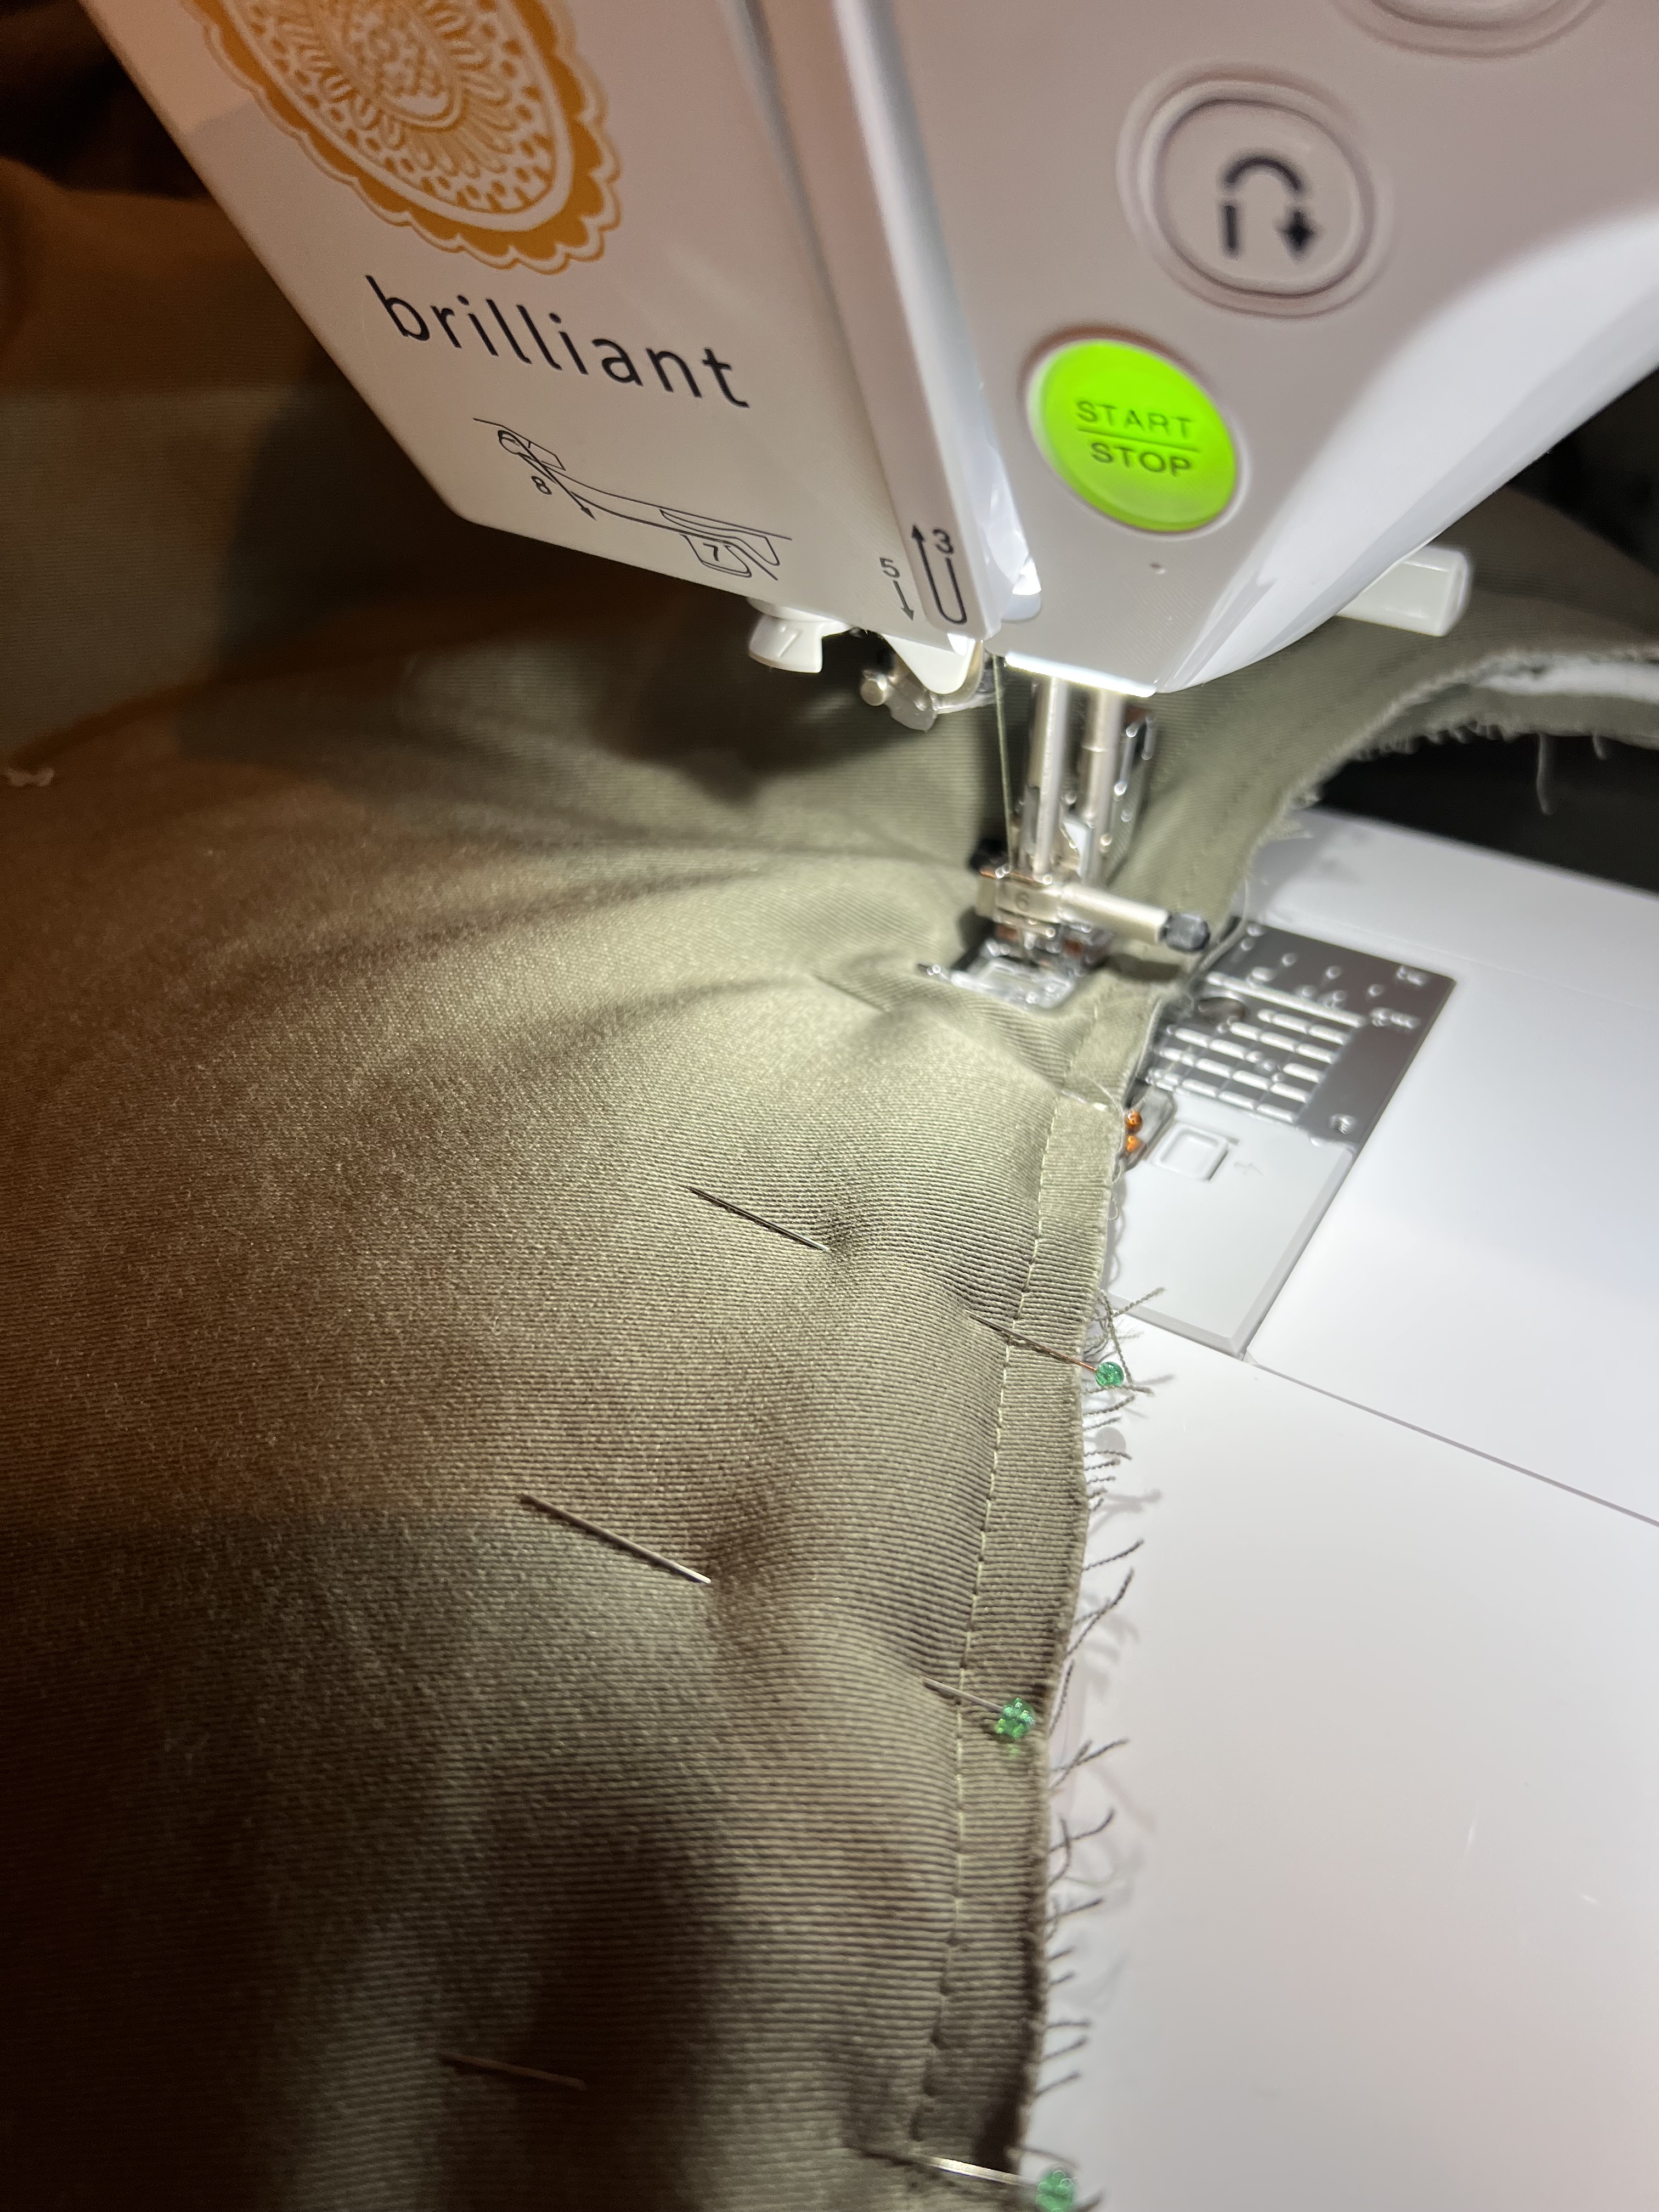
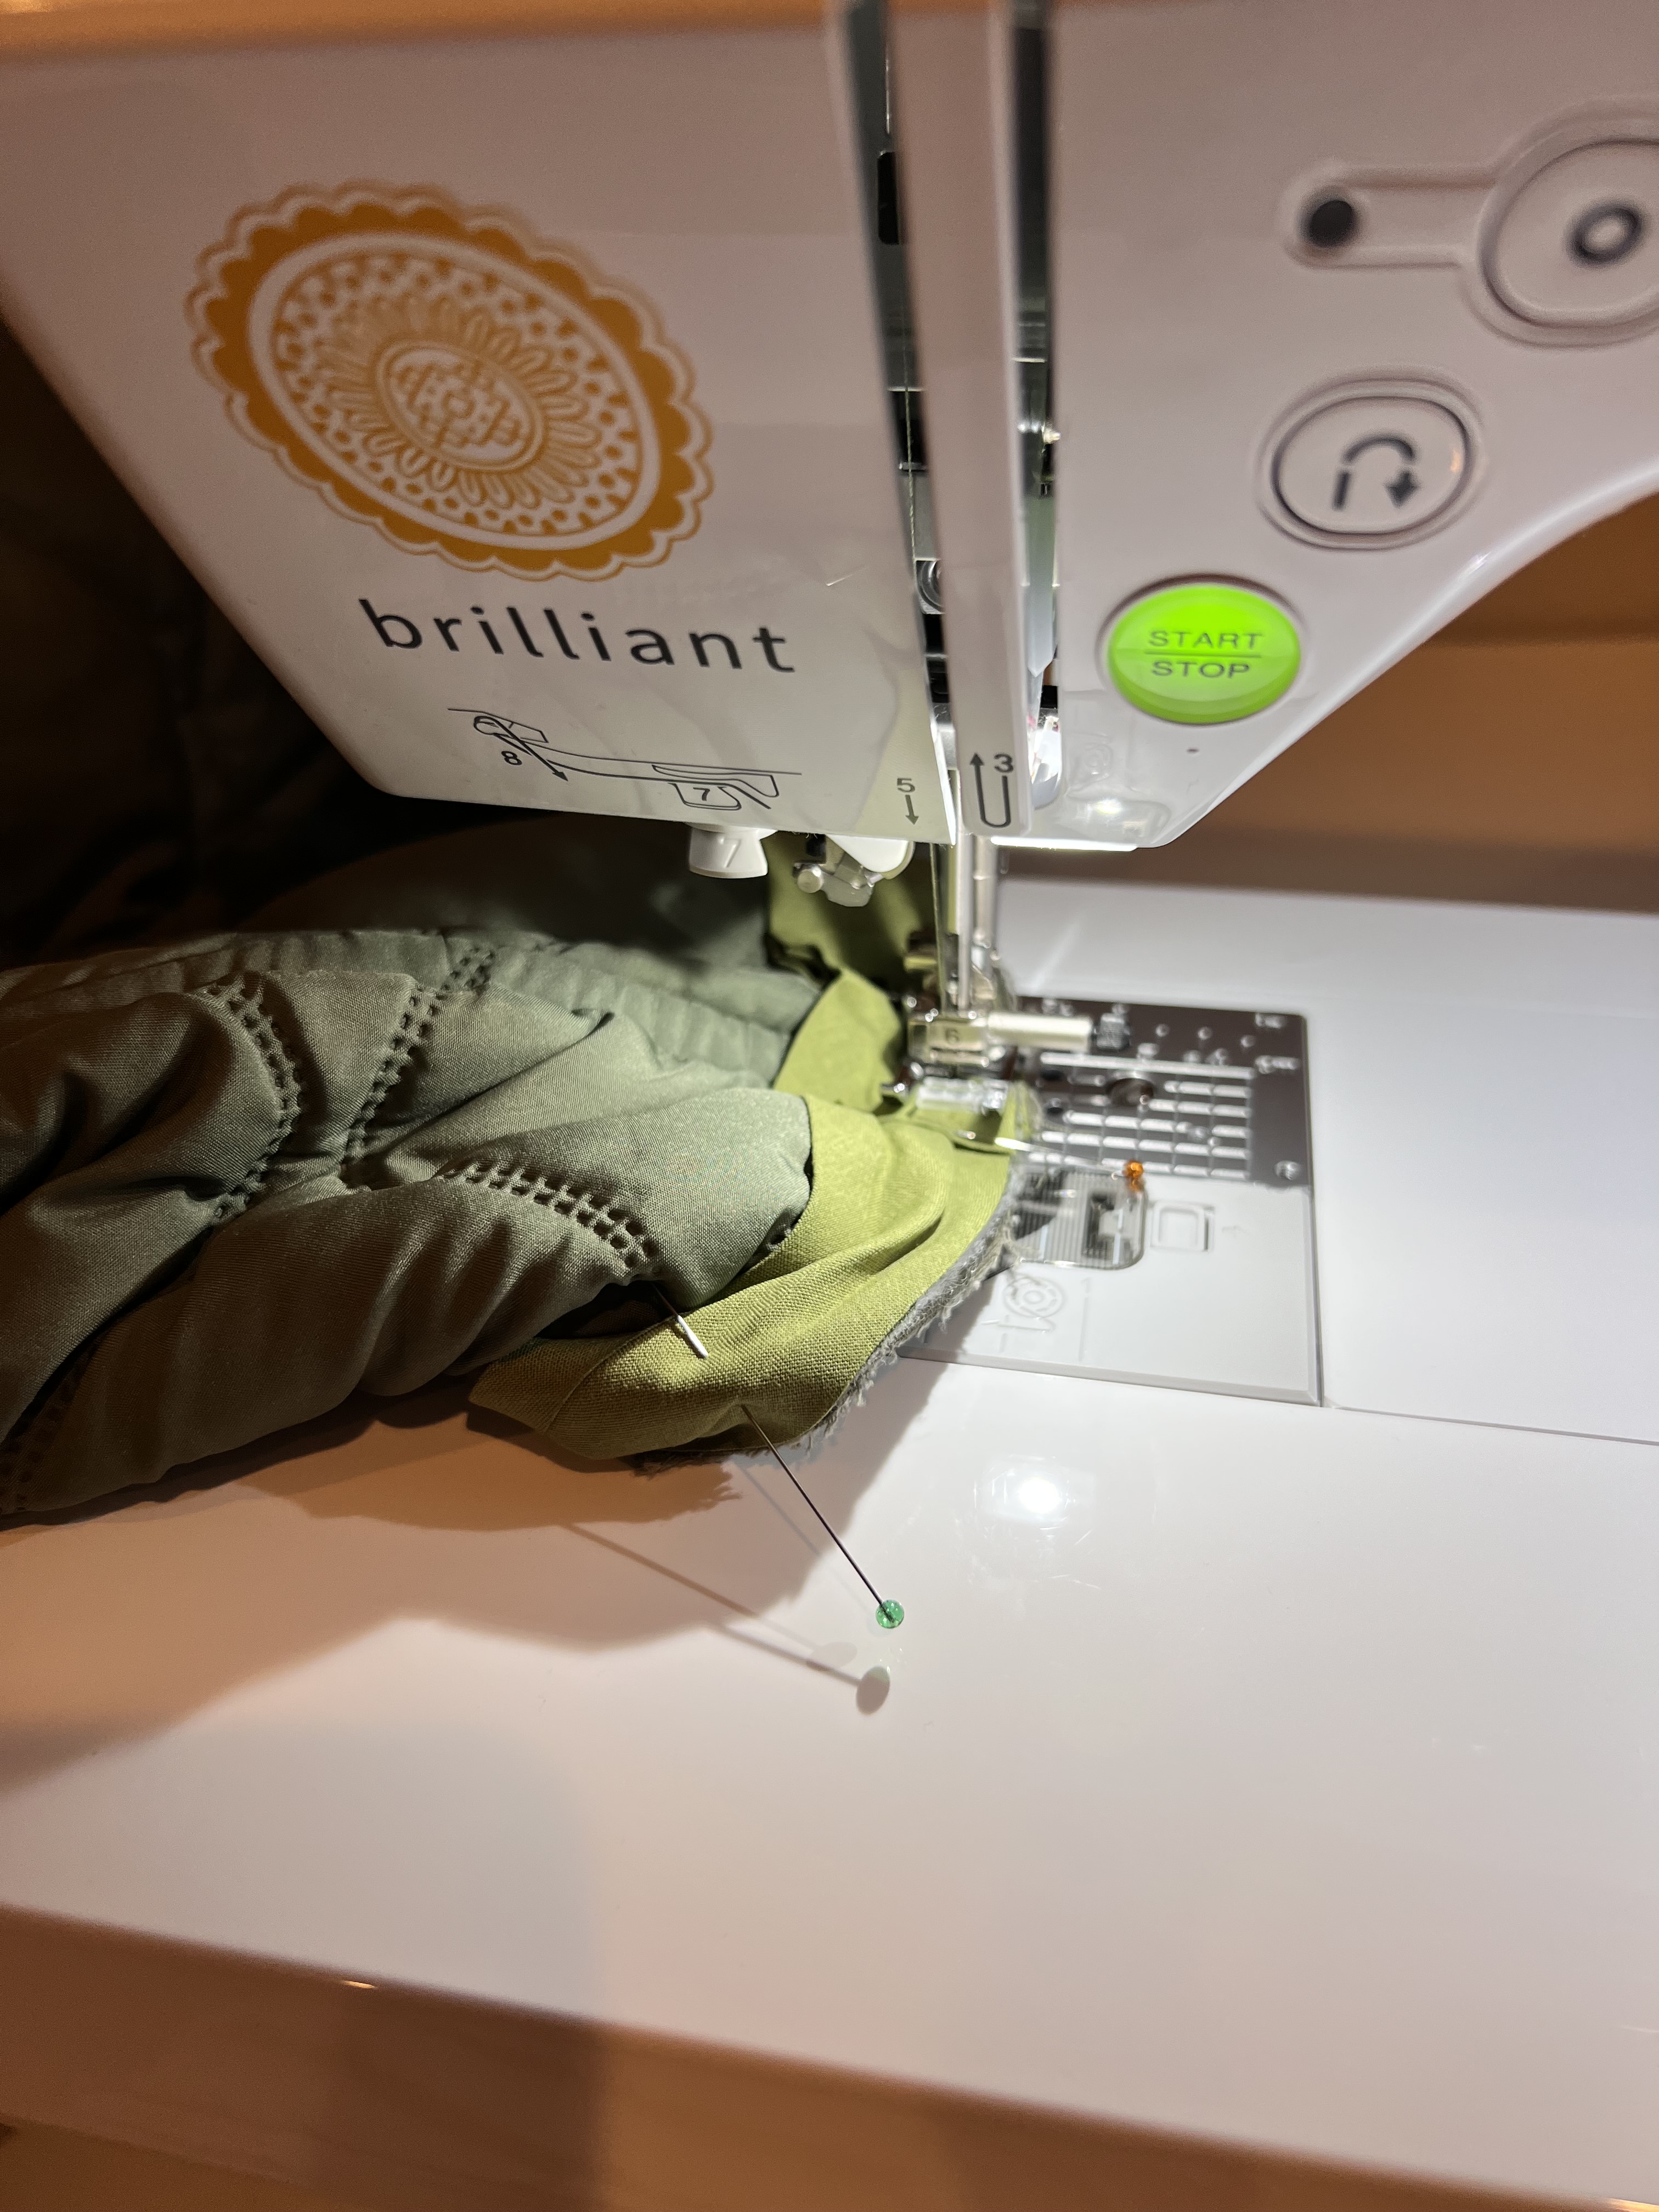
Next, finish the right side of the outside edge of the pocket with bias tape, using a mitered corner finish at the pocket corners. This is how I did it: open up the bias tape and pin one edge to the raw edge of the pocket. Make sure to start out by folding about 1/2″ of the tape in for a nice clean finish as shown in the first photo. Sew along the fold closest to the edge at 1/4″, and make sure to STOP sewing when you are 1/4″ away from the corner.
Fold the tape back at 90 degrees as shown in the third photo below. Fold tape over again lining it up with the pocket edge as shown in the 4th photo below. Pin in place and begin sewing once again starting at the edge of the pocket, repeating the same steps for the next pocket corner until all of the tape has been sewn down.


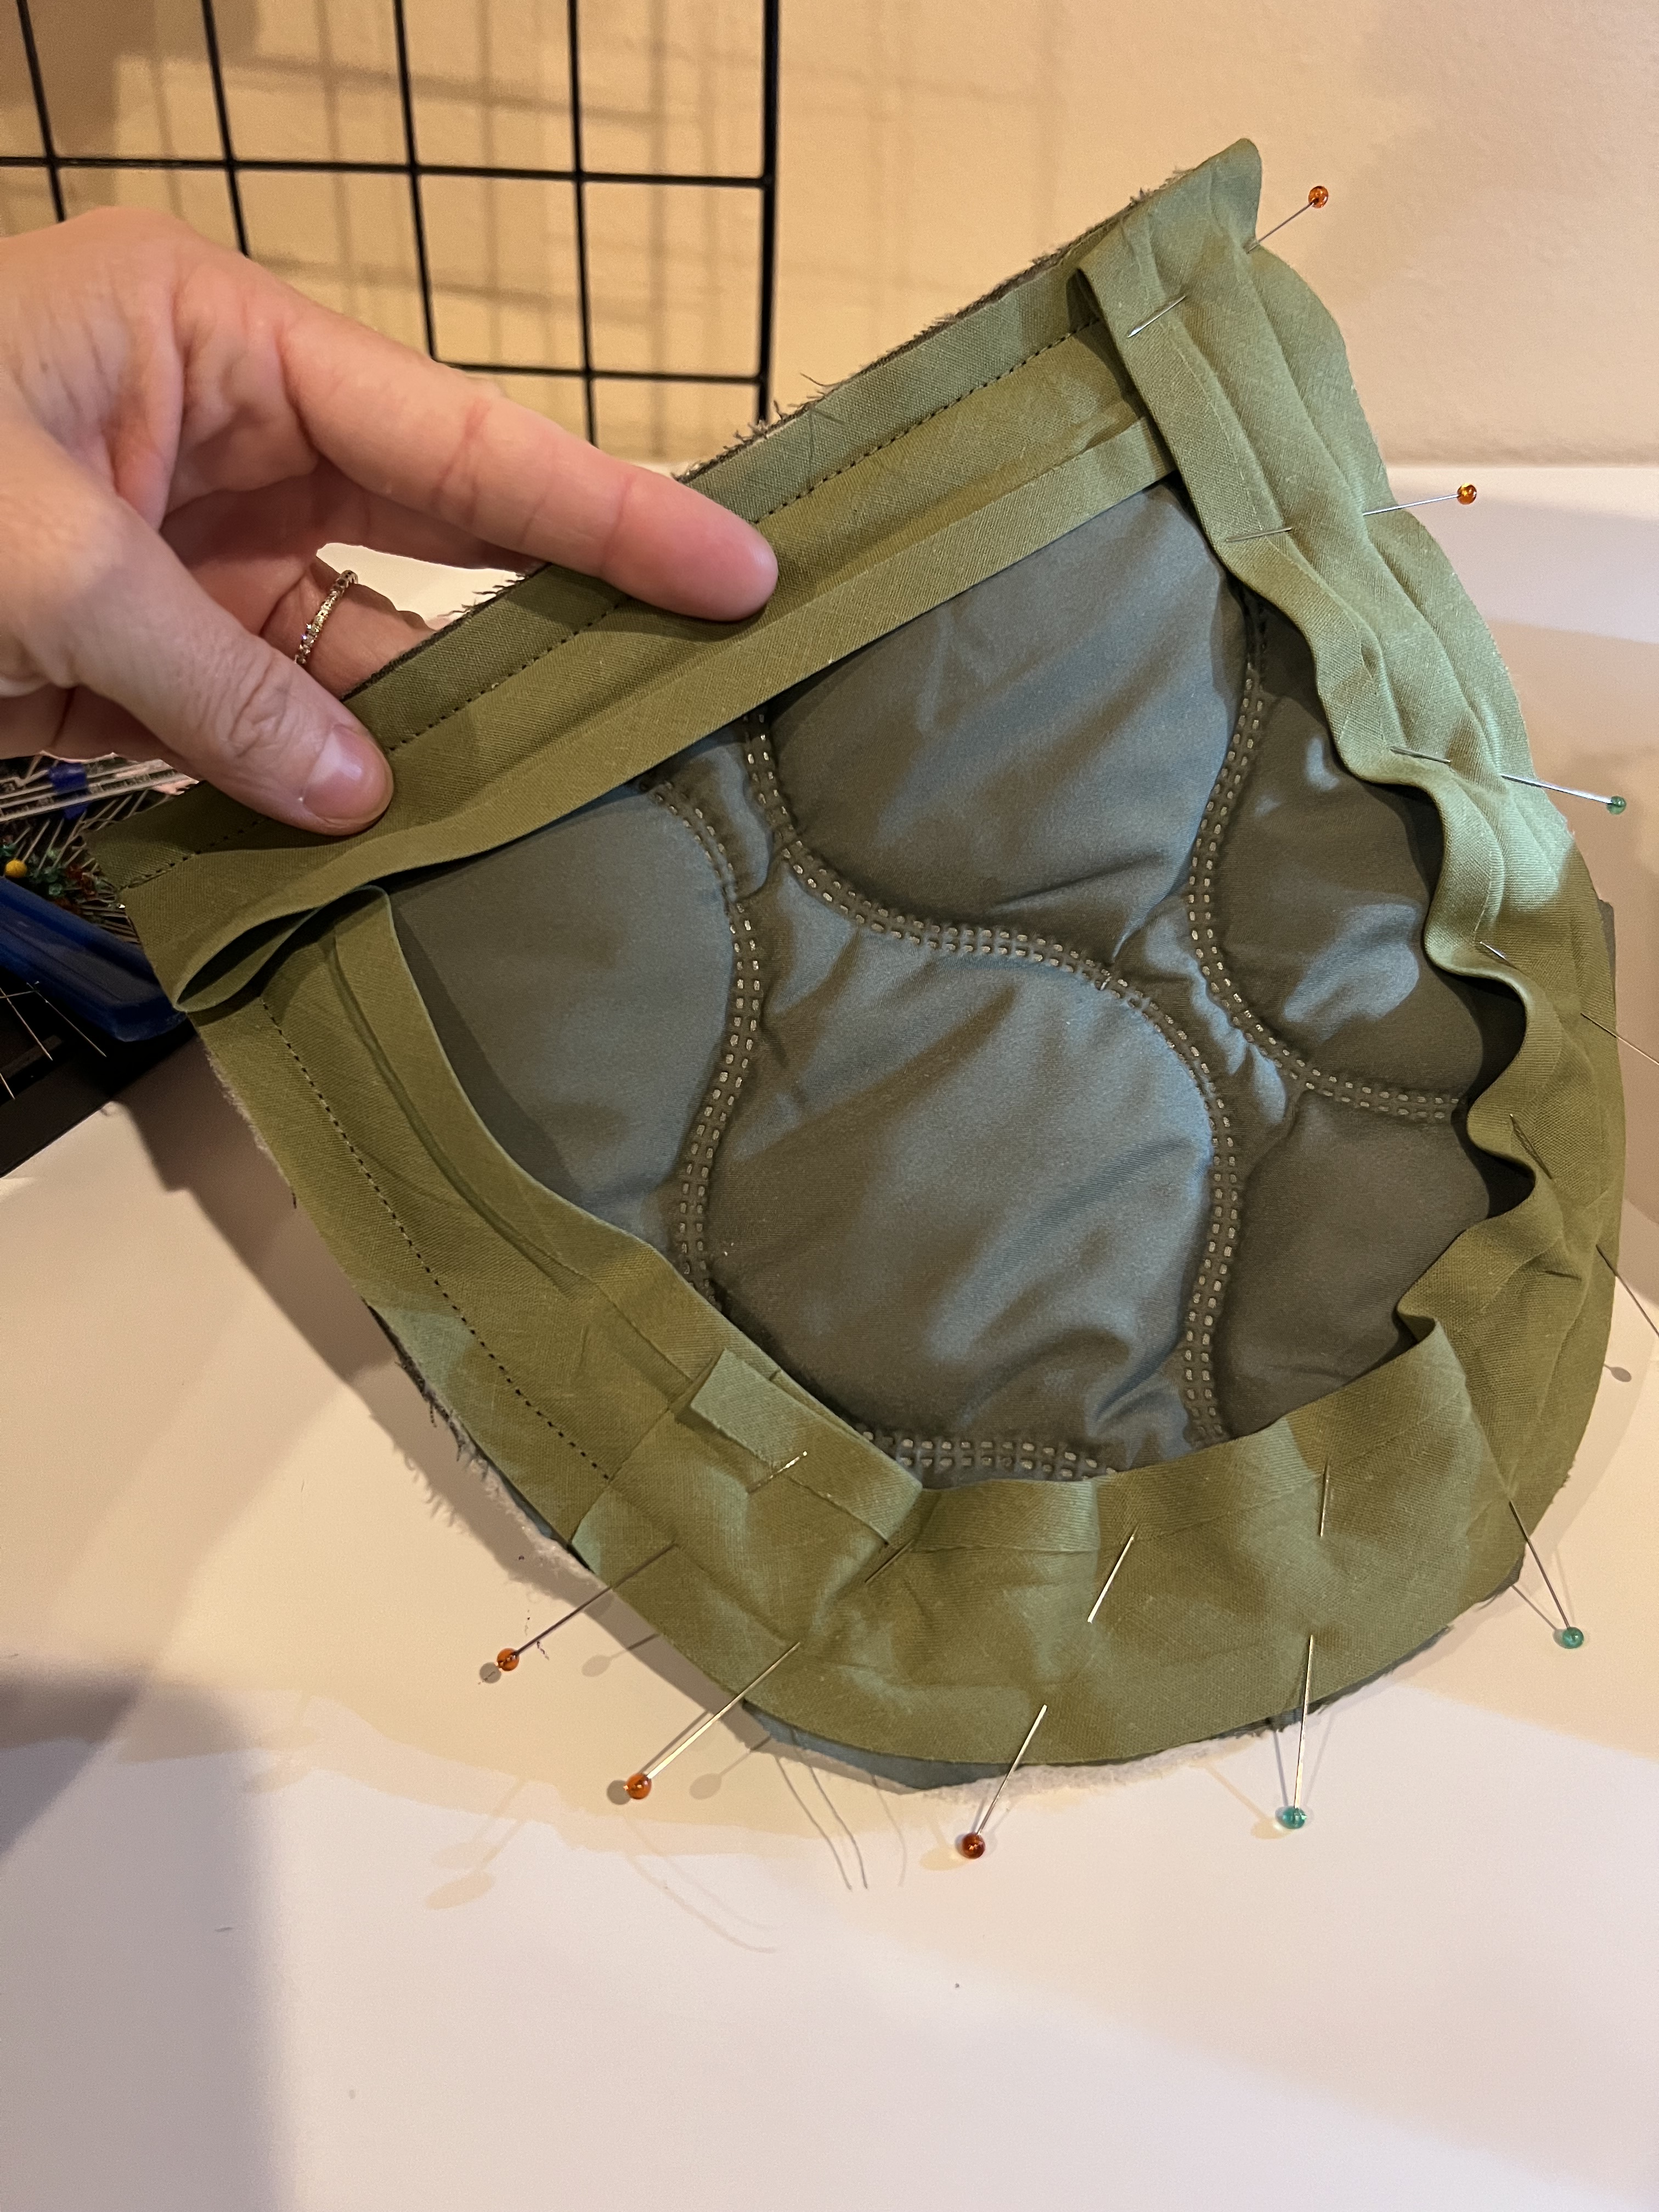
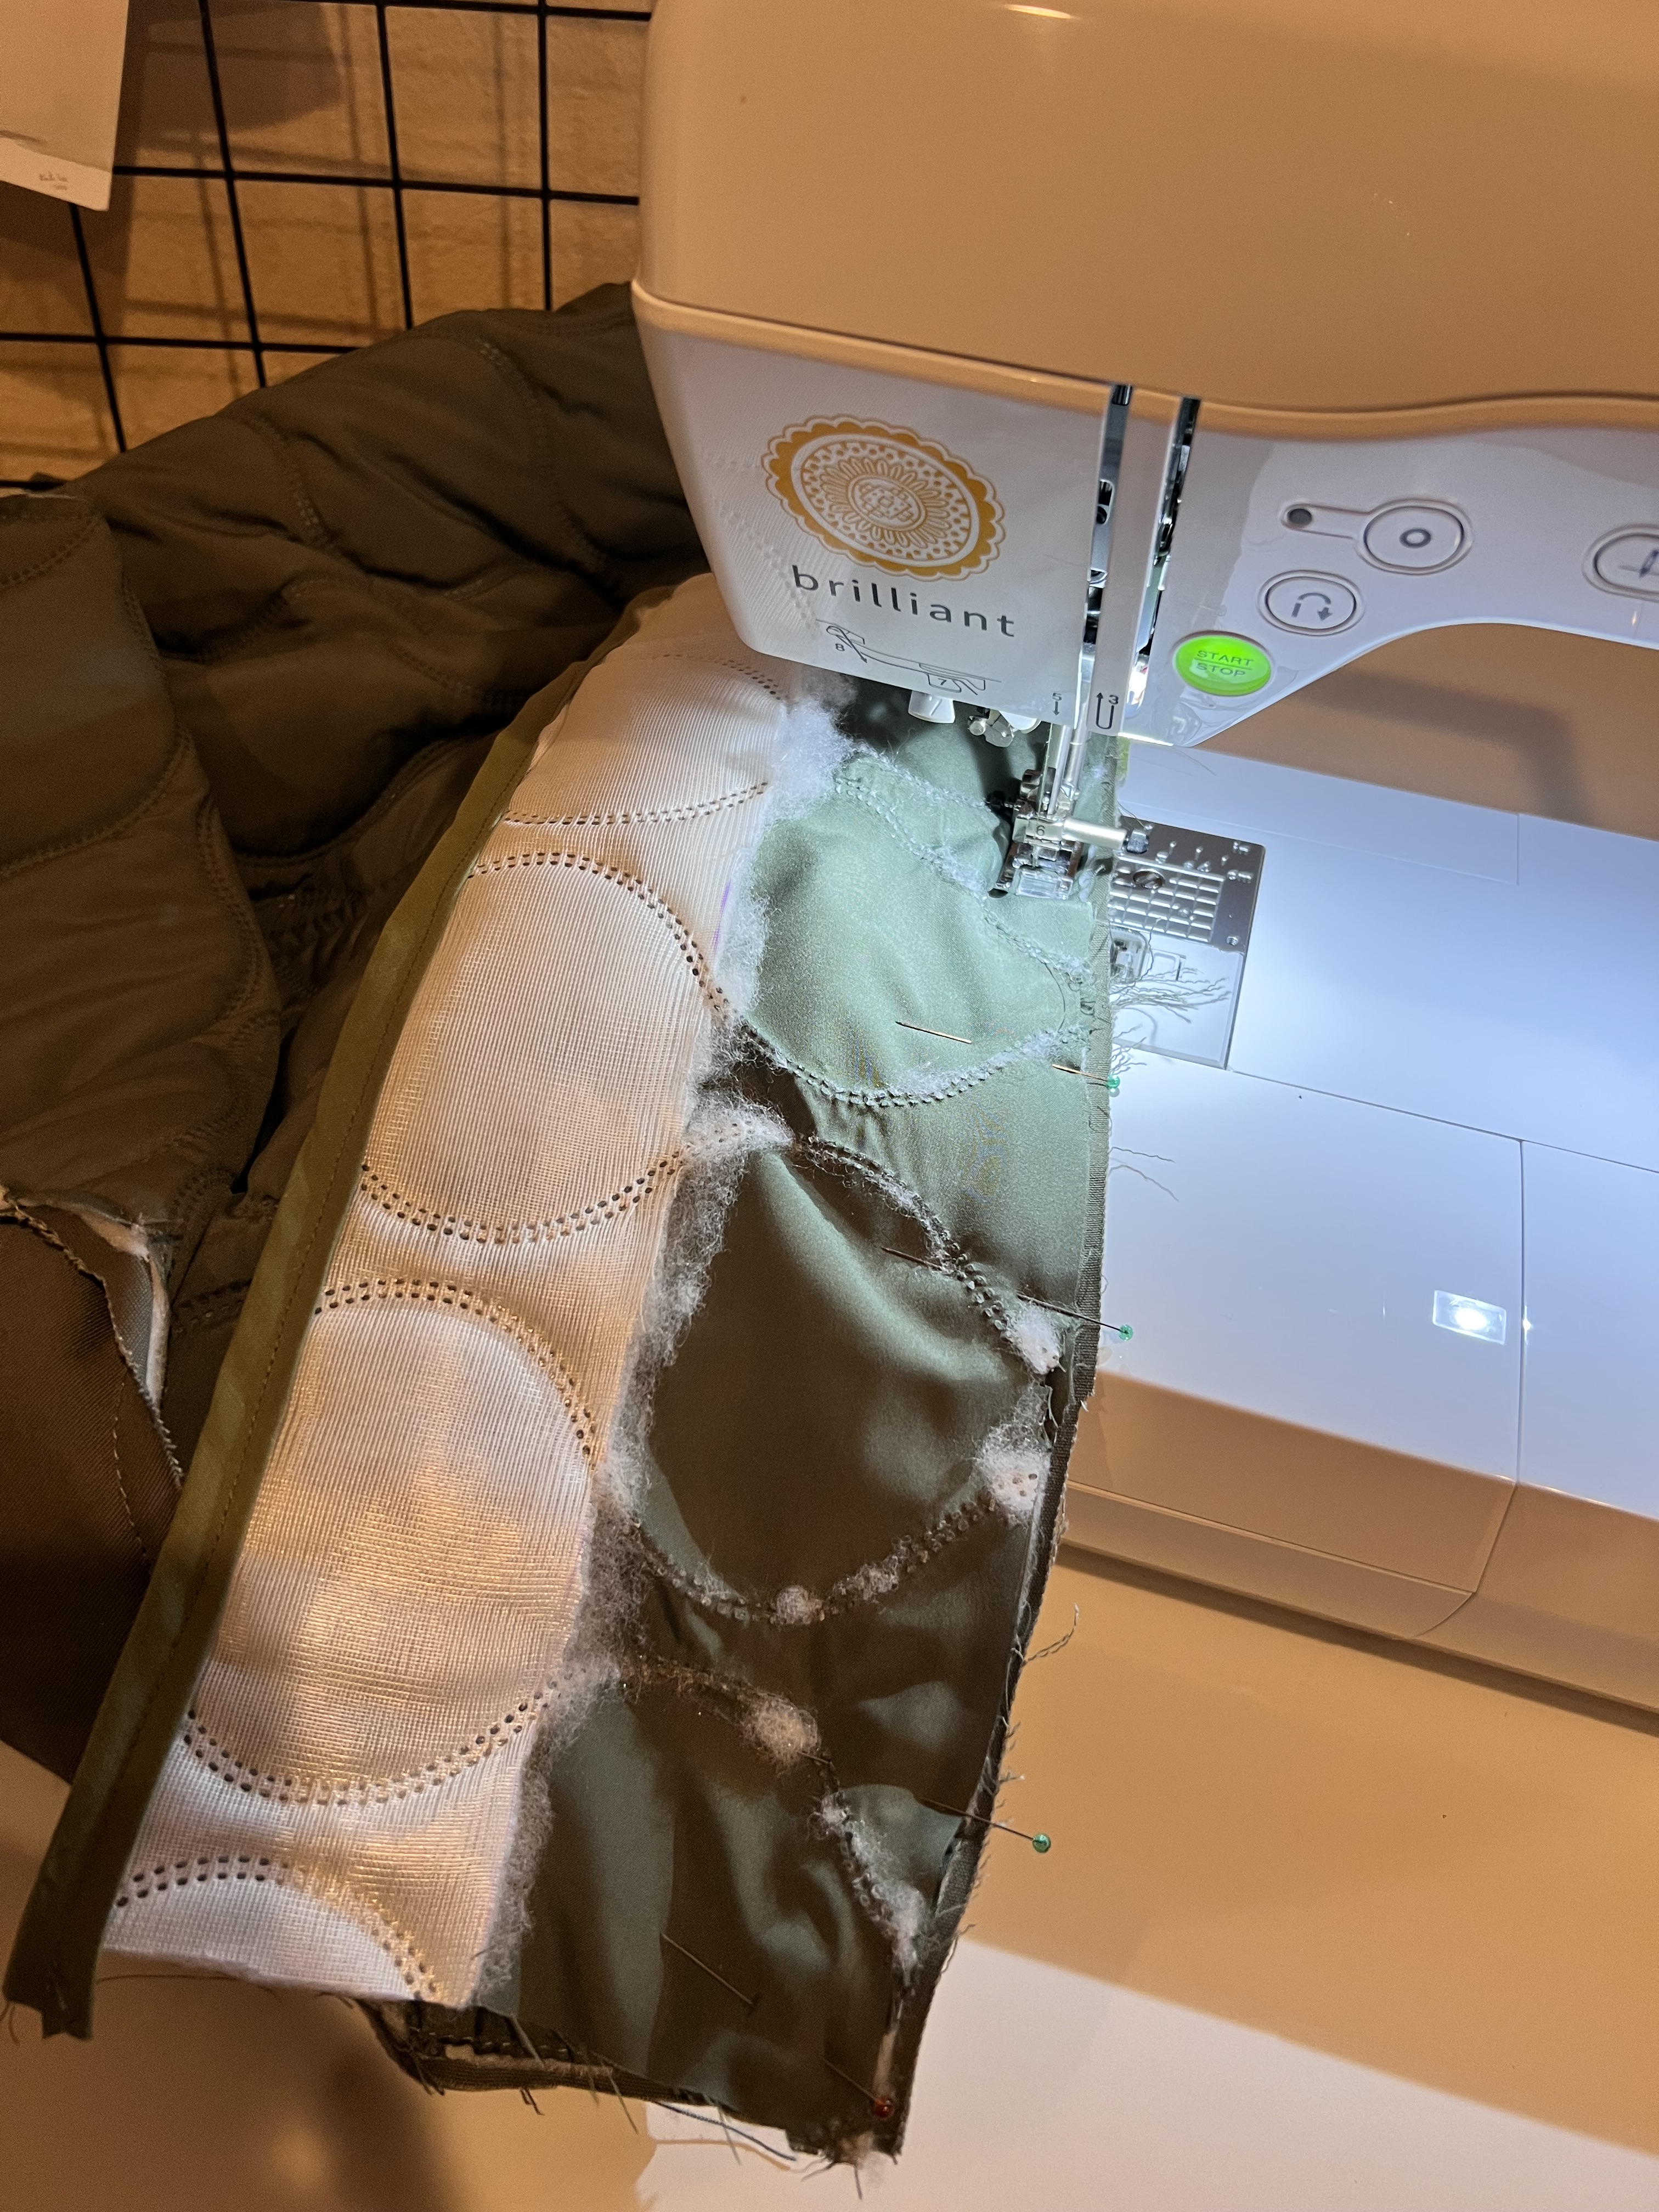
Next, flip the bias tape towards the back side of the pocket, and pin in place. Edge-stitch along the front pocket bias tape edge to finish.


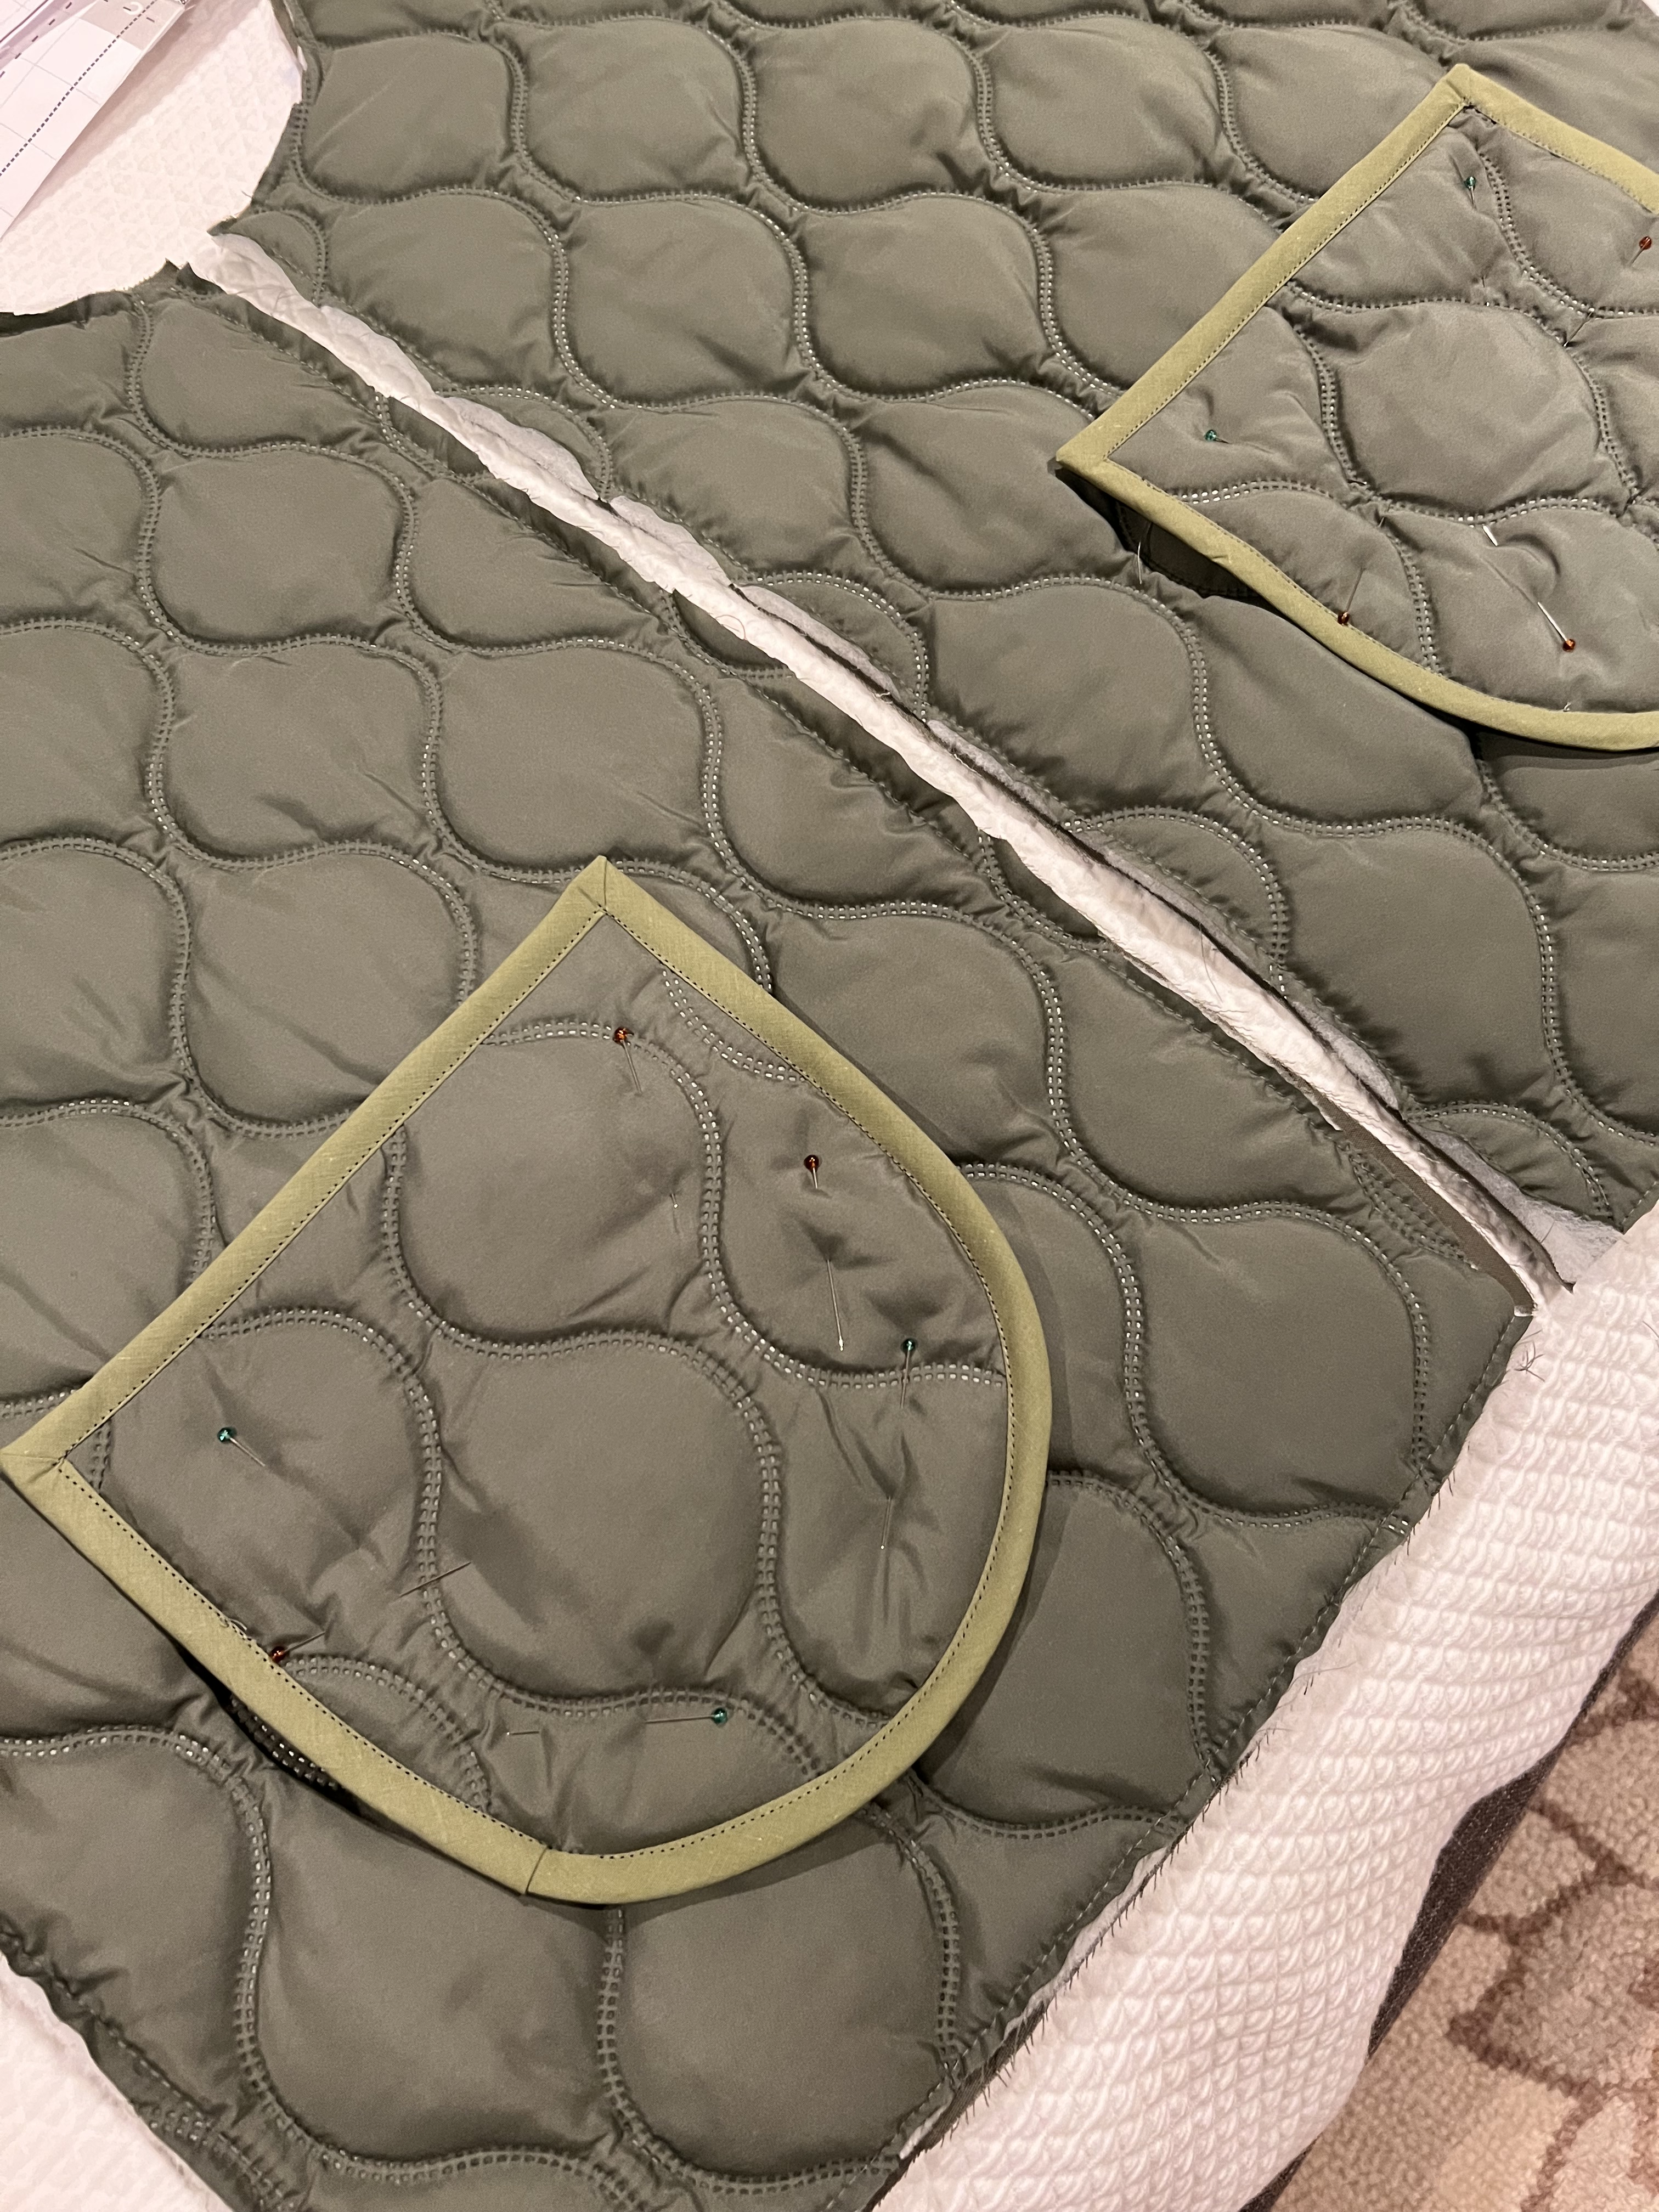
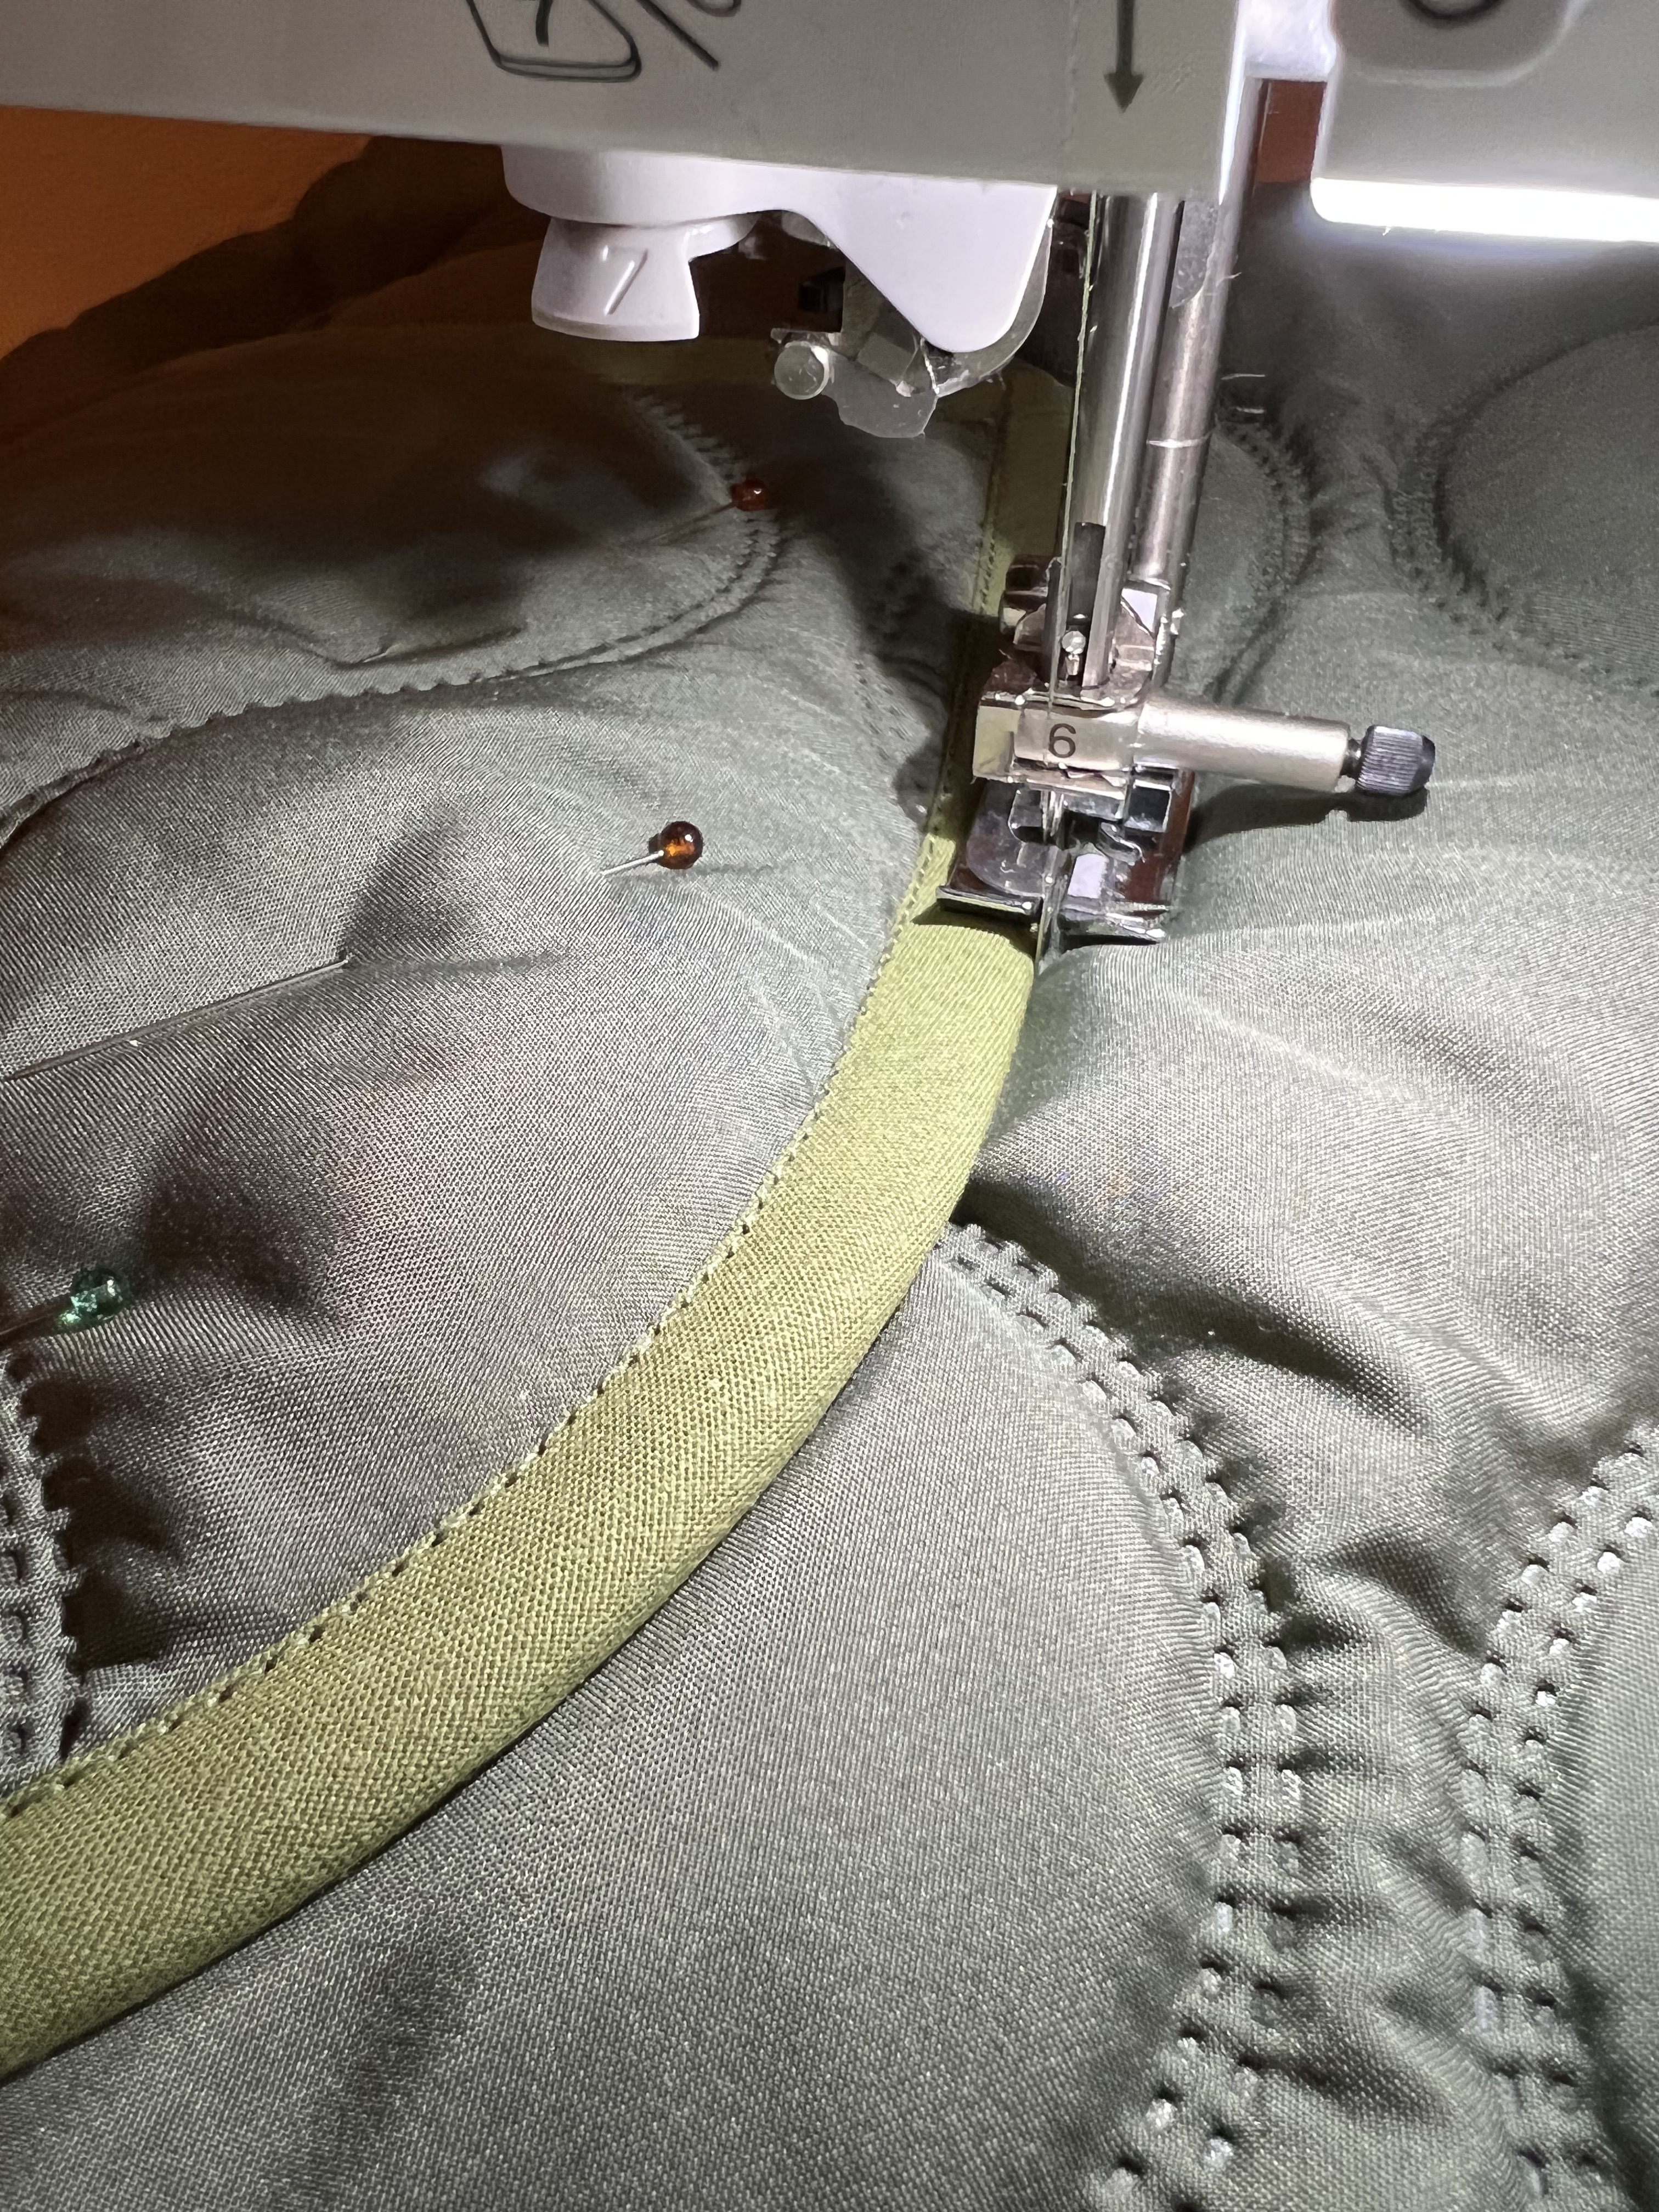
Using a ruler or seam gauge, center your pockets evenly on the front side of the jacket. Pin generously in place, and edgestitch the pocket to the jacket front piece. Make sure to reinforce the corners as shown in the third photo below.
Step 4: Using bias tape, finish the front bottom edges of the jacket.
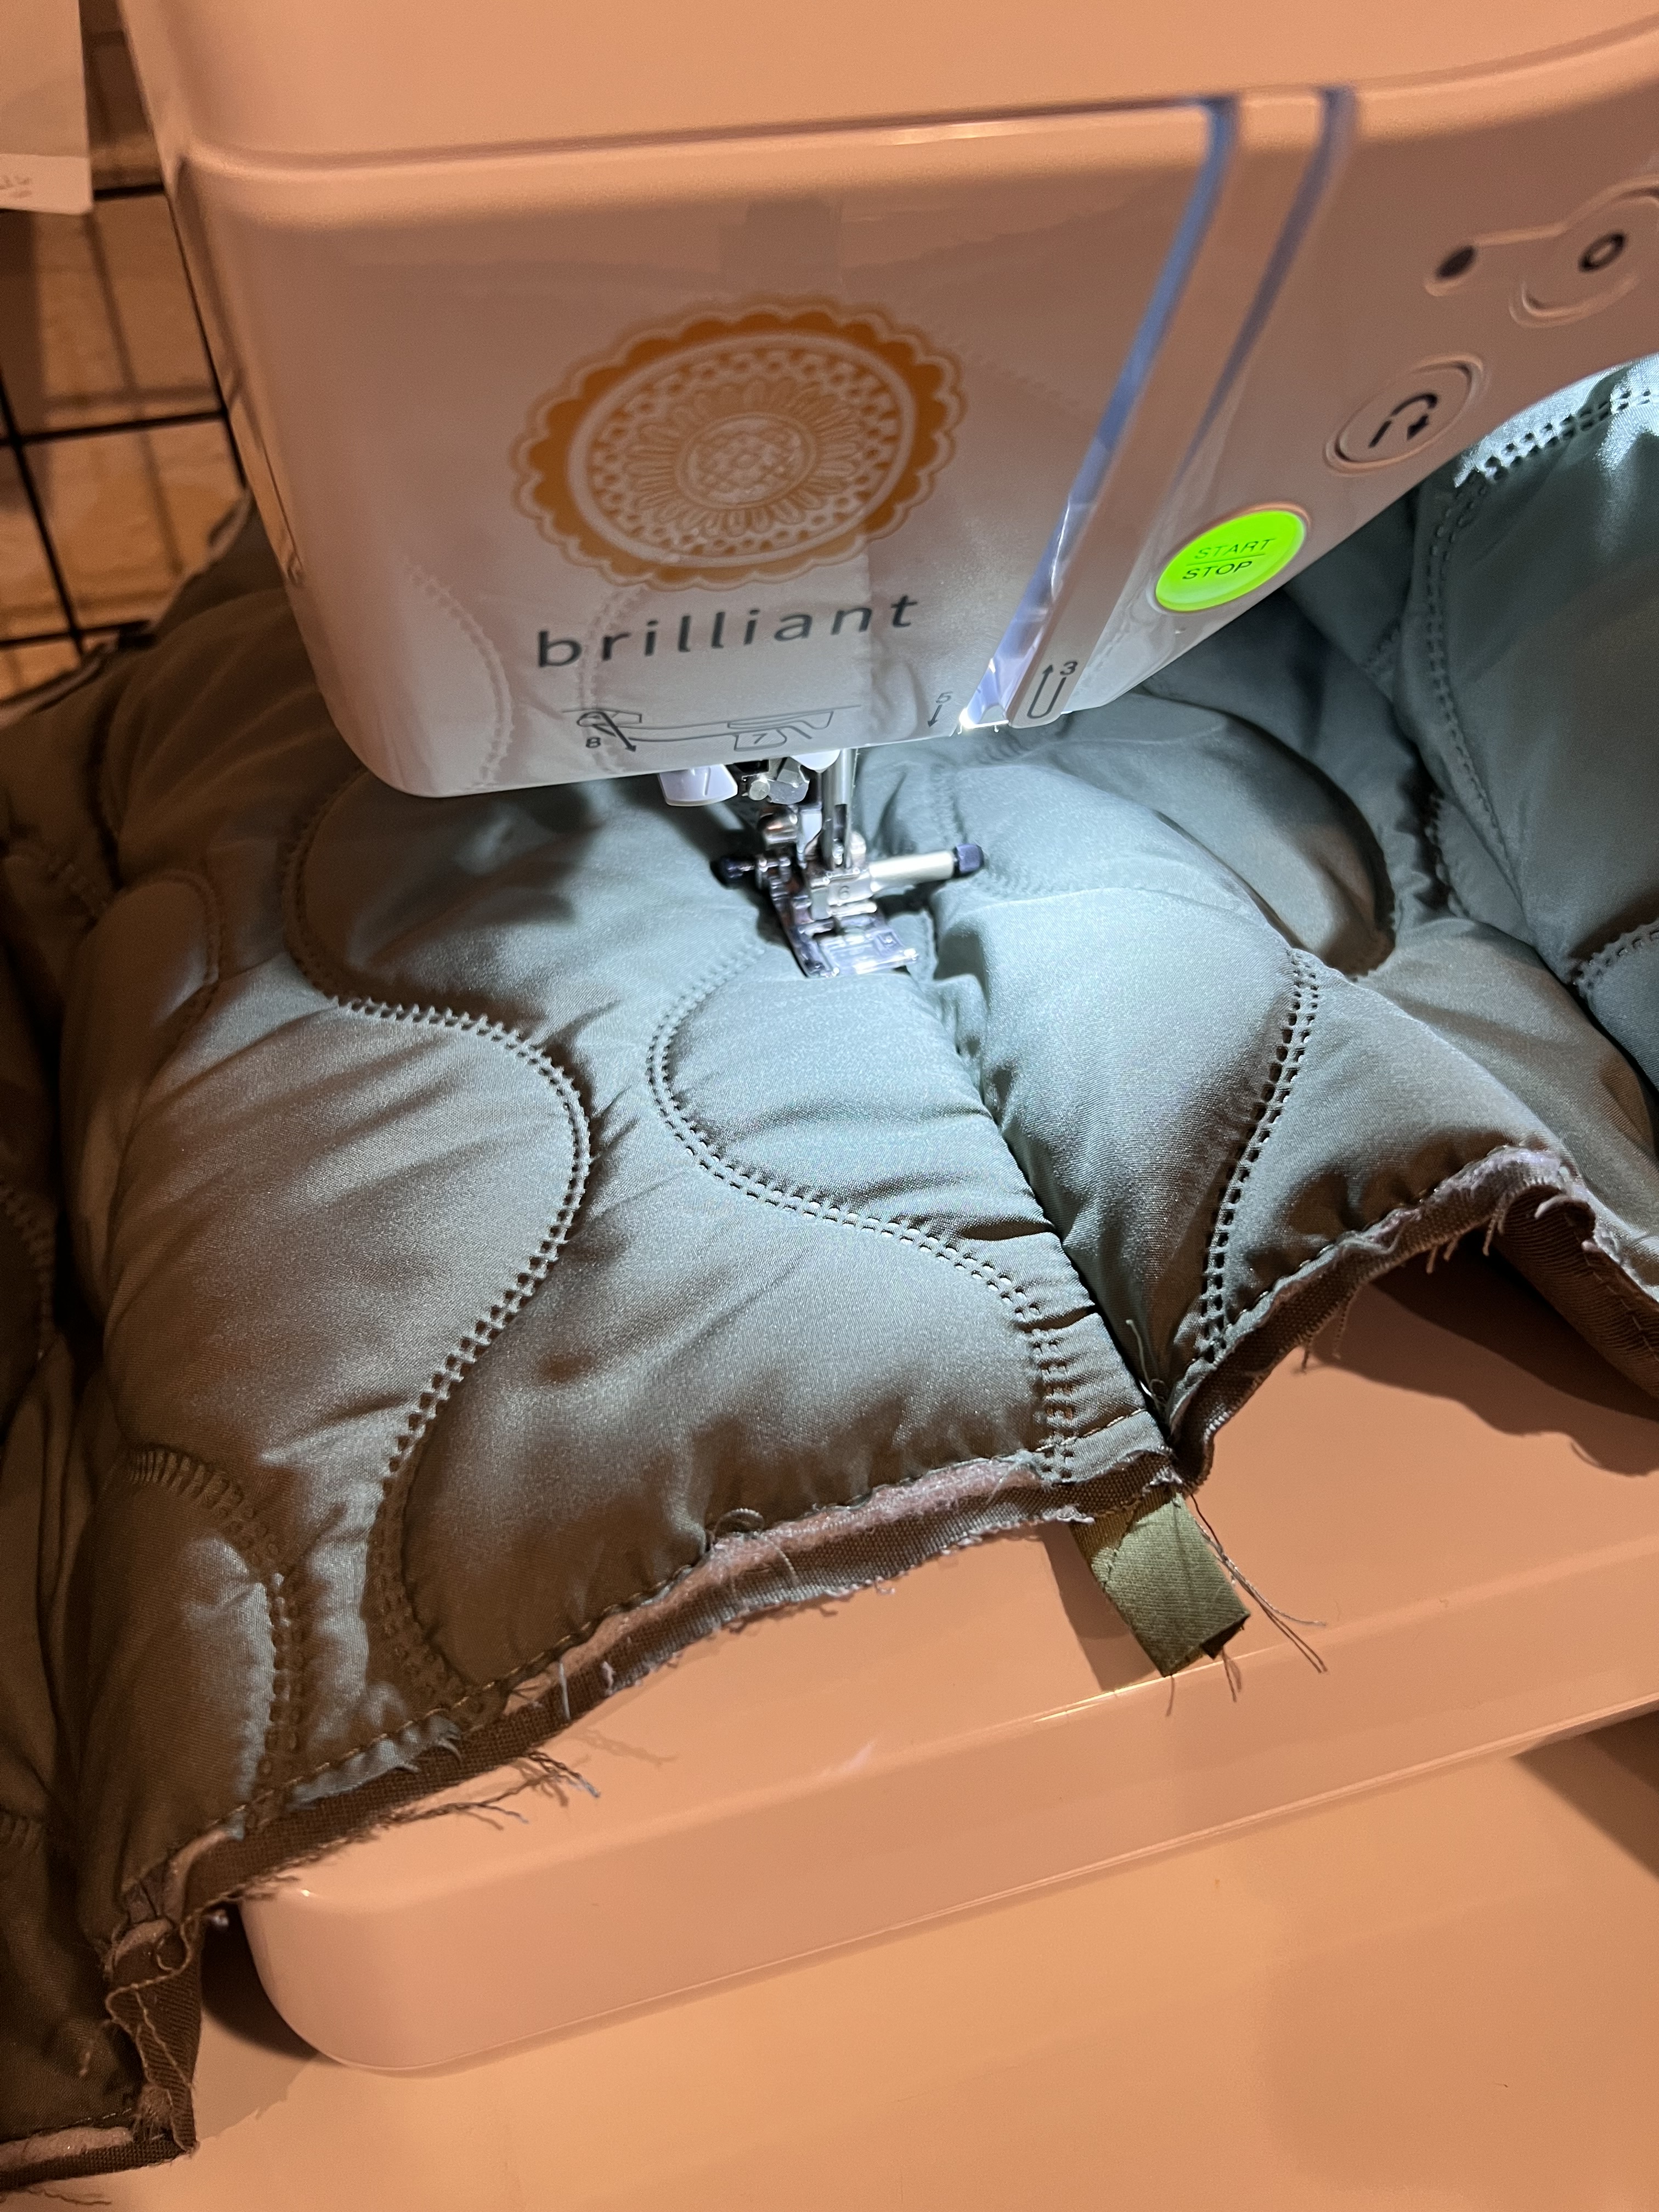
Step 5: Pin the two back pieces of the jacket right sides together and sew. Finish the seam with bias tape, and top stitch the seam to the right side of the jacket.

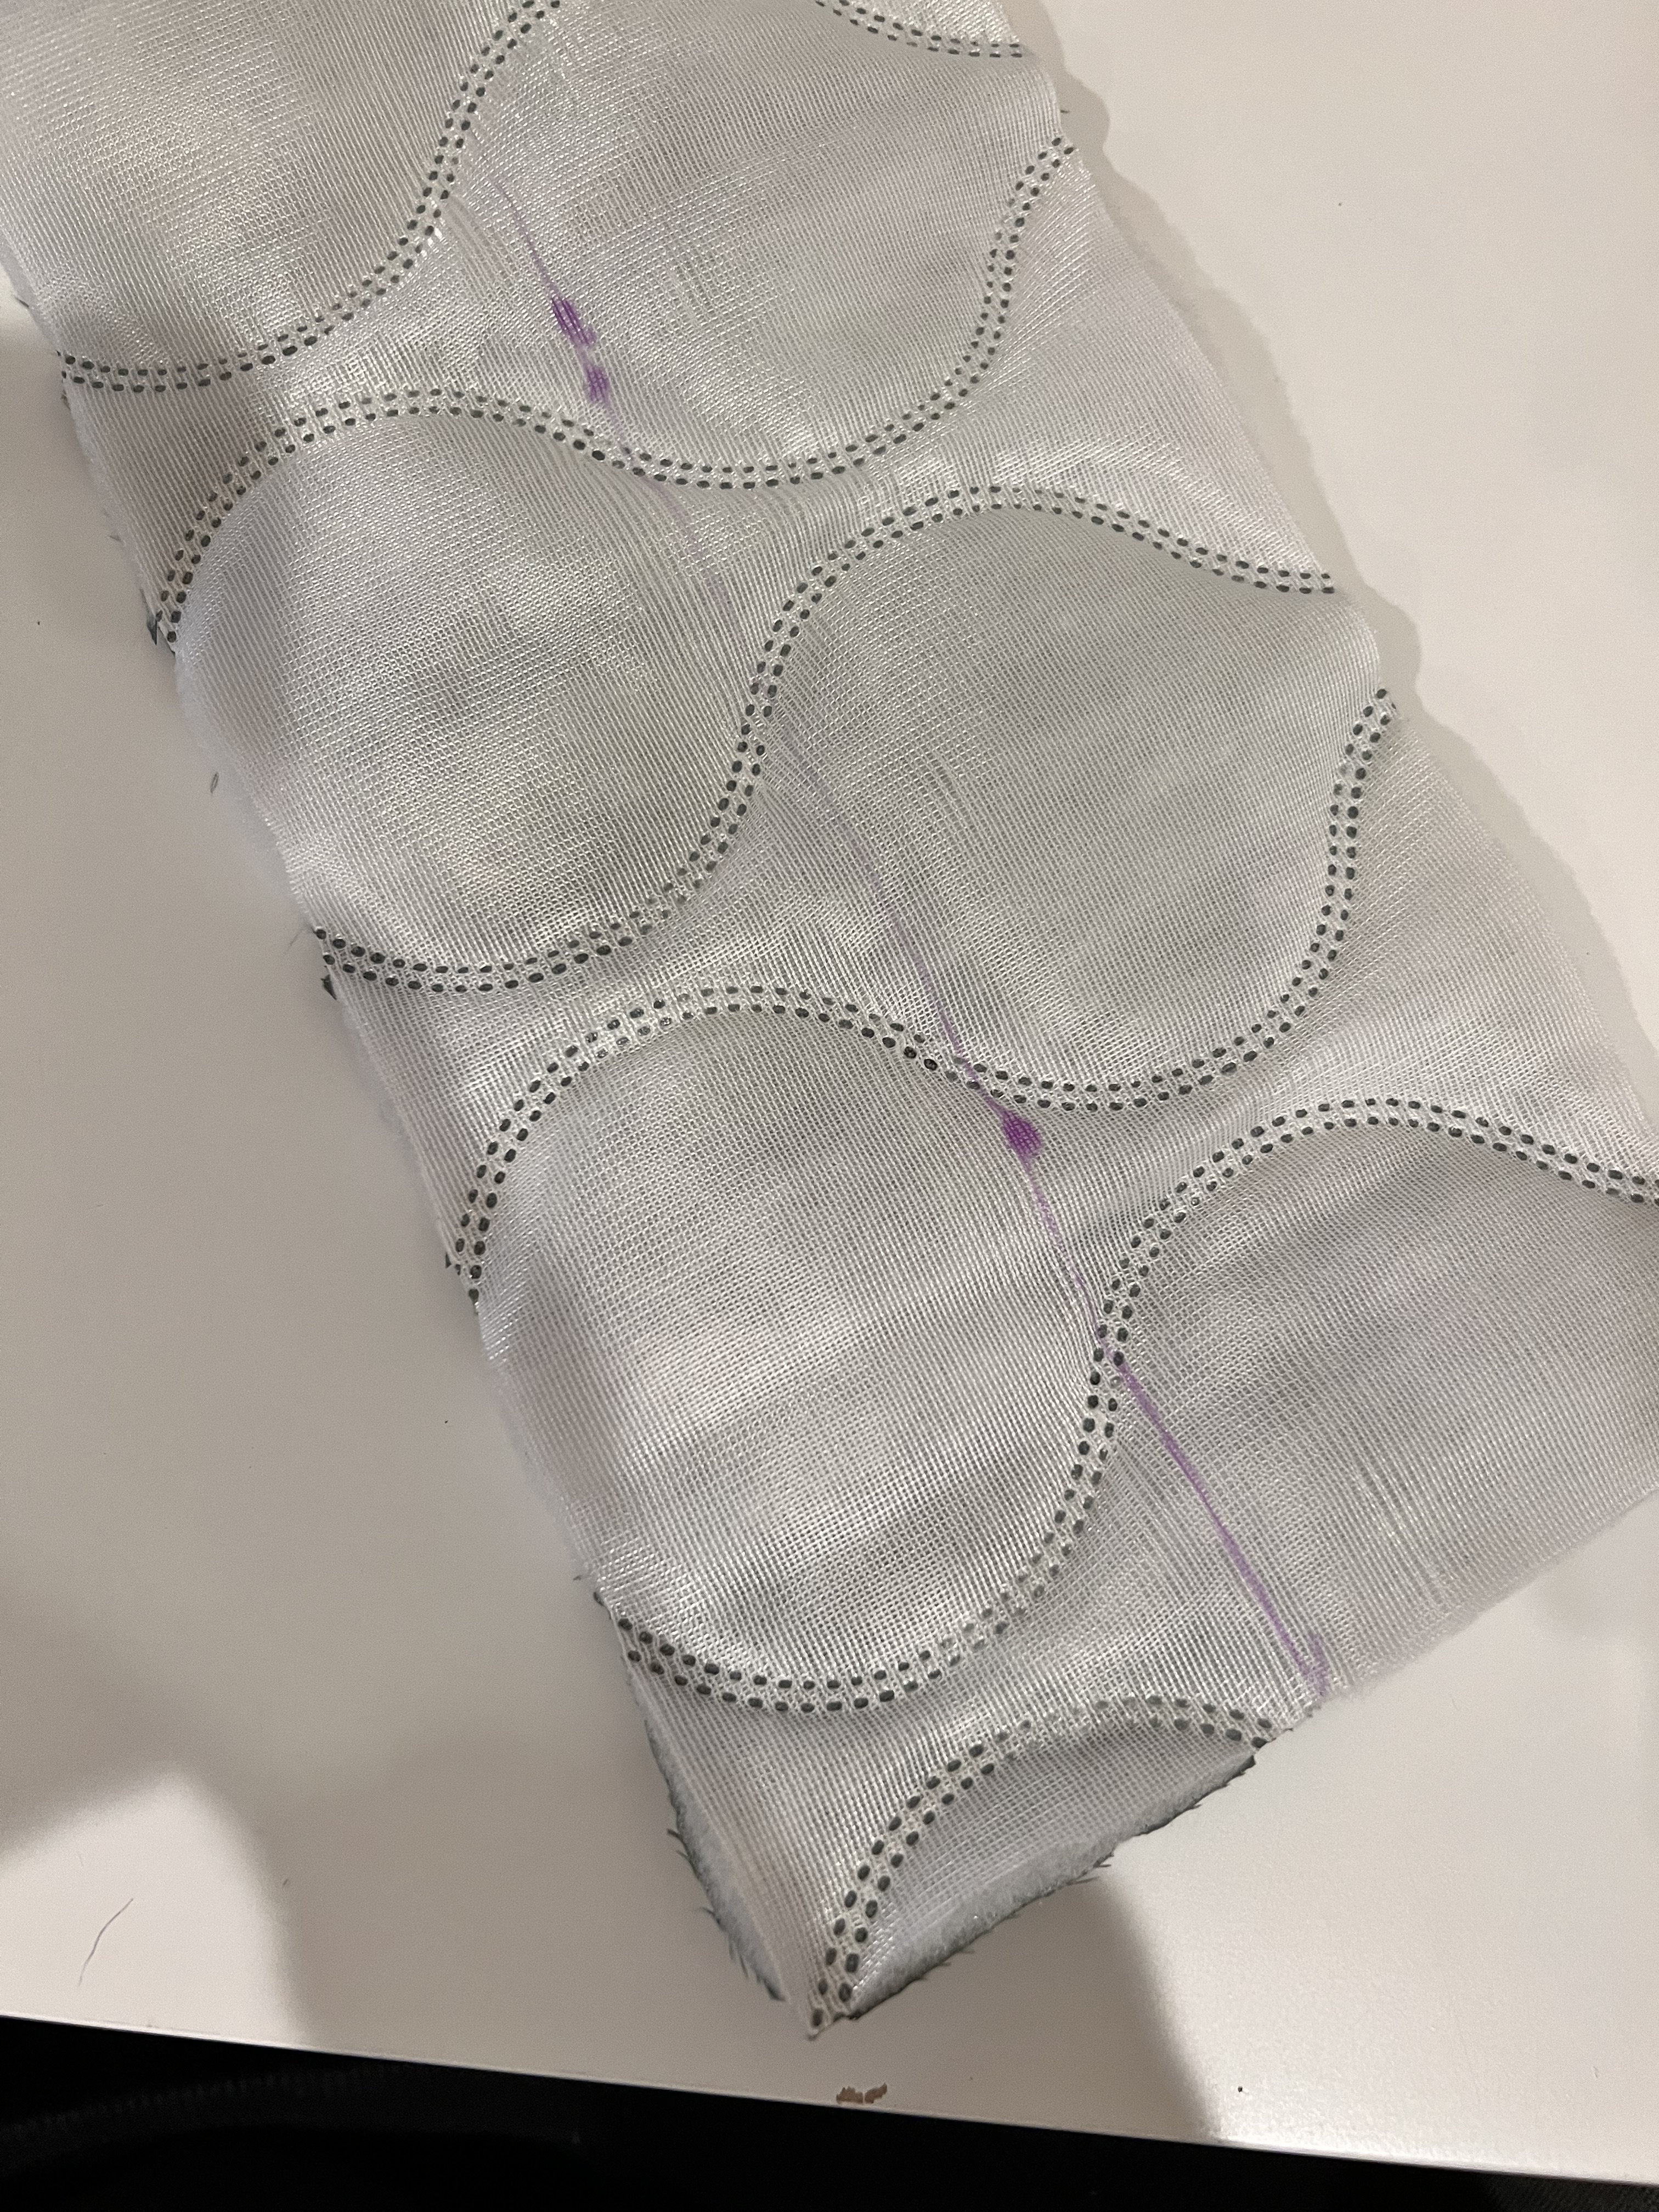
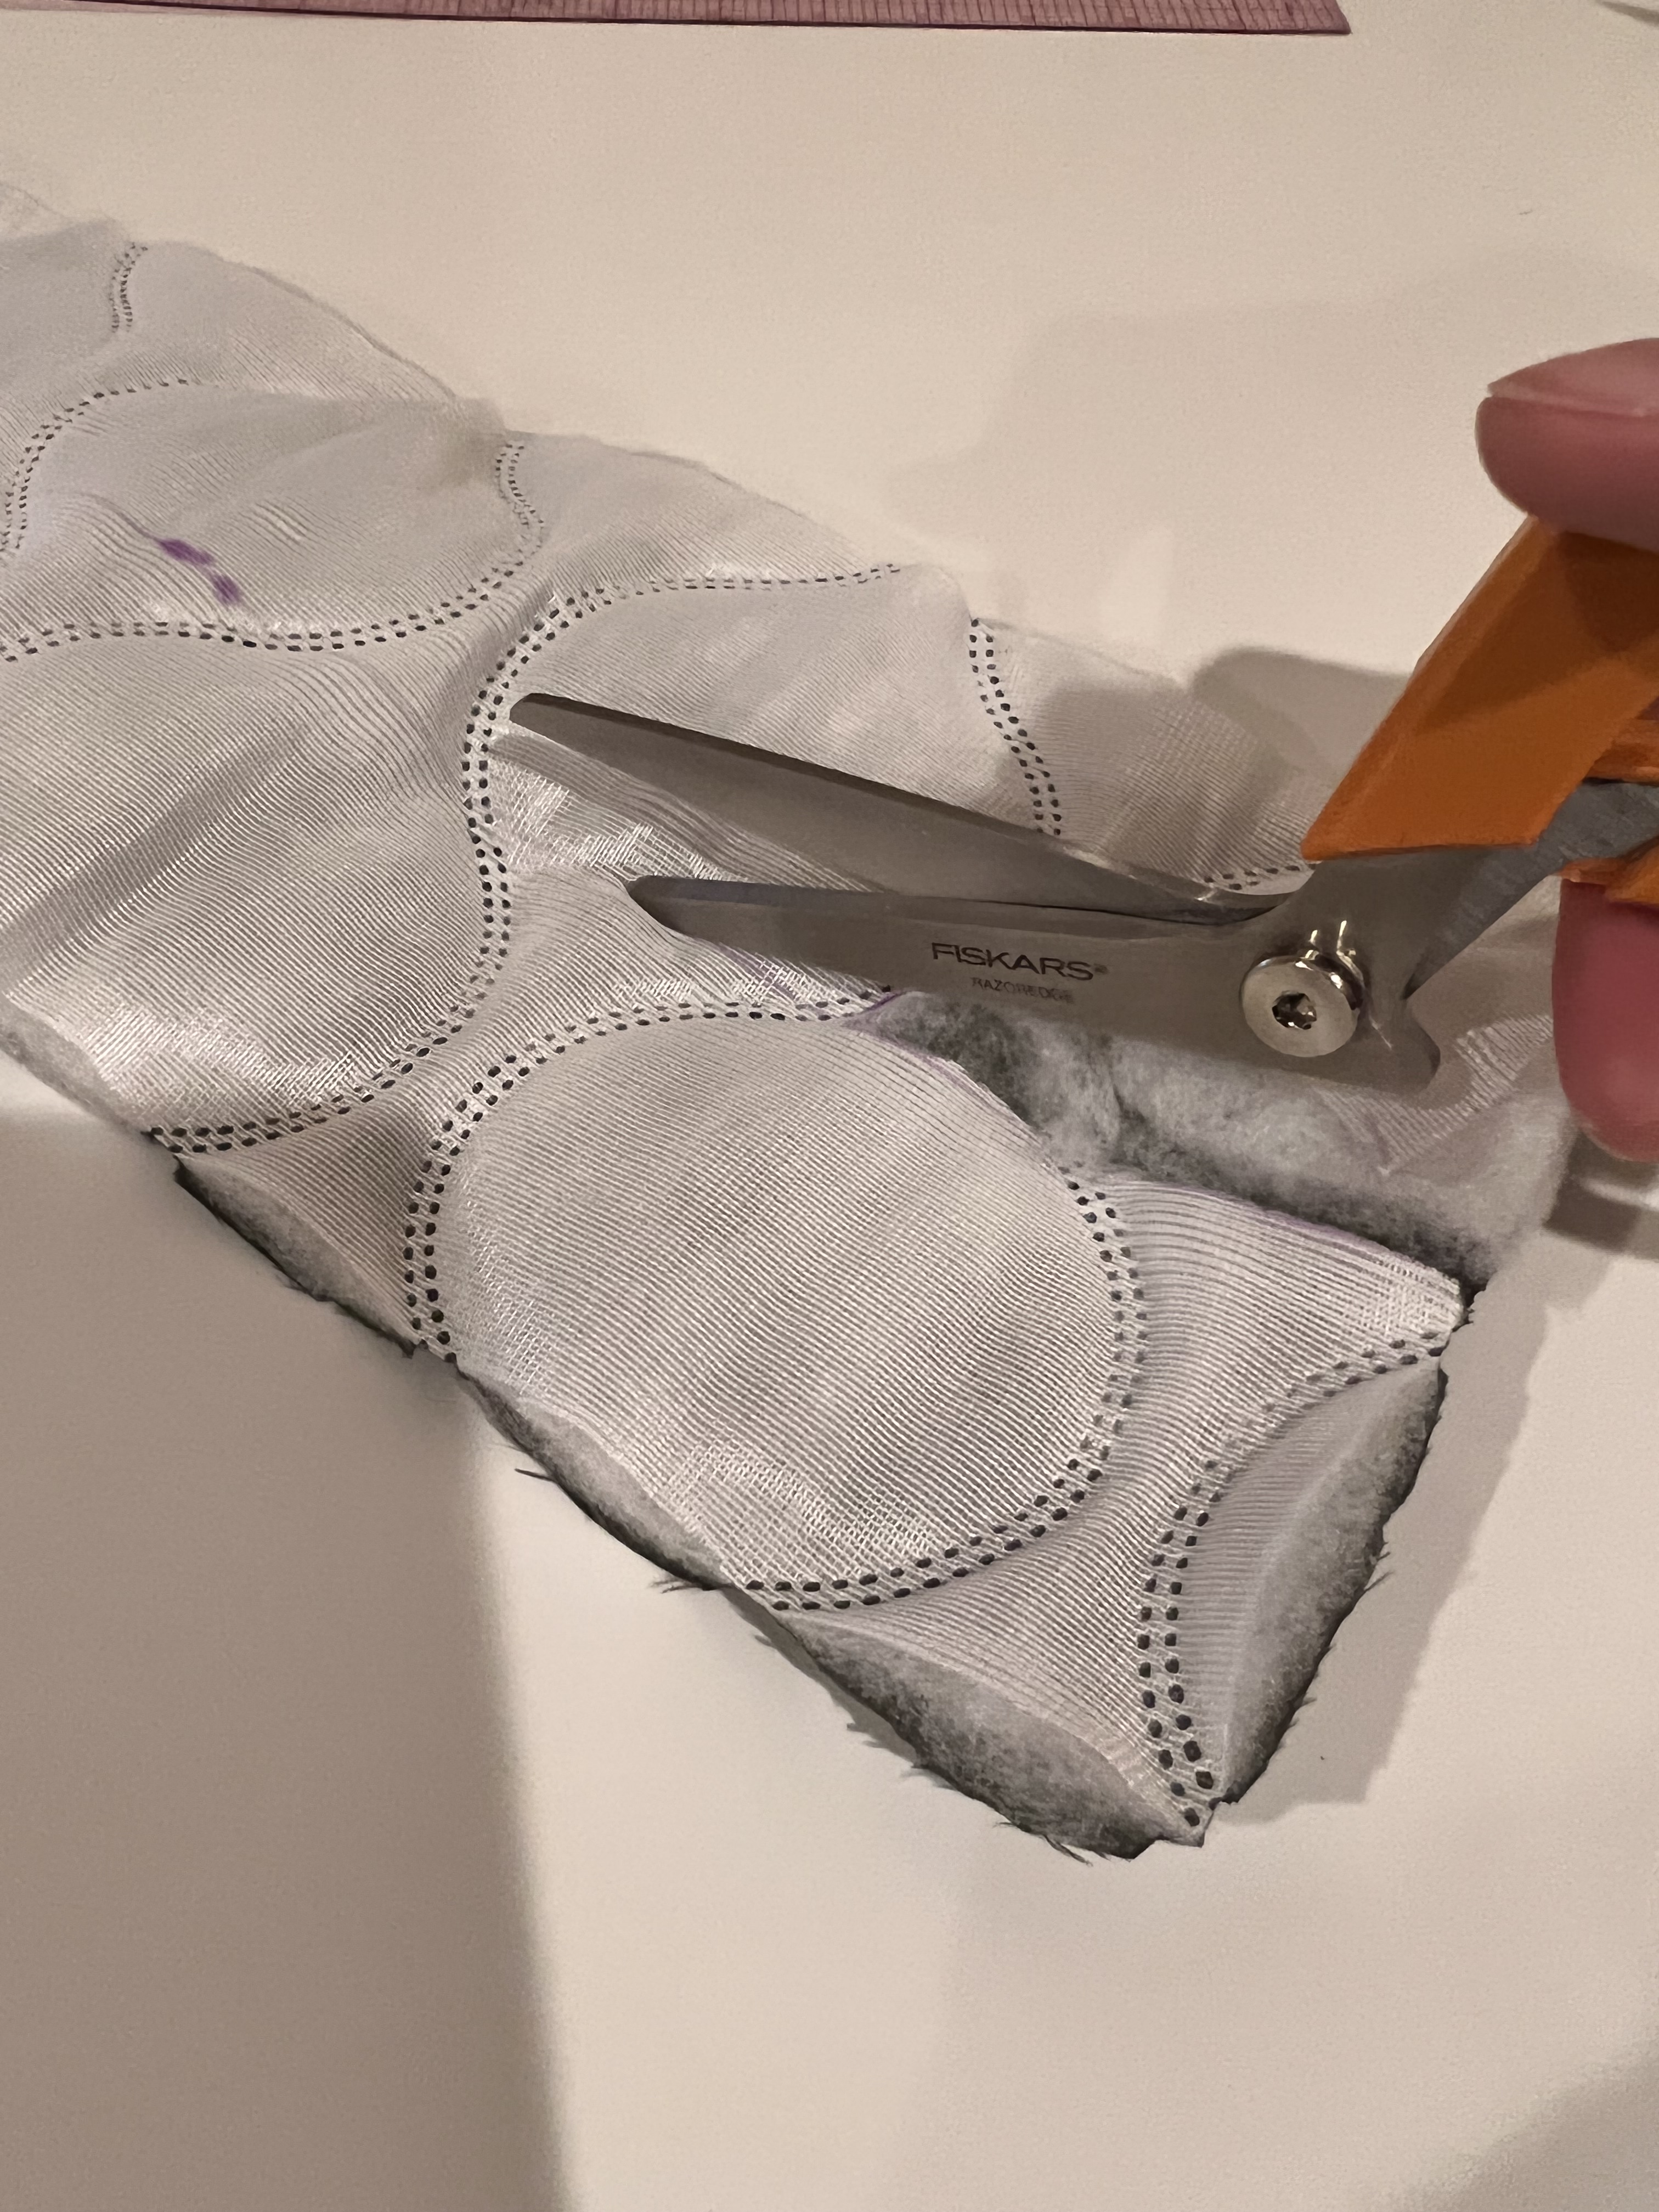
Step 6: Attach the back waistband. Cut off half/ tear out of the batting from the waistband piece.
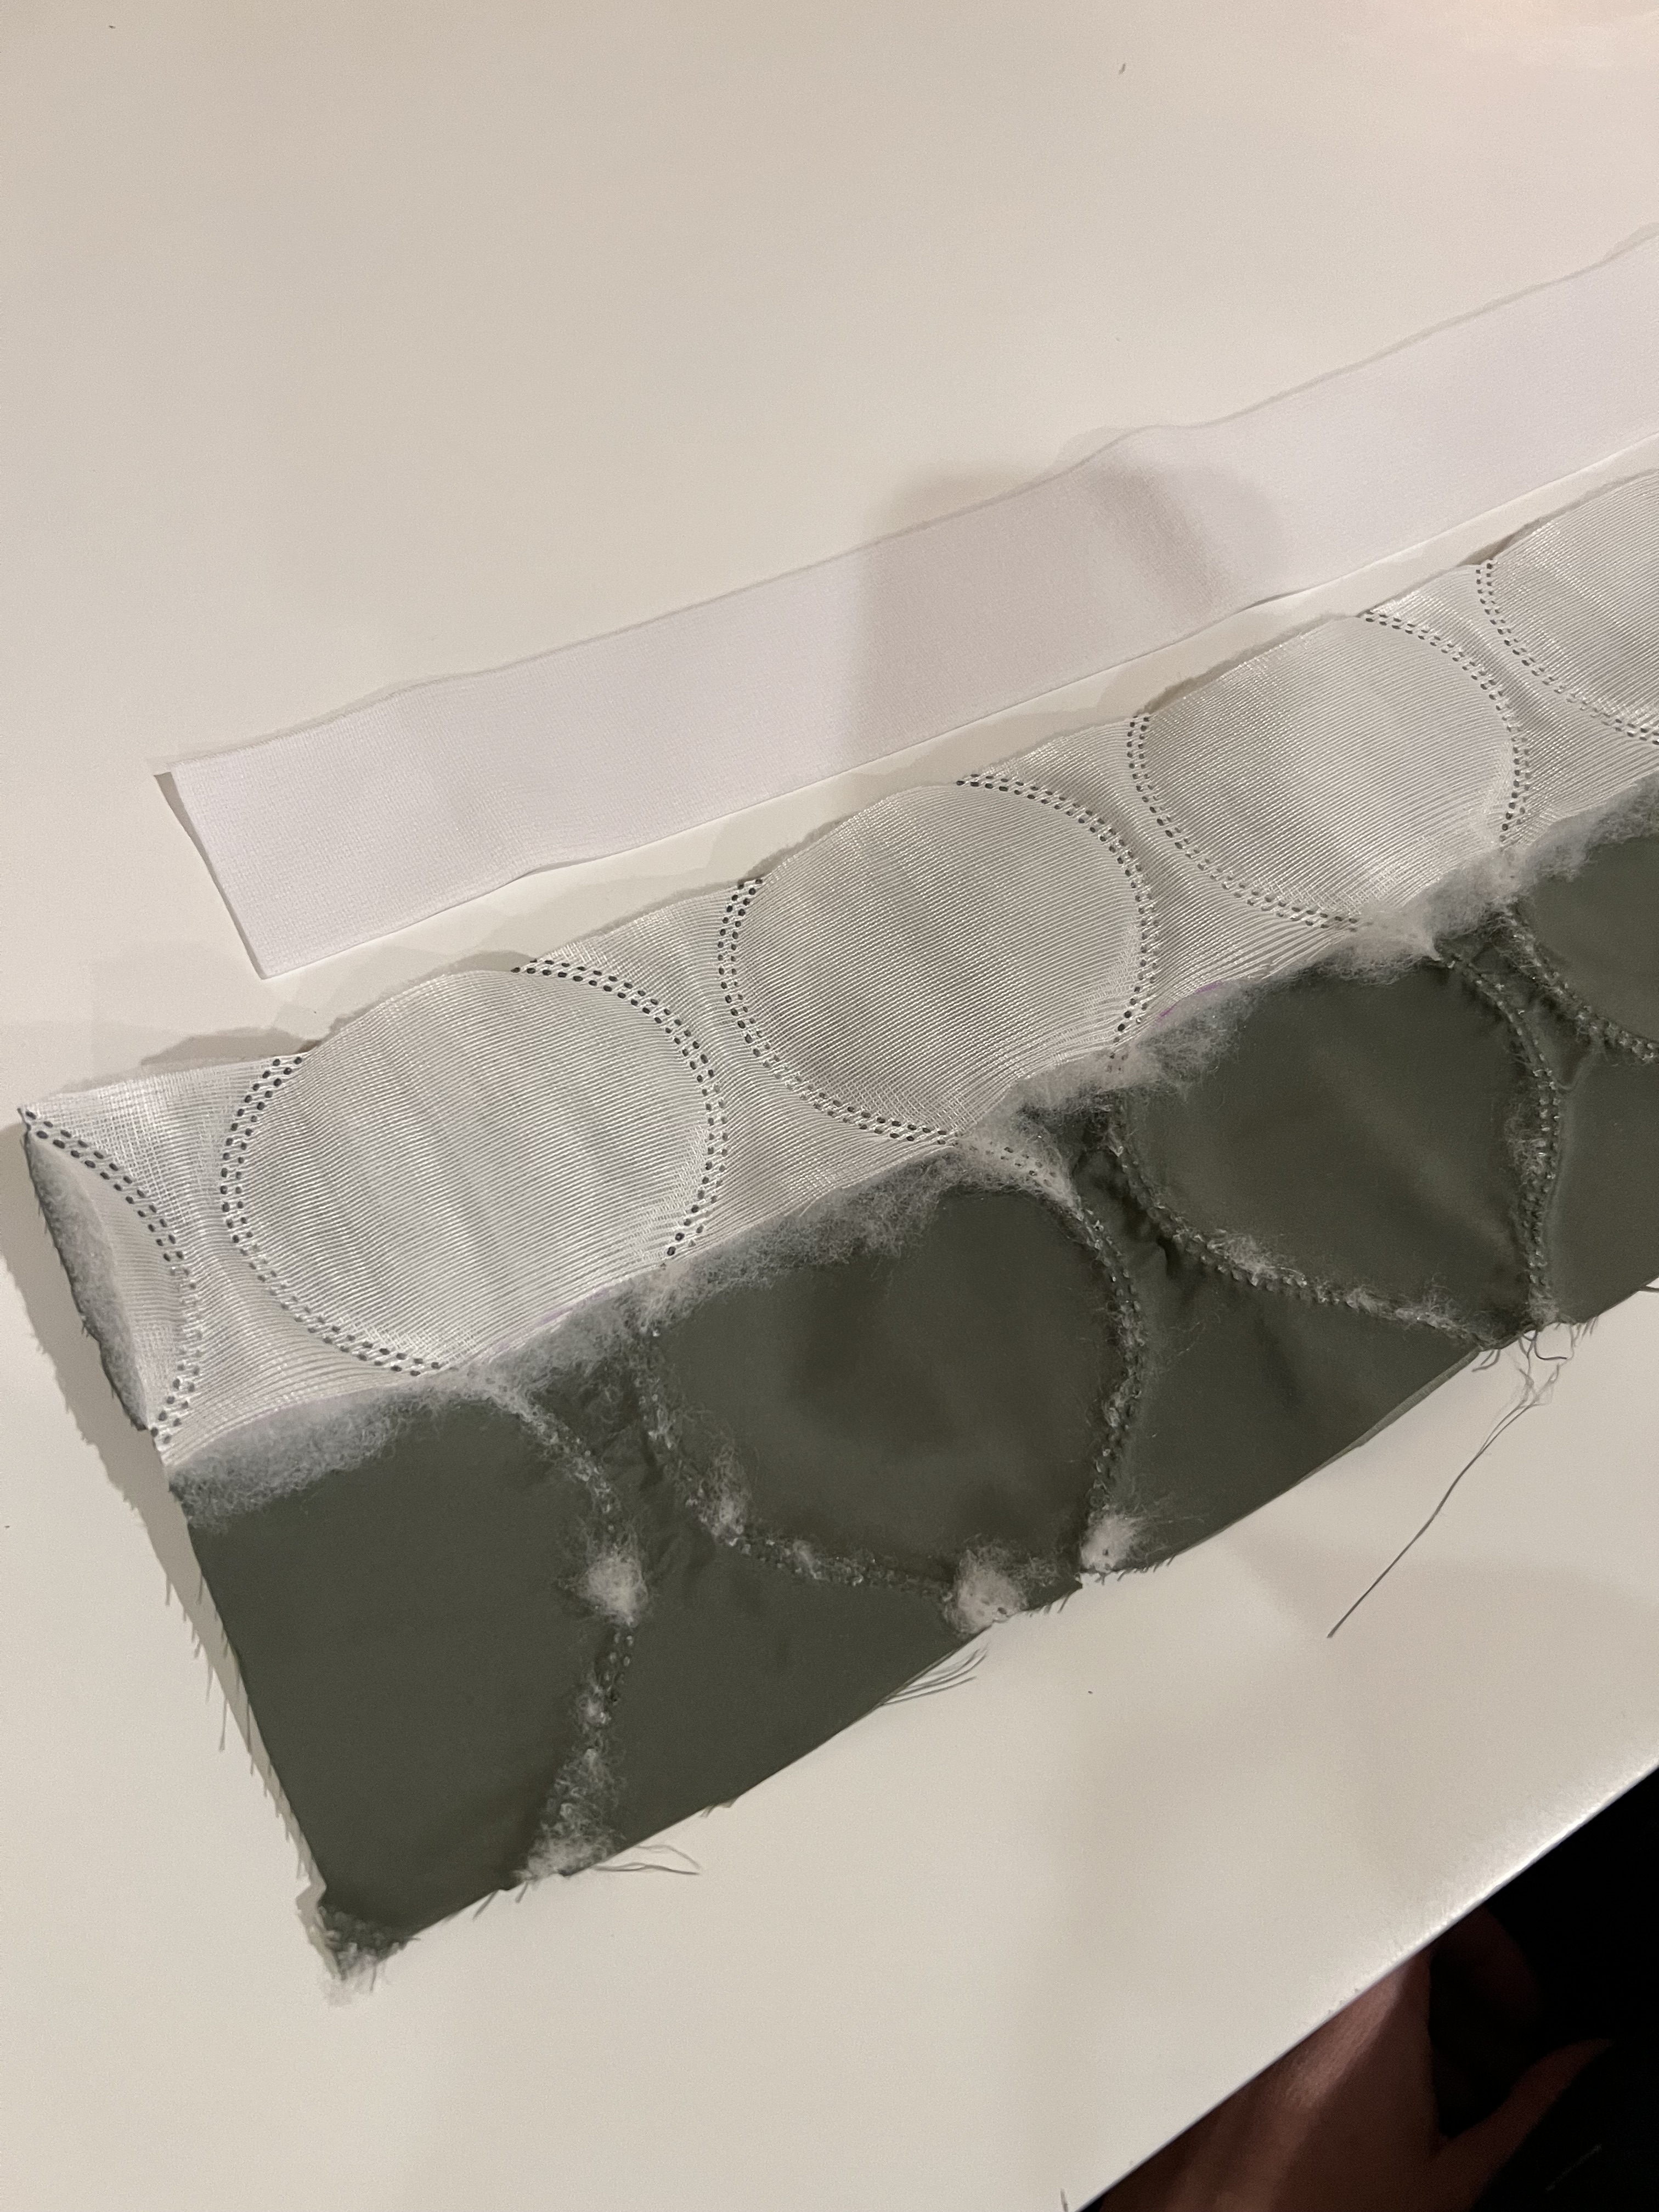
Step 7: Cut a piece of elastic 4-6″ shorter than the band piece.
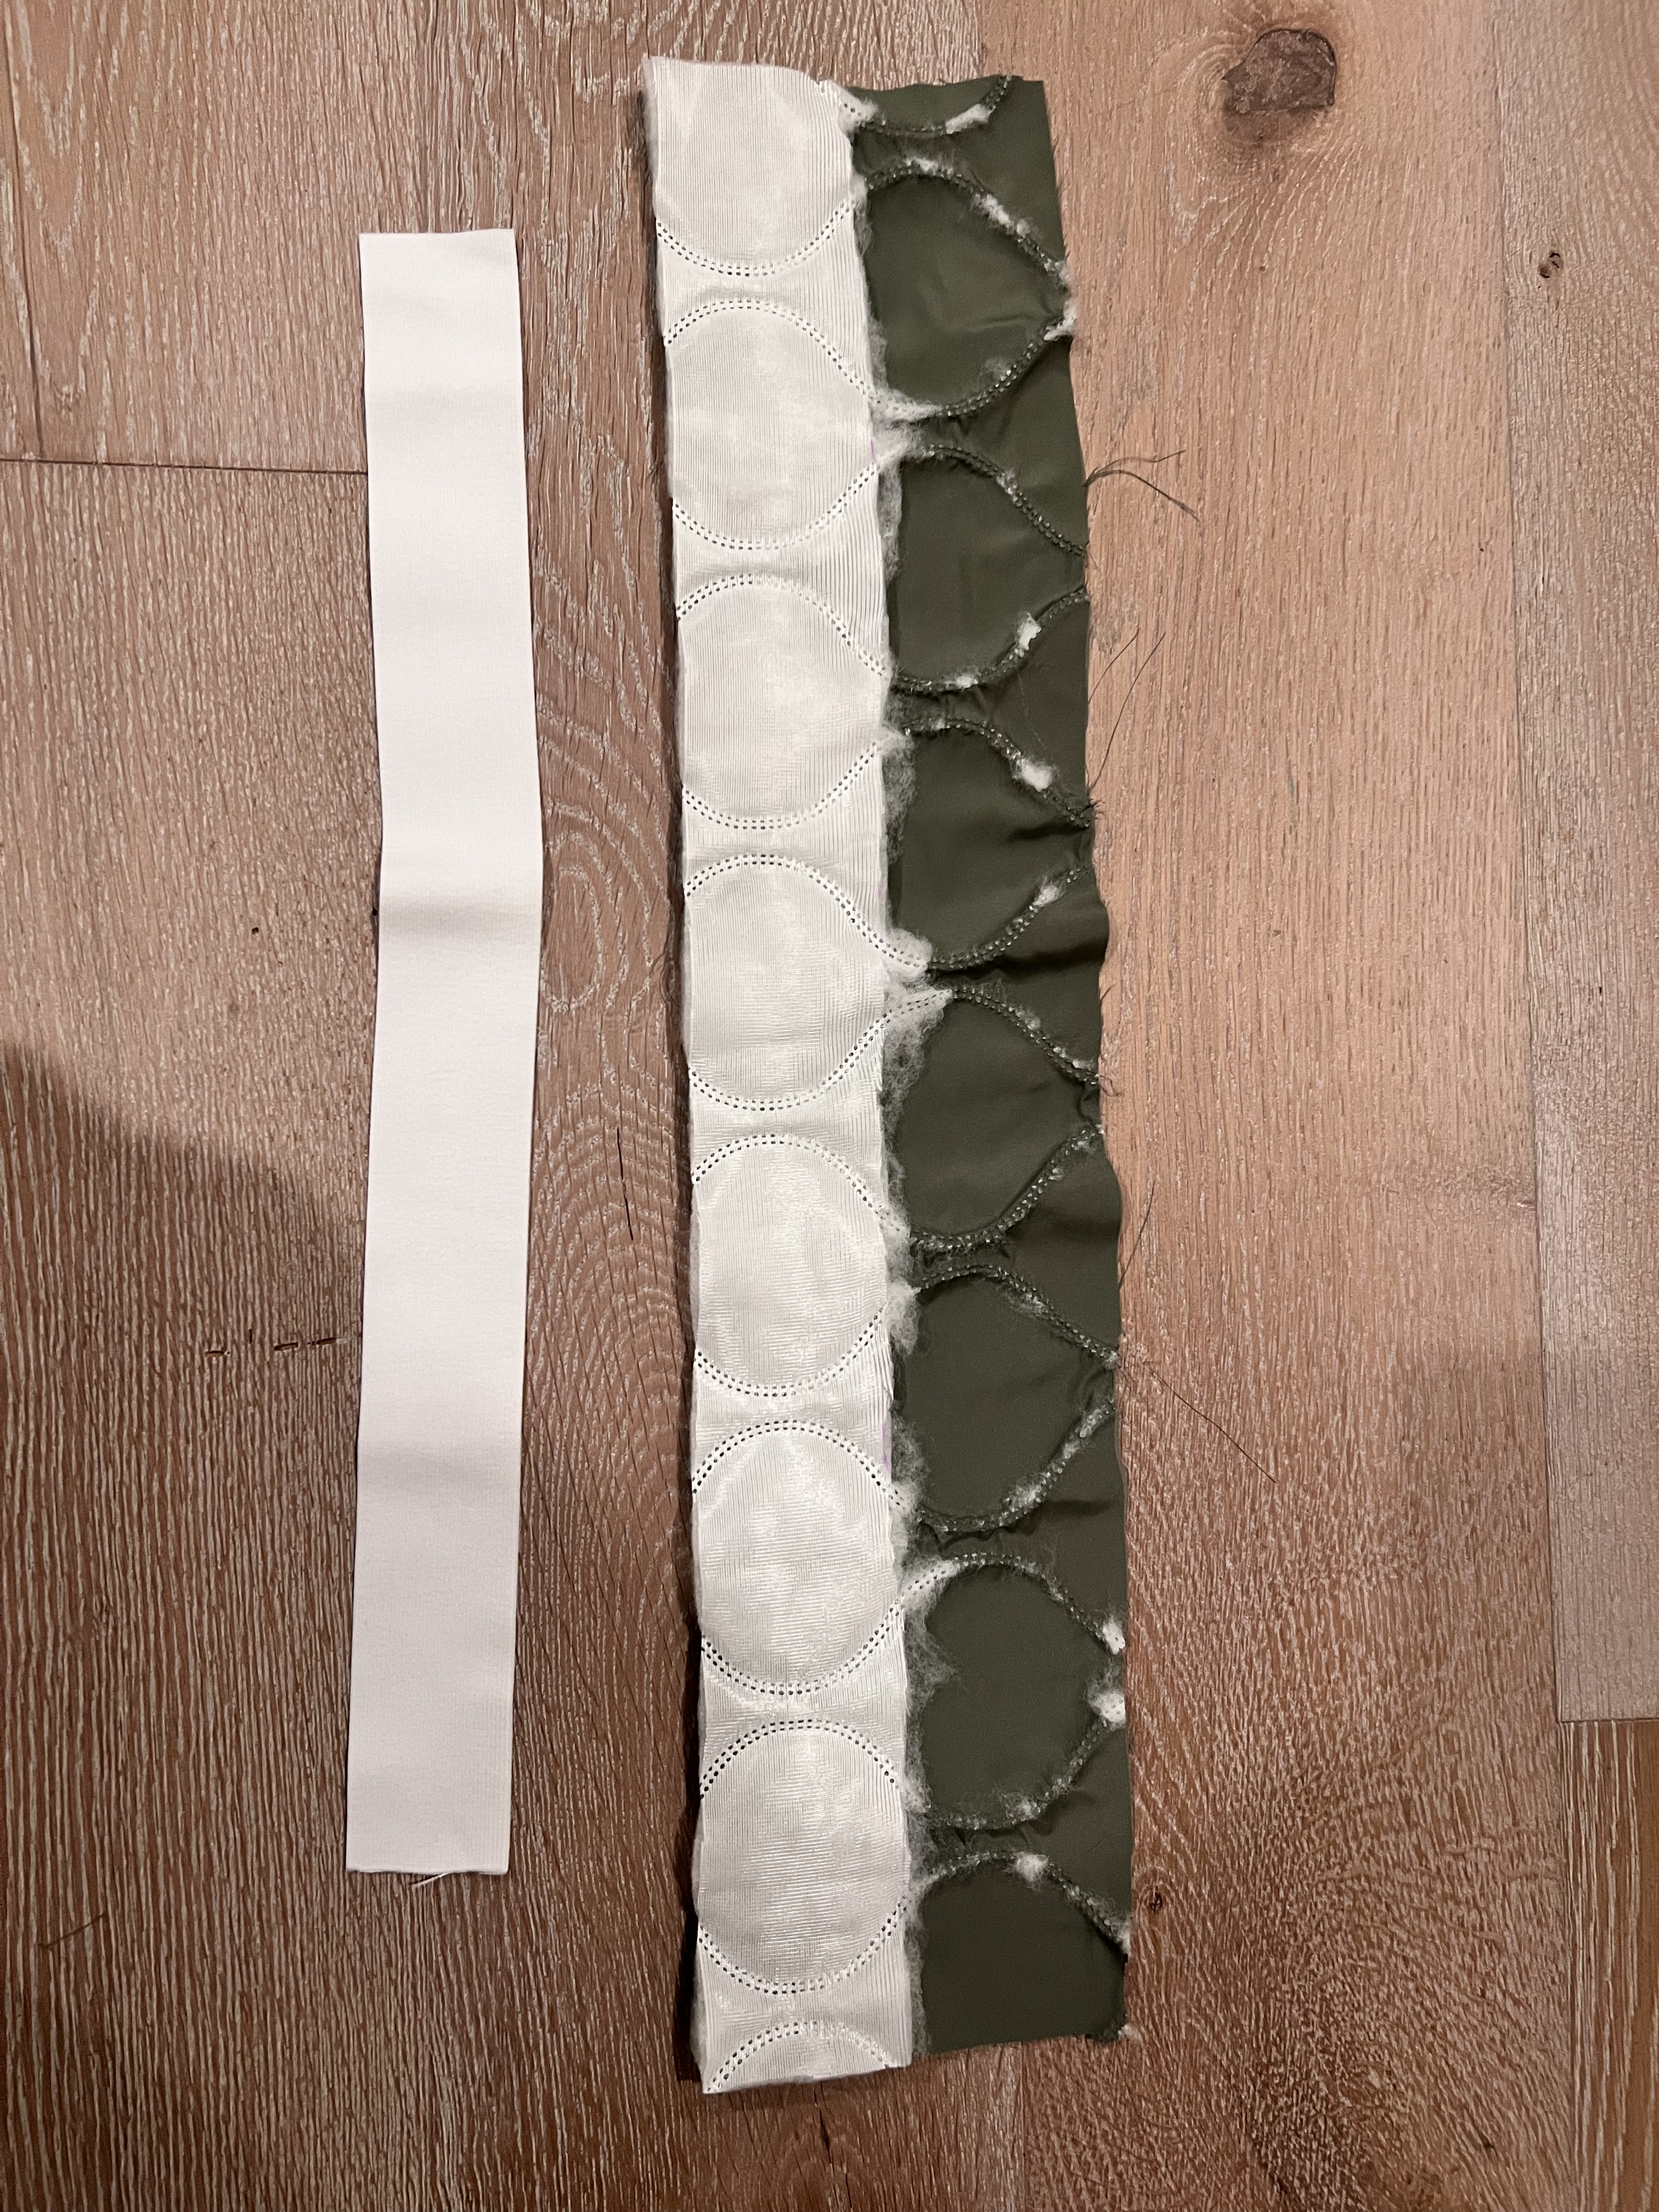
Step 8: Finish the edge with batting using bias tape.
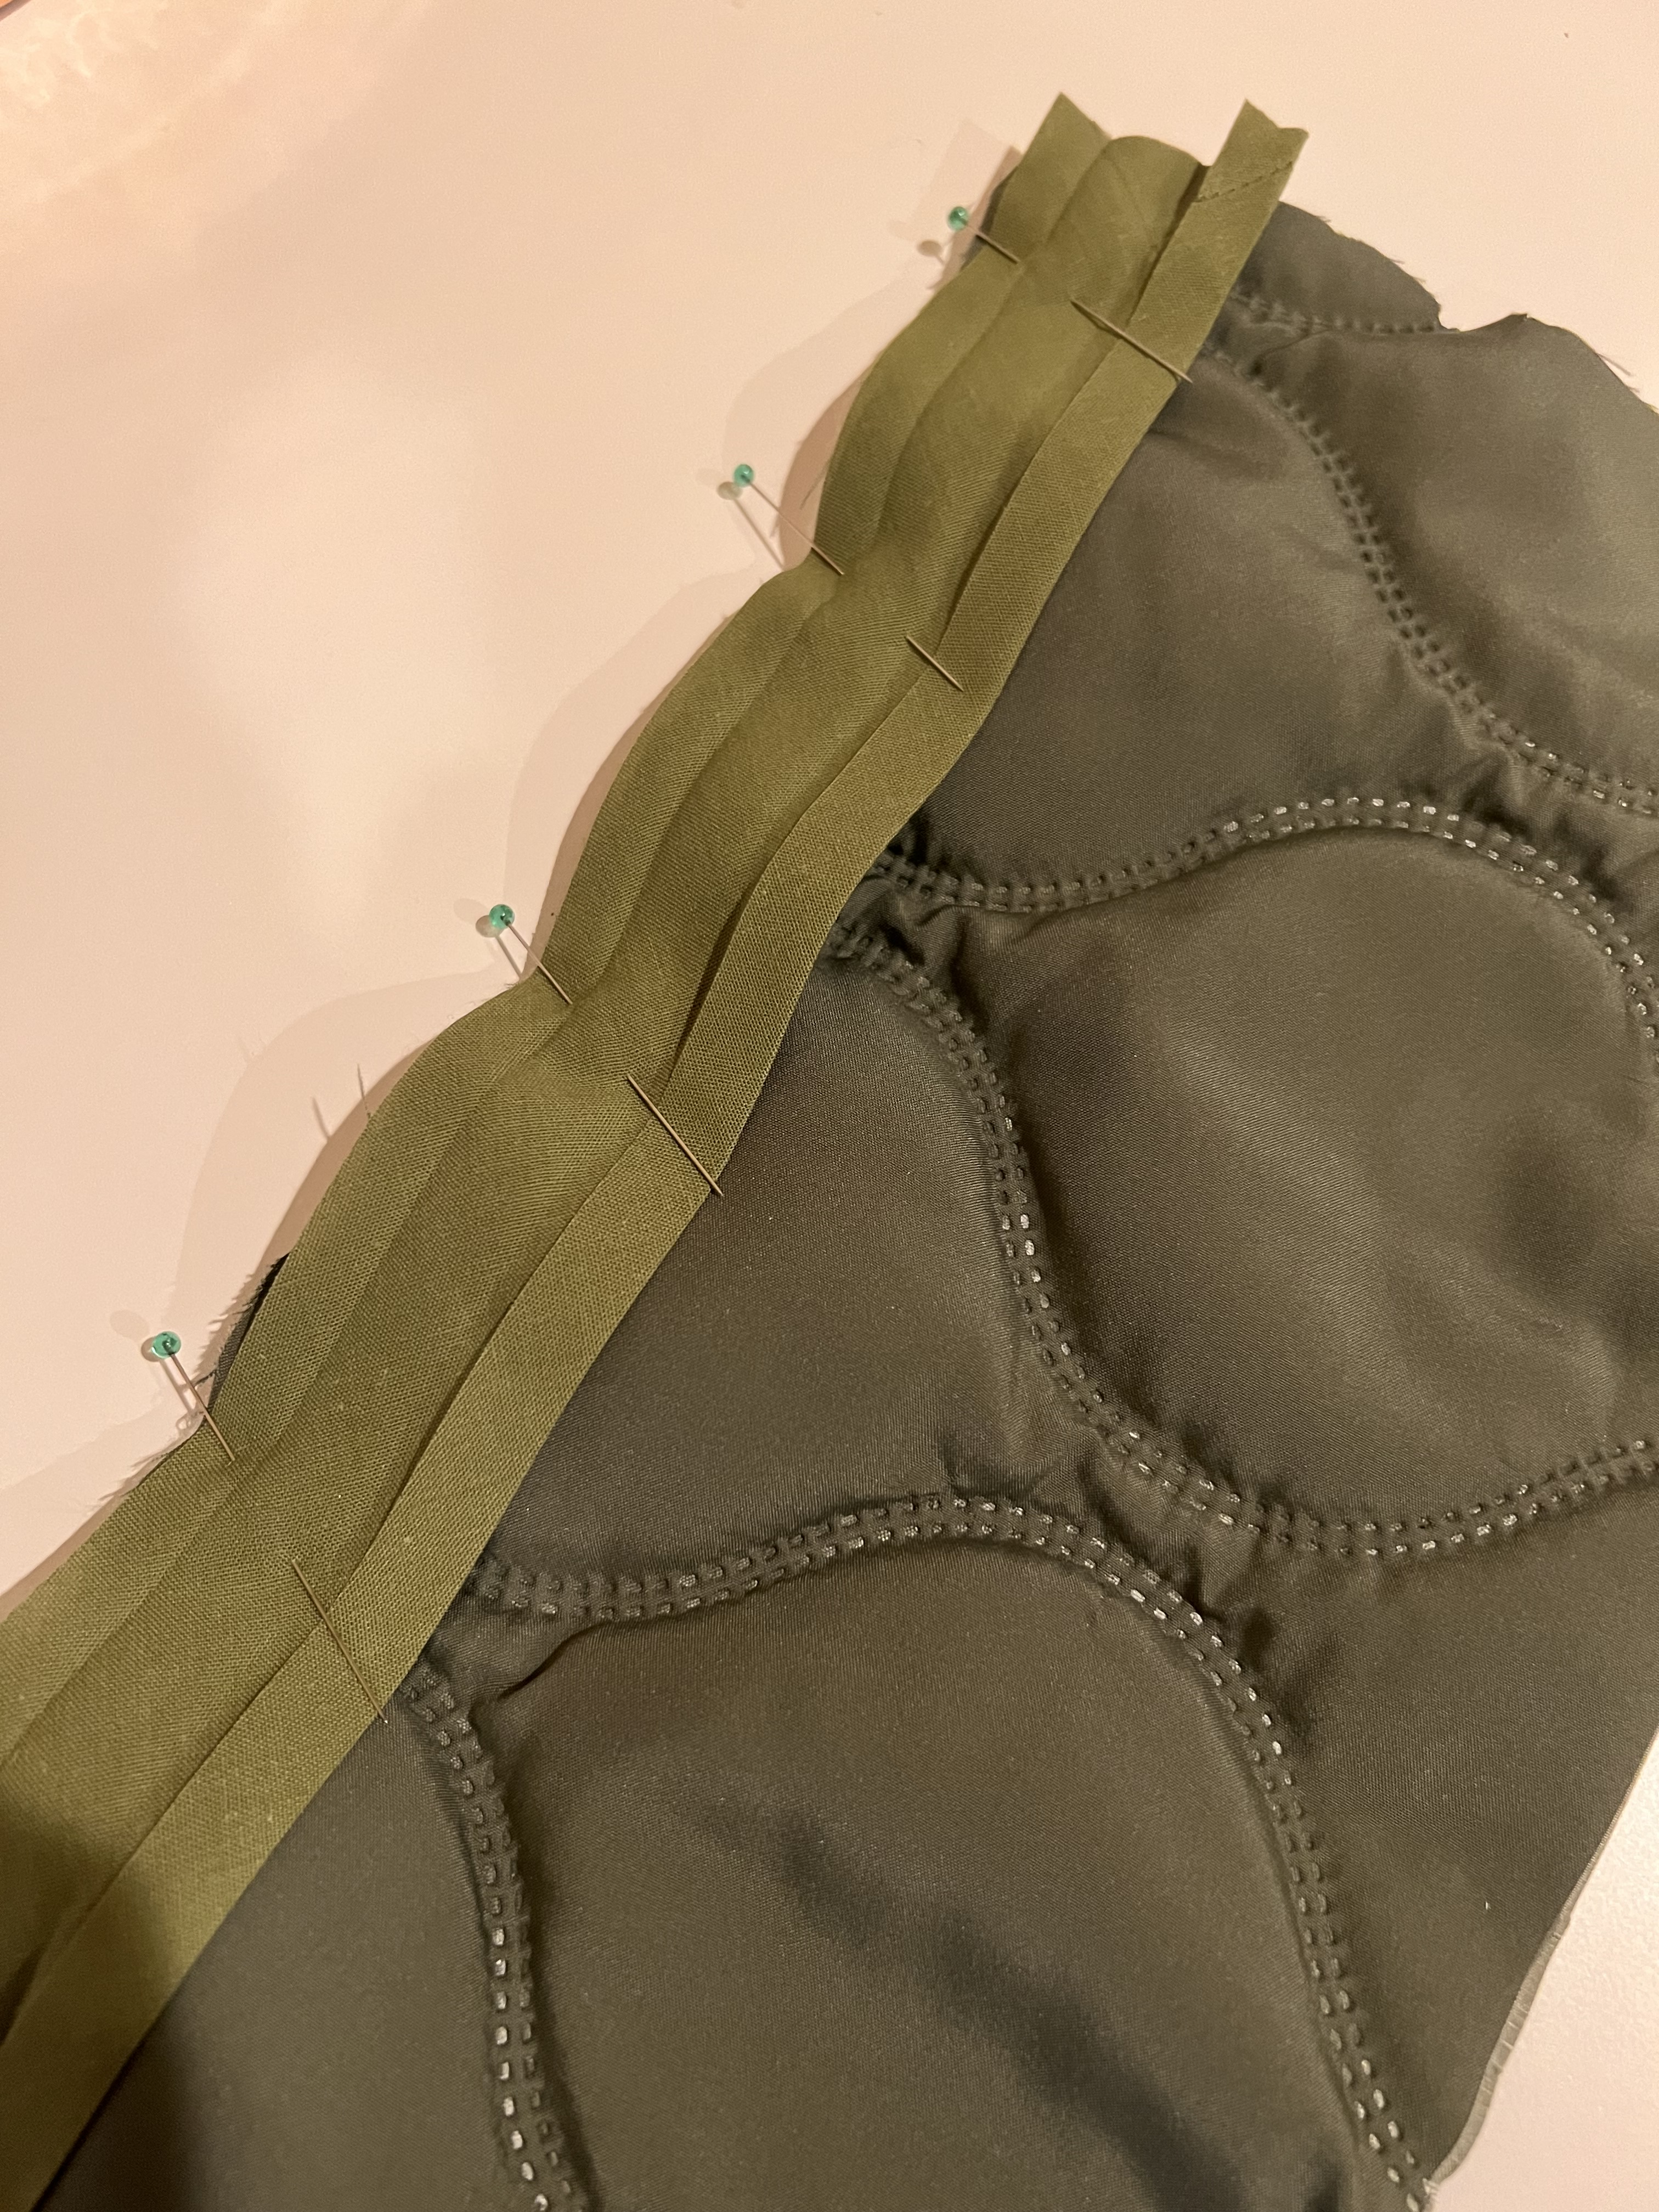
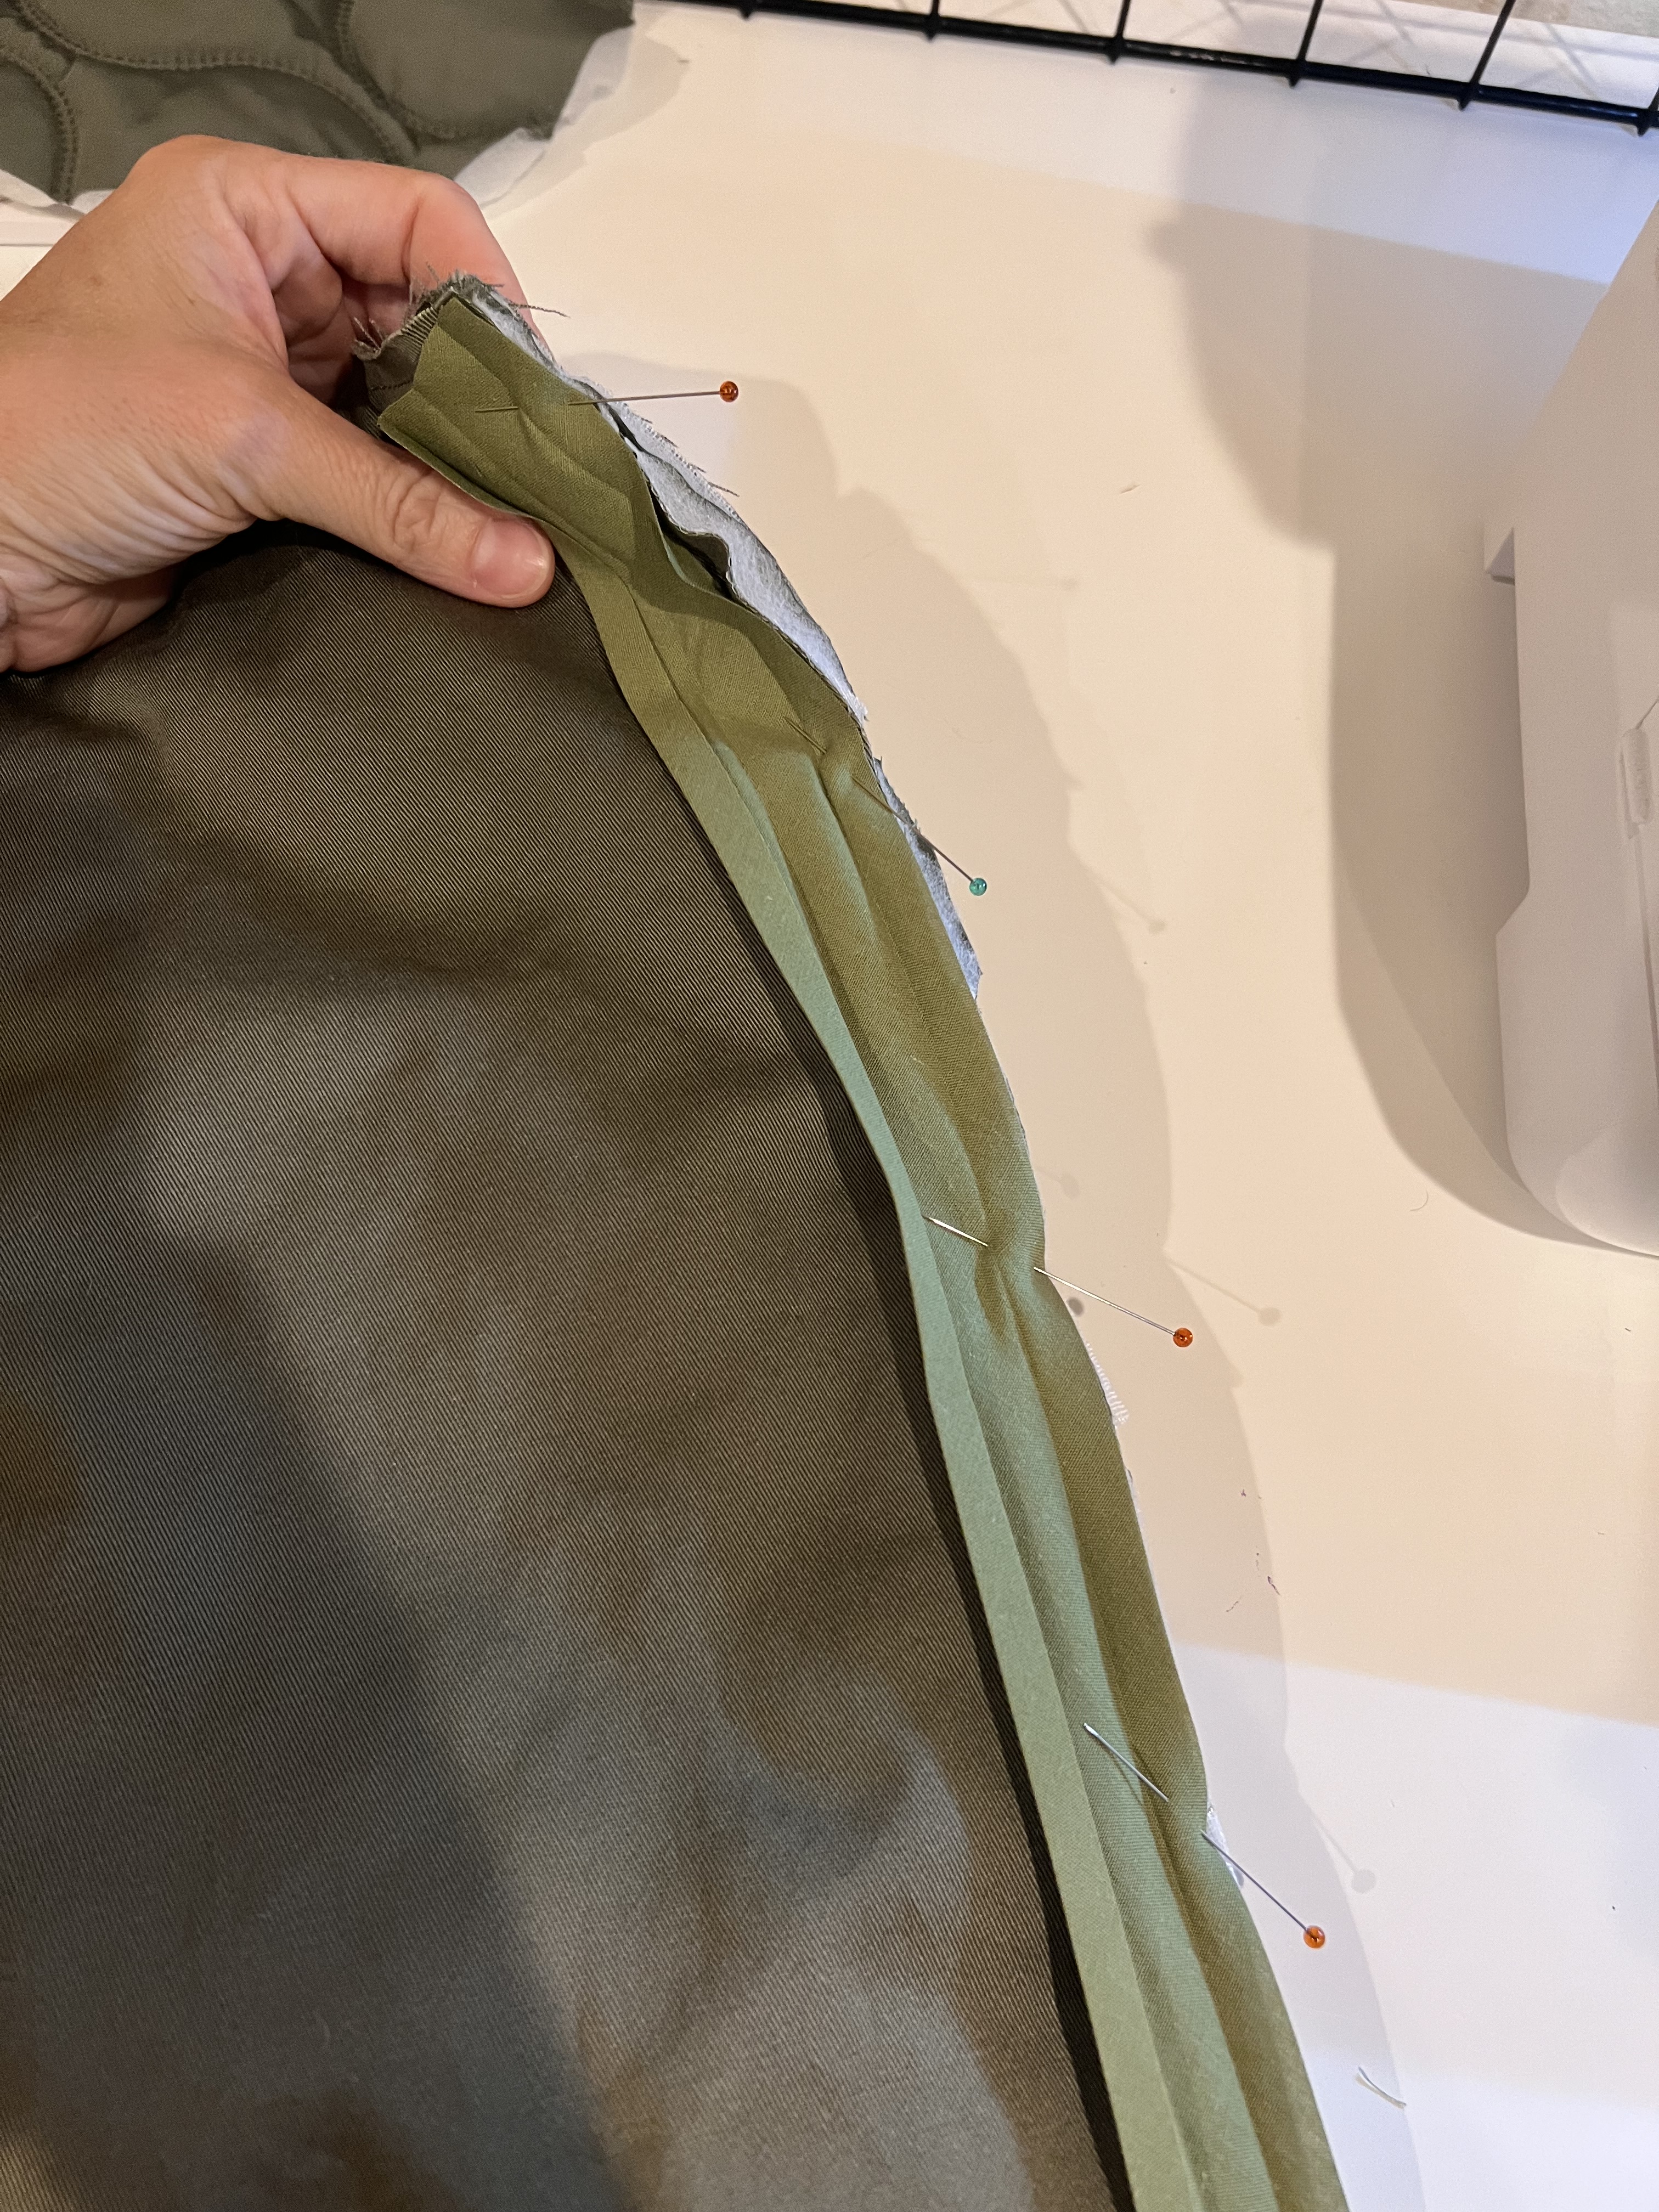
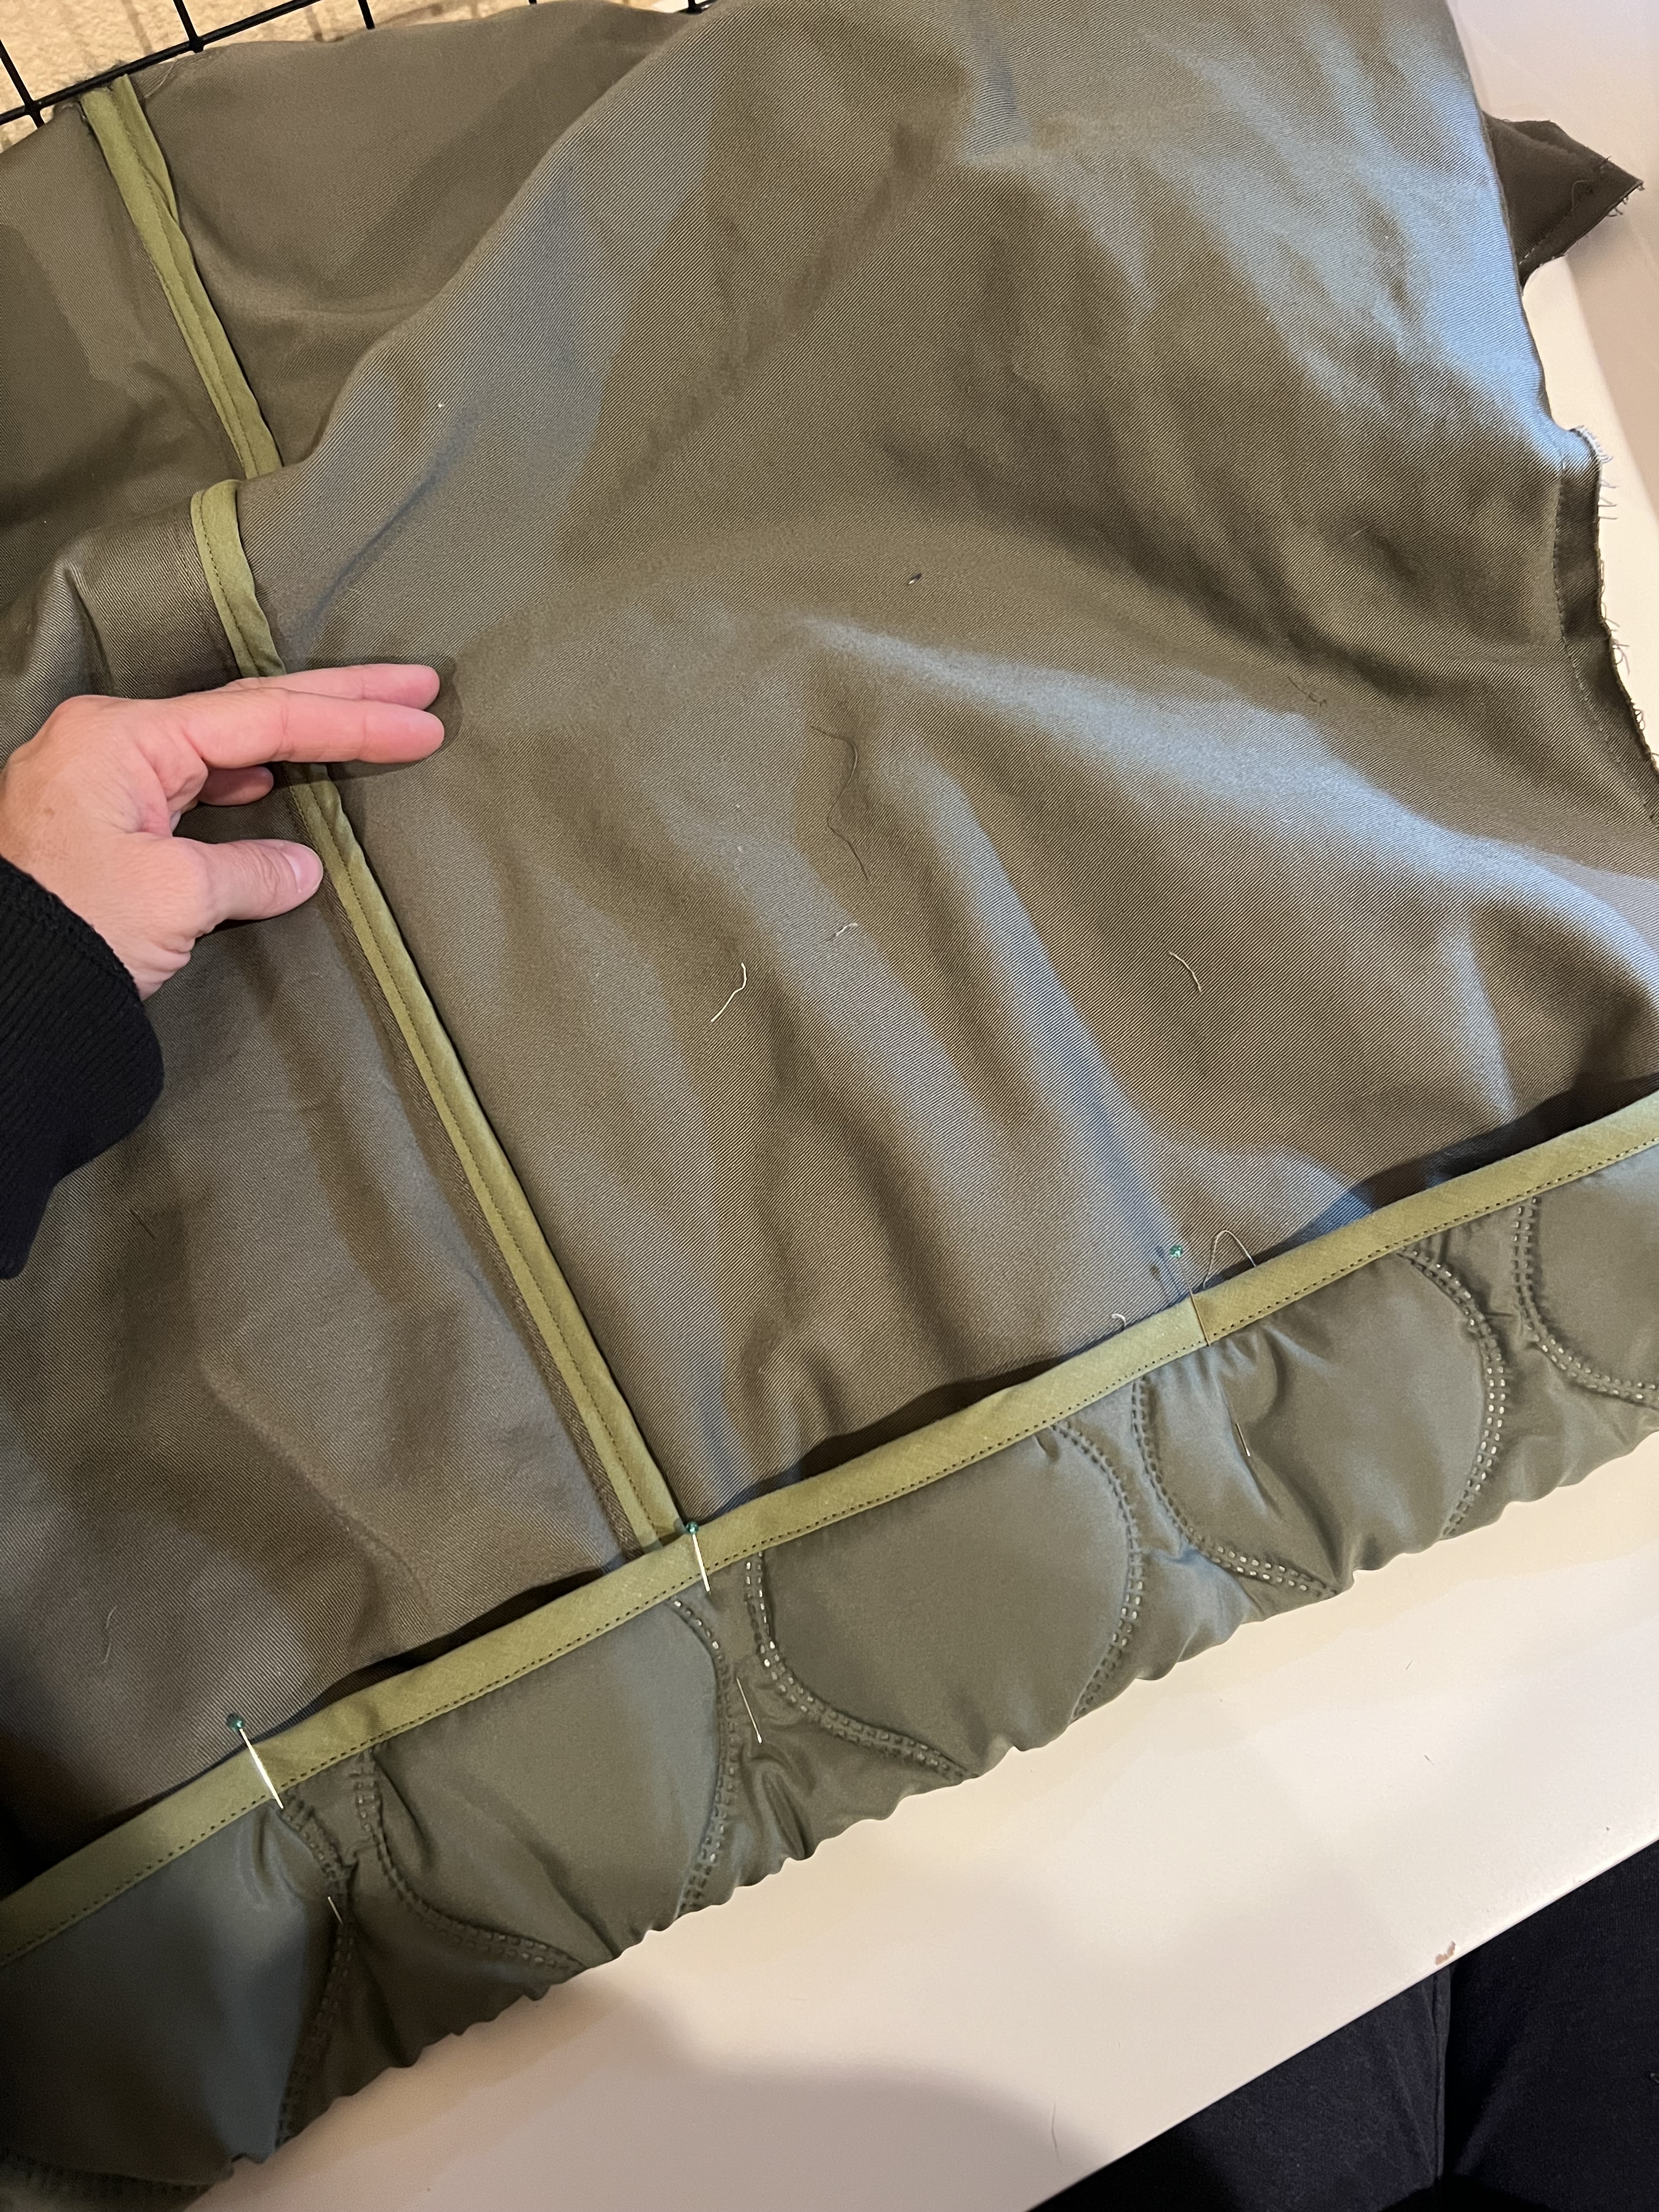
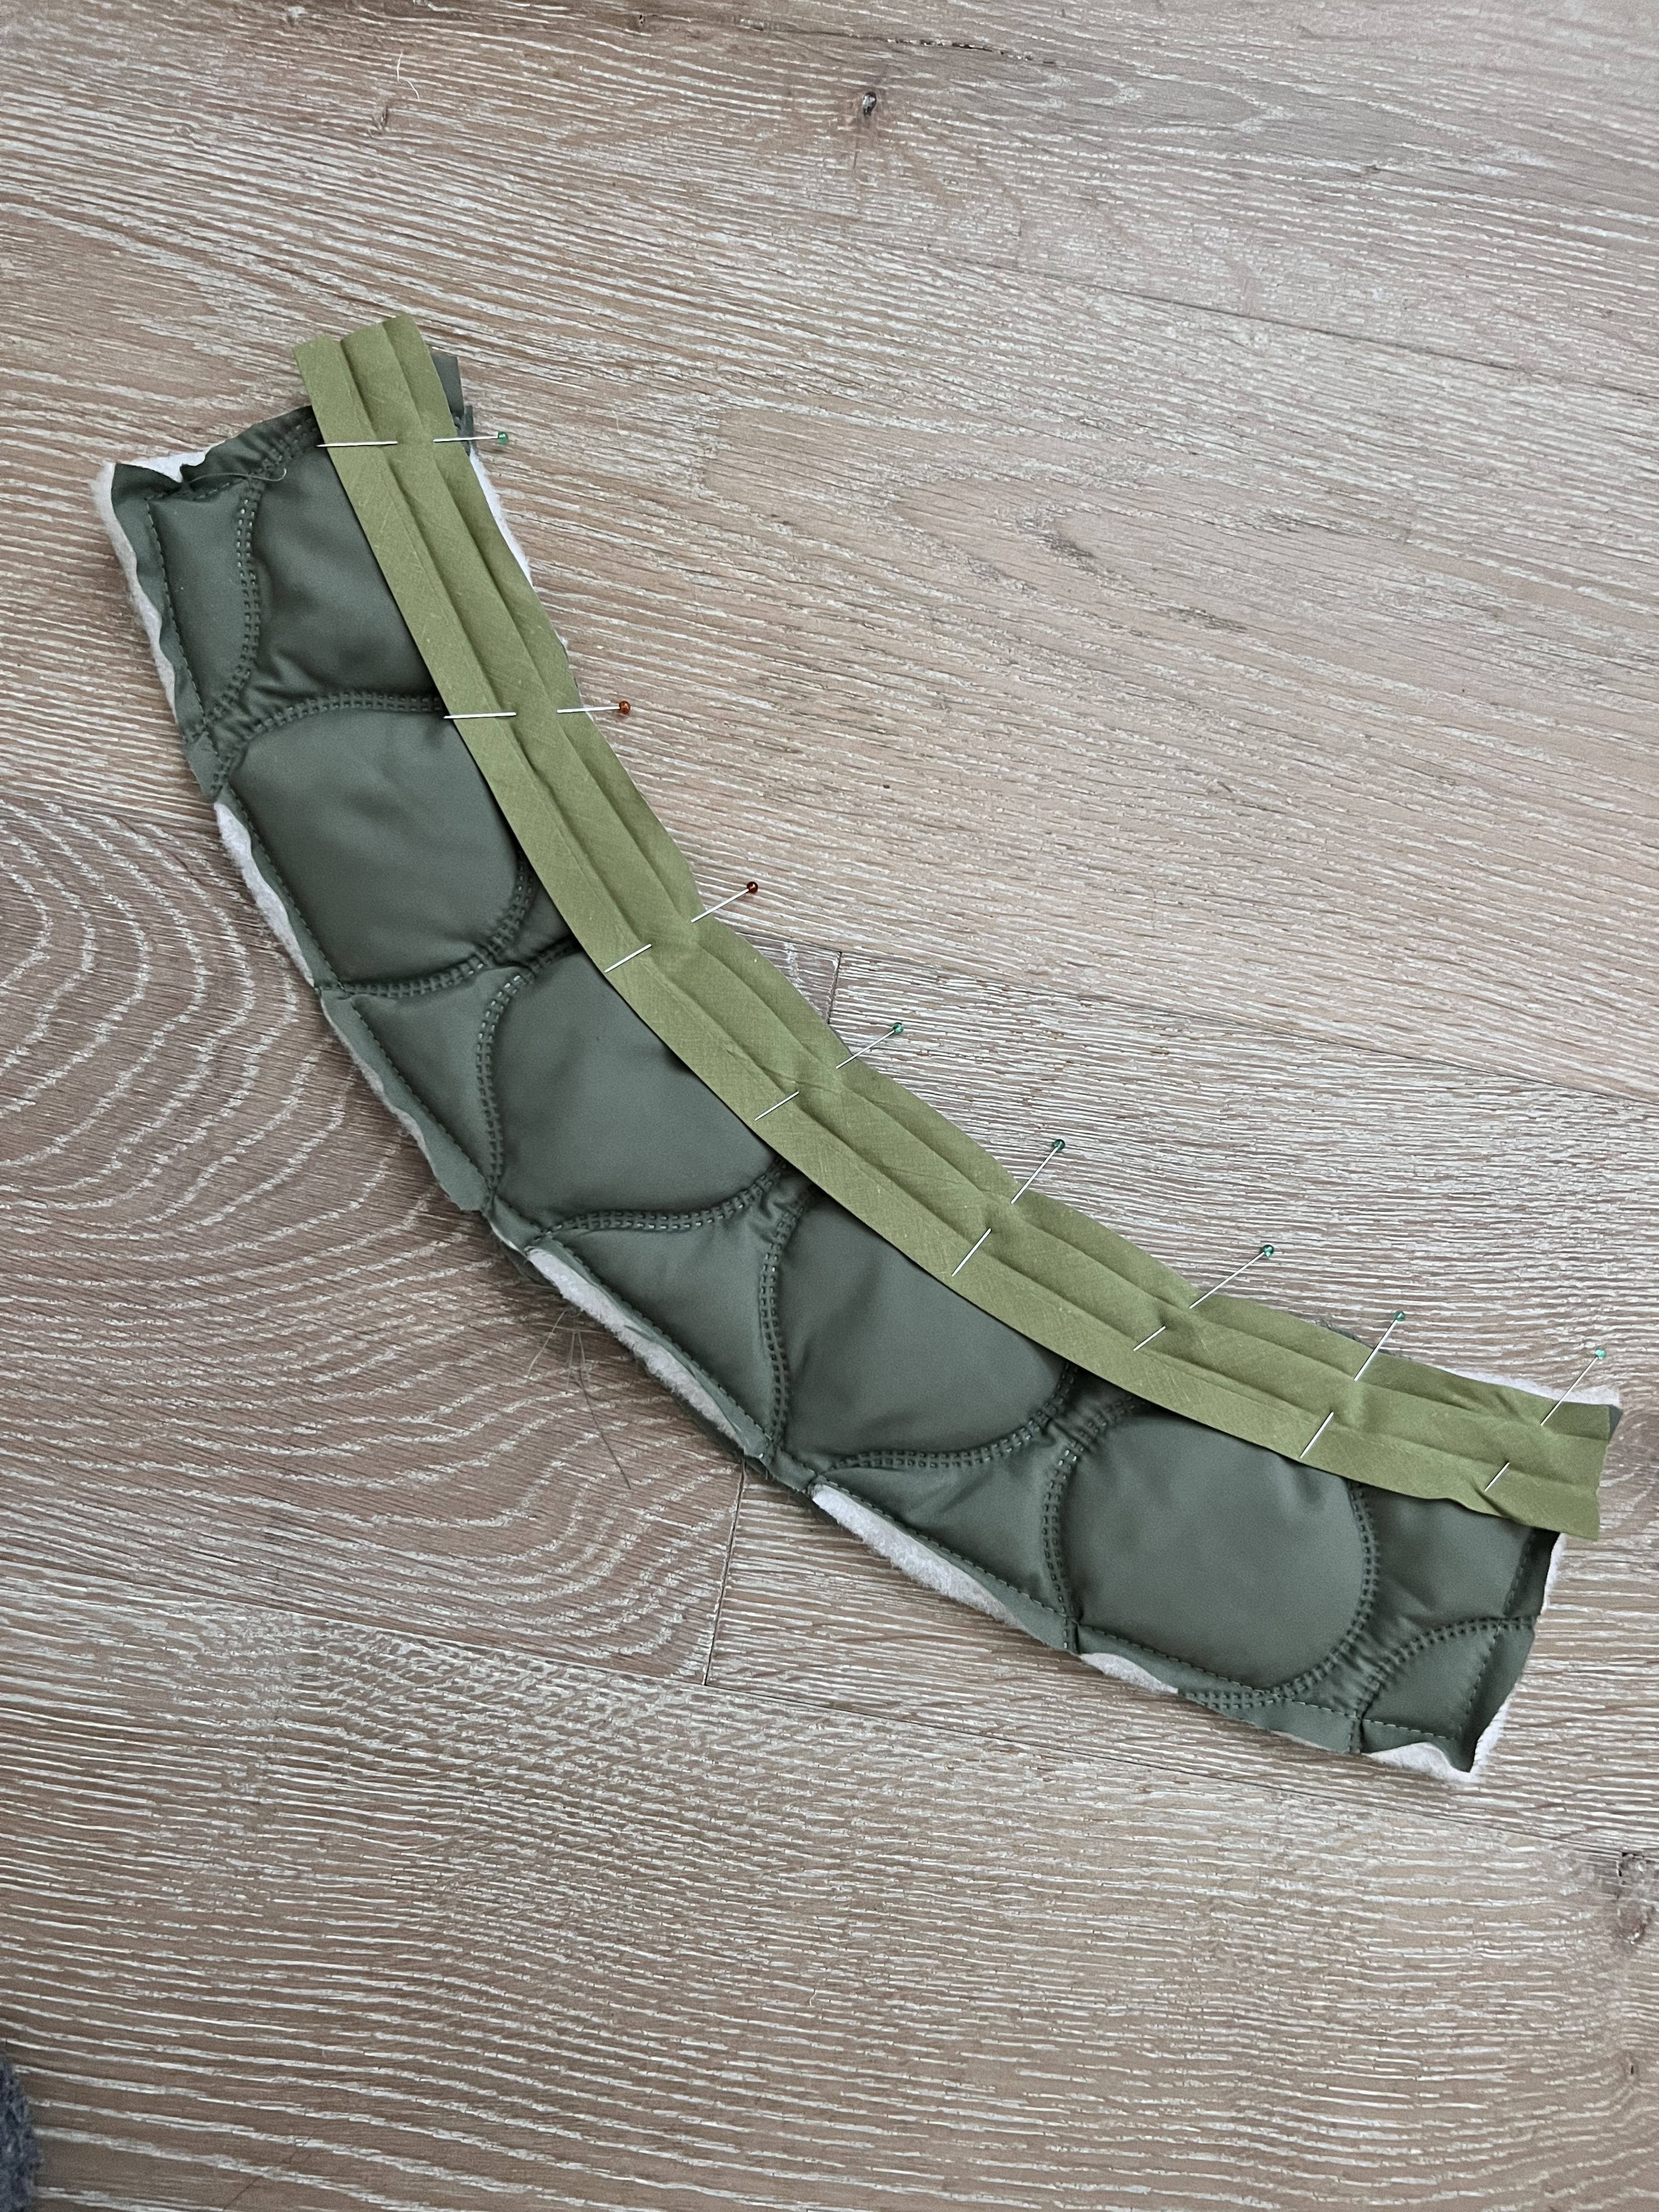
Step 9: Pin the unfinished edge of the band to the jacket right sides together. Press the seam down towards the waist band.
Step 10: Tuck the elastic under the seam allowance, and pin in place. Bring the finished edge of the waist band up to cover the stitching, and stretch to pin in pace all the way to the end of the waistband.

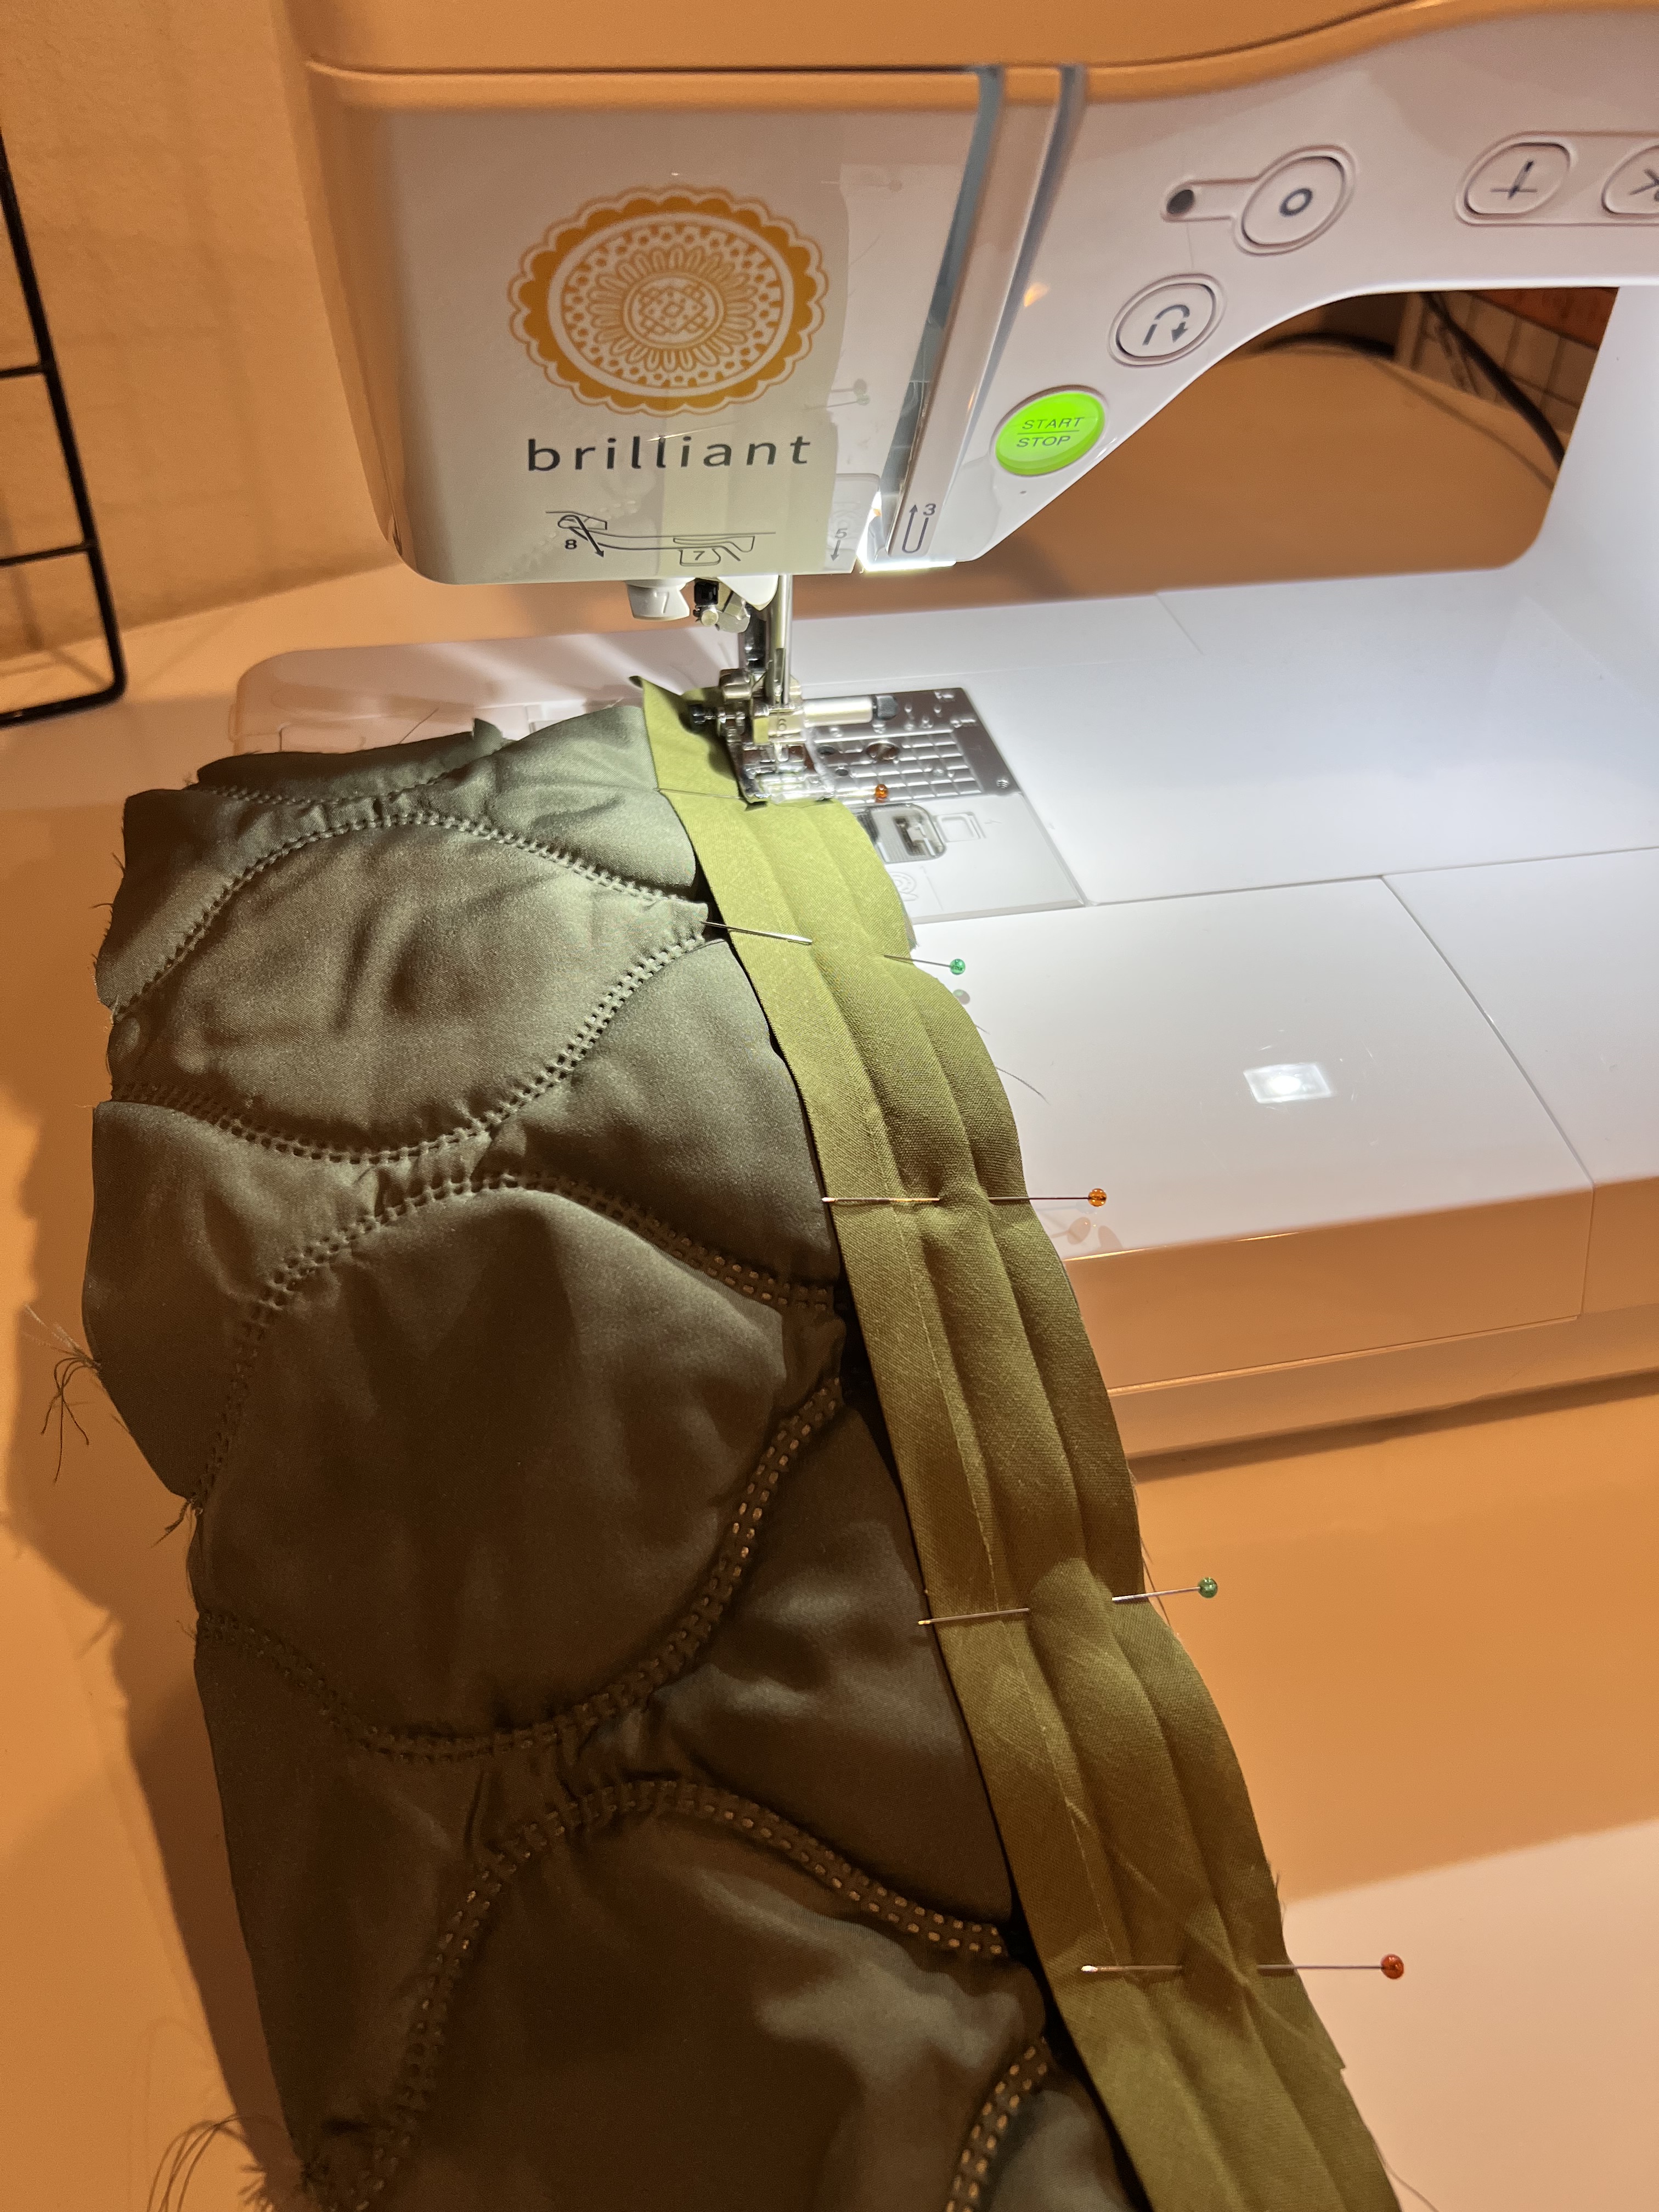
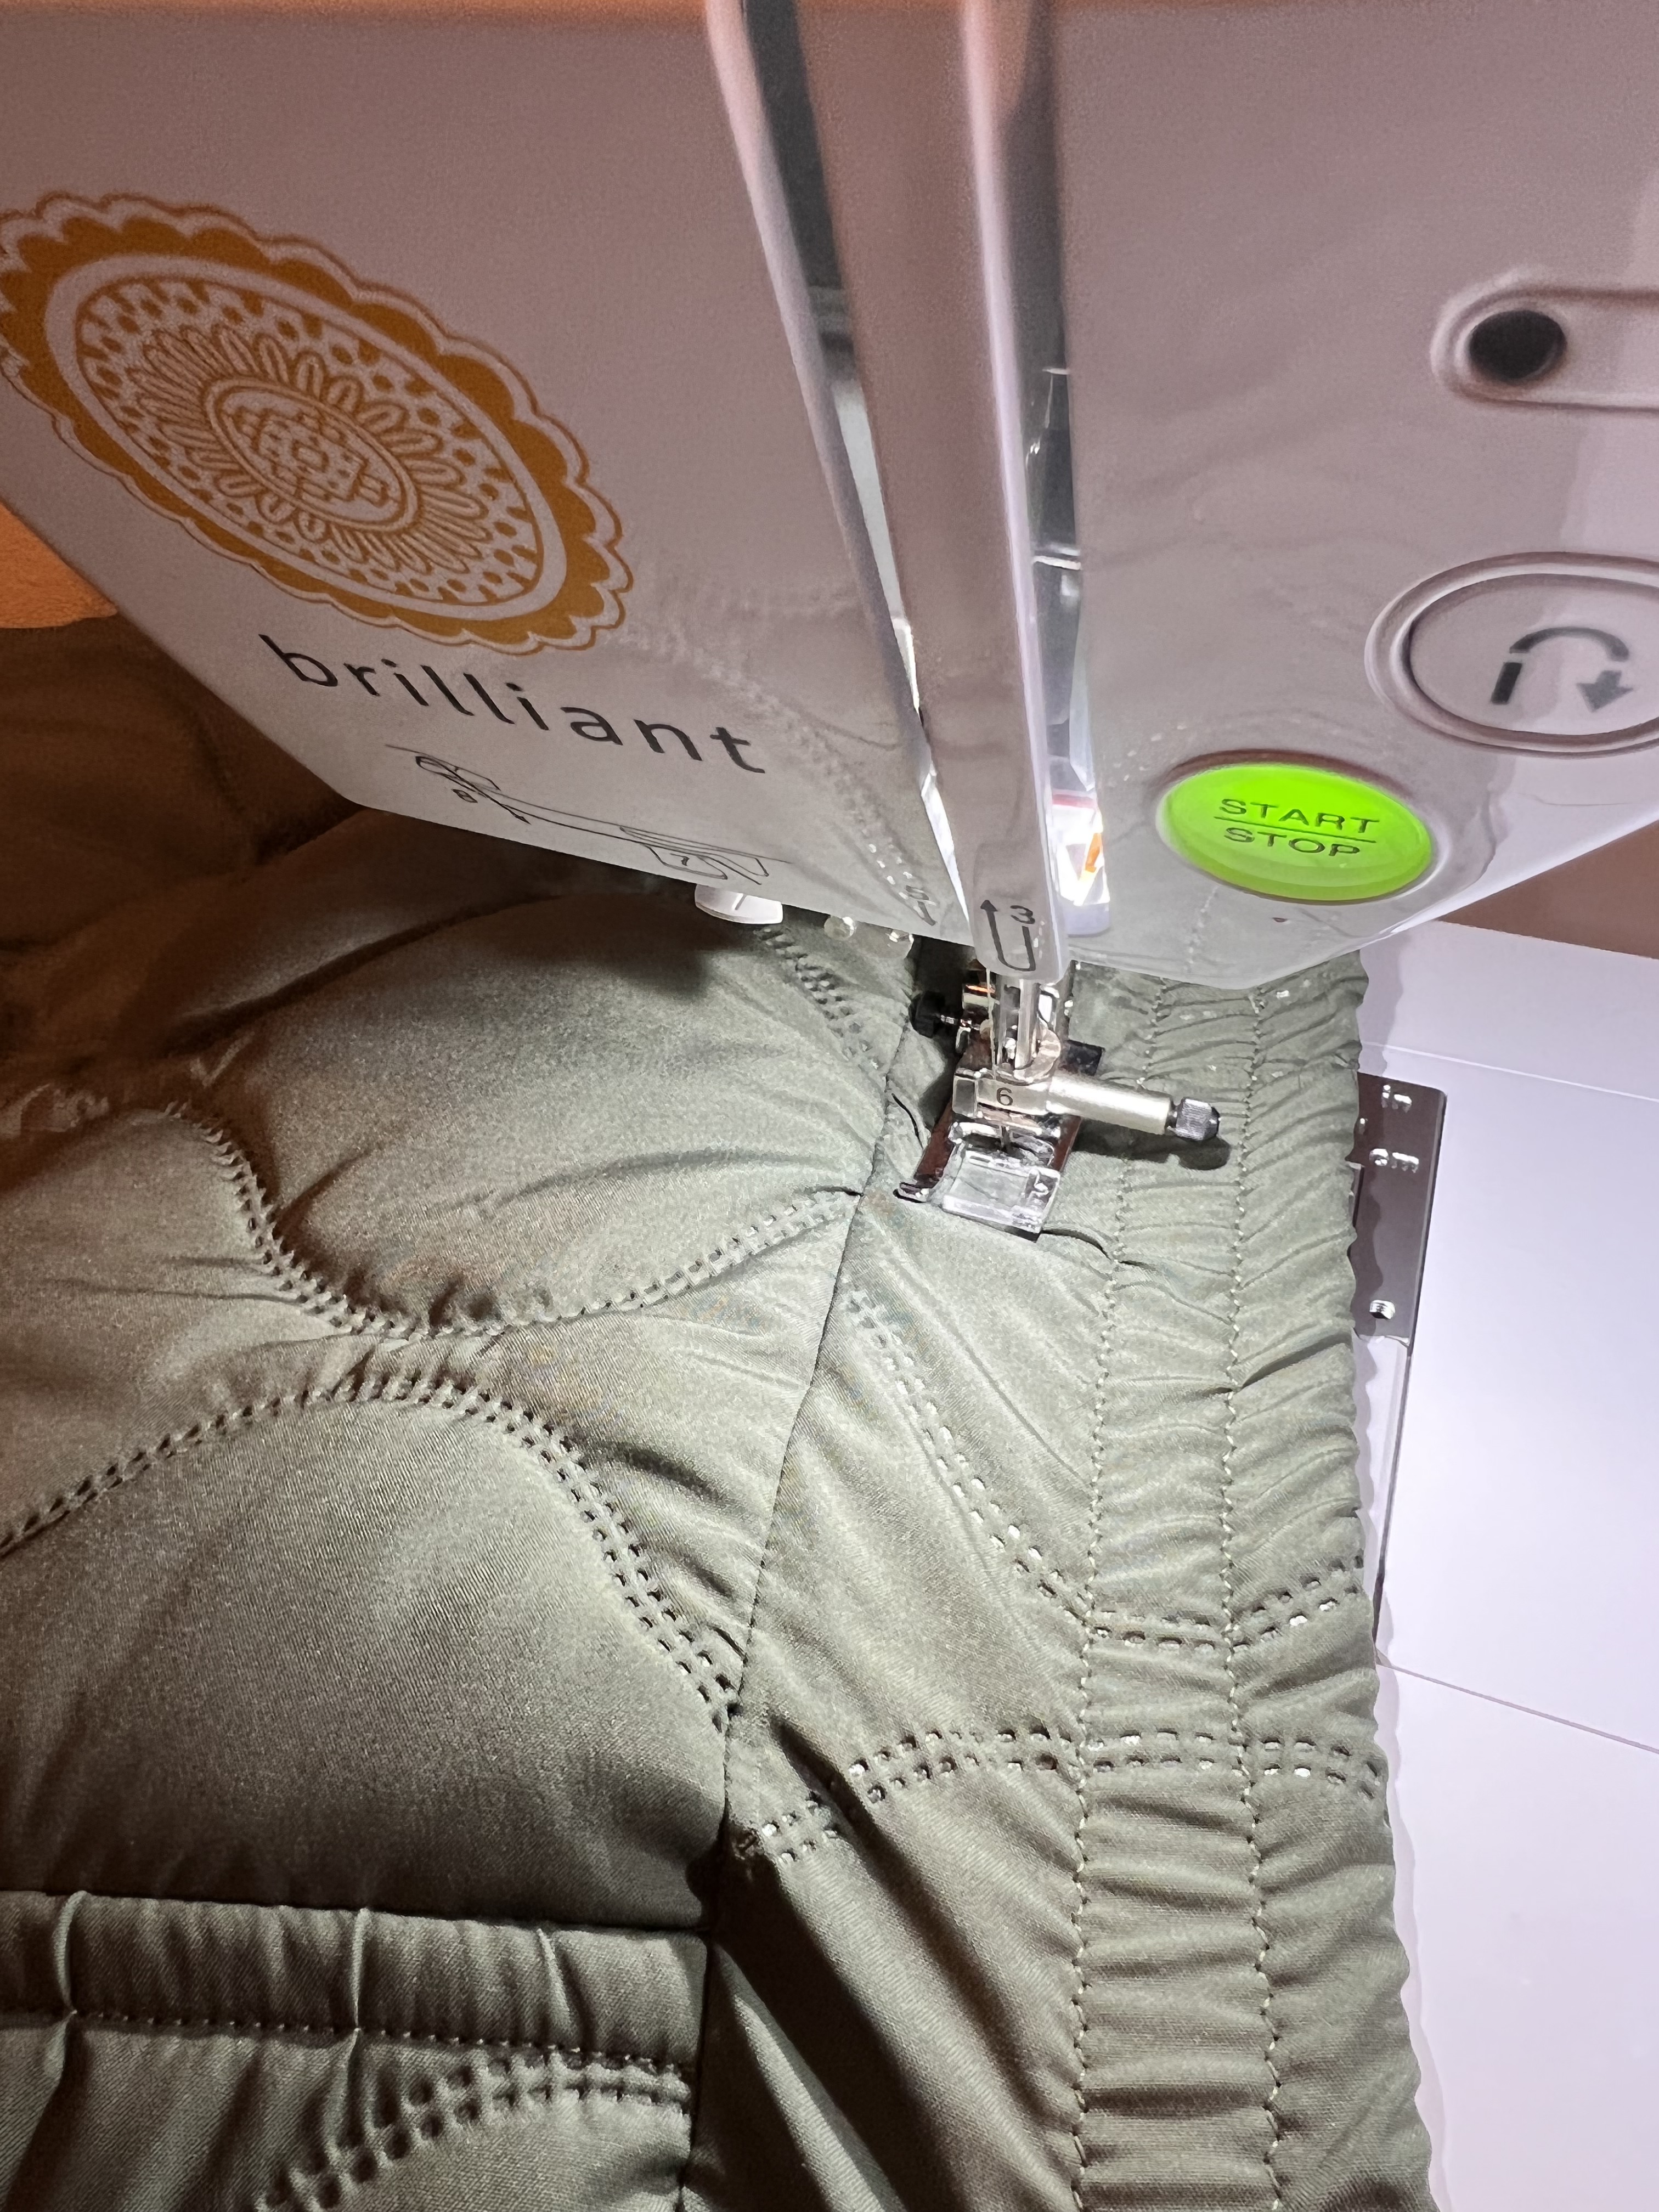
Step 11: Beginning at the bottom edge of the waist band using a narrow zig zag stitch, sew along the waistband 5/8″ across. Repeat 2 more times until you’ve reached the top of the waistband. I sewed right along the top as well to attach the bias tape.
Step 12: Attach the front and back at the shoulders, right sides together. Finish seam with bias tape. Pin the seam to the back of the jacket and topstitch along the front side of the jacket about 1/2″ from the seam line. You can also add twill tape here instead.
Do the same for the underarm seam. The pattern suggests basting here first and checking the fit, I ended up taking mine in about another 1/2″. Finish seam allowance with bias tape. Make sure to fold about a 1/2″ of tape in at the bottom edge of the jacket for a clean finish as we did earlier on for the pockets.
Step 13: Finish the sleeve cuff with bias tape, folding the first 1/2″ of tape in once again for a clean finish.
Step 14: Attach the collar. I removed the batting from one collar piece and basted the two pieces together. Finish the shorter end of the collar (the side that curves in) with bias tape.

Step 15: Attach the right side unfinished edge of the collar to the right of the jacket neckline, and sew. Finish the seam allowance with bias tape. I don’t have a picture of this step but the instructions illustrate this very well.
Step 16: Prepare the zipper shield. Finish the curved outside edge with bias tape.

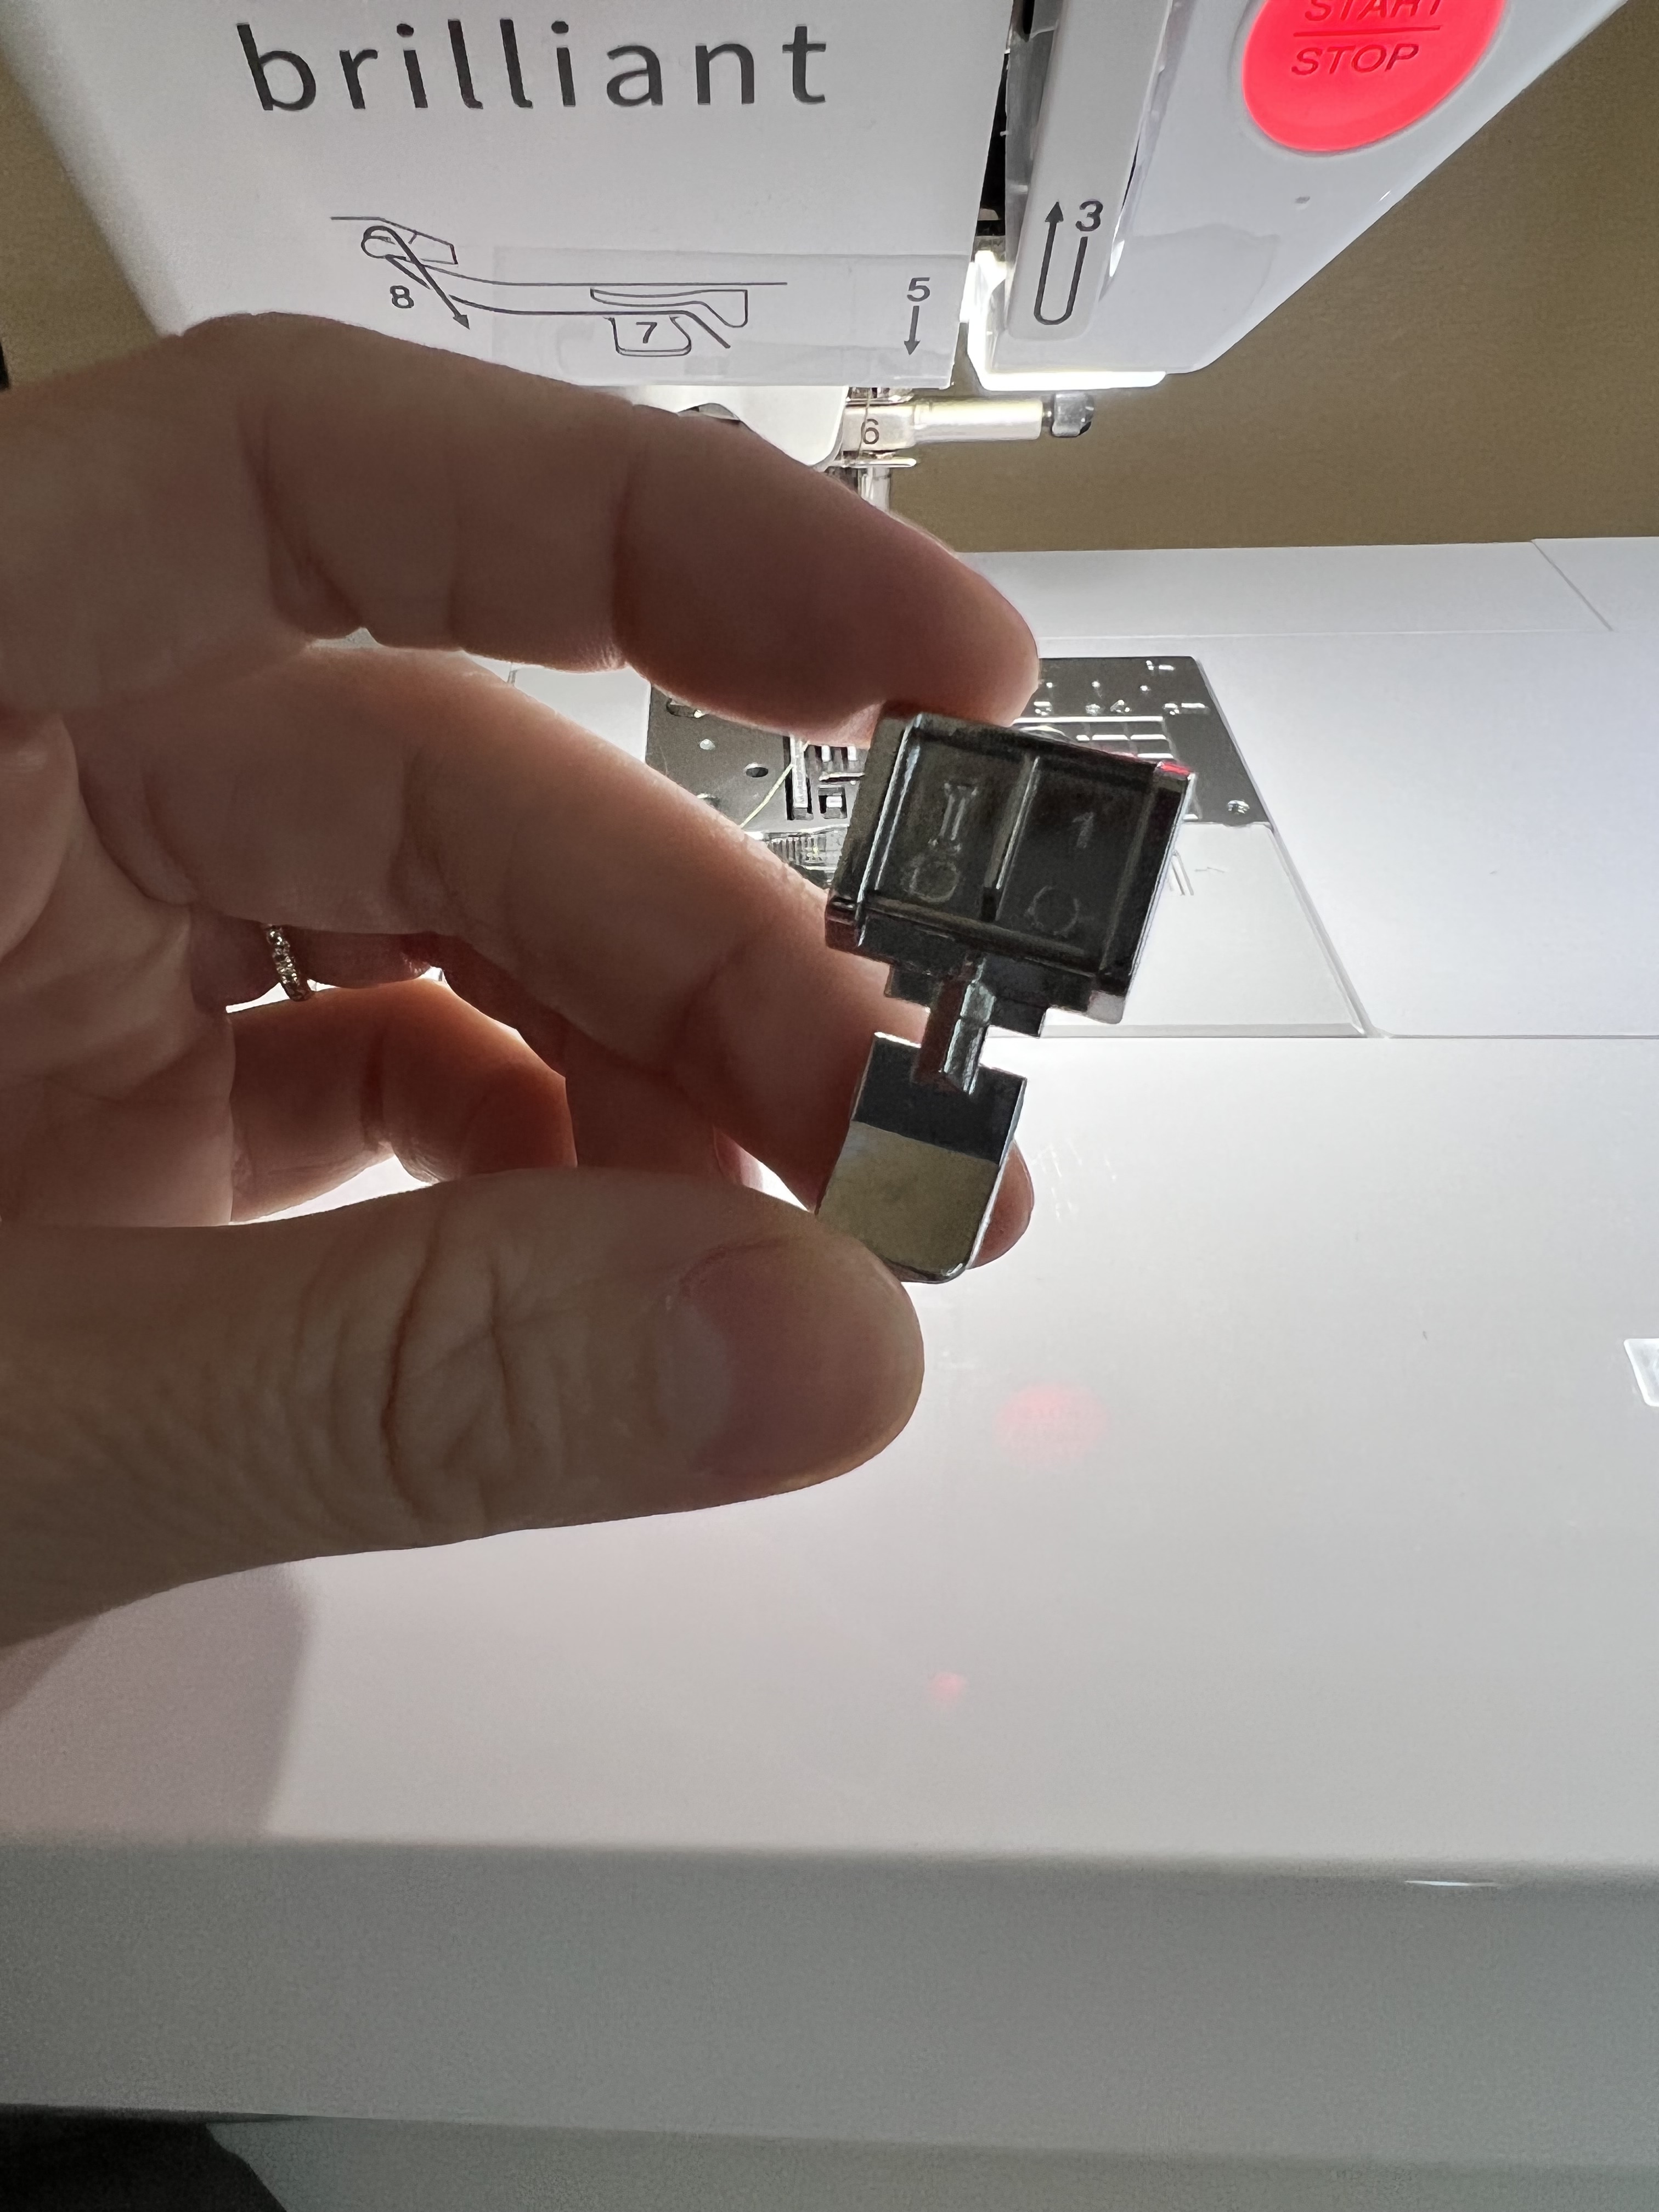
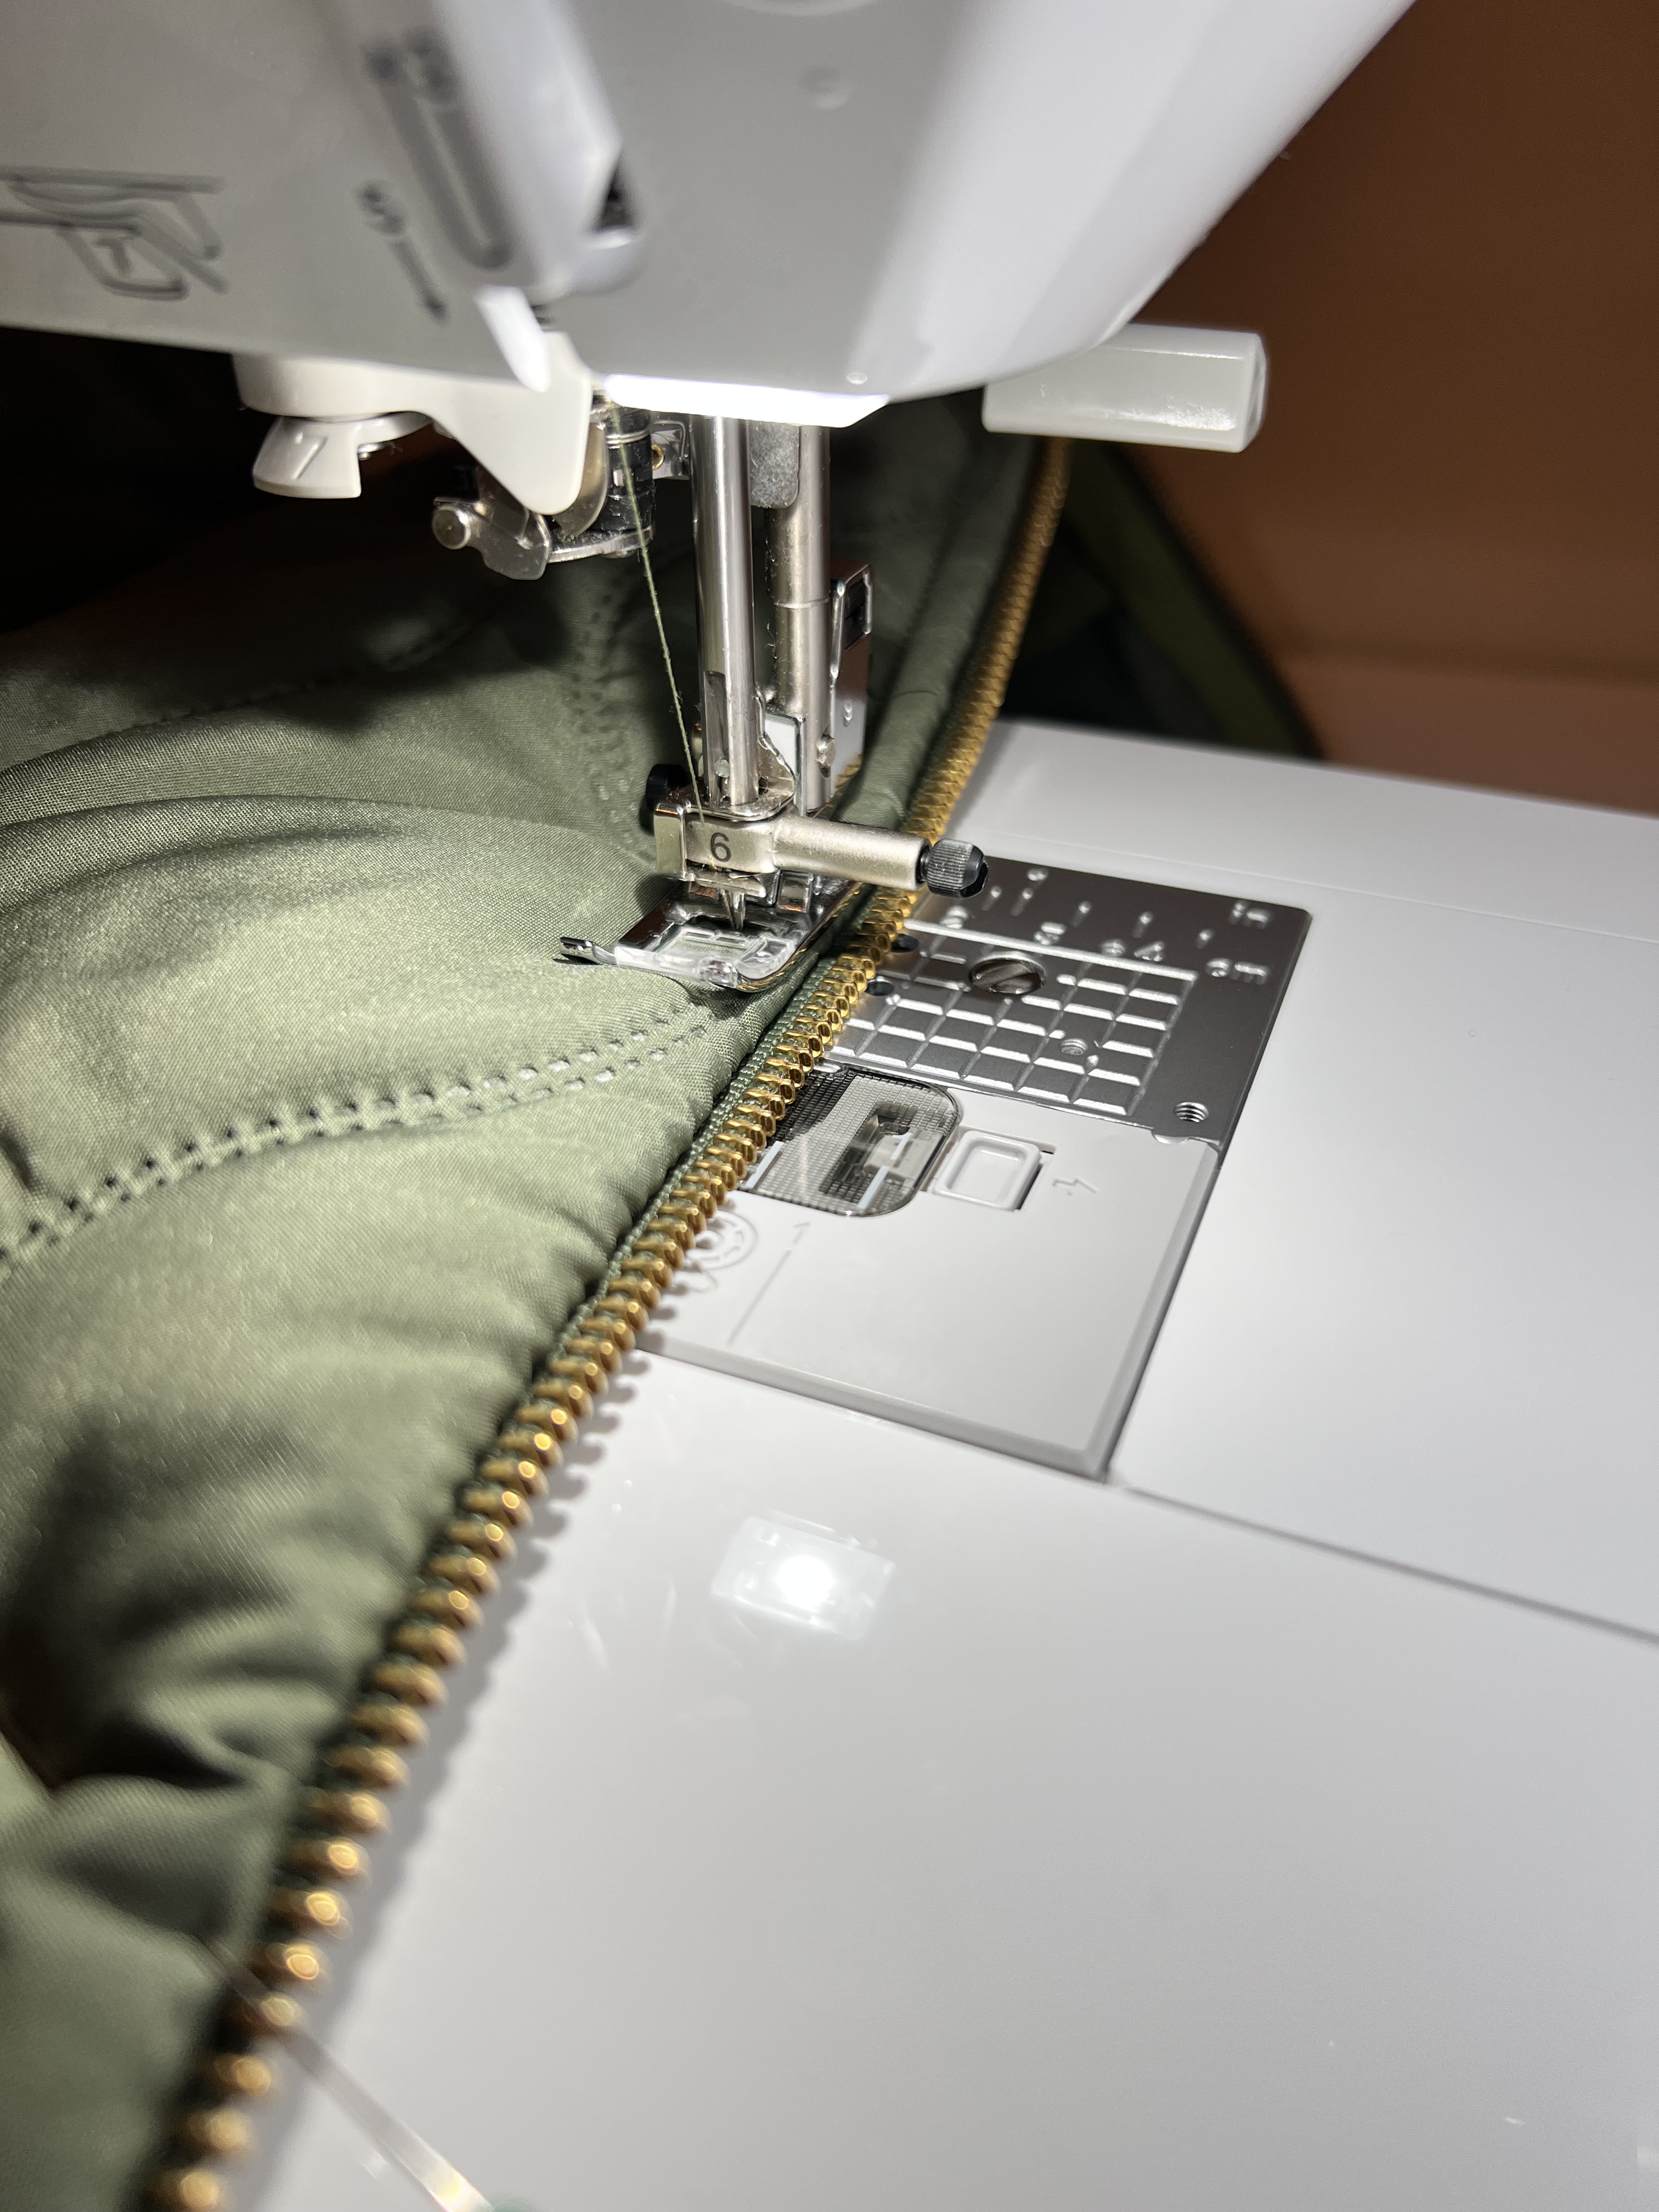
Step 17: Attach the zipper. The instructions give a great explanation of how to resize your zipper if needed. Mine was just right and didn’t need any adjusting at 24″.
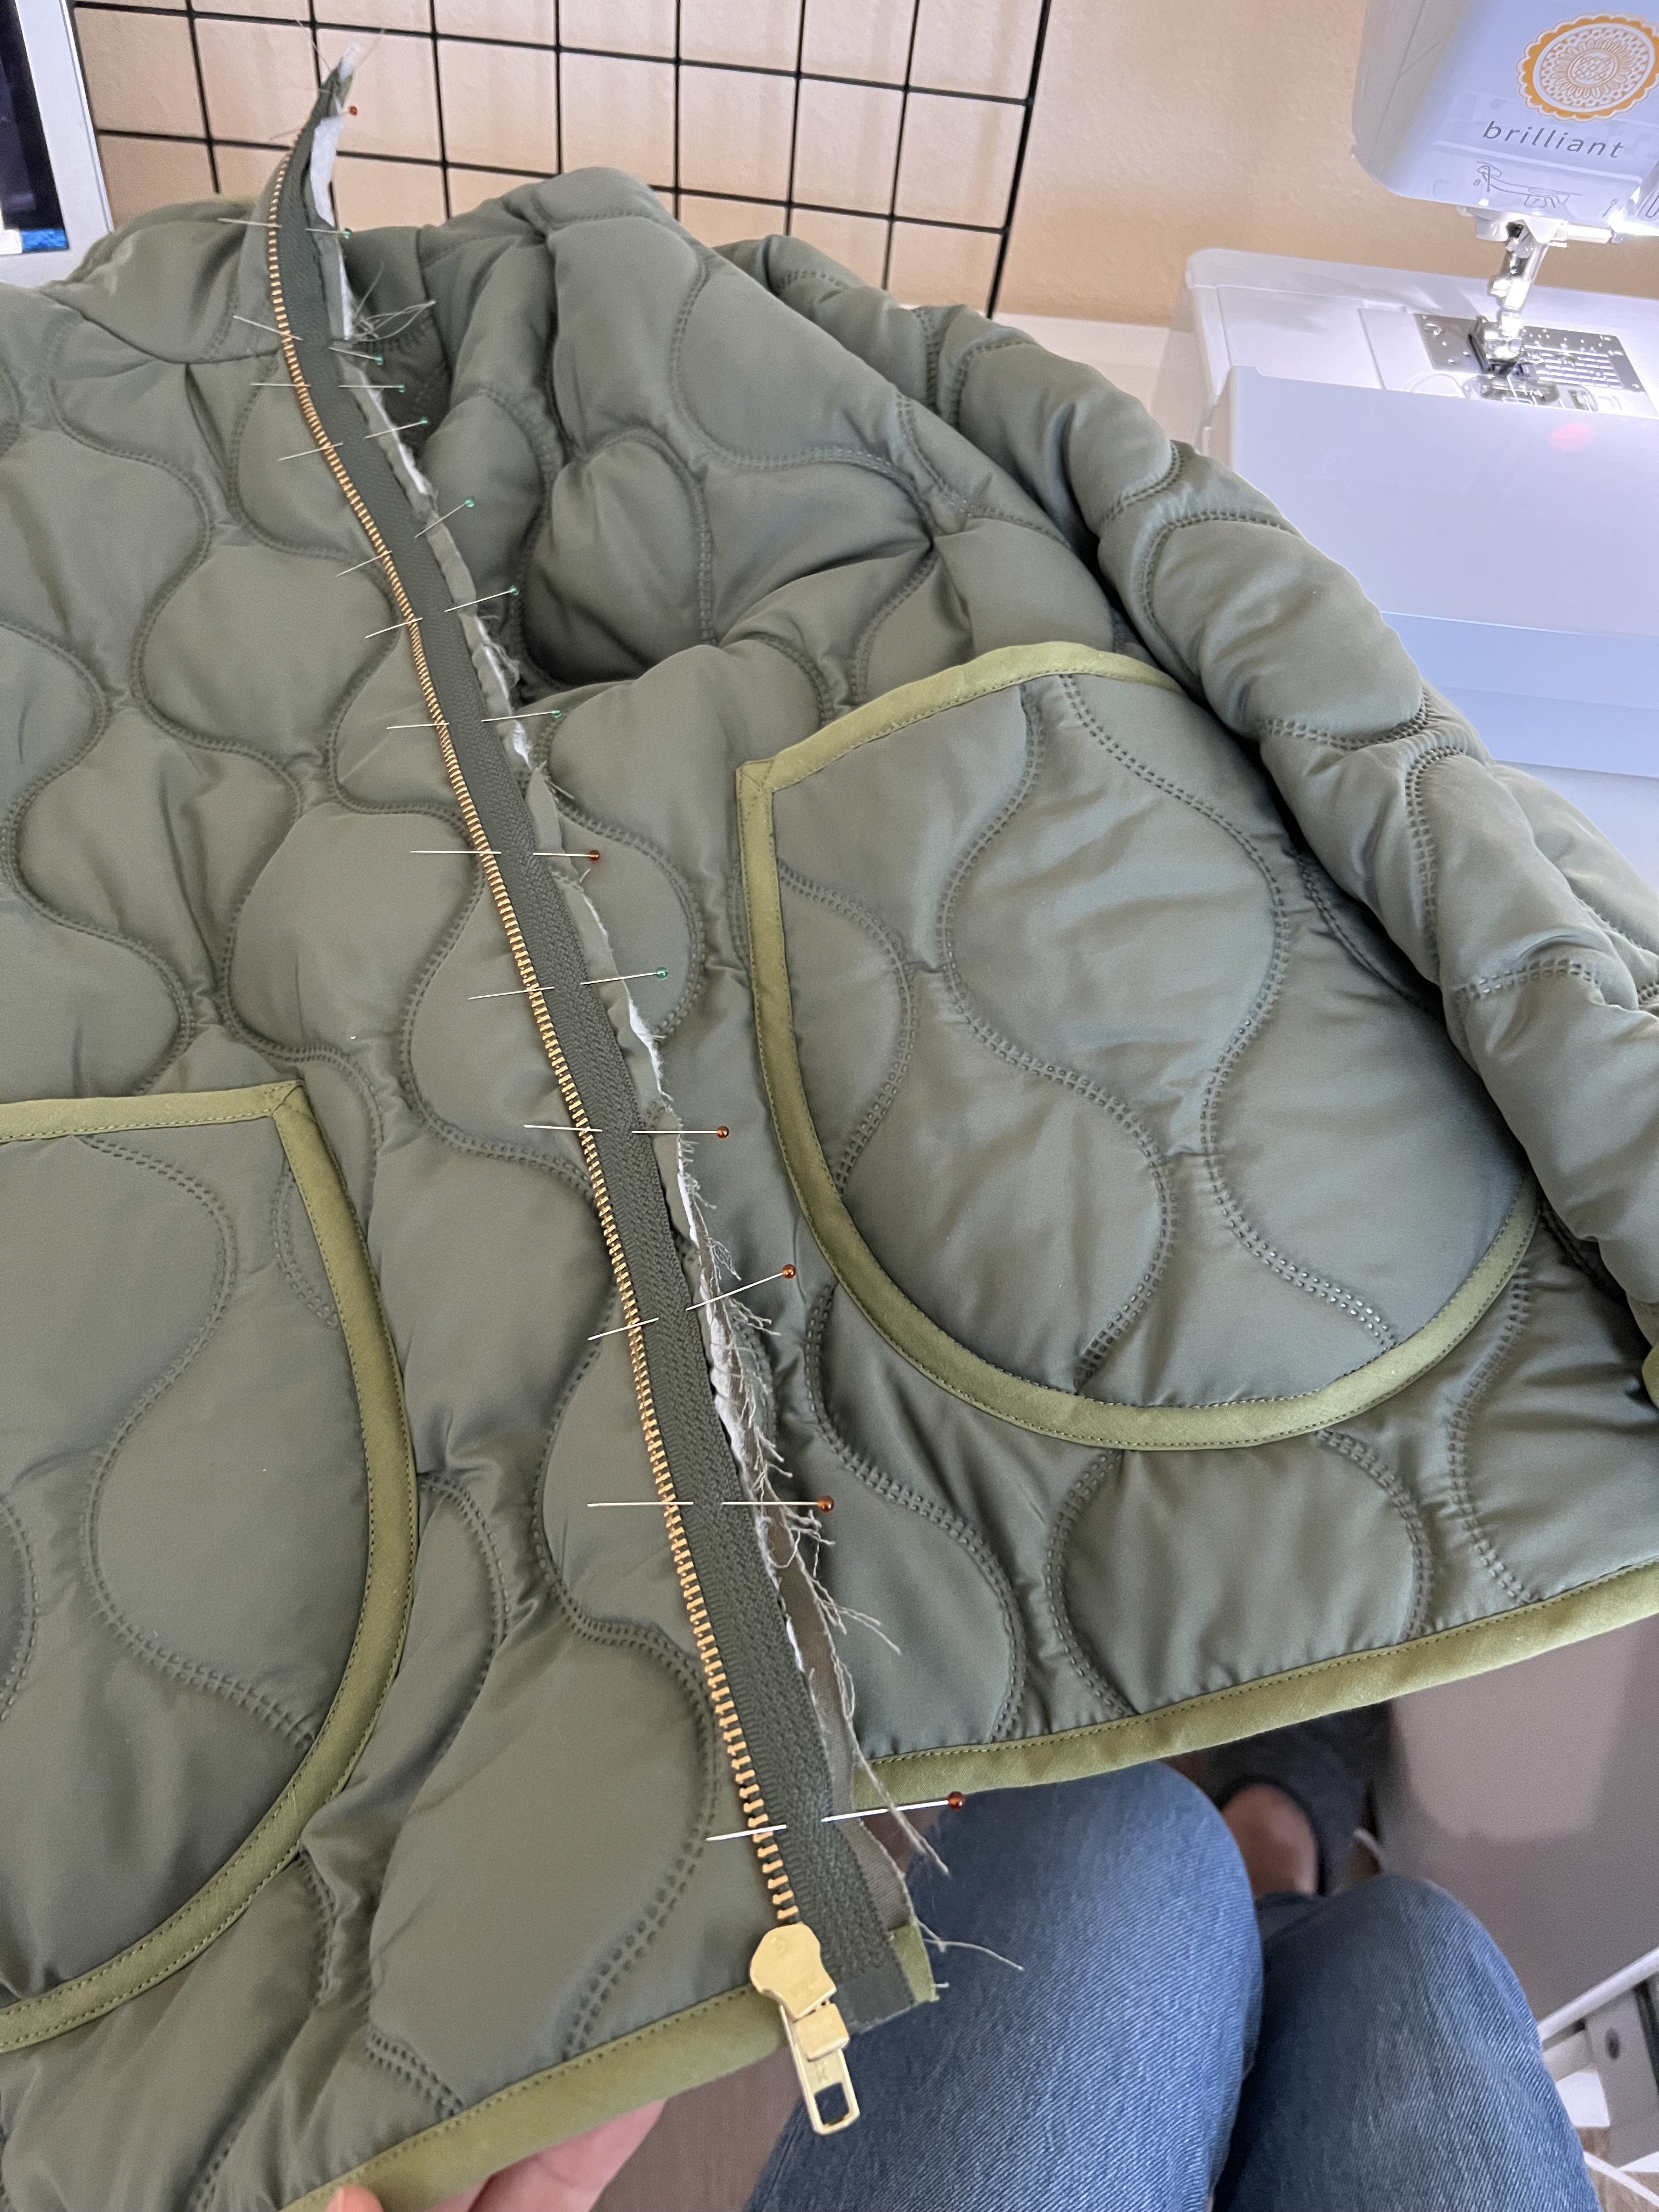
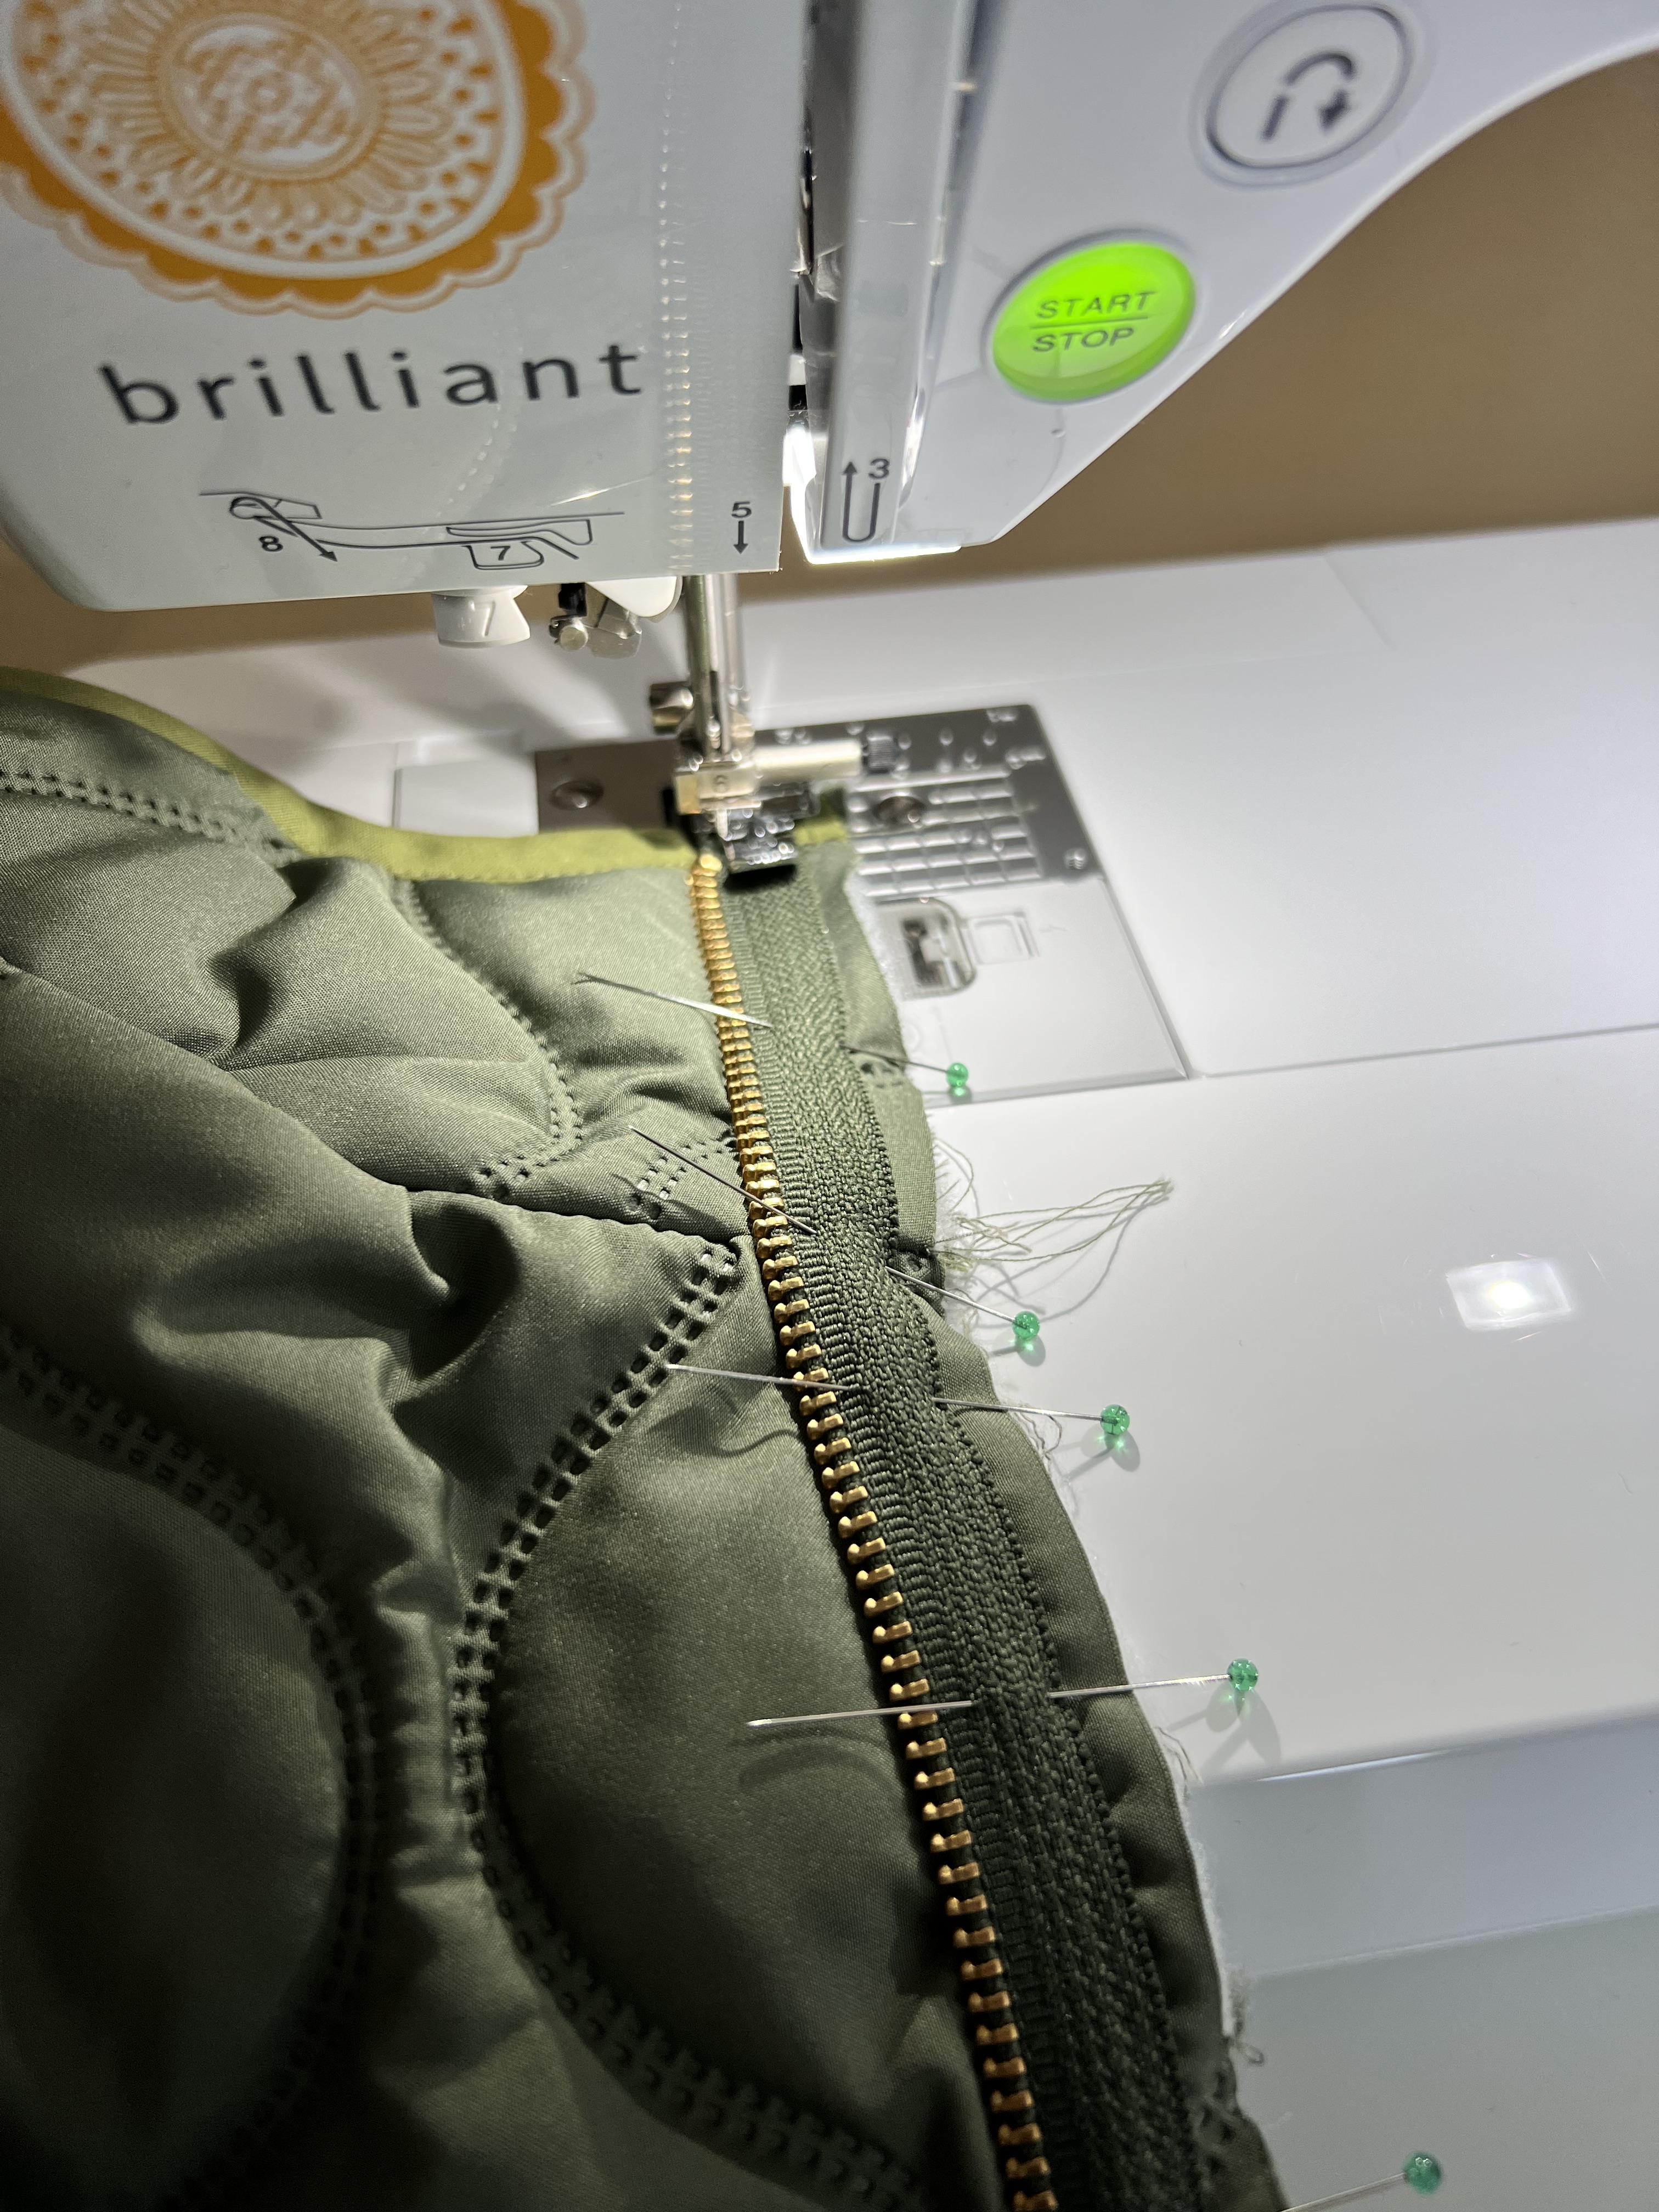
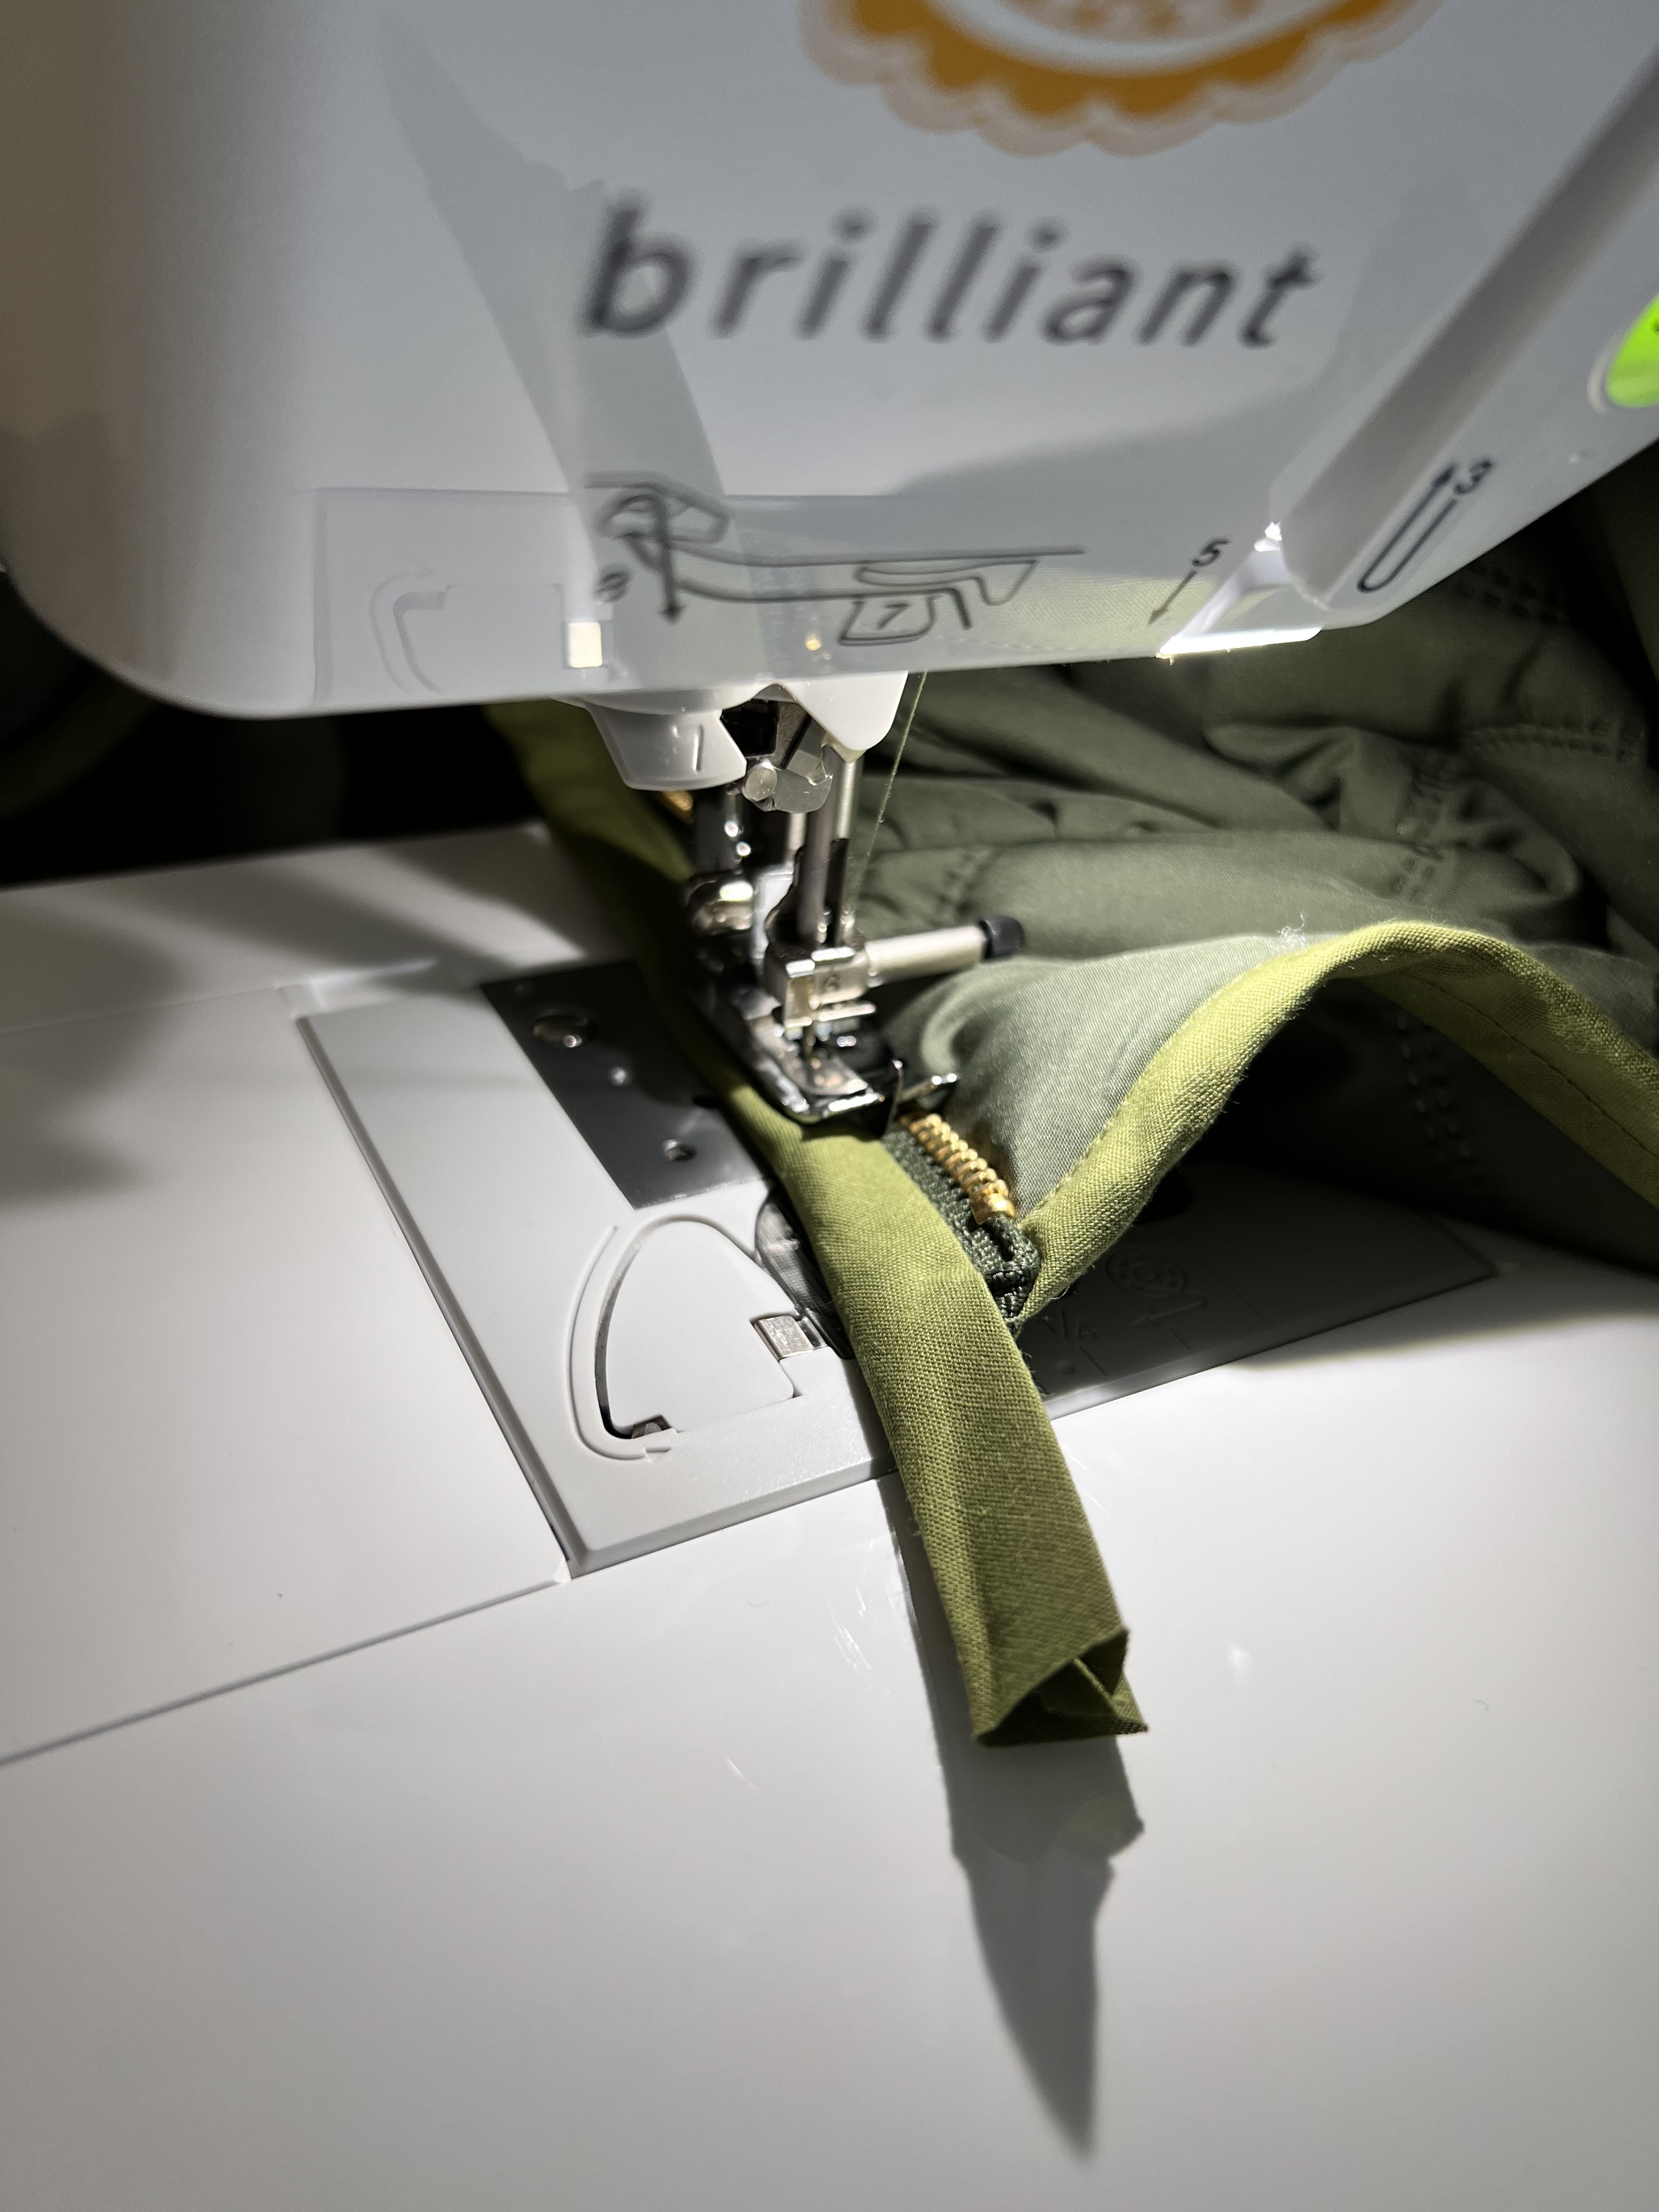
Part the separating zipper. On the right side, pin the zipper, face-down, against the right side of the fabric. The zipper teeth will be away from the edge of the fabric. Using a zipper foot, sew the zipper on about 1/4″ away from the teeth.
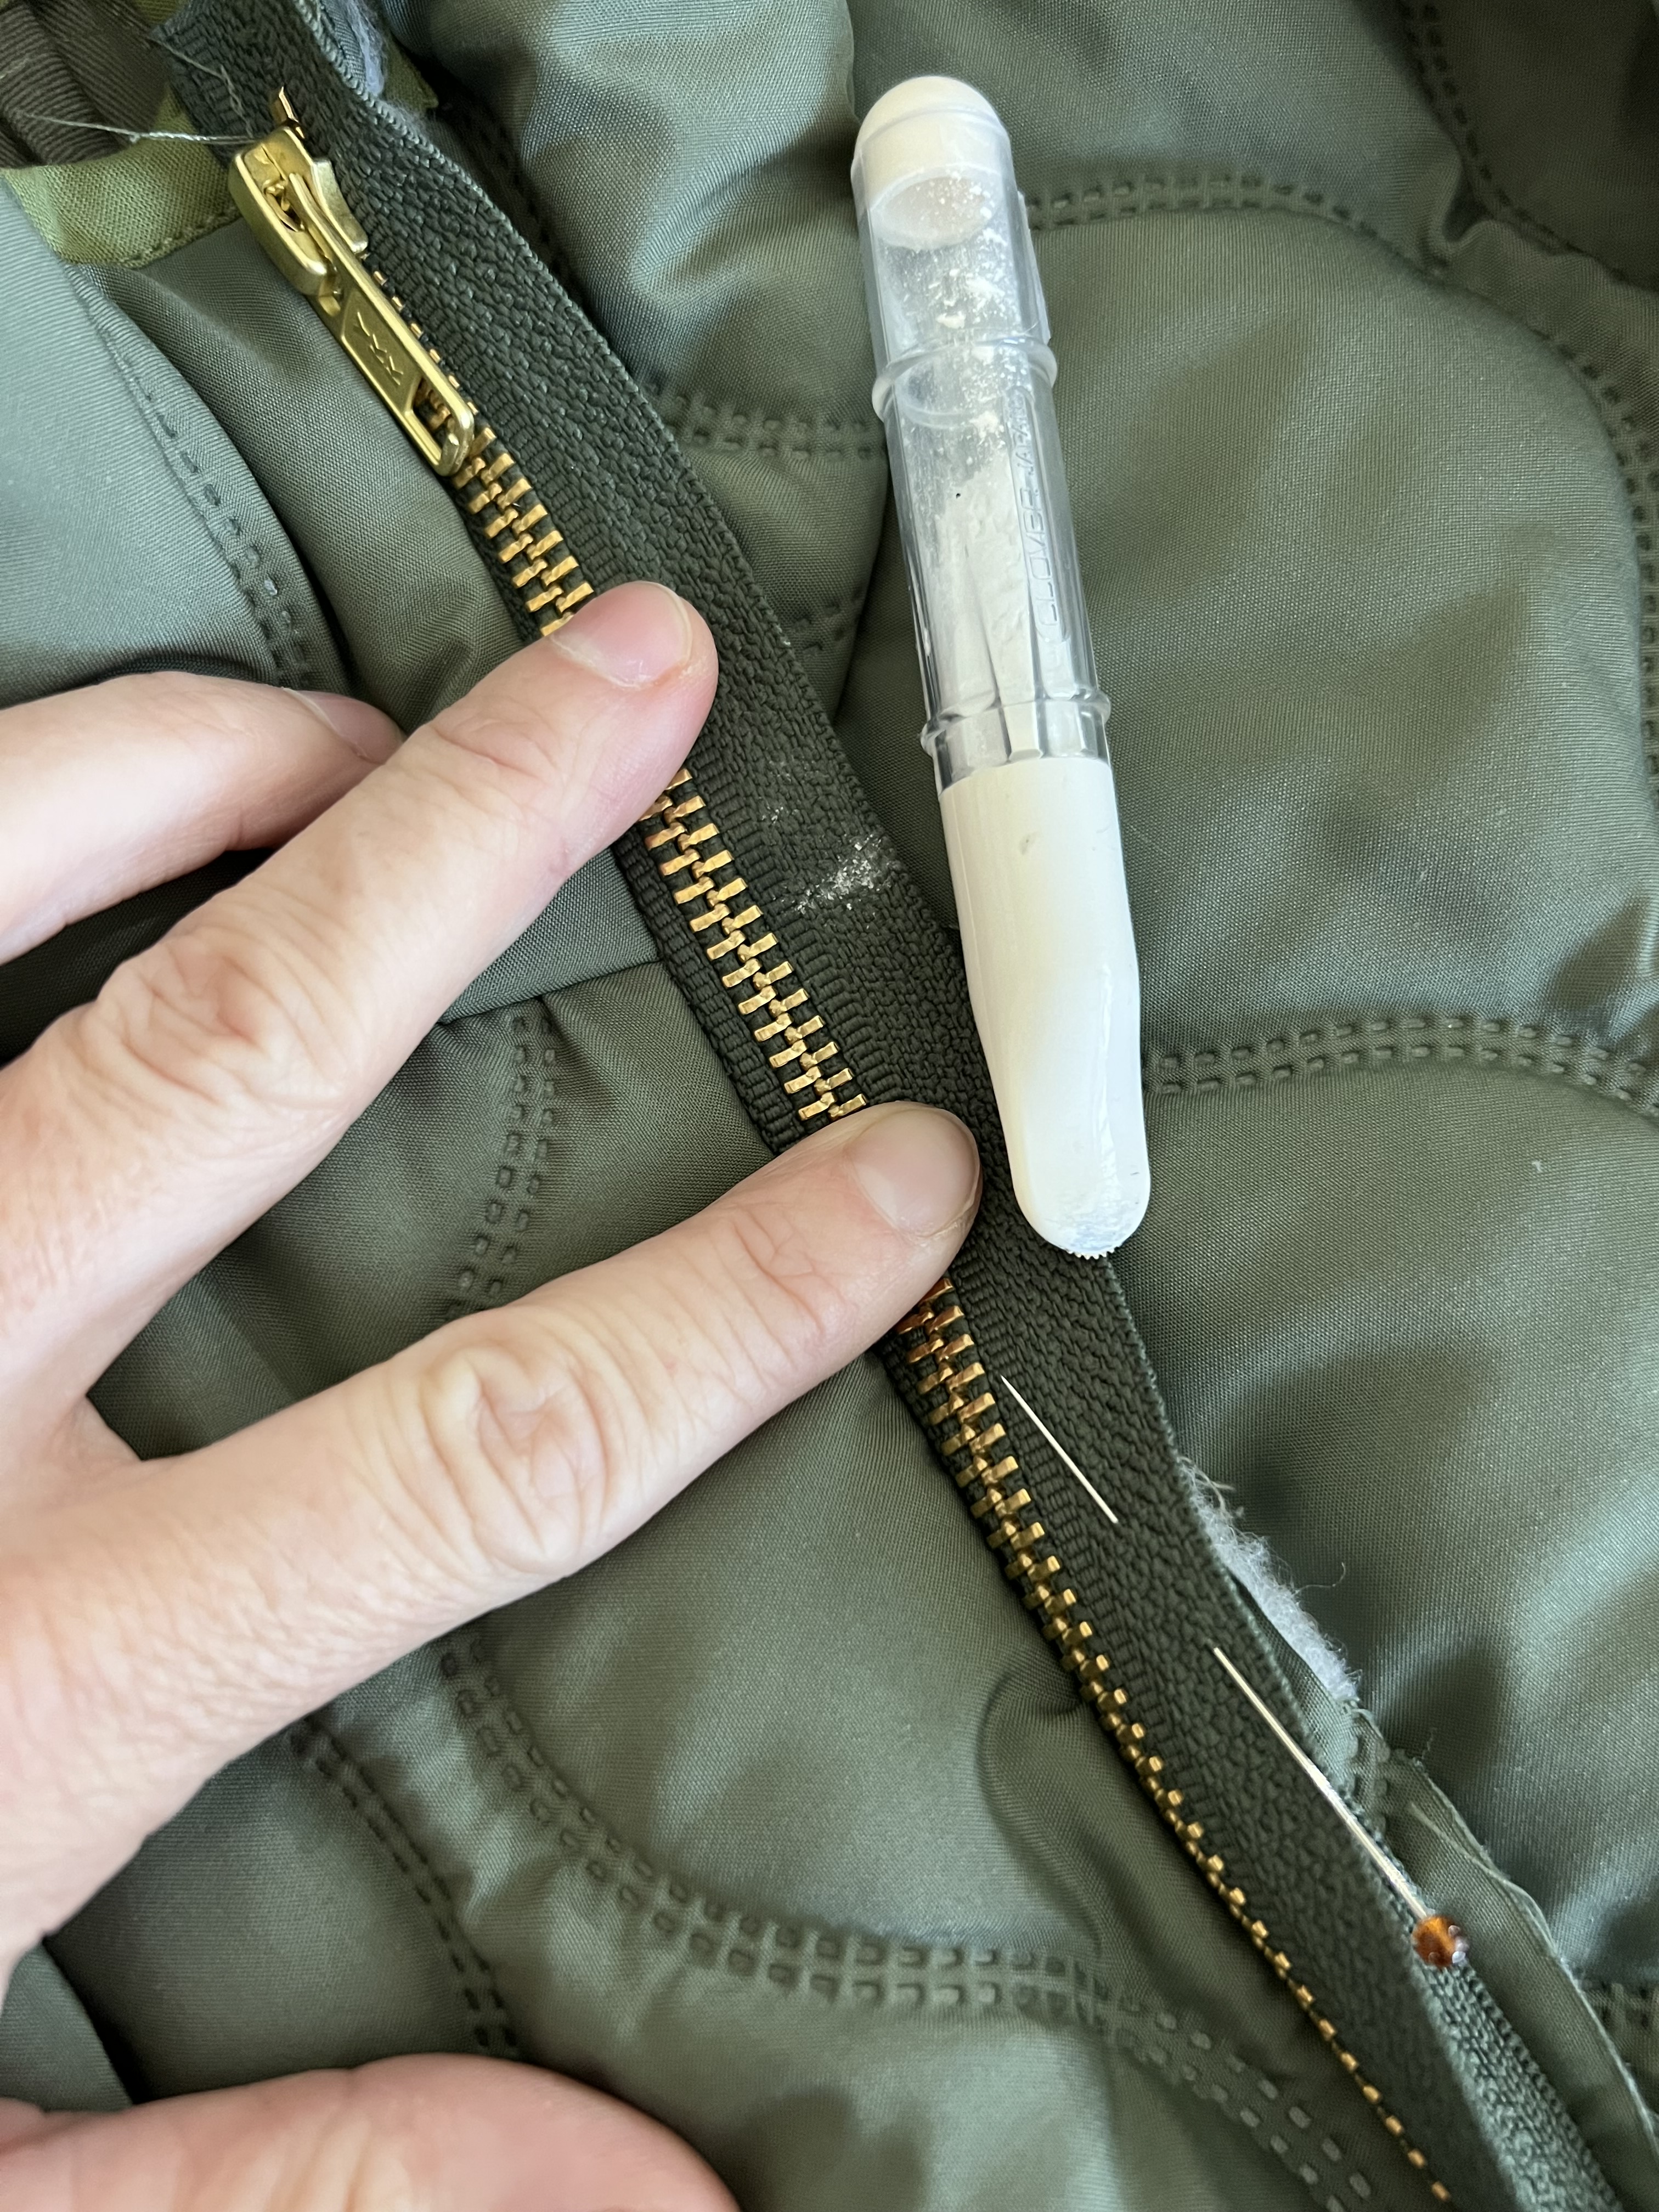
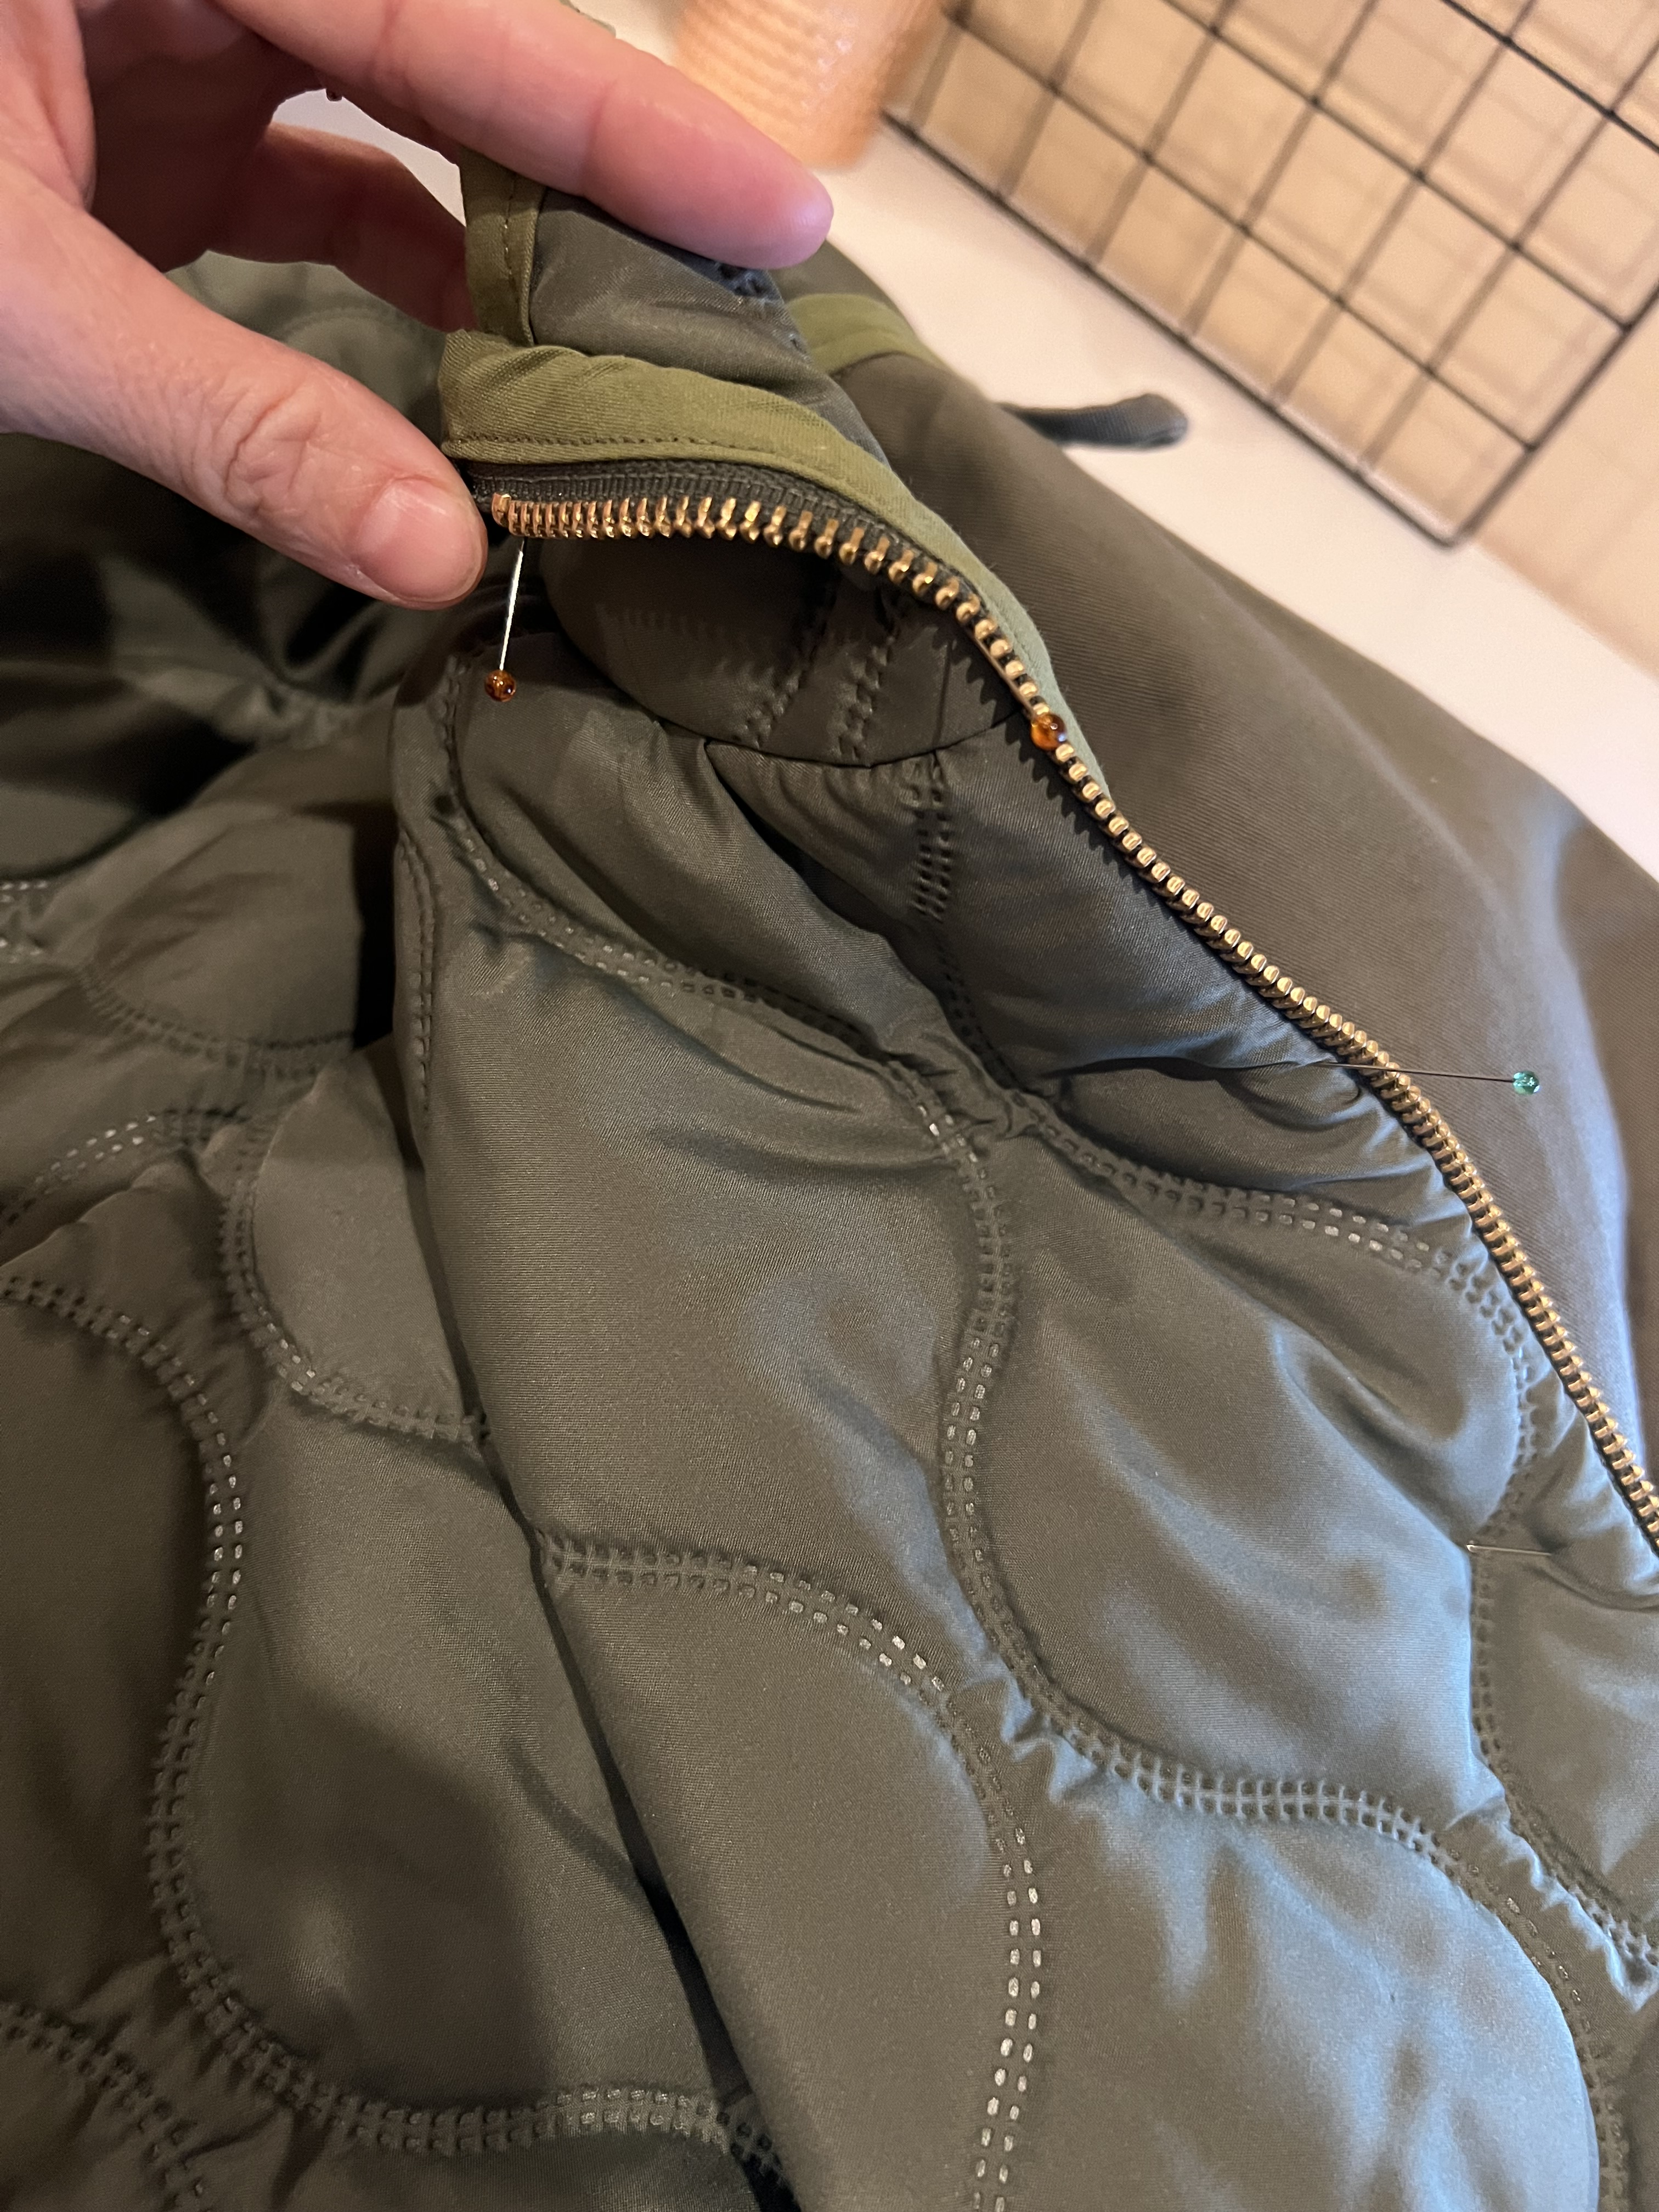
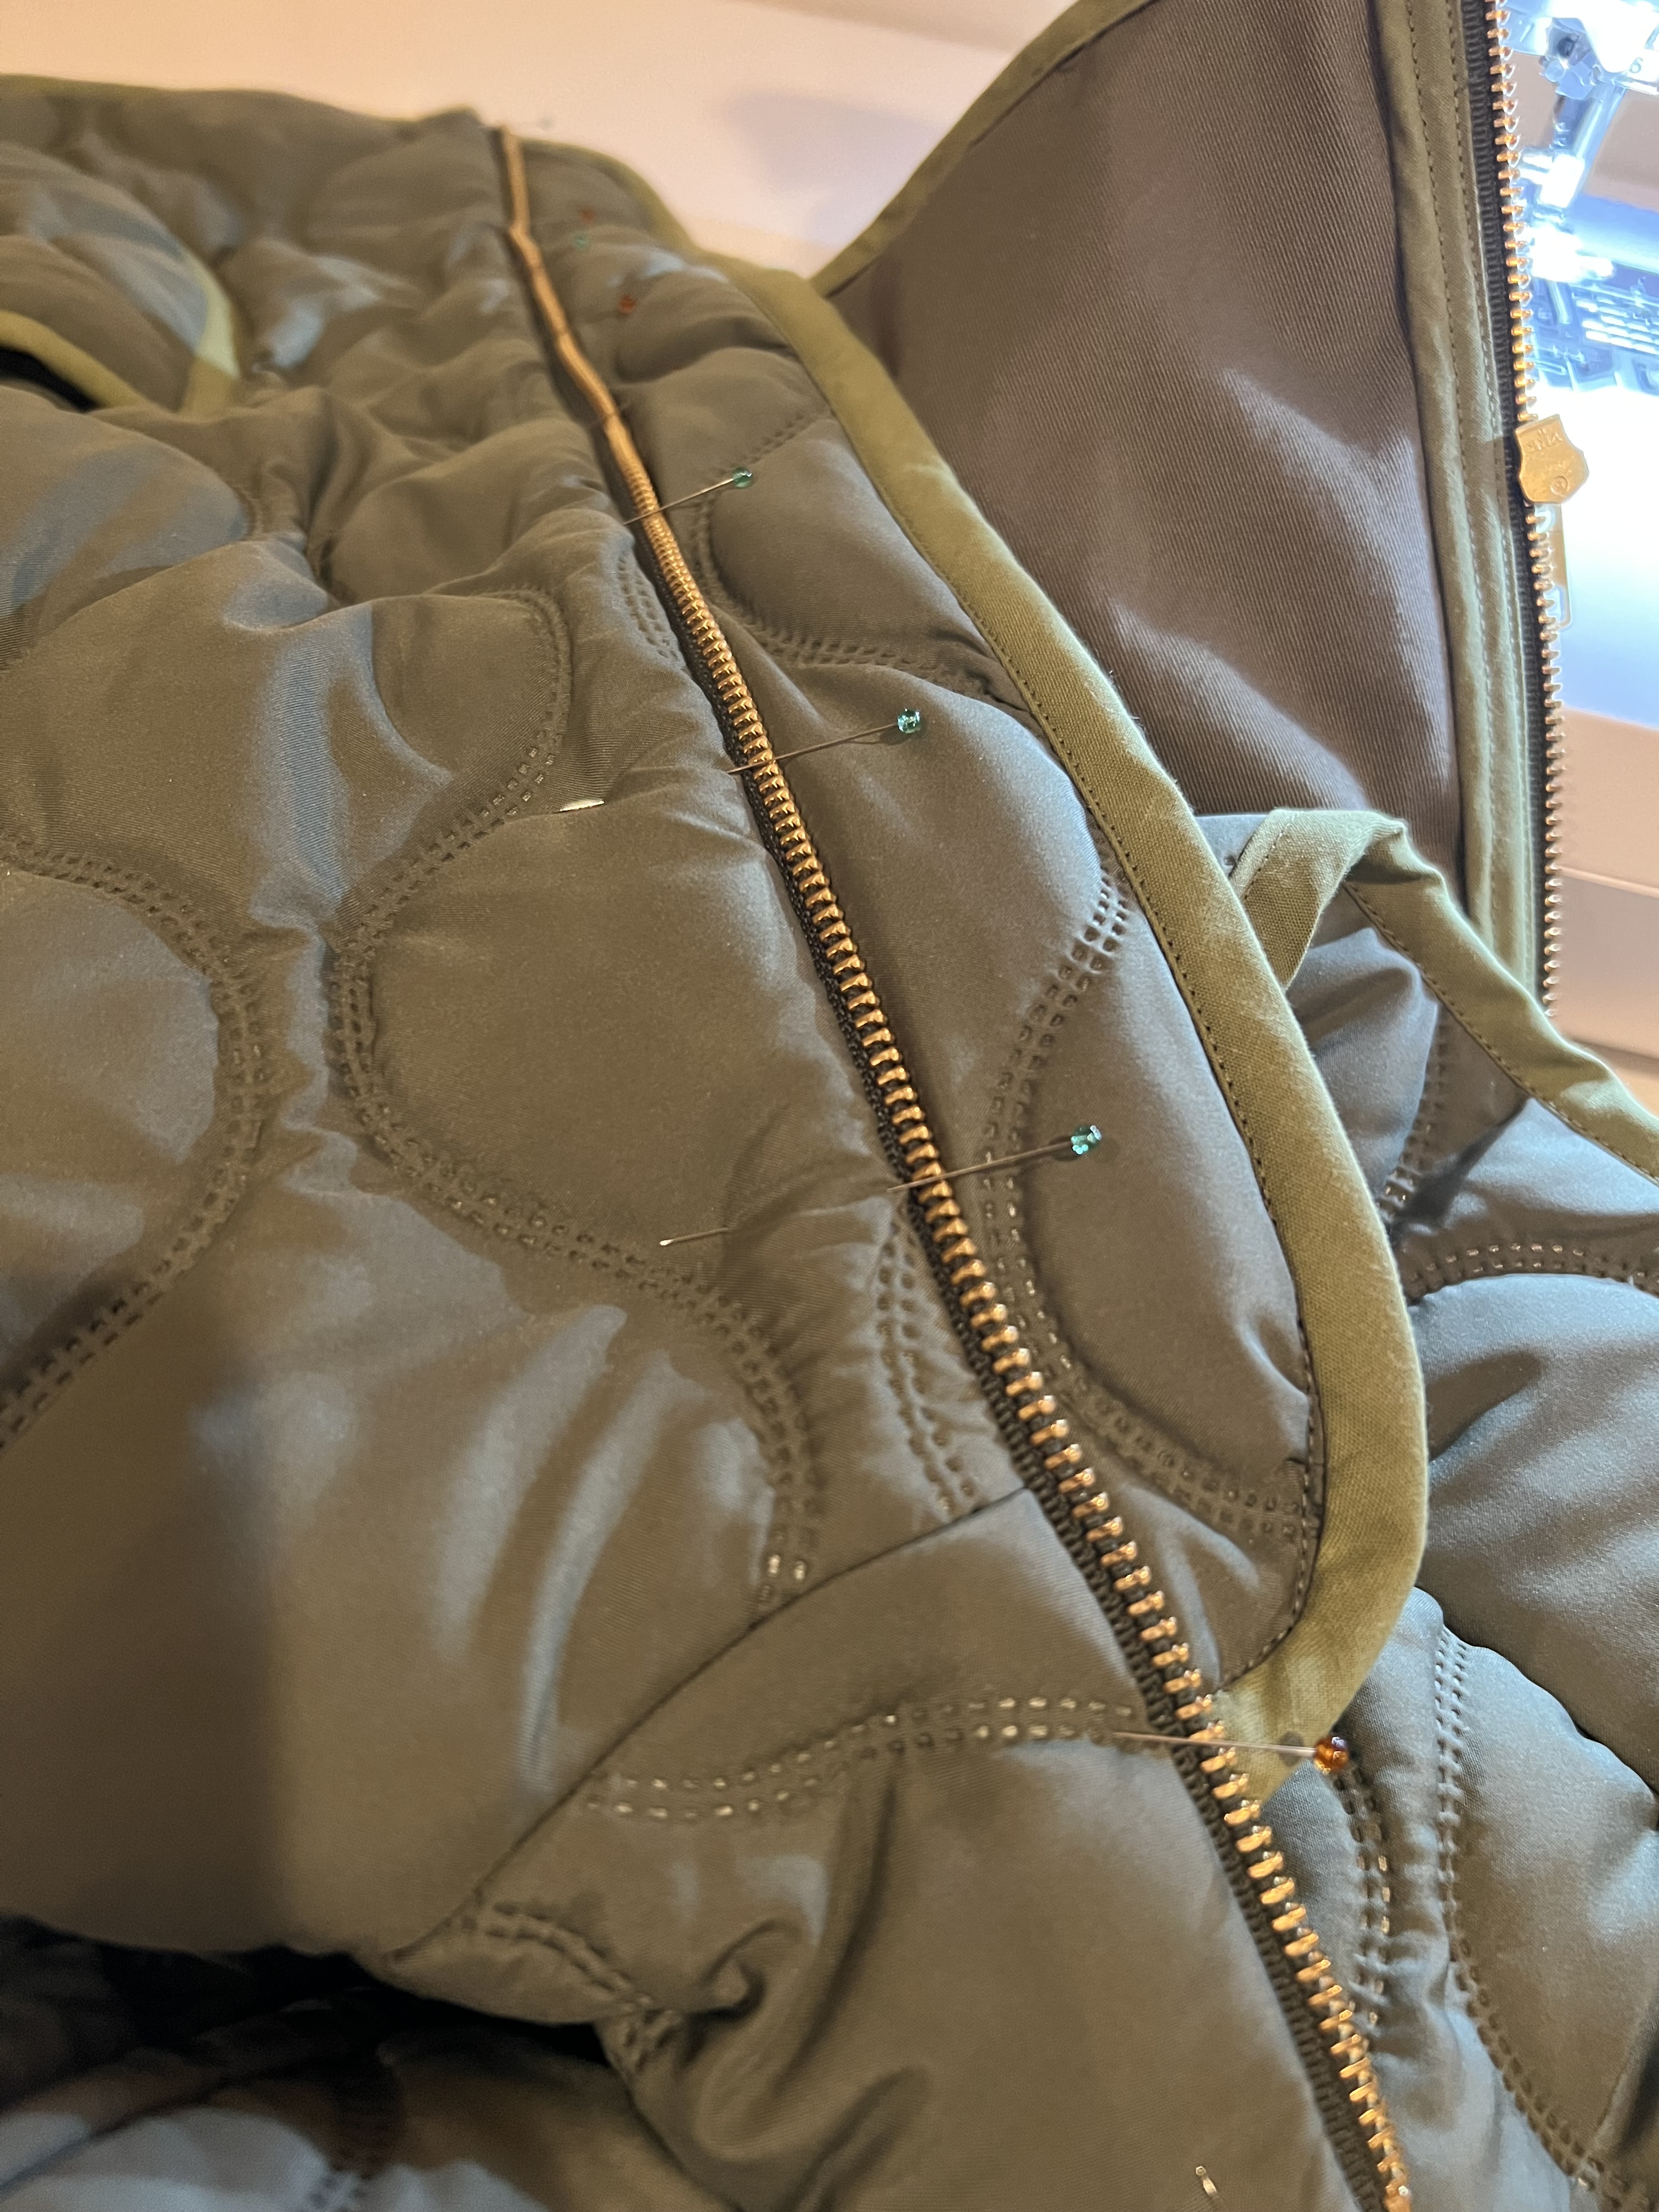
Step 18: Attach and zip the other side of the zipper to the now sewn zipper and mark where the zipper tape hits the collar seam line using chalk. Next unzip/separate the zipper and pin in place on the left side of the jacket just as we did for the right side, but make sure to line up the chalk marking at the collar seam. This will ensure the zipper lines up correctly. Next, lay the right side of the zipper shield on top of the zipper, and sew in place trying to sew 1/4″ from the zipper teeth once again.
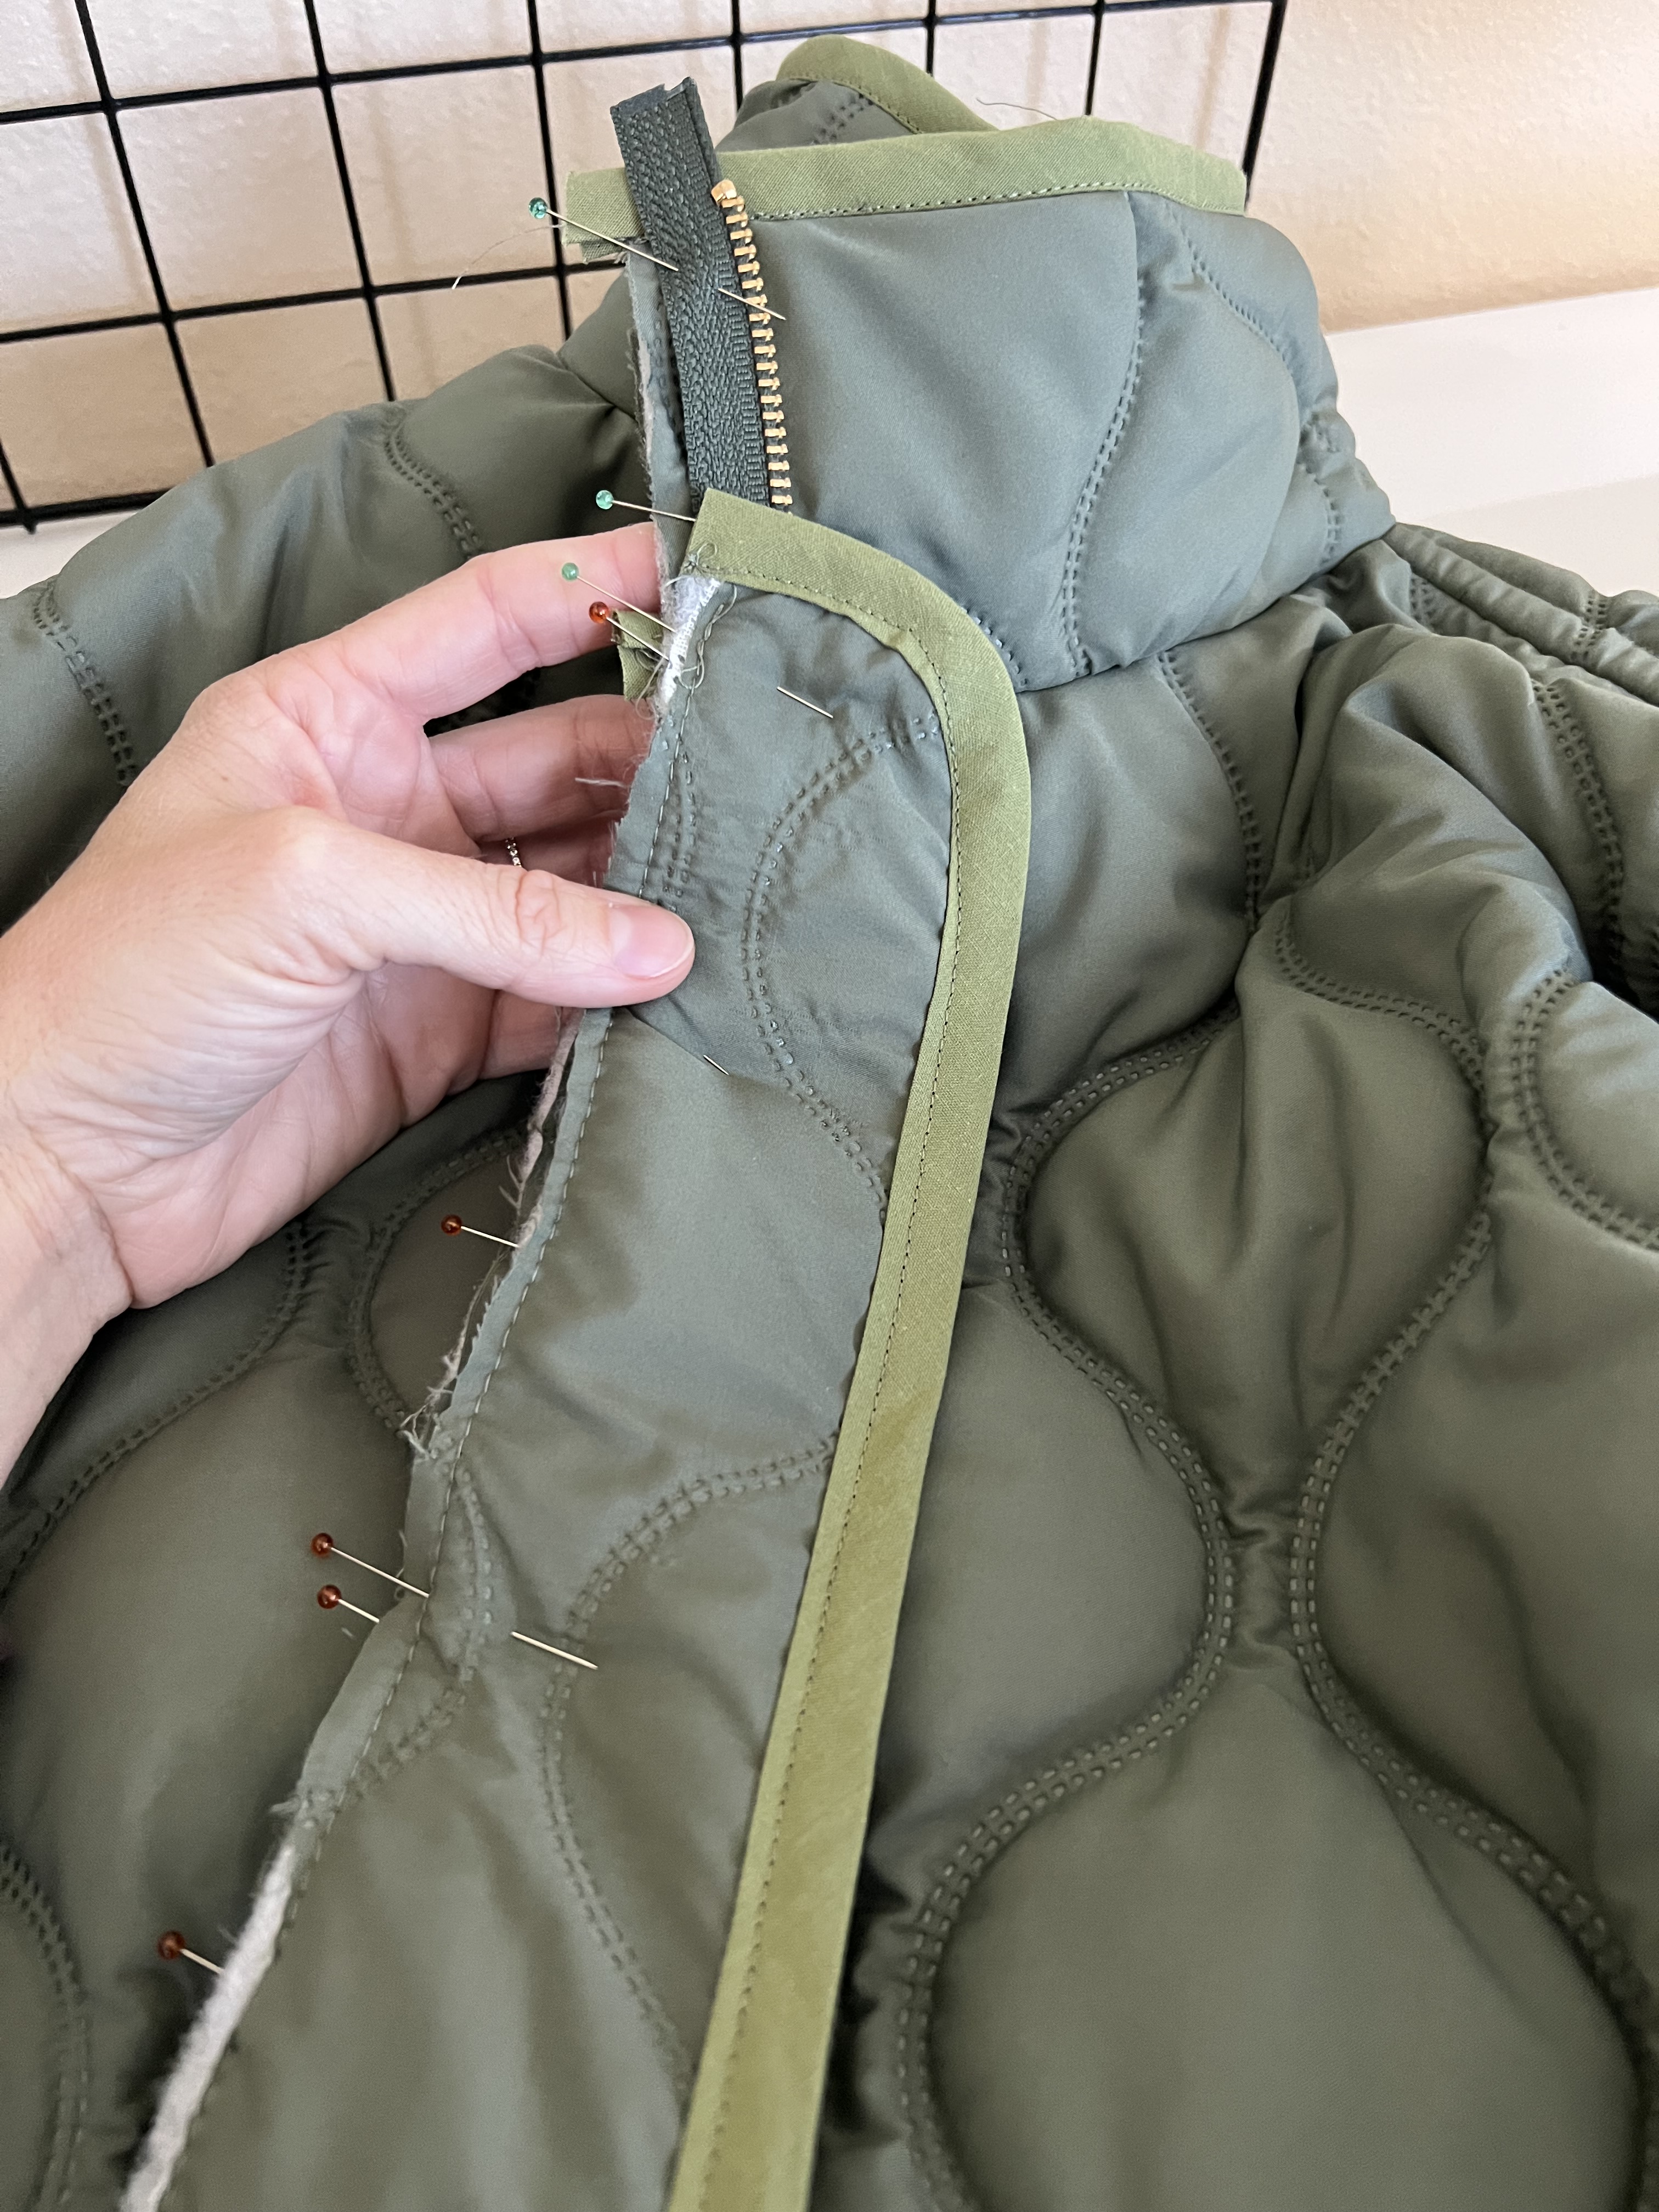
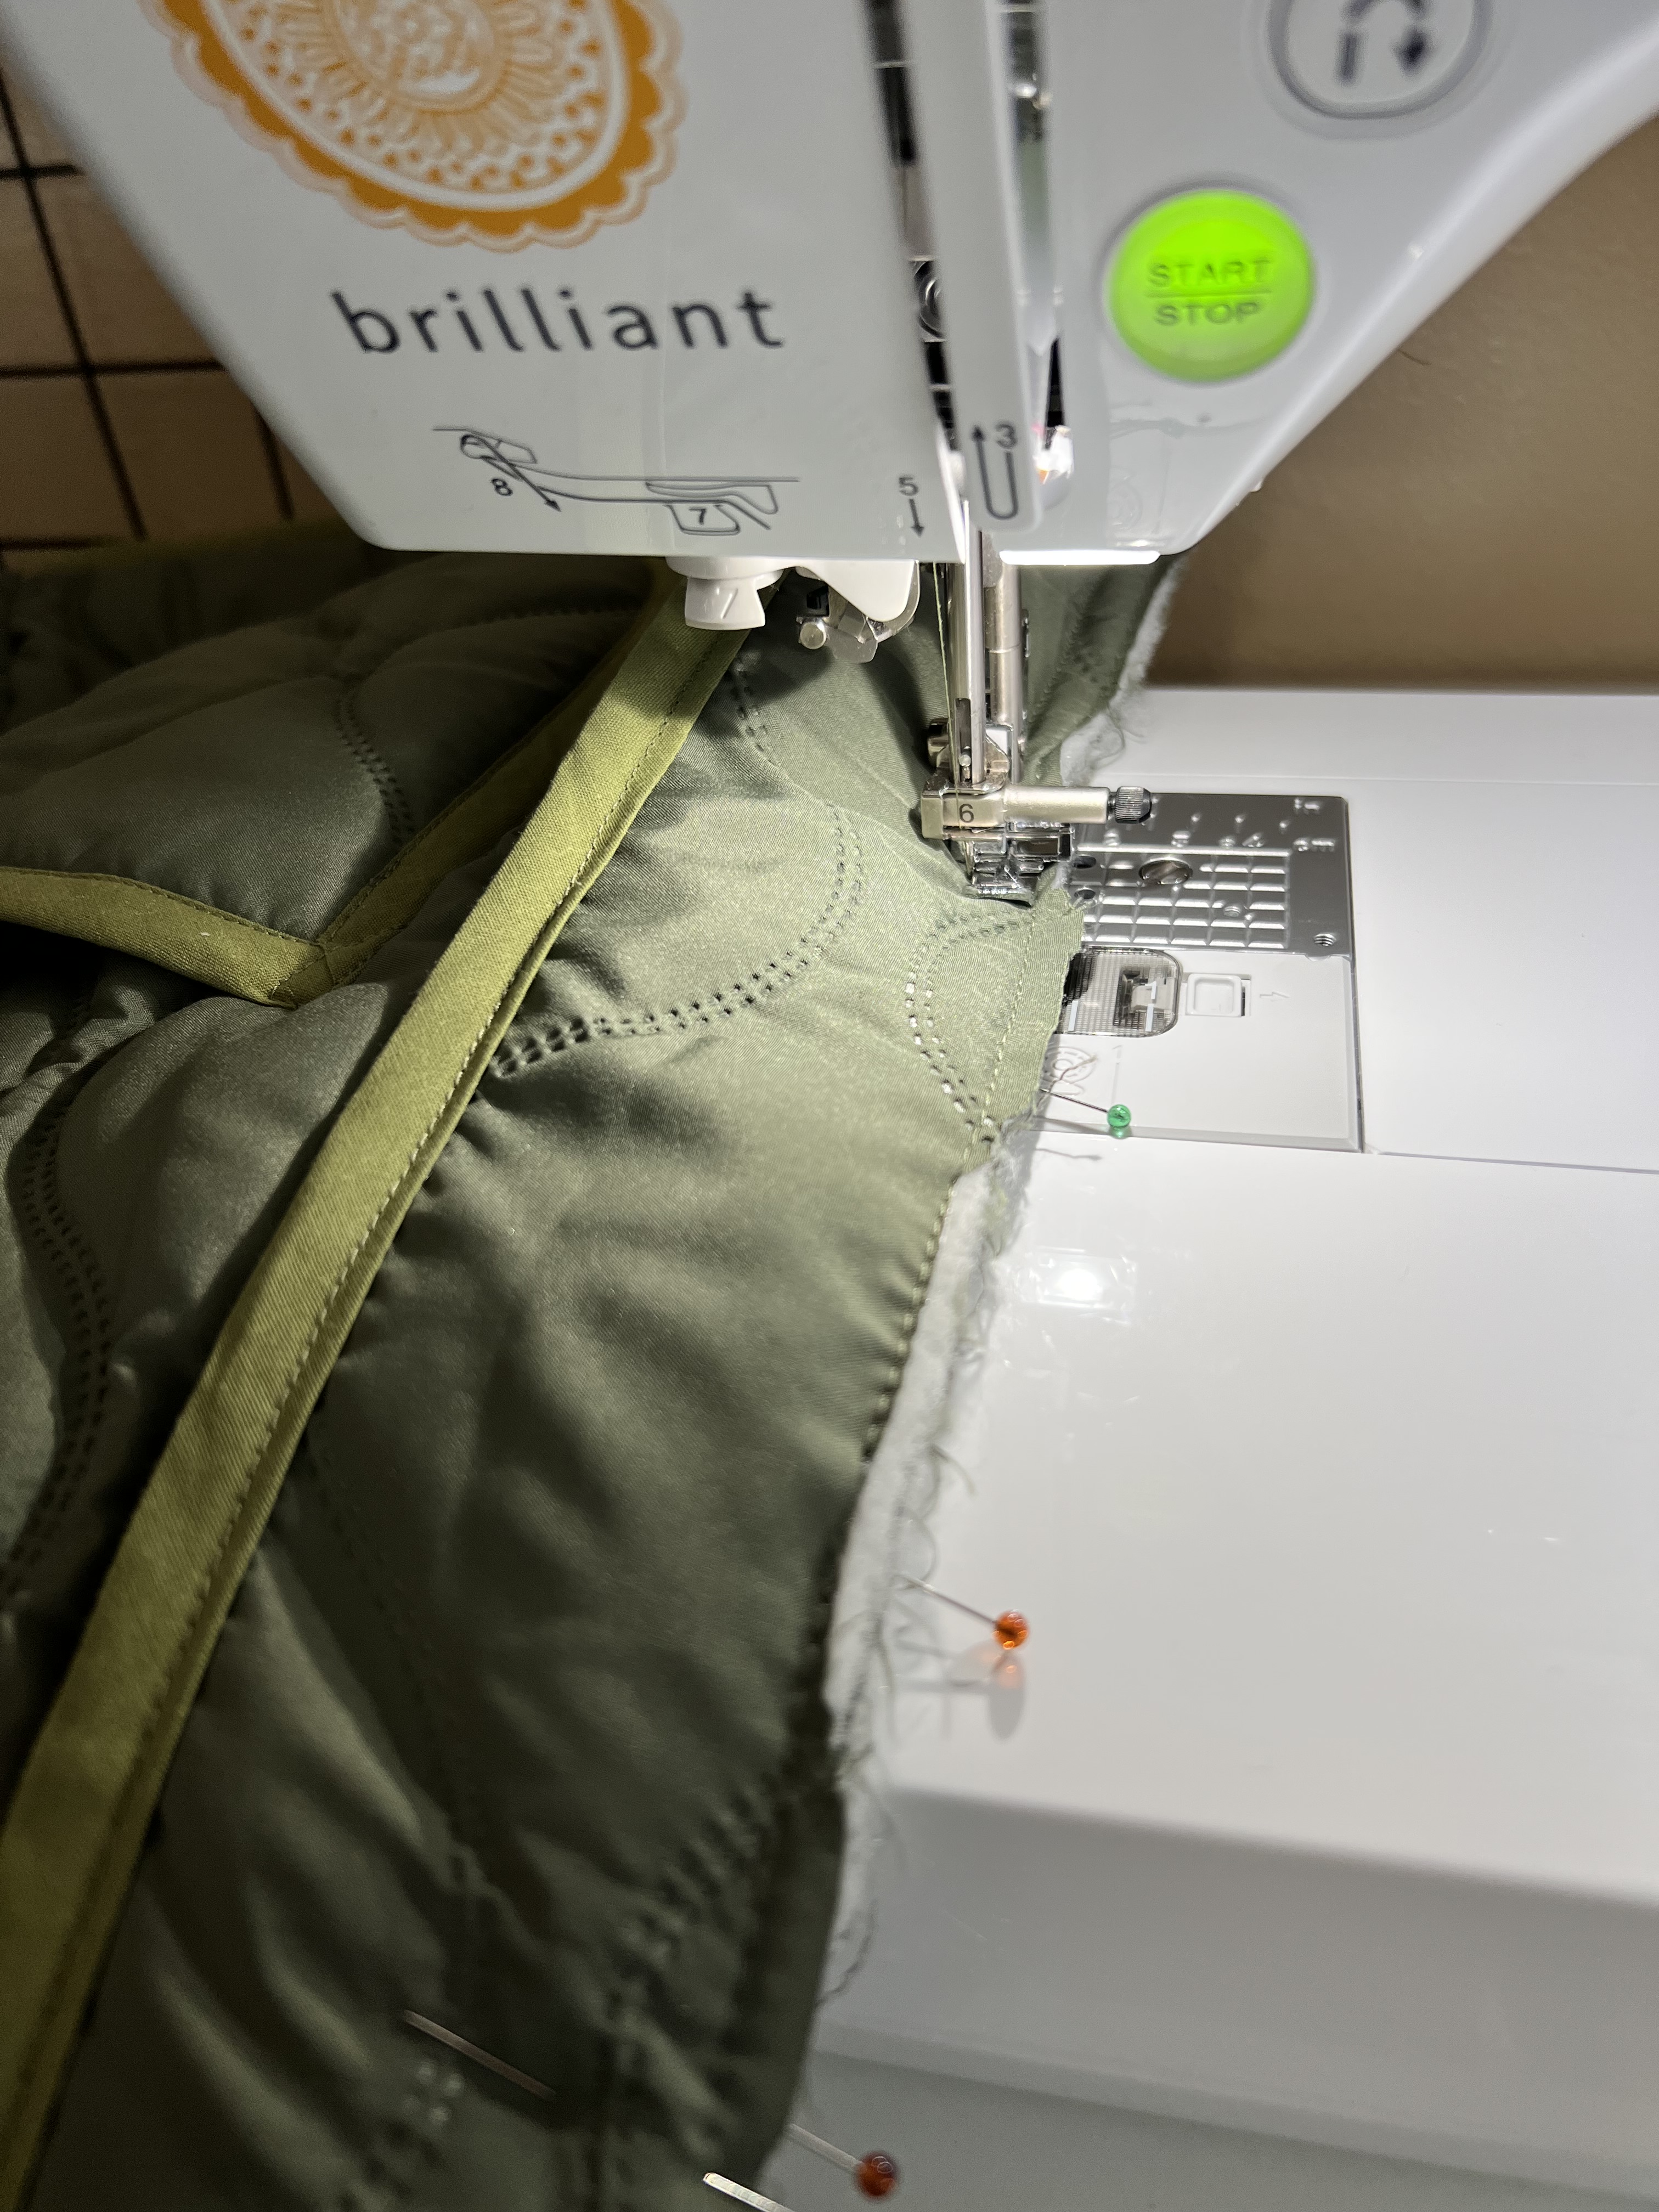
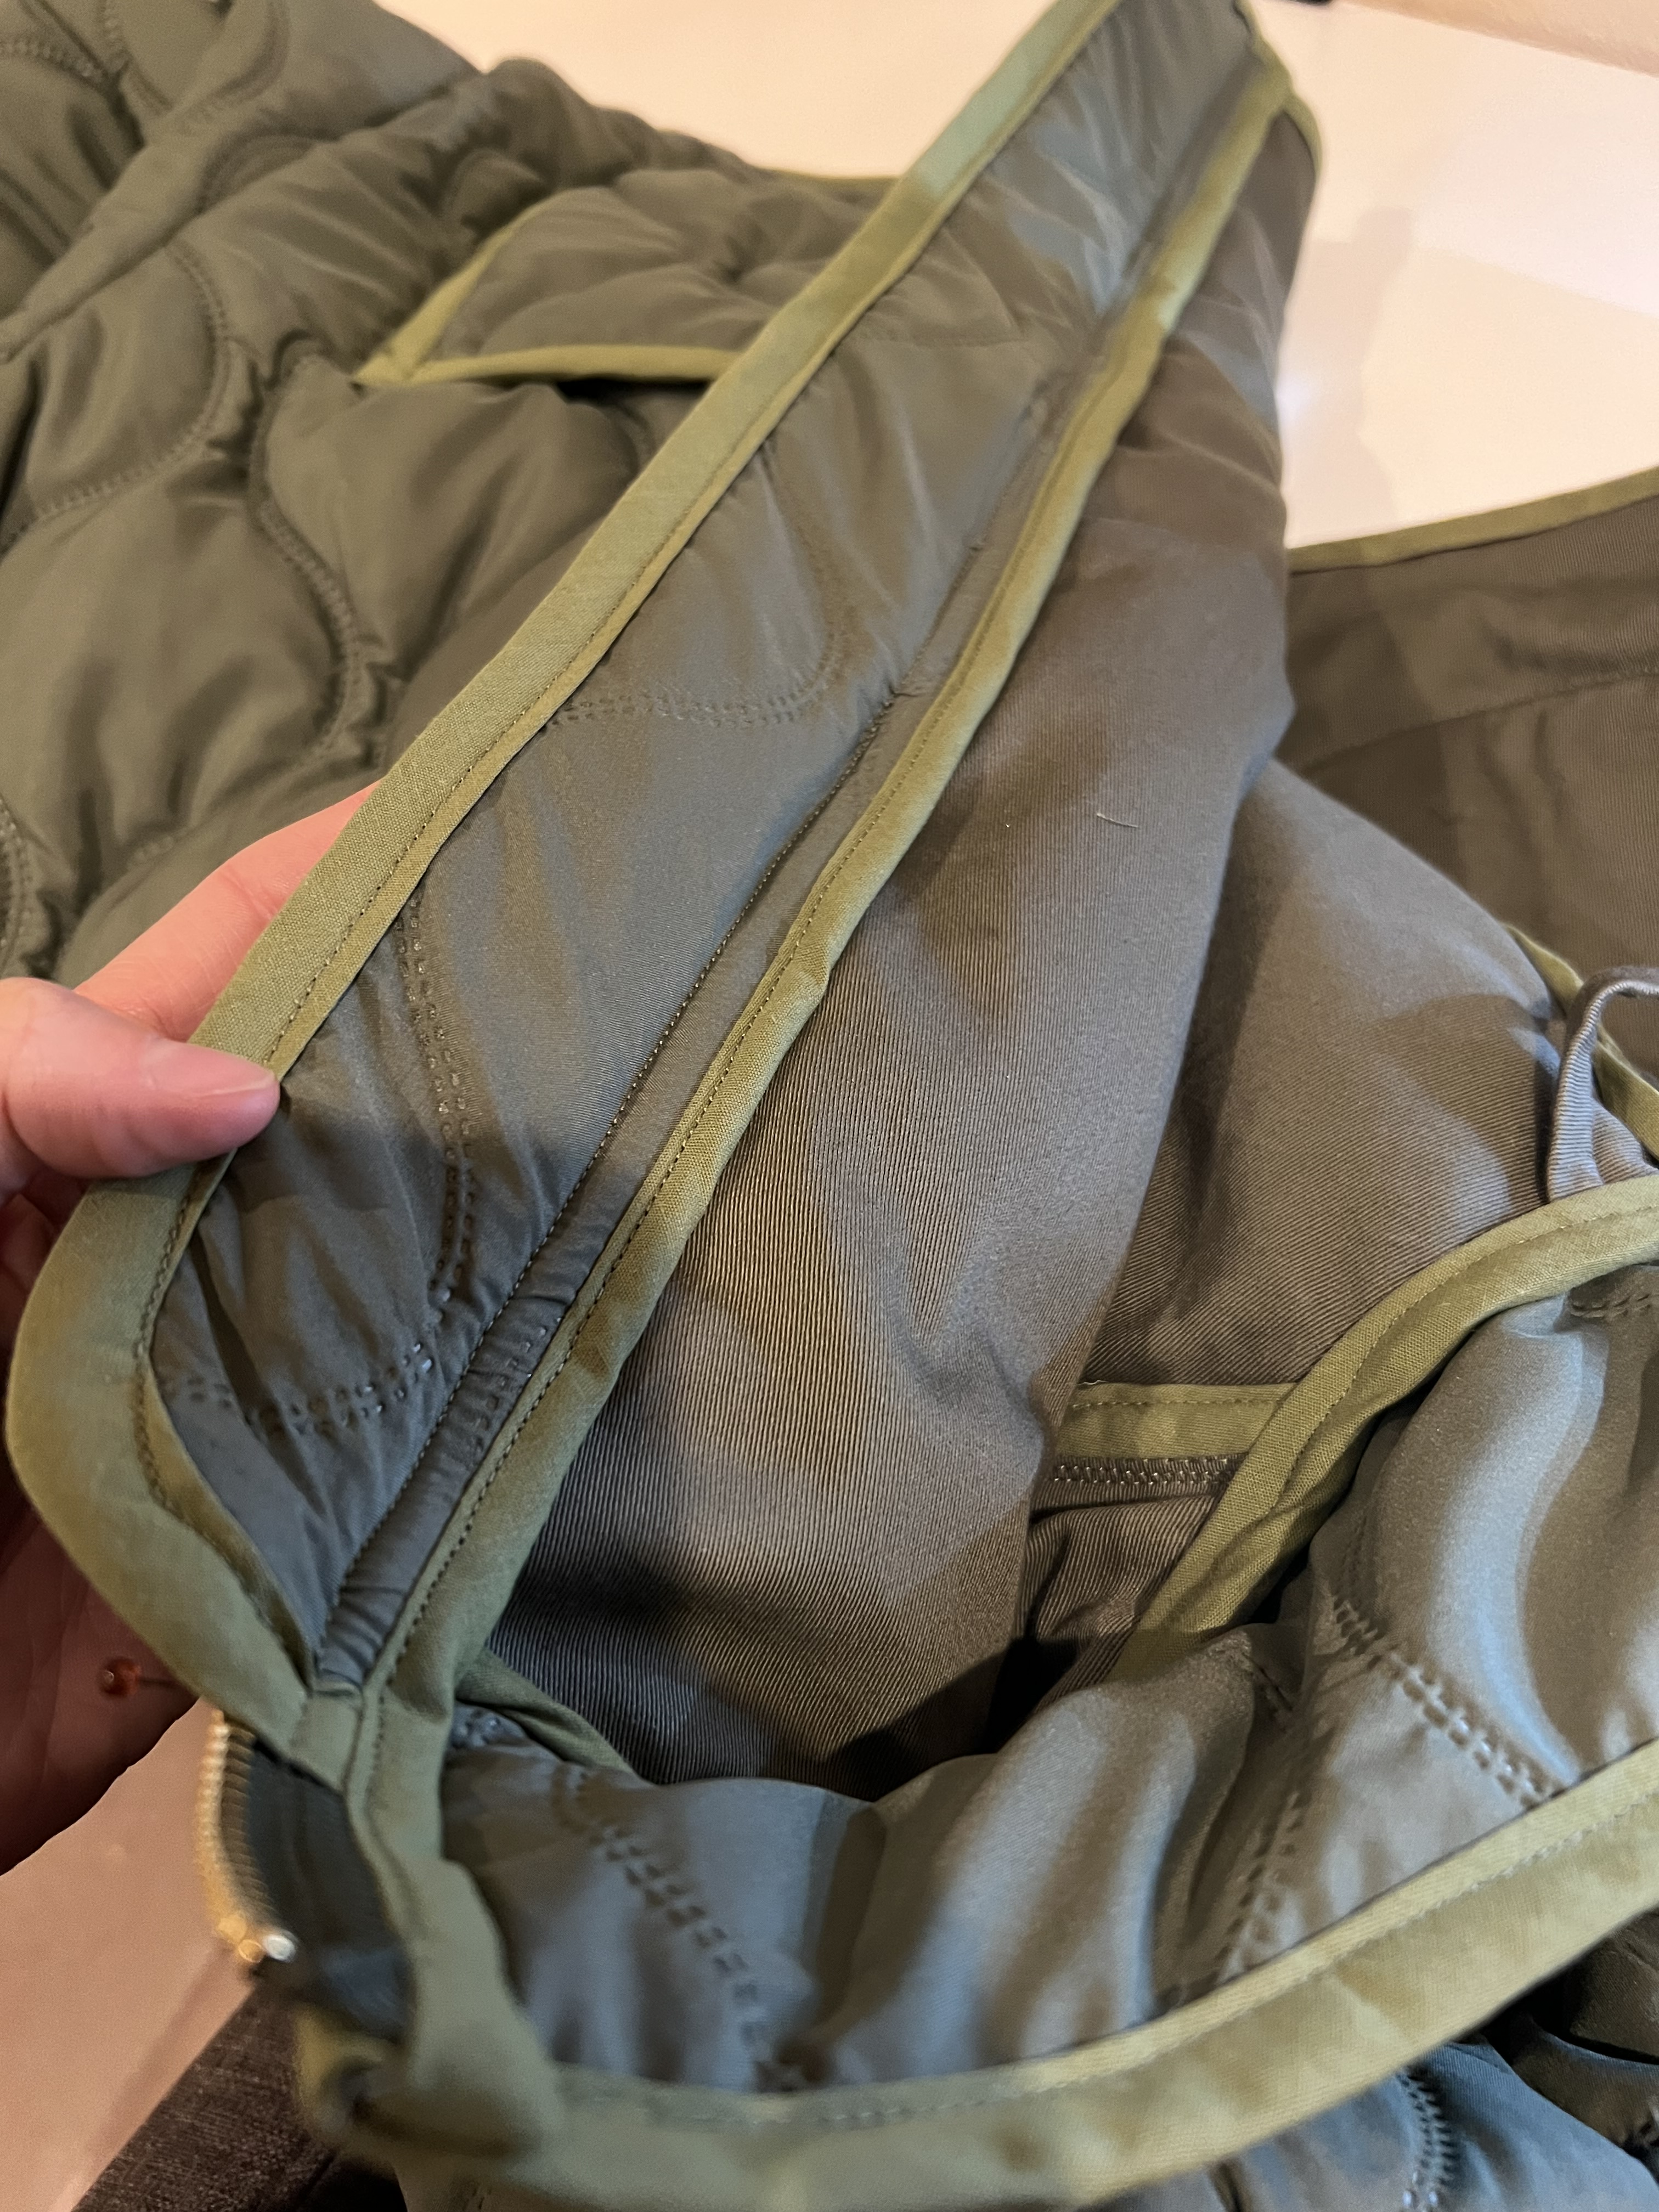
Step 19: FinIsh both zipper seams with bias tape, making sure to leaving about 3/4″ hanging off each end.
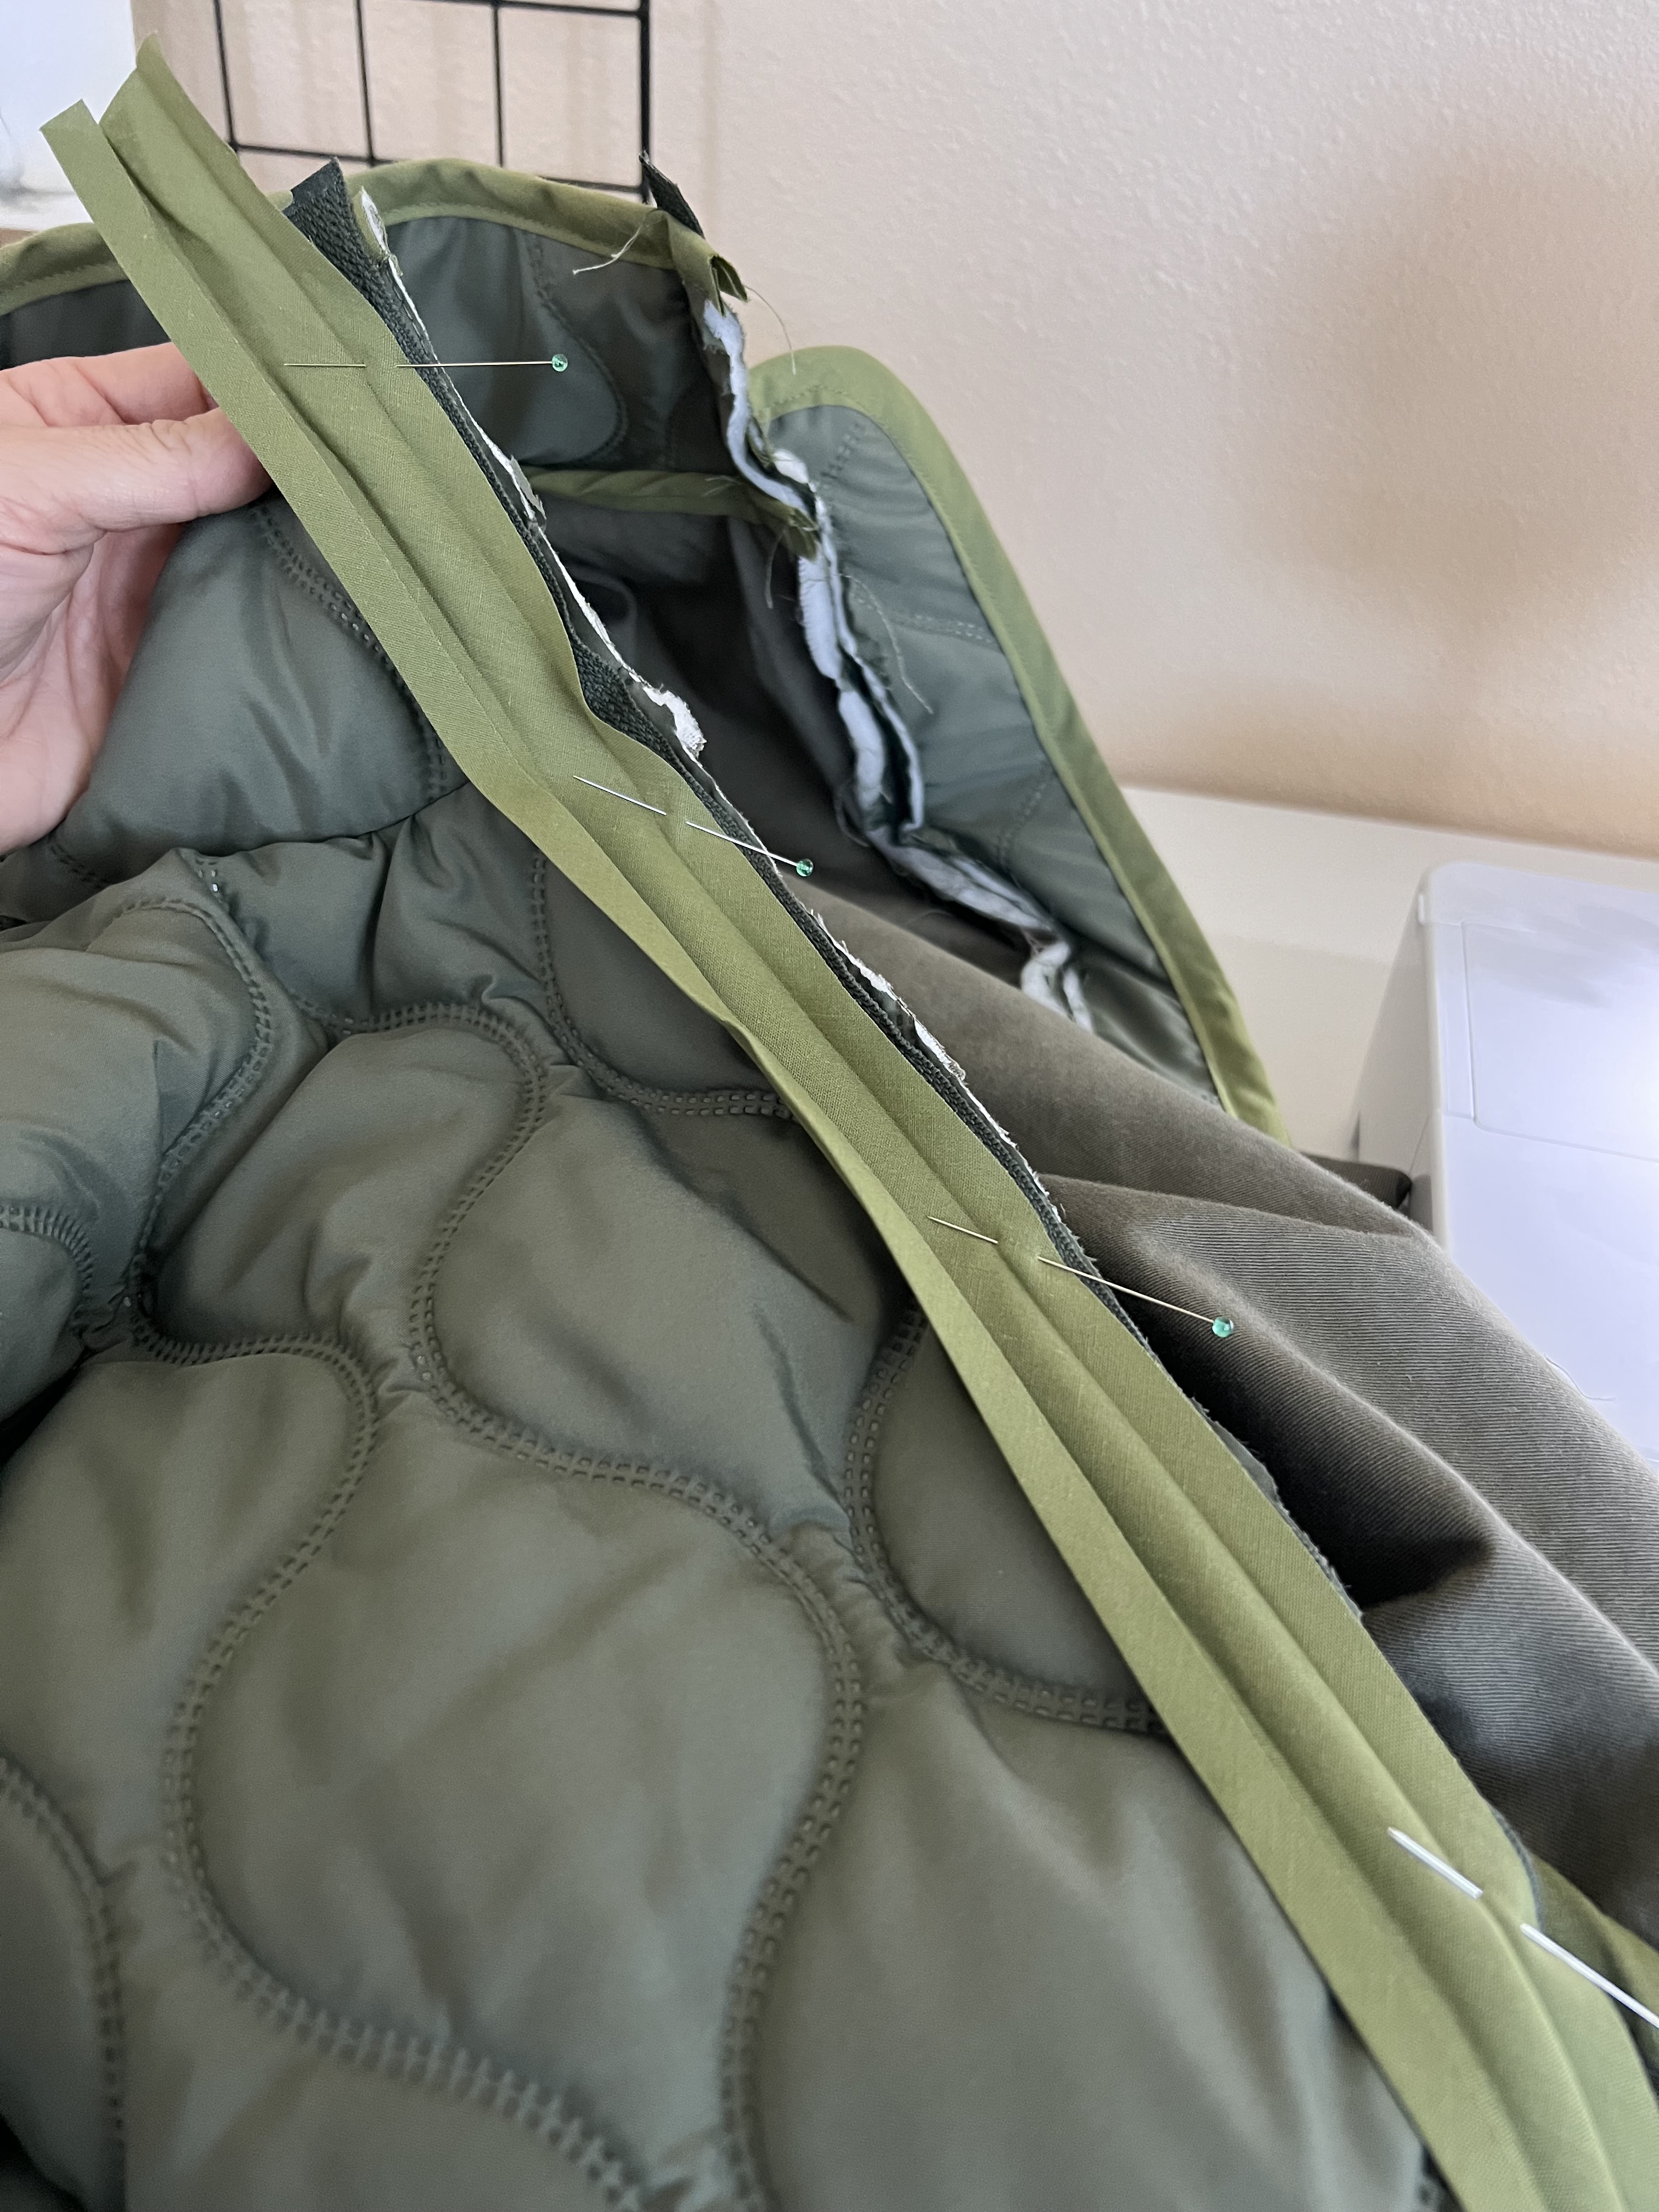

Step 20: Tuck the ends of the tape into the seam, as well as the top of the zipper tape. Pin the seam into the inside of the jacket, and topsticth 1/4″ from the zipper edge to finish. Repeat on the otherside of the jacket too.
Congratulations! All finished! I would love to see your jacket! You can share it with me on instagram @thesaraproejct_
Here’s a link for everything else I’m wearing with my jacket.
Hope you love your jacket as much as I love mine! Stay cozy my friends!


Leave a comment